1. State of the art, project management and documentation
References & Inspiration
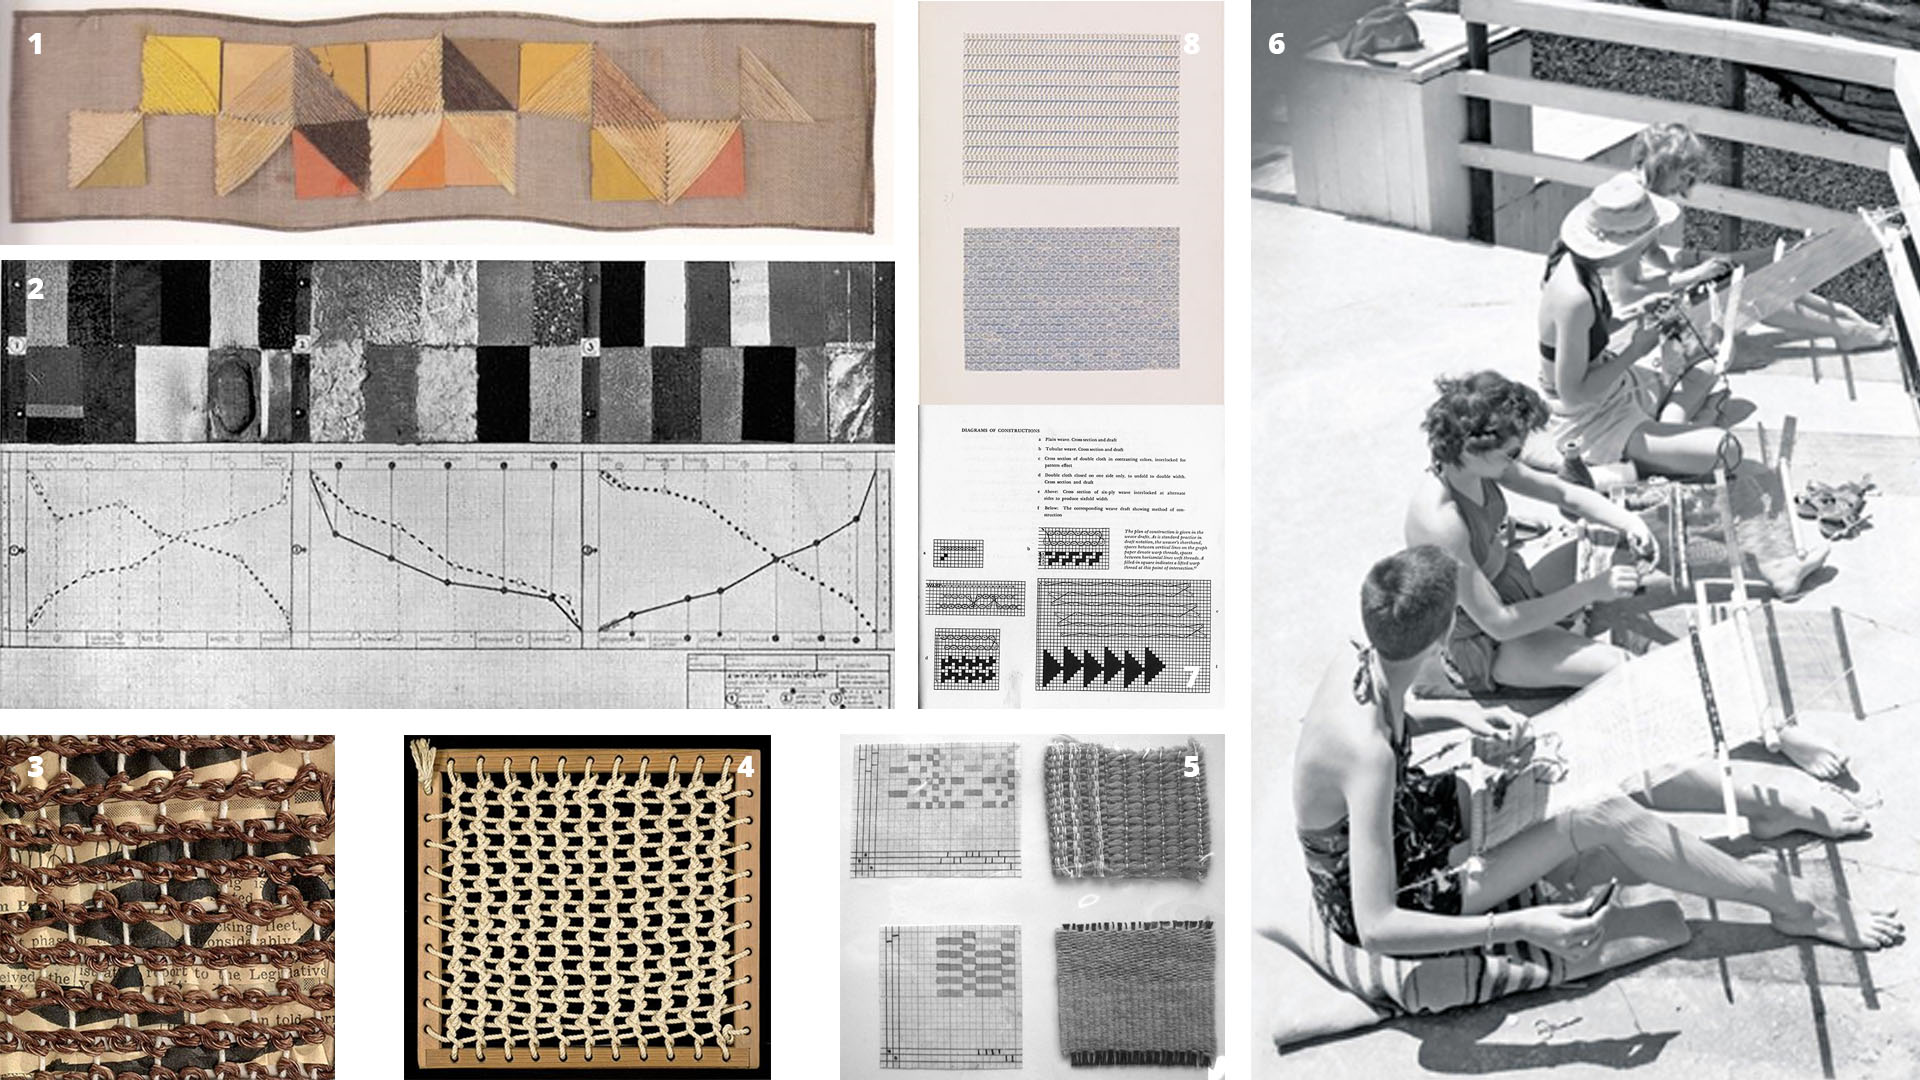
Here are a few things that frame my look on how I became interested in the textiles but expecially weaving as a craft.
Situated learning, learning by doing, cognitive aspects of designing, designing through making and materialization along with computation in design and digital tools have always been my draw during my MSc studies and afterwards during my unfinished PhD studies. Designing on paper and then realizing a project has always felt a little wrong, hence my very short traditional architectural practice experience. Craft, in its daring contact with materials and making methods, is very fascinating. You always have to be true to the nature of things, honest.
Weaving
While looking into crafts and design, and trying to draw parallels between them or rather creating these parallels to explain how a more honest design process can be formulated, I came across weaving. Weaving became a glue for me to hold craft, design, digital and computable together. Then, I met Anni Albers (I wish). She is the true inspiration for me. She studied and worked at the Bauhaus weaving workshop. She is one of the front runners of framing a craft practice as a design practice as well. She has also written, talked and taught about weaving as well. Writing, talking and teaching are really important in creating a structure and audience about a subject. She also encouraged use of unusual materials, new structures and methods she had learned in her weaving courses.
Documentation
I was pretty happy with the general layout of the material theme. Therefore I only wanted to change a few usual suspects such as color and fonts. But there were two things I wanted to do for my documentation which I will describe in detail here: changing the grid layout of assignments' main page and running my documentation website locally.
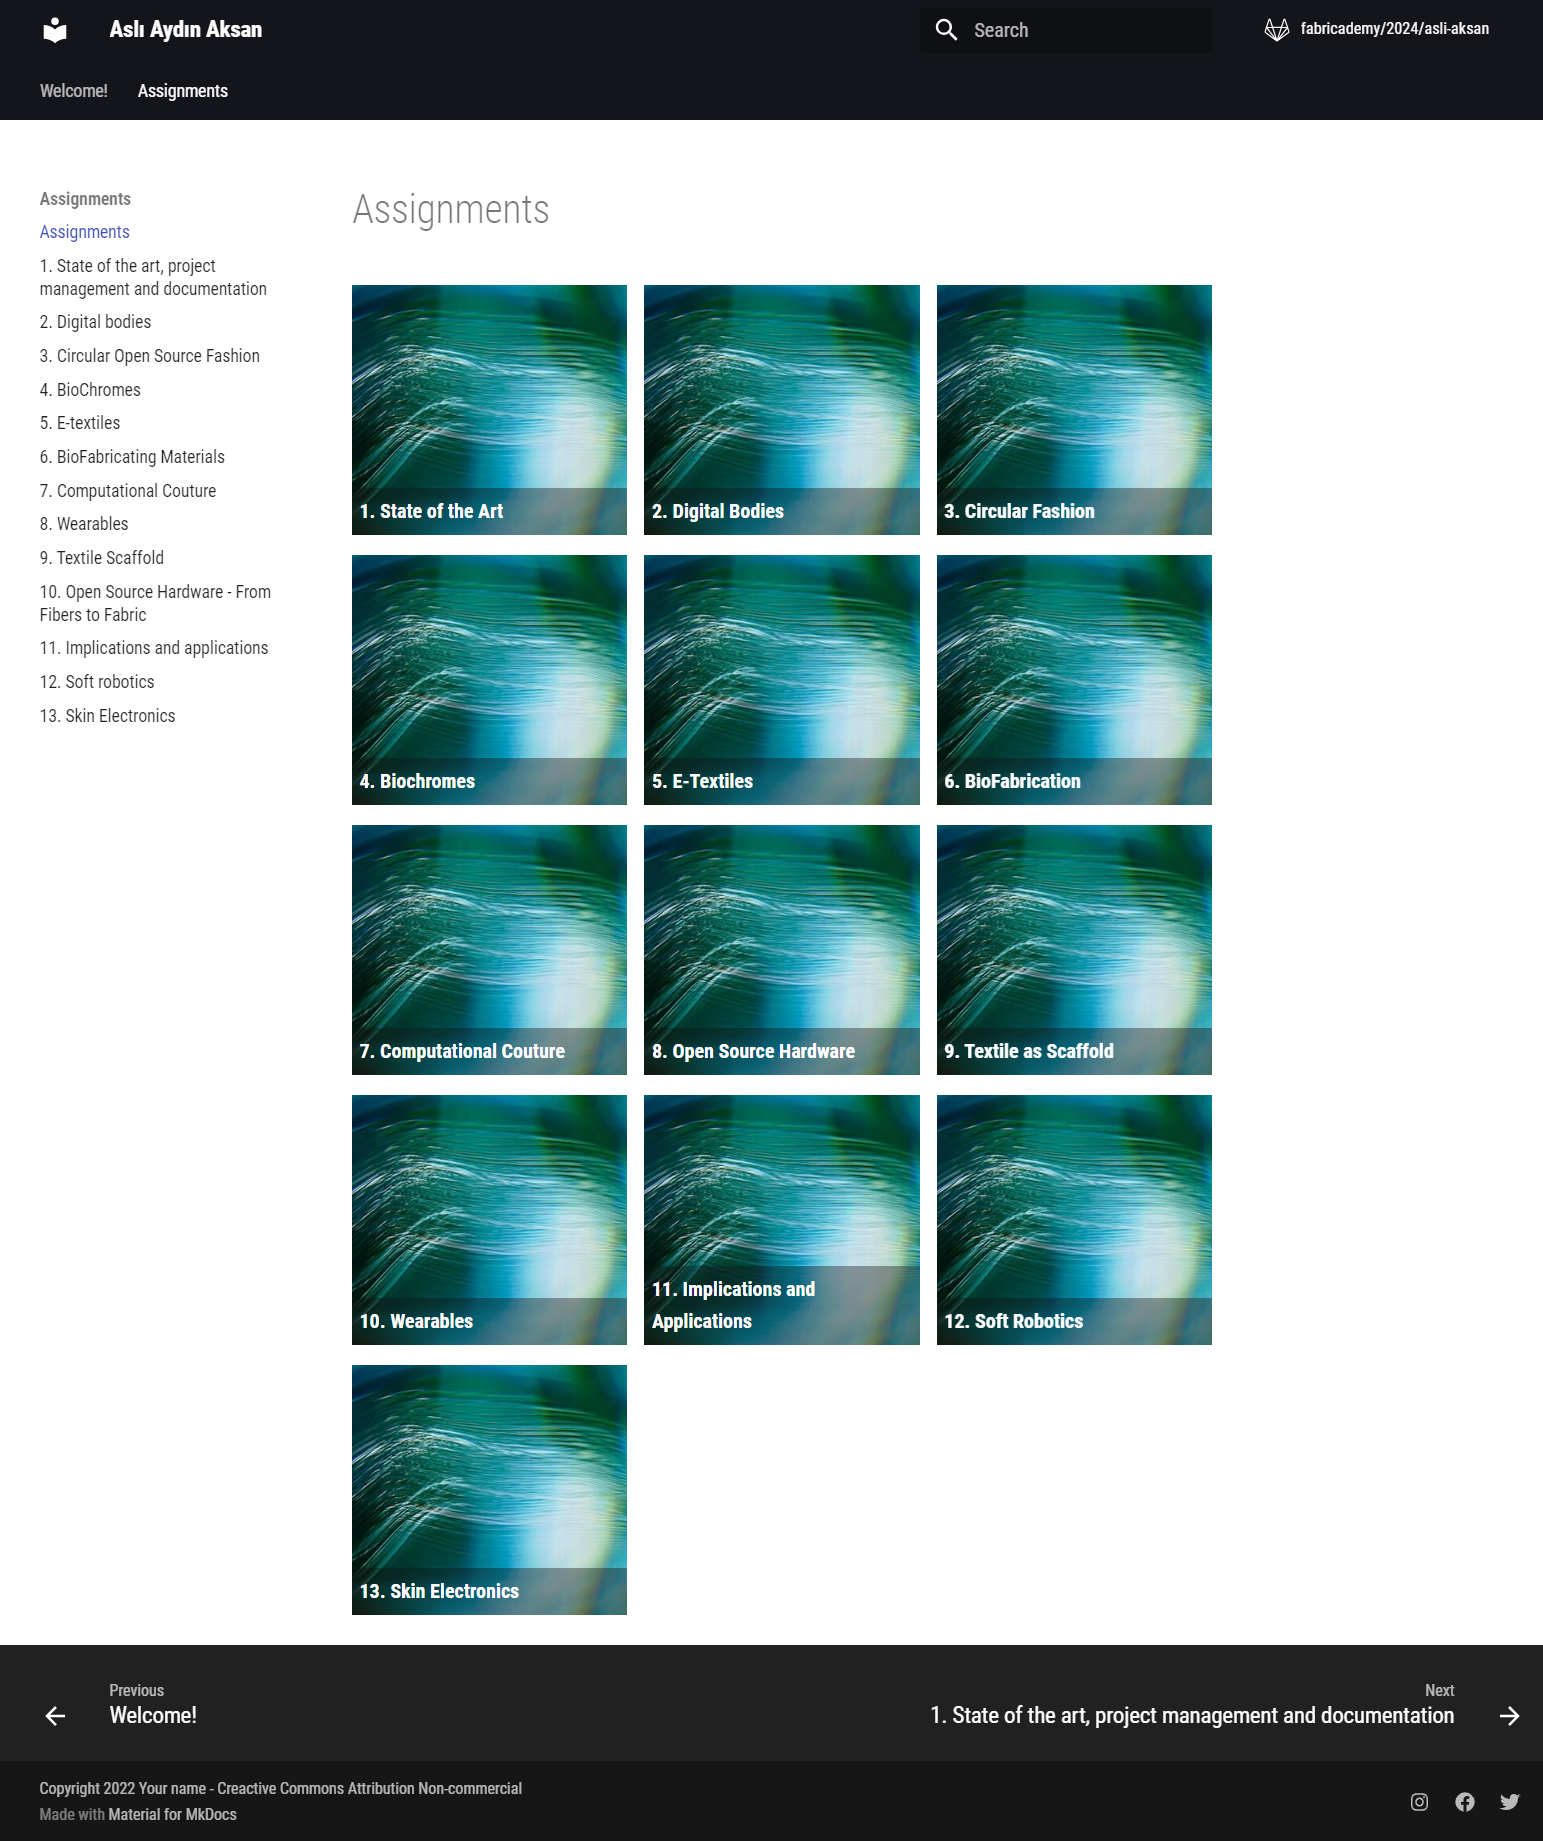
Adding a new grid layout
I really liked Diane Wakim's grid layout on her assignments page. So I wanted to replicate it on my page. It requires some knowledge of HTML and CSS coding. I am not very fluent in these languages. But I can understand what I am reading.
I copied the HTML code on Diane's page in my index.md file under assignments and adapted it to my folder system:
<div class="assignments-grid">
    <div class="row">
        <a href="week01" class="assignment-link" style="background-image: url('../images/home/sample-image.jpg')">
            <span>1. State of the Art</span>
        </a>
        <a href="week02" class="assignment-link" style="background-image: url('../images/home/sample-image.jpg')">
            <span>2. Digital Bodies</span>
        </a>
        <a href="week03" class="assignment-link" style="background-image: url('../images/home/sample-image.jpg')">
            <span>3. Circular Fashion</span>
        </a>
    </div>
    <div class="row">
        <a href="week04" class="assignment-link" style="background-image: url('../images/home/sample-image.jpg')">
            <span>4. Biochromes</span>
        </a>
        <a href="week05" class="assignment-link" style="background-image: url('../images/home/sample-image.jpg')">
            <span>5. E-Textiles</span>
        </a>
        <a href="week06" class="assignment-link" style="background-image: url('../images/home/sample-image.jpg')">
            <span>6. BioFabrication</span>
        </a>
    </div>
    <div class="row">
        <a href="week07" class="assignment-link" style="background-image: url('../images/home/sample-image.jpg')">
            <span>7. Computational Couture</span>
        </a>
        <a href="week08" class="assignment-link" style="background-image: url('../images/home/sample-image.jpg')">
            <span>8. Open Source Hardware</span>
        </a>
        <a href="week09" class="assignment-link" style="background-image: url('../images/home/sample-image.jpg')">
            <span>9. Textile as Scaffold</span>
        </a>
    </div>
    <div class="row">
        <a href="week10" class="assignment-link" style="background-image: url('../images/home/sample-image.jpg')">
            <span>10. Wearables</span>
        </a>
        <a href="week11" class="assignment-link" style="background-image: url('../images/home/sample-image.jpg')">
            <span>11. Implications and Applications</span>
        </a>
        <a href="week12" class="assignment-link" style="background-image: url('../images/home/sample-image.jpg')">
            <span>12. Soft Robotics</span>
        </a>
    </div>
    <div class="row">
        <a href="week13" class="assignment-link" style="background-image: url('../images/home/sample-image.jpg')">
            <span>13. Skin Electronics</span>
        </a>
    </div>
</div>
Then, I copied her CSS code for the grid in the stylesheets>extra.css file:
/* Assignments page */
.assignments-grid .row{
    display: flex;
    justify-content: space-between;
    flex-wrap: wrap;
    margin-bottom: 1em;
}
.assignment-link{
    position: relative;
    width: 32%;
    background-size: cover;
    background-position: center;
    min-height: 200px;
}
.assignment-link:hover{
    opacity: 0.7;
}
.assignment-link img{
    width: 100%;
}
.assignment-link span{
    position: absolute;
    left: 0;
    padding: 6px;
    bottom: 0;
    width: 100%;
    font-weight: bold;
    color: white;
    background: #12121261;
}
You also need to make the configuration file aware of extra styling you have done, so you need to add the following code in your mkdocs.yml file:
extra_css:
 - stylesheets/extra.css
The main assignment page looks like this now with the new grid layout. The sample images will be replaced by a relevant image from each week.
Running your documentation website locally
I want to be able to work offline and also to be able to see changes without committing and waiting for changes to take place. I set up a remote server to be able to work locally on my computer and then push a new version when it is ready.
The first step is to generate SSH keys.
SSH keys
SSH keys secure the communication between remote servers and GitLab.
Generating an SSH key
You can read more about what they are and how to generate a pair in this link. When you follow the steps in the link, you will have a pair. I opted for an ED25519 SHH key as they were documented to be more secure.
Adding the SHH key to your Gitlab account
Scroll down in the link and you will see the heading adding an SSH key to your GitLab account. Follow the steps and you will have secure communication between your computer and GitLab.
Notes:
- When copying your public SHH key with a script, it may appear that nothing happened, but your key number would be copied to the memory. You can follow along with the steps.
- If you are using a Windows computer, you need to download GitBash to run the script to copy your public SHH key.
- You can also manually copy the public SHH key. If you had chosen to accept the default filename then .shh folder should under /home/users/.ssh. Otherwise find the directory which you specified while creating your SHH pair. Open the file named id_ed25519.pub the with Notepad app and copy the whole content.
Downloading required softwares
You need a couple of softwares to work on your website remotely. I have Windows computer so the recommended softwares will be for setting up a Windows ecosystem. Download and install the following softwares:
GitBash: GitBash is provides a local emulation for your website. You can see changes you make on your website locally, before pushing it on GitLab.
GitHub Desktop: GitHub Desktop is an app which communicates between local and remote GitHub repositories.
Visual Studio Code: Visual Studio Code is a source-code editor where you will write/modify your website on your computer.
Cloning your repository
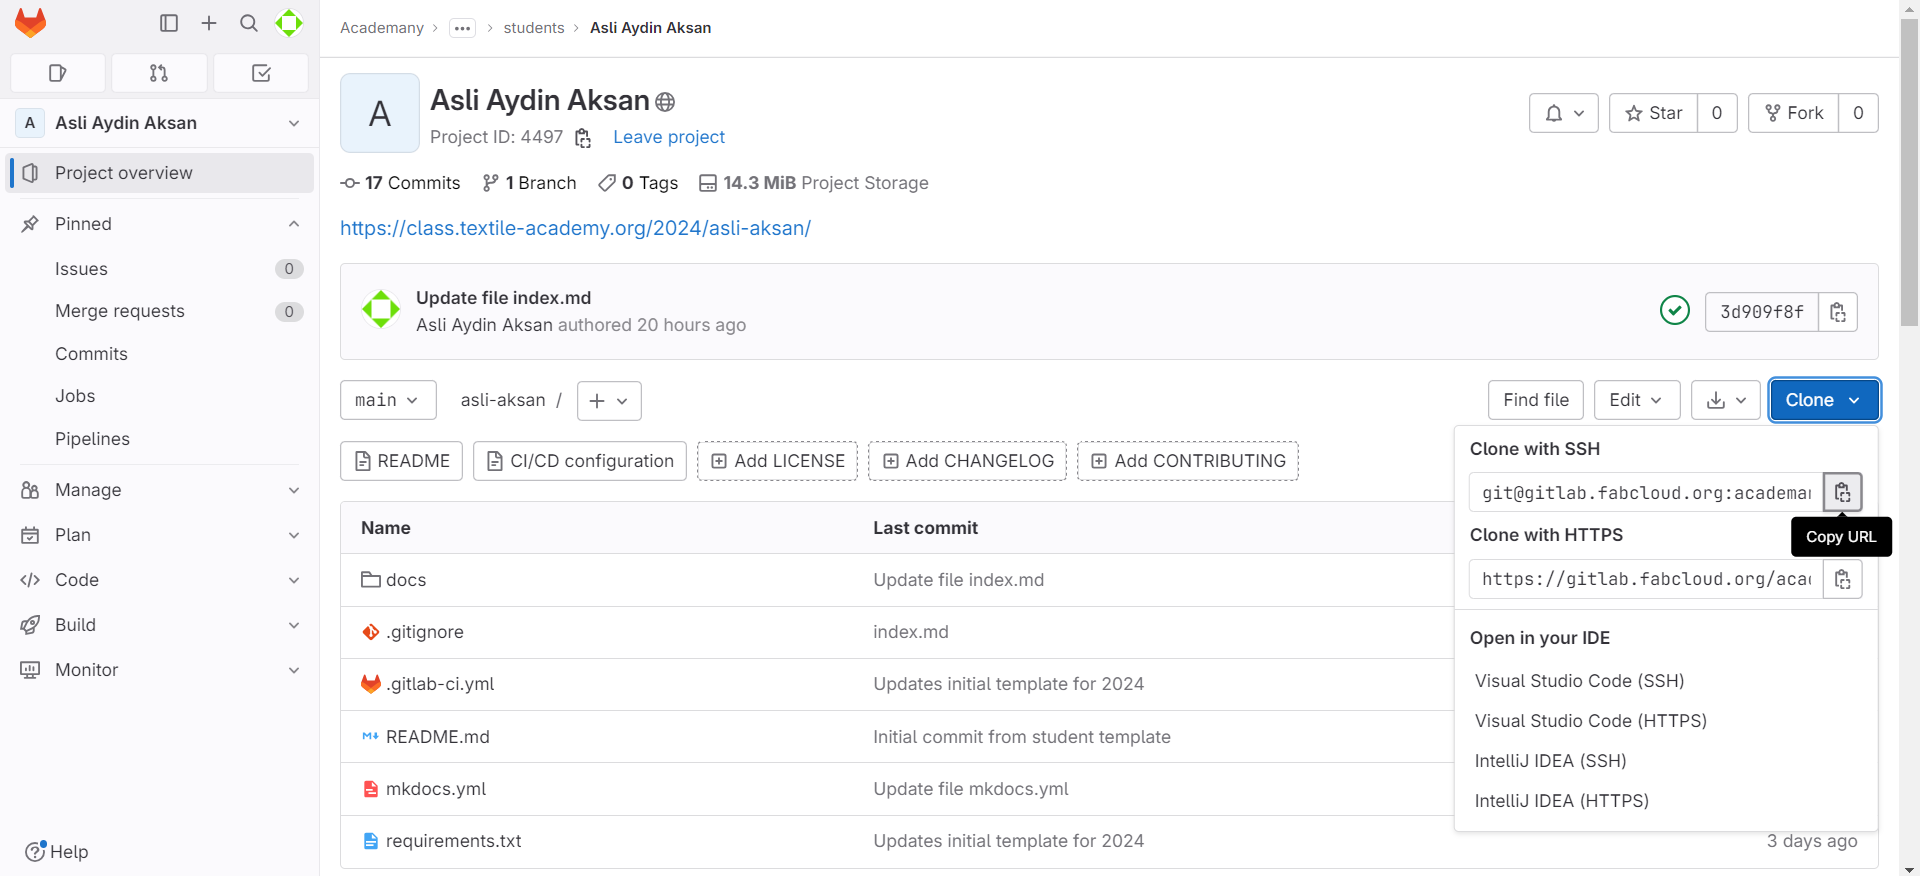
You need to clone your GitLab repository to your computer.
Firstly, on the main page your GitLab repository click on Clone and hit the copy URL button next to Copy with SSH.
Create a folder on your computer where you want to place your repository. In my case it is: "C:\Users\aslia\Desktop\05_FABRICADEMY\GitLab"
Open GitBash and write cd and path of your folder:
cd "C:\Users\aslia\Desktop\05_FABRICADEMY\GitLab"
cd is a command to change the directory to where you want to work in.
Now that you are in the the right directory, type git clone plus the copied URL from GitLab:
git clone git@gitlab.fabcloud.org:academany/fabricademy/2024/students/asli-aksan.git
Unfortunately, I could not clone the directory on my first try. I got a message as such:
Cloning into 'asli-aksan'...
The authenticity of host 'gitlab.fabcloud.org (13.59.248.79)' can't be established.
ED25519 key fingerprint is SHA256:JCWnquB9CdnH4ctlmBh6JGzw02iMui8j8KckmYNCq/M.
This key is not known by any other names
Are you sure you want to continue connecting (yes/no/[fingerprint])?
Although I typed yes, the problem did not end. So the message continues:
Warning: Permanently added 'gitlab.fabcloud.org' (ED25519) to the list of known hosts.
Connection closed by 13.59.248.79 port 22
fatal: Could not read from remote repository.

Please make sure you have the correct access rights
and the repository exists.
At this point you might have already successfully cloned your repository, you might be facing the same problems as me or you might be facing different problems. If you were successful: skip to the next step, you lucky person. If you have different problems I suggest you google it. If you have the same problem please follow along my friend, I did the google search for you. Type this in the Git Bash:
eval $(ssh-agent)
Now, you can run the command:
ssh-add ~/.ssh/id_ed25519
You will hopefully encounter the following message:
Identity added: /c/Users/aslia/.ssh/id_ed25519 (aslia@AsliAA)
Then, you can clone your repository:
git clone git@gitlab.fabcloud.org:academany/fabricademy/2024/students/asli-aksan.git
And your progress will be the following which means you are successful:
Cloning into 'asli-aksan'...
remote: Enumerating objects: 126, done.
remote: Counting objects: 100% (63/63), done.
remote: Compressing objects: 100% (59/59), done.
remote: Total 126 (delta 29), reused 0 (delta 0), pack-reused 63
Receiving objects: 100% (126/126), 6.55 MiB | 2.16 MiB/s, done.
Resolving deltas: 100% (60/60), done.
Let's move to the next step...
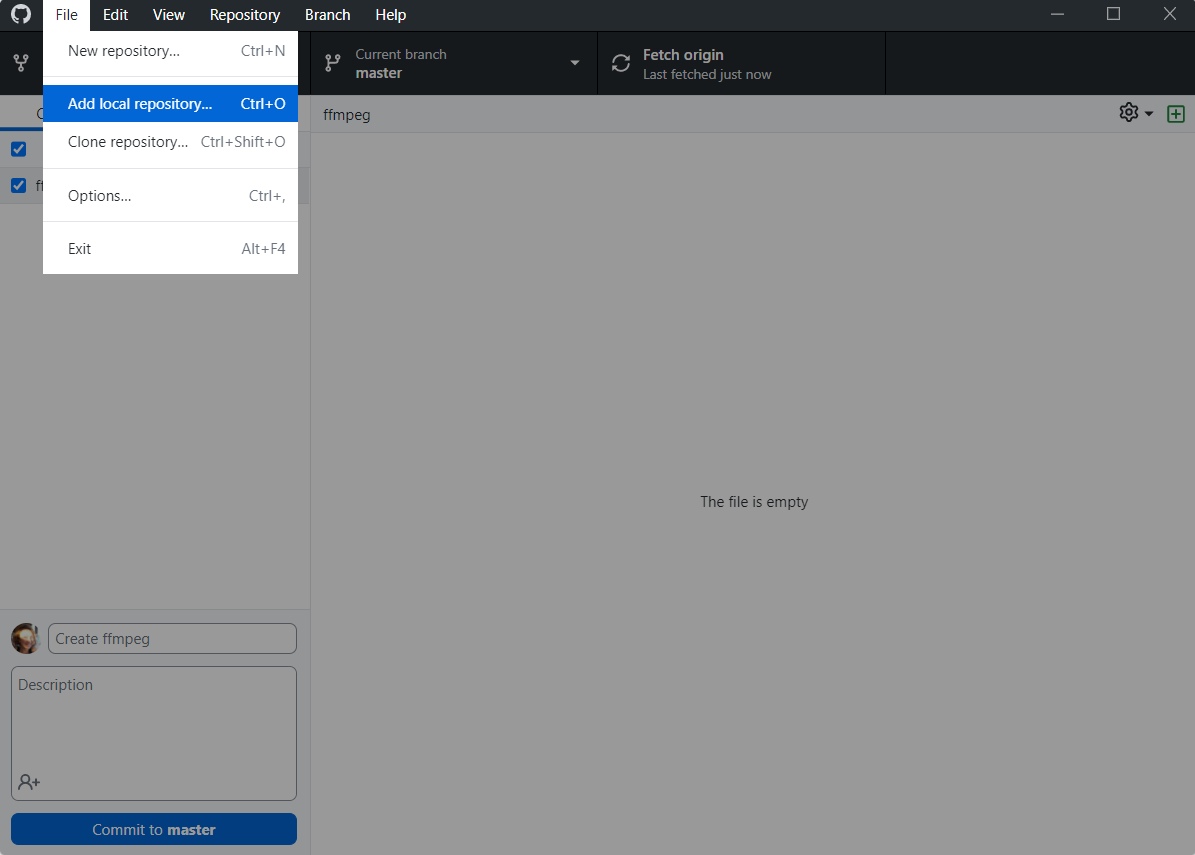
Commits with GitHub Desktop
I like to observe the changes from last commit and make pull/push requests via GitHub Desktop. It is more visual for me than using the command lines in Terminal. In this step you will add your local repository to GitHub Desktop. So go ahead and open it.
Go to Add local repository under File
Enter the path of the local repository or hit CHOOSE and select the repository.
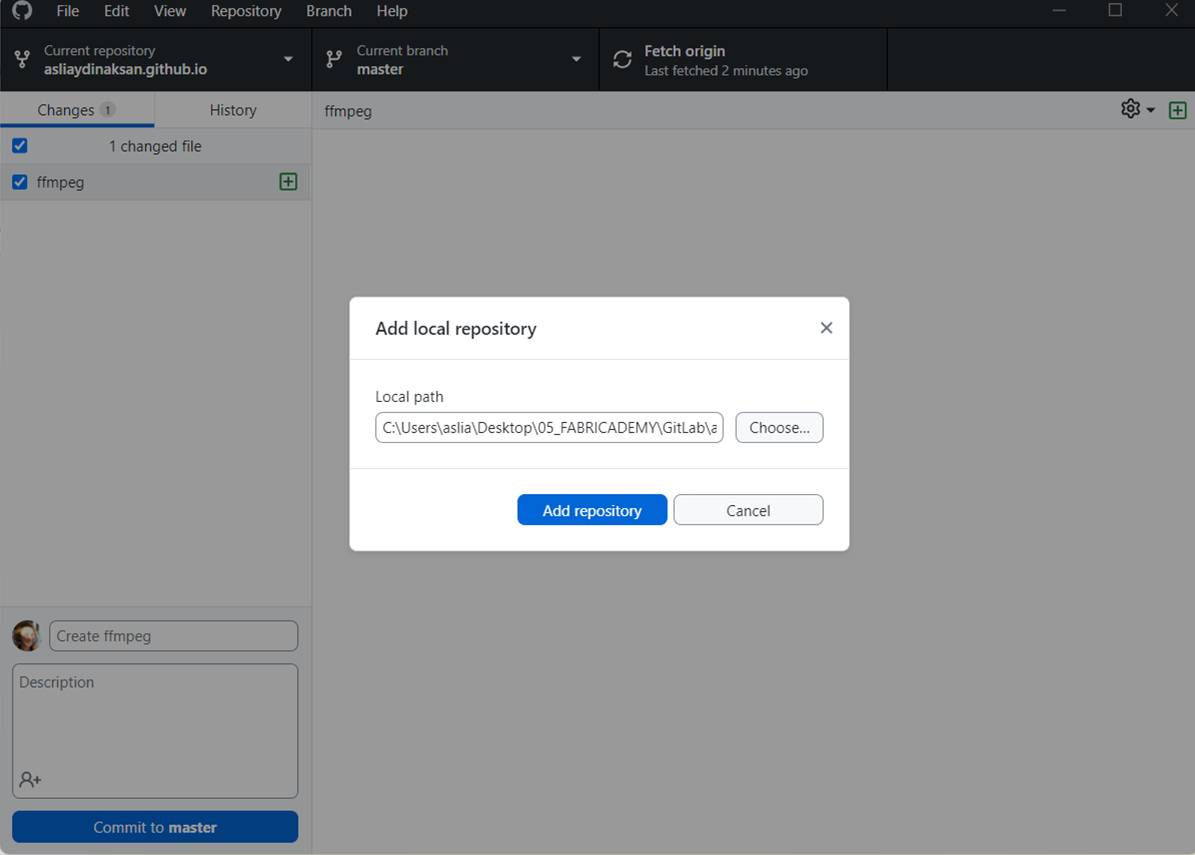
Your repository should be added now.
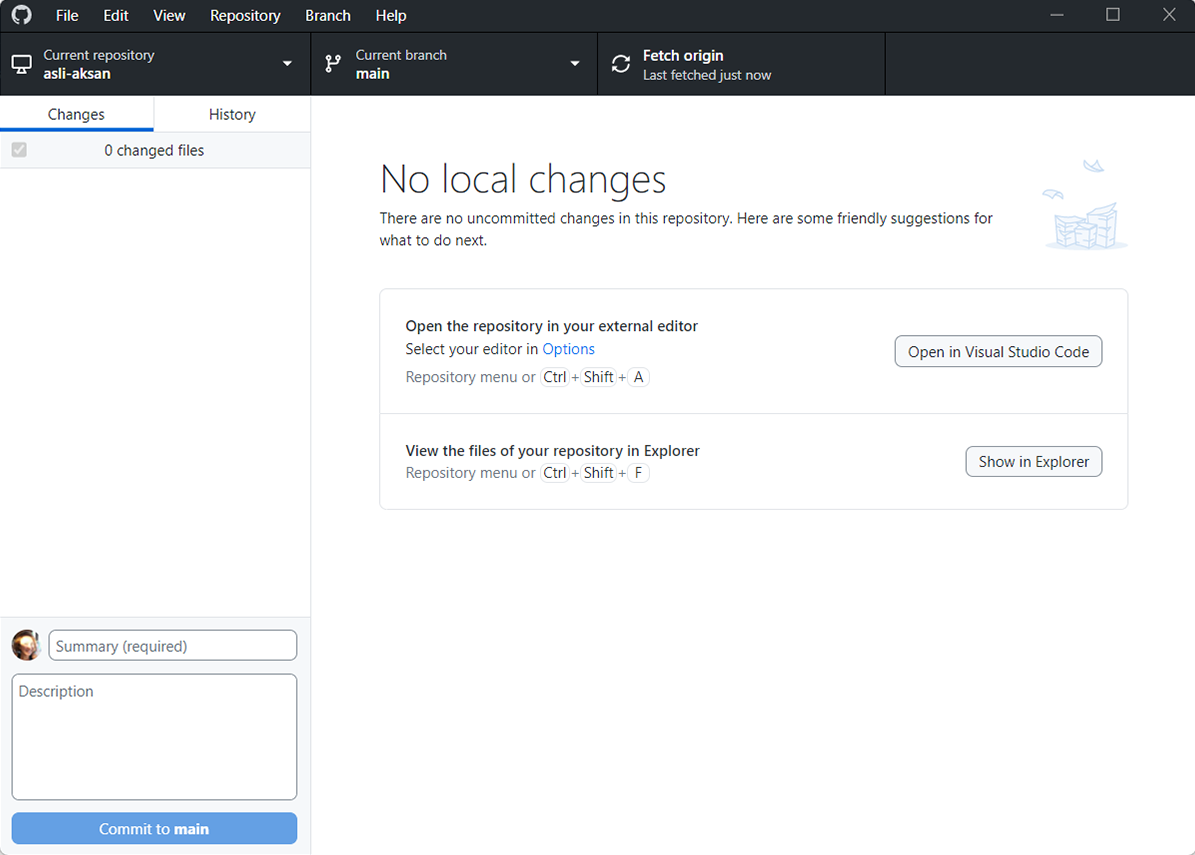
When you make local changes in the future, you will see that Commit will be darker and you will be able to push your changes to your GitLab repository.
Setting up MkDocs and Material theme
I will not explain the whole shebang but give you links to download it yourself:
Please always read the requirements.txt in the root folder of your repository. It will let you know which versions of MkDocs and Material you need. I read that you also need MkDocs Git Revision Date Plugin. Download that one too.
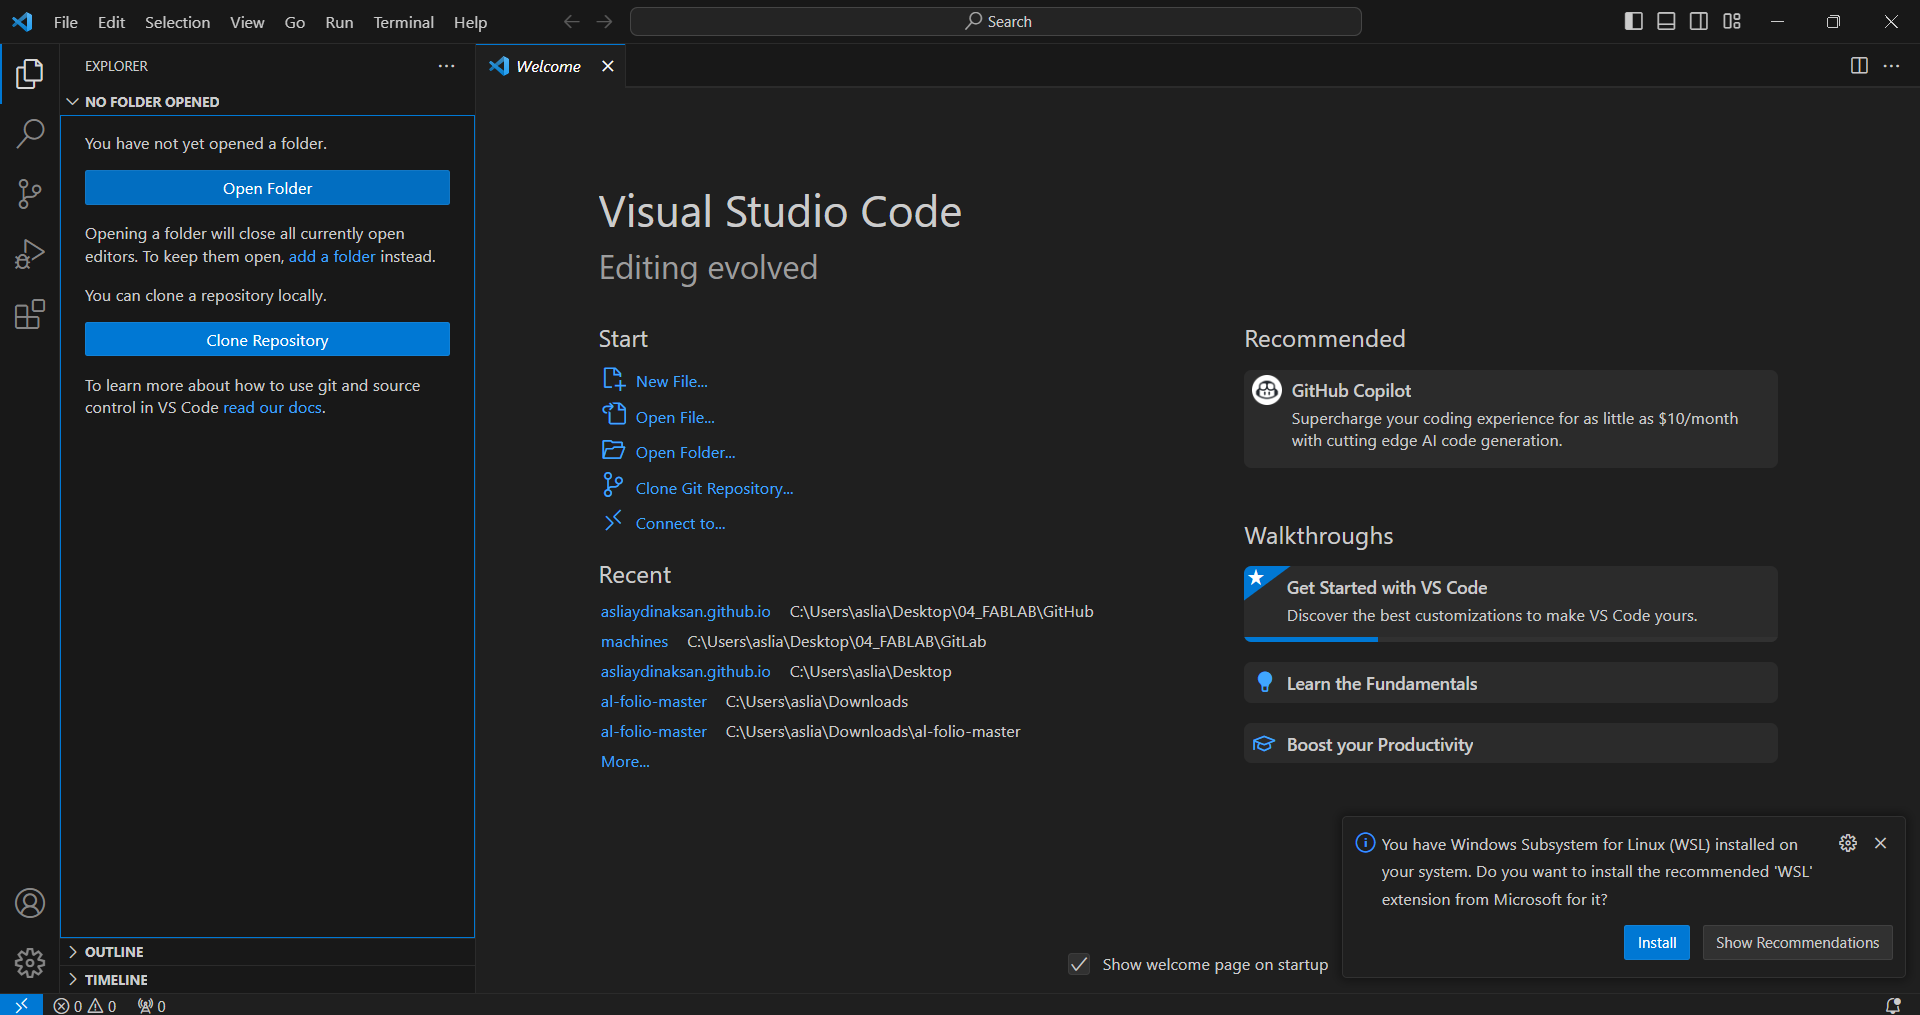
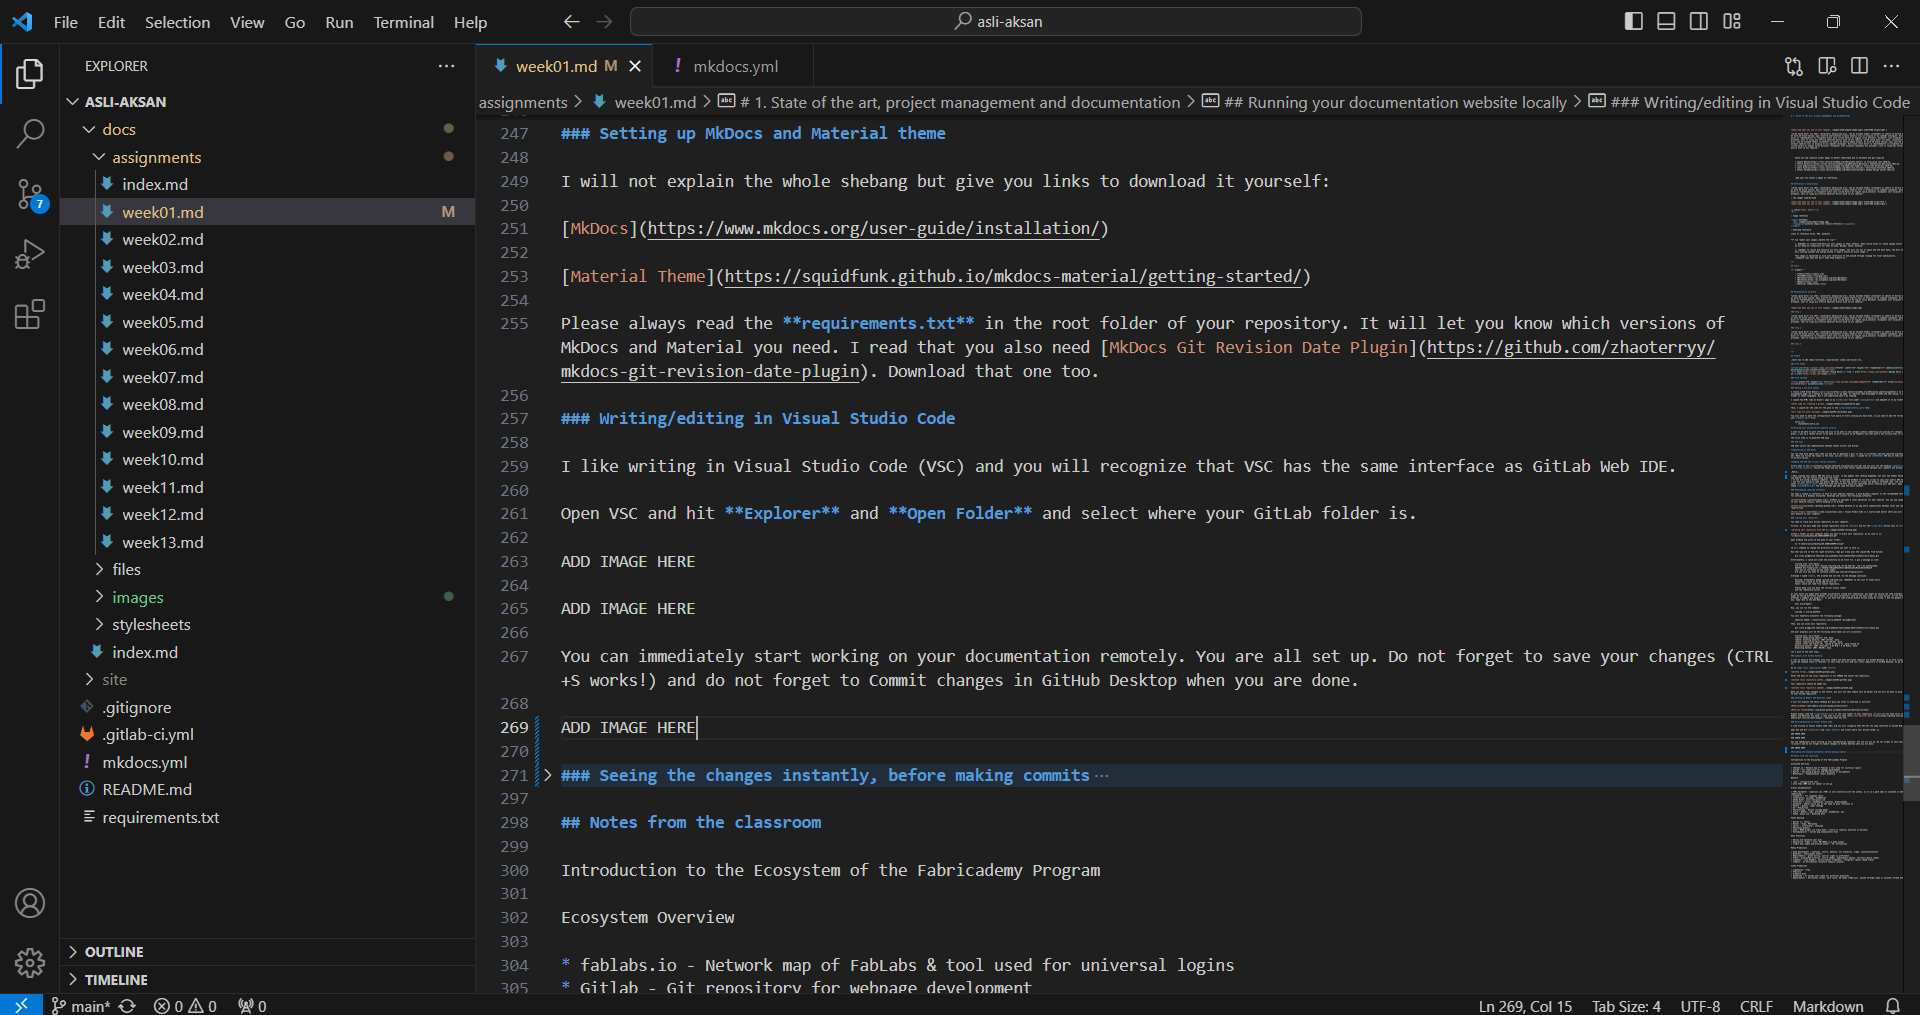
Writing/editing in Visual Studio Code
I like writing in Visual Studio Code (VSC) and you will recognize that VSC has the same interface as GitLab Web IDE.
Open VSC and hit Explorer and Open Folder and select where your GitLab folder is.
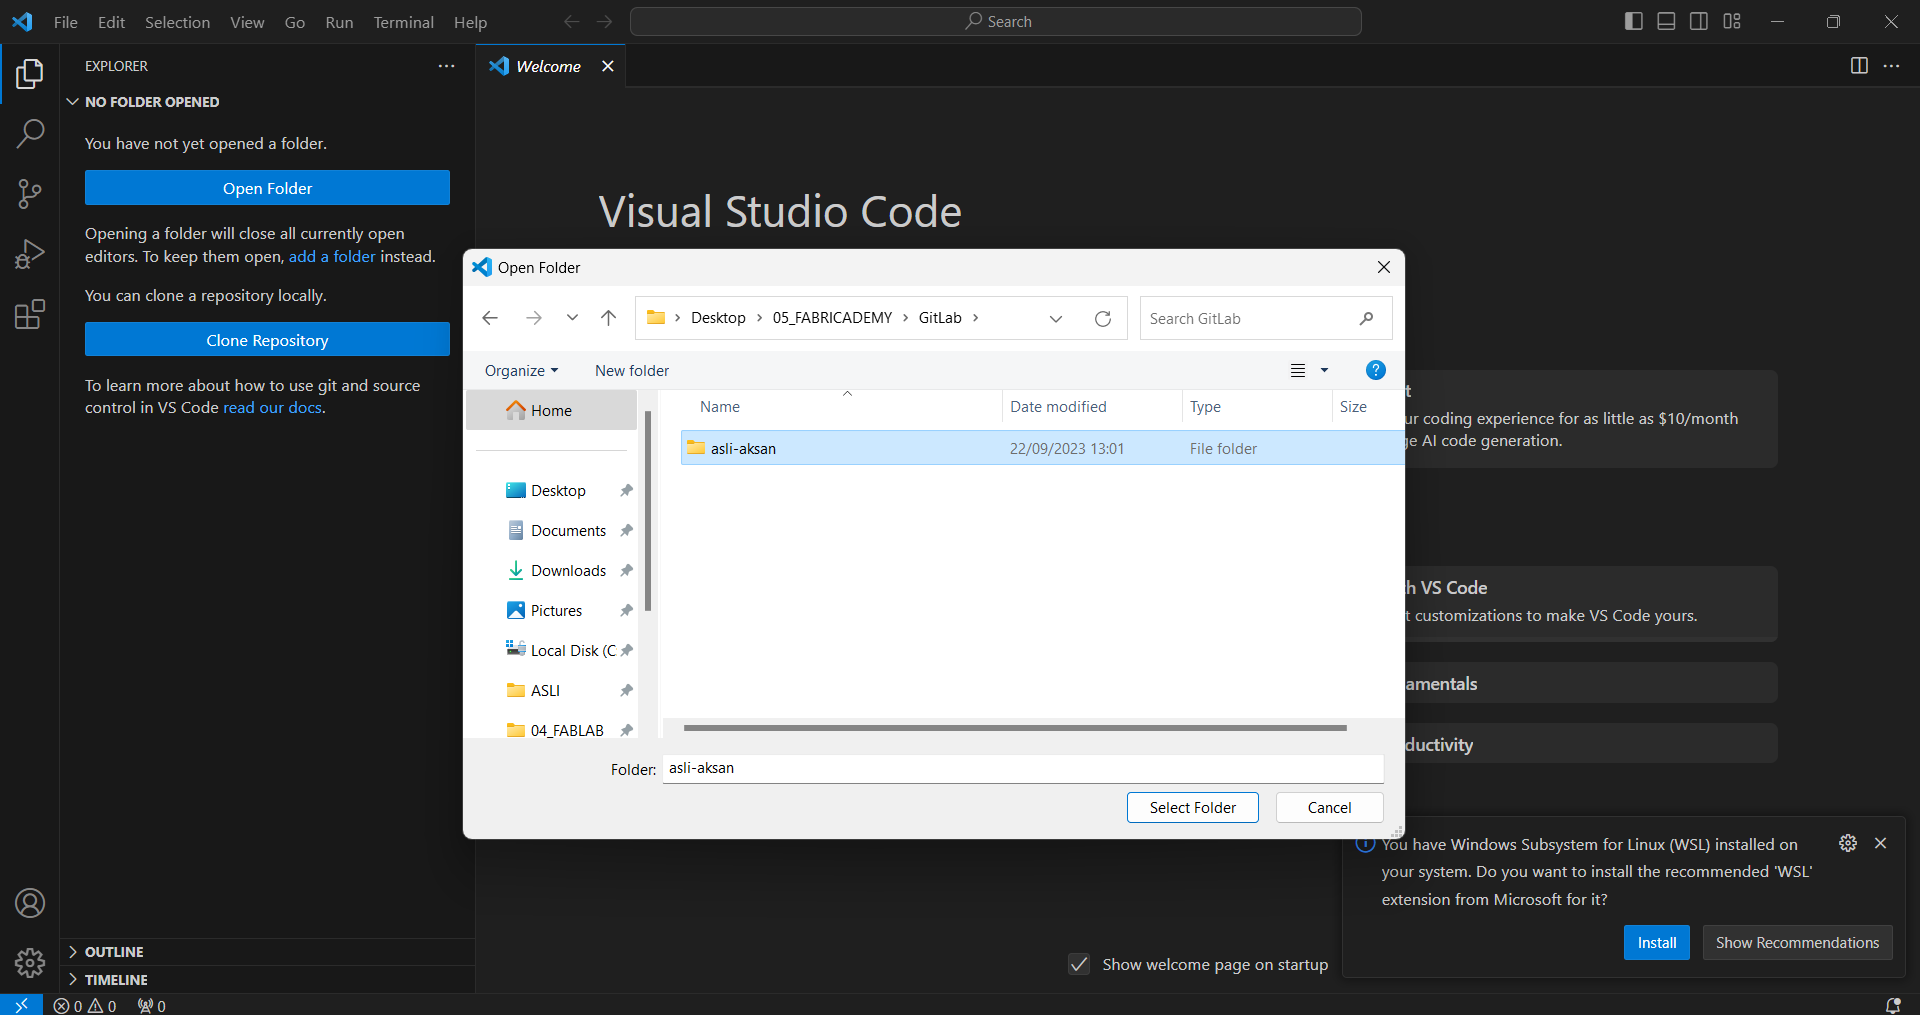
You can immediately start working on your documentation remotely. You are all set up. Do not forget to save your changes (CTRL+S works!) and do not forget to Commit changes in GitHub Desktop when you are done.
Seeing the changes instantly, before making commits
On your GitBash go to the directory of your repository by typing:
cd ~/Desktop/05_FABRICADEMY/GitLab/asli-aksan
We are building and serving our website on the locally now, enter the command:
mkdocs build
When your site builds successfully, serve it by:
mkdocs serve
You should get a message similar to:
INFO    -  Building documentation...
PDF export is disabled (set environment variable CI to 1 to enable)
INFO    -  Cleaning site directory
INFO    -  Documentation built in 0.56 seconds
INFO    -  [14:39:14] Watching paths for changes: 'docs', 'mkdocs.yml'
INFO    -  [14:39:14] Serving on http://127.0.0.1:8000/2024/asli-aksan/
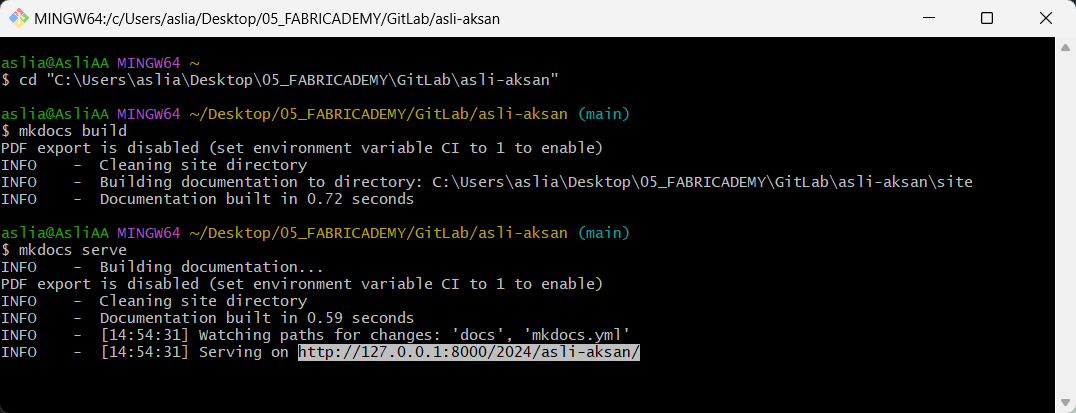
Go to your browser and enter the address in the last line of the above message. Ta-daaaa!!!!

Now you can see every change you make in Visual Studio Code on your browser, almost instantly. To be able to see the changes, you need to save the files which you make changes on. Again, please do not forget to commit these changes in GitHub Desktop so that they can actually appear on your website. Otherwise they will stay local.
Notes from the classroom
notes from the classroom
Introduction to the Ecosystem of the Fabricademy Program
Ecosystem Overview
- fablabs.io - Network map of FabLabs & tool used for universal logins
- Gitlab - Git repository for webpage development
- Nueval - Following progress and evaluation of assignments
- Mattermost - Communication (chat) platform
Website
- .yml - configuration file
- more than 10MB can not commit in one go
Visual Documentation
- YAML Validator - yamllint.com (YAML is very sensitive with the syntax, so it is a good idea to validate it before committing.)
- Grammarly - for language check
- Inspiration, collages, moodboards
- Adobe Kuler, color.hailpixel.com
- Pinterest - colors, moodboards, projects, @fabricademy
- Unsplash - photos which you do not need to give reference to
- Pexels - photos, video footage
- AI - Midjourney
- Photocollage - Online collage maker
- Canva - Banner, logo, presentation, moodboards, etc.
- Giphy, ezgif.com - greating gifs
Photo Editing
- Raster vs. vector
- Raster - Gimp, Photoshop
- Vector - Illustrator, inkscape
- Photoshop Express
- Gimp > BIMP plugin (to scale down / resize or compress pictures in batches)
- Onlinepngtools - online png manipulation tool
Best Practices
- Resize and optimize your pics
- Resolution: 72dpi / Size: 80-100kb is a good output
- Credit your media and provide author / Ph. Attribution
Media Production
- Good photoshoots - textures, colors, details, use scenarios, light, contextualization
- Booklets - fabricademy thesis
- Requirements - great set-up, natural light is preferable
- Avoid - pixellated pictures, blurry images, meaningless photos, vertical/square videos
- Lightbox - Loes Boegers, Instructables (lightbox), thingivers (photo sweep stand)
- Credits - CC Attribution (Creative Commons License)
Video Production
- Lightworks - Free
- Premiere
- Premiere Rush
- Handbrake - to encode your video for different platforms
- Requirements - Horizontal format, 16:9 ratio, HD Video (720p min), upload through vimeo or youtube (iframe html)