PAPER AND DYE FROM WITHERED FLOWERS
GENERAL INFORMATION
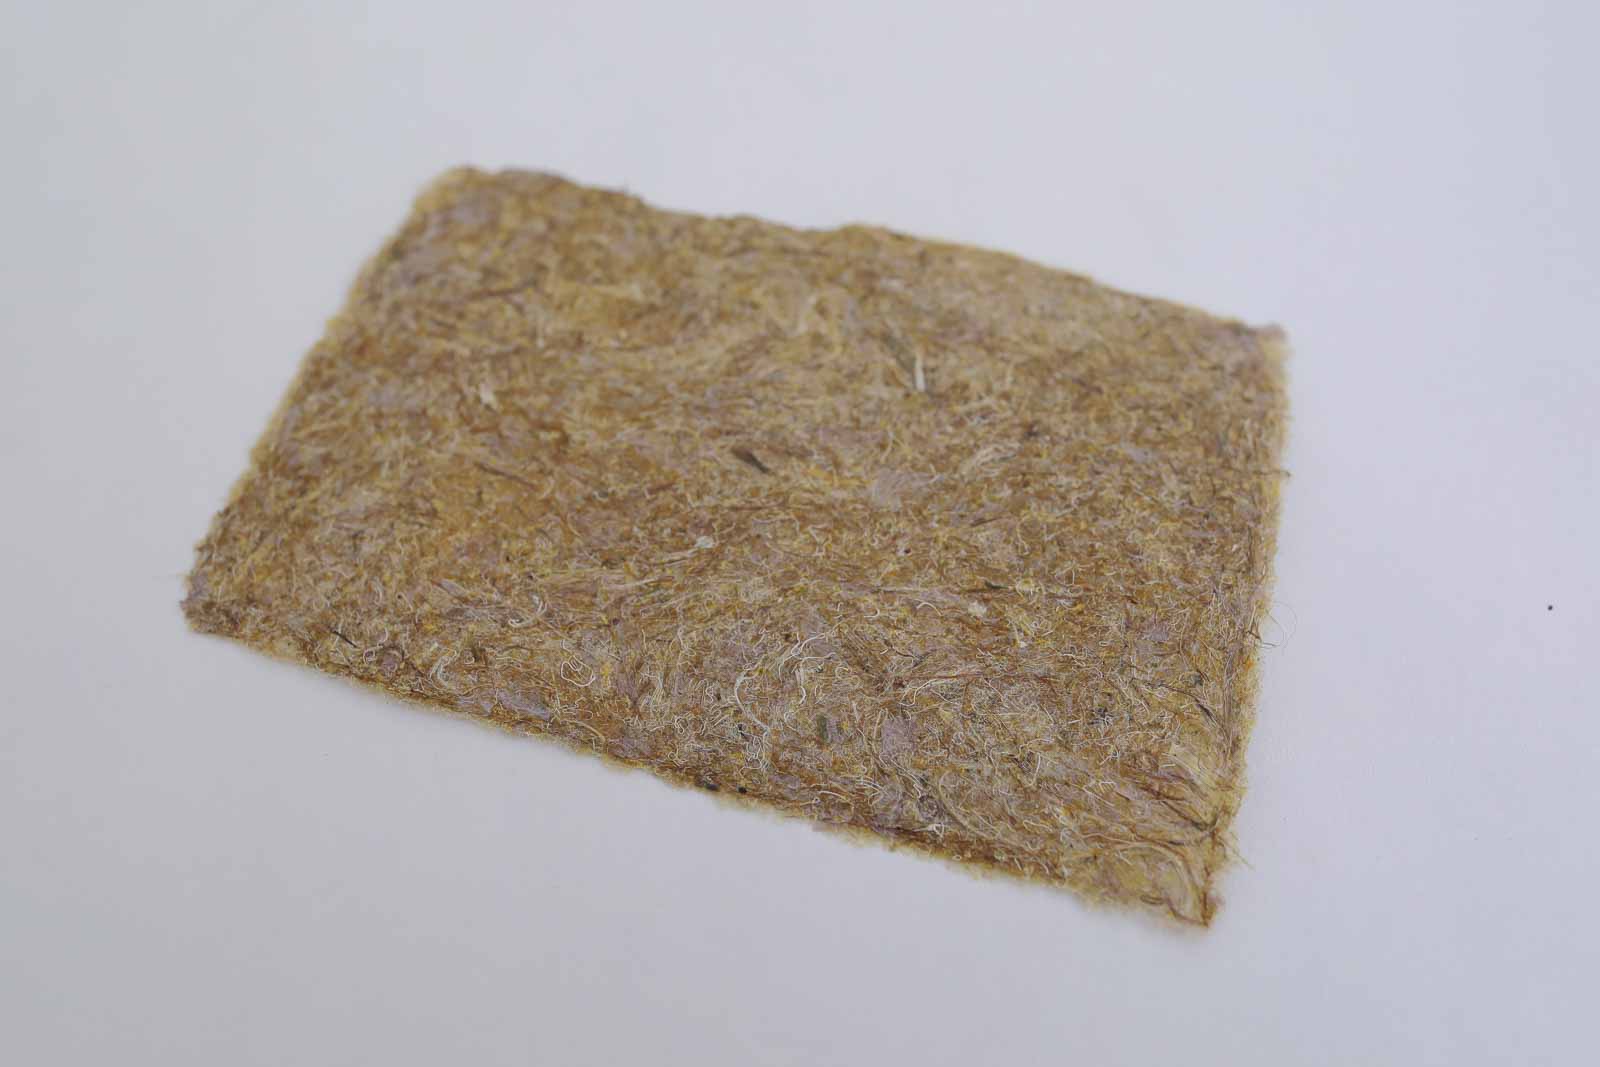
Pounded paper (shown in video) made from flower fibres results in a thin but very strong paper. It is more rigid than for example office paper and has more texture. You can see all the details of the fibres used.
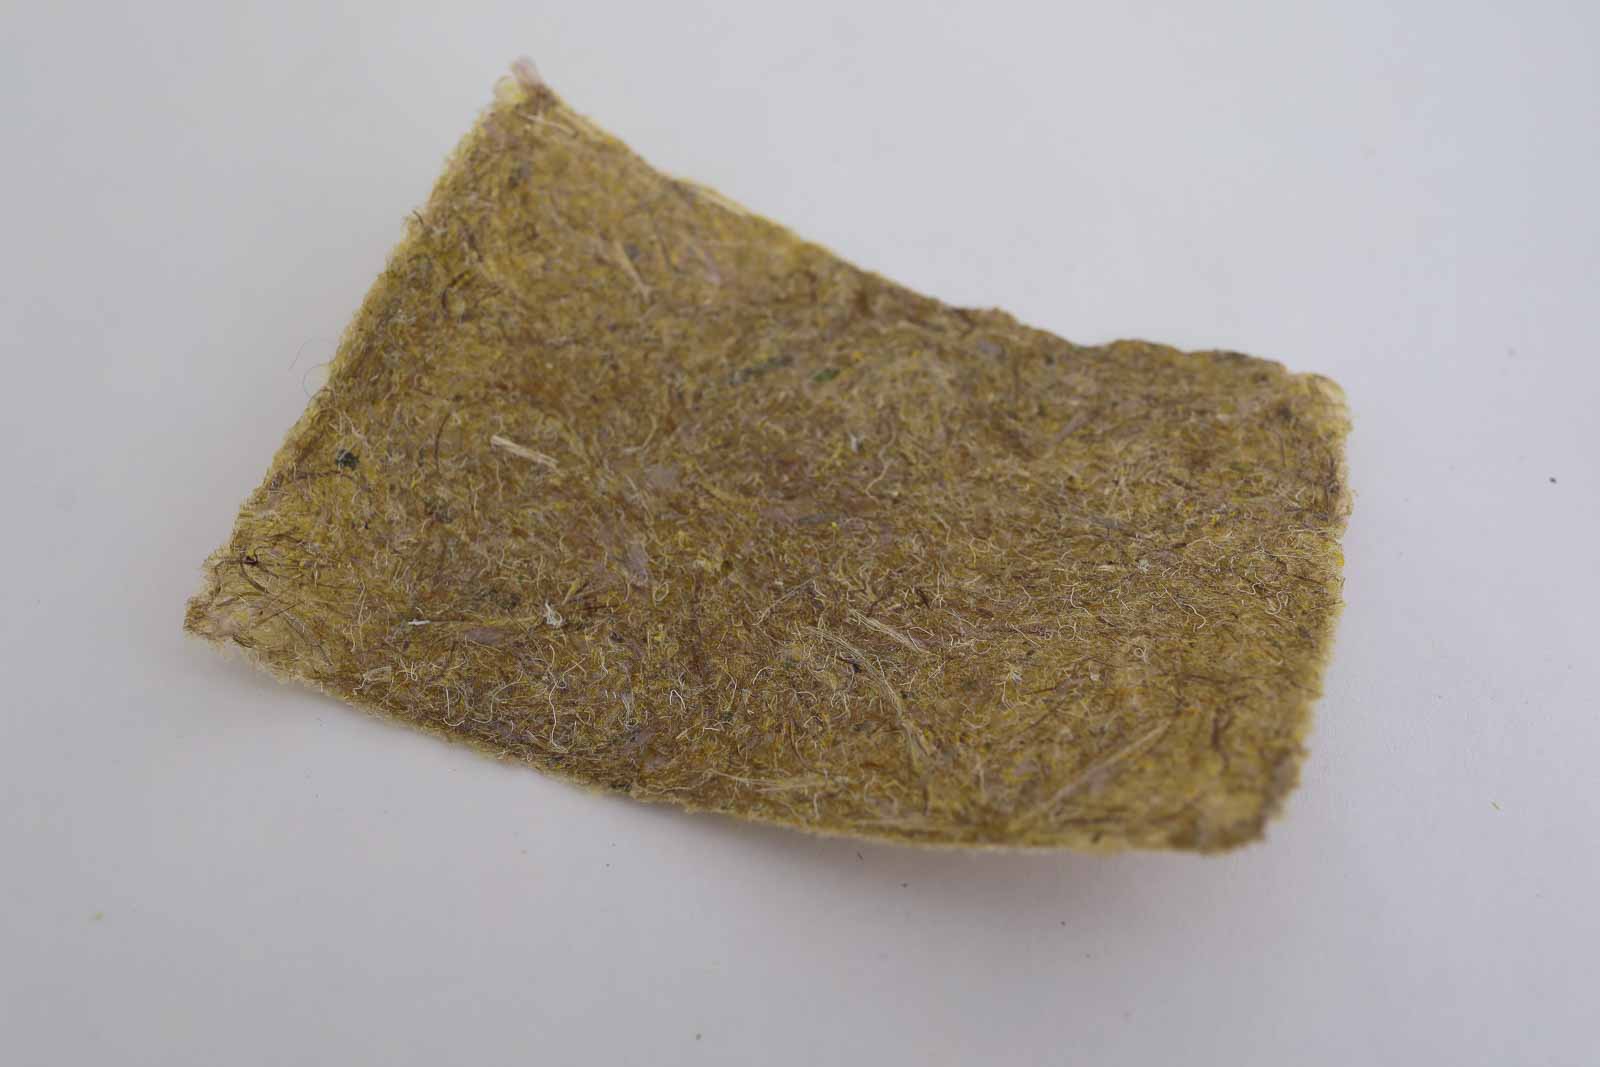
Blended paper in comparison, especially the ones made with stems are more brittle and have even more texture and a rough feel. Somewhat like pressed paper waste composites (such as the ones used for fruit and vegetable packaging), but more rough to the touch.
Physical form
Surfaces
Color without additives: yellow/brown
Fabrication time
Preparation time: 2 Hours
Processing time: 2-4 weeks
Need attention: every 8-16 hours after drying to press.
Final form achieved after: 2-4 weeks
Estimated cost (consumables)
0,01 Euros, for a yield of approx. 4 small sheets of paper (if you get flowers as waste)
RECIPE
Ingredients
- Bouquet of withered flowers, the ones the florist throws away
- Flowers will provide the cellulose and fibres to make the paper
- Soda ash (sodium carbonate Na2CO3), 15 g
- To wash off dirt and grit
- Water, enough to cover the dried flowers
- a coffee filter to filter the fine particles from the flower dye
Tools
- A drying rack
- Metal wire or fish wire
- Rubber bands
- A cooker
- A pot
- A spoon
- A mortar and pestle to pound the flowers (you can also do this with a blender but you will cut the fibres short doing that, resulting in a more brittle paper that is less strong).
- A picture frame to create a mould & deckle. The picture frame should ideally fit into your sink or into a large oven dish that you can fill with water to distribute the fibres evenly.
- A sheet of fine mesh to create a mould & deckle
- A staple gun to create a mould & deckle
- A strainer, to rinse and strain the boiled flowers
- A funnel, to capture the flower dye
- A coffee filter, to filter the flower dye
- A glass jar, to store the flower dye
Yield
Approx. 3 sheets of paper
Method
-
Drying the flowers
- Separate the flowers based on thickness and hardness of the stems. They will dry at different rates so it's useful to group them together for drying. You can separate by color at a later stage.
- Tie small bundles together with a rubber bend and suspend them upside down from a drying rack, using fish wire or metal wire.
- Leave them to dry for about 2 weeks or longer, until they make a crackling sound and are totally dried out.
-
Separating and boiling
- When the flowers are dry, separate them by color (yellow gives a yellow-ish paper, whereas blue and purple will be more green, and red flowers will become a light brown). These can be enhanced by adding some natural colorants if you wish.
- Now separate the flower leaves if you want to make a delicate, thin paper with a fine texture. Keep the stems for a rougher thicker paper that is more cardboard like. Cut them into smaller pieces so they fit in your pot.
- Cover the flowers with water, and add the soda. Bring to a boil and boil for 30 minutes until the fibres are soft. This will take longer if you incorporated the stems as well, they can be tough.
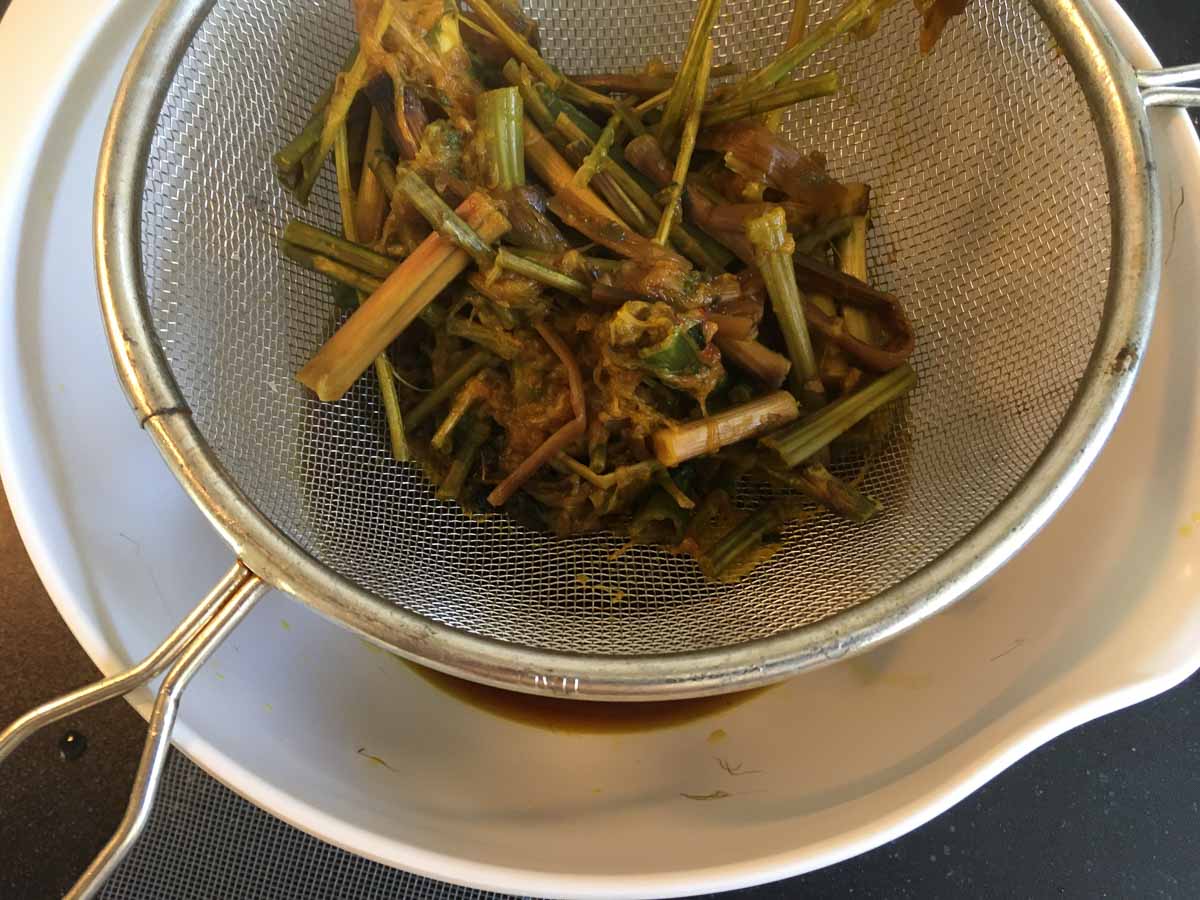
- Strain the fibres (catching the boiling liquid in a pot for later).
- Then rinse the flowers with cold water using a strainer.
- Decide if you will be pounding the flowers by hand (Japanese style), which keeps the fibres longer and your paper sronger. If you do this using stems make sure they are very very soft or you won't be able to pound them. Alternatively blend the boiled flowers (and stems) with a kitchen blender, resulting in shorter fibres and more brittle paper.
-
Option A: Pounding
- Transfer the boiled flowers into a mortar and pestle and pound them until you get a very fine mushy slurry.
- Optional: if you wish to enhance the color you can add some dye to the slurry during pounding.
-
Option B: Blending
- Transfer the boiled fibres into a blender and blend into a slurry. Make sure there are no big pieces of fibre and stems left.
-
Moulding slurry onto the screen
- Scoop your slurry onto your mould & deckle. Cover the screen with about 1.5-2.0 mm slurry (it will shrink a lot). If your screen is too big to cover with a layer that is thick enough, mold it into a desired shape using a strip of acrylic, a ruler or other straight edge.
- Carefully submerge the mold & deckle into water (in the sink or in a large oven tray or oven dish) to help distribute it evenly.
- Optional: spray some additional colorants onto the slurry.
-
Drying and pressing
- Leave the slurry to dry without touching or moving it for about 2 days. Outside or near a window speeds up the process a little.
- When the slurry is completely dry, carefully peel it off with a piece of thread or a scalpel. The slurry is dry when it no longer feels cool to the touch.
- Press the paper under a stack of heavy books to keep it flat. Store in a dry space.
-
Saving the boiling liquid as dye
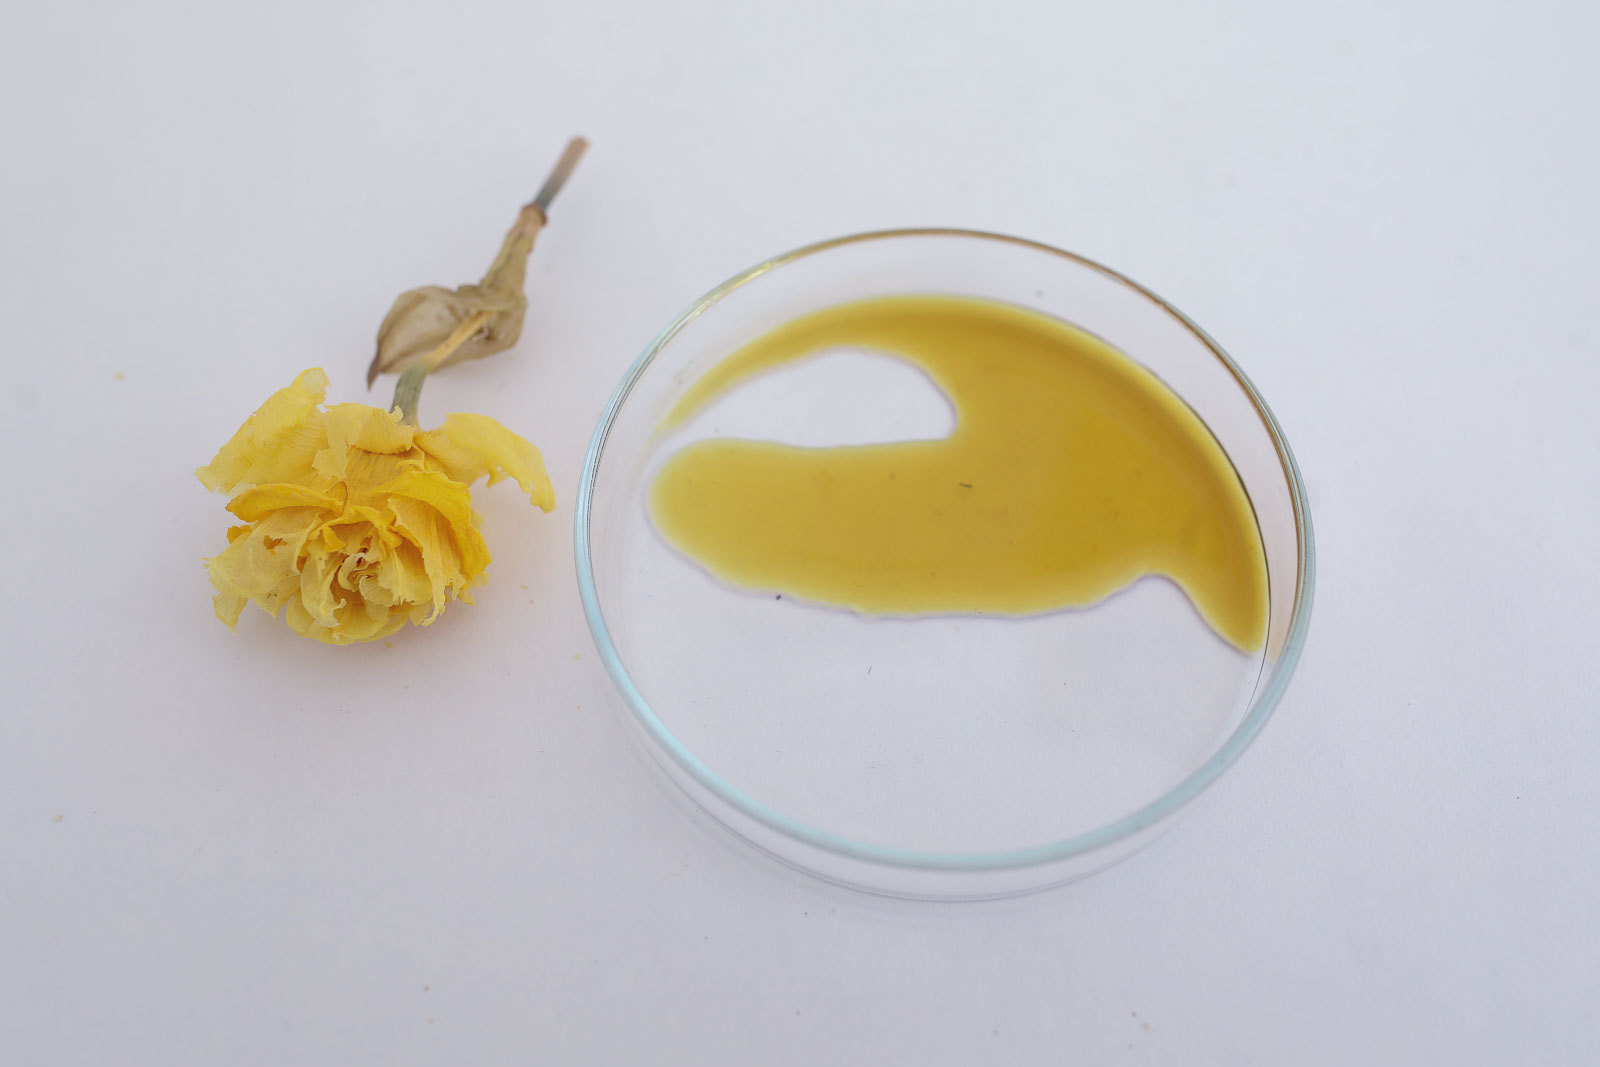
- If you saved the boiling liquid you can use it as a dye (creates subtle yellows and greens). The dye will be alkaline (PH 8-9) due to the soda that was added to the water. Acidic and copper modifiers make for lighter yellows and greens respectively.
Drying/curing/growth process
- Mold depth : N/A
- Shrinkage thickness 50-80 %
- Shrinkage width/length 0-10 %
Shrinkage and deformation control
Taking the paper off the screen too early - before it is completely dry - will cause deformation. Pressing after drying helps to keep it flat.
Curing agents and release agents
N/A
Minimum wait time before releasing from mold 2 days
Post-processing Press if necessary to keep flat, story dry and flat.
Further research needed on drying/curing/growth?
Not sure
Process pictures
1. Drying the flowers
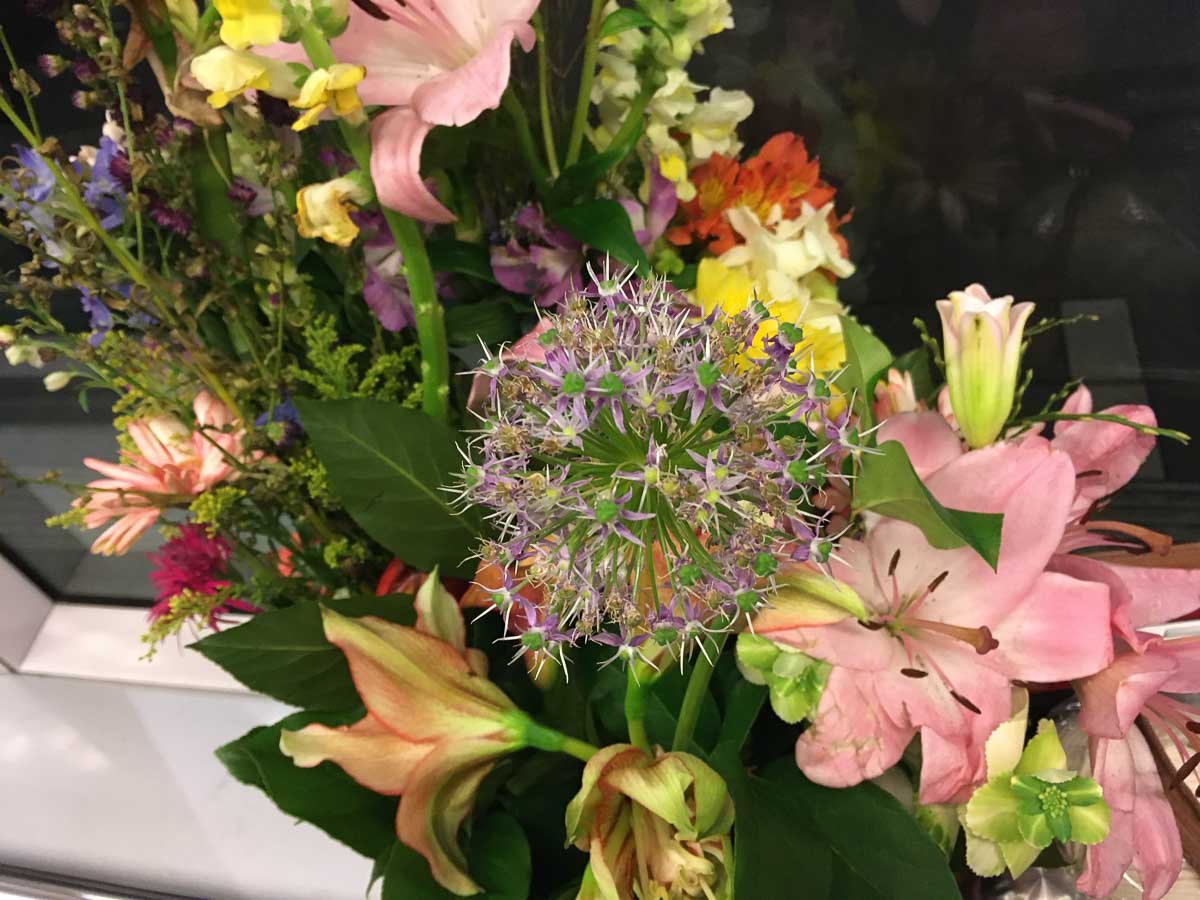 Flowers saved from the florist's trash (with permission of course), Loes Bogers, 2020
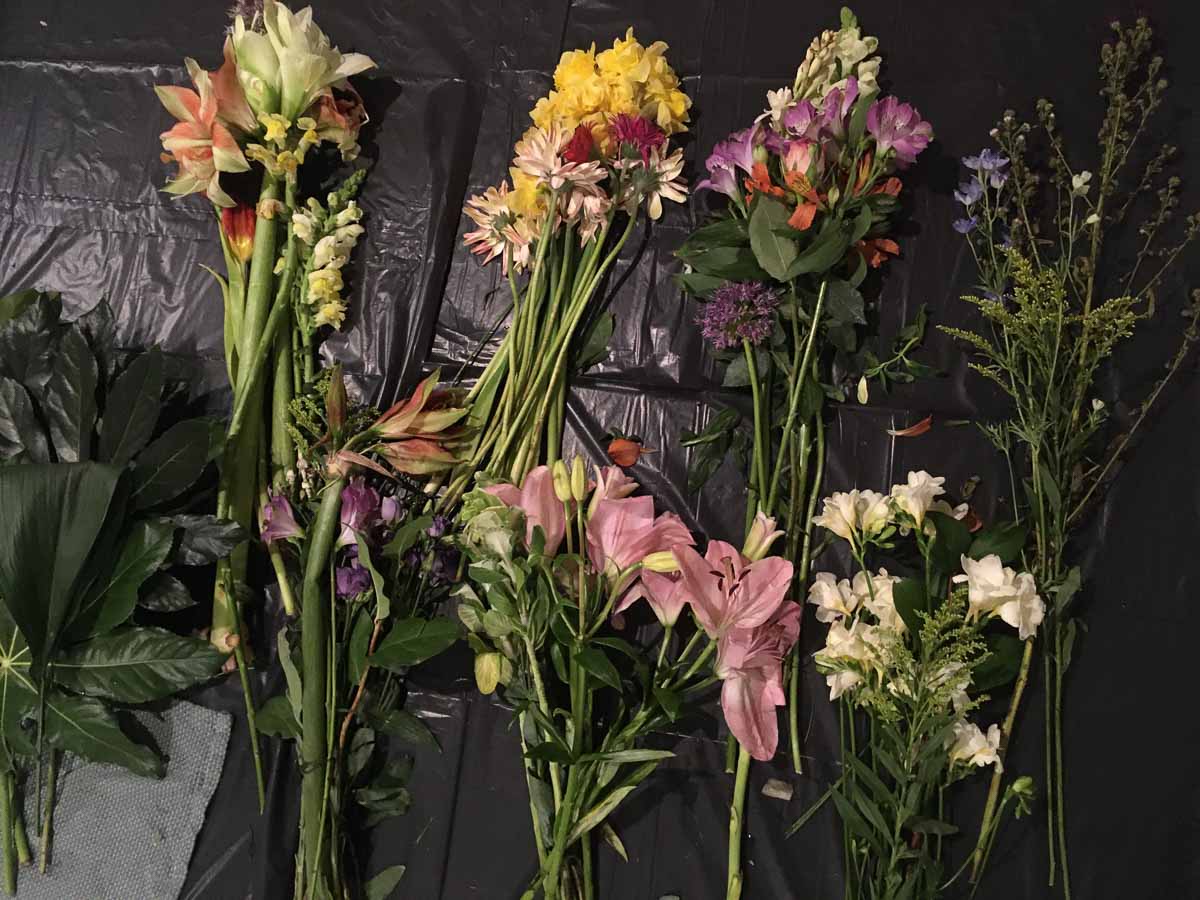 Separating the flowers based on thickness and hardness of the stems, Loes Bogers, 2020
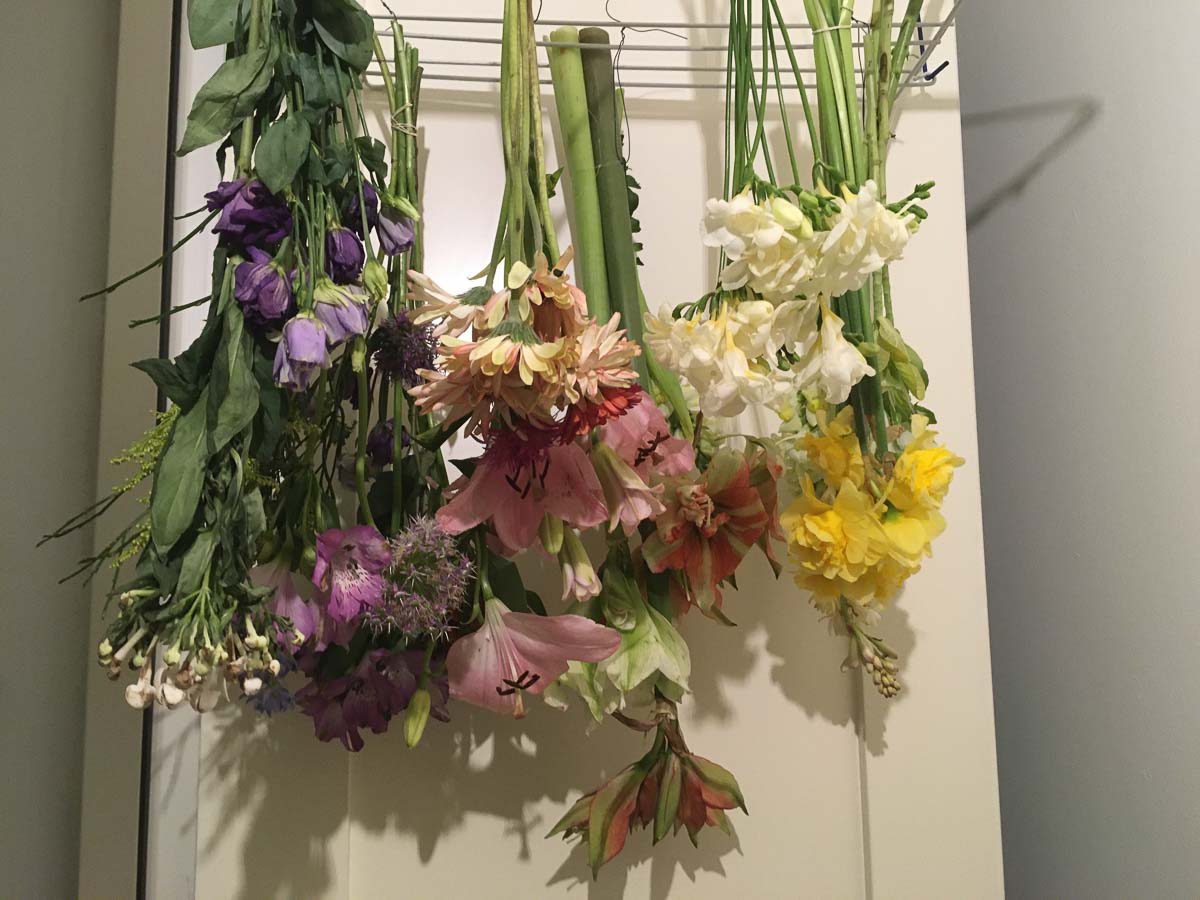 Hanging the bundles to dry for at least 2 weeks, Loes Bogers, 2020
2. Making a mould & deckle
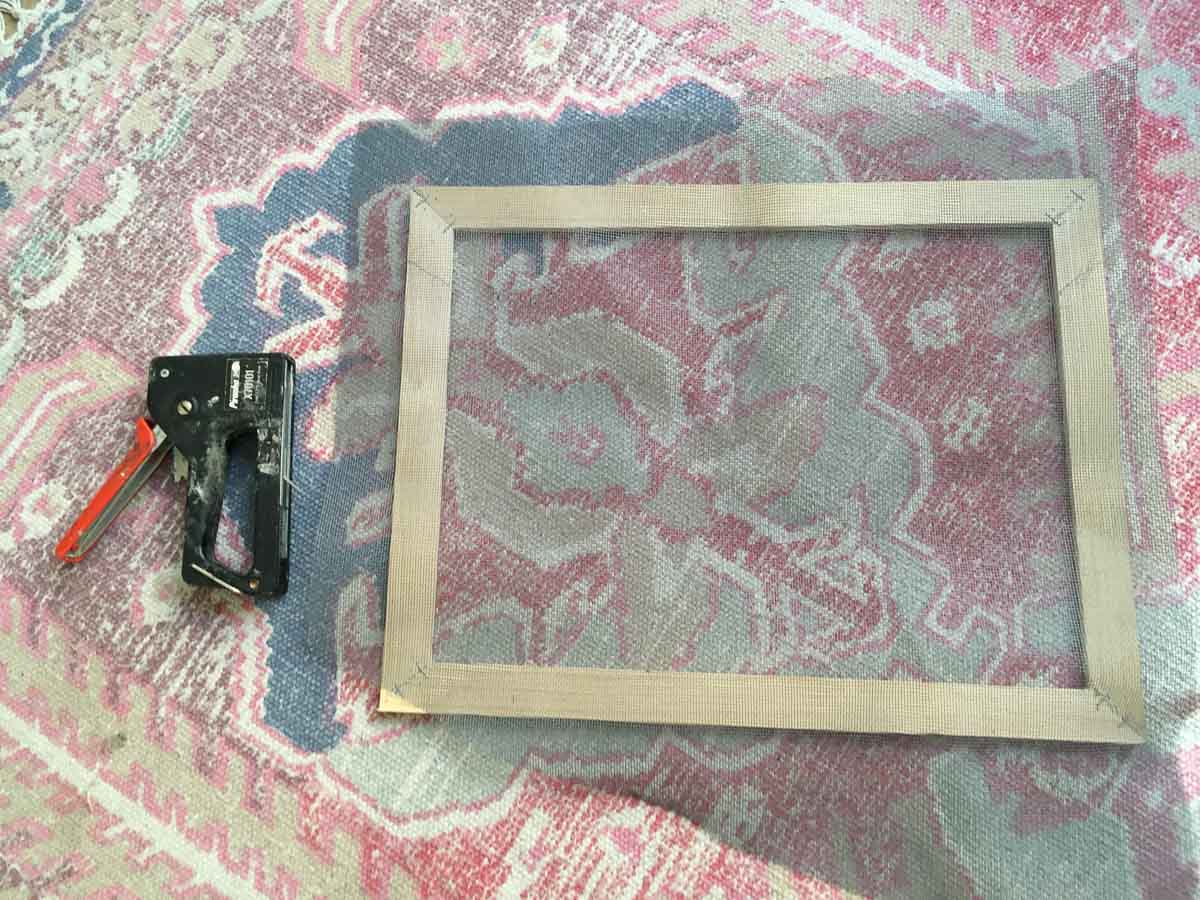 Making a mould & deckle, Loes Bogers, 2020
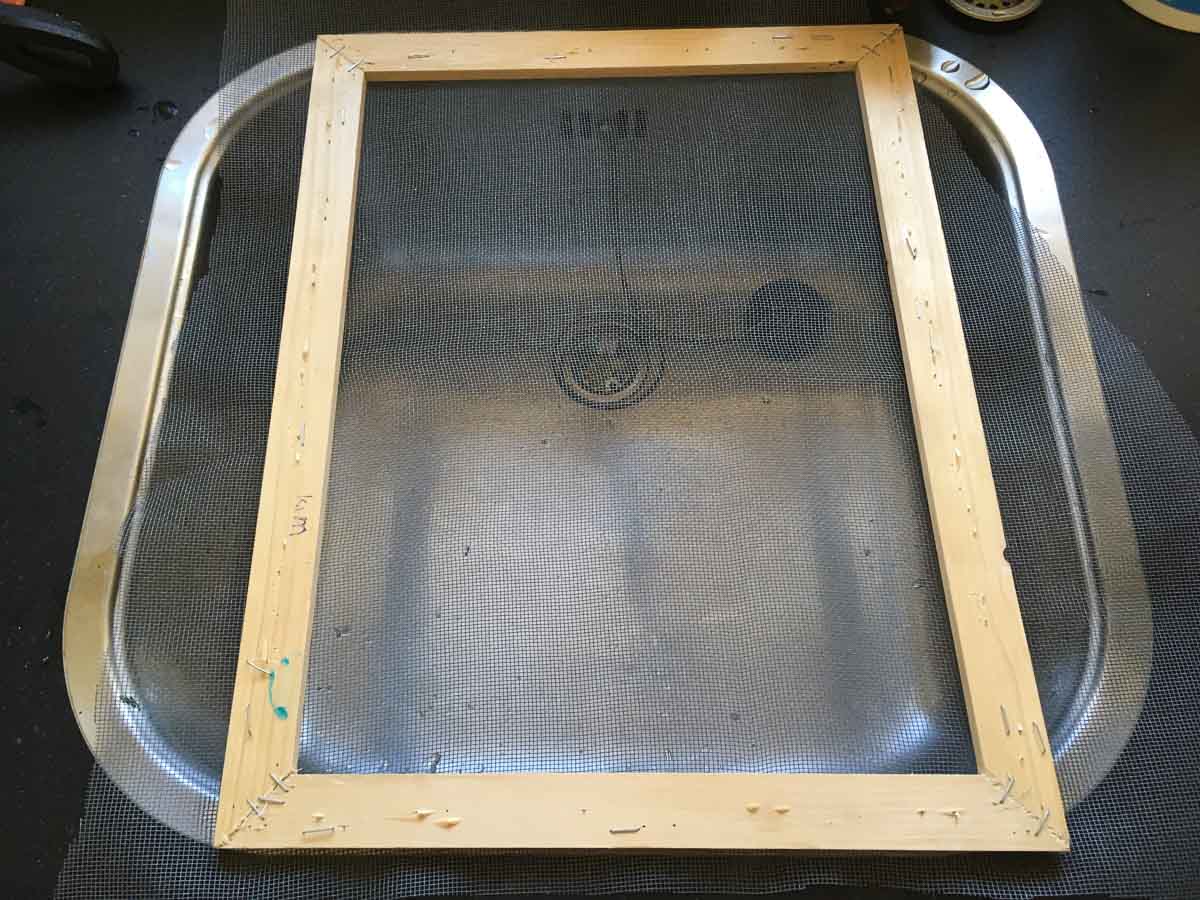 Ideally fits inside the sink, and can sit on top for drying, Loes Bogers, 2020
3. Separating & boiling (color, flowers-only or with stems)
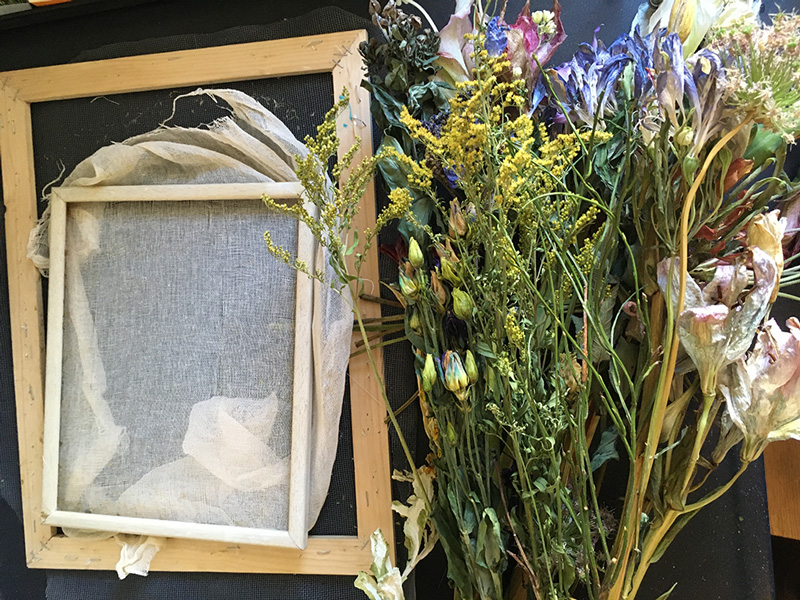 Flowers and frames, Loes Bogers, 2020
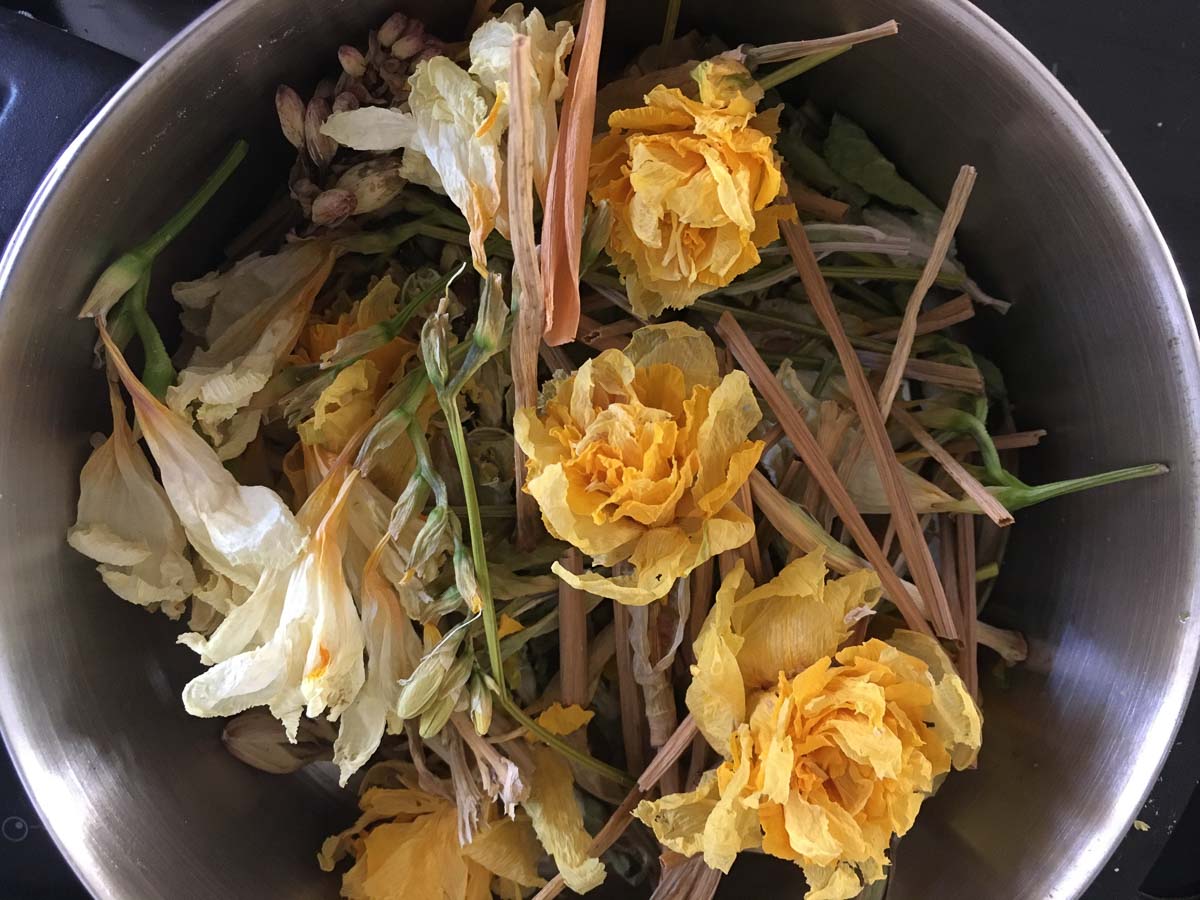 Dried flowers (before separating from the stems), Loes Bogers, 2020
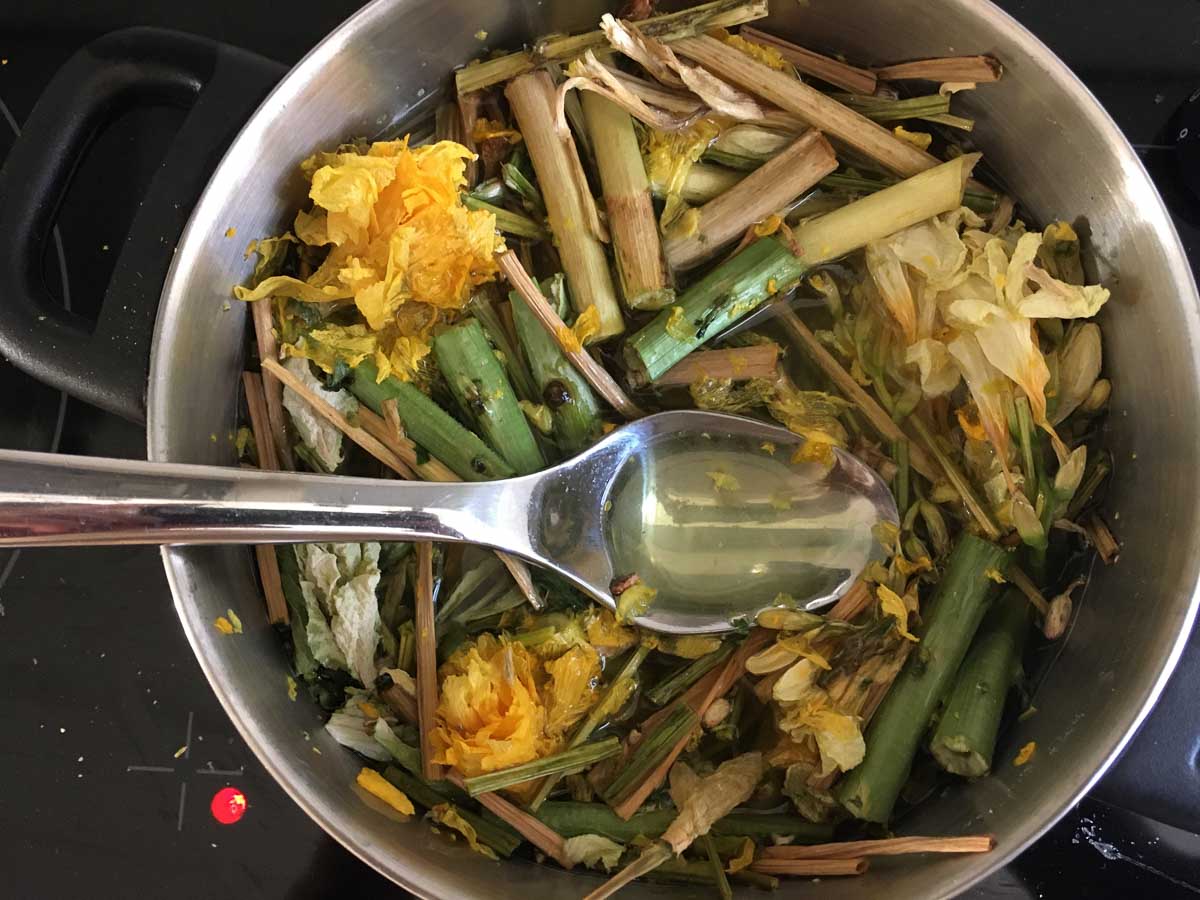 Boil the flowers (and optional: stems) with some soda ash, Loes Bogers, 2020
4. Option A: Using flowers only (pounded)
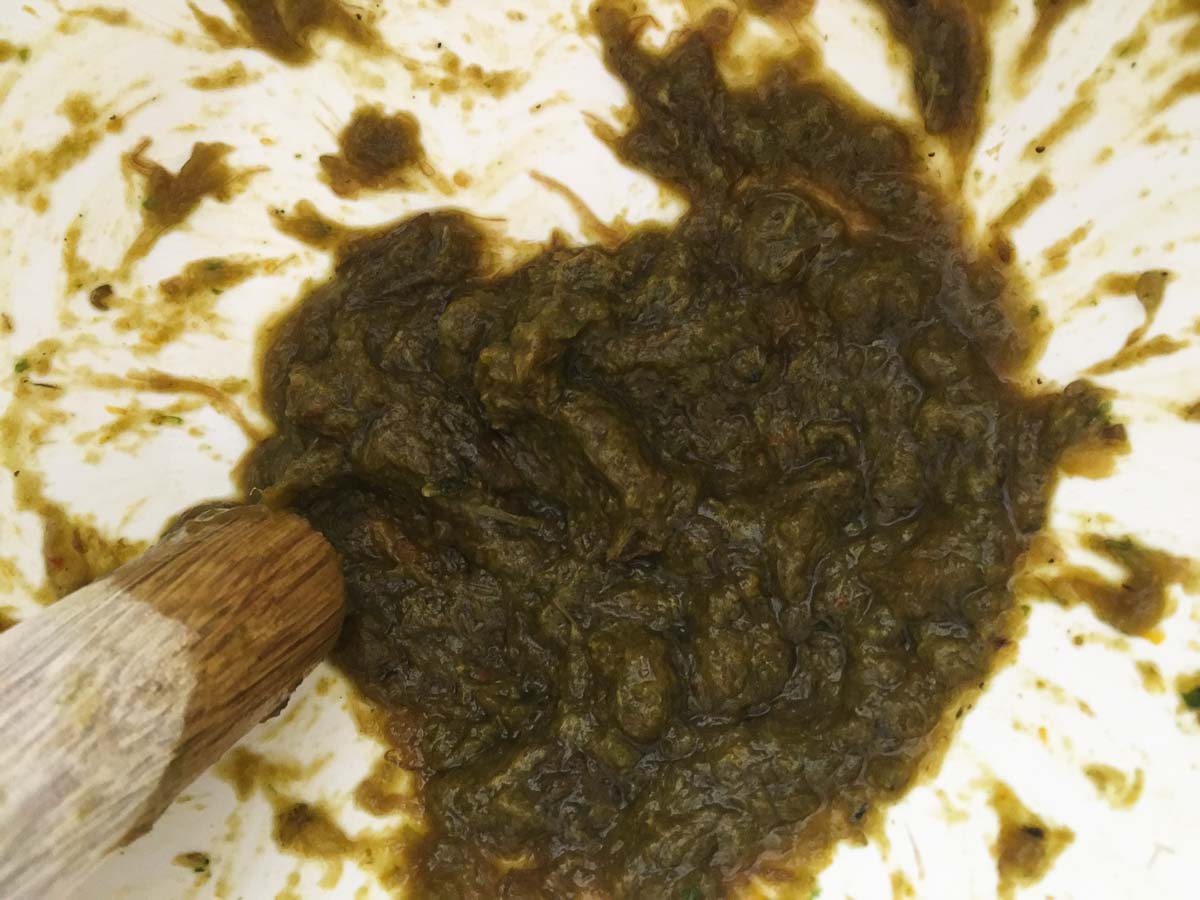 The pounded slurry, Loes Bogers, 2020
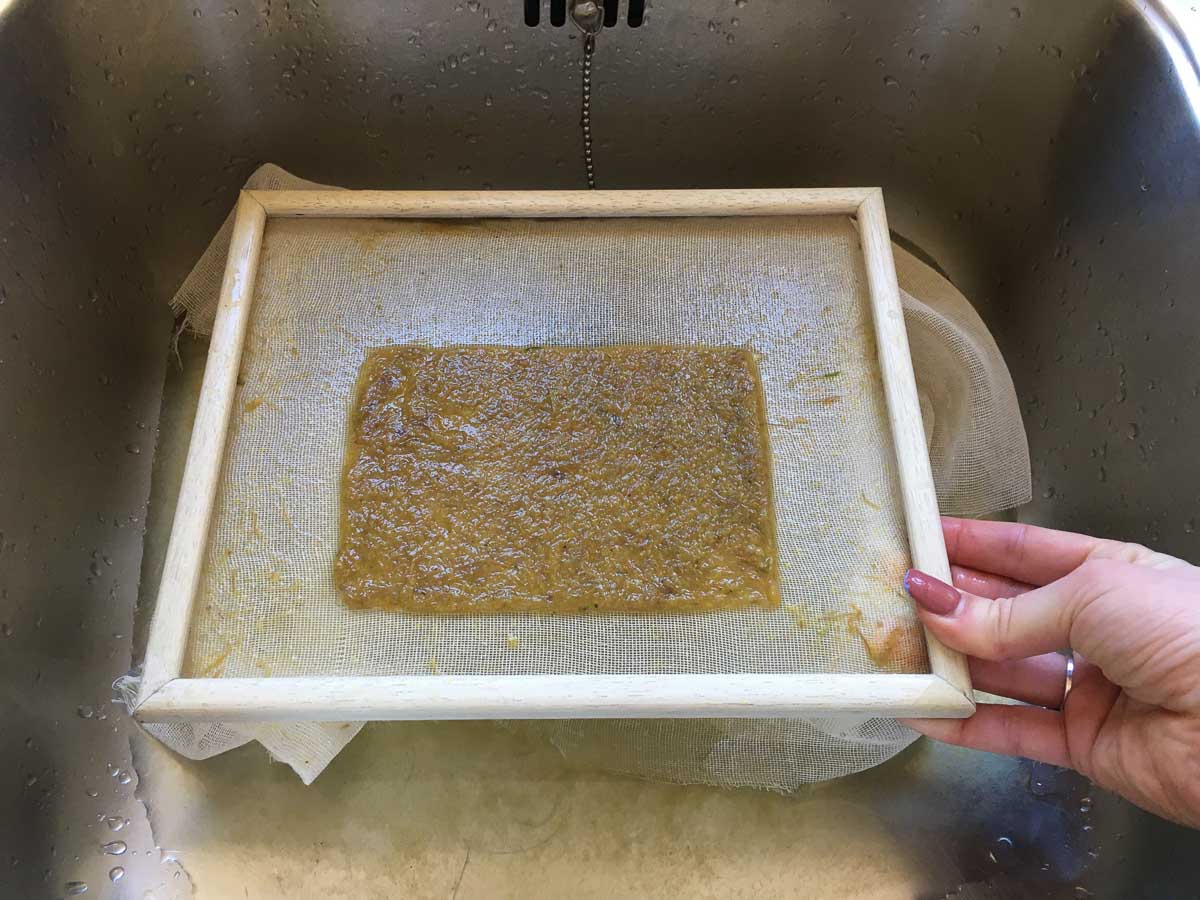 Molding the slurry onto the mesh, Loes Bogers, 2020
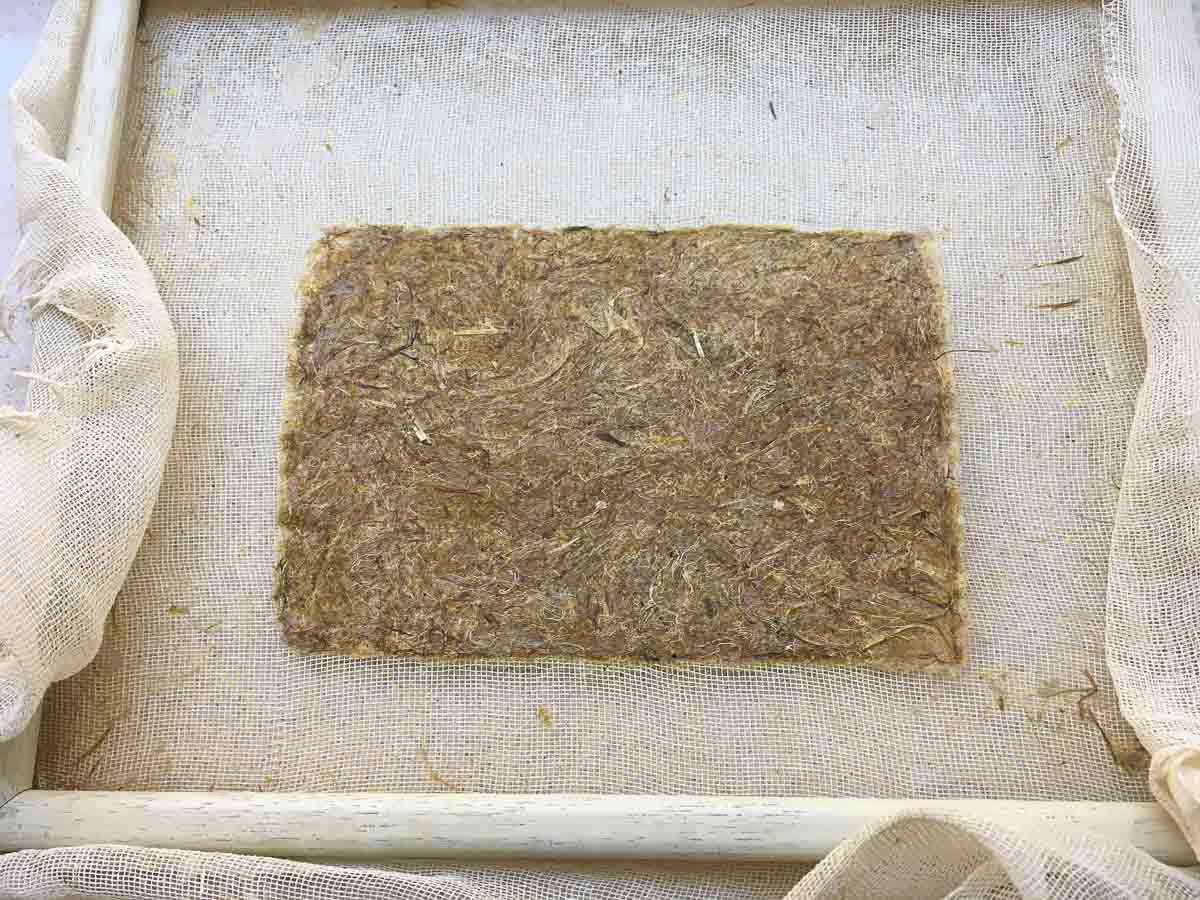 The paper on the mesh after drying for 2 days, Loes Bogers, 2020
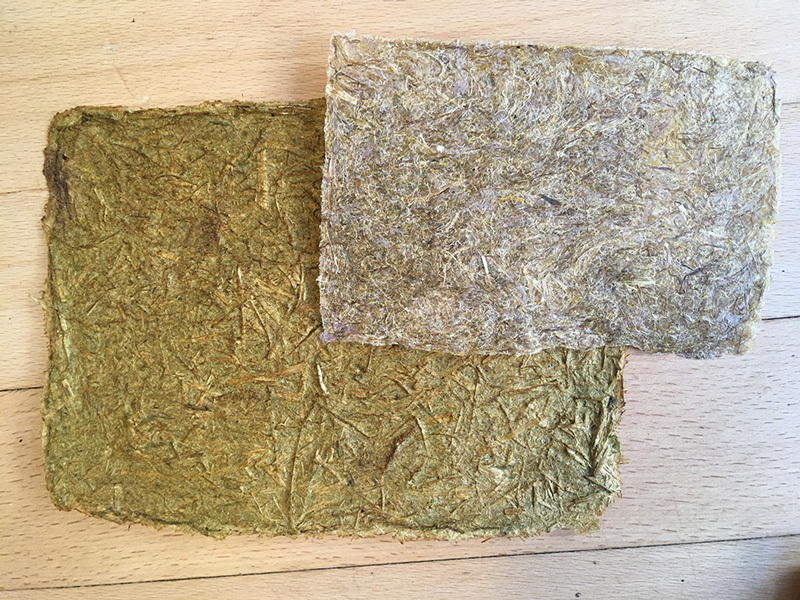 Using only flowers and pounding by hand (front) creates a delicate, thin but strong paper compared to blending with the stems (back), Loes Bogers, 2020
4. Option B: Using flowers and stems (with a blender)
 Using flower and stems, Loes Bogers, 2020
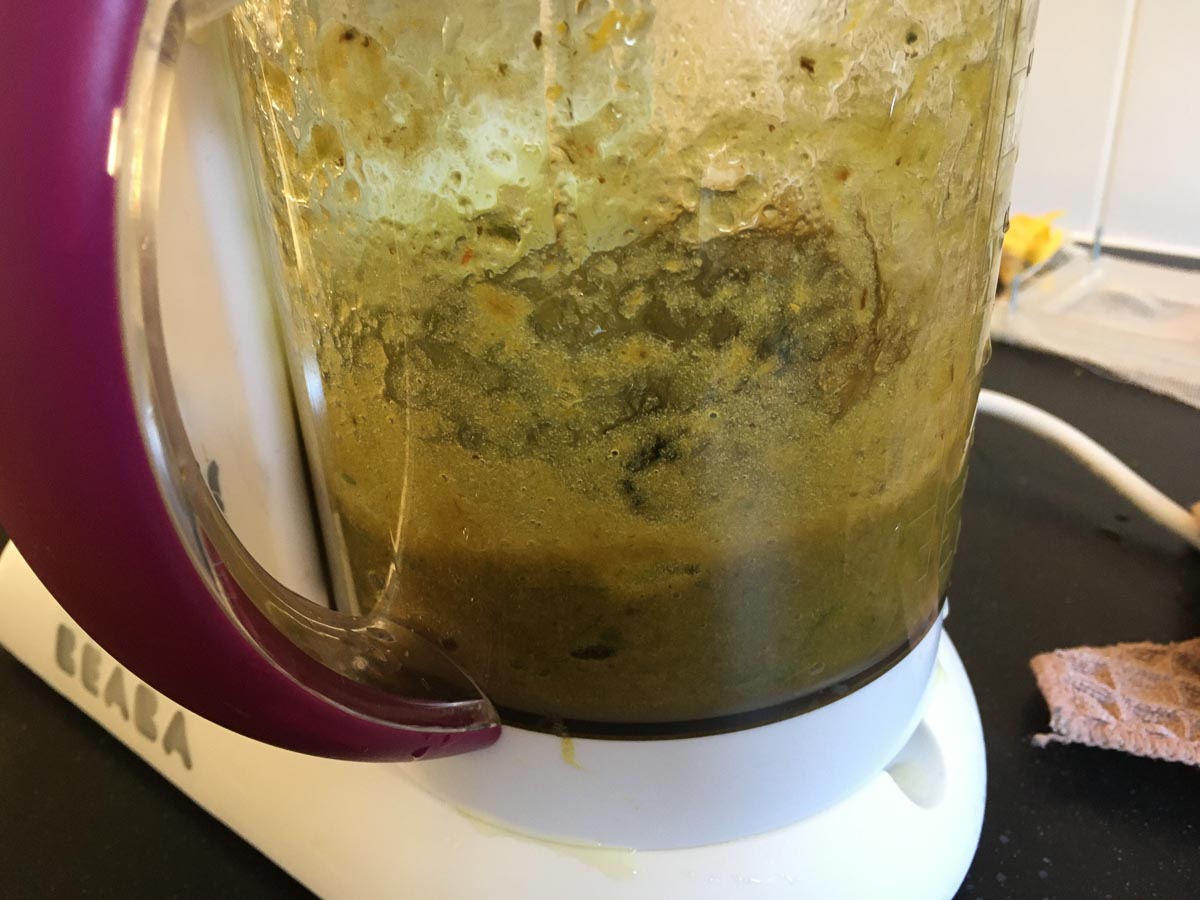 Alternatively: blend flowers (with stems), Loes Bogers, 2020
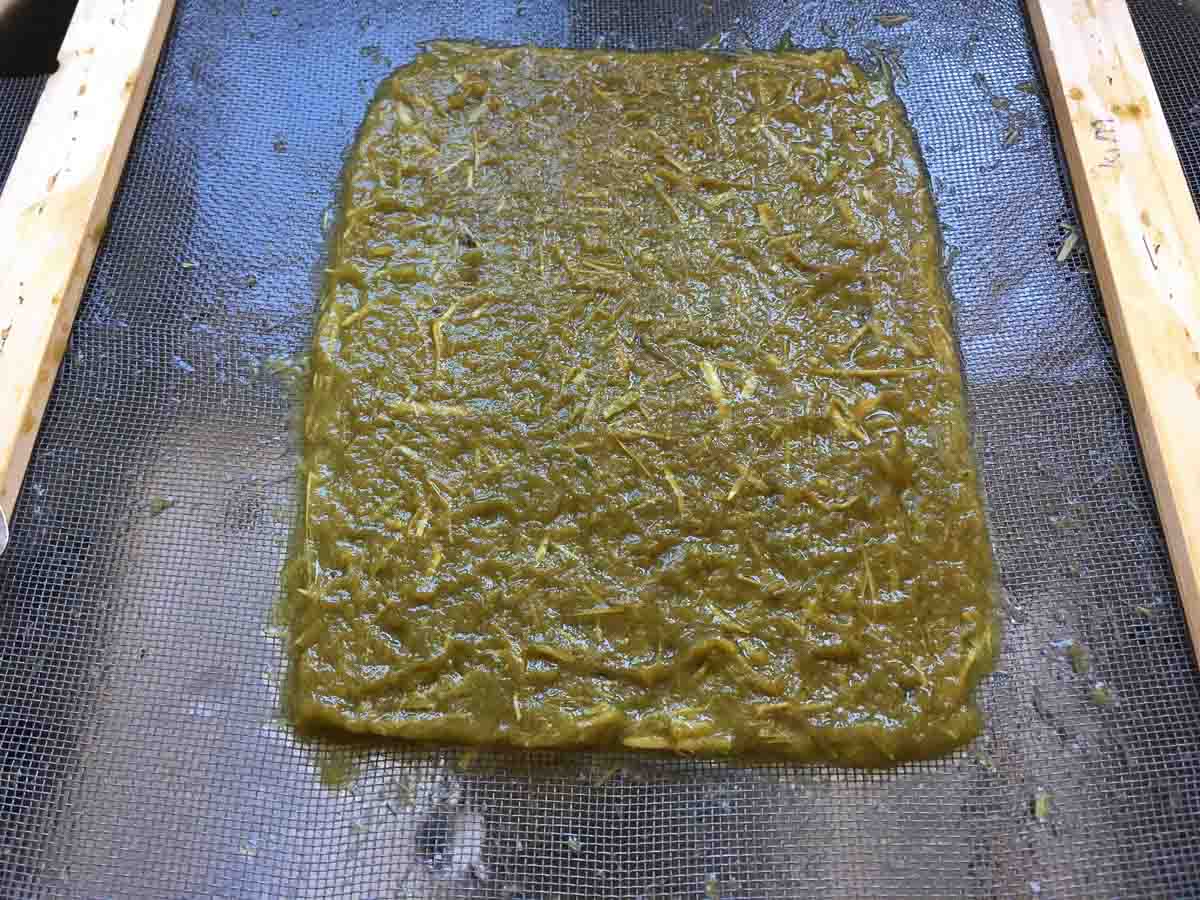 Mold the slurry on the mould & deckle, Loes Bogers, 2020
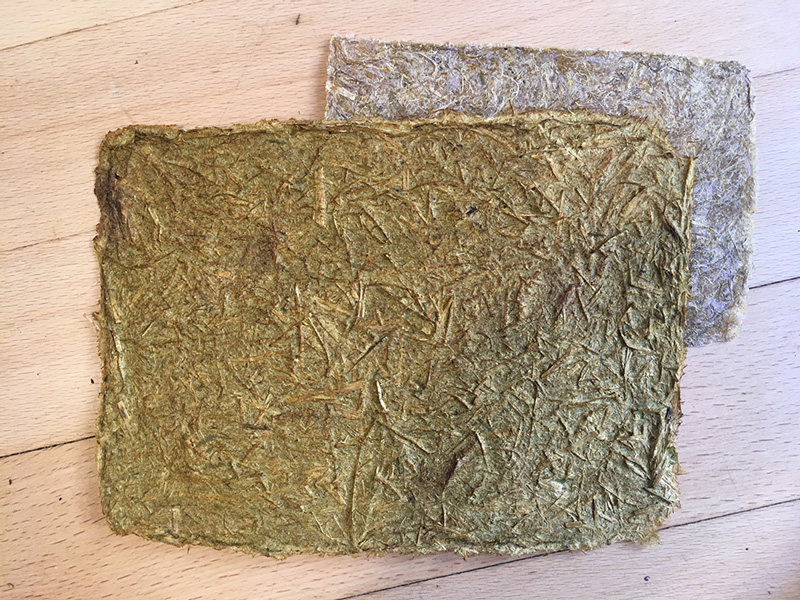 Using stems and blending creates a thicker, more rigid but also more brittle cardboard-like paper (front), Loes Bogers, 2020
5. Save the boiling water to use as a dye
 Filter the cooking water for a yellow dye, Loes Bogers, 2020
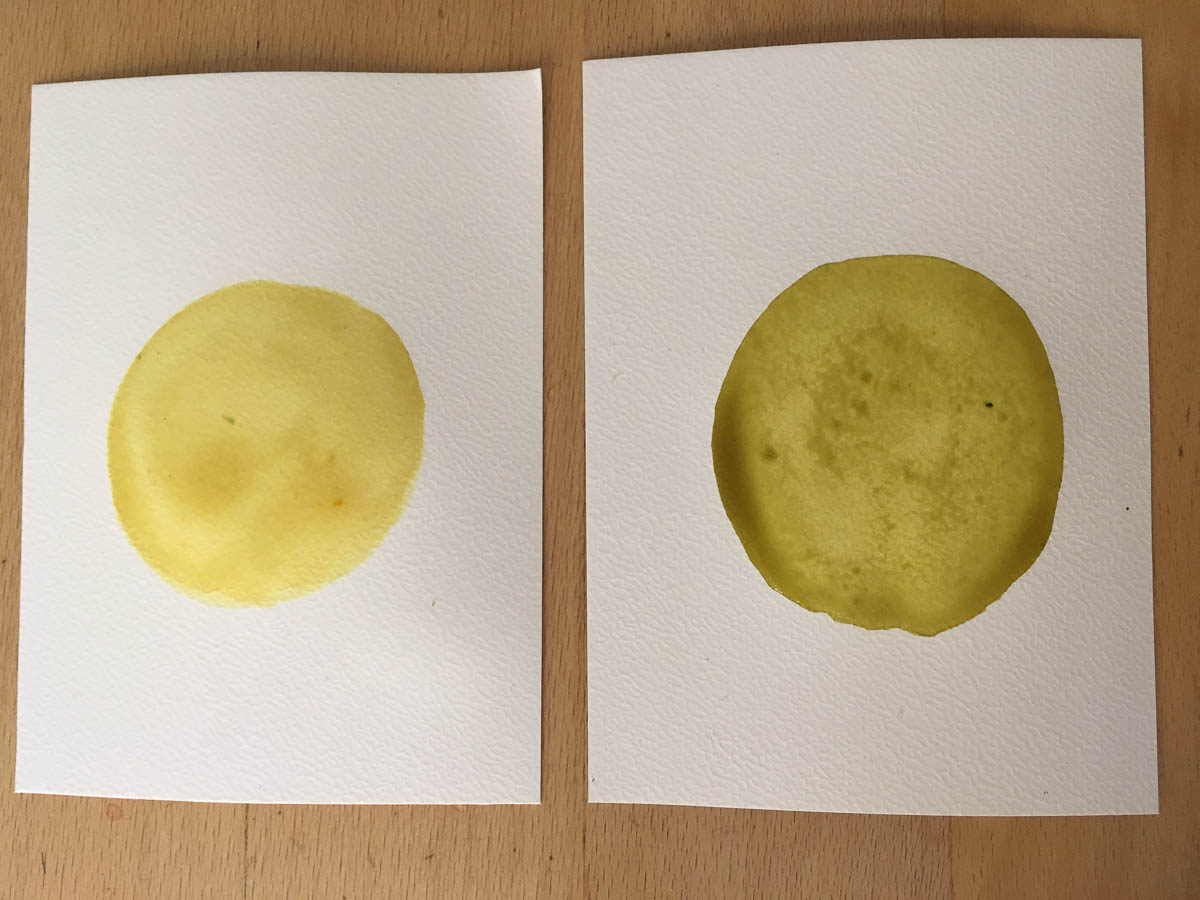 Flower dye on paper, Loes Bogers, 2020
 Subtle yellows and greens wit flower dye on silk (overnight dye), with modifiers (lemon PH 2 and copper), Loes Bogers, 2020
Variations
- Add natural colorants to the slurry and/or spray it on top (e.g. cabbage dye with soda, avocado dye to enhance the color of paper from blue/purple and red flowers respectively.
- Create paper with a different thickness
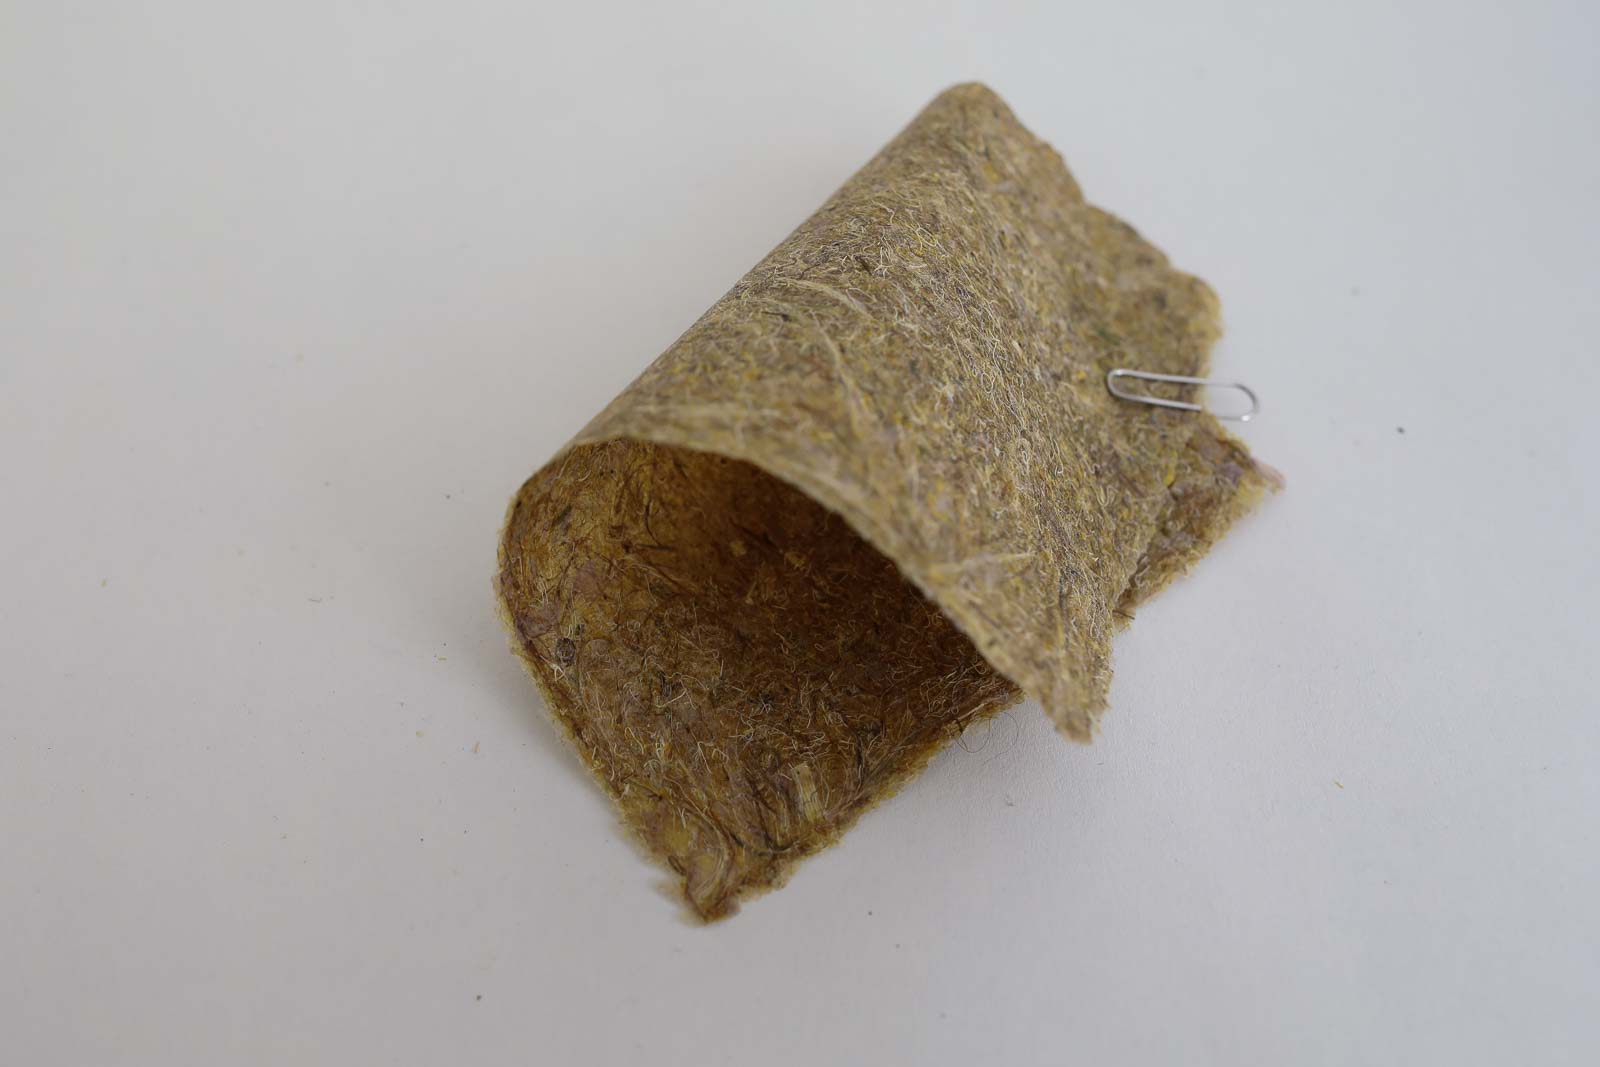
- Instead of a frame, try drying the slurry into a 3D shape by laying the mesh over a mold (experimental).
- Try making a gradient paper [link] (https://www.paperslurry.com/2017/12/20/make-gradient-paper-a-creative-hand-papermaking-technique/)
- Make paper from other cellulose waste, such as paper waste, or research and forage plants that are considered invasive in your local environment, see also Megan Heere's Invasive Paper project
- Some recipes suggest an additional step of couching instead of drying on the mesh.
ORIGINS & REFERENCES
Cultural origins of this recipe
Needs further research
Needs further research? Yes
Key Sources
-
Hand-papermaking With Plants by May Babcock for Paper Slurry, 20 August, 2014: link
-
Flower Paper by Maria Viftrup for Material Archive at Textile Lab Amsterdam, n.d.
Copyright information
There are endless recipes for paper making documented so this can be considered to be in the public domain. However, this instruction was informative in creating this recipe: Hand-papermaking With Plants by May Babcock for Paper Slurry, 20 August, 2014: link.
Viftrup's work is published under a CC Attribution, Non-commercial licence.
ETHICS & SUSTAINABILITY
Needs further research
Sustainability tags
- Renewable ingredients: yes
- Vegan: yes
- Made of by-products or waste: yes
- Biocompostable final product: yes (rip dyed silk to shreds for home composting).
- Re-use: yes, can be re-used in the next paper slurry (consider additives)
Needs further research?: Not sure
PROPERTIES
- Strength: medium
- Hardness: resilient/variable
- Transparency: translucent/variable
- Glossiness: matt
- Weight: light
- Structure: closed
- Texture: rough/medium/variable
- Temperature: warm
- Shape memory: high
- Odor: moderate (strong smells during cooking, mild smell of dry plant fibre on the final product)
- Stickiness: low
- Weather resistance: poor
- Acoustic properties: needs further research
- Anti-bacterial: needs further research
- Non-allergenic: needs further research
- Electrical properties: needs further research
- Heat resistance: needs further research
- Water resistance: low
- Chemical resistance: needs further research
- Scratch resistance: poor
- Surface friction: medium
- Color modifiers: none
ABOUT
Maker(s) of this sample
- Name: Loes Bogers
- Affiliation: Fabricademy student at Waag Textile Lab Amsterdam
- Location: Amsterdam, the Netherlands
- Date: 25-02-2020 – 18-03-2020]
Environmental conditions
- Humidity: 40-50%
- Outside temp: 5-11 degrees Celcius
- Room temp: 18 – 22 degrees Celcius
- PH tap water: 7-8
Recipe validation
Has recipe been validated? Yes, by Cecilia Raspanti, TextileLab, Waag Amsterdam, 9 March 2020
Images of the final sample
 Flower paper (no stems), Loes Bogers, 2020
 Flower paper (no stems), Loes Bogers, 2020
 Flower paper (no stems), Loes Bogers, 2020
 Flower paper dye, Loes Bogers, 2020
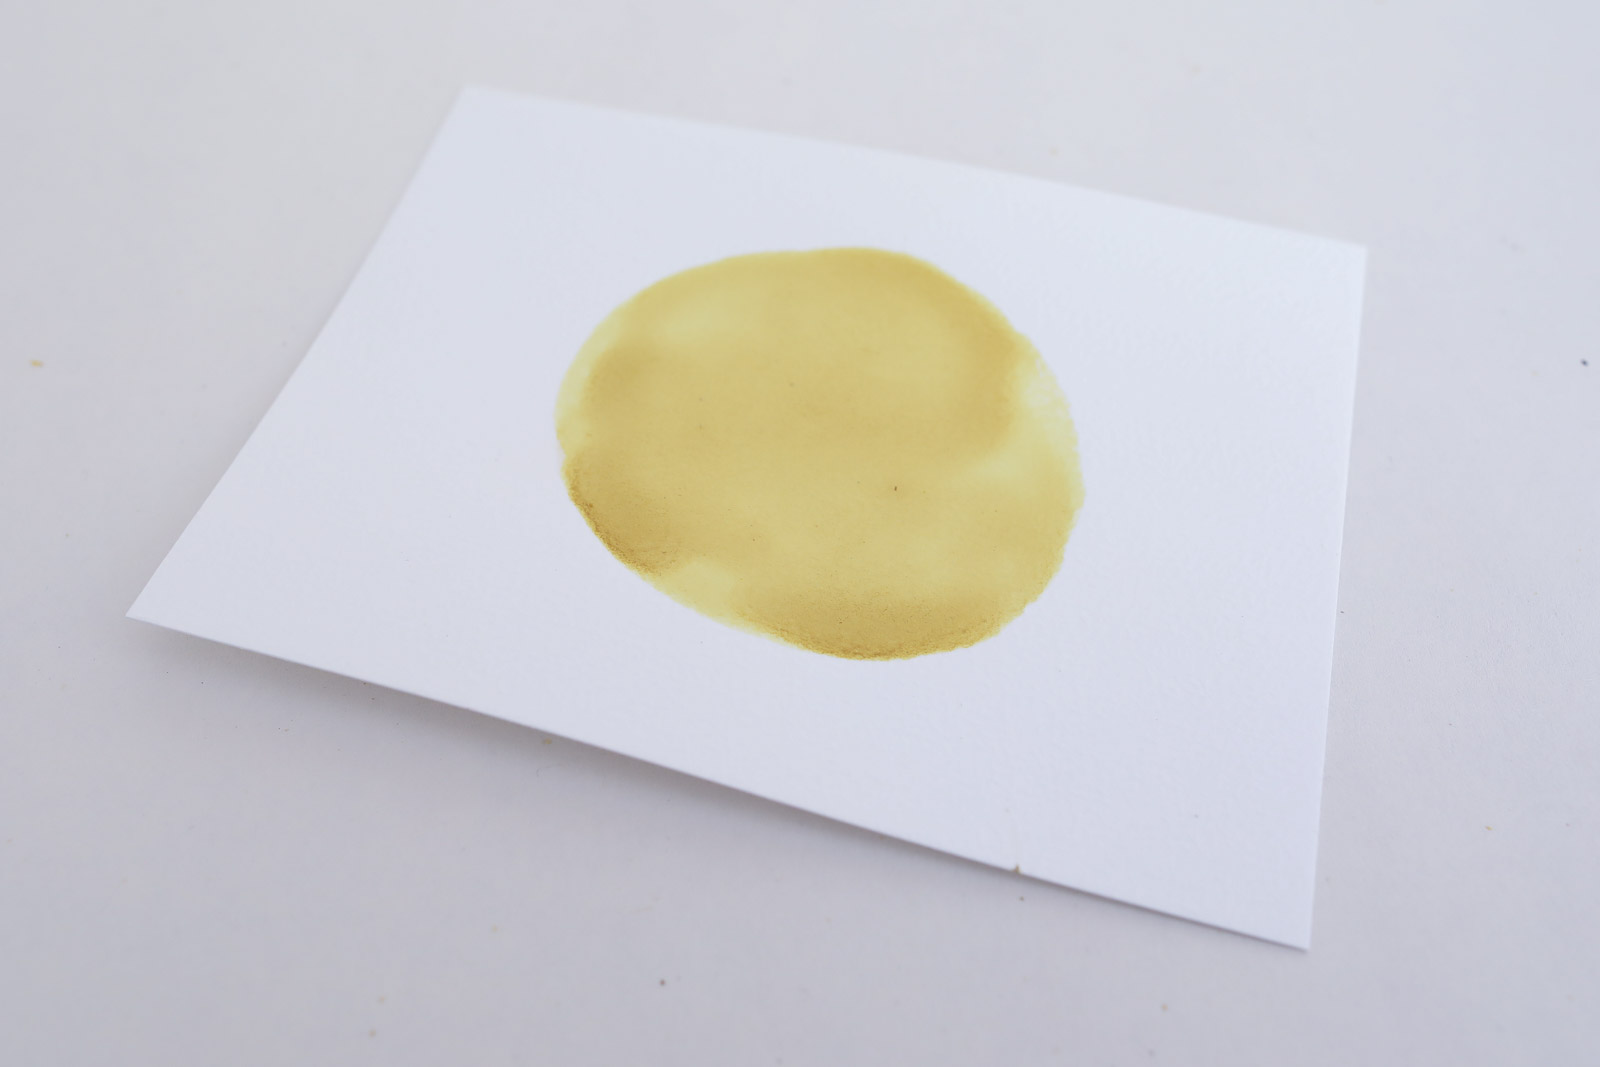 Flower paper dye on paper, Loes Bogers, 2020
REFERENCES
-
Hand-papermaking With Plants by May Babcock for Paper Slurry, 20 August, 2014: link
-
Flower Paper by Maria Viftrup for Material Archive at Textile Lab Amsterdam, n.d.