TOOLS
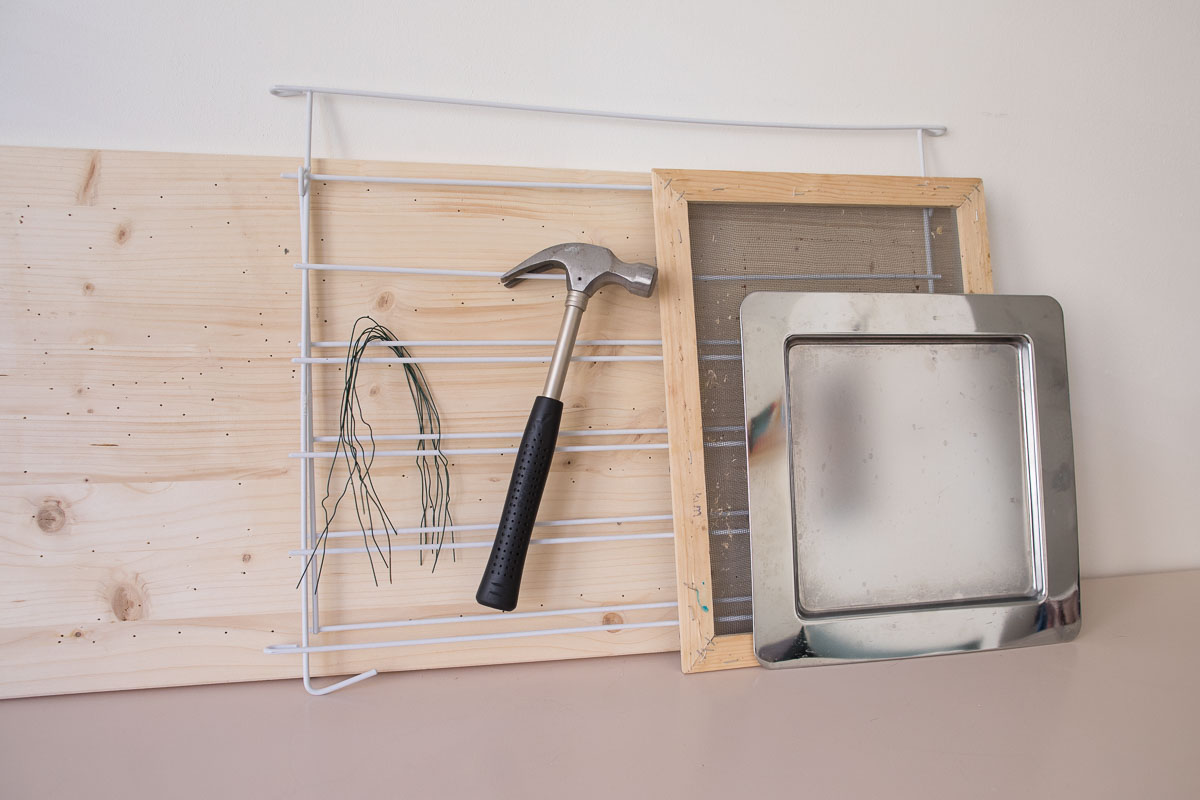 For drying: a drying rack, a wooden board, hammer and nails, metal wire, a large tray that fits in your oven, a wooden frame and a piece of sturdy fine mesh. Loes Bogers, 2020
This is a list of the materials and tools needed (apart from the ingredients) to recreate all 25 recipes listed here. In an effort to keep it most accessible, note that most of these will already be lying around your house (or studio, or workshop).
Gathering your supplies: Do-It-Together!
Best is to form a small group of people and do the experiments together! Between you, you can probably get most of the materials listed here. If not, a trip to a thrift store won't break the bank.
Dedicate your utensils to non-food only
Used kitchen utensils are great option anyway because you will need to dedicate them to non-food only. Although a lot of these recipes work with mostly natural materials, none of these recipes are considered to be fit for consumption. Any utensils used here are best kept apart from utensils used for food preparation.
Biolab supplies
Only the lab materials needed for the bacterial dye are missing from the images below as I did't have access to them during the outbreak of the corona pandemic. Perhaps it's worth getting access to a biolab or chemistry lab at a high school to do the bacterial dye, before setting up a small biolab (which requires some special tools like an incubator and a pressure cooker).
Space needs and smells
Choose a space where you can make a bit of a mess, where there's ample space to let things dry (flat surfaces and hanging), preferable near an open window or other place with air flow. Humid environments will affect the materials' behaviors during drying, curing and growing.
Ideally you have access to do washing up easily (a sink, or maybe even a dishwasher), and access to a fridge or freezer to store inks and dyes (make sure to label them very clearly indicating it is not for consumption or dedicate a shelf to non-food only).
Some of the recipes can get smelly, so consider the people you share a space with and let them know when you plan to be cooking materials (dyes/inks, and gelatine-based bioplastics can get very smelly).
Protection
When working with inks and dyes, consider to protect your surfaces by coverig it with a piece of plastic. Wear some clothes you don't mind staining.
Kitchen utensils & household tools
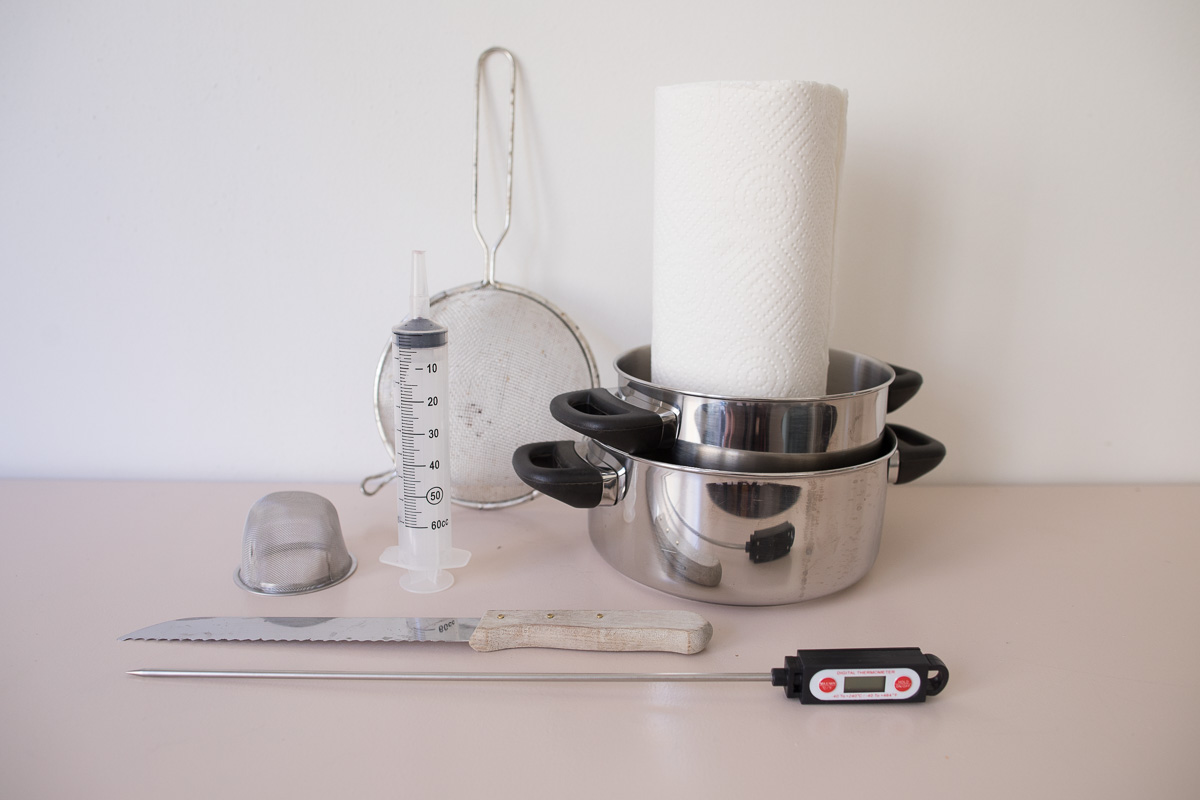 Dedicated to non-food only: strainers, pots, thermometer, a syringe, a knife, and kitchen paper, Loes Bogers, 2020
- Cooker or stove (optional: temperature controlled)
- Oven
- Cheesecloth or clean towels
- Baking paper
- A knife (to cut vegetables)
- Pots (small and large)
- A precision scale (capable of measuring 0.1 grams)
- Spoons
- a whisk
- bowls to weigh ingredients
- A large bowl
- A large oven dish
- Wide glass jars (approx. diameter 20 cm, 15 cm deep) for kombucha growth
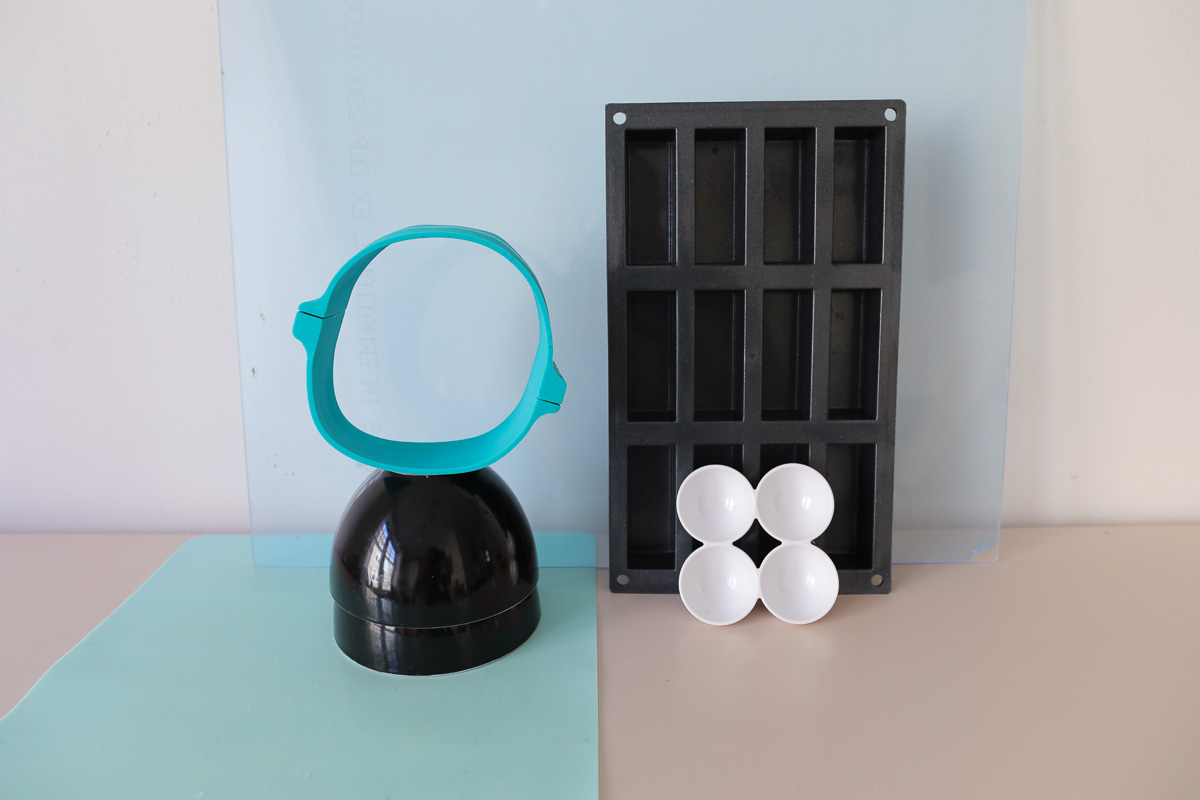 Moulds: a silicone mat and acrylic sheet for sheet casting, small bowls, ice cube trays or egg holders (or any other materials you could use as moulds), Loes Bogers, 2020
 Glass jars with lids, big and small, and a wide glass jar (collectig some nice looking ones really helps to save up and separate food waste), Loes Bogers, 2020
- Blender (dedicated to non-food processing)
- Mortar & pestle or chopping/grinding machine
- Glass jars with lids (small, medium and large) as many as you can find
- Kitchen paper
- Large round coffee filters
- Strainer (with fine mesh)
- Funnel (small)
- Funnel (large)
- A blunt scraping tool
- A drying rack (used in the oven)
- A silicone mat
- Large transparent ziplock bags
- Oven mitts/gloves
- Access to a fridge and freezer
- A drying rack (used for laundry)
- Anti-bacterial hand soap
- Heavy duty cleaning gloves
- A squeegee, a ruler or other wide straight tool
- Overcoat to protect clothing (like a lab coat or overall), or clothing you don't mind staining
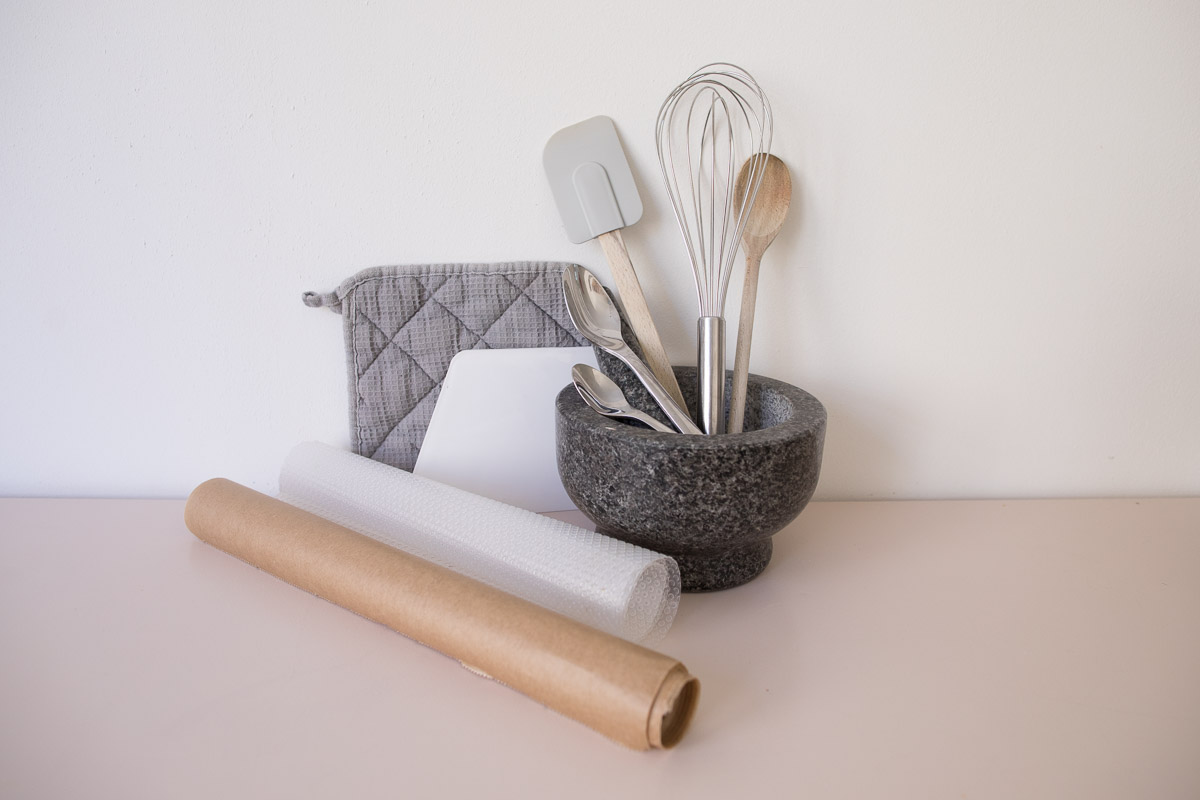 Dedicated to non-food only: a mortar and pestle, a blunt scraping tool, baking paper, textured plastic, oven mitts, spoons, a whisk, and a silicon scraper, Loes Bogers, 2020
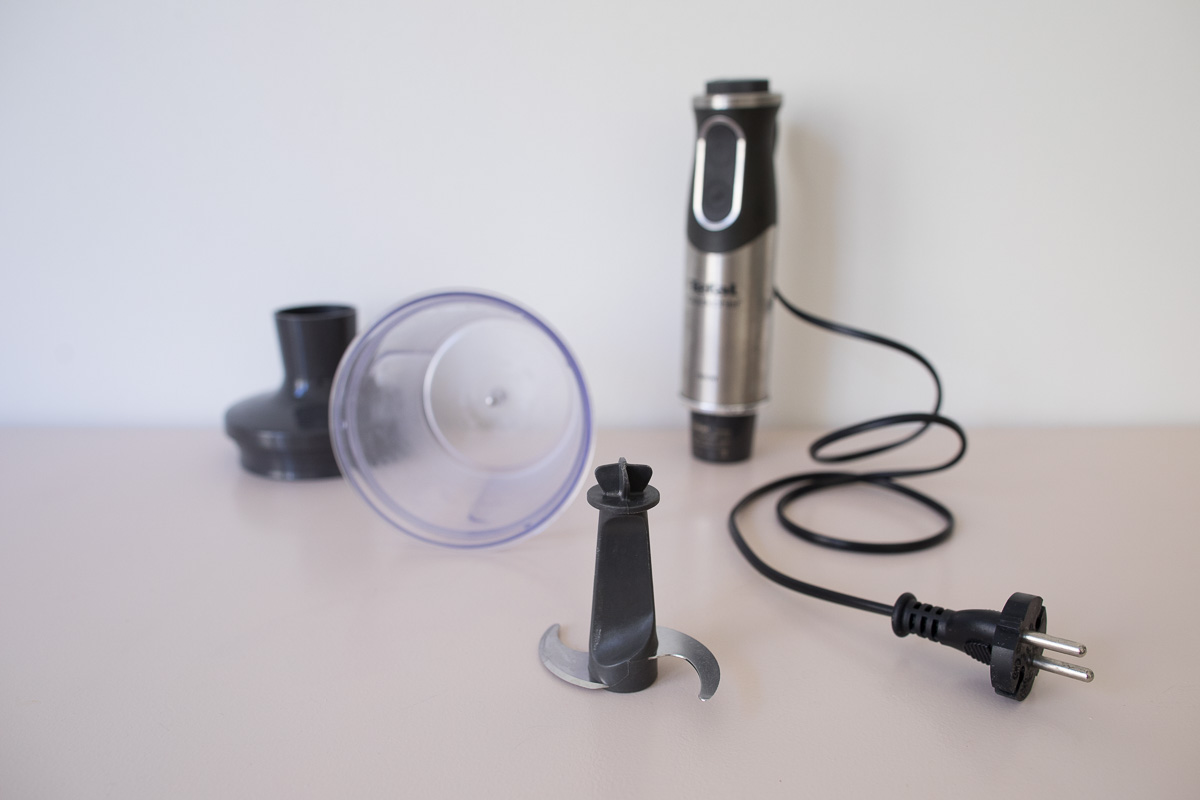 A blender dedicated to non-food only, Loes Bogers, 2020
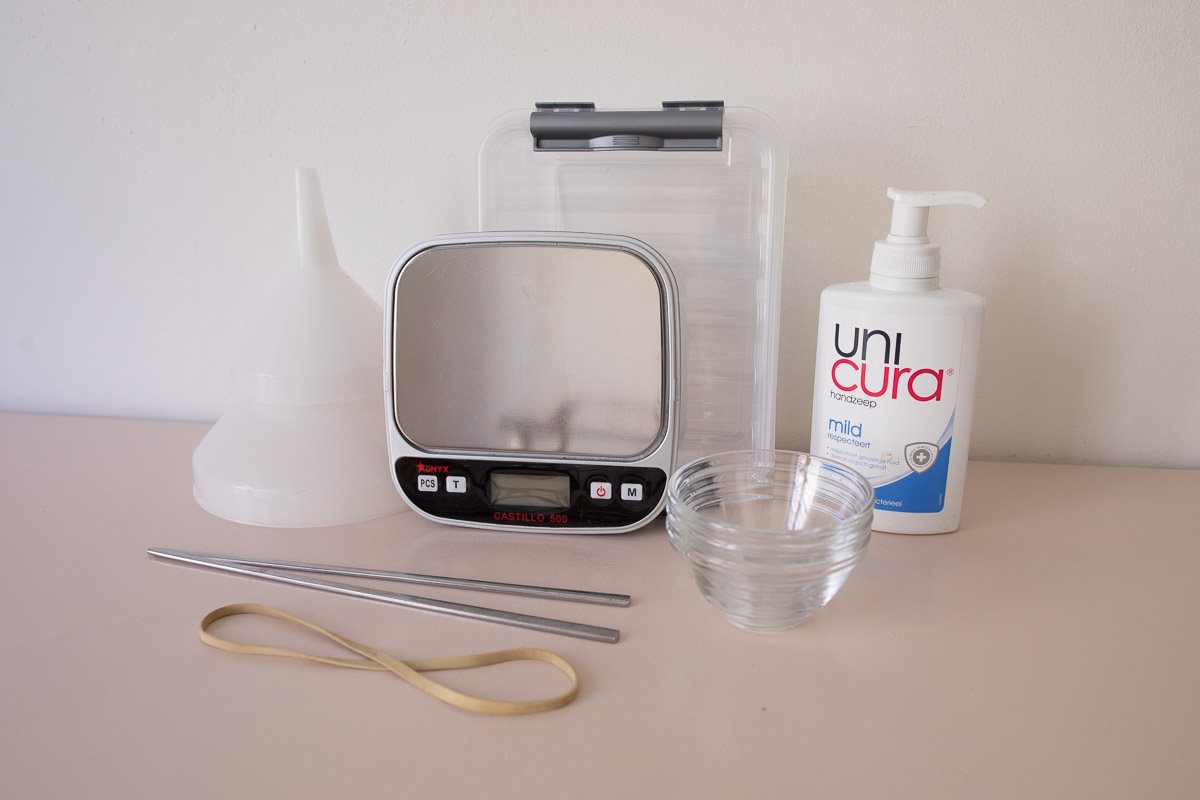 Funnels (large and small), a precision scale, a tupperware box, antibacterial hand soap, rubber bands, chopsticks, Loes Bogers, 2020
Arts & crafts tools
- A stack of heavy books (for pressing)
- 4x spray bottle(s) of 100-150 ml
- Painting tape
- a syringe 60 cc (without needle)
- Sticks (like chopsticks or skewers)
- Clips
- A staple gun
- 1-2 of 100% pure silk for dyeing and crystal growing
- Rubber bands
- Fish wire
- A fine japanese brush
- Aquarel paper (used for water colors)
- A normal painting brush
- Paperclips
- Labels
- Scissors
- Pipettes
- Wooden board of approx 60 x 30 cm
- A sheet of fine mesh (plastic, textile, metal, all fine) slightly larger than the wooden frame
- A wooden frame (e.g. a large picture frame)
- Nails and a hammer
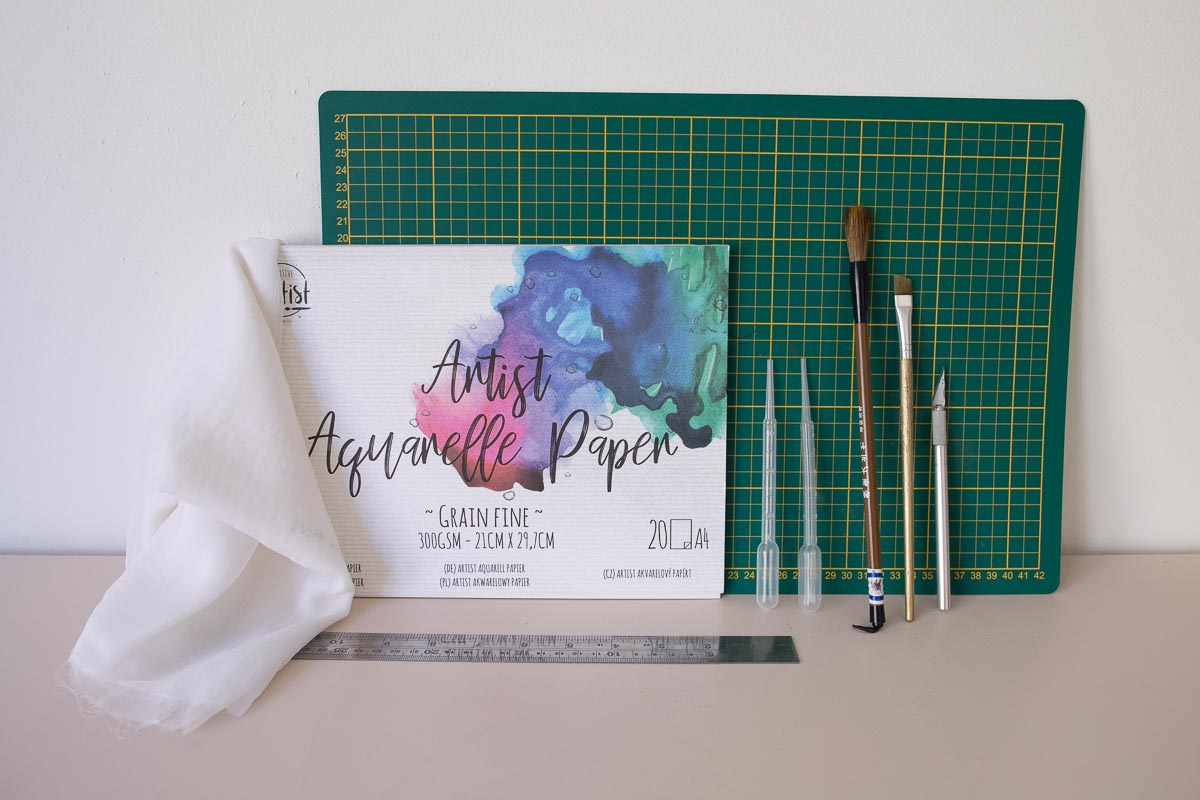 Art supplies for testing inks/dyes and trimming biomaterials: aquarel paper, silk chiffon, a cutting mat, a scalpel, a fine japanese brush, a regular brush, pipettes and a ruler, Loes Bogers, 2020
For drying: a drying rack, a wooden board, hammer and nails, metal wire, a large tray that fits in your oven, a wooden frame and a piece of sturdy fine mesh. Loes Bogers, 2020
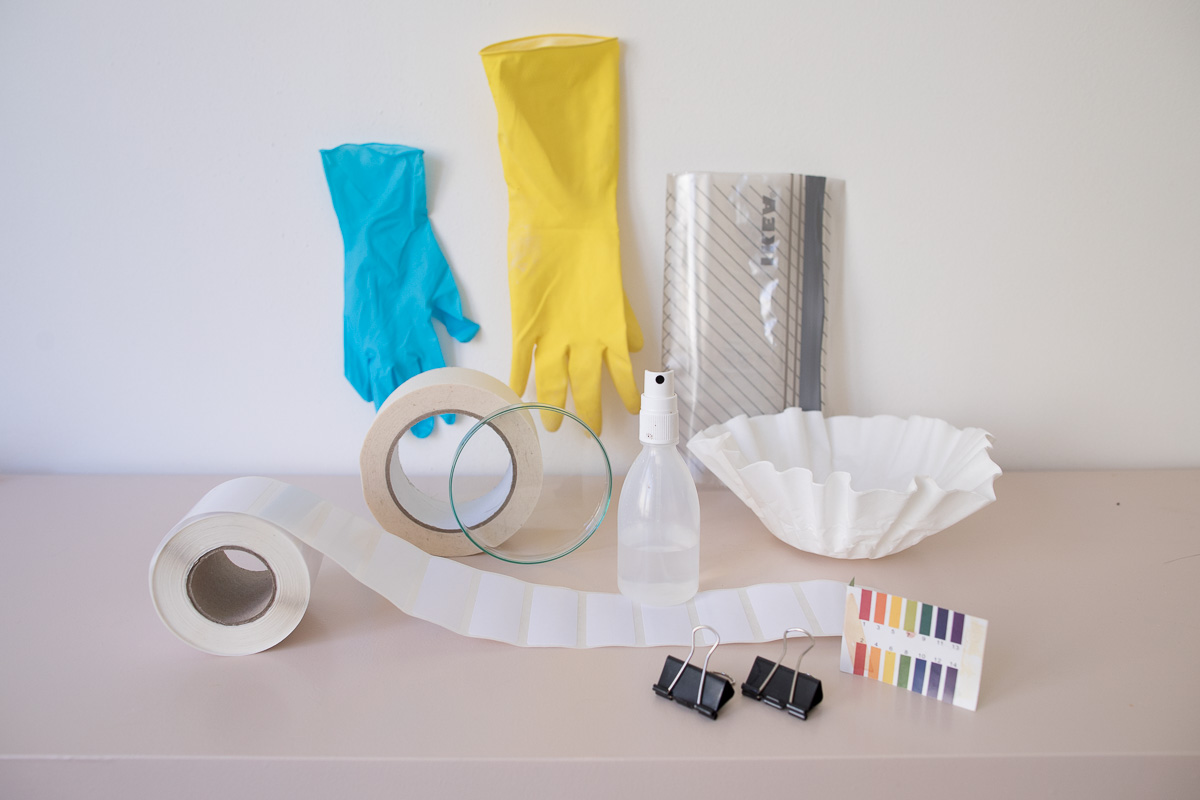 Protective gloves, labels, clips, coffee filters, large ziplock bag, spray bottle, petri dish, tape, and (optional) PH paper, Loes Bogers, 2020
Tools for documenting
- Pen and paper or a notebook
- A laptop with an internet connection
- Optional: software to edit markdown files, e.g. MacDown (for Mac)
- Labels or painting tape for temporary labeling
- An office printer to print labels
- A4 paper 160 or 210 grams/m2 (whatever your printer can take)
- For now, the label templates can only be edited well in Adobe InDesign
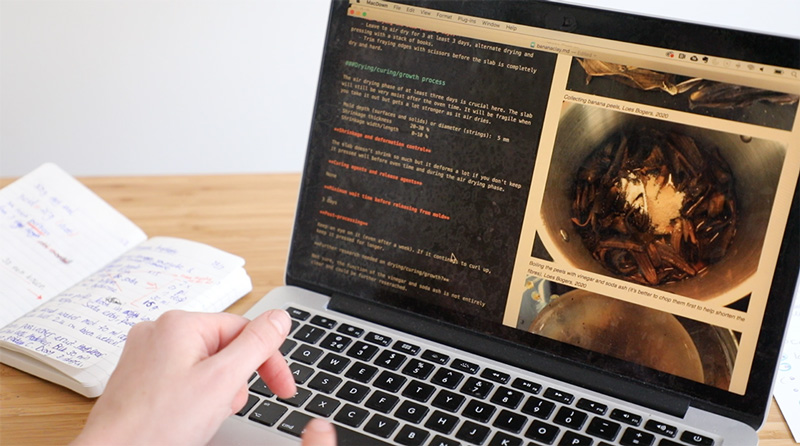 Editing a markdown file, Loes Bogers, 2020
Biolab supplies for microbial growth
And finally, the hard(er) but very exciting part! You will need these tools to explore the bacterial dye (with the Serratie Marcescens bacteria). You might also try to contact a local microbiology lab or open biolab (maybe at a high school even?) to take your first steps in microbiology. None of the other recipes require these tools.
- Pressure cooker pan
- 2x Glass petri dish large 20 cm diameter
- 12x (or more) small petri dishes, ideally glass ones
- A gas burner (like a campinggaz or bunsen burner)
- A lighter
- A permanent marker (thin)
- An inoculation loop or any other metal wire formed as a loop
- 2x heat proof glass bottle with screw cap, 500 ml
- Optional: Autoclave tape
- Parafilm
- An incubator or temperature controlled box (26-30 degrees C)
- Disposable vinyl gloves
Picture will follow
Optional tools
- A wider variety of silicone and acrylic molds. You can buy these and some you can make yourself.
- Additional acrylic sheet to cut modular molds (if you have access to a laser cutter)
- Nuts & bolts to keep modular molds together
- A stand to use for the tactility videos, cut from 4 mm MDF (download the Illustrator file, or the DXF file).
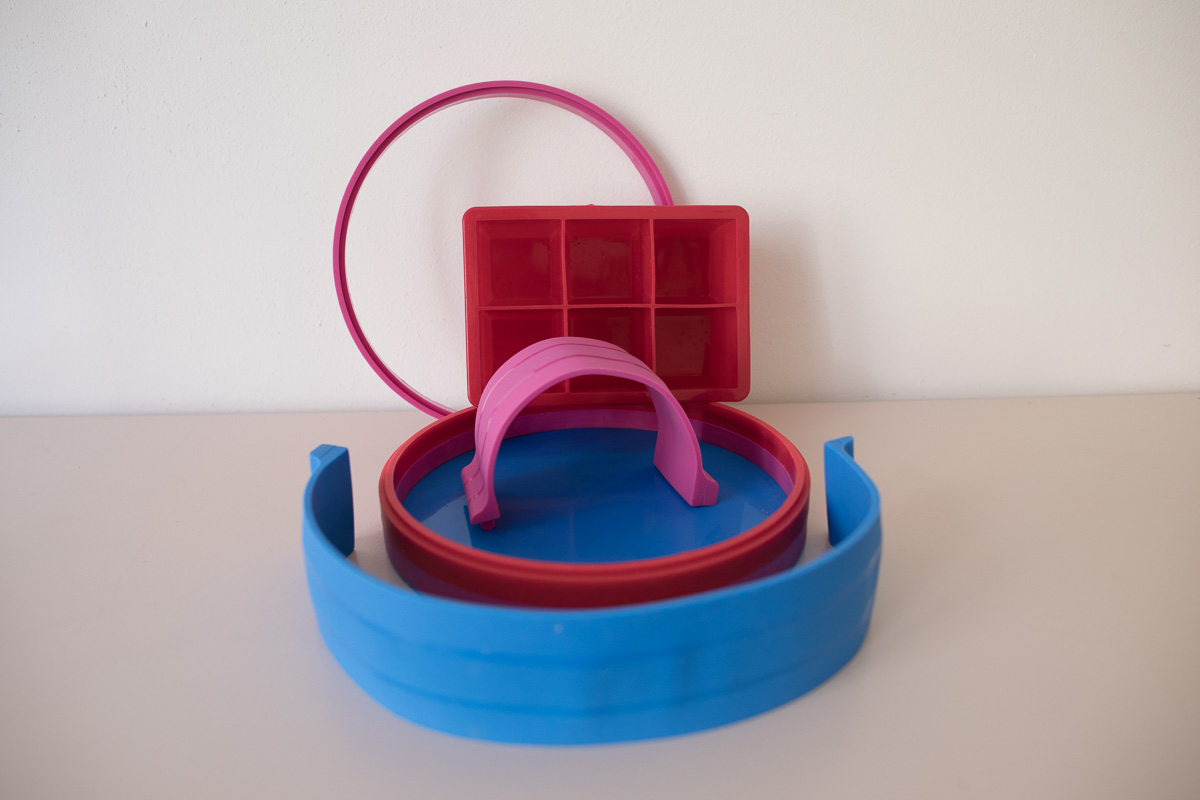 Optional: various silicone moulds: stackable with removable bottom, modular walls with metal wire inside to bend them into shape, and an XXL ice cube tray, Loes Bogers, 2020
 Optional: a stand to make tactility videos with your phone, Loes Bogers, 2020