5. E-textiles
hard/soft connections (buttons)
analog - capacitative
Research
I am fortunate to have a background in electronics tat I built up during FabAcademy and a few personal projects. Working with these materials is completely new to me however as well as actually making sensors, so this week is quite exciting. The lectures gave me a few good ideas on how to get started.
Soft Digital
I have tried to replicate the example circuit given, to understand how these sensors come together and investigate the connections to connect it up to the arduino. First however, I checked to see if the fabric I bought could actually carry a current.

Materials
- RF shielding fabric
- SCUBA
- PVA glue
- RF shielding tape
- wire
- Arduino
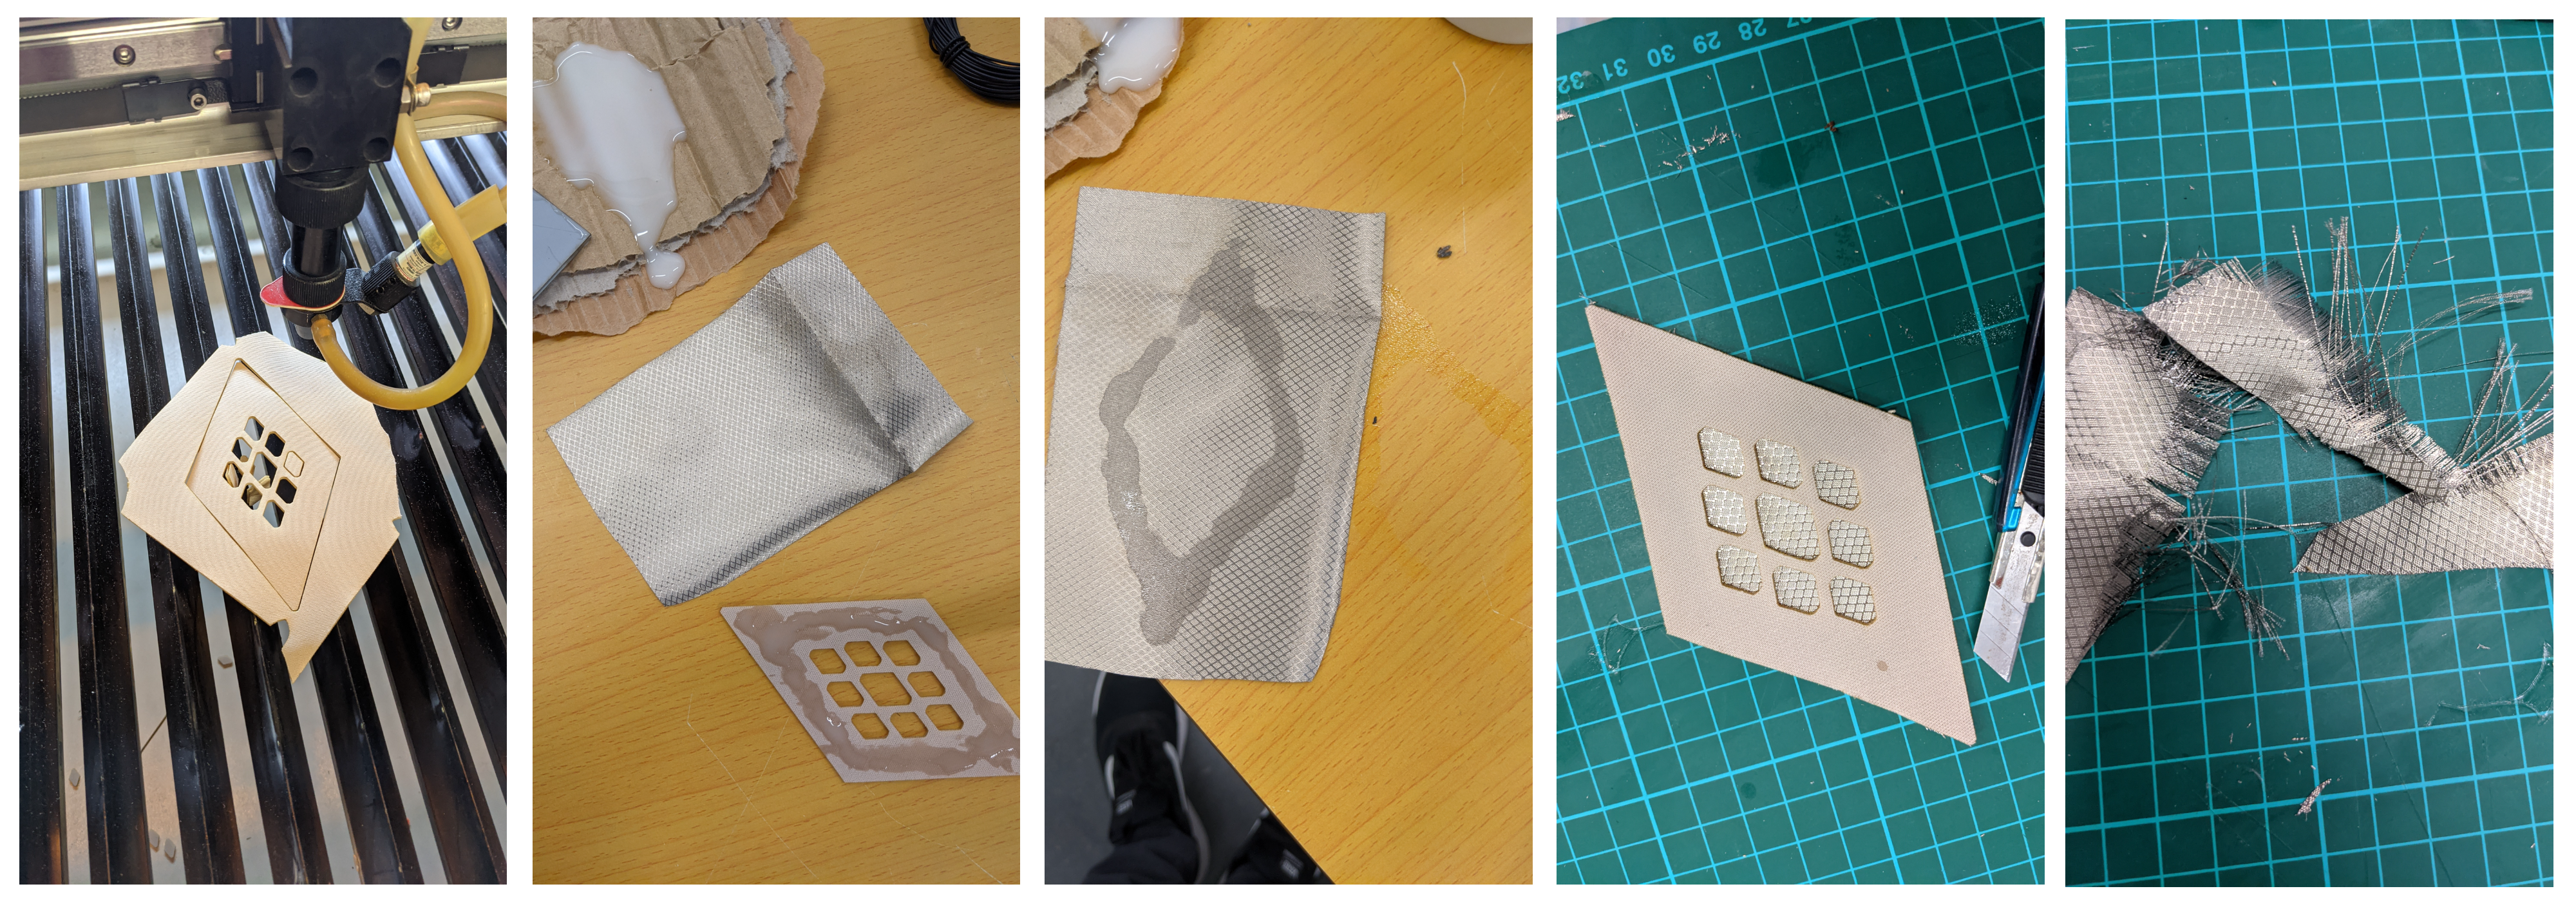
I started by doing a simple design in Rhino and laser cutting using some of the waste SCUBA I had from the Circular Fashion week. To this I stuck a small square of my RF Shielding Fabric using PVA glue (Im sure I should be using something else)(*edit - my tutor pointed out I should either sew or use an "interfacing layer" which can be ironed on). It was interesting to see how permiable the RF fabric was as it felt quite plastic and I didnt think the glue would soak through.
I trimmed down the material and did the same to the other side.
I was concerned the circuit might short as the RF Fabric freyed quite a lot on the ends, another reason why some better form of attachement (interfacing or sewing) would have been better.
For the connection I stripped a red and black wire to indicate +ve and -ve side and attached this with some RF tape. Using this tape was unnecessary really, but it bonded well and matched the RF fabric I was already using. It is interesting to note that the sticky side of the RF tape was nonconductive, but the other side was.
 First I am just testing the circuit to make sure the switch is working as I intended.
Success!
Now to add some arduino... I did a simple blink sketch which was activated when the button was pressed.
// constants won't change. They're used here to set pin numbers:
const int buttonPin = 8;     // the number of the pushbutton pin
const int ledPin =  7;      // the number of the LED pin

// variables will change:
int buttonState = 0;         // variable for reading the pushbutton status

void setup() {
  // initialize the LED pin as an output:
  pinMode(ledPin, OUTPUT);
  // initialize the pushbutton pin as an input:
  pinMode(buttonPin, INPUT);
}

void loop() {
  // read the state of the pushbutton value:
  buttonState = digitalRead(buttonPin);

  // check if the pushbutton is pressed. If it is, the buttonState is HIGH:
  if (buttonState == HIGH) {
    // turn LED on:
    digitalWrite(ledPin, HIGH);
    delay(1000);
    digitalWrite(ledPin, LOW);
    delay(1000);
  }
  else {
    // turn LED off:
    digitalWrite(ledPin, LOW);
  }
}
I have some small motors which I want to use as an output. I was thinking of something to make and came up with the idea for a posture corrector/ massager. When I am feeling stressed or tired I tend to slouch more when I am working. To help battle this I would like to make a chair massager which is activated when you are sitting in the chair properly (back straight agaisnt the back not slouching).
This will encourage the user to sit up straight with the reward of getting a back massage and the positive posture will help keep a positive mood when stressed.
Soft Analog
Useful links
Code Example
Use the three backticks to separate code.
// the setup function runs once when you press reset or power the board
void setup() {
  // initialize digital pin LED_BUILTIN as an output.
  pinMode(LED_BUILTIN, OUTPUT);
}

// the loop function runs over and over again forever
void loop() {
  digitalWrite(LED_BUILTIN, HIGH);   // turn the LED on (HIGH is the voltage level)
  delay(1000);                       // wait for a second
  digitalWrite(LED_BUILTIN, LOW);    // turn the LED off by making the voltage LOW
  delay(1000);                       // wait for a second
}
Learning outcomes
Understand how we can produce soft circuits, sensors and actuators Learn how to embed them in garments, soft objects or wearables Study and learn soft-hard connections Discover necessary materials, components, tools Explore and replicate existing projects Student checklist
Build at least one digital and one analogue soft sensors, using different materials and techniques. Document the sensor project as well as the readings got using the AnalogRead of Arduino Integrate the two soft sensors into one or two textile swatches using hard soft connections Document the circuit and it’s schematic Document your swatches Upload a small video of the swatches functioning Integrate the swatch into a project (extra credit)