10. Textile Scaffold
The two processes I have chosen for this module:
1) Resin and Bioresin textiles composite
2) Leather molding
What is Resin?
A good website to learn about resin is found here
"Resin is a thick, gooey substance that can be found in nature or made in a lab. Resin is a solid or highly viscous liquid that can be converted into polymers, making it useful for many different applications from art to manufacturing."
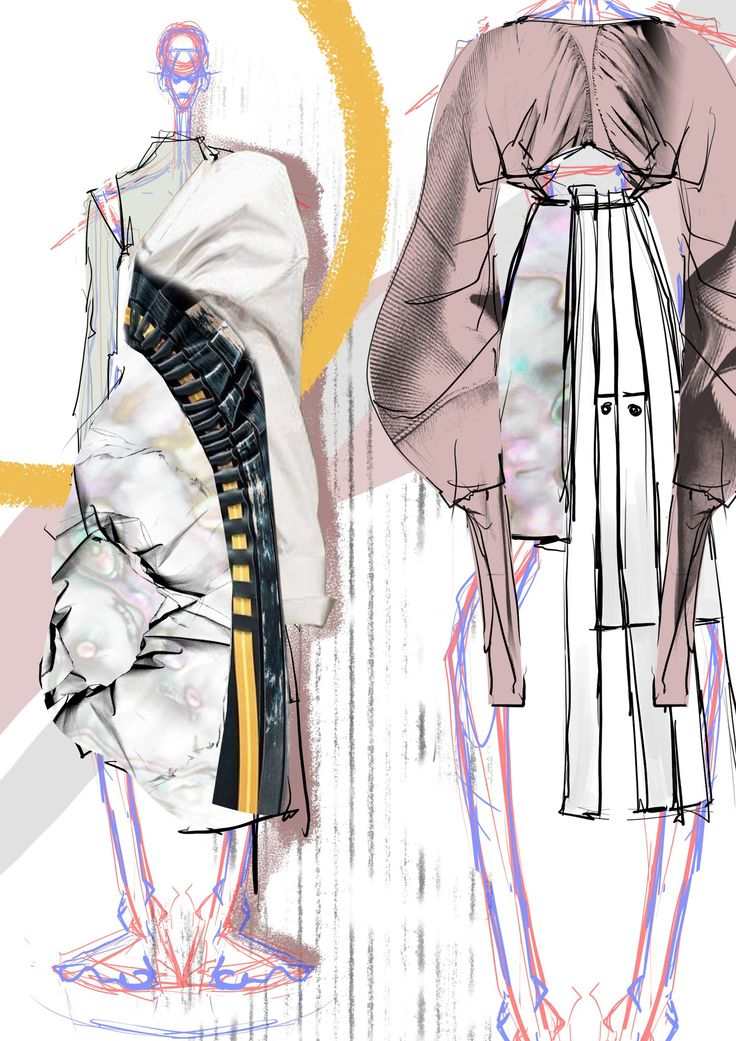
Concept, sketches, and references to artistic and scientific publications
Scientific Publications
ScienceDirect
a scientific publication. The article linked here From the article abstract, "This chapter talks about different types of additives and modifiers for biopolymers and study their effects on properties." The article explains how, what, and why different additives and modifiers are generally blended with virgin bioresin to obtain useful performance properties similar to those of conventional polymers, including melt strength, thermal stability, melt lubricity, impact strength, heat resistance, flame resistance, gas barrier properties, and antifogging properties. The article discusses the idea that biopolymers additives must not have adverse environmental or health effect and not compromise the biodegradability of the material.
10 Unique Art Projects
Using Bio Resins You Can Try is linked here. This article is useful for expanding my ideas of projects and processes using bioresin.
Bio-Art: Where Art Meets Living Materials
The Conscious Architect: Bio-Art: Where Art Meets Living Materials can be linked here. This article explores Bio-art including:
1) It's history and evolution from from scientific experiments to artistic expression
2) Materials and techniques
3) Groundbreaking Bio-Artists Shaping the Field
Bio-Based and Eco-Friendly Resins: Sustainable Innovation in Resin Art
This article, linked here, explores the significance of bio-based and sustainable resin materials, essential for responsible artistry. It explore how eco-conscious resins are transforming the resin art industry, while also providing a guide to making informed, planet-friendly choices.
What is Leather Molding?
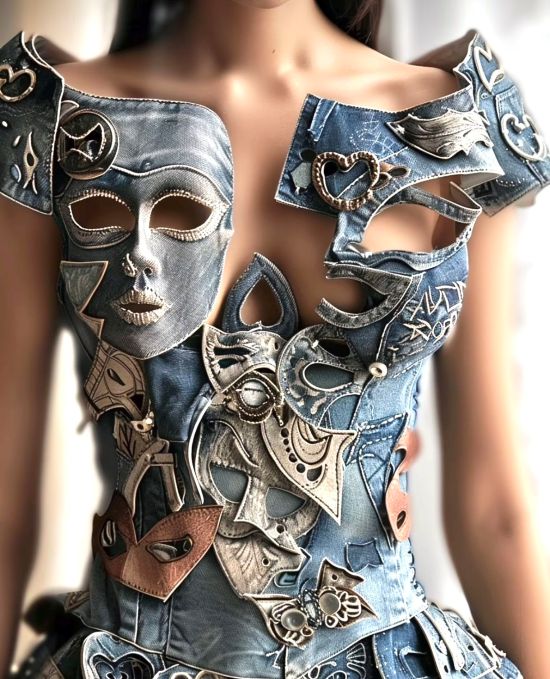
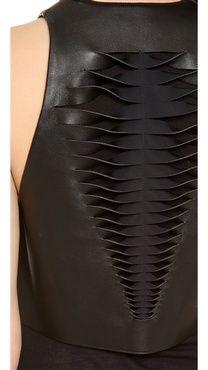
Research
 |
 |
 |
 |
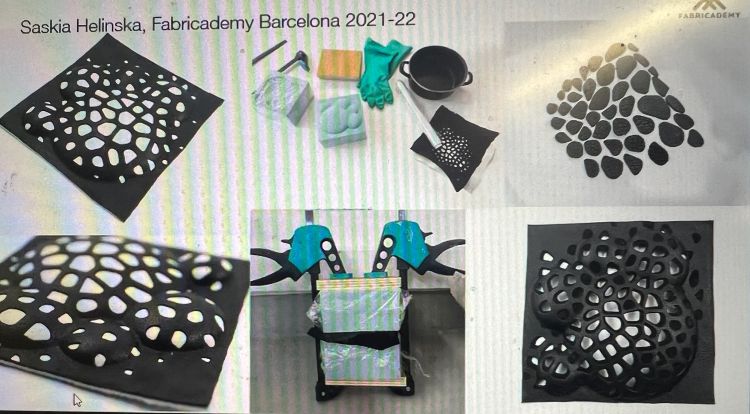
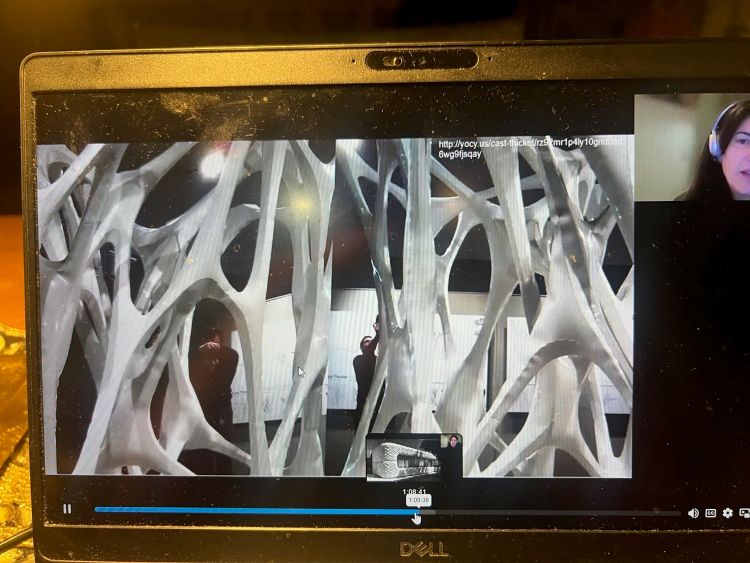
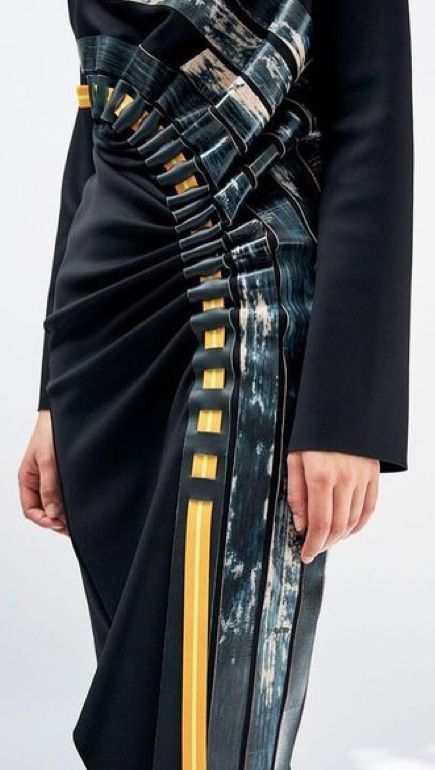
Alexander McQueen, Dress from First Art Museum Exhibit, 2025
 |
 |
 |
 |
 |
 |
 |
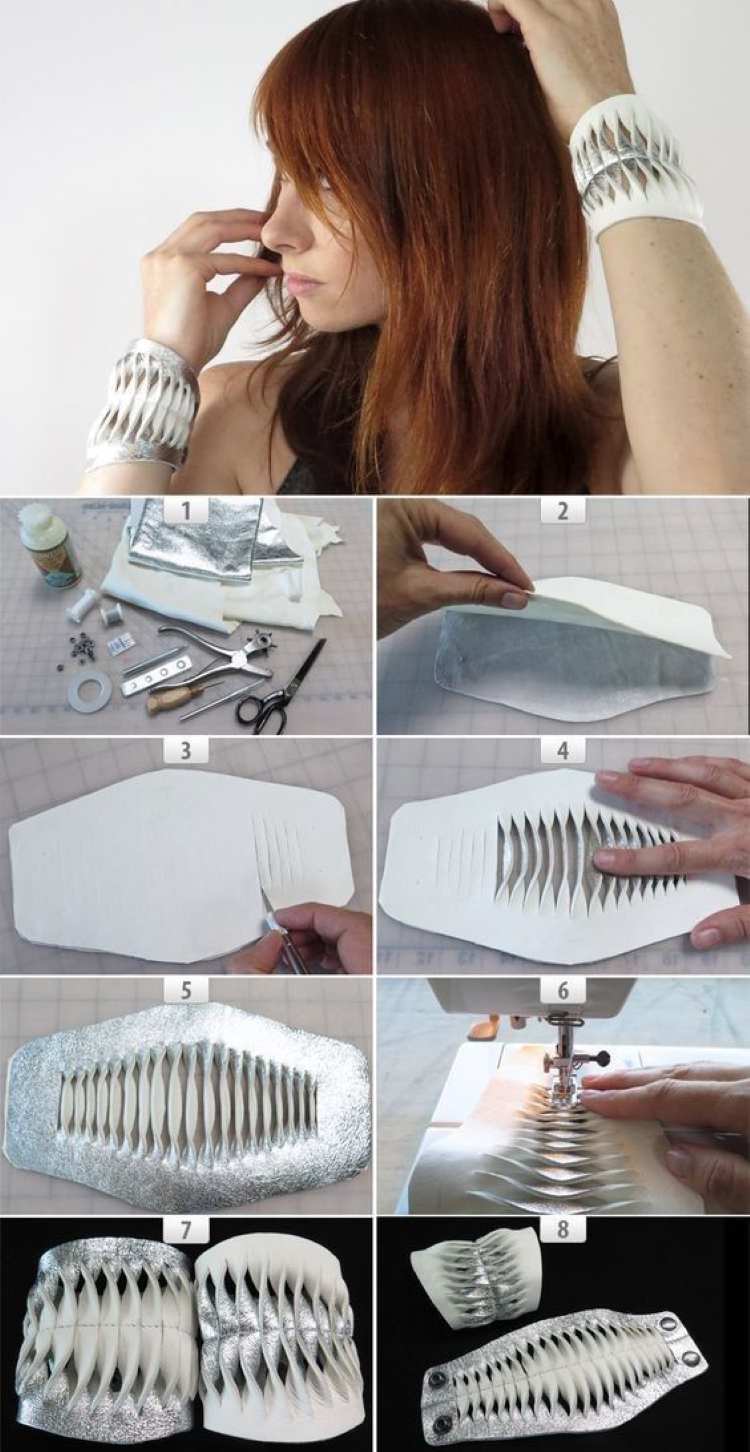 |
Workflow
Leather Molding
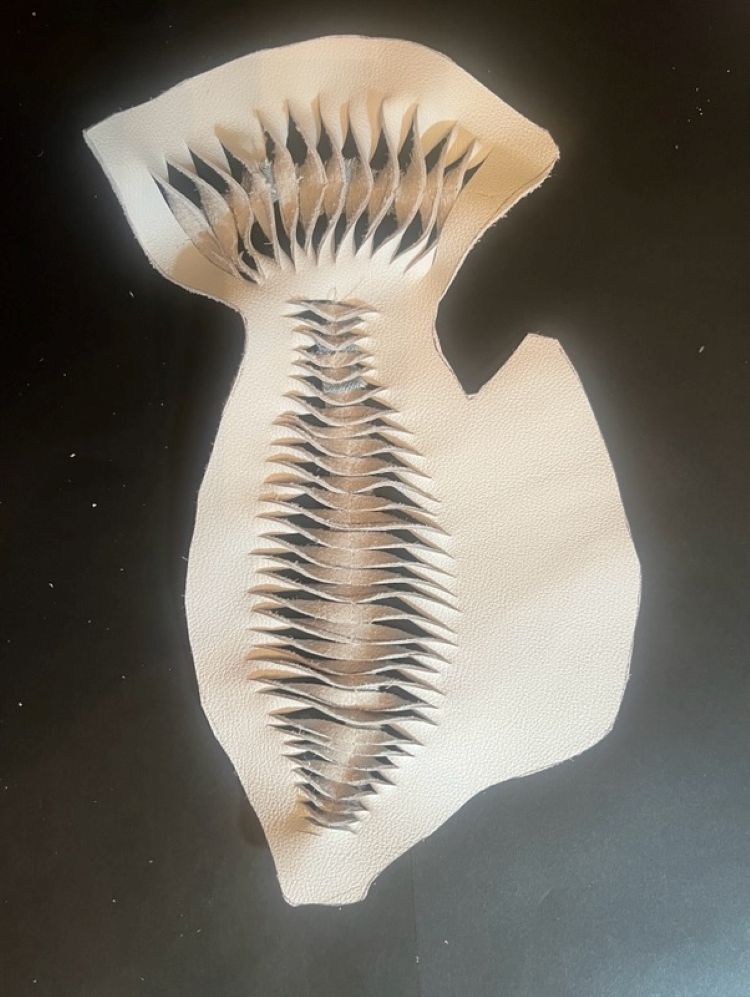
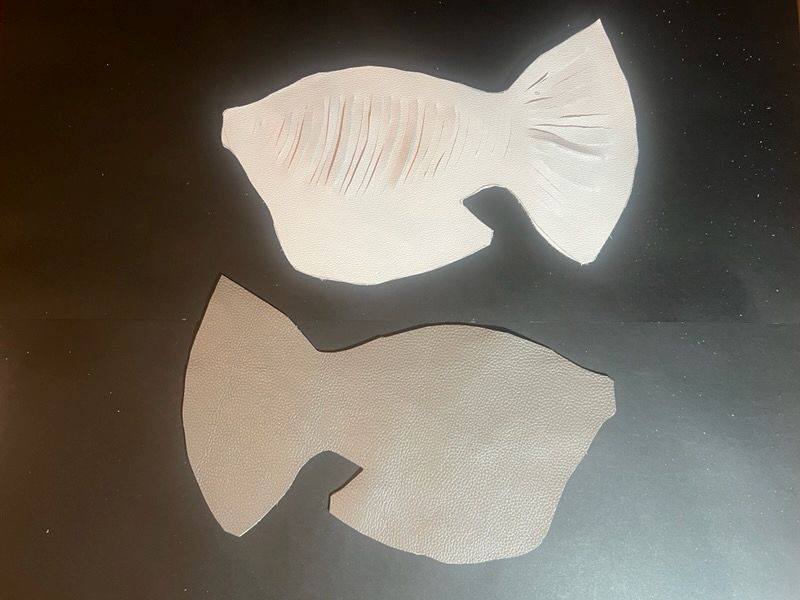
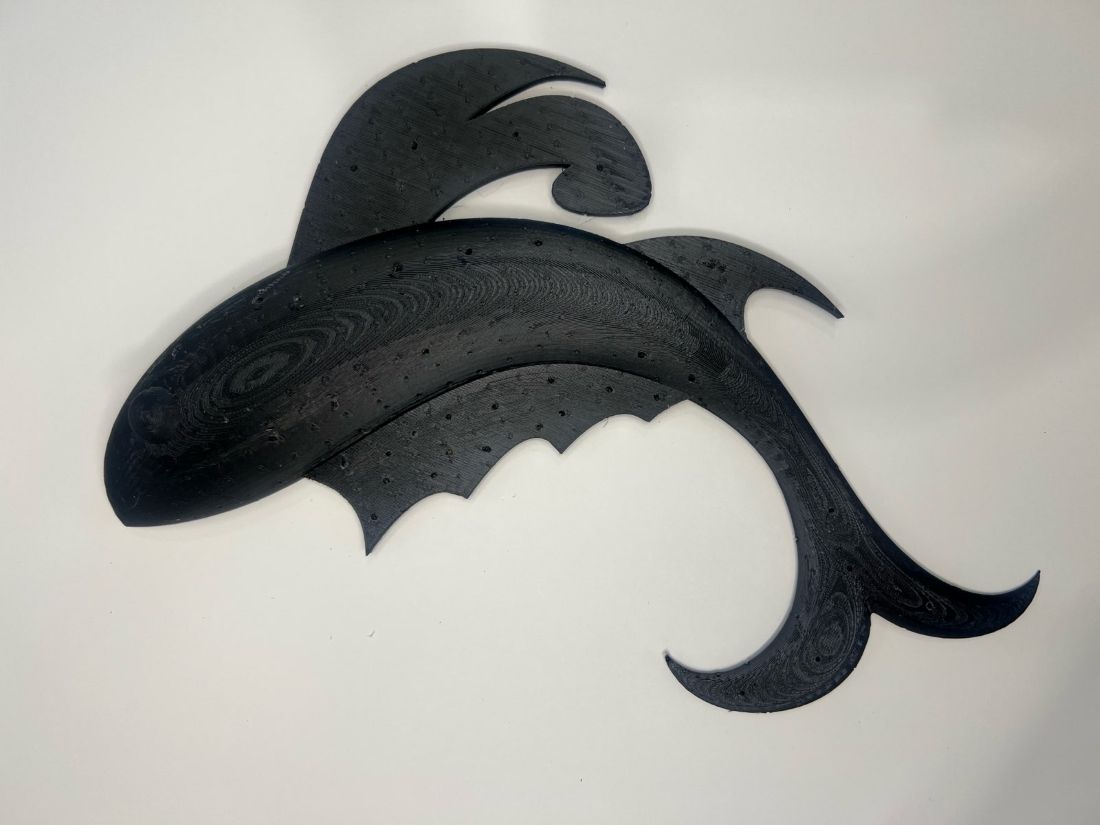
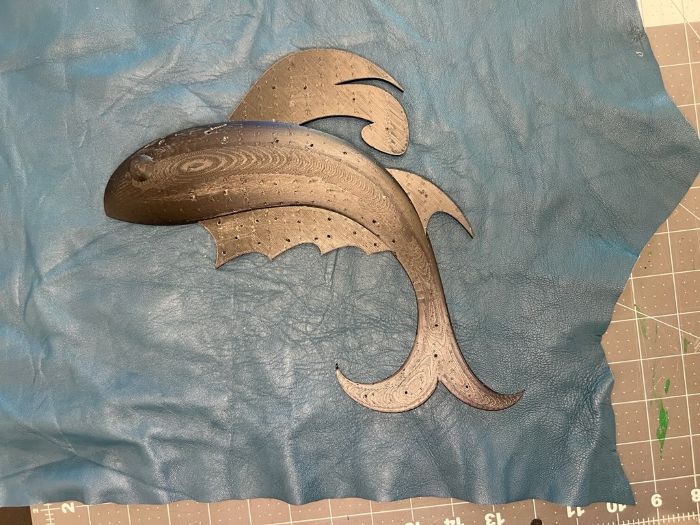
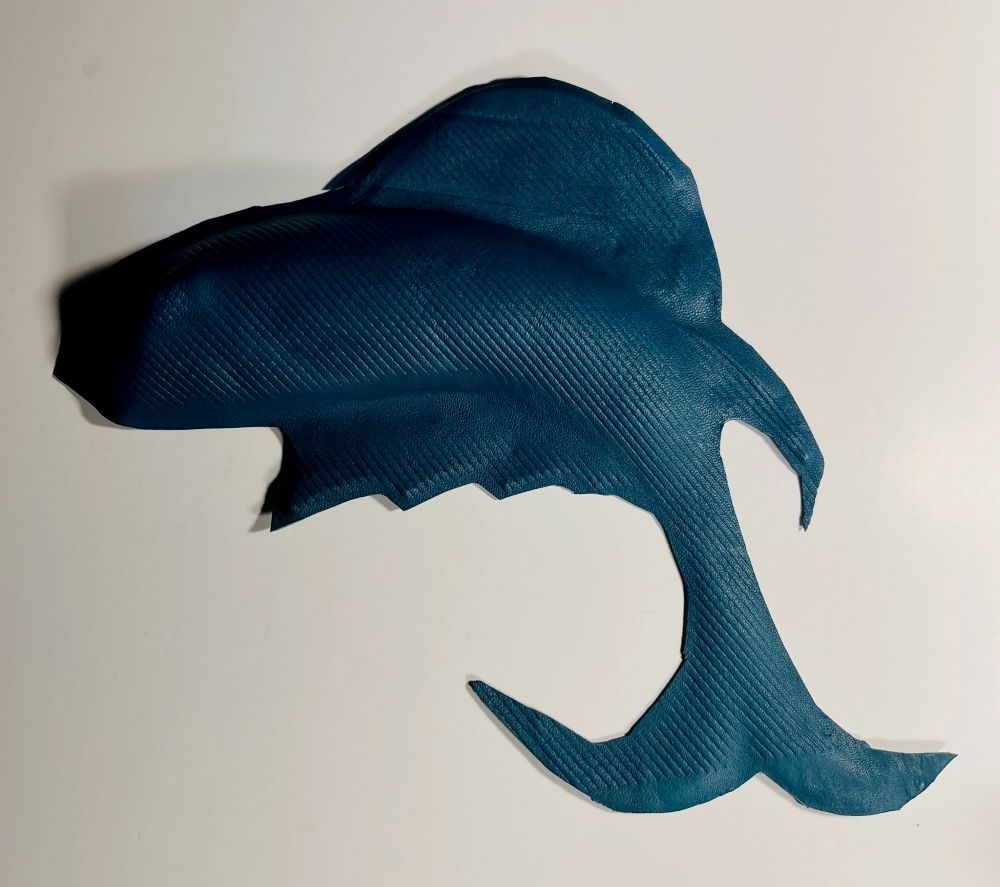
Below is are images of fish I cut in leather, inspired by the research above.
 |
 |
Creating a Molded Leather Fish:
1) Download free file from Thingiverse here. 3-d printing file can be found here: magic fish
2) 3-d print the fish
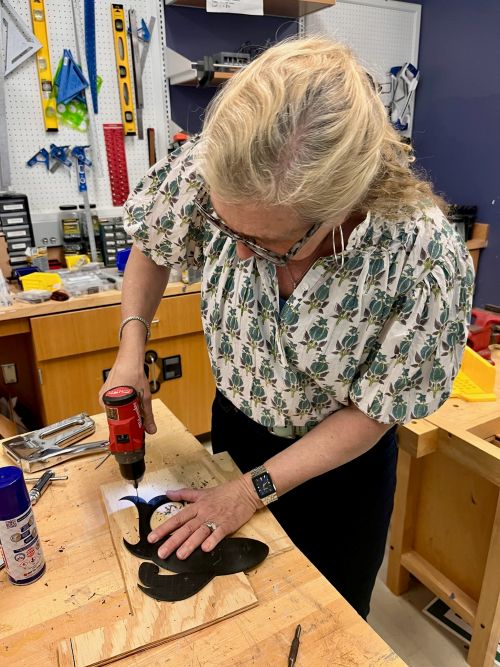
3) I tried to 3-d print holes but they filled-in, so I drilled the holes in with an electric drill
4) Sanded the holes I drilled for a smooth finished texture
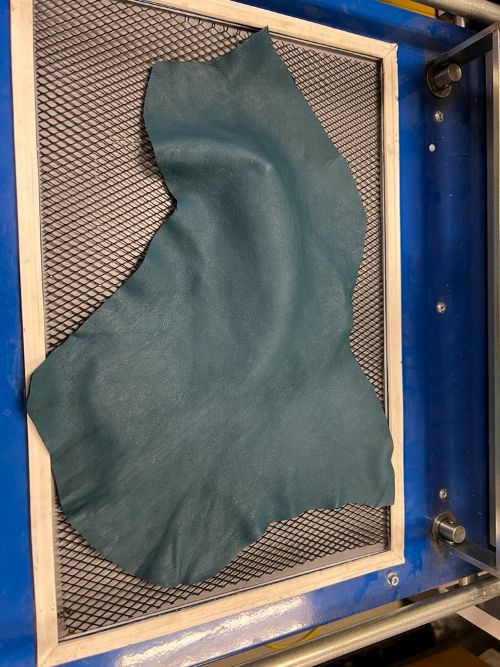
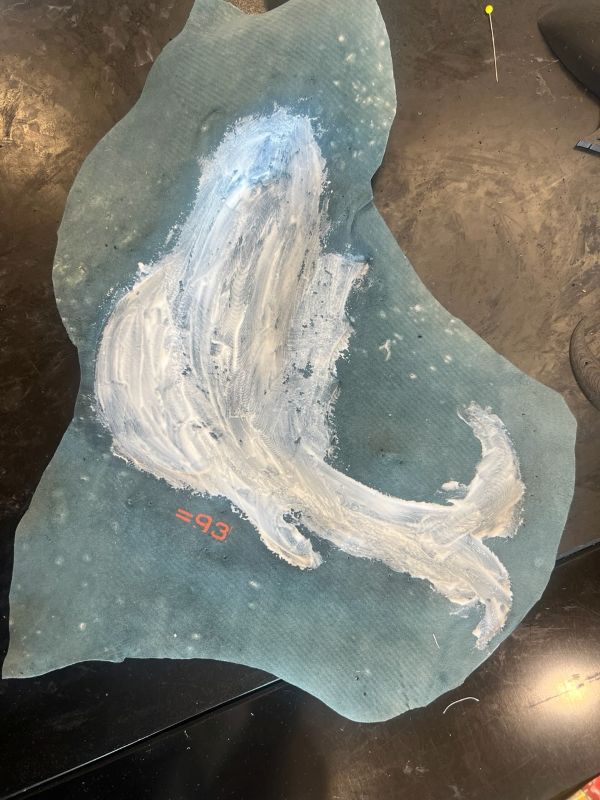
5) Cut a piece of tanned leather big enough to cover the fish
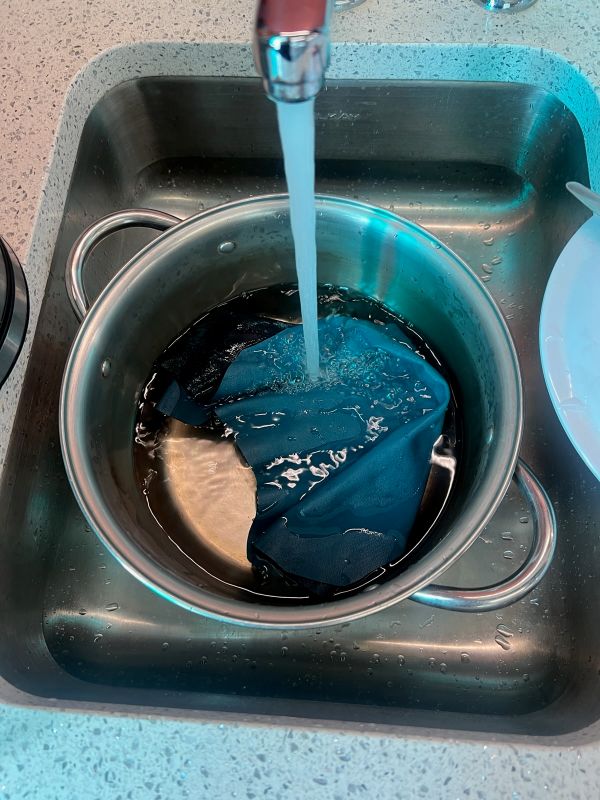
6) Soaked the leather in warm water for 30 minutes to make it pliable and stretchable
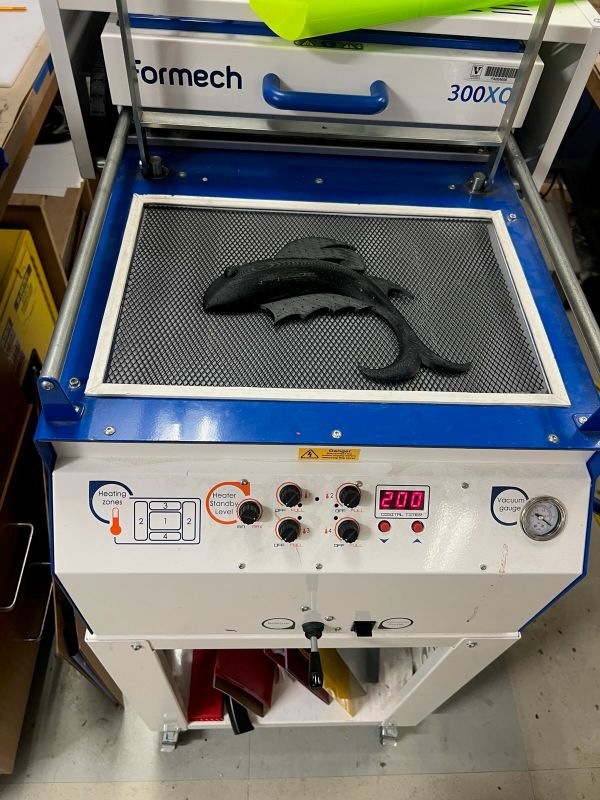
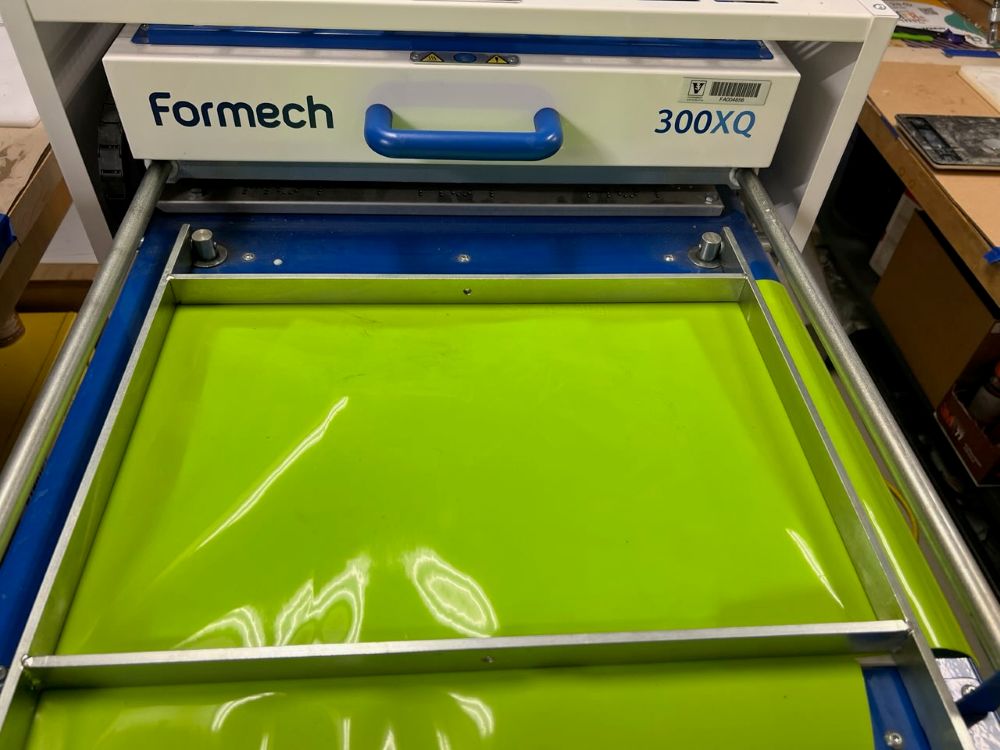
7) Put the fish in the vacuum former, covered it, then sucked the air so it would stretch to the mold.
 |
 |
 |
 |
 |
 |
 |
 |
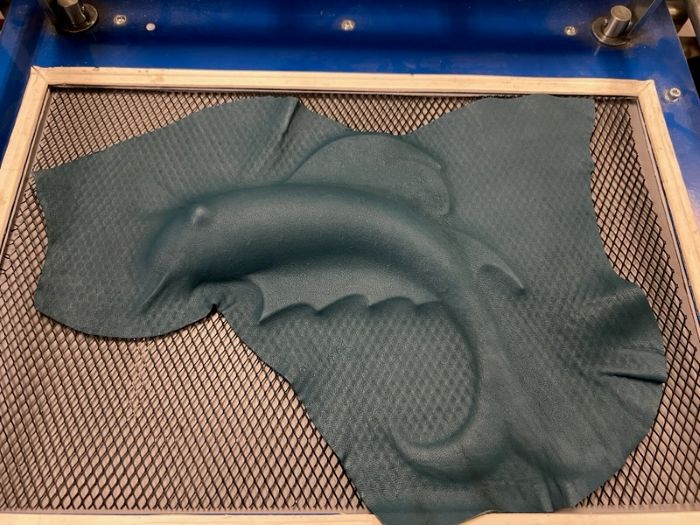 |
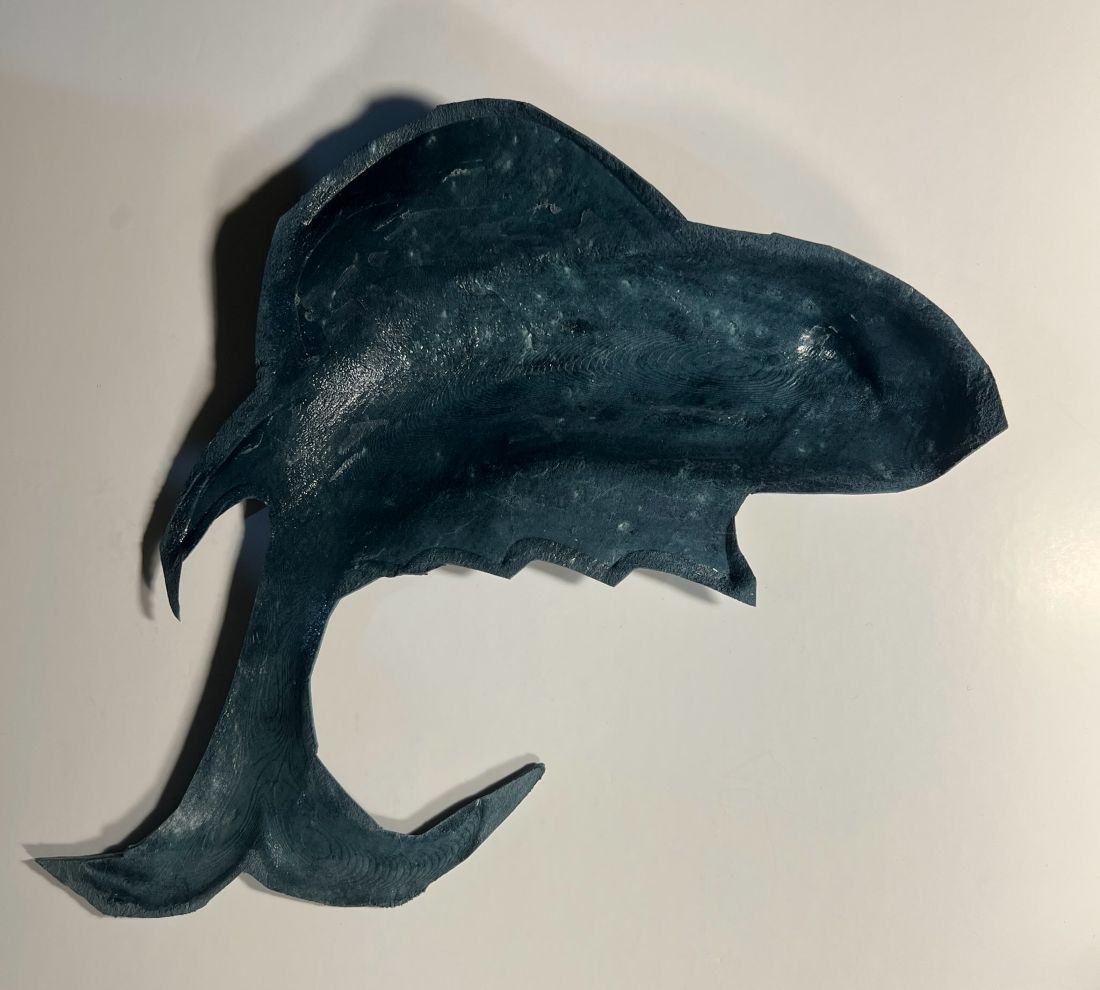
8) Took the fish and leather off the vacuum former
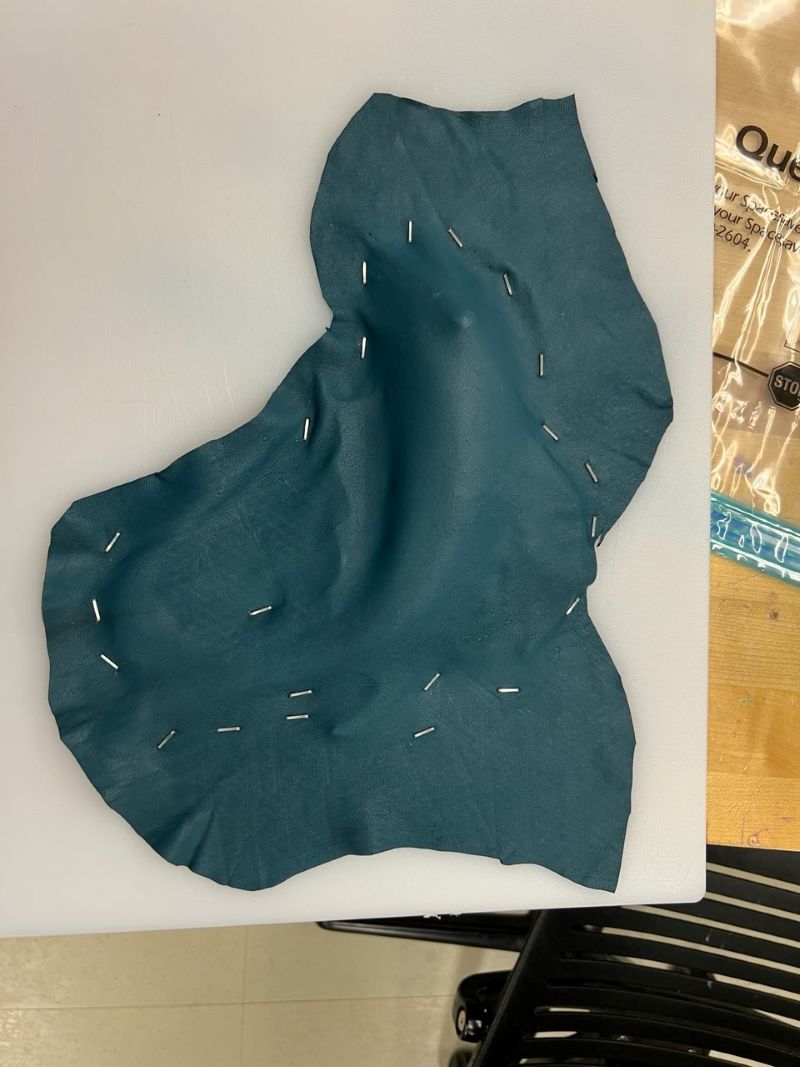
9) Stapled the leather to a board
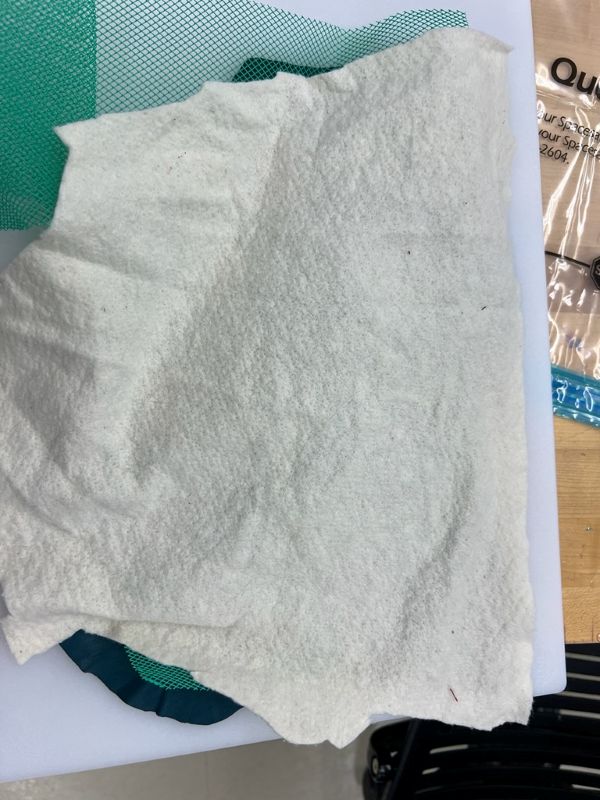
10) Placed green mesh then a layer of cotton batting on top to help absorb the water in the leather
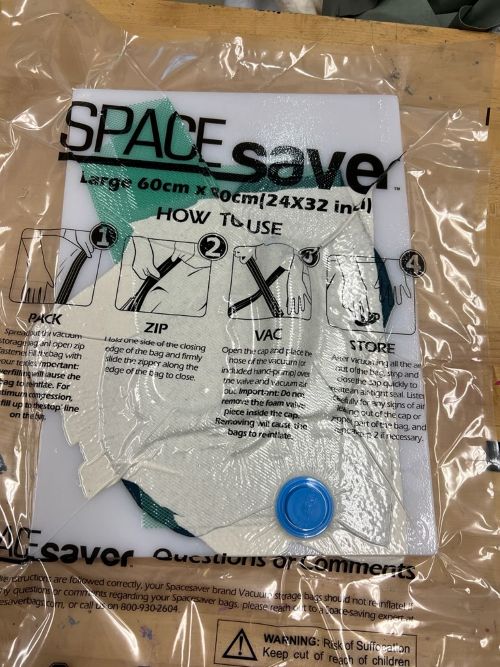
11) Placed the board into a vacuum bag, then sucked the air out
12) Left it to dry
13) Tomorrow I will see if the leather is dry enough to hold the shape
 |
 |
 |
 |
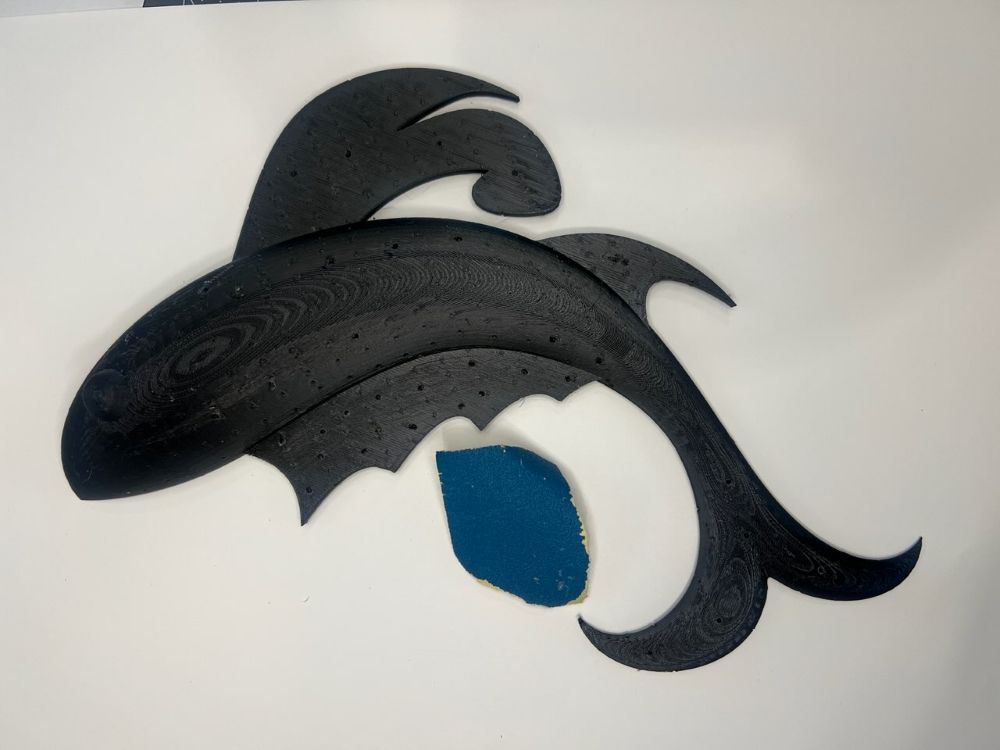
Below are images of adding glue to the back of the molded leather. As i, it is quite soft and not stiff, making the moldomg seem relatively insubstantial and not very effective.
I squirted some glue on, then brushed it with a paintbrush to cover the inside of the fish.
 |
 |
 |
Below is the fish on the inside, now cut-away from the leather around the edges, then on the right the fish with the glue from the right side.The glue has helped to harded it but the fish is still quite pliable.
 |
 |
In general, the molded leather is interesting. I used relatively lightweight lamb leather. I am going to try molding thicker leathers to see if they hold shape better than the thinner leathers.
Using Bio Resin/Bio Plastic from Week 7 with Textiles
What is the difference between Bio resin and Bio Plastic?
Composition: Bio resins are often made from plant materials, whereas bioplastics can be made from both renewable resources and conventional plastics.
Applications: Bio resins are commonly used in coatings, adhesives, and composites; bioplastics are used in packaging, containers, and consumer goods.
A chart with different recipes for a variety of outcomes
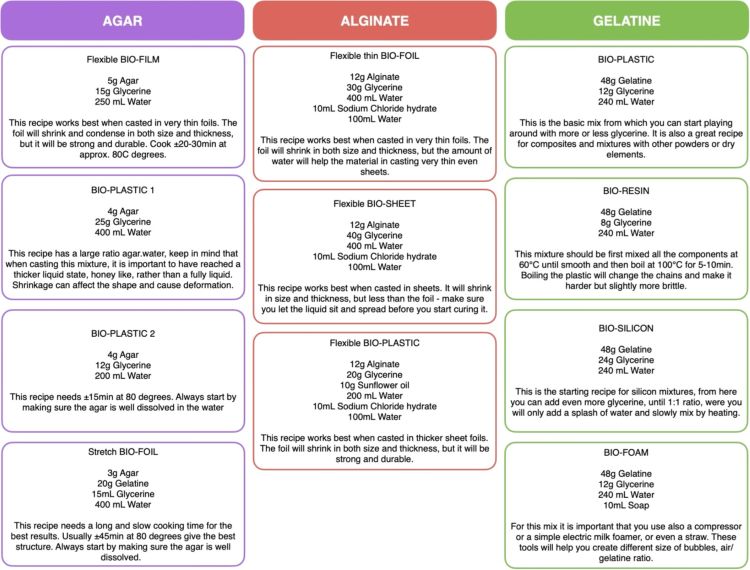
The recipe I used for the next three experiments is below.
Bioresin Denim
Experiment #1
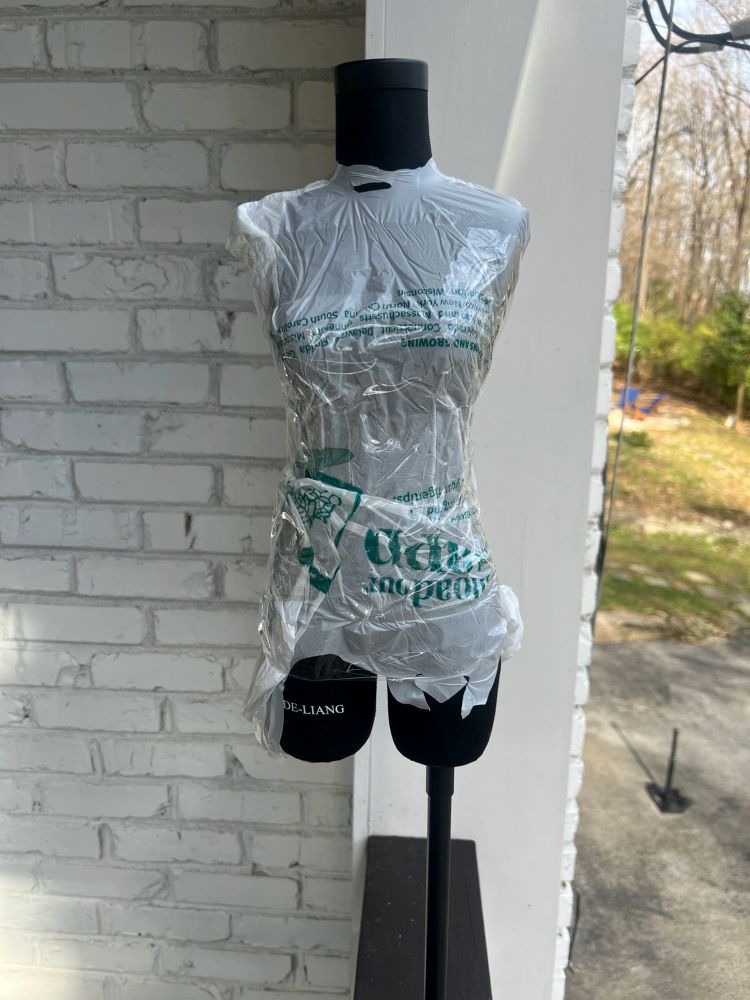
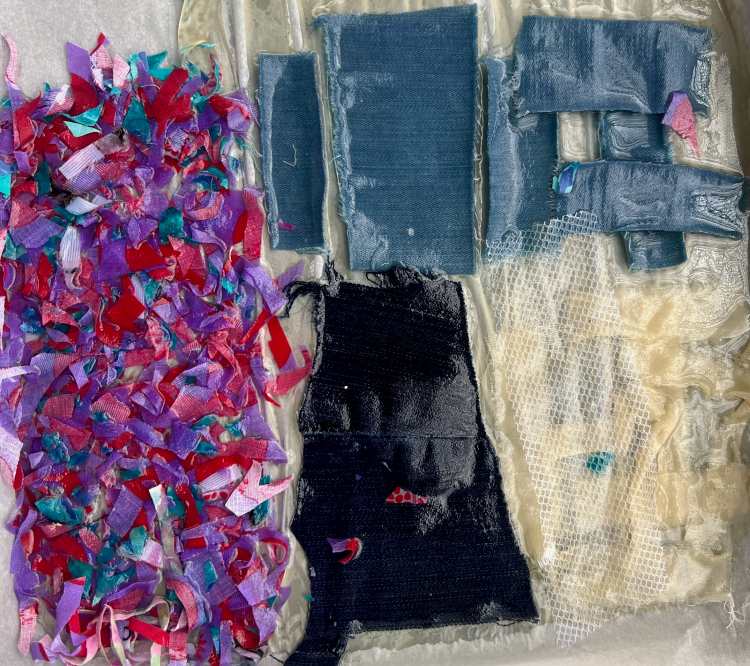
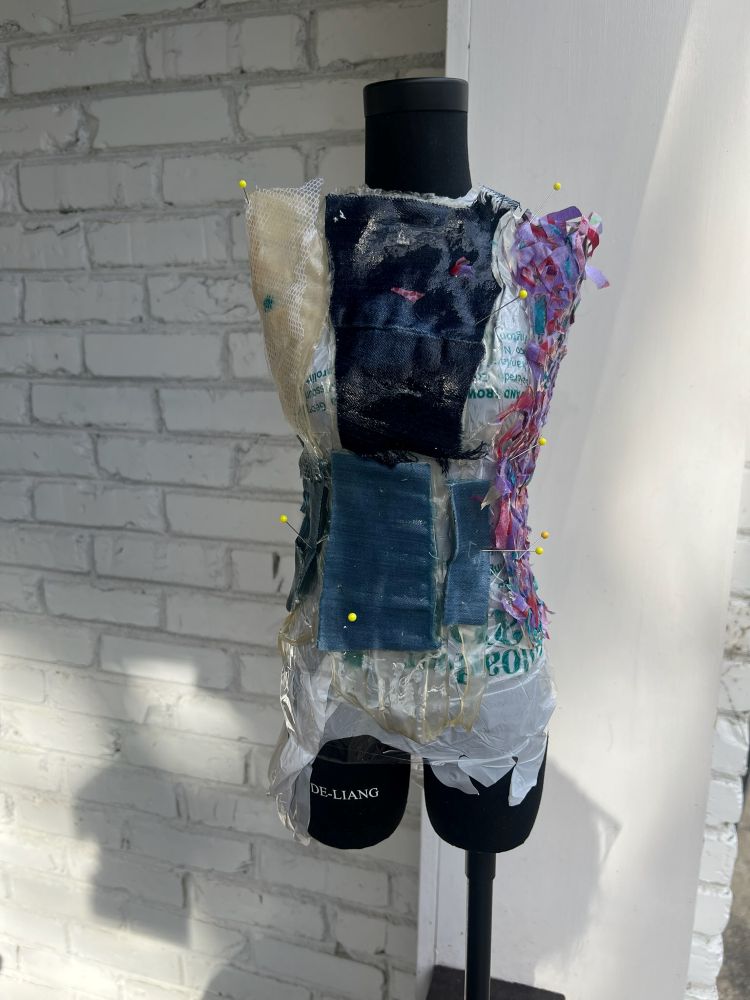
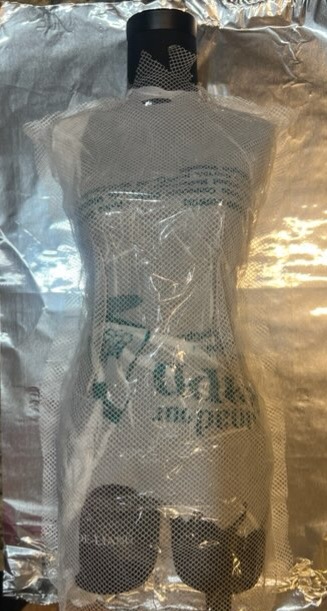
Below is a first experiment trying to make textiles from rio resin and a variety of fabrics. The fabrics include cut-up bits of cotton calico, laced denim strips in blue and white, and a larger piece of black denim. This composite fabric piece has been useful in seeing how the various textiles react and mix with the resin. The plastic covering on the 1/2 scale dress form protected it from getting stained with the resin.
 |
 |
 |
Experiment #2
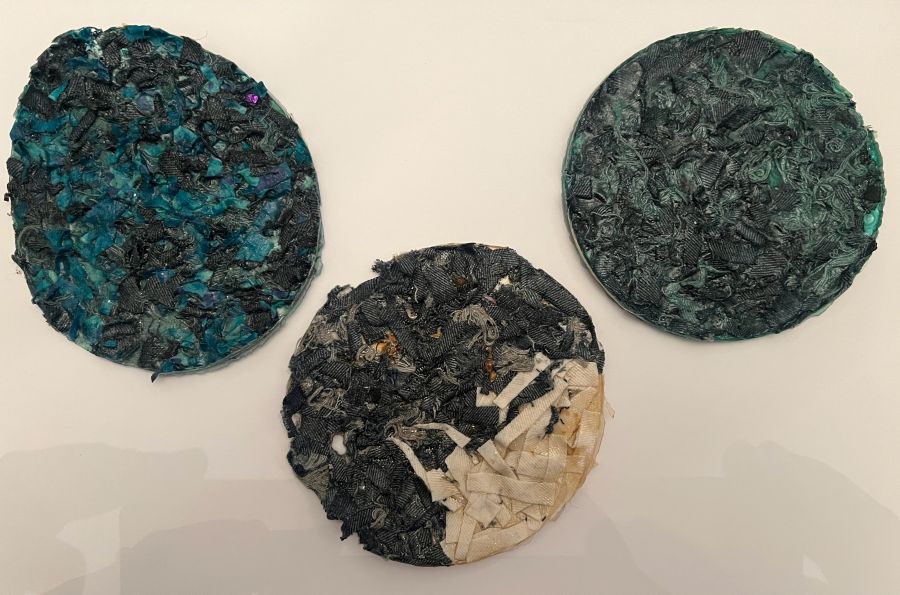
Round pieces of denim bioresin. These are made from denim cut into small pieces and mixed with bio resin before being poured into embroidery hoops quickly before they start to dry and set-up. When fully dry, they are hard without any amount of flexibility. If I wanted these samples to be flexible, I would have to add more glycerin to my recipe.
 |
Experiment #3
I made a few dressed from tulle and one also with leather strips to see how the resin would work on them, and how stiff they would get. While still a bit pliable, they hold their shape pretty well.
 |
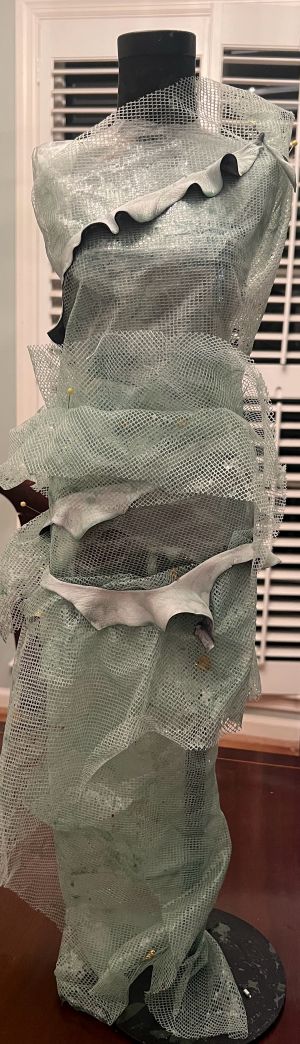 |
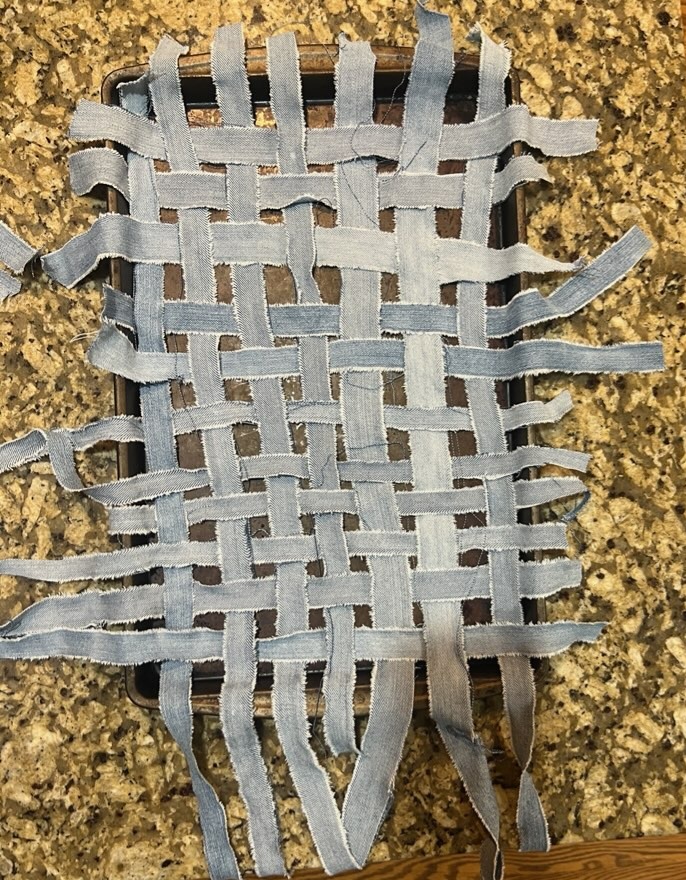
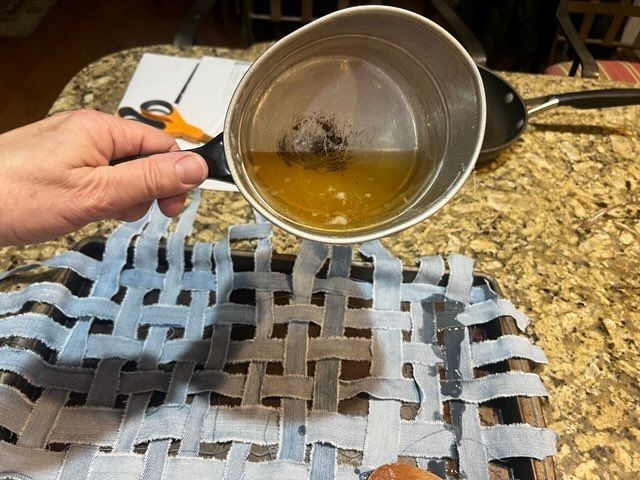
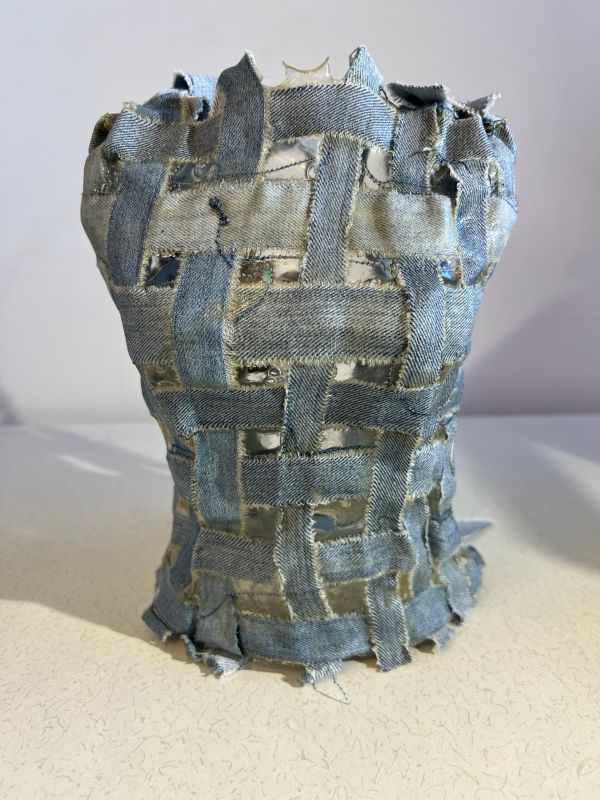
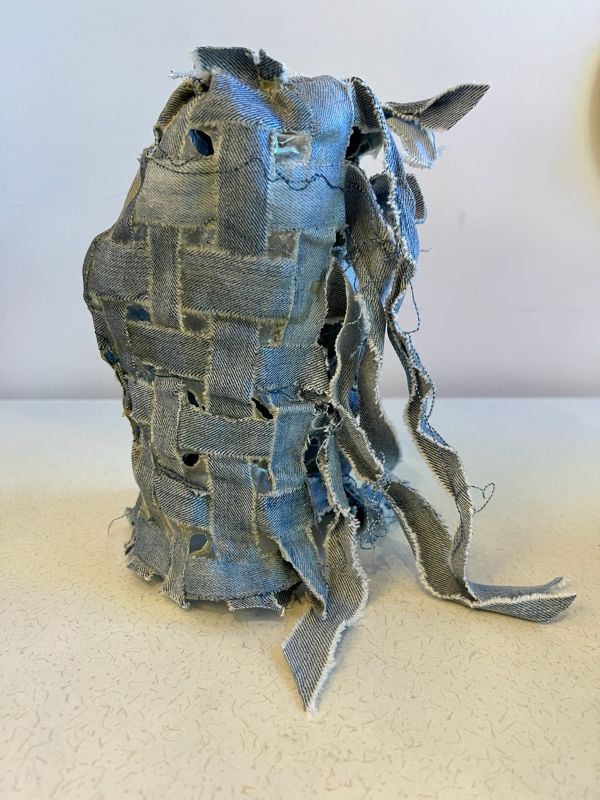
Experiment #4 I pre-wove strips of denim, then poured the bioresin over them, and then attempted to put the fabric onto the form before the resin hardened.
 |
 |
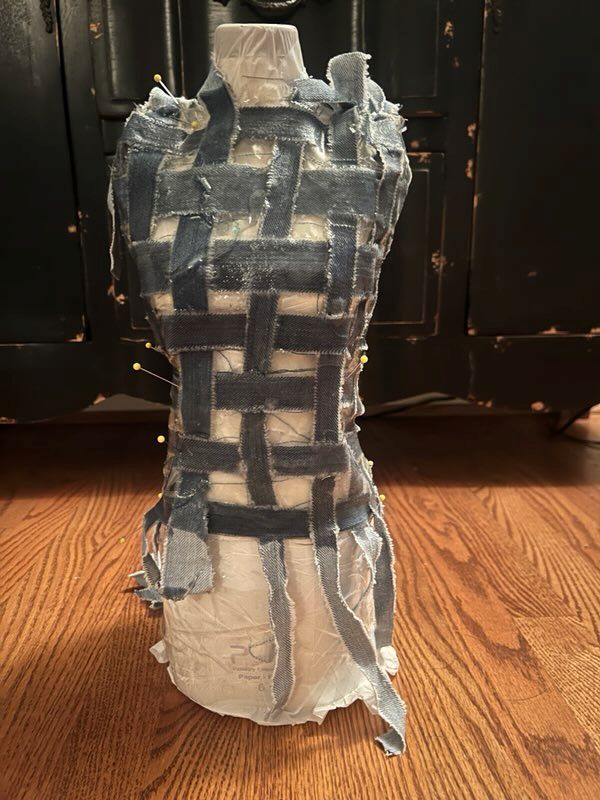 |
It is exciting to see how the bioresin mixed with denim can be used for sculptural pieces. This woven denim 1/2 scale bodice has enough flexibility to go onto the dress form but is also hard enough to stand on its own. The strips hanging down on the back are to tie it closed. Adding food coloring to the resin pot before using it or painting the hardened resin after it's dry could create a wide variety of effects.
 |
 |
 |
Bioresin Recipe from Week 7
This is a recipe I used in week 7, a"bio-resin" recipe with a lower glycerine-to-gelatine ratio is recommended, as this results in a harder, less flexible material.
Durable Gelatin Bioplastic Recipe:"Good for casting solid, more rigid objects suitable for jewelry found here
Ingredients:
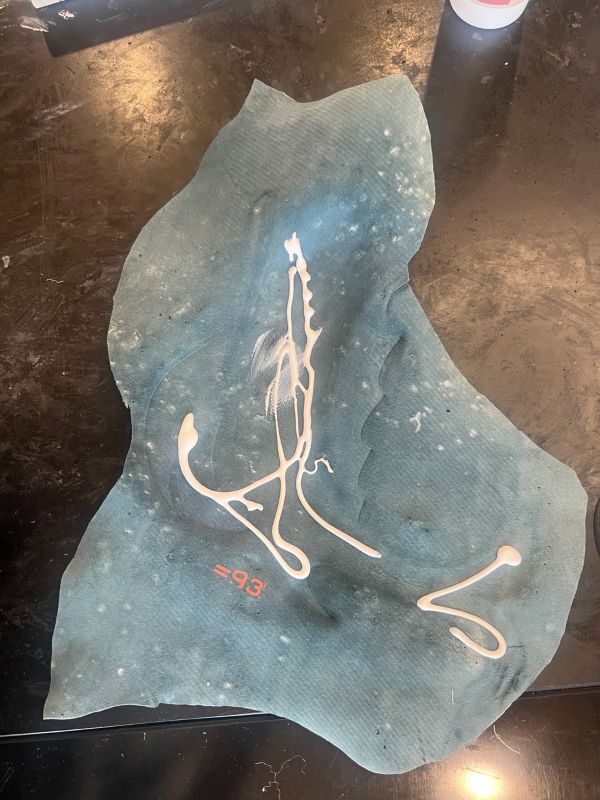
1) Gelatine powder: 48 grams (the polymer) (=1.693 ounces)
2) Glycerine: 8-12 grams (the plasticizer) (8 grams = .282 ounces) = 1.6920005 teaspoons
3) Water: 240 ml (the solvent) (8.12 ounces) (1.014 cups)
4) Optional: 2-4 drops of essential oil (as an antibacterial agent to prevent mold)
5) Optional: Pigments, food coloring, or natural dyes
Materials:
1) Saucepan
2) Measuring scale and measuring spoons
3) Spoon (avoid whisking to prevent bubbles)
4) Non-stick surface or mold (silicone, glass, or a plastic sheet works well)
5) Coffee filter or kitchen paper (for removing froth)
6) Hole punch or small drill (for making holes for earring hooks)
Instructions:
1) Mix and Dissolve: In a saucepan, combine the cold water and gelatine powder. Stir until the gelatine is completely dissolved and no lumps remain.
2) Heat: Warm the mixture on the stove over medium-low heat. Stir slowly and continuously, keeping the temperature below 80°C (176°F) to avoid boiling.
3) Add Plasticizer: Once the mixture is liquid and homogeneous, add the measured glycerine and essential oil (if using). Continue to stir gently.
4) Simmer: Simmer for at least 15 minutes, or up to an hour, while stirring regularly. Longer cooking times will evaporate more water, resulting in a thicker liquid and a more rigid, less-shrinking final product, which is ideal for small, solid items like earrings. The mixture should reach a honey-like consistency before casting.
5) Remove Froth: Use a spoon or coffee filter to remove any white foam/froth that forms on the surface for a clearer finish.
6) Color and Cast:
If using colorants, remove the mixture from the heat and stir them in.
7) Slowly pour the mixture into your molds or onto your non-stick surface, pouring into one spot to minimize air bubbles.
You can embed decorative elements like fine glitter or dried flower petals at this stage.
8) Dry and Finish:
Let the material dry in a well-ventilated, dry room for 2-5 days. Thicker pieces will take longer.
9) Regularly turn the piece over to ensure even drying and prevent molding.
10) Once completely dry and solid (it will feel like a hard plastic, not gummy), gently de-mould.
11) Use a small drill or hole punch to create holes for attaching earring hooks or jump rings.
12) Tip: If you have any scraps or mistakes, you can re-melt them later to reuse the material.