Deliverables
GANTT
Below is a rough gant chart of the timeline for my project.
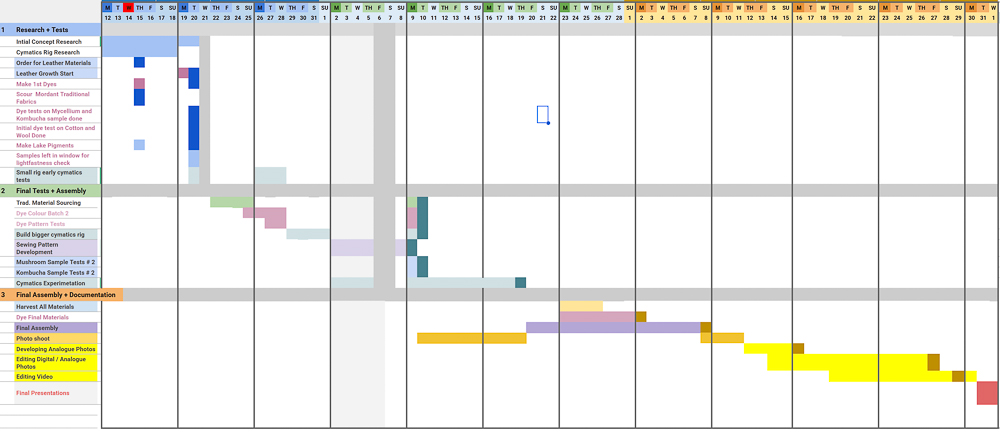
These are the goals I hope to have done by next Tuesday Jan 20th end of day:
Thursday Jan 15
Morning:
-
scour cotton with soda ash
-
Extract dyes from japanese knot weed, avacados, cabbage
After Lunch:
- Alum treat cotton
Time dependant:
shopping for wool / cotton options
By 2:30pm
-
Start making lake pigments
-
Add dye modifiers to dyes
-
package and clean up
Tuesday Jan 20:
-
Dye tests with existing mushroom and kombucha waste samples
-
Dye tests with treated cotton
-
Set up mycelium growth / and or kombucha growth if possible
-
collect lakes and dyes for trip to Ontario
-
Leave cotton test swatches in window over Quebec break to test colour fastness
BoM
Below is a working list of materials I have / will need to purchase
| Qty | Description | Price | Source | Notes |
|---|---|---|---|---|
| 1 | Wool / Silk | 120.00 $ | Local Supplier | Natural Dyes |
| 1 | Mushroom Starter | ? $ | Local Supplier | Leather |
| 1 | Kombucha Starter | ? $ | Local Supplier | Leather |
| 1 | Alum | 26.00 $ | Amazon | 1LB Mordant |
| 1 | Sodium Carbonate | 9.00 $ | Canadian Tire | For Scouring |
| 1 | Citric Acid | 12.00 $ | Amazon | Modifer |
| 1 | Small Waterproof Speaker | 30 $ | Amazon | https://www.amazon.ca/EWA-Portable-Bluetooth-Speaker-Radiator/dp/B07F9NGRKF/ref=sr_1_11?sr=8-11 |
| 1 | Large Speaker | - $ | TBD | |
| 1 | 25cm aluminum plate | - $ | TBD | |
| 1 | Surface transducer | - $ | TBD | |
| 1 | Wood Base | - $ | TBD | |
| 1 | Amplifier | - $ | TBD | |
| 1 | Large tray to catch salt and water | - $ | TBD | |
| 1 | rubber feet for anti slip | - $ | TBD | |
| 1 | hearing protection | - $ | TBD |
Below is a list of materials I already have:
| Qty | Description | Price | Link | Notes |
|---|---|---|---|---|
| - | Avacado Dye Materials | 3.00 $ | Grocery Store | Food Waste |
| - | Japanese Knotweed Dye Mat. | 0.00 $ | Home | Invasive Plant |
| - | Cosmos Dye Mat. | 0.00 $ | Home | packs of 3 |
| - | Indigo Dye Mat. | 0.00 $ | FabLab | timing |
| - | Juniper Dye Mat. | 0.00 $ | Home | |
| - | Jute Fabric | 0.00 $ | Local Coffee Roaster | Root Mat / or Test Fabric |
| - | Muslin Fabric | 0.00 $ | Home Stock / Amazon | Test Fabric |
| - | Coffee Filters | 0.00 $ | ? | For Lakes |
Machines Needed
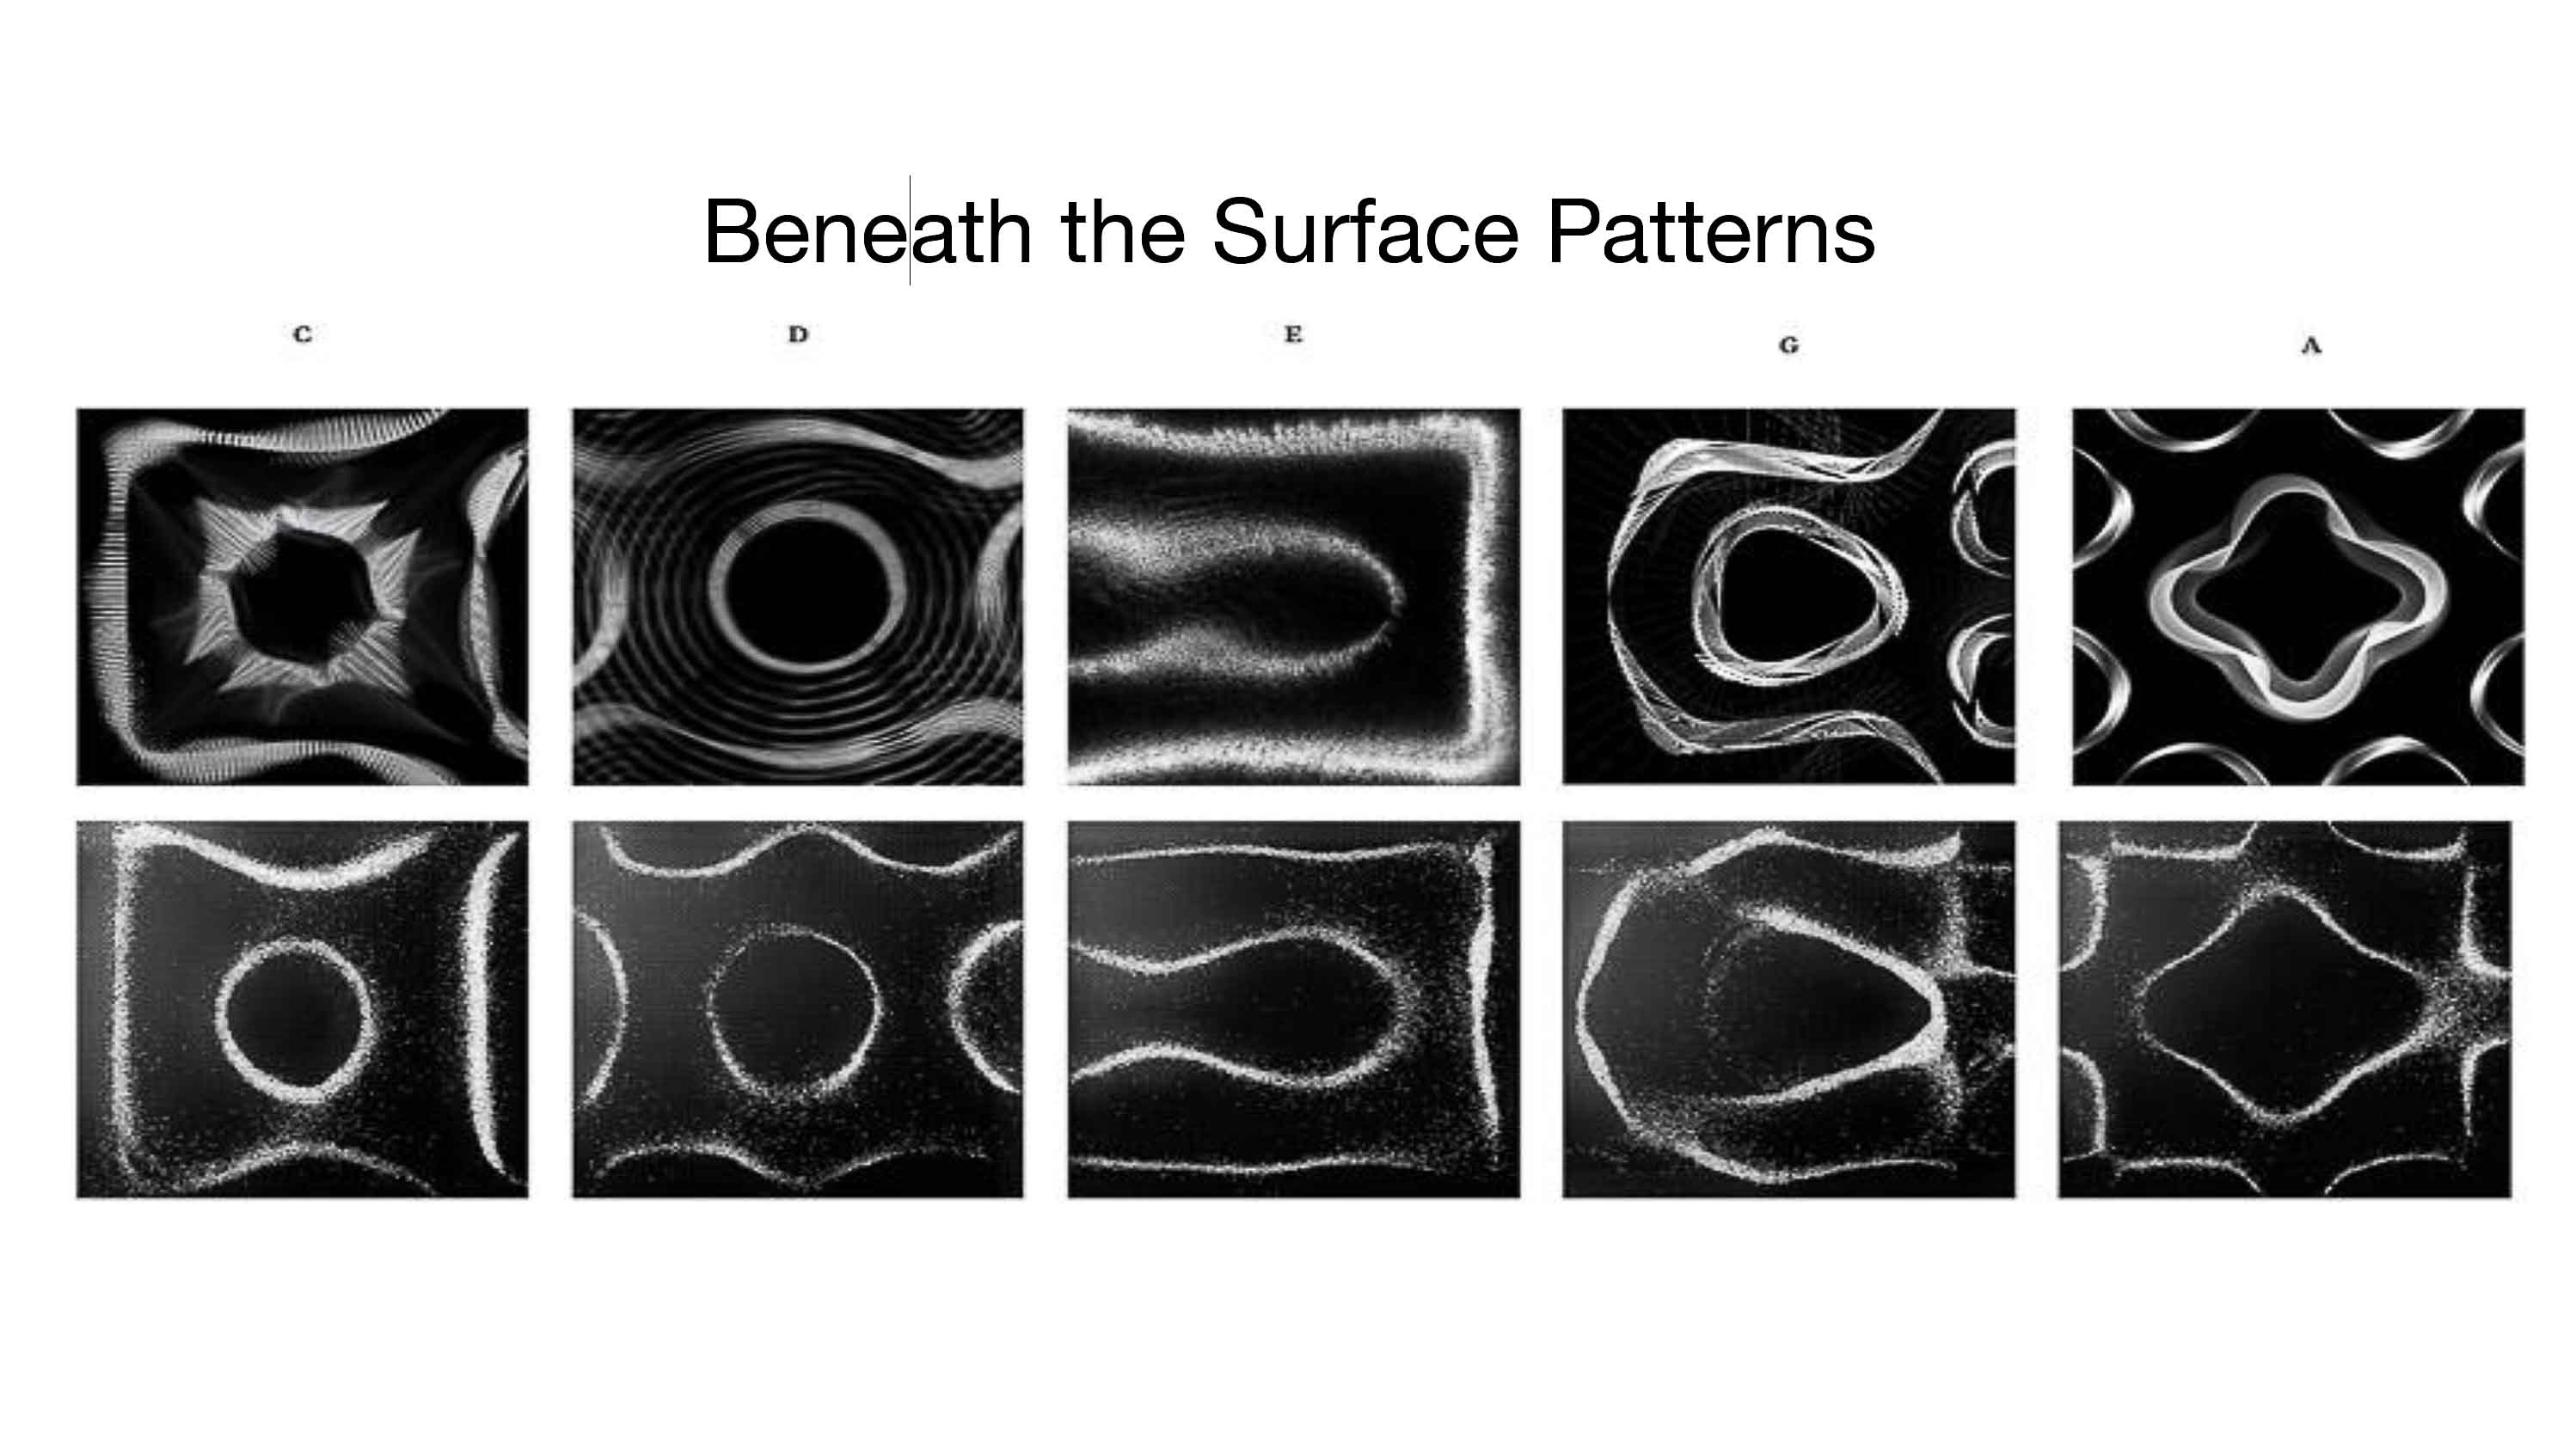
I will be making my own cymatics rig. There is a very simple version I have seen done with a speaker, a bottle cap to block water from entering the cone, and a petri dish. I may try this for early experiments if it seems worthwhile. See it below:
📱 YouTube Shorts — Cymatics Experiment
Below is one tutorial on making an even bigger cymatics tray. I may opt for an aluminum tray as I have seen in other tutorials. However I'm going to consider 3d printing this one.
Visualize Sound Using Water (Cymatics)
I may also follow this process which doesn't involve 3d printing at all:
Exploring Cymatics - DIY First Attempt
Support Needed
Because I have never worked with cymatics, I'd love tips on building the rig, and someone to ask electrical questions to should they arise. Any guidance on the best methods of generating the cymatics would also be helpful.
I'd also love to know any tips for the optimal kombucha and mycellium leather processes as this will be new to me too.
Midterm Presentation
 Cymatics captured by Erika Weitz and Thomas Noya
Before I get too deep into what I've been up to, I'd like to give a little context as to why I ended up here because it explains a lot about the project.
For the last ten years I've worked as a set designer in the film industry. Before that I went to school for theatre production where I also studied costume.
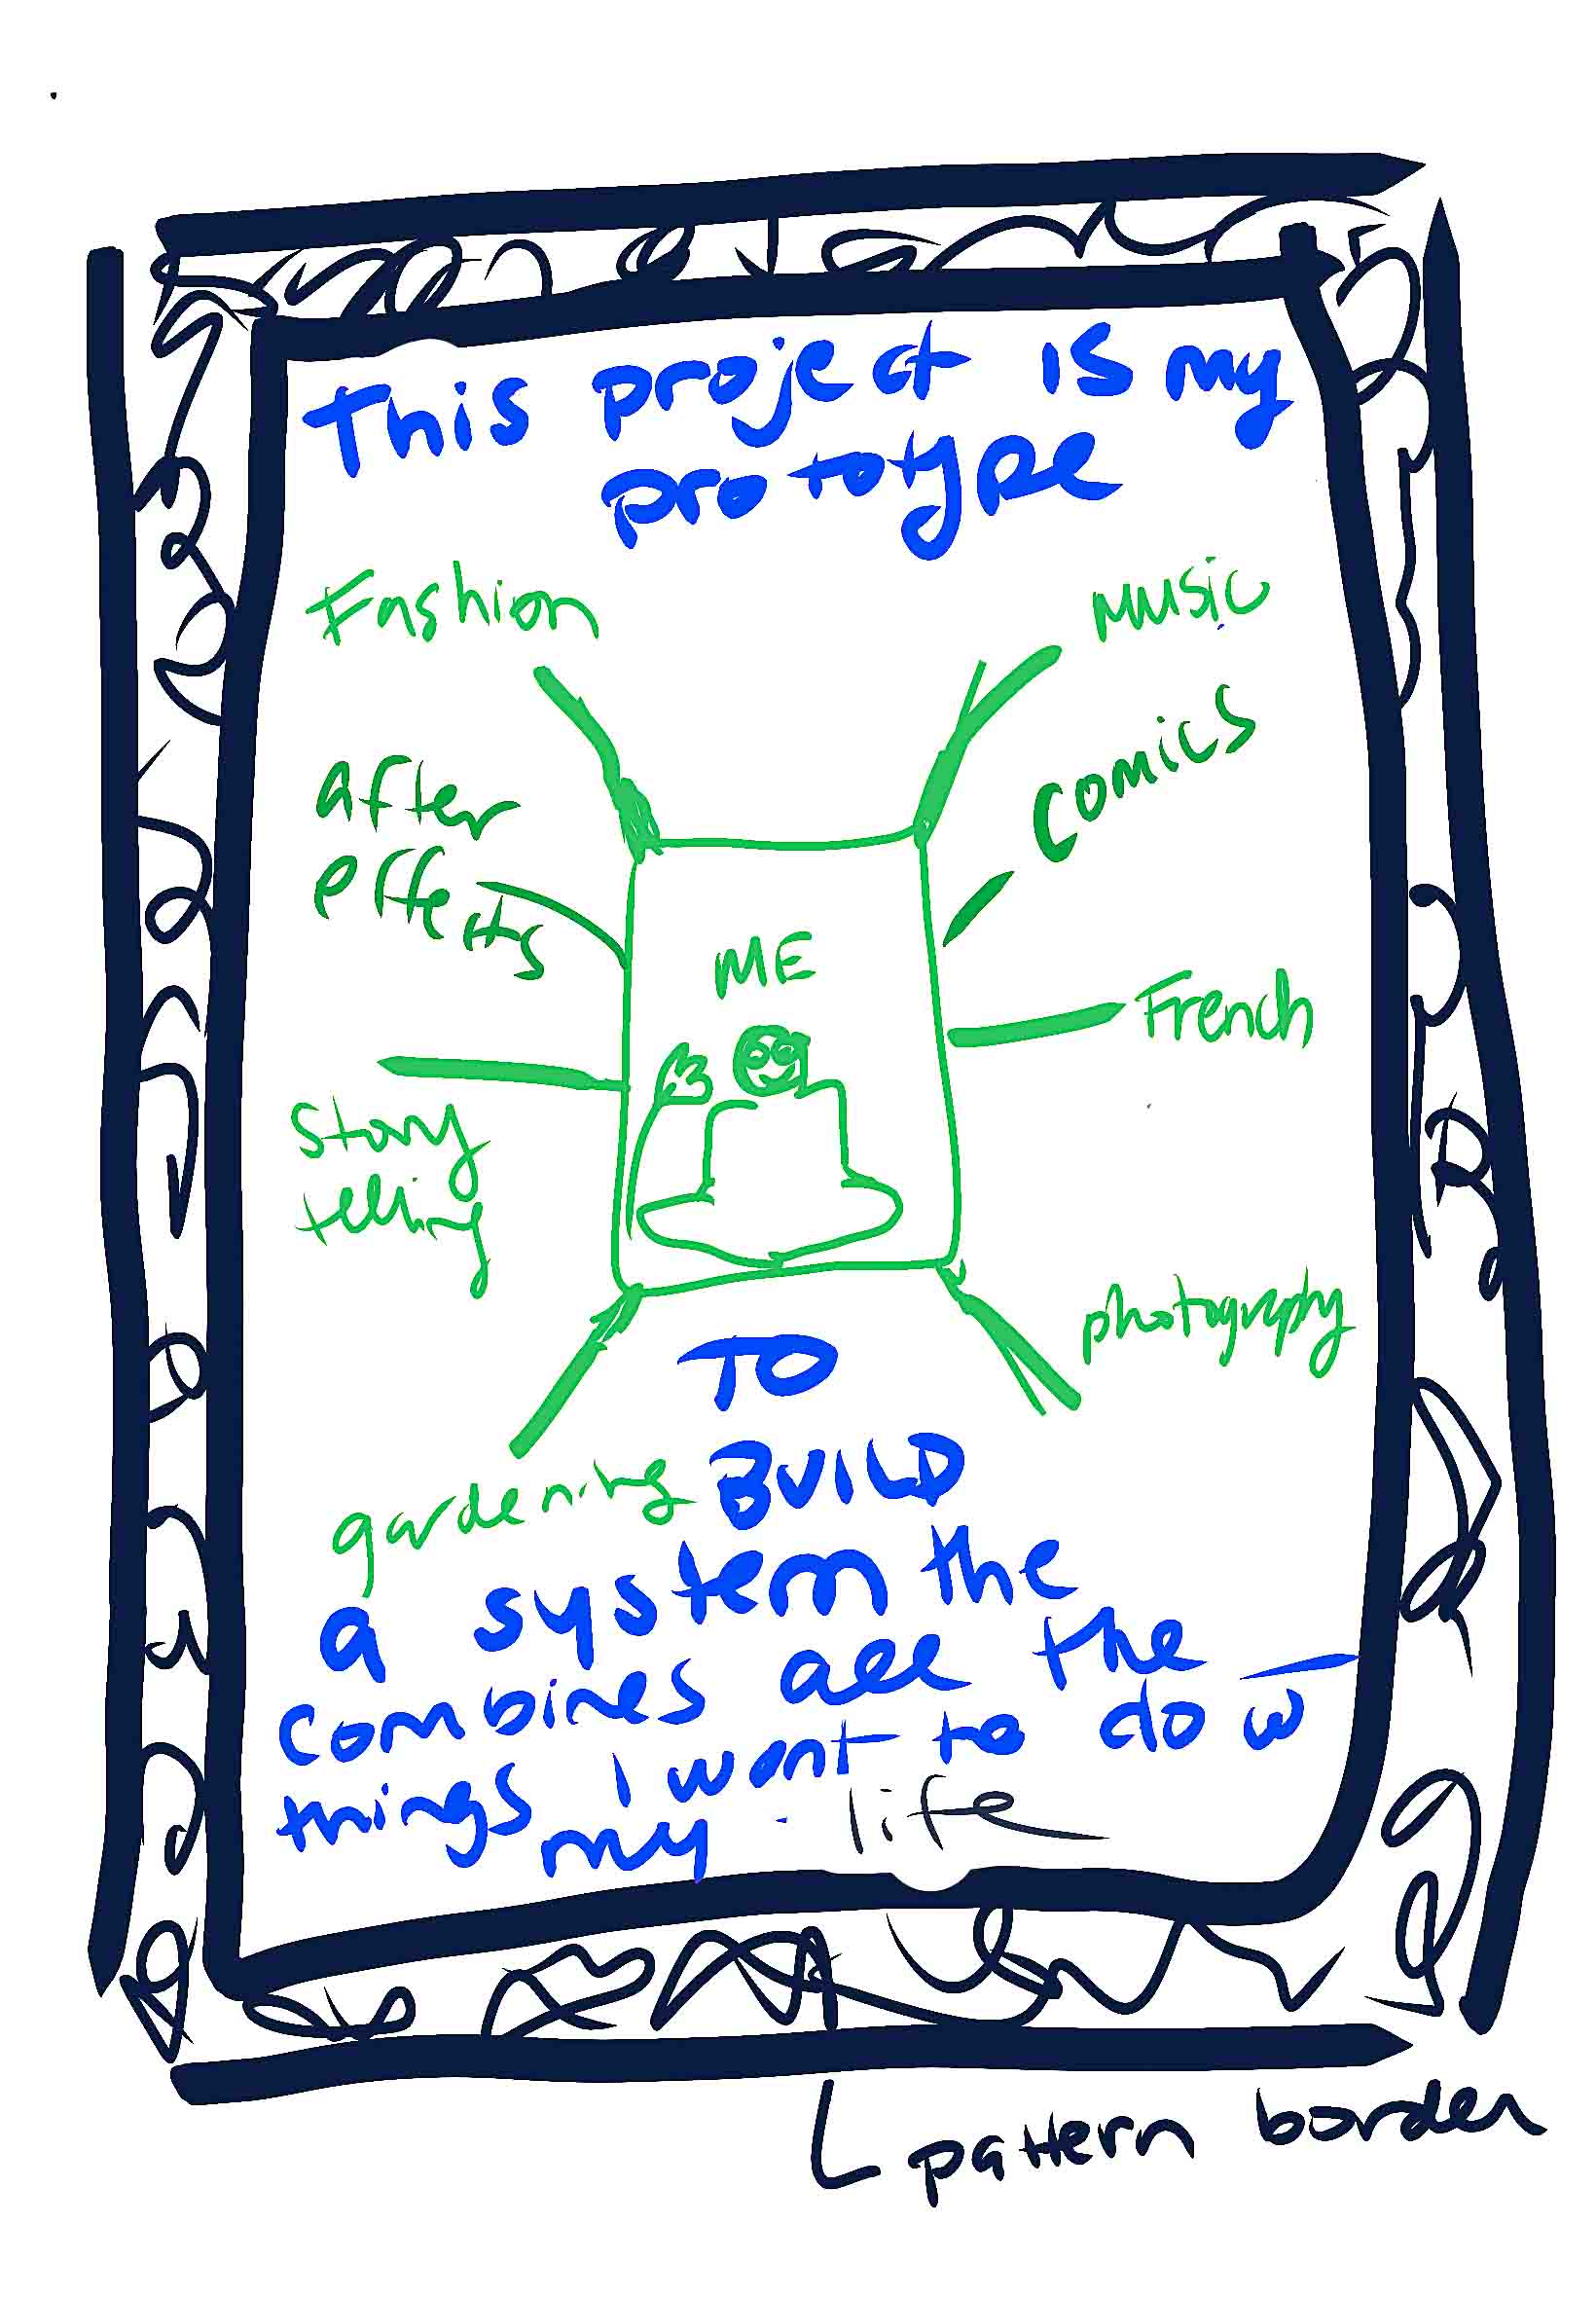
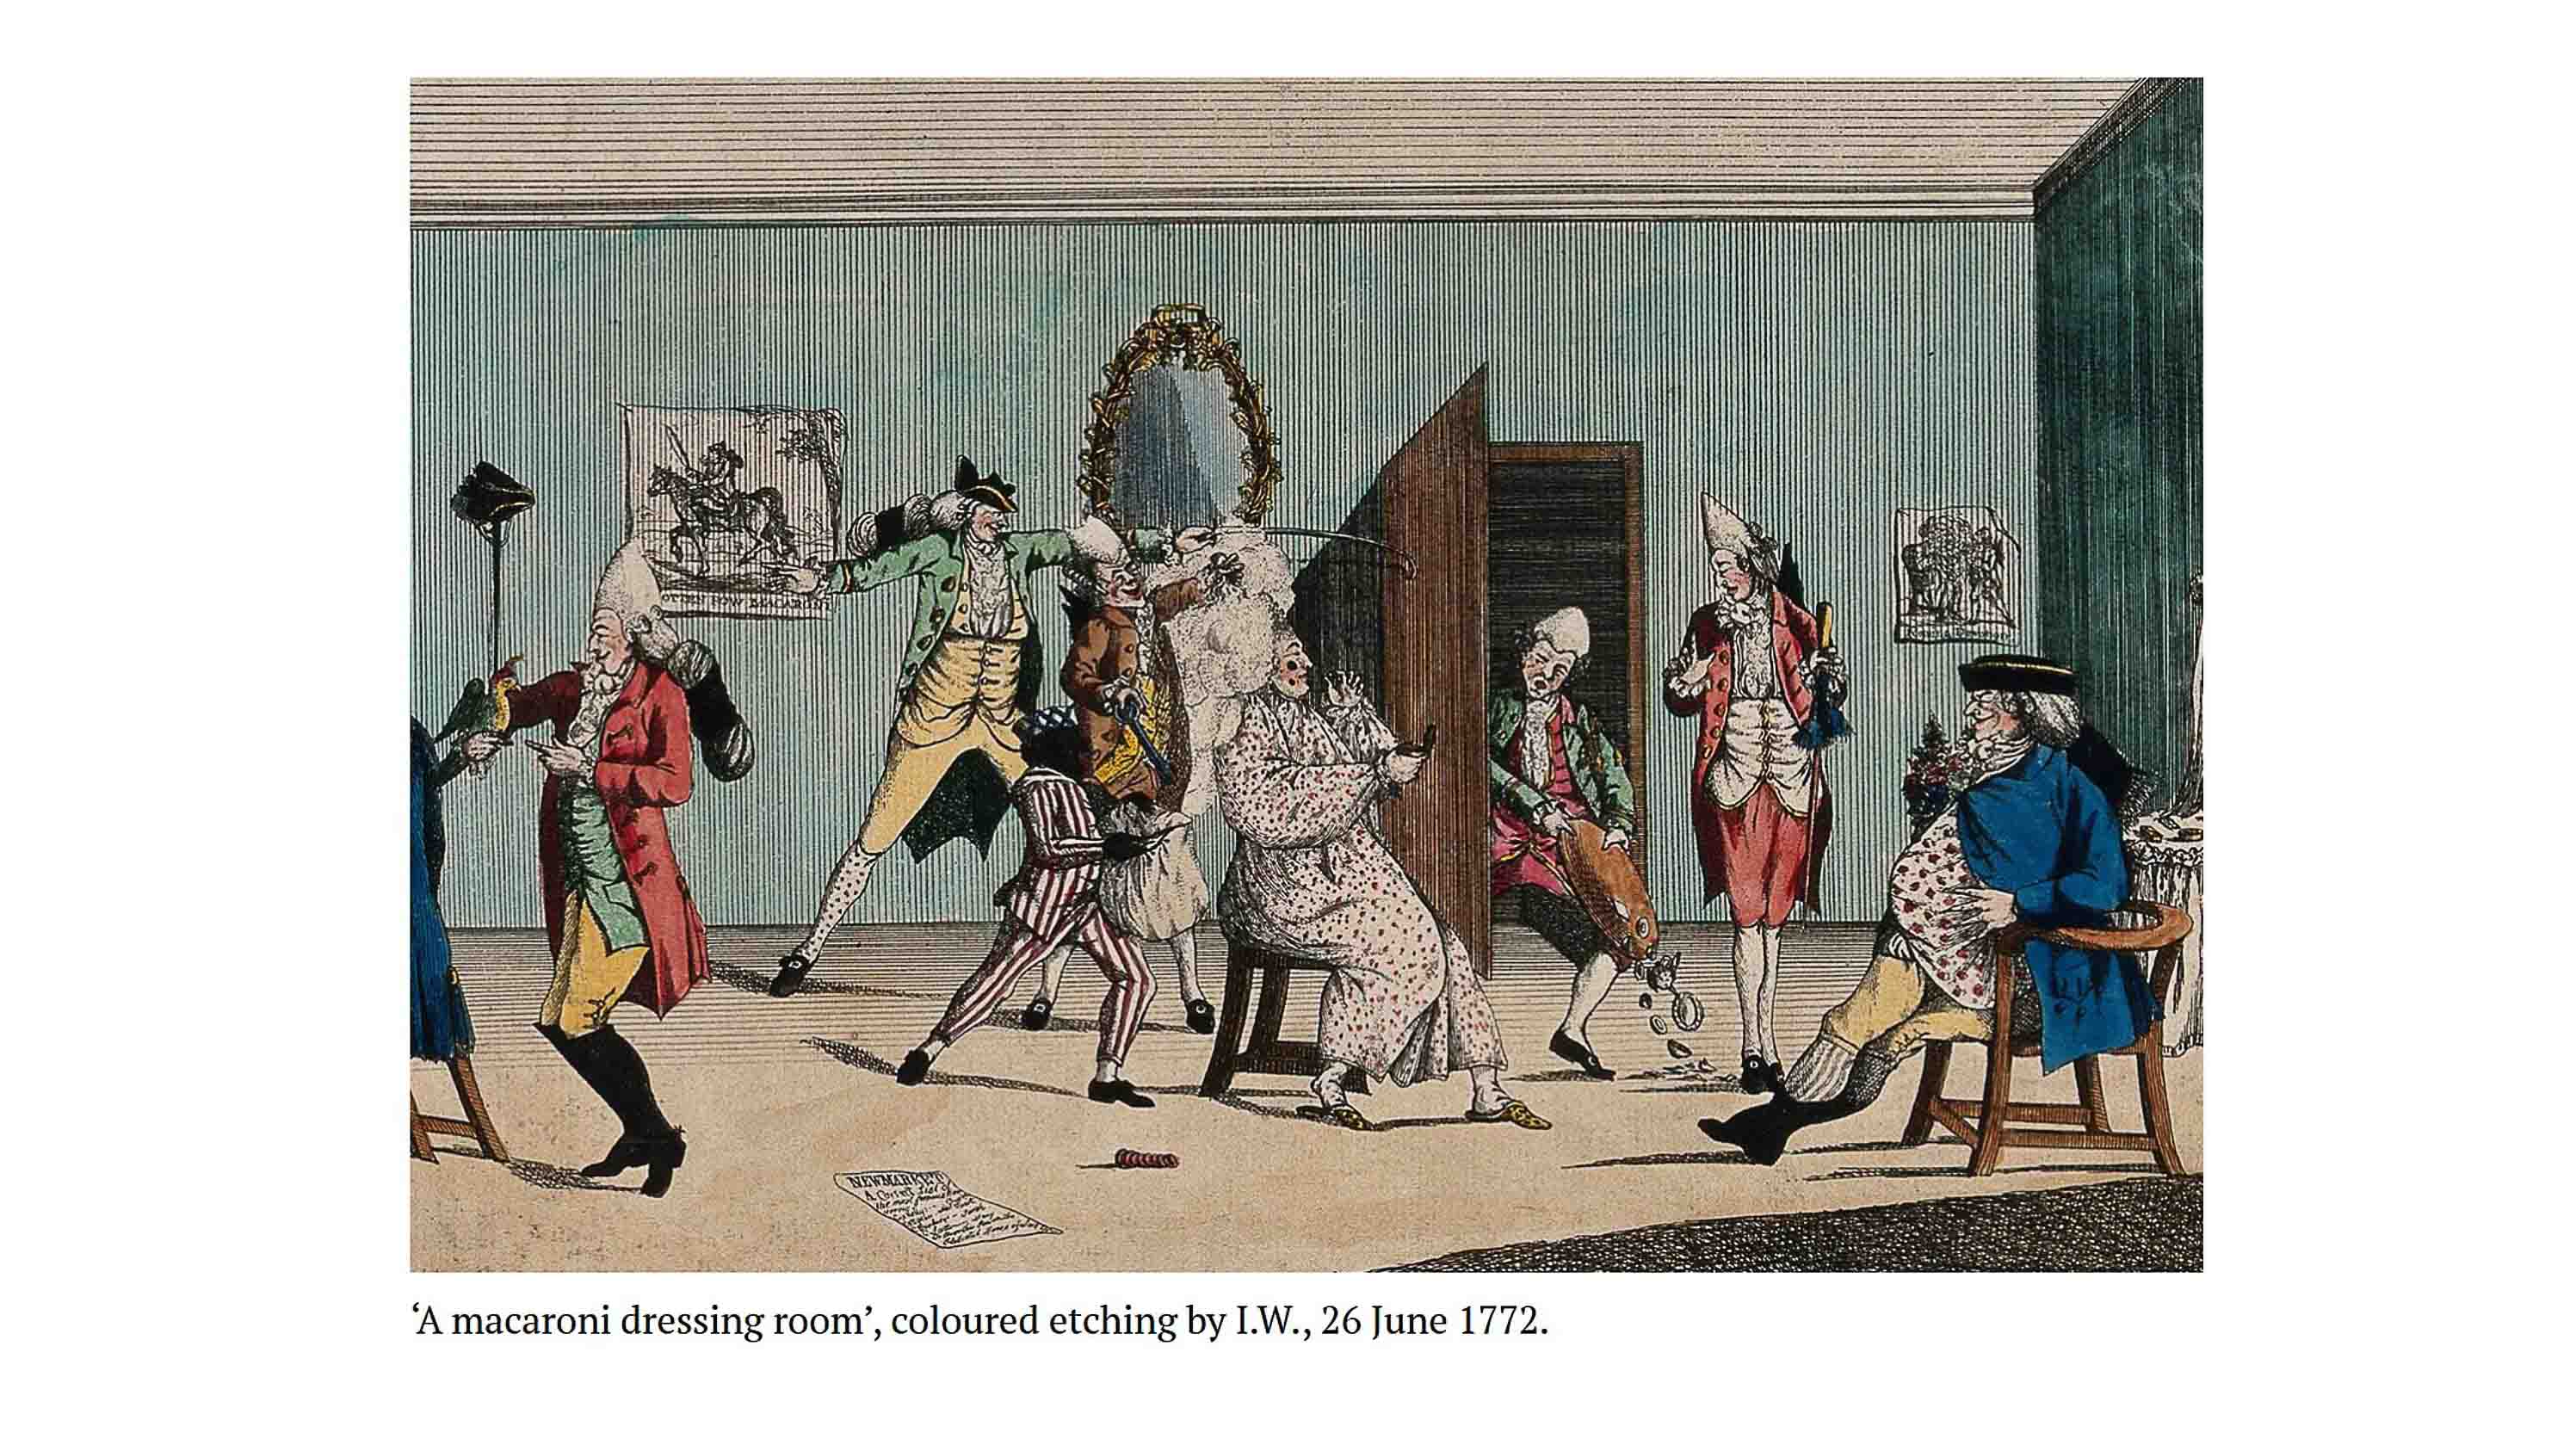 My favorite class was costume history because it completely opened my world. I realized in this class that for me, fashion was this centrifugal force that had the power to open up my interest in all these other subjects. Things I'd previously thought I didn't care about. Suddenly when I looked at 18th century French Macaroni' for example - I easily remembered things that were happening politically, economically and culturally at the time.
What costume history did was show me that sometimes I just needed a new angle to grow interested in things I previously thought were outside of my "wheelhouse”.
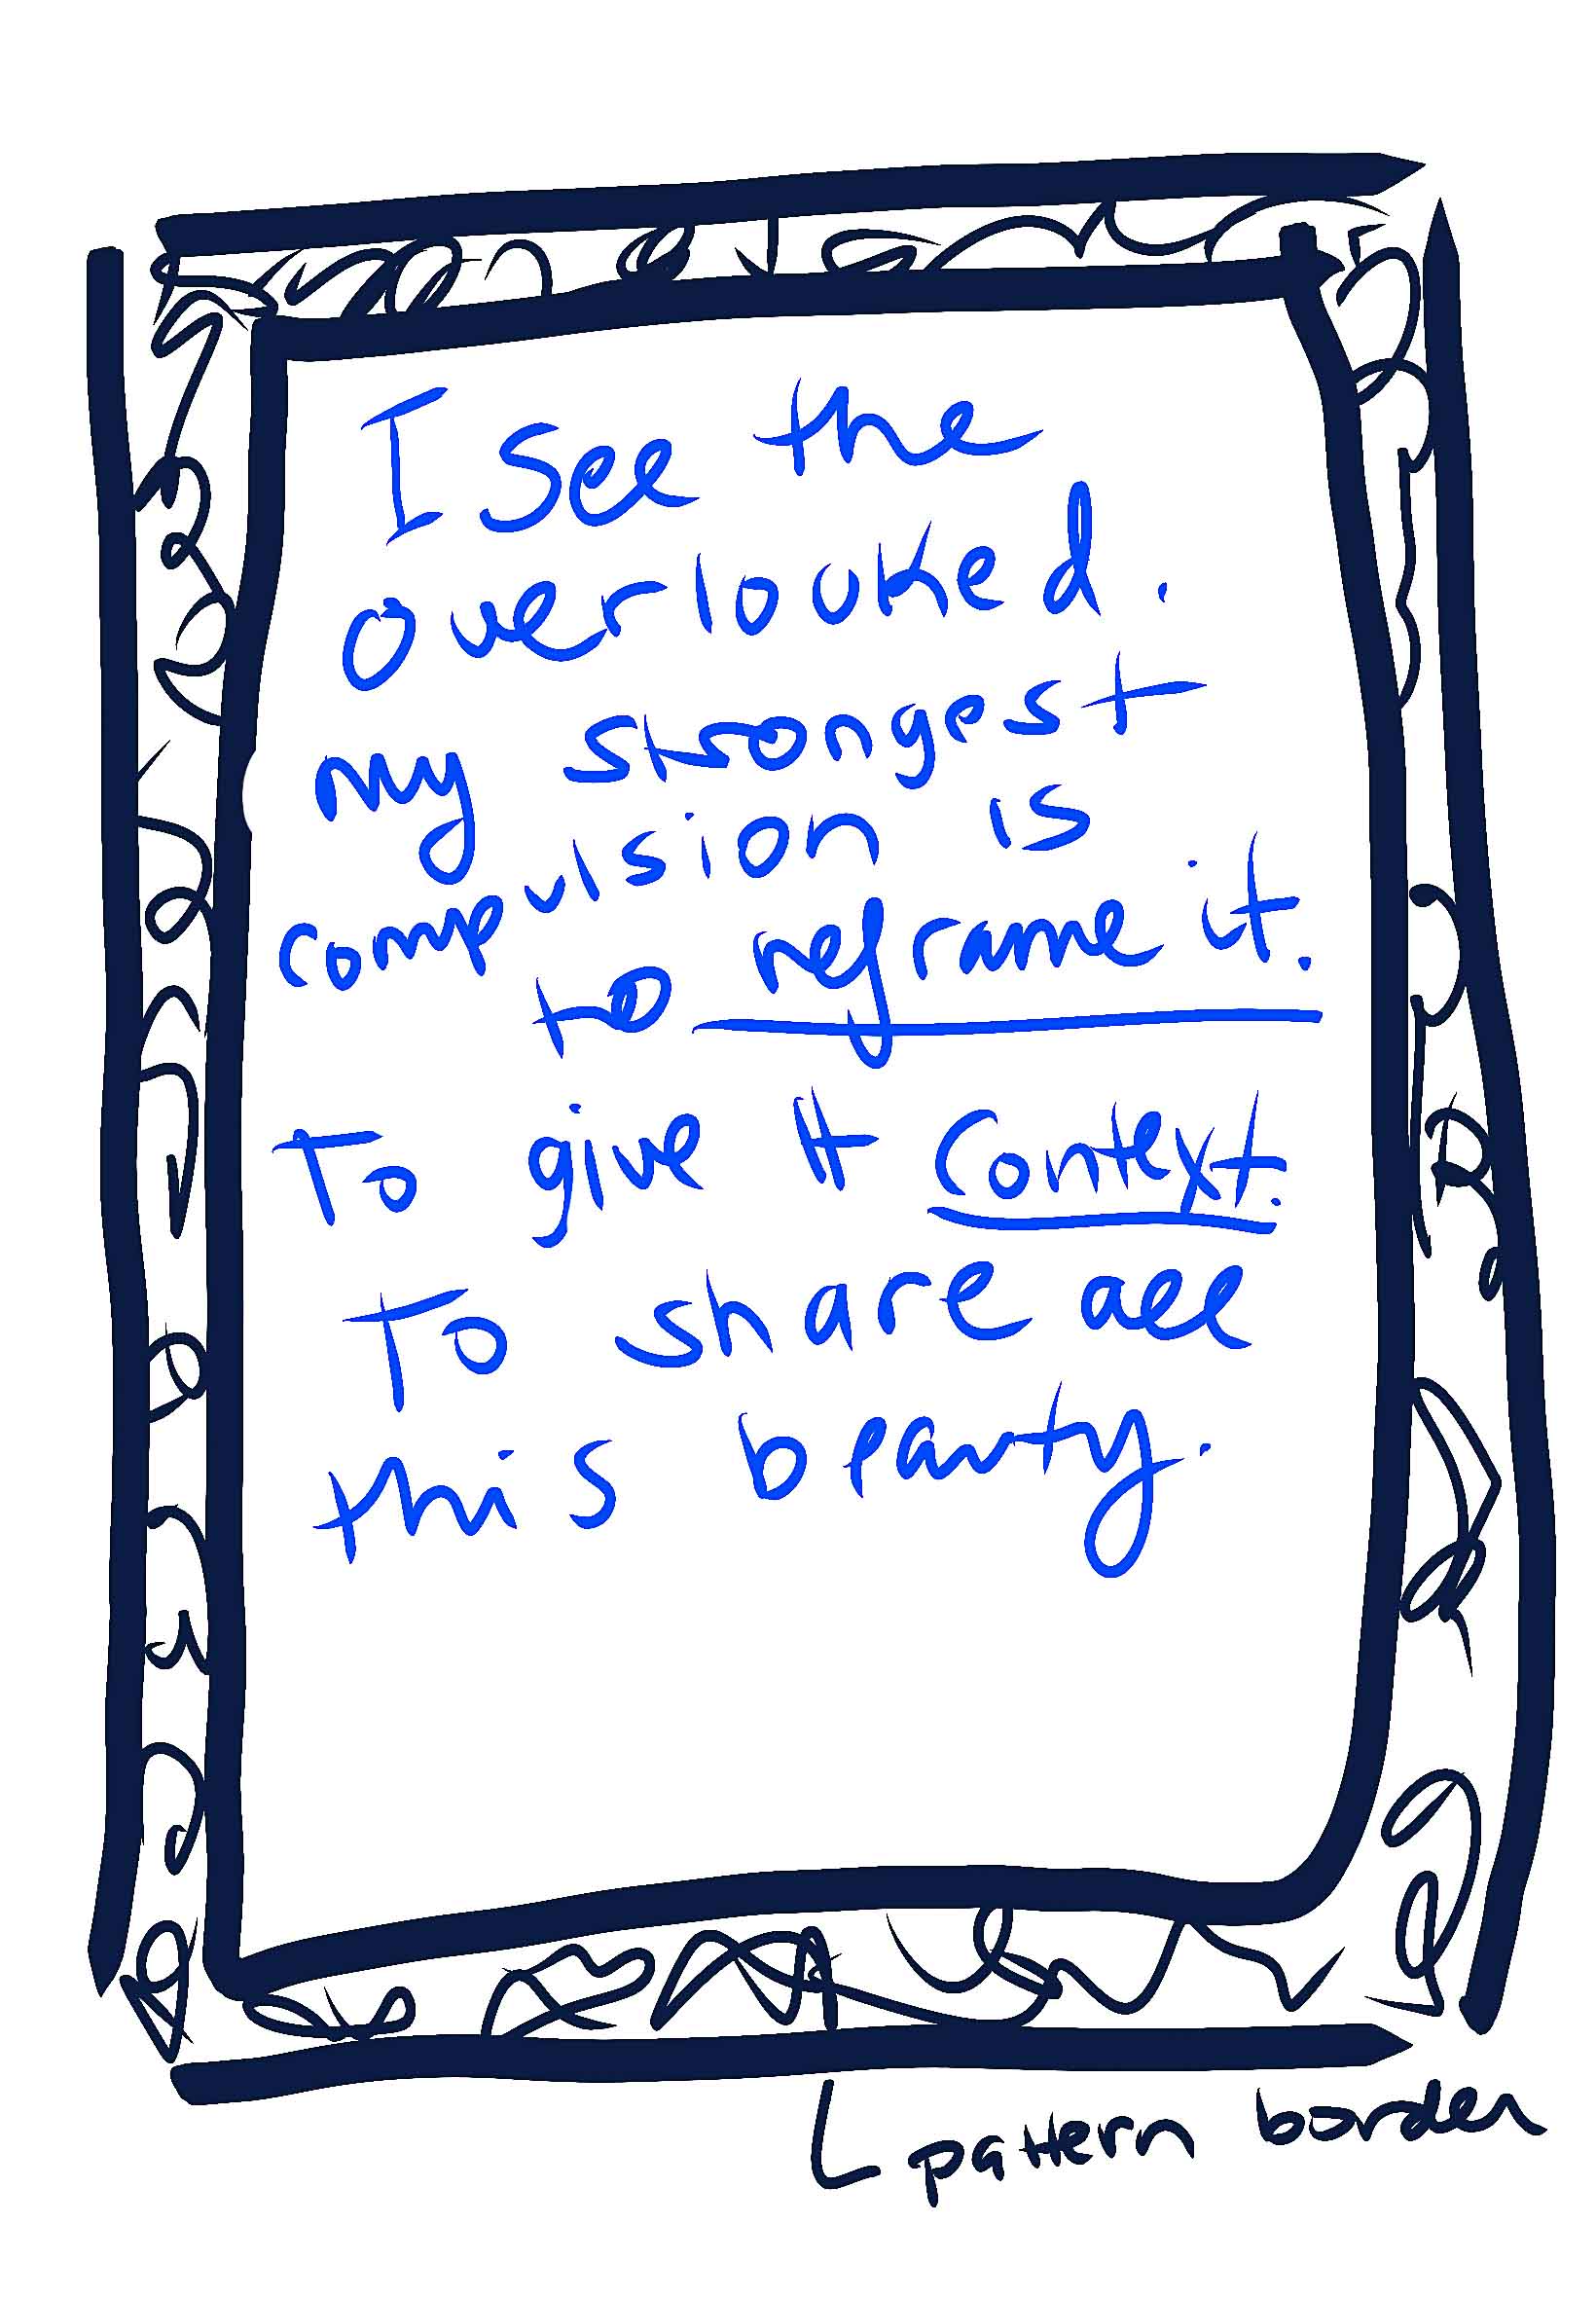
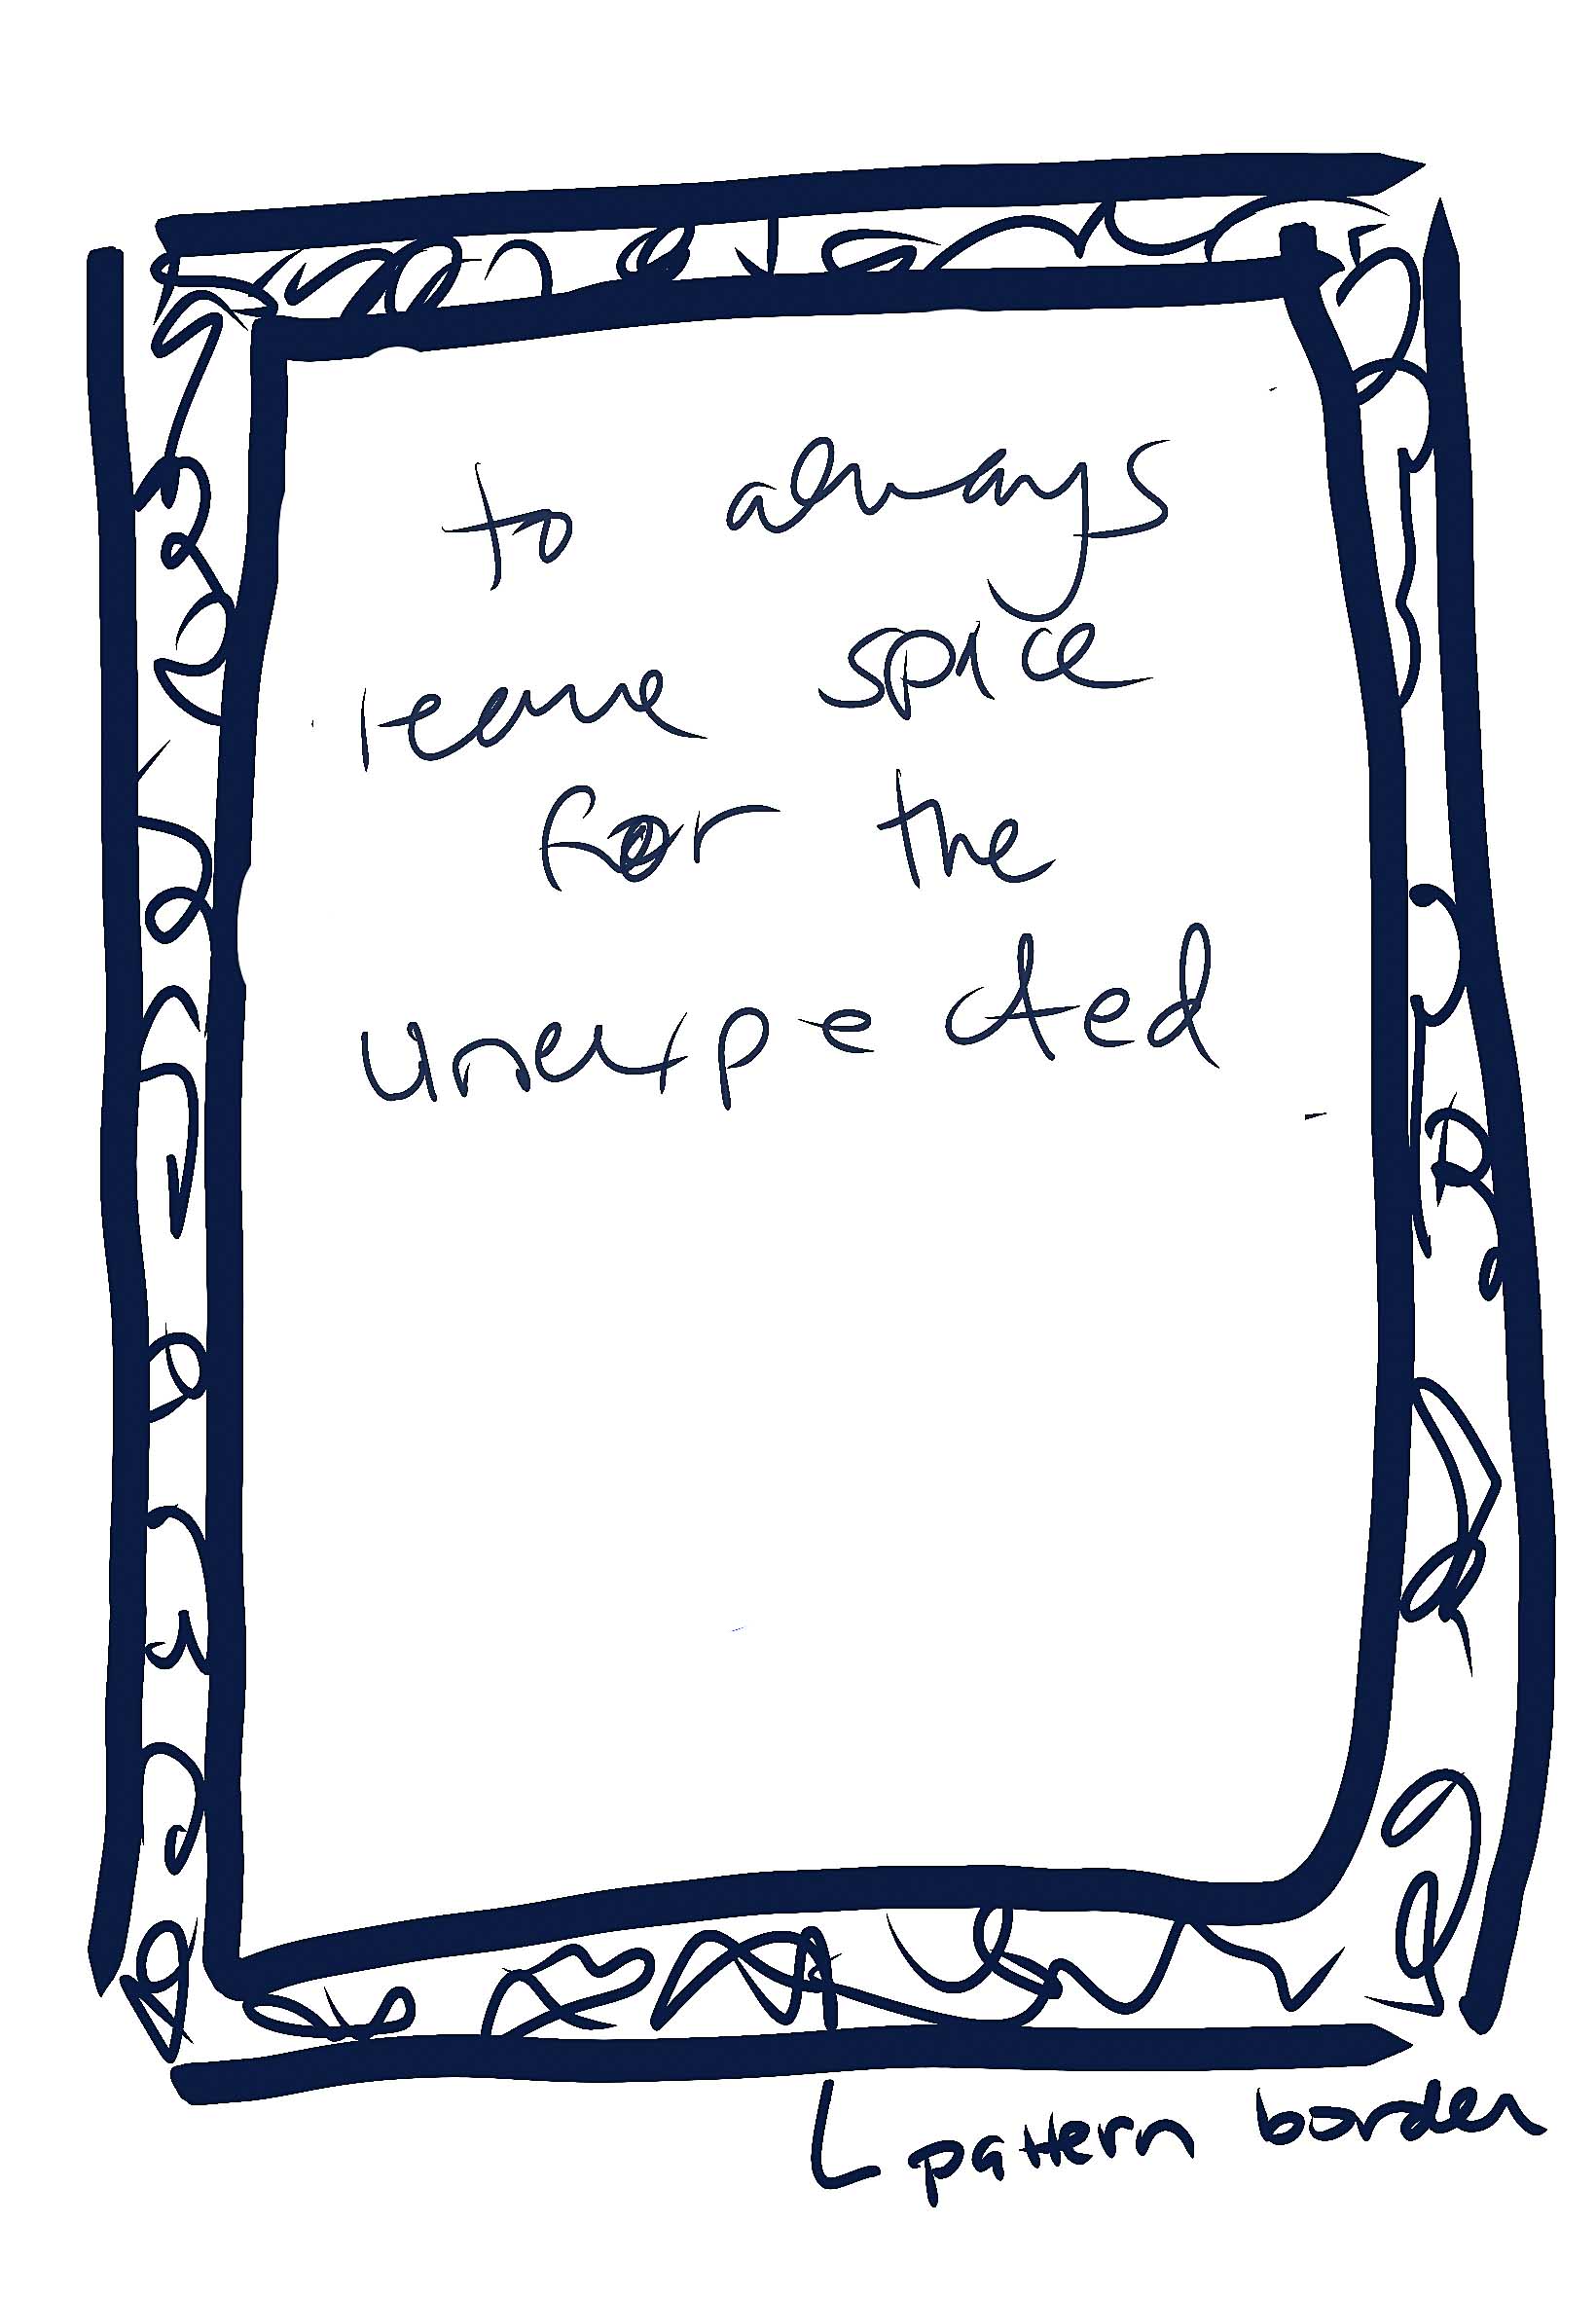
After this, fashion became a means to deeper connection - both intellectually and socially. I love that fashion has a life outside of the home. It's such a social art form because, by default it goes everywhere with us and can spark questions. As an adult I've come to really believe that combining disparate or unexpected things is often the key to making new and exciting connections.
I've learned that when I am using my brain in different ways and have variety in my life this is when im the happiest and most motivated. So I've been trying to build a lifestyle where I get to do this more often.
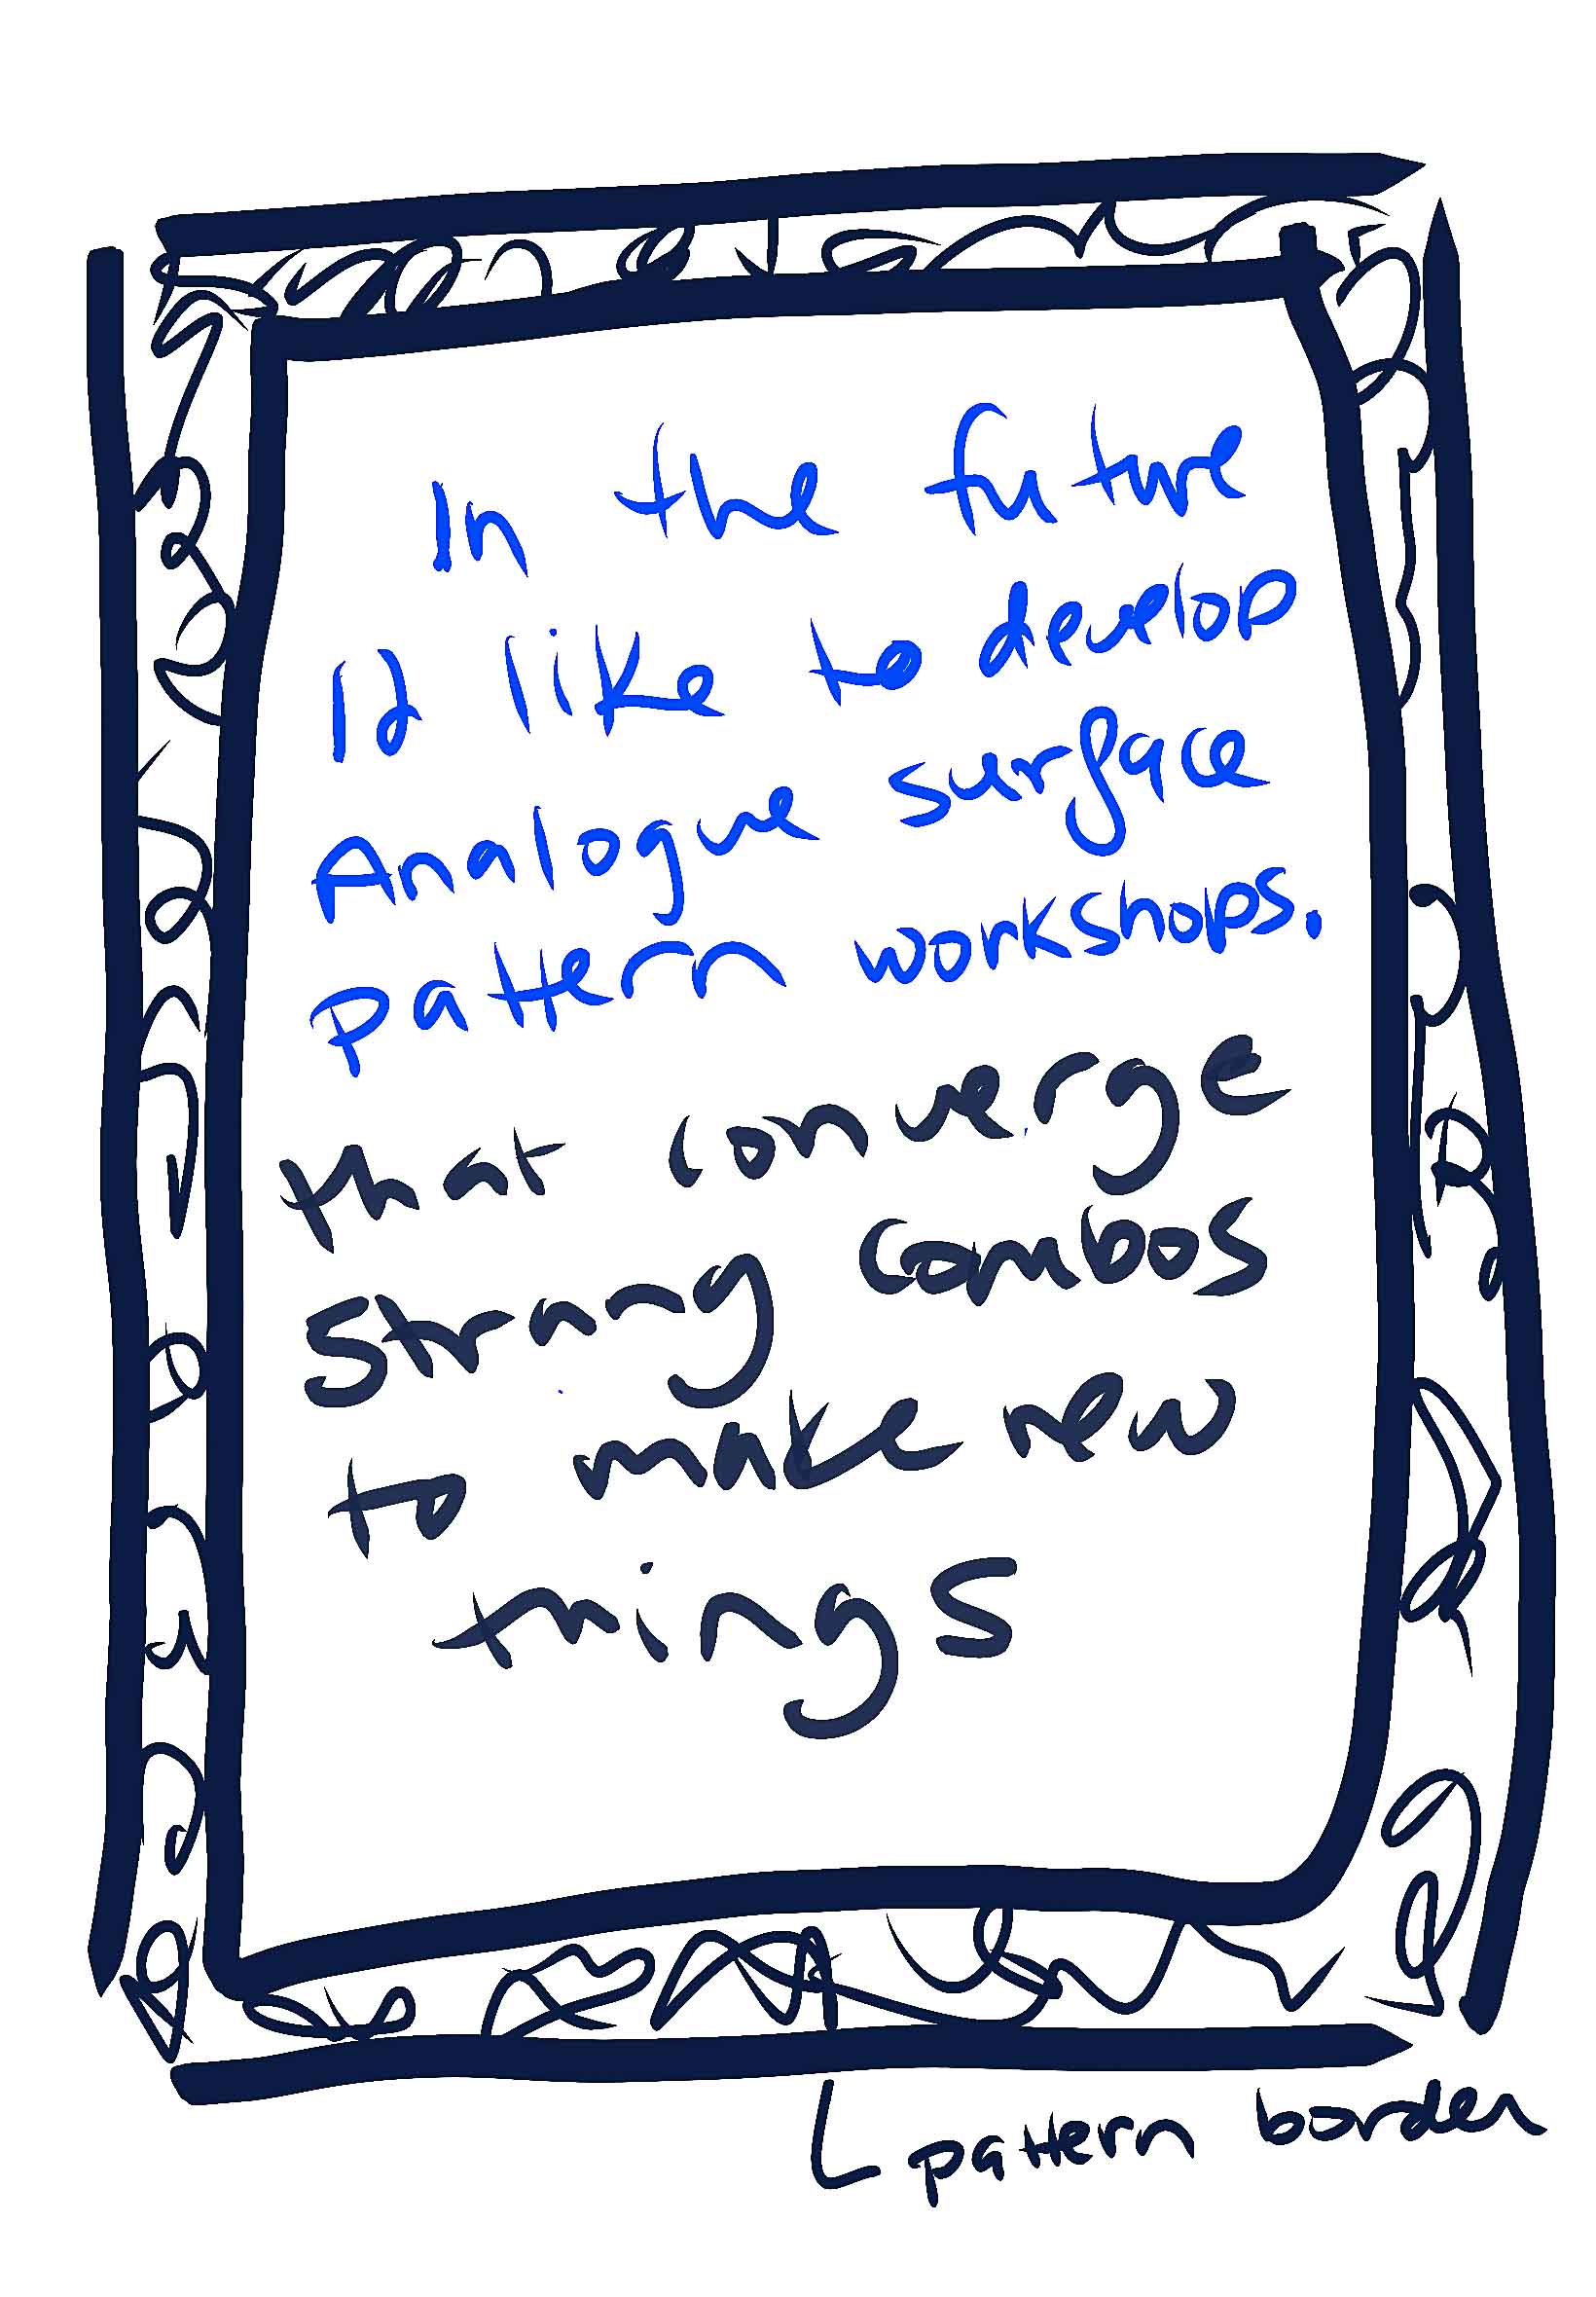
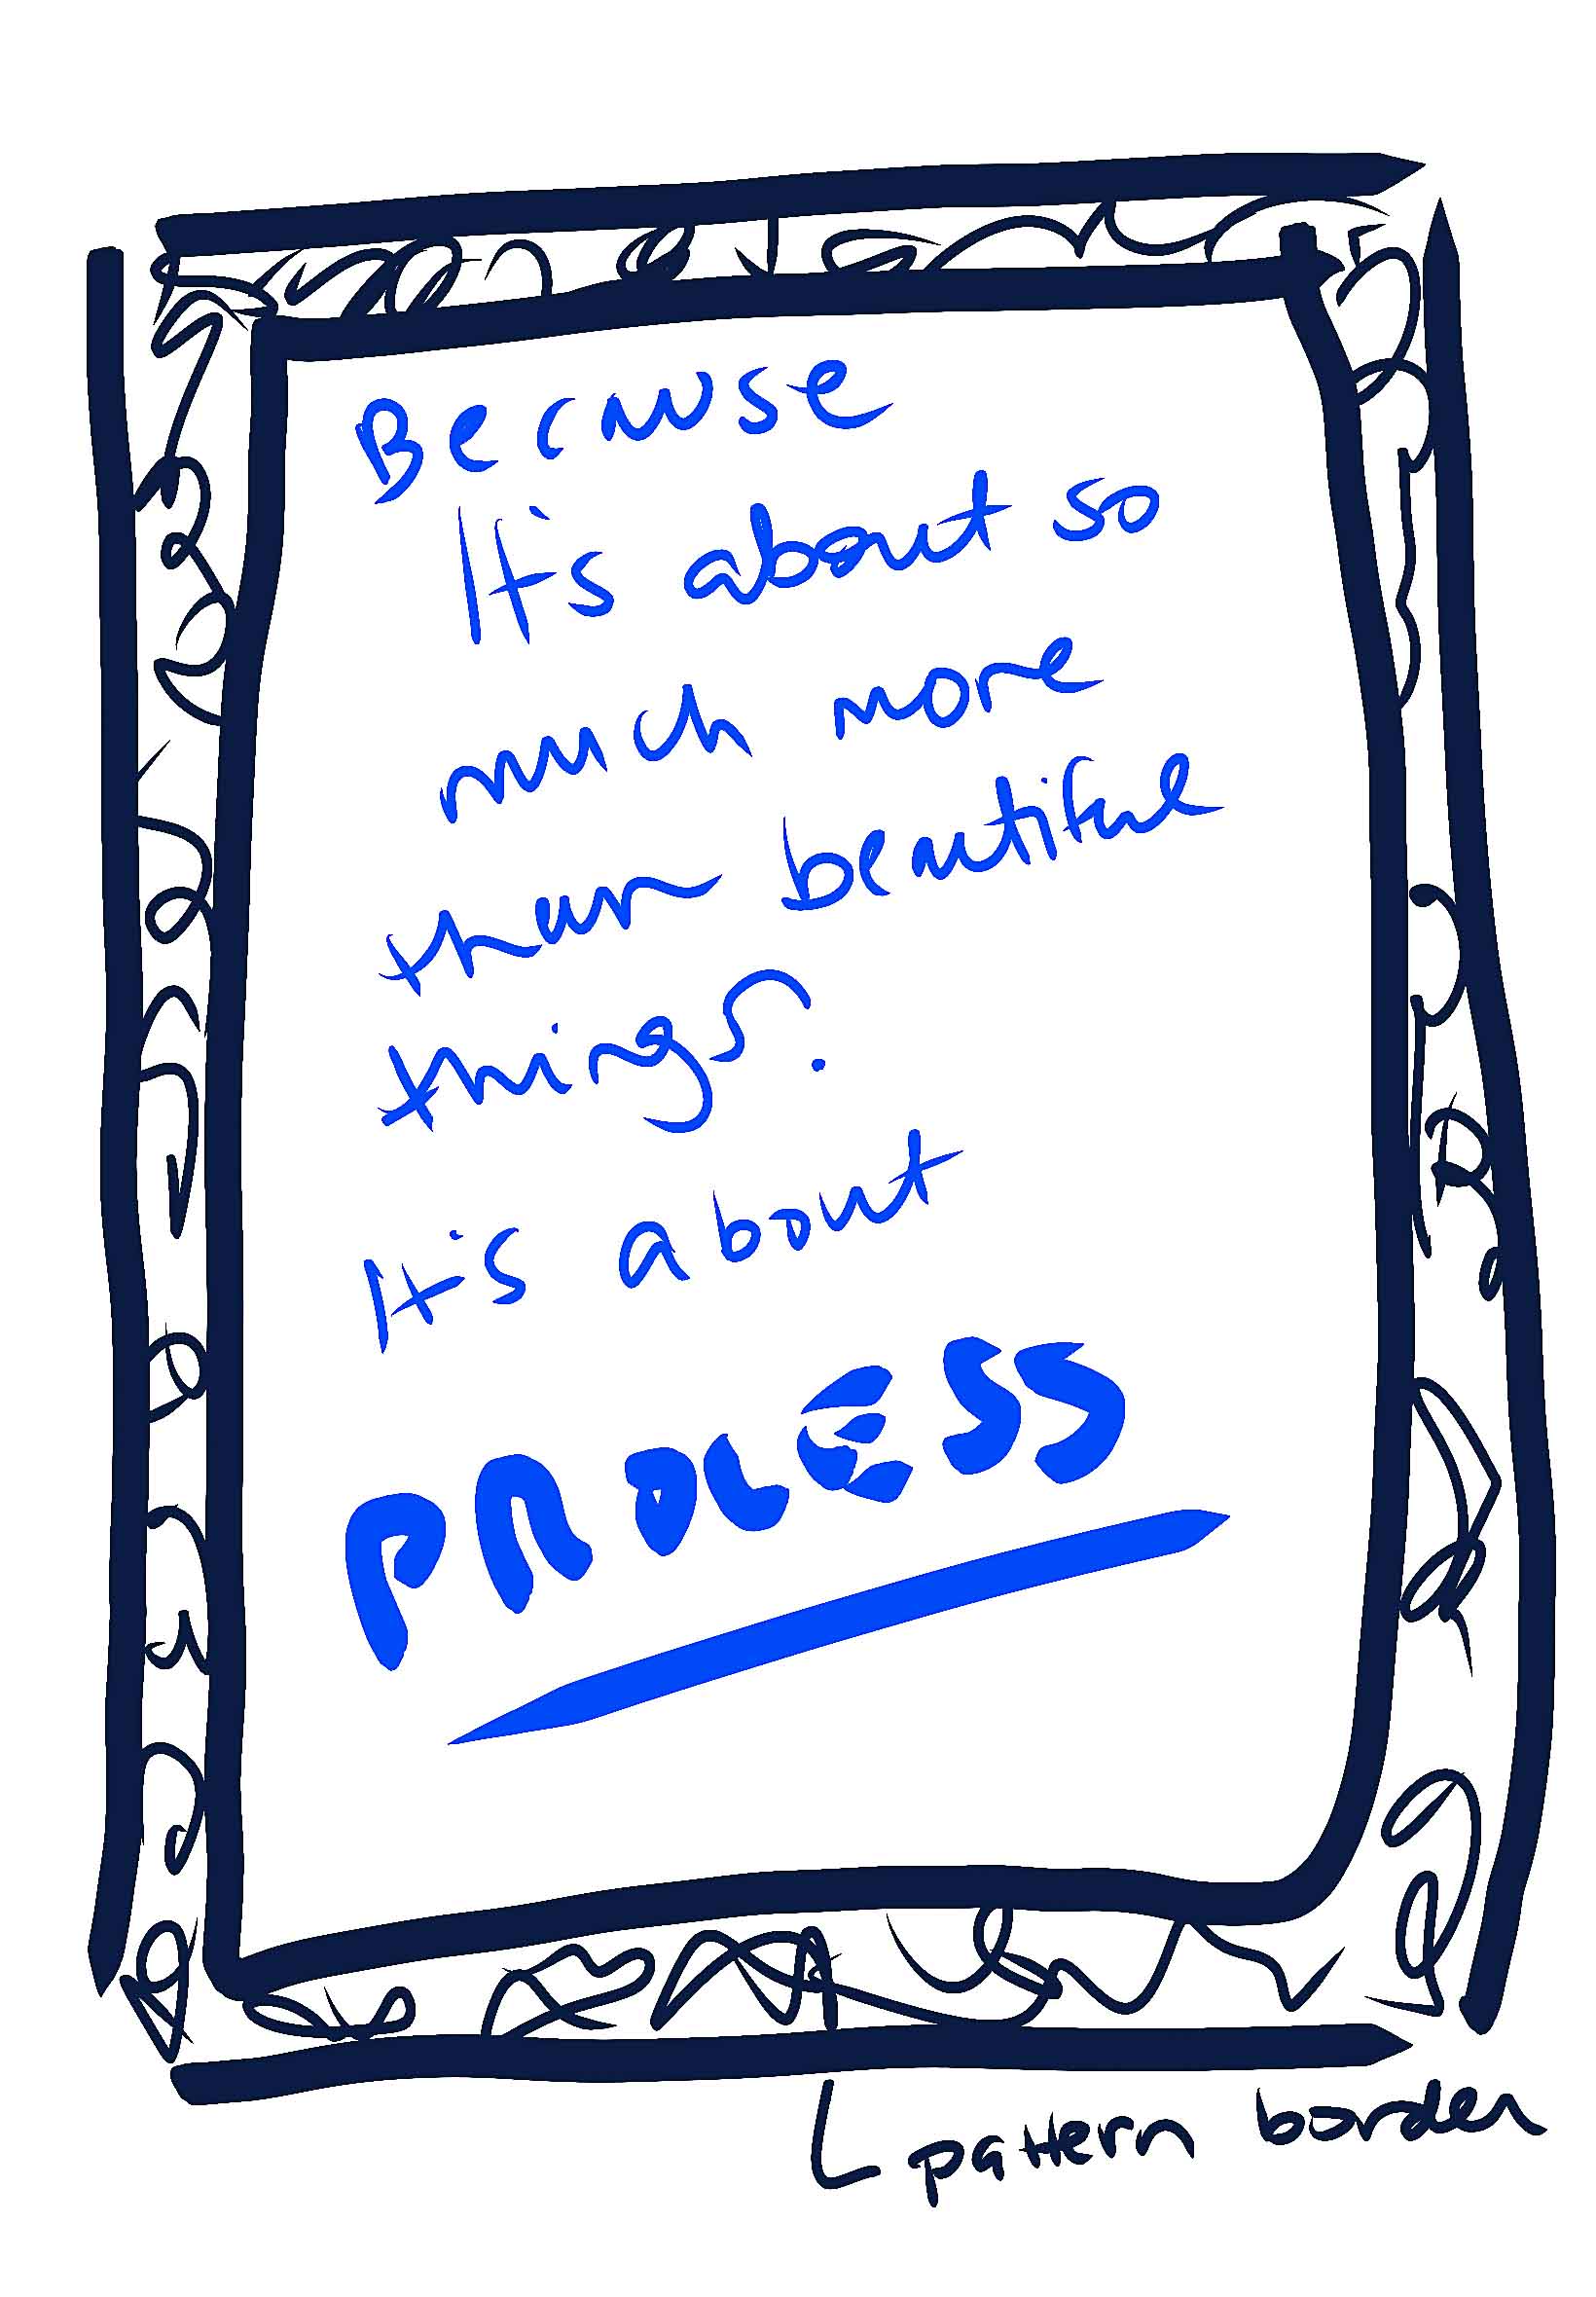
My final project is a test run of sorts. In the future - I see myself running workshops that revolve around science and fashion, with a focus on process as much as product.
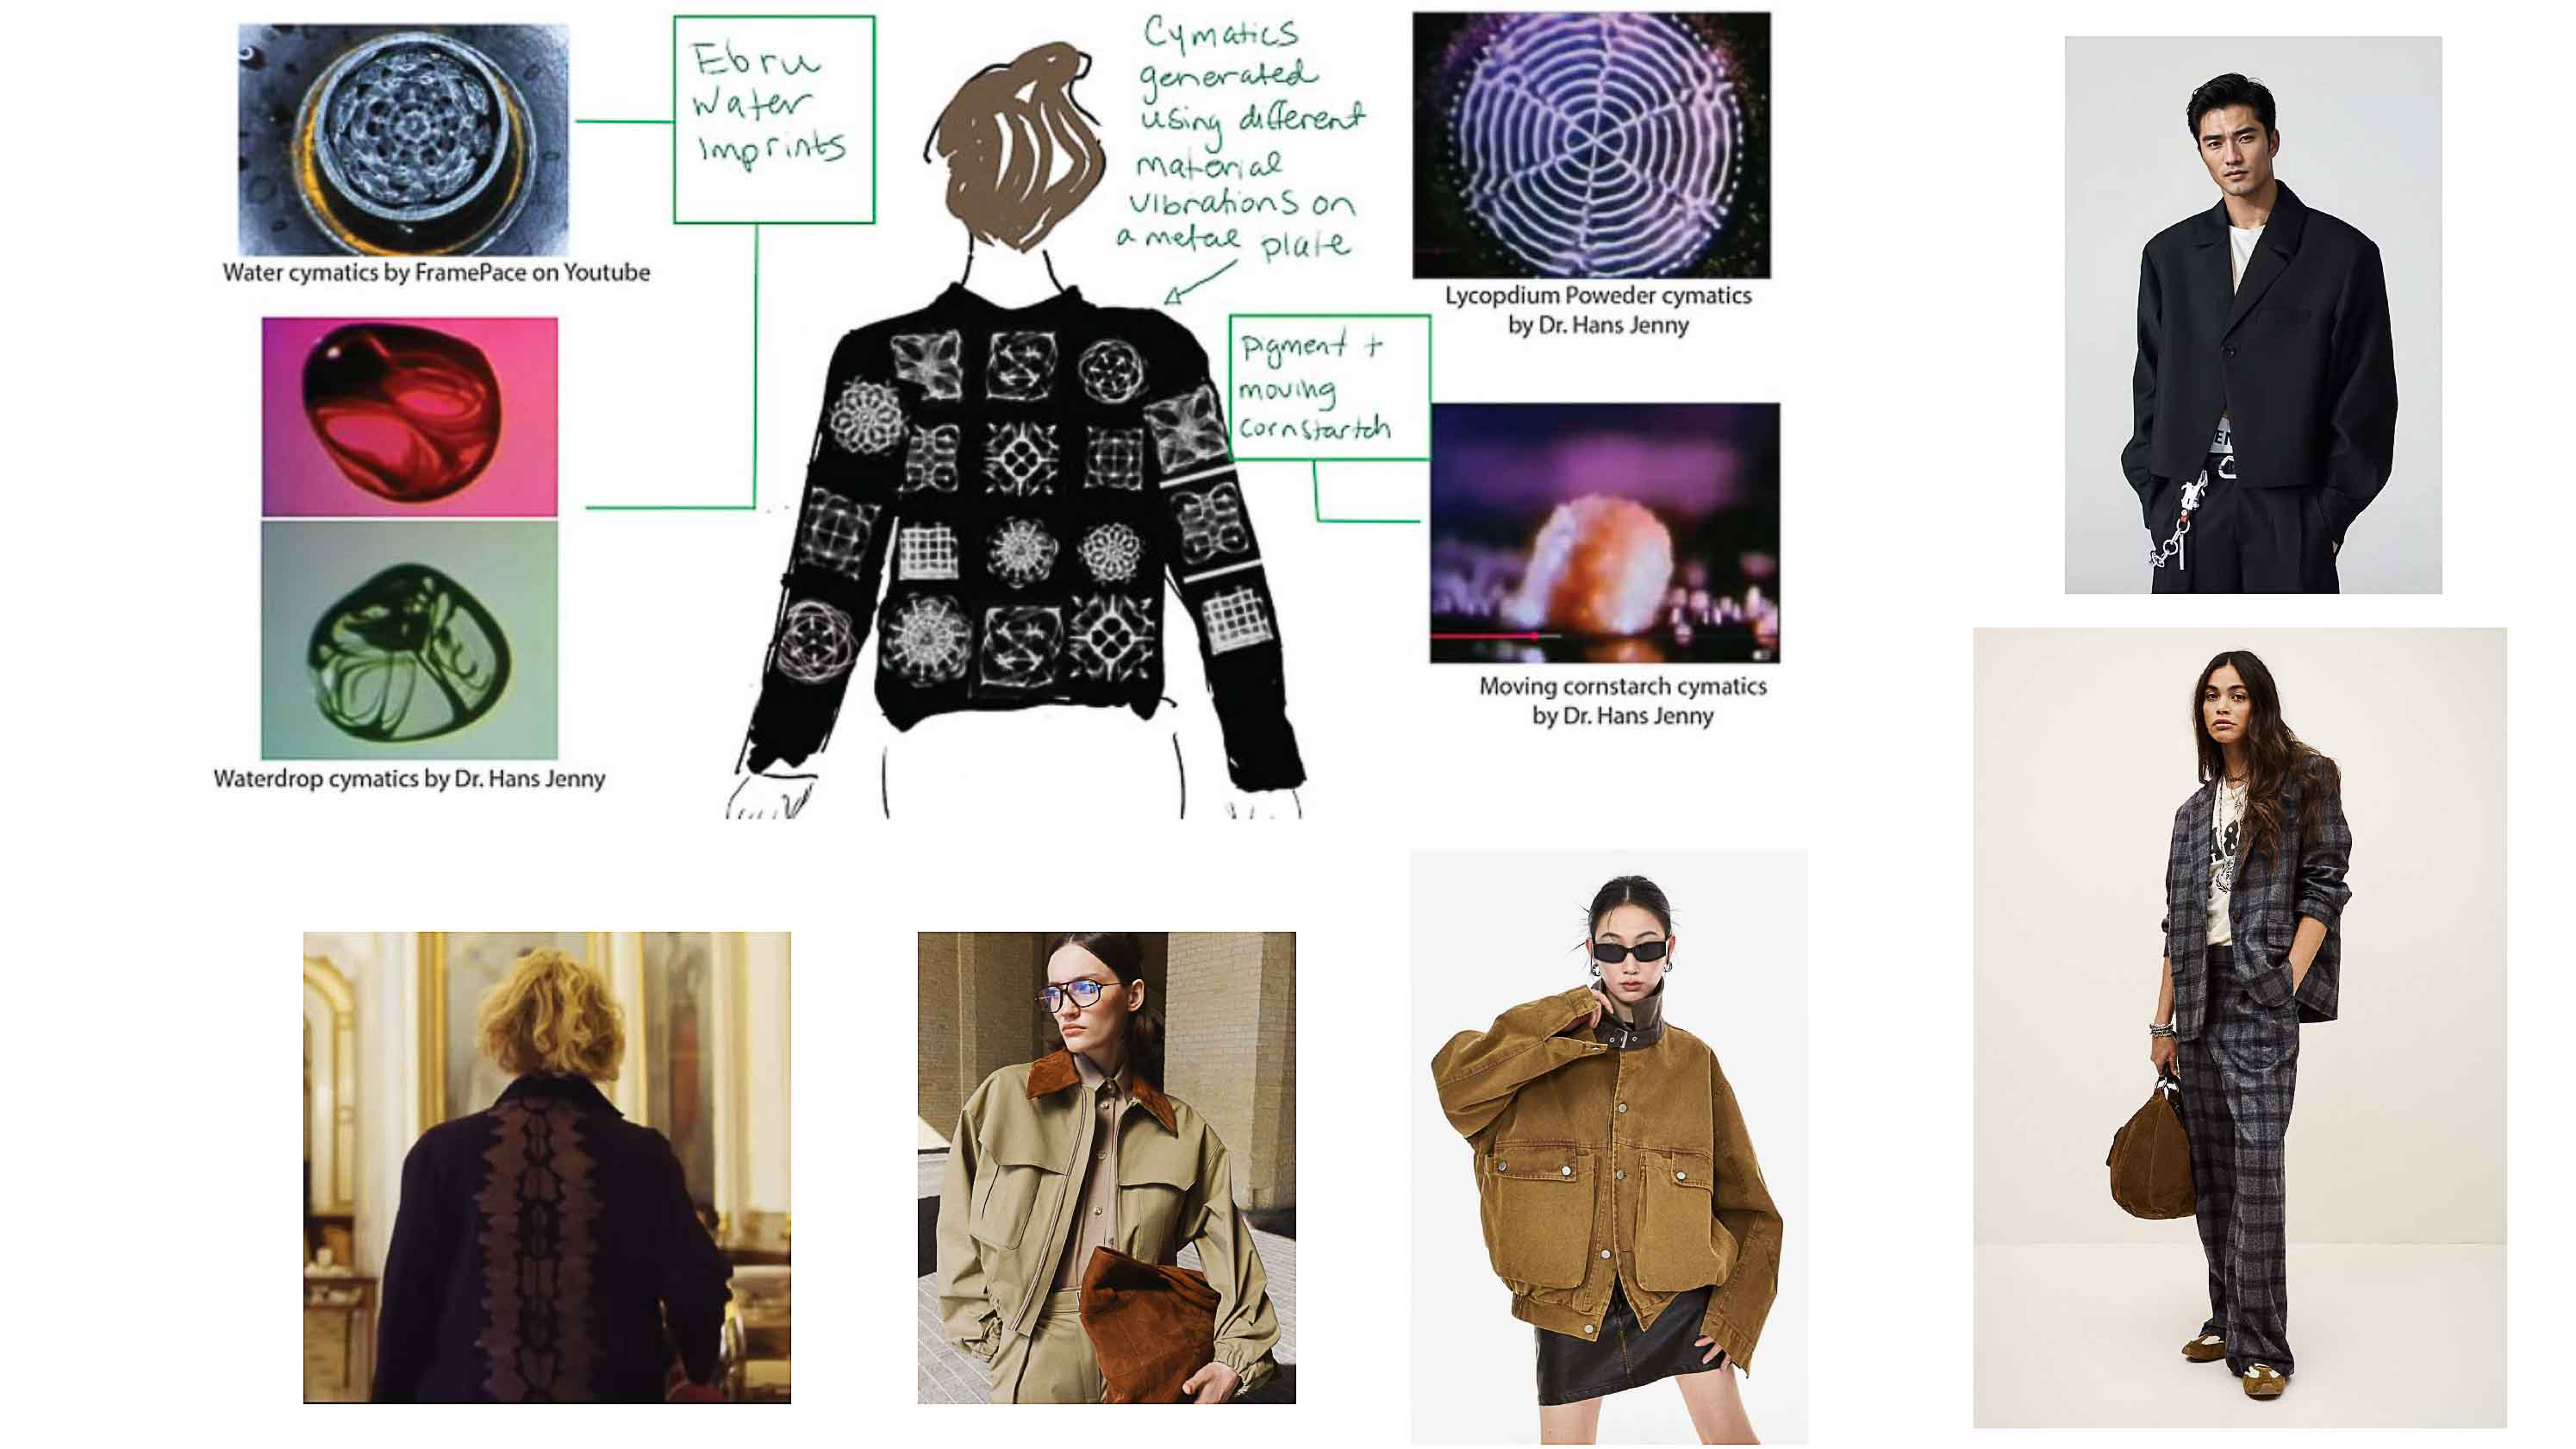
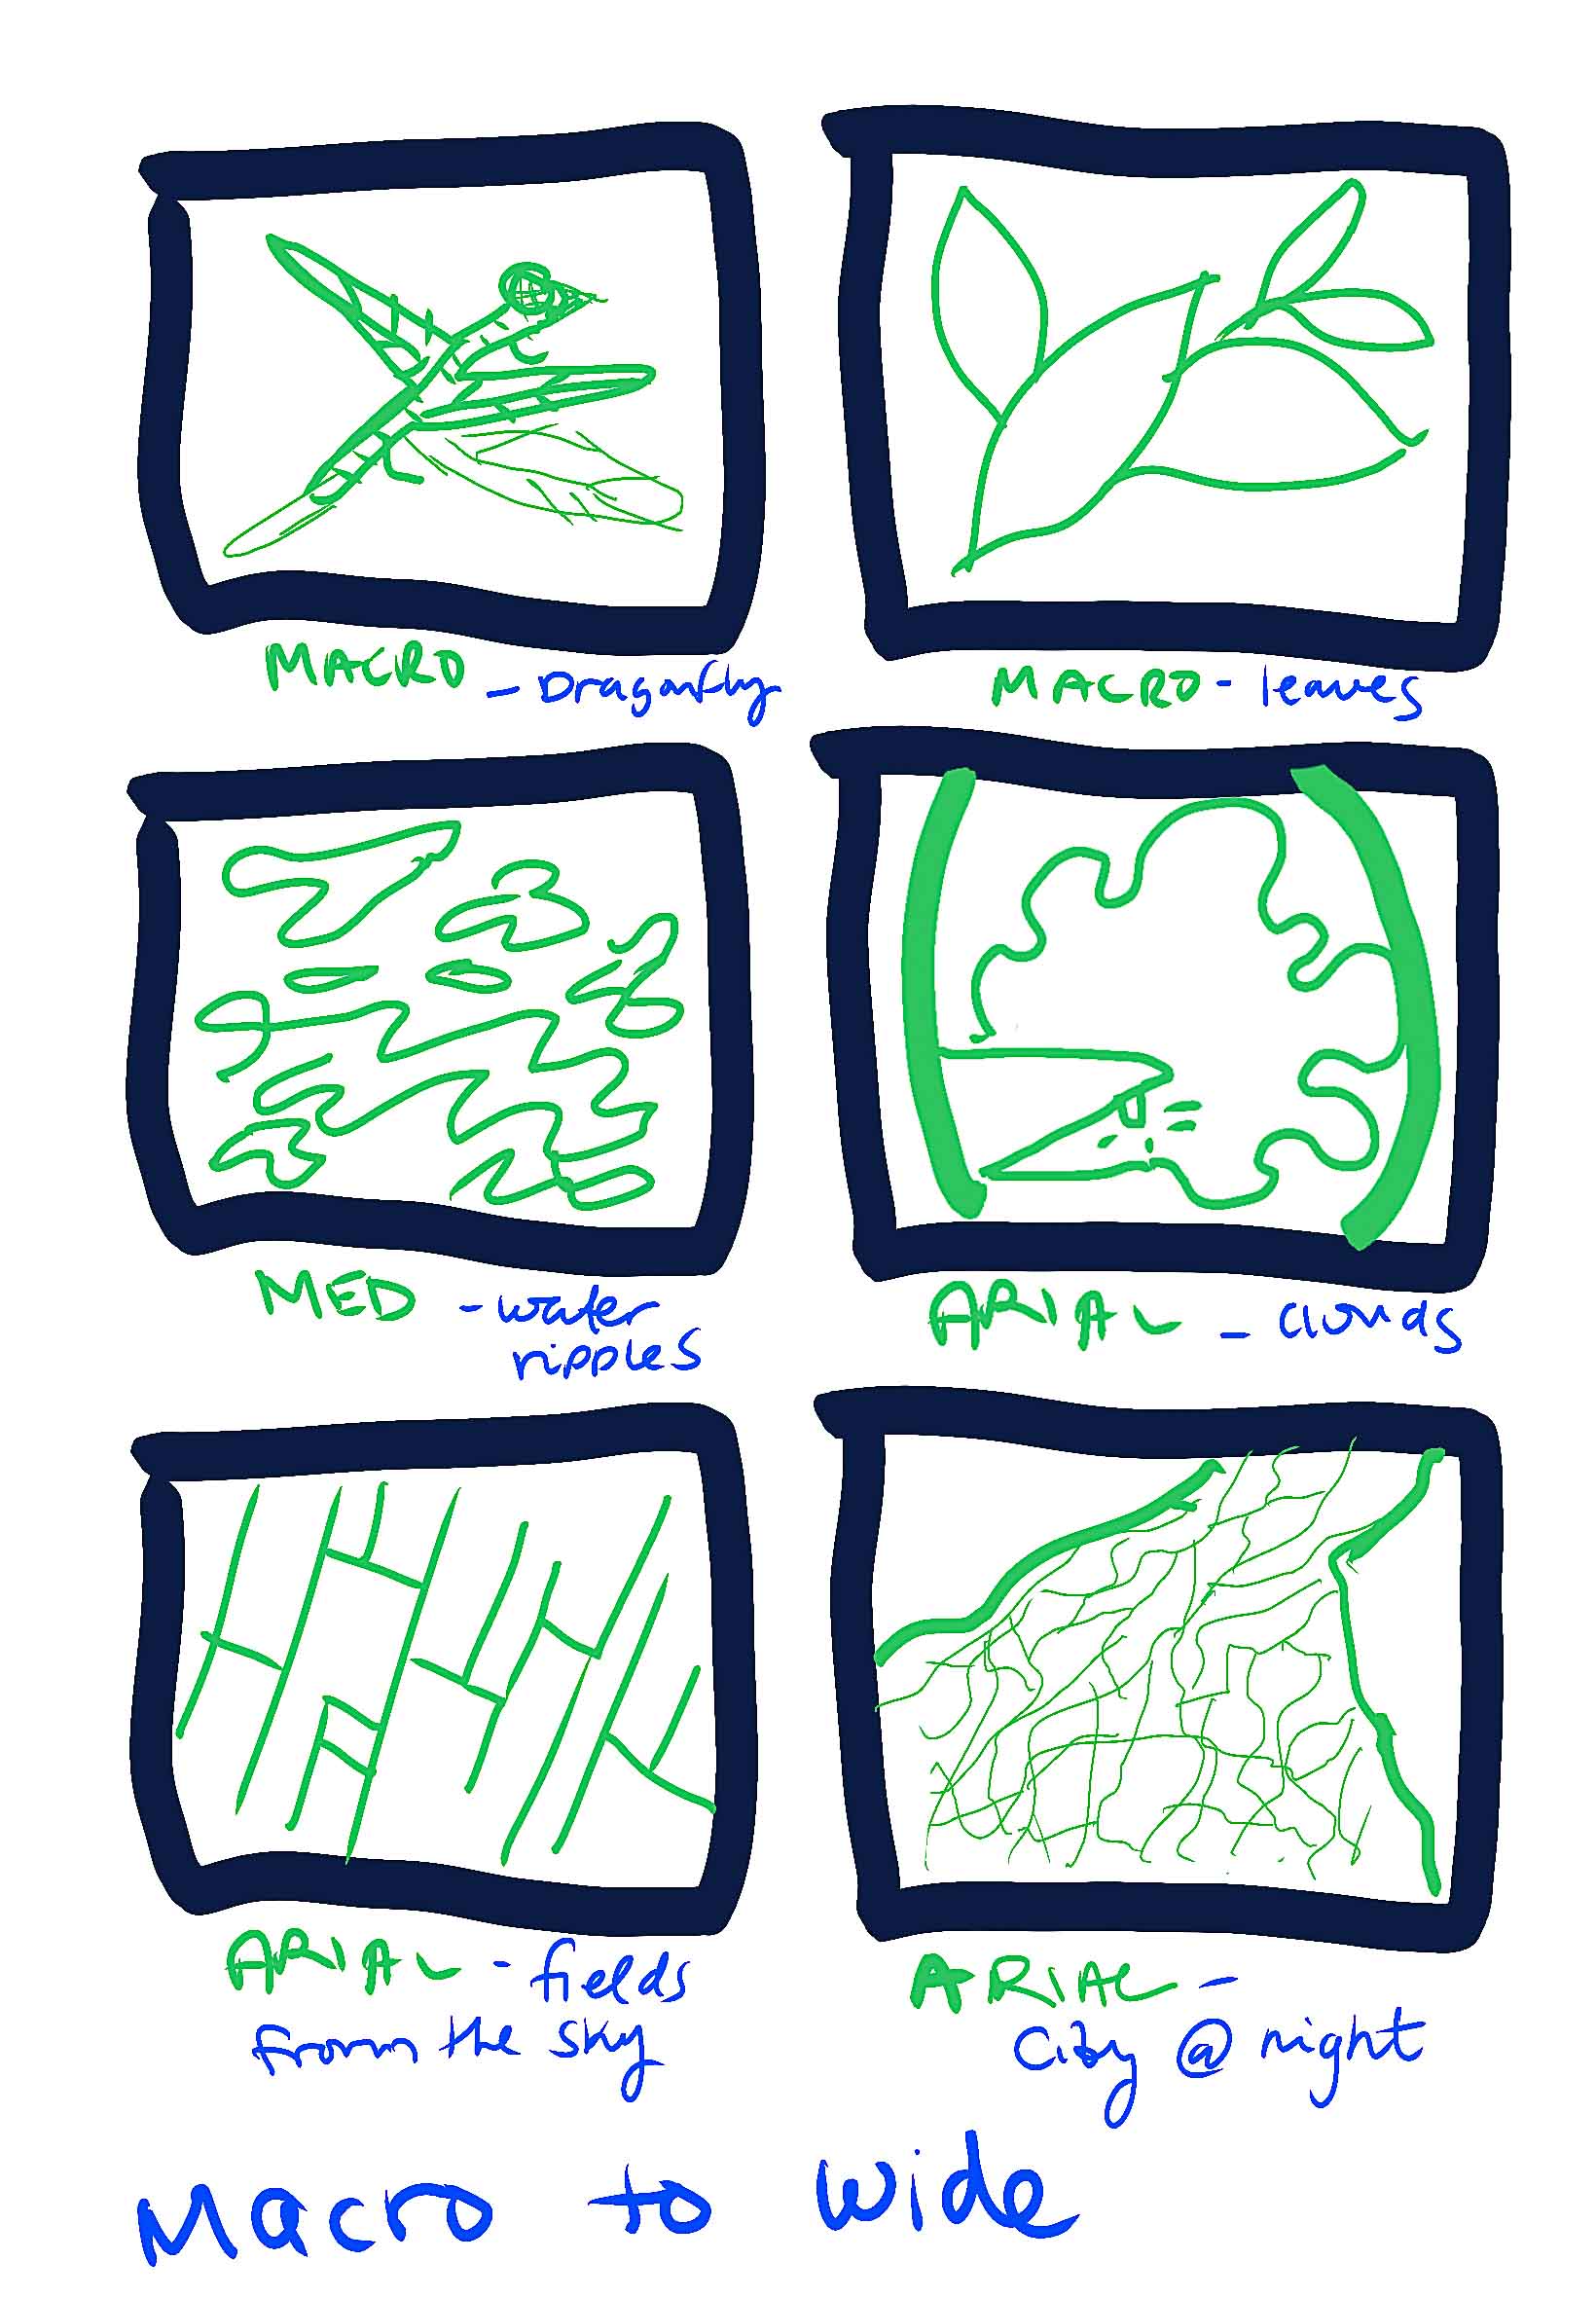
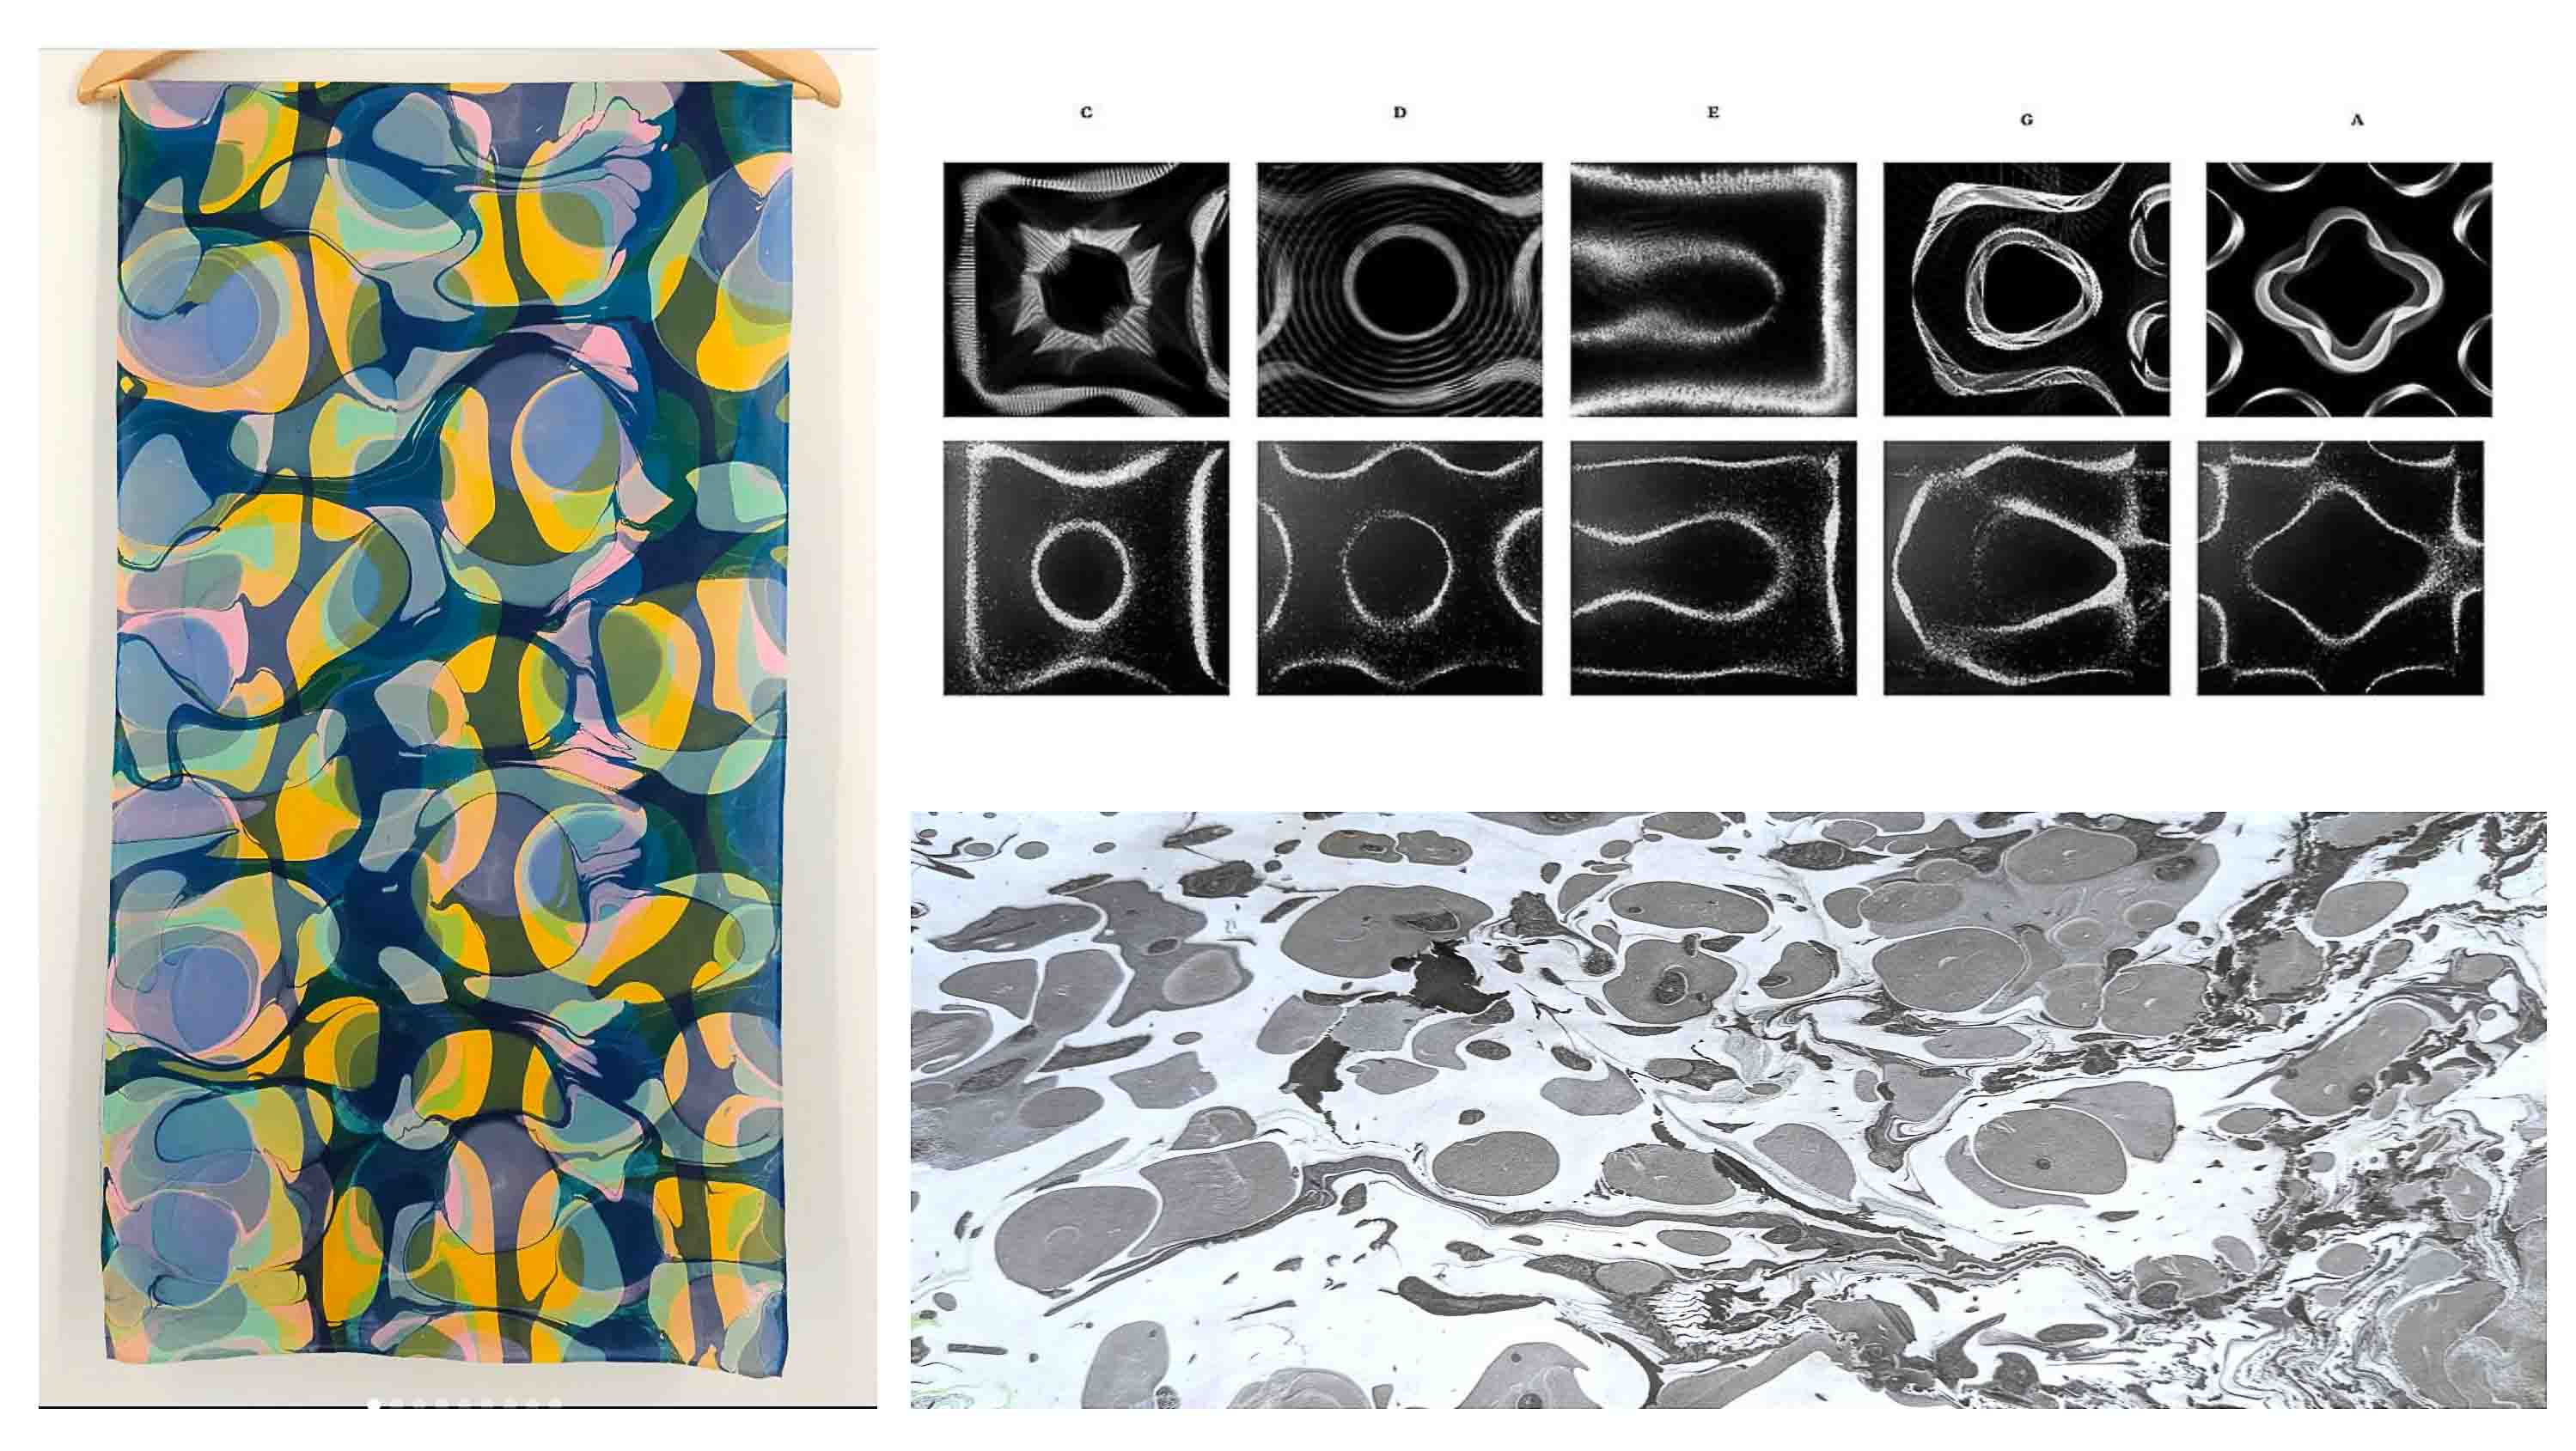 For those who are unfamiliar, Cymatics are made by sending a tone to a metal plate that transforms vibrations into visible patterns. Last year I also really fell in love with fabric marbling or ebru. It's both technical and intuitive and it's always surprising.
 So what have I been up to....
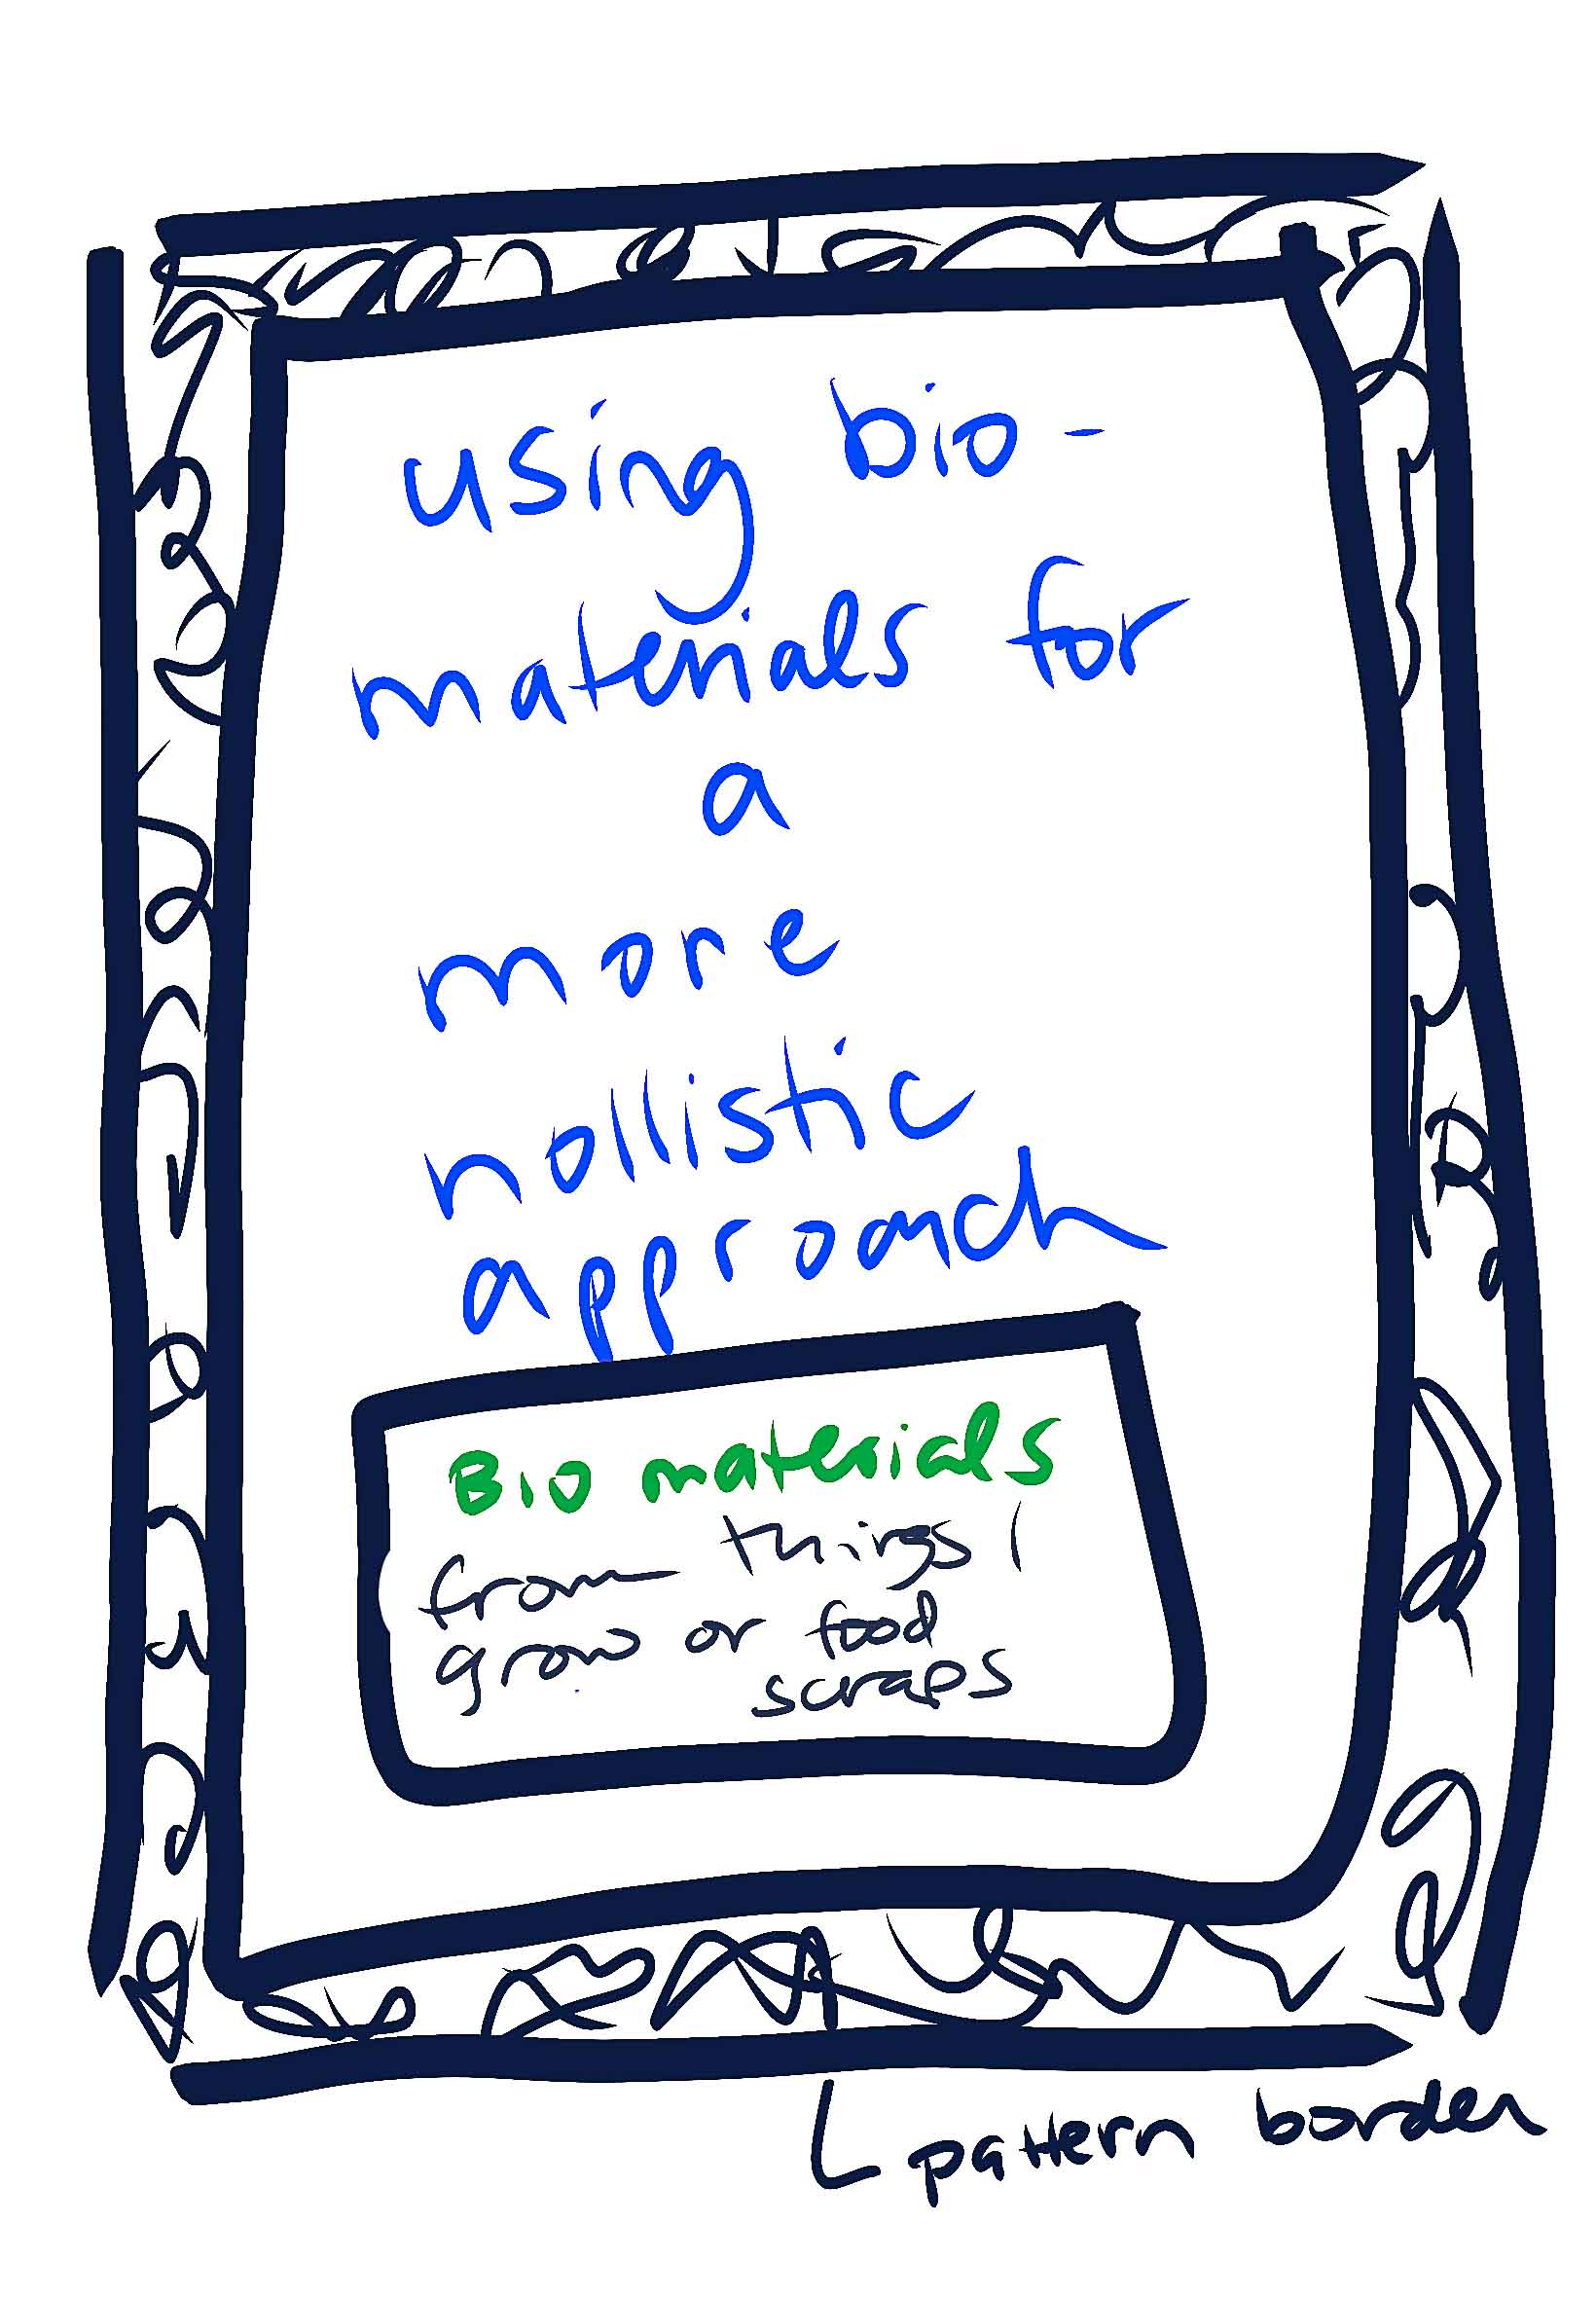
Formerly I was calling this “Full Circle Fibres”. The idea is that every step will be a collaboration with nature, including fibre creation, colourants/ dying, pattern printing and cutting. While this is still my goal, I change the title because my focus is really on the surface pattern design.
 Starting with Fibre ...
It was important to me to see if I could work with growing my own fabric.
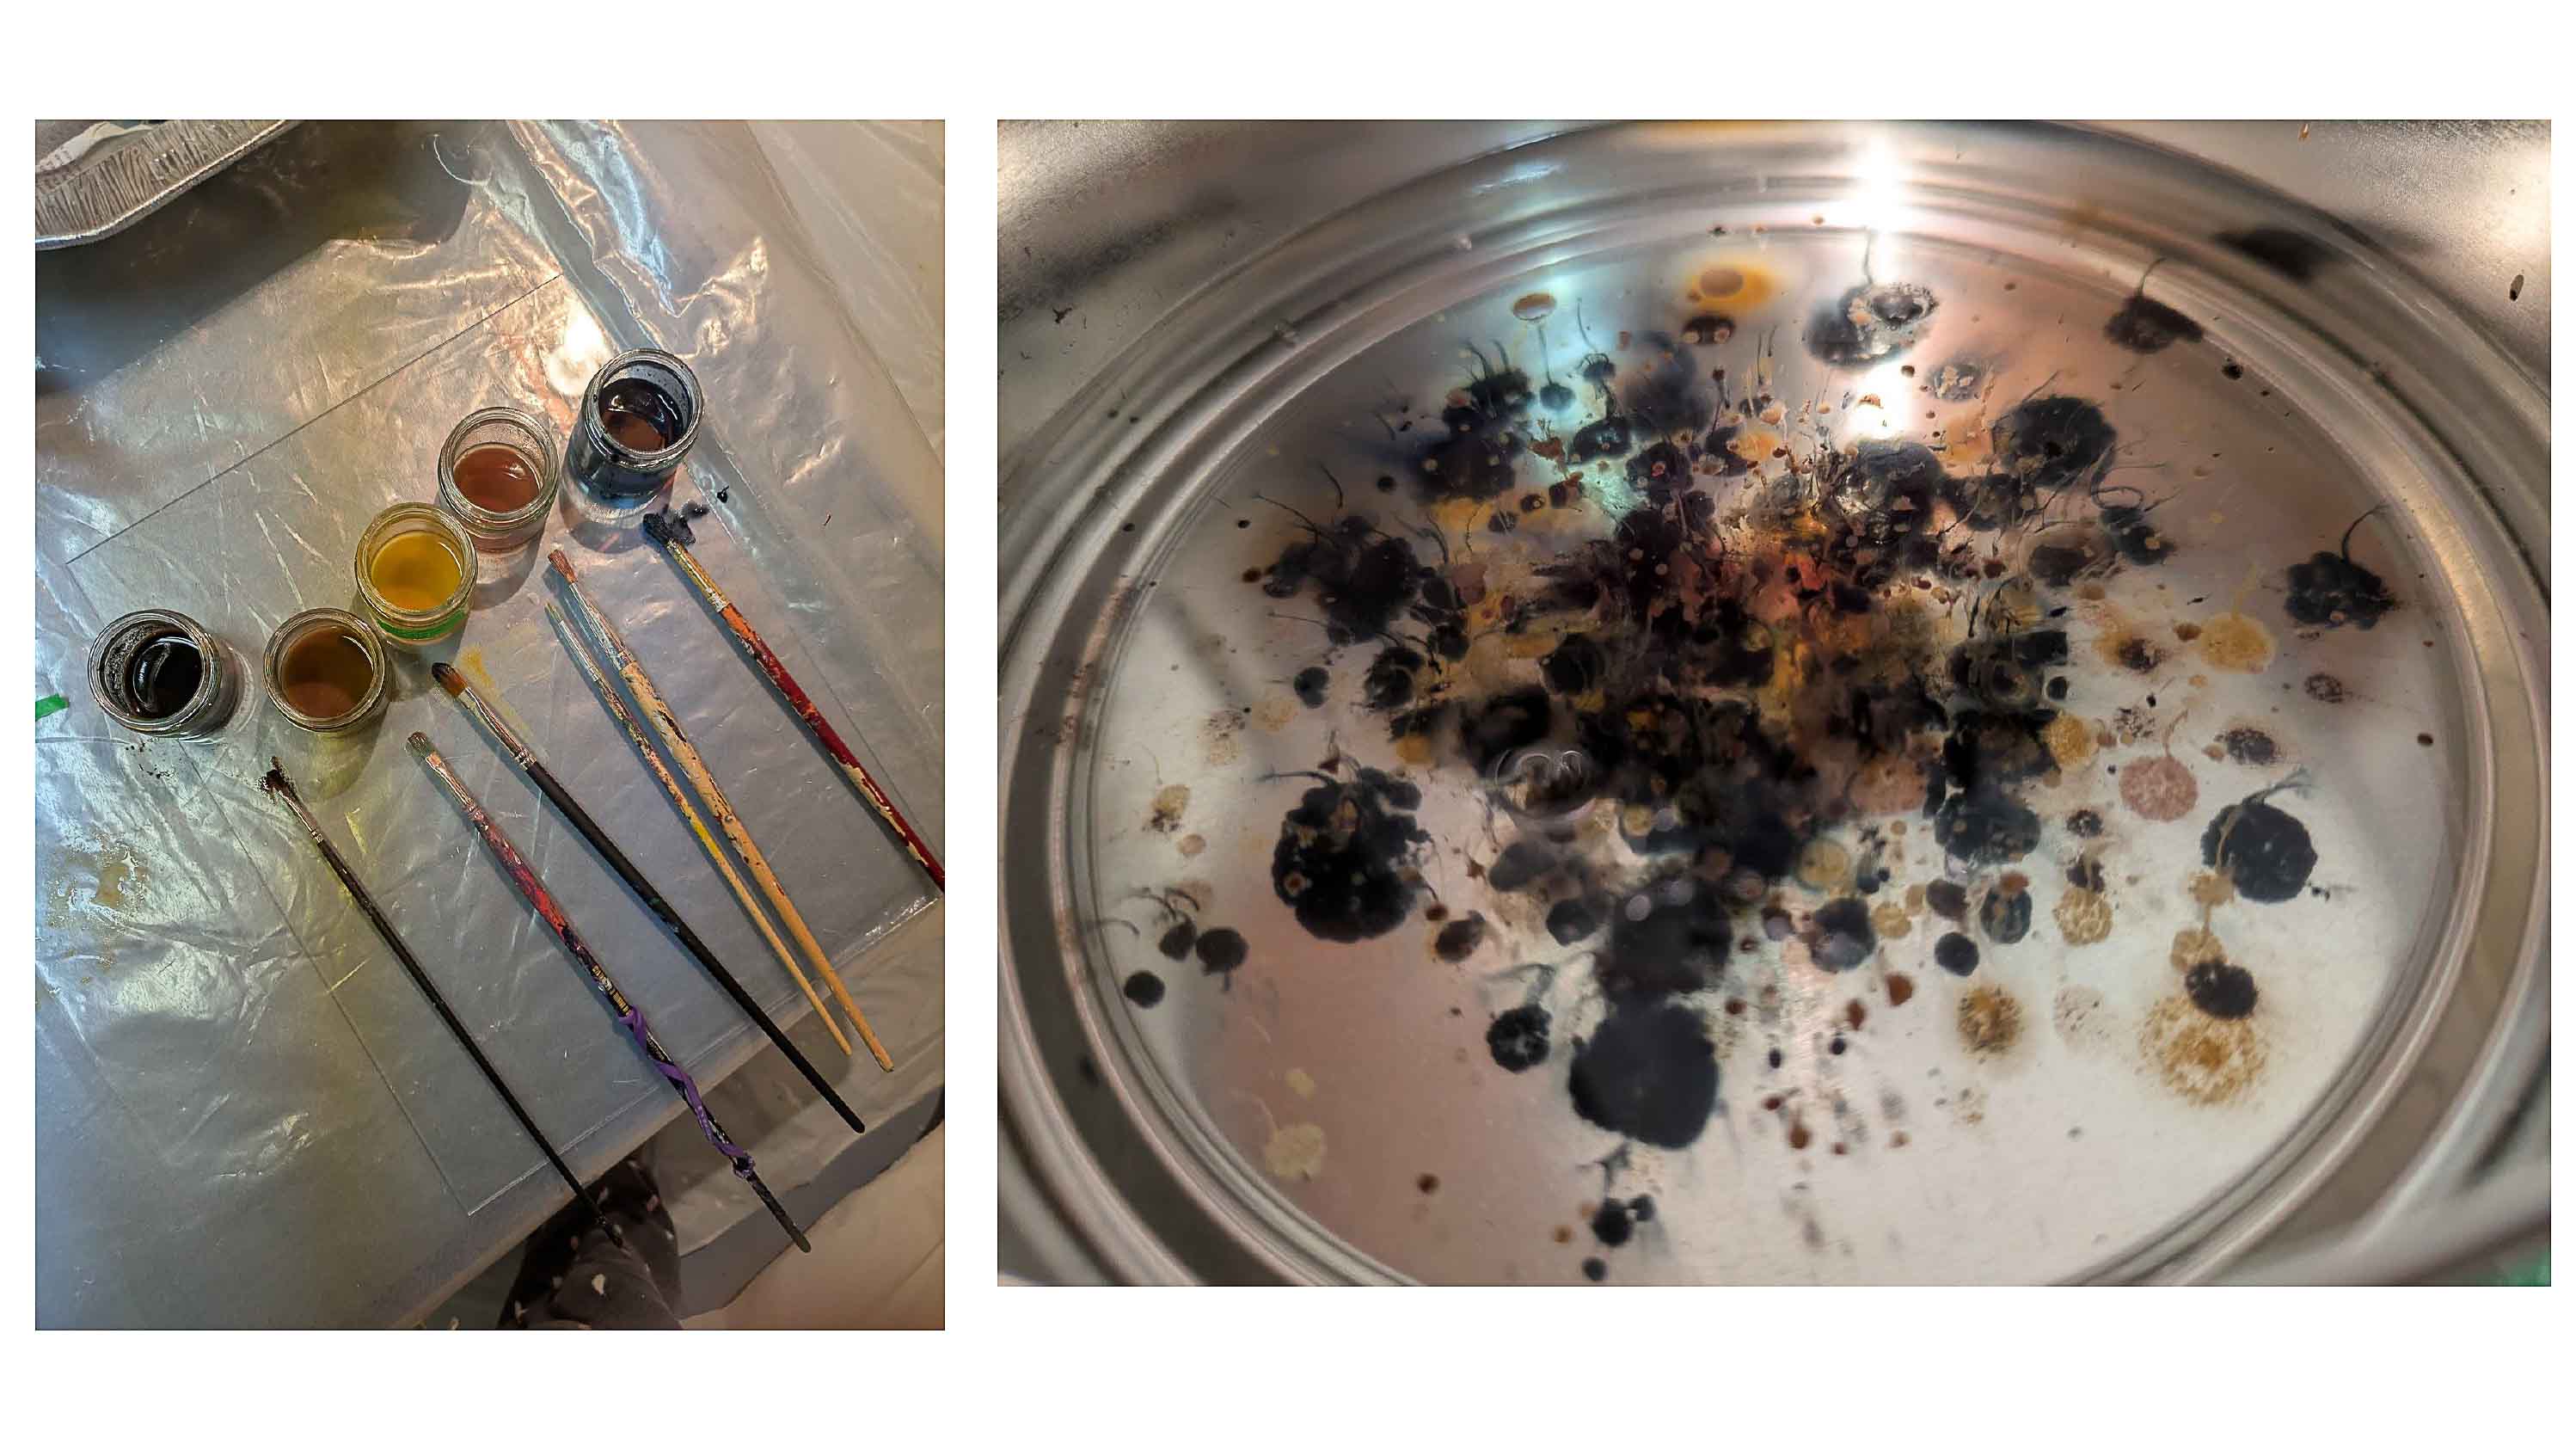
So I tried growing my own kombucha leather. I also bought a number of materials derived from nature for testing such as:
-
cotton
-
wool
-
silk
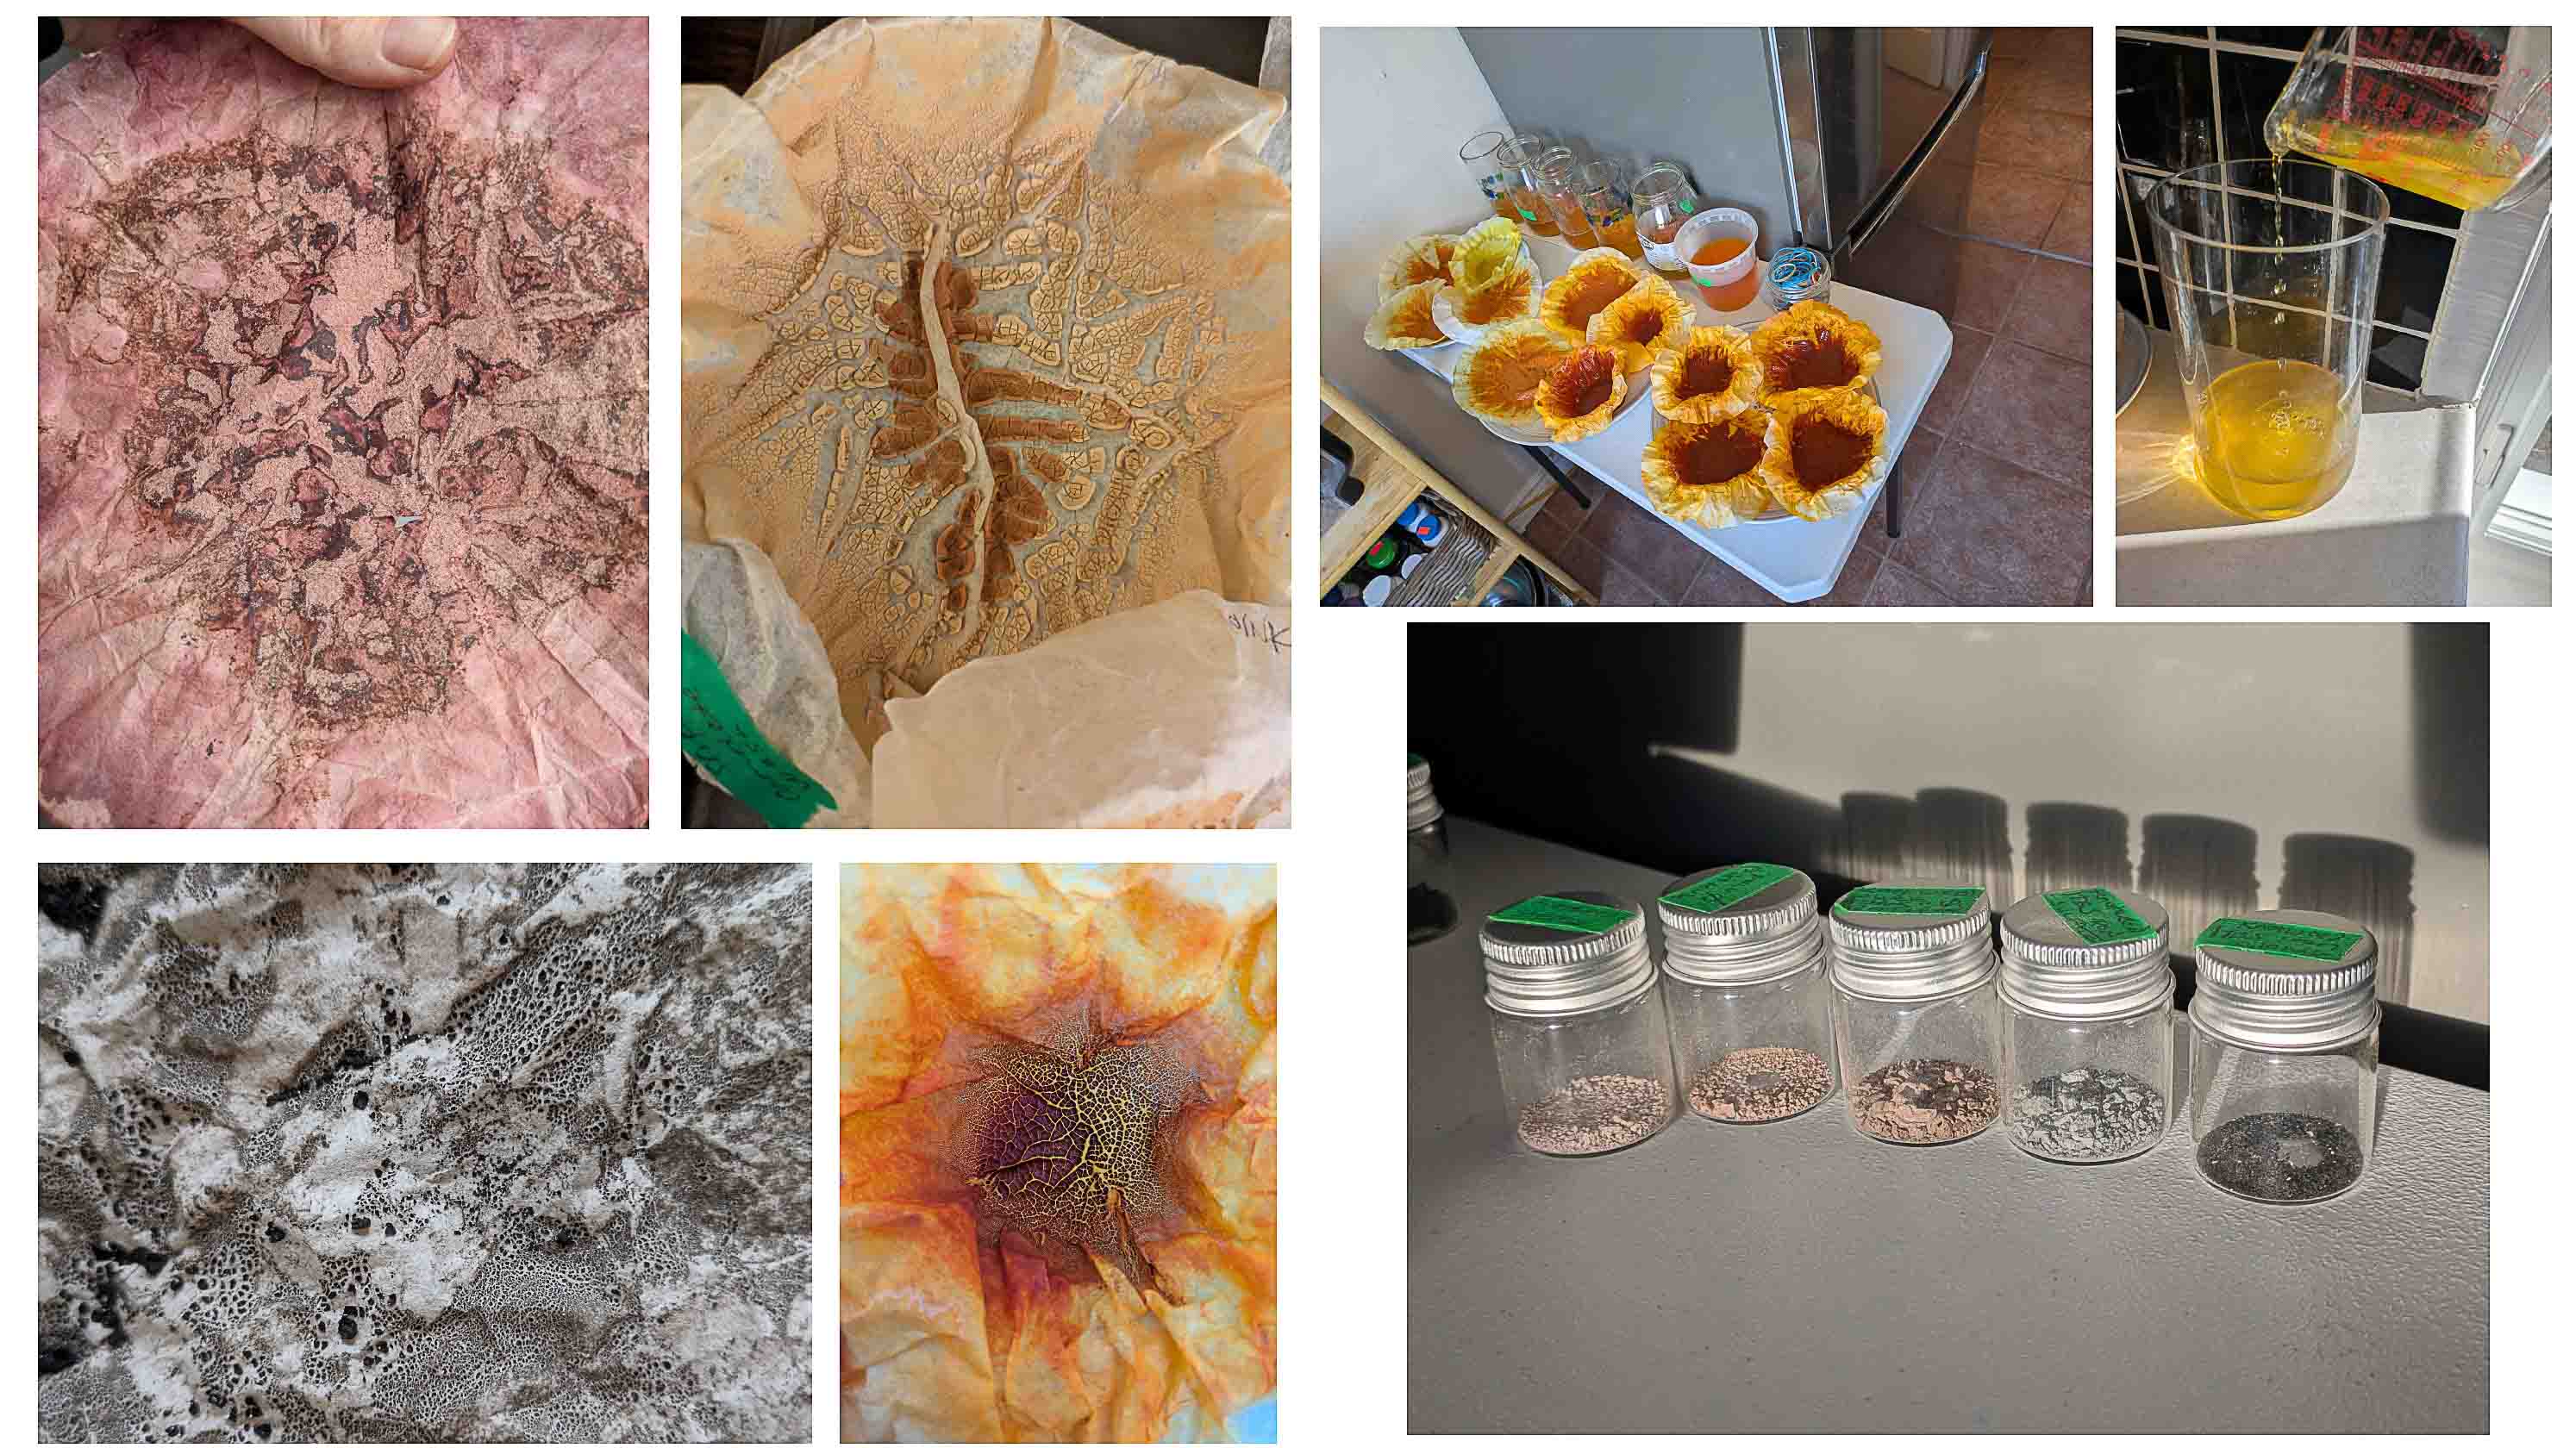
And I created a number of lake pigments including:
-
madder
-
safflower
-
Japanese knotweed
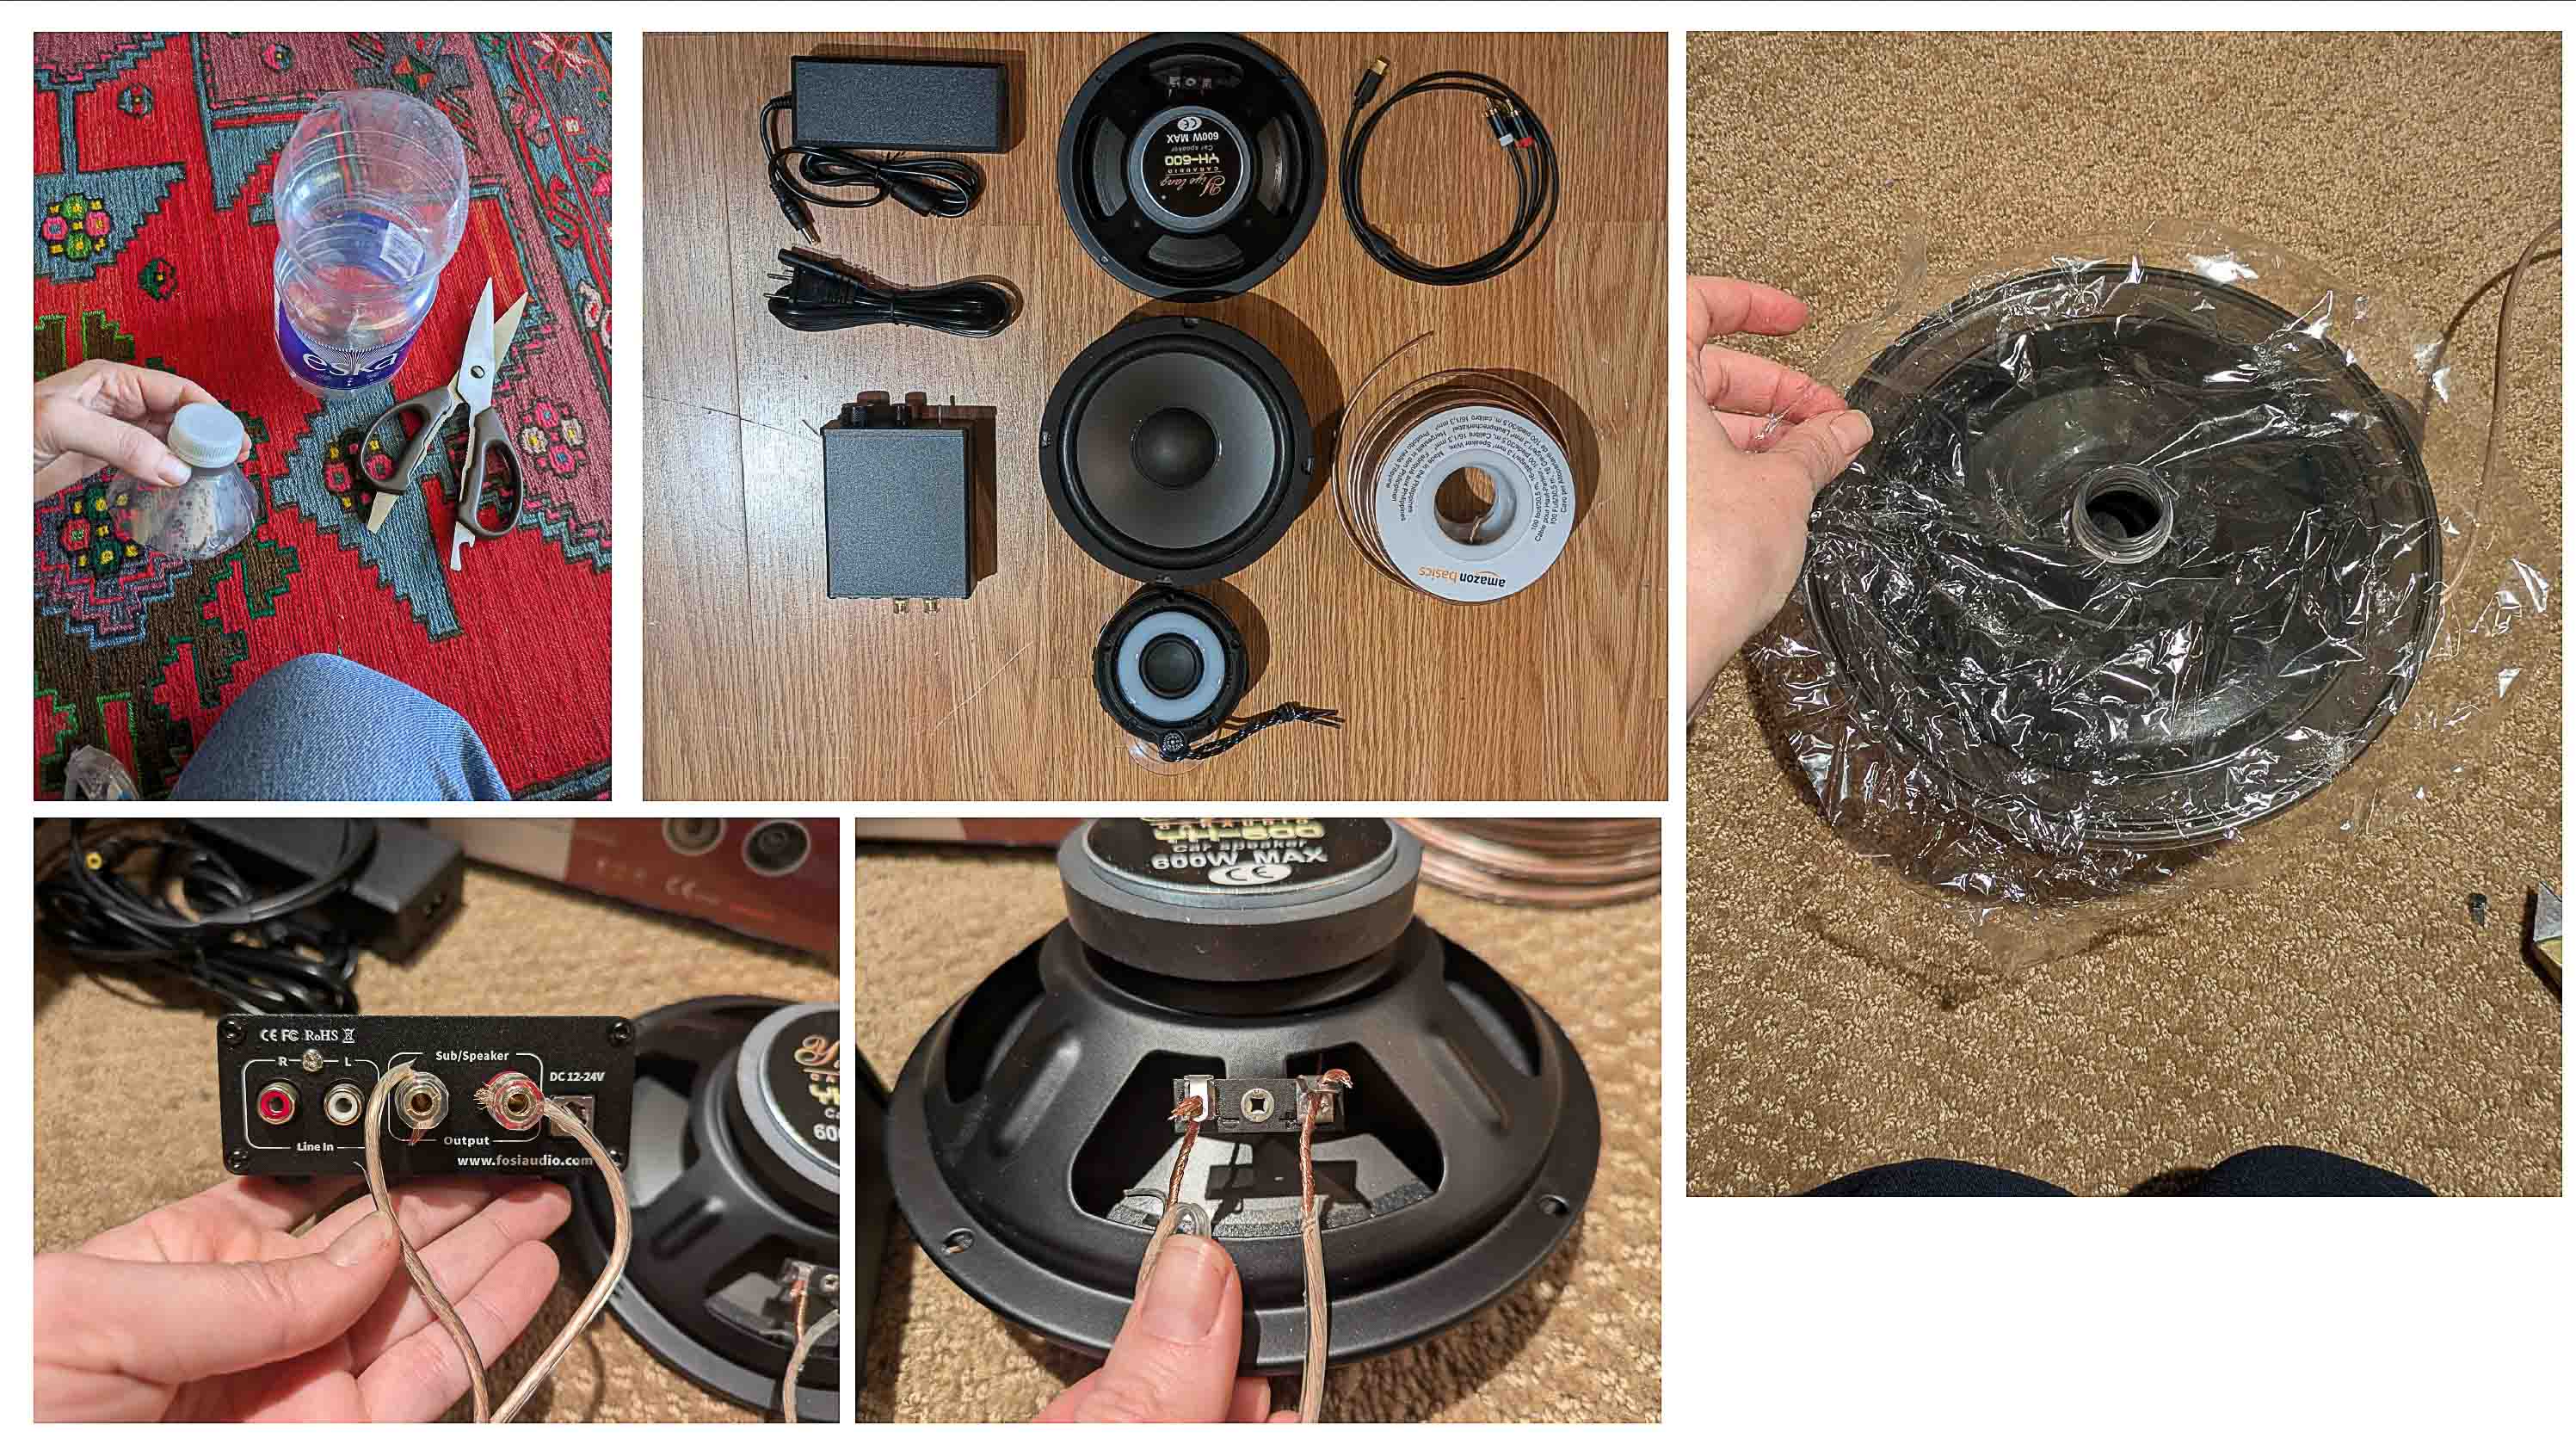
I built my first cymatics rig and spent time learning the limitations and strengths for my set up.
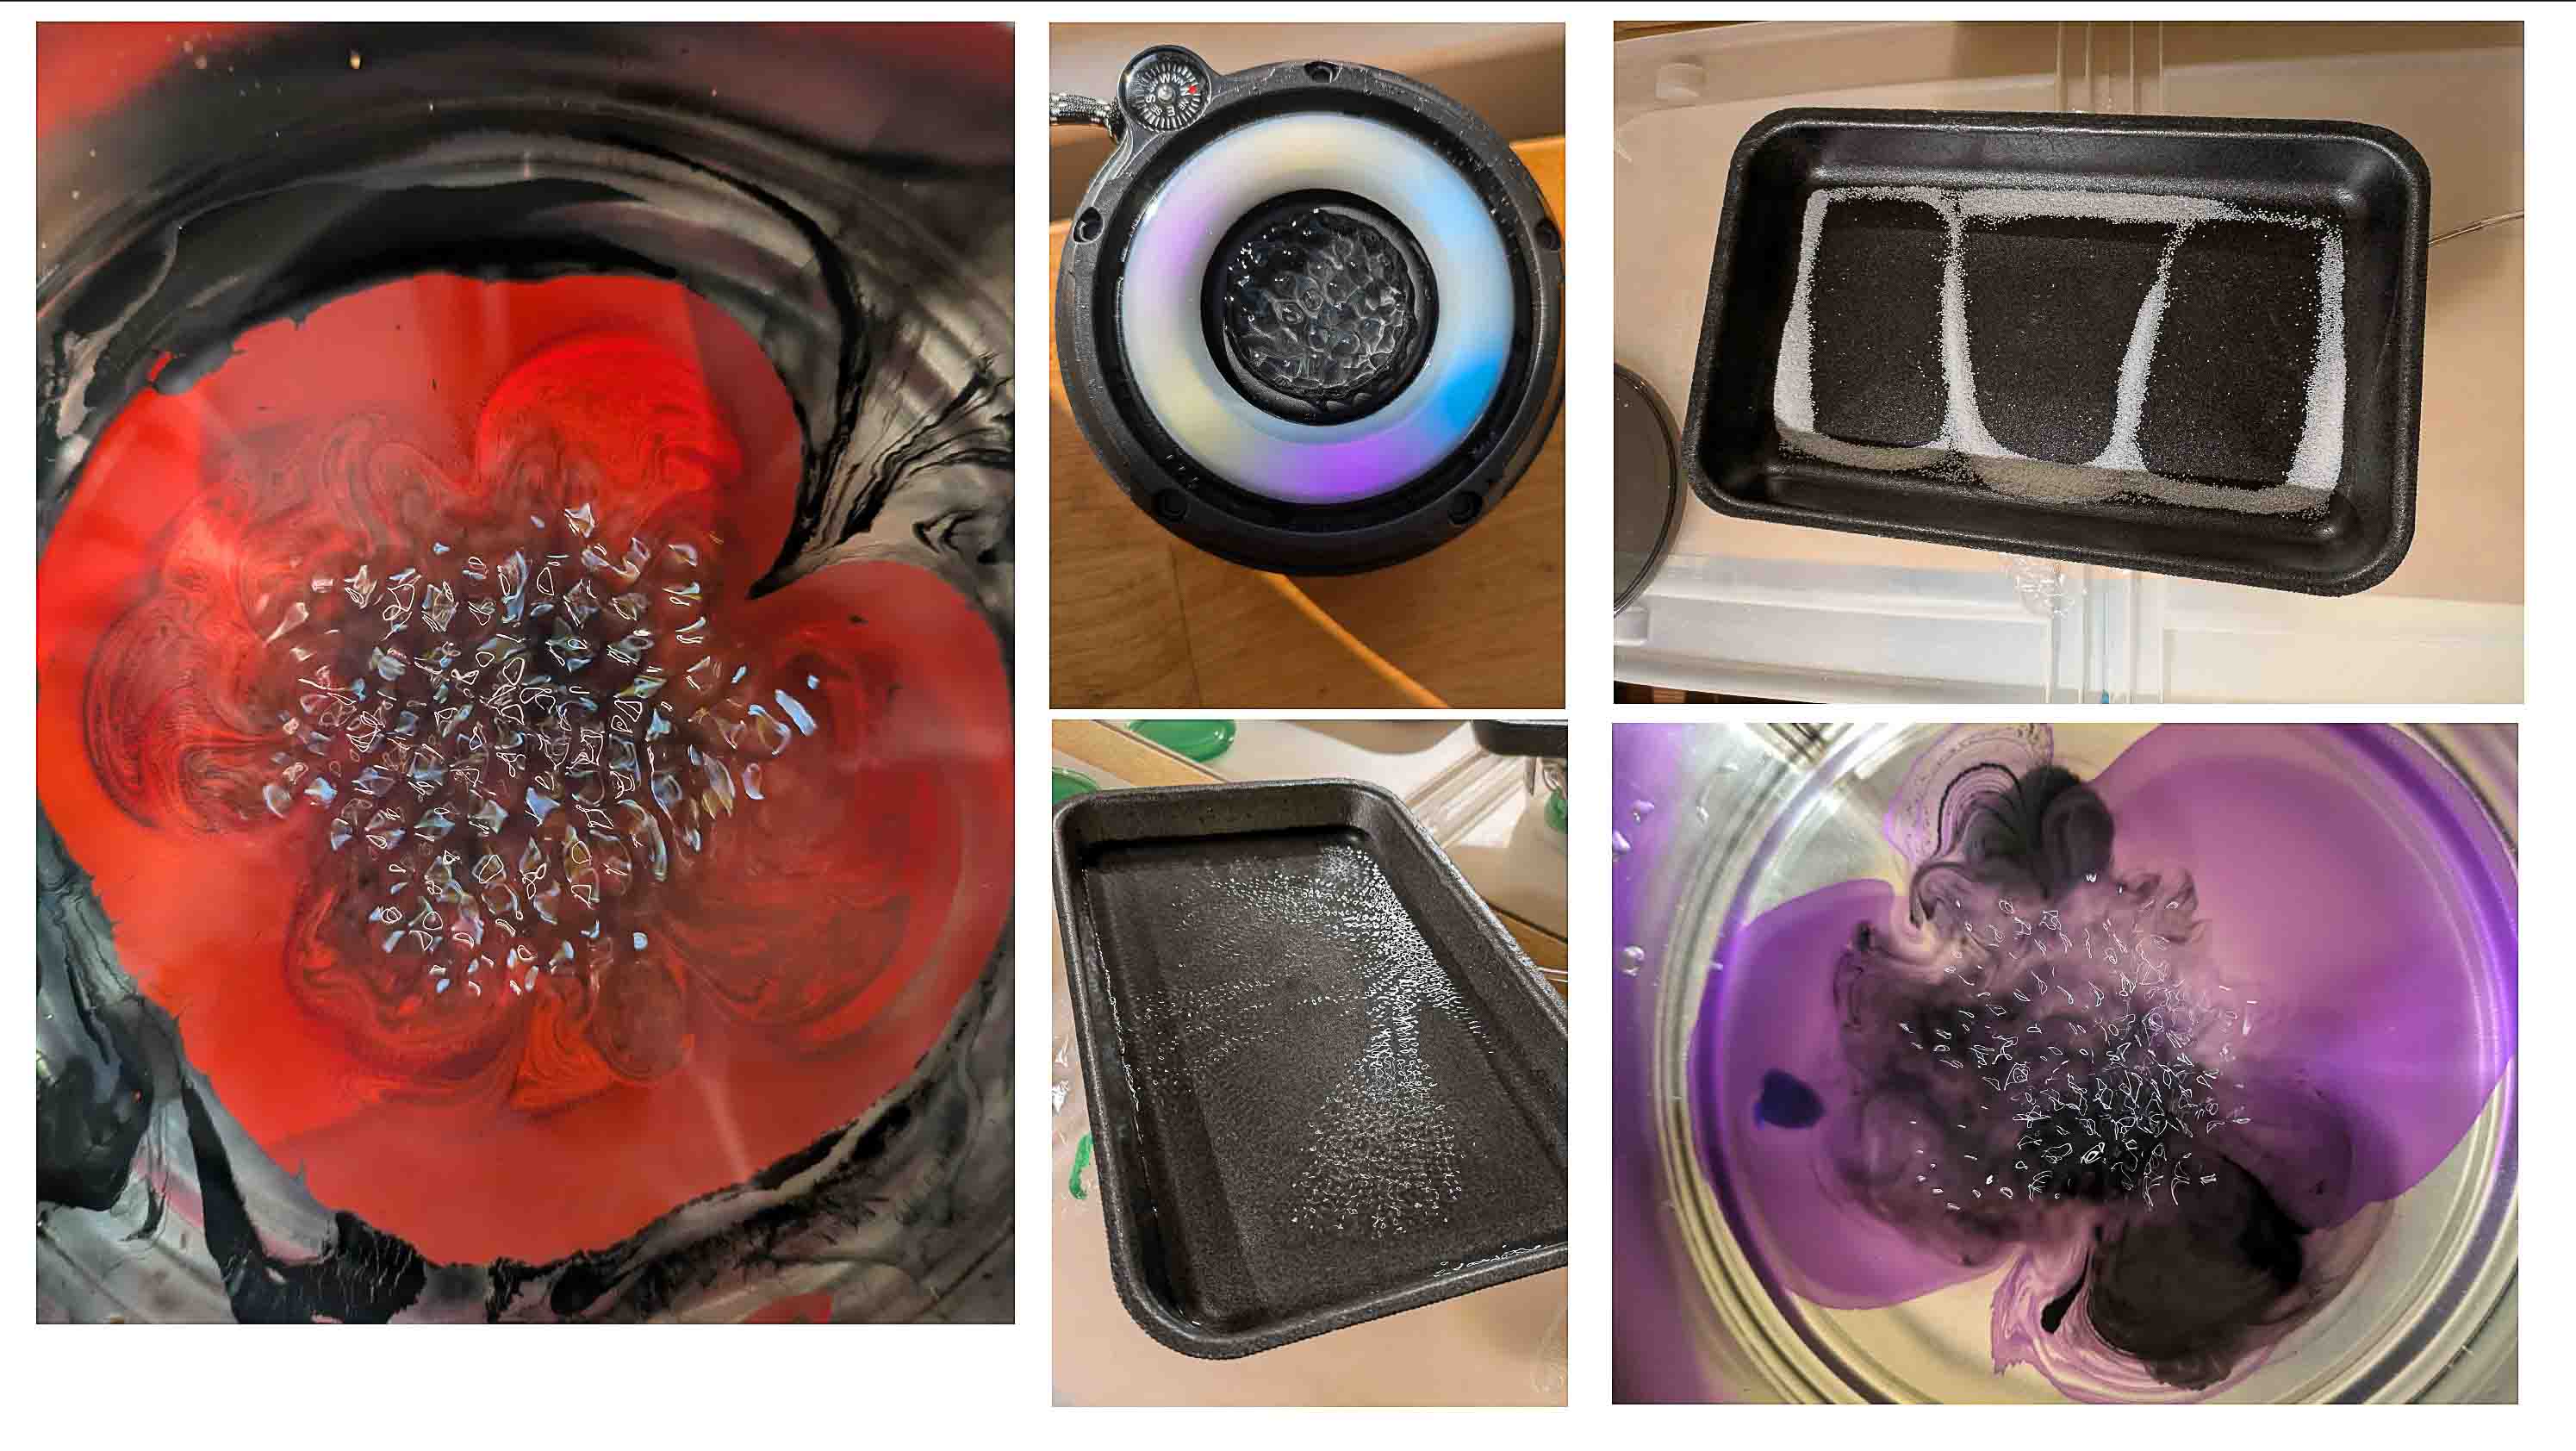 I've learned every plate will yield different results. In my current set up 4 - 6 " platforms are best. Styrofoam worked well for salt. I've figured out which plates seem to be most effective for water.
 This week I am pulling out all the stops cymatics wise to see what kind of prints I can achieve.
As I now know how difficult it is to get my pigments working moving forward I've decided to work with two colours only and lean into the theme of duality using a fugitive dye ( safflower) and a colour fast dye (indigo).
This week I am pulling out all the stops cymatics wise to see what kind of prints I can achieve.
As I now know how difficult it is to get my pigments working moving forward I've decided to work with two colours only and lean into the theme of duality using a fugitive dye ( safflower) and a colour fast dye (indigo).
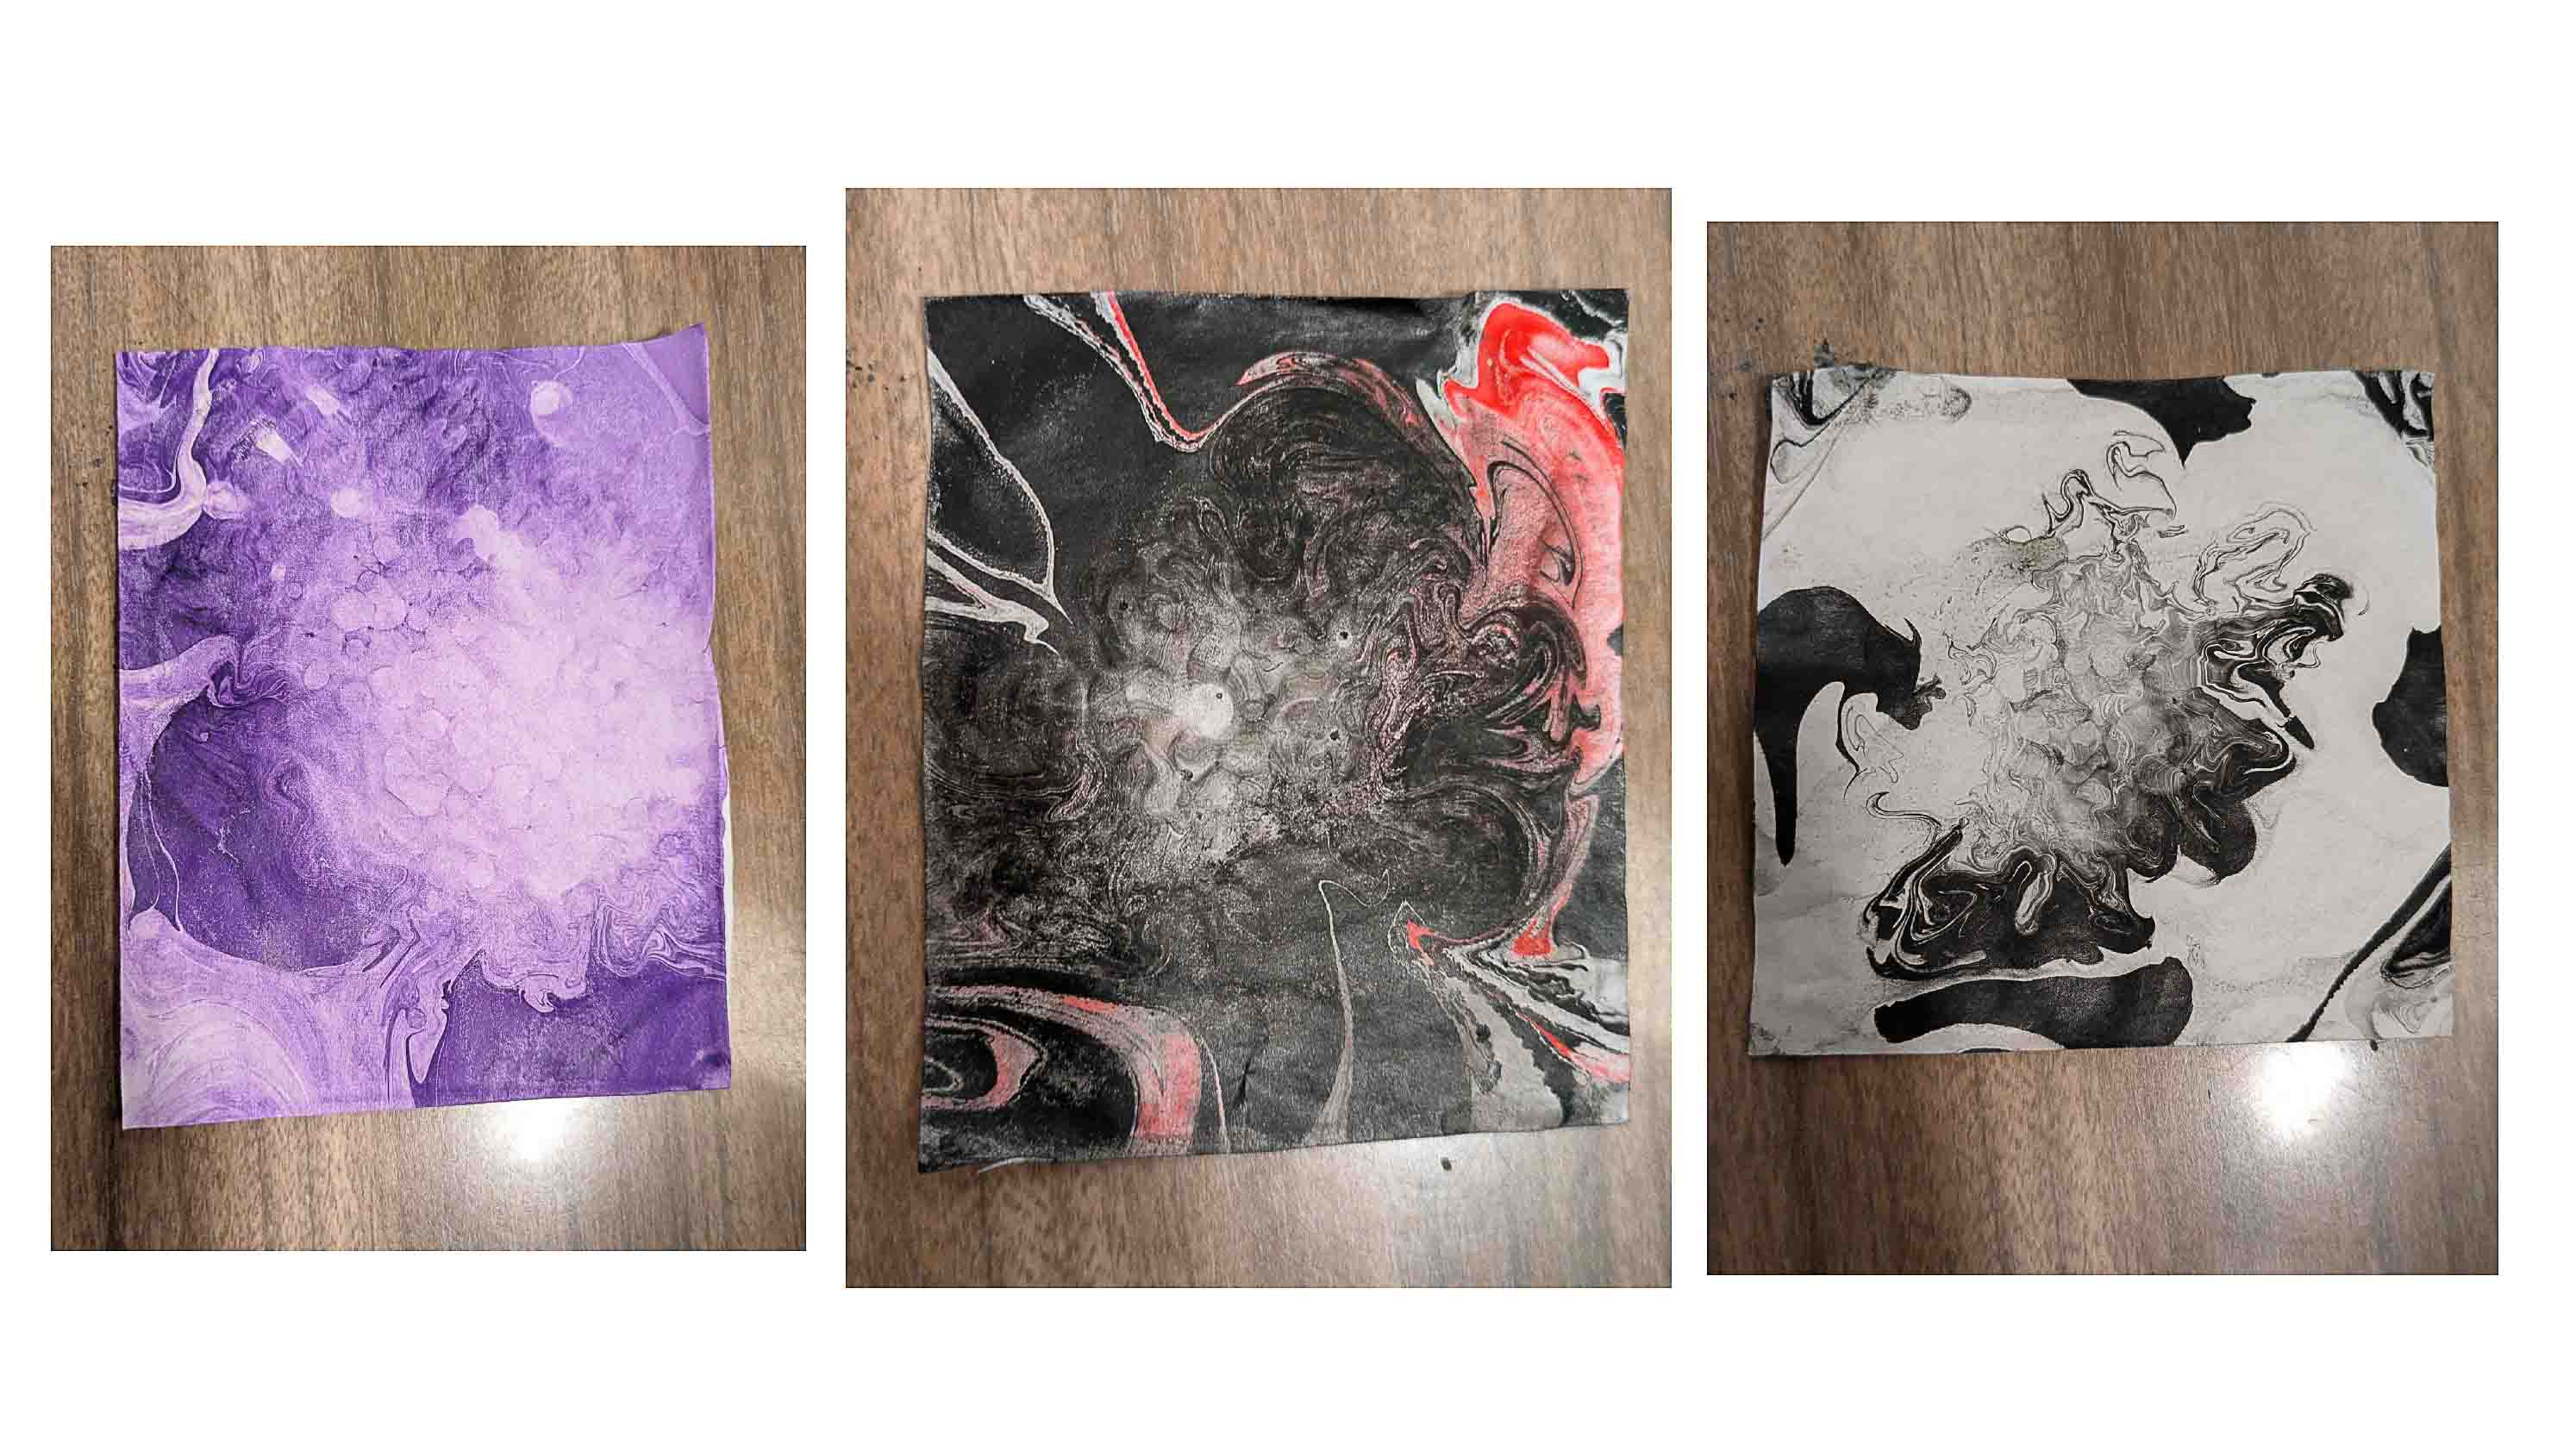 I've learned how to achieve water grams using synthetic paint
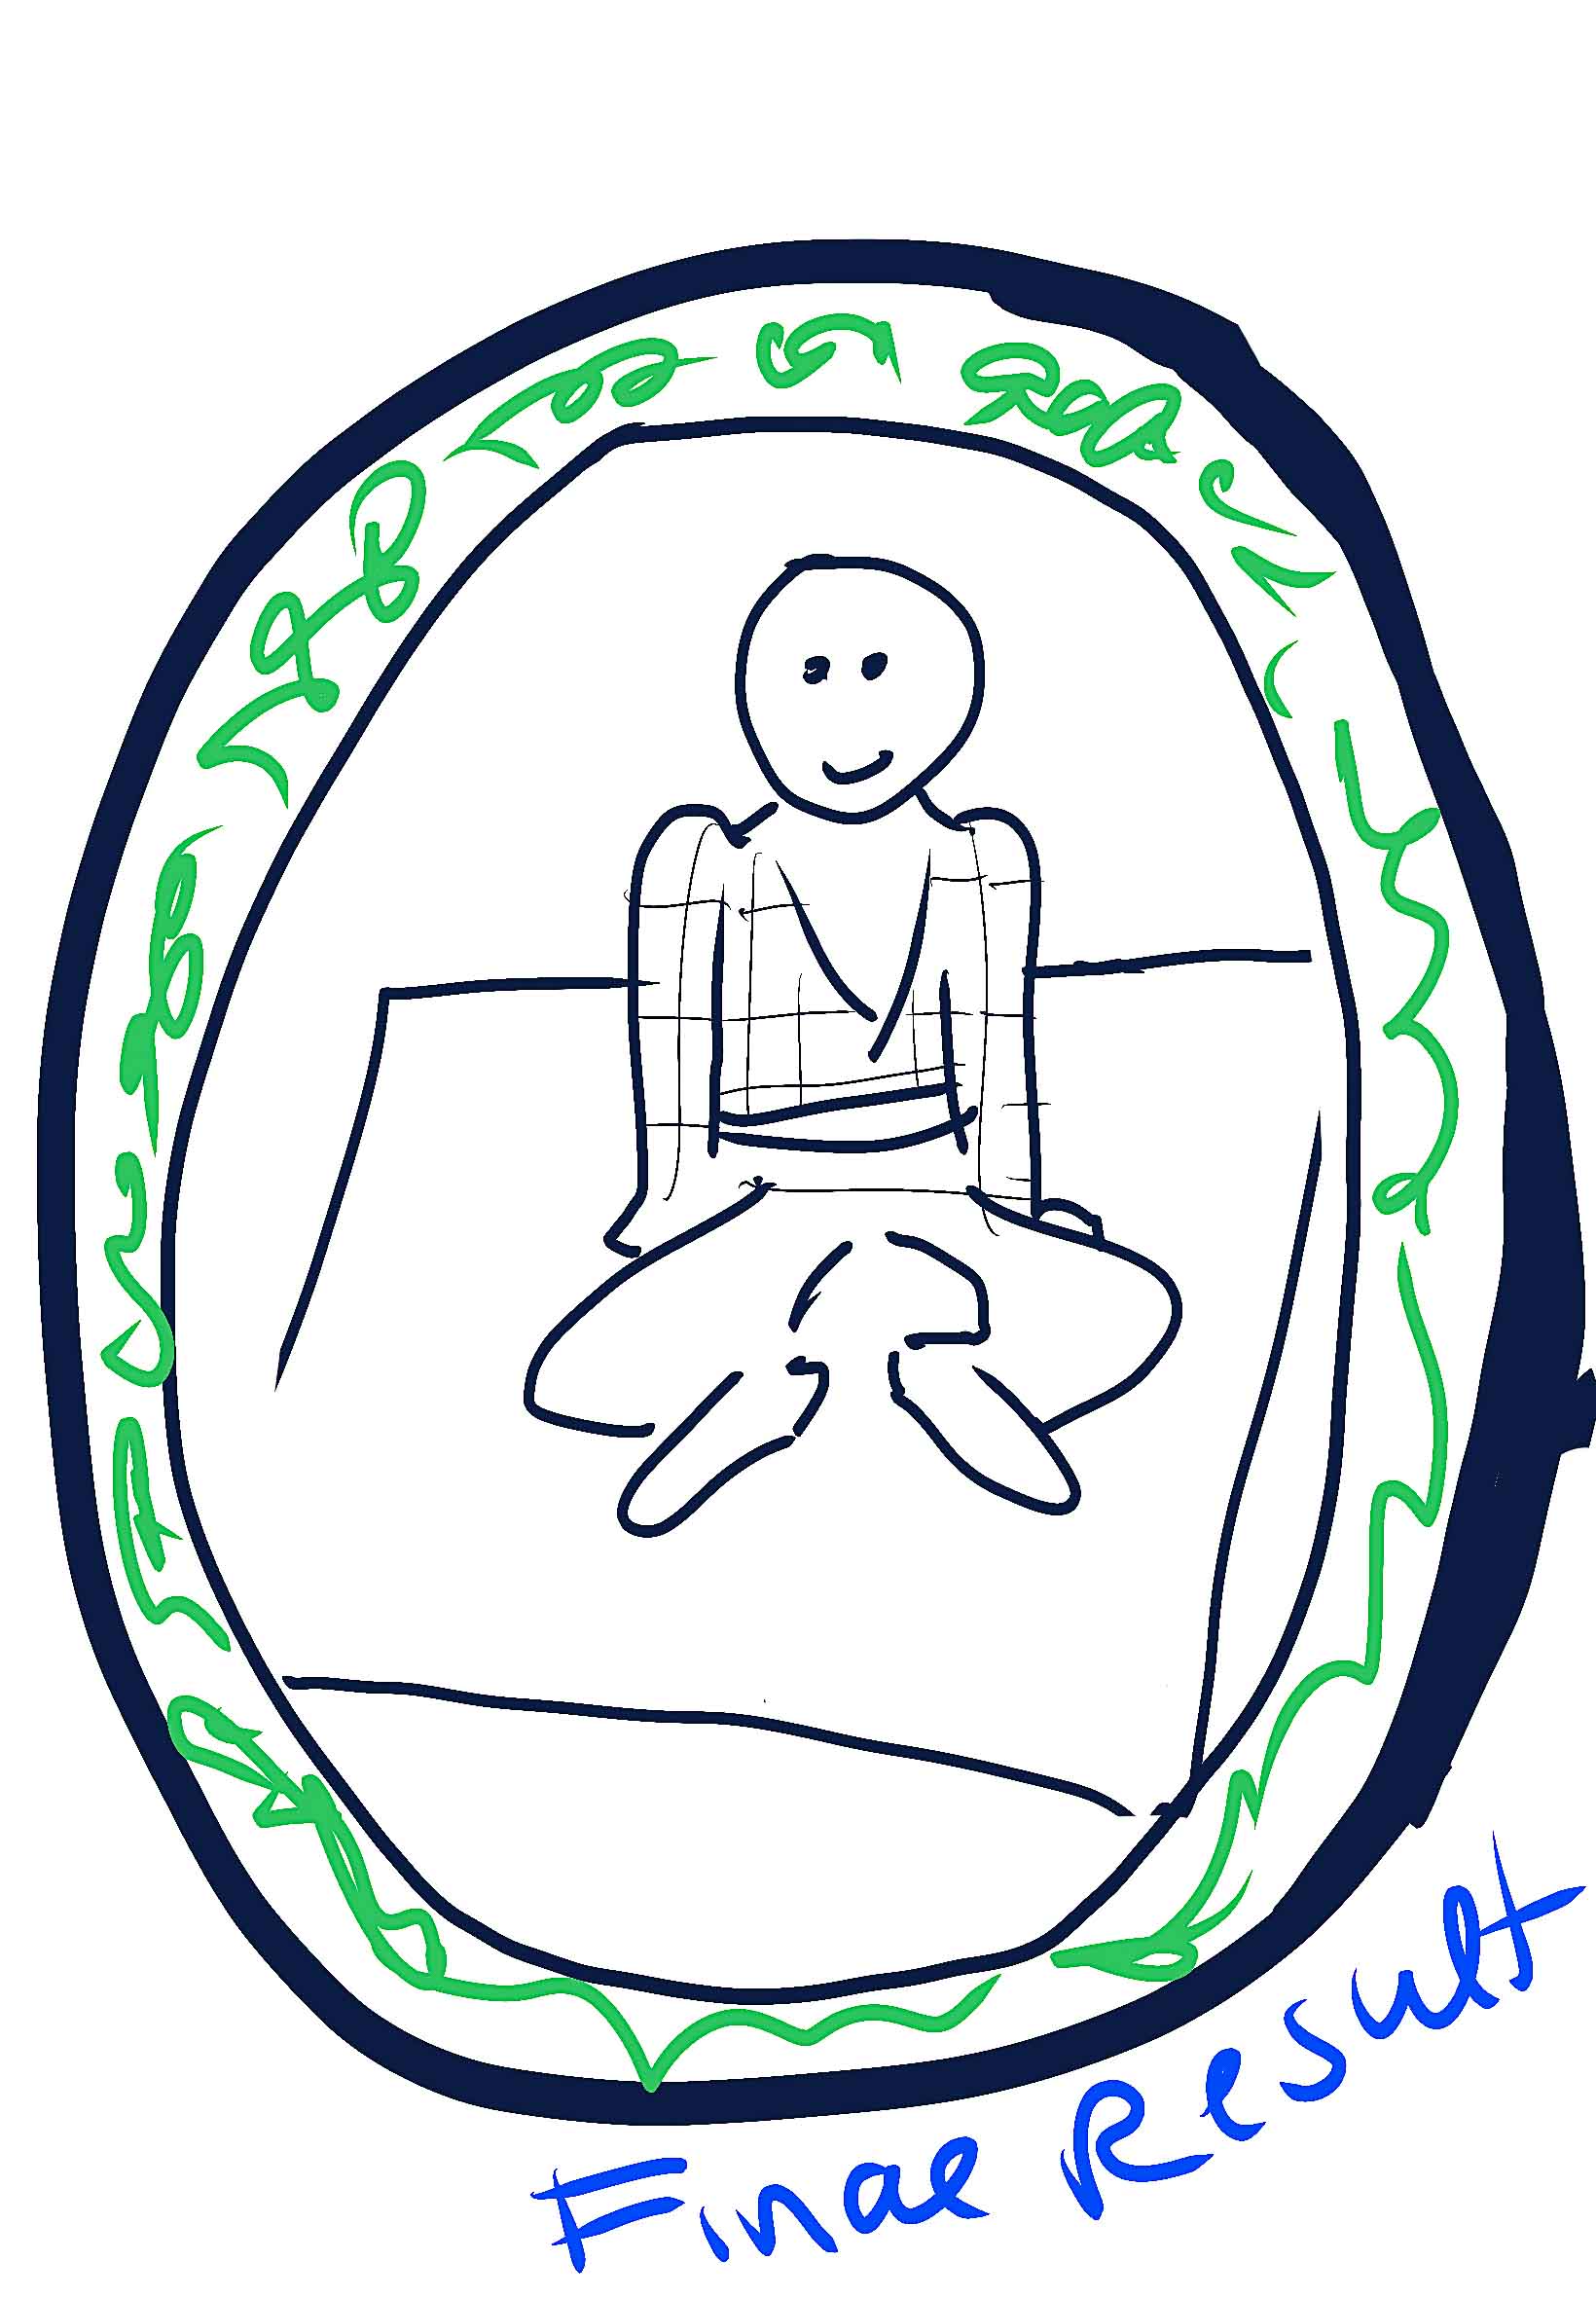
 For the final garment I would like to create a jacket that can fit multiple people.
Taking inspiration from Todd Selby, who shoots personal style portraits of people in their own homes, I would like to photograph other people wearing my garment in their own individual way, as a method of collaboration.
Storyboard Slide Show


FABRICATION HOW TO'S
"Lorem ipsum dolor sit amet, consectetur adipiscing elit, sed do eiusmod tempor incididunt ut labore et dolore magna aliqua. Ut enim ad minim veniam, quis nostrud exercitation ullamco laboris nisi ut aliquip ex ea commodo consequat. Duis aute irure dolor in reprehenderit in voluptate velit esse cillum dolore eu fugiat nulla pariatur. Excepteur sint occaecat cupidatat non proident, sunt in culpa qui officia deserunt mollit anim id est laborum."
This model 1 was obtained by.. Lorem ipsum dolor sit amet, consectetur adipiscing elit, sed do eiusmod tempor incididunt ut labore et dolore magna aliqua.
Lorem ipsum dolor sit amet, consectetur adipiscing elit, sed do eiusmod tempor incididunt ut labore et dolore magna aliqua. Ut enim ad minim veniam, quis nostrud exercitation ullamco laboris nisi ut aliquip ex ea commodo consequat. Duis aute irure dolor in reprehenderit in voluptate velit esse cillum dolore eu fugiat nulla pariatur. Excepteur sint occaecat cupidatat non proident, sunt in culpa qui officia deserunt mollit anim id est laborum. The laser cut nesting 2 was created using..
footnote fabrication files
Fabrication files are a necessary element for evaluation. You can add the fabrication files at the bottom of the page and simply link them as a footnote. This was your work stays organised and files will be all together at the bottom of the page. Footnotes are created using [ ^ 1 ] (without spaces, and referenced as you see at the last chapter of this page) You can reference the fabrication files to multiple places on your page as you see for footnote nr. 2 also present in the Gallery.
How-Tos & Tutorials
Upload templates or tutorials you created for your personal project, it can also be links to instructables when the project is educational, protocols when working with growing materials and so on..