Process Journal
Prototypes
Process Update, Jan 26, 2026:
I've spent the last two weeks acquiring materials and setting up my initial tests. This includes:
-
natural lakes, ( created 16 and bought 6 ) including indigo, cochineal and Japanese knotweed.
-
Built a mini cymatics rig to test cymatics with a waterproof speaker
-
Started 6 kombucha vats at the lab. They will grow for 16 days.
-
Sourced 2 larger speakers and an amp for the big cymatics, and researched their connections and wattage needs.
-
Further researched cuts and patterns I like by playing with paper shapes
-
Documentation research - how will I showcase all my hard work?
-
silk, wool
This week;
-
testing natural dyes
-
testing cymatics for marble ability
-
developing the sewing pattern further
Next week:
-
Build the pattern from muslin
-
continue dye tests
Montreal, Feb 7 - Feb 14:
-
Build the final cymatics rig in the lab
-
natural dye tests
-
make a vat of indigo
-
test kombucha for dye ability
-
decide on final colour palette
-
source final fabrics
Machine List:
- Cymatics rig
Midterm Presentation
 Cymatics captured by Erika Weitz and Thomas Noya
I'd like to give a little context as to why I ended up here. In university I studied theatre production and costume design.
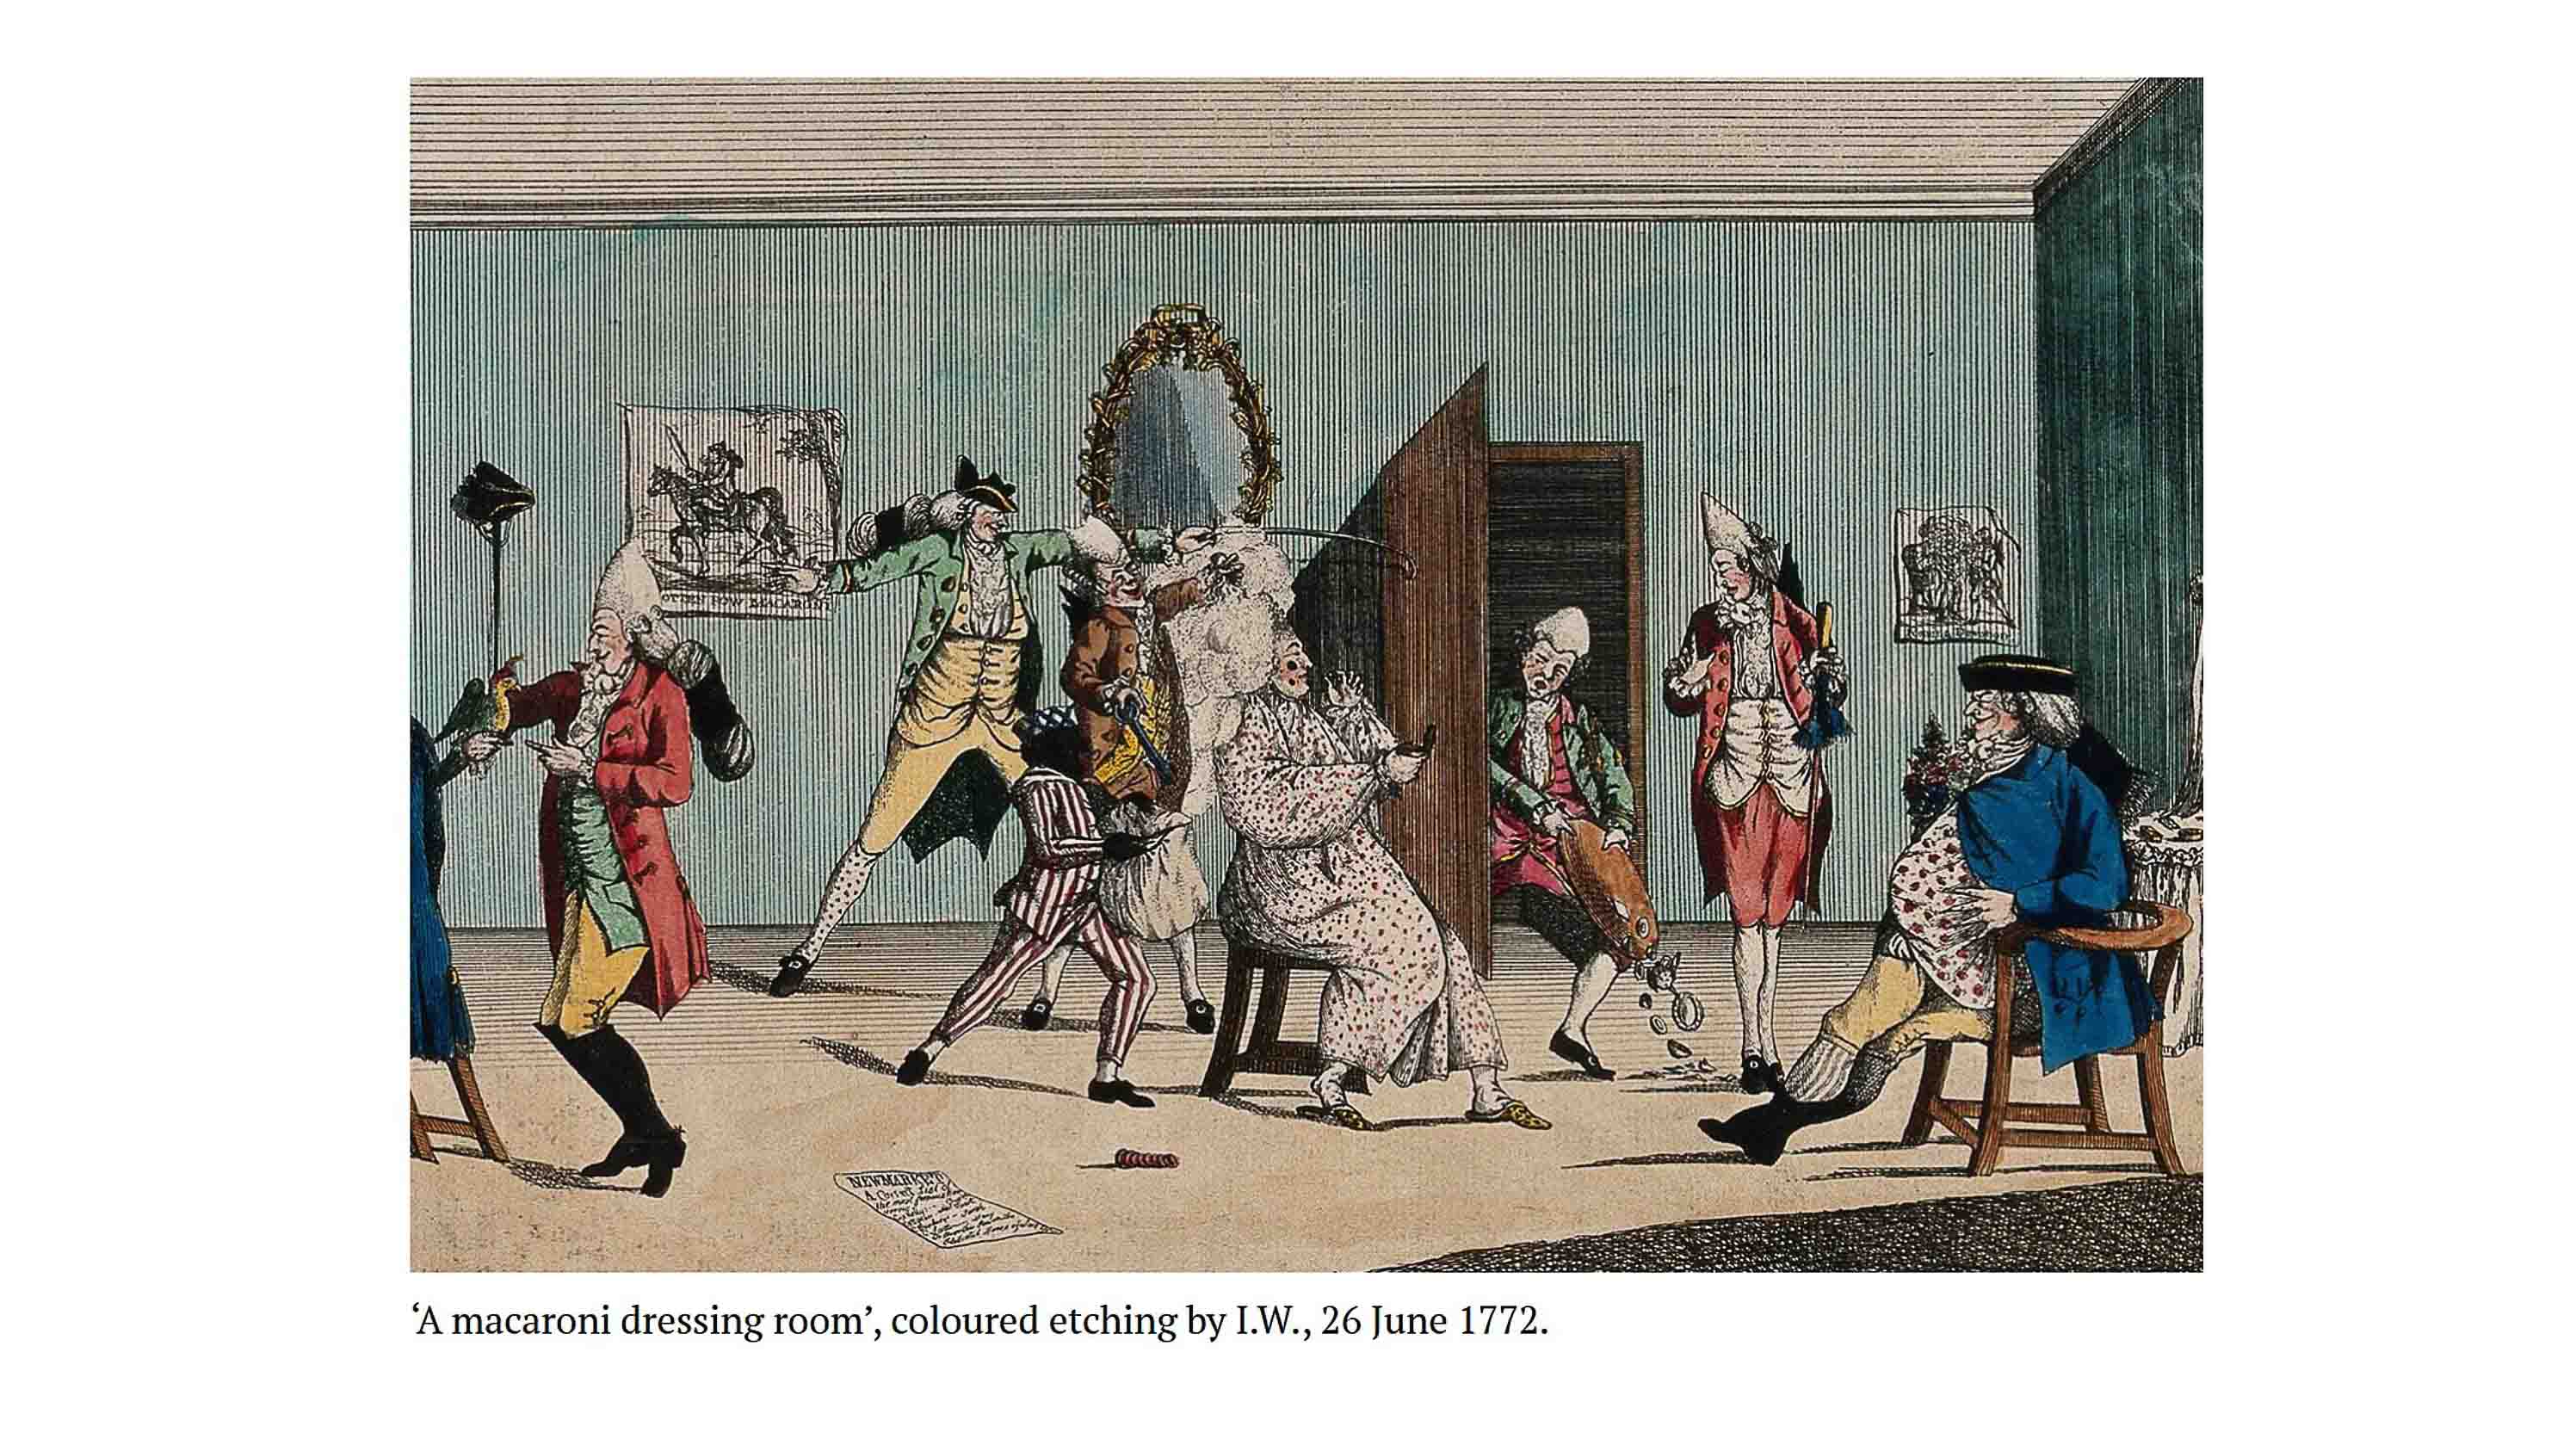
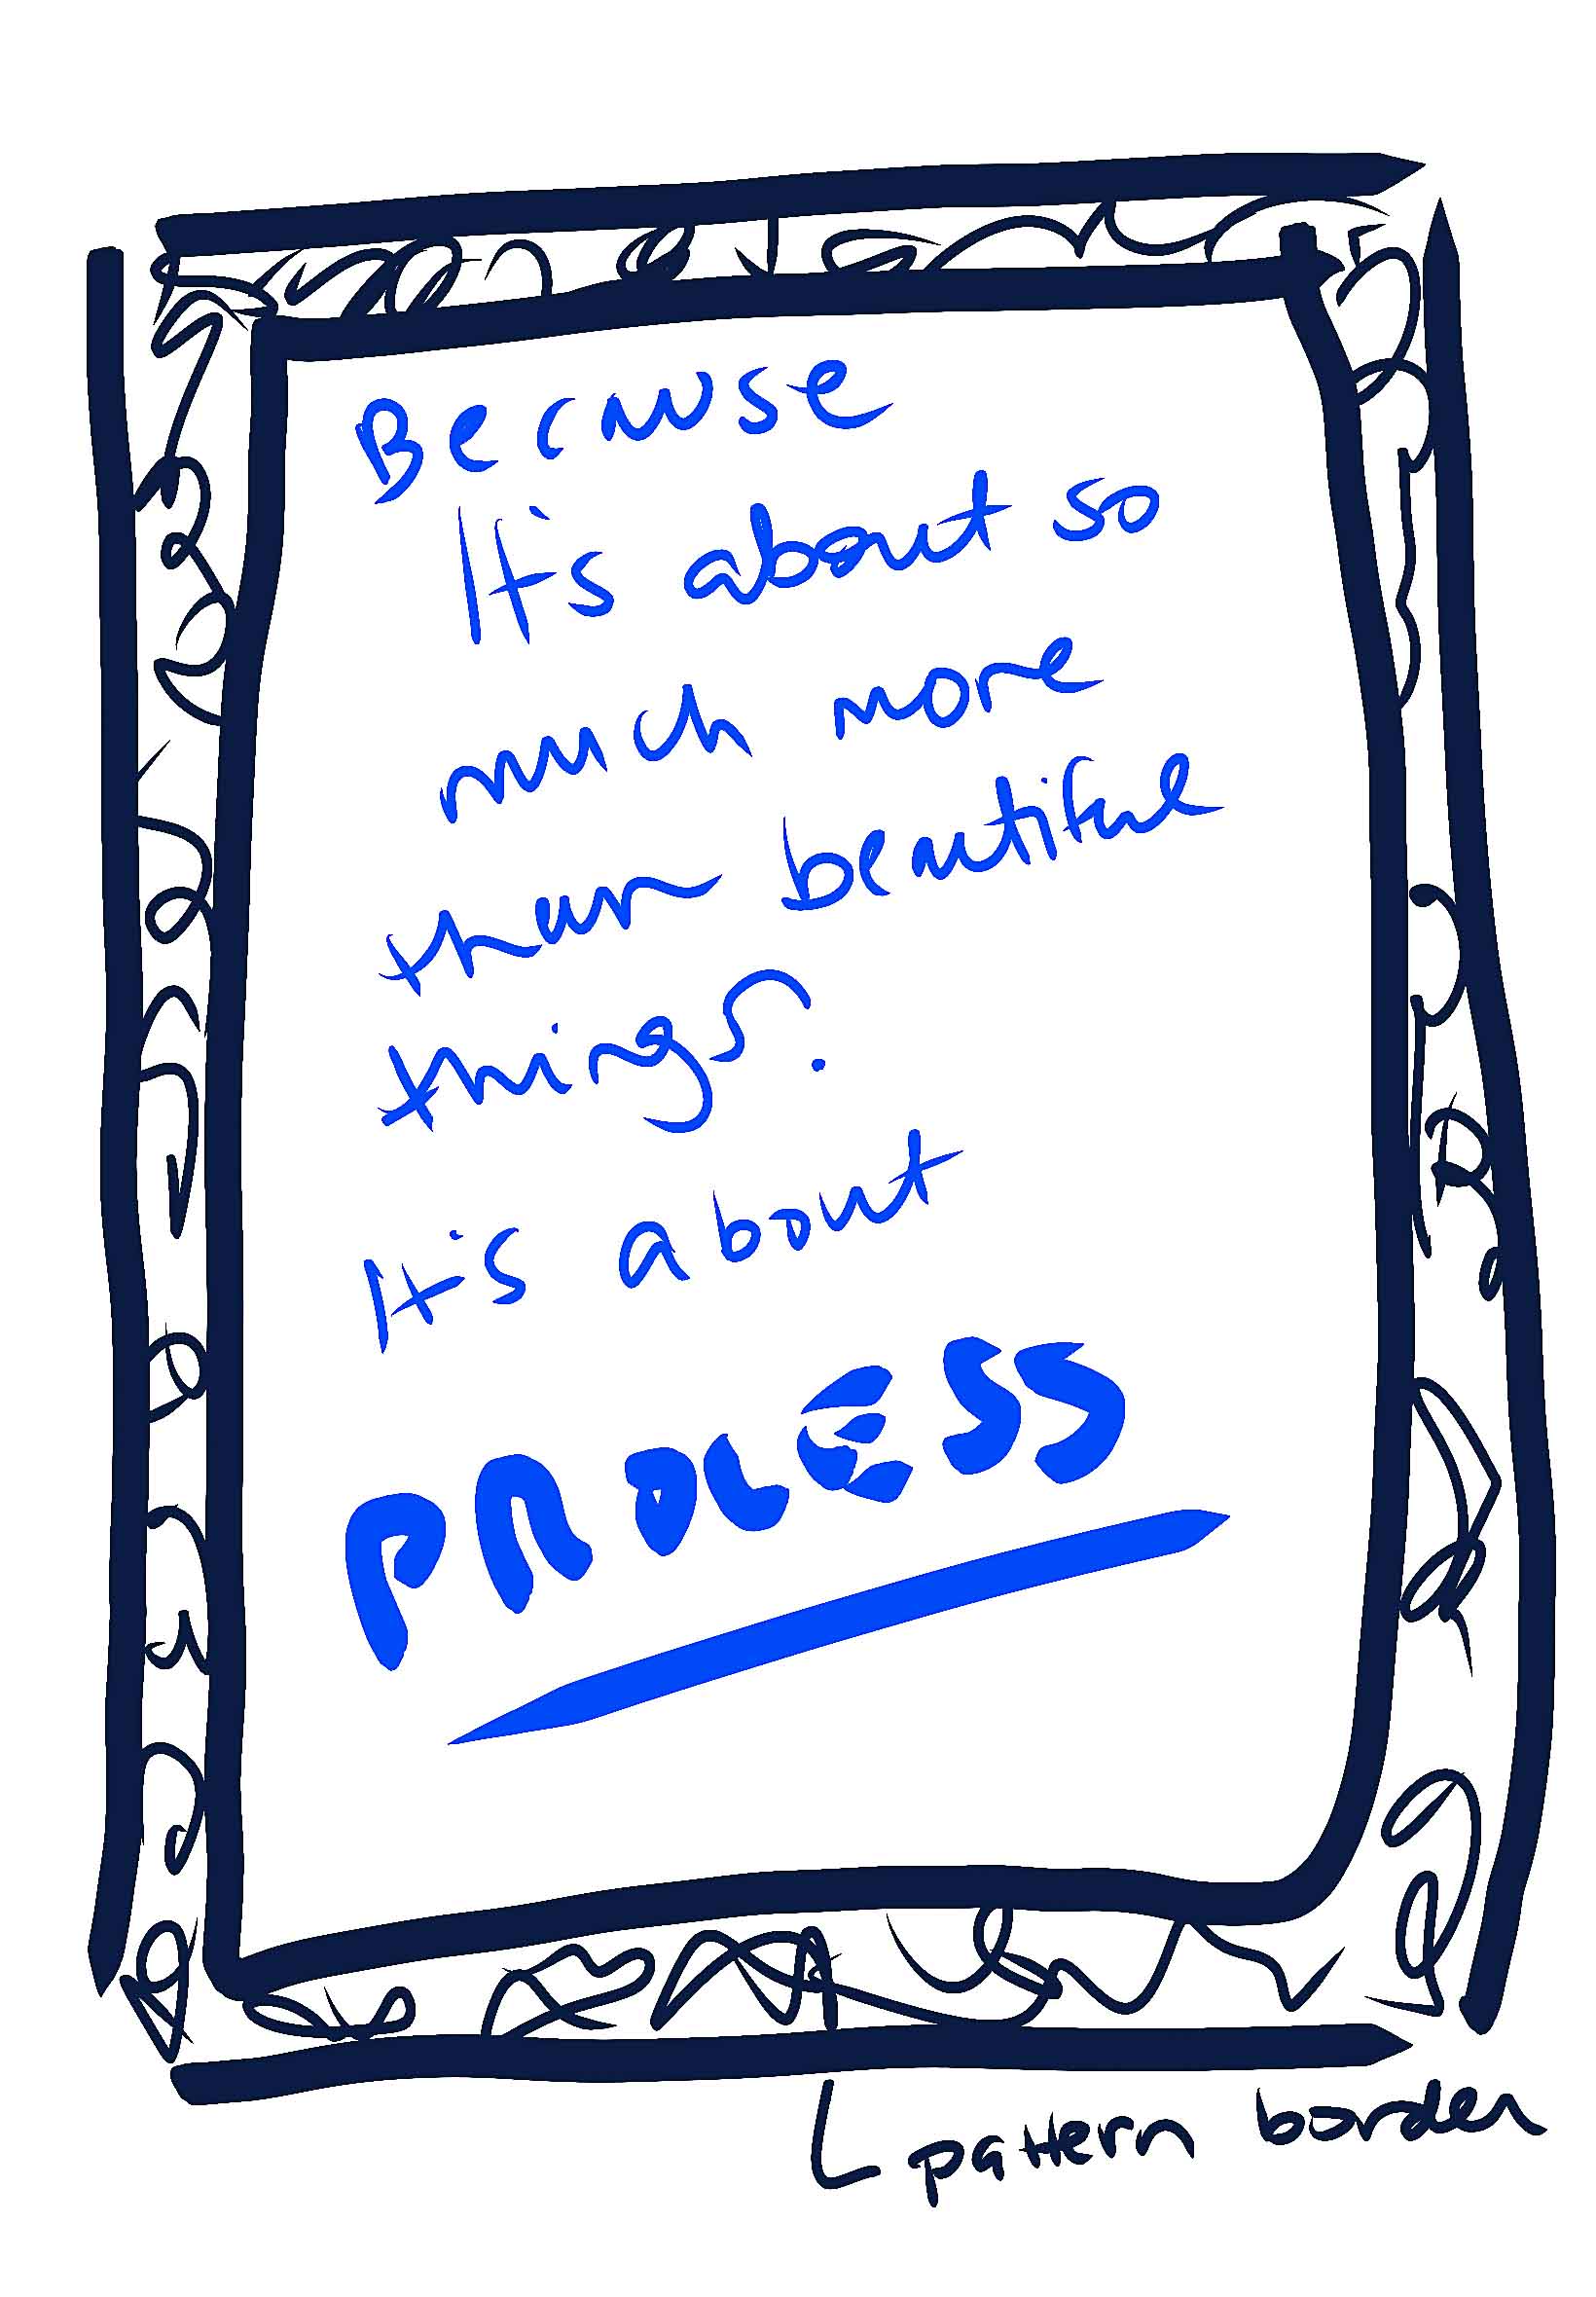
My favorite class was costume history. It completely opened my world. This was when I realized that fashion is about so much more than just beautiful things. It was this centrifugal subject around which so many others revolve - politics, economics, technology, history etc... Suddenly when I looked at 18th century French Macaroni's for example, I easily remembered historical facts I'd usually never been able to retain. And I better understood why things were happening at the time, politically, economically and culturally.
The most important lesson I took from this class was that sometimes I just need a more social angle to get interested in things I previously thought "weren't for me" - like math or economics
After this, I recognized fashion's unique potential to spark new connections, both personal and intellectual ones. I love that it's a social art by default, because it has a life out of the home. It goes everywhere we go. We bring it to others, they don't need to come to it to see it.
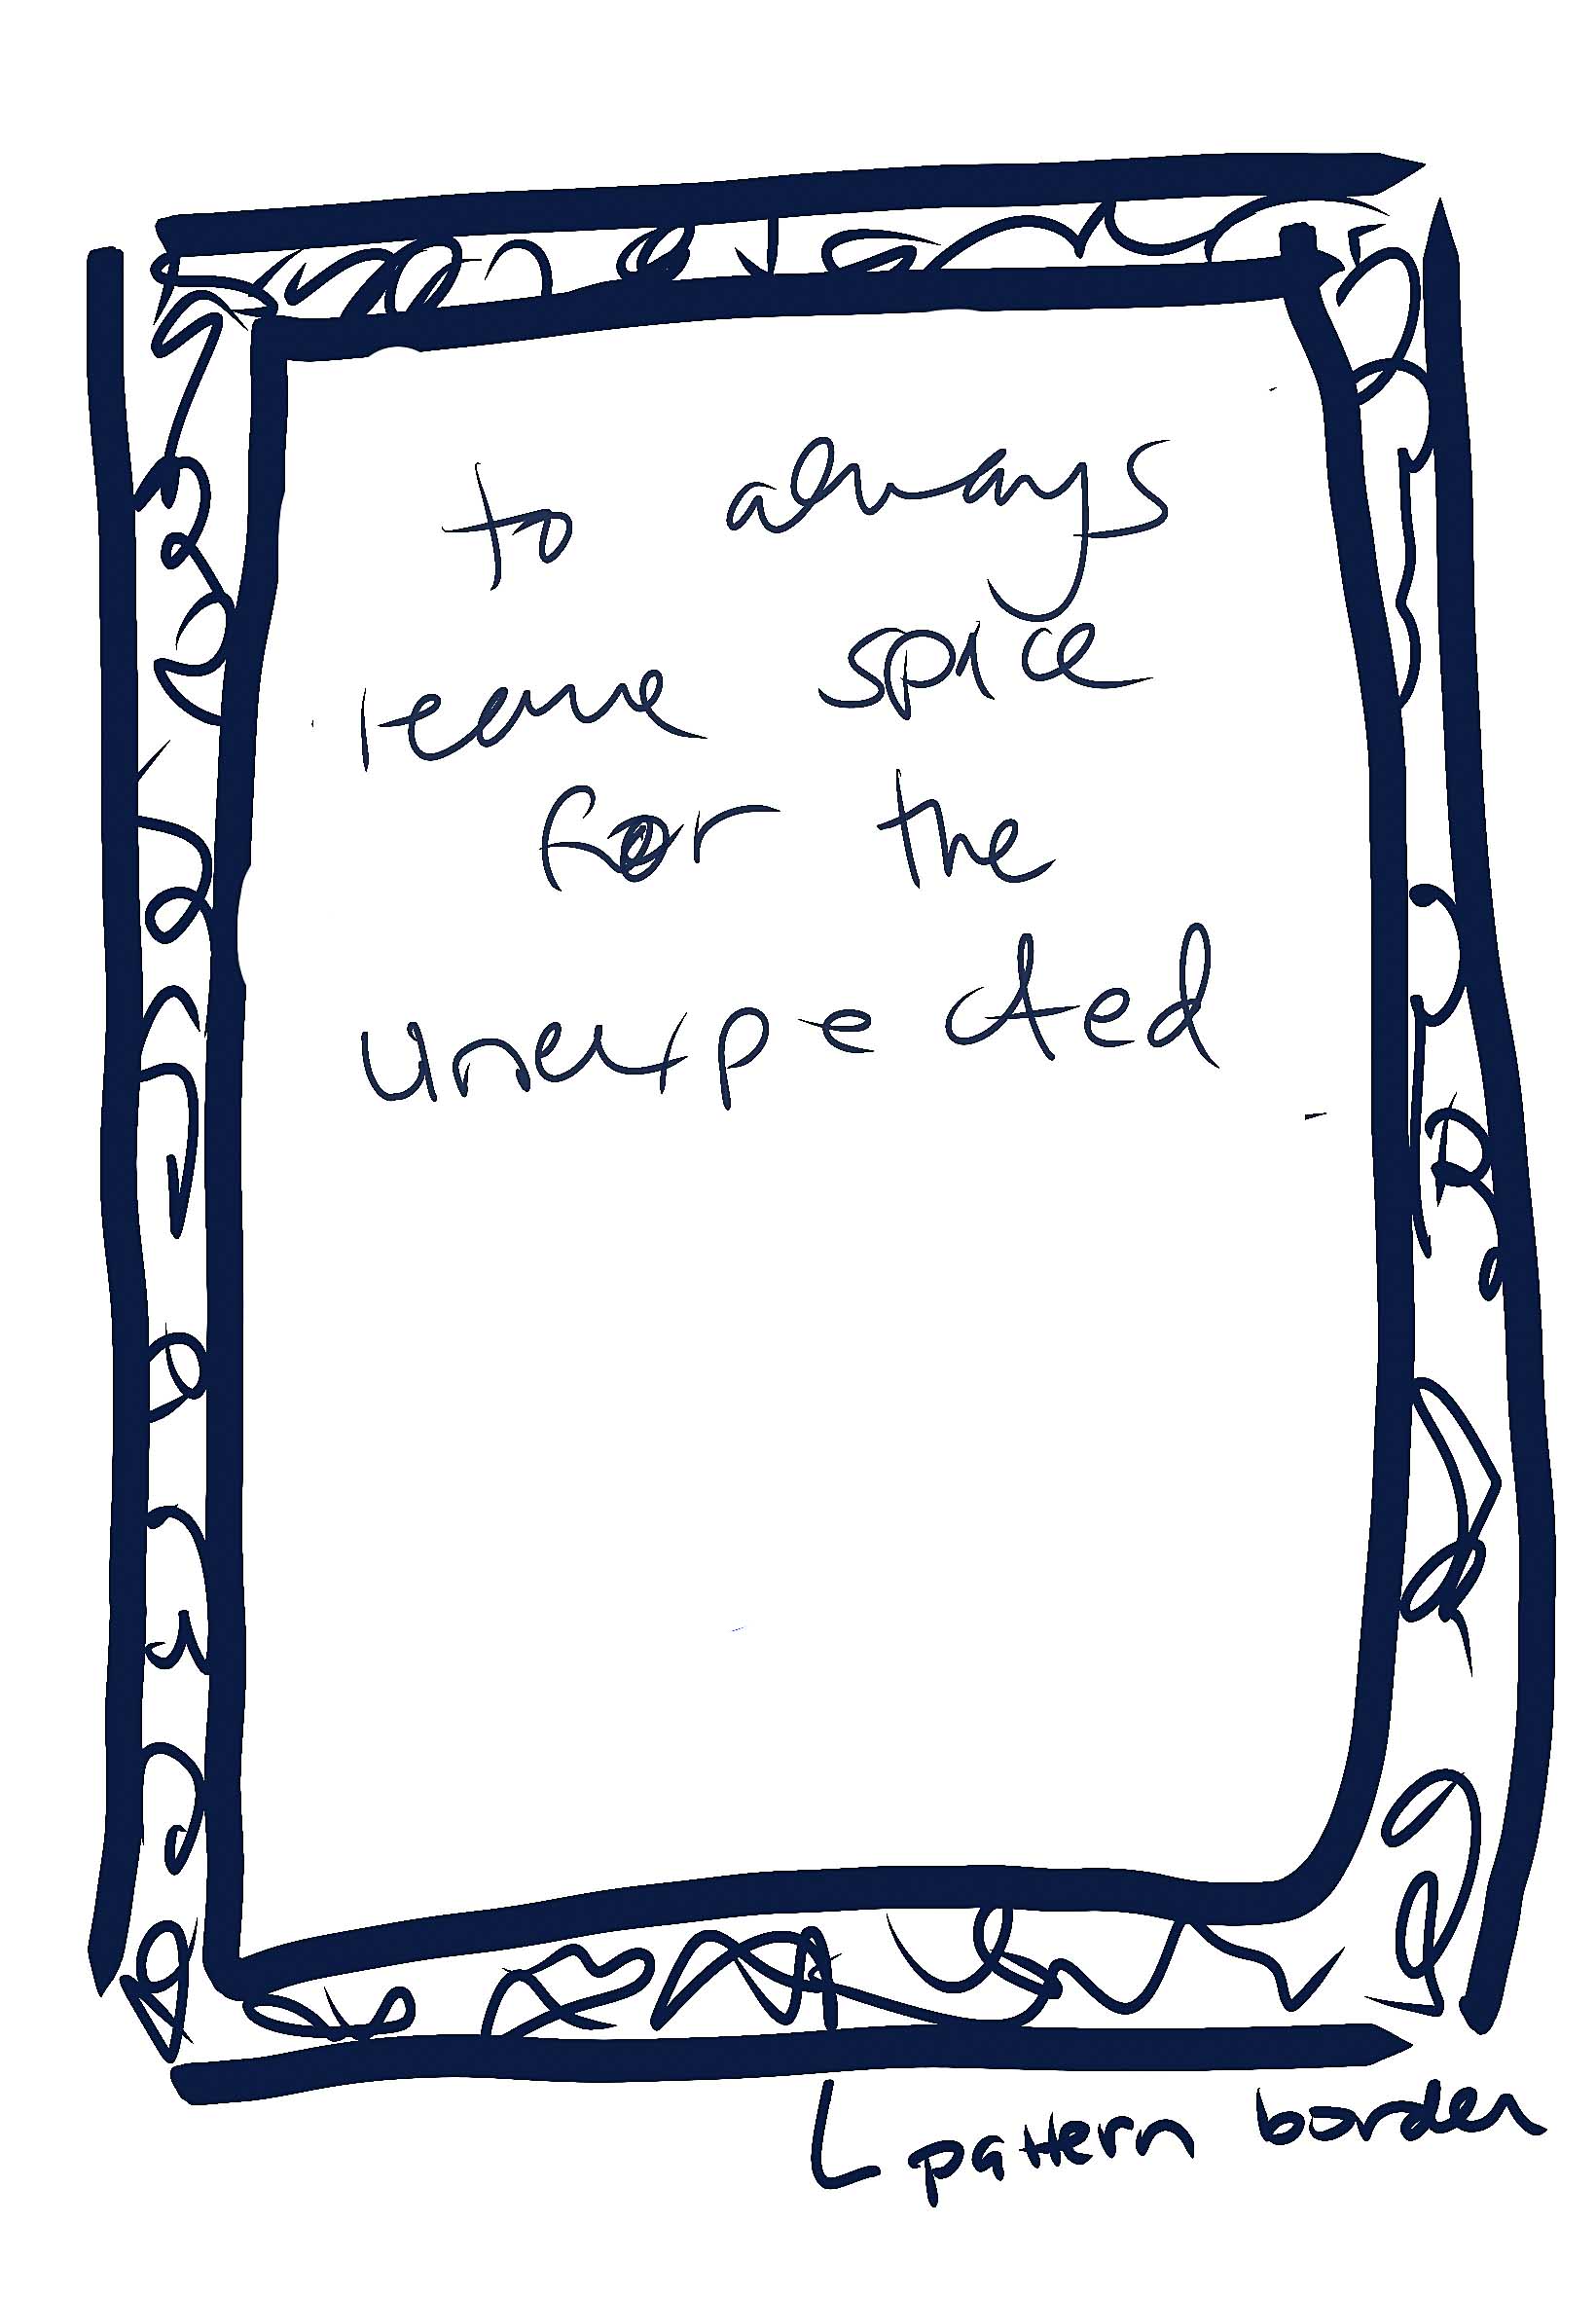
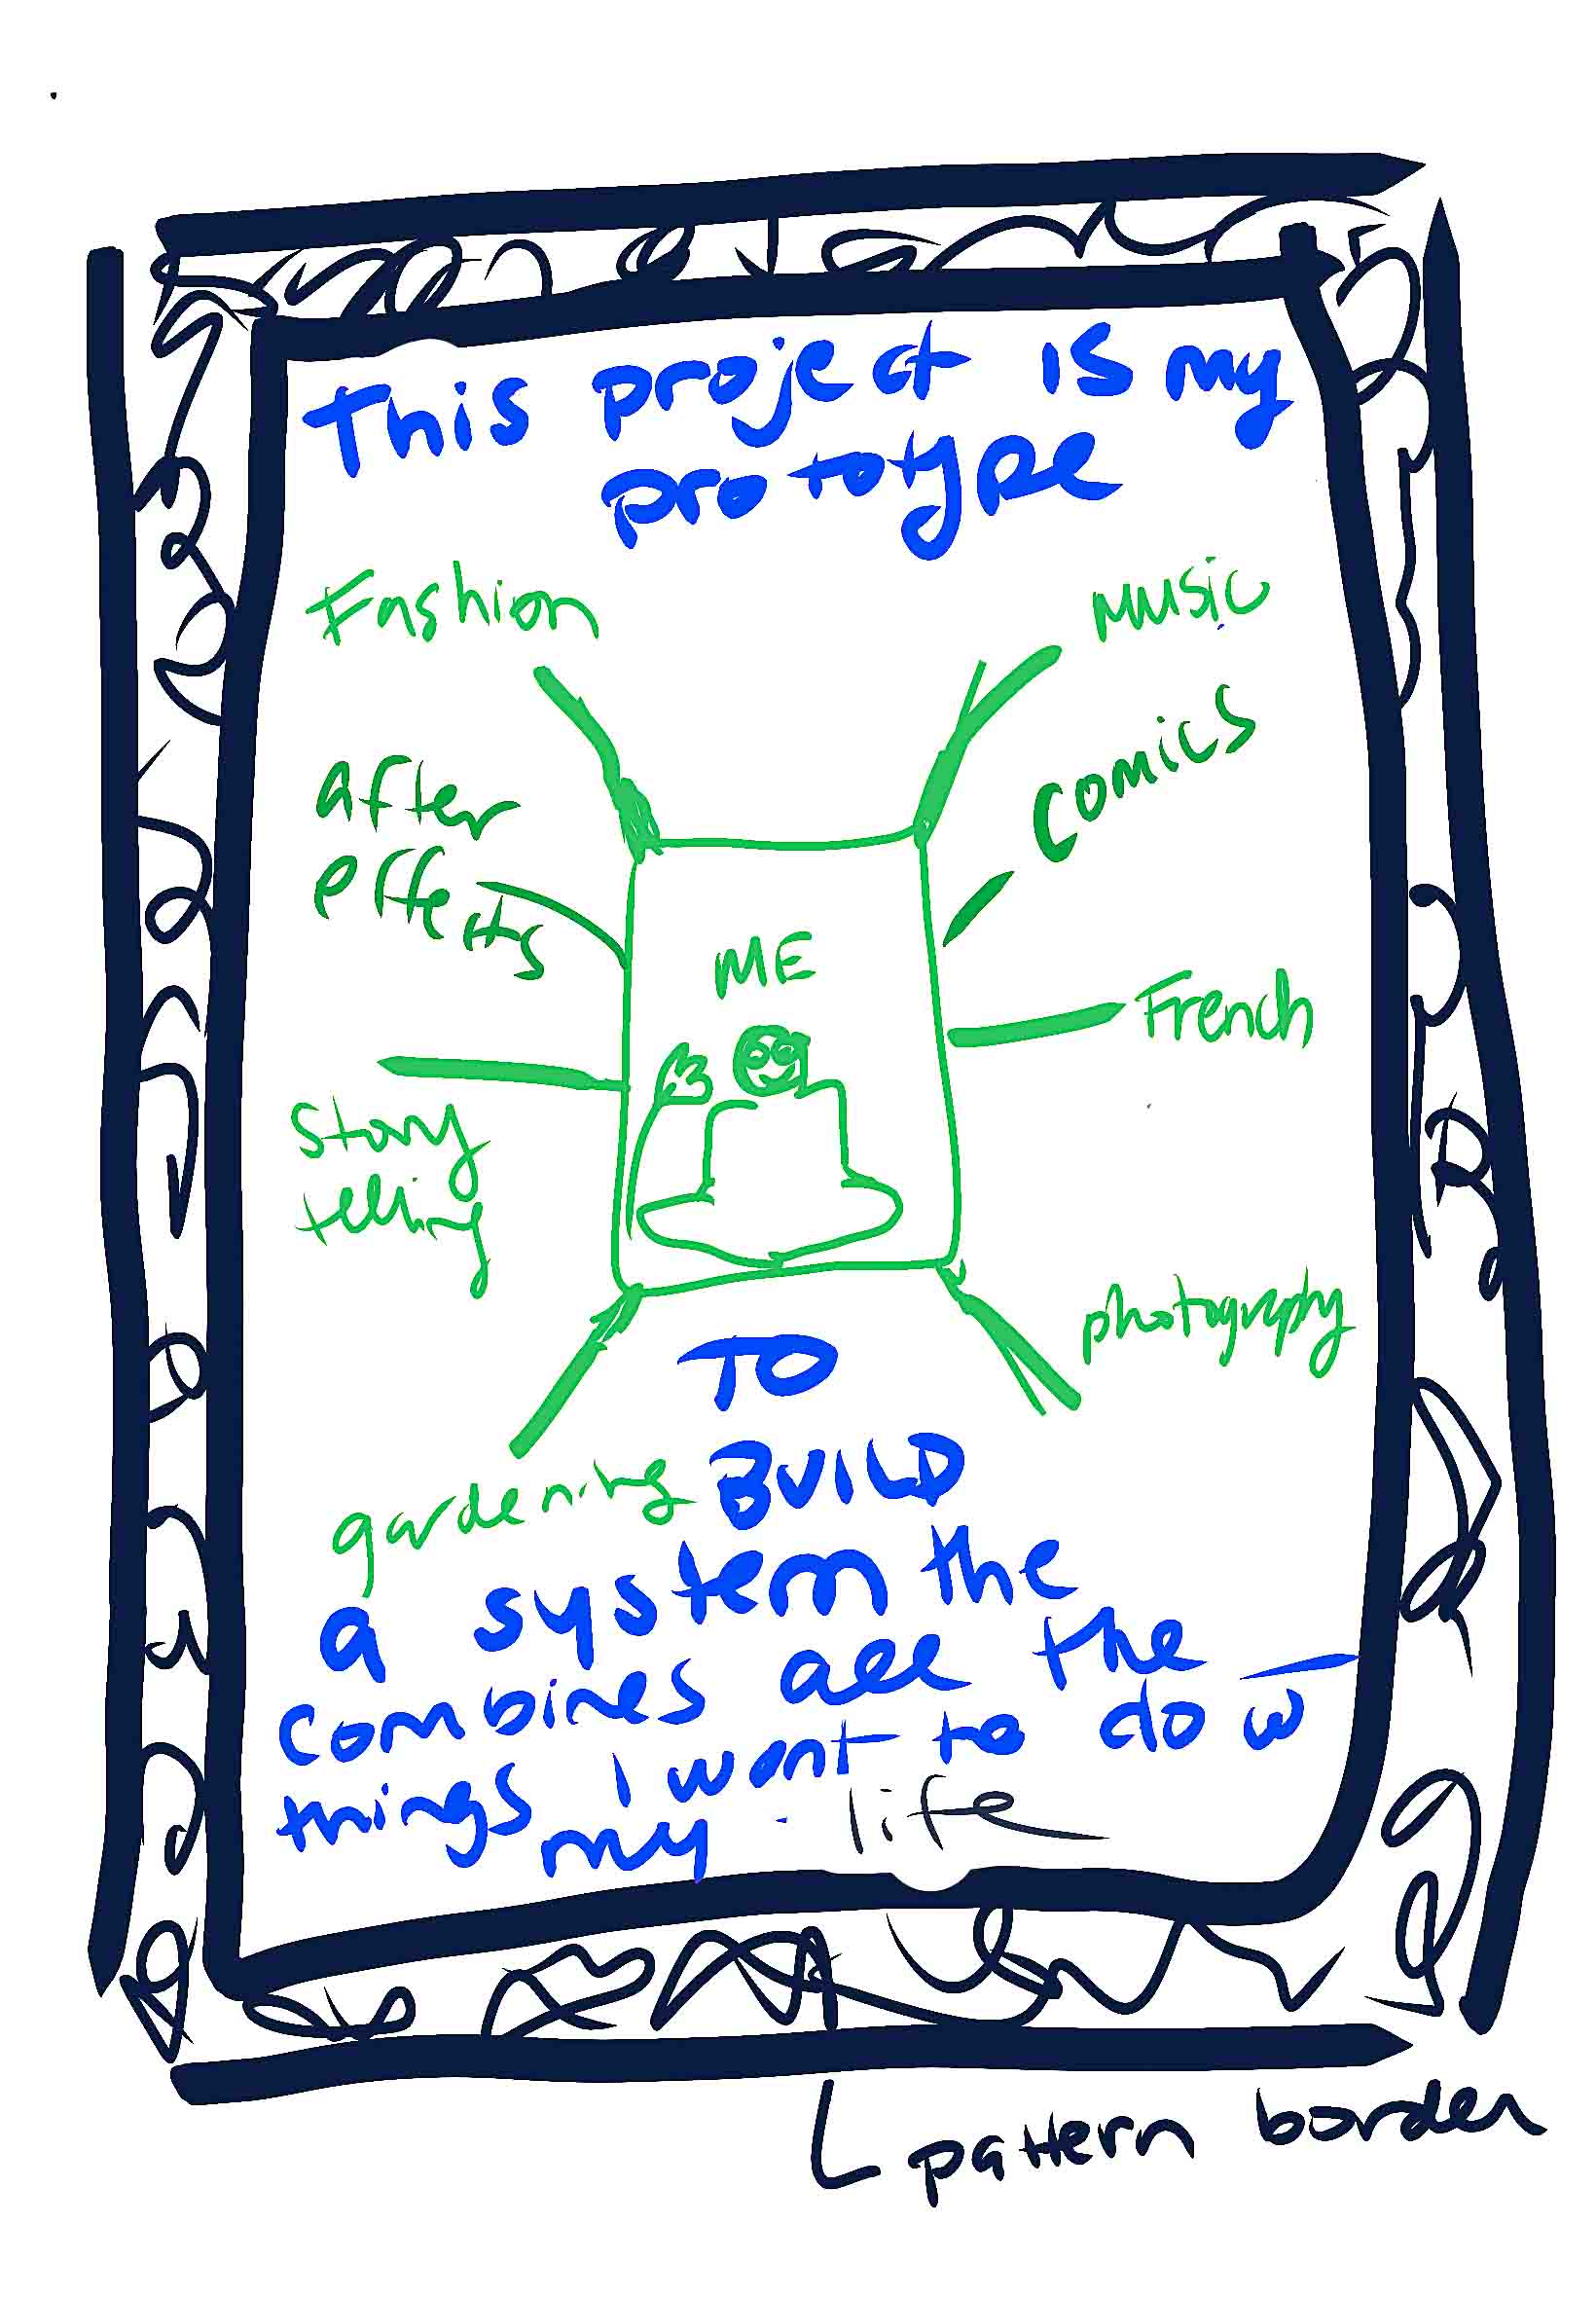
The potential for new connection is is what I love about strange combos. I think curisoity is the key to the best kind of innovation. So I've also learned when I lean into my curisoity, and use my brain in different ways, through different tasks, and have variety in my life, this is when I'm the happiest and the most motivated for a sustained period. So I've been trying to build a lifestyle where I can do this more often.
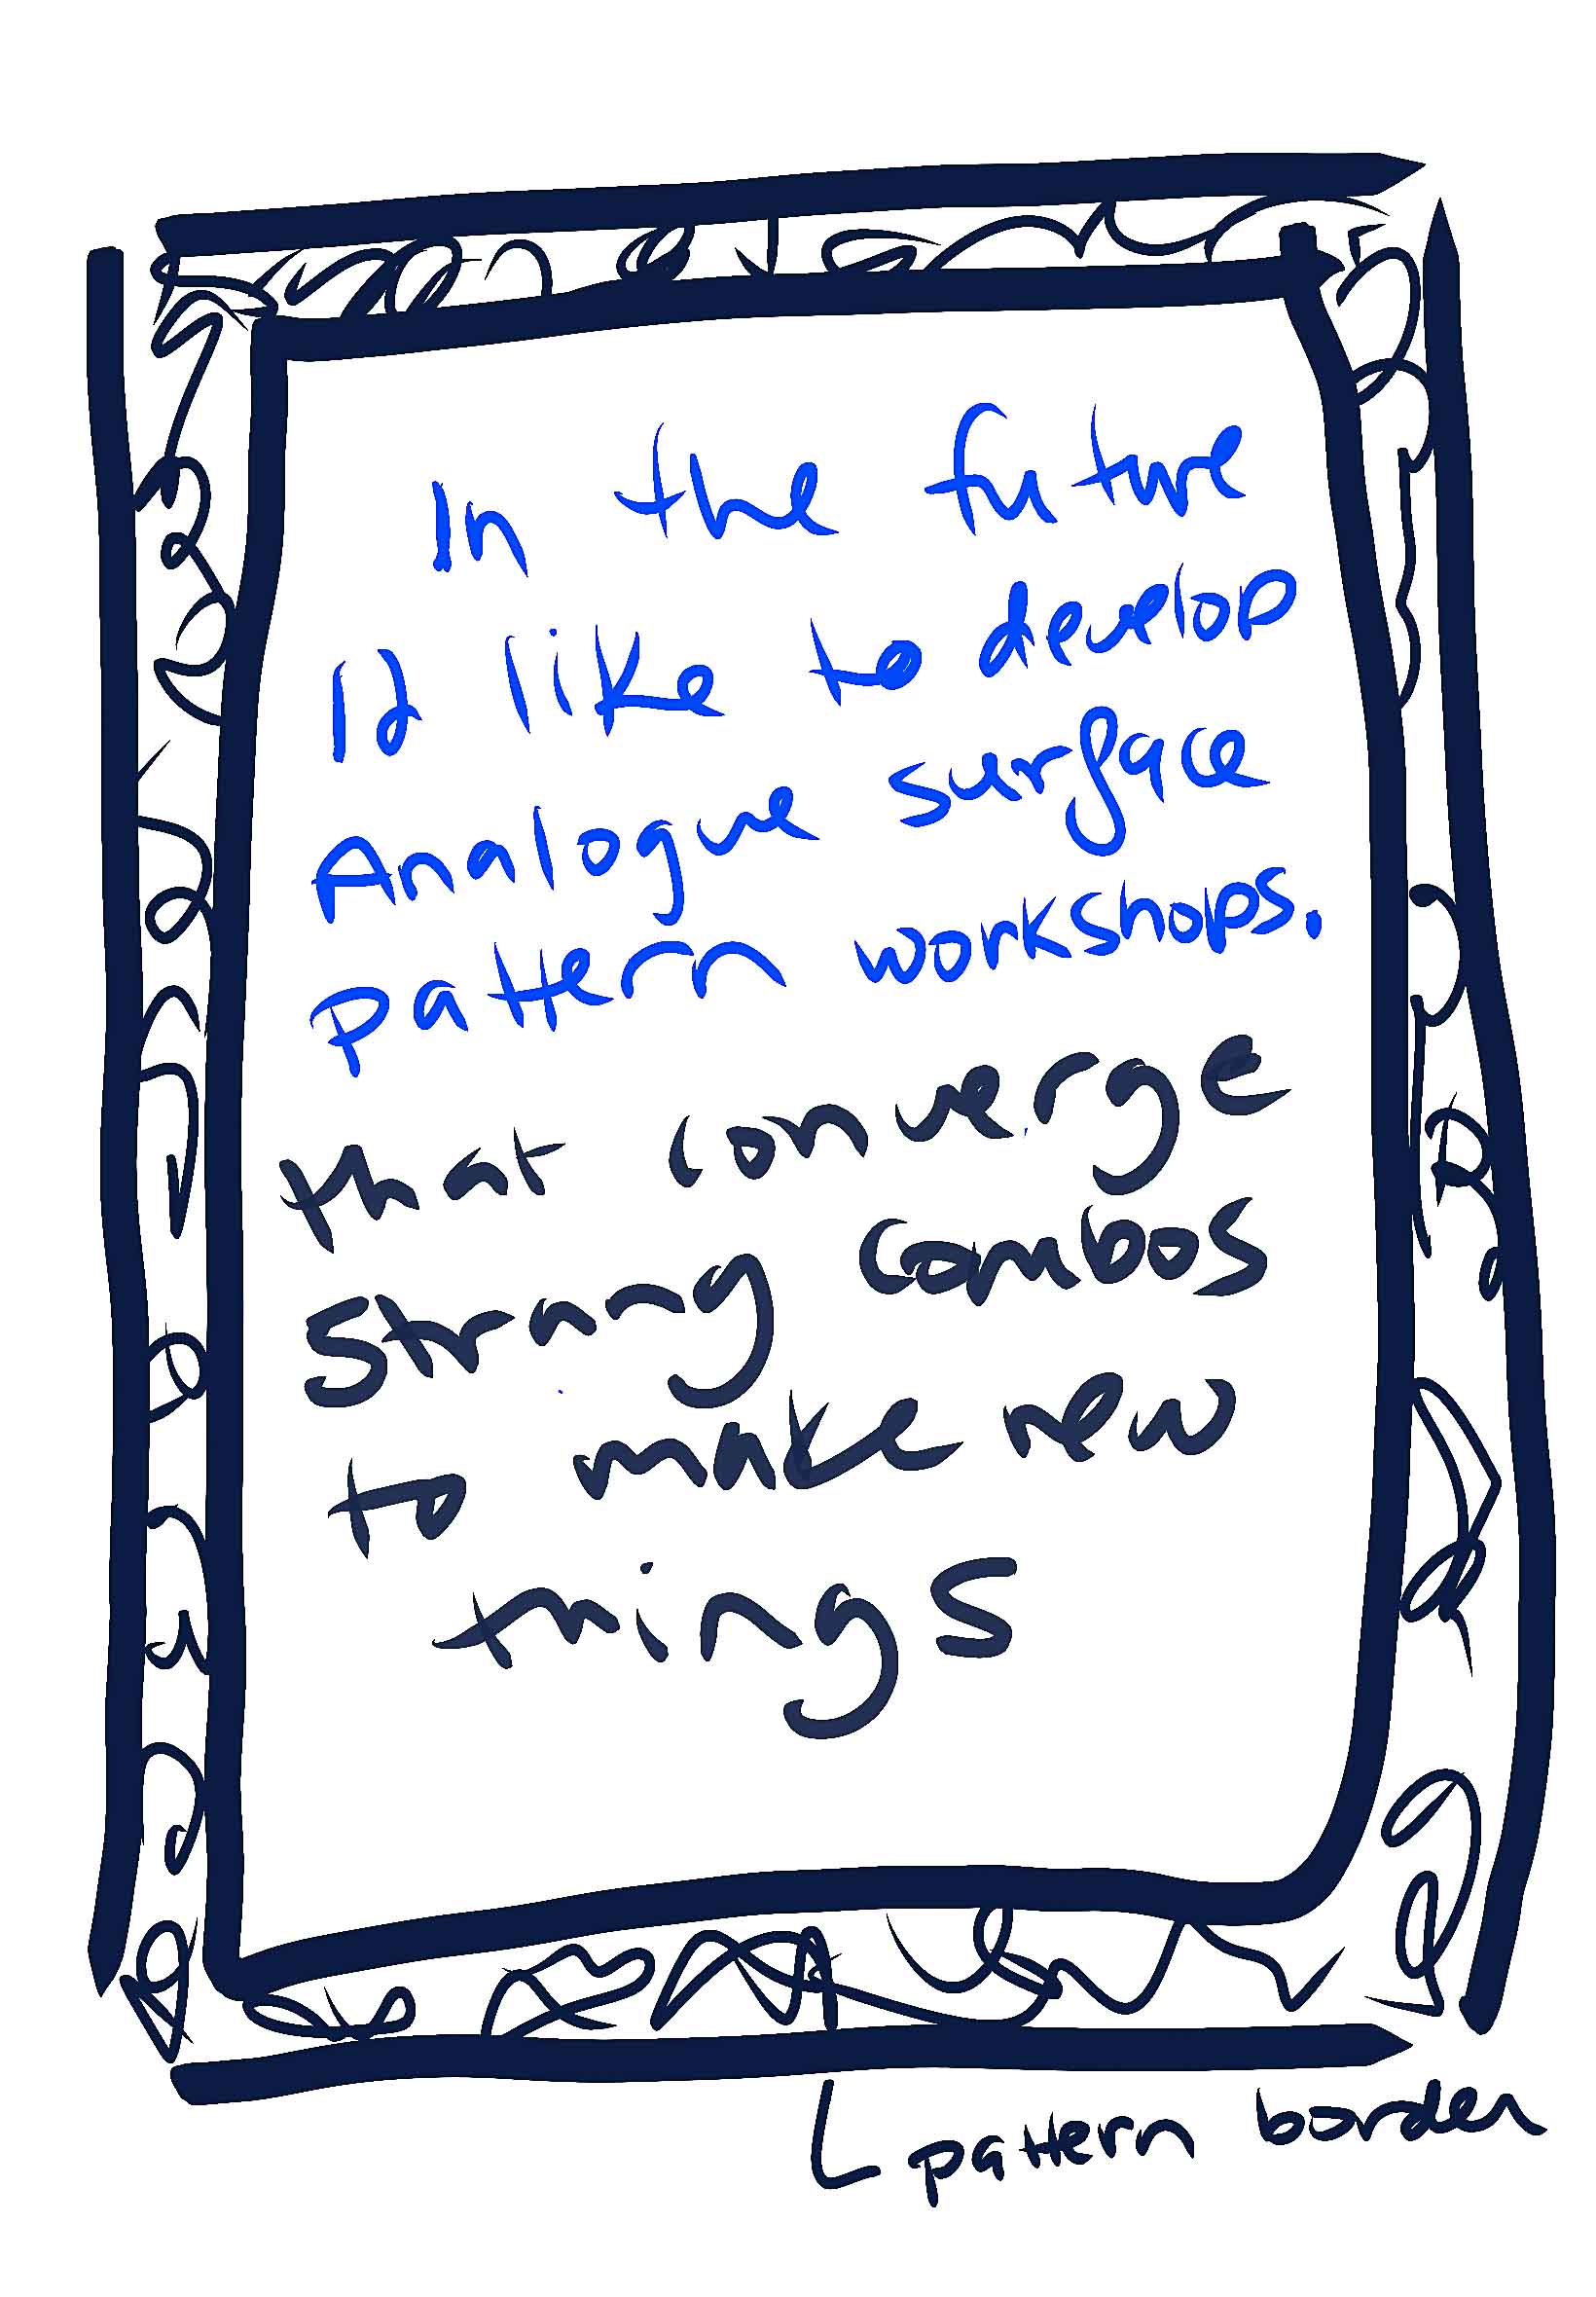
So my final project is a test run. In the future, I see myself running workshops that combine science and fashion, with a focus on process as much as product.
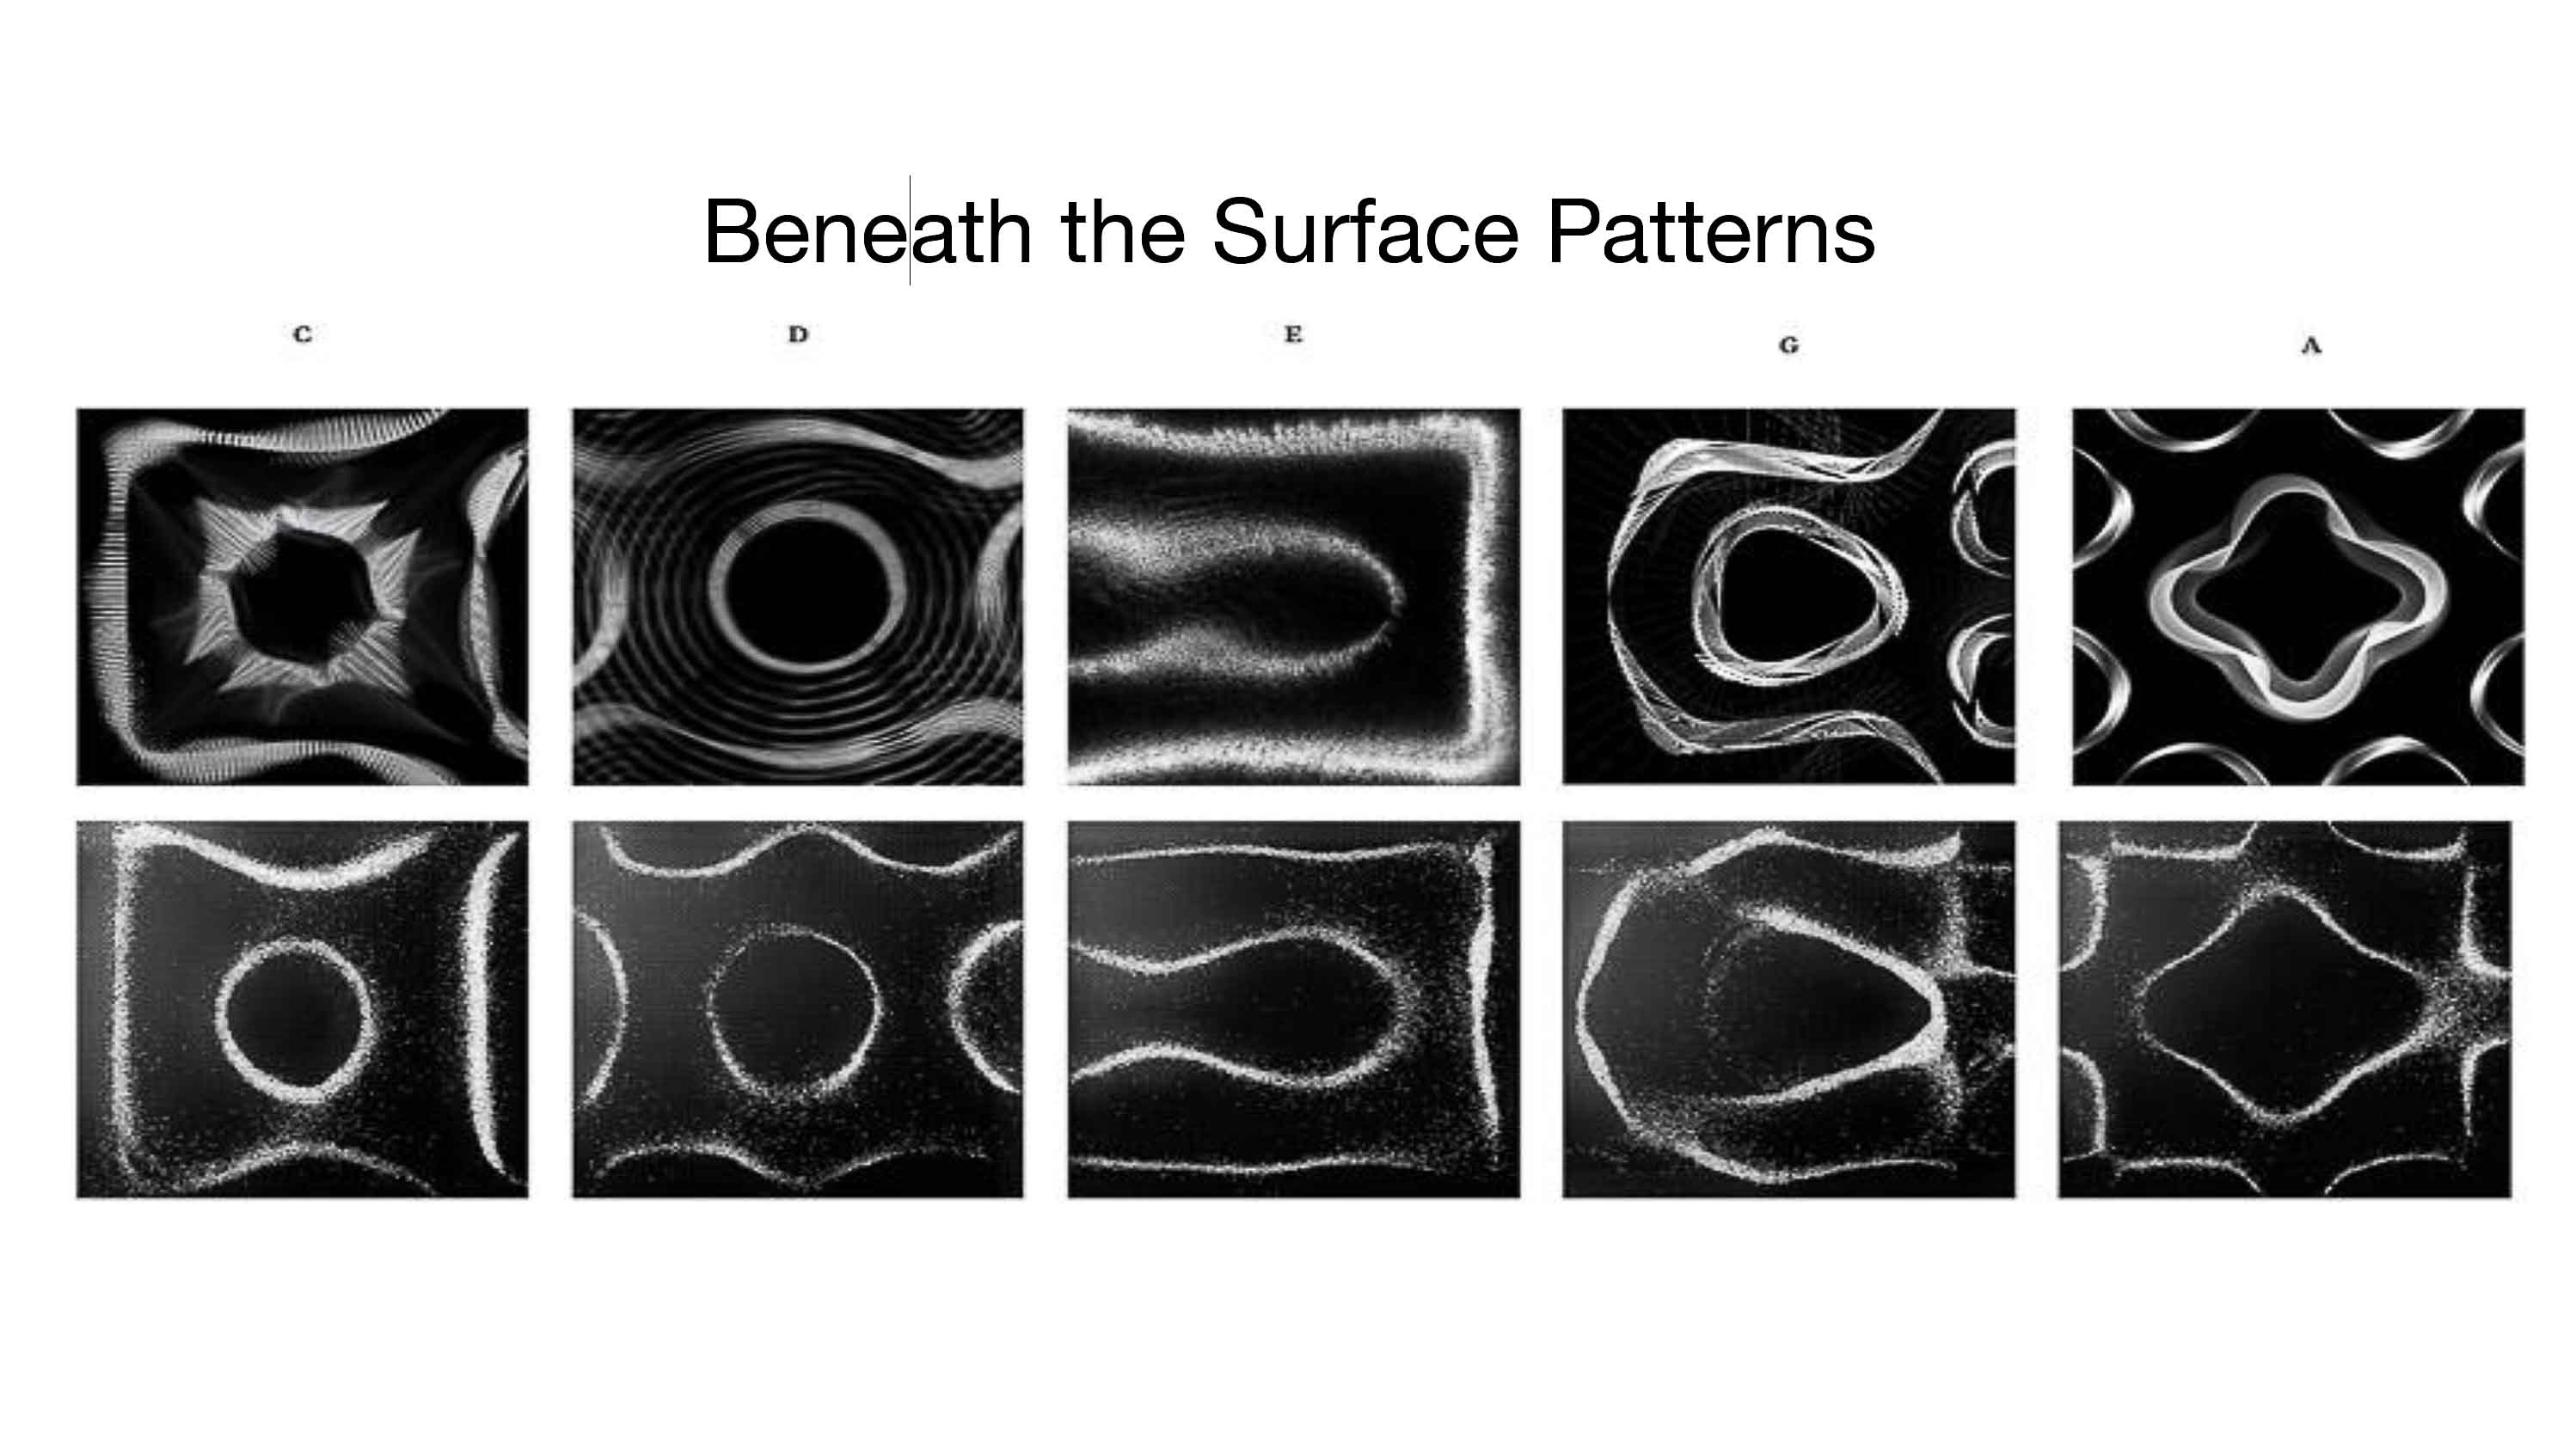
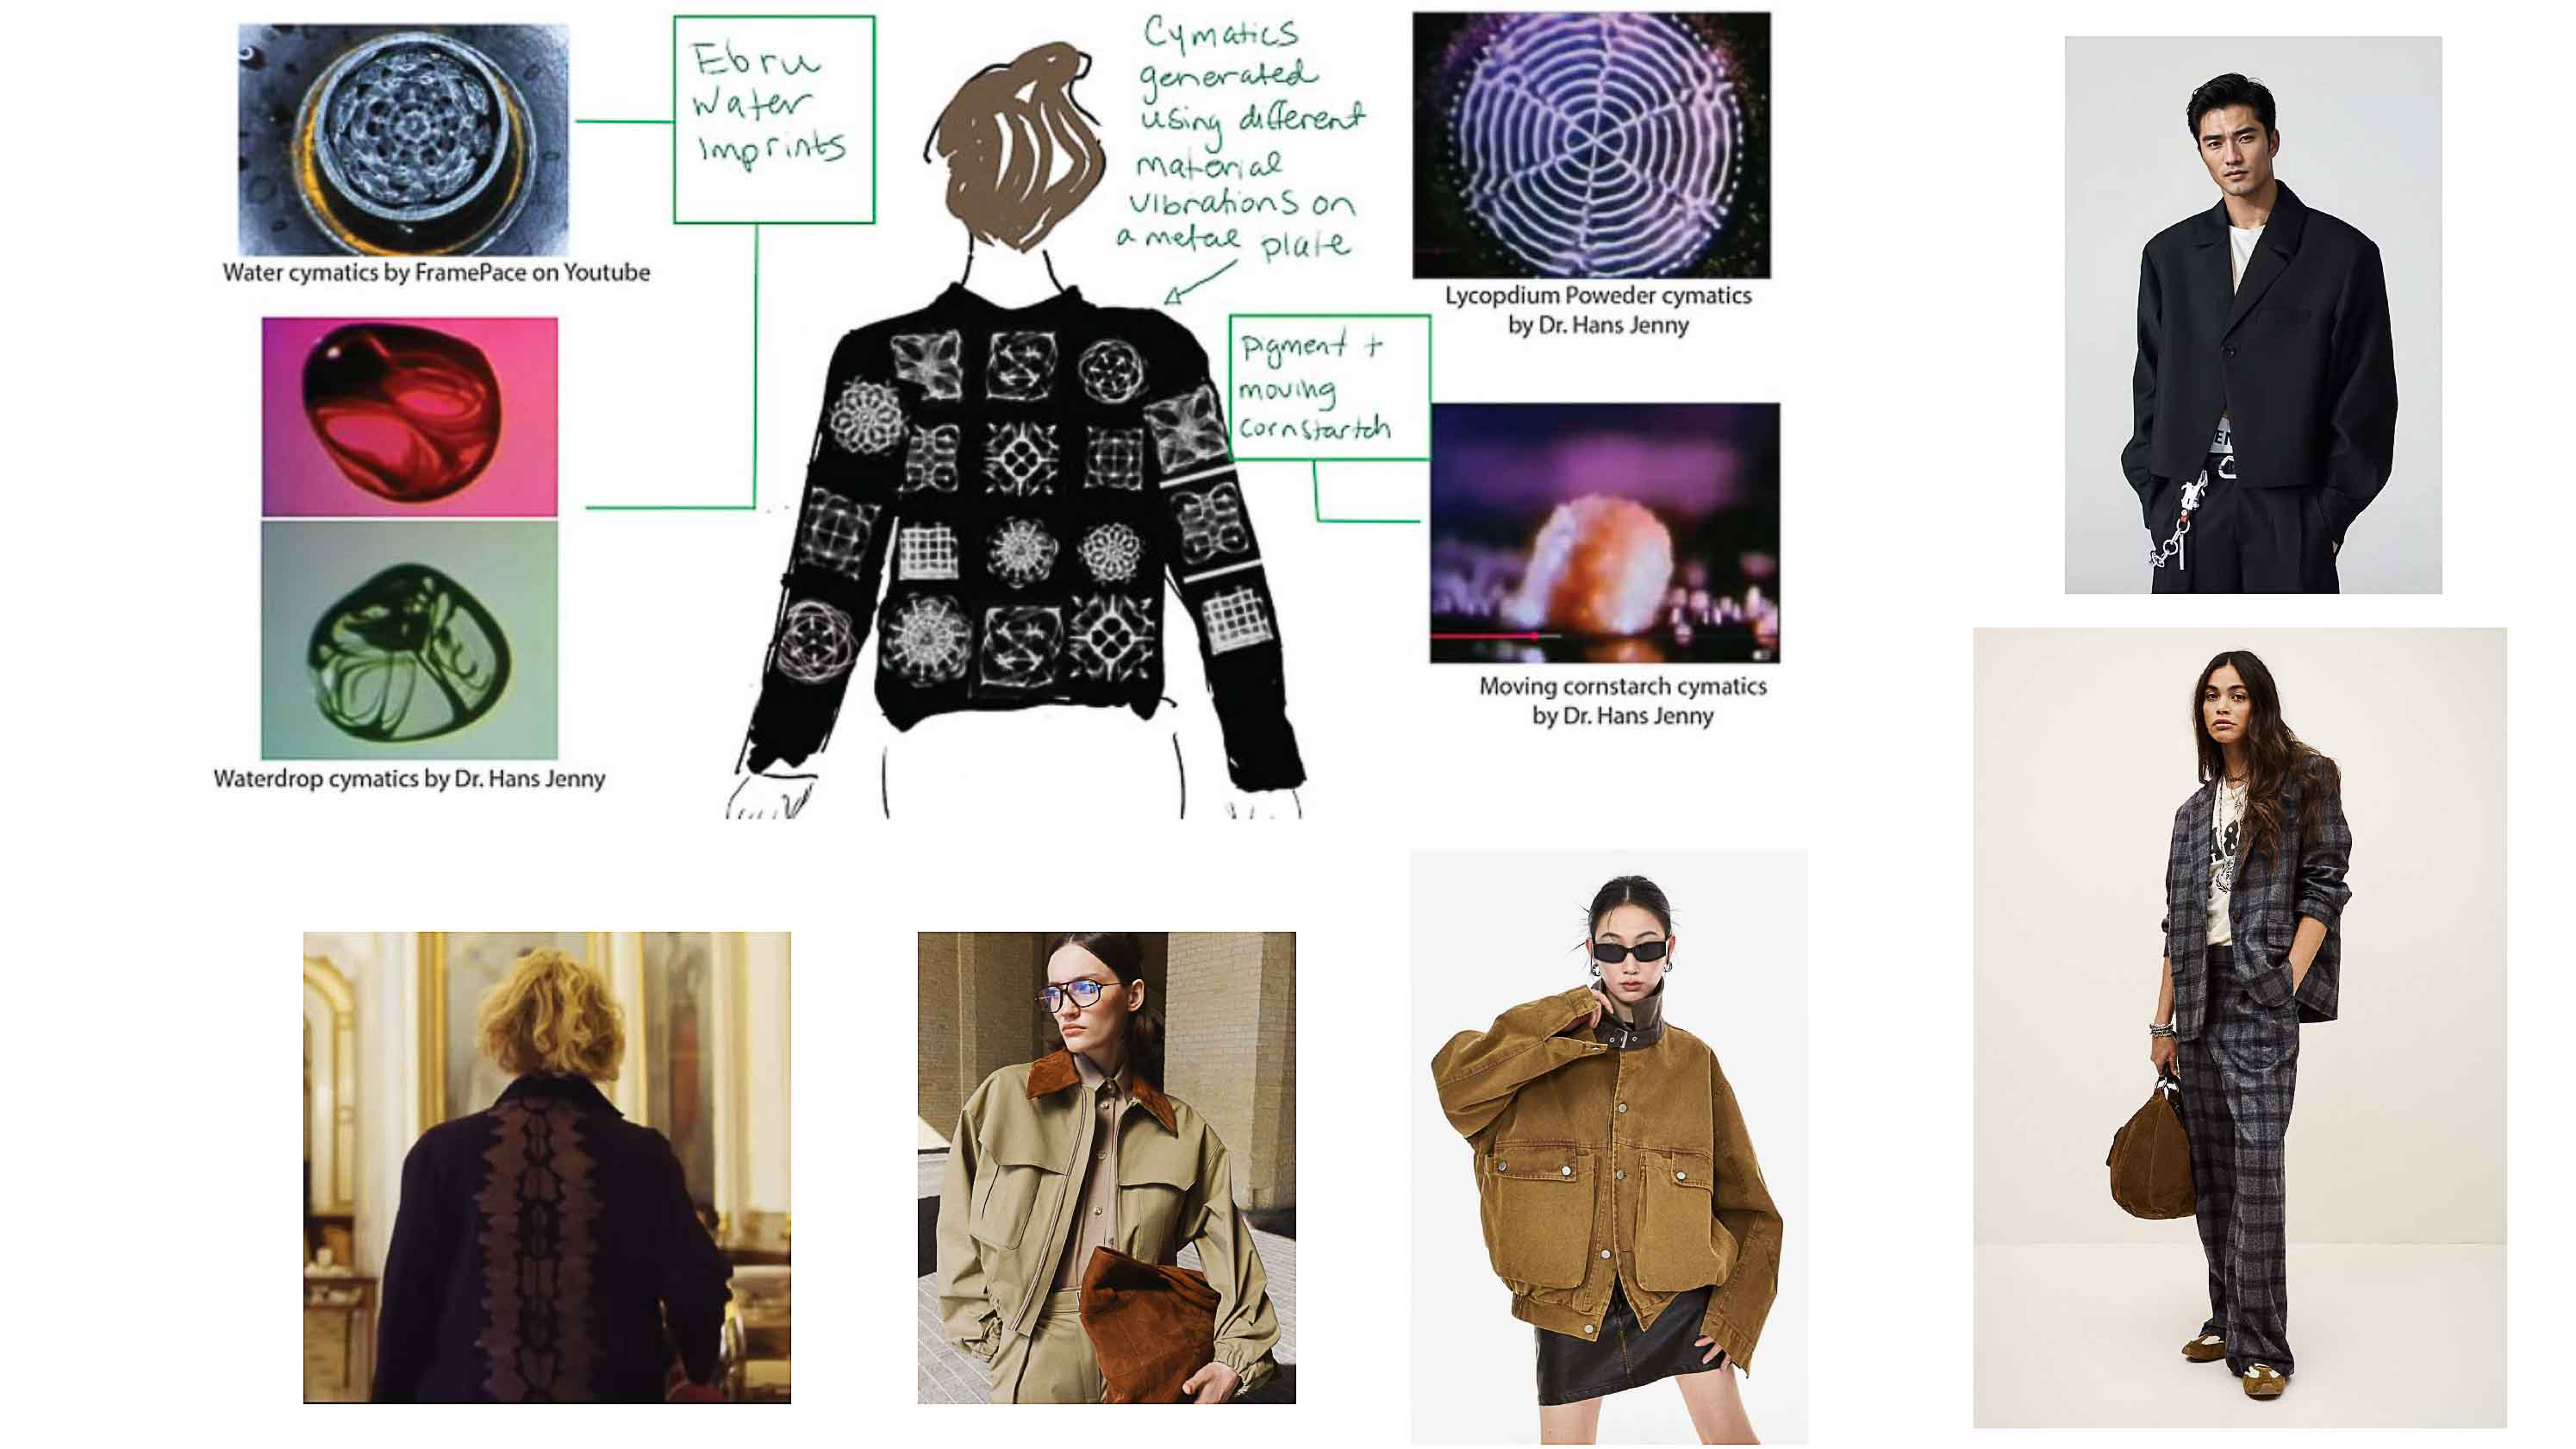
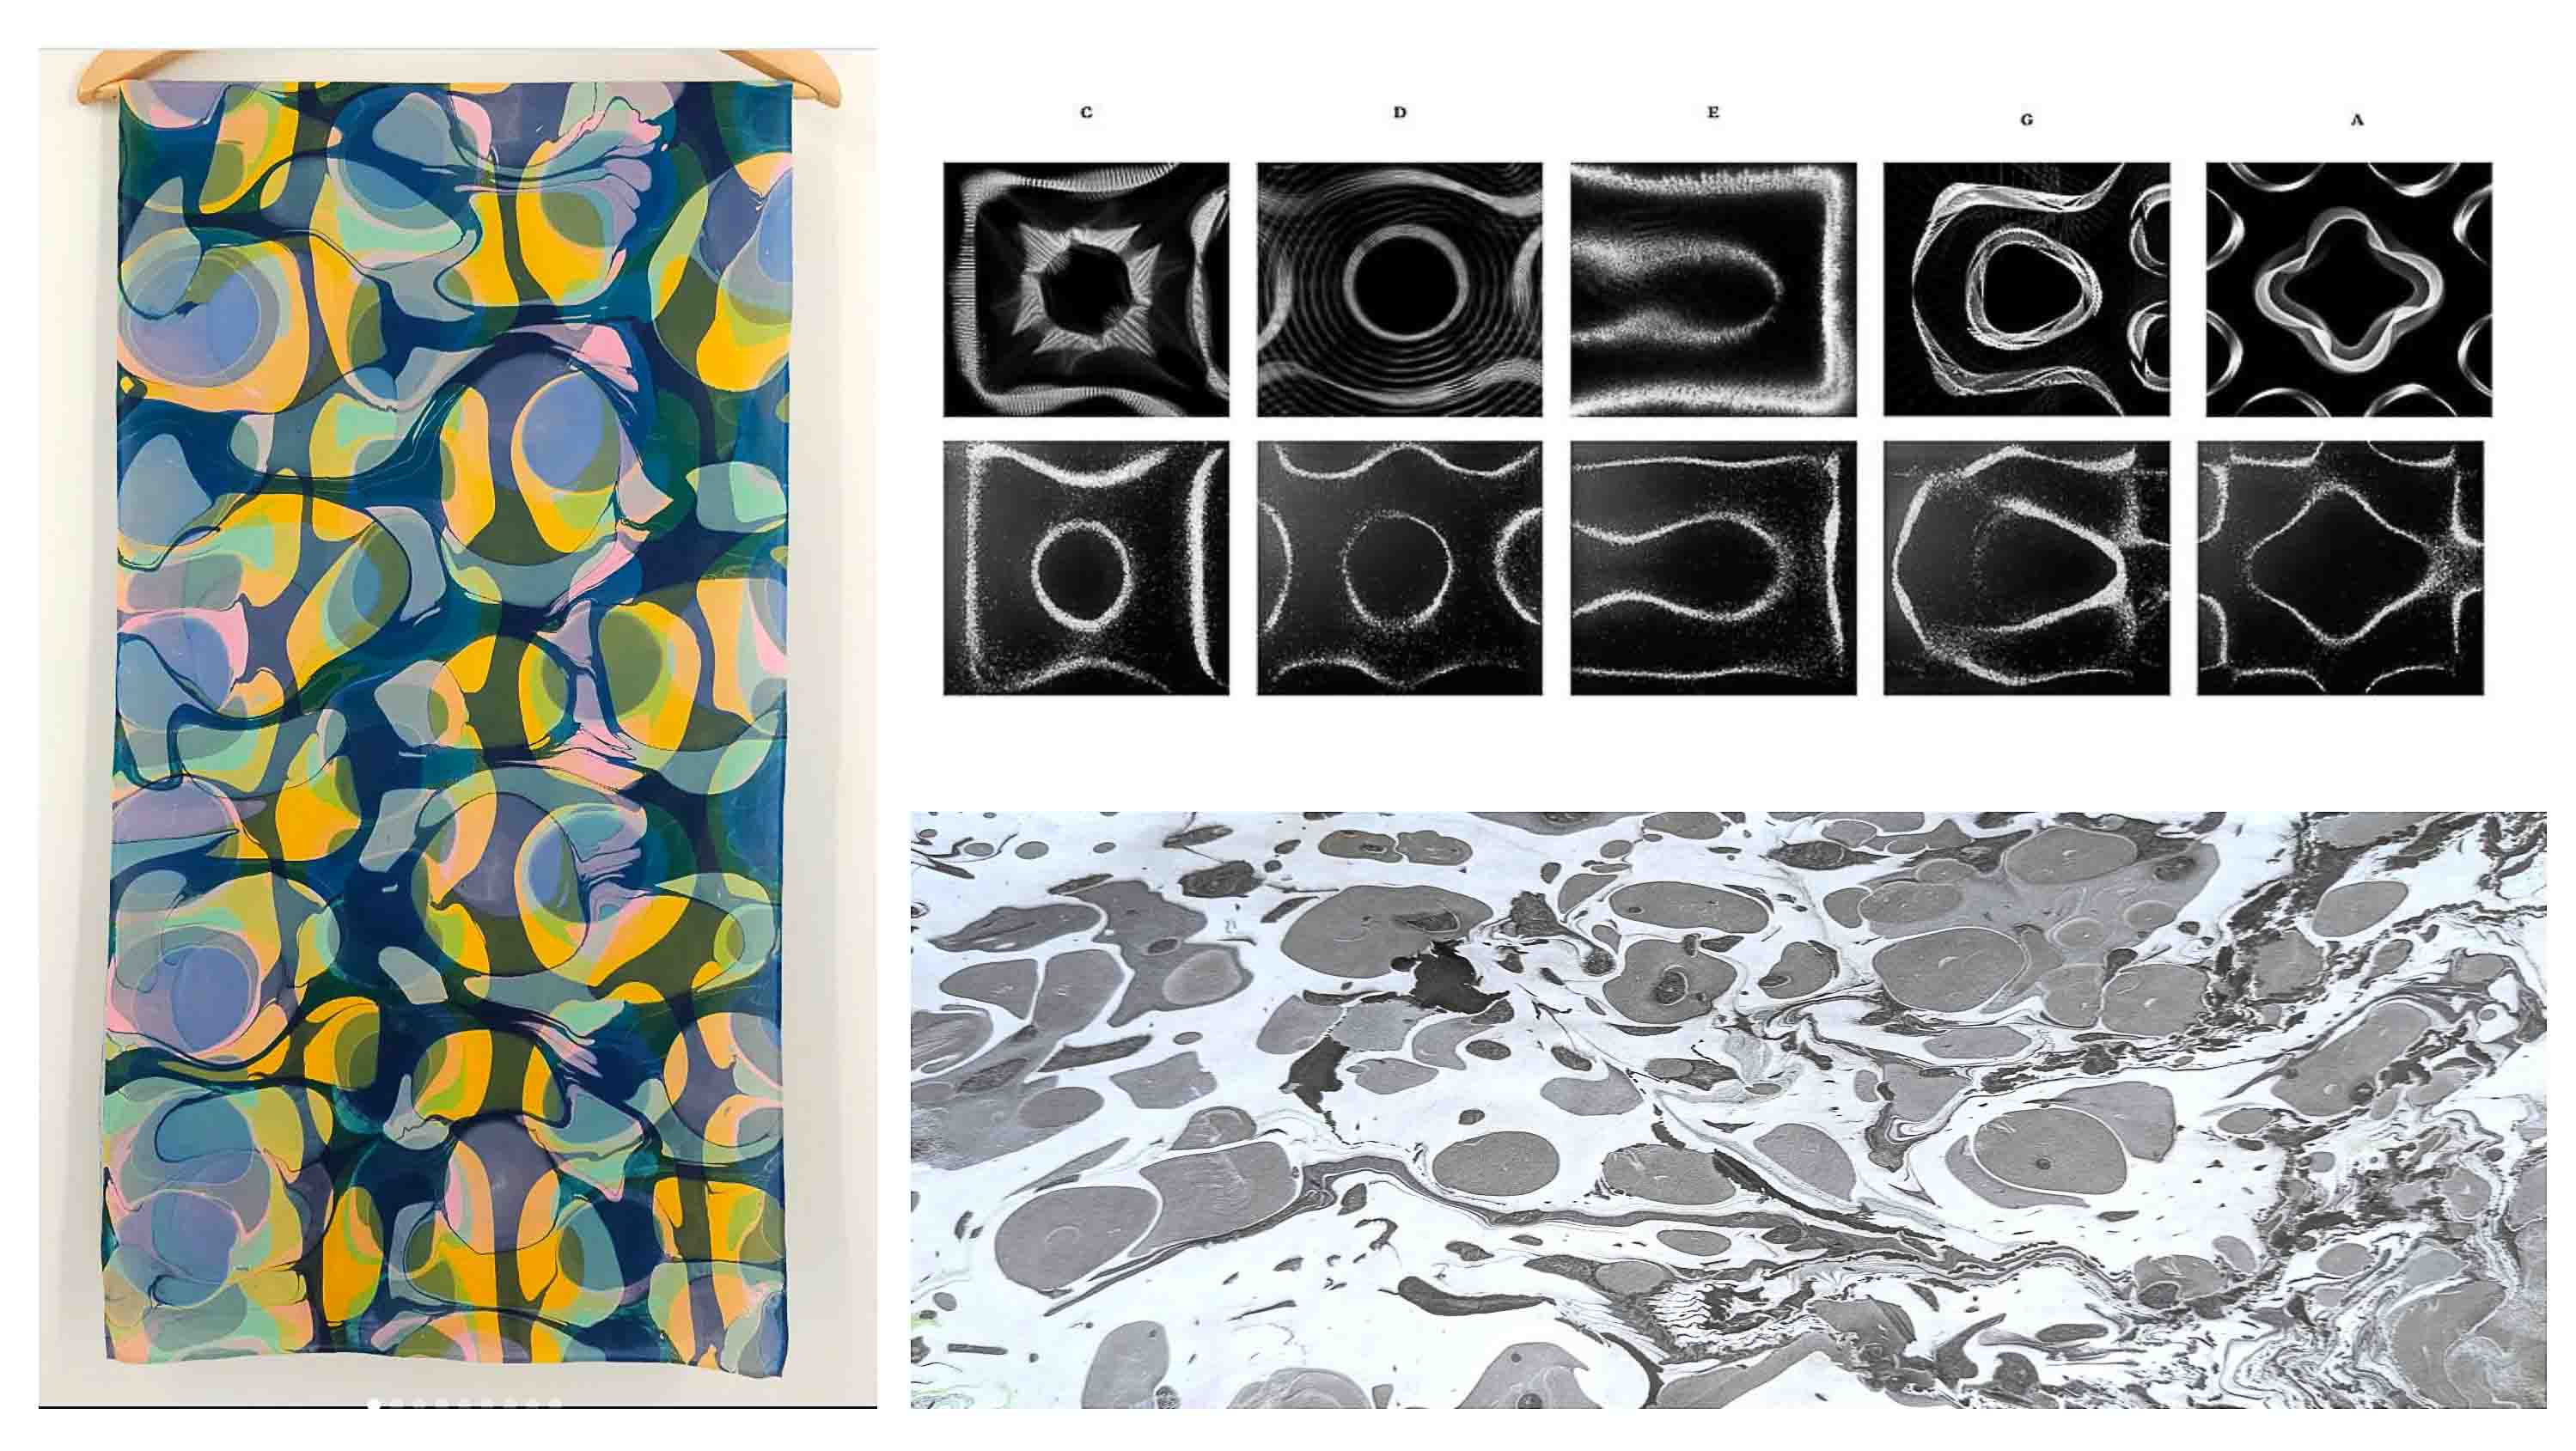 For those who are unfamiliar, Cymatics are made by sending a tone to a metal plate that transforms vibrations into visible patterns. Last year I also fell in love with ebru (water marbling). It's both technical and intuitive and it's always surprising.
 Formerly I was calling this “Full Circle Fibres”. The hope is that every step will be a collaboration with nature, including fibre creation, colourants/ dying, pattern printing and cutting. This is still my goal, but I changed the title to "Beneath the Surface Pattern" because my focus is really on the surface pattern design*.
 So what have I been up to....
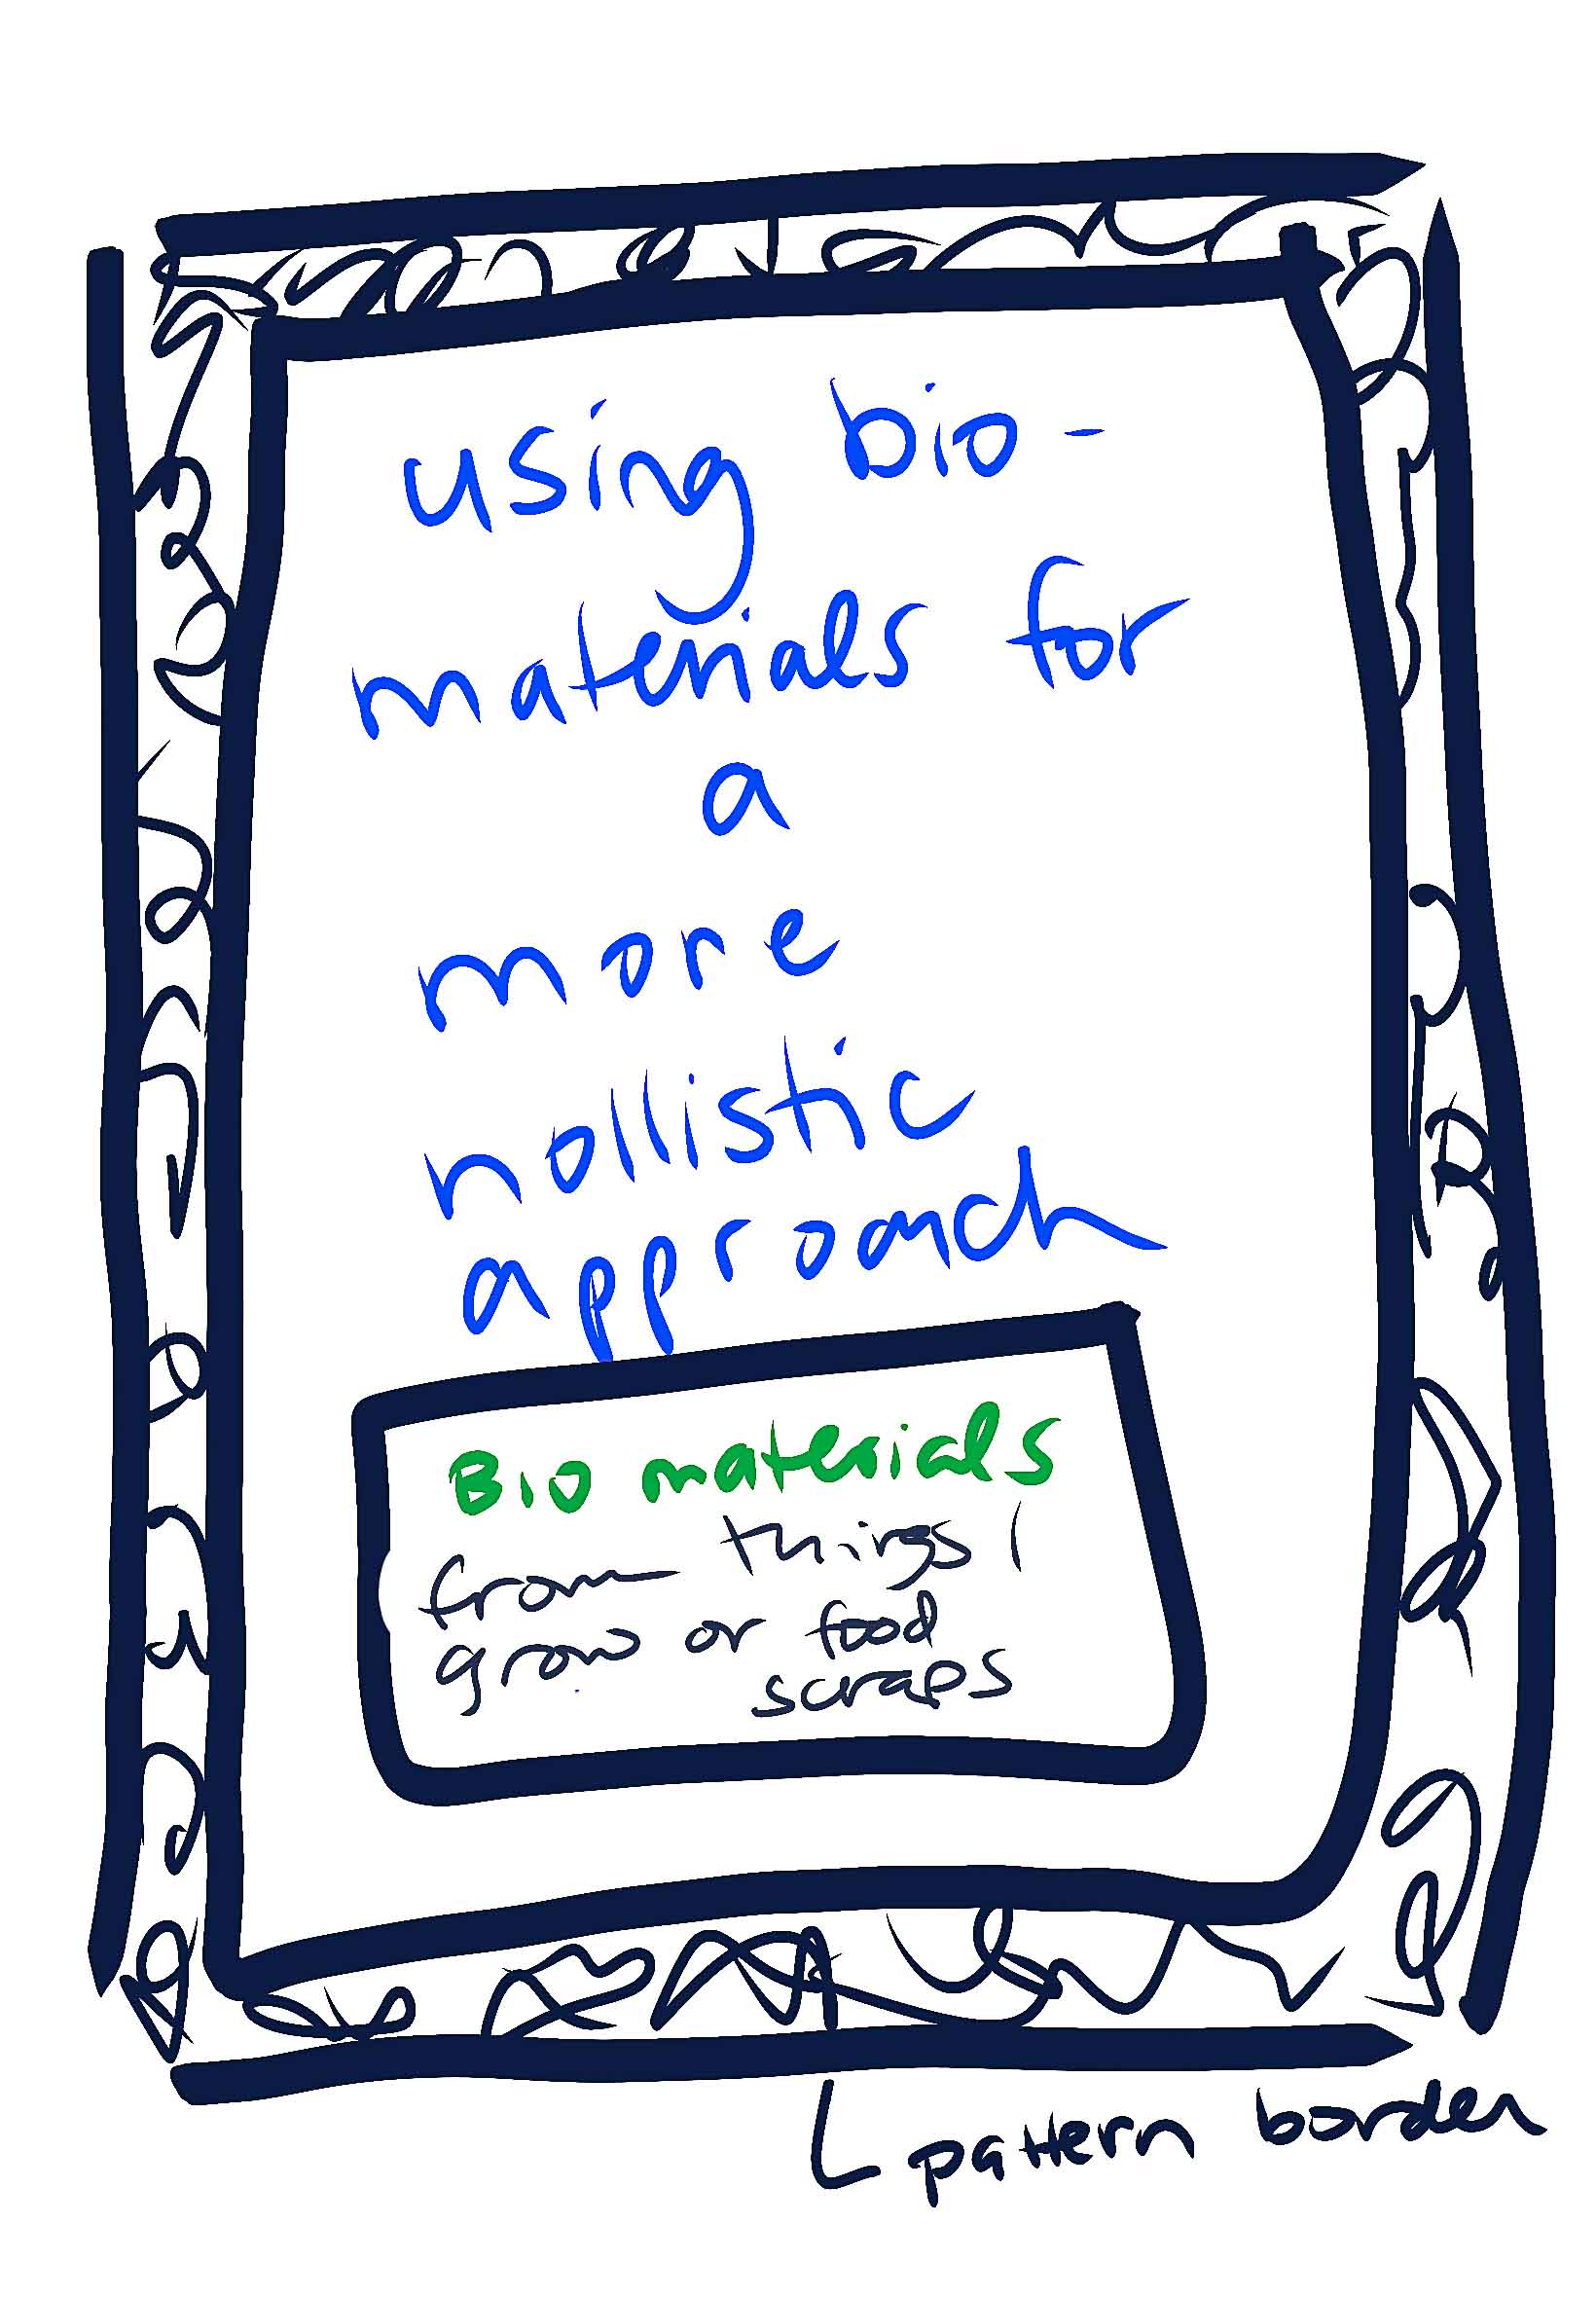
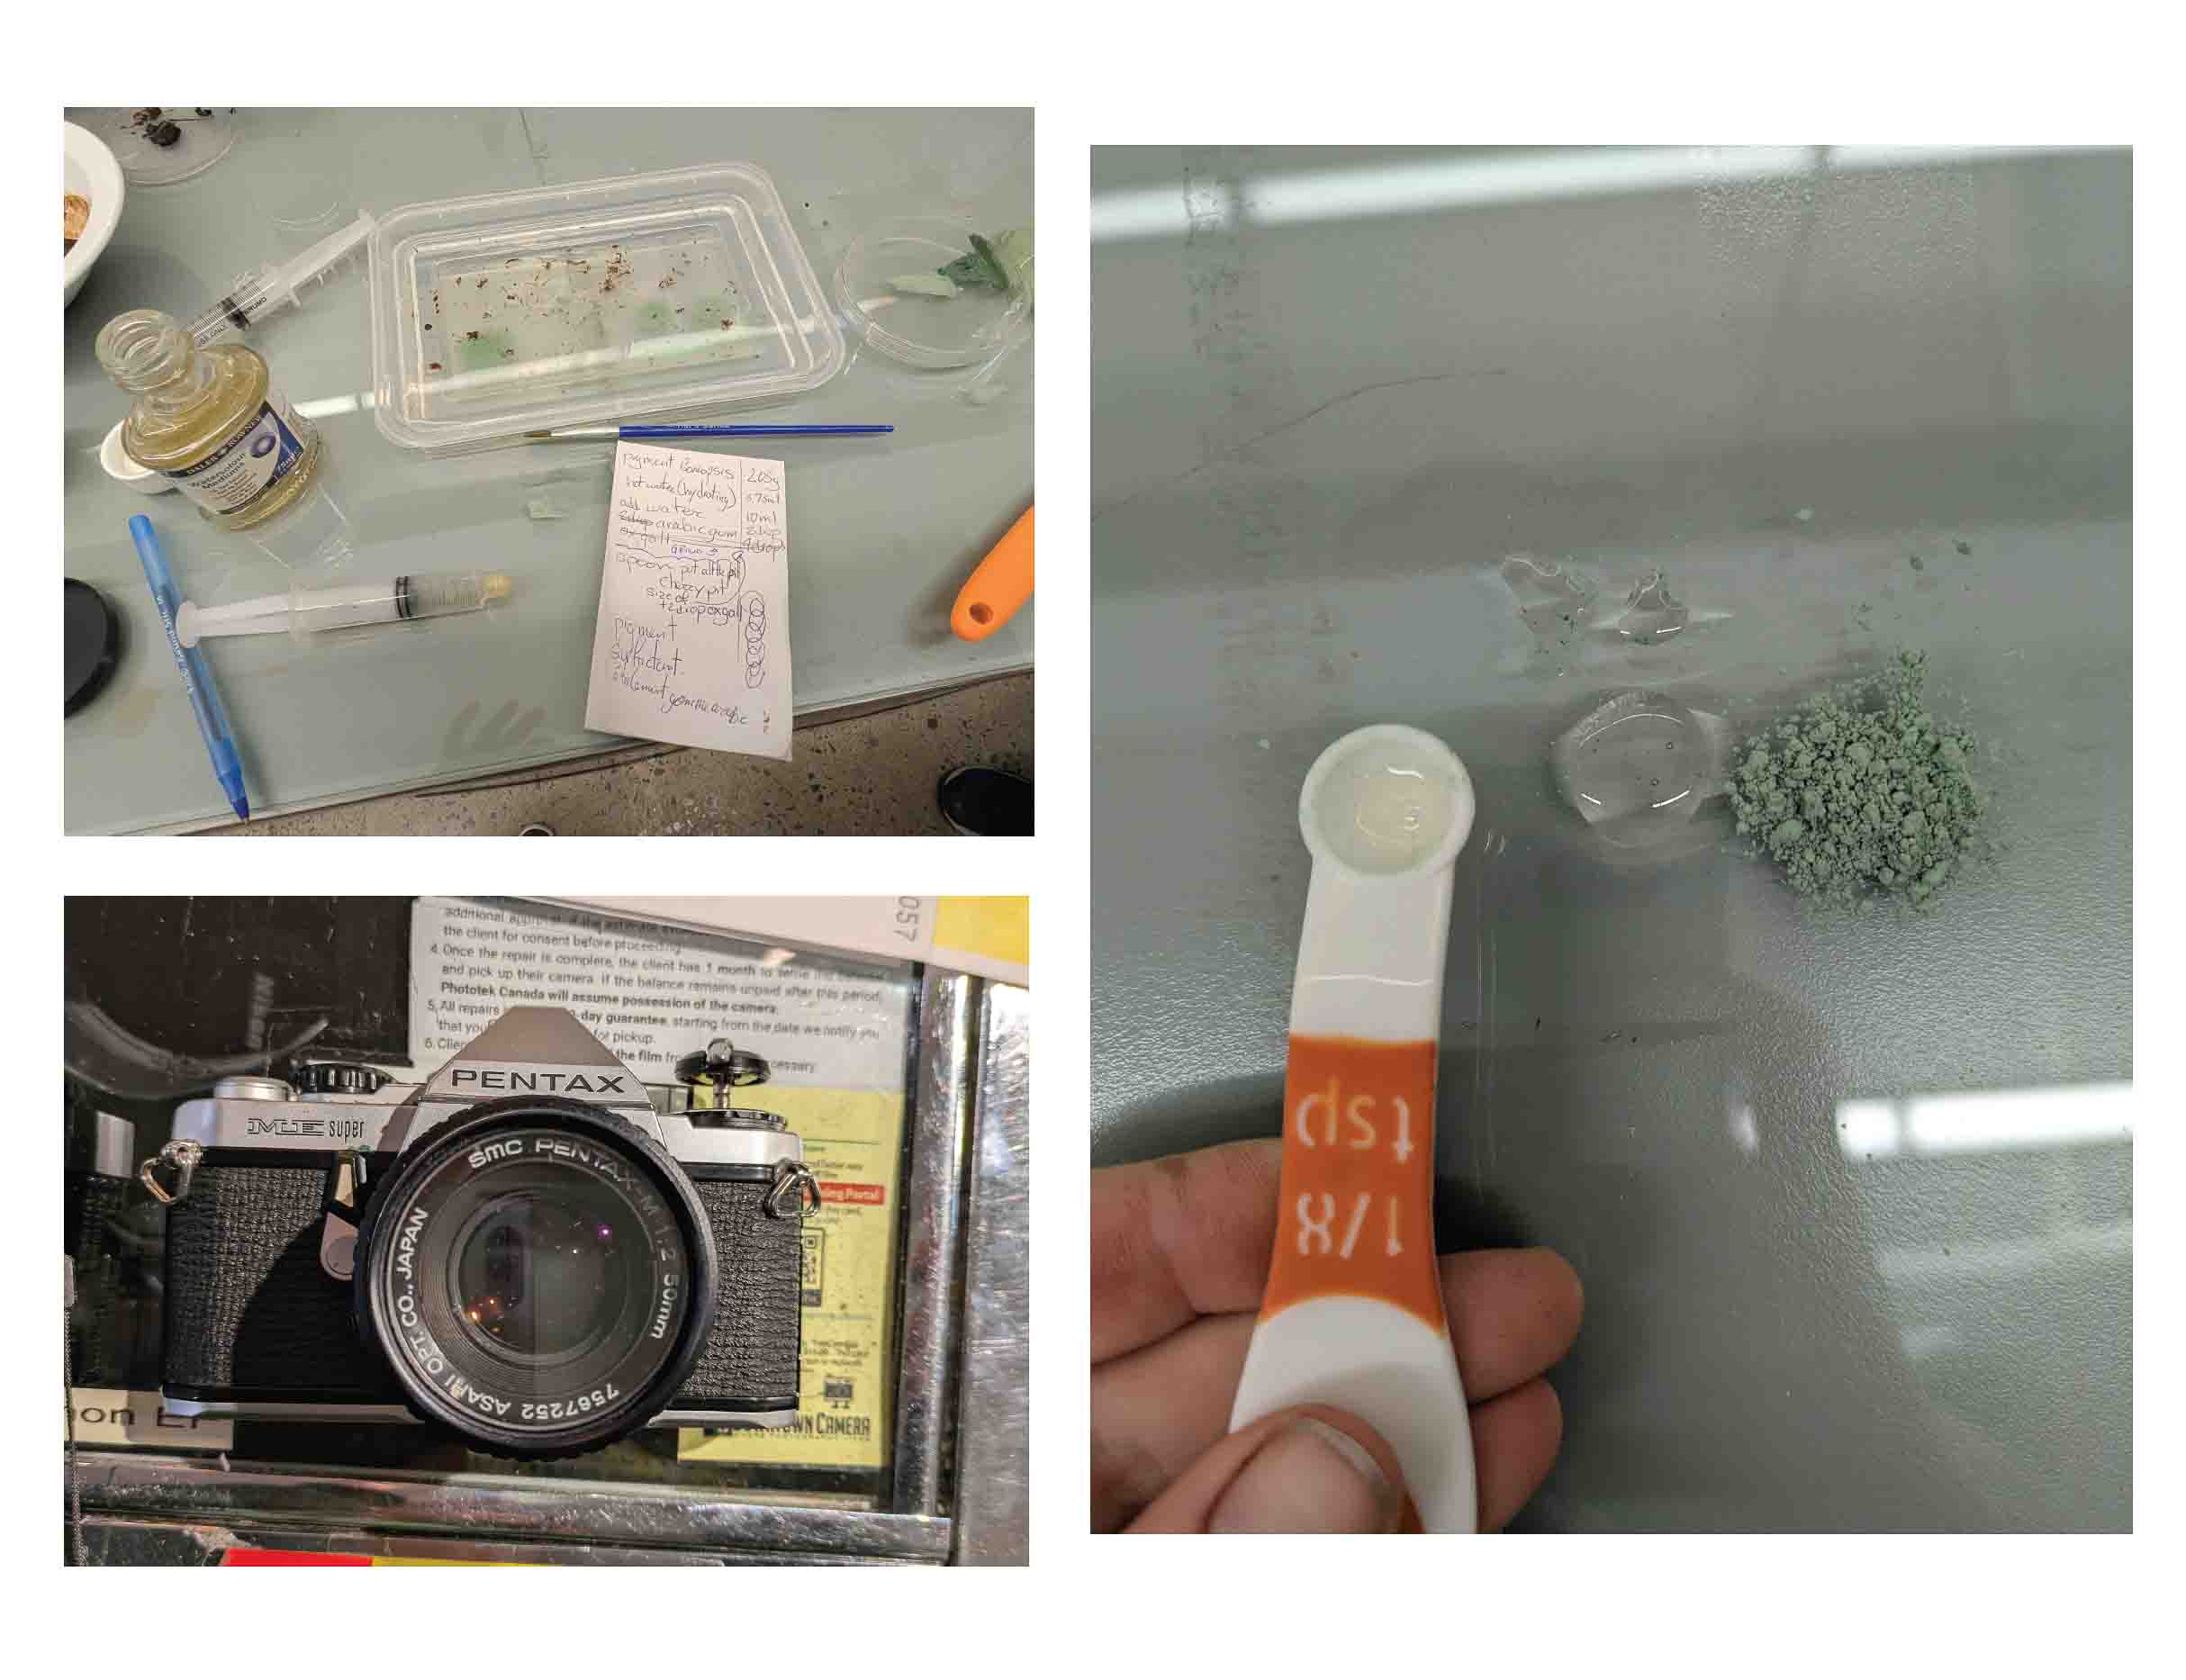
Starting with Fibre ... It was important to me to see if I could grow my own fabric, so I tried making kombucha leather. I also bought other materials derived from nature for testing, such as:
- cotton
- wool
- silk
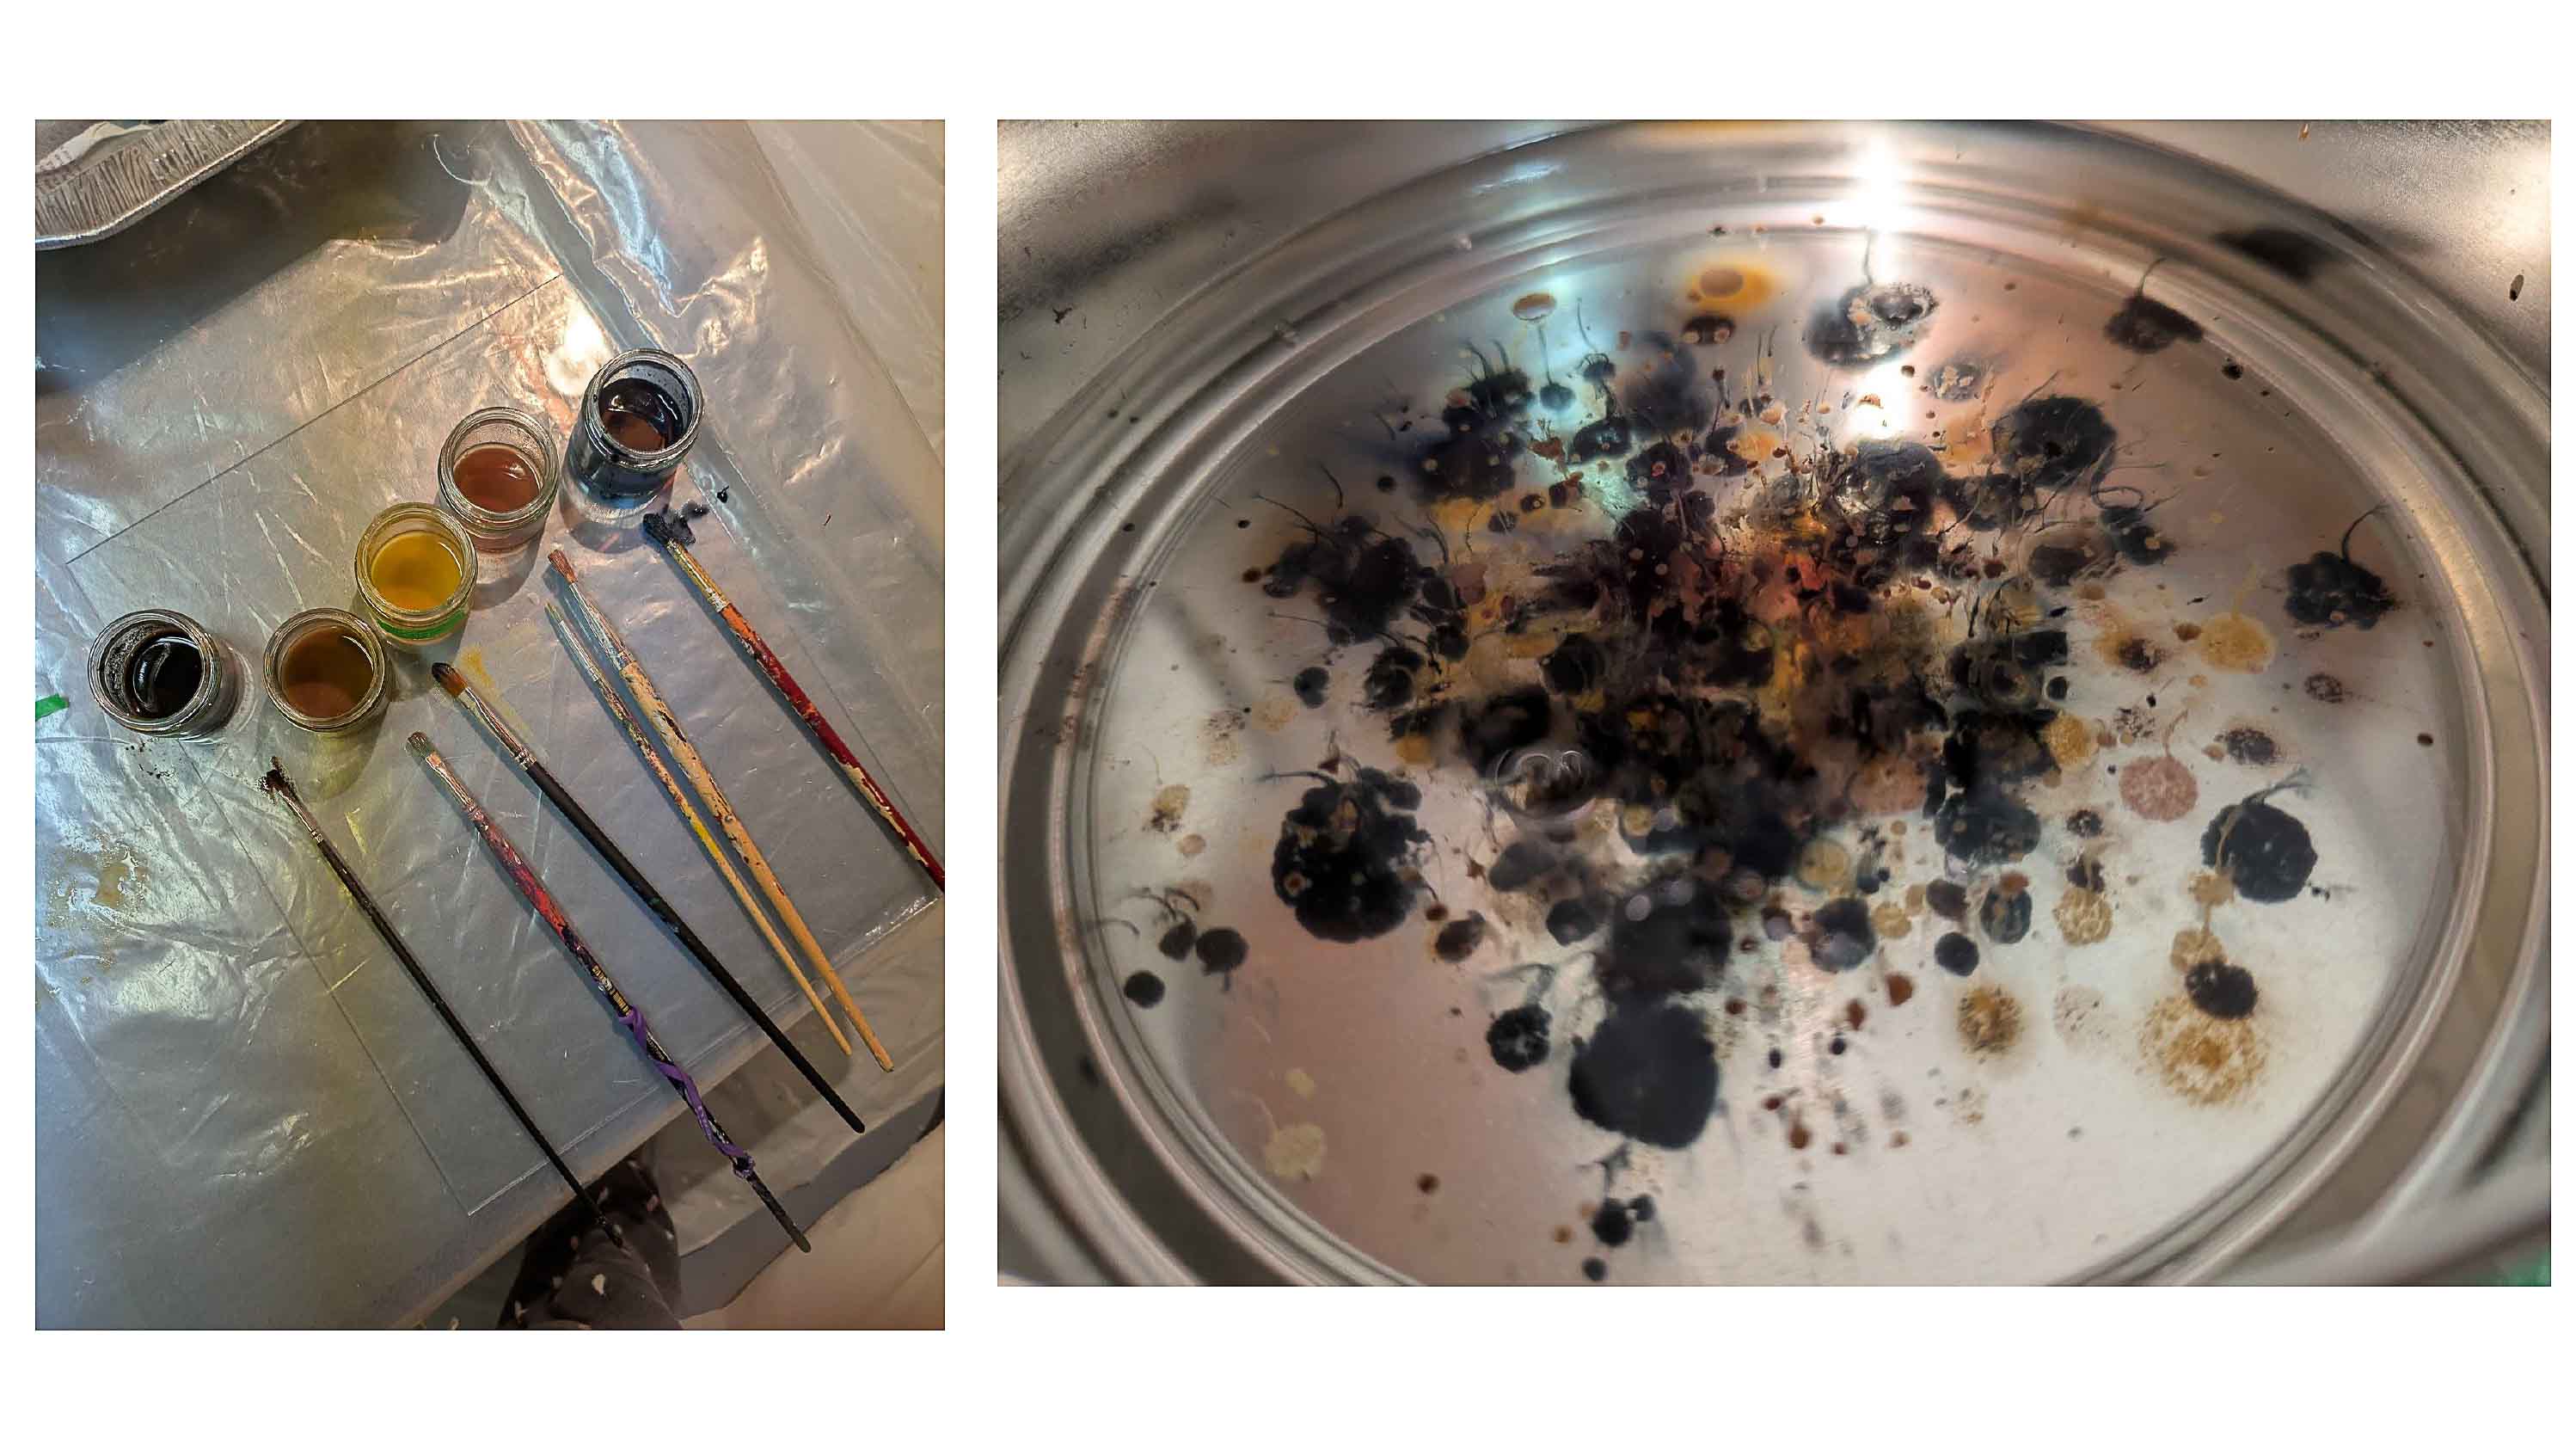
And I created a number of lake pigments including:
- madder
- safflower
- Japanese knotweed
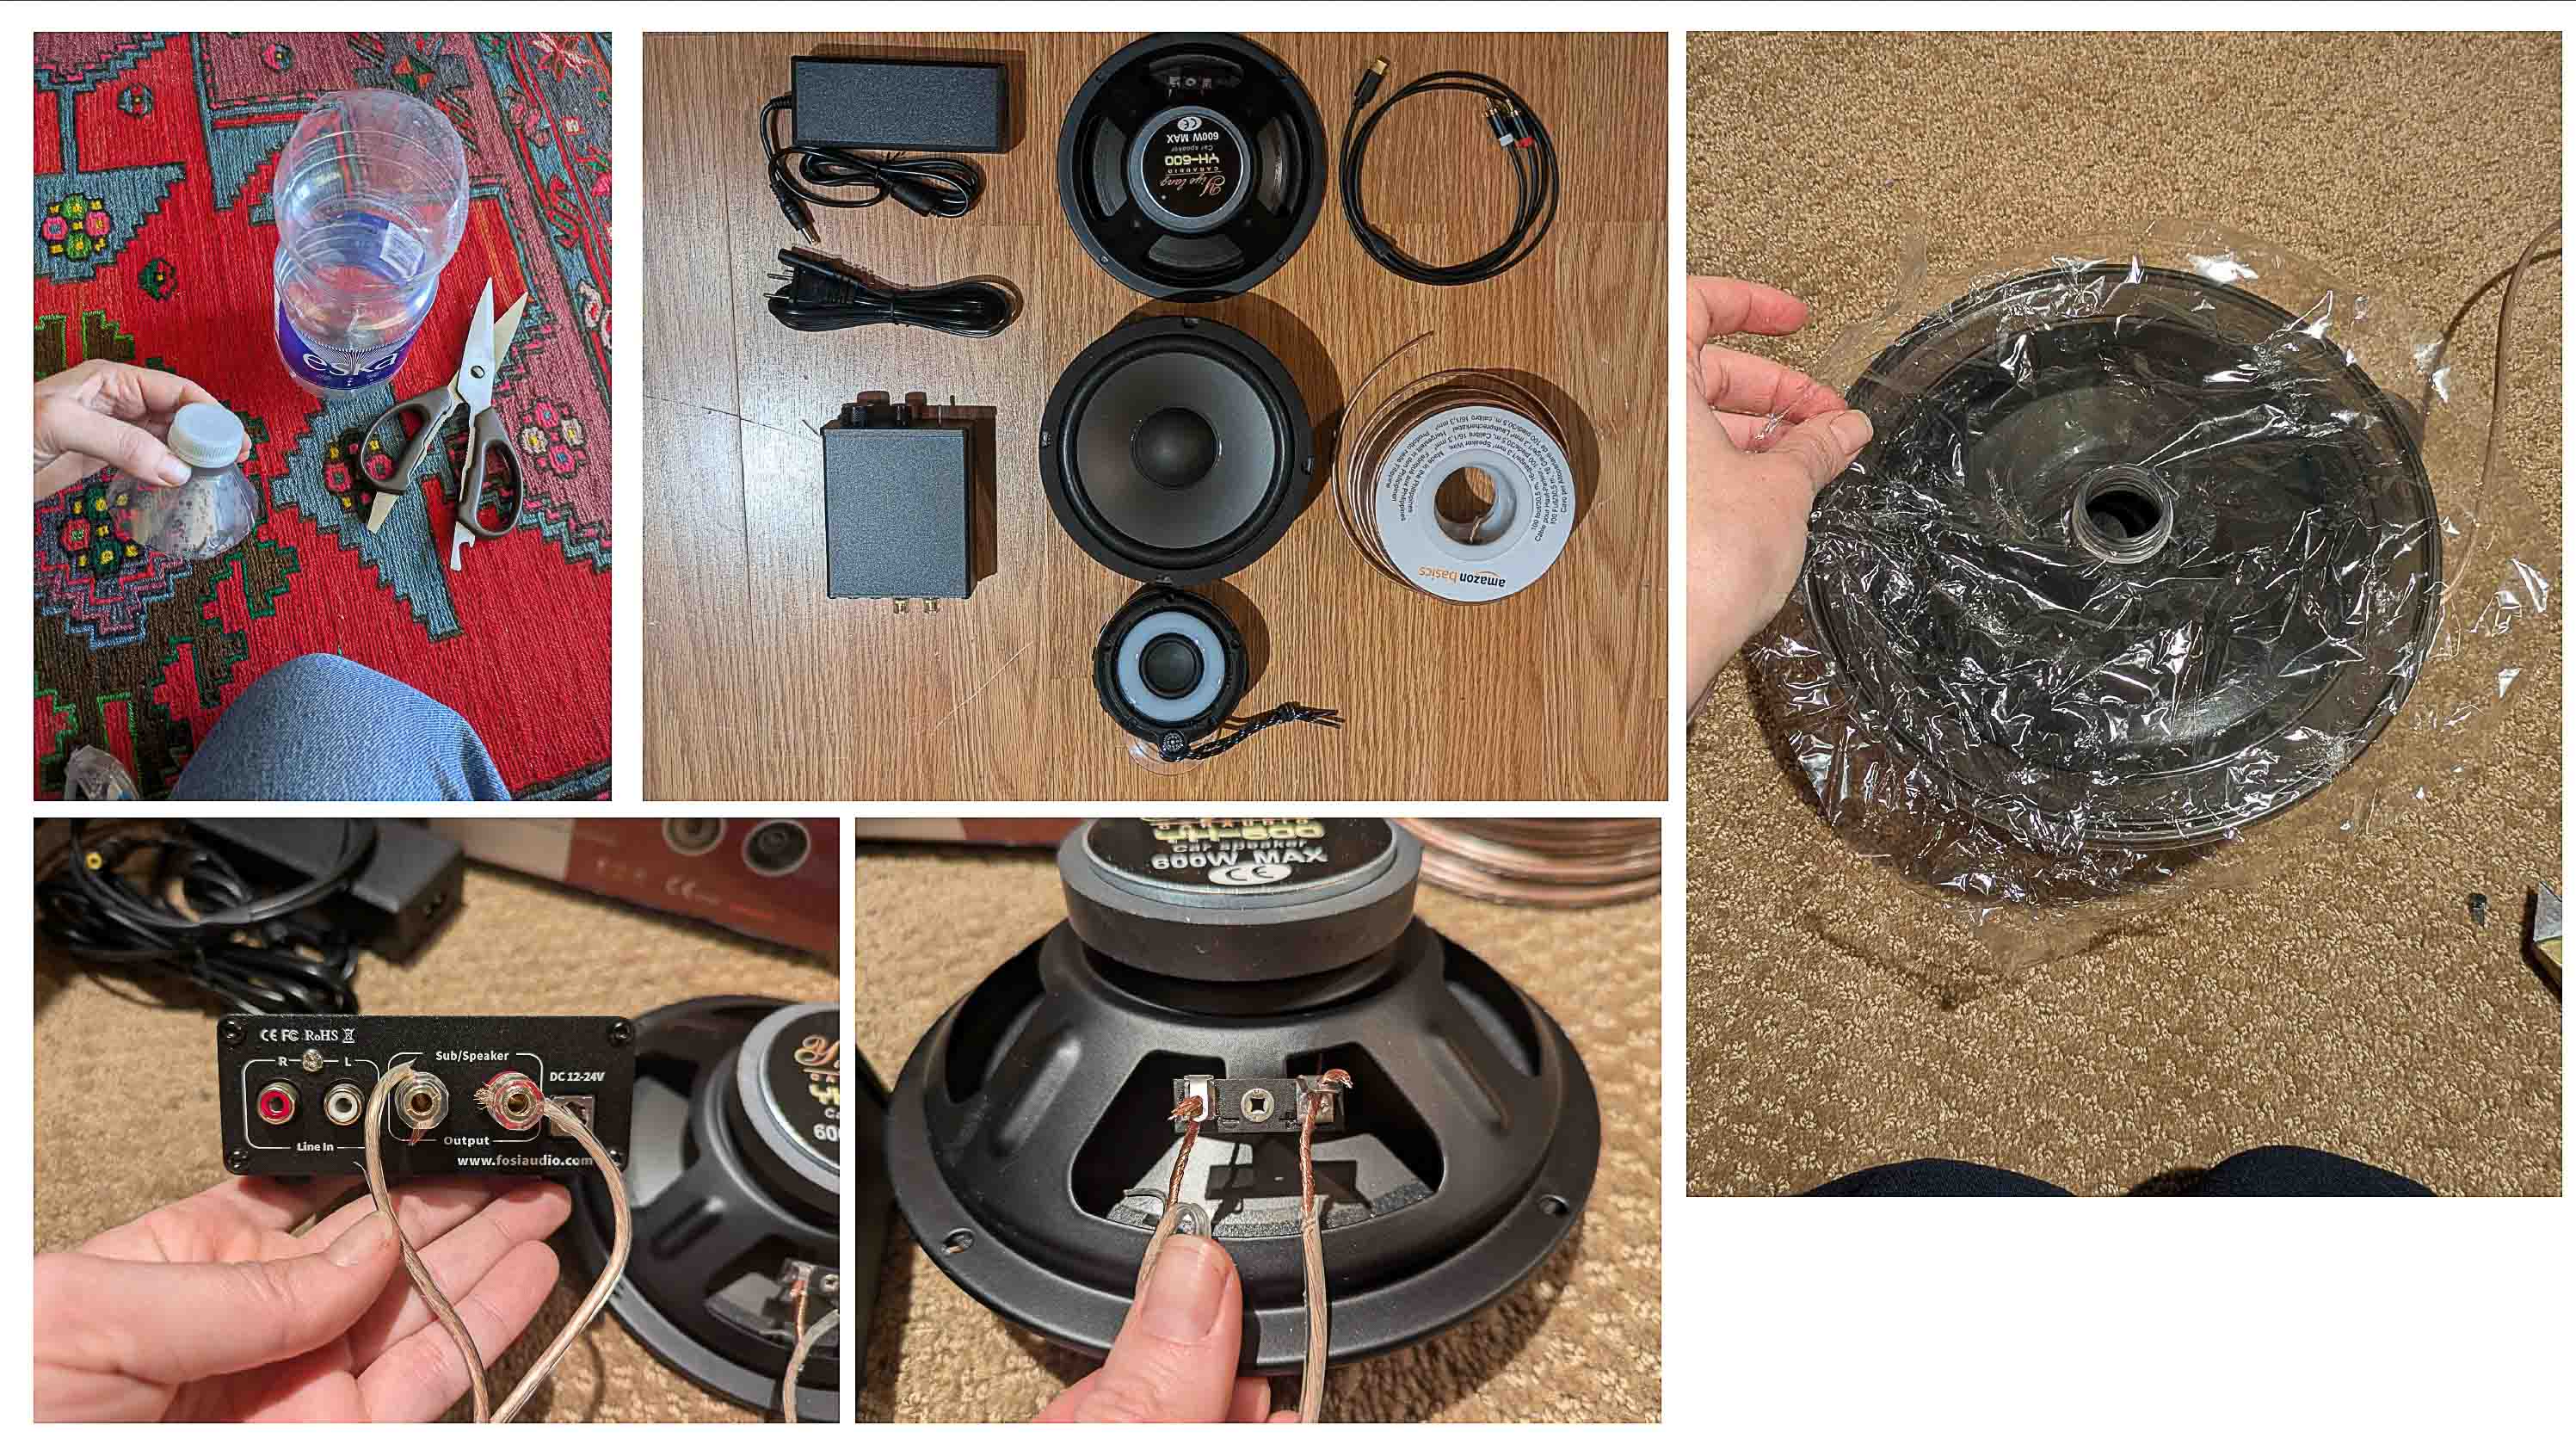
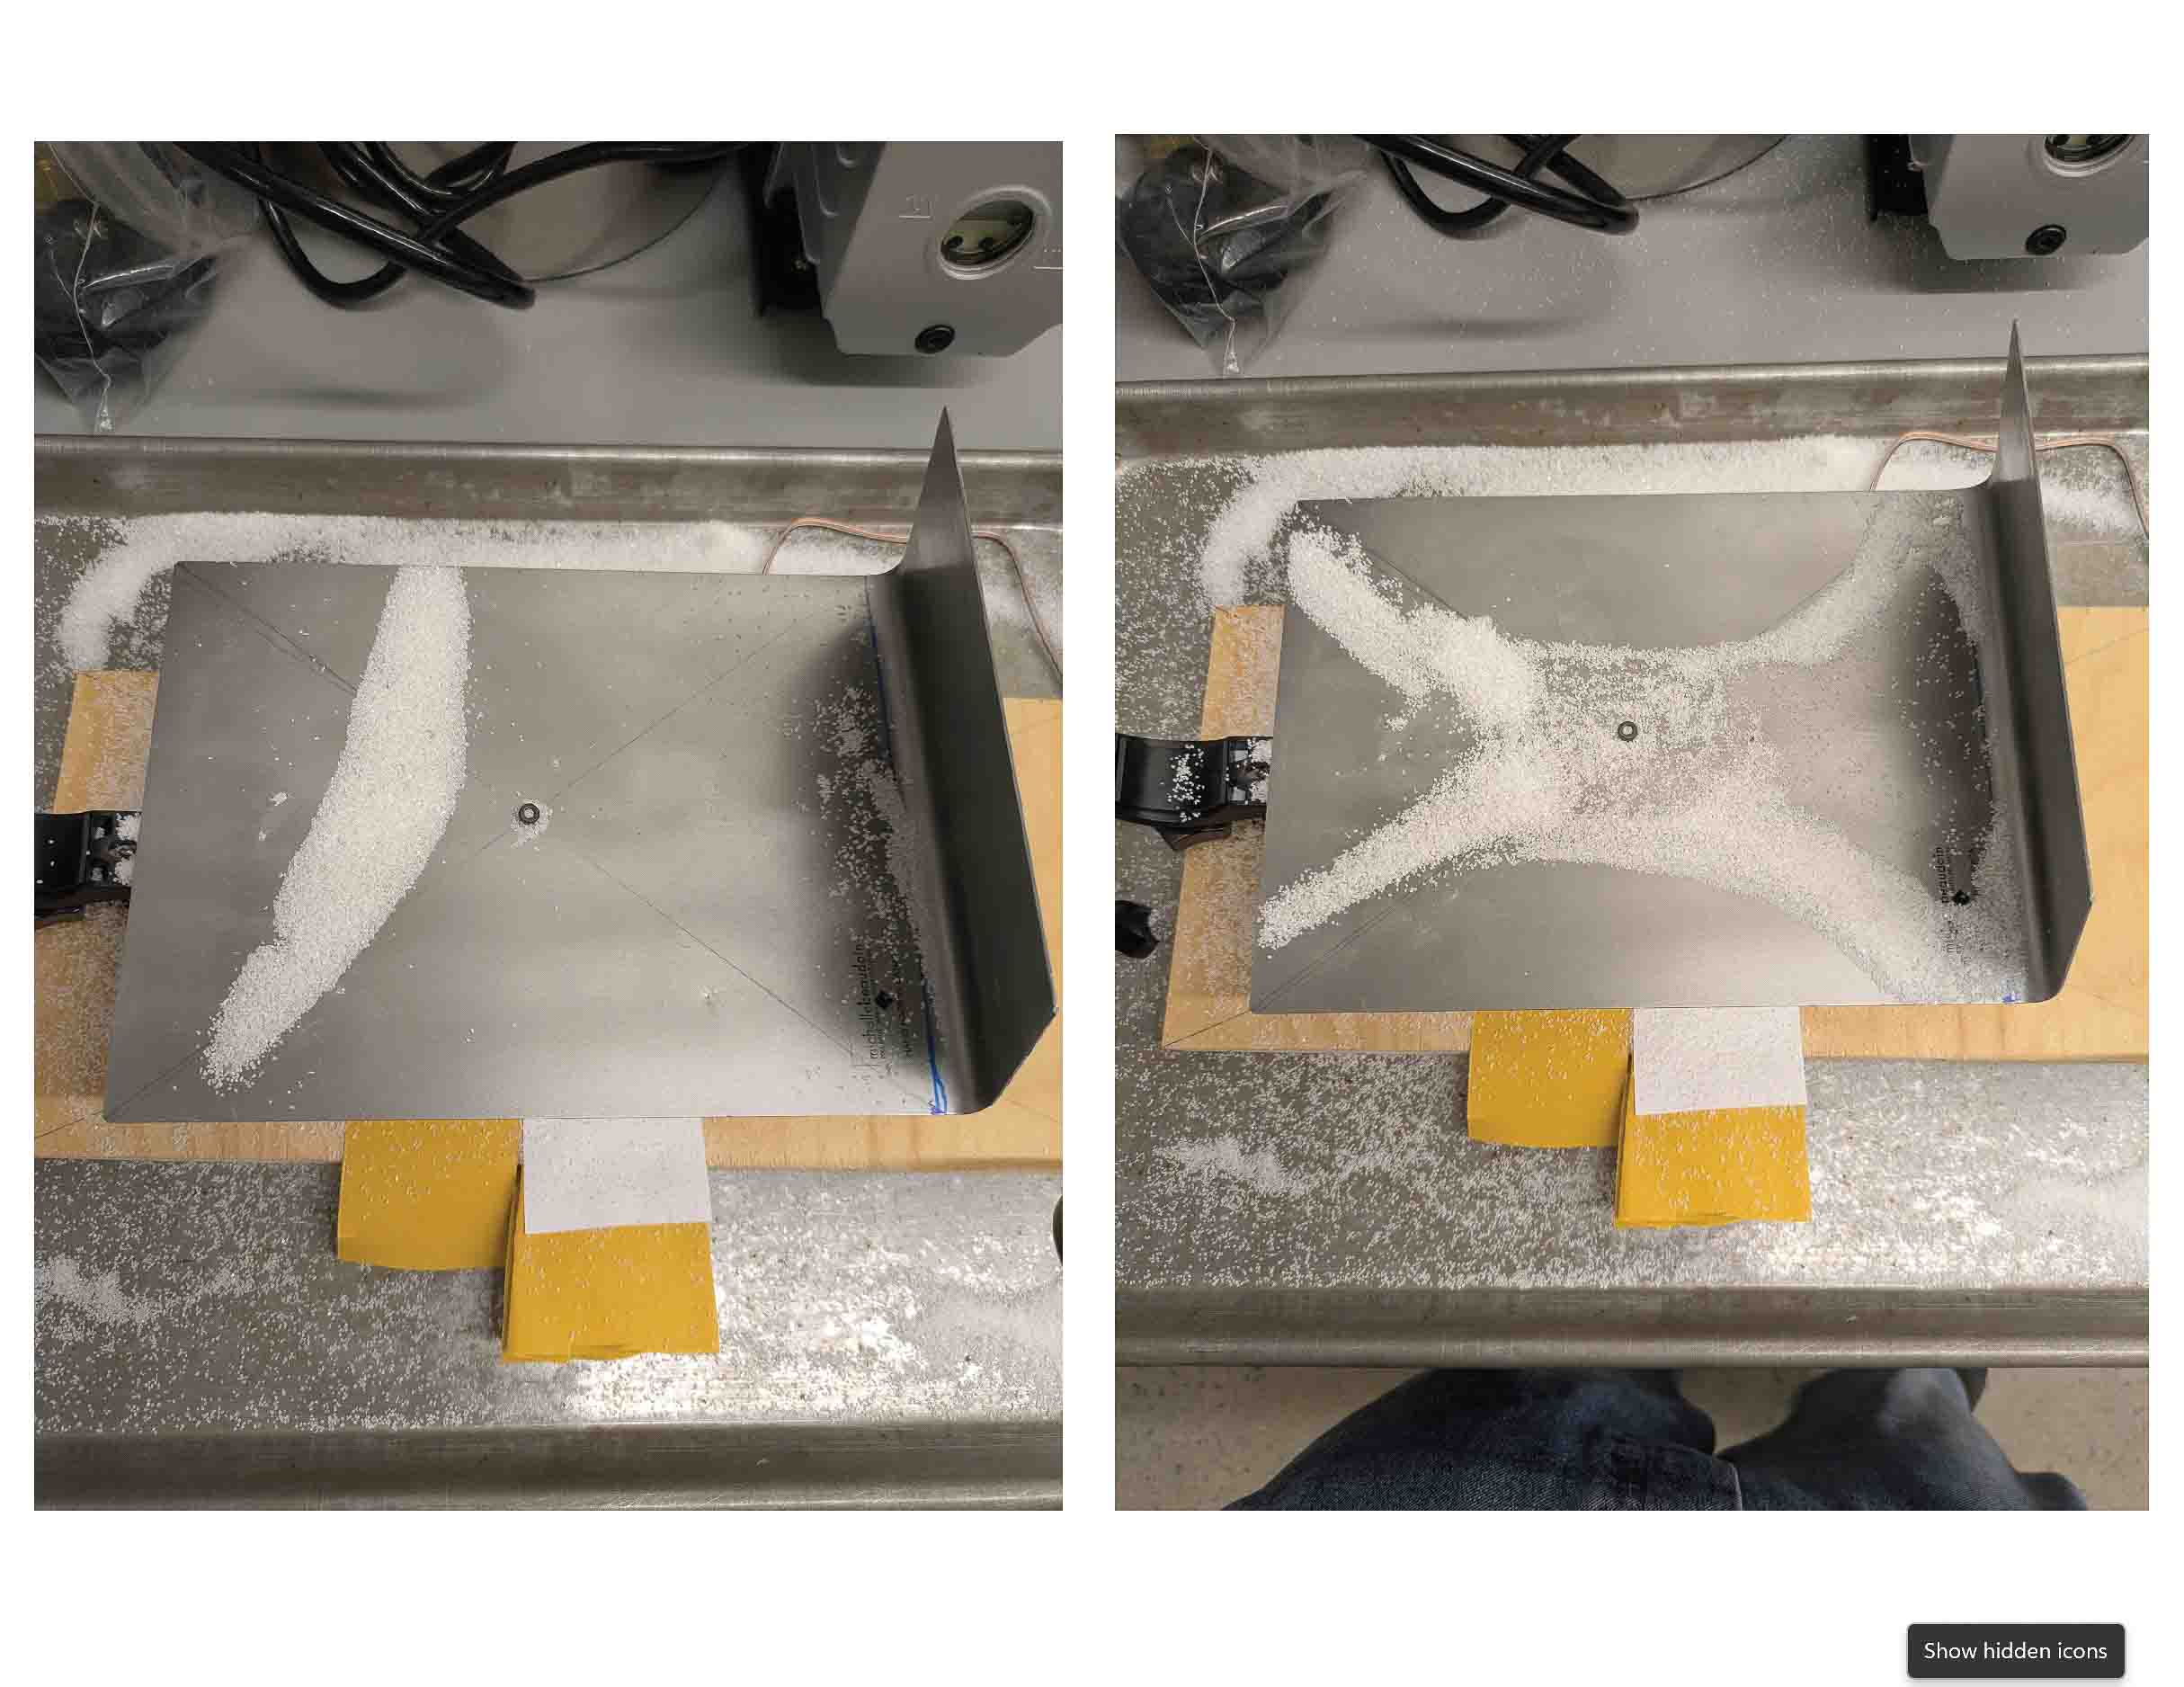
I built my first cymatics rig and spent time learning it's limitations and strengths
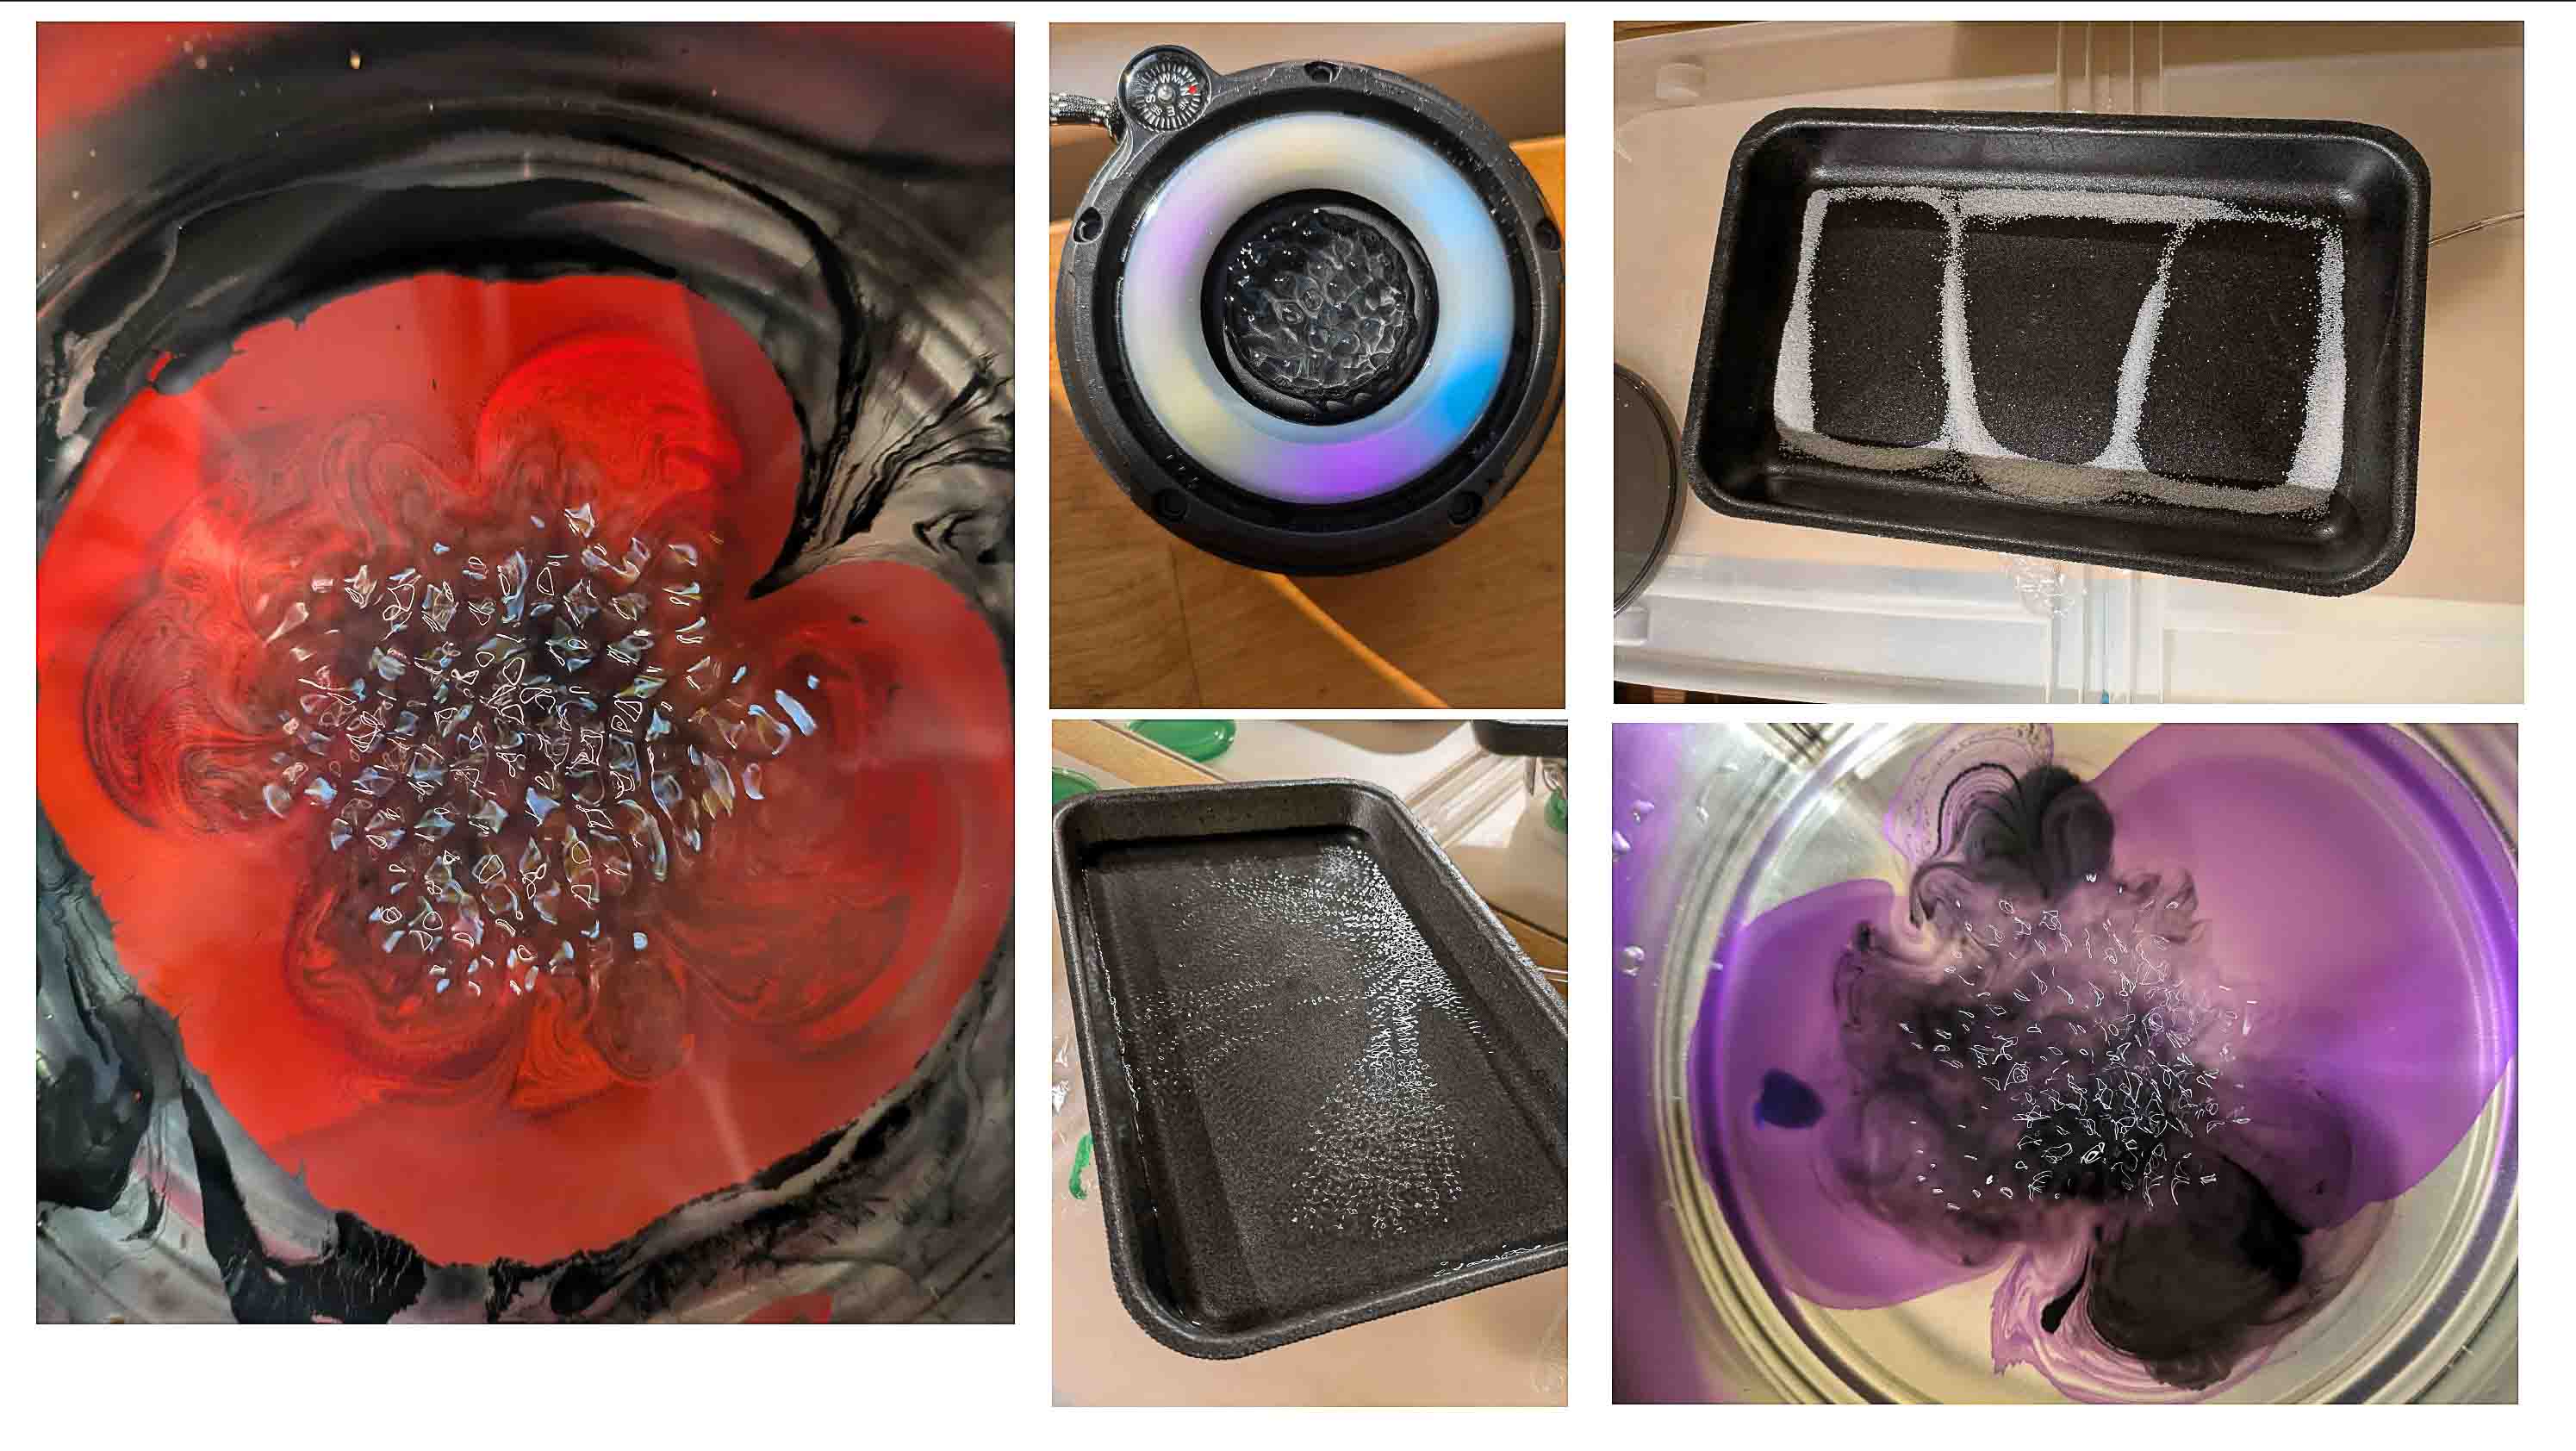
I've learned that every plate yields different results. In my current set up 4 - 6 " platforms are best. Styrofoam worked well for salt. I'm using cookie tins which seem to be effective for water.
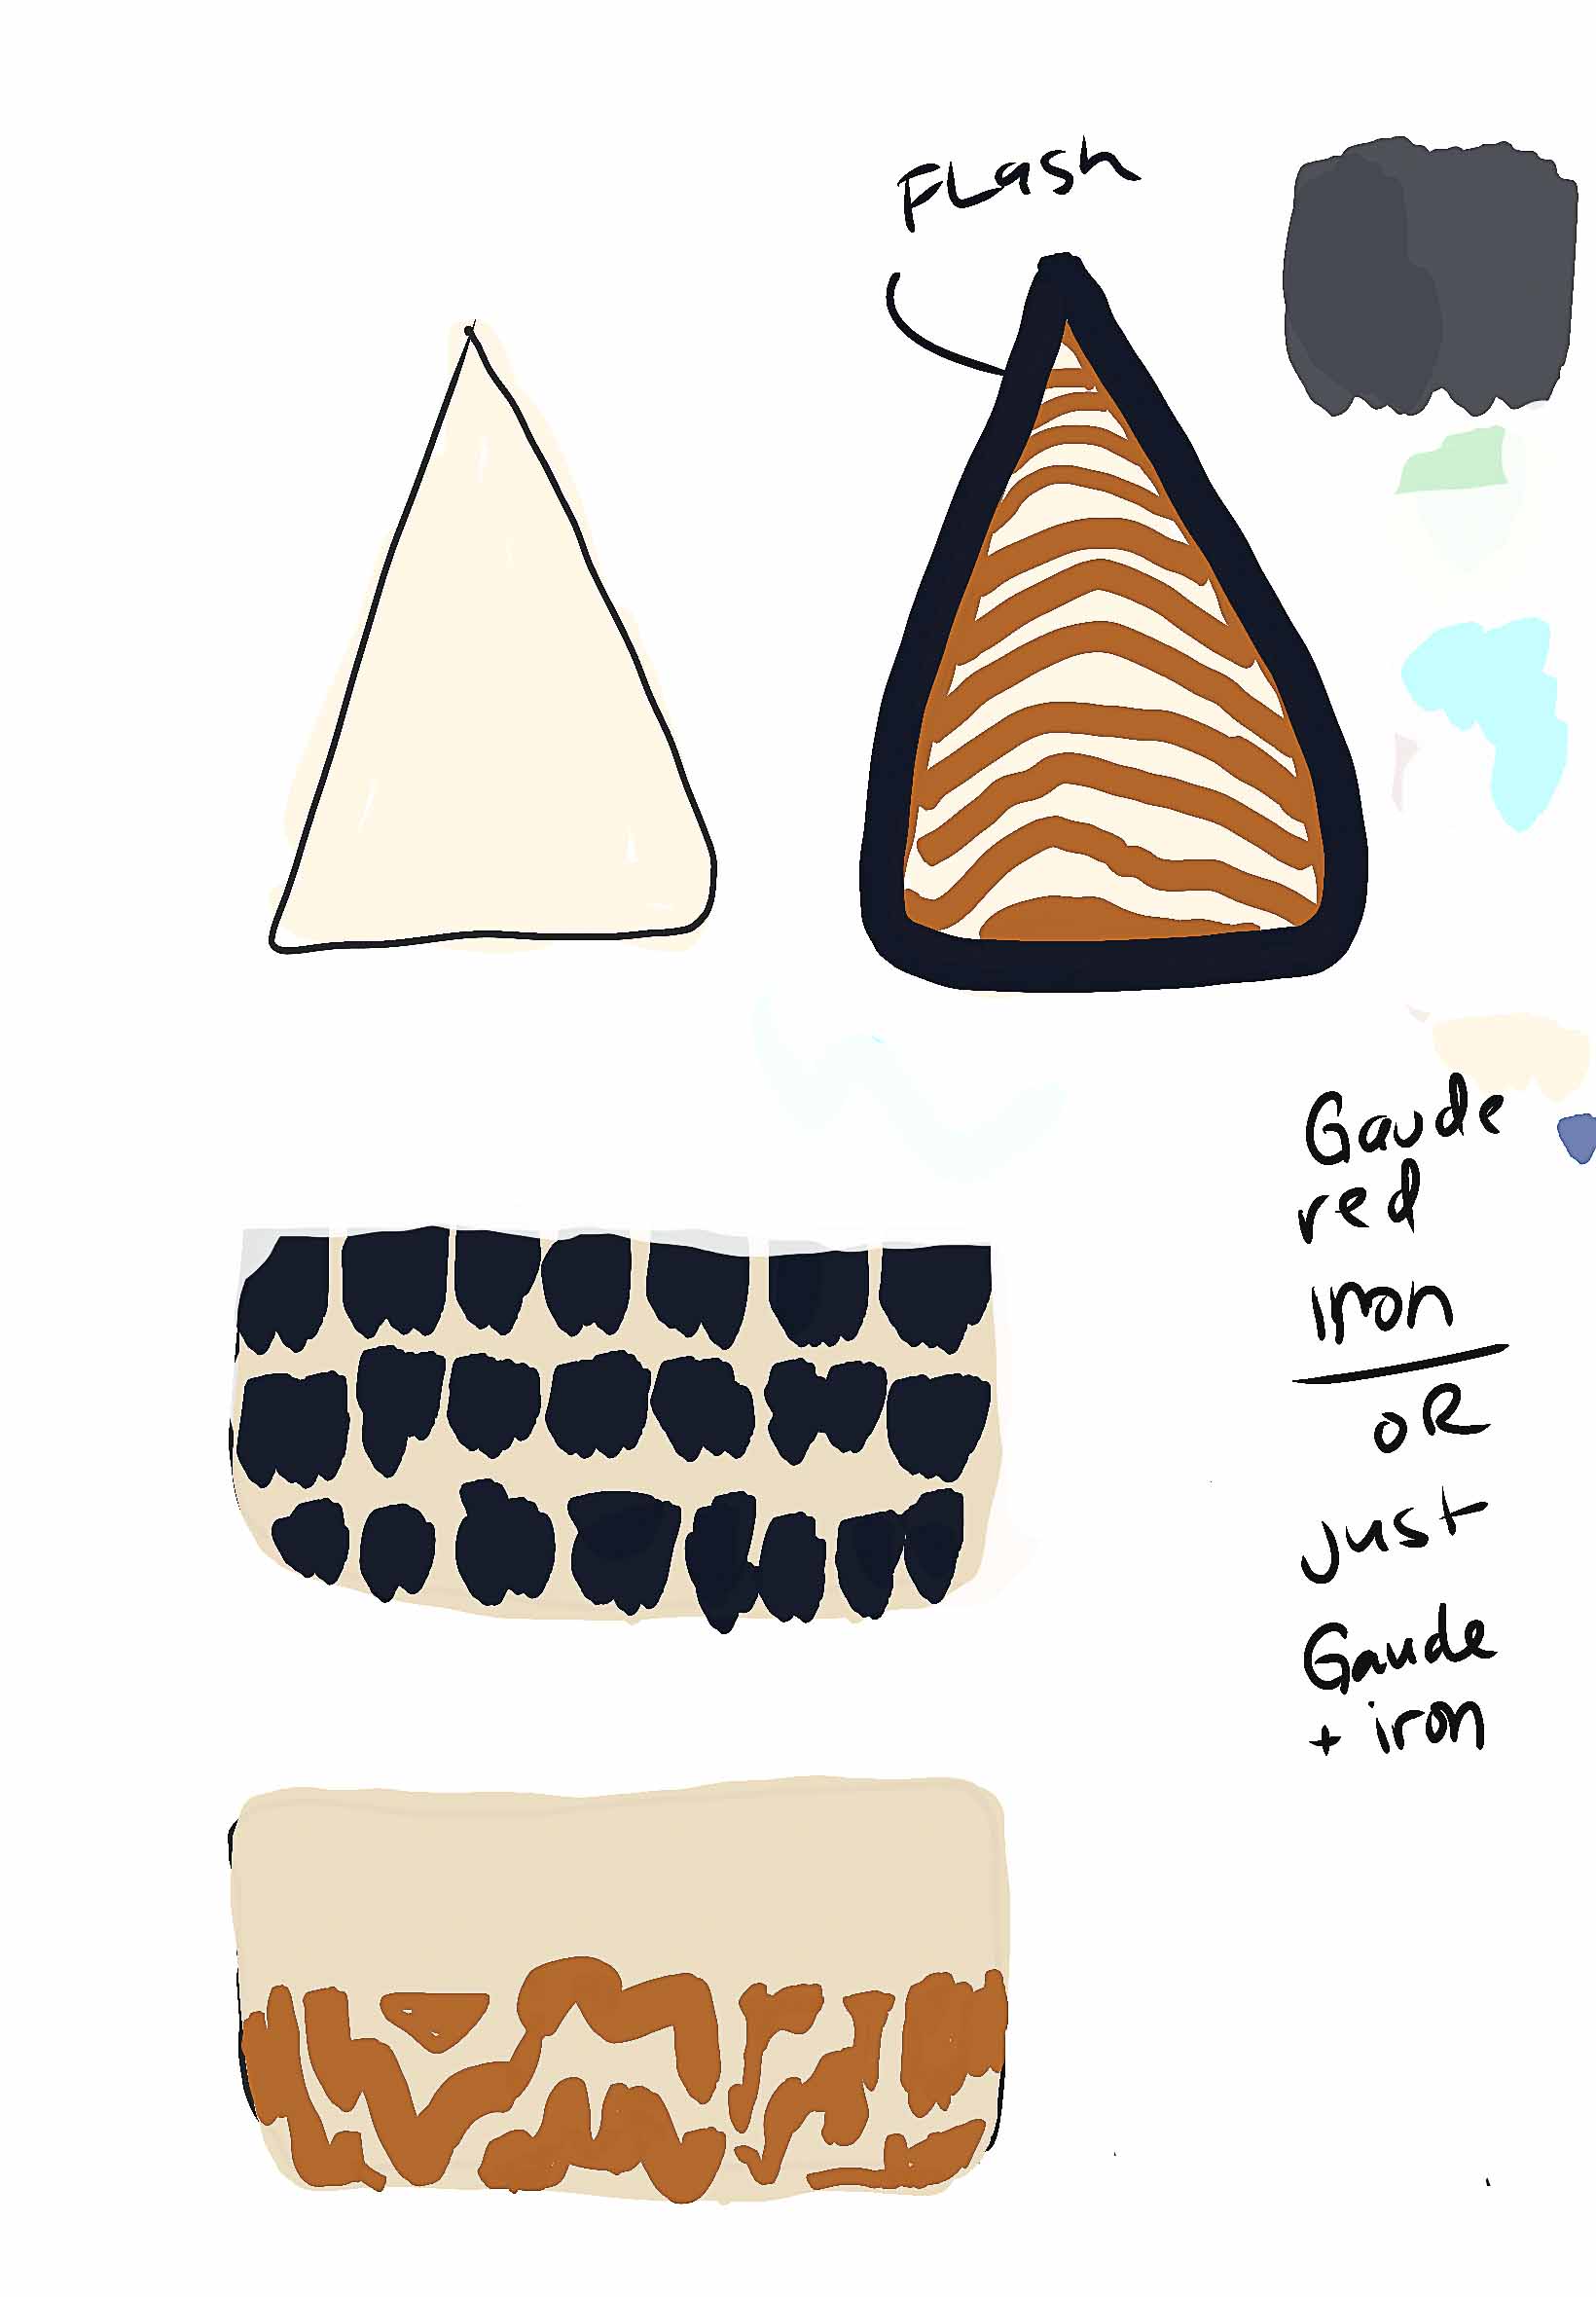
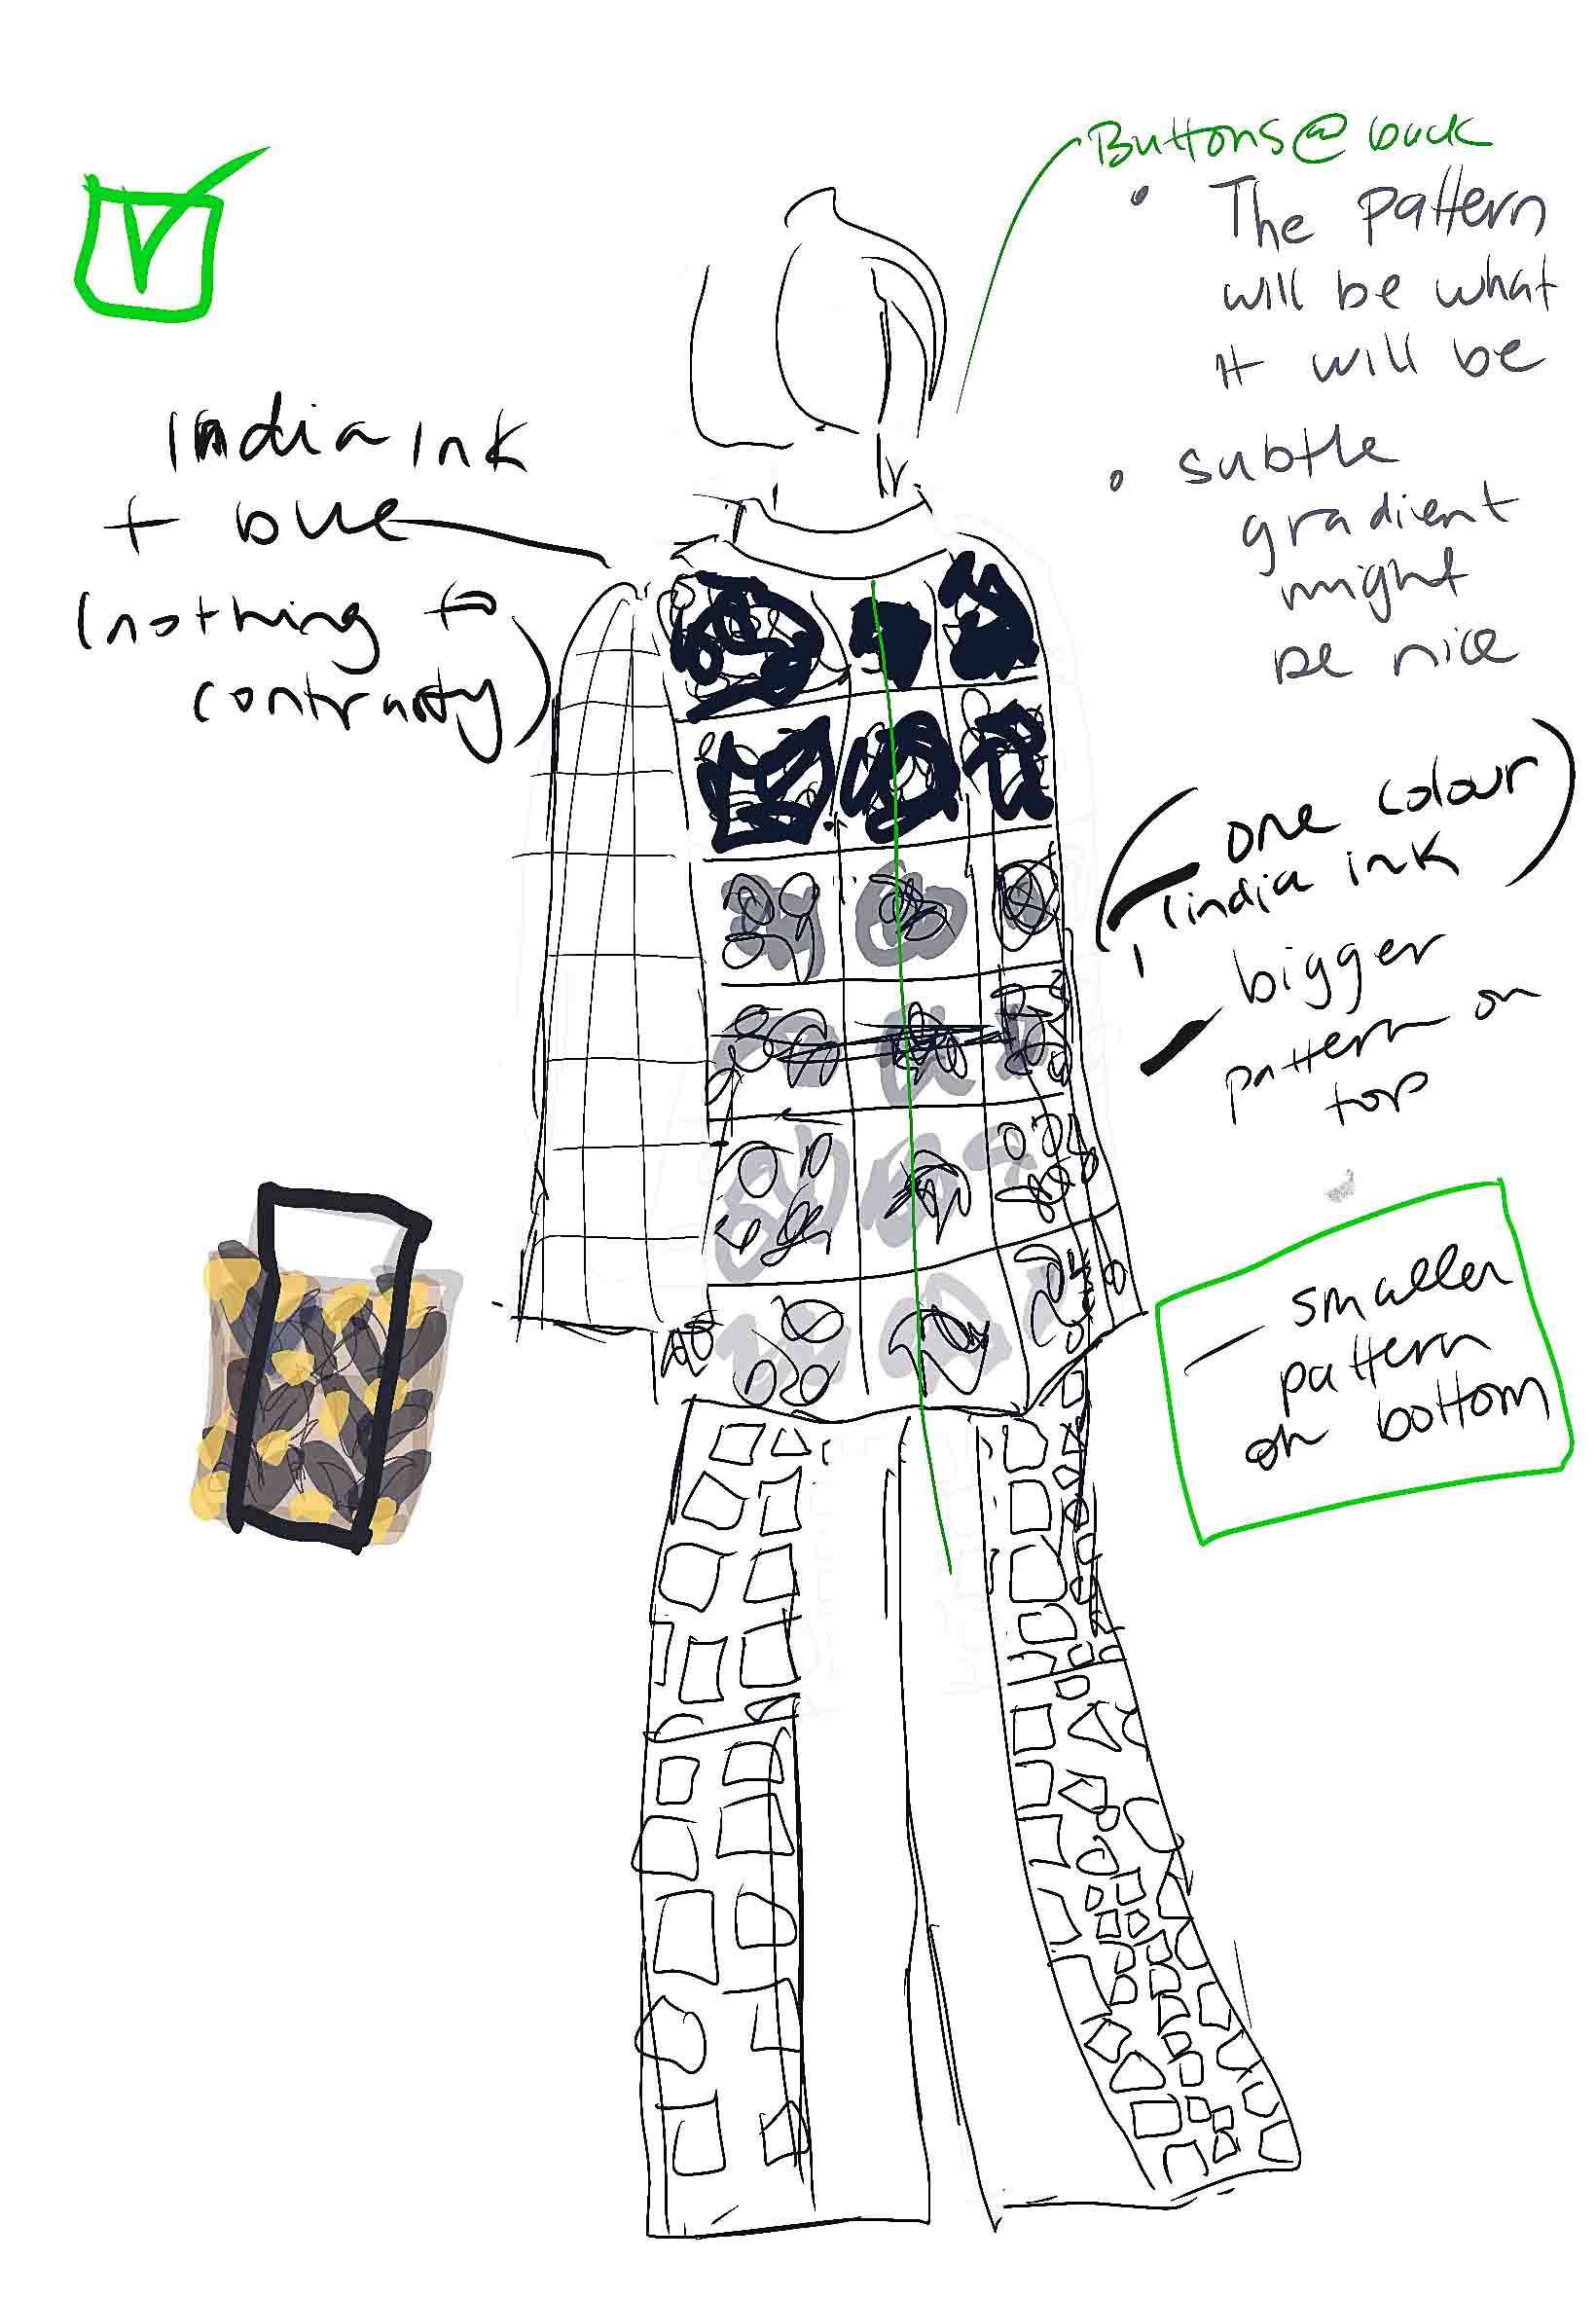
I now know how difficult it is to get my pigments working, so moving forward I'll work with only two colours, and lean into the theme of duality by using one fugitive dye (safflower) and one colour fast dye (indigo).
 I've learned how to achieve water grams using synthetic paint.
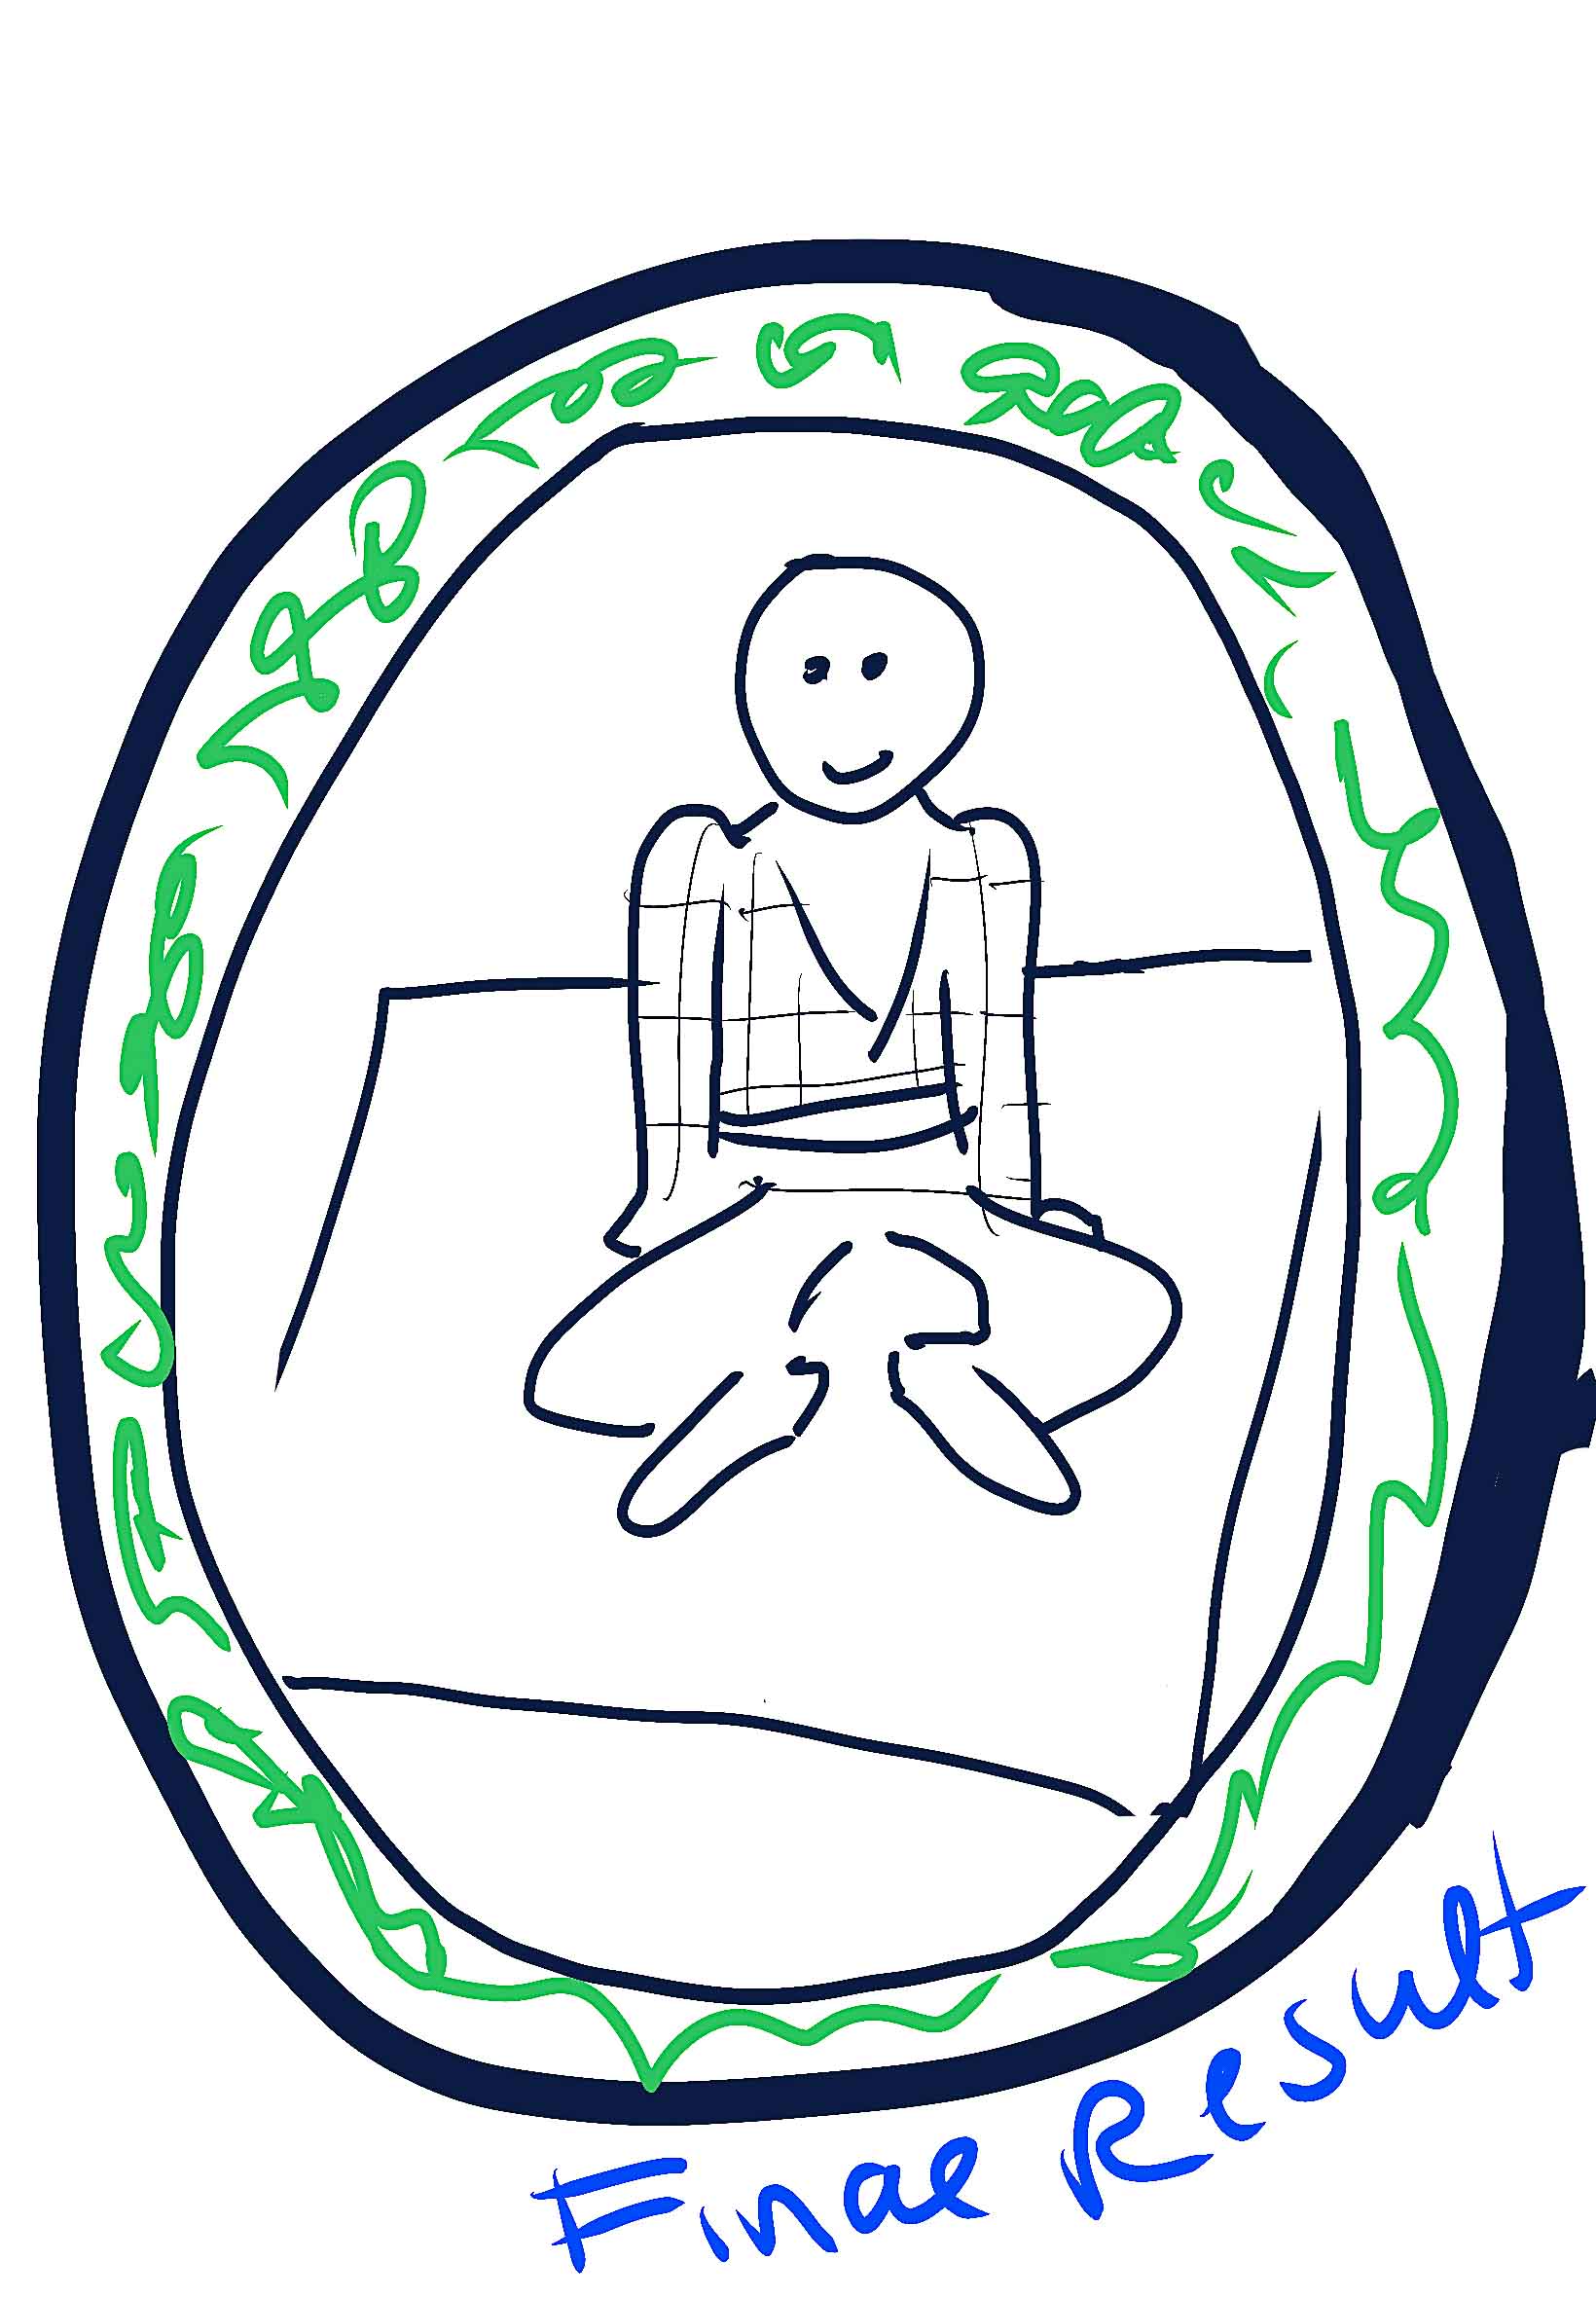
 For the final garment I would like to create a jacket that can fit multiple people.
Taking inspiration from The Selby, personal-style portraits of people in their homes, I would like to photograph others wearing my garment in their own individual way, as a method of collaboration.
Mid-term Presentation Feedback
At midterm, Professor Becky Early from University of the Arts London, (the guest judge for my presentation) gave me some fantastic advice.
I’d pitched the idea of having other people wear my final garment – to see how they would style it, as a fun experiment.
This was a systems project after all, and I knew other people absolutely had to be part of the system. The whole point was to make room for connections in my work.
Becky liked my idea. But she said (I’m paraphrasing): “Don’t forget, YOU are still the artist. So don’t let it get too broad. Make sure your original point of view is still palpable”.
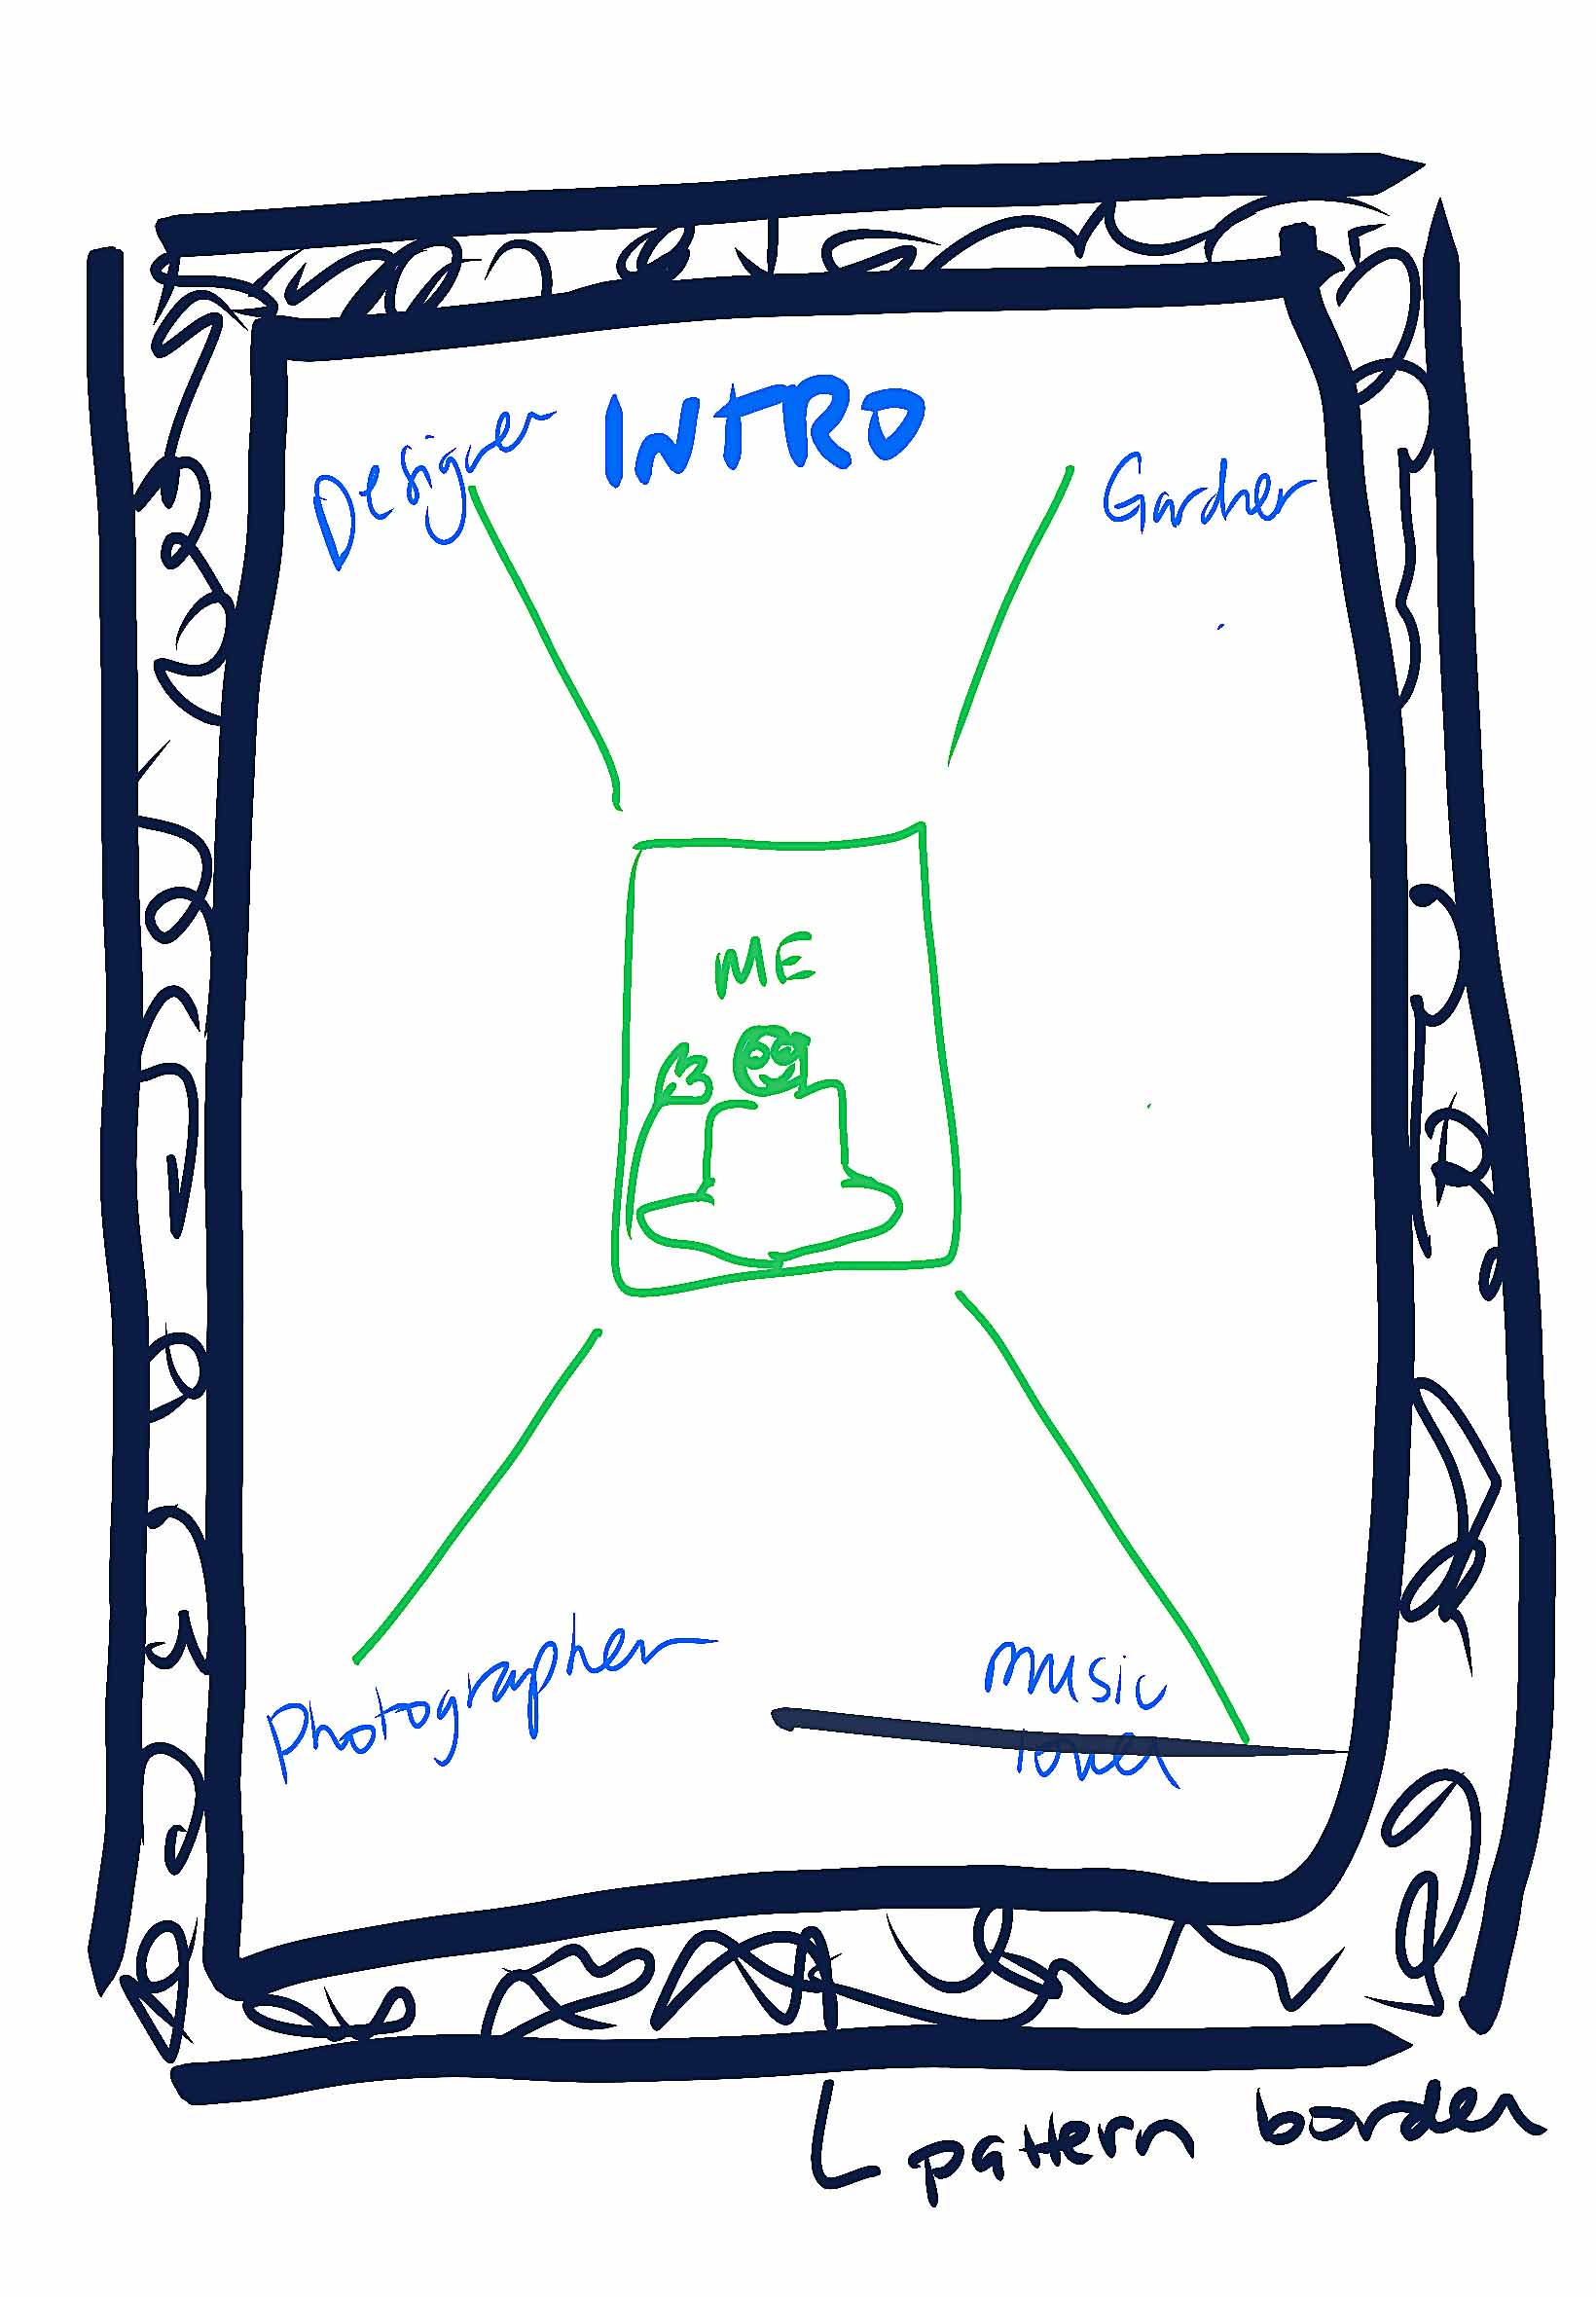
After this feedback I realized it wasn’t about how people style the jacket. It was about the ones who would help me make it – who were going to sell me the materials and give me advice.
I realized the jacket was a symbol, but the prototype is actually the process.
This advice steered me in a much more honest direction. It was also a better way to test out my system because now I’d have to ask strangers for their portraits, not friends. It pushed me a little more. It was also a good excuse to practice French. I took French immersion as a kid and have always wanted to get it to a level where I can converse with people in shops without them switching to English.
Process Update, Feb 23, 2026:
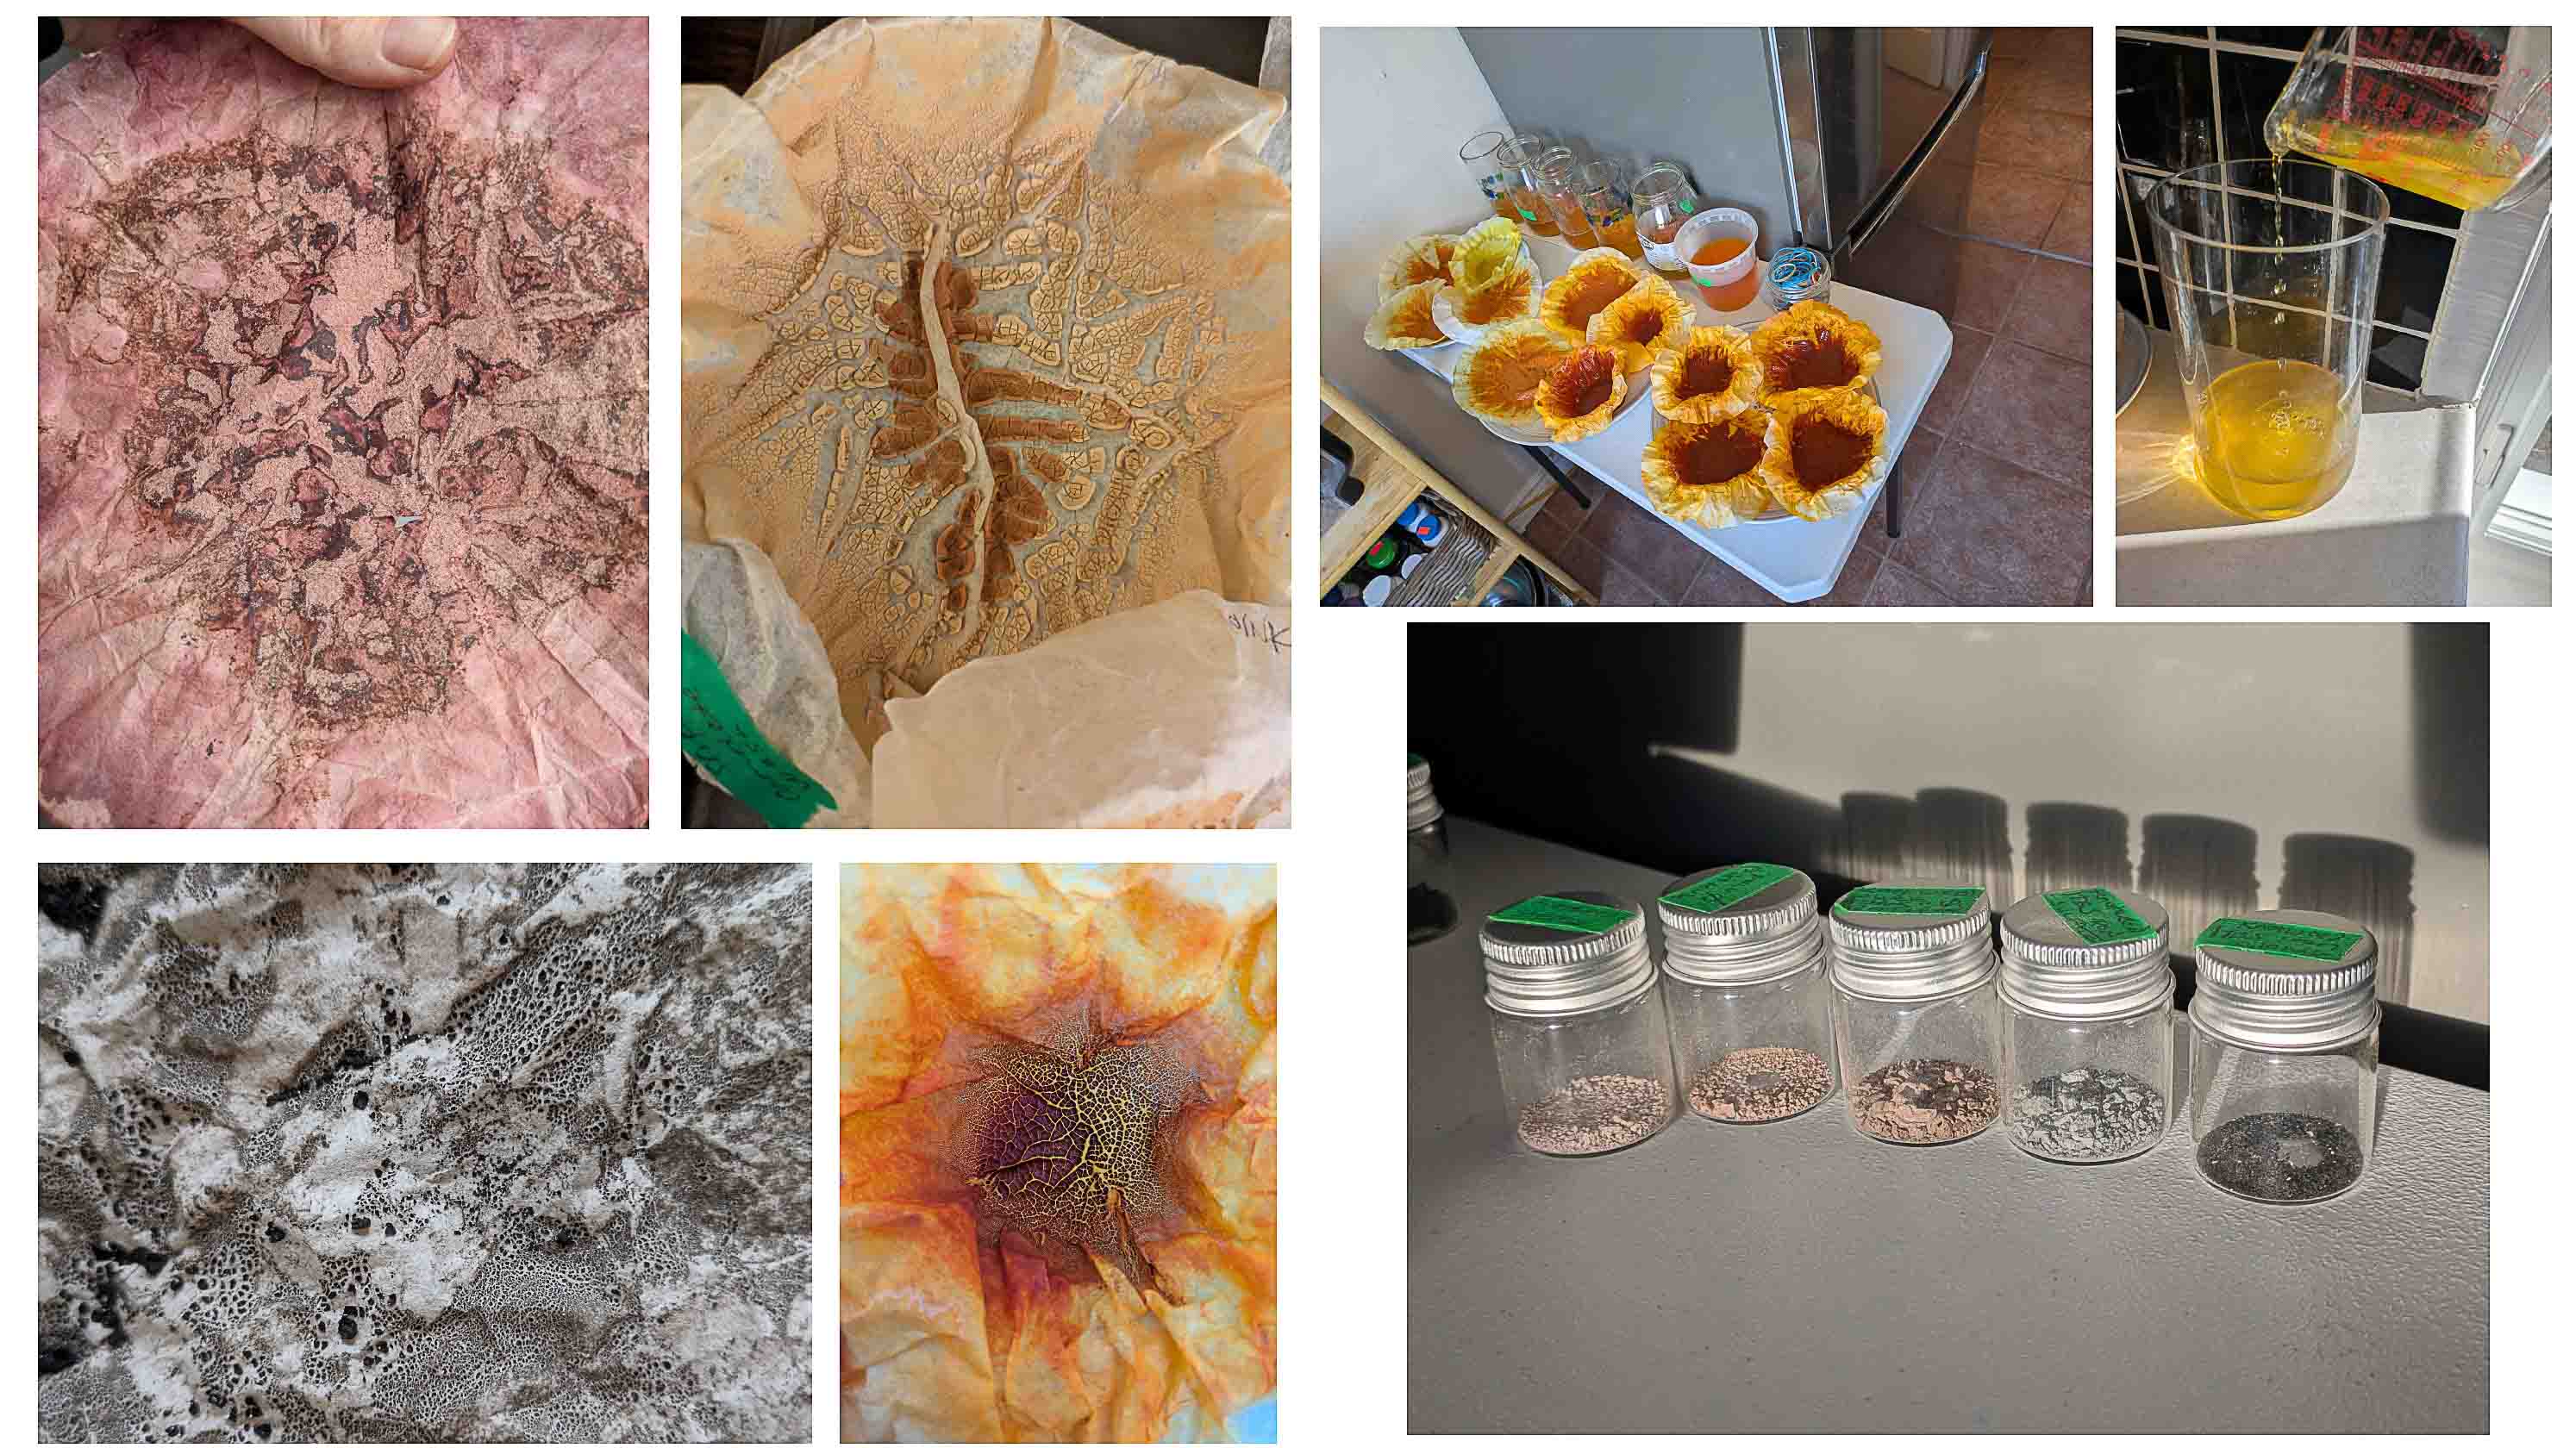
It's been busy since mid terms. The last few weeks were heavy on the experimentation front. I hit a few road blocks. My lake pigments were really not marbling....
I made what feels like a thousand pigments at the front of term. I was going for "security in numbers", but none of them were working. So I was starting to panic slightly this week. I would have advised past me to focus only on a few colours ( and think of what I actually want to wear!). I was feeling stretched thin.
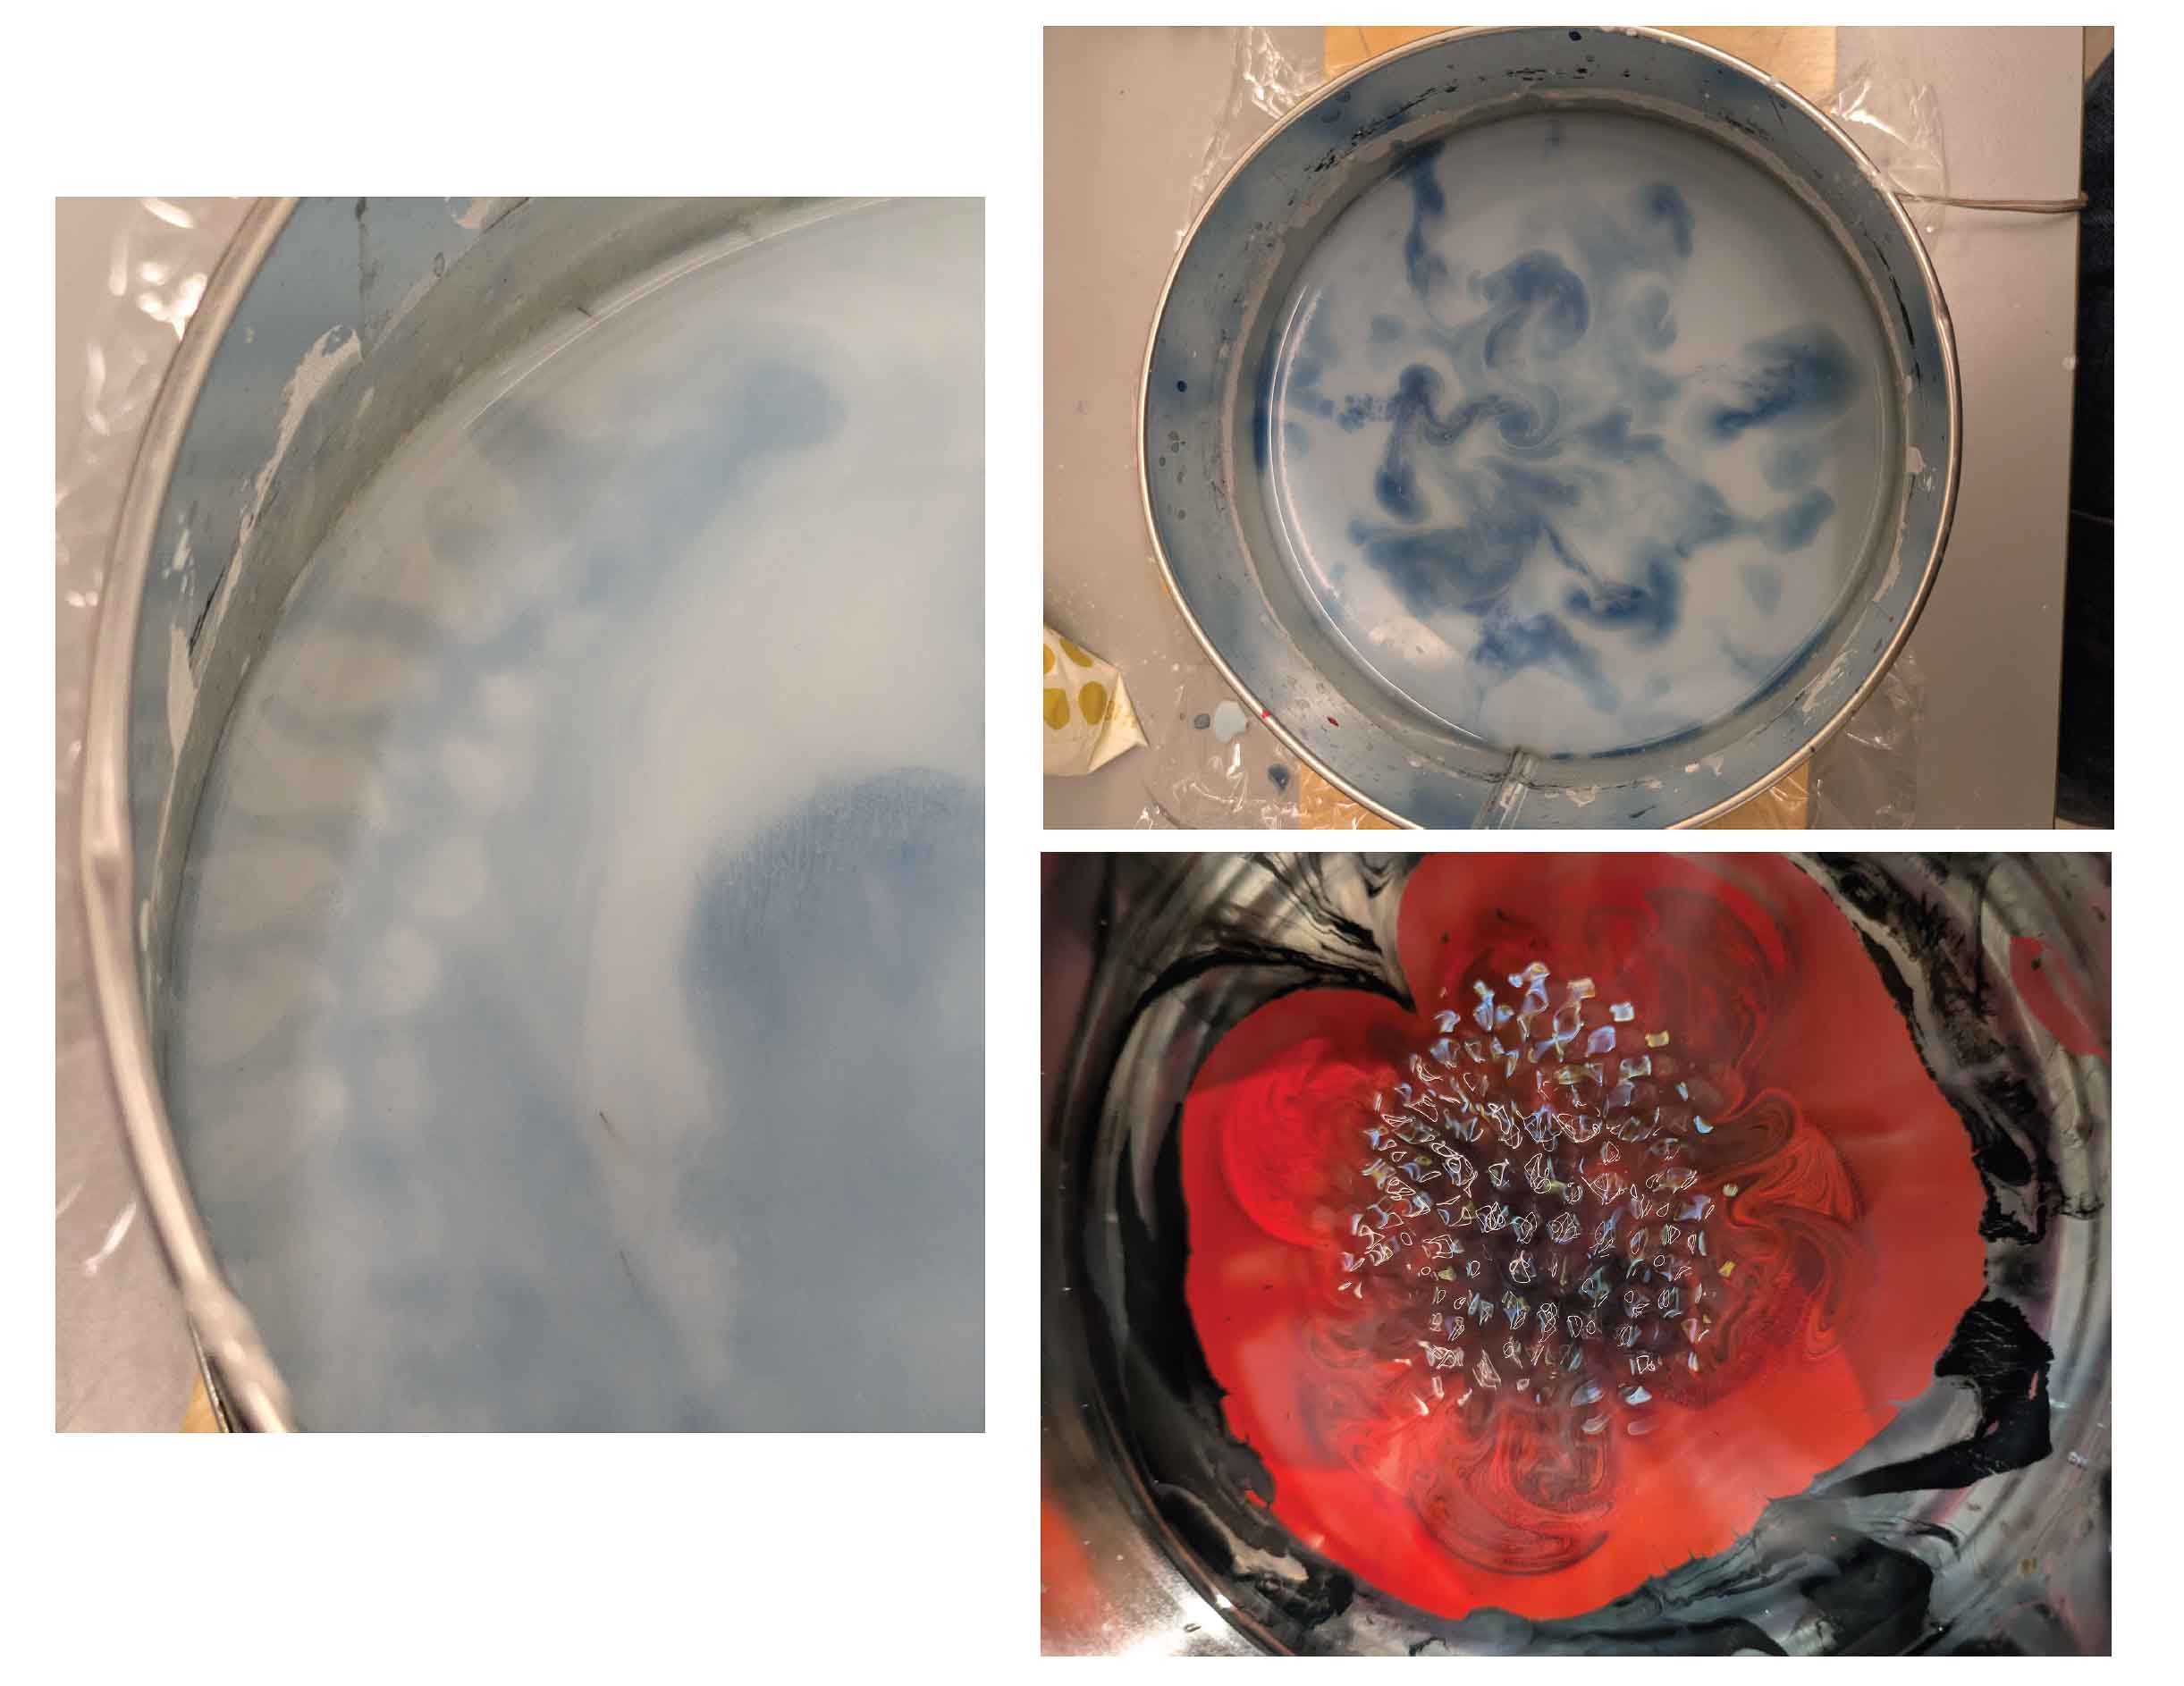
But I had to keep pushing, so I moved on exploring pattern with other materials. I'd previosuly used acrylic to test my prints - but this week I also played with cornstarch. I learned the thickness of the marbling bath will actually change the resonant frequencies of the cymatics. Cornstart was cool because it temporaily freezes the patterns in the bath when the frequency stops.
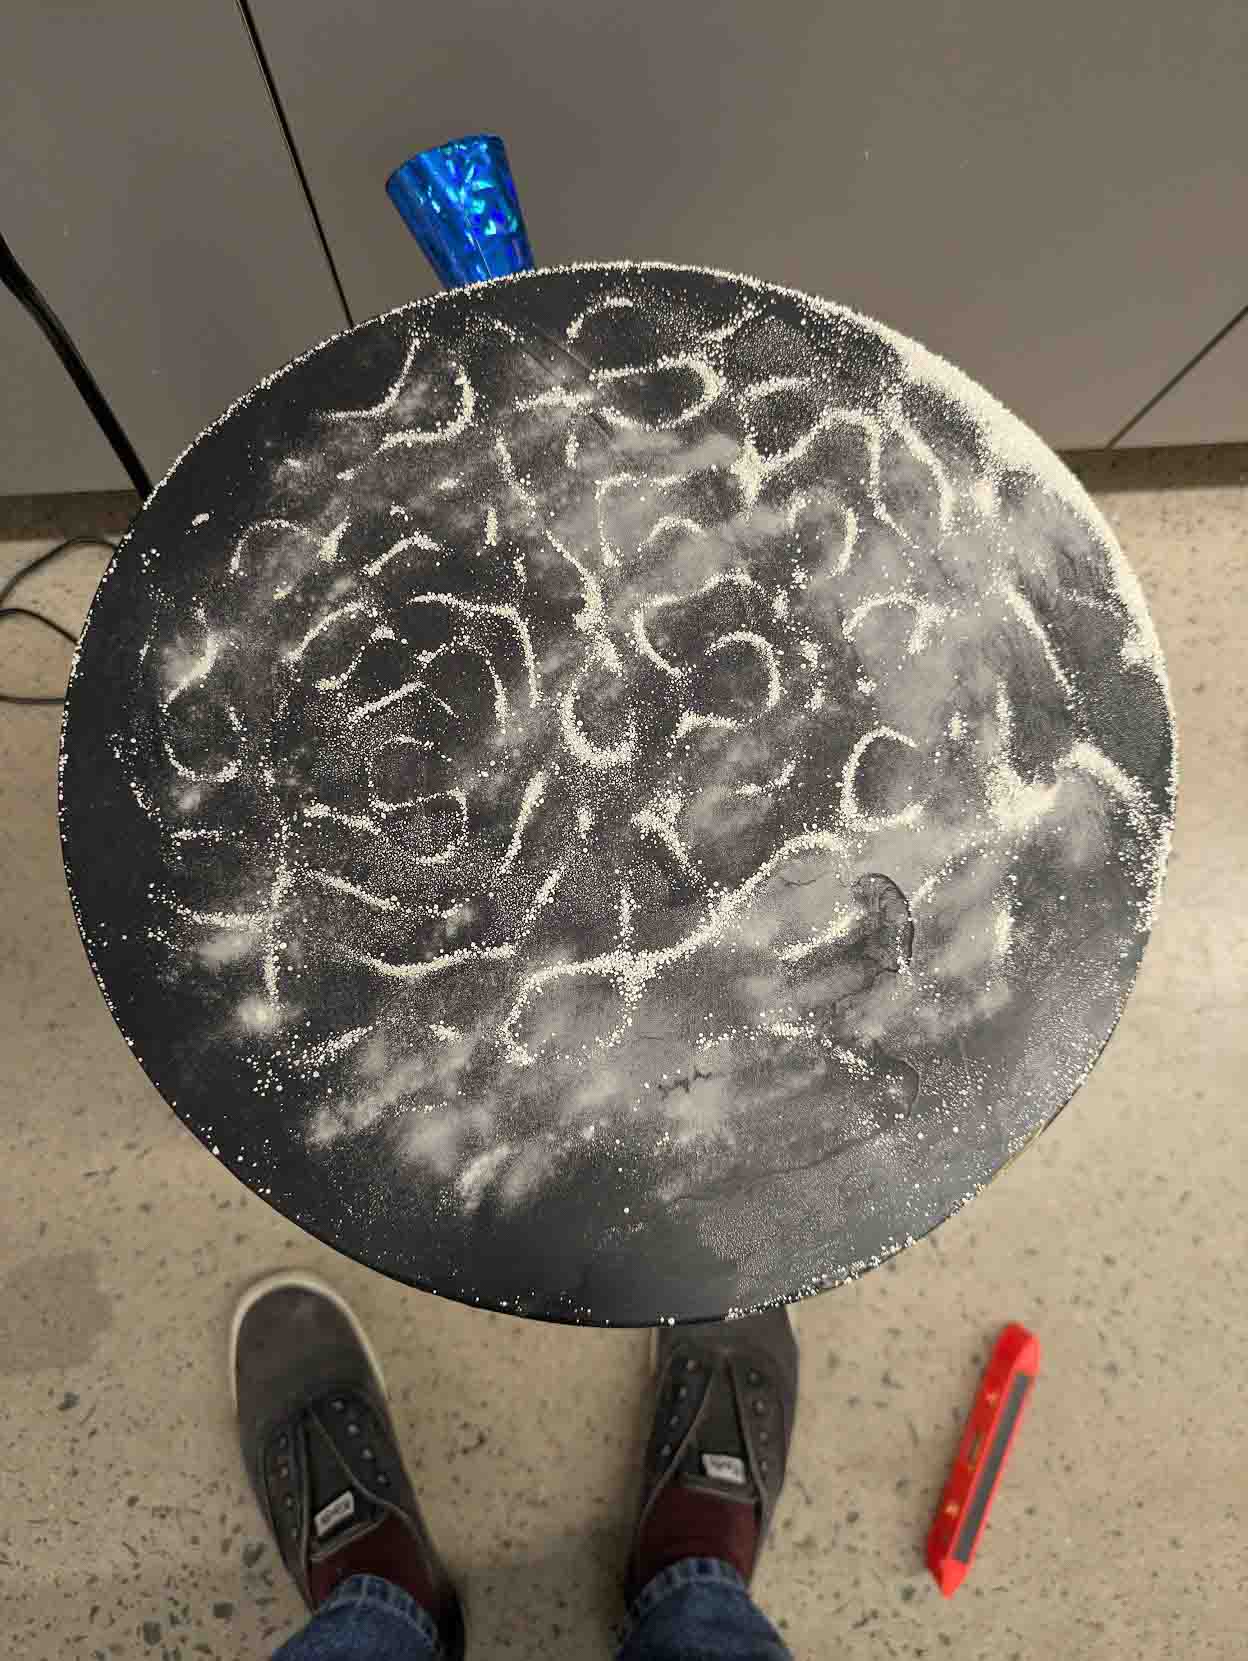
I also experimented with different rig set ups. I've used both speakers and a surface transducer now. I switched to a transducer because I read transducers are usually better at showing higher, more lace-like frequencies.
I've learned,
A) - higher frequencies are very annoying for you and anyone around you to listen to constantly ( so it was actually I blessing I was only getting low ones.)
B) the most influential element is actually usually the plate size. Different plate sizes and materials respond to different frequencies.
Like latex....

These cymatics were made by cutting the bottom off an old distilled water jug and stretching a jumbo balloon over it (it took two people to tape it down). I carved a hole in the side for a voice tube. Unlike my electornic gear that needed a lot of fussing, this set up gave me instant results when I sang into it. They were subtle but promising. The ones in the photo were generated by placing my small waterproof speaker under it. But it was a difficult systme to stabilize.
And the particle size of your cymatics medium also matters.
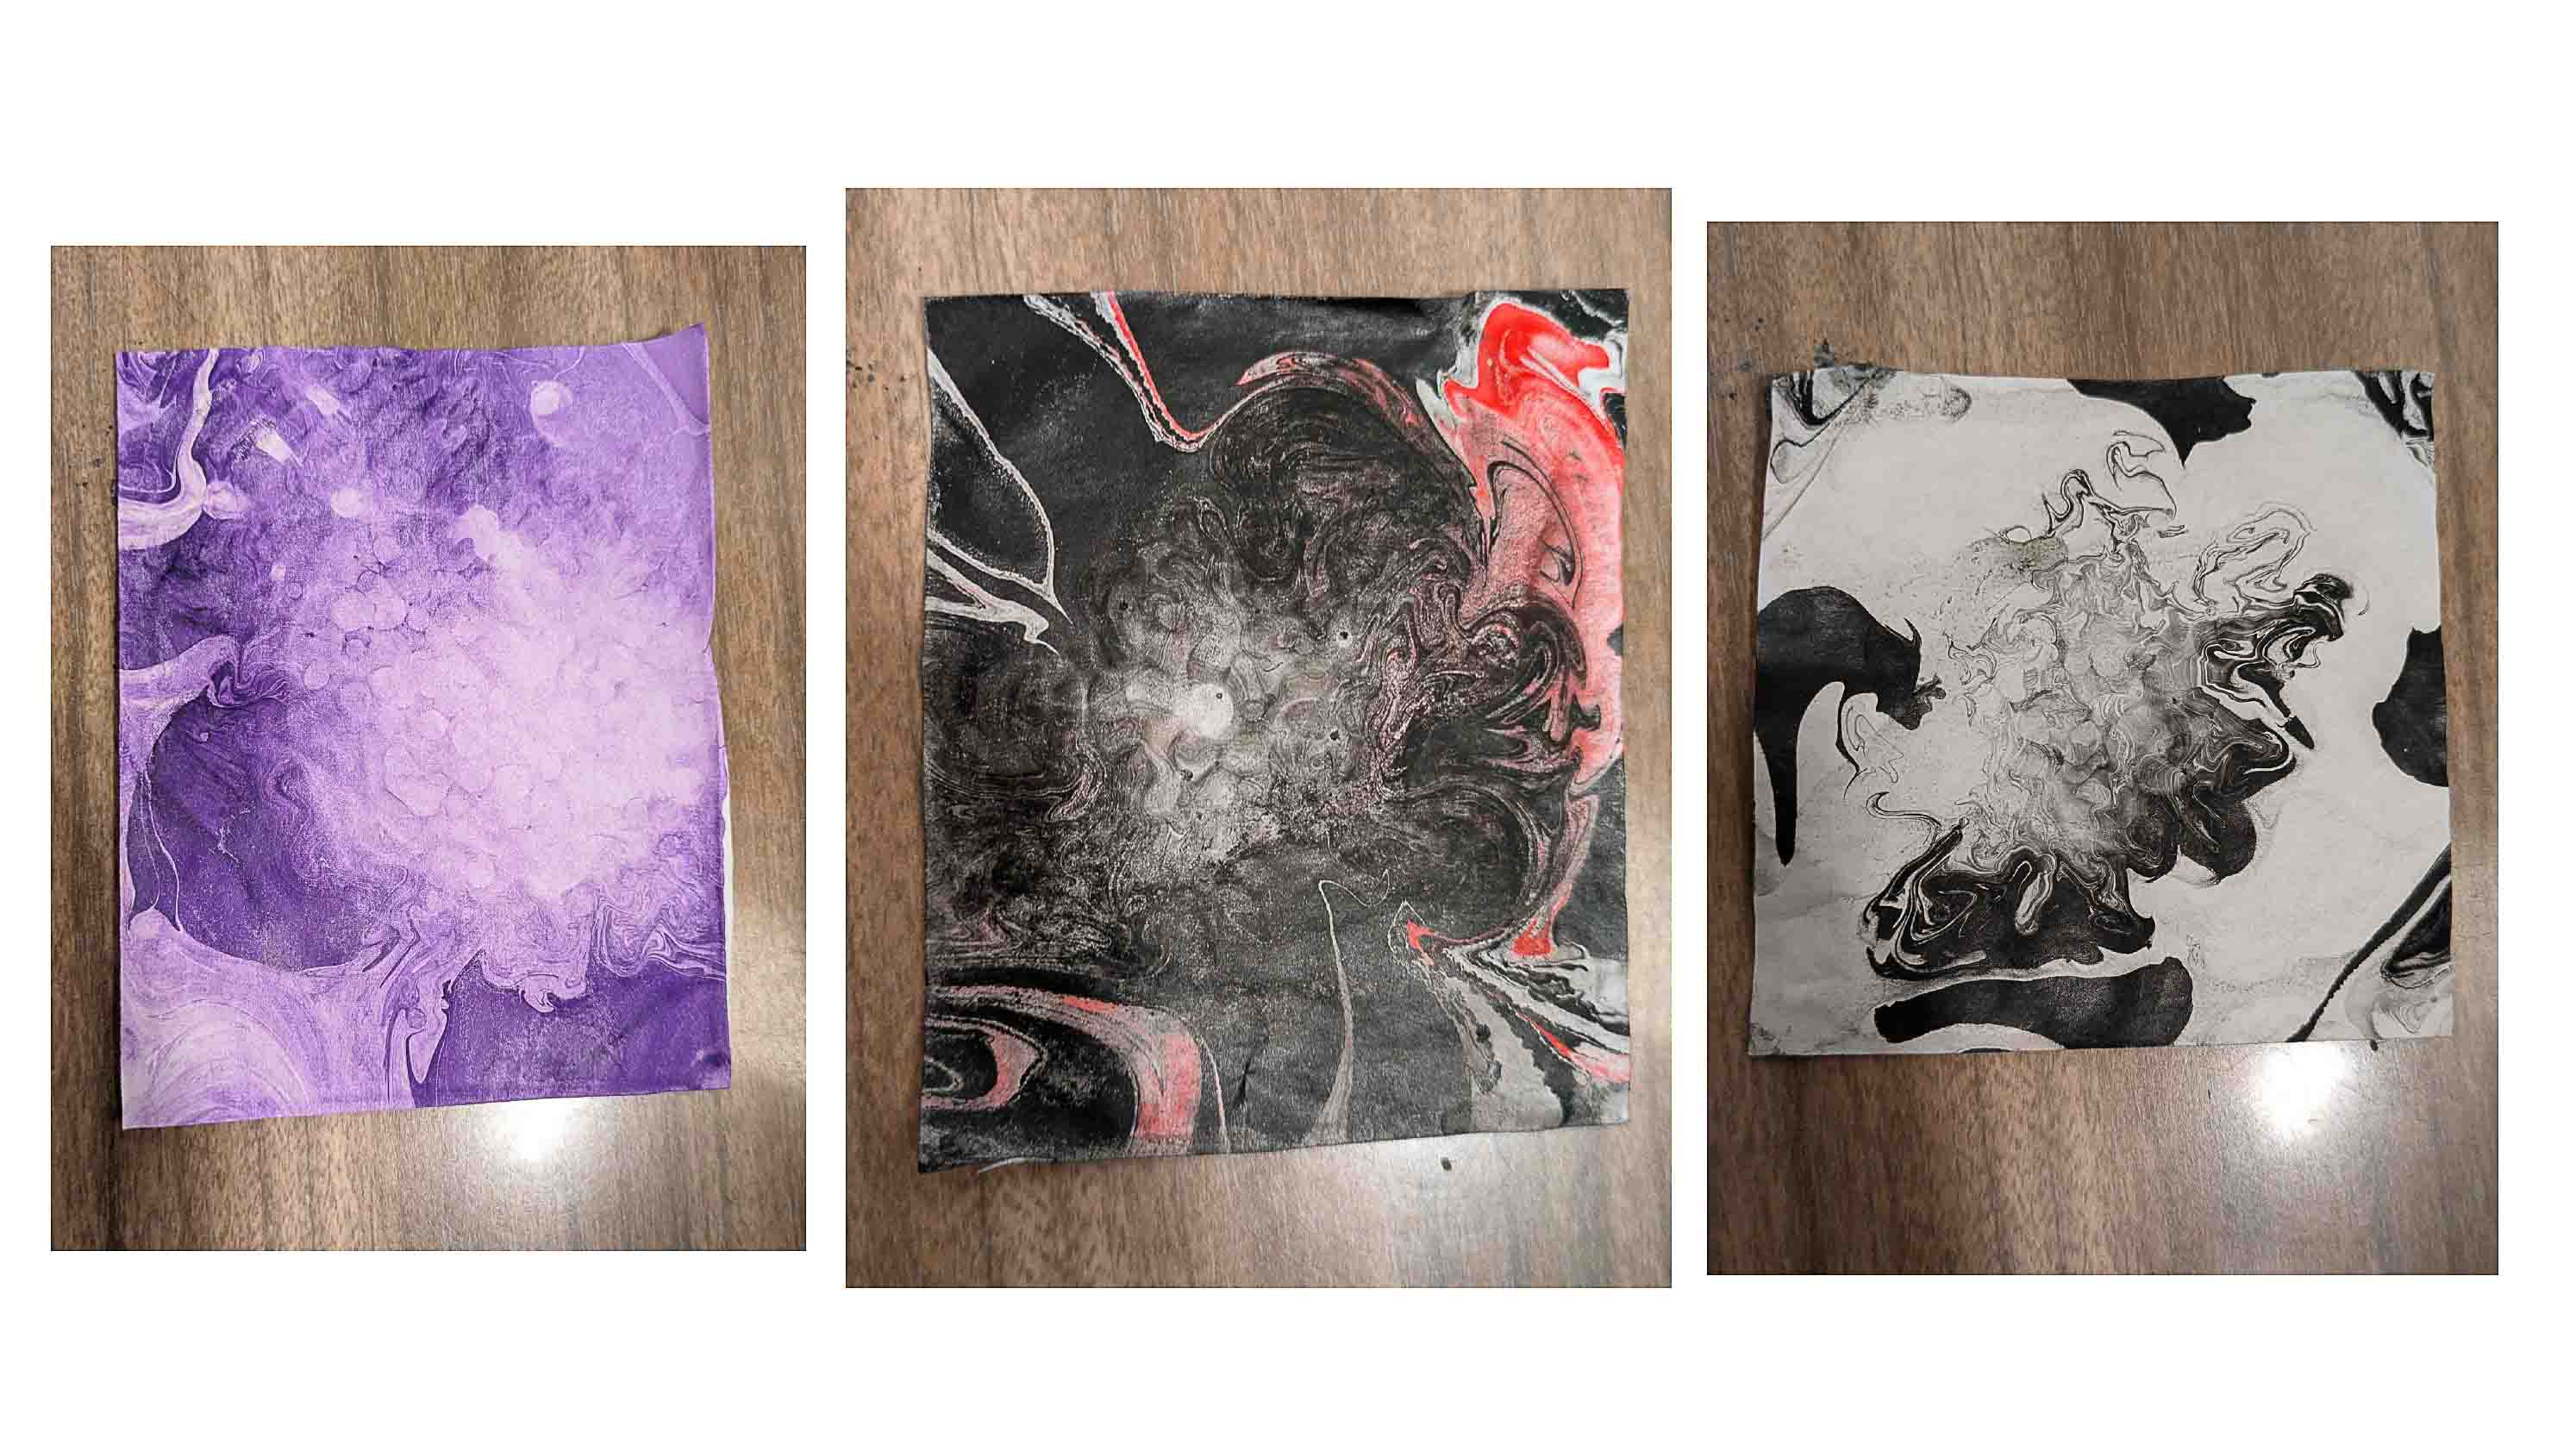
The logic here was that if I use pigment instead of sand I might somehow imprint the pattern on wet alumed fabric. I did this and left it for the weekend. Unfortunately the result is very very faint when the pigment washes off - so I have yet to get that to succeed.
I'm realizing I'm probably only going to have time to capture water cymatics.
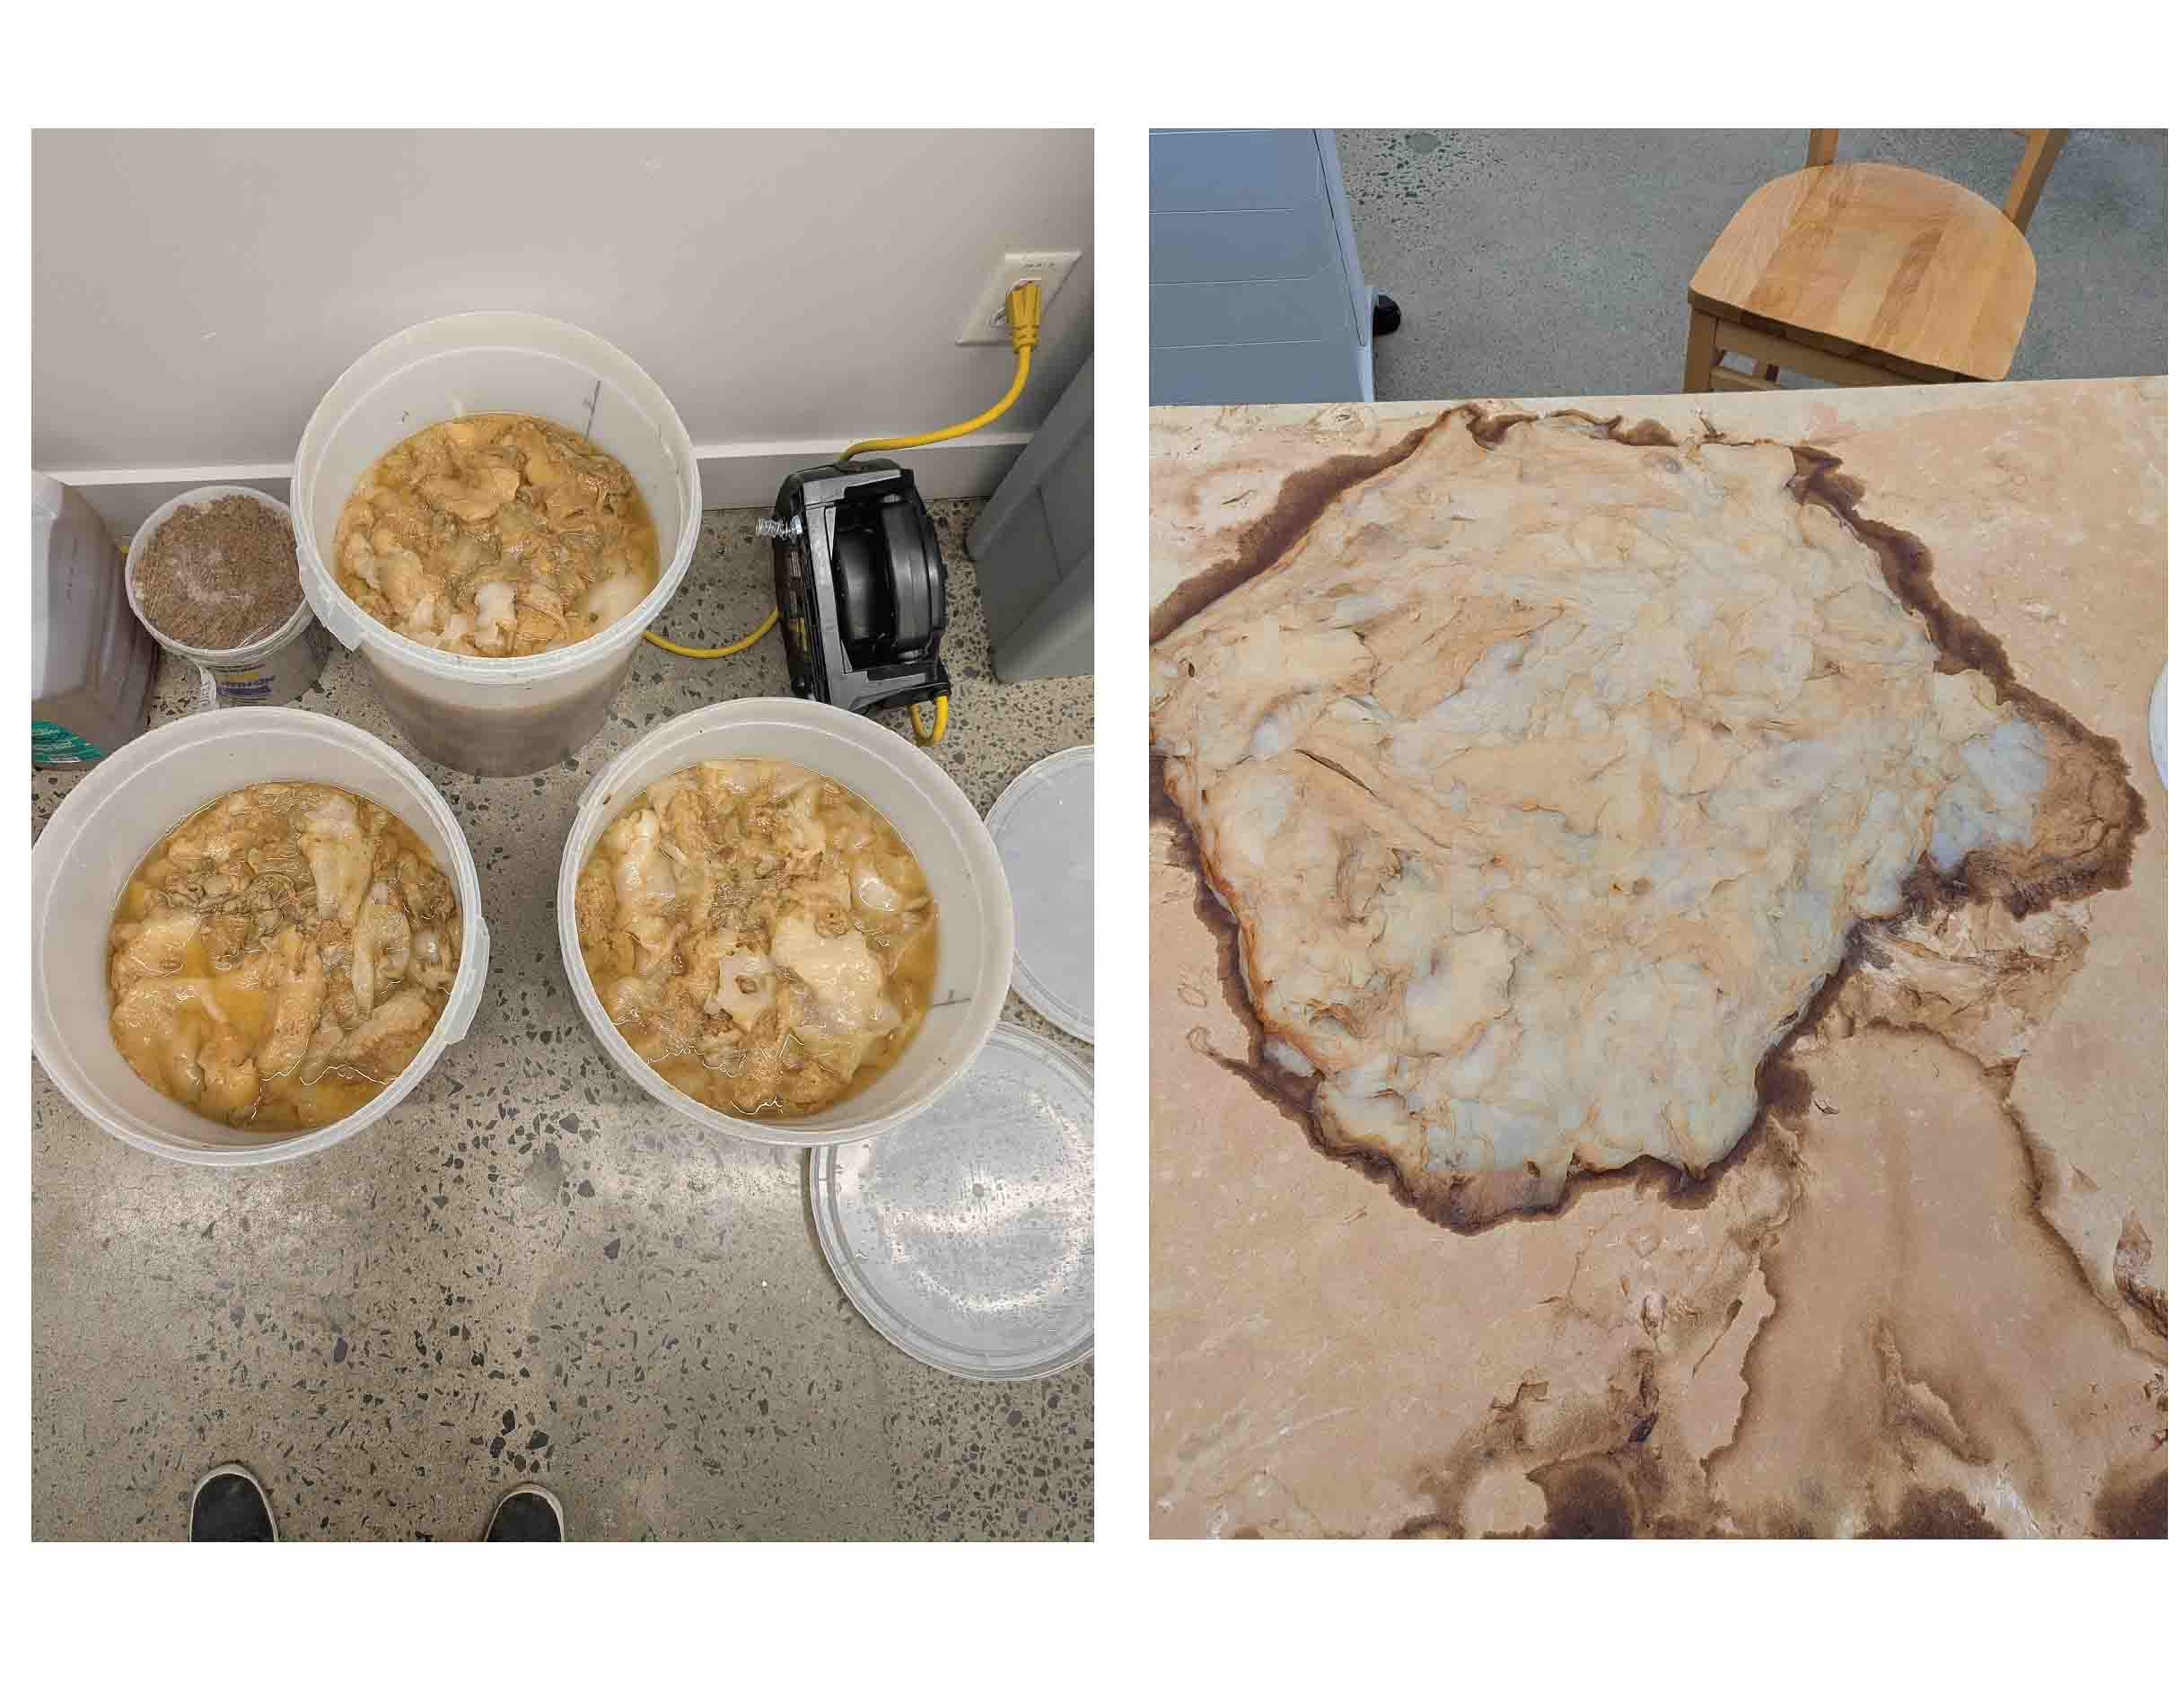
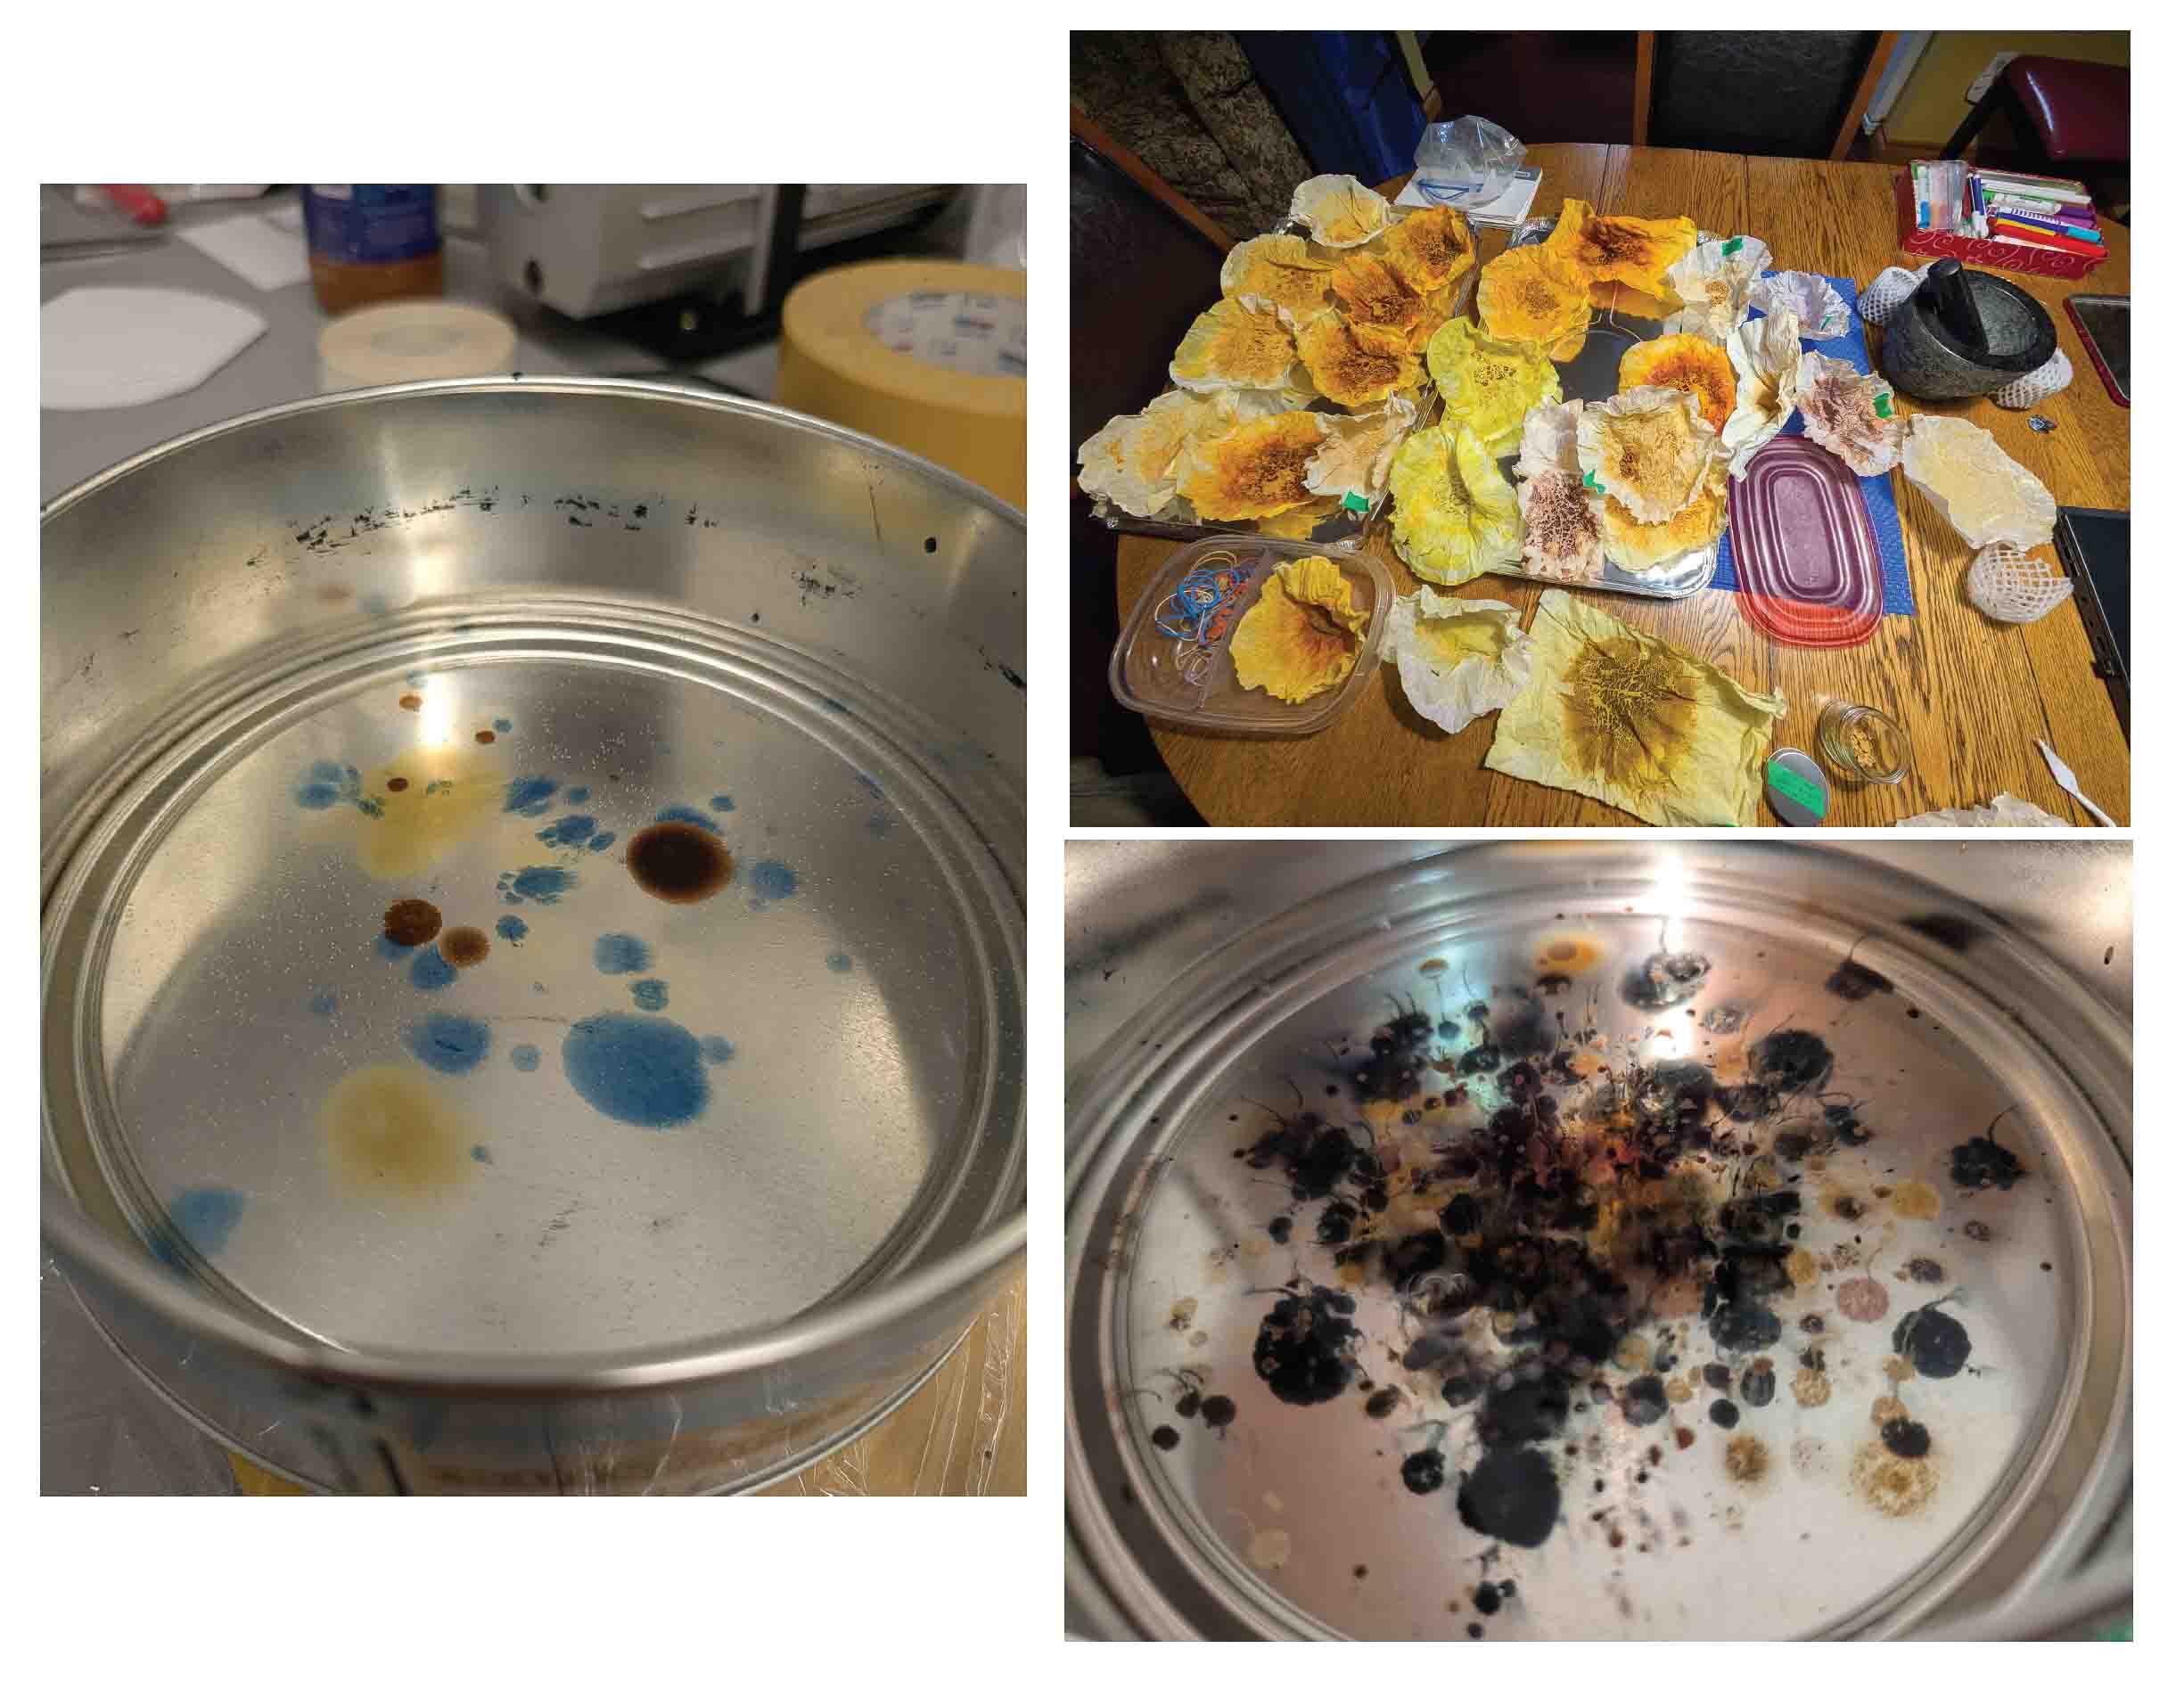
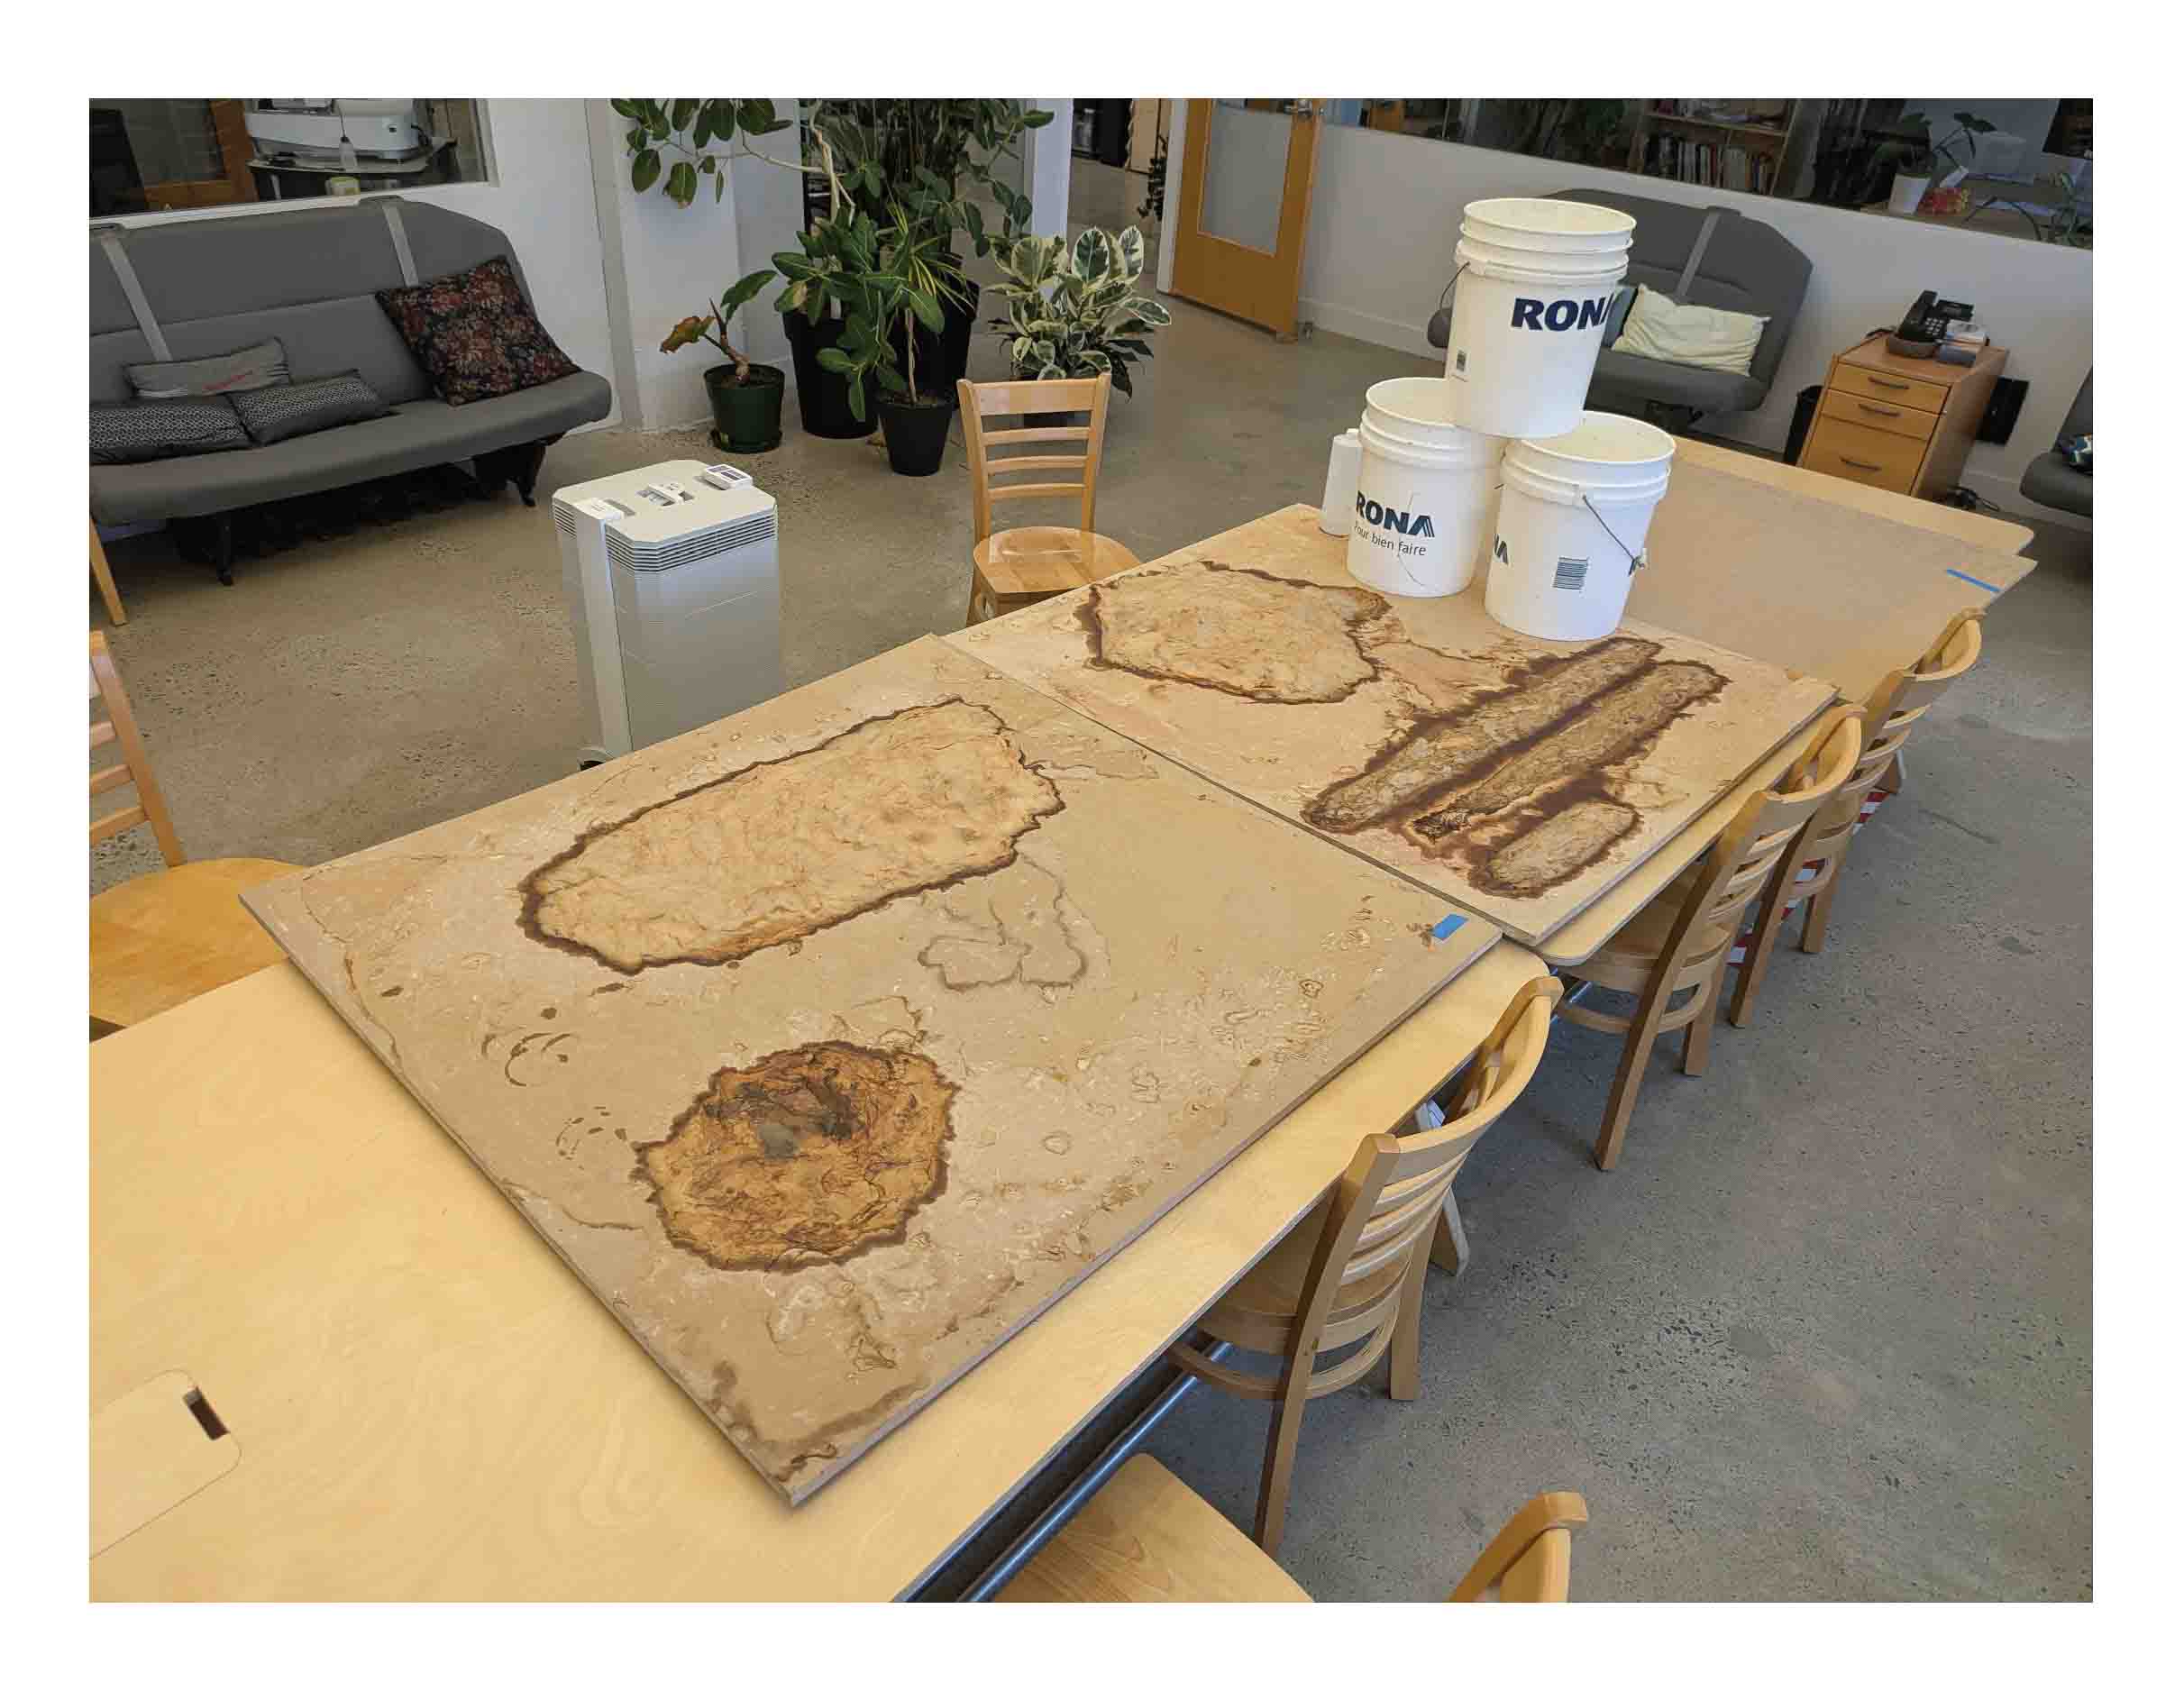
In material news - Annie contacted her kombucha waste supplier and they gave us three giant buckets of scoby! It is the most alien material I've ever worked with. It looks like giant slabs of chicken breast. It's truly bizarre. But I loved it!
She so graciously helped me wash it all and we had a nice Friday laying it out artistically on a sheet of MFD. It took about one week to fully dry.
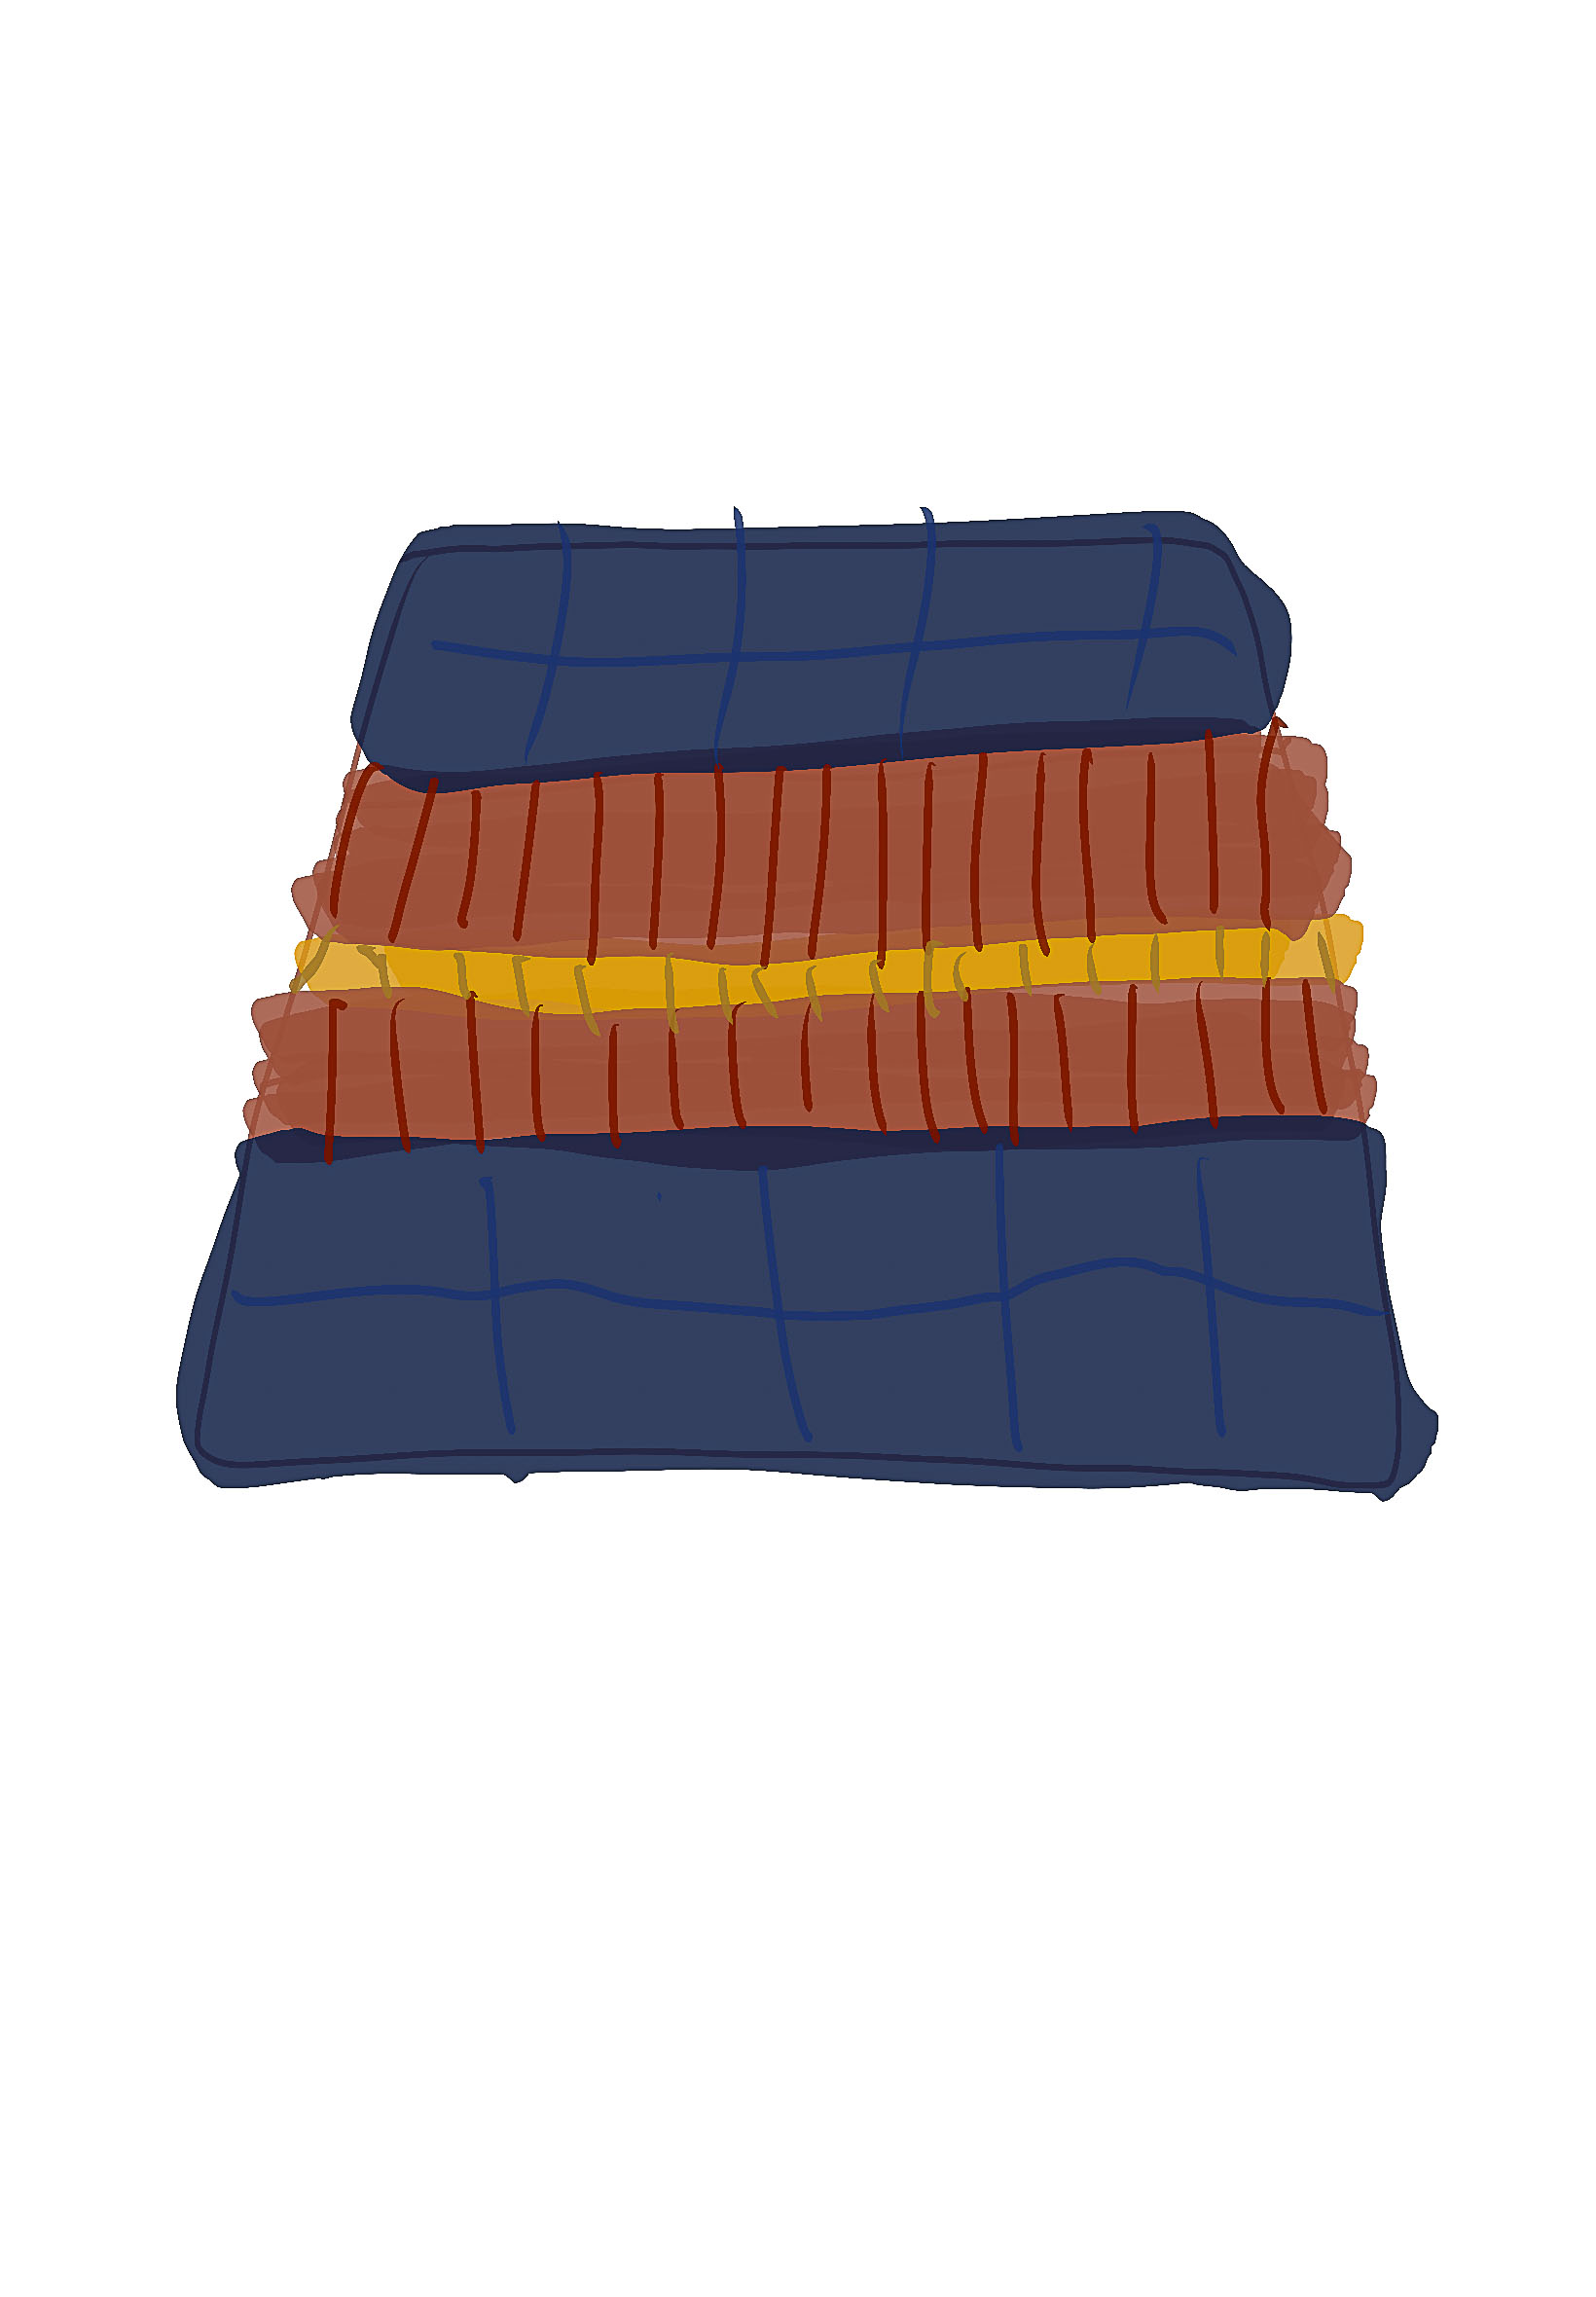
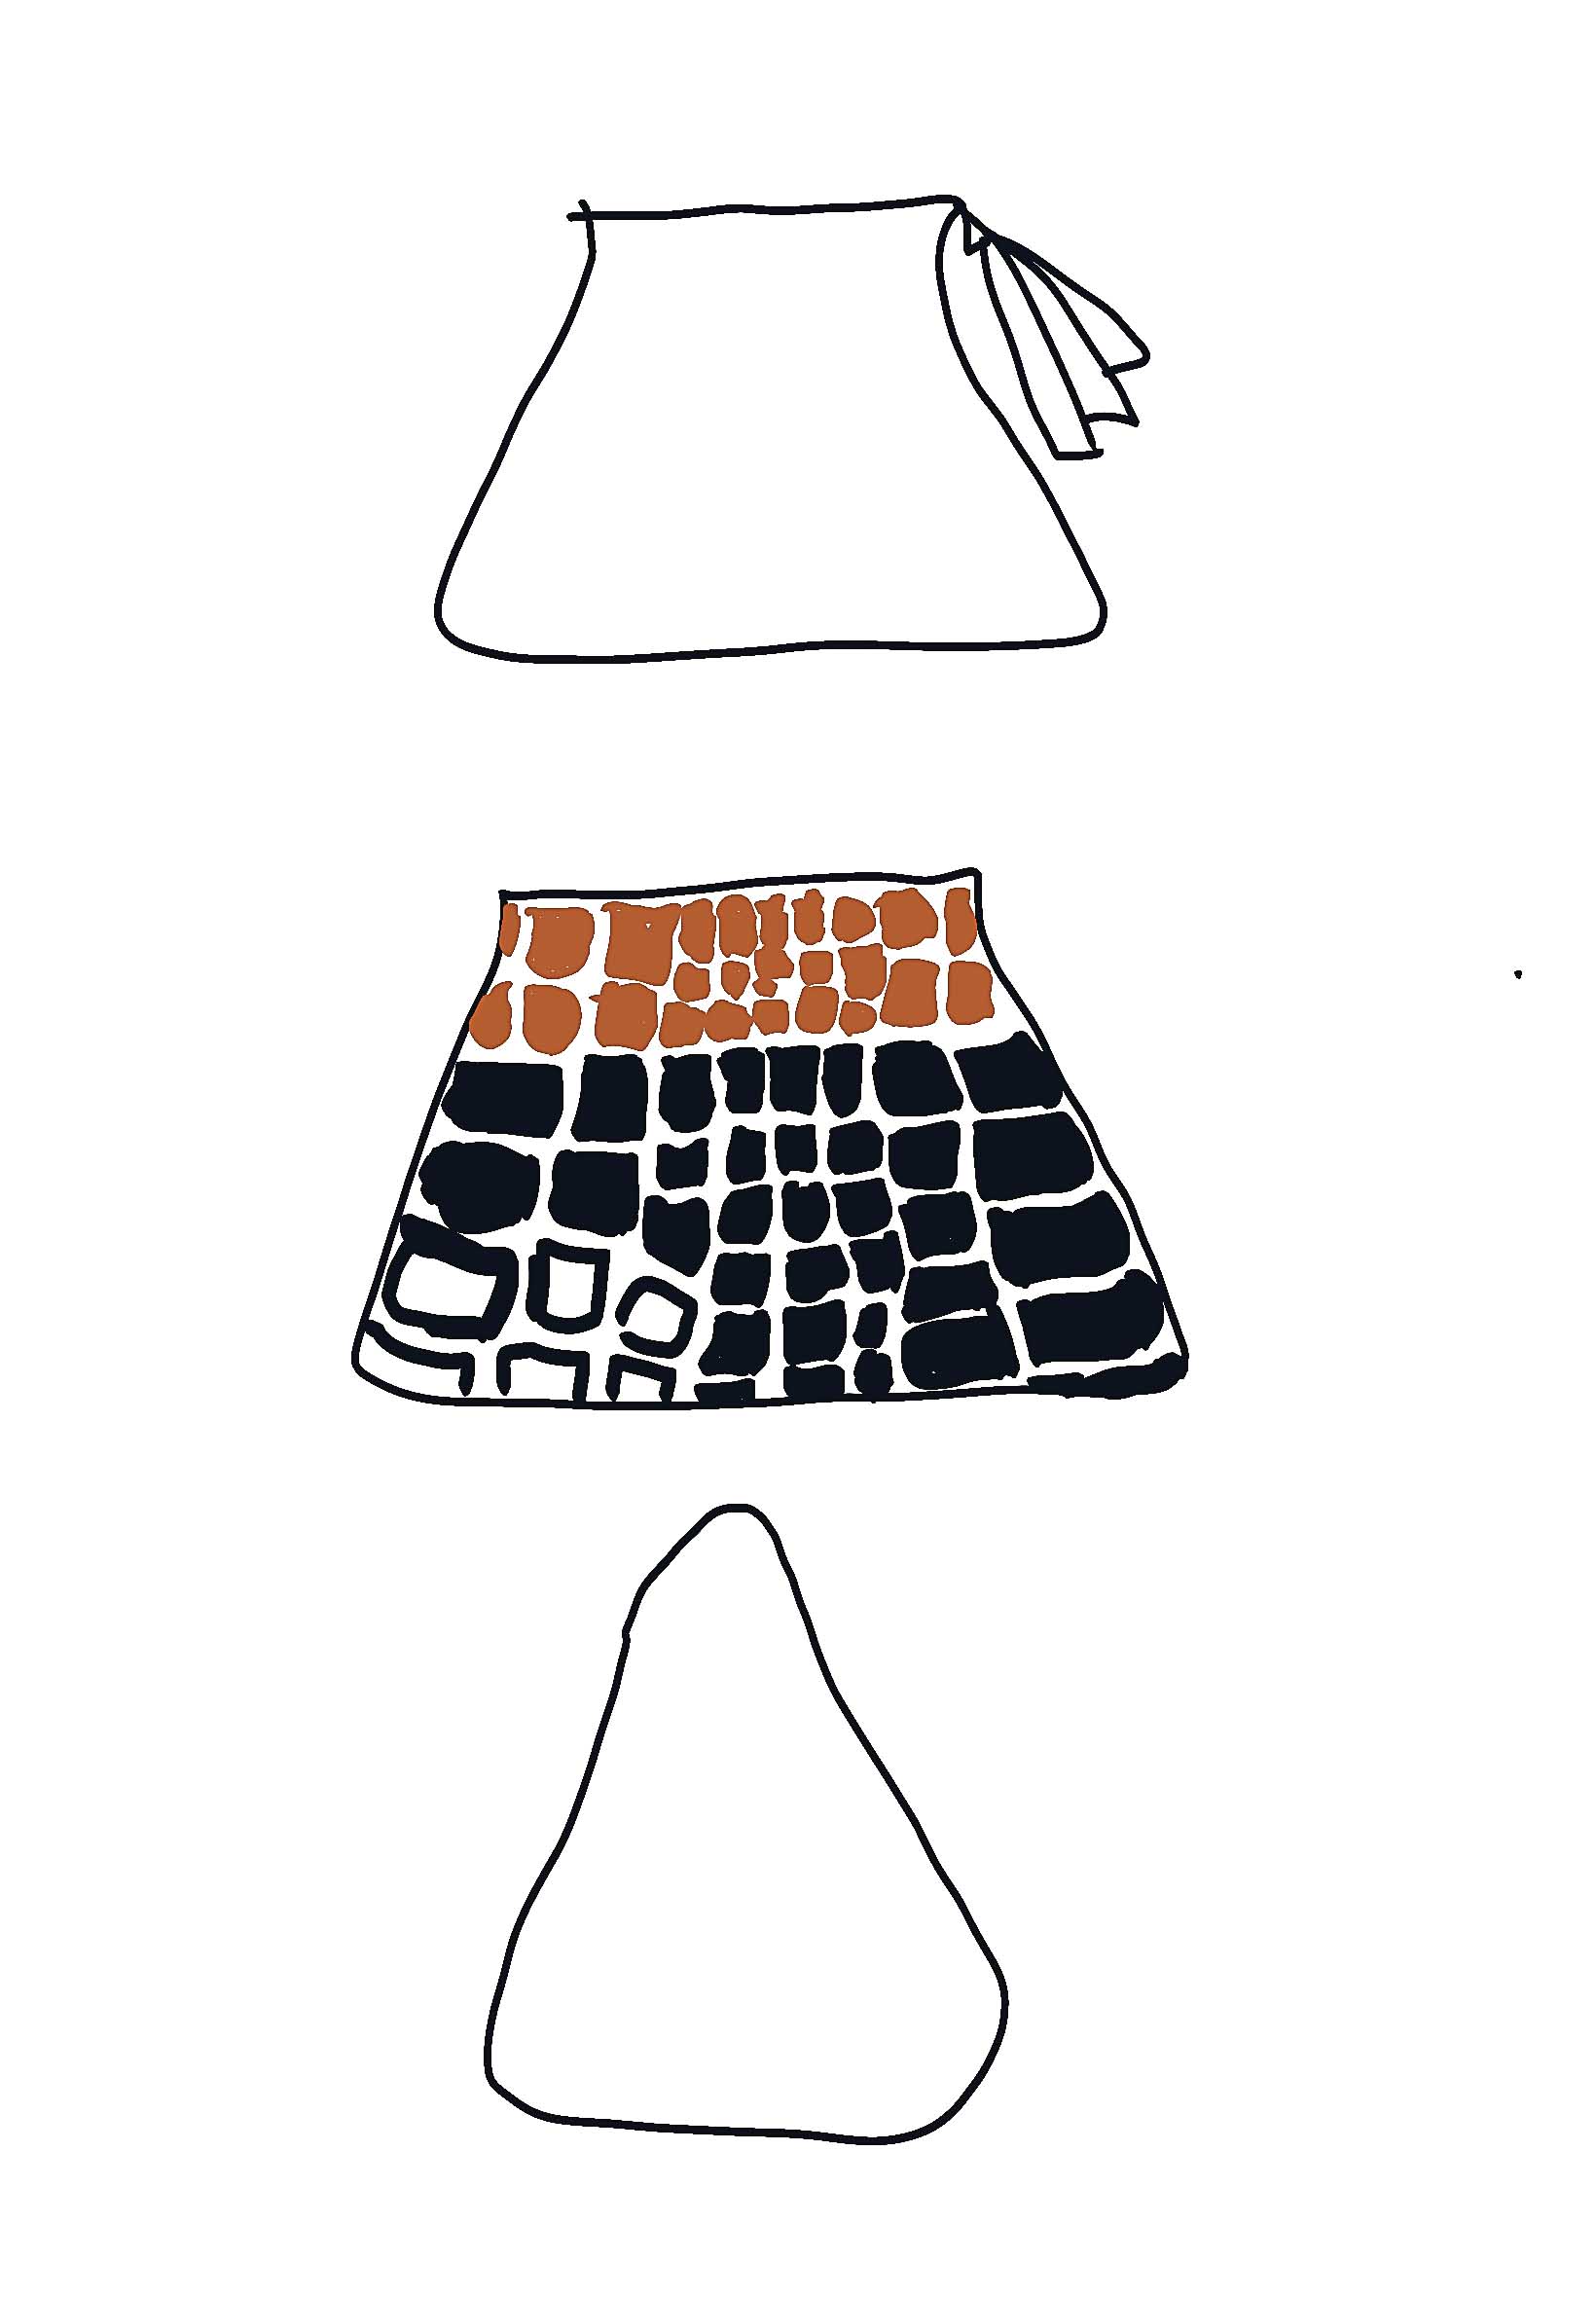
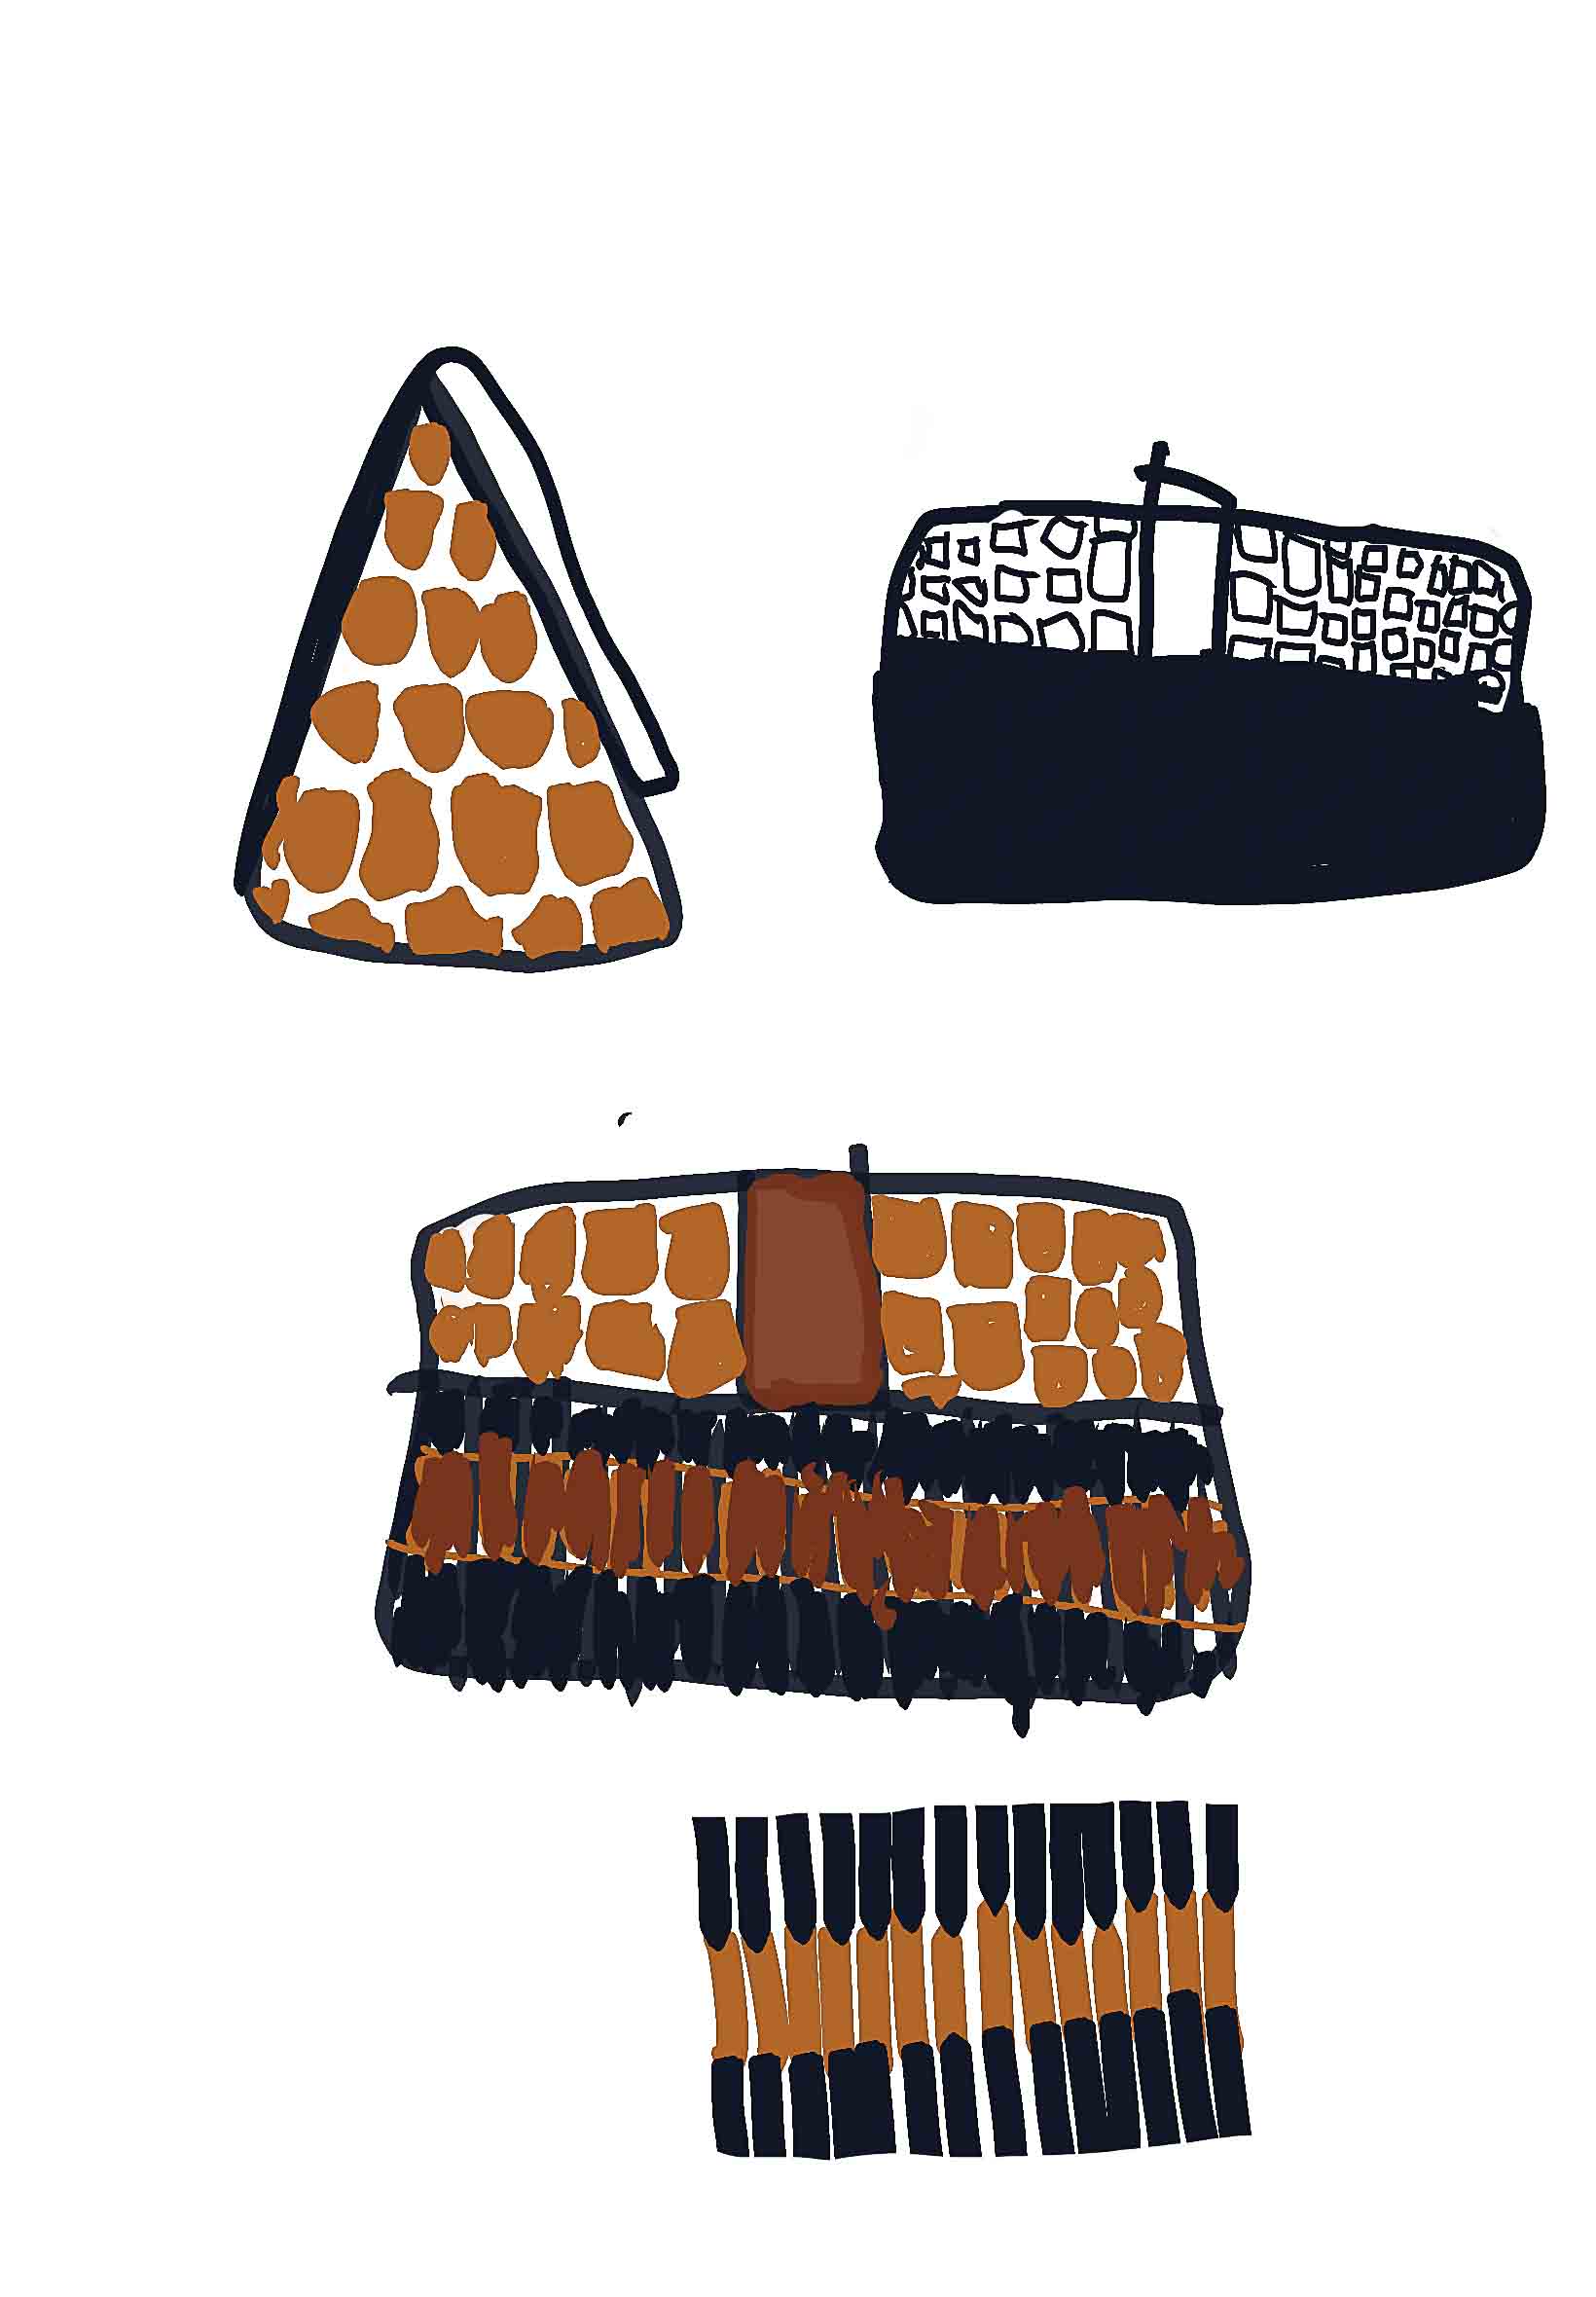
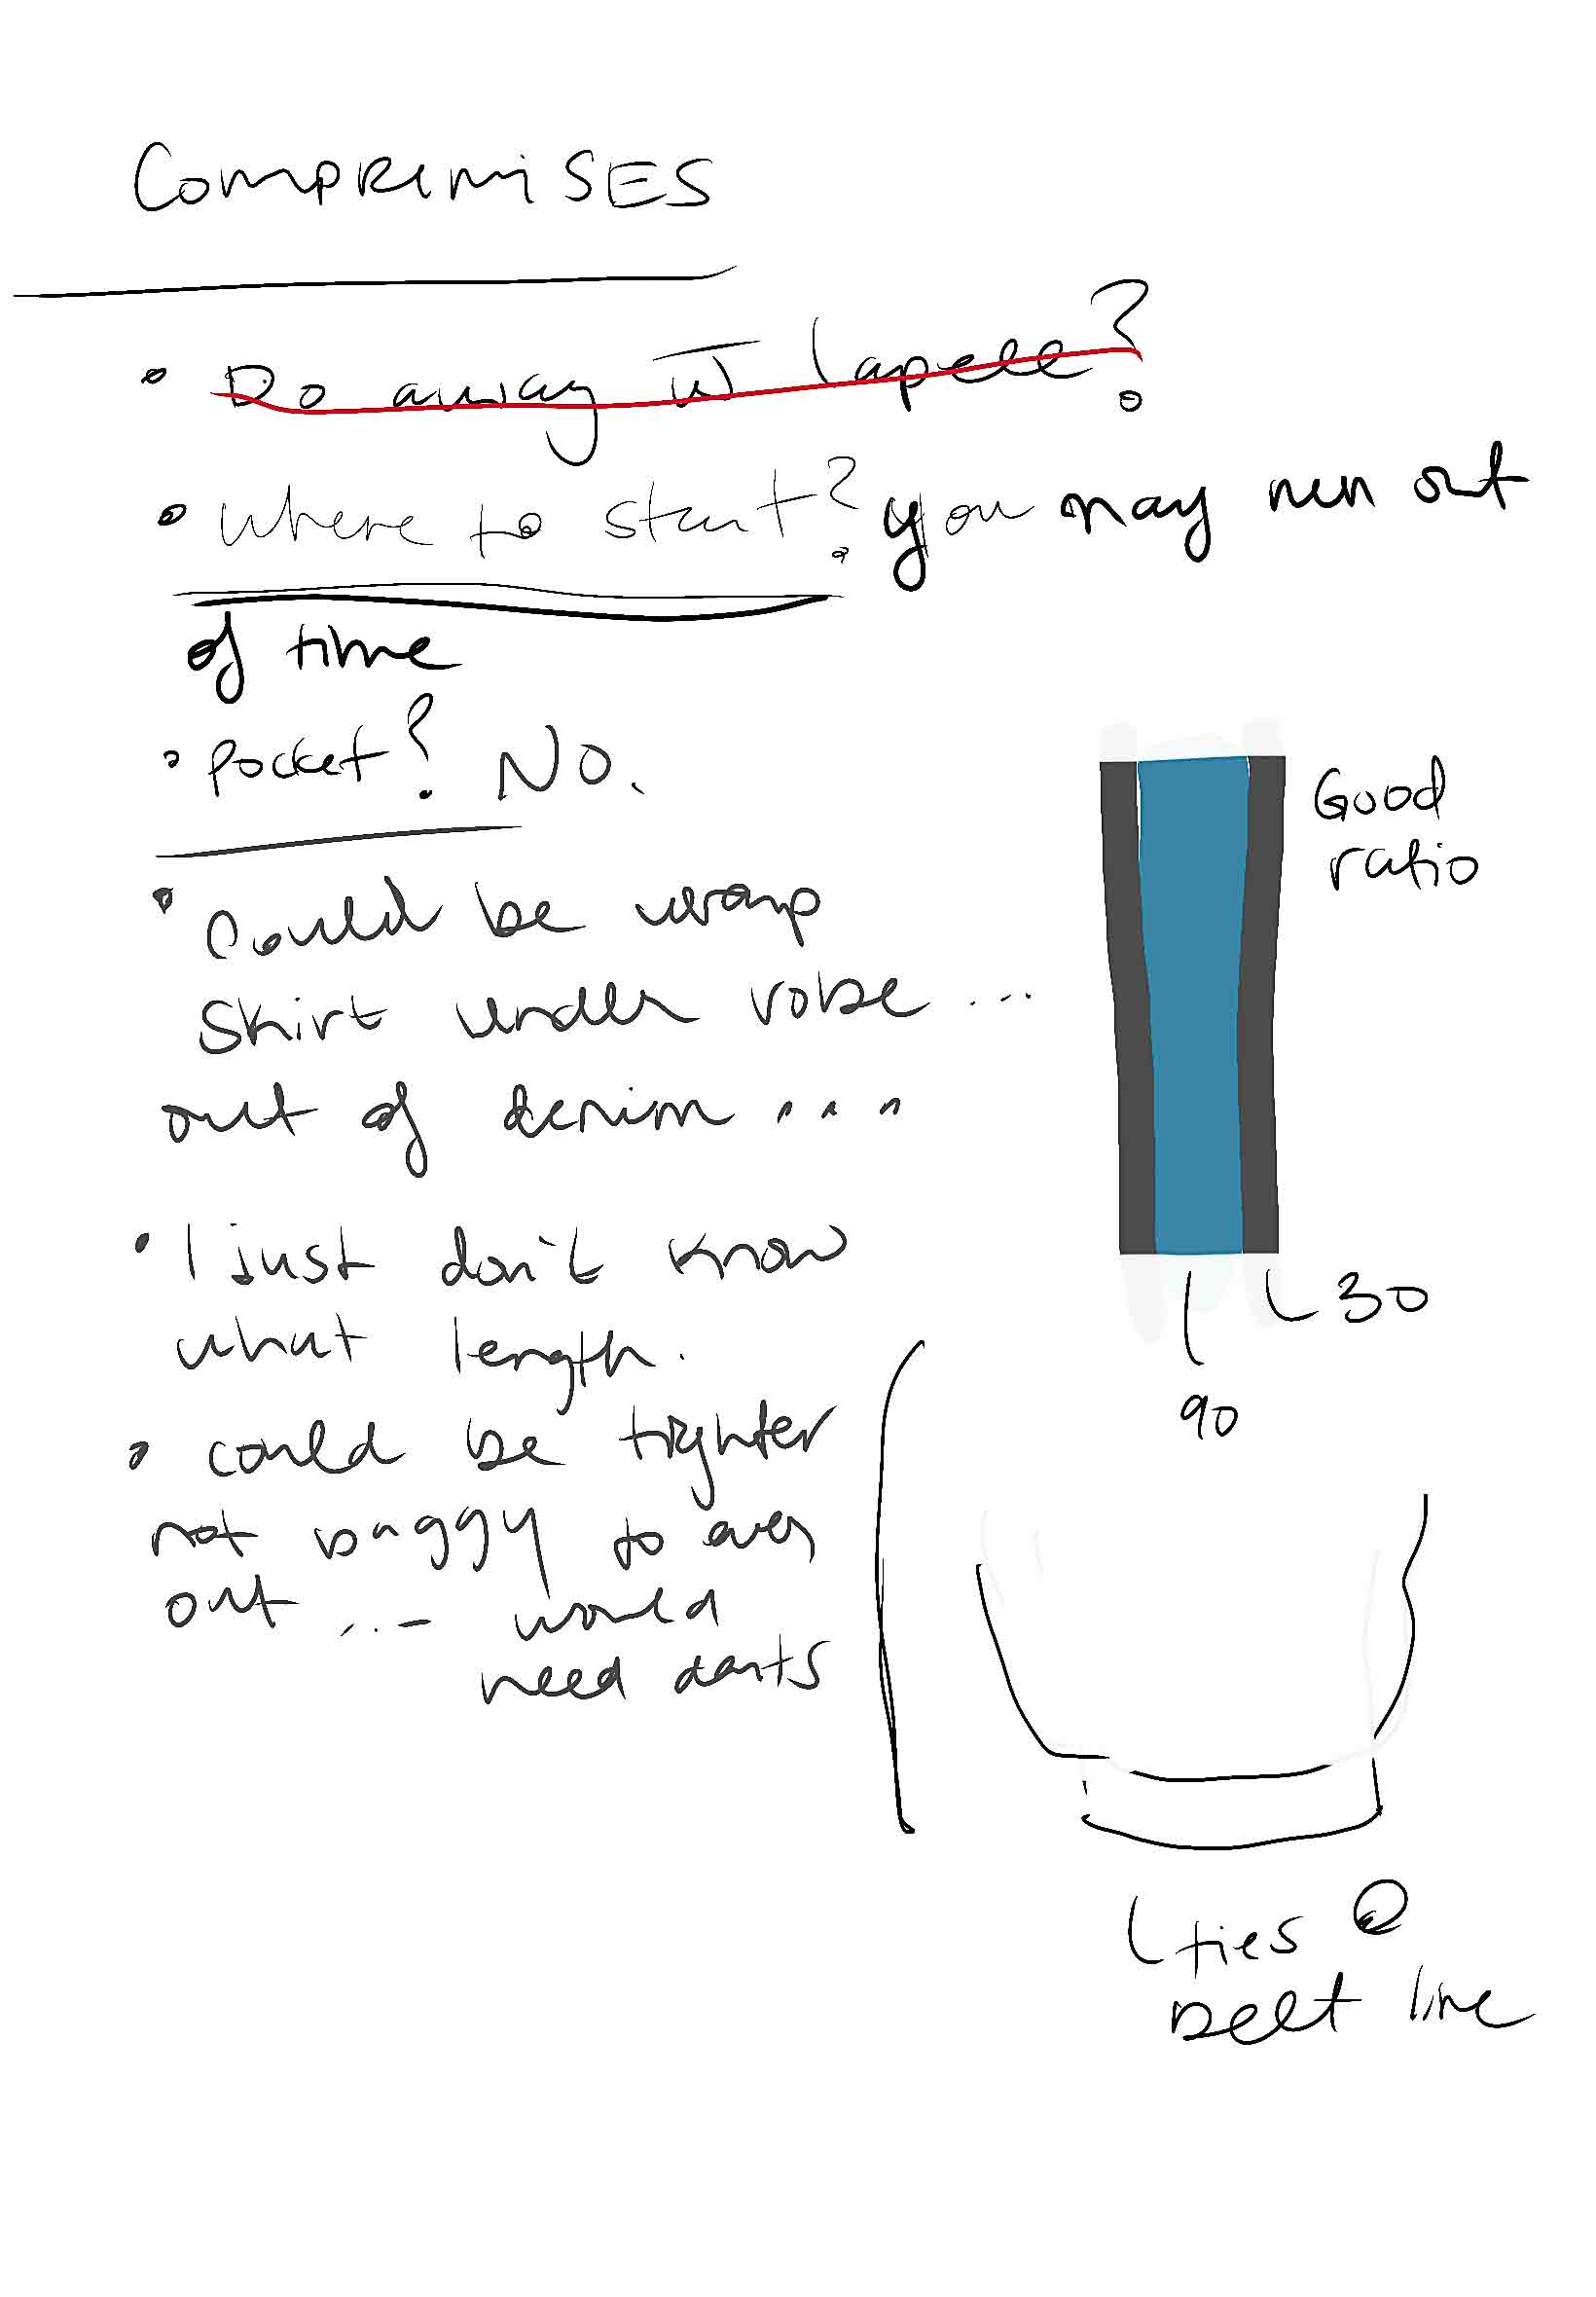
In the design realm, I've been trying on a lot of different cuts and patterns to see what shapes and scales I like, and how they blend together.
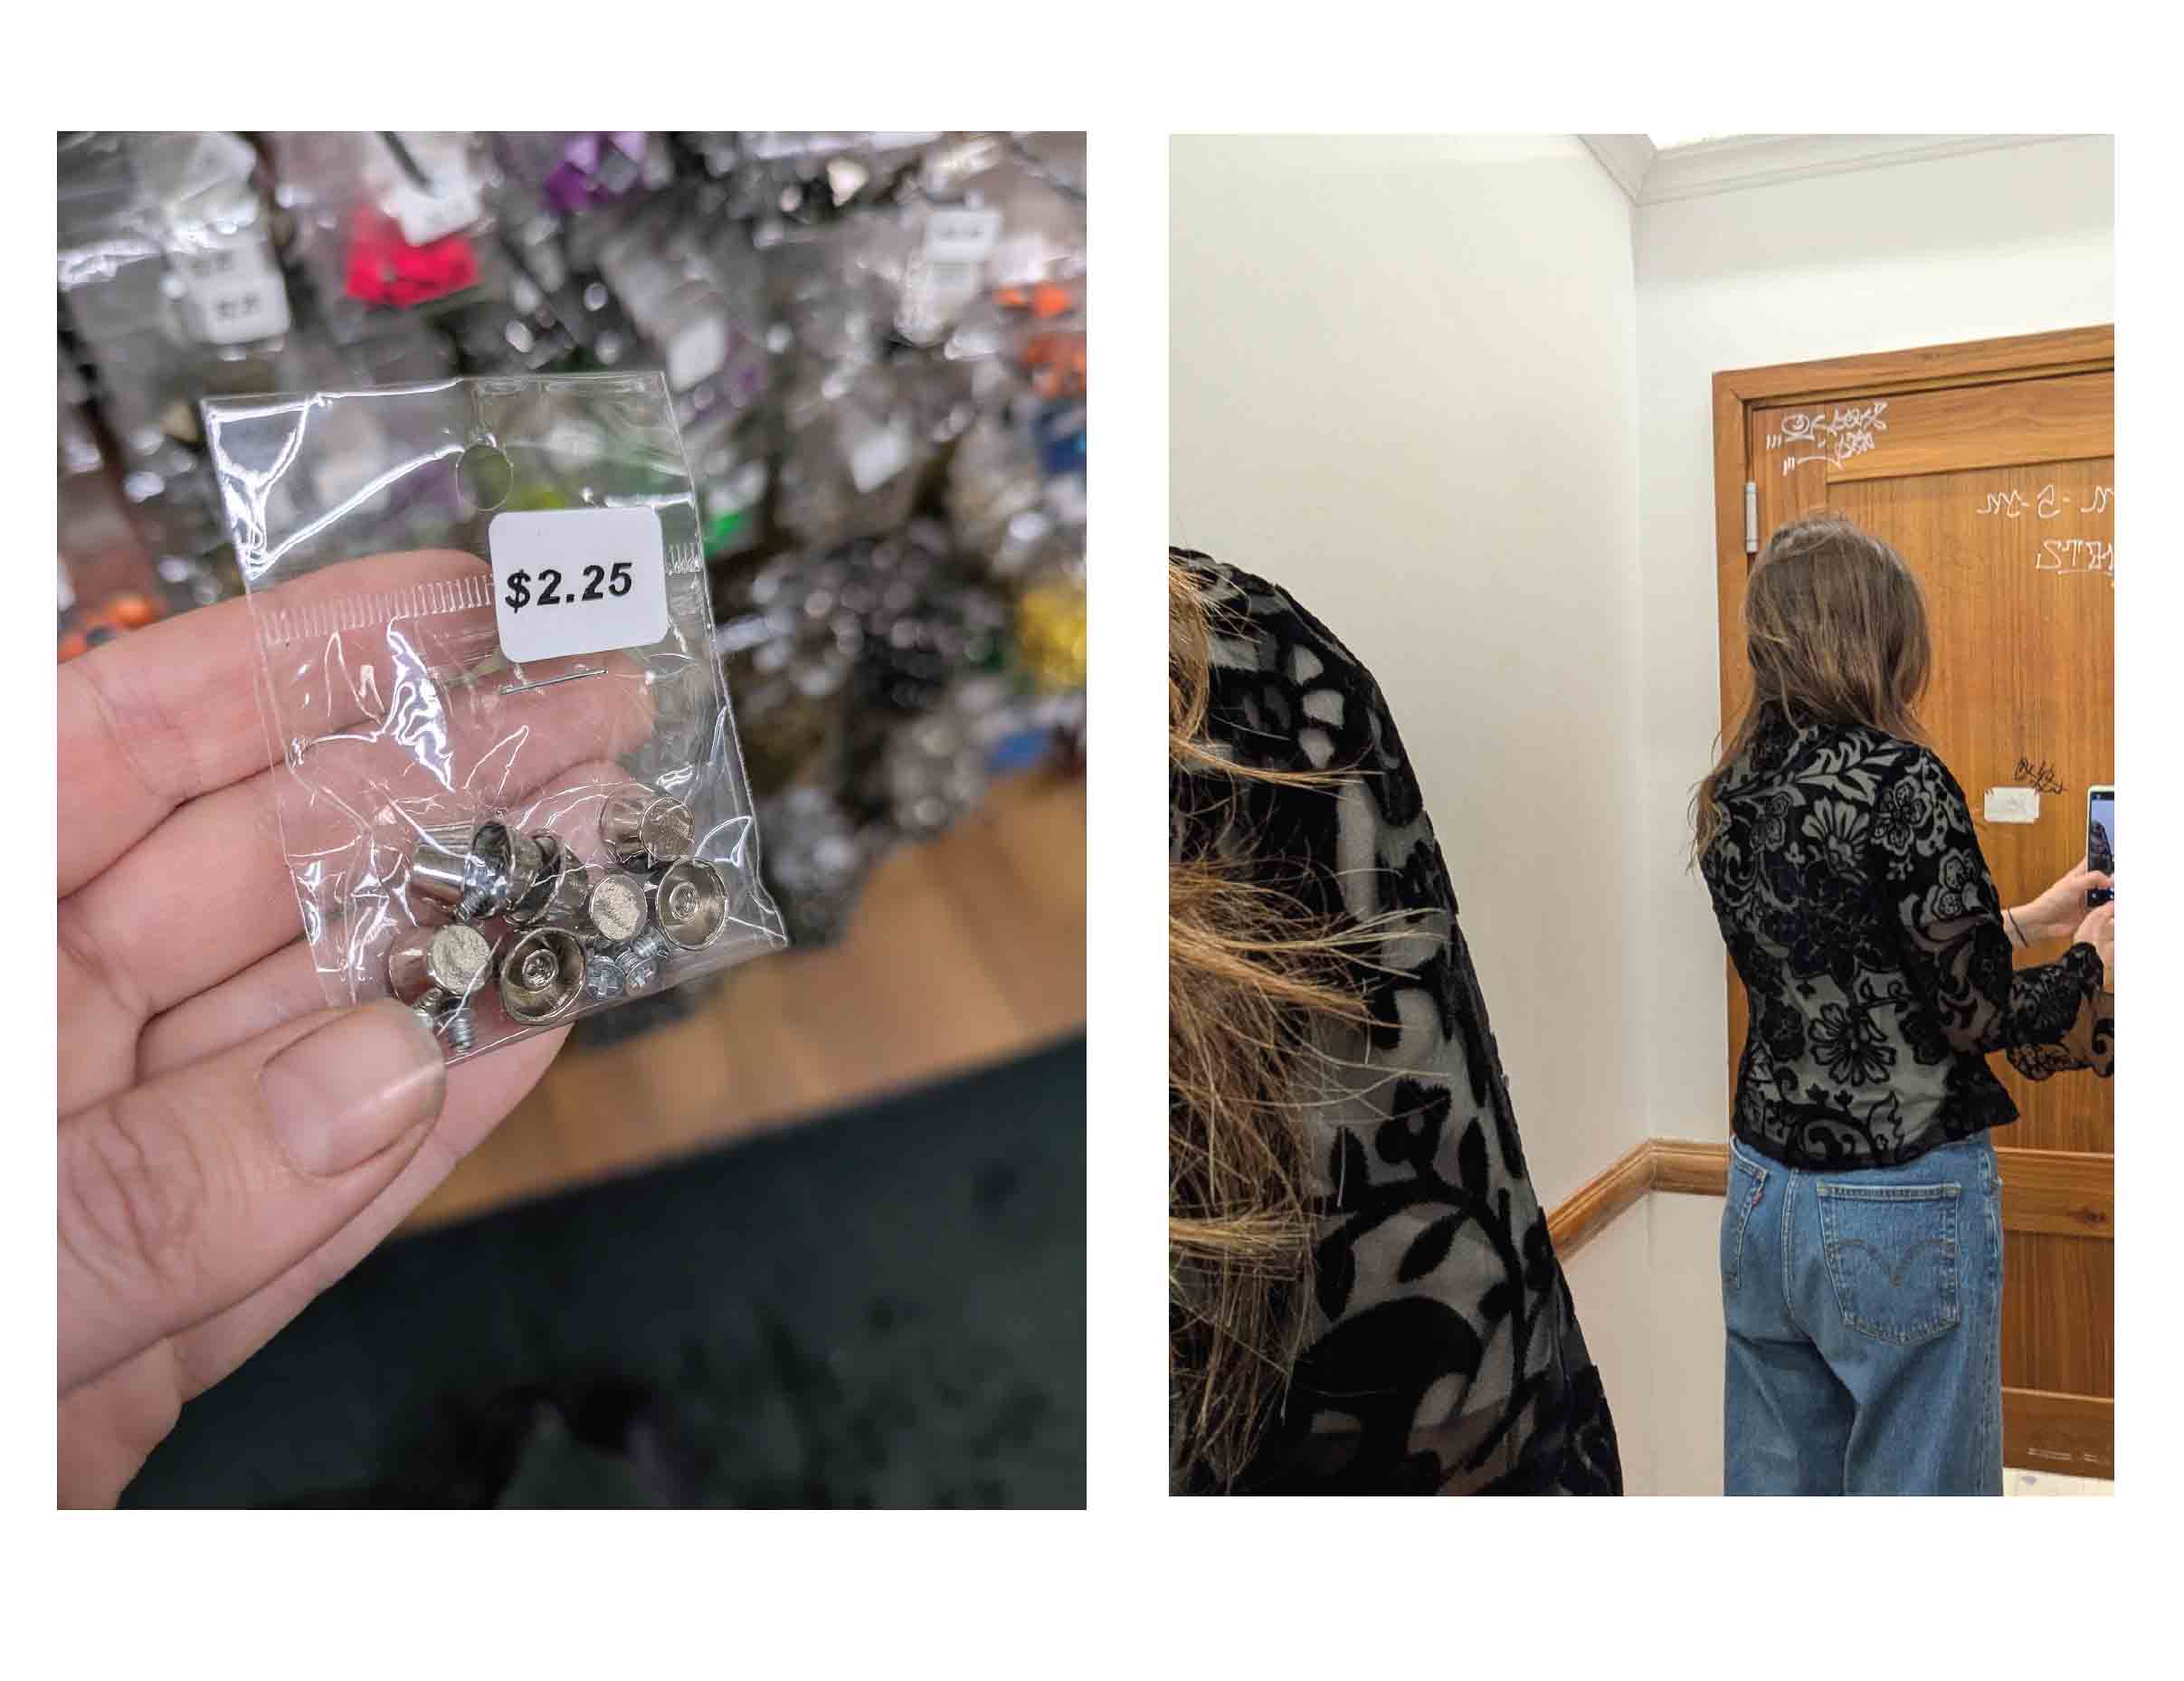
And I've been shopping for a lot of materials ...
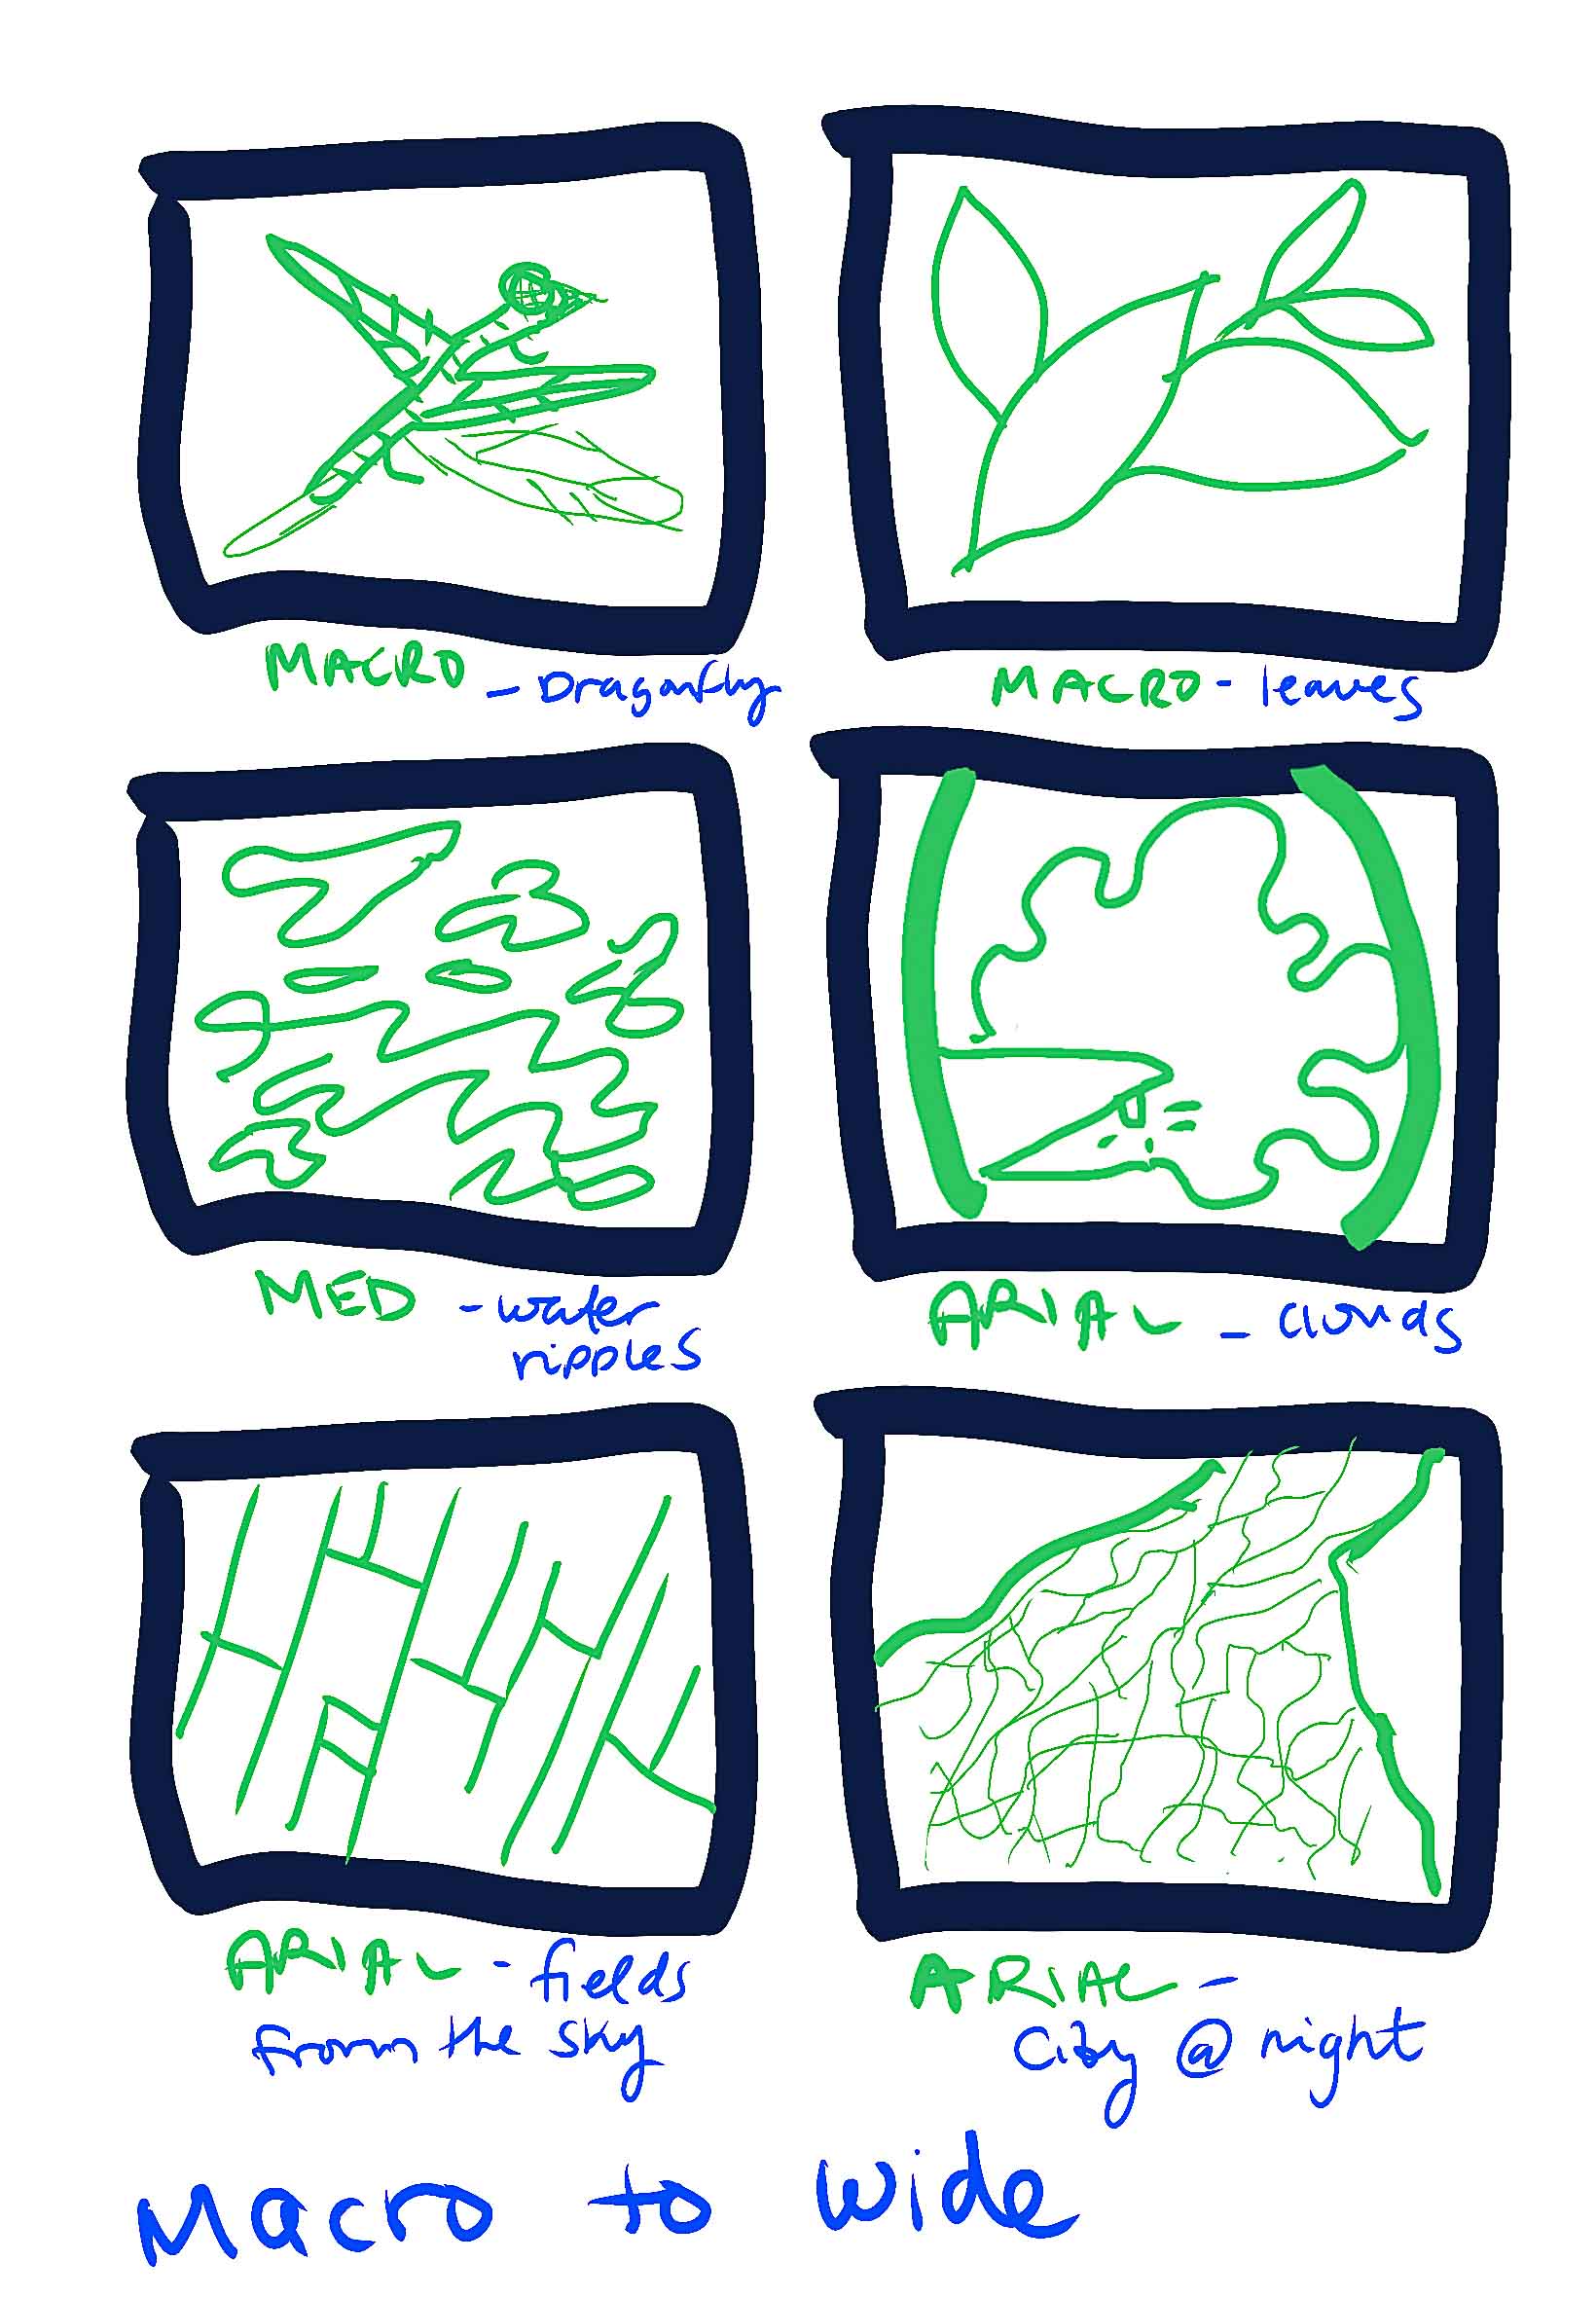
I'm still finalizing the design. I really want to do multiple simple garments with cymatic patterns at differnt scales - but we will see if I can get time back after my massive marbling delays.
Documentation wise - I've been really wanting to get more comfortable with film photography for a long time - so I told myself this was the perfect excuse to bite the bullet. I've started taking film photos of the process and my world right now when I'm out and about - including portraits of all the people in the shops who have sold me supplies. Everyone has said yes! Montreal is so great.
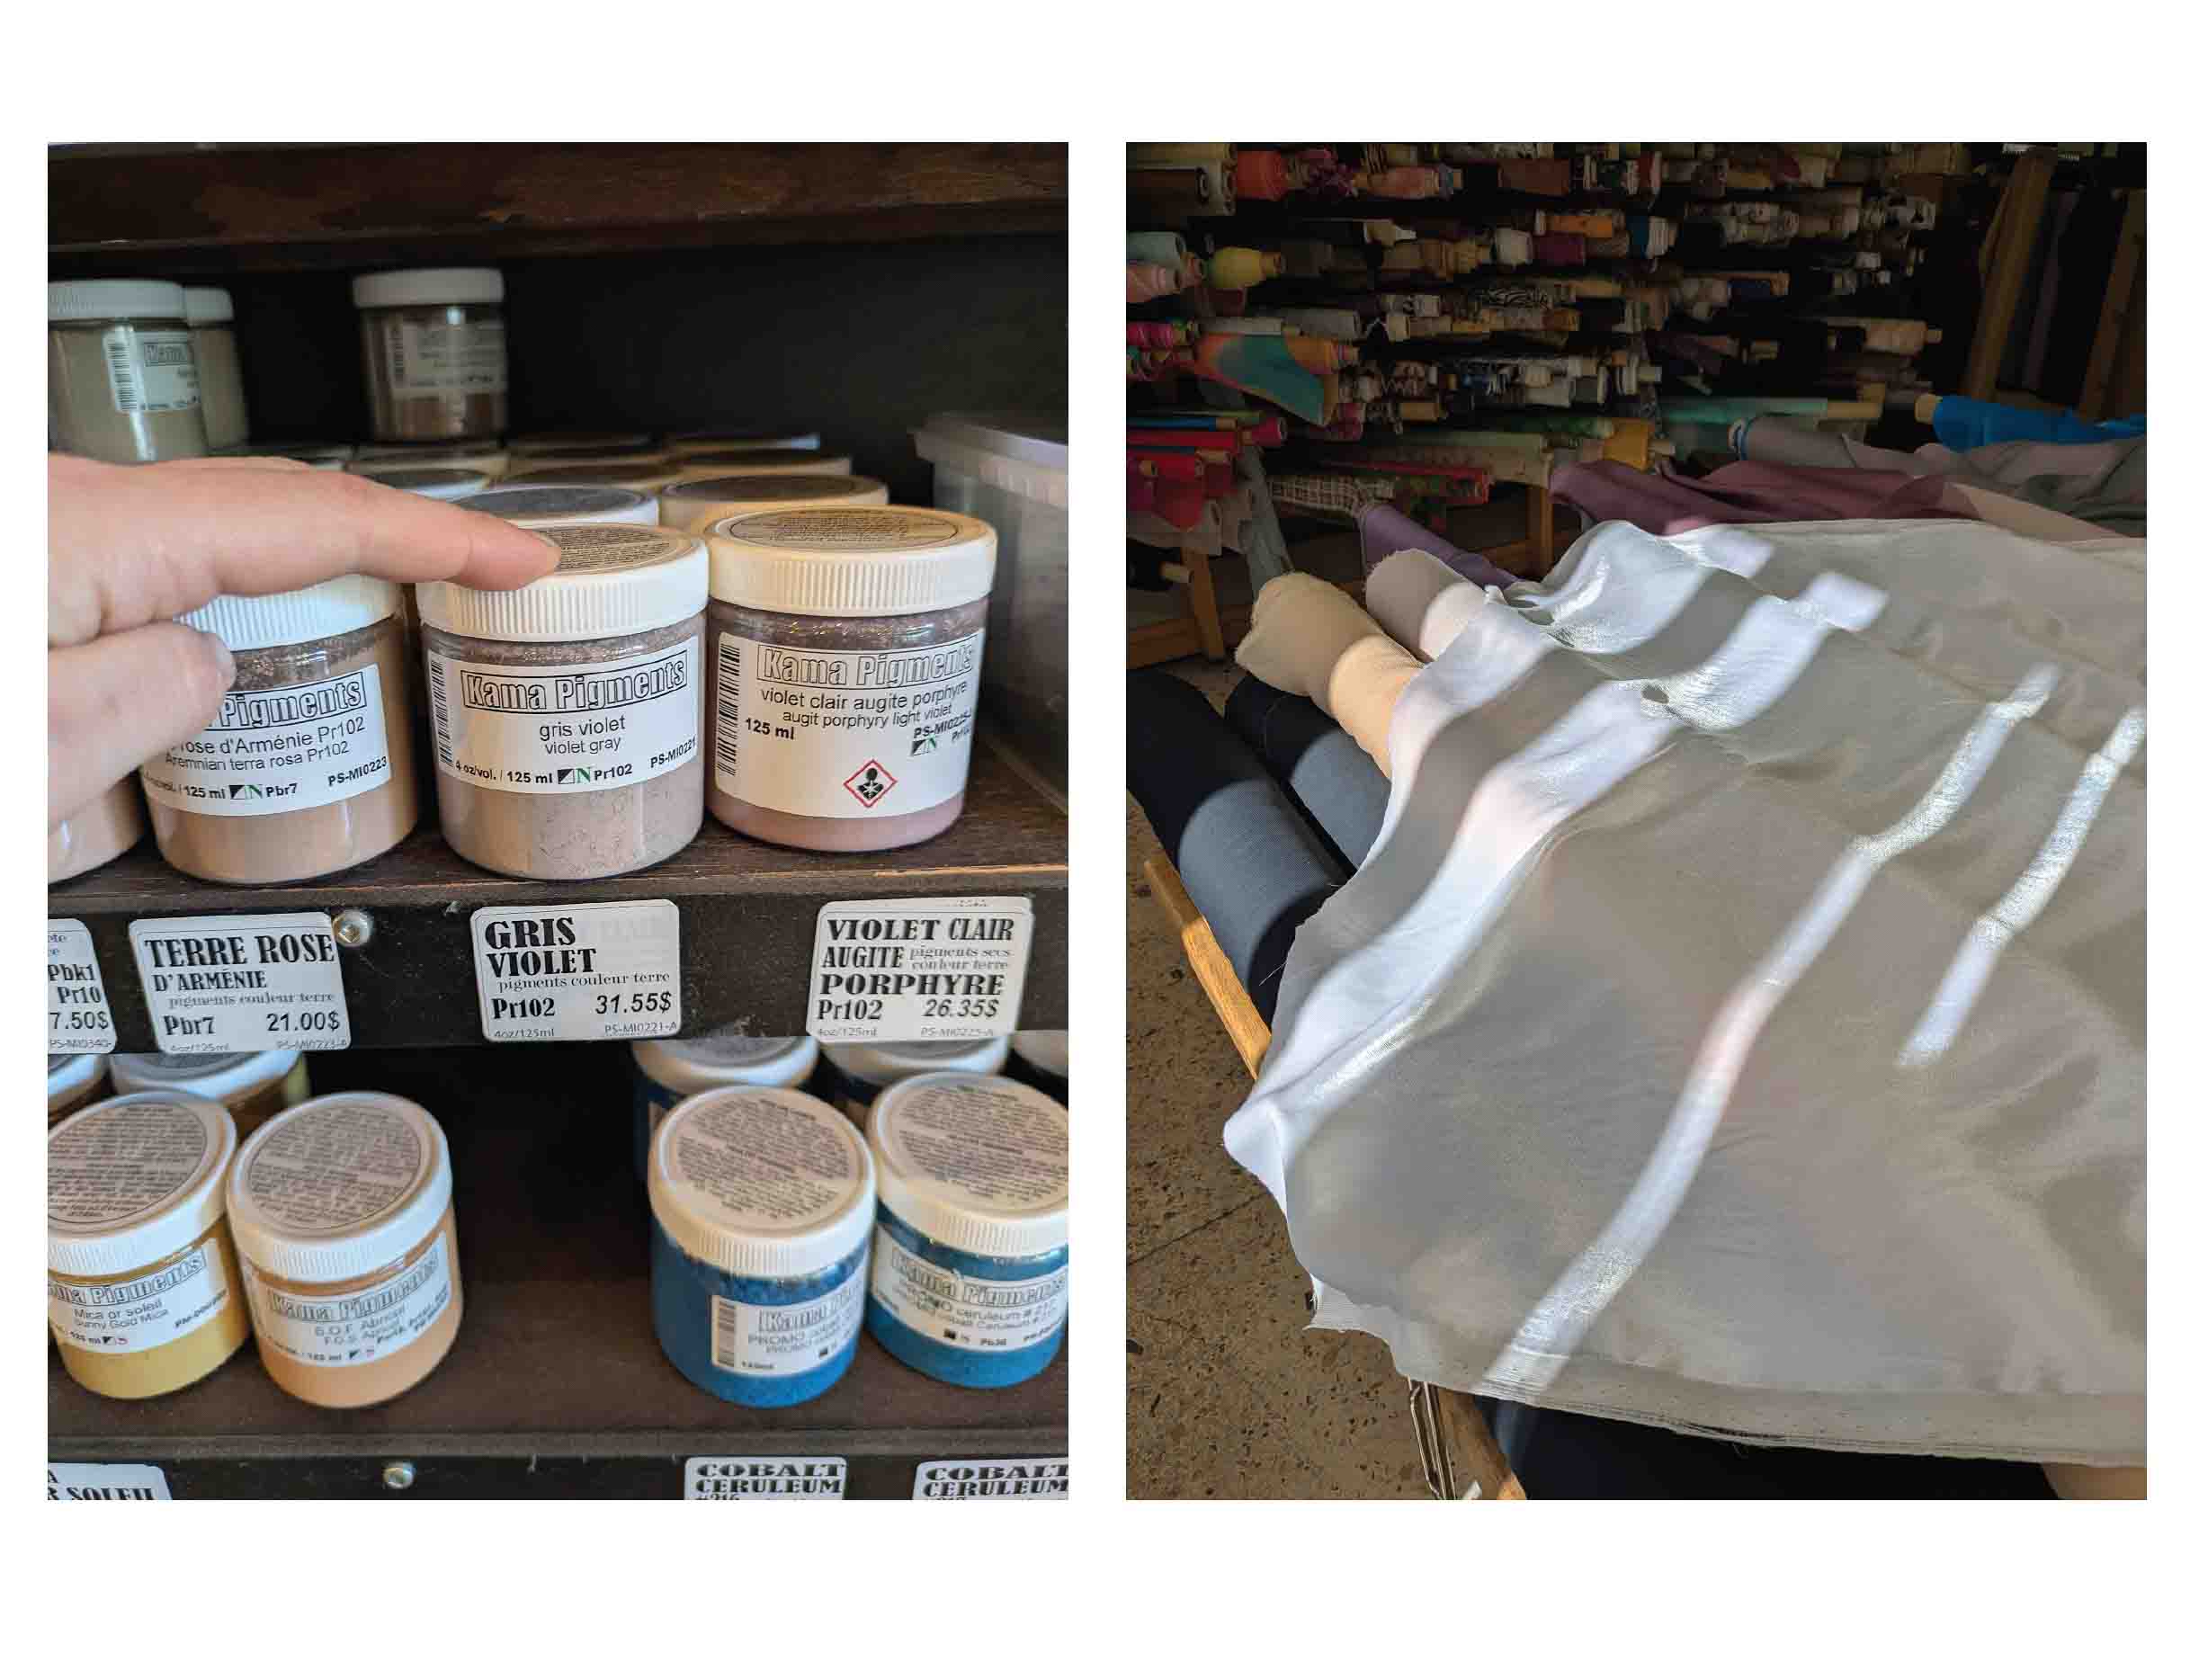
And to circle back to pigment - it finally registered, after all this time, that traditional ebru was done with earth pigments! I'm glad I tried plants, but to ensure I can get any prints at all, I'm now focusing on earth pigment instead.
I'm happy to report that today finally I managed to get my first earth pigments to marble. (Annie helped a lot.)
So now it's on to the final phase...
capturing the prints and figuring out what the heck my garment should look like.
Design
Garment Design, Pattern Drafting and Sewing with Silk
A great way to learn pattern drafting is through deconstruction (i.e. taking apart an existing garment to understand how it was originally put together). You can then take the deconstructed pieces and copy them as a base. This was the method I used.
Over the months, I spent a lot of time trying on garments -- mostly things I wouldn't normally choose. I was surprised by how often things I thought I'd hate looked good, while other things I thought I'd love were really not for me. As simple as it sounds, trying things on regularly was super illuminating.
Eventually, I thrifted something that fit well and had my priority details:
-
a back yoke
-
high sleeves (not dropped)
Sleeves can be tricky, so I wanted a garment with a good sleeve fit.
On my own, I then altered the pattern to have:
-
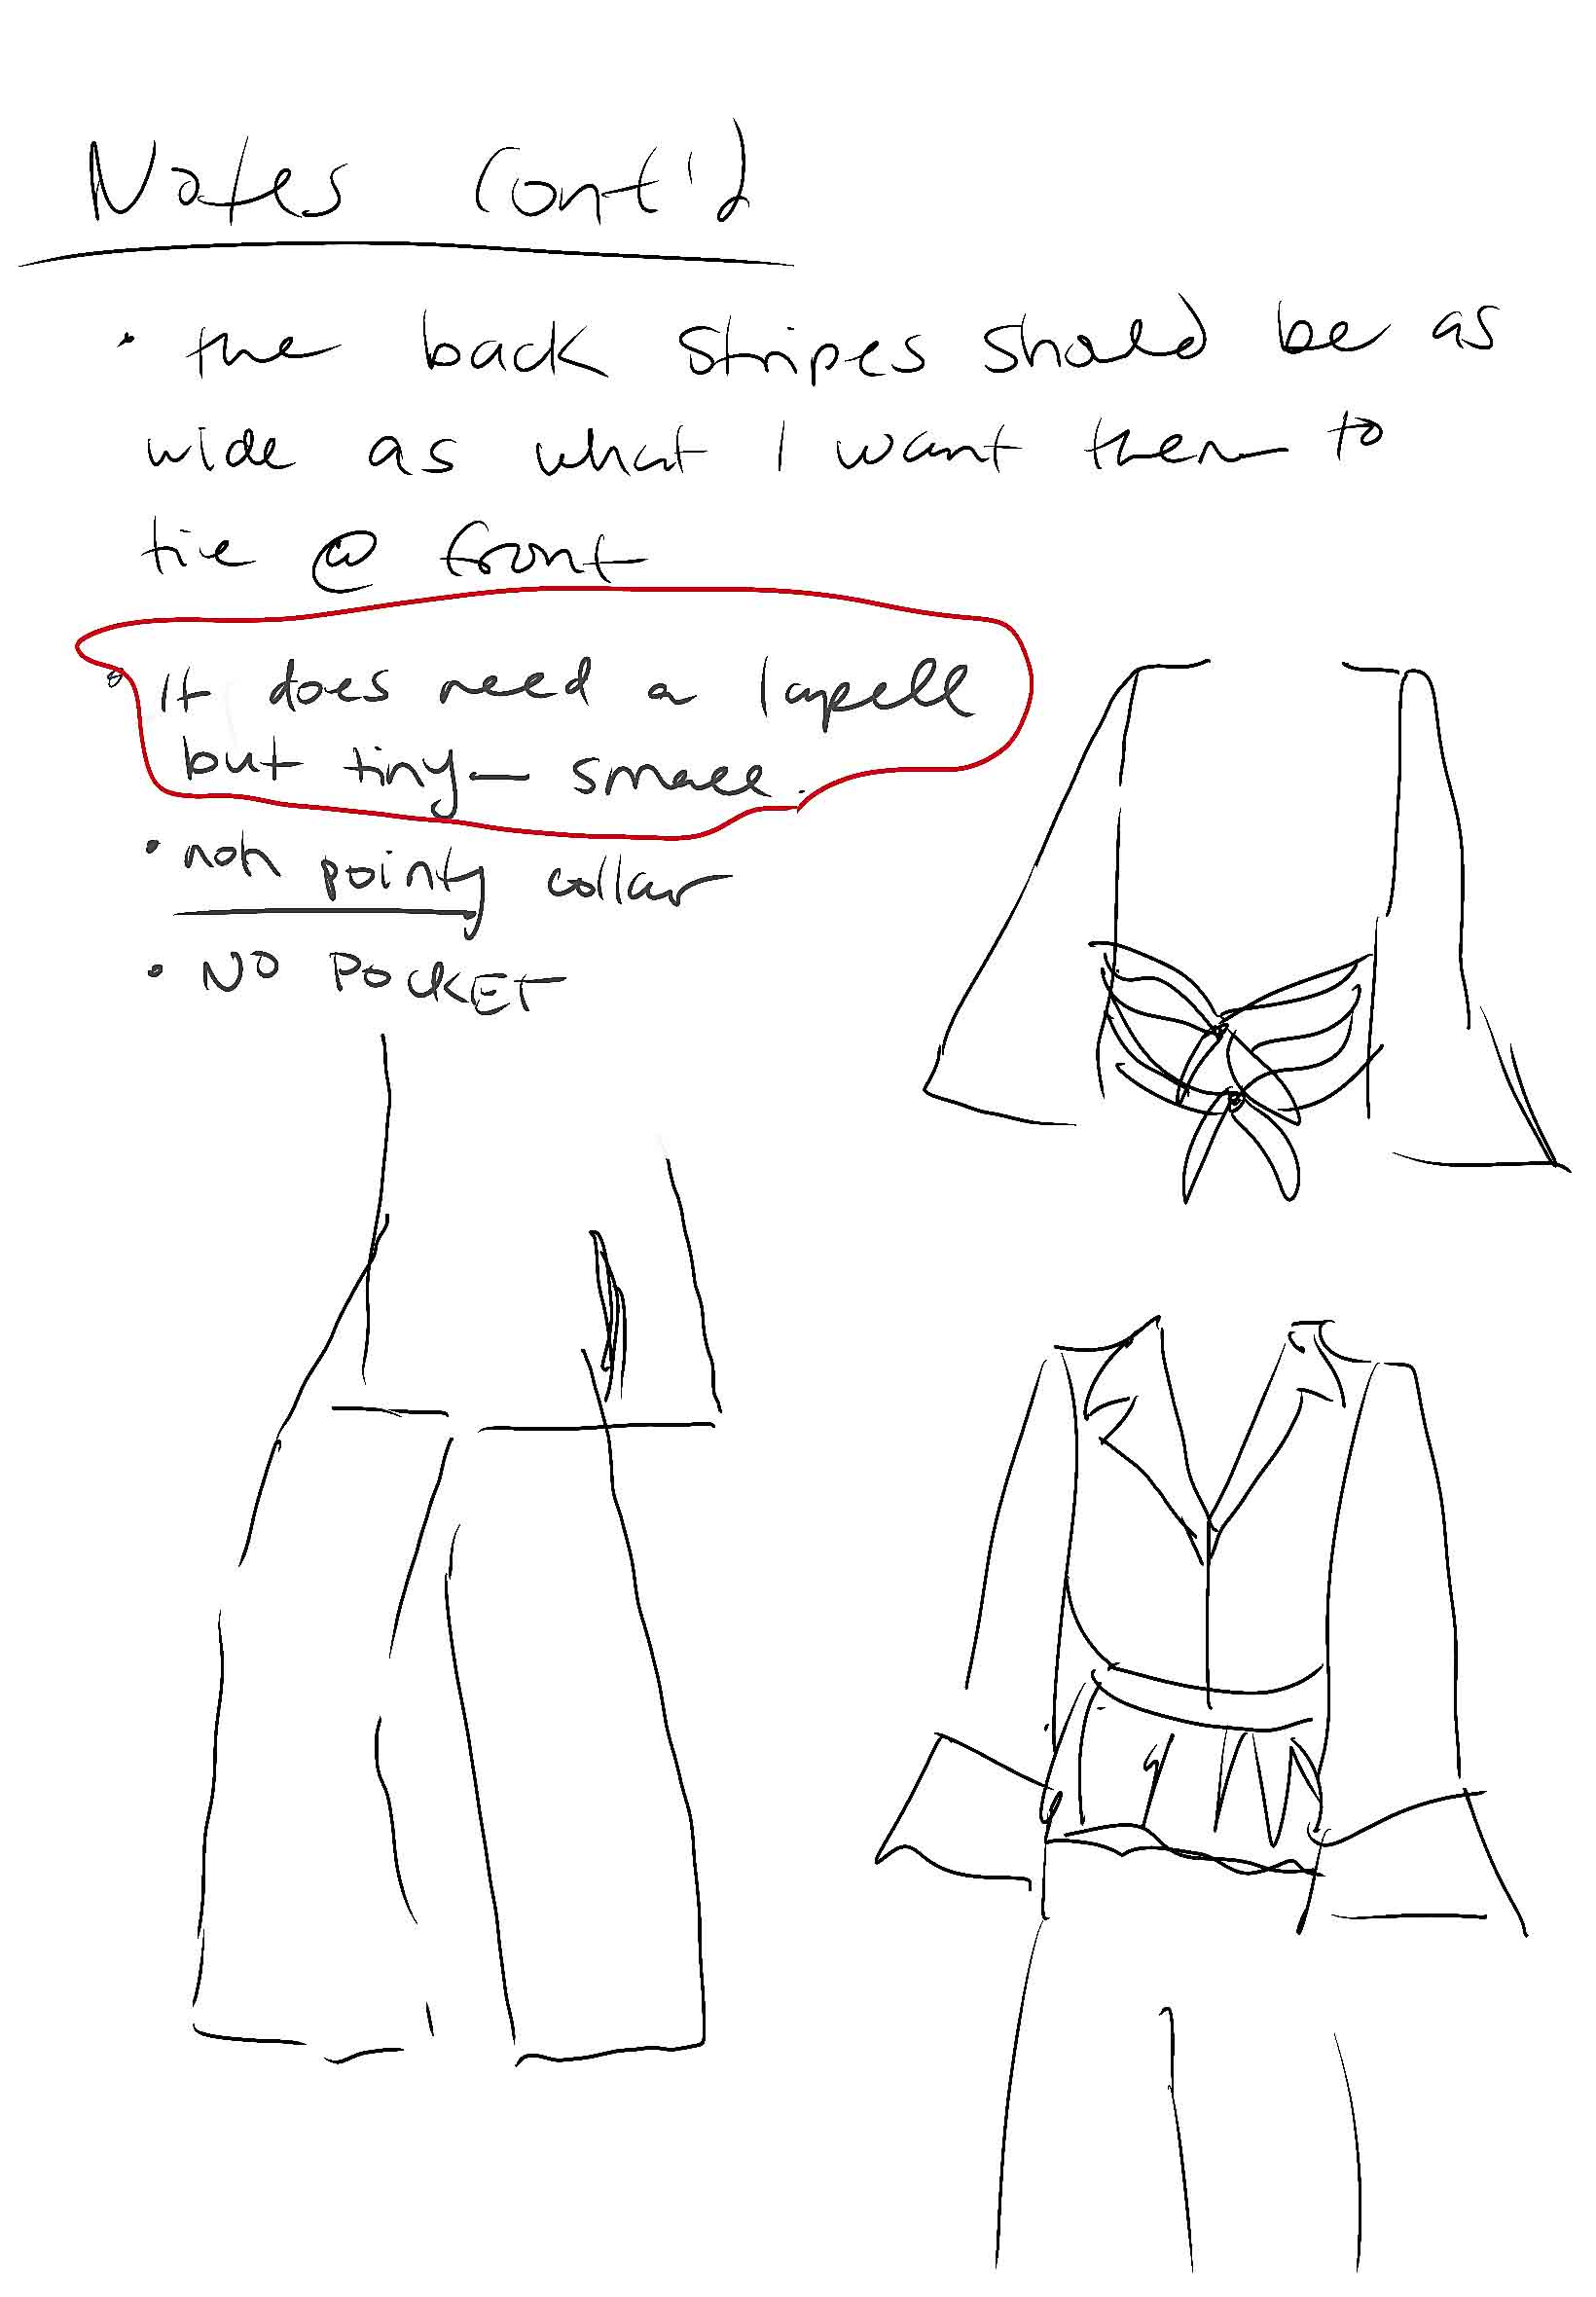
bell sleeves (with no cuff)
-
a wrap-style front instead of a straight front lapel.
This was my inspiration:
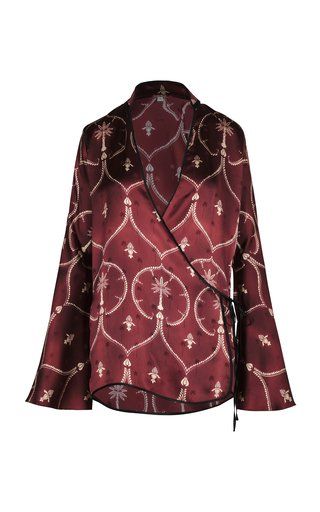 * Johanna Ortiz Fall/winter 2023 Collection *
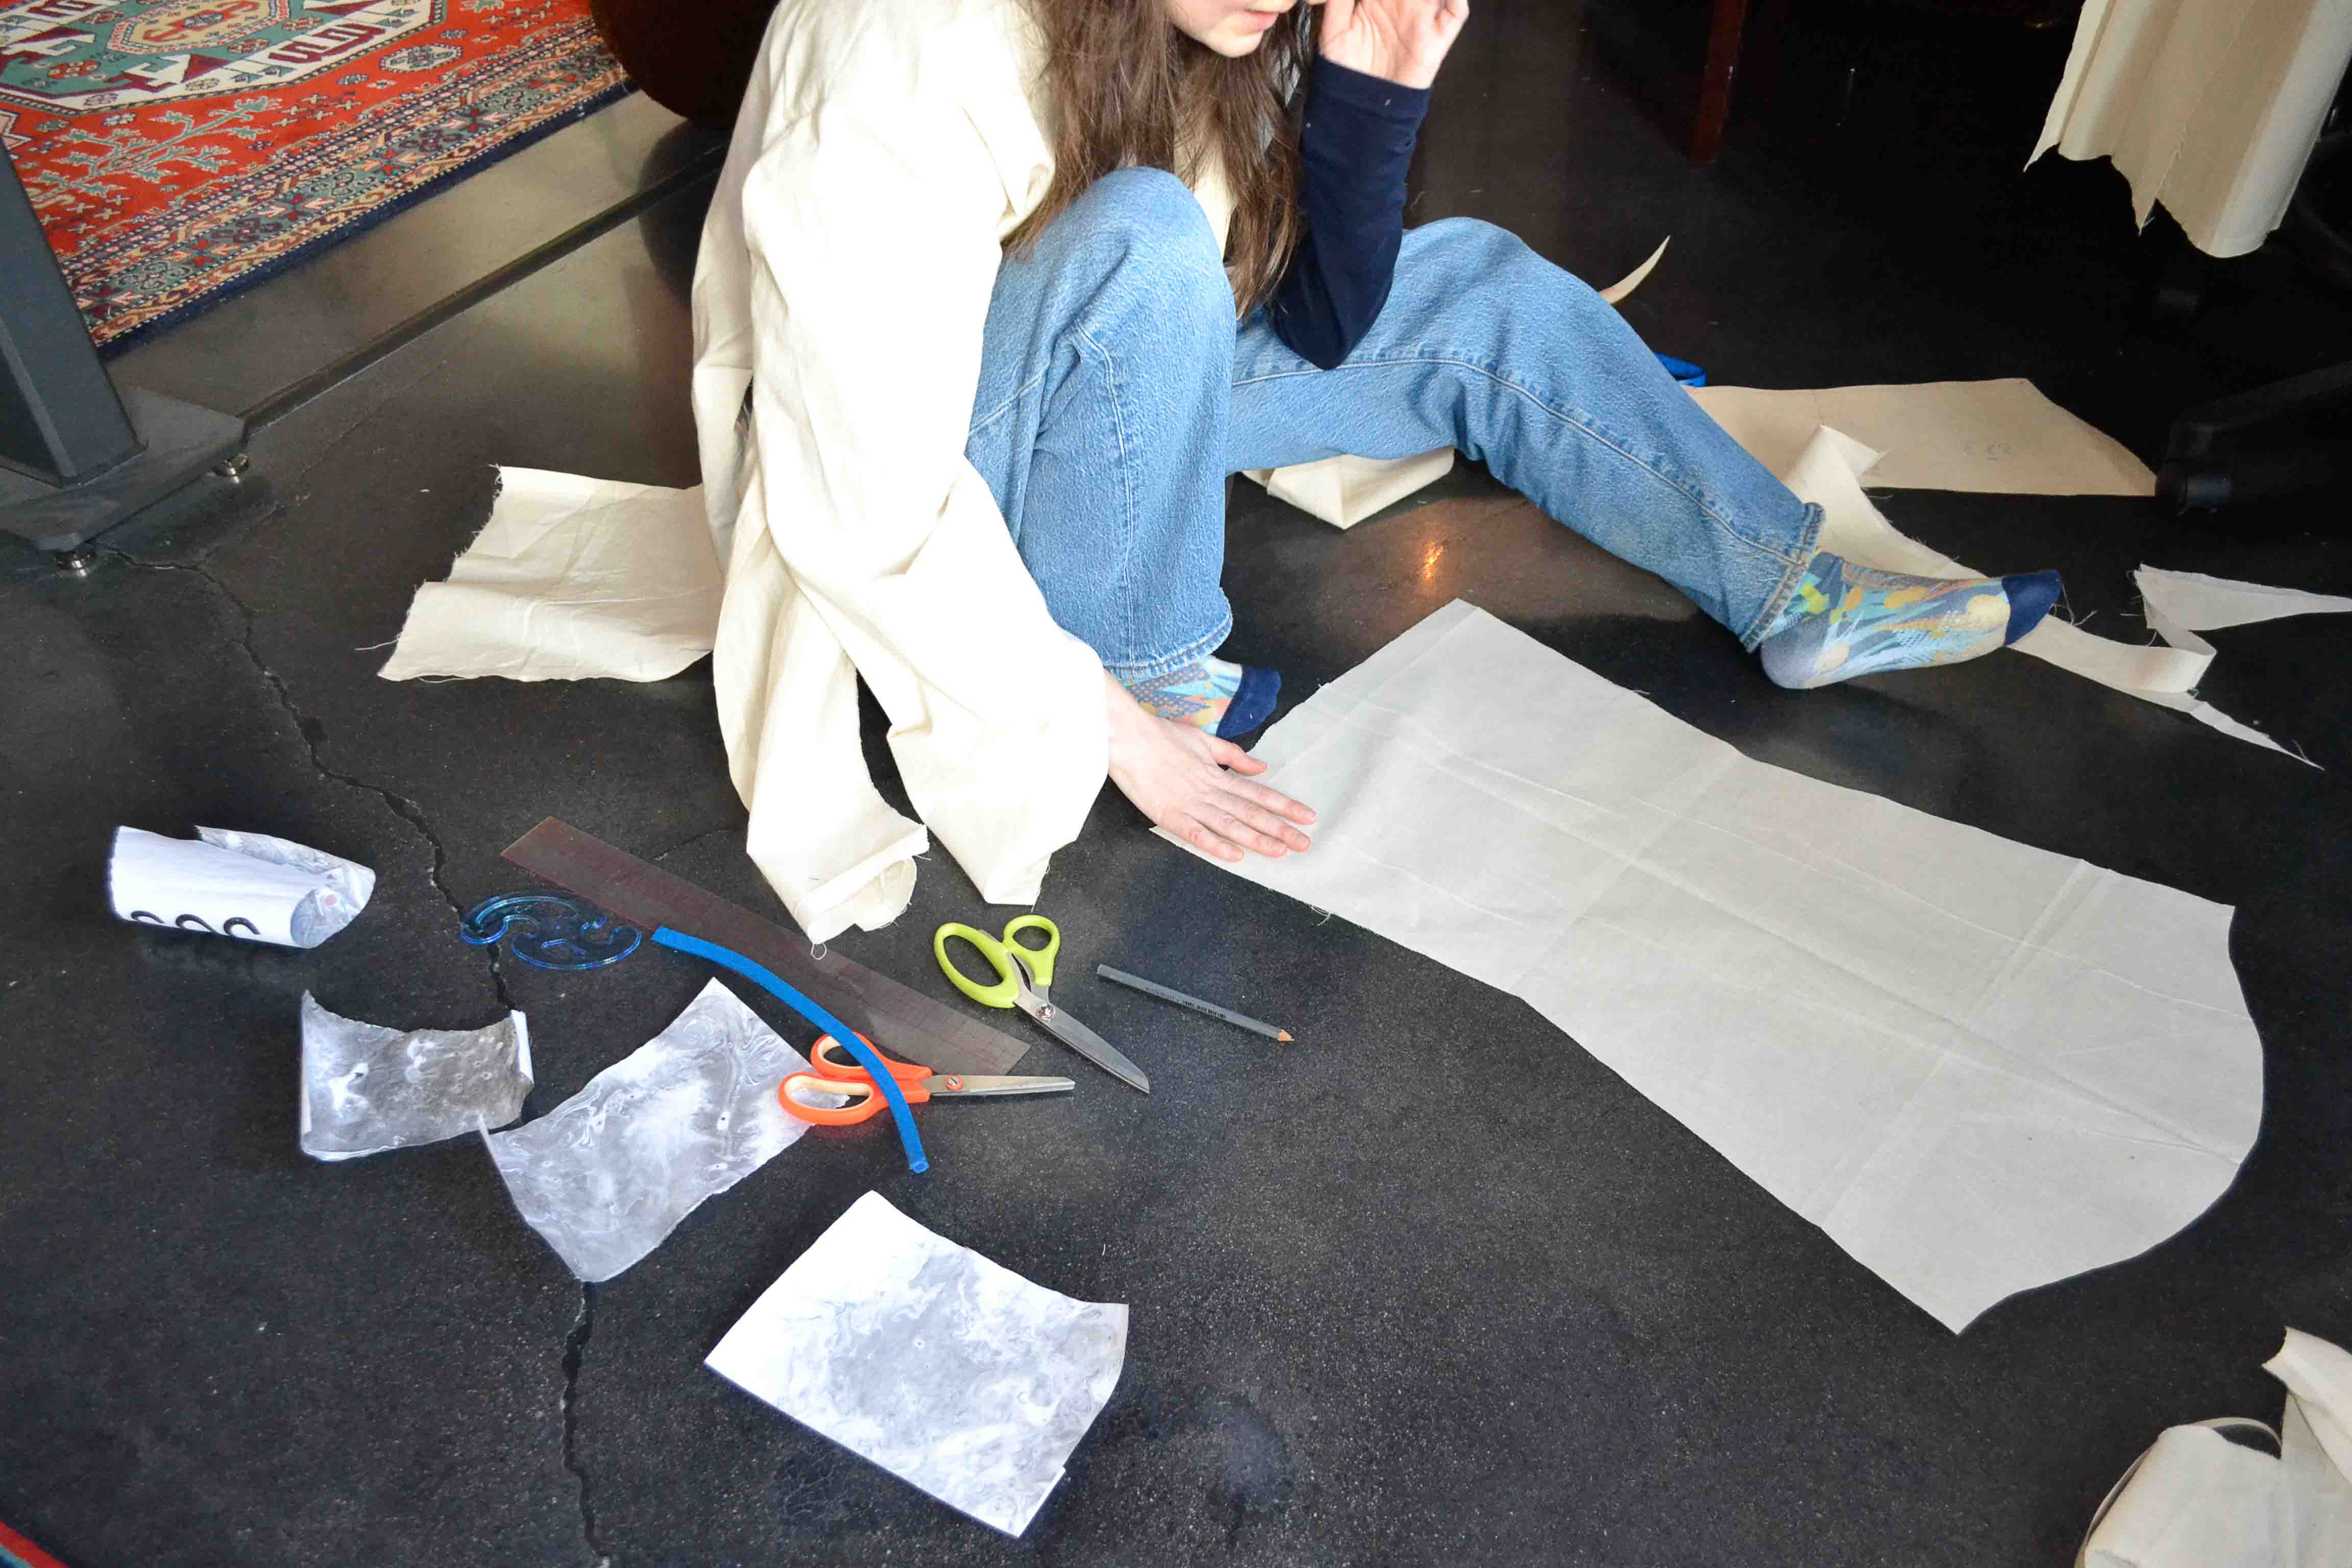
I took the shirt apart:
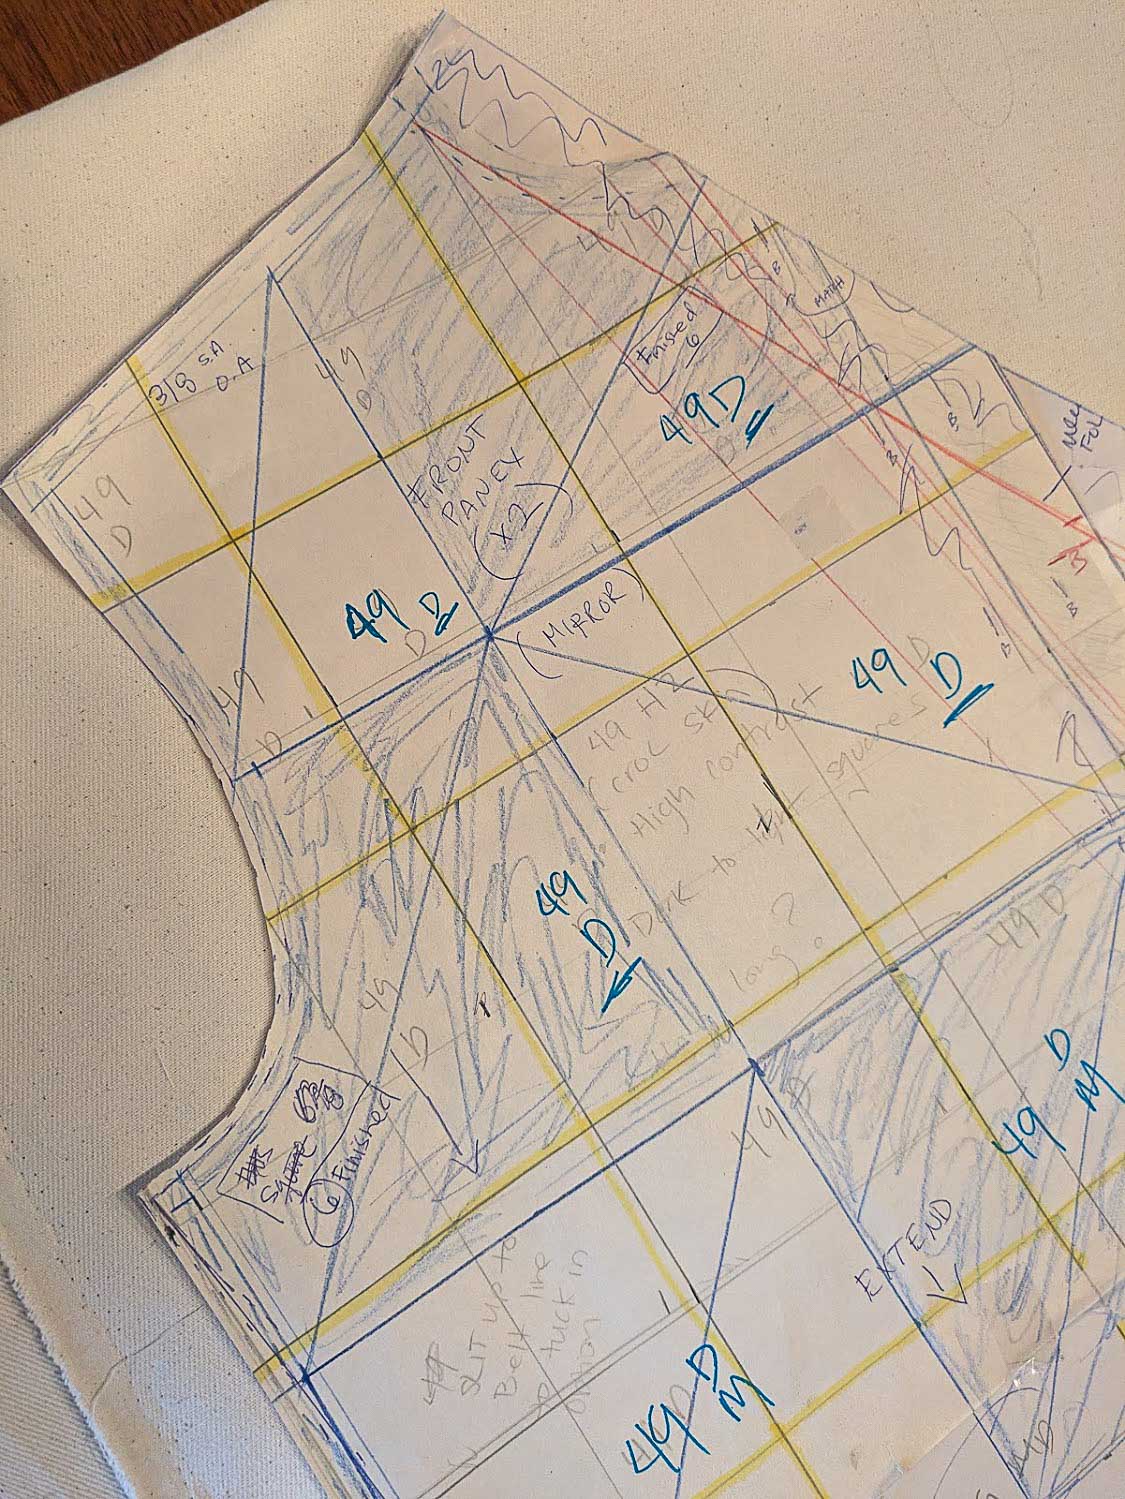
Then I traced the pieces on paper:

Then I made a muslin mock-up (a fairly inexpensive fabric) to make sure my fit was correct. If it wasn't, I'd figure out how much it was off, redraw the pattern, and sew another test version.
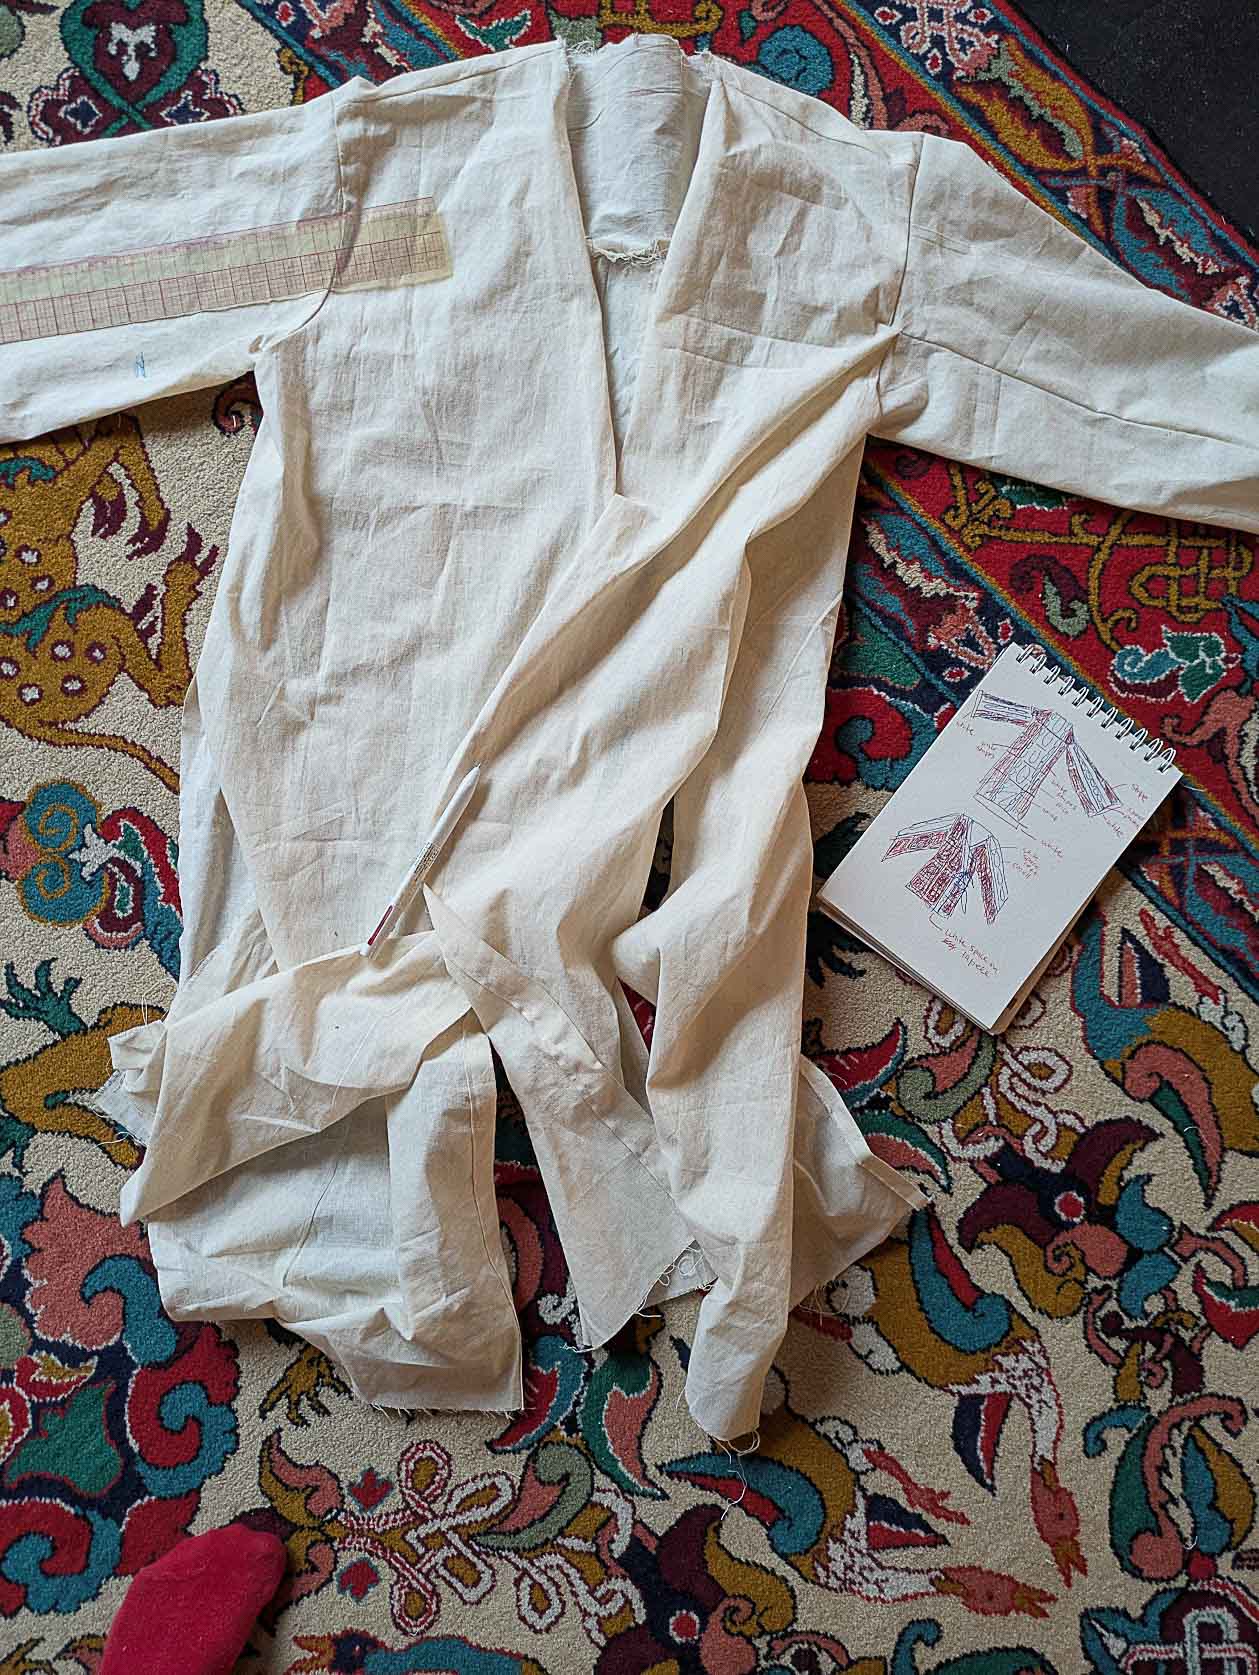
I've learned from years of experience and many mistakes that it REALLY pays to perfect your pattern before you start sewing -- especially if you are working with expensive fabric.
This was the longest I've ever taken to draft a pattern, and frankly, it was painful! But in the end, it really paid off and quite possibly saved the project -- even though at the time it felt very uncomfortable to spend so much time on the design while the deadline was fast approaching.
Challenges
This garment was unique because I had to marble it, so the pieces needed to be no larger than 10.5" square to fit in my tray.
The original design involved patchworking each square together like a quilt. Each cymatic was supposed to be "framed" in contrast to the one beside it. That way, if I had any "marbling duds," I could simply use another square.
Another parameter was that I had to use silk. During my pigment tests, it was the only fibre that adequately captured my pigment, so that was non-negotiable.
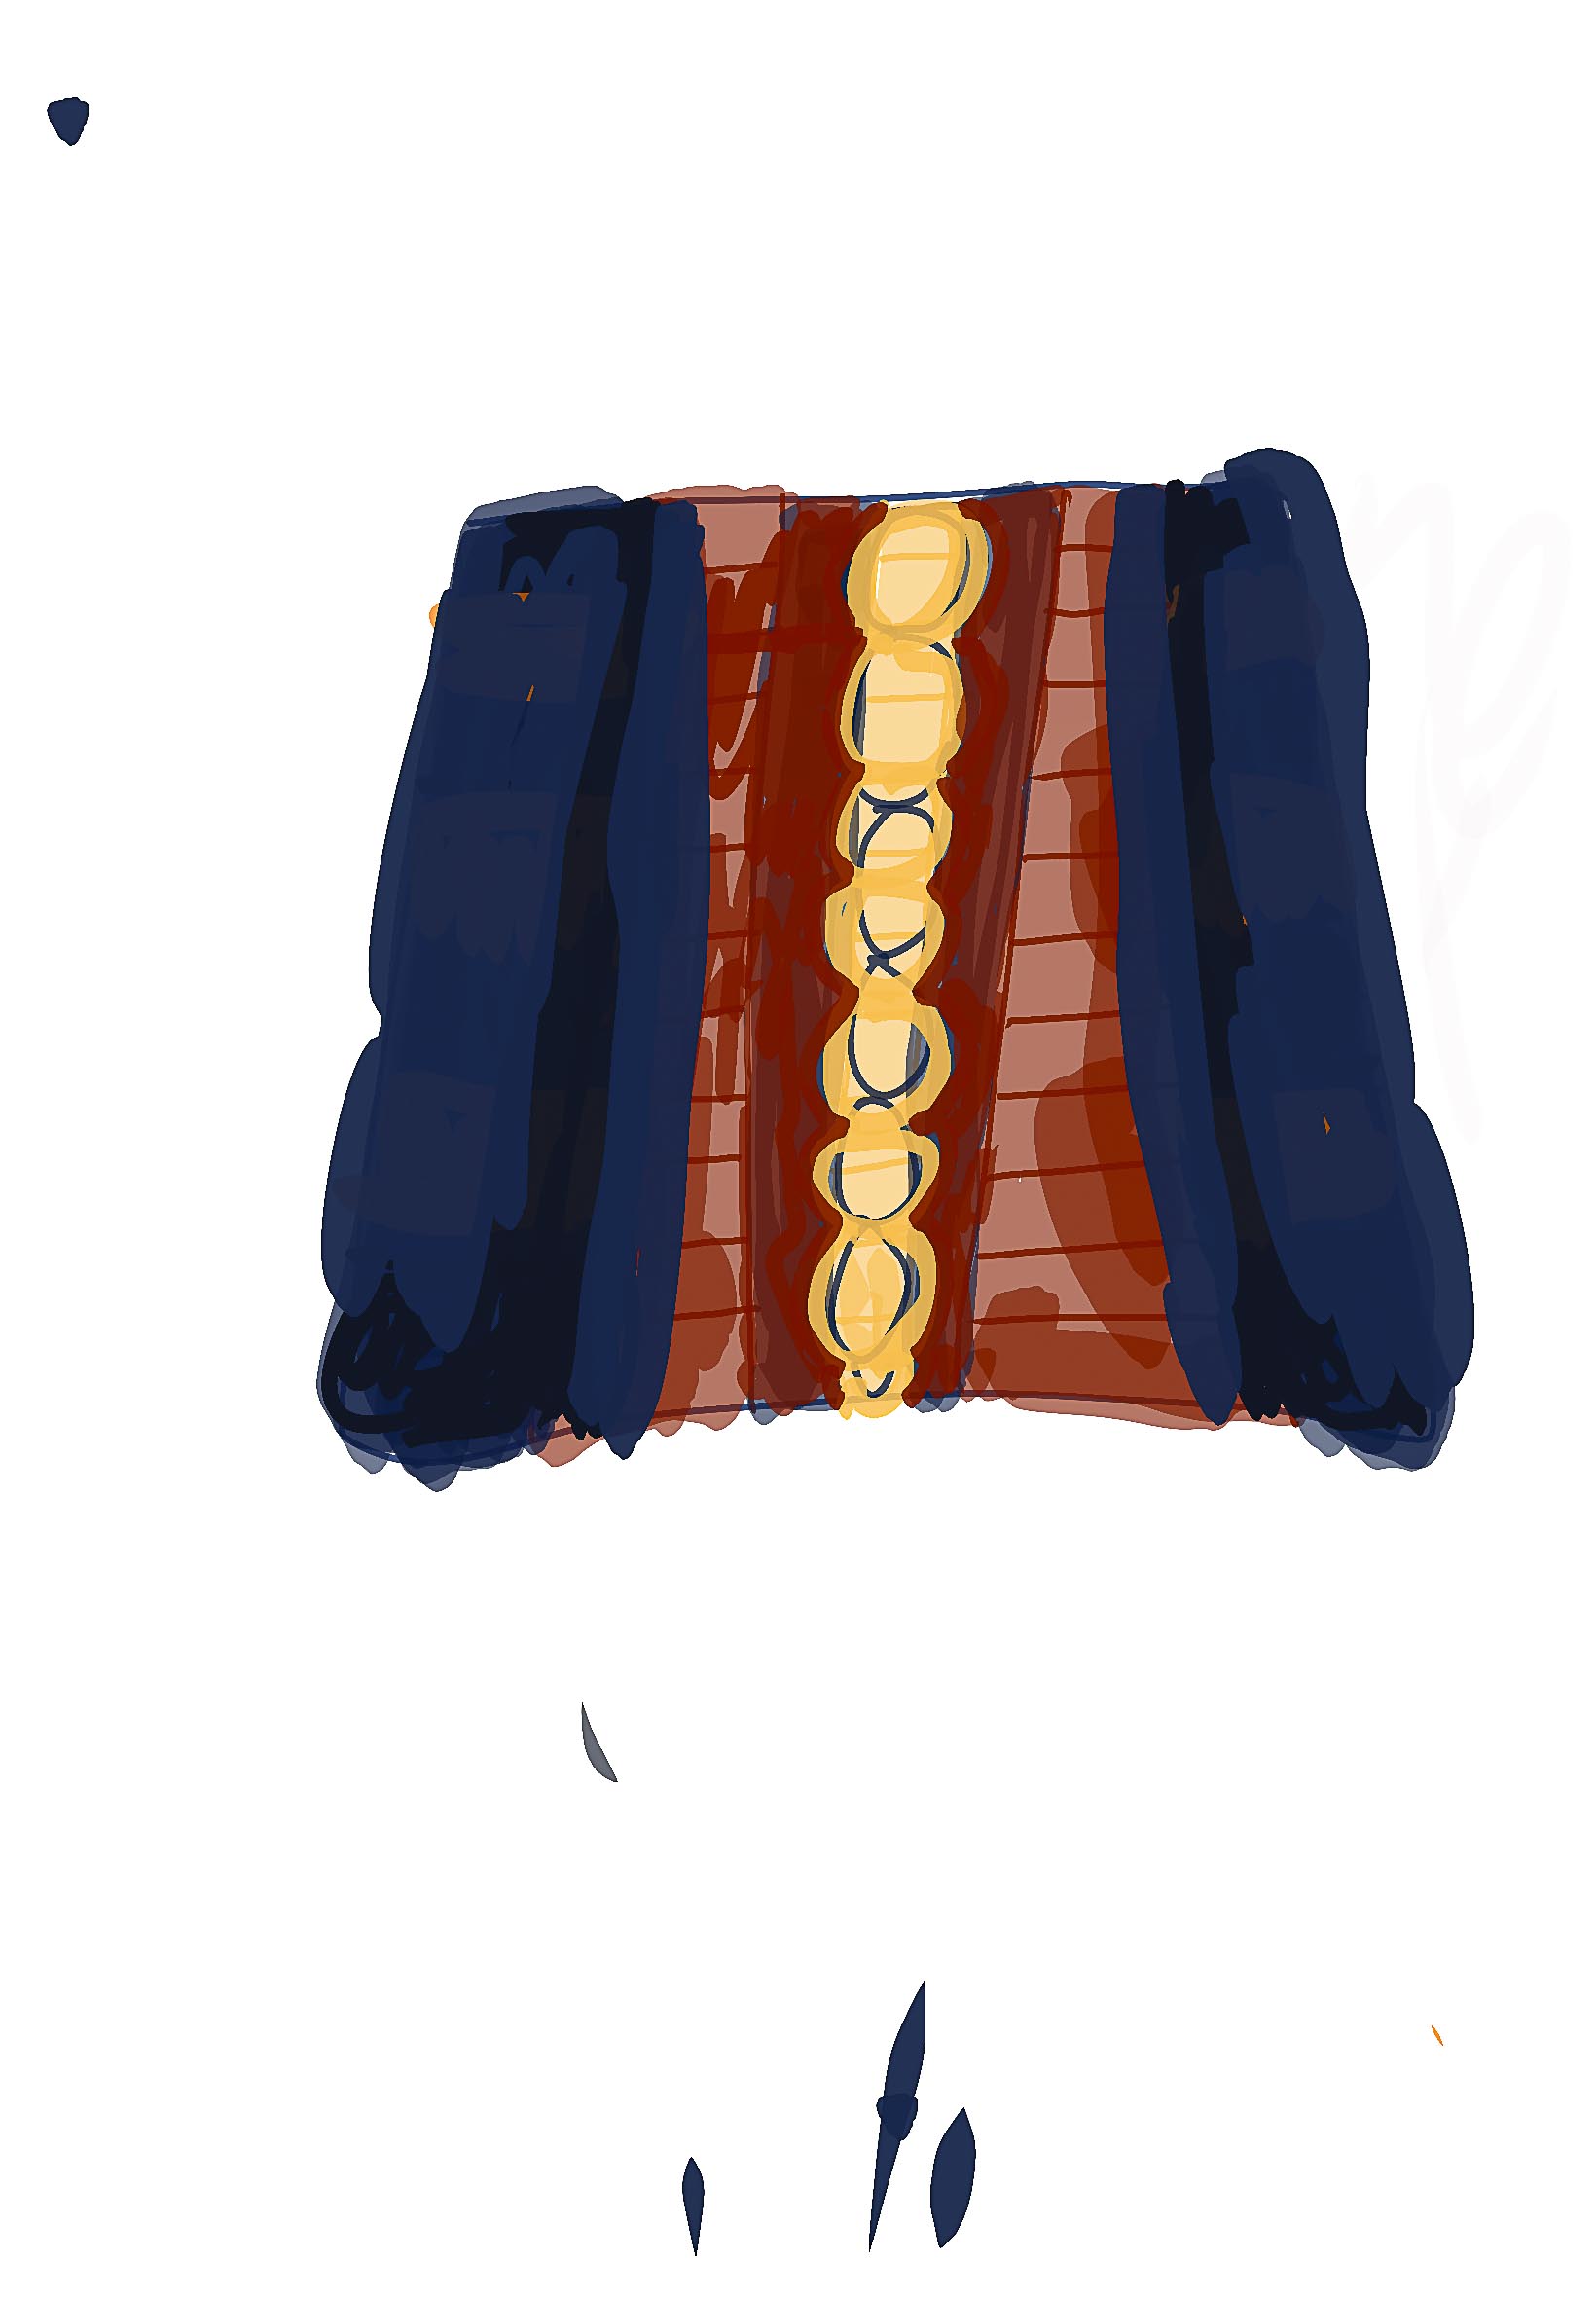
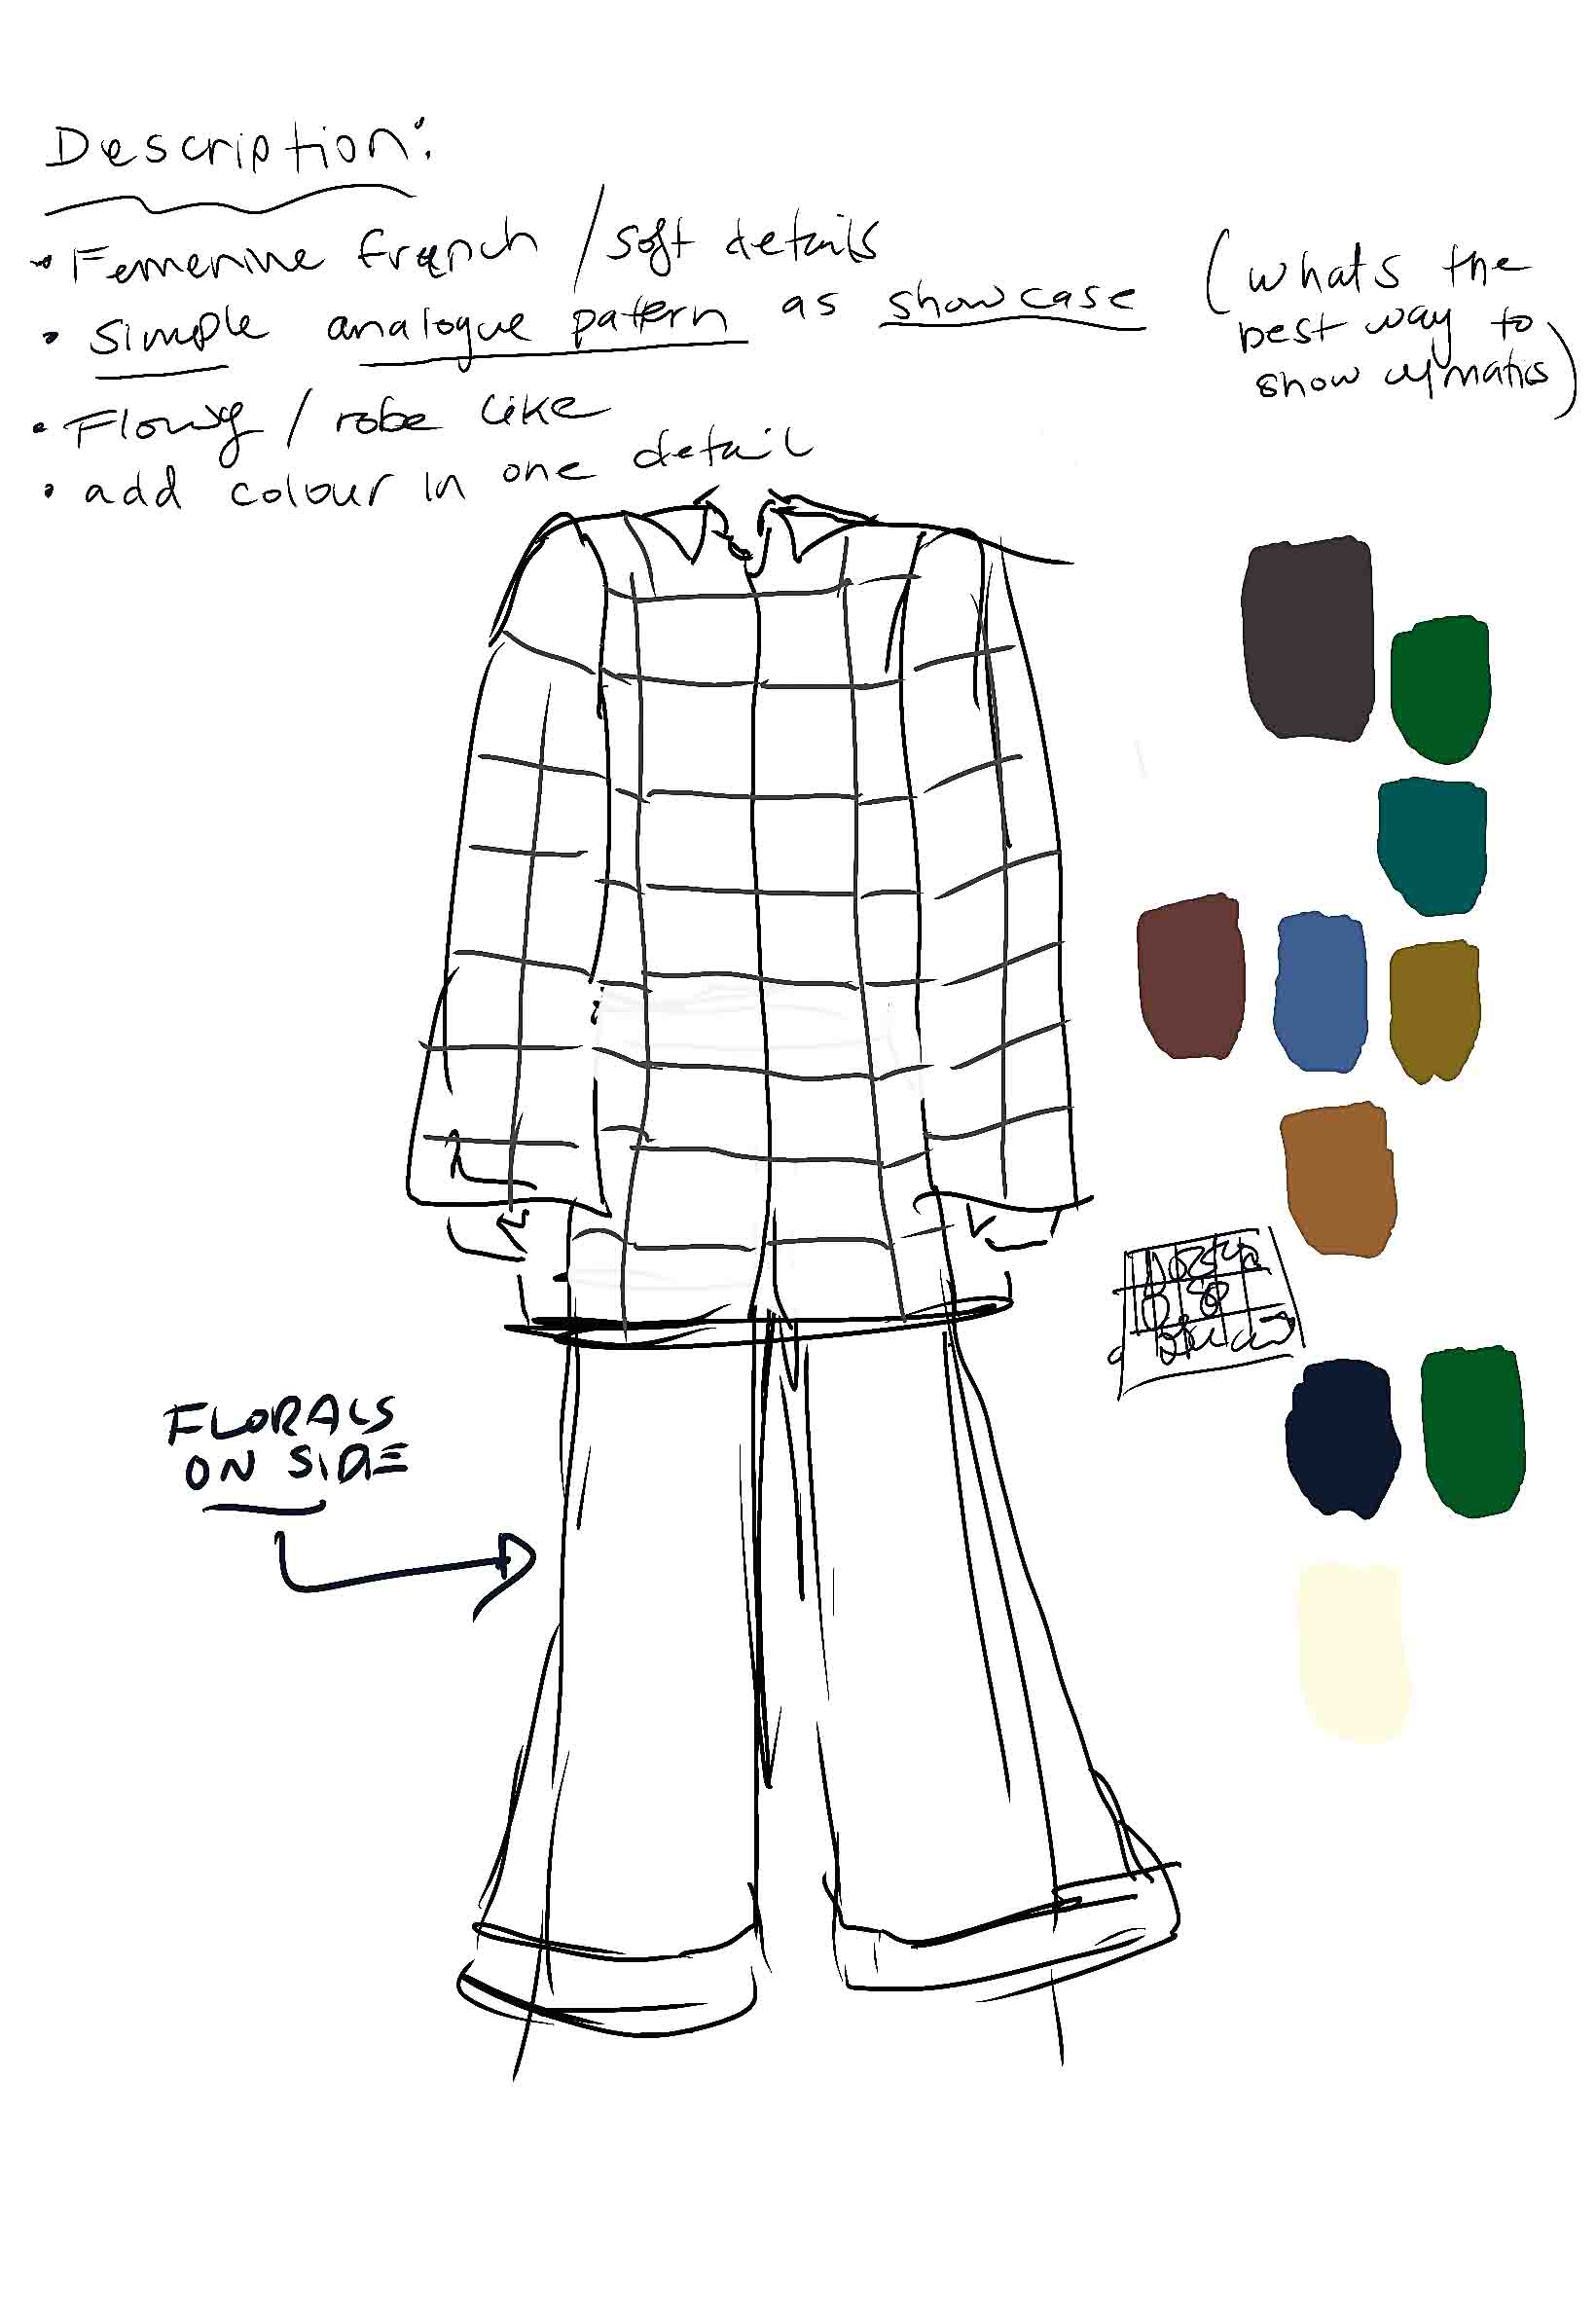
I also wanted to make a "wave gradient" -- having darker, tighter waves at the top of the garment and lighter, looser waves as you move down.
The problem is that silk is not like other fabrics! It's notoriously slippery. It requires the extra step of pinning it to tissue paper before cutting and sewing so it doesn't slip, distort completely, or snag in the machine. I hadn't taken this seriously and figured I could skip it to save time and money.
After cutting 10 squares, I finally accepted the inevitable. Not a single one had straight edges.
Silk also frays heavily and is often finished with something called a French seam (where the raw edges are folded in and sealed off). When I multiplied all these seams by every edge of every square I'd planned to make, I realized the square method was not viable.
I had to redesign the entire pattern.
Solution
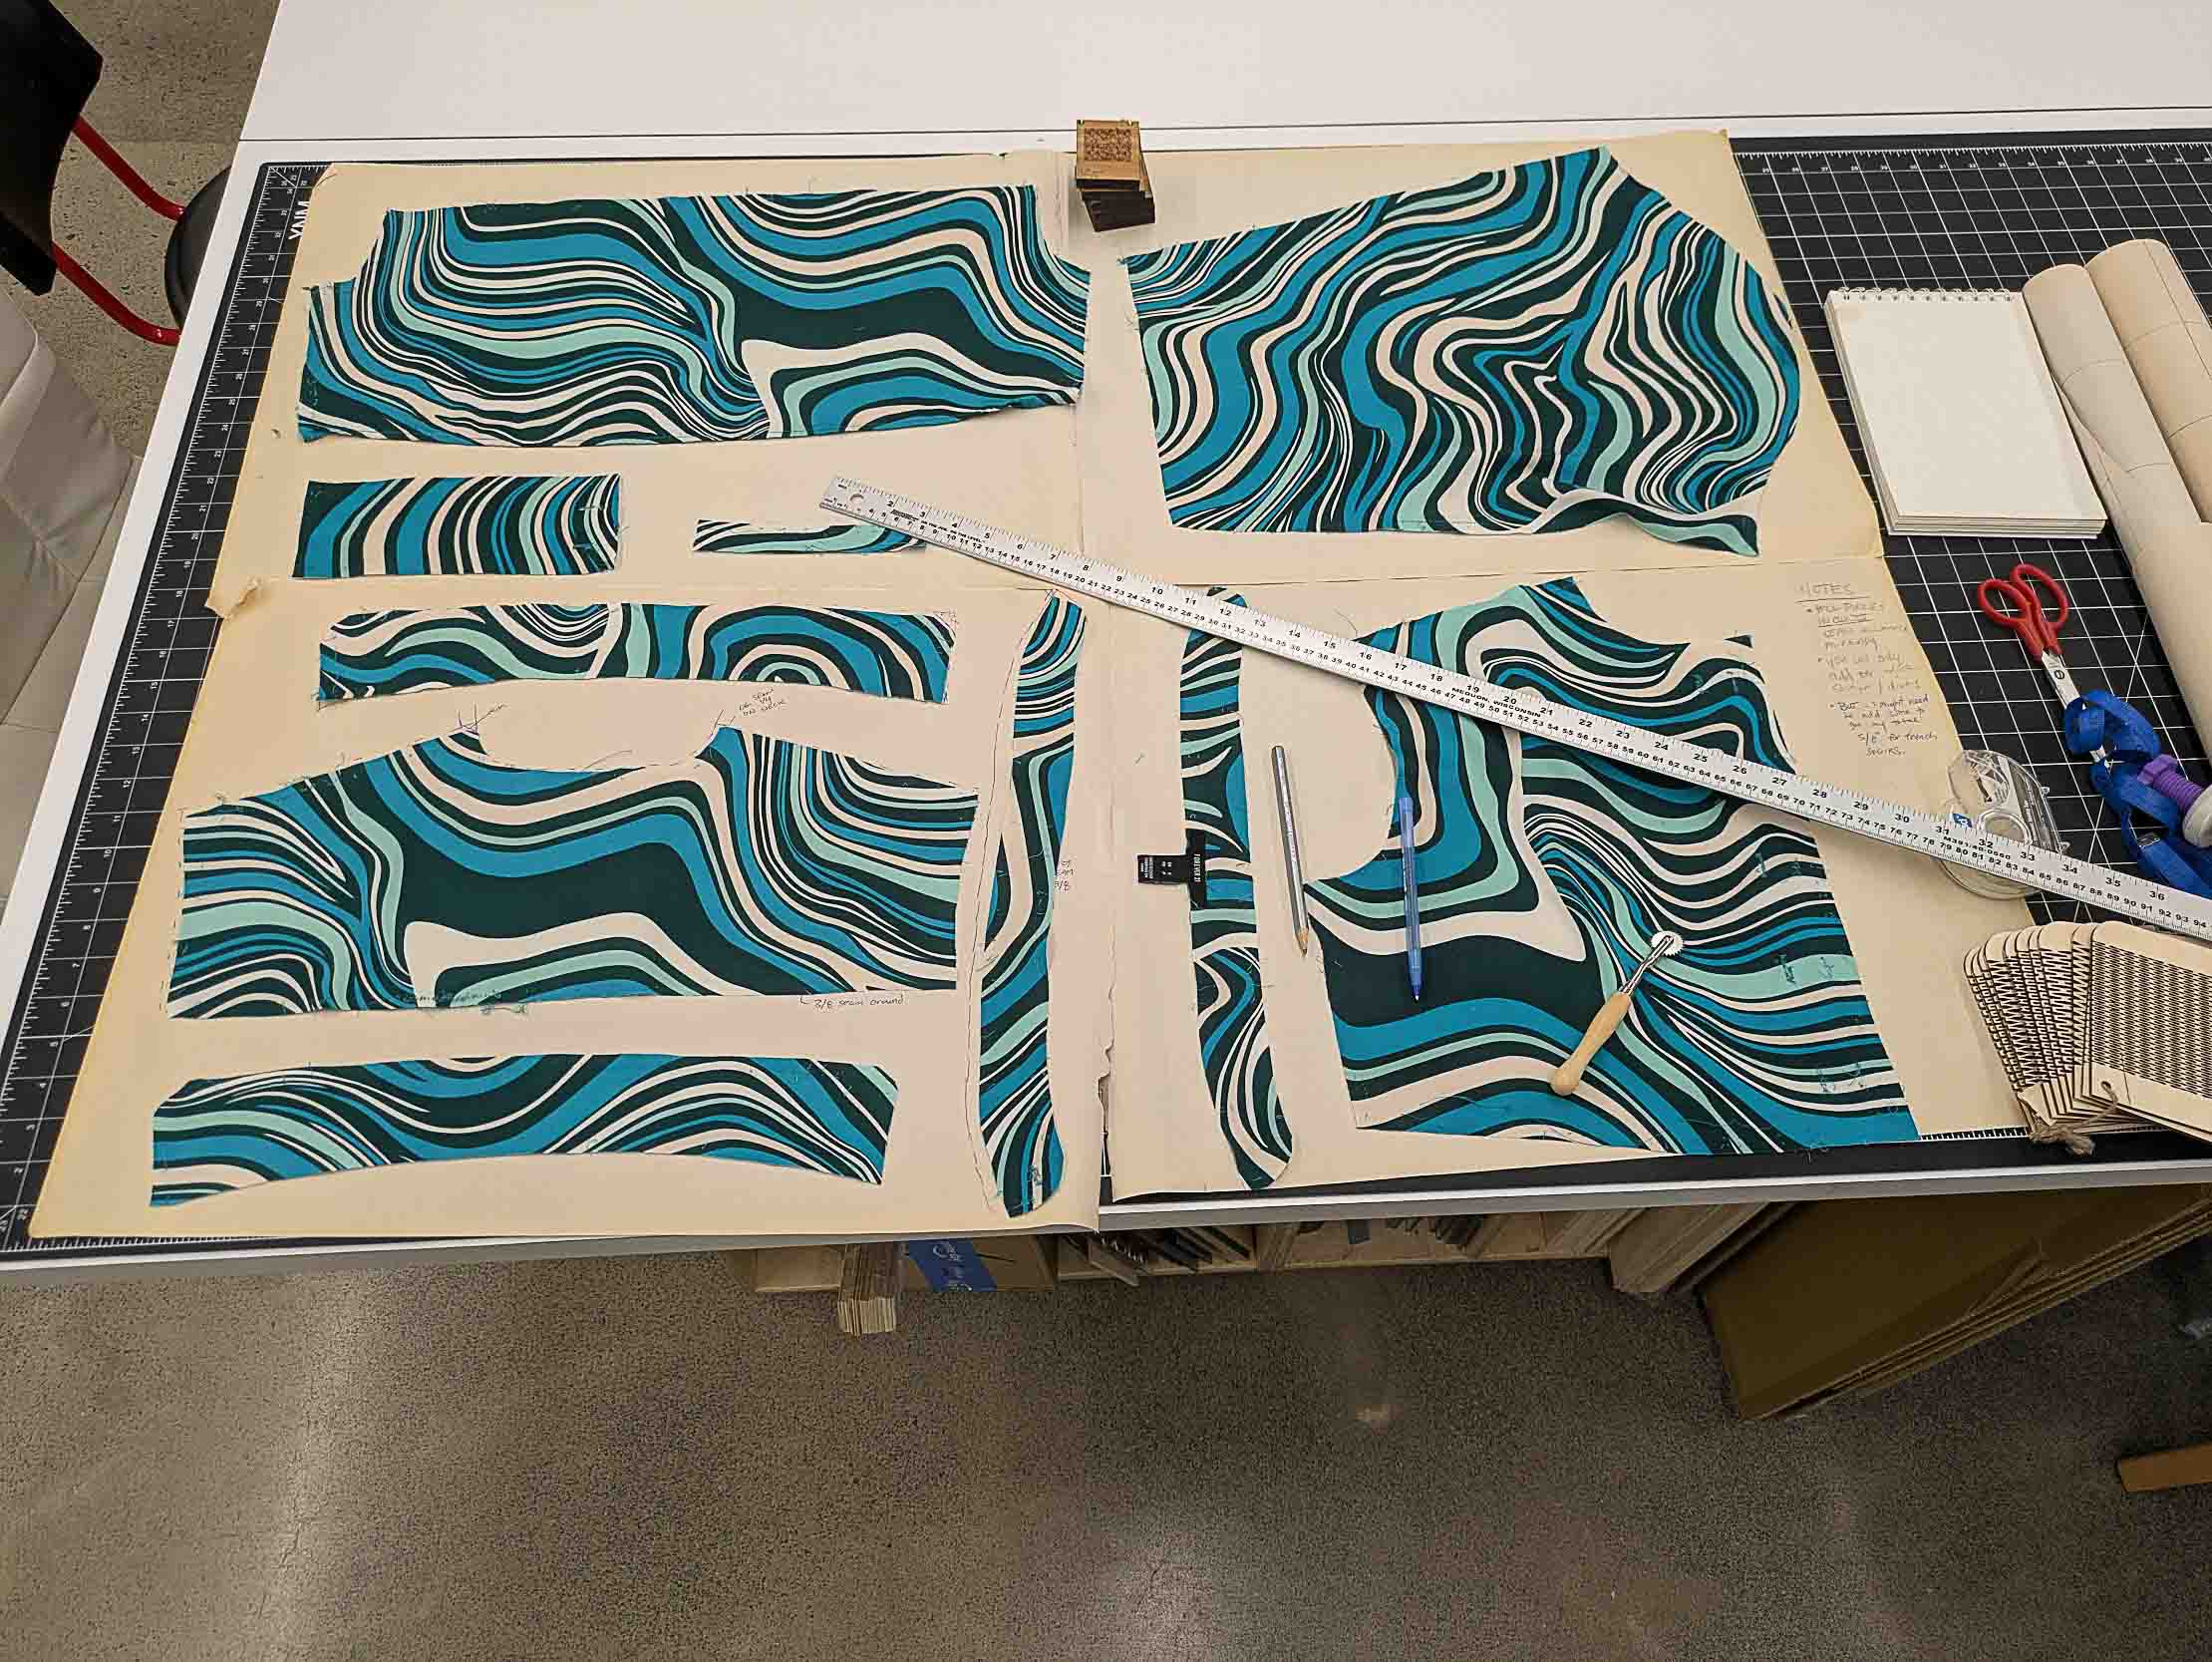
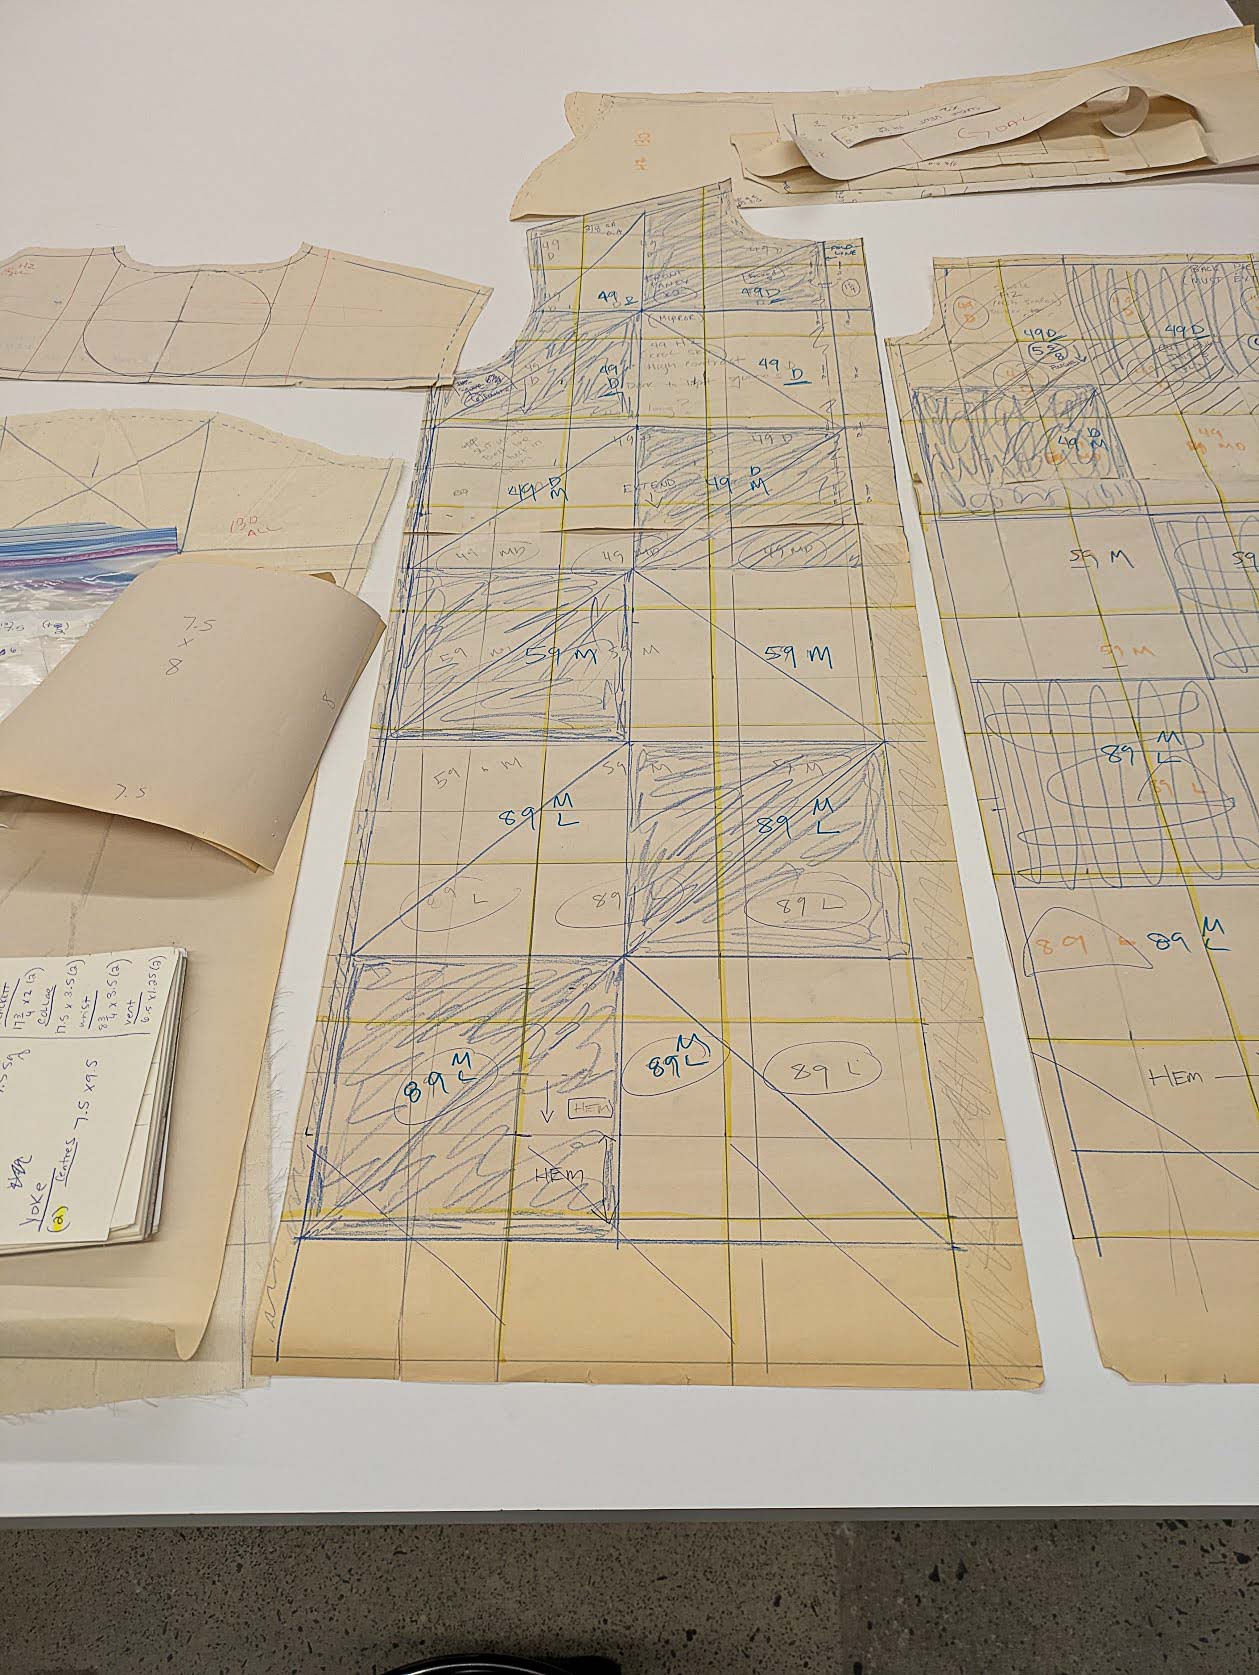
 pattern with tissue paper back
My workaround was to cut 6 strips + 2 sleeves instead of 100+ squares. But I would still get the look of squares by sectioning them off with tape.
This gave me just enough "safety" silk for maybe one extra "redo" piece, but I was forced to accept that I'd just have to trust the process and hope for the best. At this stage, there was nothing else I could do. The project was becoming too expensive, and the deadline was coming up too quickly.
To my massive relief, this decision actually worked! Some squares accepted the pigment better than others, but ultimately I did get some kind of print on all of them -- which actually hadn't happened in my tests.

Finally, I just needed to remove the tape and do a final rinse. Easy... which is when, to my horror, I realized the tape had left sticky residue on every part of the silk it had touched! I truly thought the project was ruined. It was going to attract dust like crazy and be impossible to sew.
But Annie refused to give up. We read that isopropyl alcohol might remove the tape residue, but in my experience it wasn't working. Still, she convinced me (possibly out of deep pity and desperation) that I just needed to scrub the residue a little harder and longer. Remarkably, it started to work!
It took me a couple of hours to scrub every white stripe on the robe, but eventually the residue was gone.
I'm not sure I will ever love another garment I make more than this one.
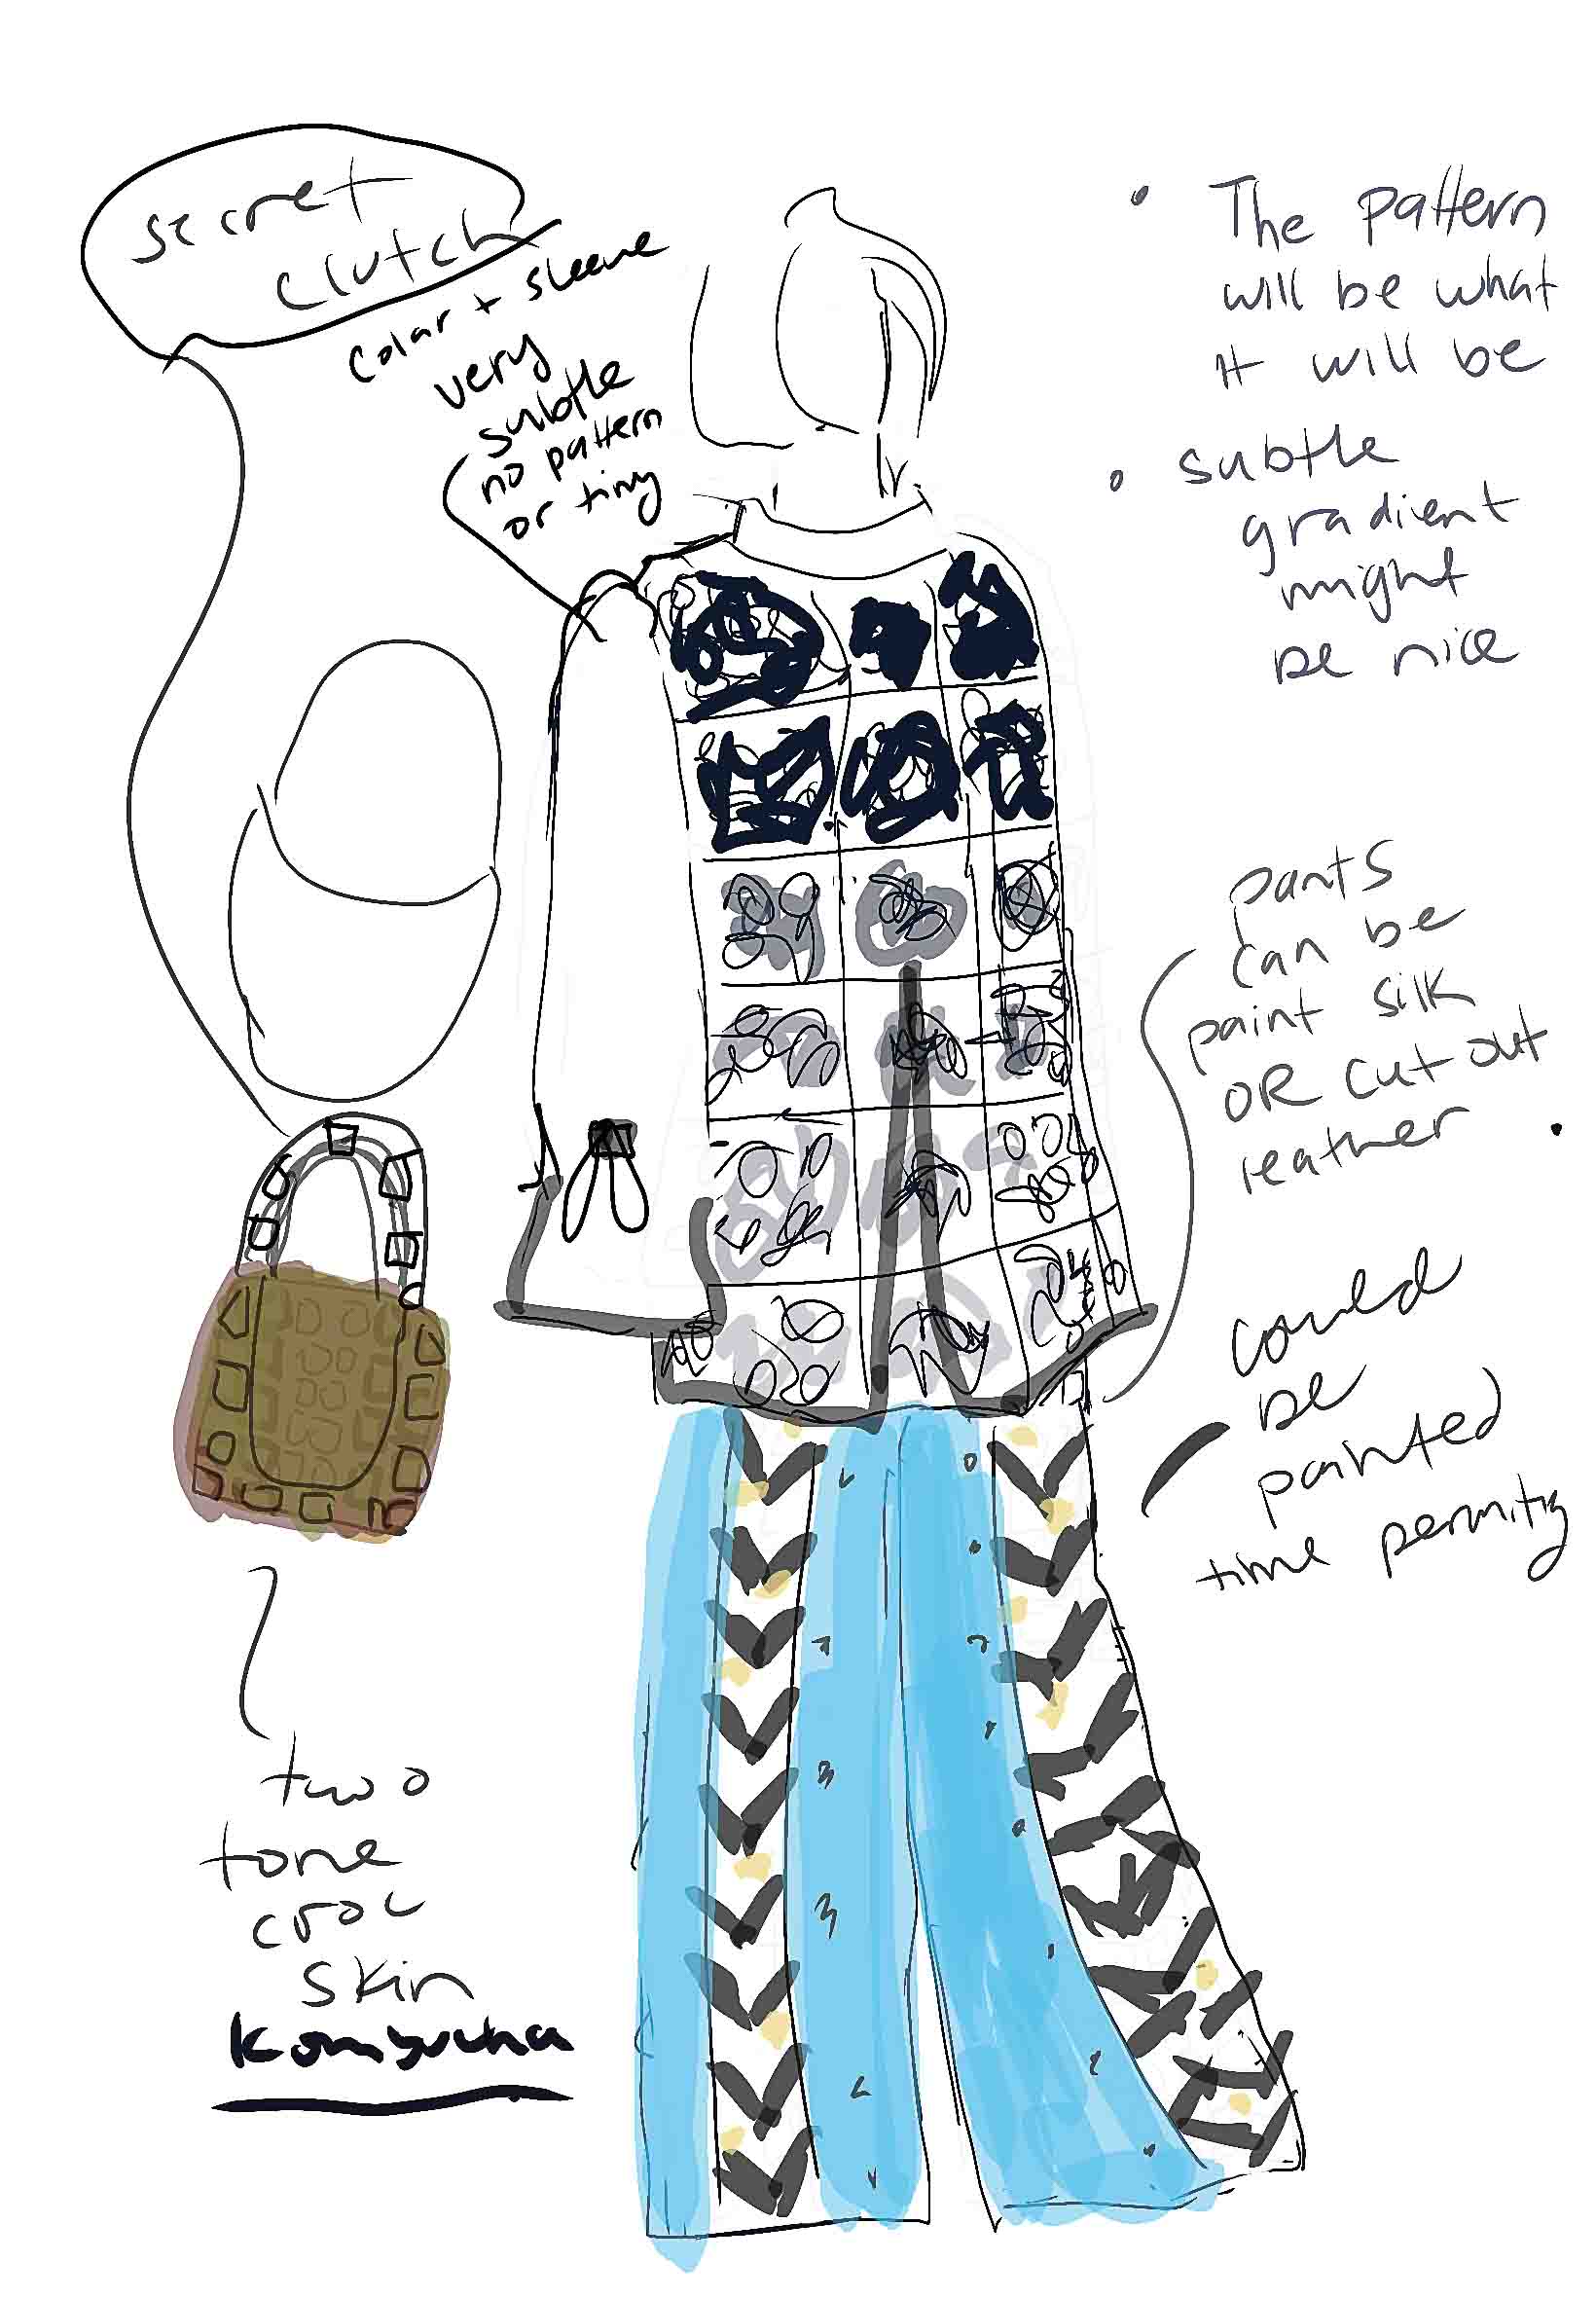
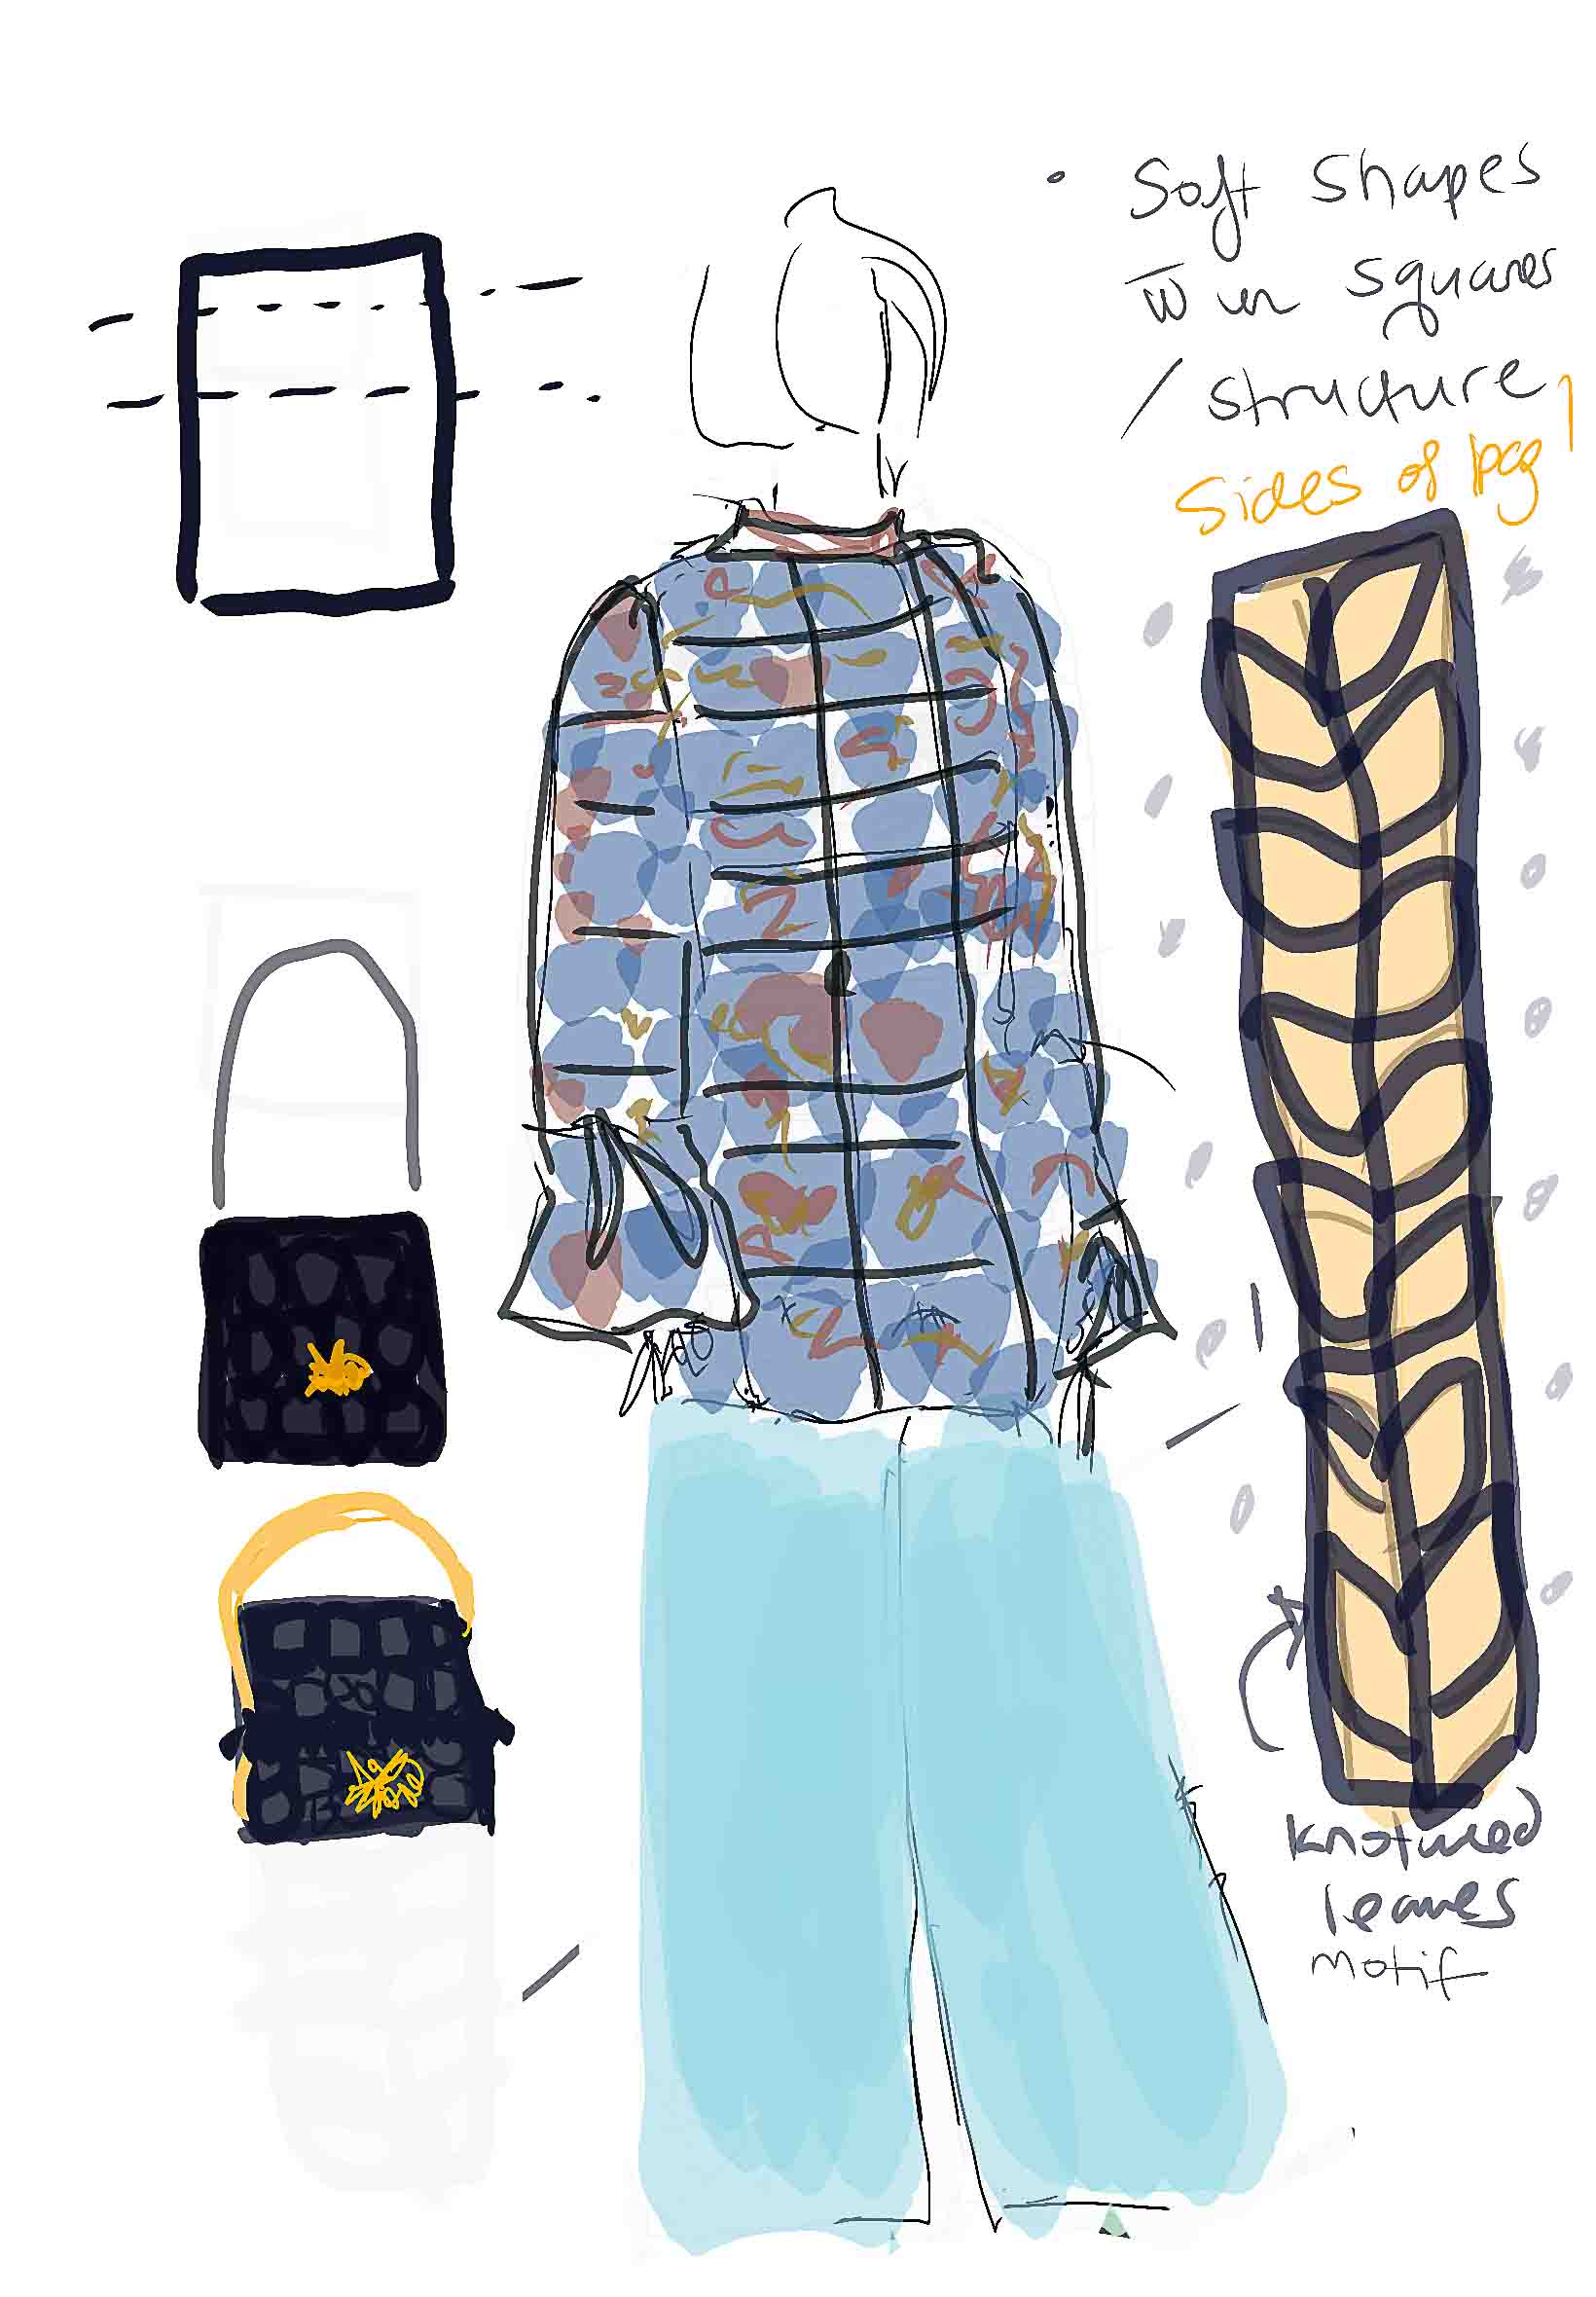
Ideation & Sketches
Bag
 Project management |
 Digital bodies |
 BioChromes |
 E-textiles |
 Project management |
Outfit
 Computational Couture |
 BioFabricating Materials |
 Soft robotics |
 Implications and applications |
 Project management |
 Digital bodies |
Final Video Storyboards