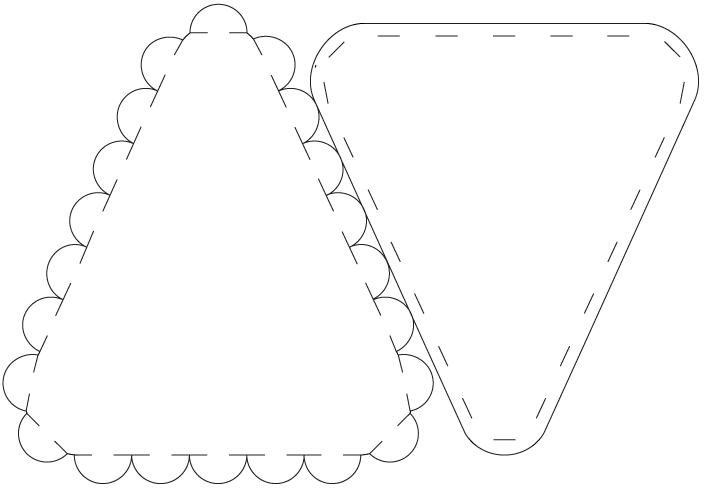
Circular Open Source Fashion
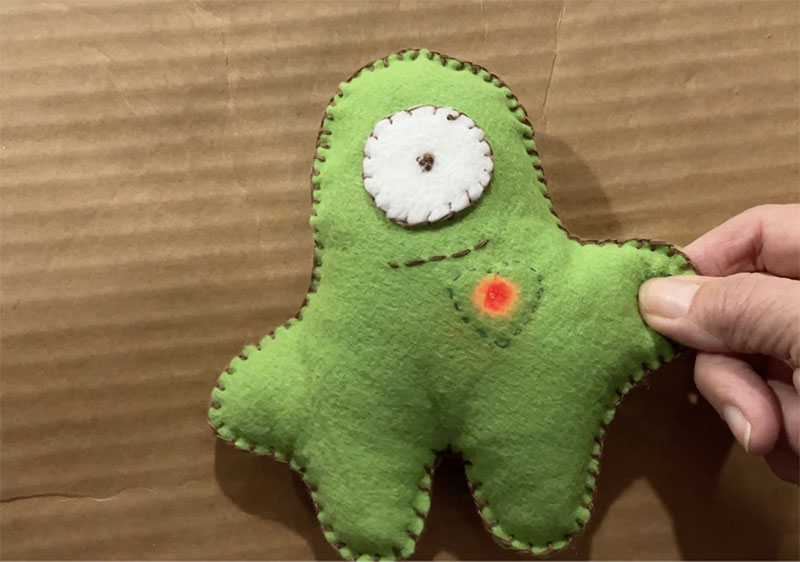
This week we focused on the impact of commons in design, strategies built on open-source collaboration and shared knowledge, and modular and nesting solutions that minimize waste and approach zero-waste design. I chose to apply these concepts to improve the design and minimize material waste for light-up plushies workshops that I run.
1. Research & inspiration
How might I create a no-sew light-up plushie lesson design for a family workshop — easier construction for little hands, and more efficient use of the base felt material?
2. Tools & tutorials
Tools
Tutorial: Modular designs and Fusion 360
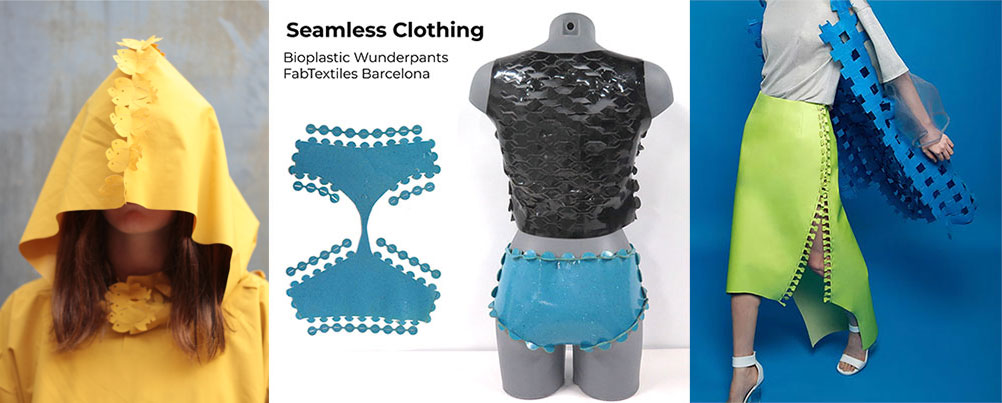
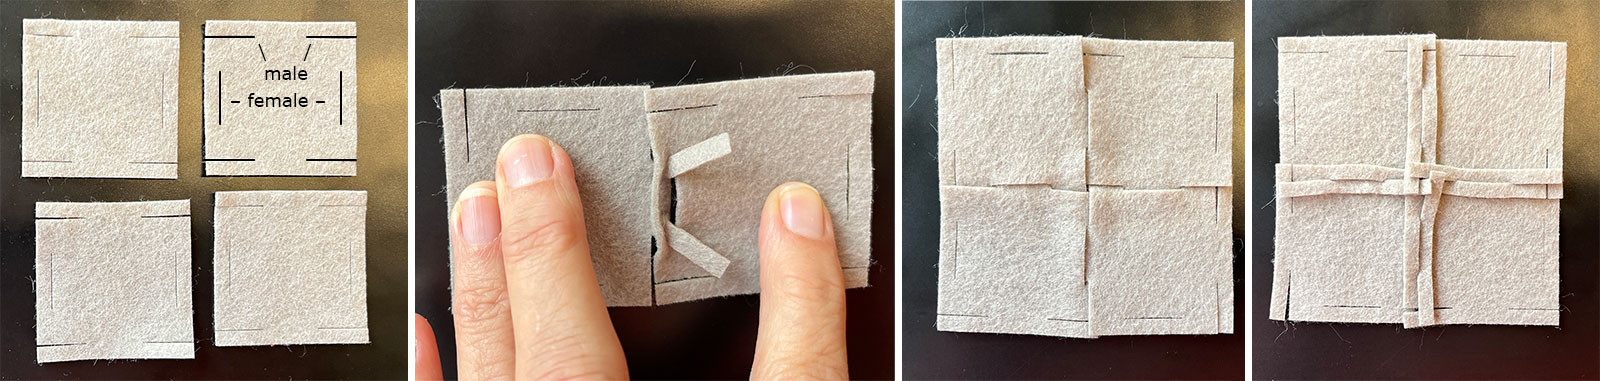
Examples of modular designs that interlock with male (tabs) and female (slots) connections.
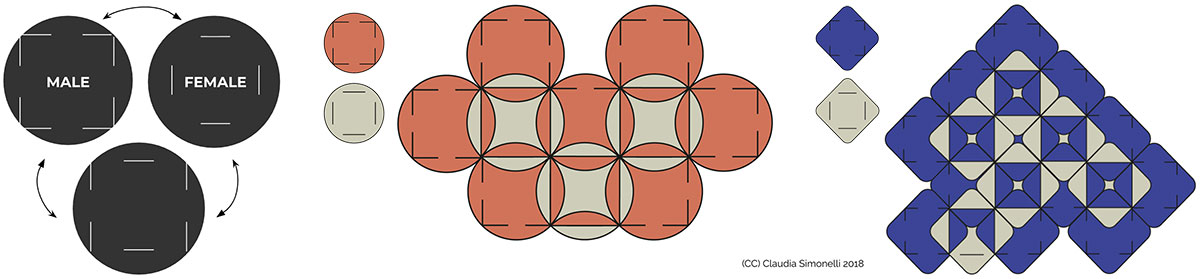
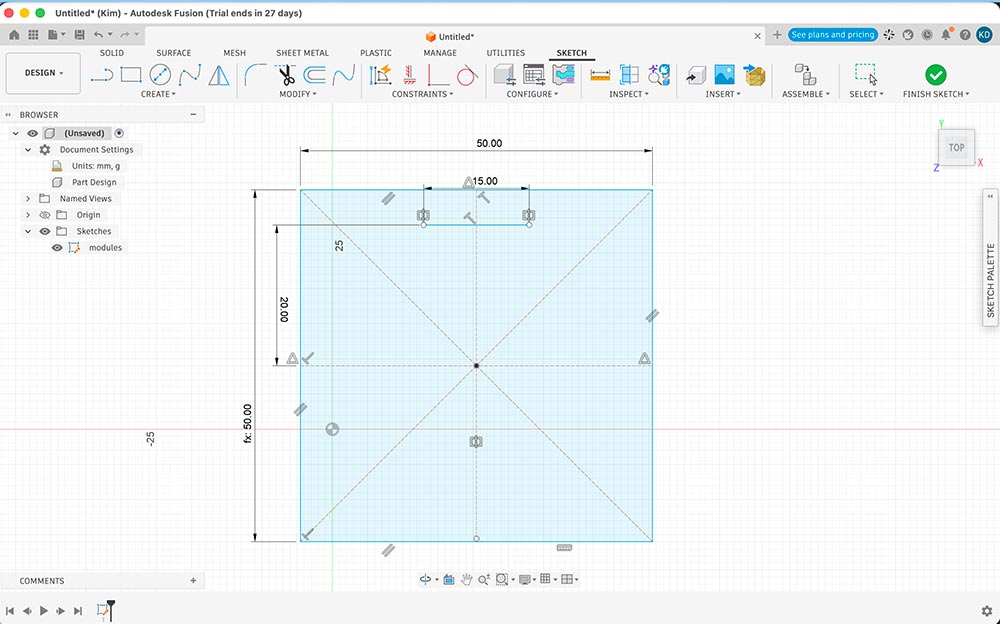
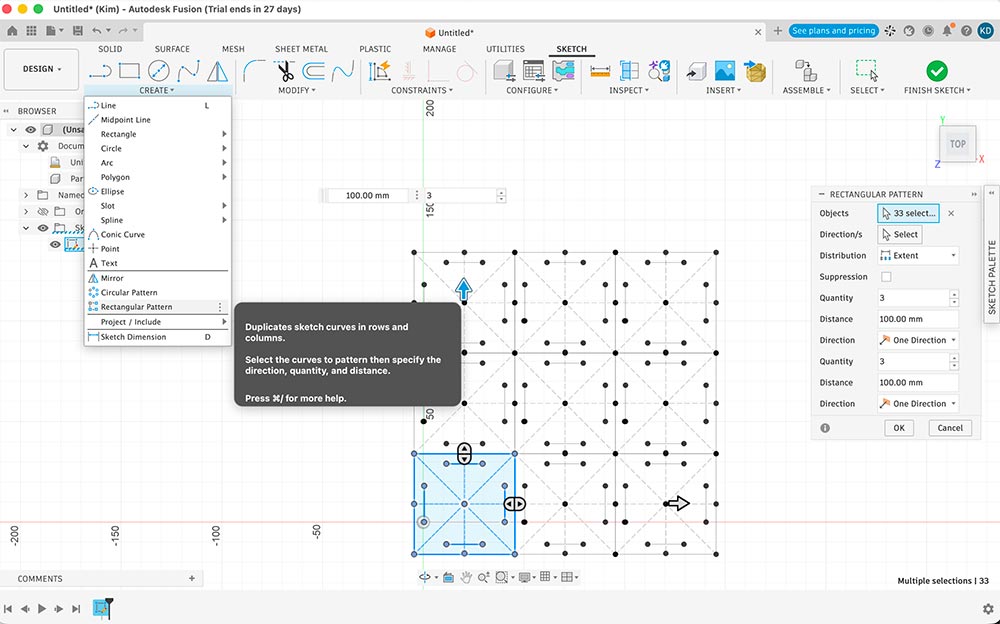
Steps to creating modules in Fusion 360:
- Open a new sketch, set the size and dimensions.
- To make complementary shapes, copy/paste the sketch to clone your design onto another layer. Repeat for as many shapes as needed.
- When the design is ready, select each sketch and right click to export as dxf.
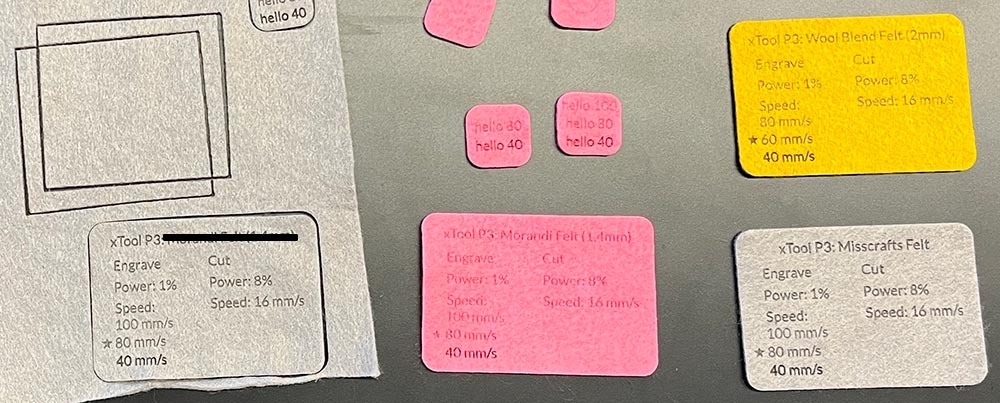
To calibrate the felt materials for the laser cutter, Myles set up a file to test and use as a reference for each of the different kinds of felt (ranging from 100% polyester to a wool blend). We then ran each of the felt materials through with varying power and speed settings for both cutting and etching the fabric. These first tests gave us a good understanding of the felt material and how it behaves, and the “reference cards” (below) helped us and others dive into experimenting with our modular design systems.
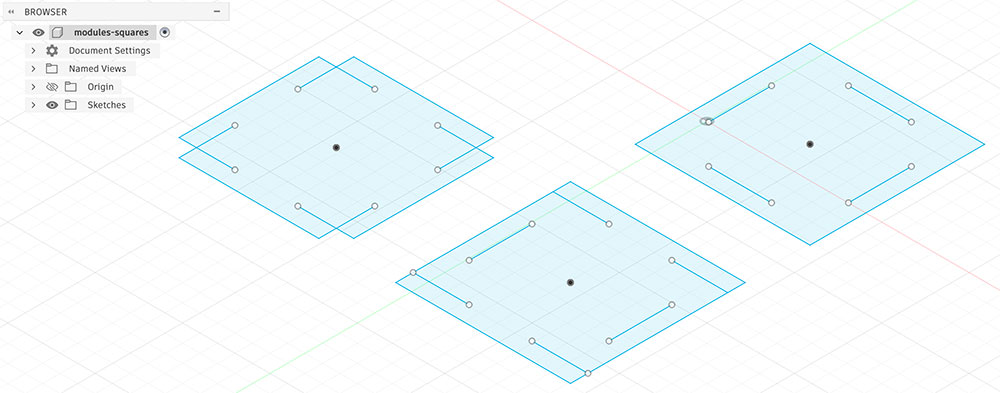
Module squares test: Laser cut squares, and back and front construction views. Note that tabs were too spindly and pulled out easily.
3. Process and workflow
Step 3.1: Tab design tests
Designing a zero-waste pattern by optimizing how pieces nest together.
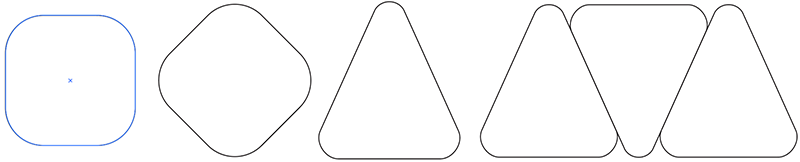
Tab design tests
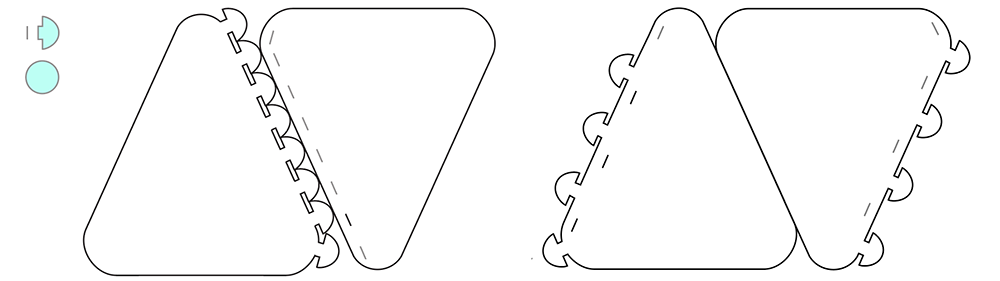
Paper tests
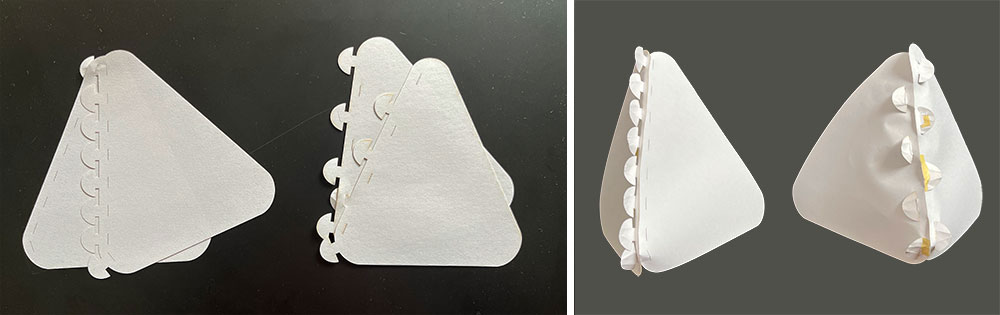
Felt tests
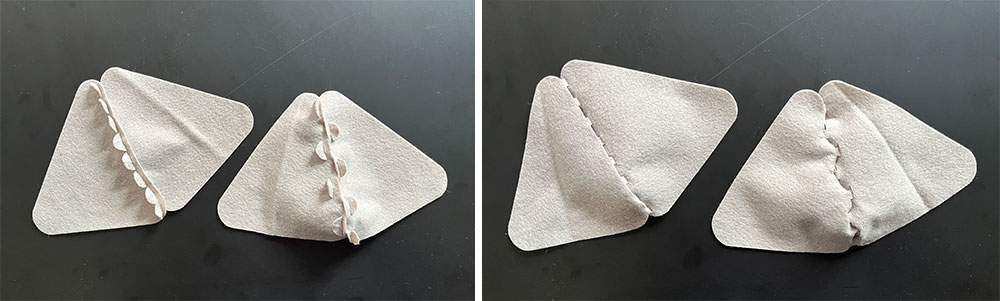
Strength test
Step 3.2: Refine tabs
Remove ‘neck’ to simply tabs and tighten up seams. Then:
- Join shape and tab lines, add anchor points, delete duplicate lines, join corners
- Superimpose front and back, create back with only slots
- Separate front and back
- Flip to optimize material use

Pattern laid out for optimal material use, with internal bits for facial features and stuffing:
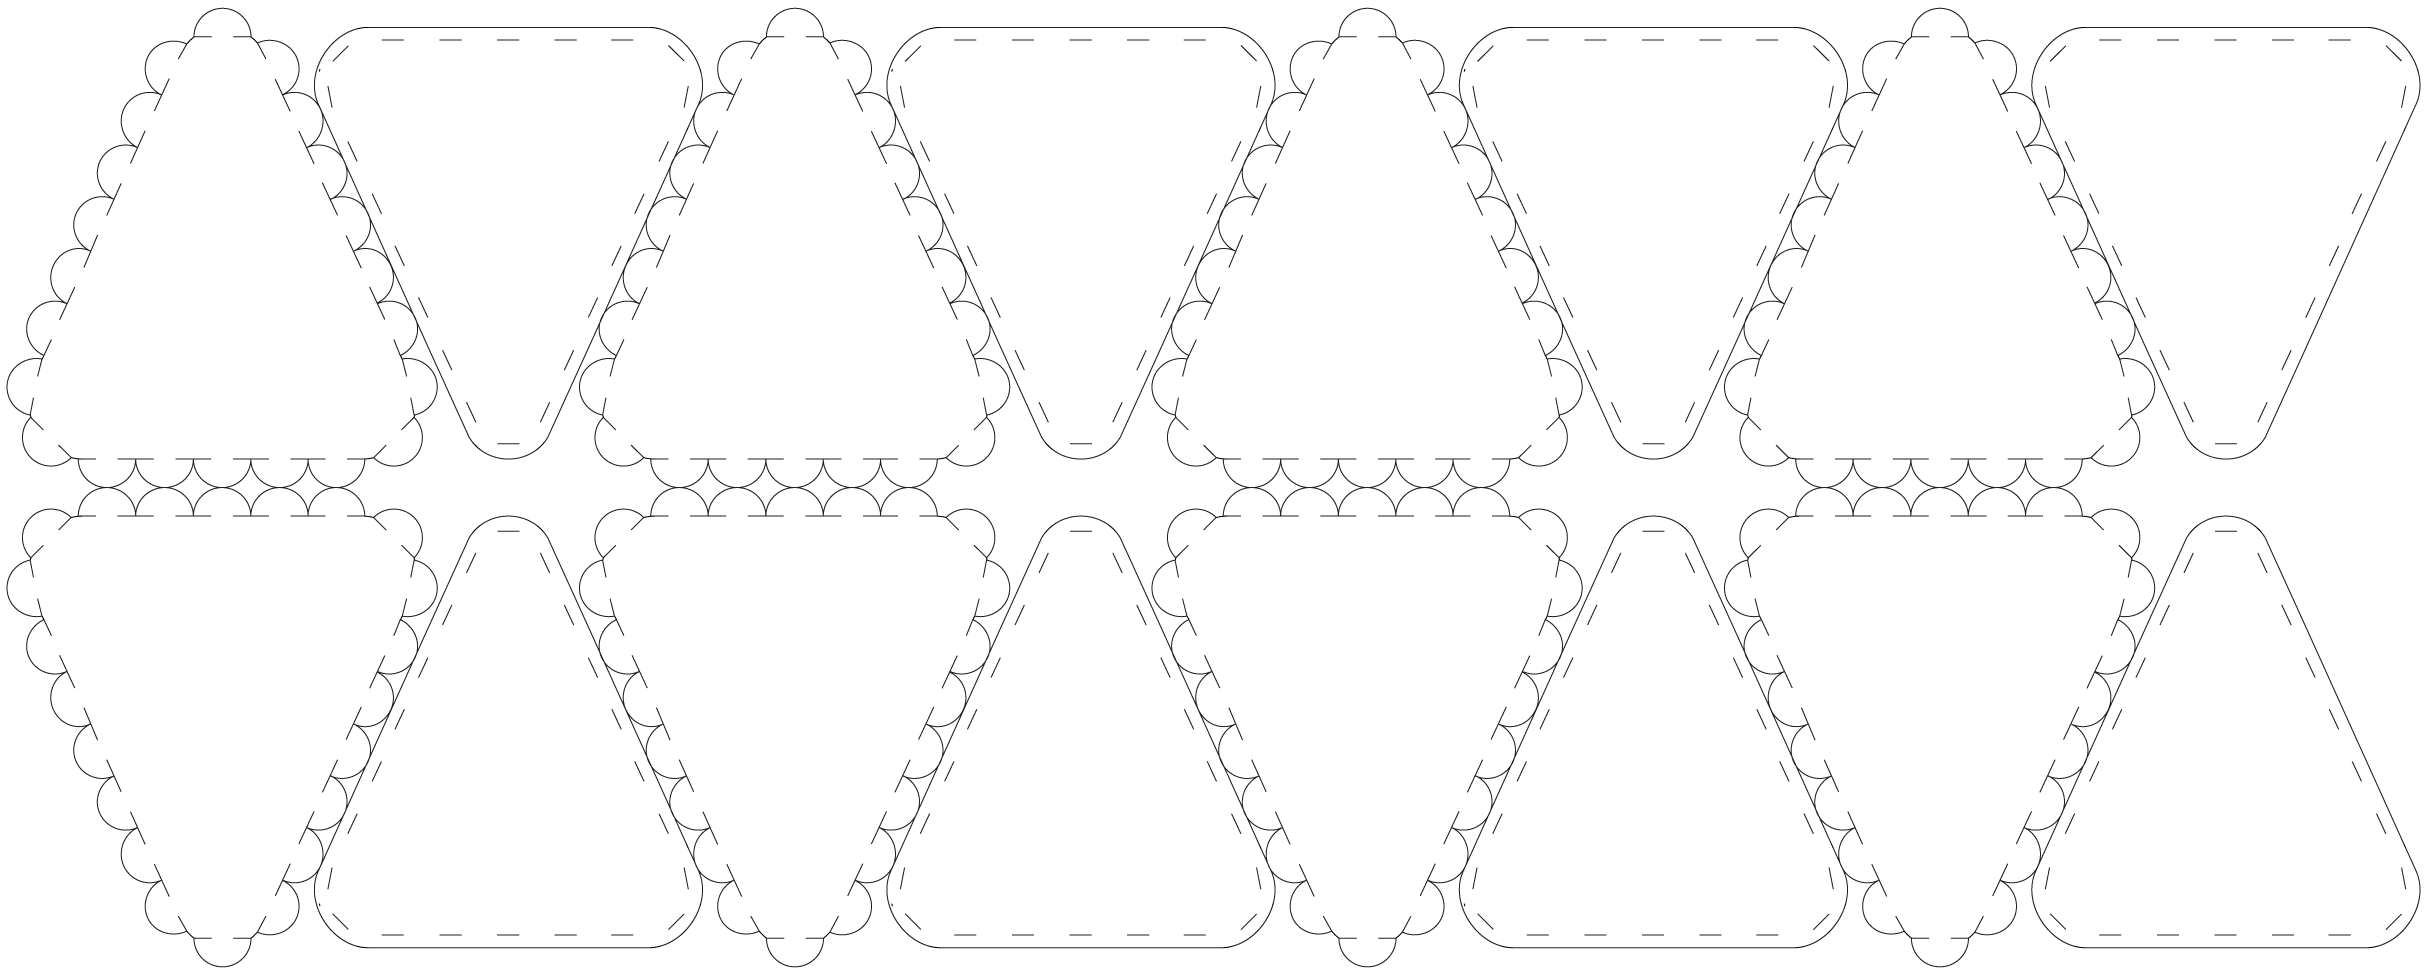
Step 3.3: Cut & assemble
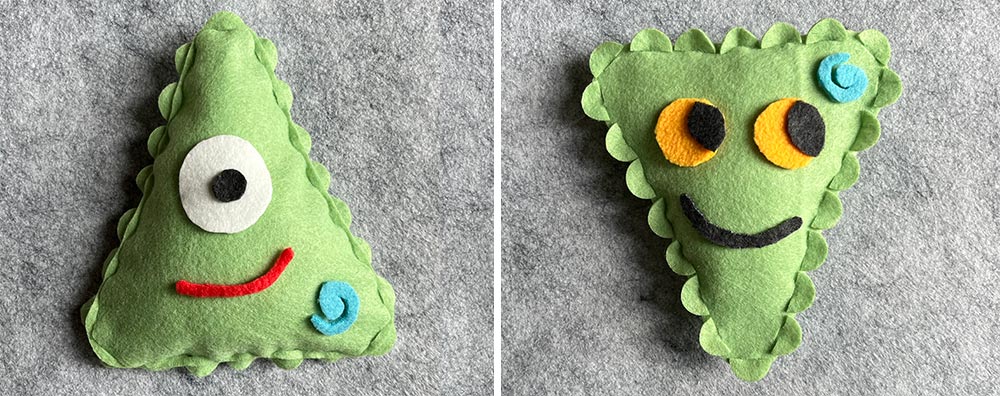
I first tested the assembly of the green plushie, which used a thinner 1.4 mm felt. It was fairly easy, and took about 5 minutes — much quicker than hand sewing, so an improvement for a 3-hour workshop with younger kids! Cons: I noticed the strip between the slots and the edge was a bit fragile. It also felt a bit flimsy.

I moved on to test the design with a thicker 2-3 mm felt. It was not too thick and the construction process worked well. What’s more, the edge was more interesting visually, and less fragile.
Assembling thicker red plushie, tab strength test:
Comparing the two; Assembling, stuffing, and closing red plushie:
Step 3.4: Results
If a light-up component was part of the workshop, a soft circuit and pressure switch would be constructed before putting together the two sides. The maker would then add facial features (no-sew method involves fabric glue or a glue gun), an interactive indicator (blue button) and other embellishments. The plushie is then ready to stuffed with leftover felt material (shout out to Myles for this idea!), then closed up with the final few tabs along the bottom.
Future variations abound. The plushie maker could add legs, antennae and other features. Or, these could be incorporated into the design of the tabs along the bottom.
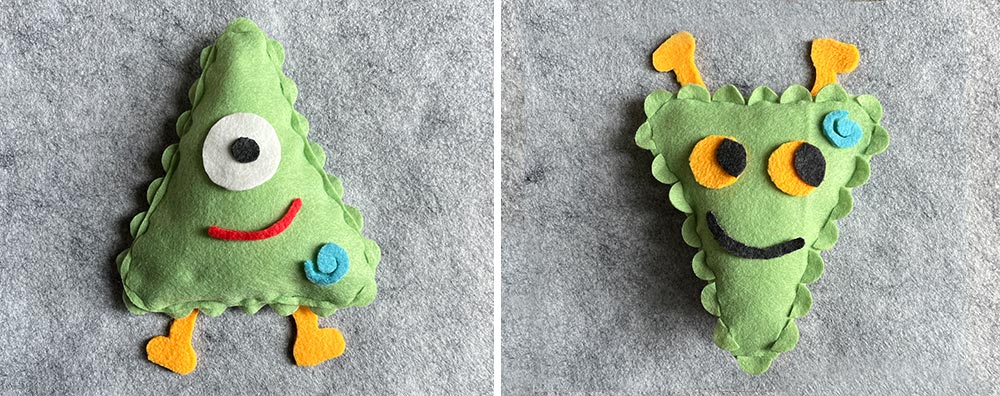
4. Reflections
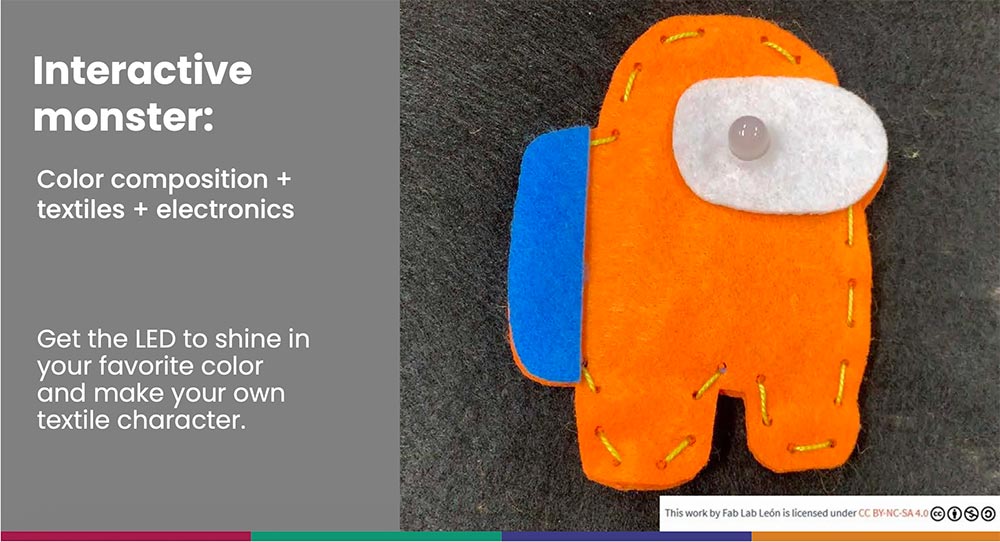
Other shapes that respect modular design and minimal waste can be explored. This could even be the focus of a zero-waste workshop challenge. Inspiration and a major shout out goes to the SheMakes project from Fab Lab Leon, Spain, for paving the way in designing educational experiences for multiple generations to benefit from engaging in stem in fun and meaningful ways.