BioFabricating Materials
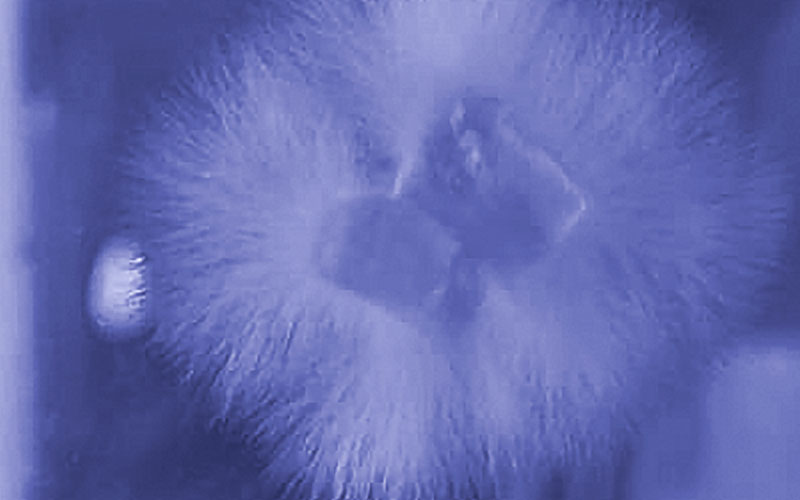
This week we explored alternative materials and techniques beyond plastics based on the petrochemical industry. It was an ambitious week, in which we made bio-plastics, bio-leathers, and yarns out of gelatin, algaes, bacteria, and fungi. In some cases, we were only able to start the sometimes weeks-long process, such as with root-grown materials, and the even longer mycelium process. (photo on right: growing mycelium, day 3)
1. Inspiration
2. On BioFabrication
get inspired!
Check out and research alumni pages to betetr understand how to document and get inspired
-
Comparison research - Aslı Aydın Aksan - TextileLab Amsterdam
-
Comparison research - Barbara Rakovska FabLab Bcn
-
Jute research - Julija Karas - FabLab Bcn
-
Polarisation in bioplastics Viviane Labelle - EchoFab
-
Local waste streams - Marieke van Eyndhoven
Add your fav alumni's pages as references
Caption for the left image
Caption for the right image
-
Download references Links to online reference files, PDF, booklets
-
or embed your own PDF as:
- Video references: Vimeo (only when not yours)
Sound Waves from George Gally (Radarboy) on Vimeo.
- Video references: Youtube (only when not yours)
3. Tools & Ingredients
or
* xxx gr
* xxx gr
* xxx gr
* xxx ml
* xxx gr
* xxx gr
* xxx gr
* xxx gr
* xxx ml
* xxx gr
* measure - measure - measure
* add, combine, mix..
* simmer, cook, boil, freeze, burn, crush...
* mix, smash, stack, overlay..
* cast, pour, press..
* dry, aereate, dehydrate..
* remove, peel, unmold..
* finishing touches
4. Process and workflow
"Lorem ipsum dolor sit amet, consectetur adipiscing elit, sed do eiusmod tempor incididunt ut labore et dolore magna aliqua. "
How-to use footnotes for fabrication files
Fabrication files are a necessary element for evaluation. You can add the fabrication files at the bottom of the page and link them as a footnote. This was your work stays organised and files will be all together at the bottom of the page. Footnotes are created using 1 (without spaces, as shown in Step 1 & 2, and referenced as you see at the bottom of this page) You can reference the fabrication files to multiple places on your page.
4.1 Step 1
This model 3 was obtained by.. Lorem ipsum dolor sit amet, consectetur adipiscing elit, sed do eiusmod tempor incididunt ut labore et dolore magna aliqua.
4.2 Step 2
The laser cut nesting 2 was created using.. Lorem ipsum dolor sit amet, consectetur adipiscing elit, sed do eiusmod tempor incididunt ut labore et dolore magna aliqua.
4.3 Step 3
...
5. Results
Results & documentation
- Don’t forget to document the outcome including:
- Upload the photos & files on oscircularfashion
- Final result
- Photos from different stages
- Videos of movement or interaction, show how a material moves, something was assembled or the interactive
- Include measurements or a reference object to give a sense of size
- Describe the (material) properties or what you made
- Comparison between attempts, if you did multiple experiments or generated multiple files before fabricating / deploying. You can use a table as shown in week 4
5.1 Documenting experiments in a table for comparison
example from the documentation of Loes Bogers TextileLab Amsterdam 2019-20
| Biofoam |
Gelatin foil |
Bioresin |
Biosilicone |
| Starch Rubber |
Biolinoleum |
Alginate net |
Alginate foil |
| Alginate string |
Agar foil |
Bio composite |
Reused PLA |
6. Weekly reflection & critical thinking
- What did I learn? What did I personally find interesting or surprised me?
- What would I do differently? If something "failed" do I know how else to tackle it now?"
- How does this connect to my final project or my learning trajectory?
- What are implications and possible applications, think also from the ethical or environmental aspect, how it could connect to your practice and project?
NuEval — final step
Go to NuEval and fill in the checklist, when not complete notify your instructor.
7. Recipe files, Booklet and References
-
Recipe: download my recipe booklet here ↩
-
Recipe: Mycelium recipe pdf ↩
-
Reference: Author; Title; Source; year ↩