Lower gesture: Structure and rhythm
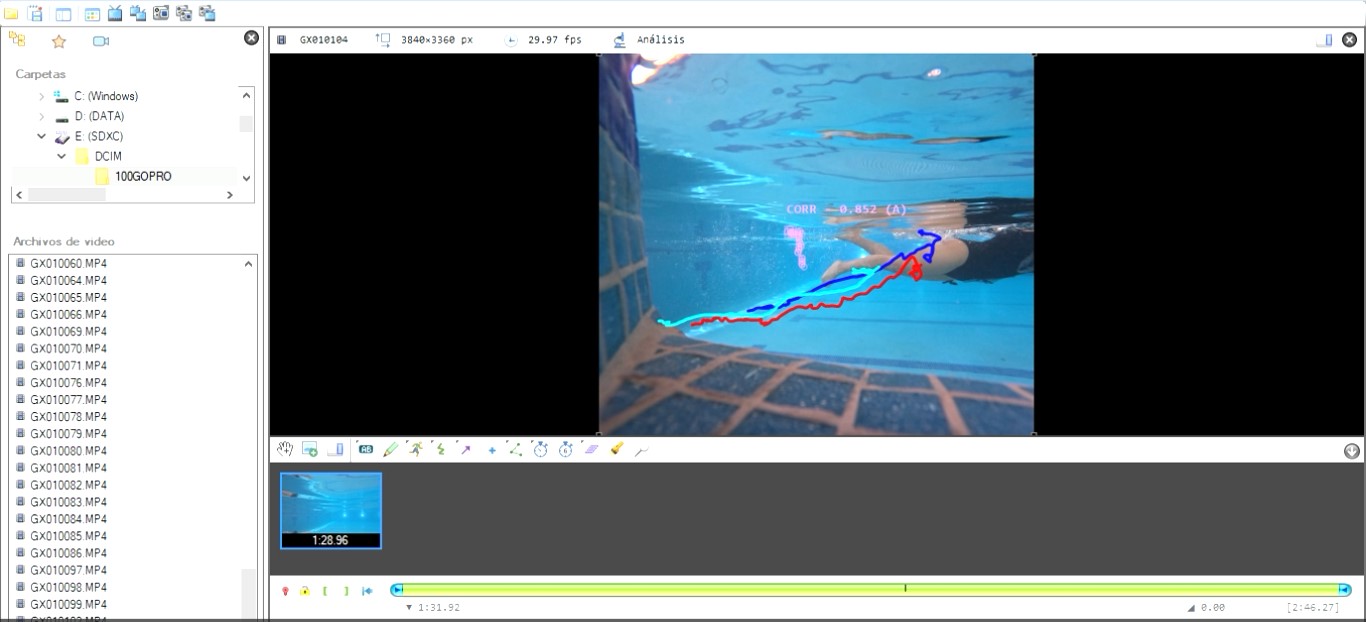
The bag in Liquid Gestures emerges as a translation of the movement of the legs, particularly in an aquatic environment. Unlike pieces that explore the upper body, this design focuses on the power, rhythm, and repetition generated by the legs as they move underwater. The modules that make up the bag represent this rhythmic structure: patterns that evoke the cadence, endurance, and continuity of movement.
Ideation & sketches
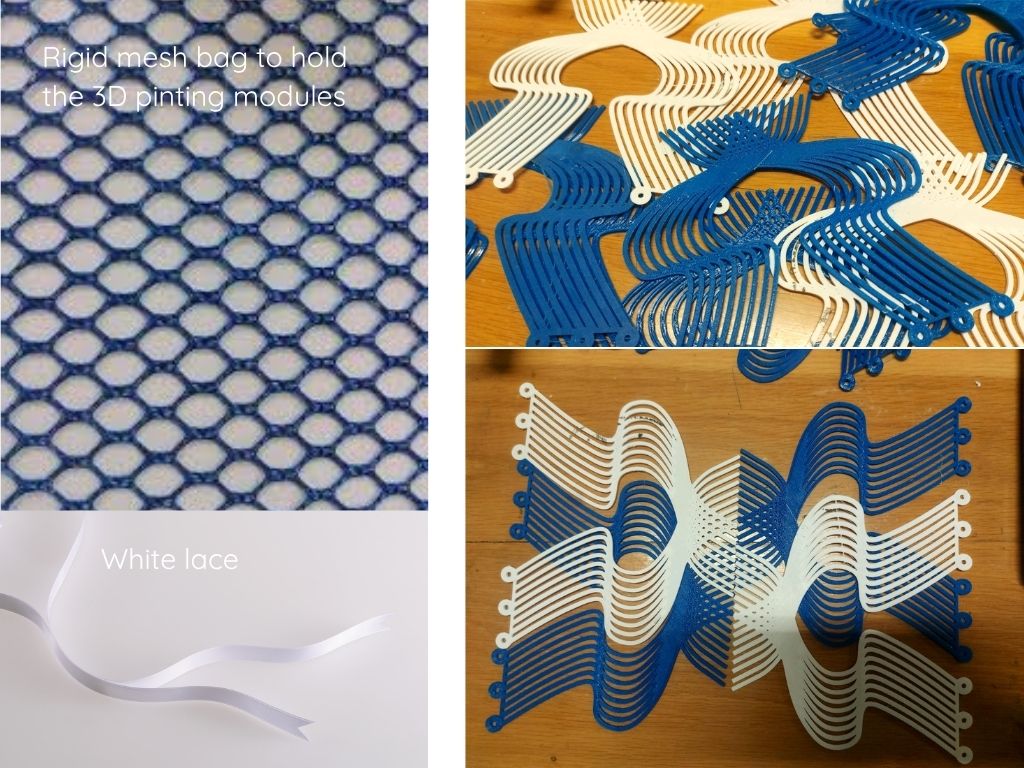
For the bag, I wanted it to be a simple design with plenty of open spaces so that, when in use, water could drain out and air could circulate inside, allowing the items inside to dry more effectively; thus, the bag’s shape was defined by the movement itself
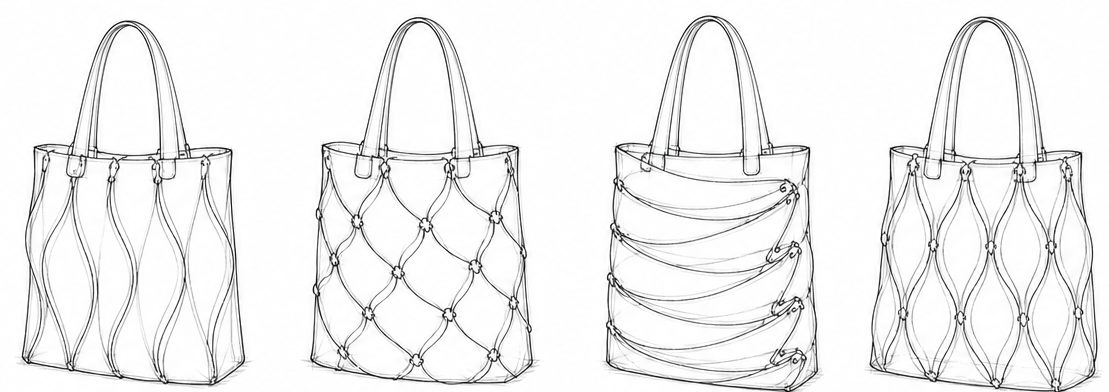
For this piece, I drew inspiration from the movements of the legs underwater; as the third most important limb when interacting underwater, the legs require a lot of rhythm and constant movement to keep the body afloat.
Design & Fabrication
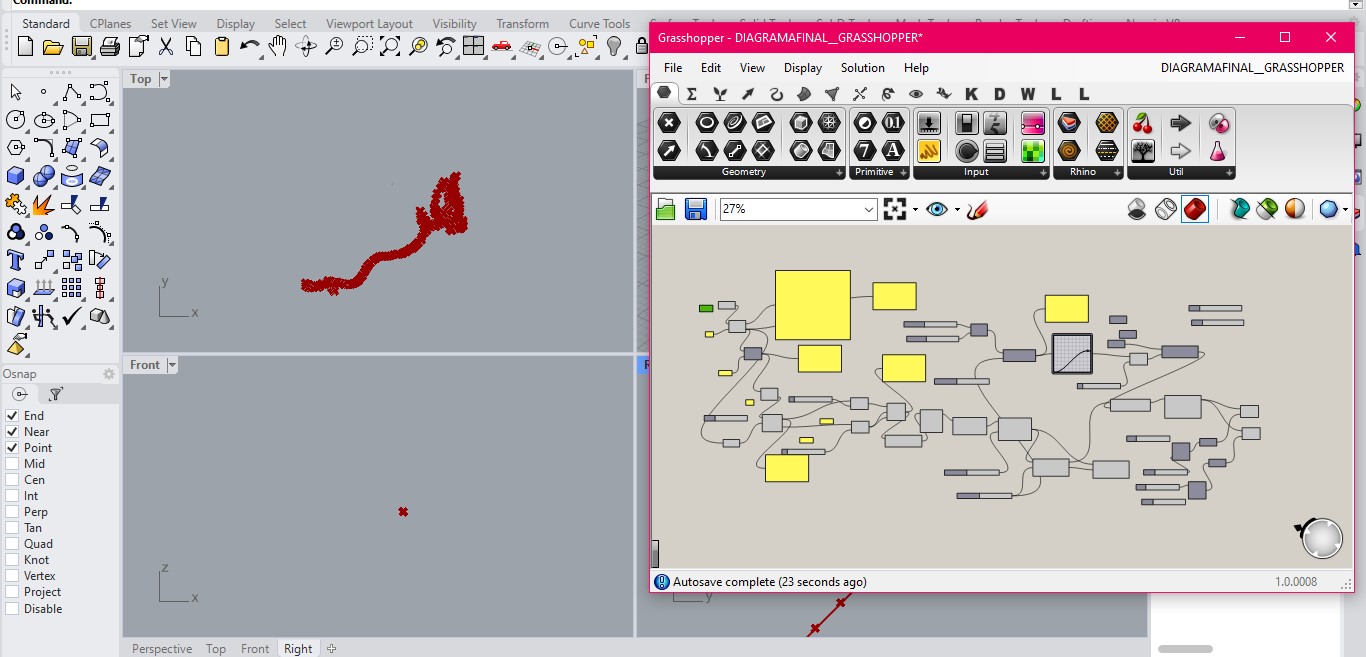
Parametric Design
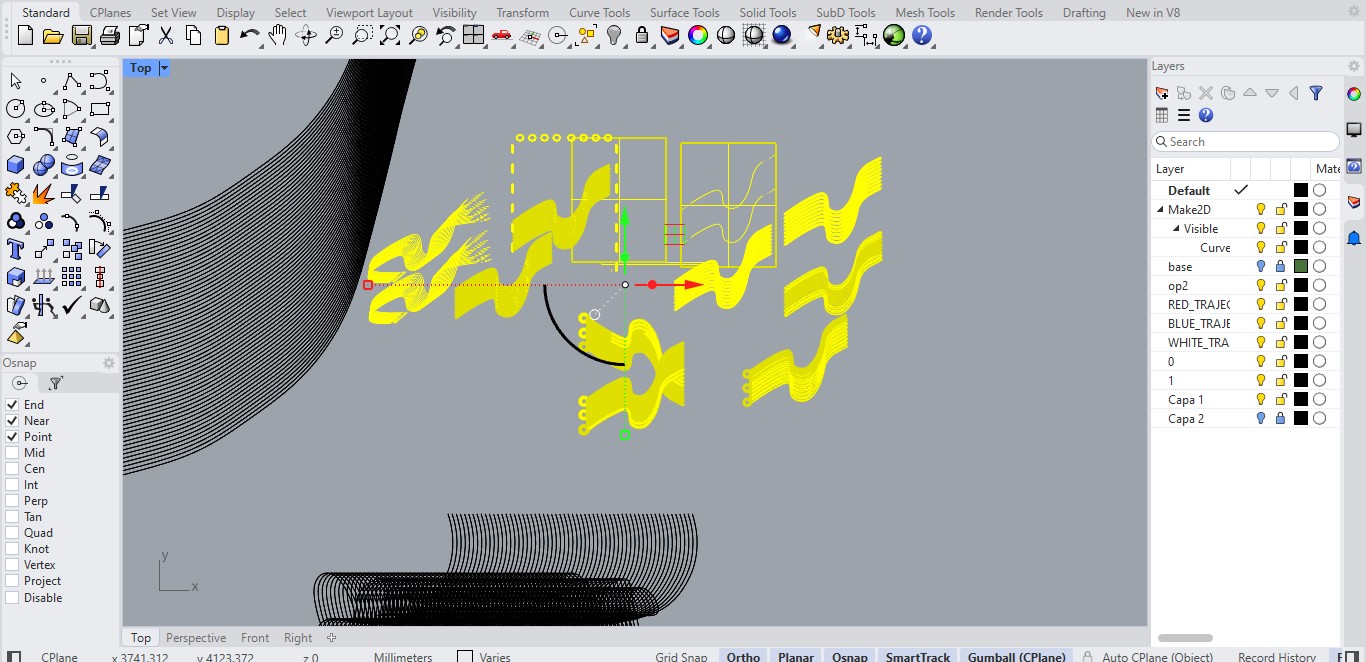
The method for creating the curves in this piece was the same as in the previous ones; however, for this piece, I experimented with the orientation of the modules to create a compatible module that could be assembled and disassembled. Holes were added to serve as the module joints and form the bag.
I decided to reduce the size of the curve without losing the original shape of this piece, and I arranged them to create a repetition among the curves and achieve the optical illusion effect I was seeking
3D Printing
Due to the size of the print bed, I chose to split the module in two and then join them using heat. It is very important that the soldering iron be set to medium heat, since at high temperatures the pieces tend to melt and burn, altering not only their appearance but also their shape, and they become difficult to bond.
White and blue TPU filaments were used, highlighting the importance of the part’s thickness—an extrusion width of 5–7 mm is recommended to provide both structural support and flexibility. Print parameters depend on the 3D printer; however, the settings that worked best for me on the two printers I used were as follows:
Printing parameters:nozzle temperature 230°C, bed temperature 65°C, speed 30 mm/s
Manufacturing
With a medium temperature and a slight retraction, it will be possible to join the modules and maintain a clean appearance; always remember to remove excess material from the nozzle so it doesn’t contaminate the part with leftover material.
Joining modules using heat
After printing the necessary modules, they were simply joined with a silk ribbon; you can add as many modules as you want to create different dimensions of the final piece.
3D Printing module