BioChromes
Inspiration
There’s a long history of colour coming from prehistoric times, and natural dyeing is a traditional method still used in Mexican culture. Over the years, modern ideas about colour have brought new schemes and theories, but time has slowly been taking away this inherited knowledge replacing it with synthetic chemicals and techniques that are often harmful to both people and the planet. What better way than to go back to our heritage: grown, organic and not harmless? Mexico’s colours inspired me and made me realize the knowledge I can find everywhere starting with my garden.
Mexico's palette:
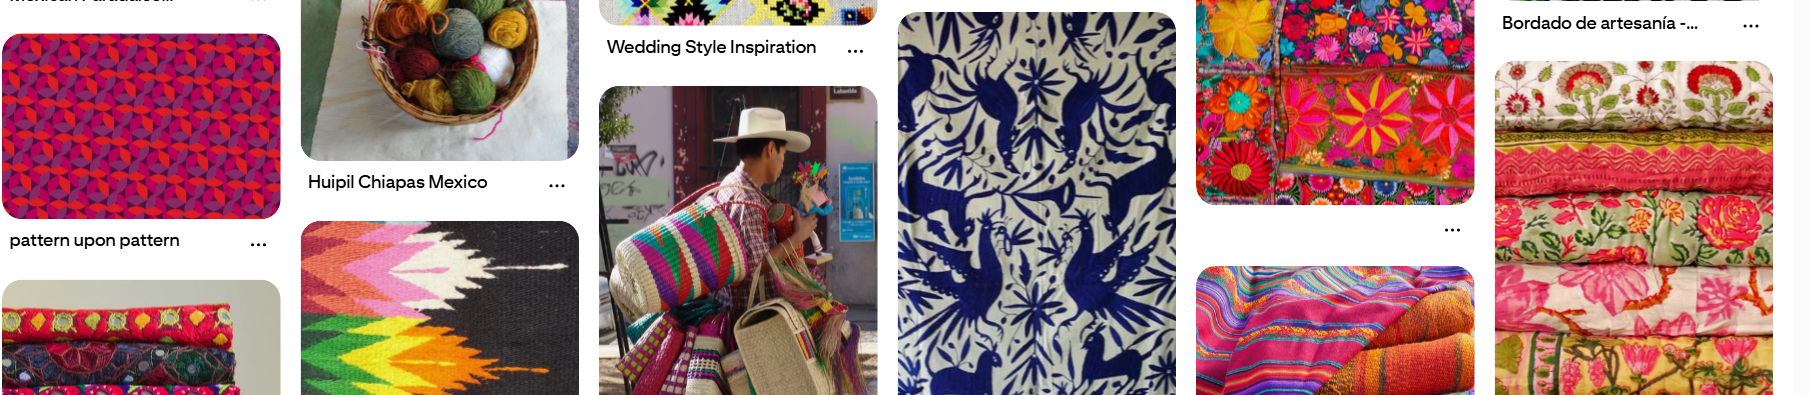
I found a pinterest board with mexicans textiles and handcrafts that represents the power of dying in Mexican culture Pinterest board I also used the book "The art and science of natural dyes" as the principal reference
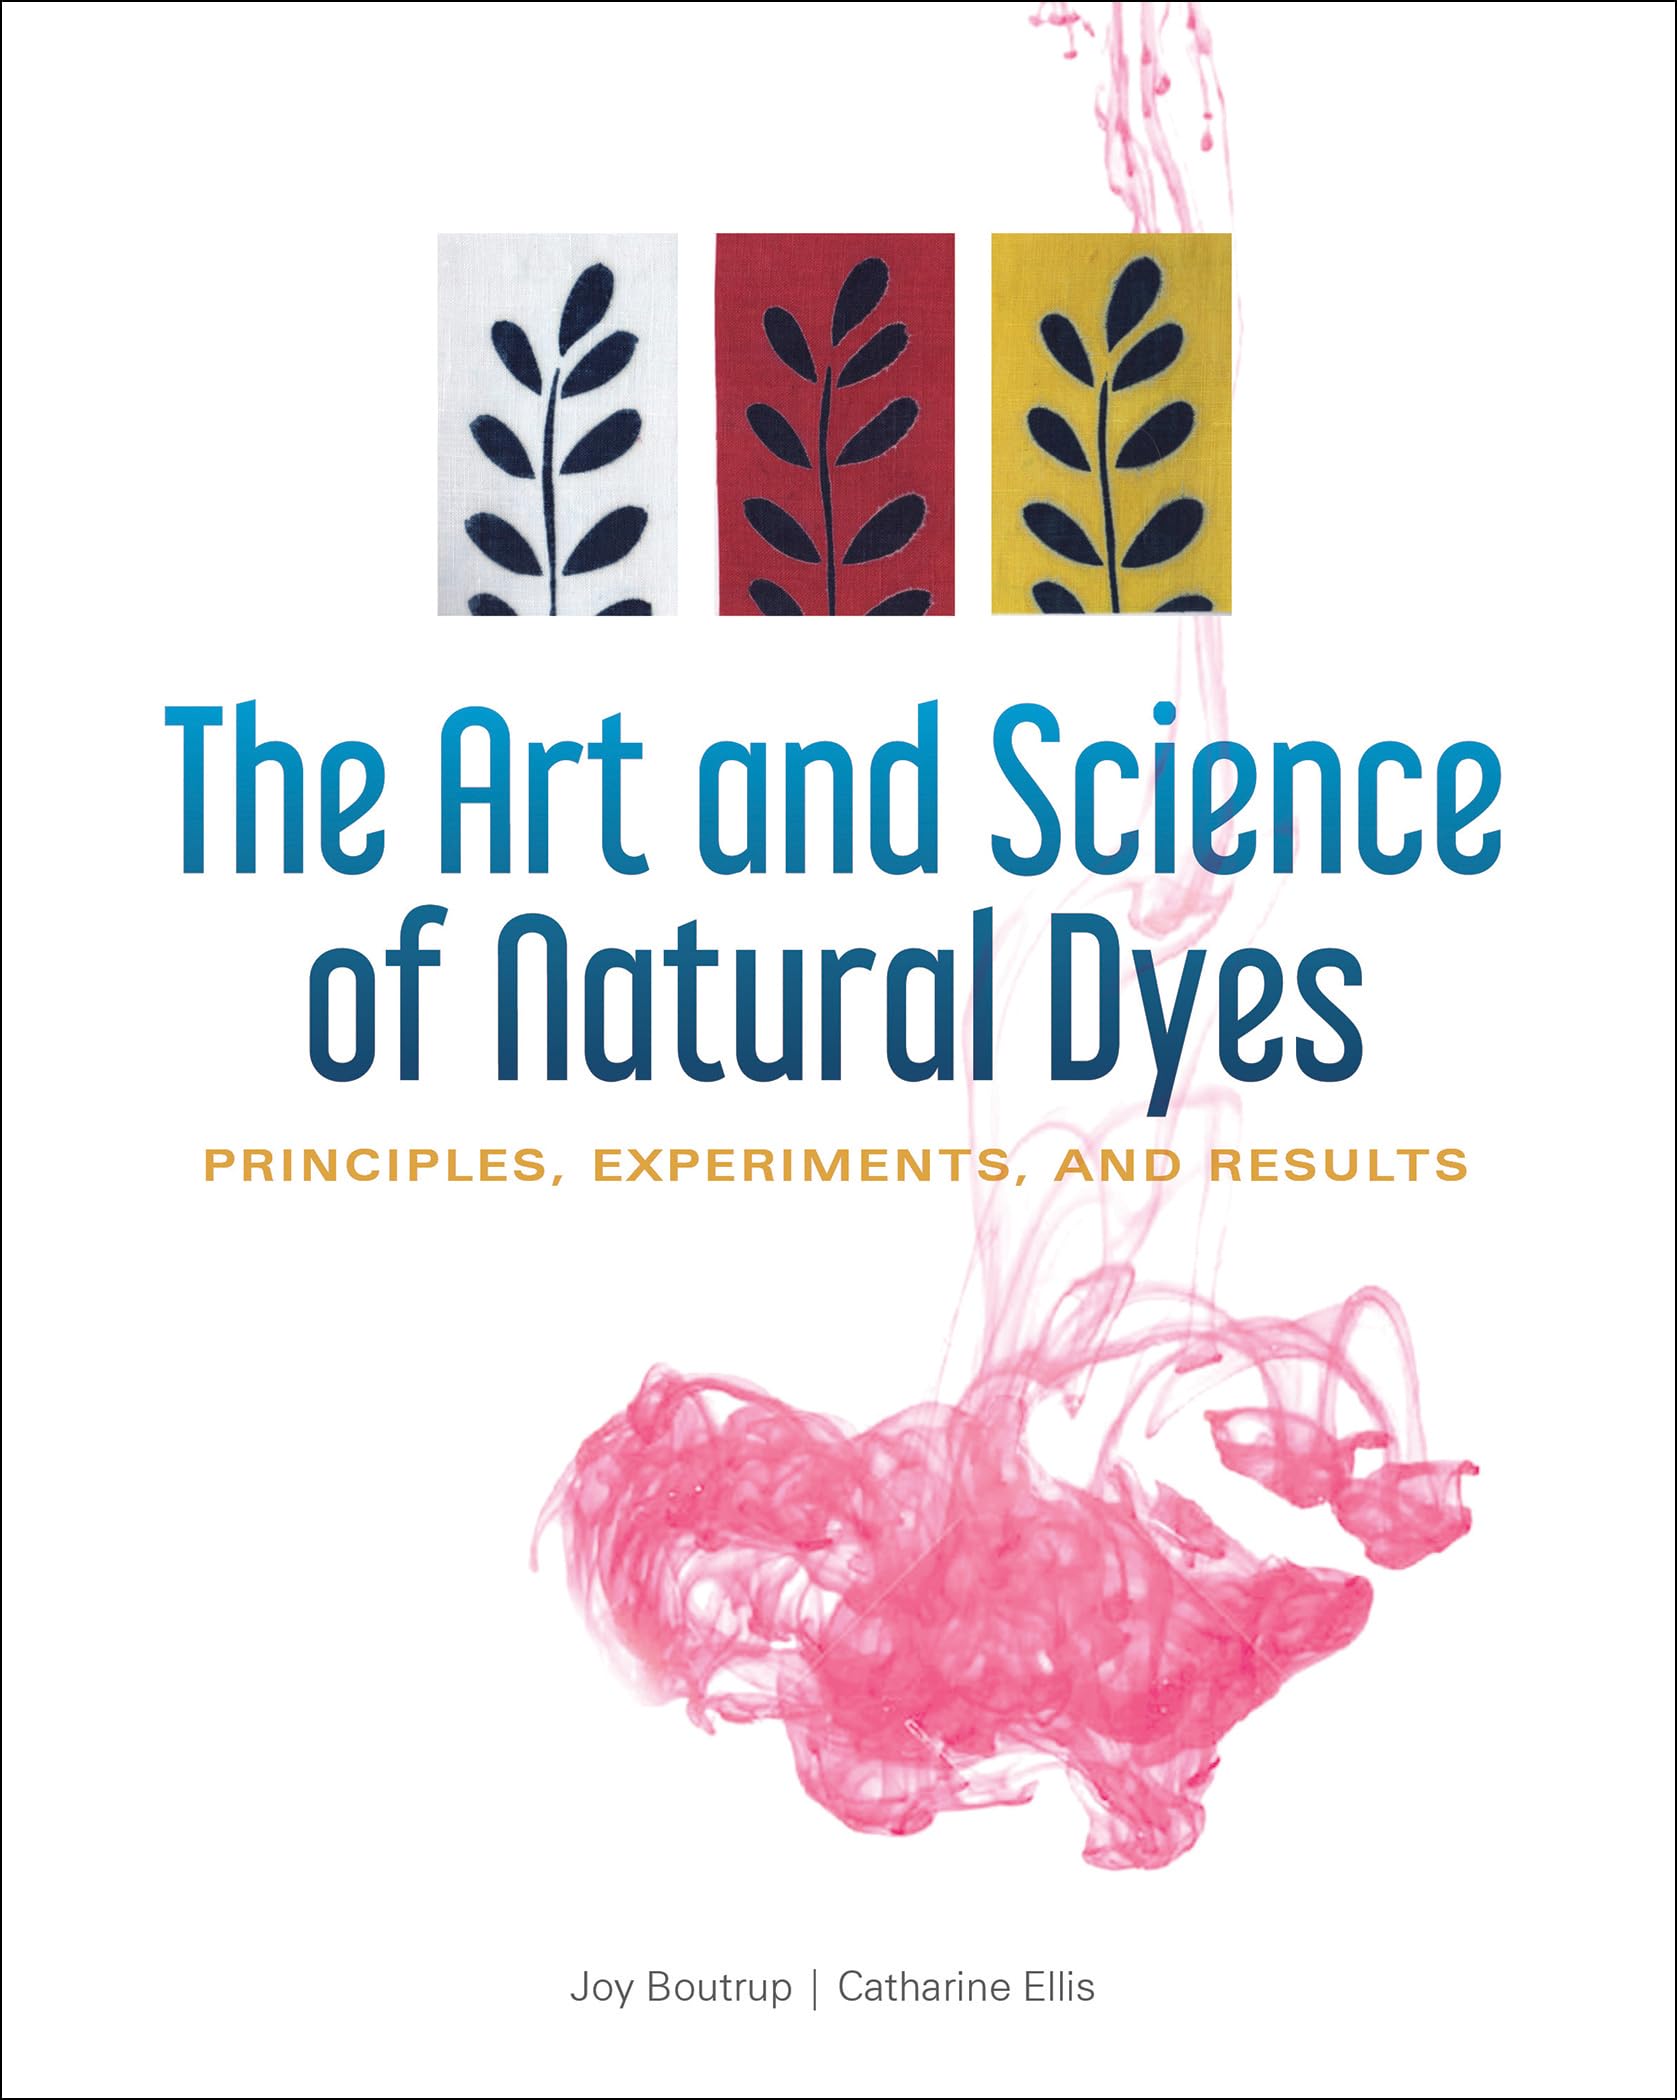
Extra references Textiles de México color y materiales Los colores de la tierra: teñir con tintes naturales
Workflow and experimentation
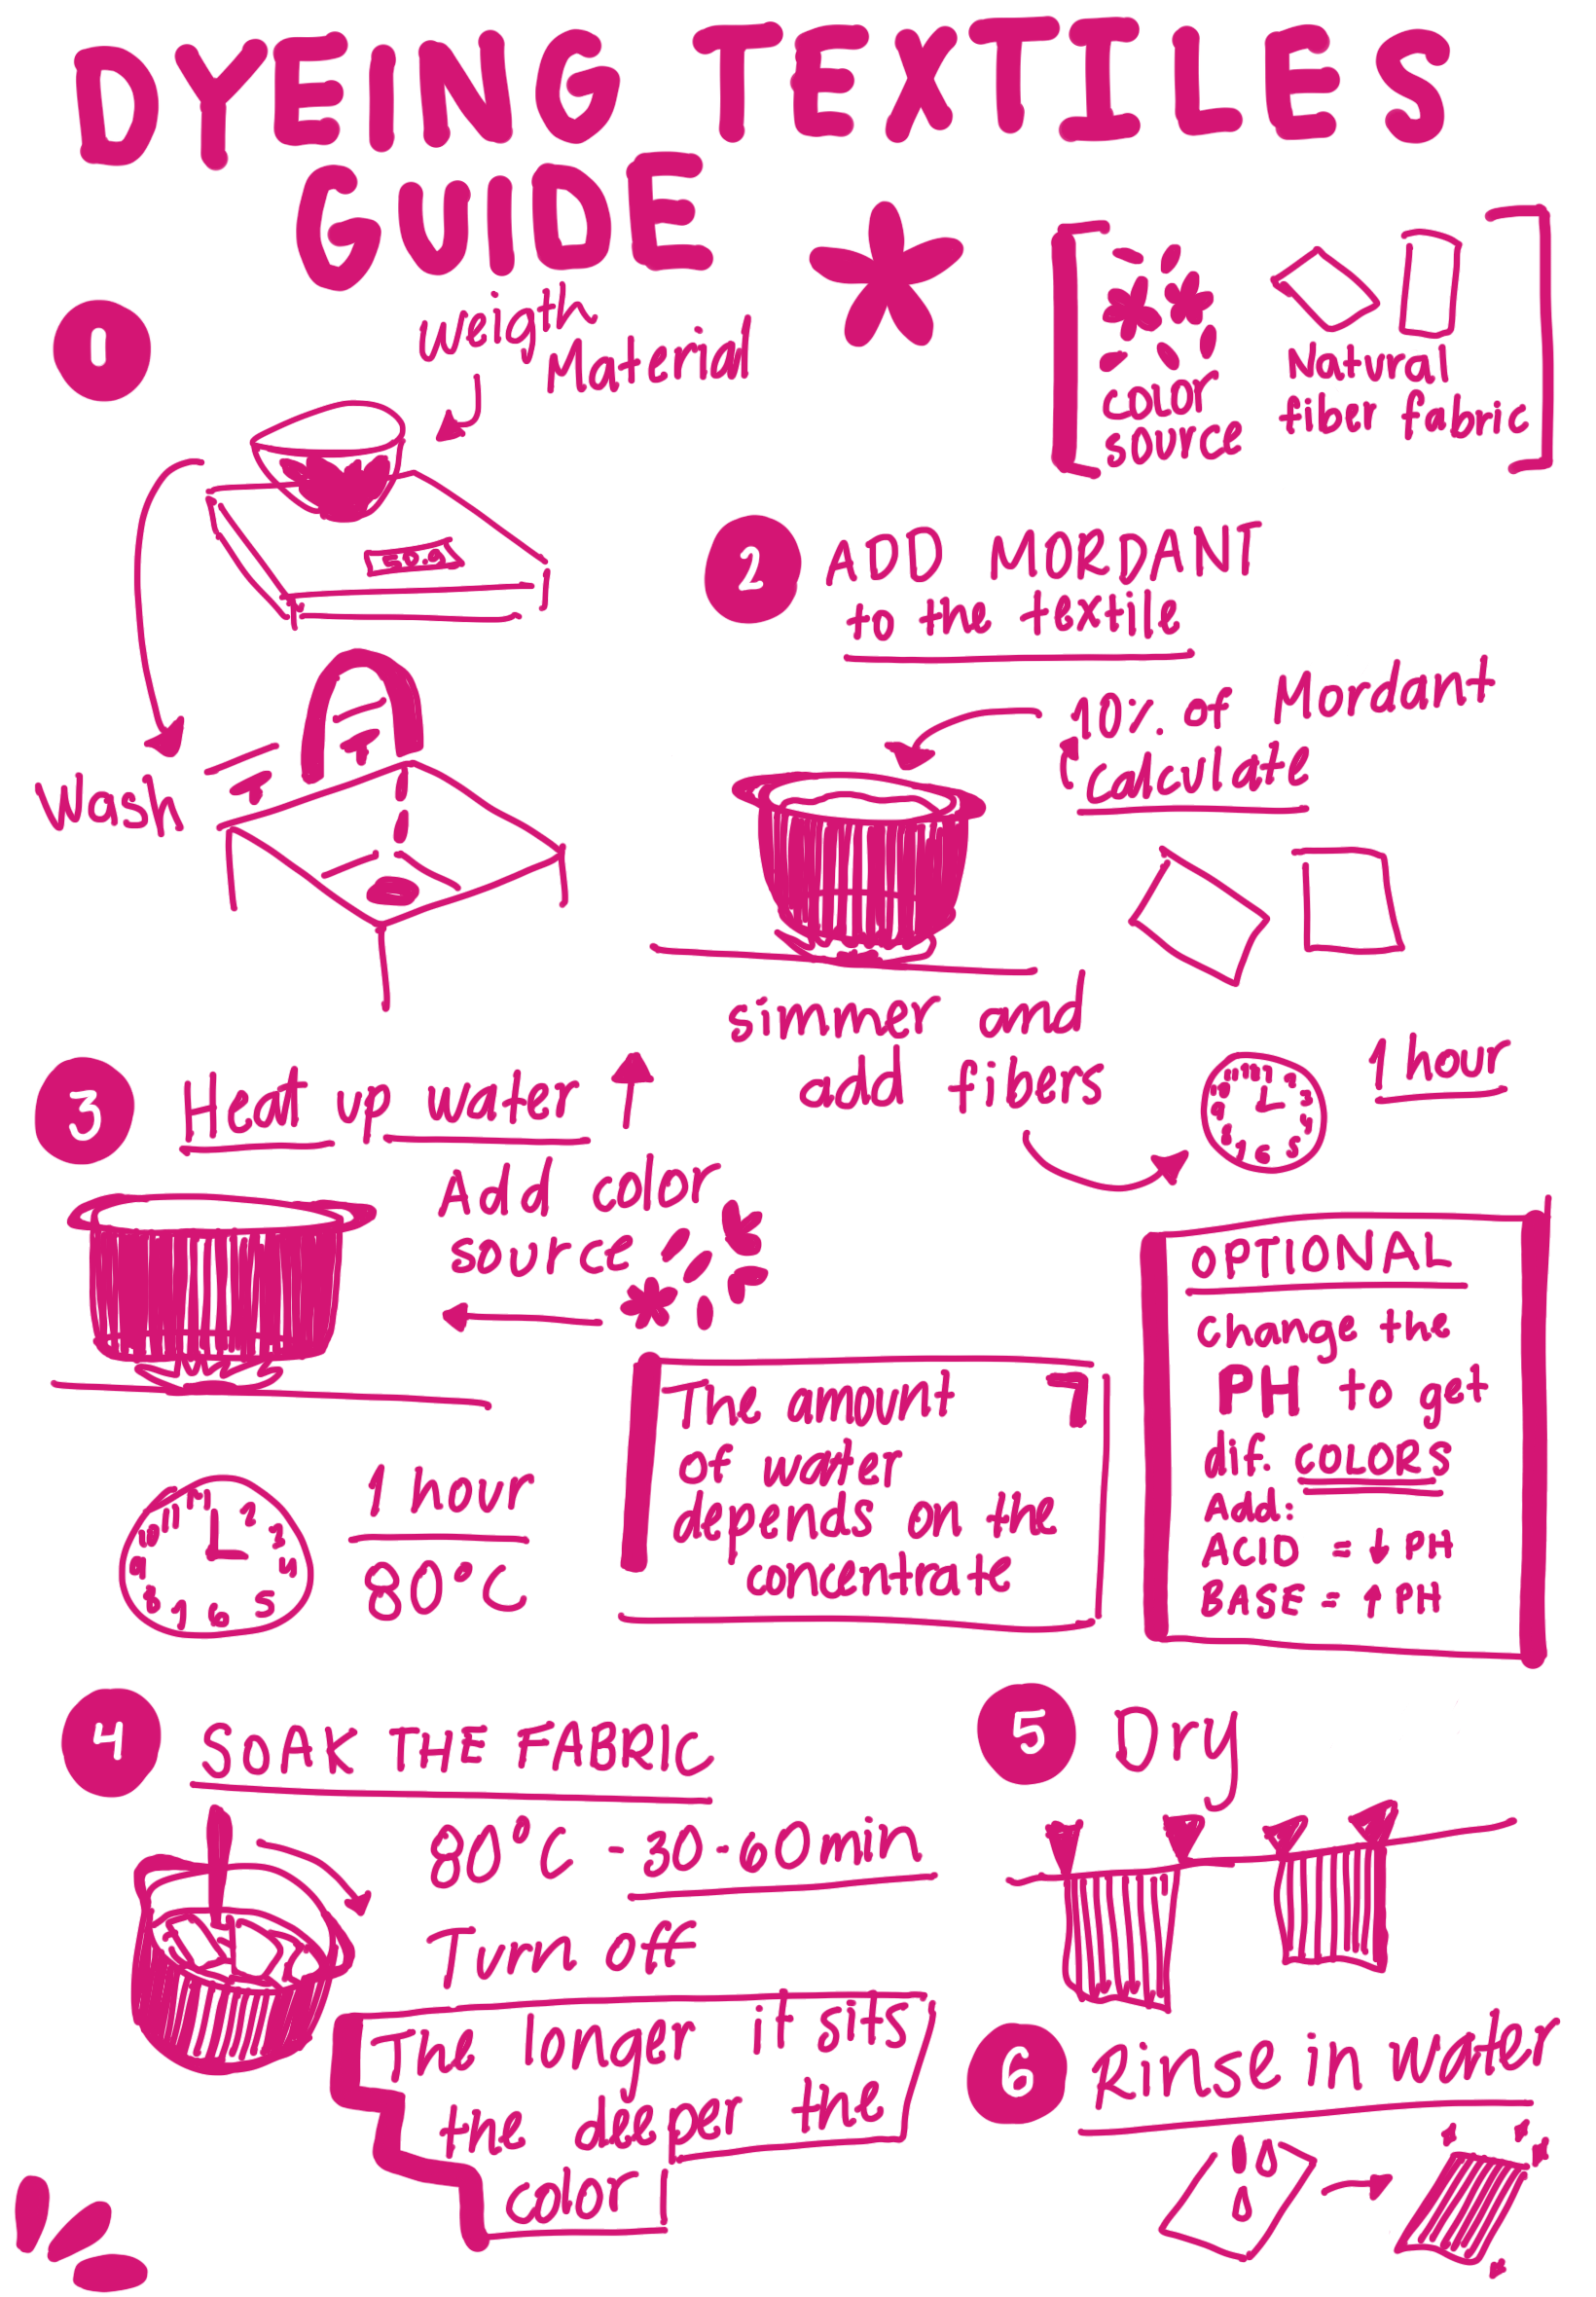
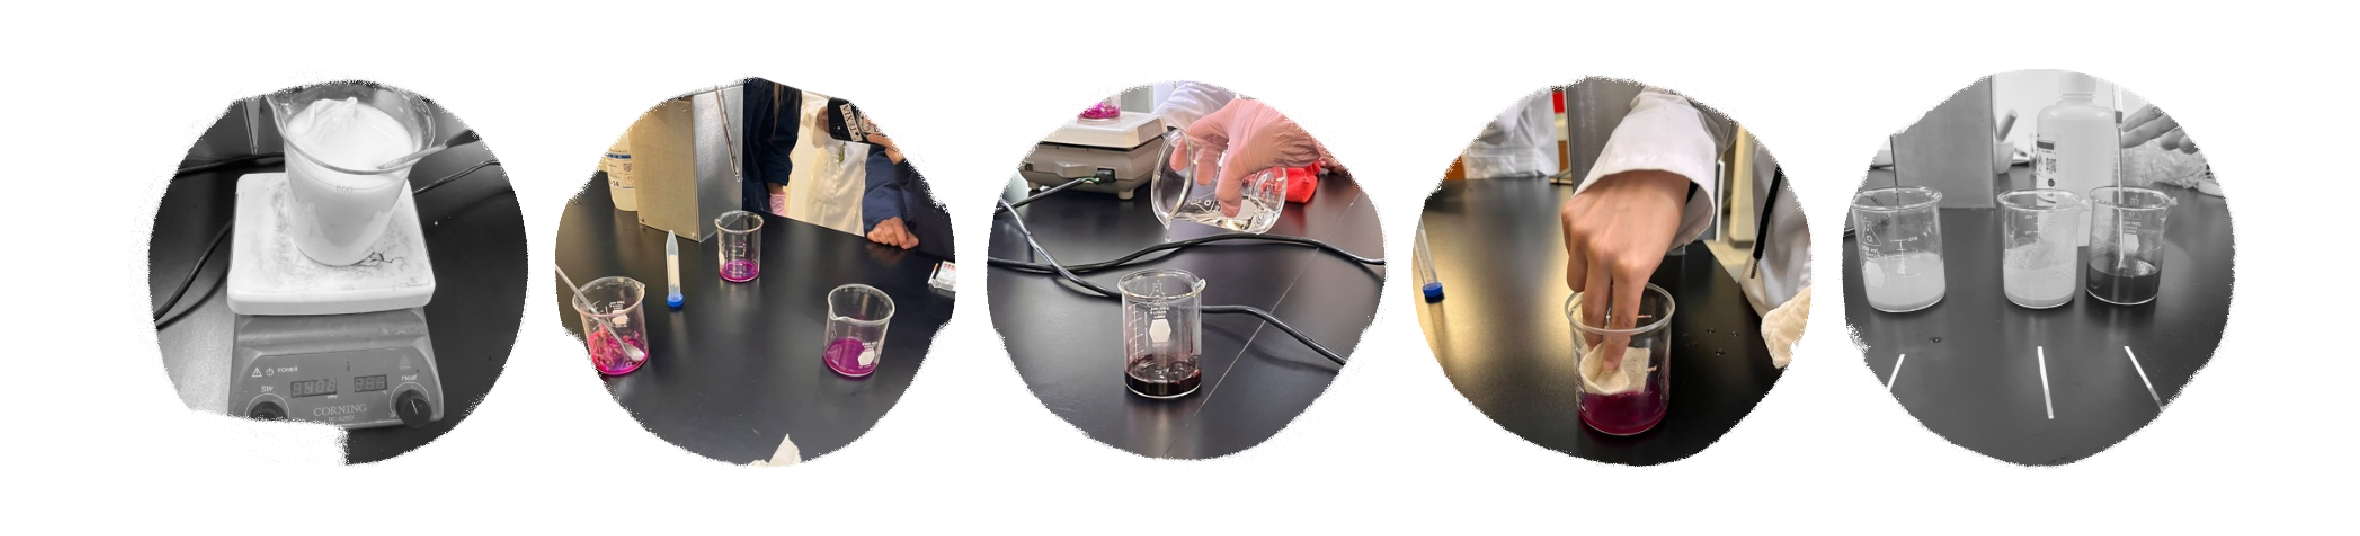
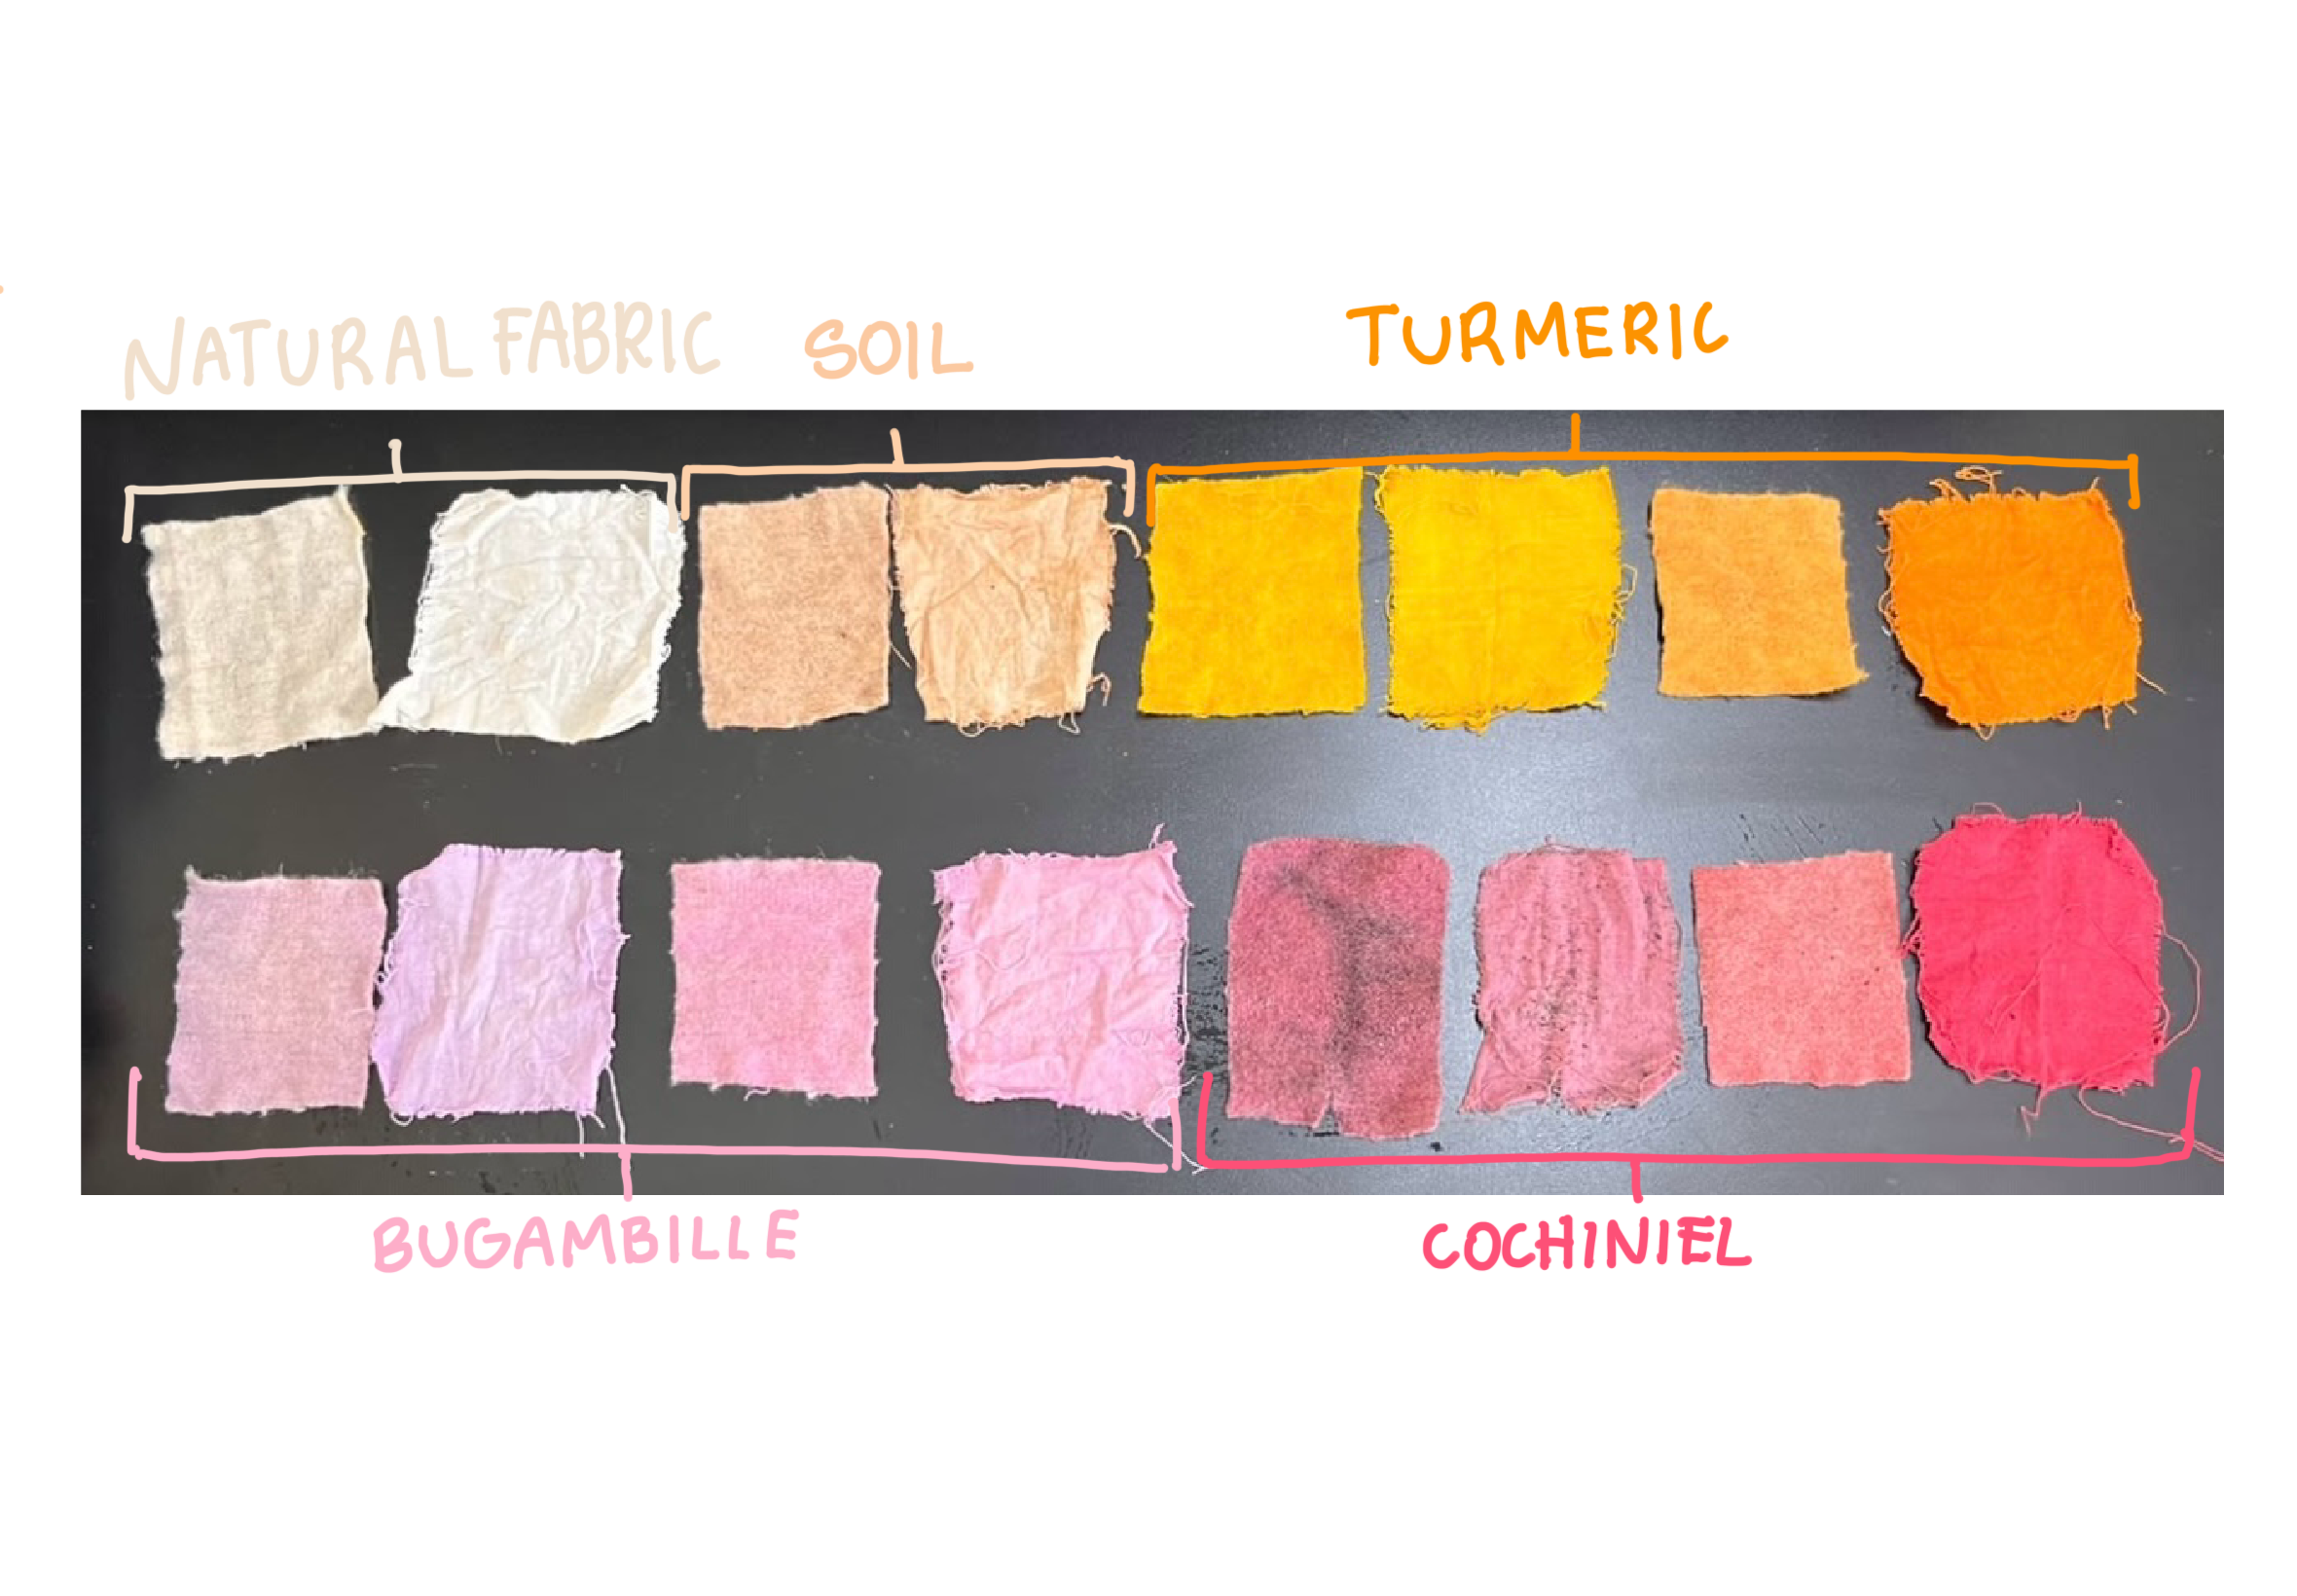
During the weekly session we worked in the lab of the university dyeing with tumeric, hibiscus and cochiniel following the next steps:
 Results
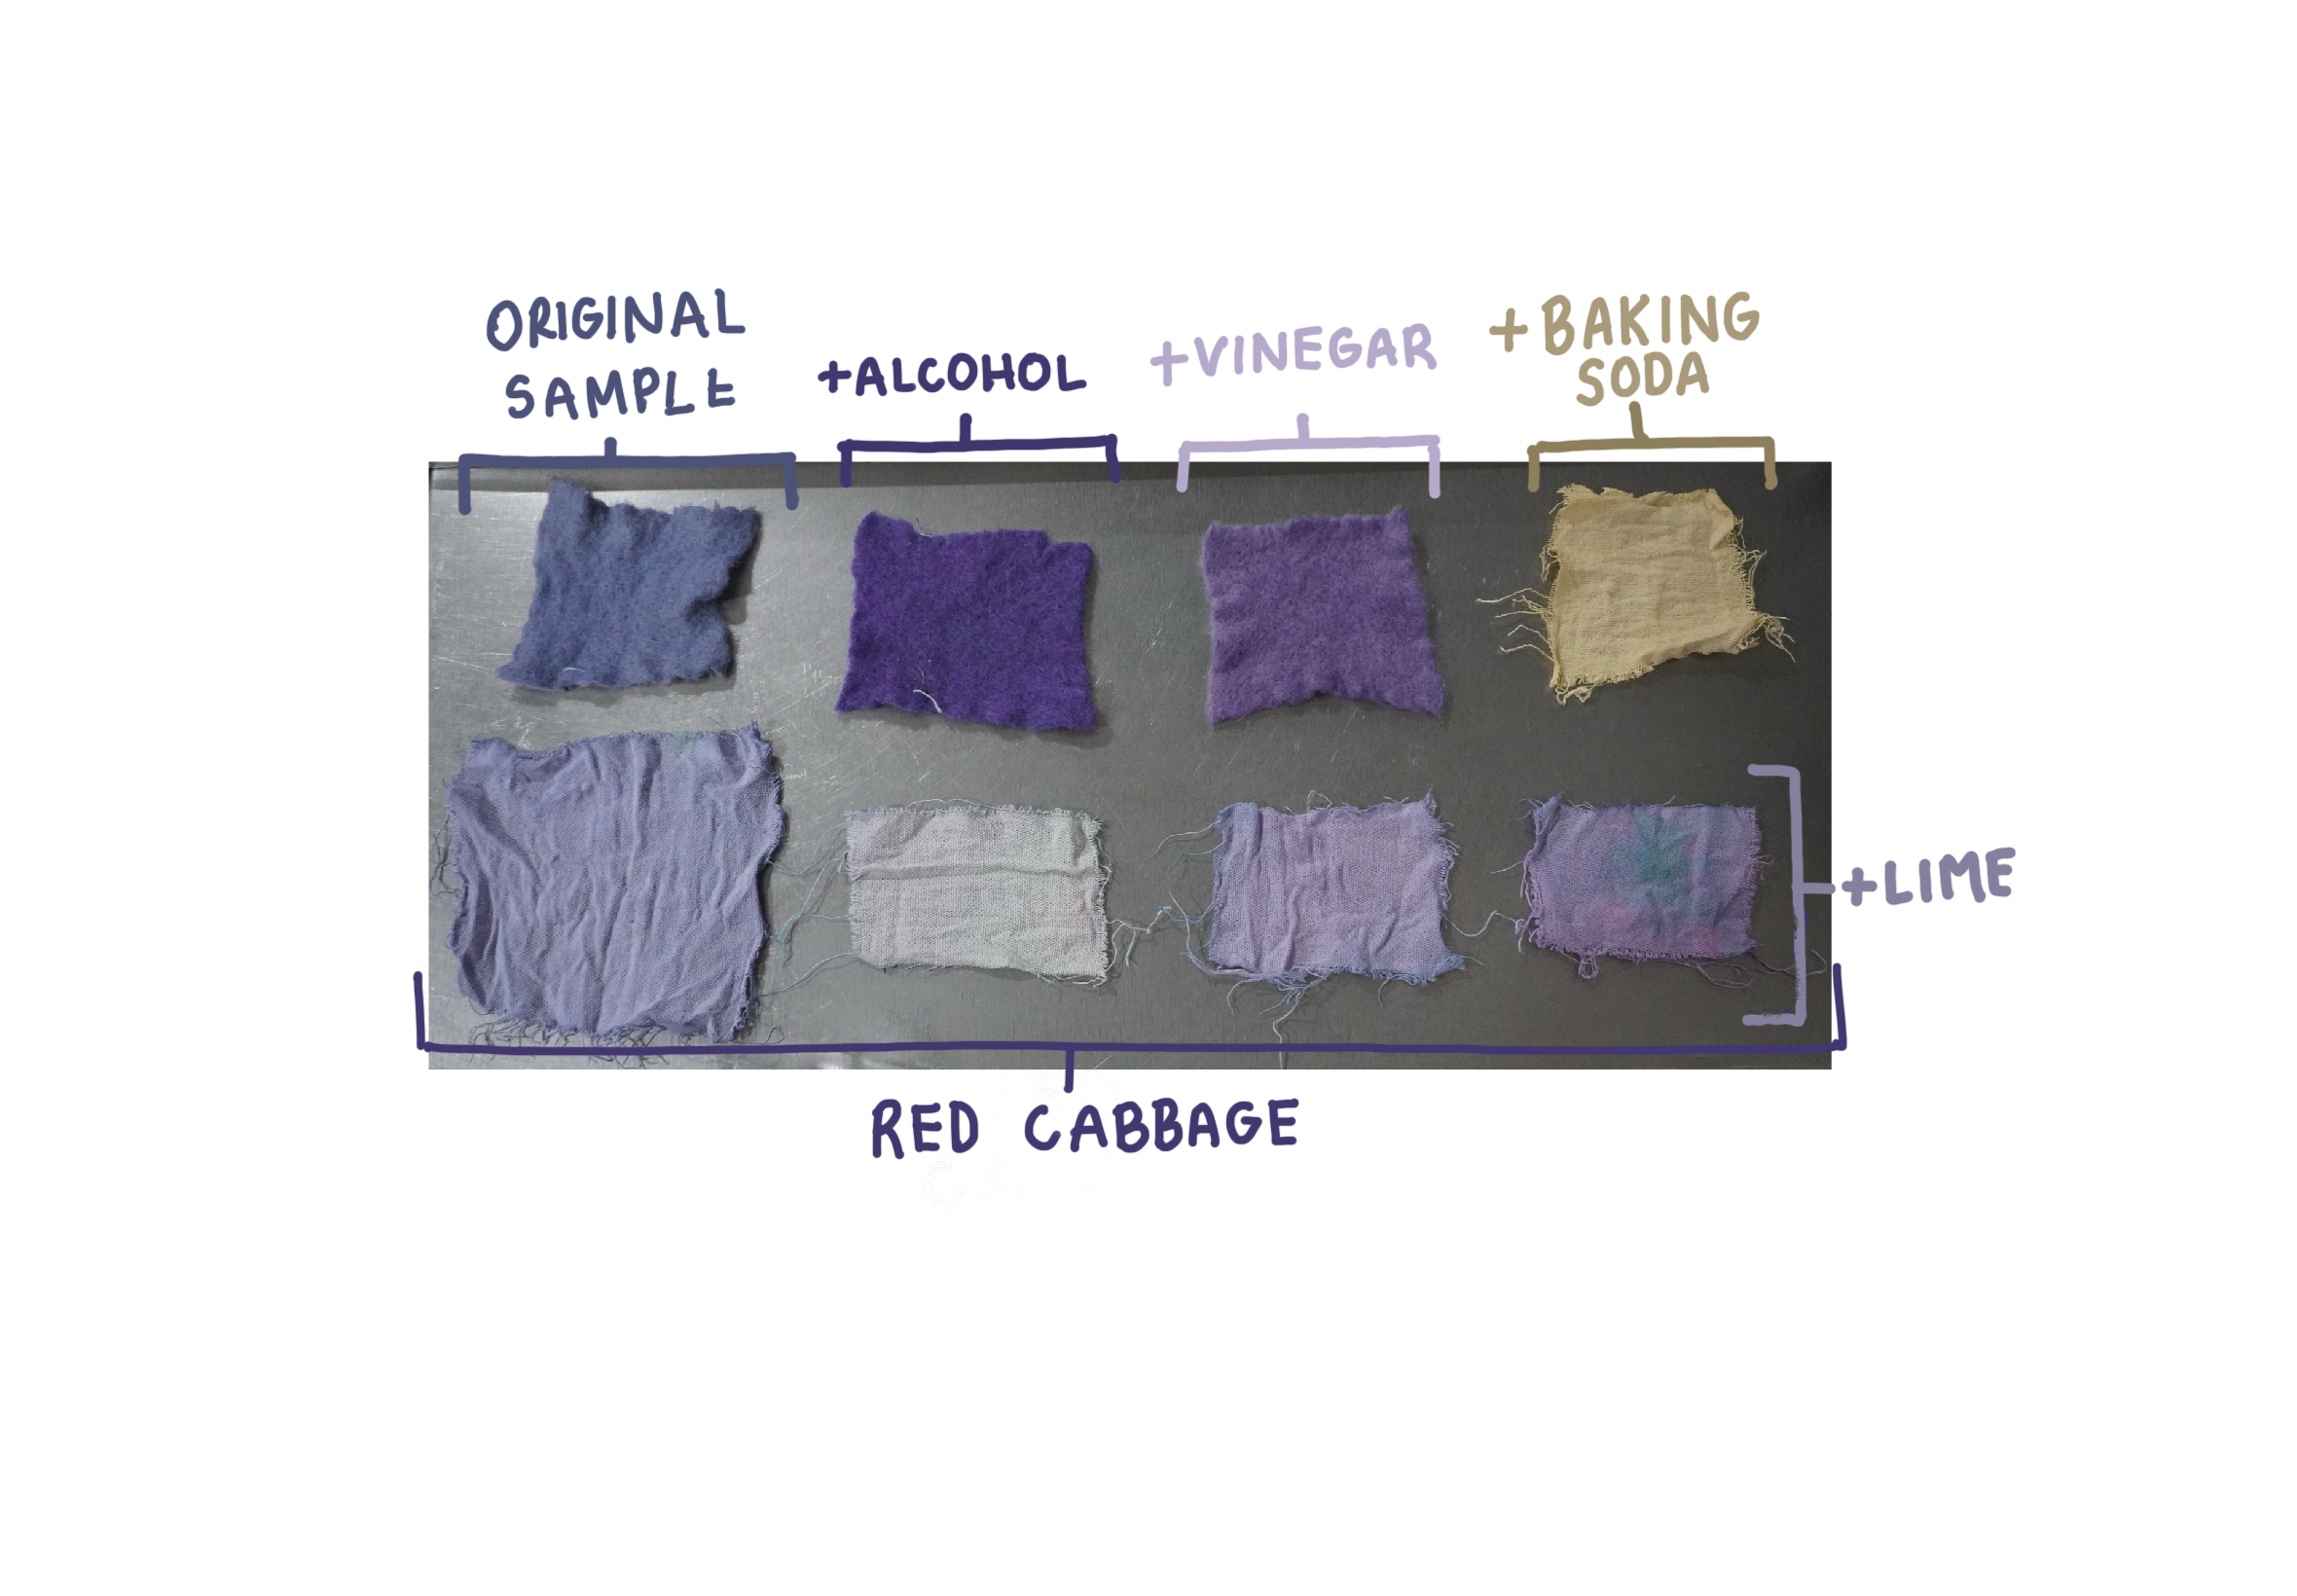
I repplied the recipies at home with: -Bougainvilleas -African tulip tree -Blue jasmine -Cempasuchil flower -Spinach leaves -Turmeric -Beetroot -Red cabbage
Dye baths
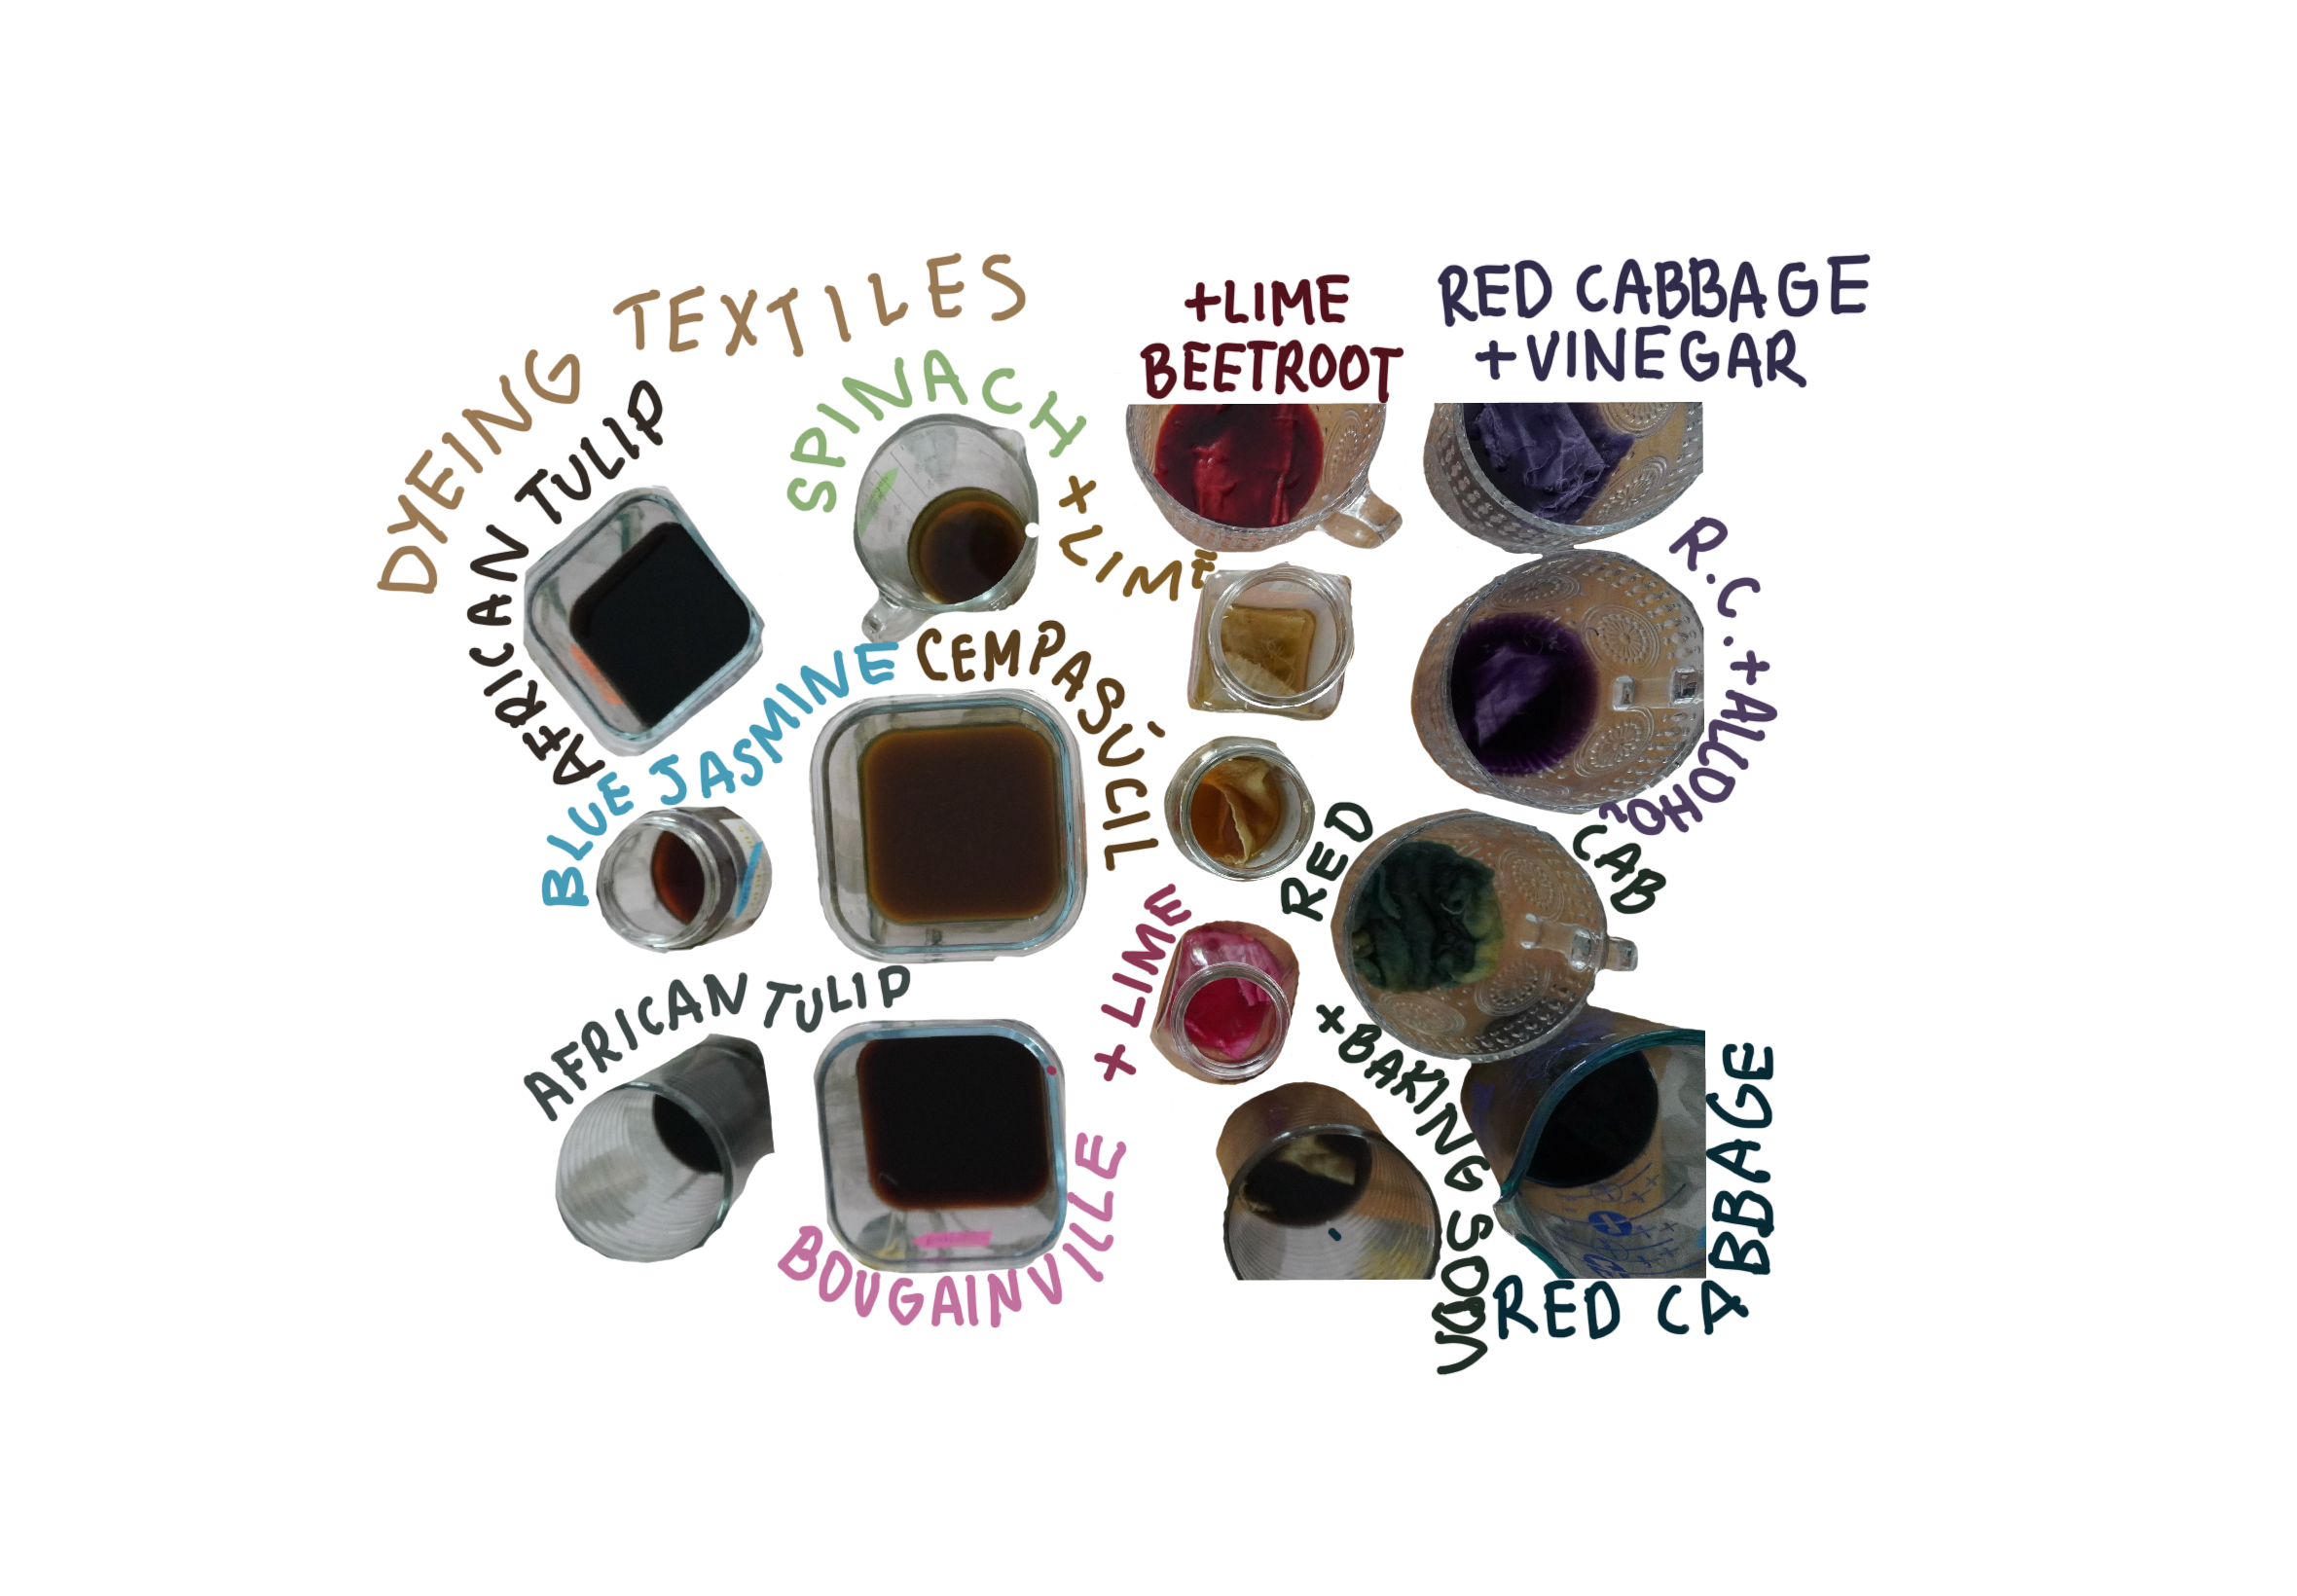
The fabric became less intense when it dried completely Results after dyeing bath:
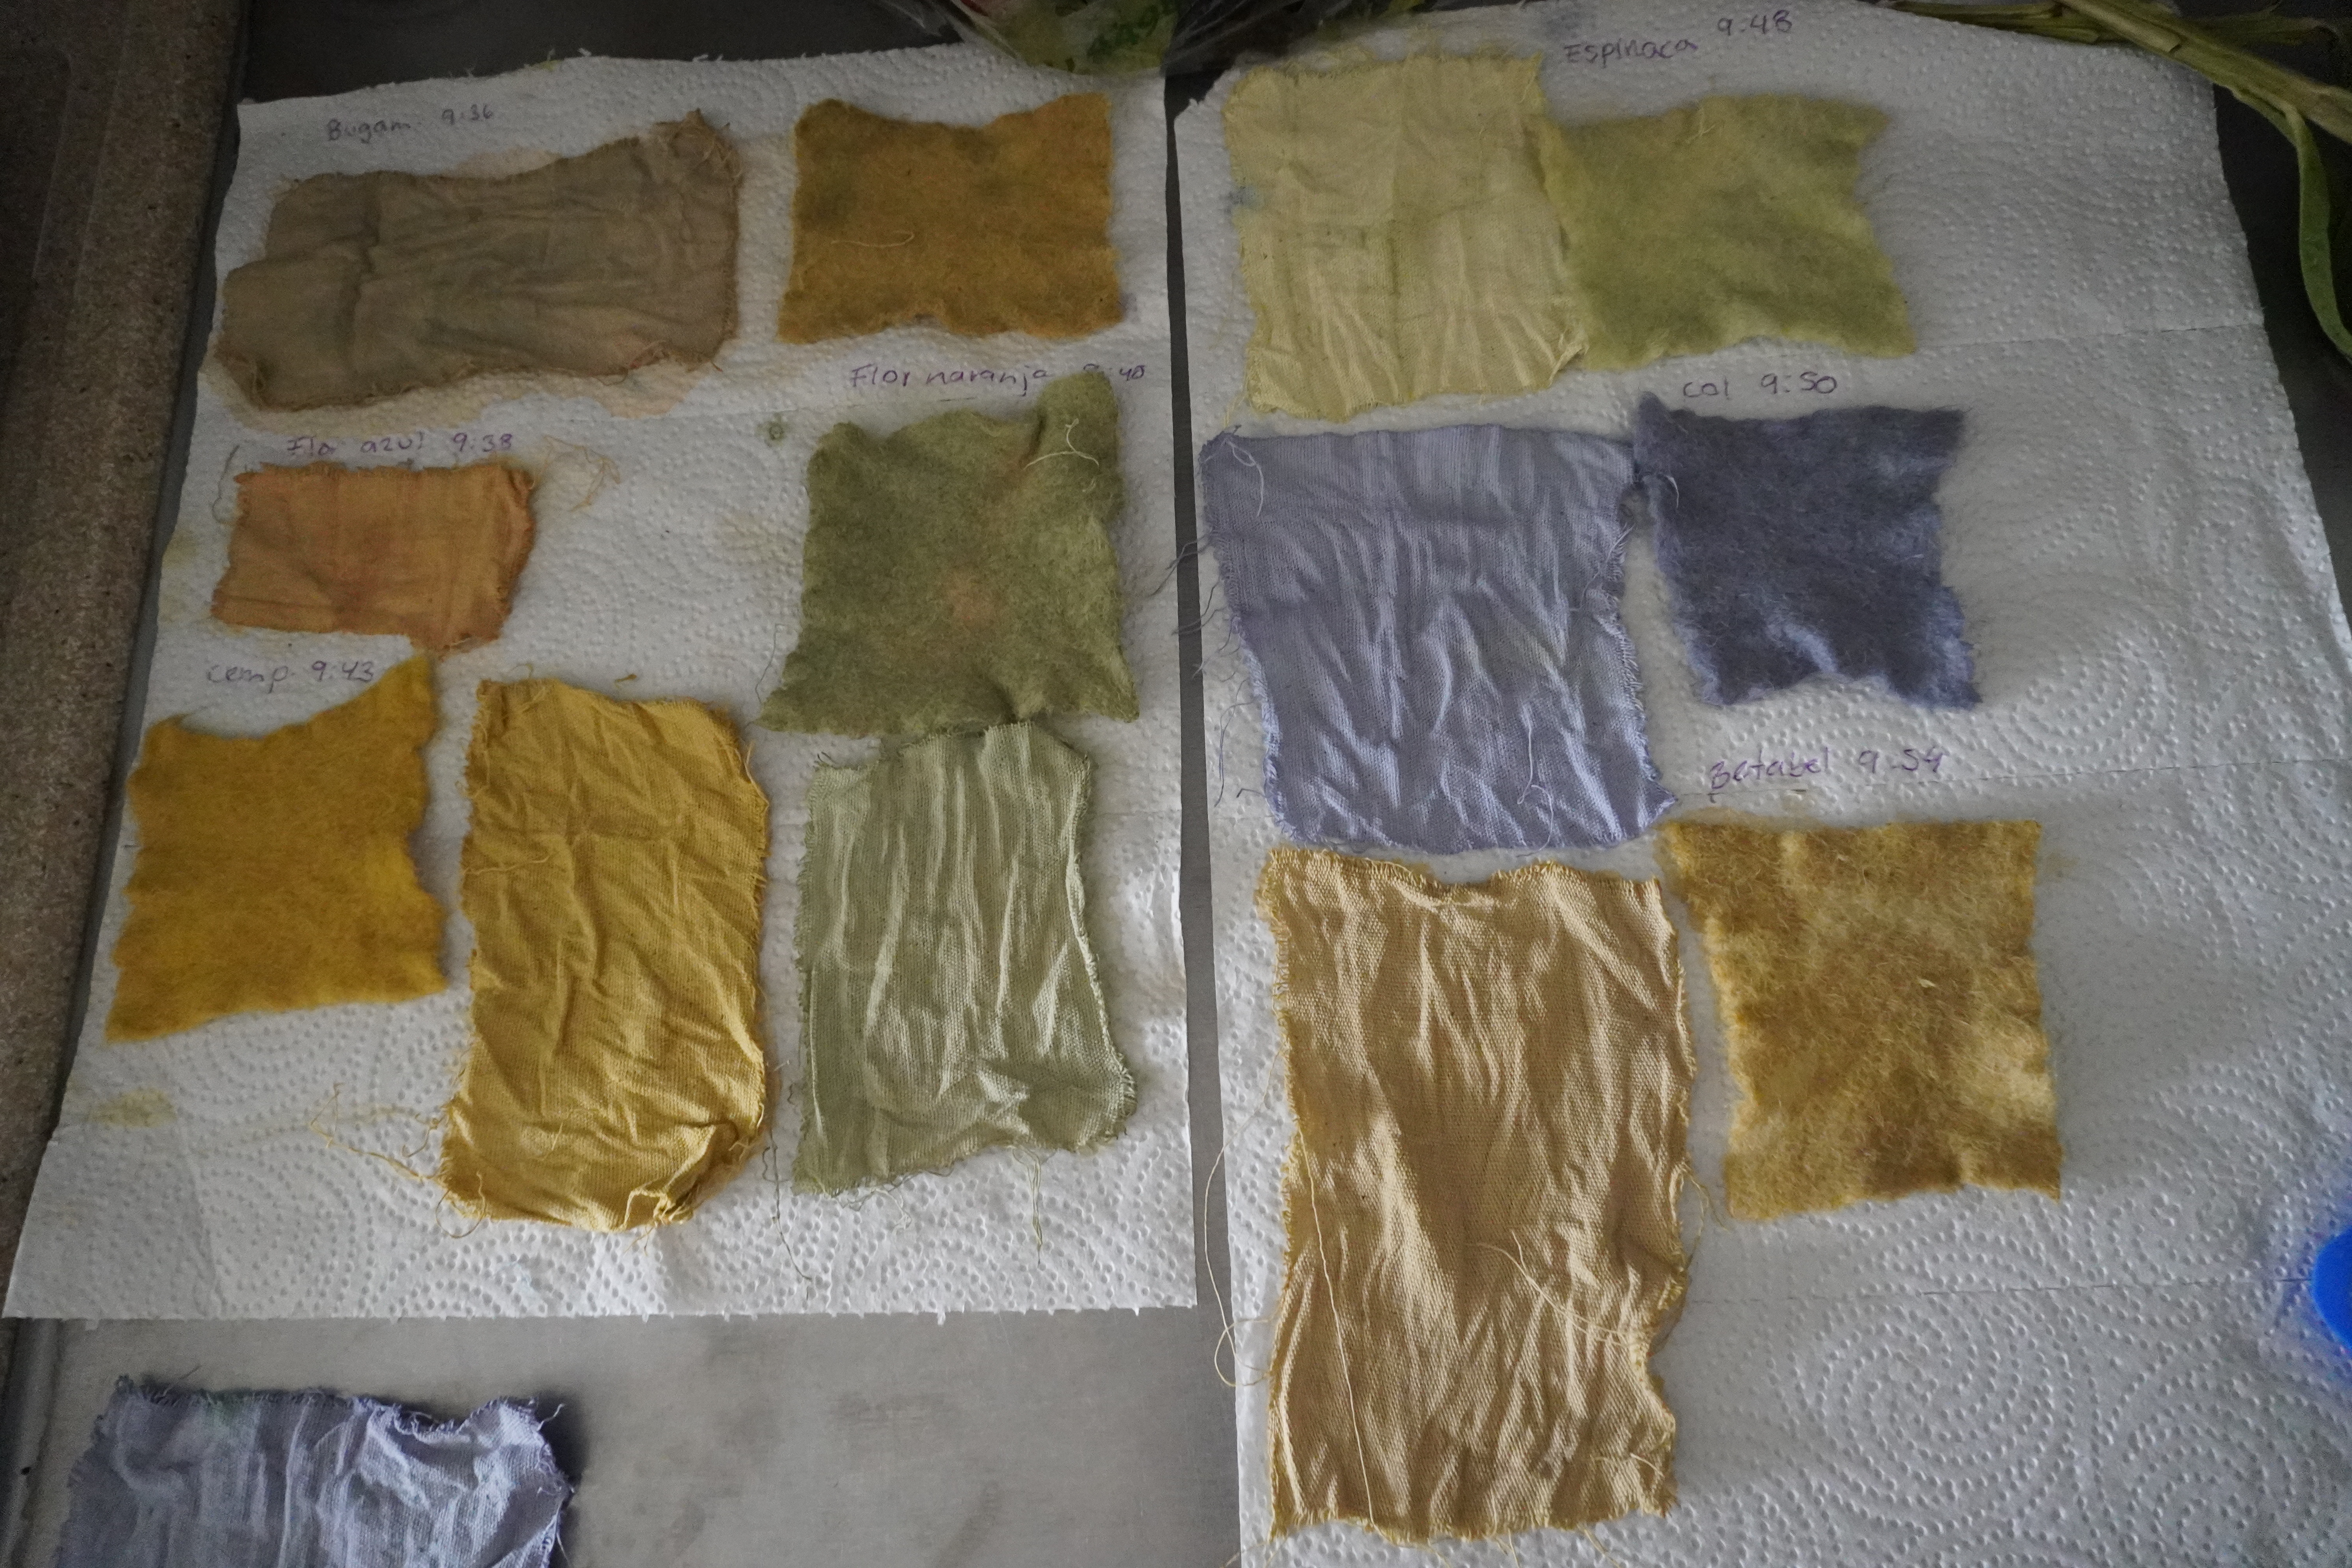
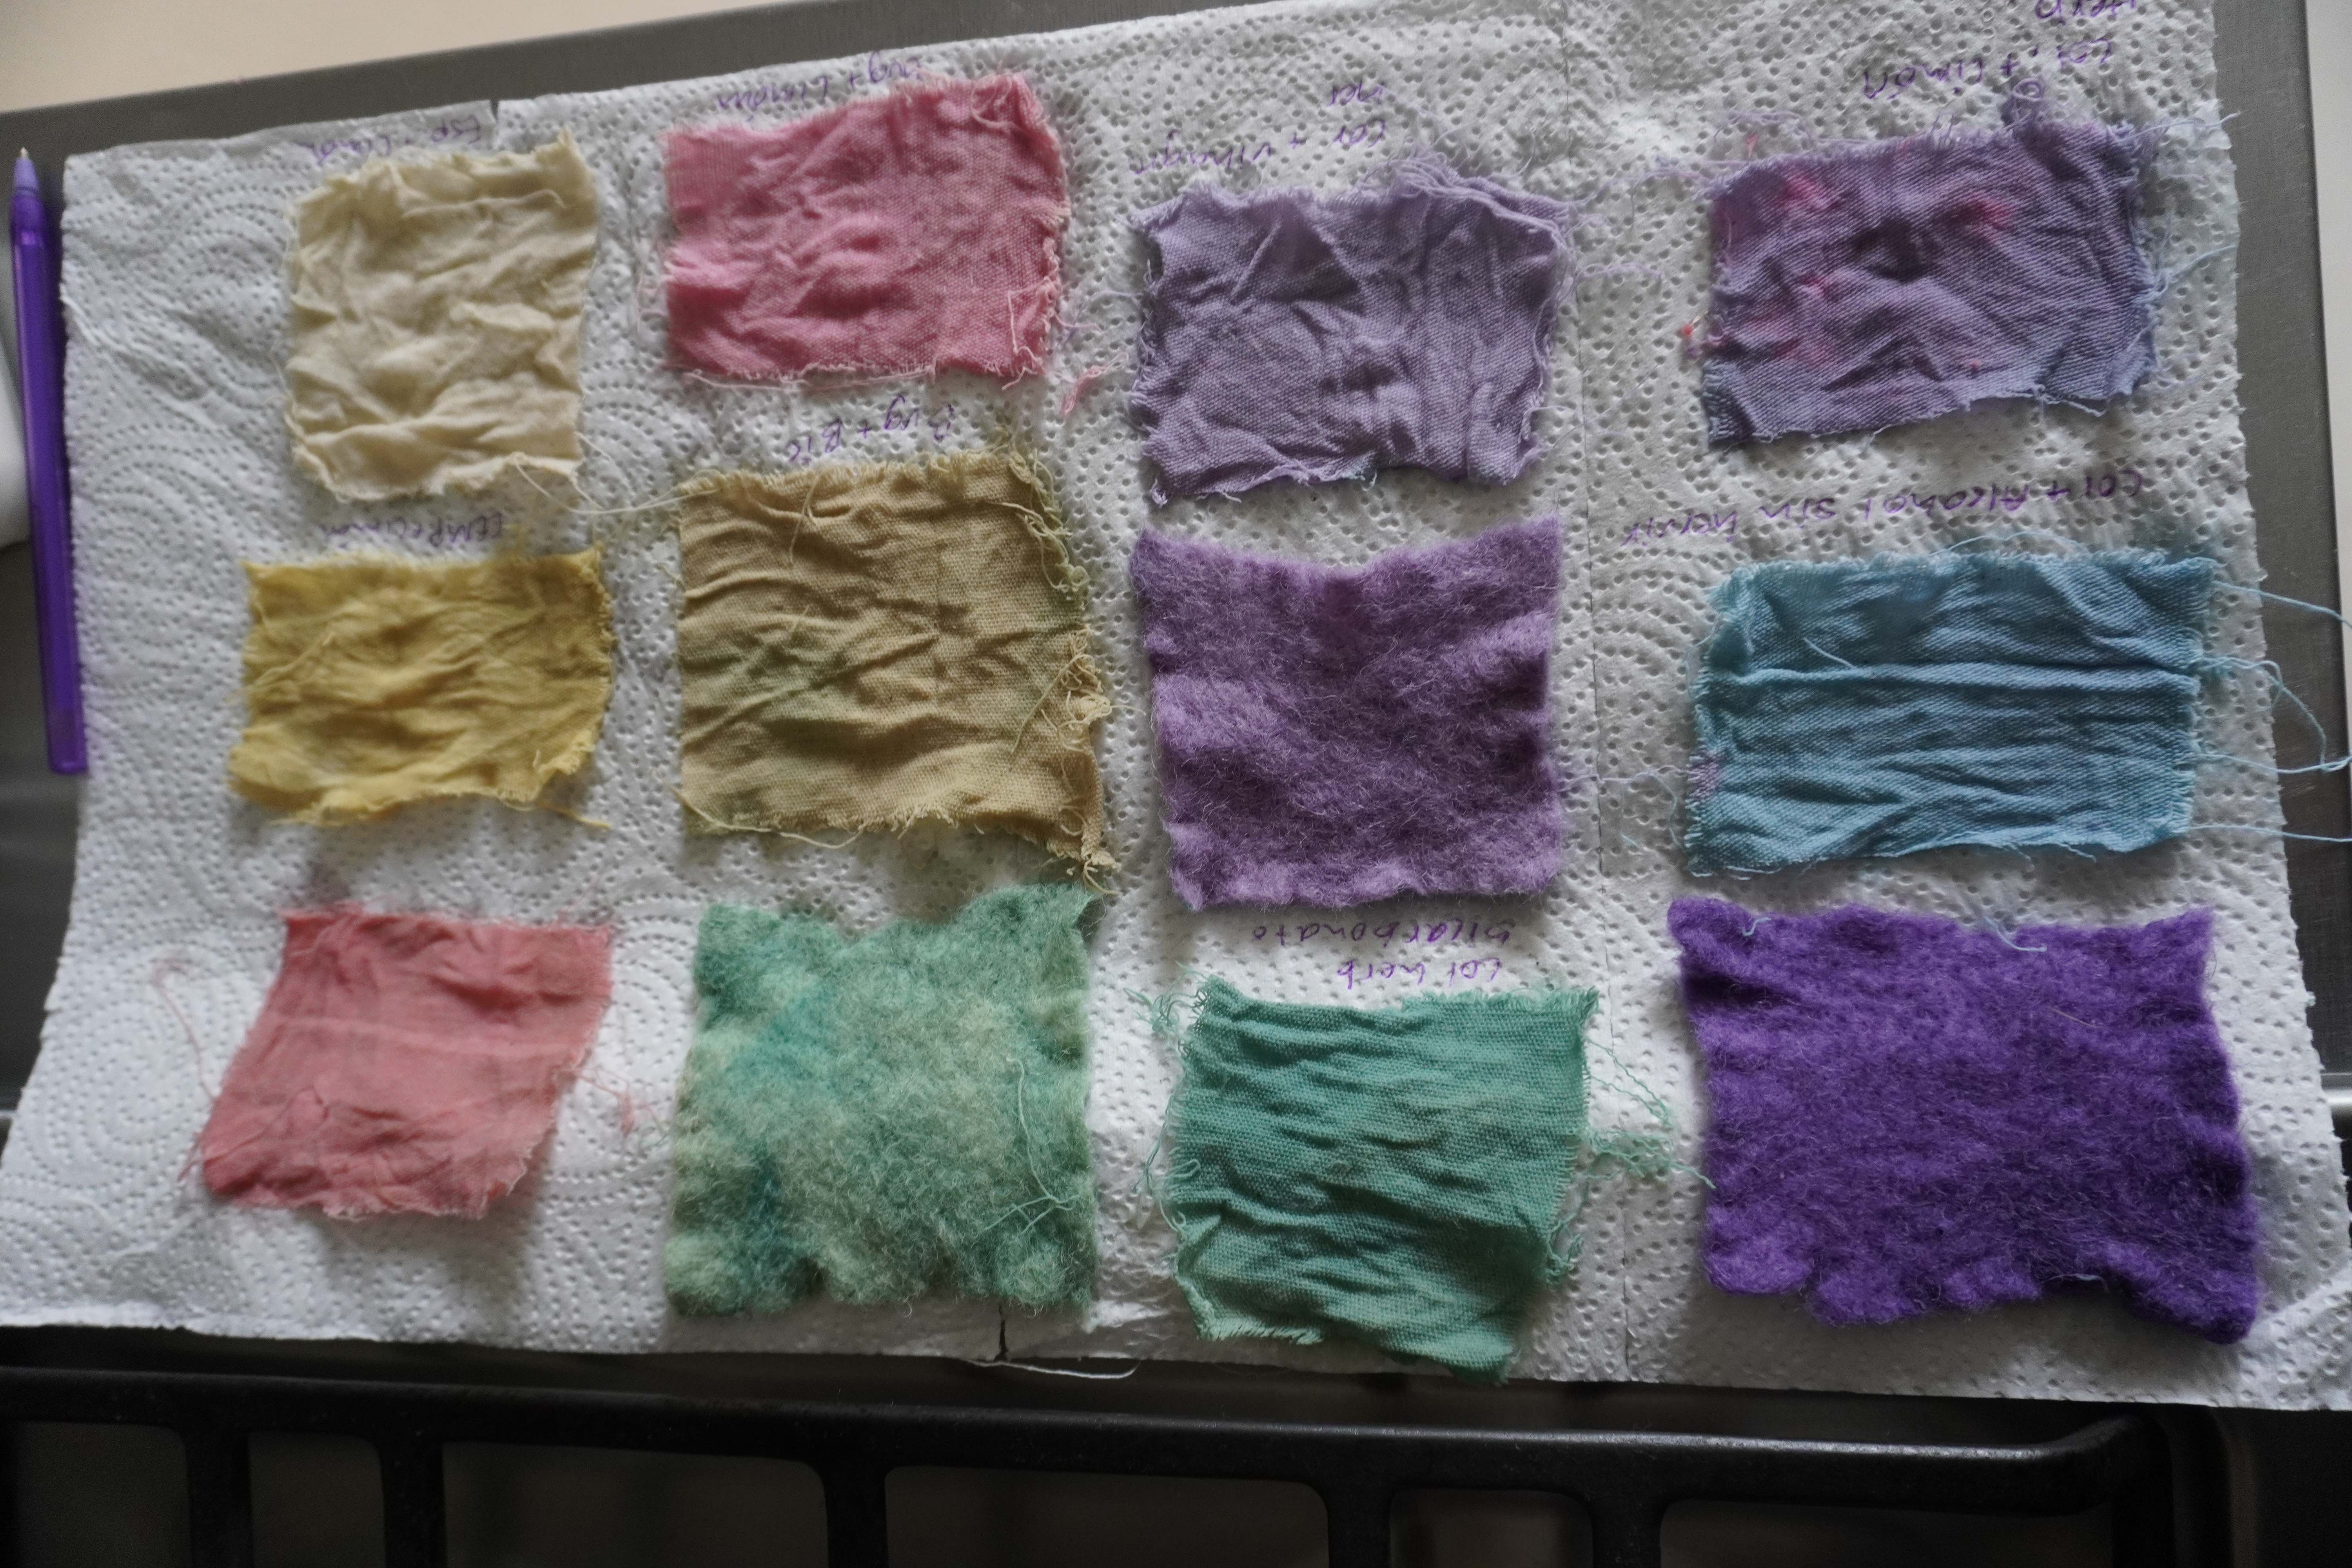
Results after drying:
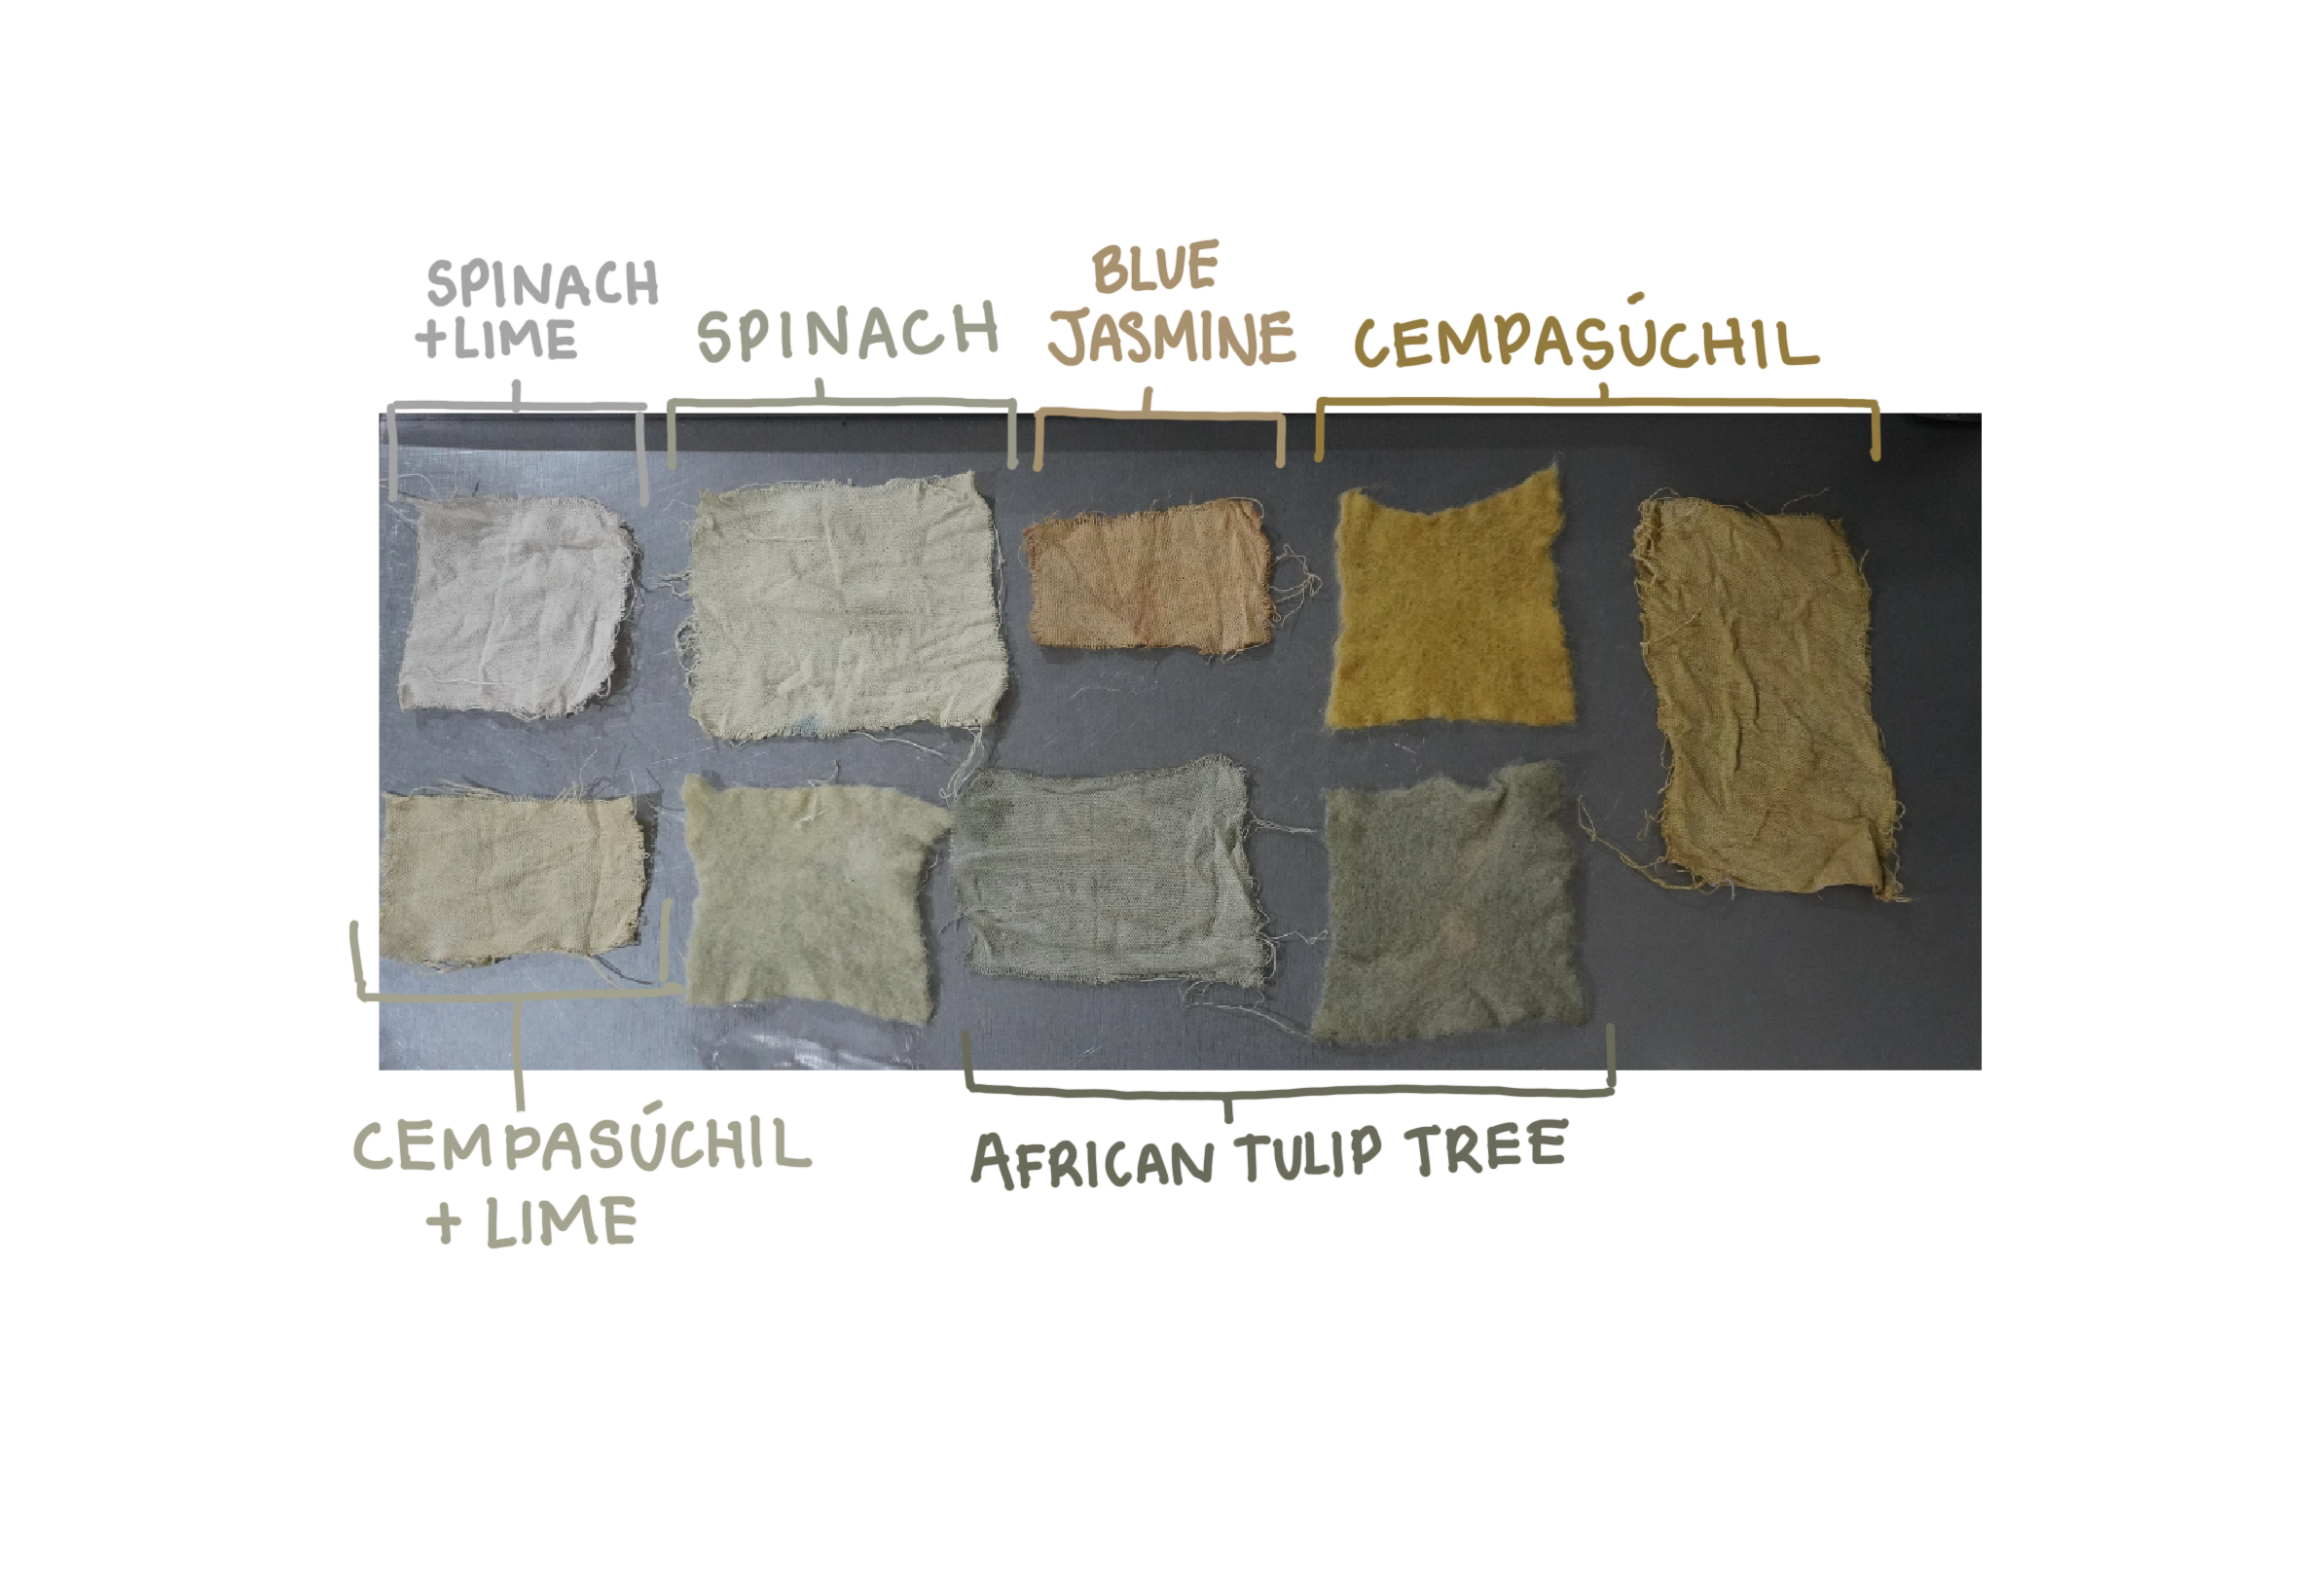
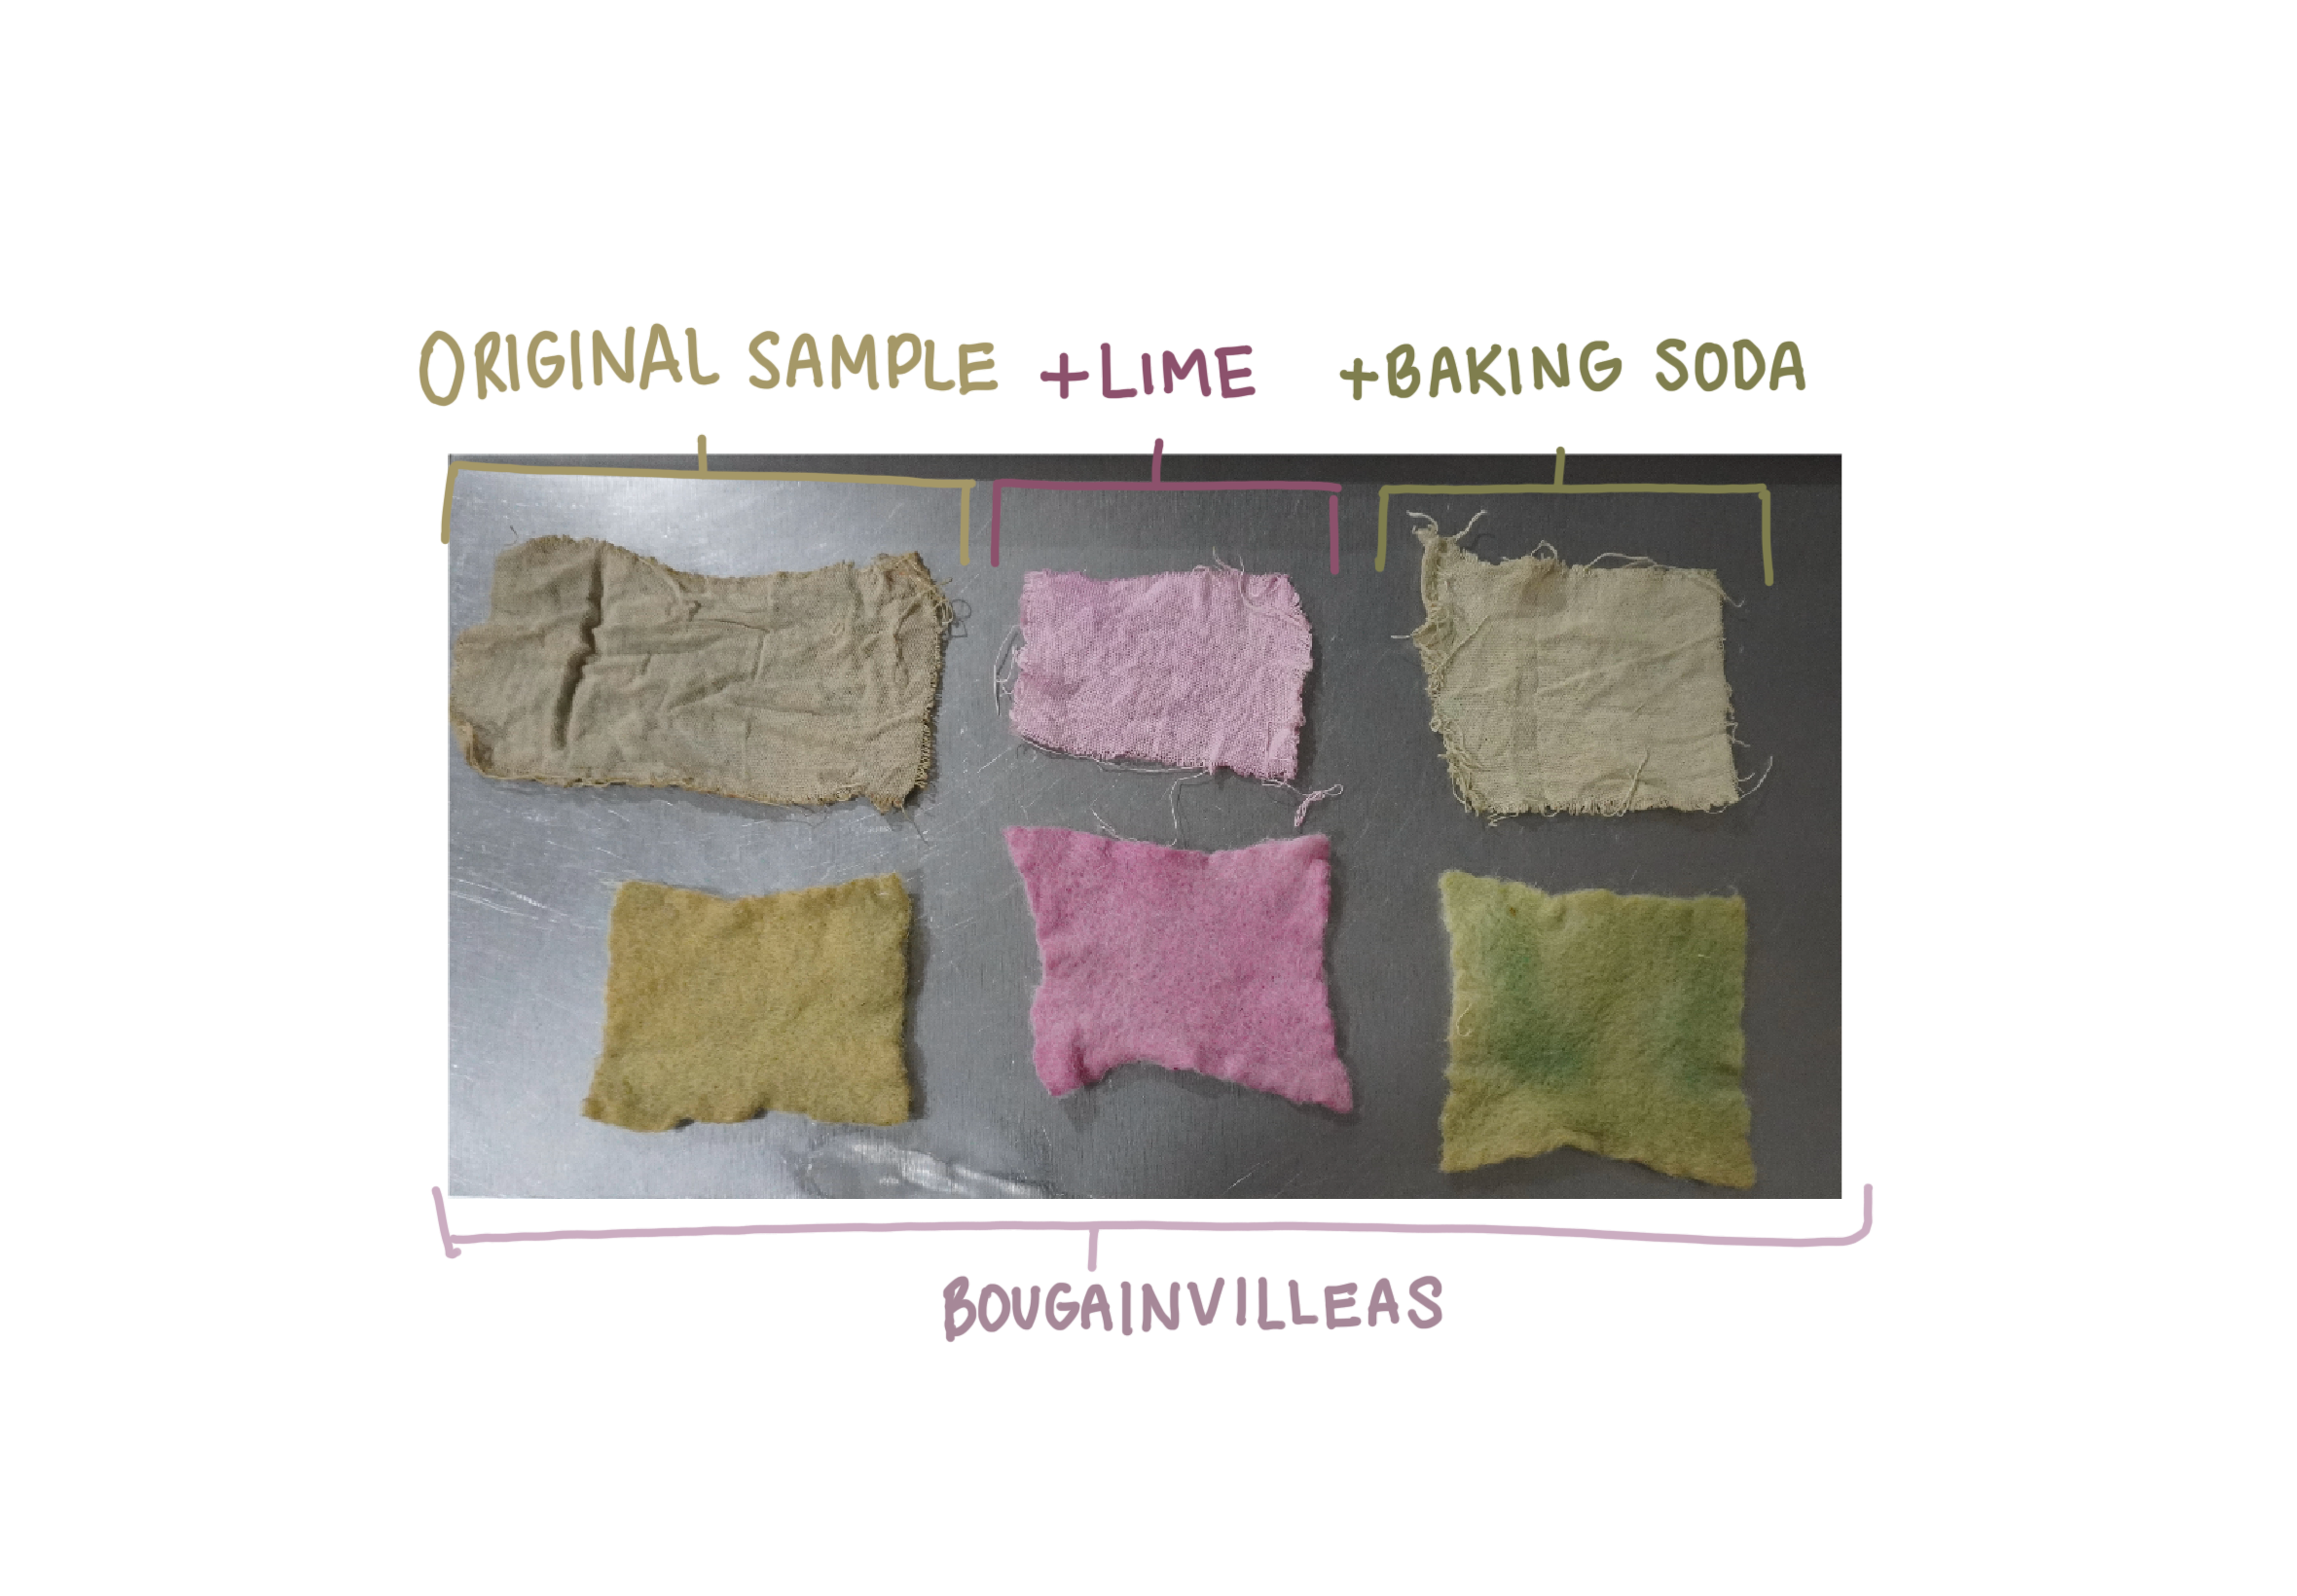
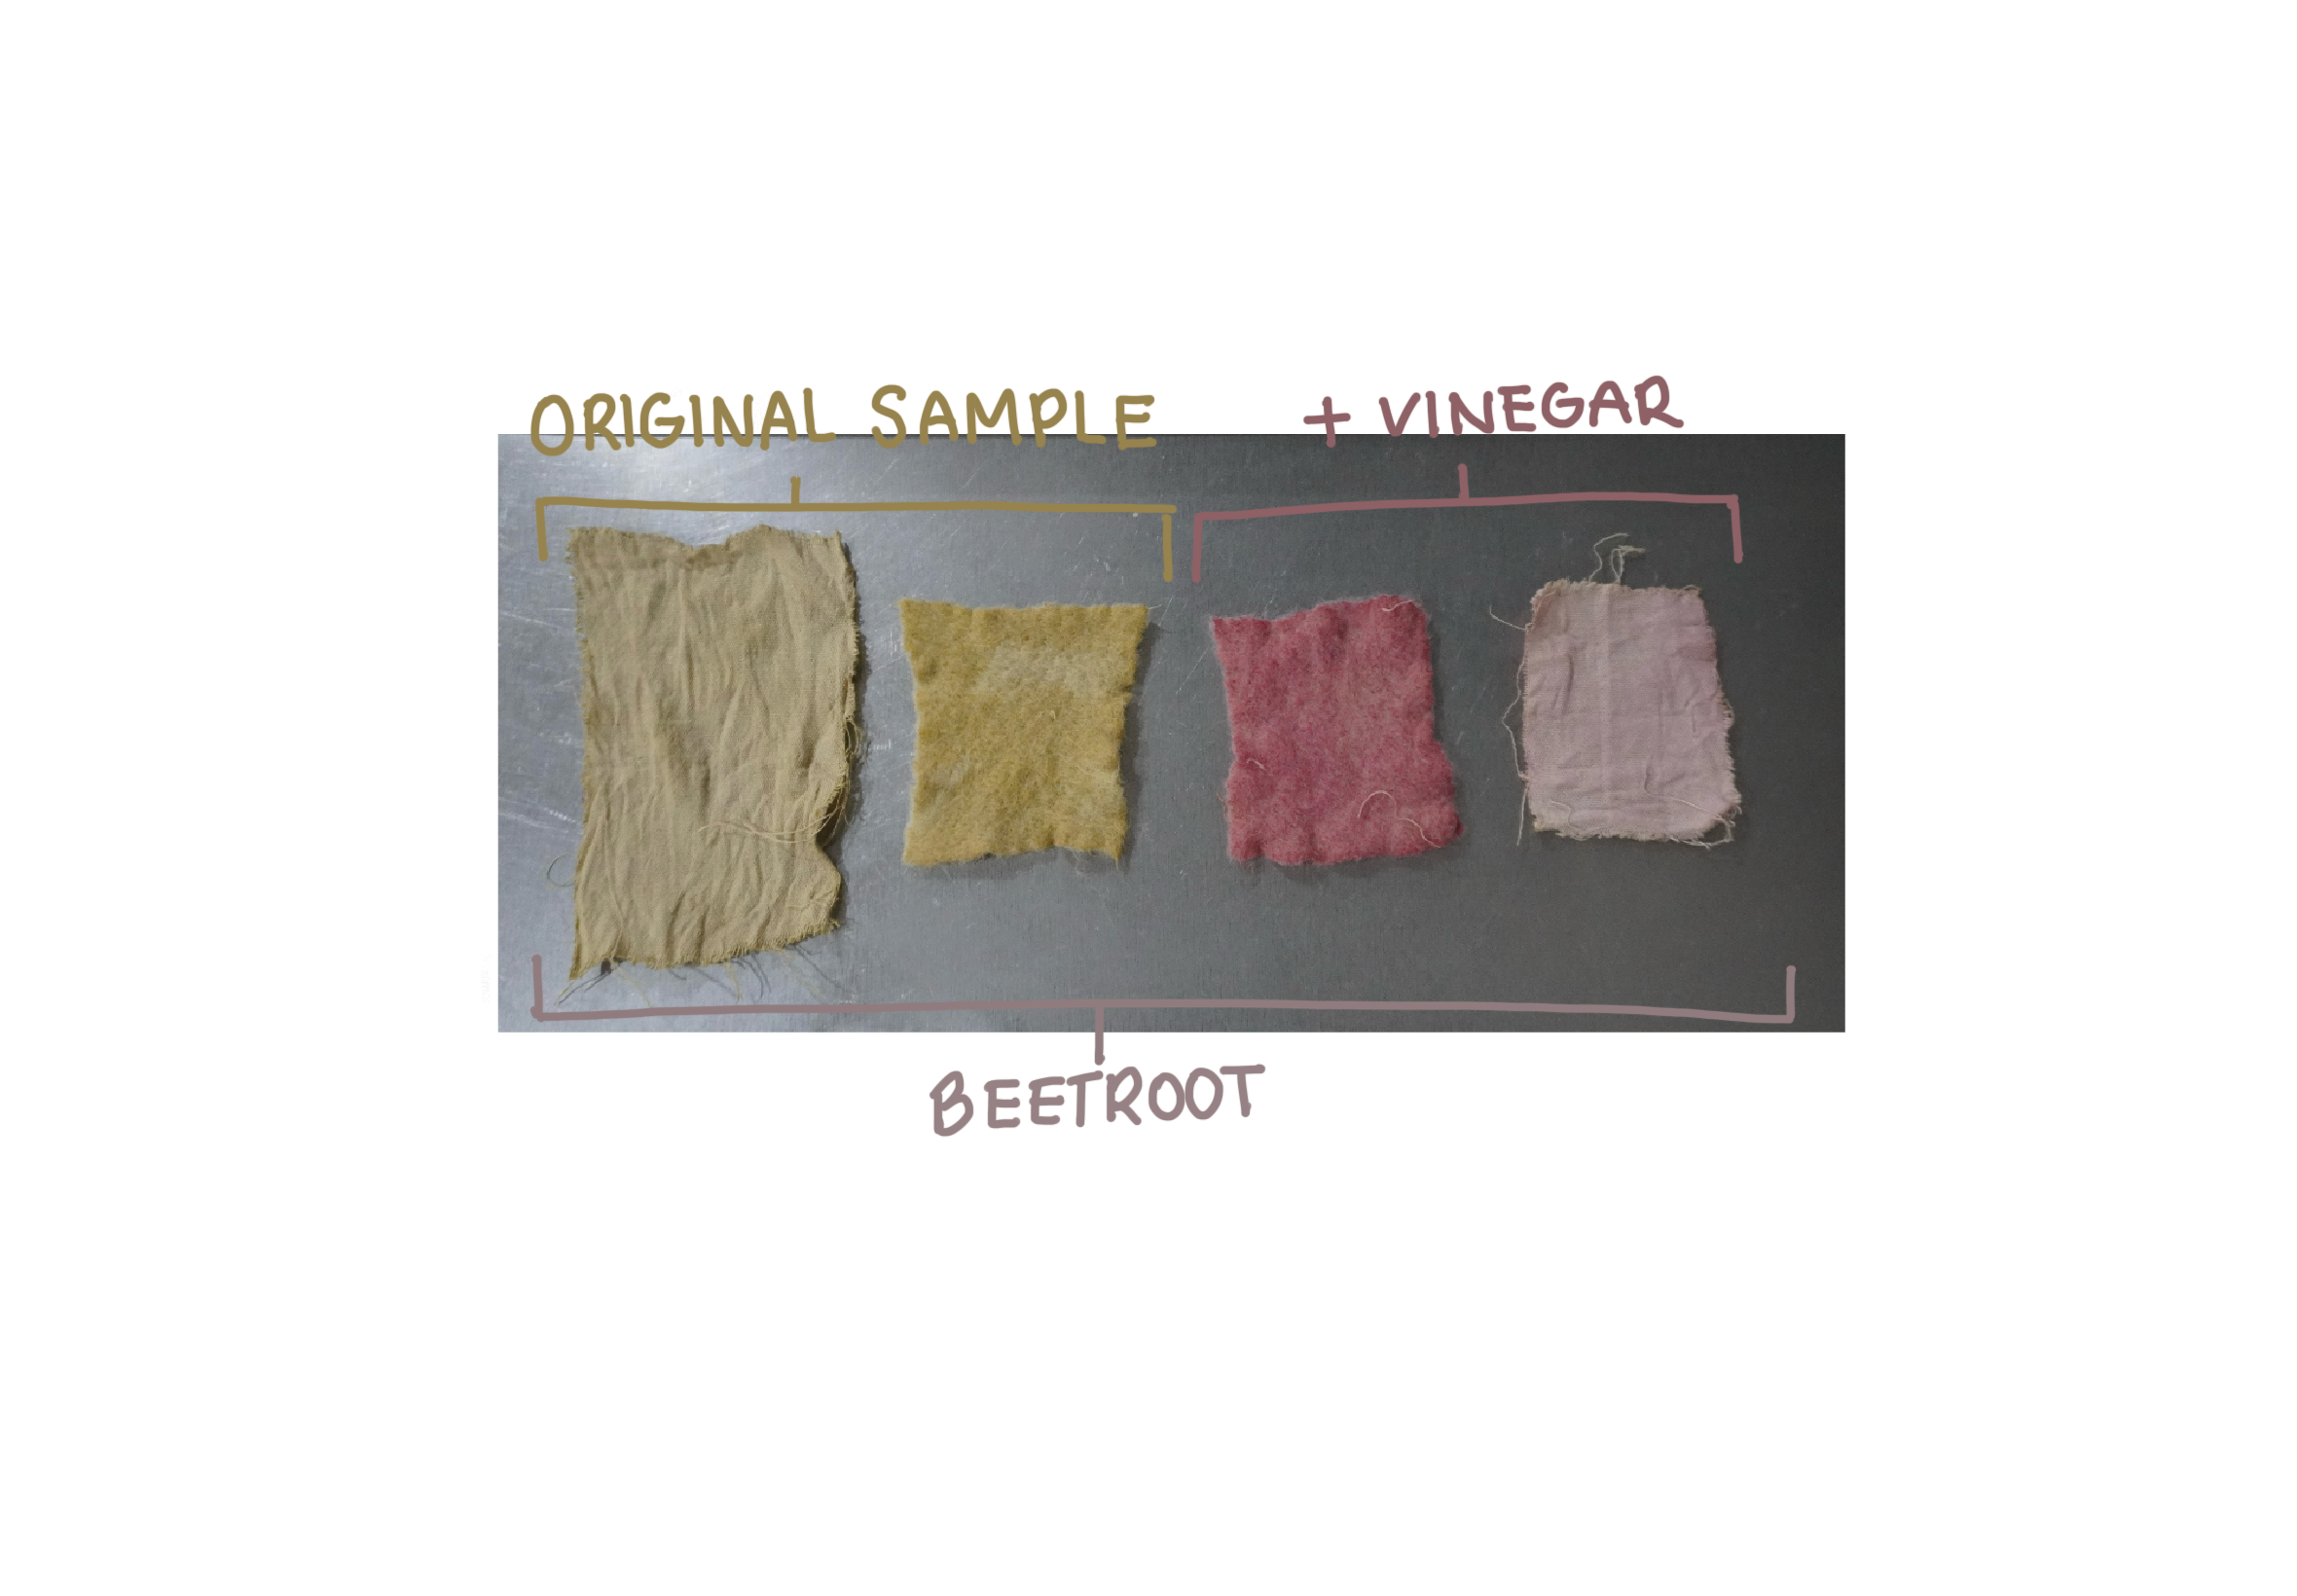
Pigments
- Add calcium to the leftover dye bath and pass it through a filter
- Separate the calcium-containing residue into a container
- Let it dry
This can be use as water color
Anthotype
- Video reference
I made 4 versions of anthotypes in both paper and fabric to see how the materials react with the sun.
Ingredients: Turmeric Spinach leaves Beetroot Red cabbage Alcohol
Materials: Fabric Paper Filter Brush Picture frame Acetate sheet
Spinach Leaves recipe
- Cut the fabric and paper into squares.
- Wash the fabric.
- Put in a blender the spinach leaves with a teaspoon of alcohol (add a little bit more if necessary)
- Use a filter to stract the ink
- Apply a thin layer of ink to the fabric and/or paper, avoiding excess
- Repeat step 5 at least 3 times (important to get a better result)
- Let it dry avoiding the sun
Negatives
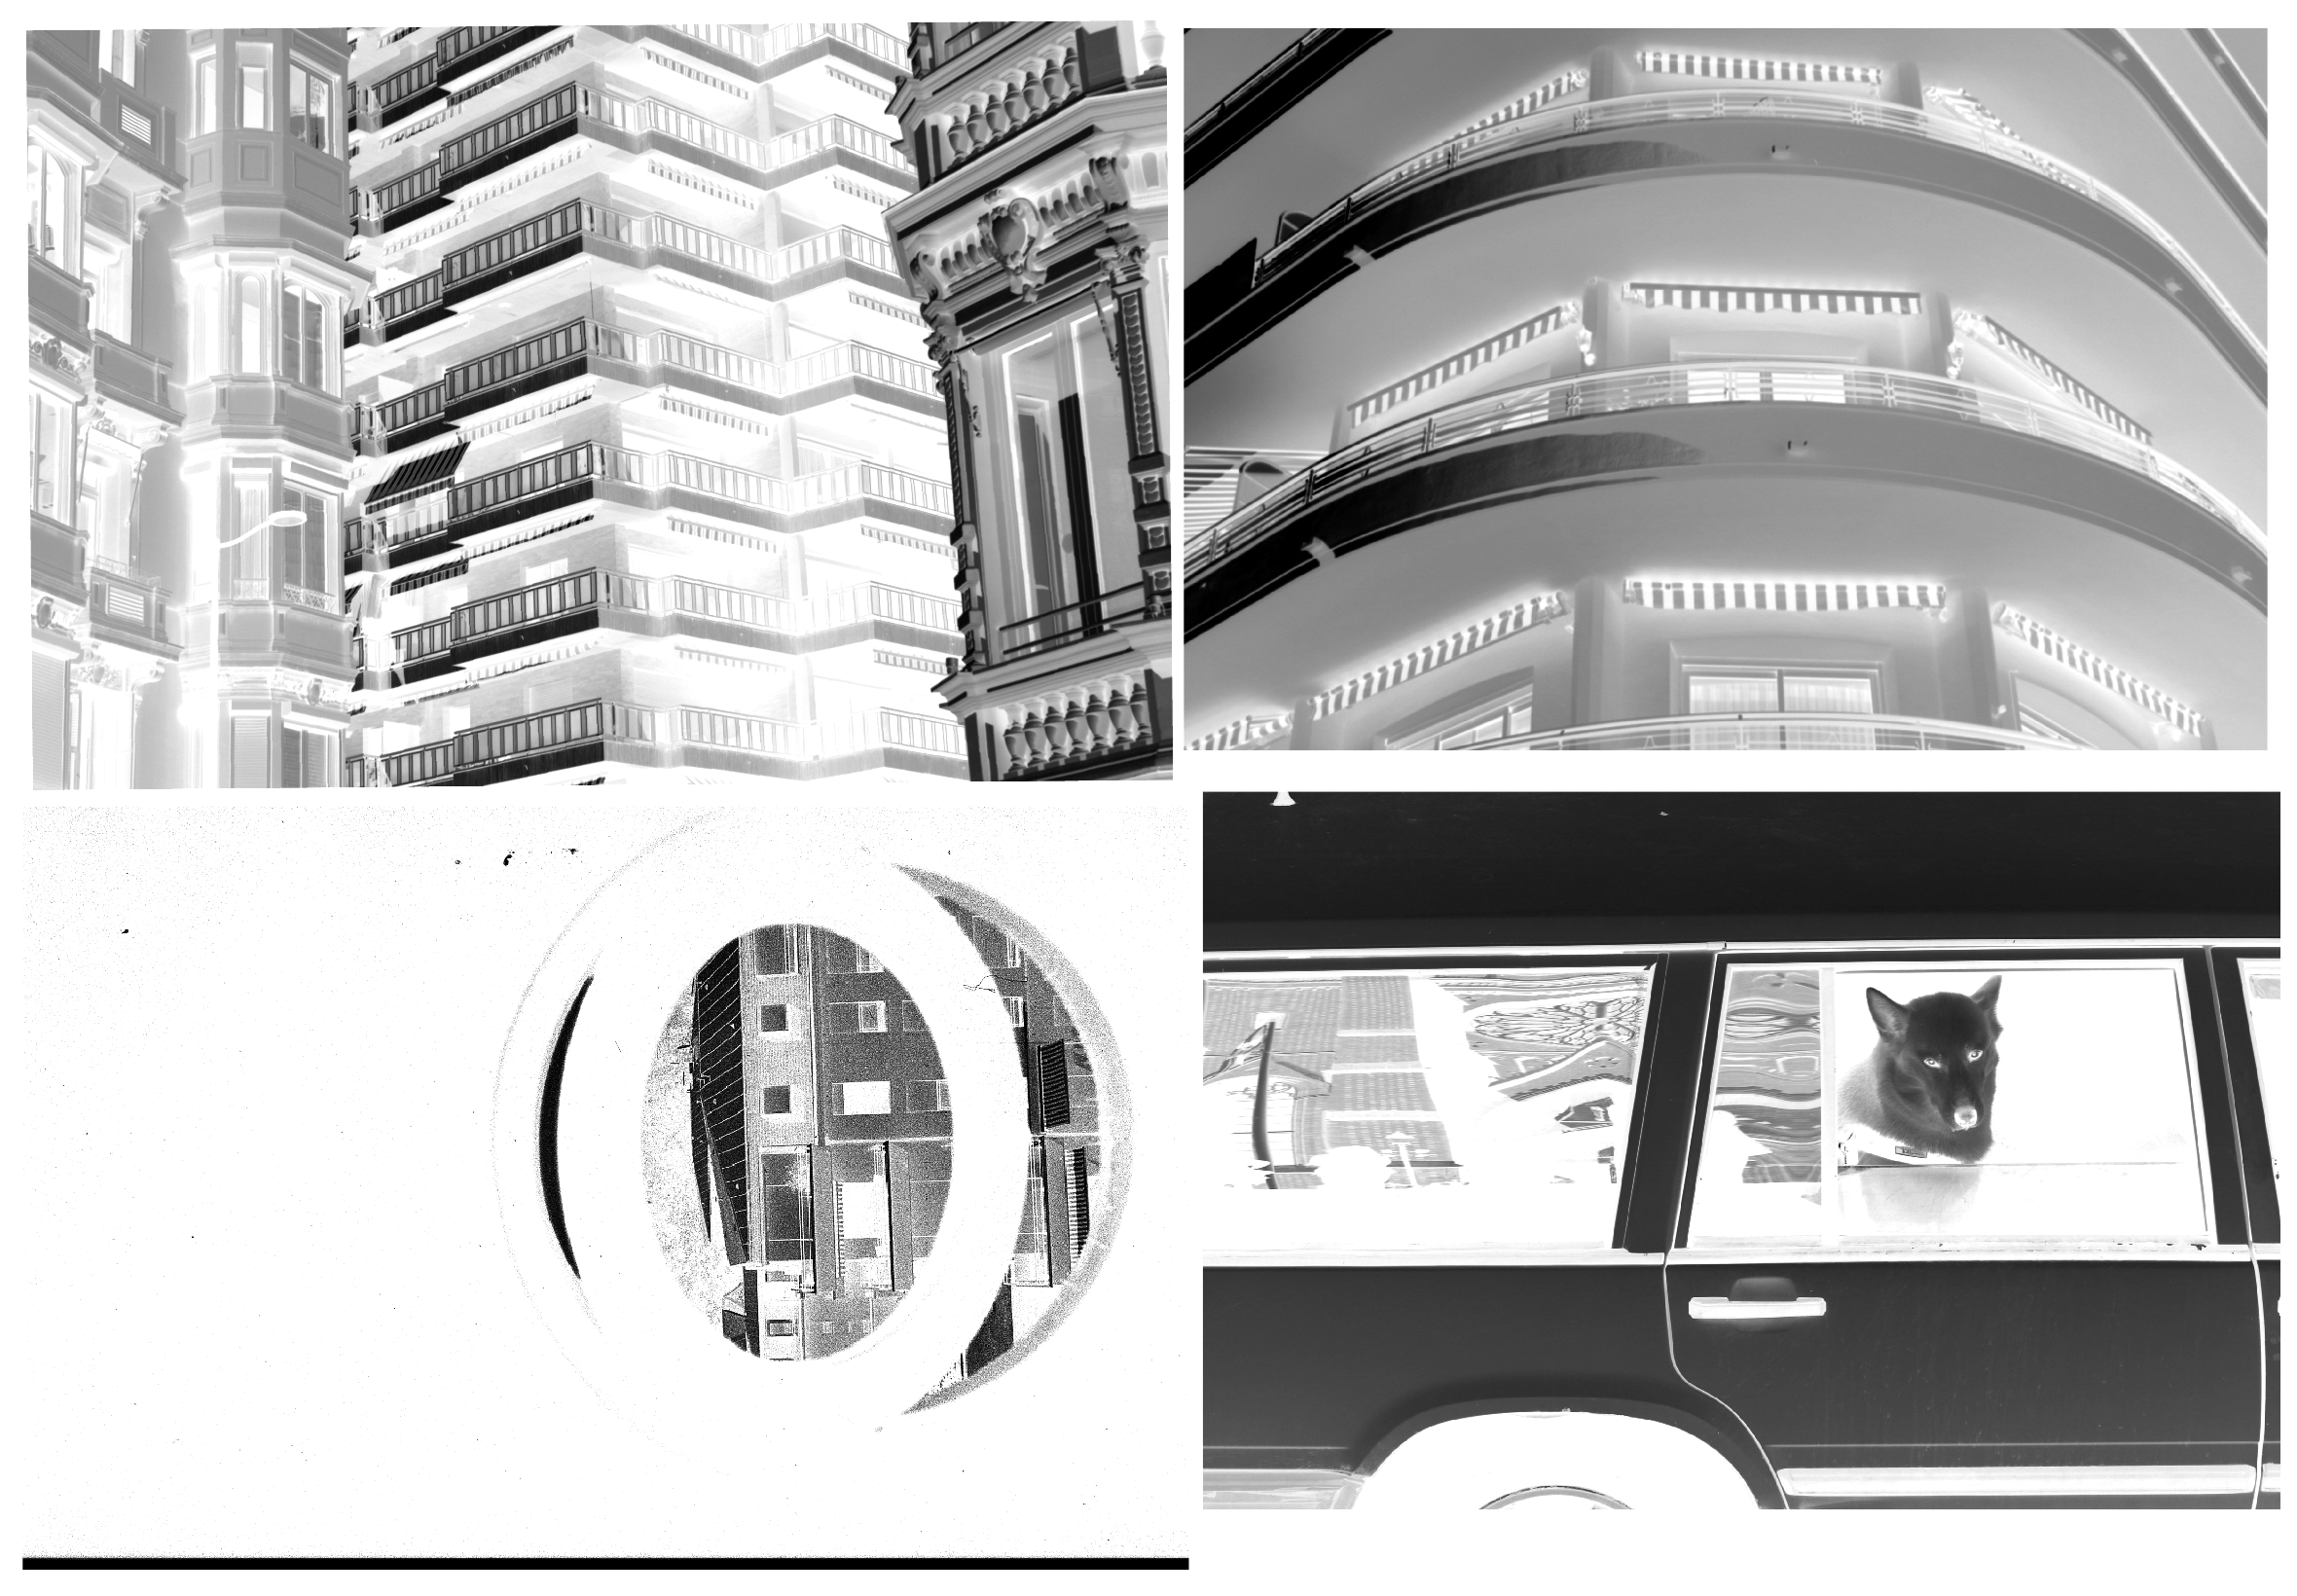
- Choose the pictures
- Edit them to change from positive to negative photographies
- Pint them in an acetate sheet
Anthotype
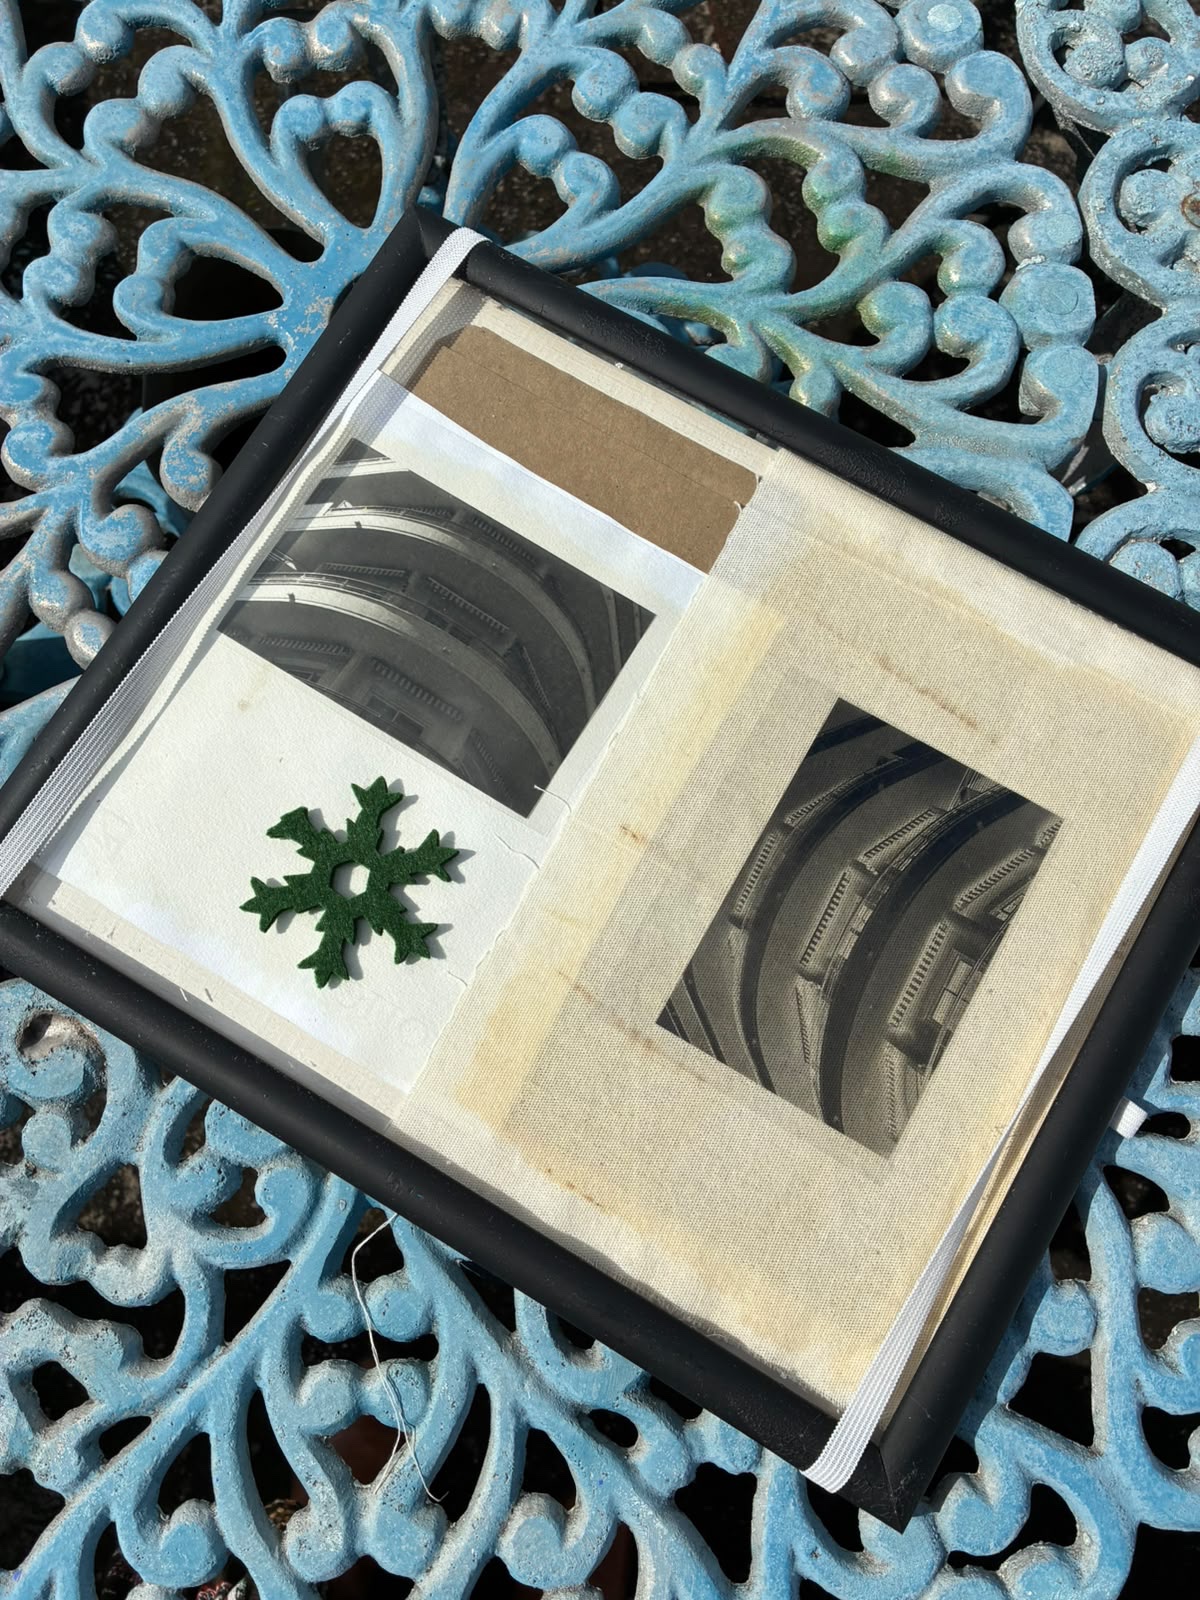
- Set the paper/fabric and the acetate in the picture frame as you want the final print
- Close the frame (to make it more stable add clips)
- Set the frame in the sun from 5 days to 2 weeks (depends oon the sun)
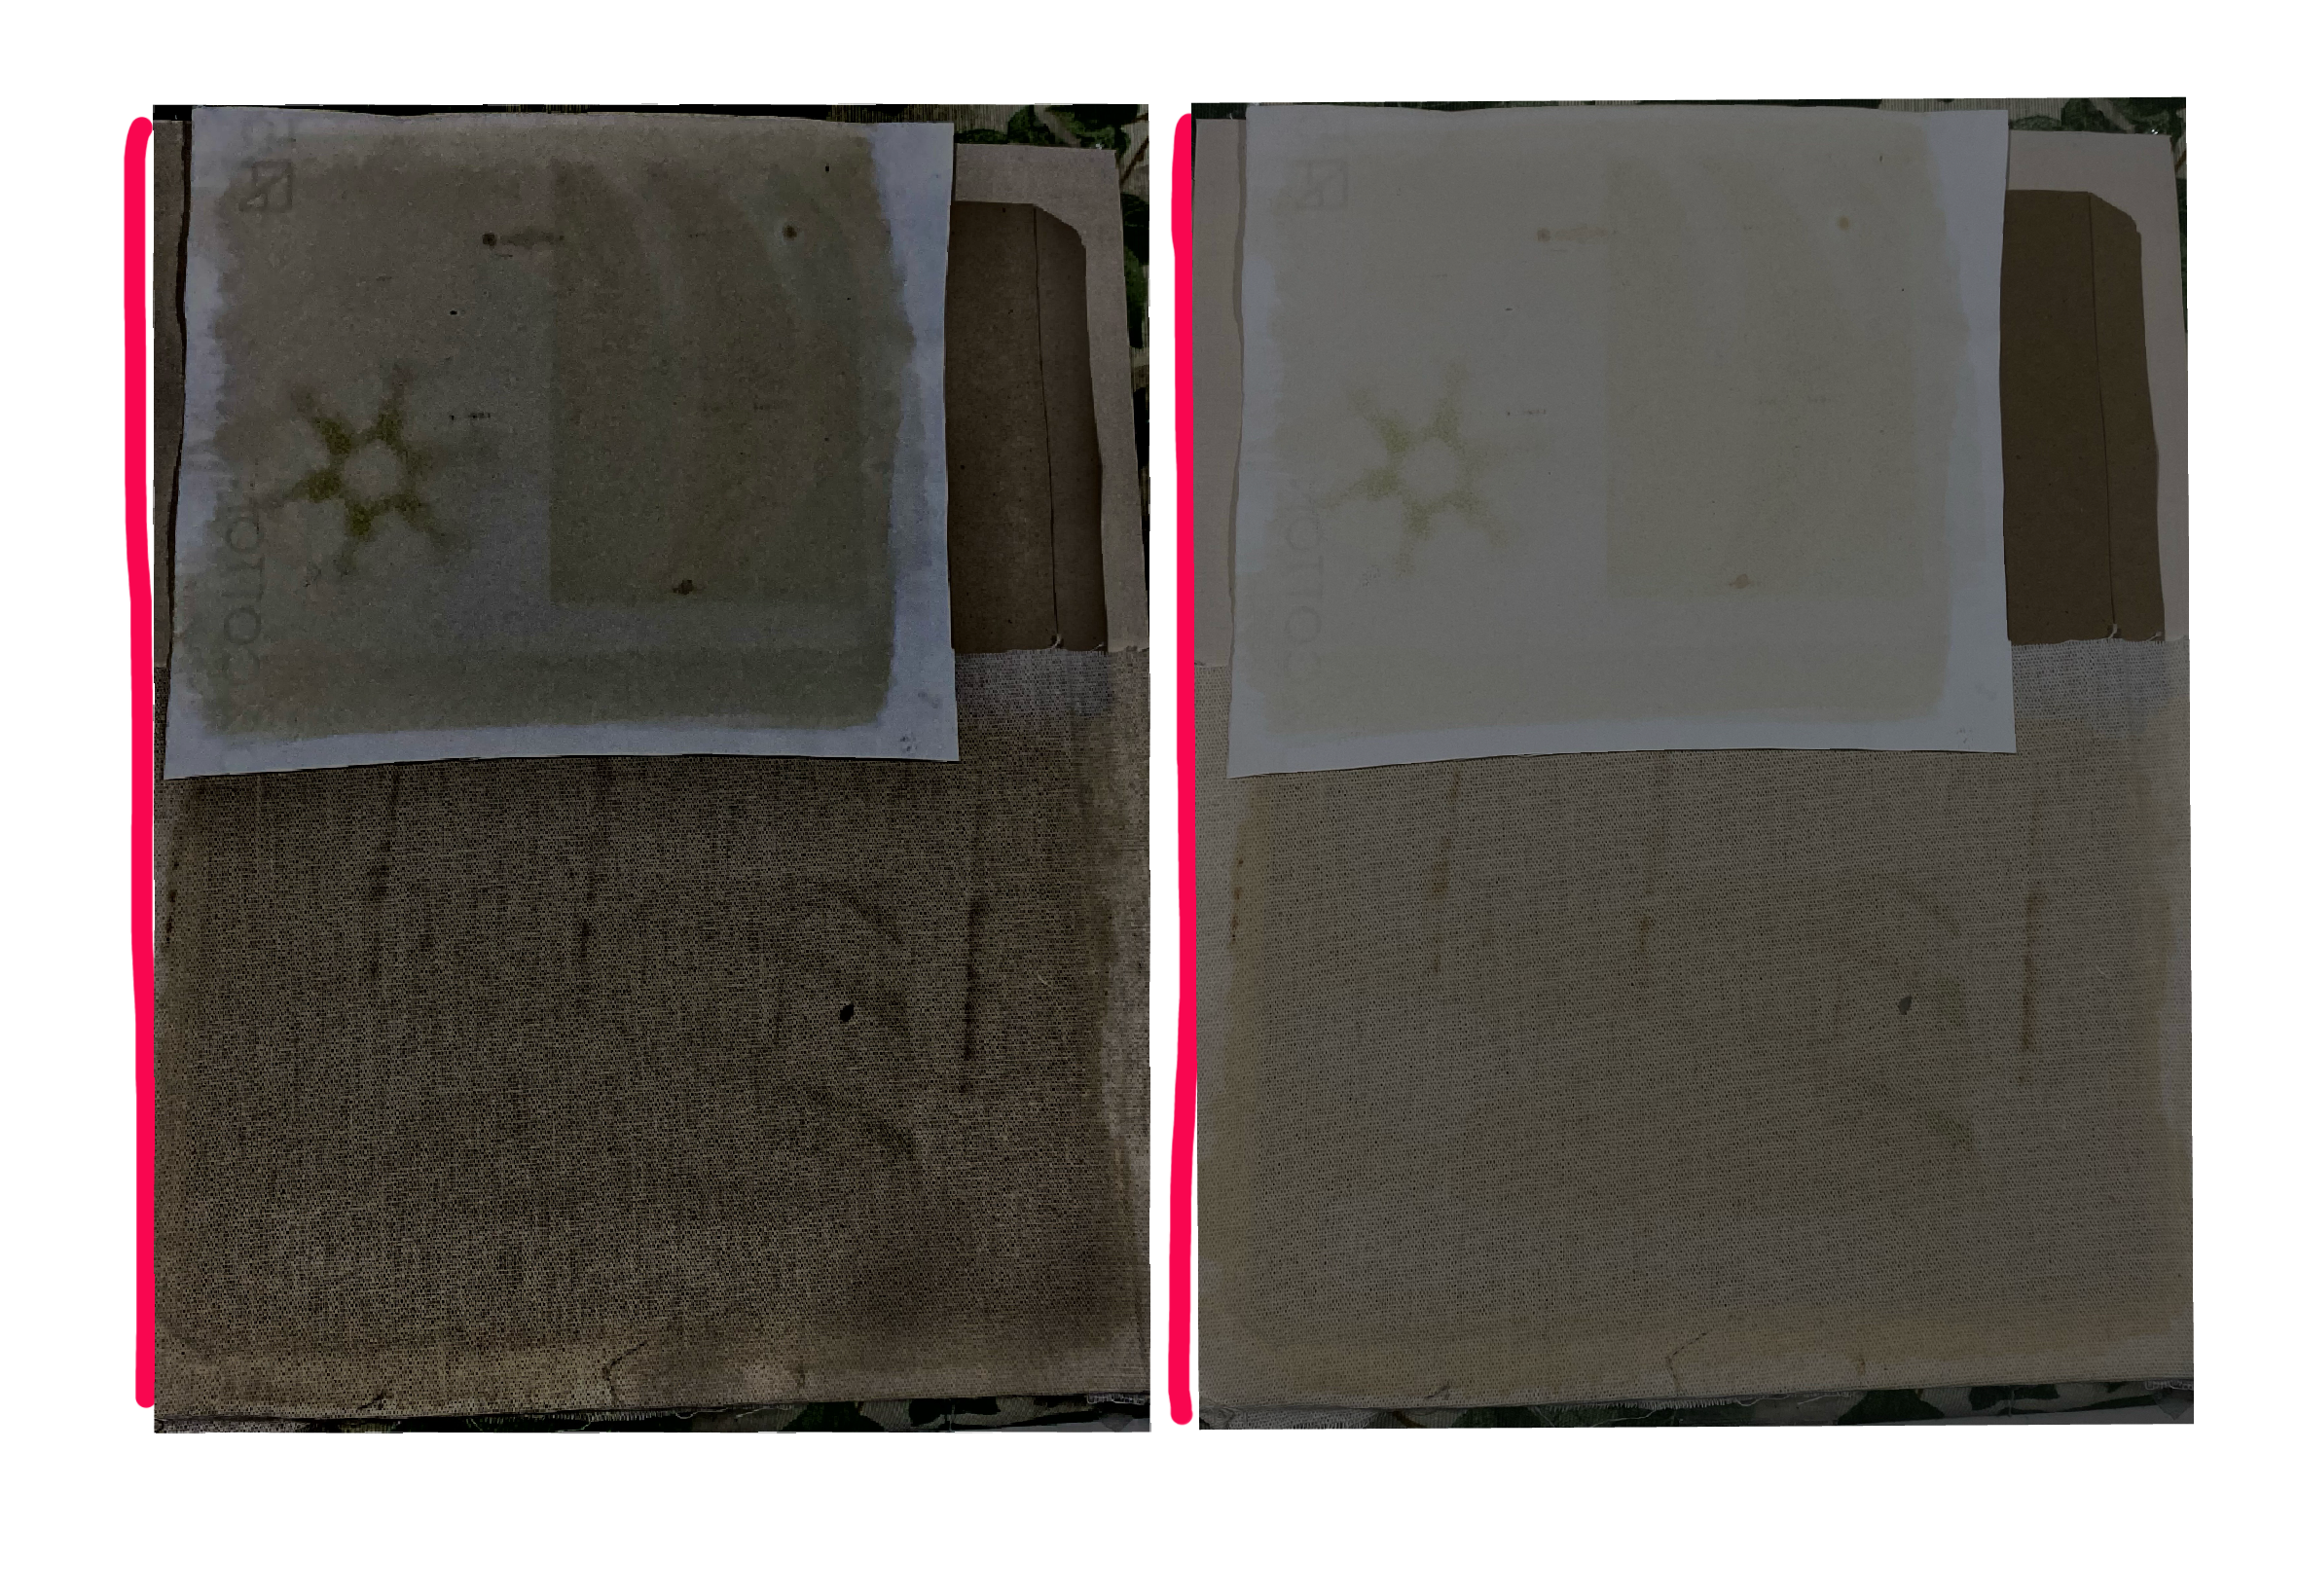
The weather was rainy the entire week so I decided to save the painted fabric for sunny days.
 ...
Results and reflection
In the past few years I have had a little bit of contact dyeing textiles, but I almost never got the colors I expected I will. This time I was expecting something similar, instead I got surprise. I really liked the diverse palette of colors and it was really interesting seeing how much they can change with a different PH. I got several colors and tones from different natural resources and there´s no need to go far to get them.
I had problems with the weather but I still got to see how the materials behave during each stage. I was really exited to get results with the anthotype but I only got rainy and cloudy days, I will be patient and continue the experiment when is better to. That’s the beauty of nature: it doesn’t always work the same way, and you have to learn how to adapt to it.
I think there's a lot of possible applications and I will like to keep exploring them and integrating them to my future projects.
I am still excited and waiting for the anthotype results
NuEval — final step
Go to NuEval and fill in the checklist, when not complete notify your instructor.
Recipe files & References
-
Recipe: download my recipe booklet here ↩
-
Recipe: Dye recipe pdf ↩
-
Reference: Author; Title; Source; year ↩