BioFabricating Materials
 Biomaterials, based on our local environment, must be bio-based, compostable and biodegradable within 90 days under the right conditions. With them you can create bioplastics, leathers, yarns and fabrics.
The idea is to change the narrative about the world we live in and the materials that surround us: to go from a linear system to a circular spiral, and finally to a regenerative system where everything goes back to nature. Every industry generates waste, including the agricultural, textile and food sectors, and the root of the problem is everything the planet cannot digest.
Go back to nature and relearn
8 issues of the synthetics
- Never goes away
- Spoils groundwater
- Threatens wildlife
- Poisons food chains
- Affects human health
- Attracts other pollutants
- Piles up in the environment
- Costs billions to abate
Research and inspiration
While doing research, I found several biomaterial libraries where people share their results and sometimes even the recipes to get the same outcomes.
I find it really interesting how biomaterials can substitute materials we are used to in our everyday life. In the following inspiration sources I saw how they can really do that, and how far we can keep exploring. I consider it a huge world where you can get lost in experimentation, and that is also why it is full of amazing opportunities to discover something special.
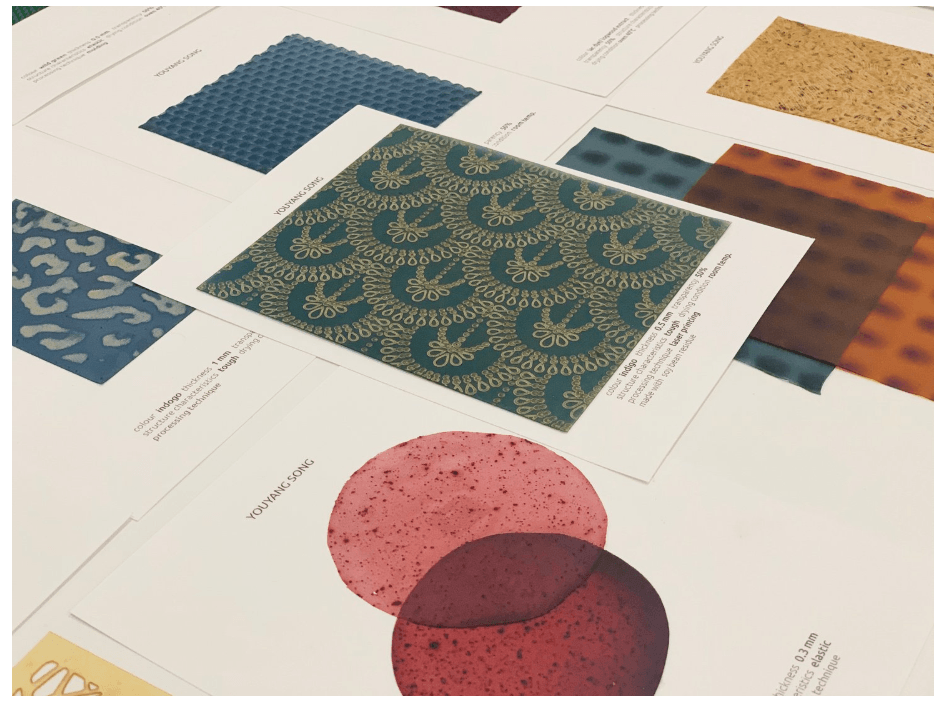
I really like the way Youyang Song plays and experiments with the texture of materials using laser cut. On the website you can see different interesting patterns, and I think experimenting with laser cut and other techniques can enrich the process of experimentation and open up even more opportunities.
In Chemarts I found interesting projects from other students. I think it is inspiring to see what other students are experimenting with; it makes me feel that you don't have to be a professional to start getting into a field and get some results.
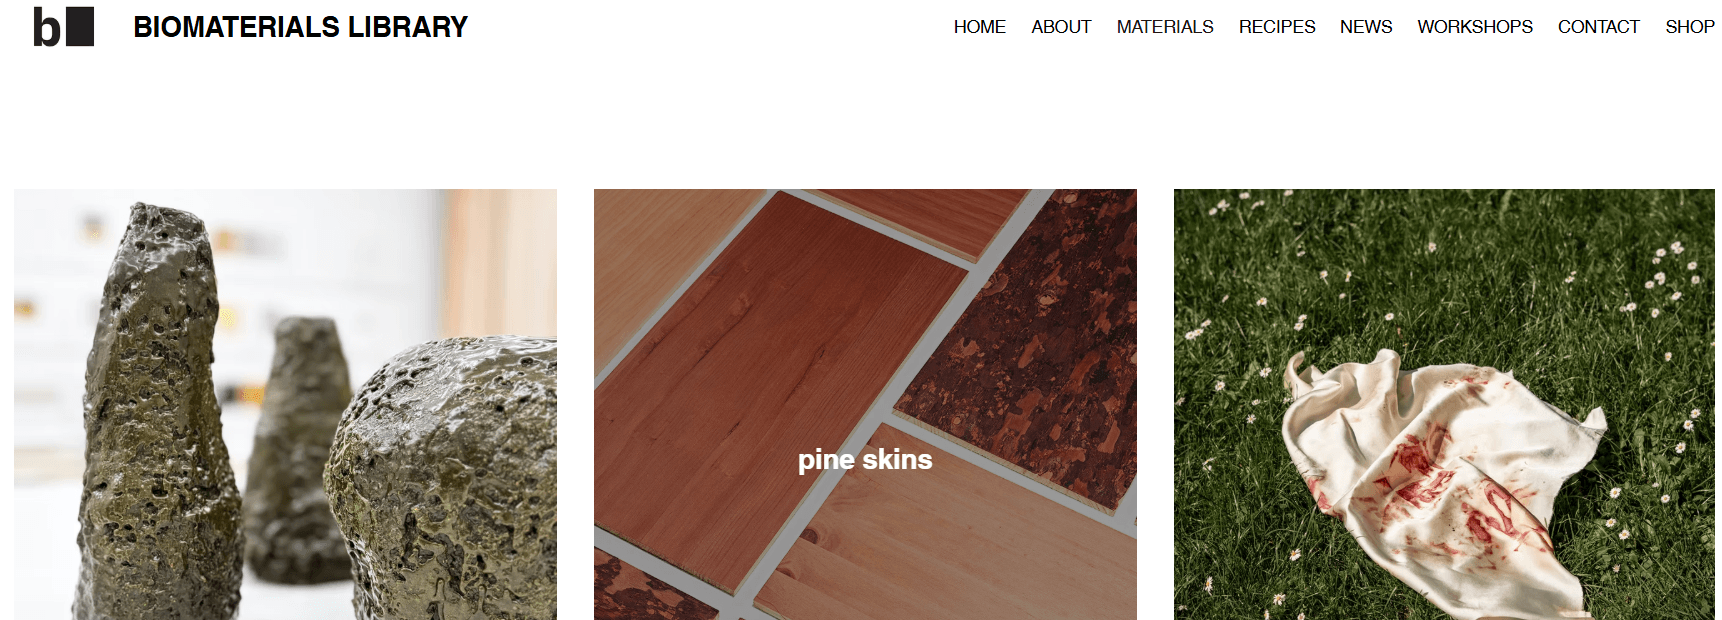
In Biomaterials Library and Materiom two biomaterial libraries you can find projects from different people and see what they are doing right now with different materials. I think they are super useful, and I really like that people are open to sharing their knowledge instead of keeping it to themselves. I found as well Biology studio a house of experimentation in Mexico city, with some biomaterials and projects.
Plant pots
Something I was really interested in this week was working with plant pots, because, at least here in Mexico, it is an industry with a lot of plastic waste, and it would be interesting to find a sustainable option. I found these sustainable plant pot projects from Adonis Evangelista and Verena Brom I would really like to experiment with something like that in the future.
Biomaterials documentation with samples
Youtube video with the result of each material
Which ingredients to use depending on the texture
| Texture | Base combination |
|---|---|
| Flexible and elastic (rubber, silicone-like) | Gelatin + more glycerin |
| Transparent and glossy | Gelatin or agar + glycerin, no fillers, no bubbles |
| Rigid, ceramic-like | Starch + baking soda, or alginate + eggshell powder, with little glycerin |
| Stone or terrazzo effect | Eggshell powder, coffee grounds |
| Lightweight foam | Gelatin + glycerin + whisked soap, or mycelium |
| Rustic and structural | Coconut fiber, sawdust or paper in a starch base, or mycelium |
| Thin sheets, nets, threads | Alginate cured with calcium, or agar |
| Leather-like | Gelatin + glycerin + coffee (coffee rubber), or agar |
Tip: more glycerin means more flexibility, and more filler means more rigidity and less shrinkage.
Tools
Process and workflow
I took a look to the samples of biomaterials I had and for this week I decided to work with the next recipies to make rubber, silicone, composite and kombucha leather. I stayed with the main ingredients to see their different results.
- Silicone mold
- Tray
Rubber
- Water: 122 ml
- Starch: 60 g
- Gelatin: 60 g
- Glycerin: 122 ml
- Extra water to hydrate the starch: about 70 ml
- Clean the space and tools to use.
- Weigh the ingredients.
- Disinfect the molds.
- Mix the water, glycerin and gelatin cold.
- Heat to 80-85 °C.
- Separately, hydrate the starch with the extra water (fluid, no lumps).
- Add it to the heat.
- Stir and pour into the mold.
Results
- I left the mixture to rest a little bit (maybe a littl bit too much), I putted into the mold of the golf balls and when I poured the mixture onto the tray it had lumps. So I had to do it again to get a better result. Following the same recipe the results where better without waiting that much.
- It dries pretty fast. For this material I used a silicone mold with shape of golf balls, to see how the material bounces and a tray for the rest of the mixture.
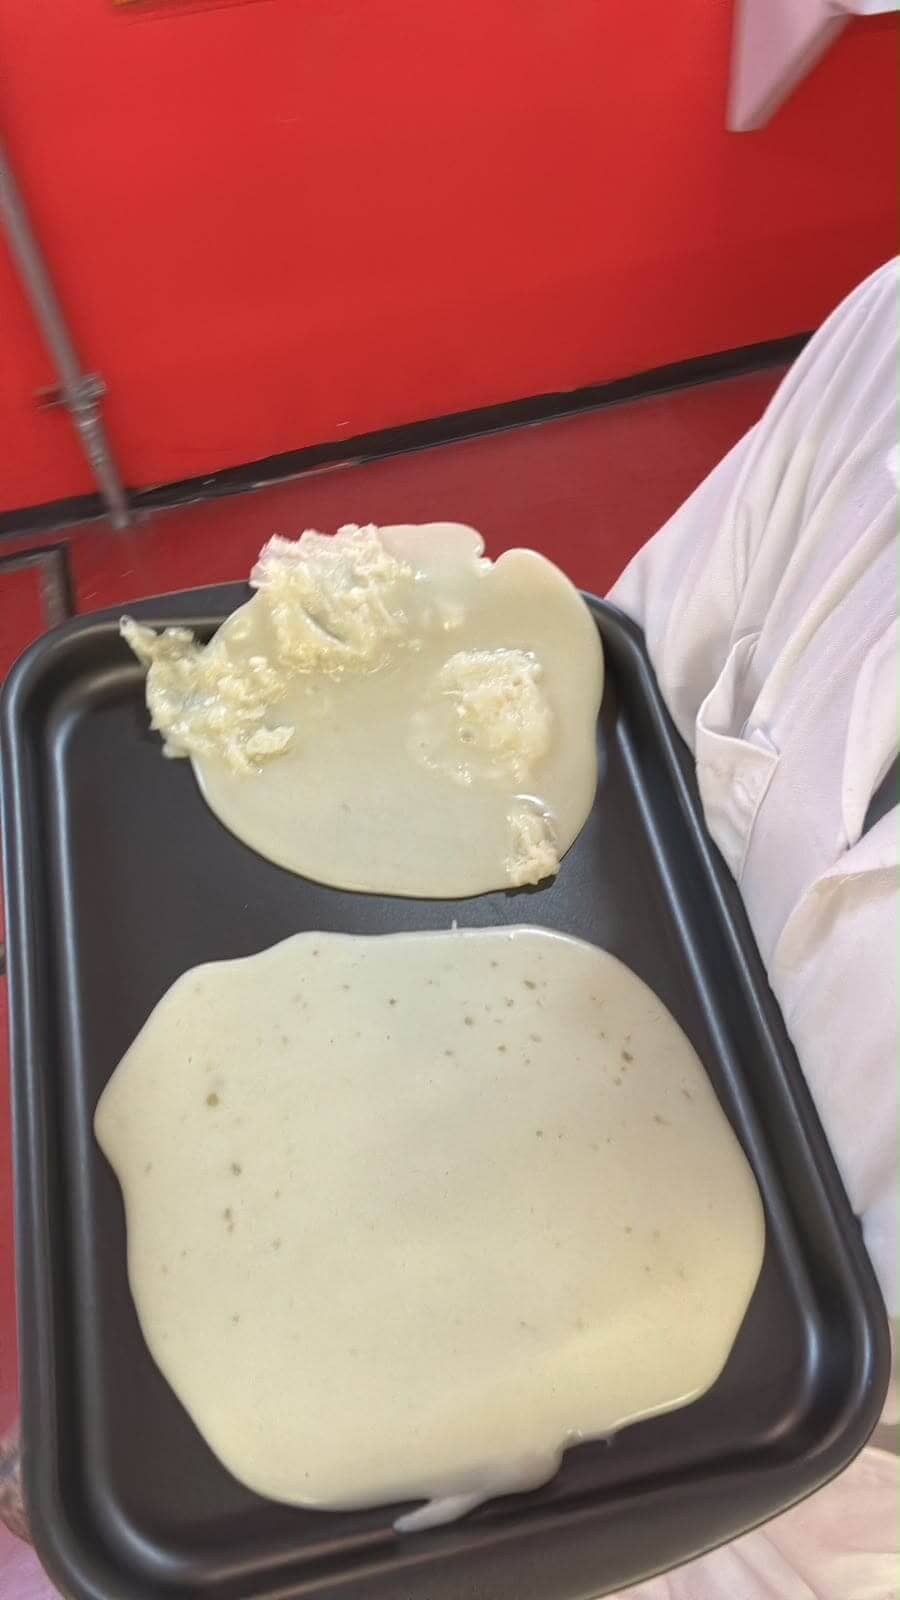
Two rubber samples
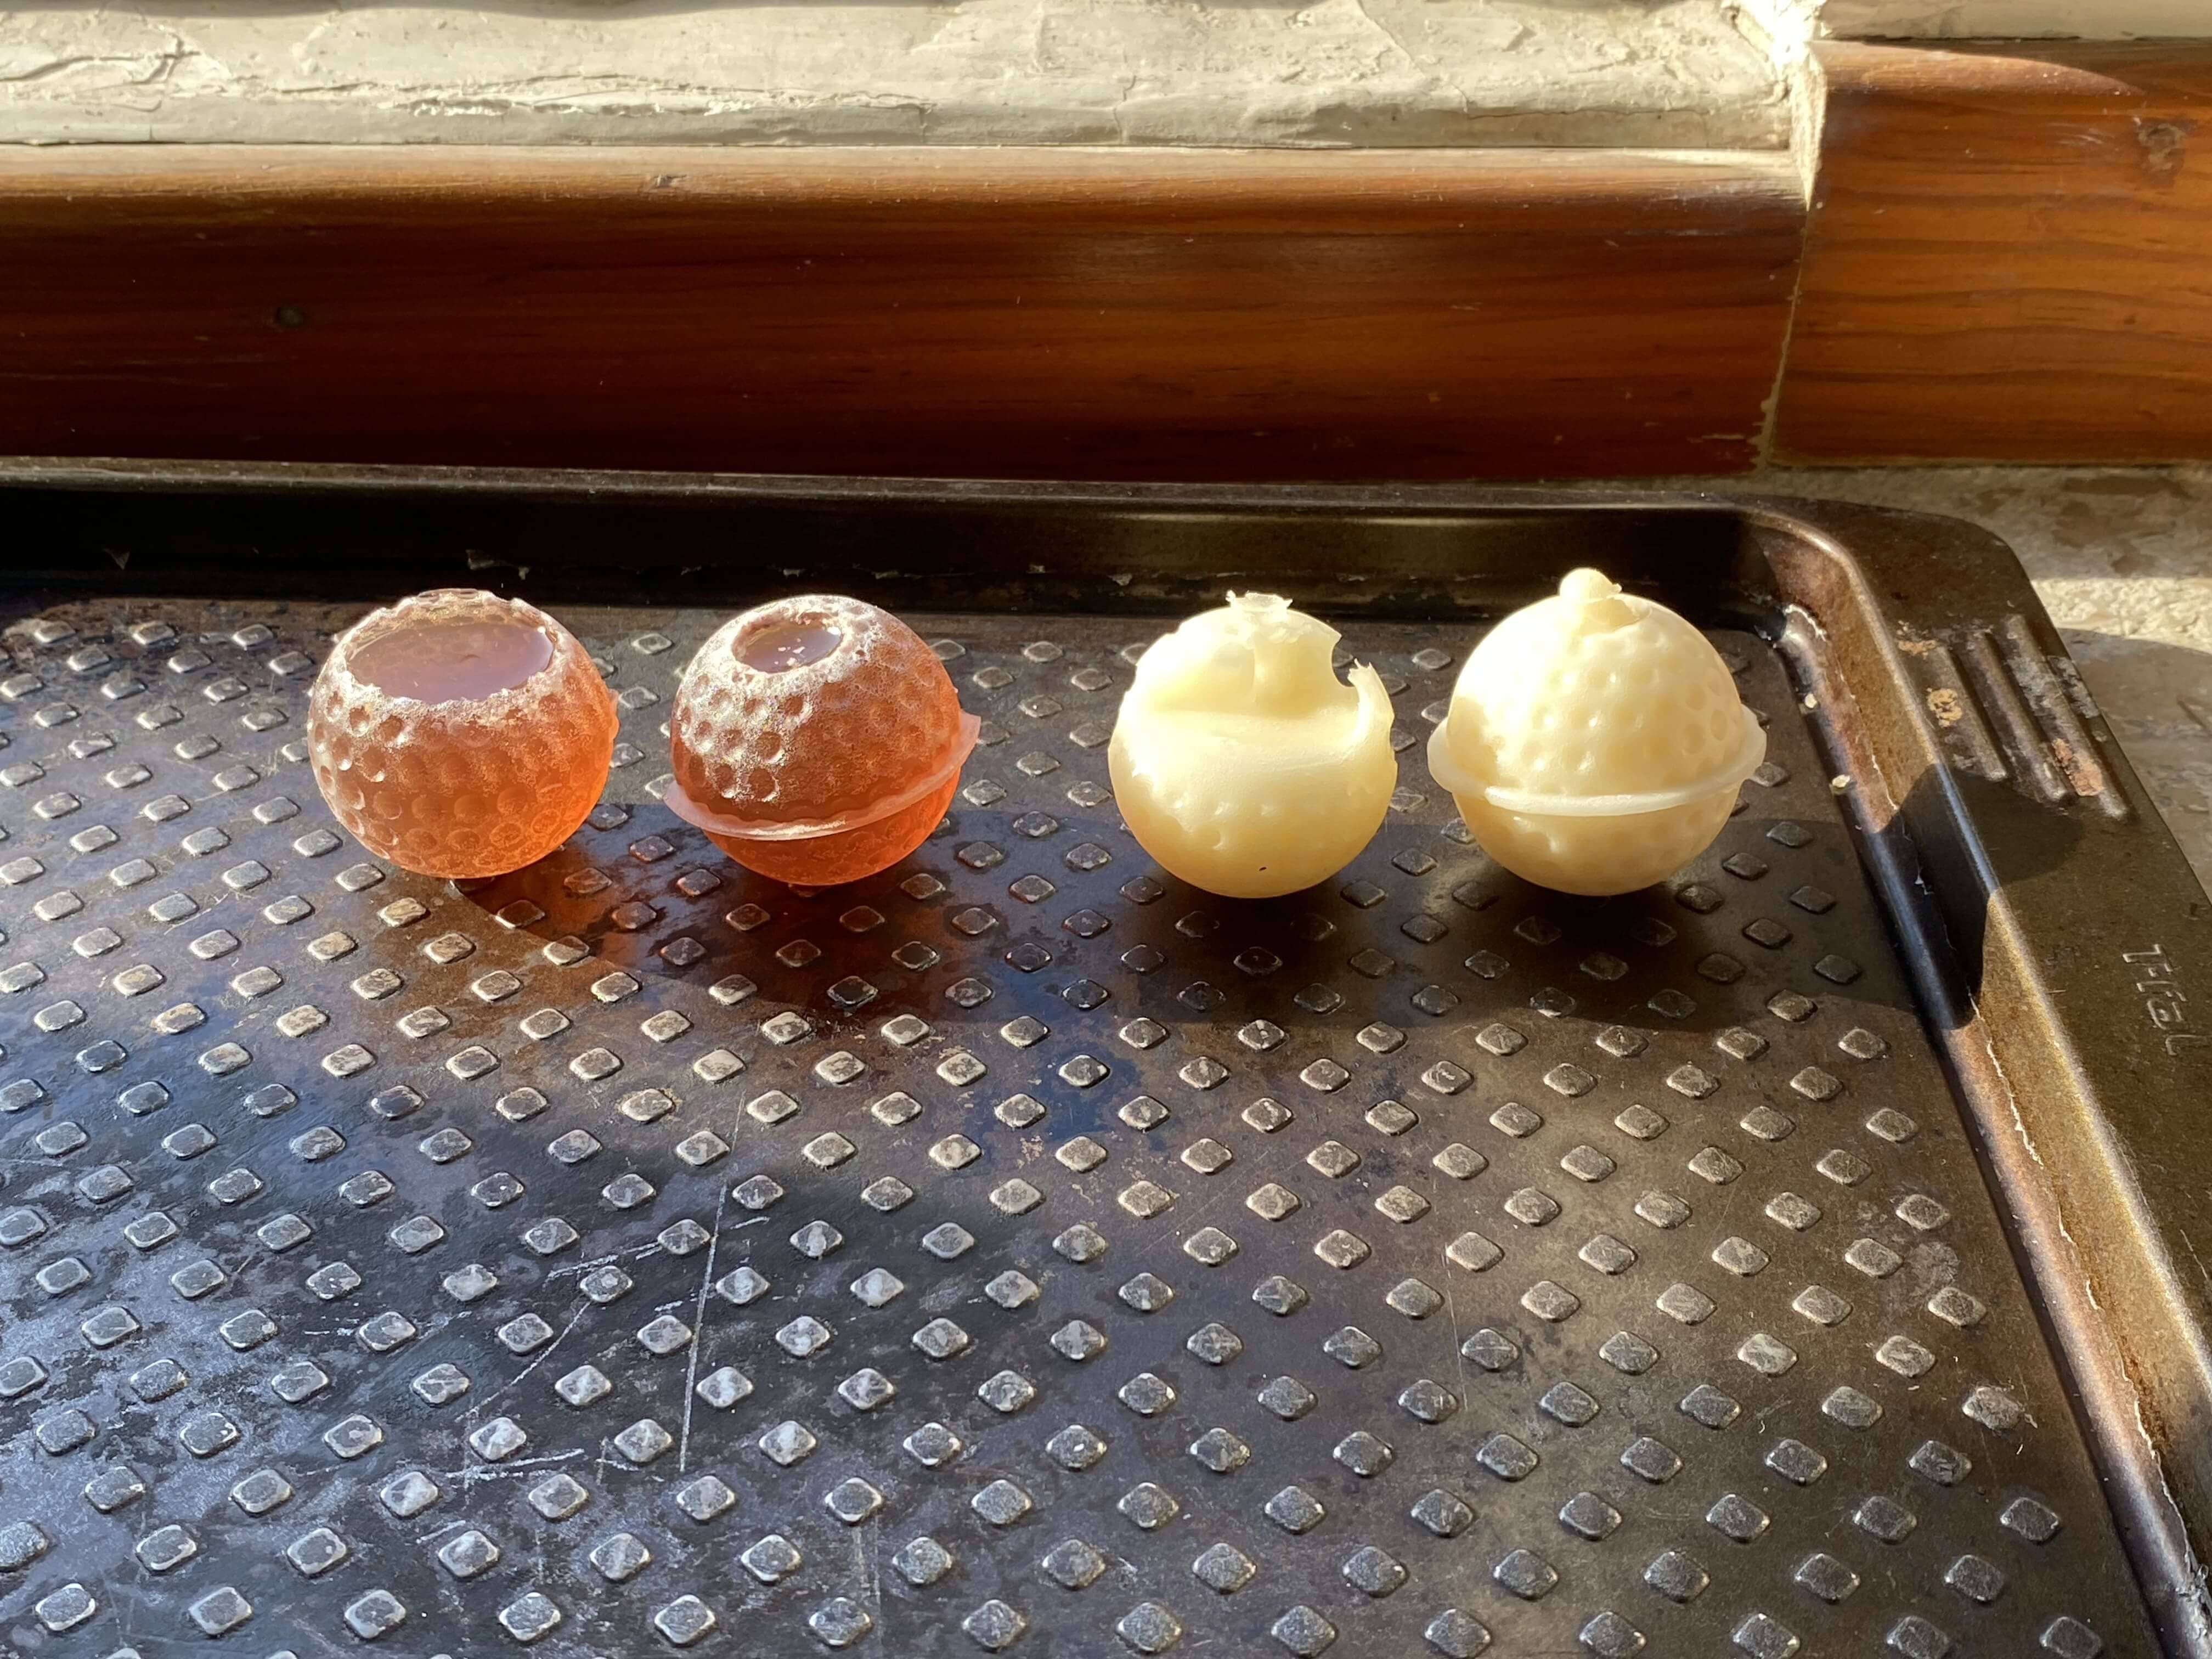
Rubber and biosilicone balls
Composite
- Starch: 22 g
- Glycerin: 1.2 ml
- Vinegar: 28.5 ml
- Water: 76 ml
- Coconut fiber: 163 g
- Powdered orange peel (optional): replaces 16-33 g of the coconut fiber
- Clean the space and tools to use.
- Weigh the ingredients.
- Disinfect the molds.
- Make a homogeneous mixture of starch and water.
- Add the glycerin and the vinegar.
- Heat on low and stir constantly until the mixture sets.
- Once it has set, add the coconut fiber (and the orange peel) and stir.
- Press the mixture firmly into the molds.
Results
It didn´t work the amount of the gel was not enough for the coconut fiber and even though I added more the fiber was not shaped enough for using it as a material, the fiber was almost like it was just coconut fiber. I used a tray for this material.
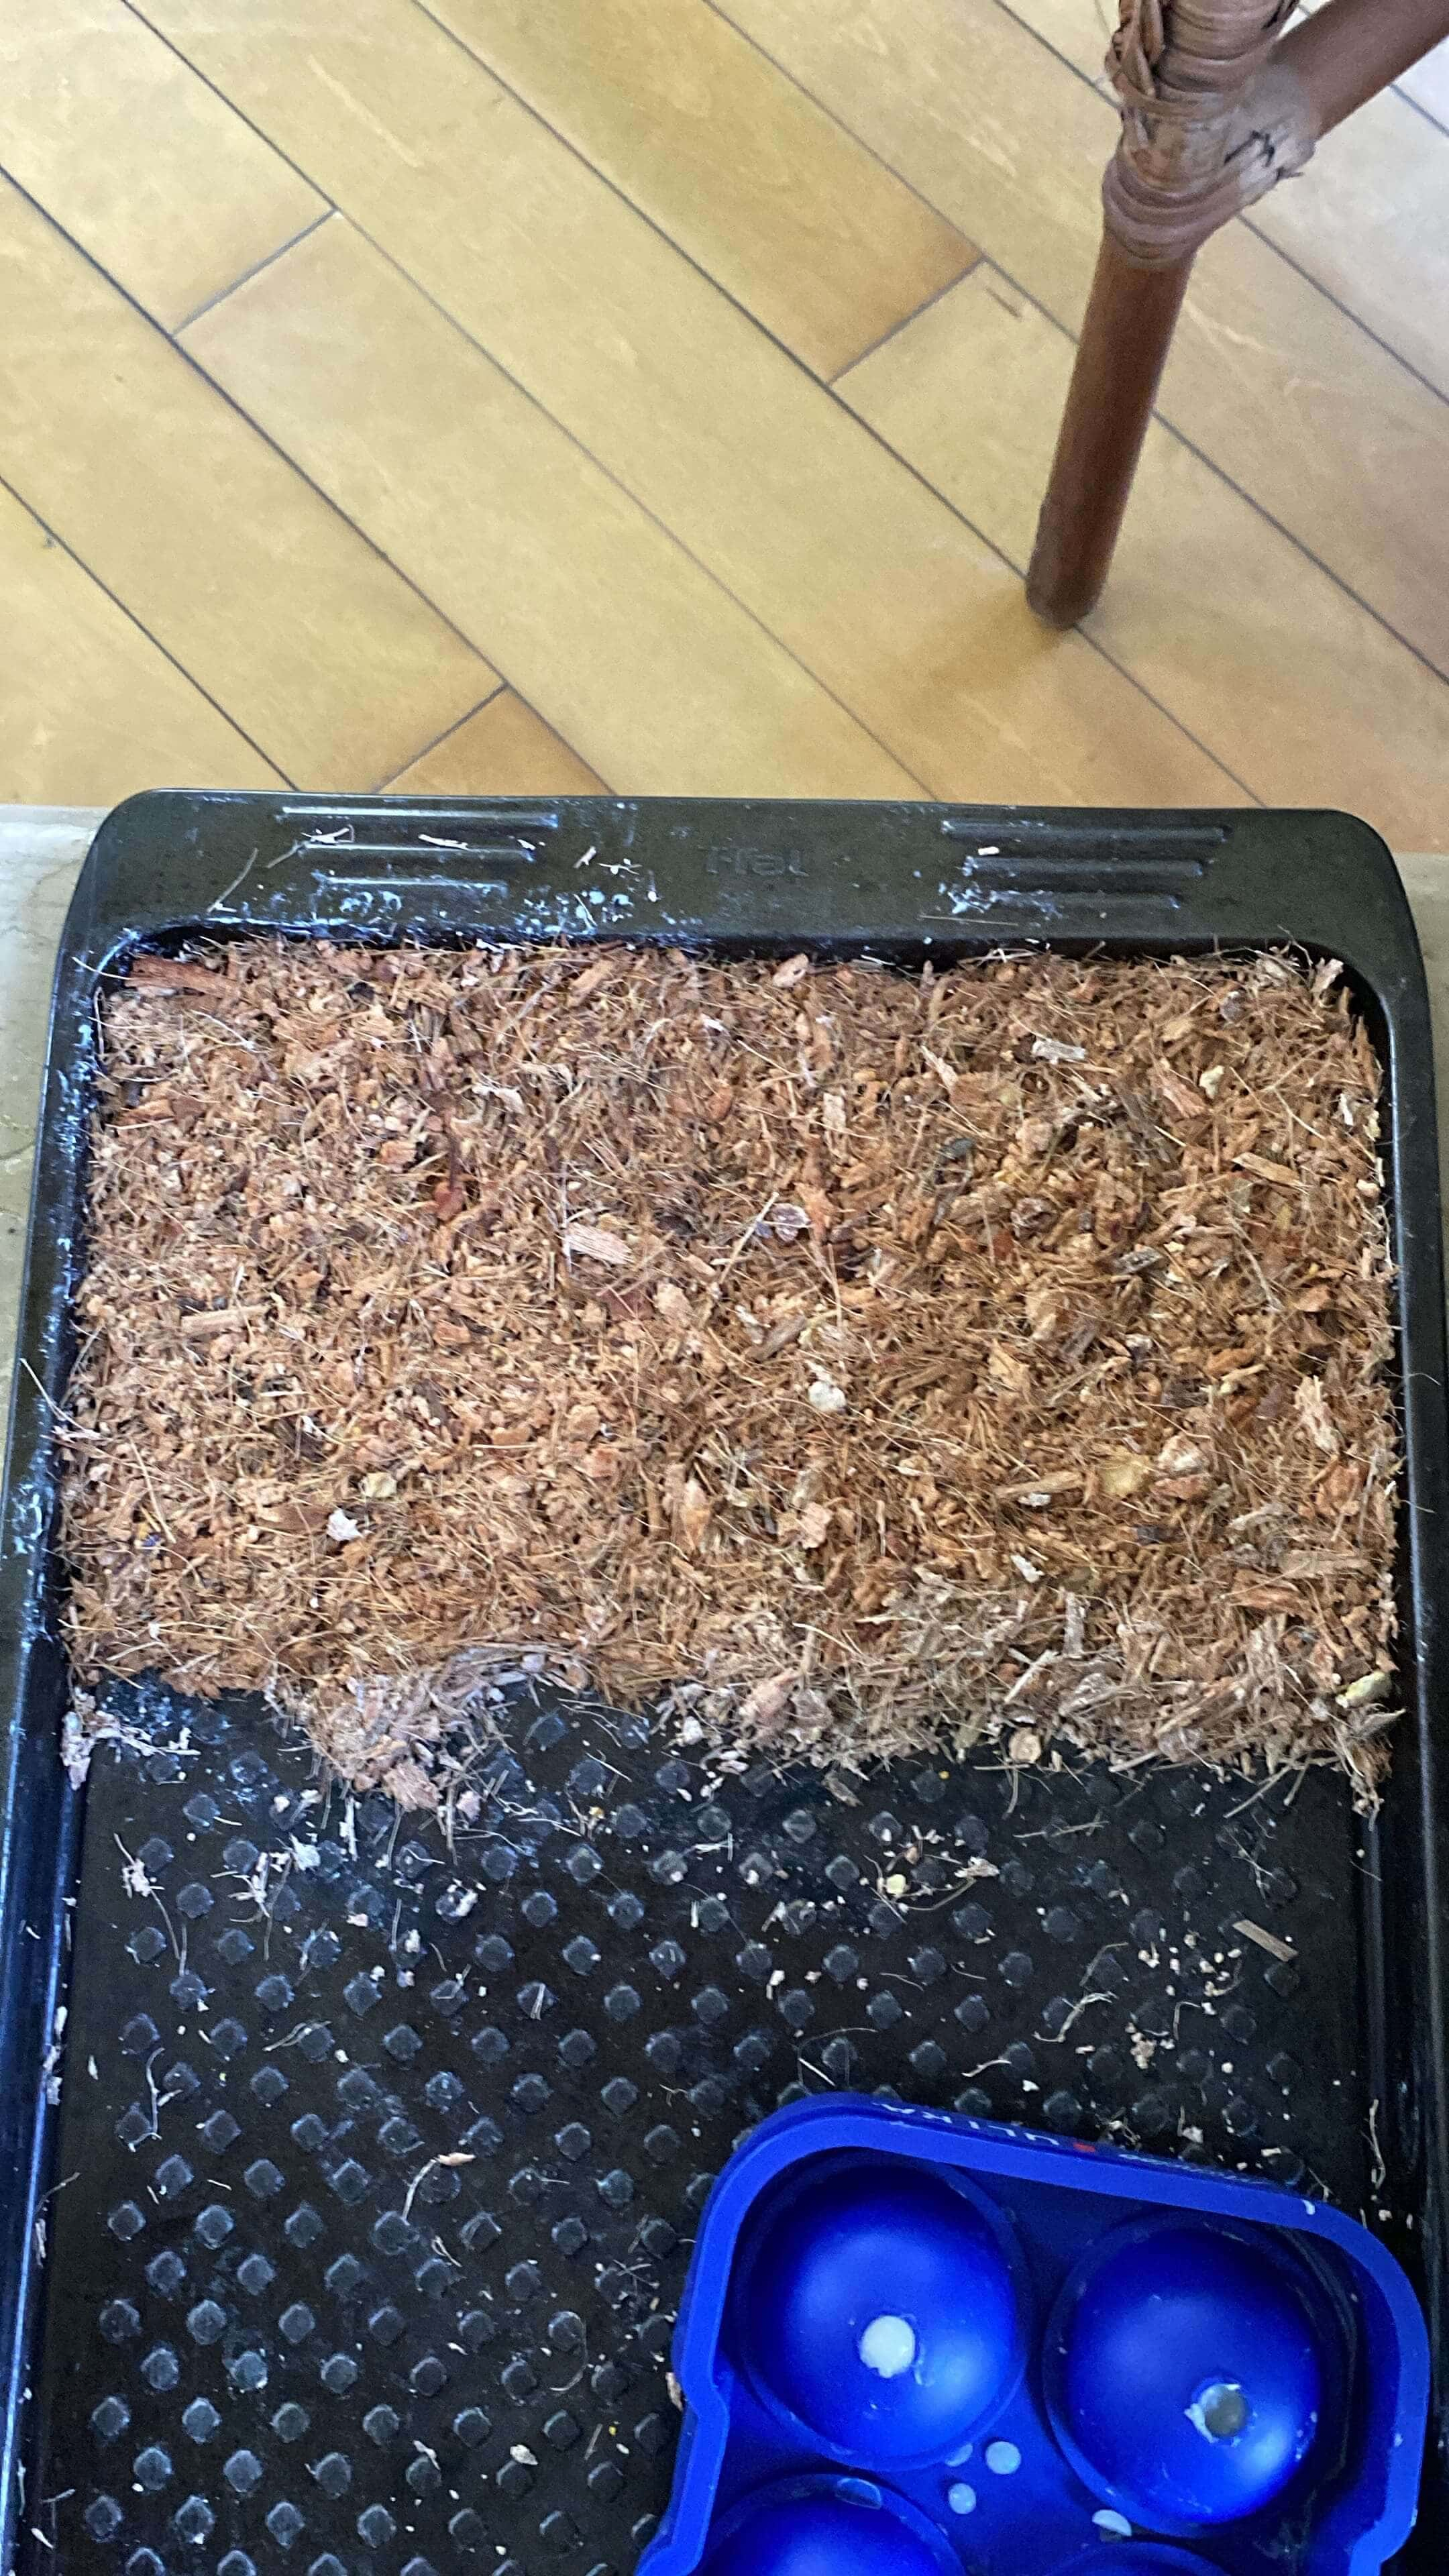
Composite
Micelio
- 500g Straw *20g Calcium
- Micelium (Pleurotus Ostreatus)
- Clean the space and tools to use.
- Weigh the ingredients.
- Disinfect the molds.
- Wash the straw until the water looks clean and not yellow.
- Cut in smaller pieces 1 inch
- Sterilize boiling the water 1 hour
- Add the calcium to regulate the Ph while boiling
- Cool the straw and drain.
- Mix with 3% of micelium
- Add one layer of straw and one of micelium until the mold is full
- Close it and use a plastic bag.
- Save in a dark place from 20° to 22° C until it looks white.
- Remove from the mold and put into another bag for 2--3 days.
- Take it out into the sun
- Is still growing
Kombucha
How to make Kombucha
* Keep it clean
During the first week we started growing a Kombucha as a group to experiment douring this week, I can only say it was easier growing one by myself for different reasons.
Here is a video made by Tere De León that includes the whole process our group kombucha.
- 3 l water
- 500 ml starter cultures
- 18 g tea
- 300 g sugar
- Vinegar
Before starting Make sure everything is super clean including your hands
1. Heat 1 liter of water
2. Wait for it to boil
3. Add the sugar and the tea
4. Add the rest to the water
5. Let it rest and cool for 30 minutes
6. Sift the tea and make shure there's no remain leaves from the tea in the mixture.
7. Add the starter culture or vinegar
8. Cover it with manta to let it breath and use a rubber to make tension and avoid things getting into the liquid.
9. Ferment for 10-14 days.
10. After the period of fermentation change the teaand add more.
Scobys
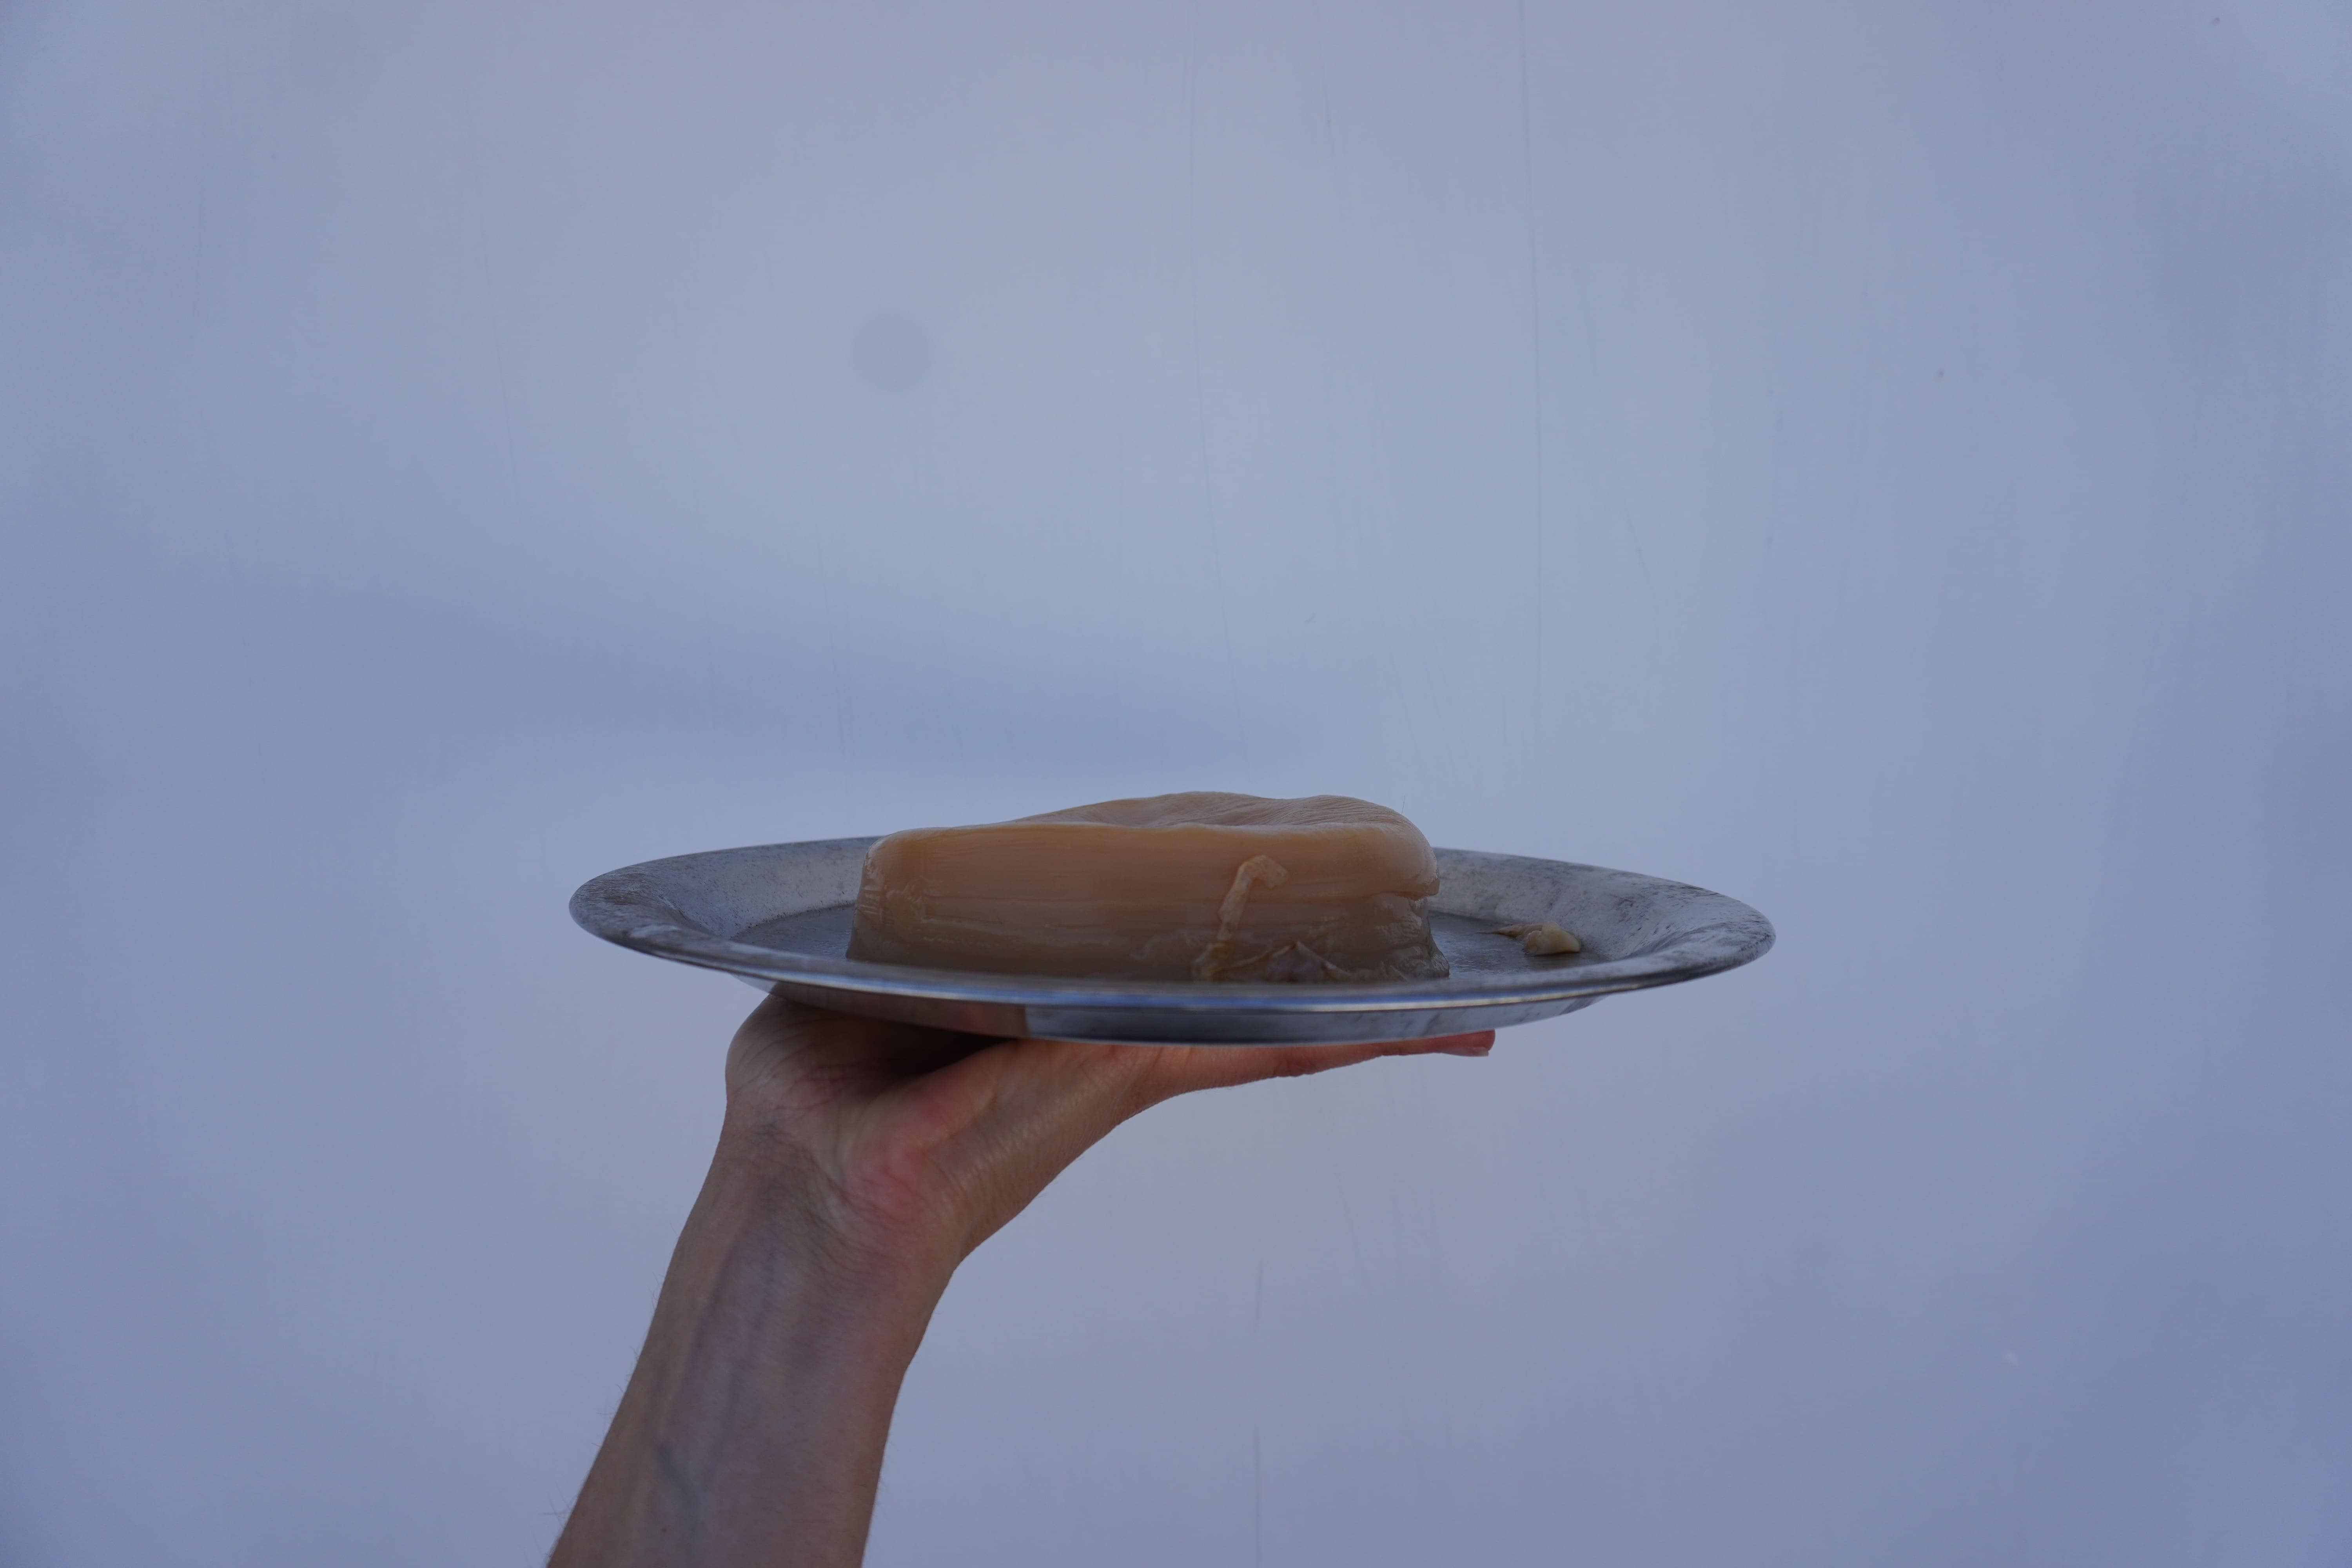
Scoby
"Tips"
* Every time you change the feed the kombucha use globes or wash your hands super good
* Don't let any metal to touch the starter culture or the scoby
* Keep the Kombucha somewhere with no light and good temperature
* You can add vinegar to avoid bacteria or moho growing in the scoby
* The more you leave the ferment the more acid it becomes
* Make sure the mixture is in a clean space scpecially when you open it.
Results
I had the kombucha we made in the lab and I also made one be myself with one that was already grown. It was better growing it be myself because it was in a cleaner space and it was a little bit smaller so it was easier to control it and change the tea. The one we had in the lab got contaminated one time and almost twice but at the end it was bigger than the one I made at home so the posibilities to work with the material where more.
Kombucha leather 1
- SCOBY: 350 g
- Glycerin: 28 ml
- Kombucha liquid: 35-70 ml (only as much as needed to blend)
- Powdered orange peel (optional): 18-35 g
- Clean the space and tools to use.
- Check the SCOBY and discard any part with mold (dry, raised, fuzzy white, green or black patches).
- Blend the SCOBY with the glycerin and the kombucha liquid until no strips remain.
- Spread in a layer 3-4 mm thick.
- Dry 3-7 days in a ventilated place.
- Still drying
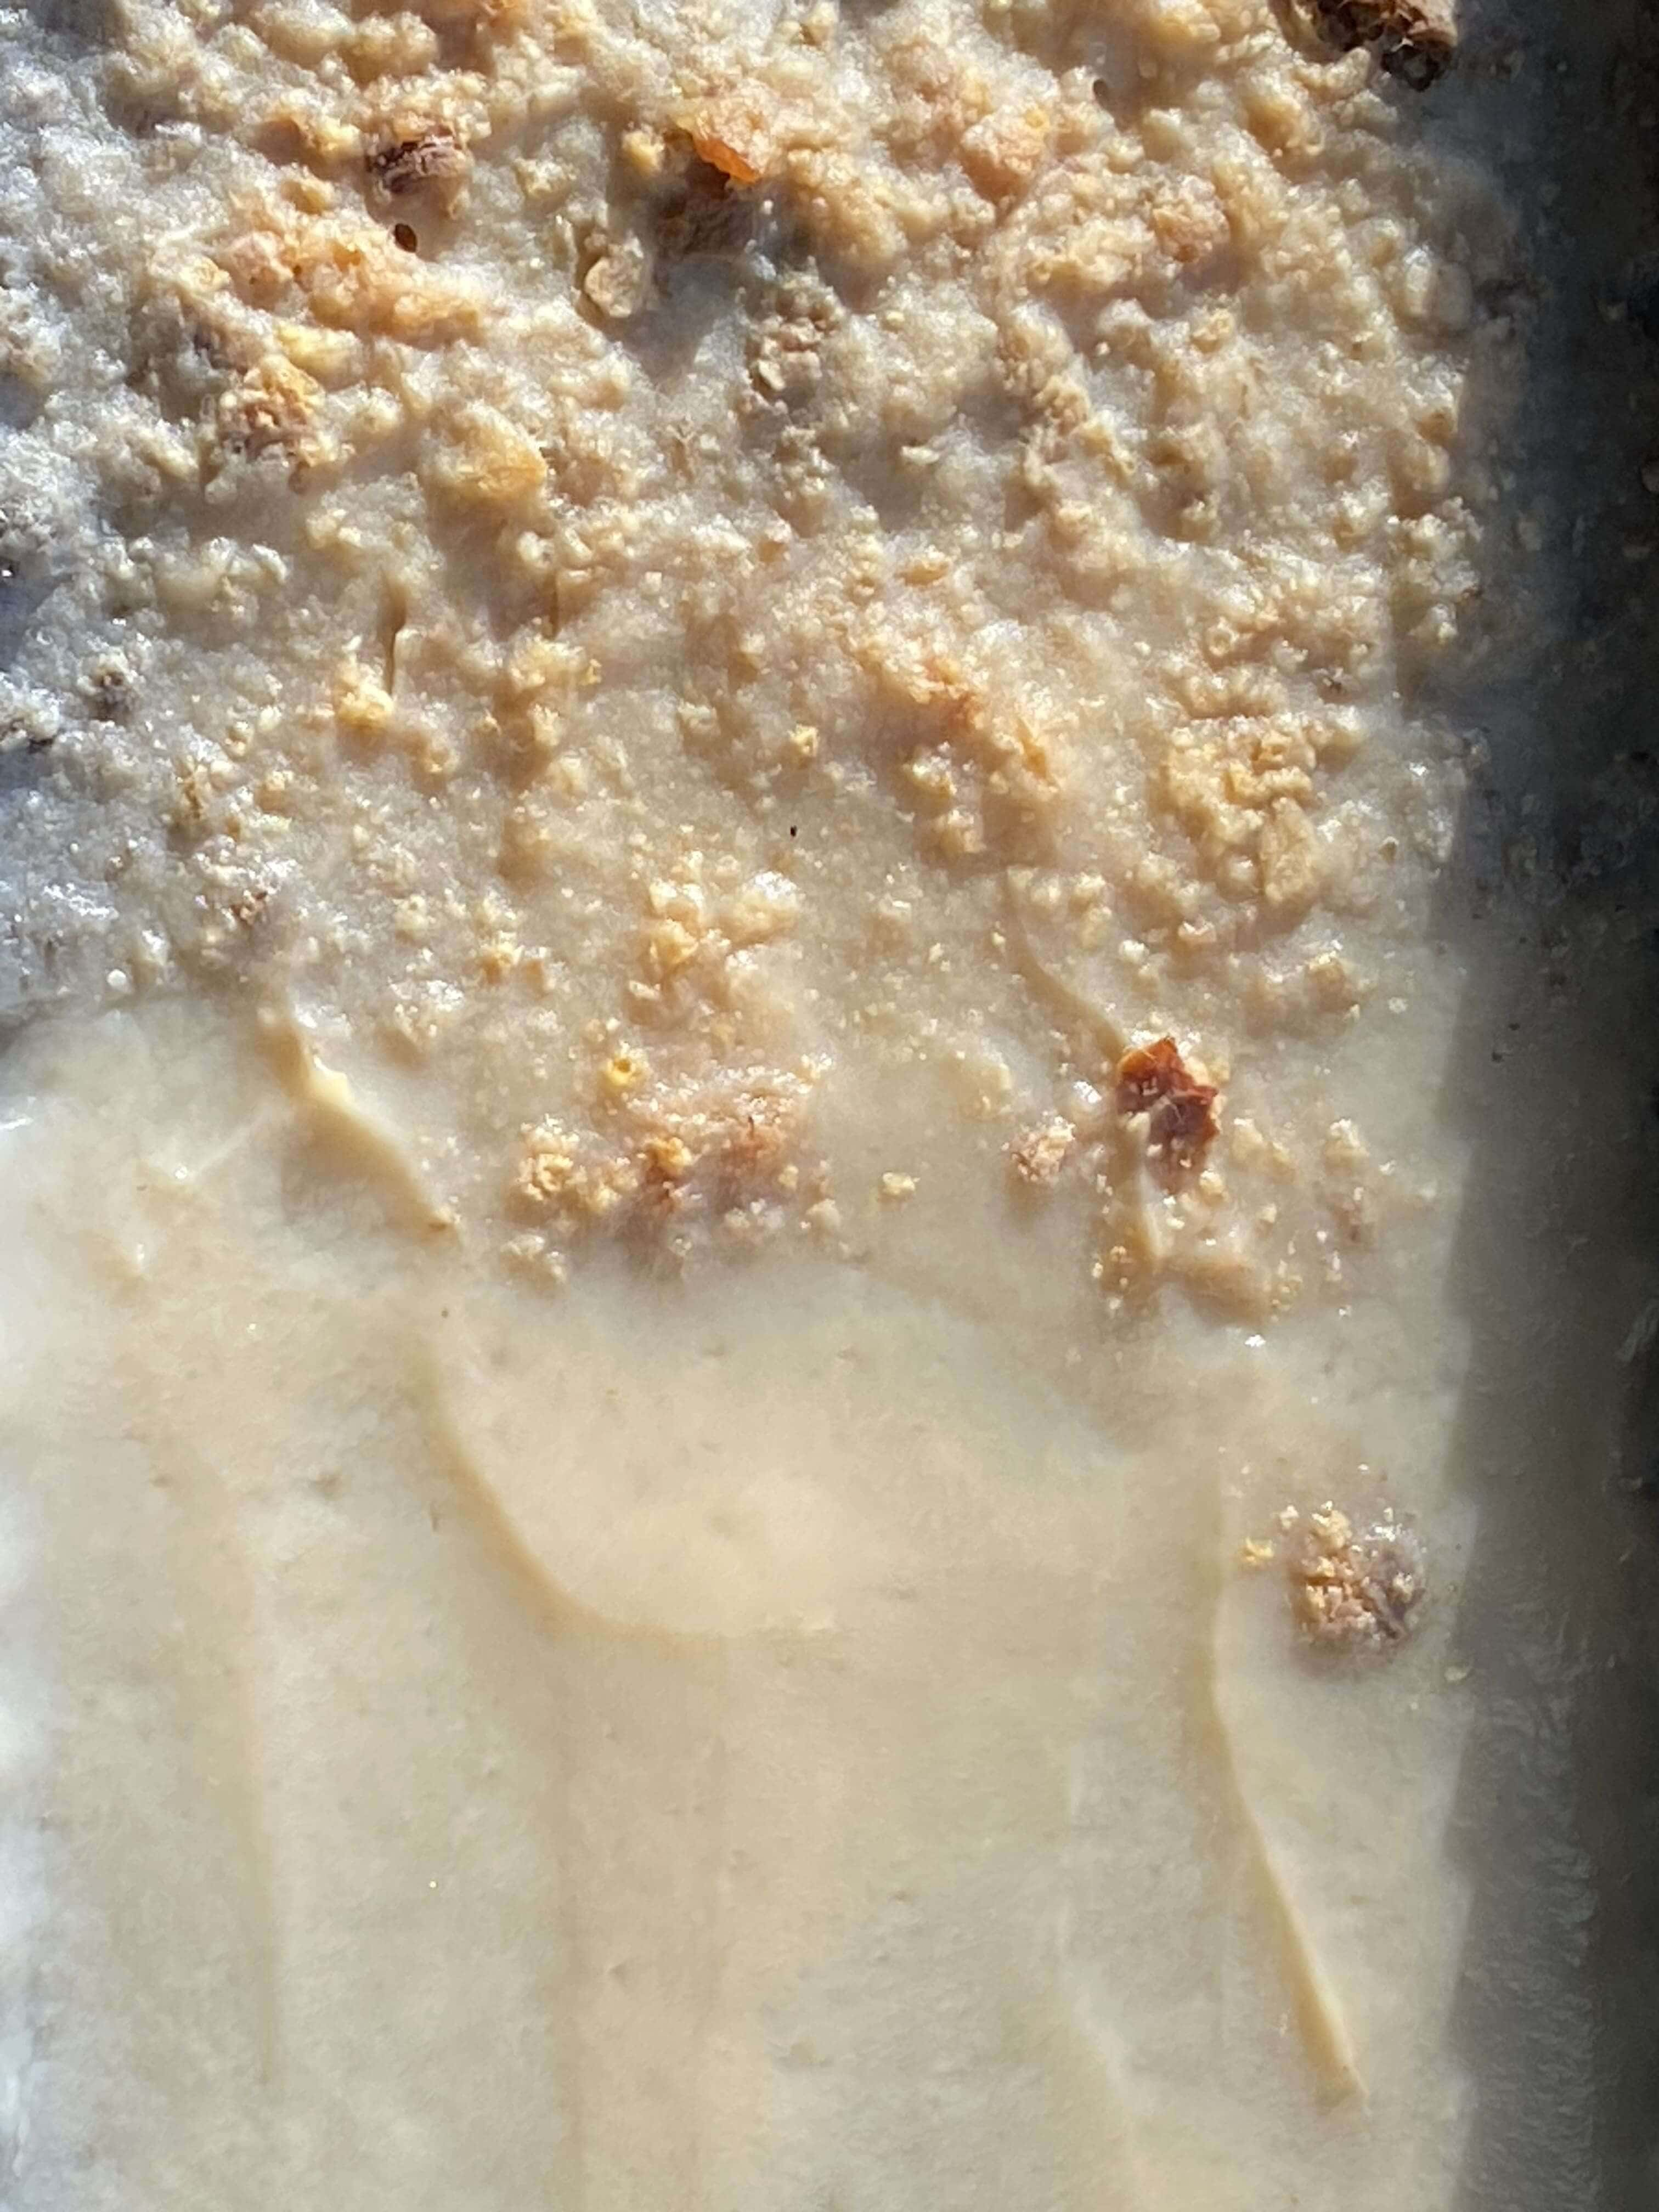
Scoby leather
Kombucha leather 2
- SCOBY: 350 g
- Clean the scoby
- Leave the scoby in the sun to let it dry.
- Still drying
Results
I let dried one of the scobys I had at homeand it is still drying after a few days, the size has being reduced considerably. We did the same process with the scoby we grew in the lab and leave it in a basket with shapes to see how the kombucha dries and to see if it takes the shape of the basket. I also putted a piece in a piece of ceramics to take that shape.
Scoby
Silicone
- Water: 305 ml
- Gelatin: 45 g
- Glycerin: 21 ml
- Clean the space and tools to use.
- Weigh the ingredients.
- Disinfect the molds.
- Boil the water.
- Add the glycerin.
- Add the gelatin little by little (avoid lumps).
- Mix for 20 minutes over low heat.
- Pour into the molds.
Results
After drying the mixture it was reduced and it was a little bit difficult to take it off from the tray. When I got it, it was really flexible until a few hours latter it became a little bit less. * It dries from 2 to 3 days
For this material I used the same silicone mold with shape of golf balls, to see how the material bounces and the difference between both materials and a tray for the rest of the mixture. To experiment with laser cut.
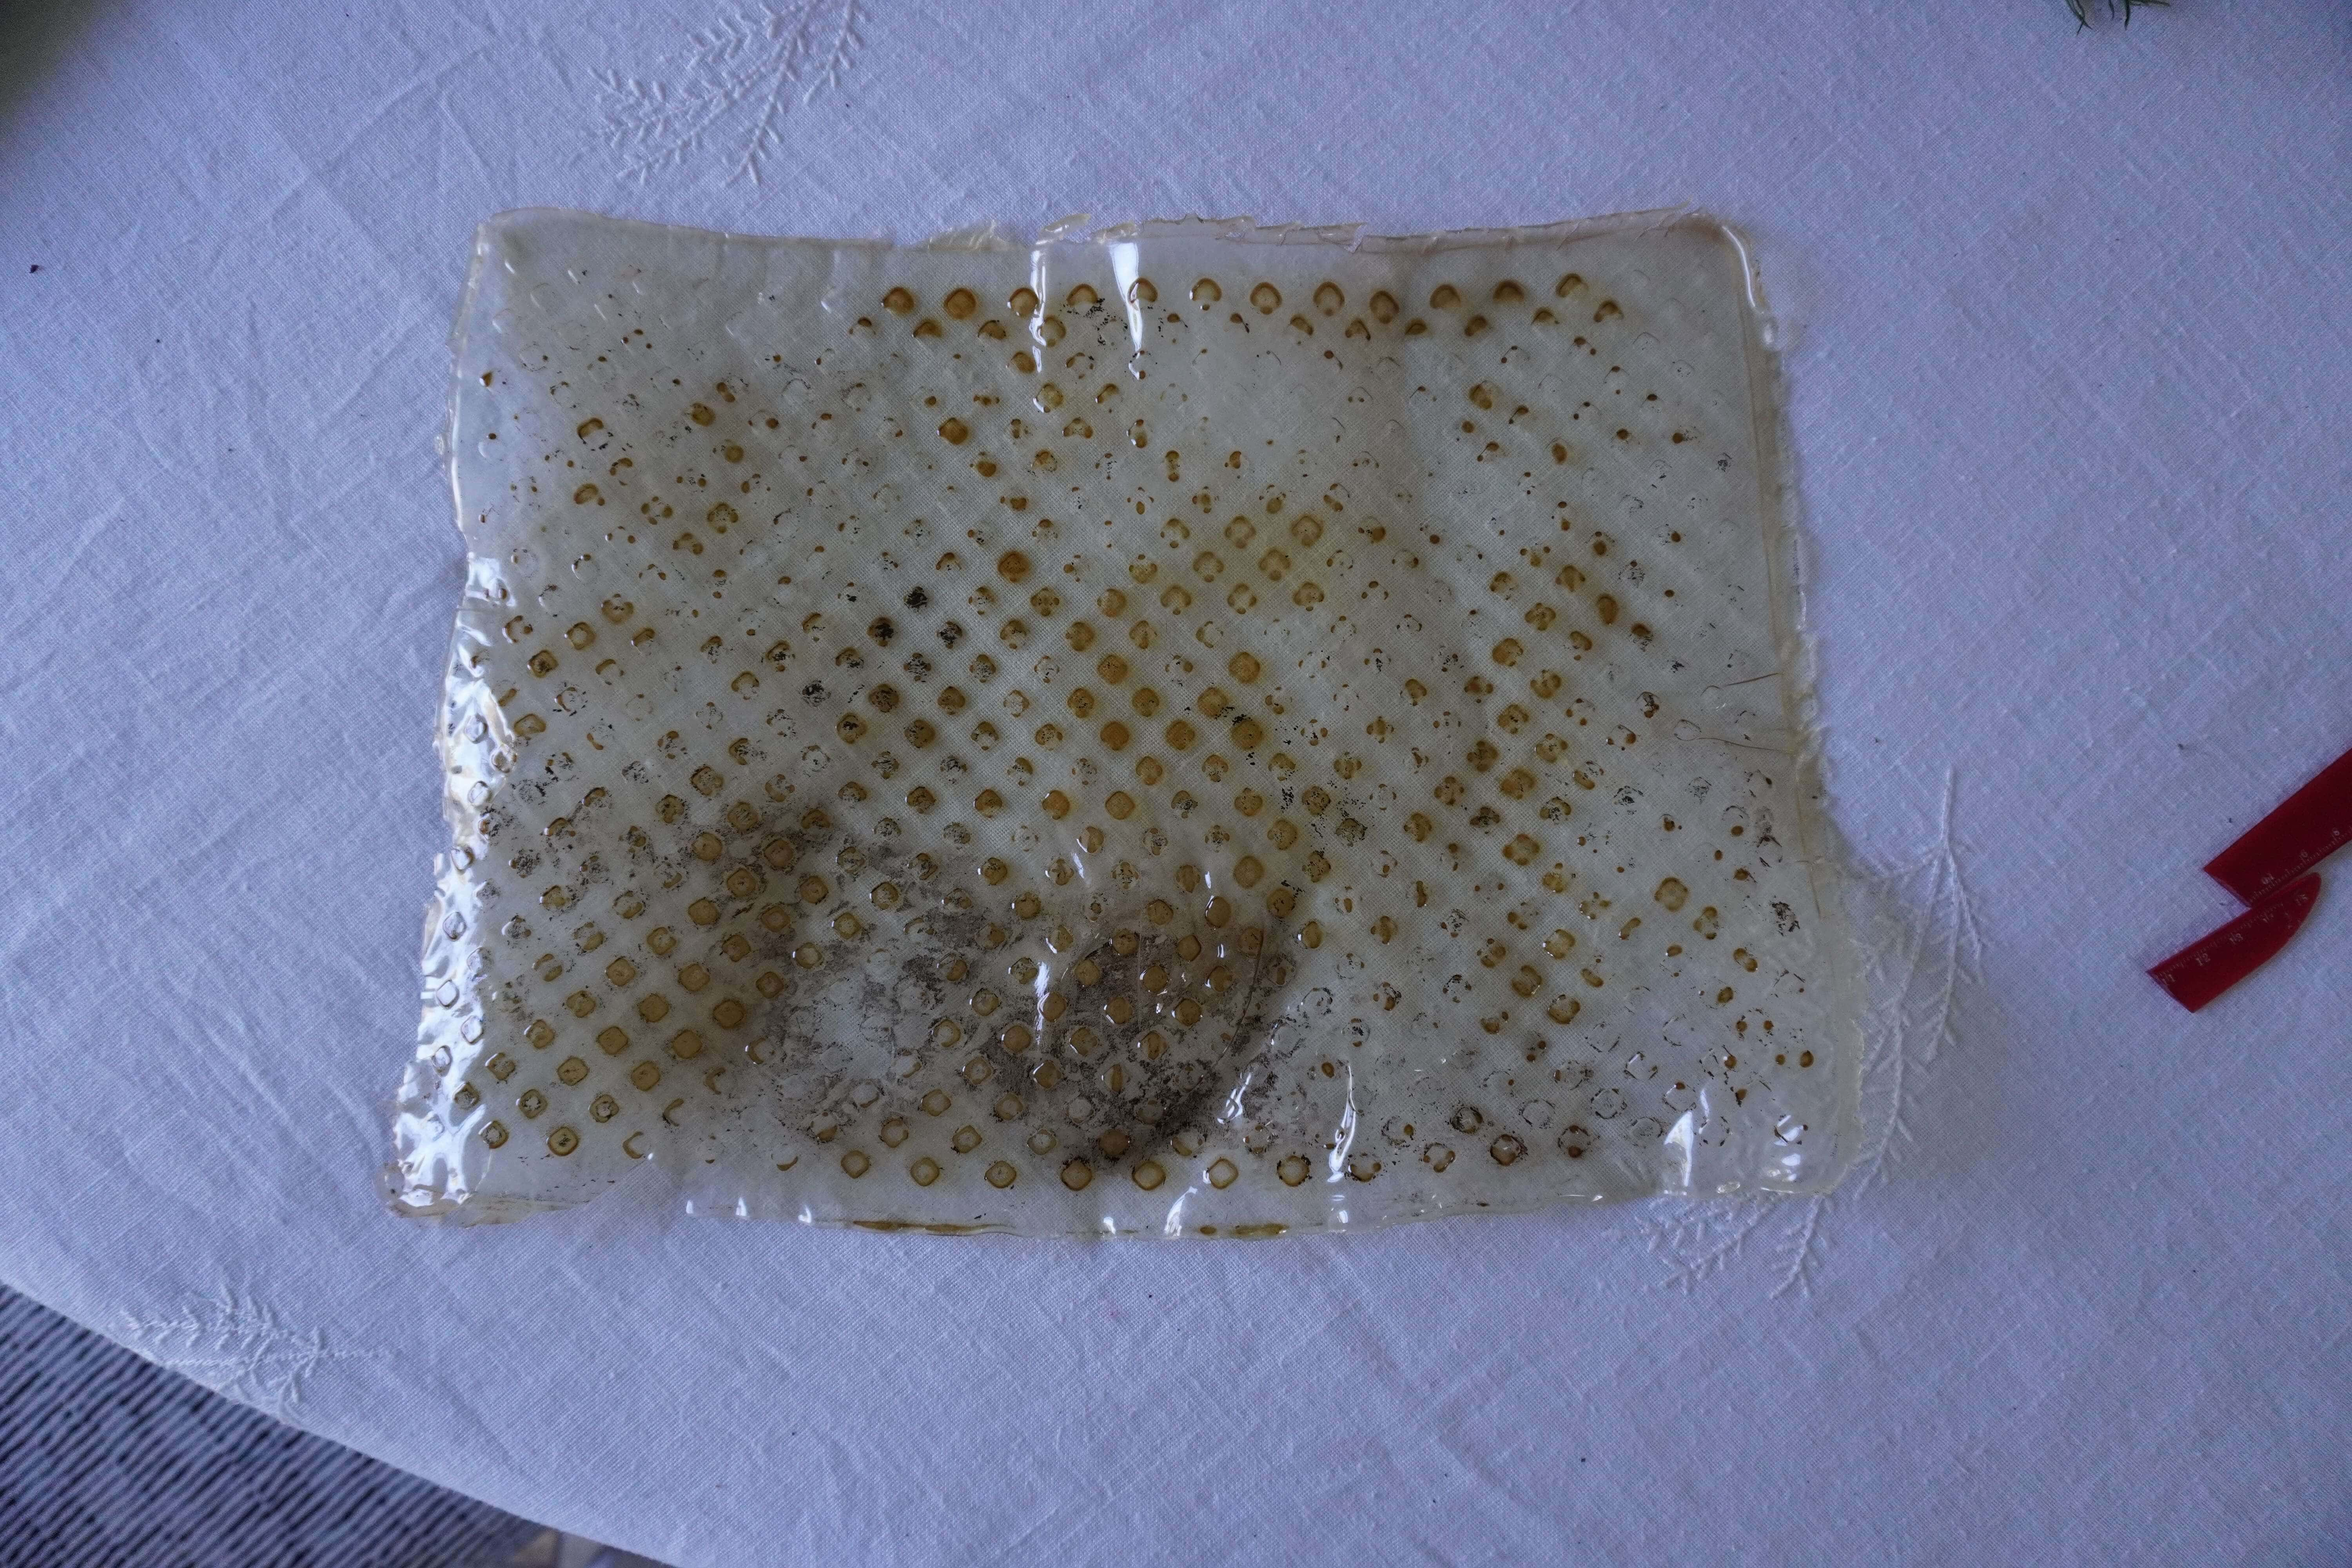
Biosilicone sample
Rubber and biosilicone balls
Laser cut
I experimented with the laser cut and to see how the biosilicone reacted with with heat and the laser cut.
- Cutting
I cutted the material with the following settings:
Power: max. 60, min. 40. Speed: 50%
The material, was kind of toasted and changed to a brown color in the corners. But the laster cutted it perfectly.
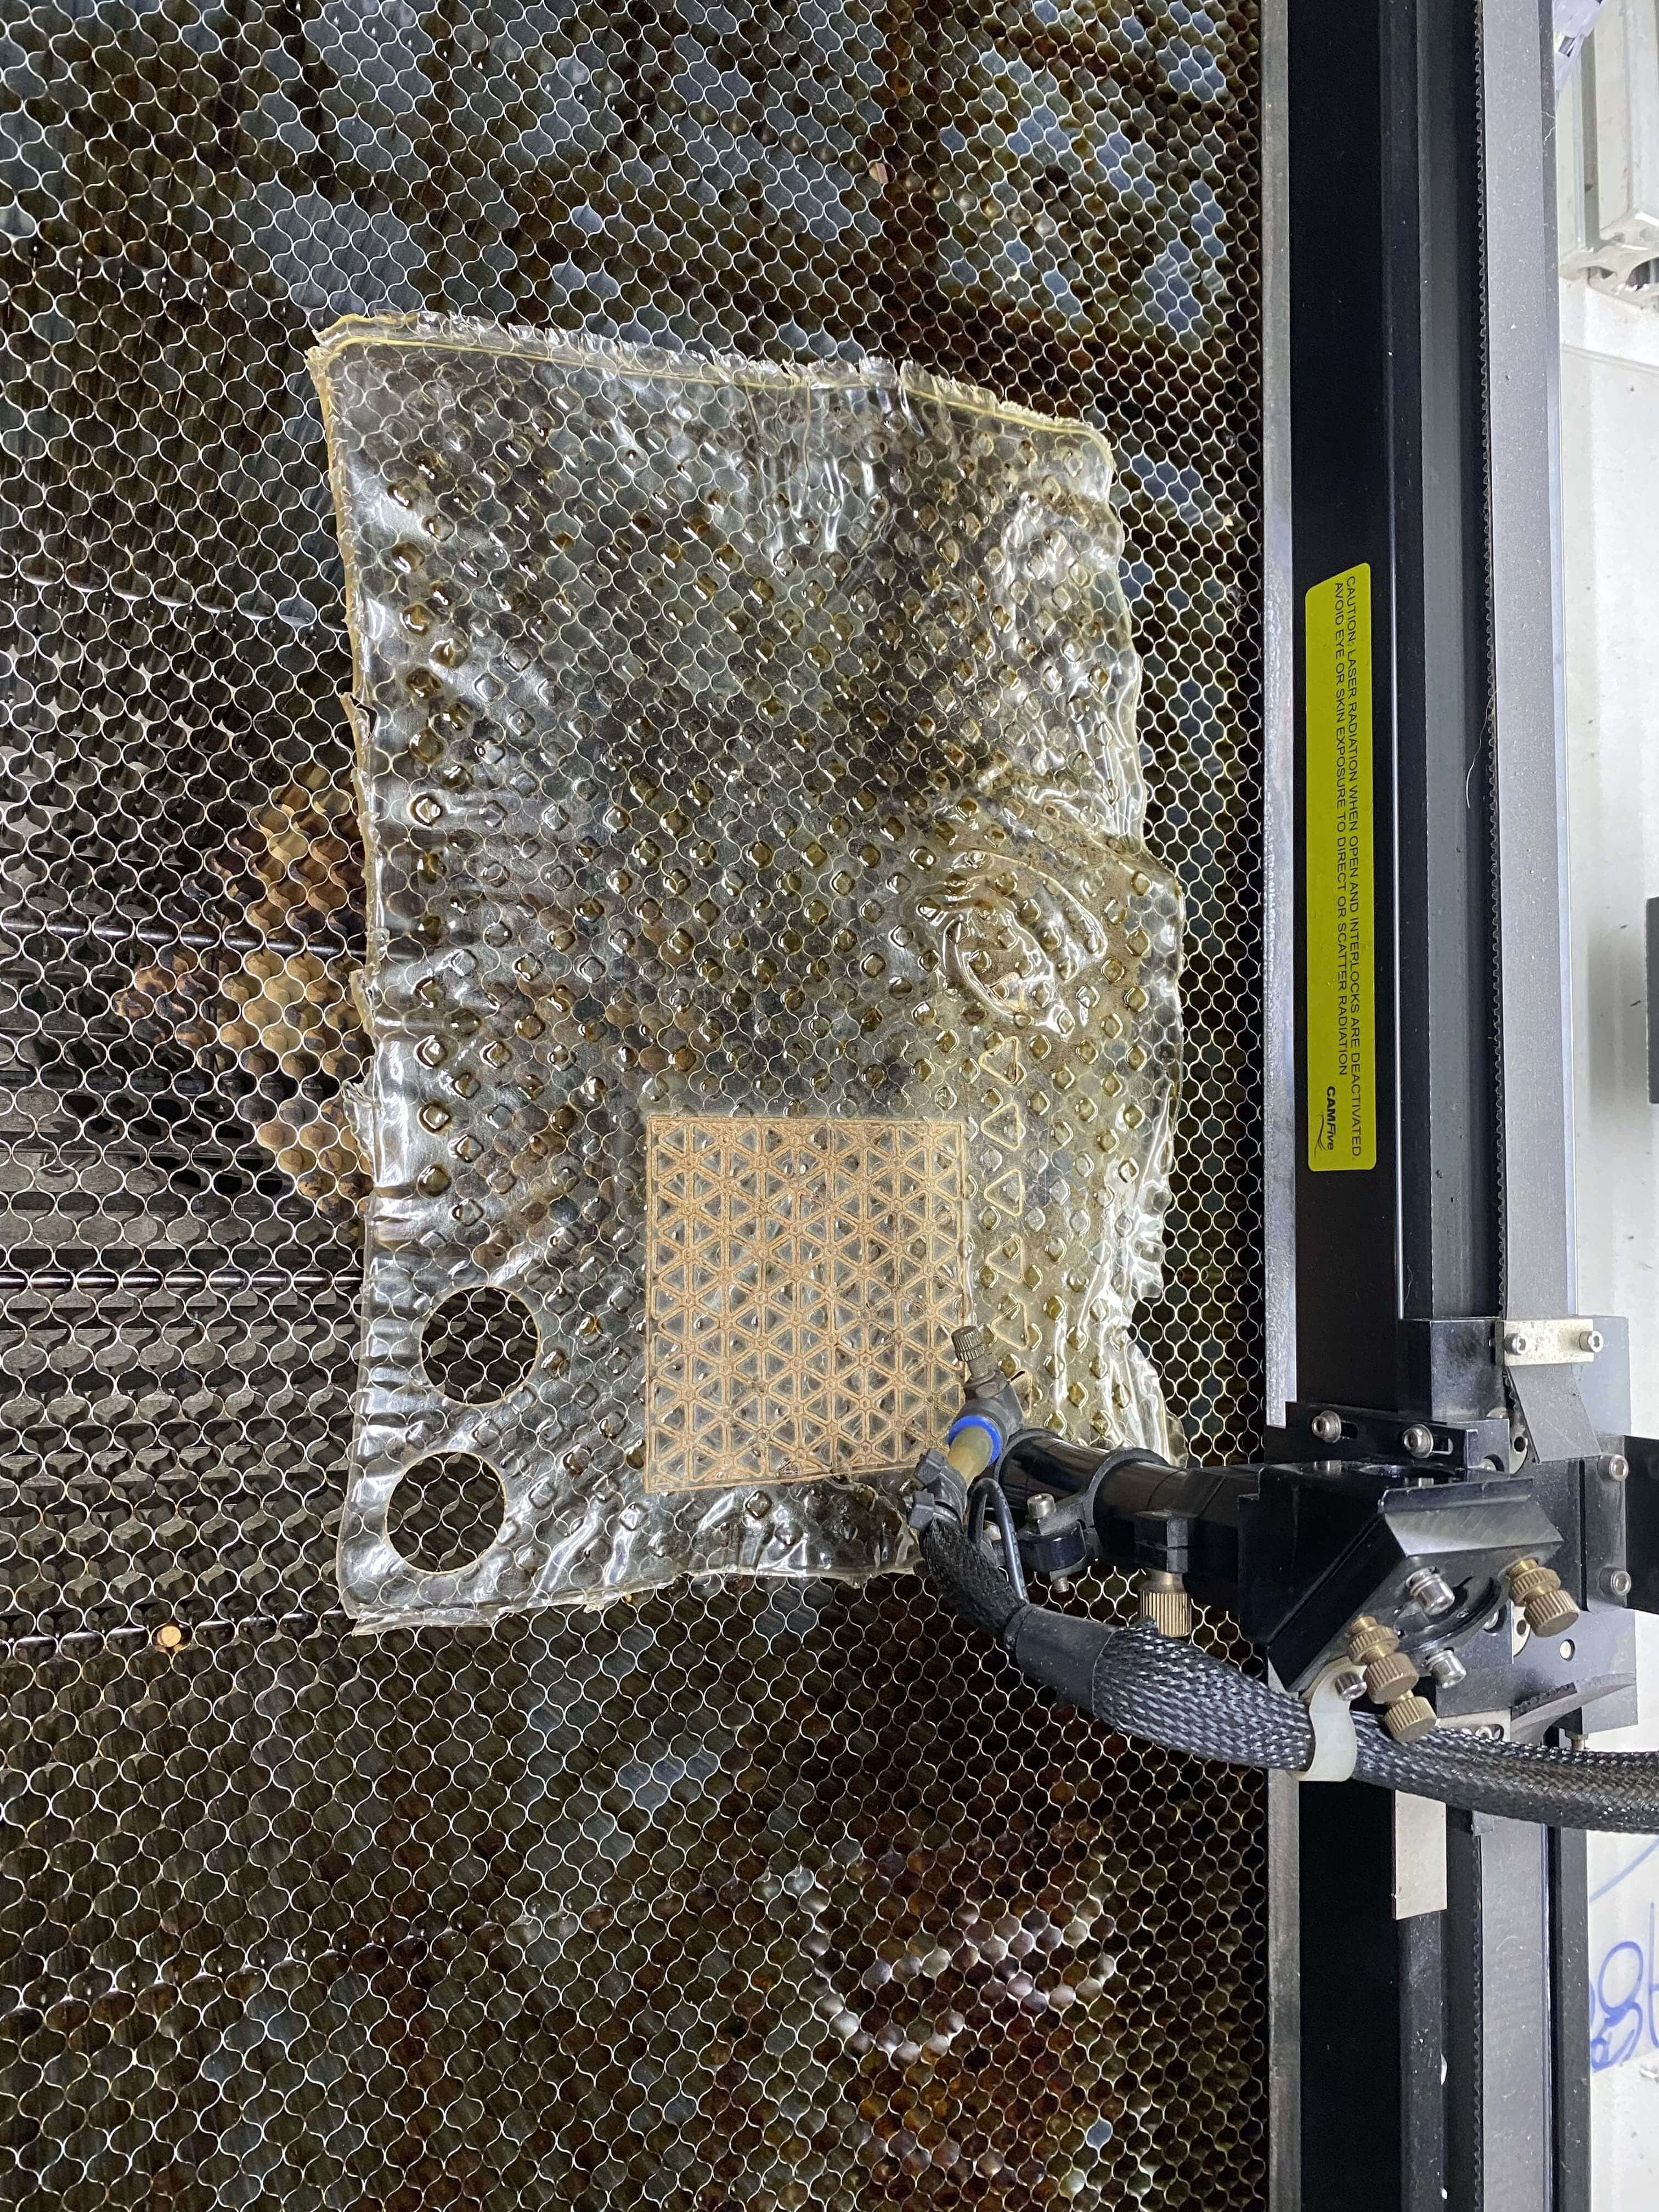
Laser
- Pasting
I tried to paste the material with the laser changing the settings to:
Power: max. 50, min. 30. Speed: 30%
I wanted to paste two pieces of the material with the same vectors I used for cutting. The material did melted in the lines where the laser went through but it did not pasted to the other side.
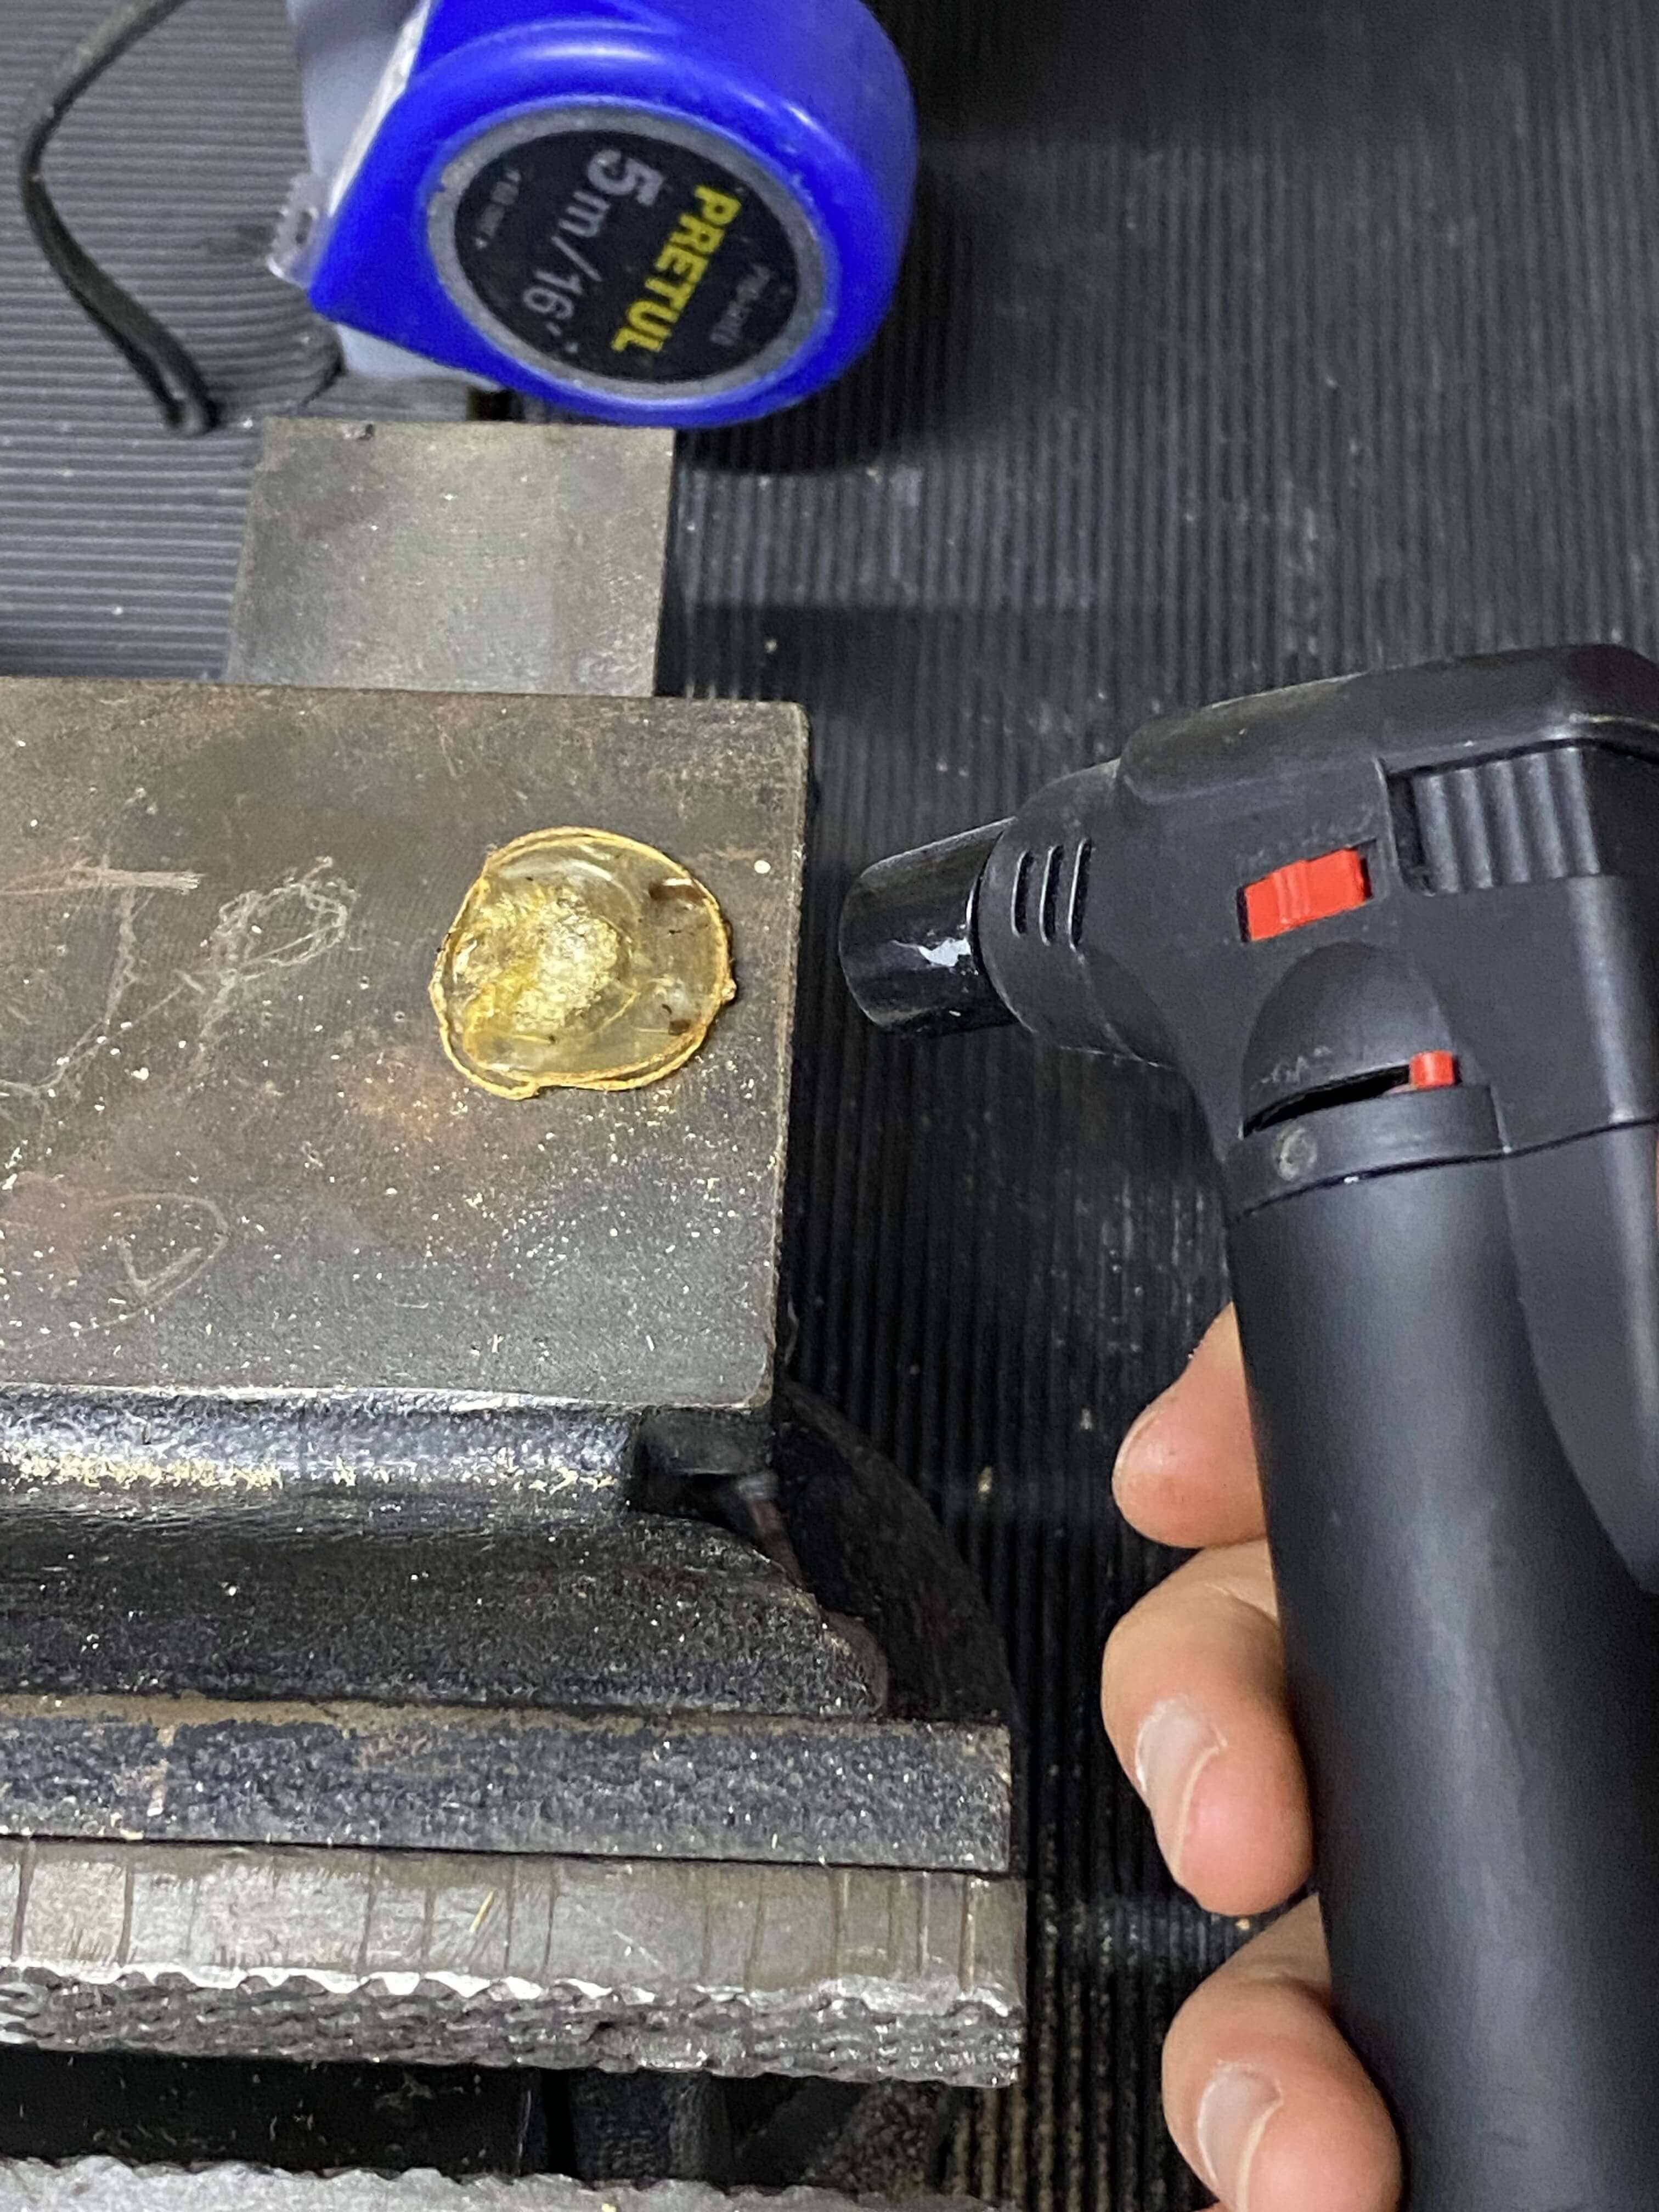
Laser
...
Results
Documenting experiments in a table for comparison
example from the documentation of Loes Bogers TextileLab Amsterdam 2019-20
 Biofoam |
Gelatin foil |
Bioresin |
Biosilicone |
| Starch Rubber |
Biolinoleum |
Alginate net |
Alginate foil |
| Alginate string |
Agar foil |
Bio composite |
Reused PLA |
Weekly reflection & critical thinking
I really liked this week. My final reflexion is being organized and keep everything clean. Is a subject that I am really interested in and I would like to get more into the topic and explore more. I deffinitely I want to do something using a biomaterial for my final project.
Even though I used some of the recipies that I have used before the results where different. And of curse is a little bit frustating to work with something you can´t control 100% and is in constant change, but I still really like the results and I insist that we should go back to nature to relearn.
When I was doing the compisite I thought it was wierd that the mixture was drier than I remember, so next time I would try to follow those instints to get better results and keep learning from the experimentations.
The things we can do with biomaterials have plenty of opportunities and possibilities. As I just mentioned I want to keep exploring with those opportunities and potential.
Recipe files, Booklet and References
-
Recipe: download my recipe booklet here ↩
-
Recipe: Mycelium recipe pdf ↩
-
Reference: Author; Title; Source; year ↩