This assigment was so experimental time, I have more than 713 pictures…
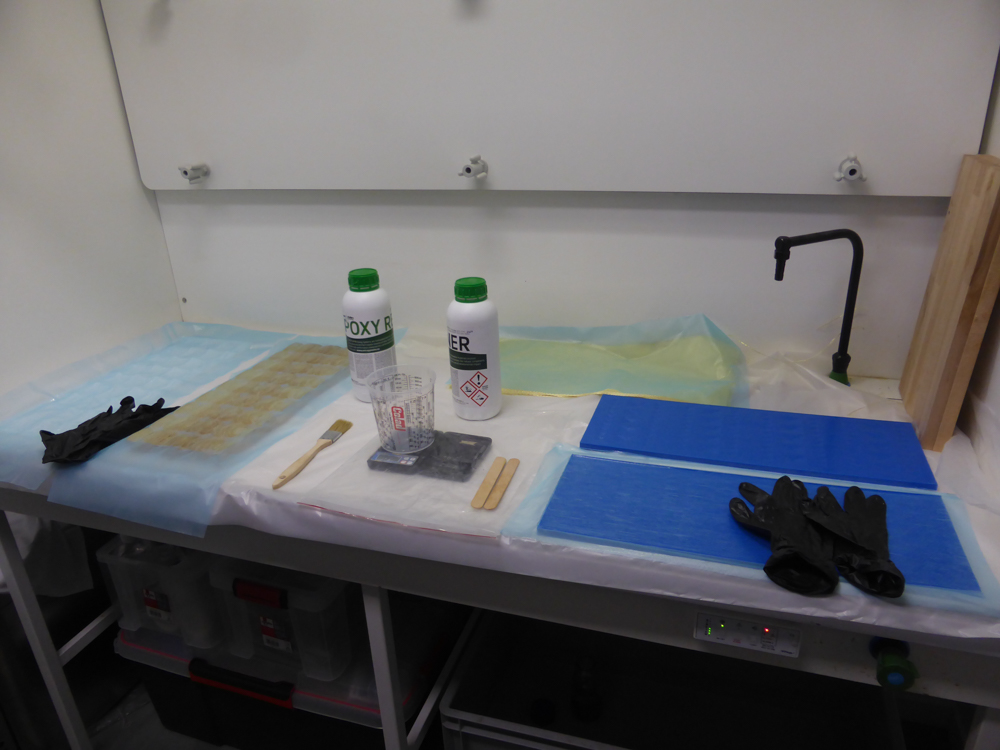
My work is to experiment and try some differents tools.
The output for the week is not a products with a demo but experimentations and researches.
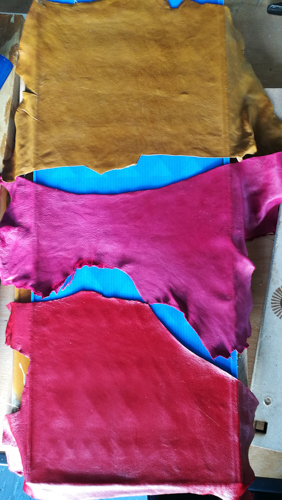
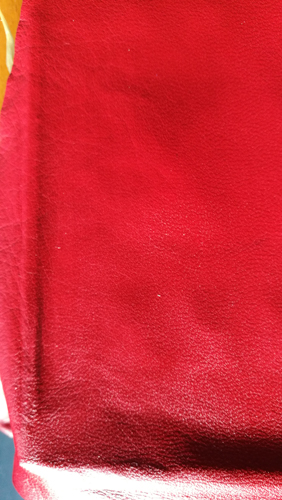
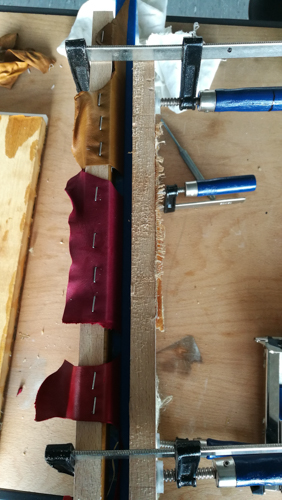
My final project is an output of this assigment with fabric, led, e-textile and crystal.
I wrote some references during this assigment and some lesson from professional miling courses.
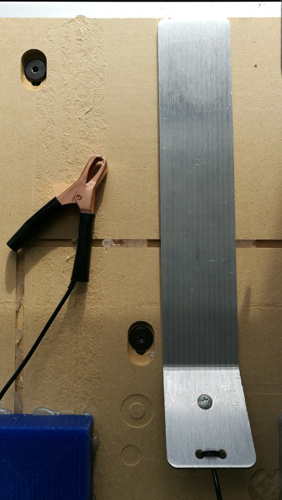
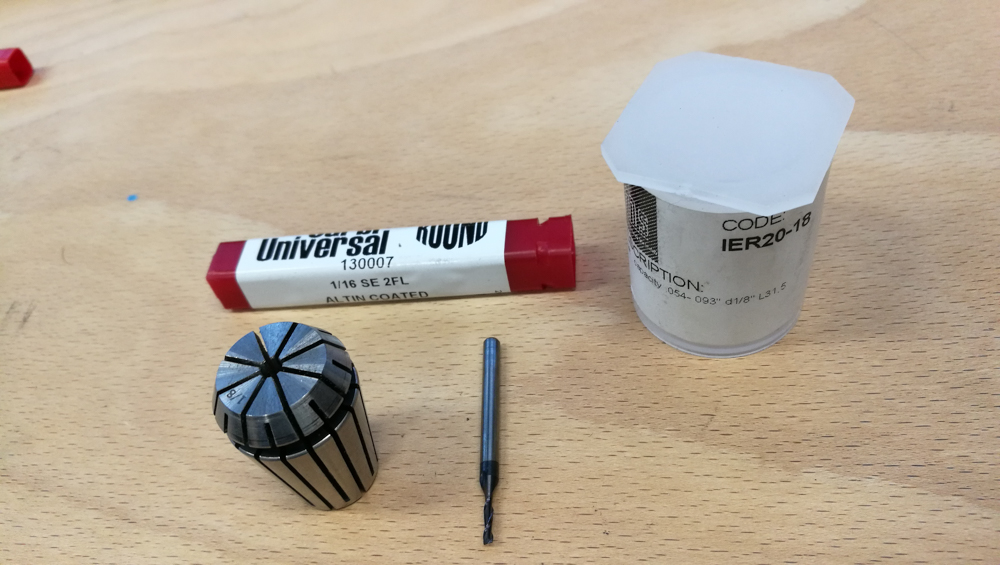
depends to the provider of the tool, be carefull from the size inche/mm, and the settings of the toolat the lab we use american tools from providers like but in Toulouse I use to go there Mopa
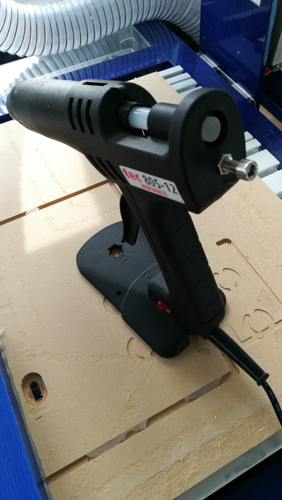
The material need to be on the martyr for this machine we use the hot glue.
The block with the glue
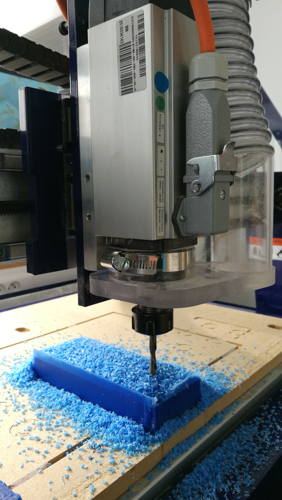
bol noize diameter 0.125 inches
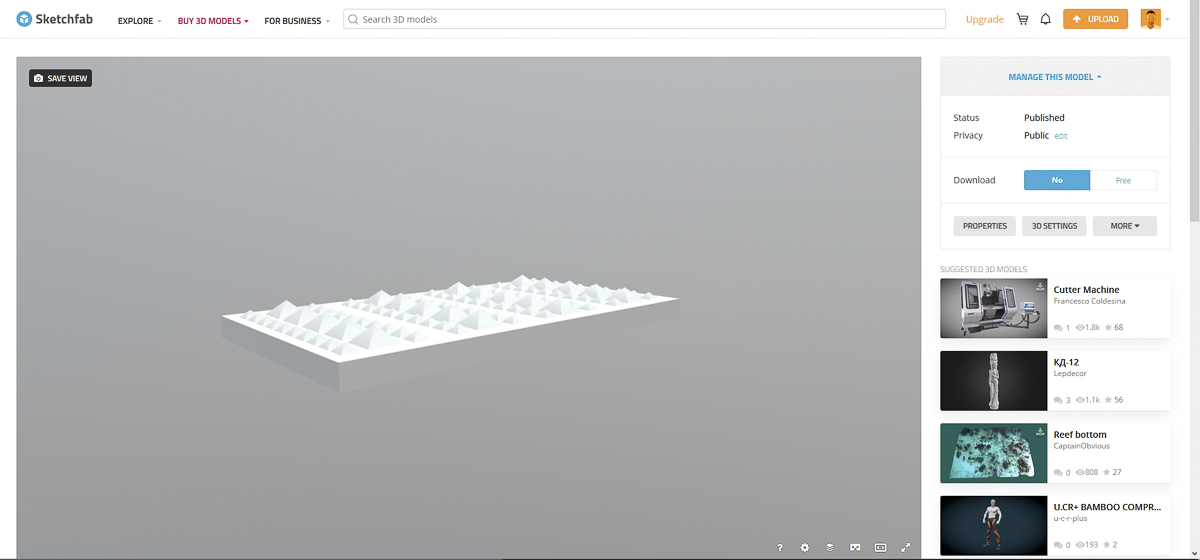
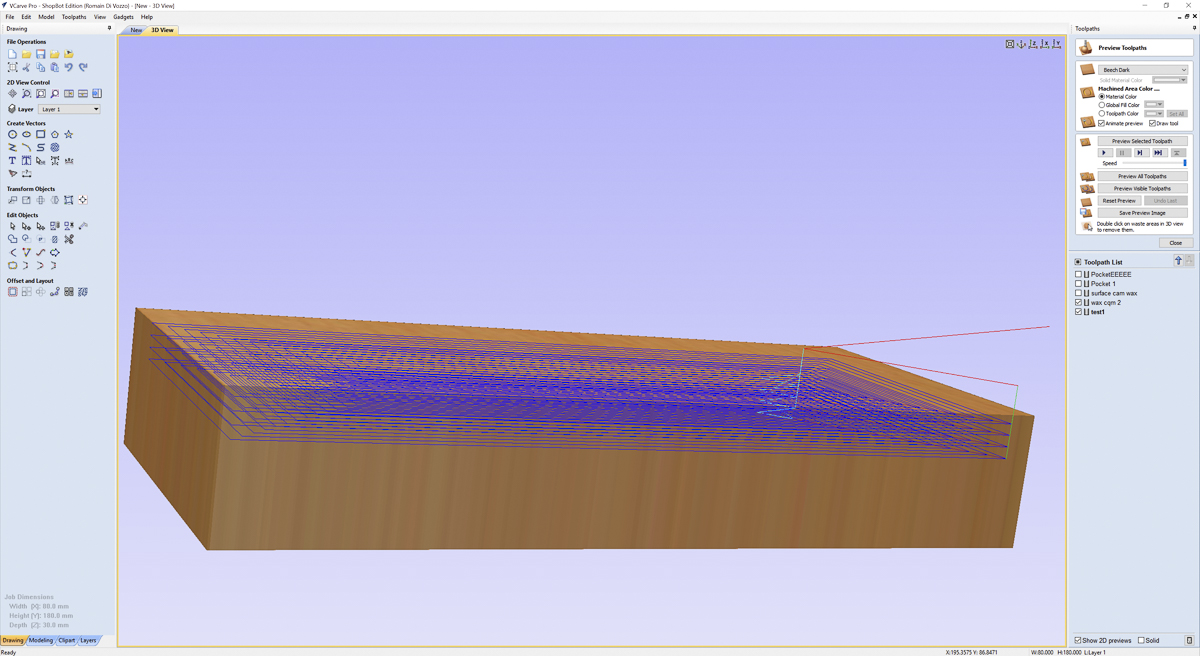
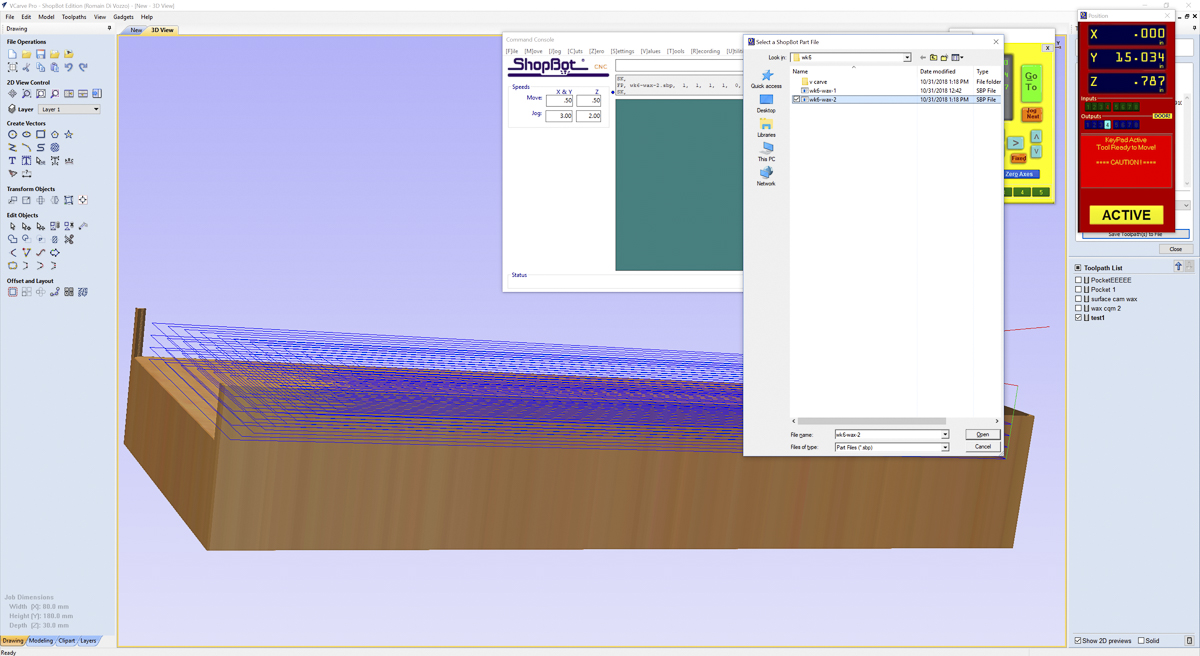
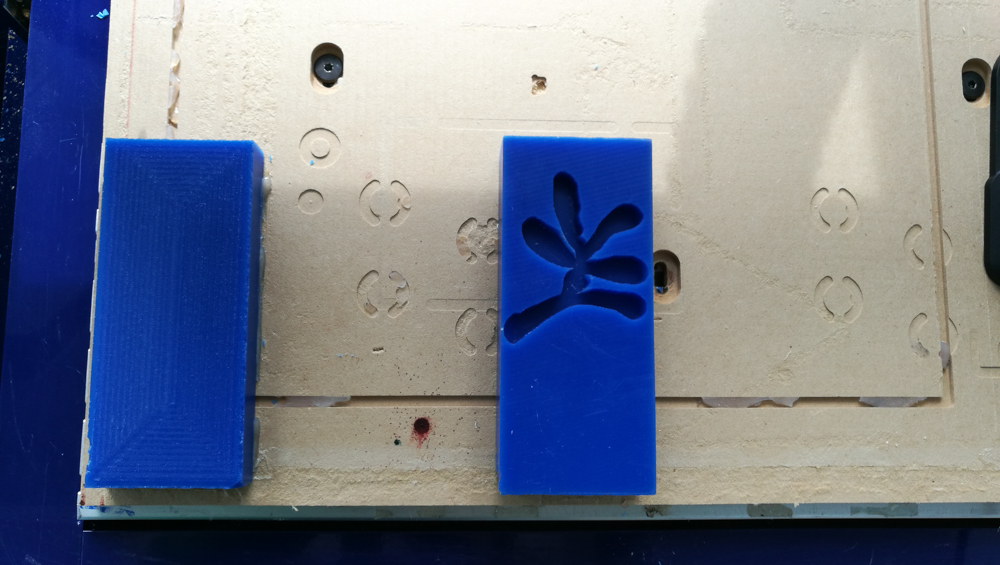
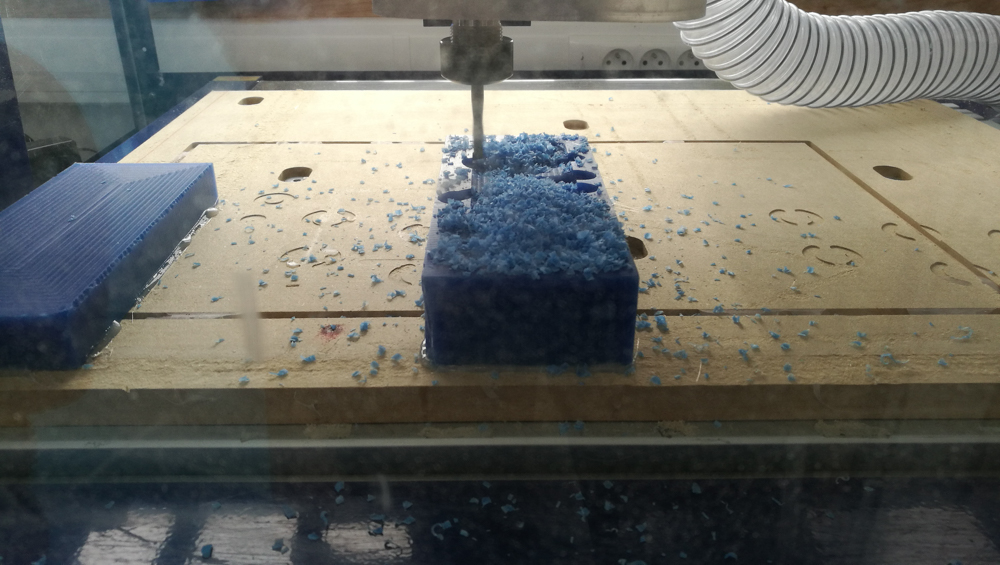
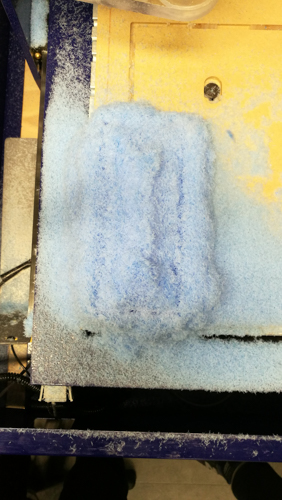
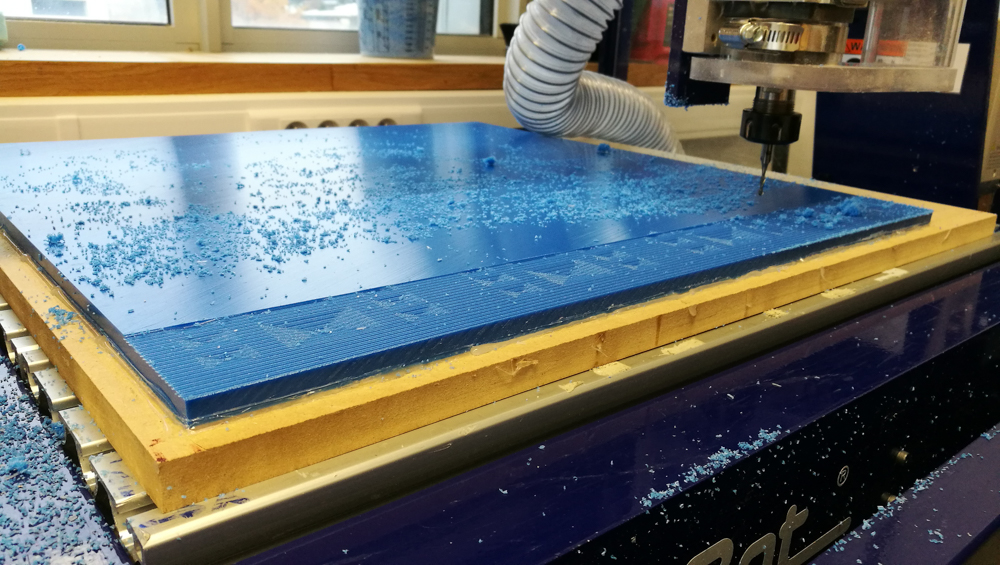
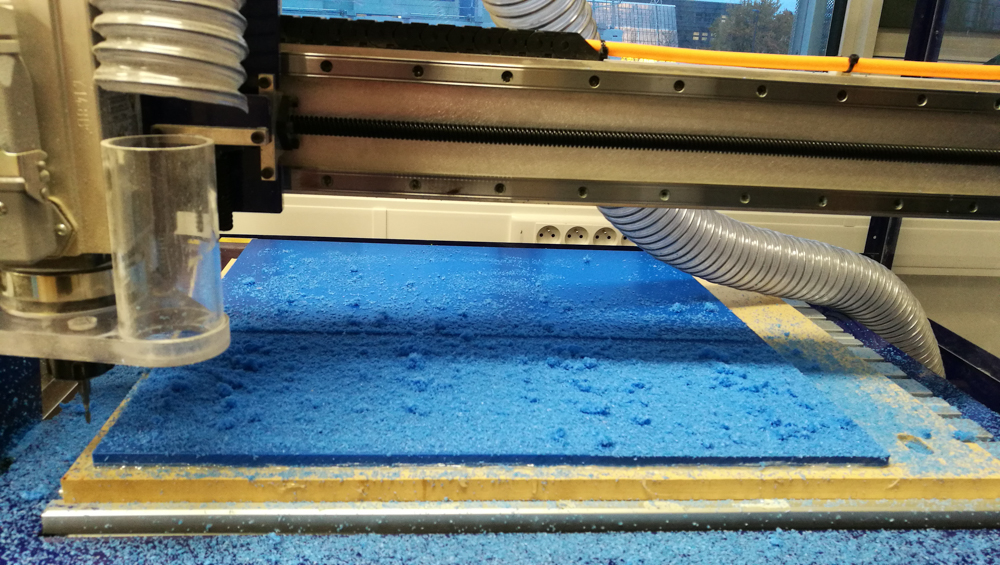
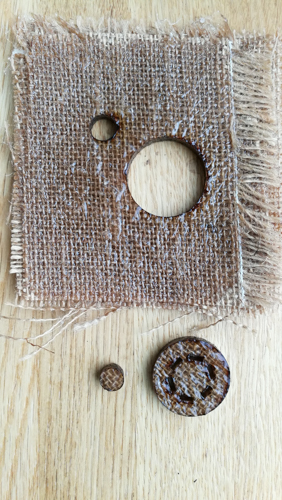
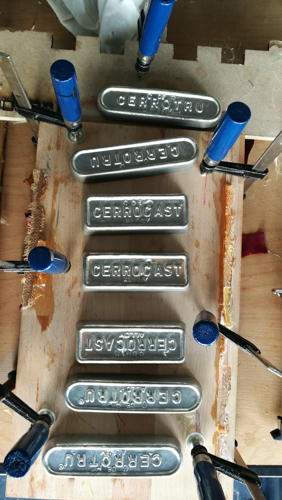
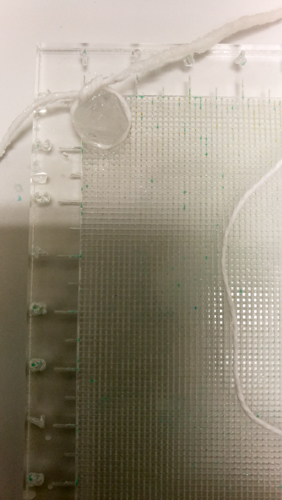
The block with the miling machine
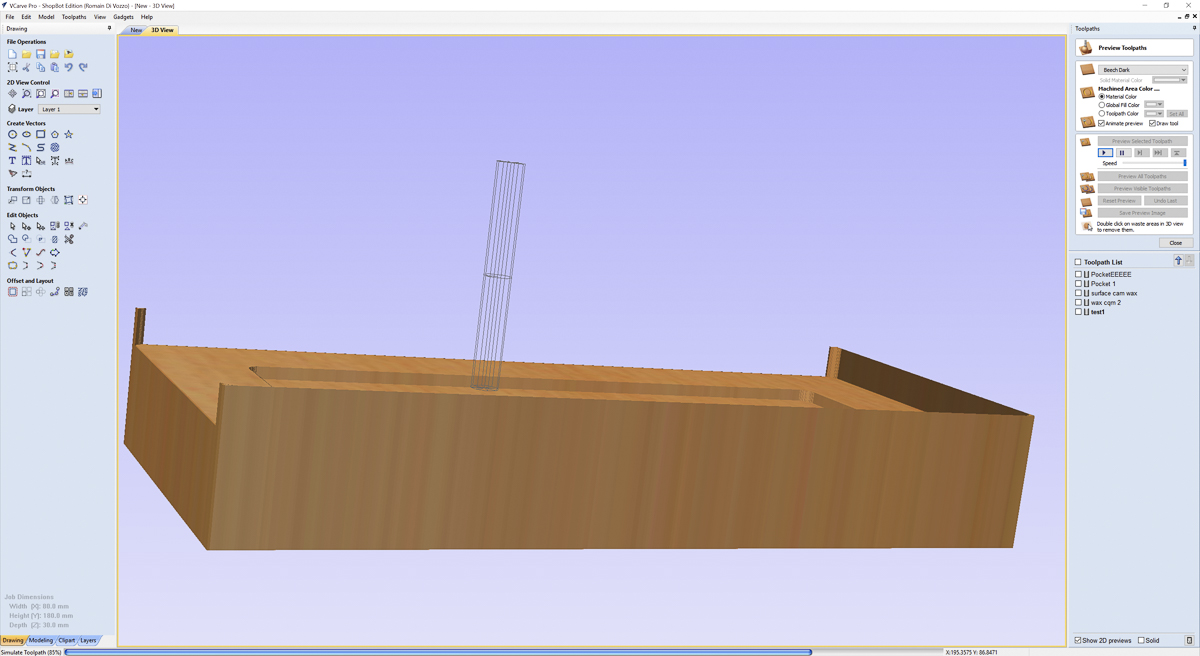
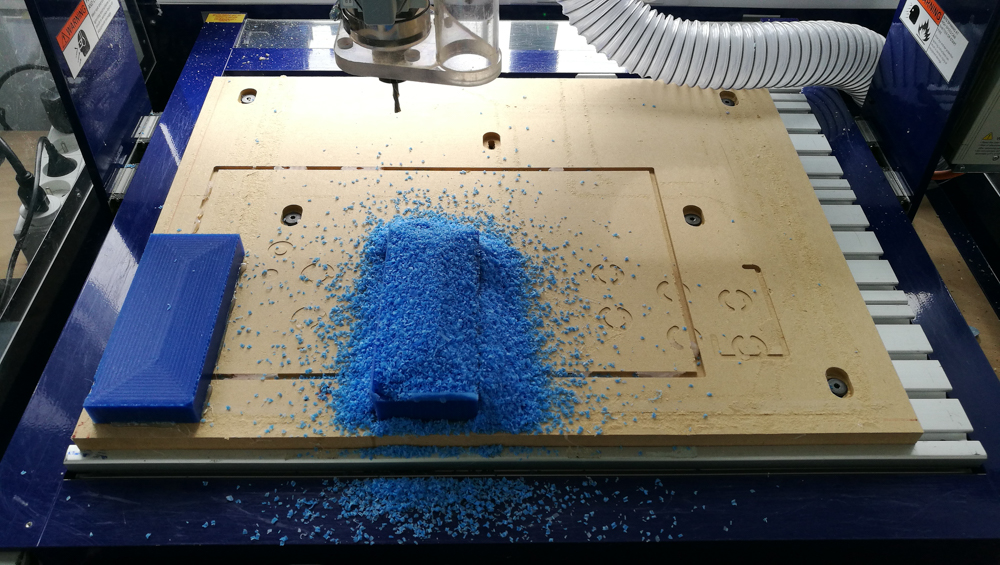
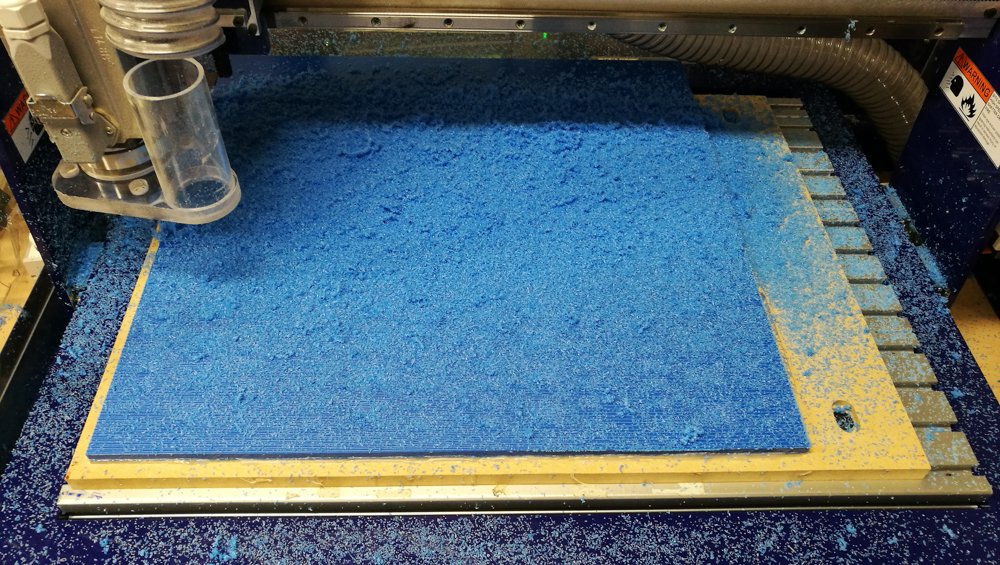
When the machine was finished
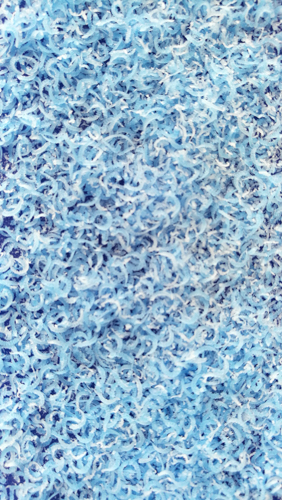
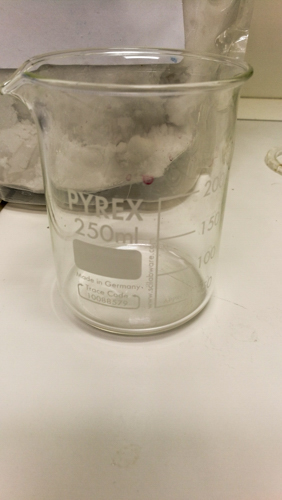
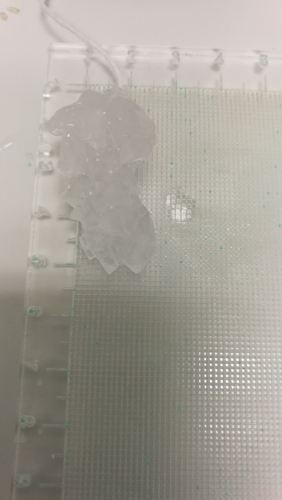
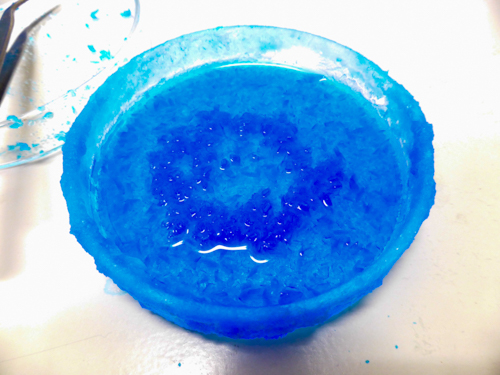
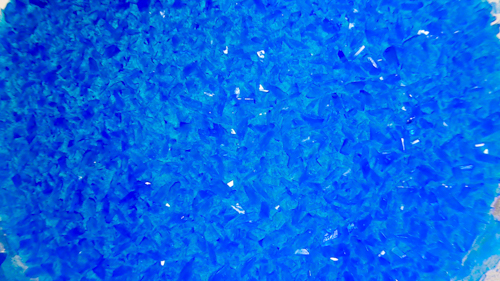
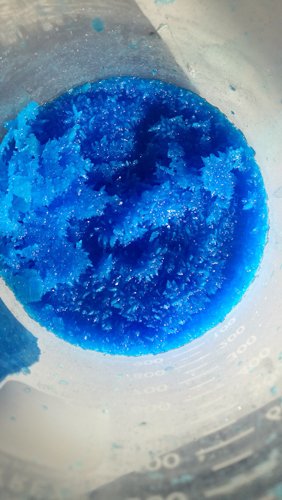
Blue snow wax / shaving
Observations
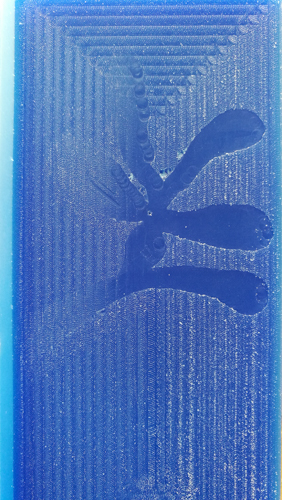
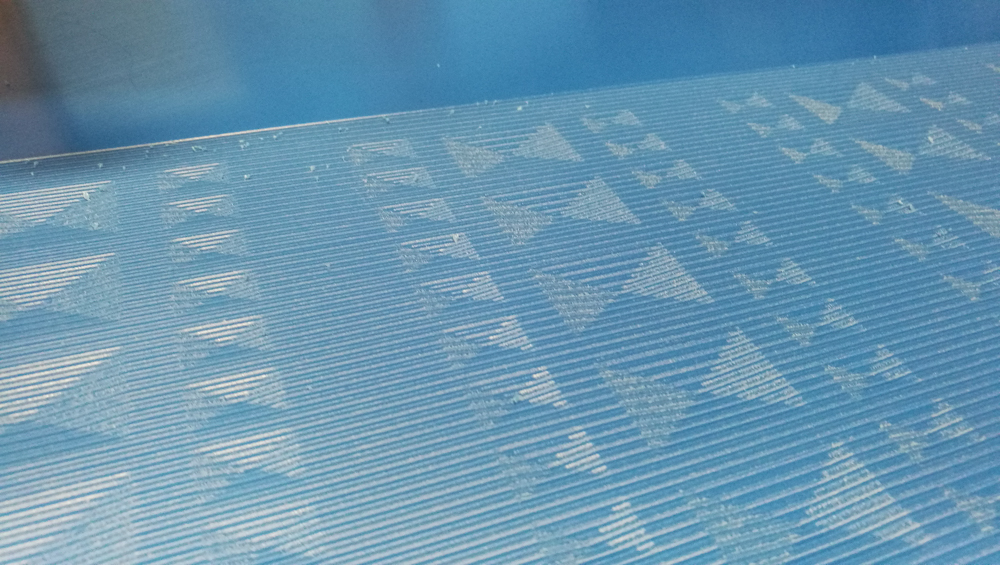
Little “bavures”
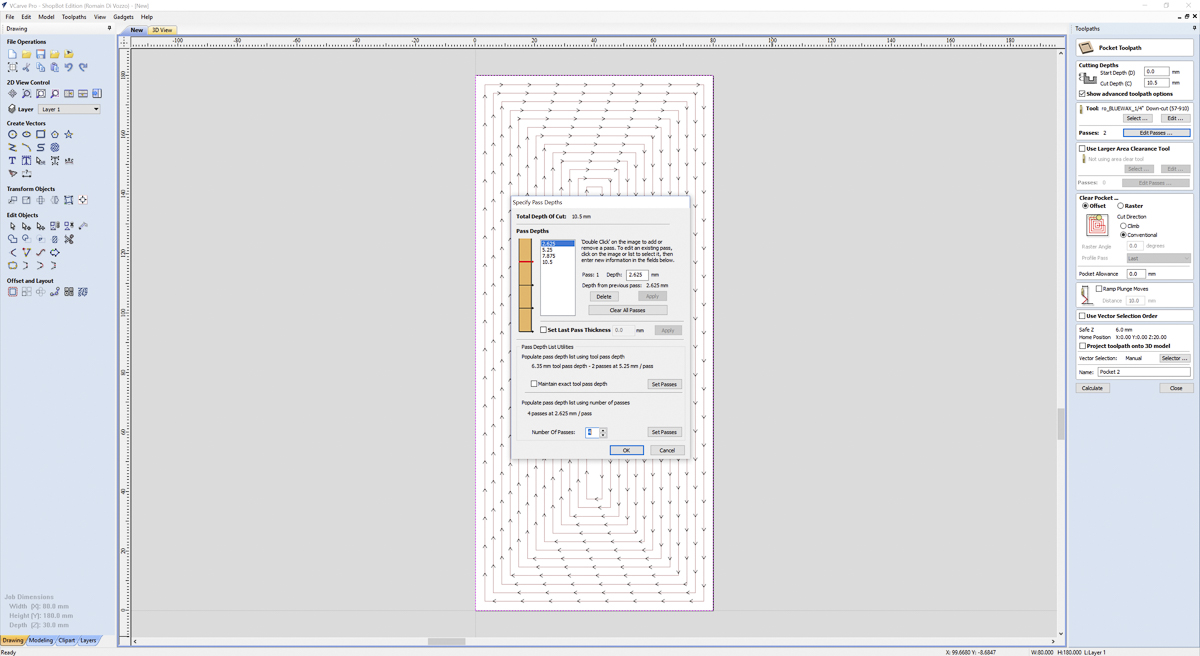
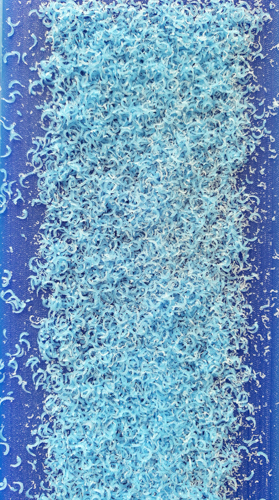
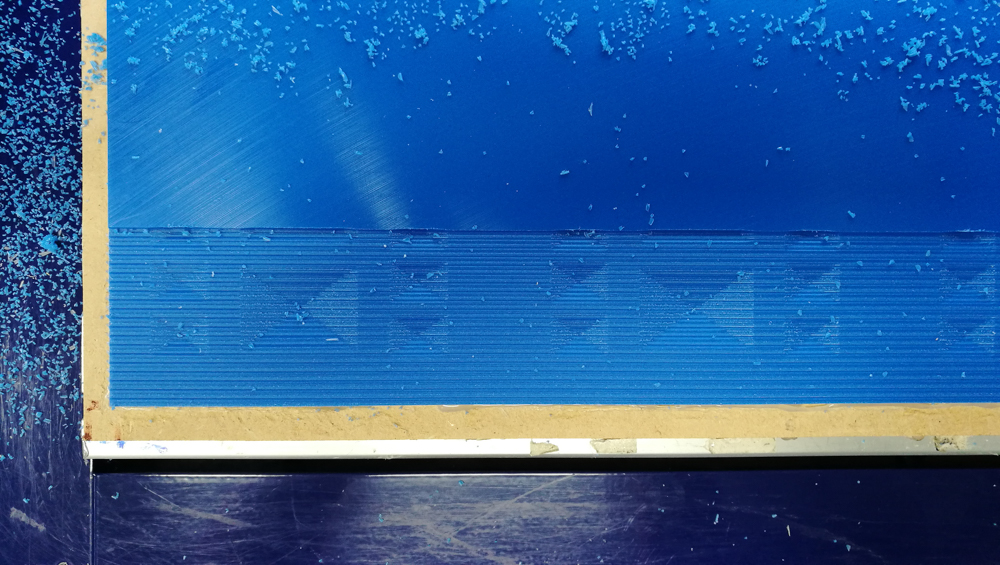
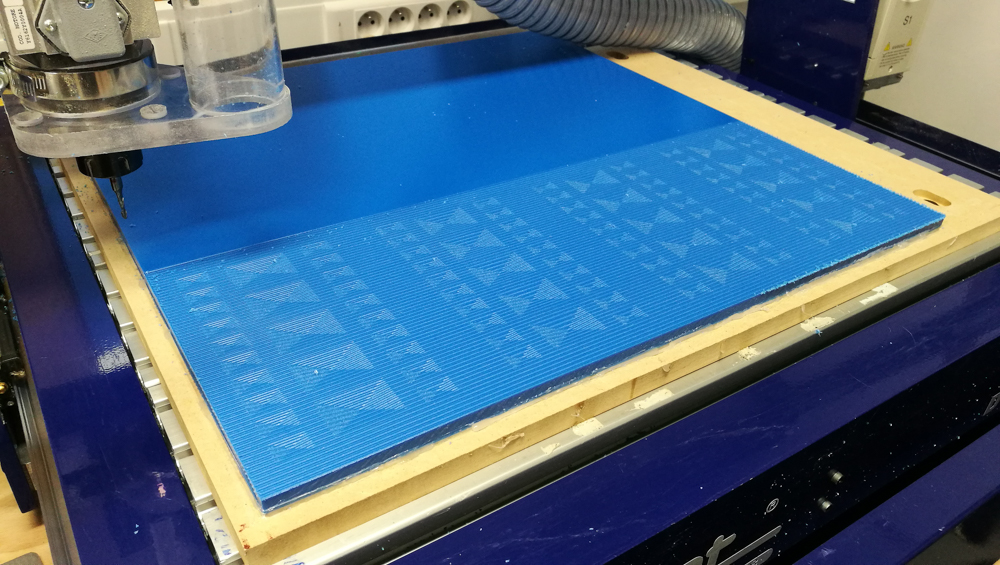
Second pass
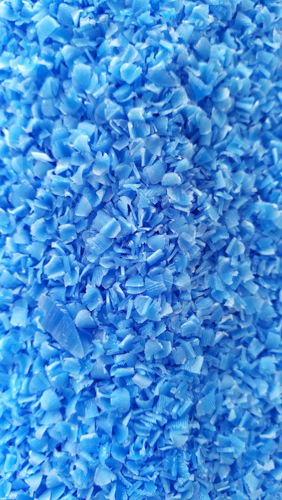
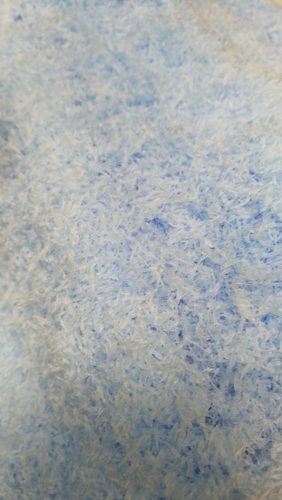
Snow / shaving
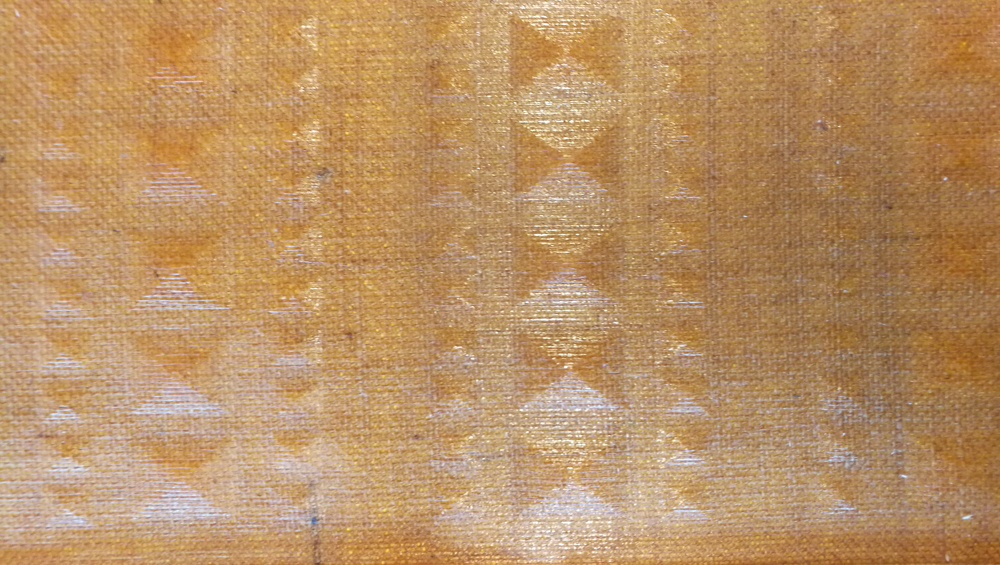
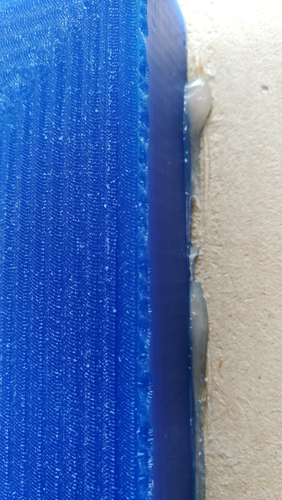
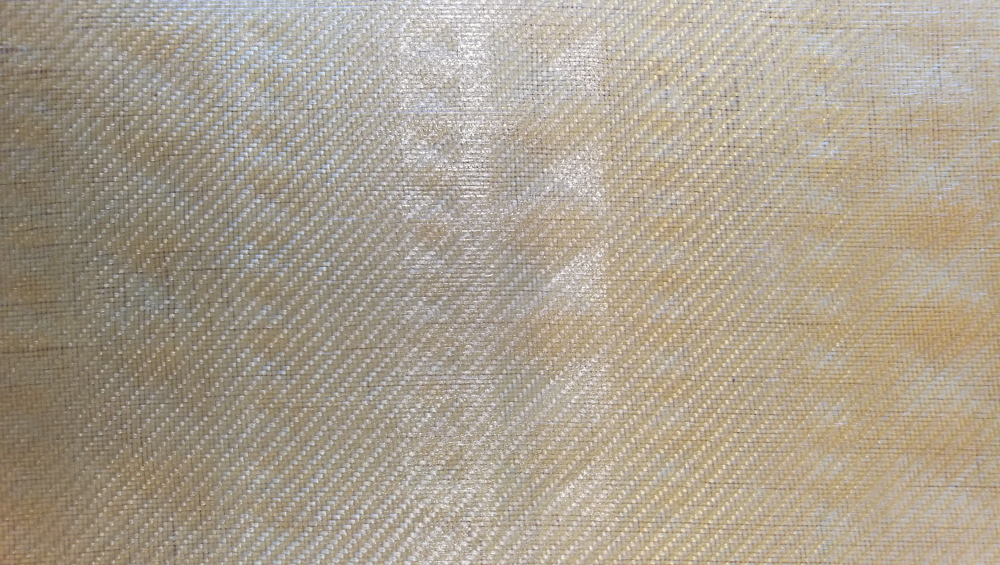
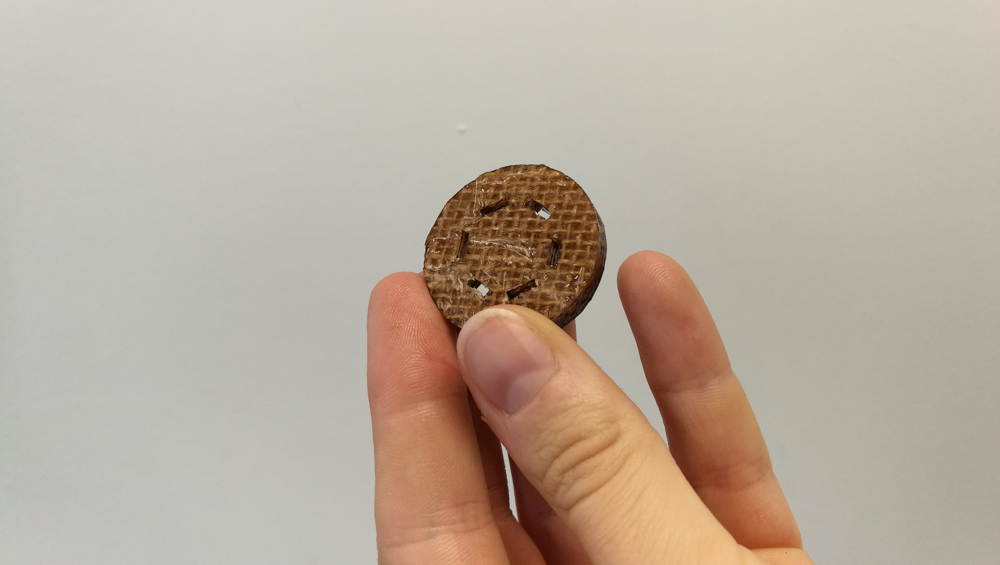
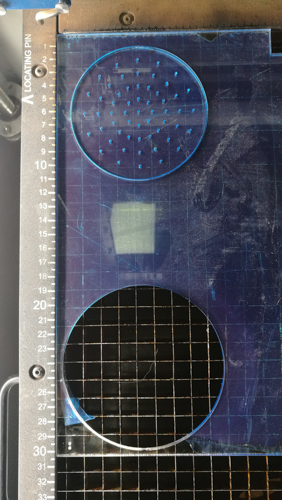
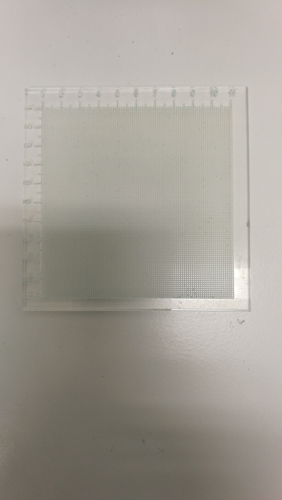
Surface
The size and the shape of the shaving, is very usefull to analyse because it said how the tool work.
A wrong shaving, could need to change the speed and the parameters depends to your goals.
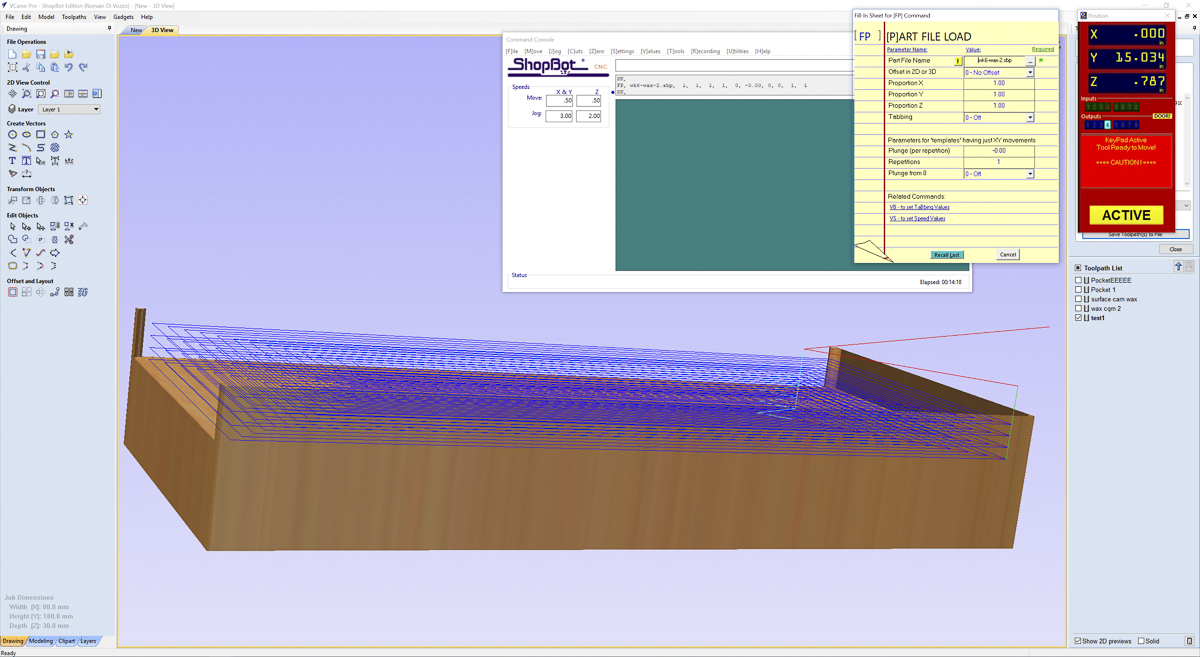
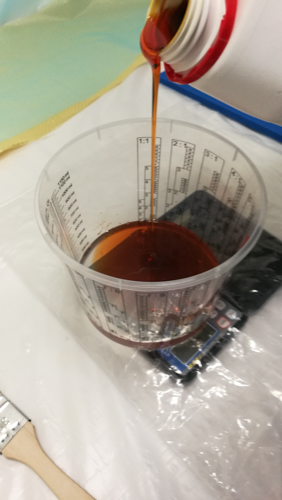
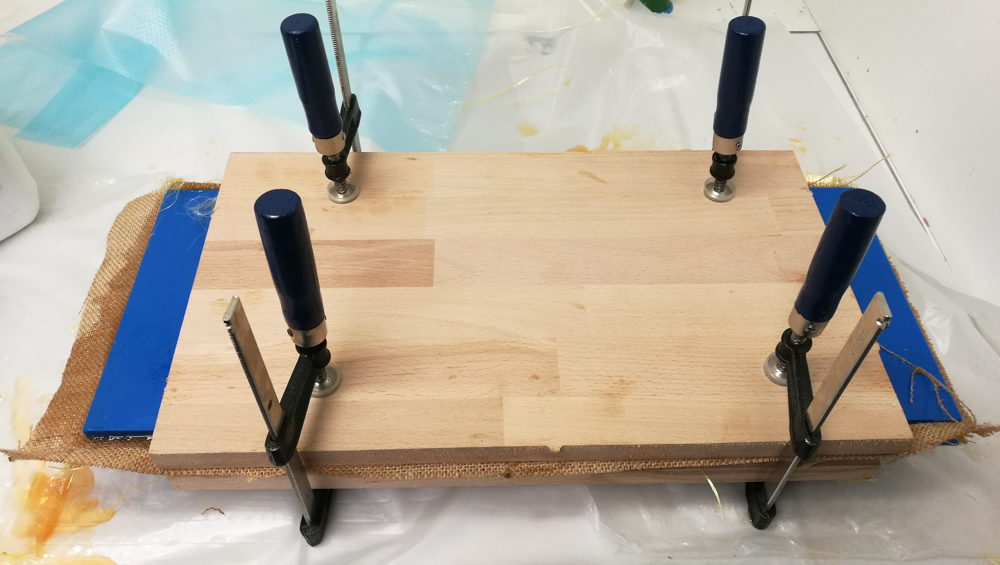
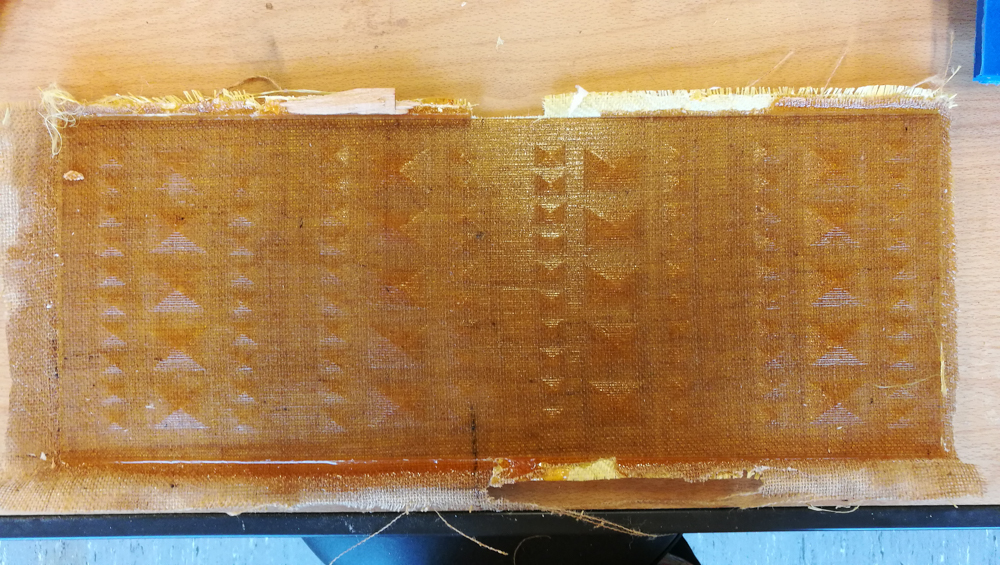
To make a good compression I have open the top and the botom of the mold and change the offset of the shape.
The goal is to make an empty space part for the material depends to the thickness of the material (leather, resin, bioplastic…)
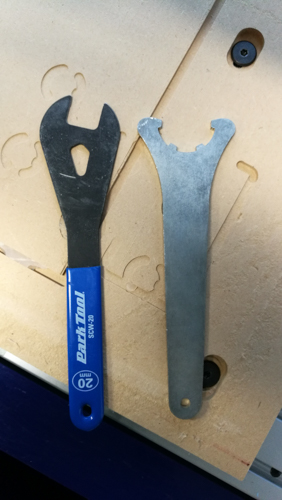
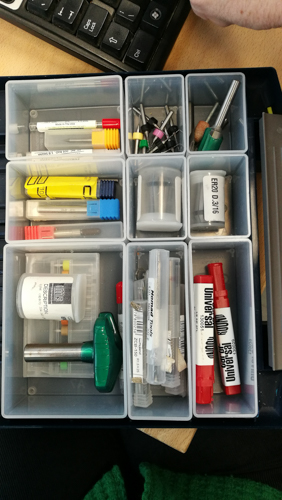
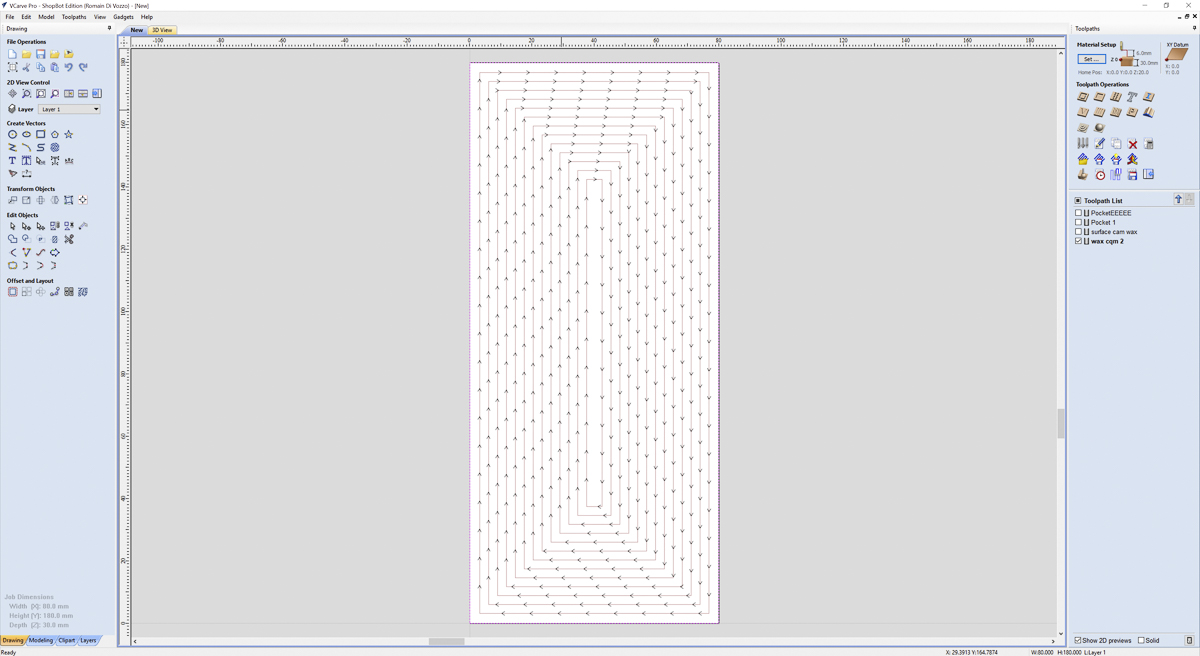
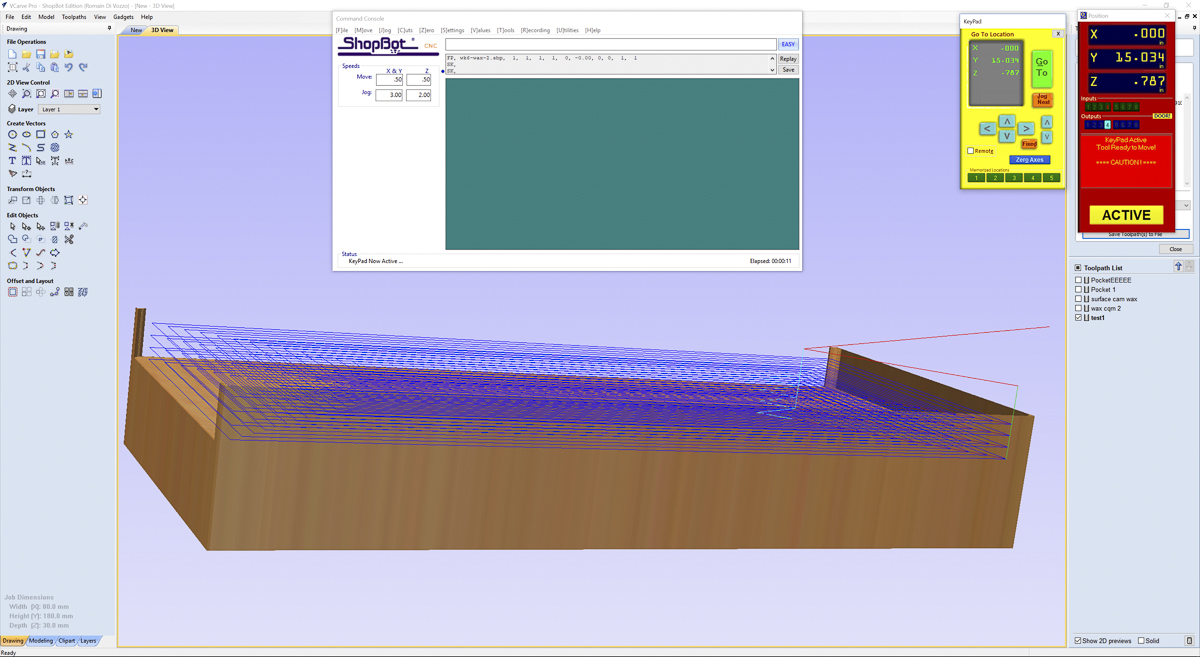
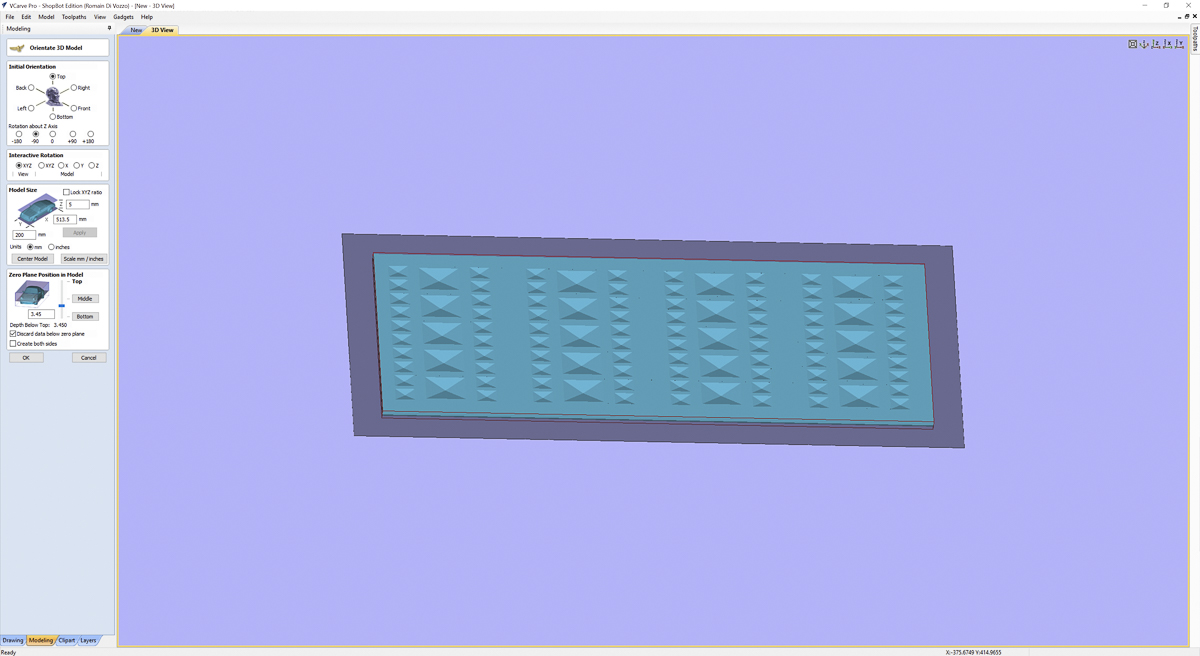
Tools for 3D files
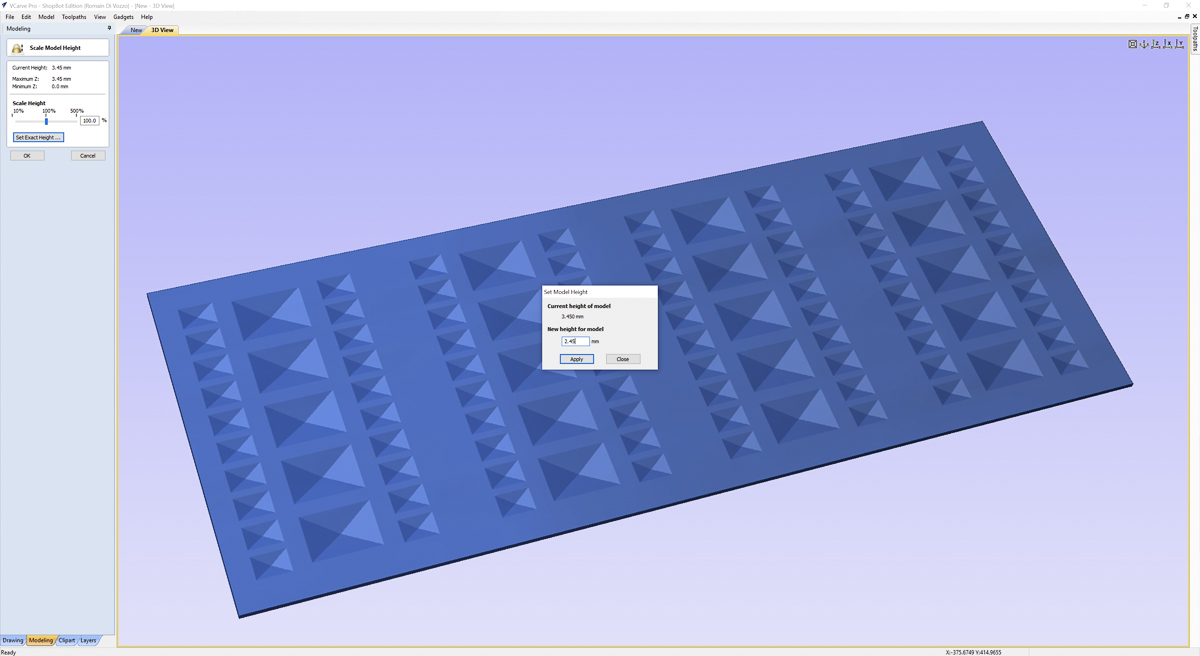
Change the size of the height
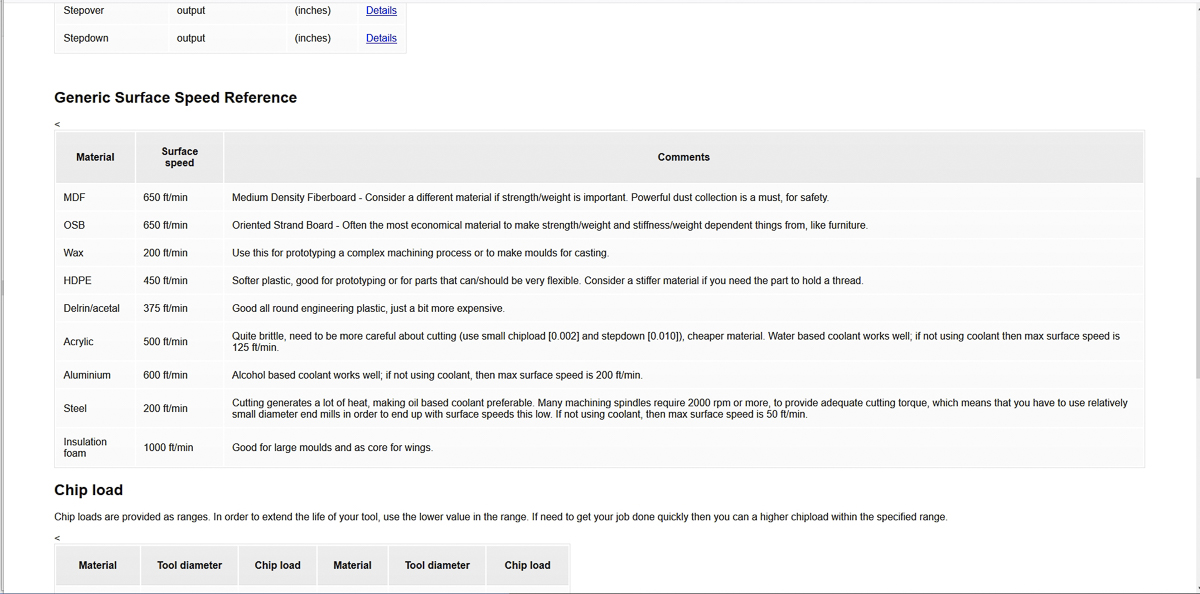
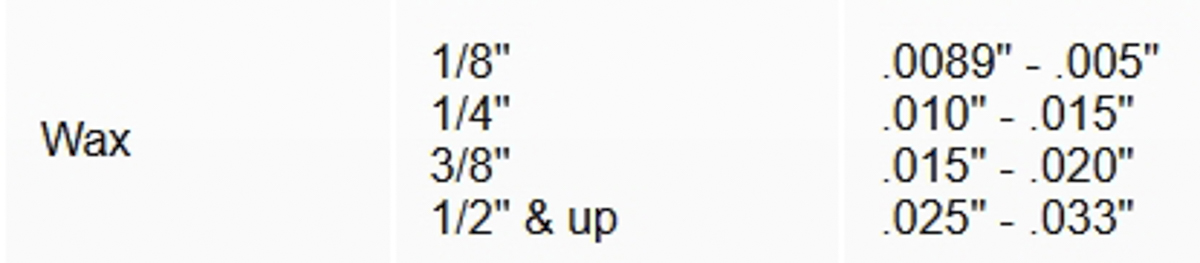
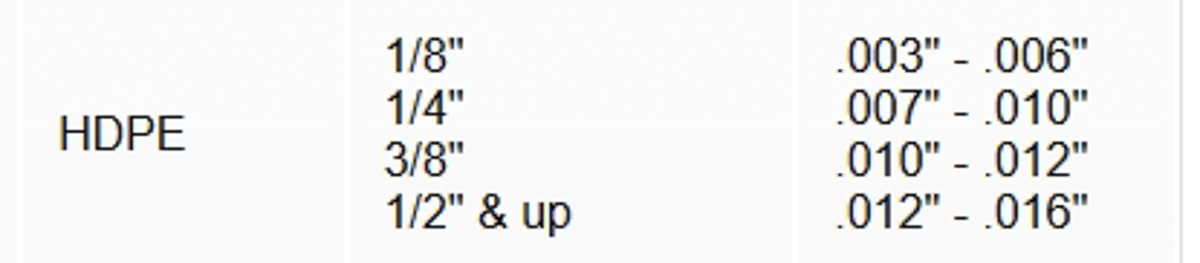
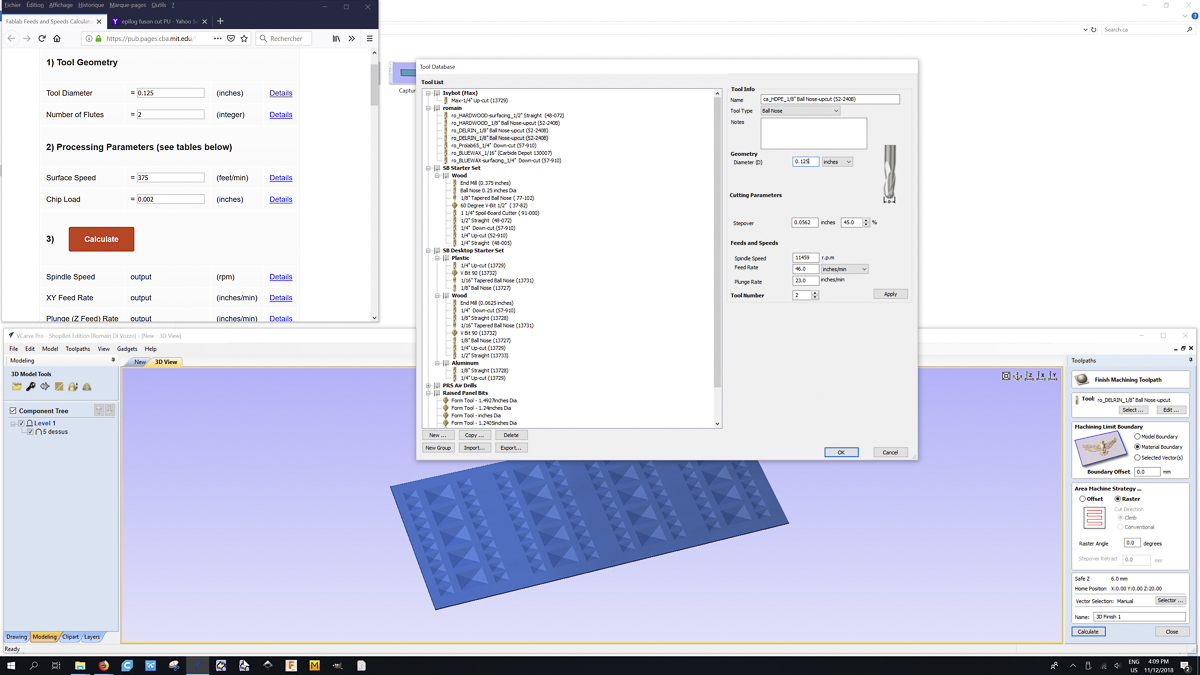
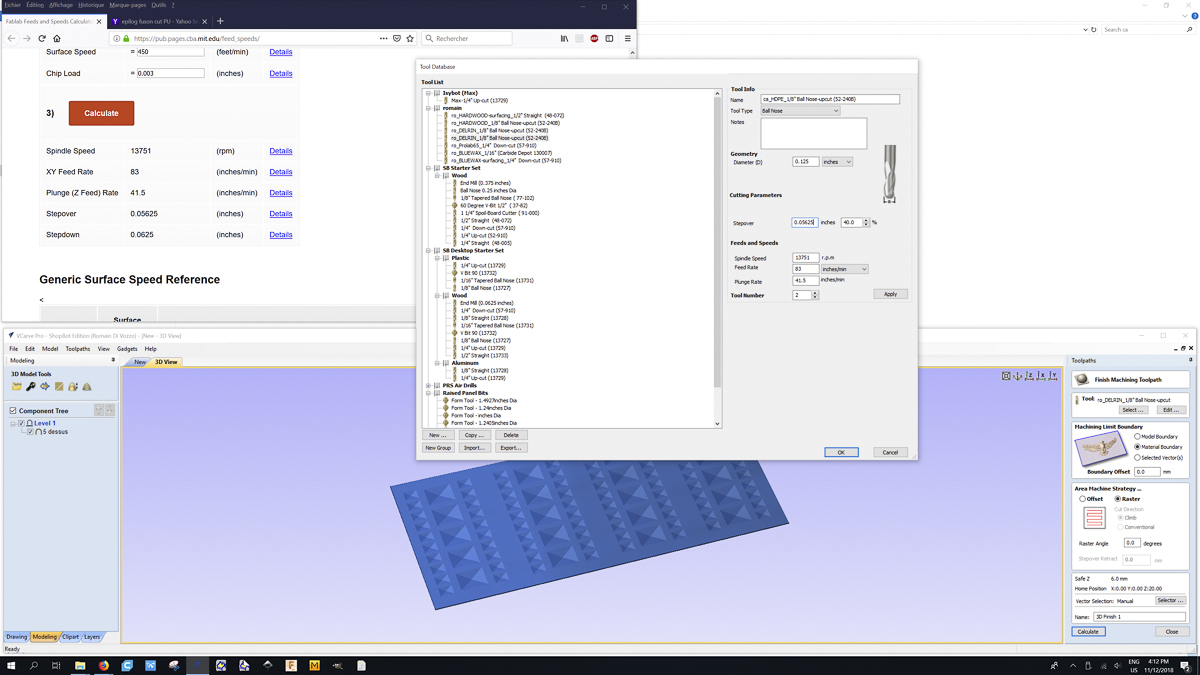
Parameter from the calculator to the tool settings HDPE bal noise 0.125 inche
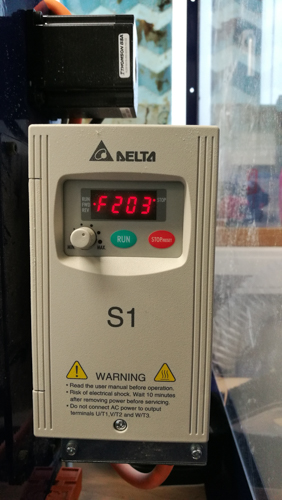
Parameter from the calculator to the tool settings 2
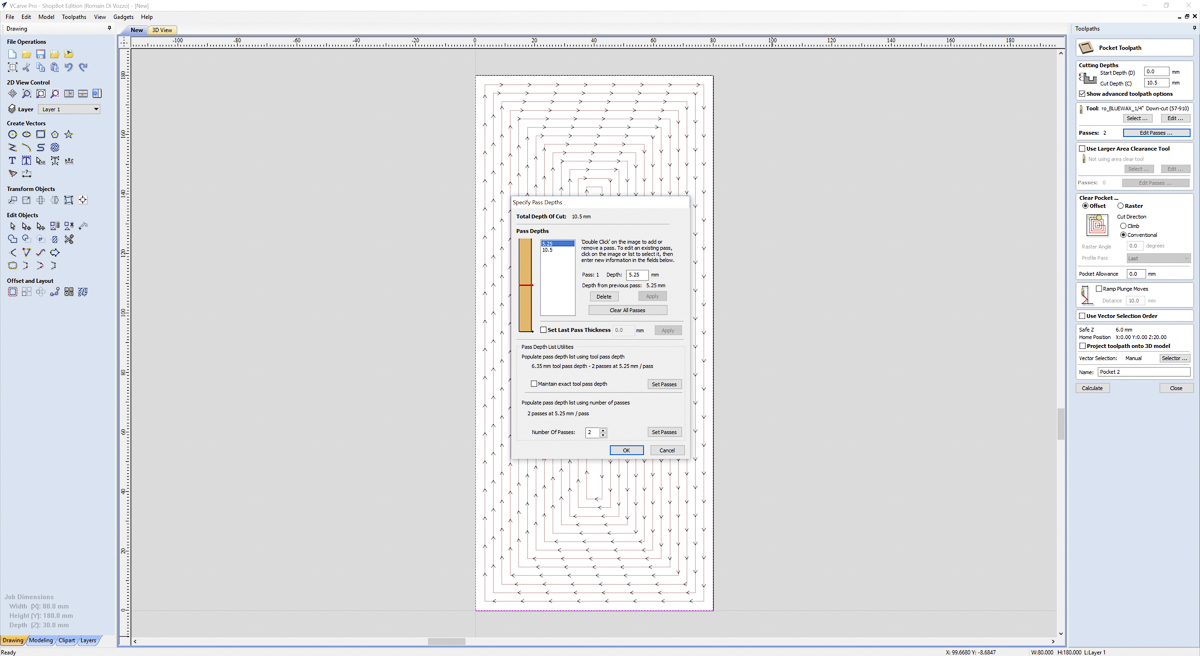
Take the parameter from the calculator
create a new tool in Vcarve with the dimensions of the tools
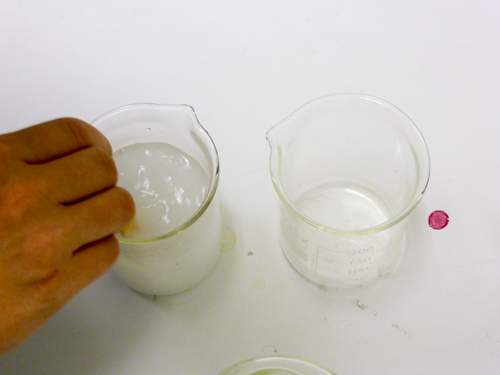
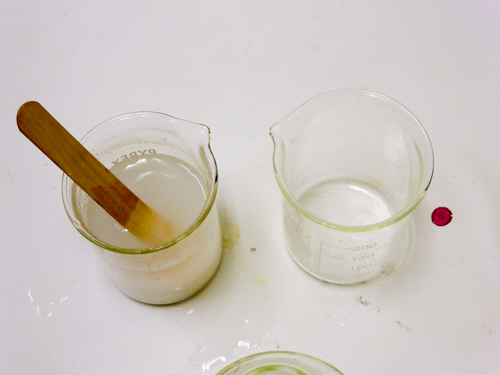
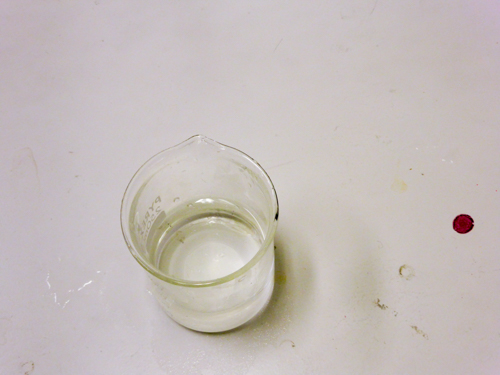
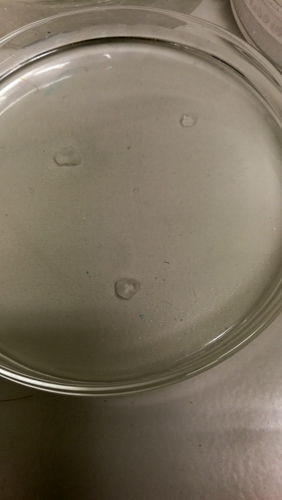
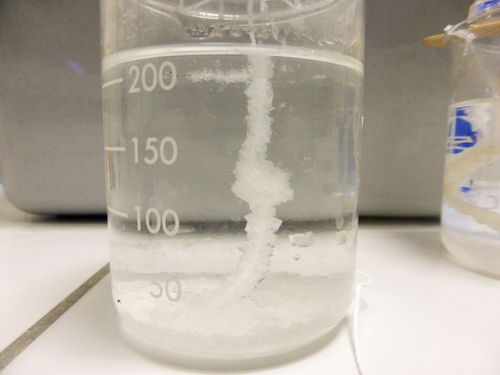
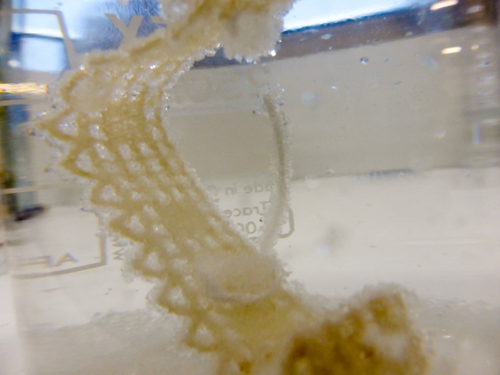
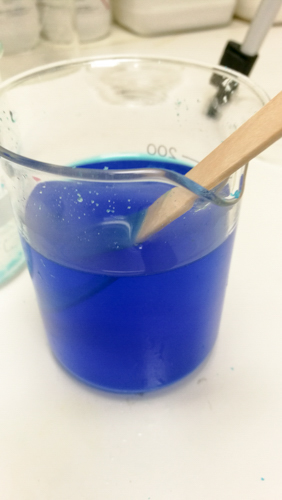
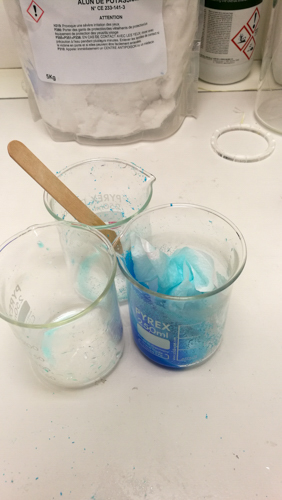
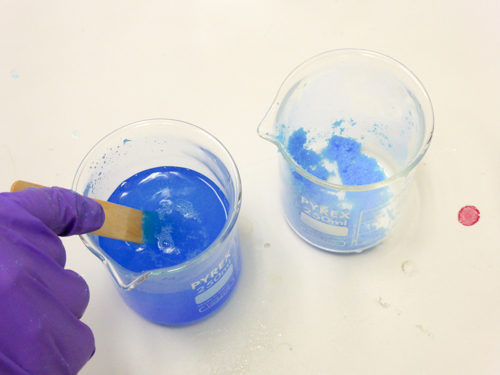
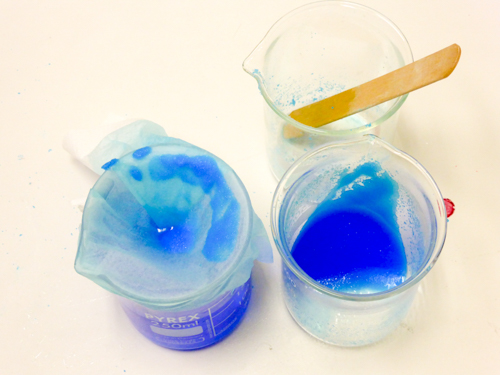
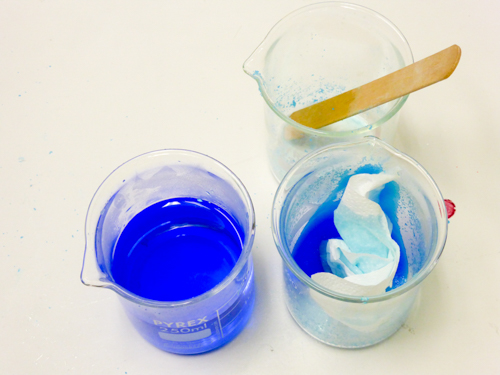
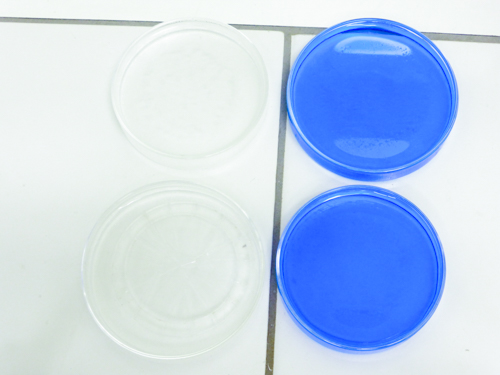
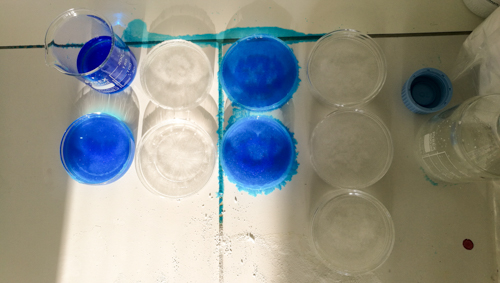
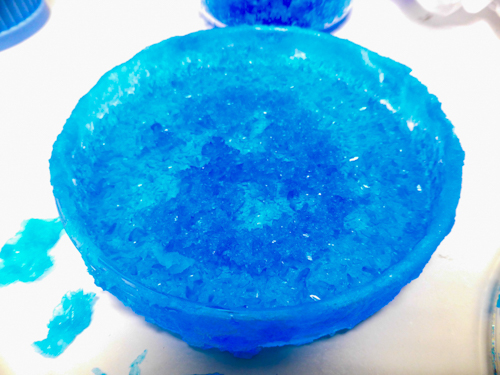
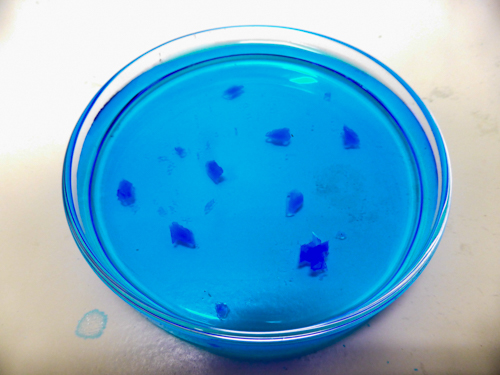
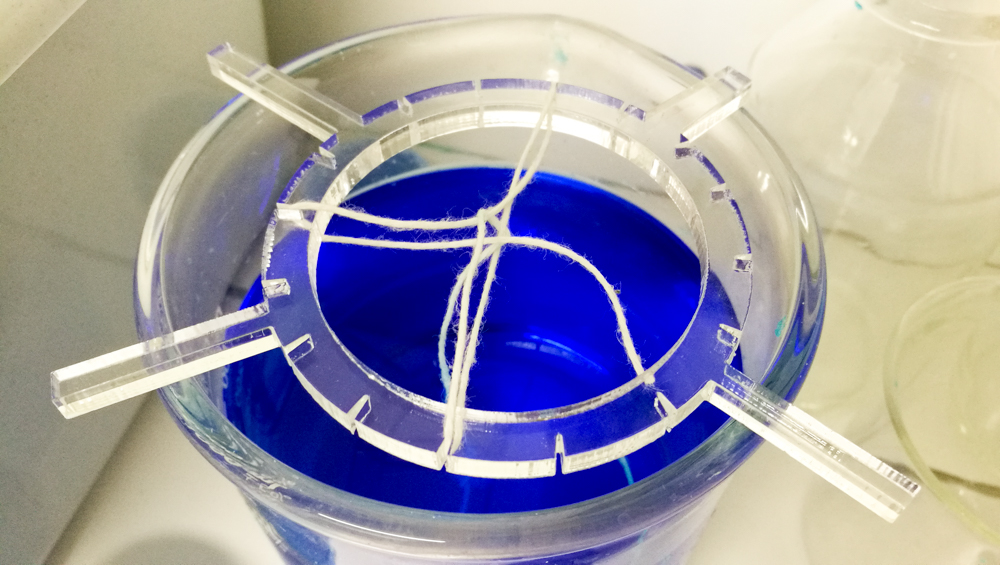
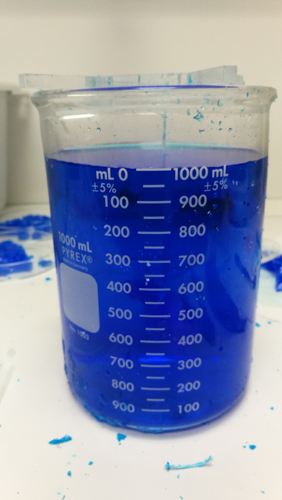
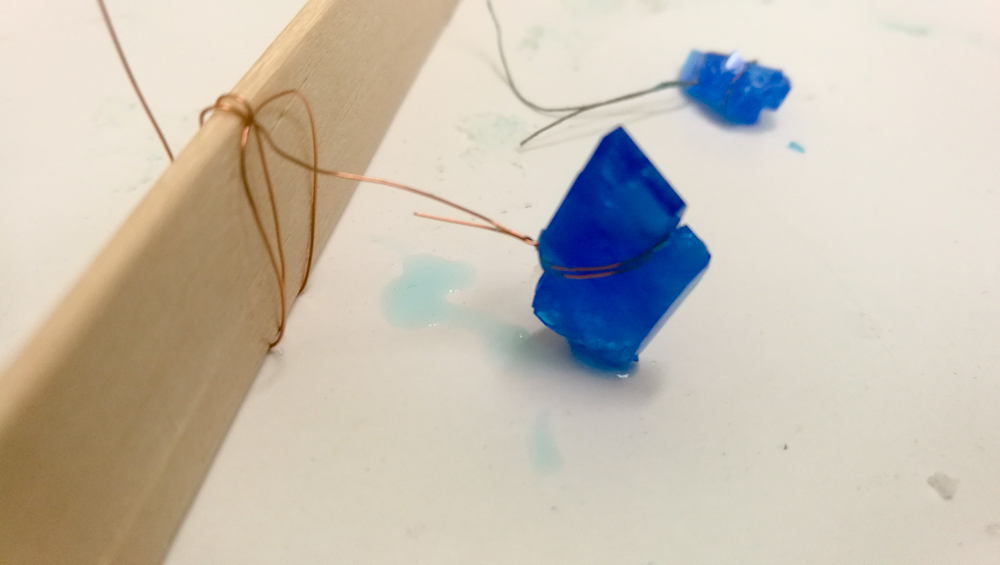
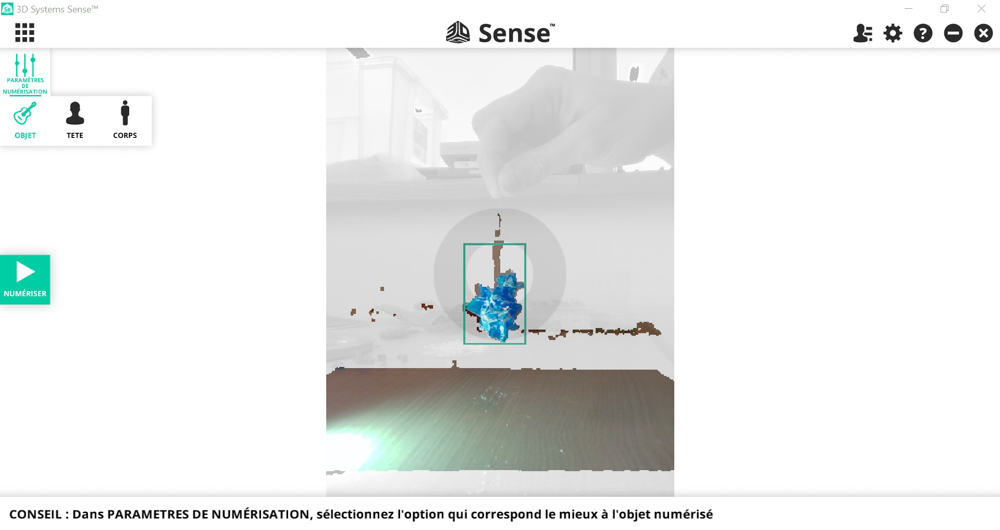
The process to grow up a cristal is simple.
We found many tutorial and school process from teacher.
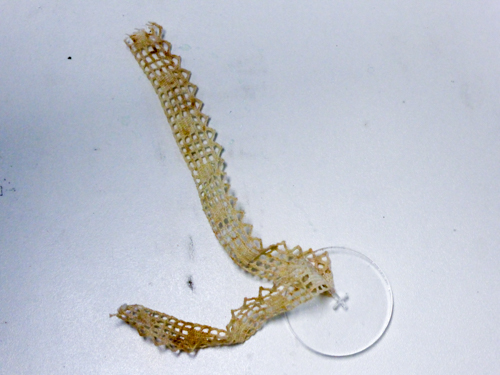
But my interest is to manage the grow up process and control this part with fabrics, molds, electronics components.
Also the key process could add quality of the cristal for it’s size, it’s color…
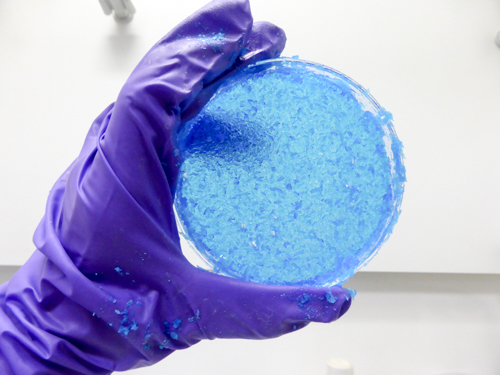
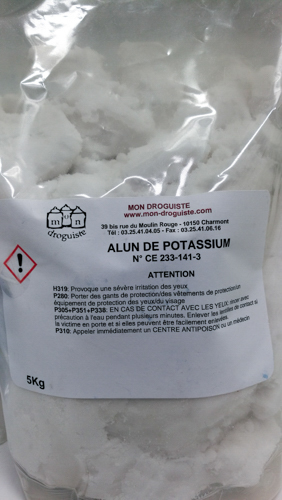
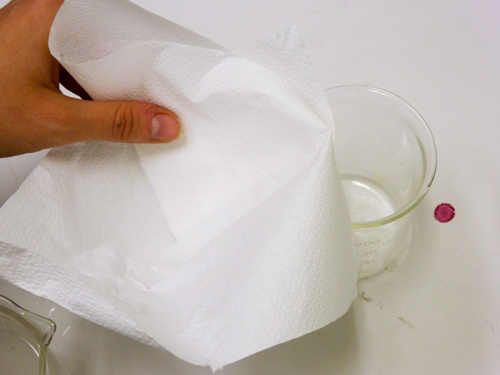
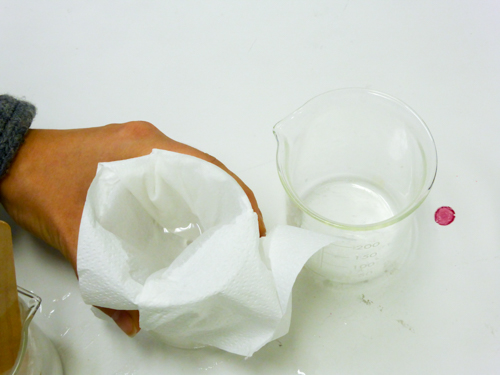
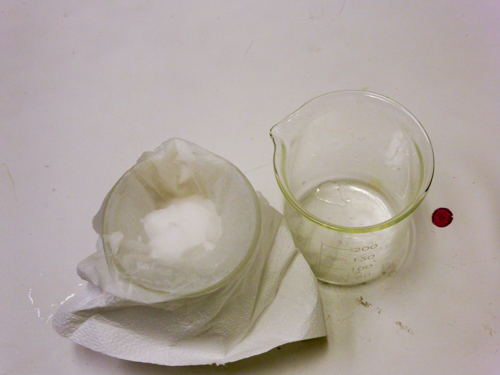
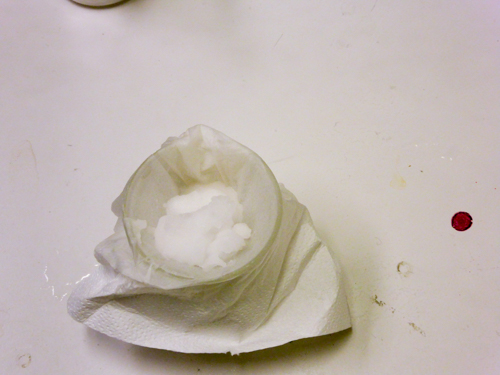
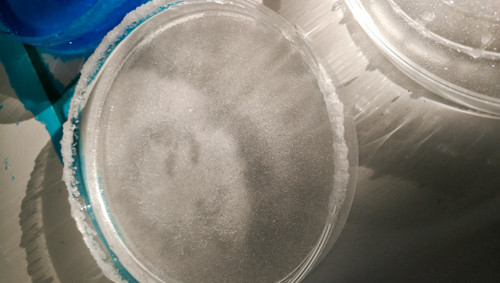
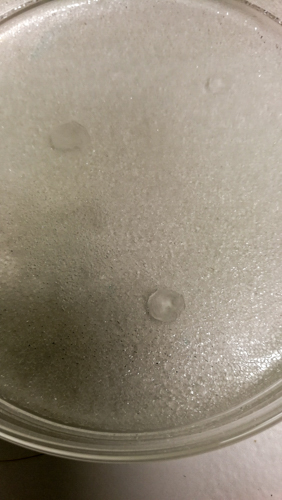
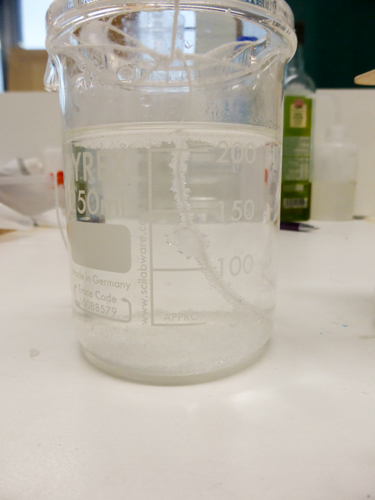
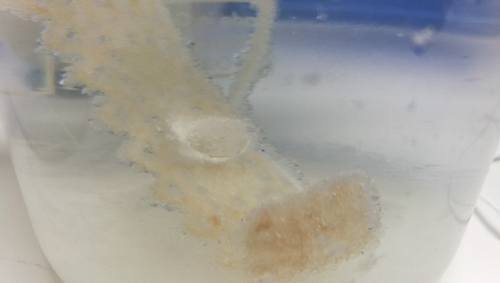
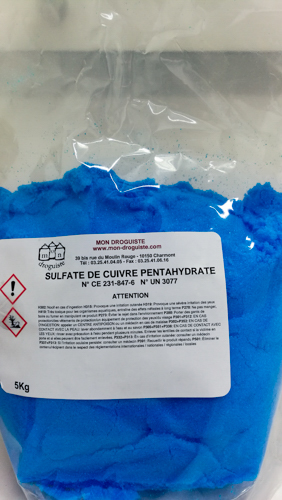
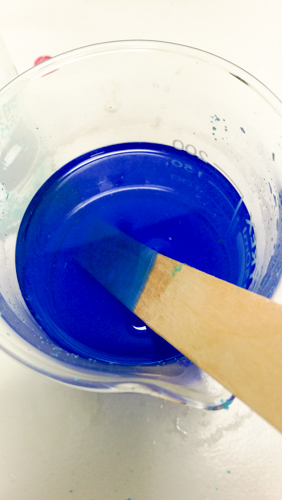
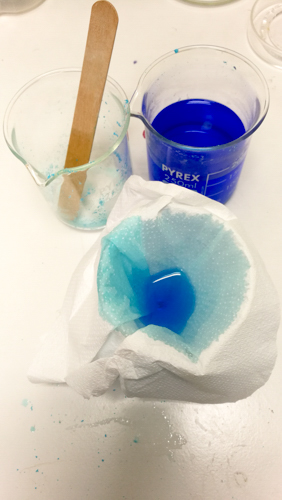
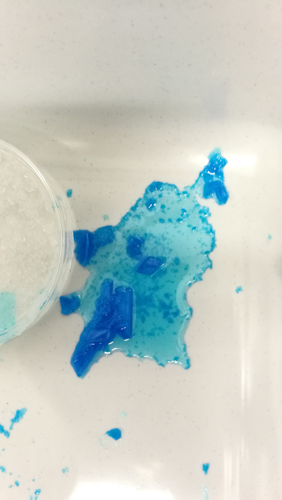
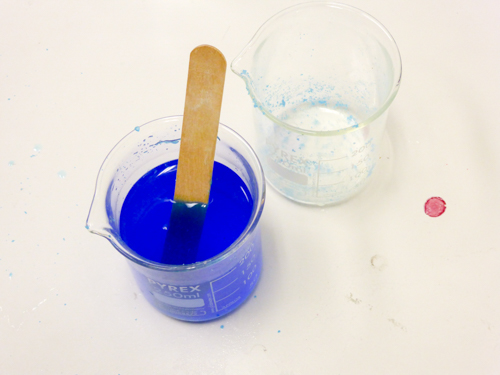
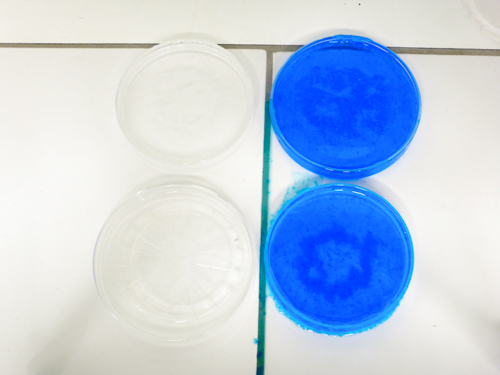
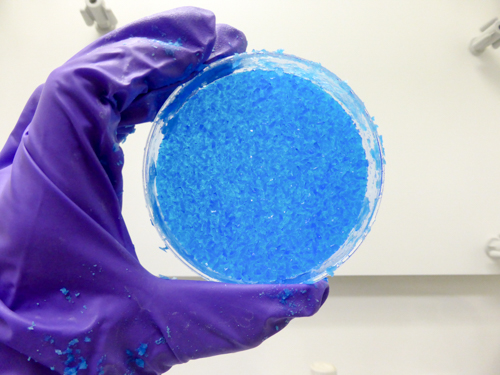
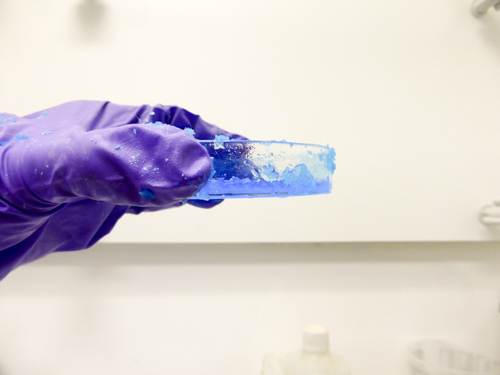
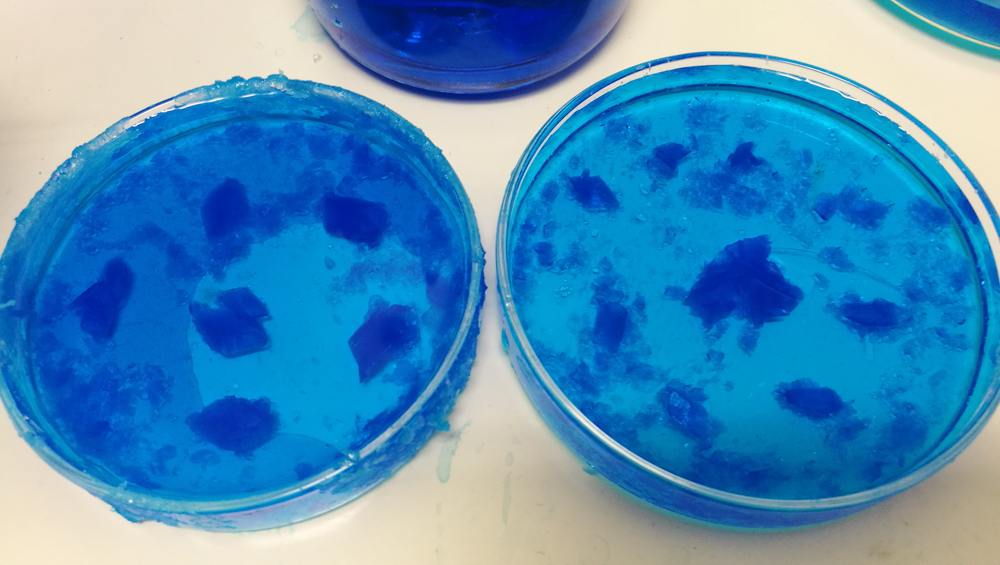
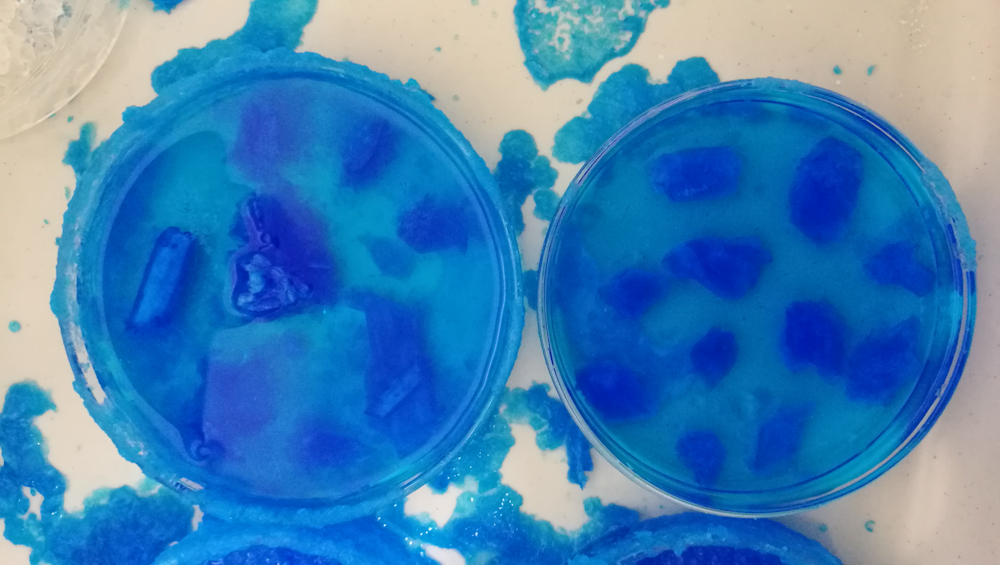
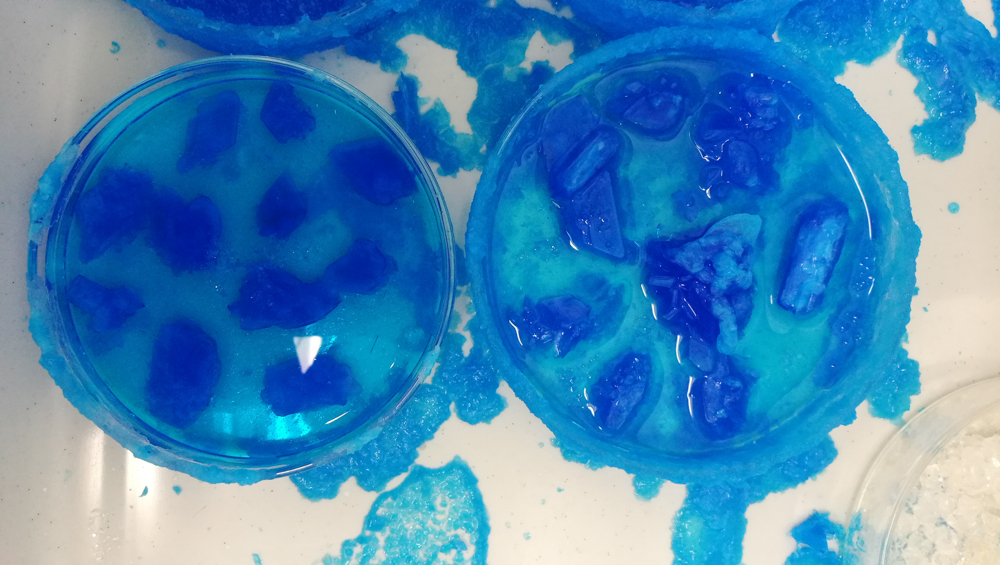
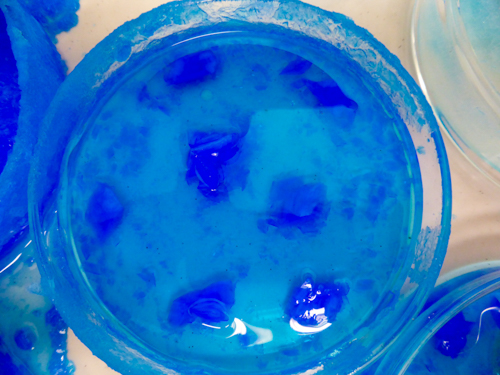
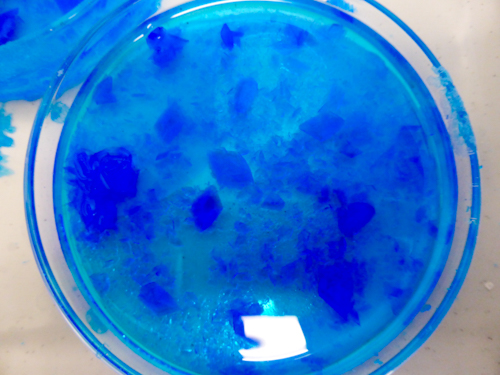
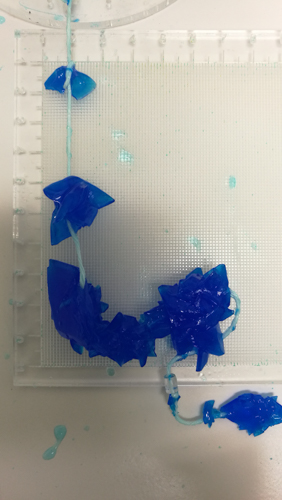
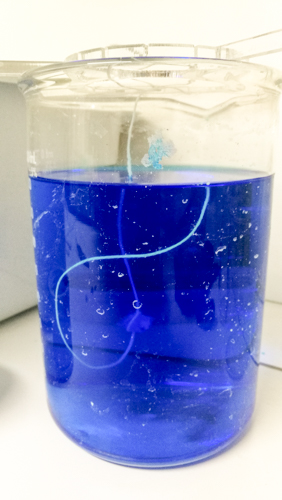
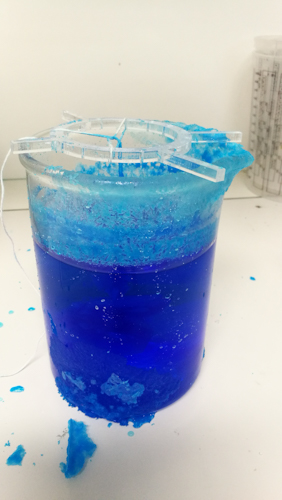
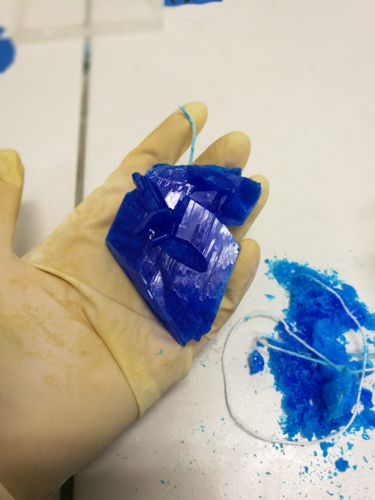
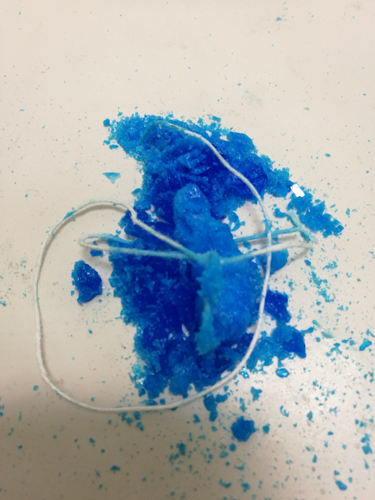
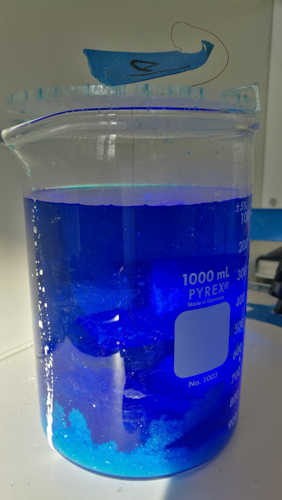
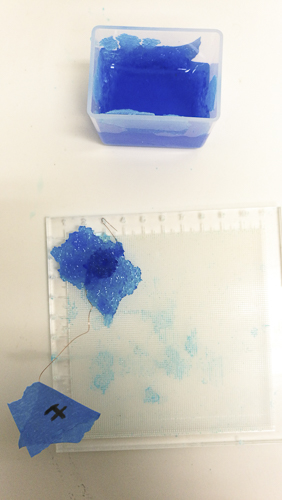
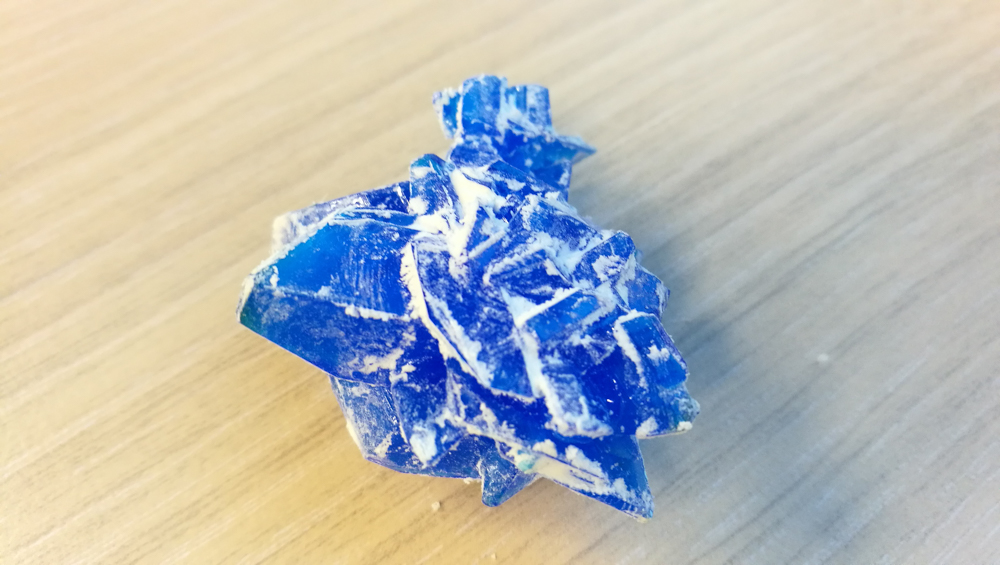
Copper doesn’t go inside the classic trash! Different recipe tell us you need to filter the copper solution. In fact, if you have the good recipe with the good proportion and the good temperature , the whole powder is dissolve itself.
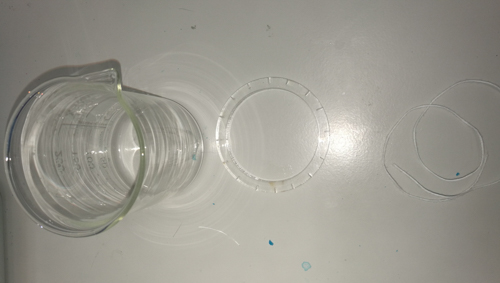
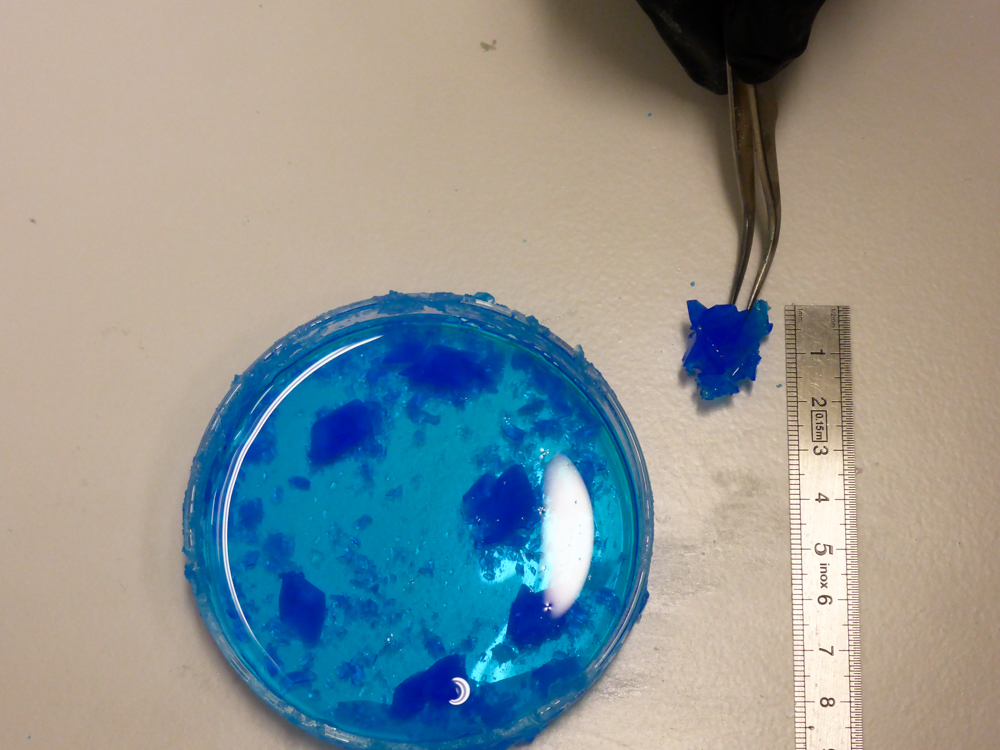
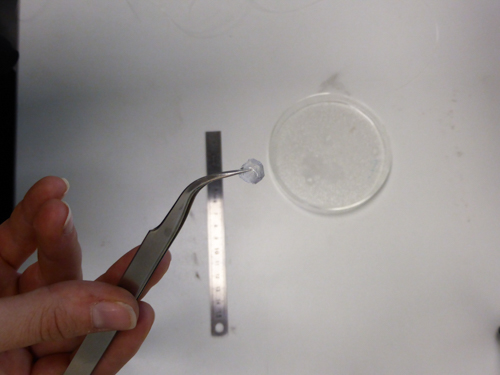
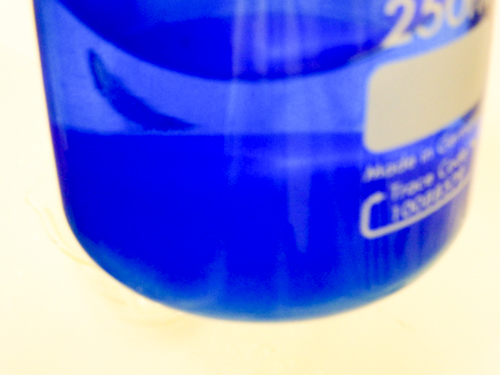
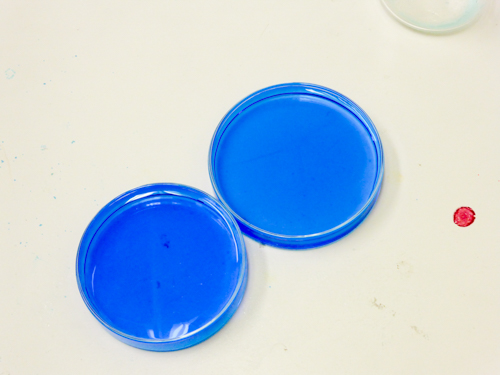
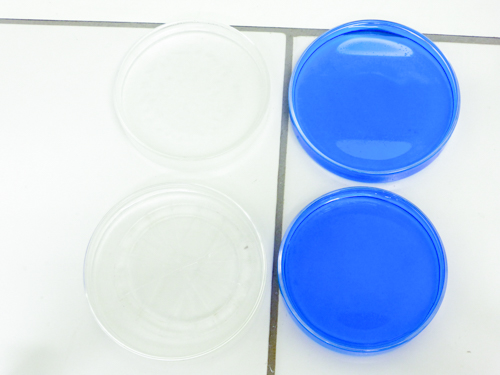
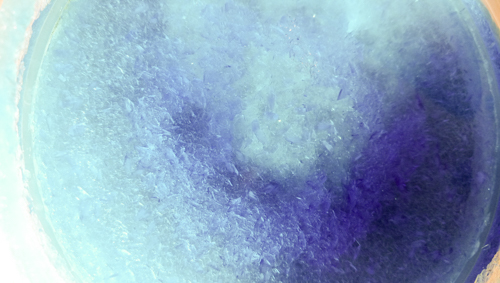
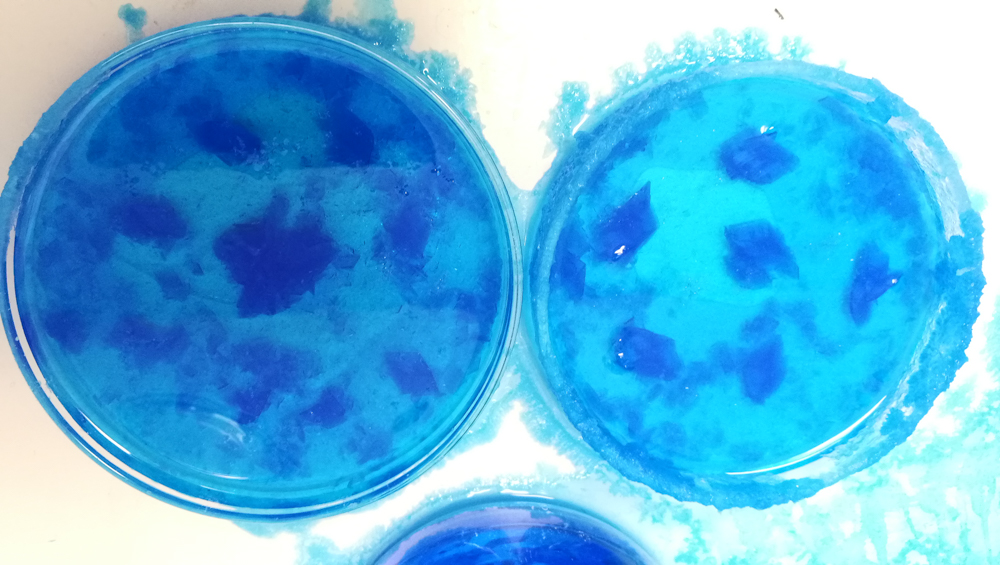
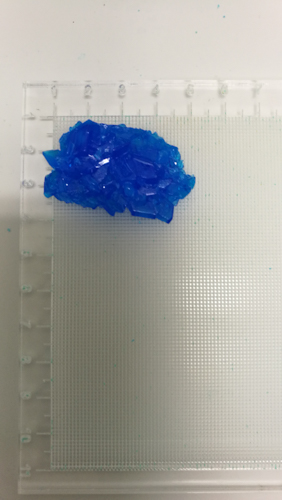
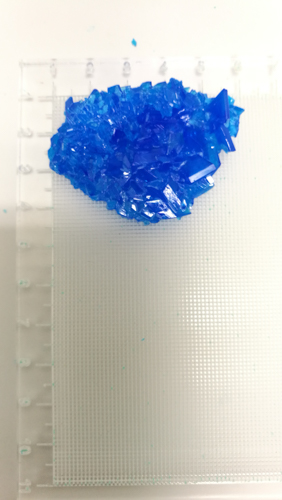
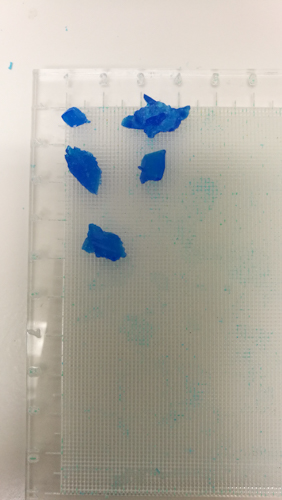
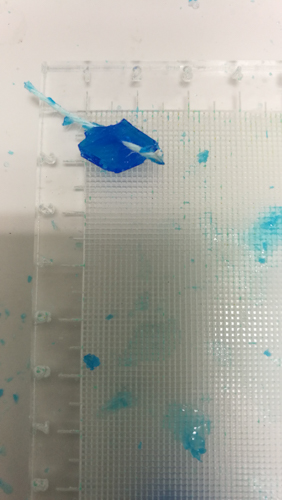
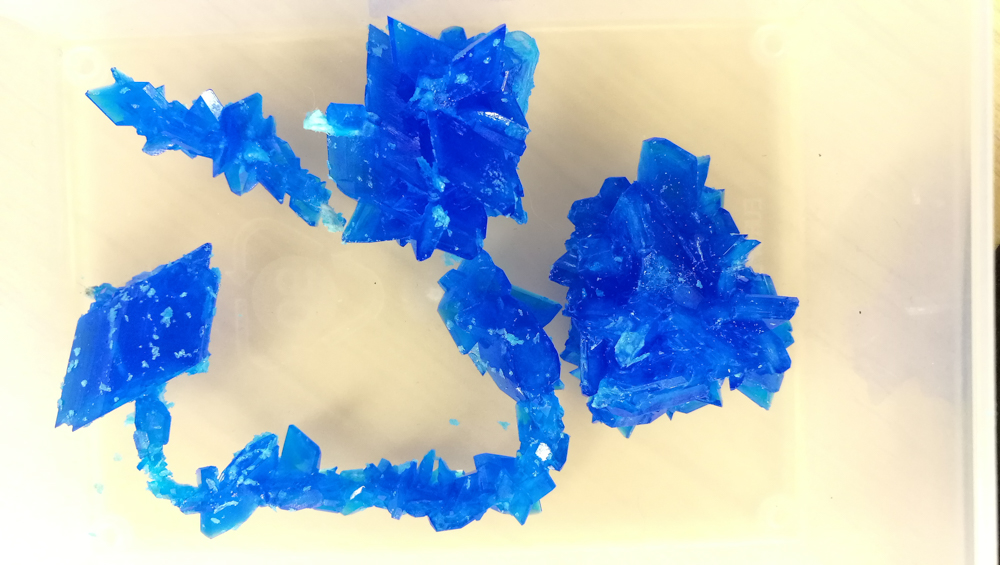
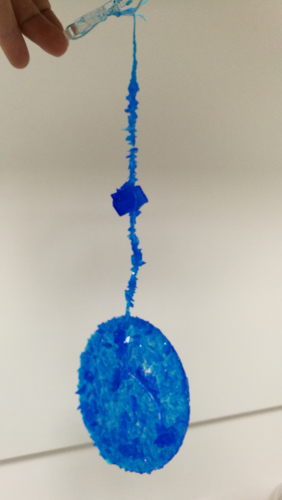
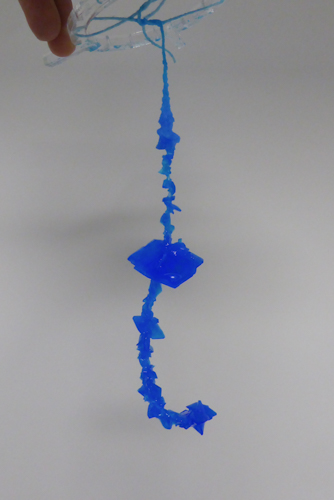
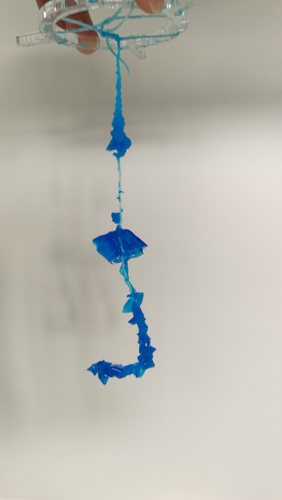
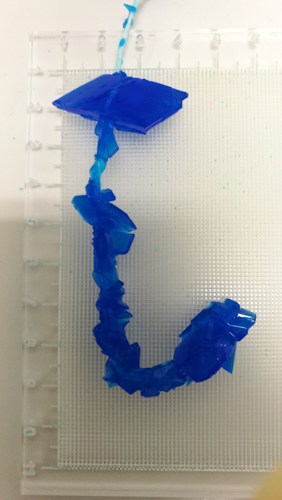
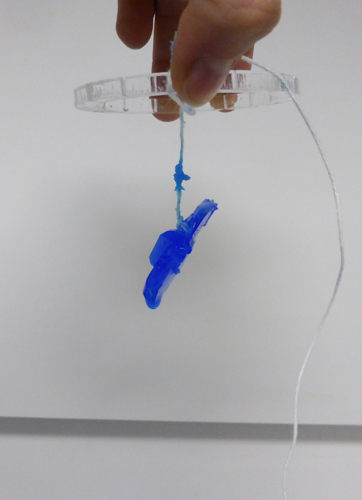
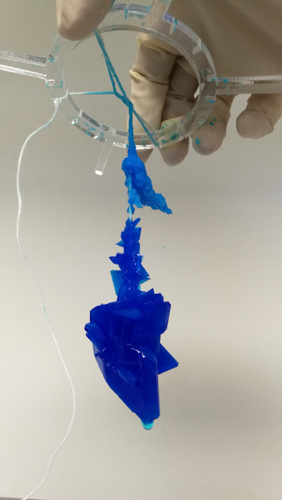
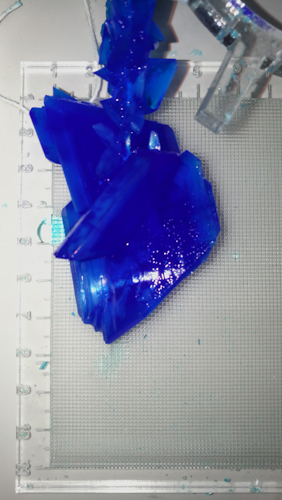
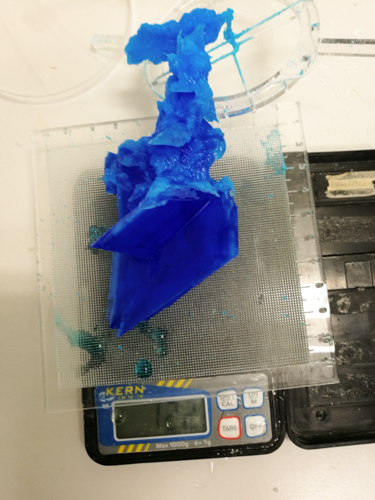
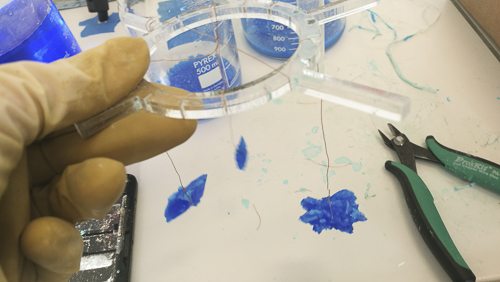
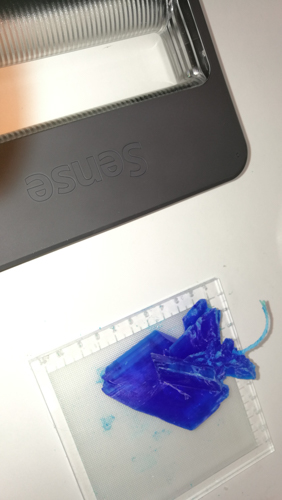
Sometime you can have outside your petri dishe some big surprises like this big cristal !
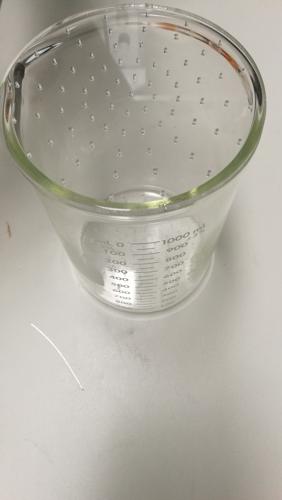
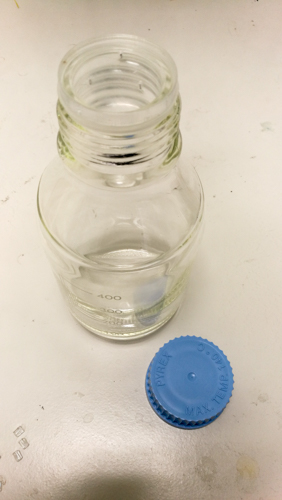
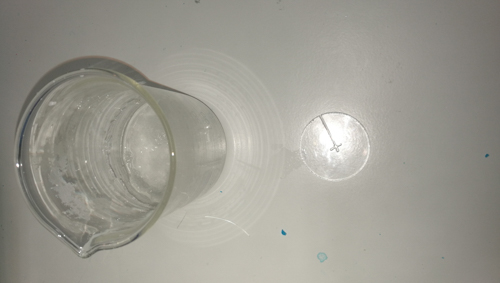
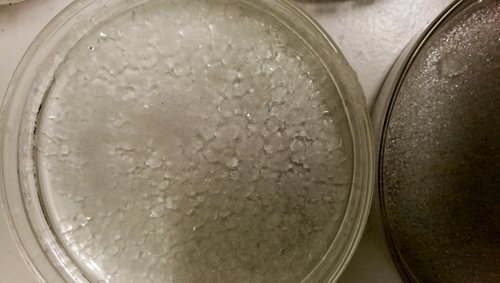
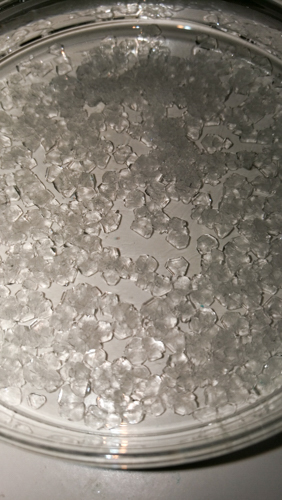
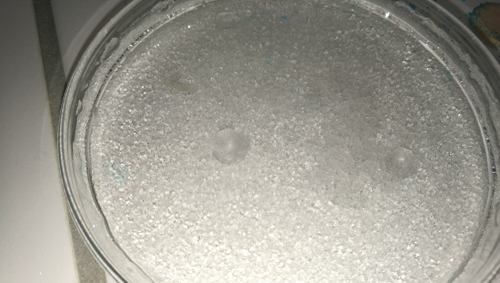
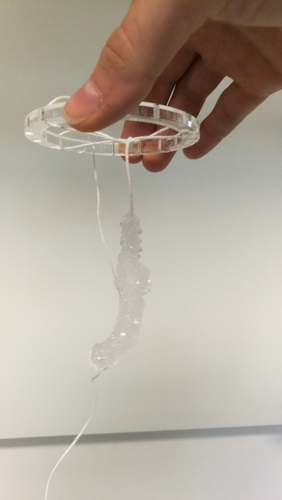
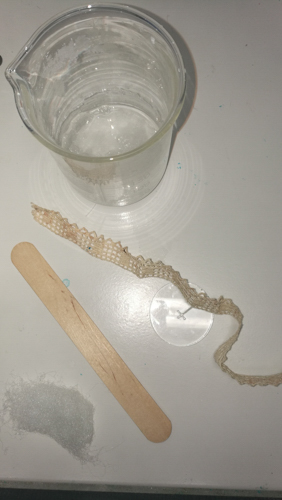
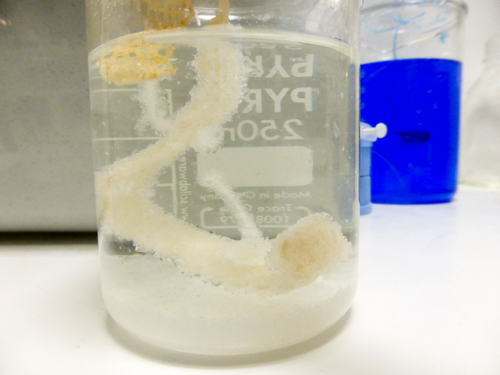
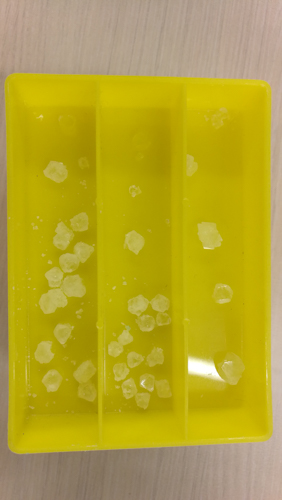
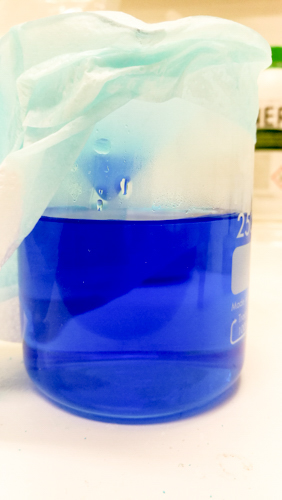
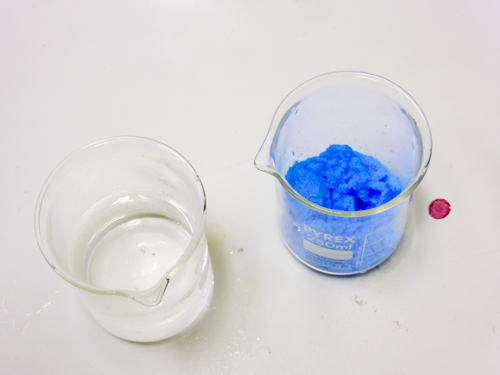
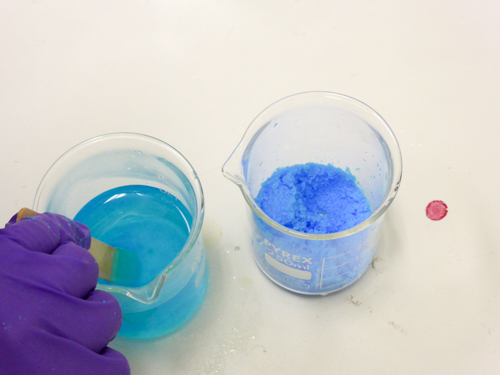
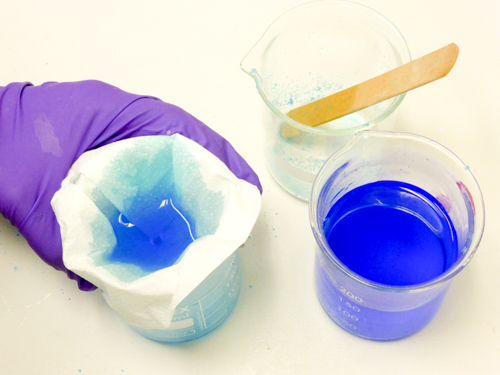
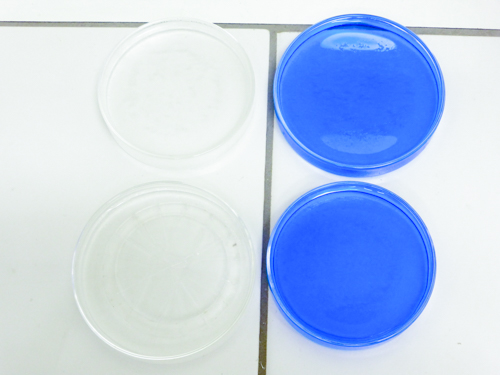
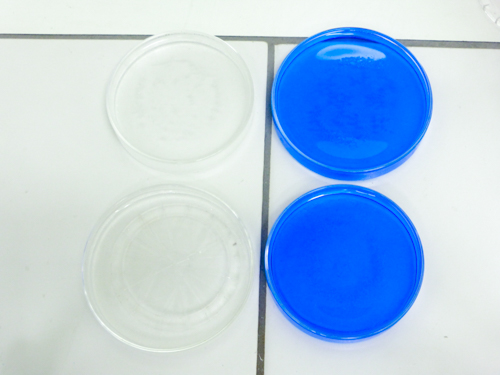
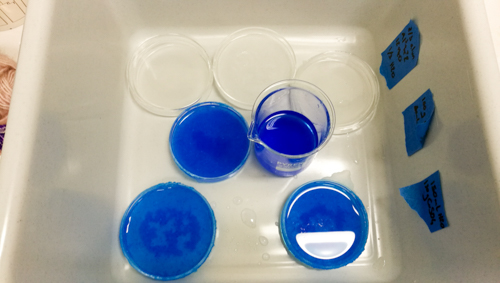
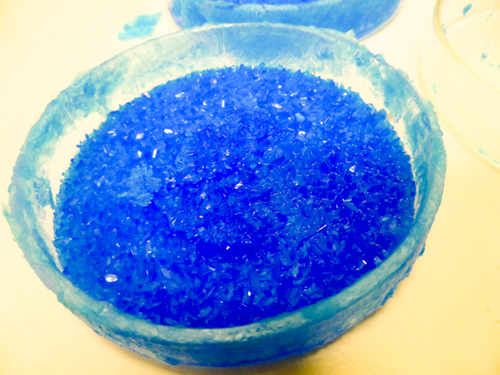
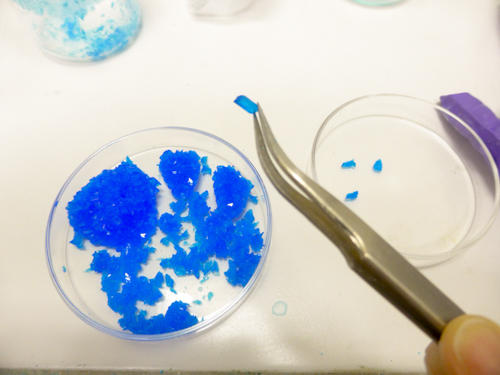
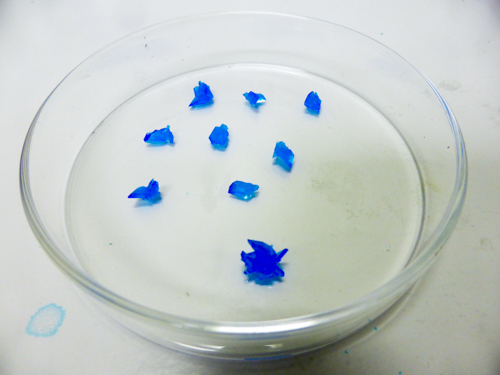
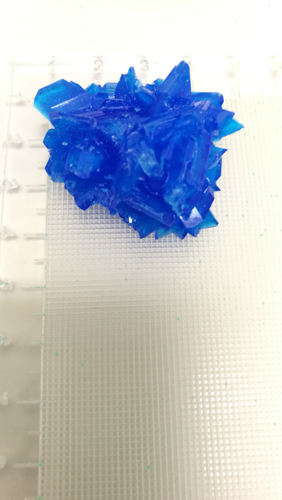
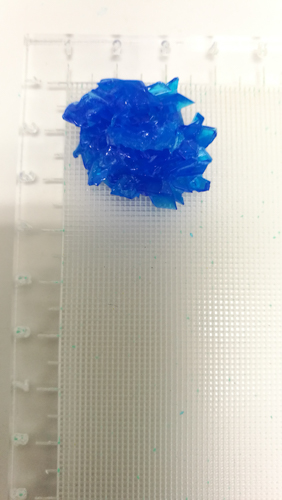
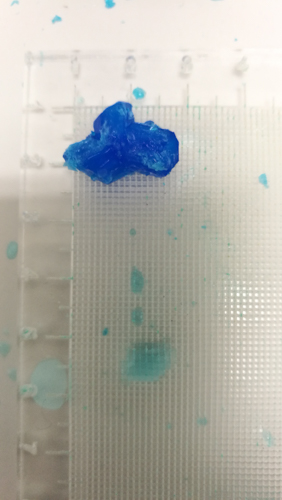
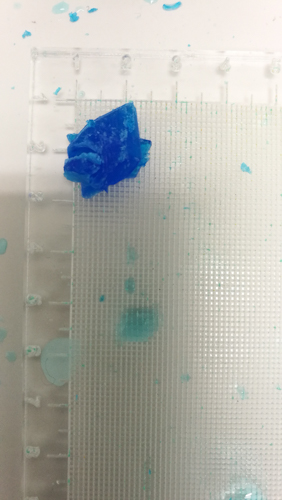
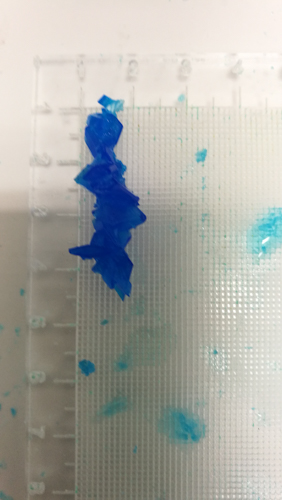
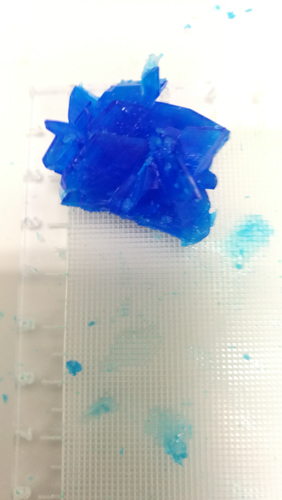
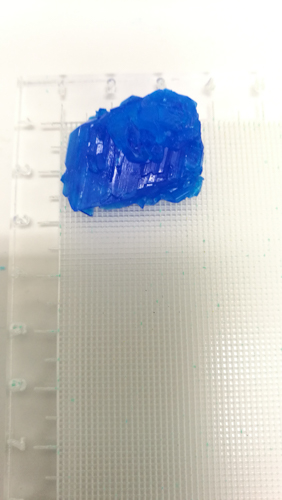
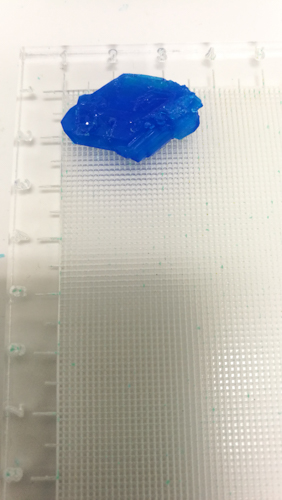
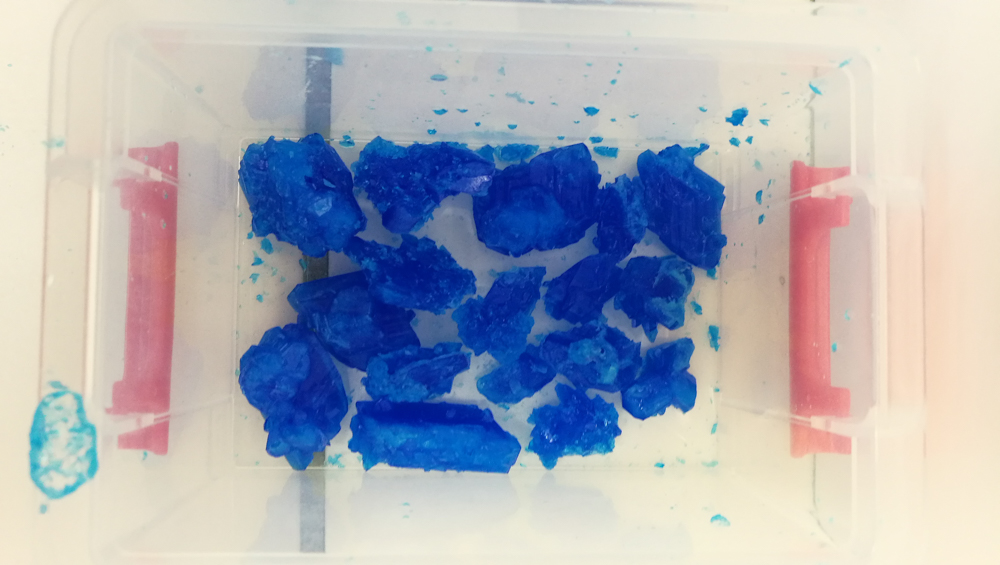
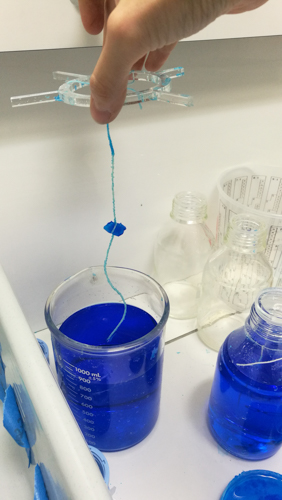
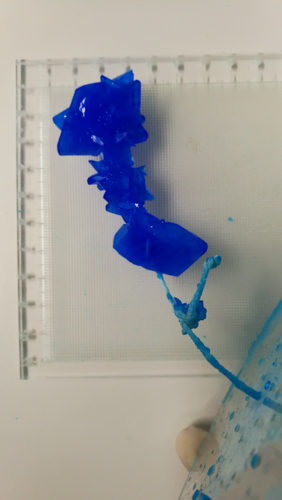
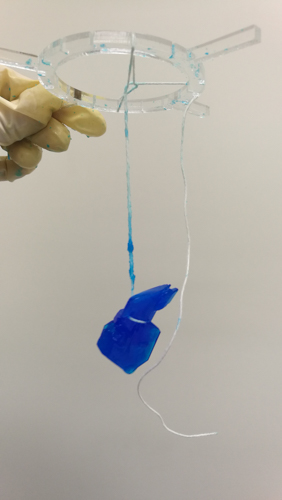
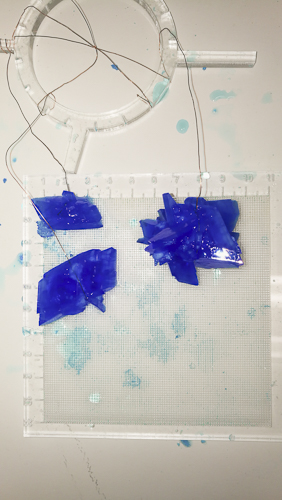
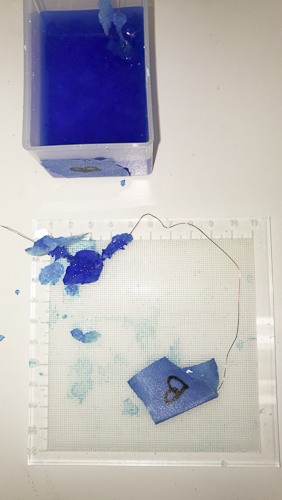
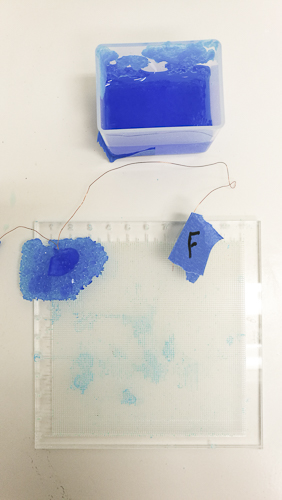
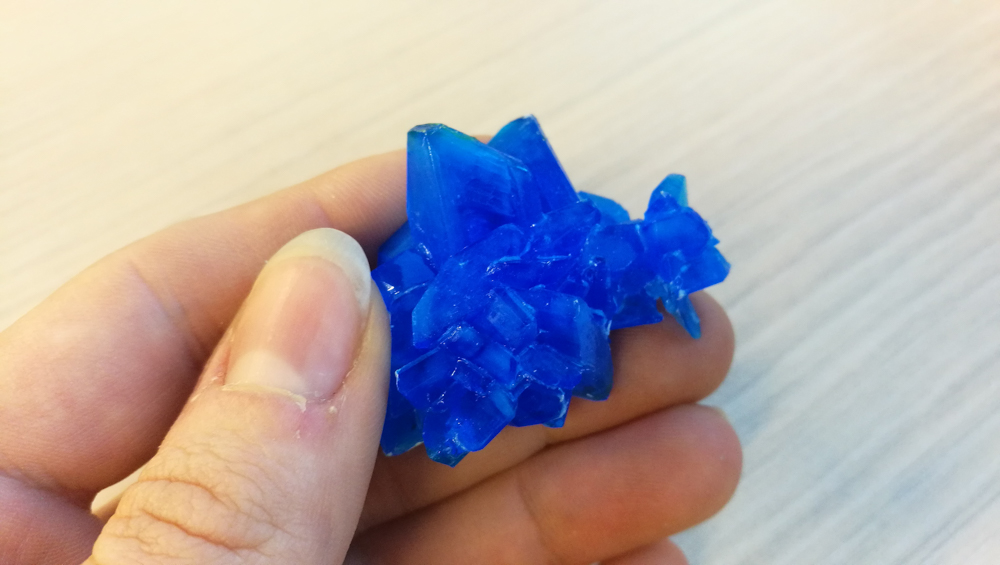
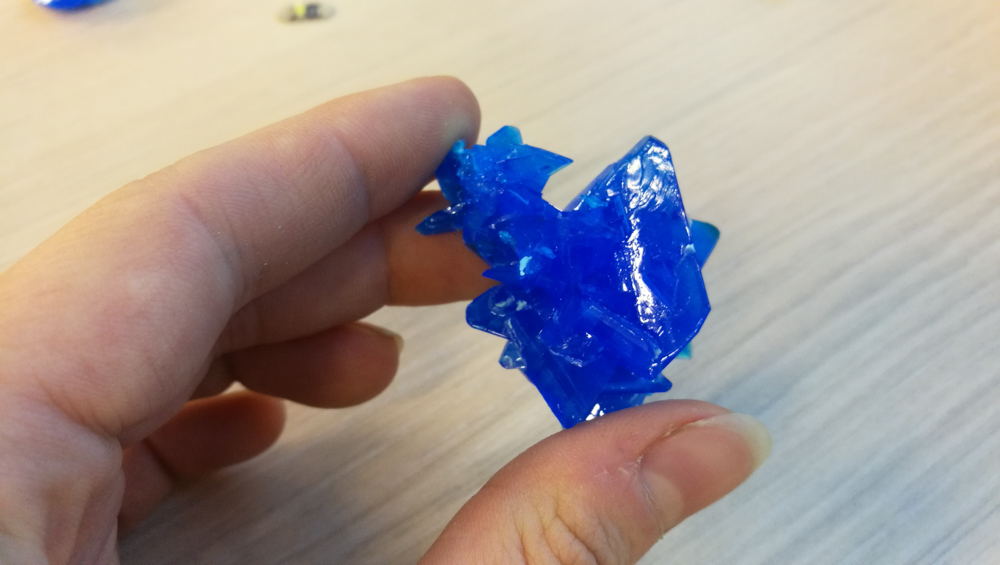
After 10 days of differents experimentations inside different recipe and bottles :#
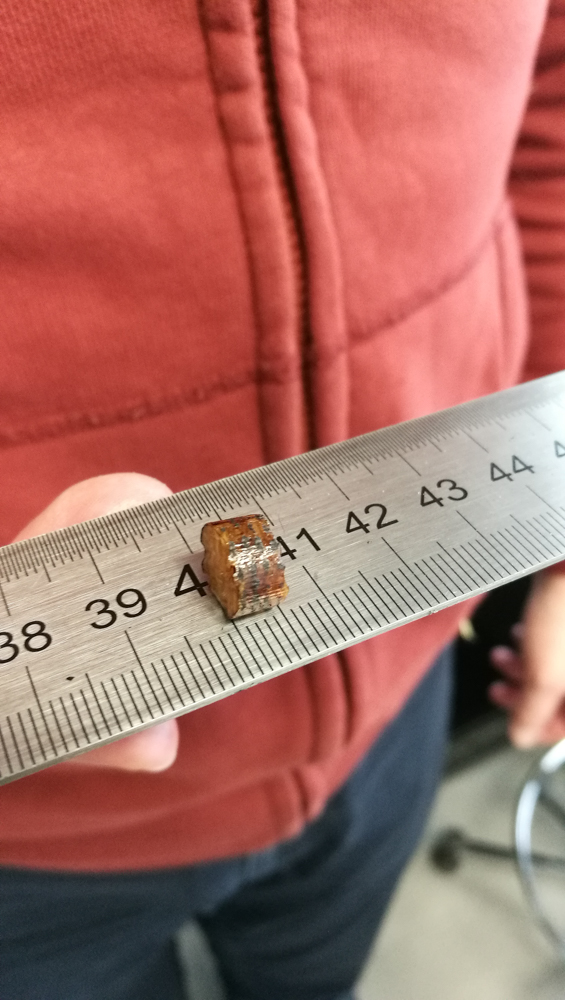
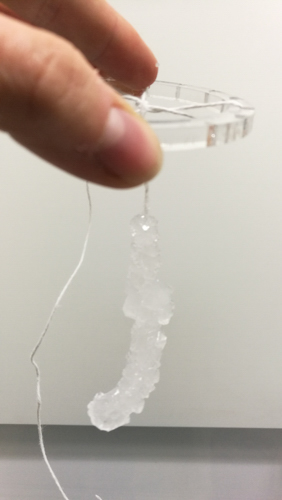
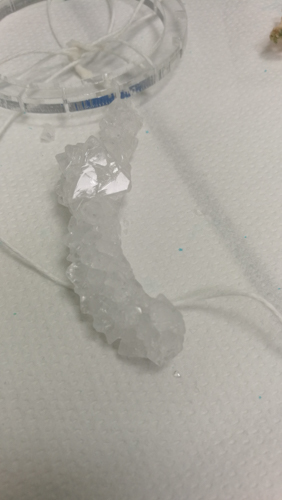
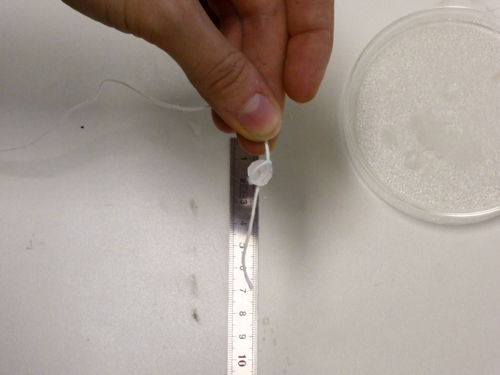
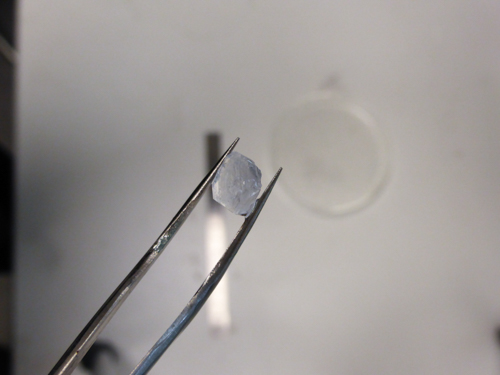
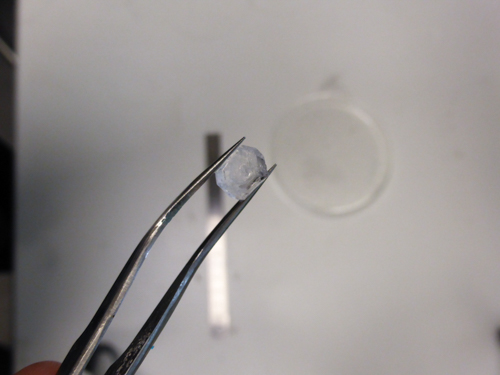
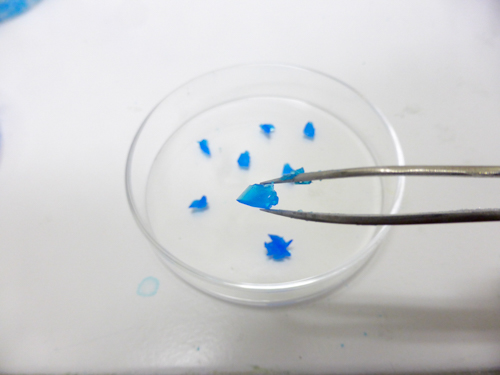
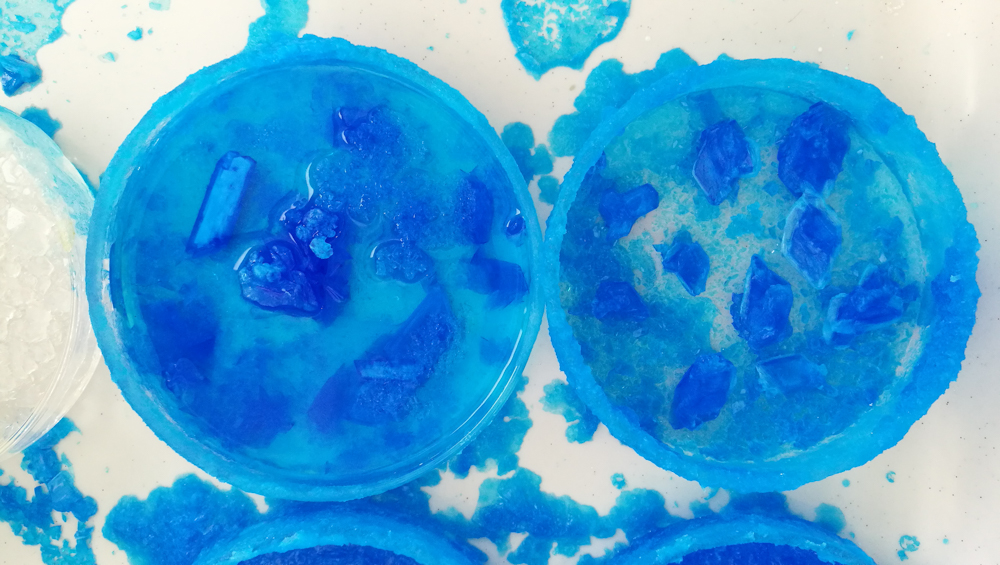
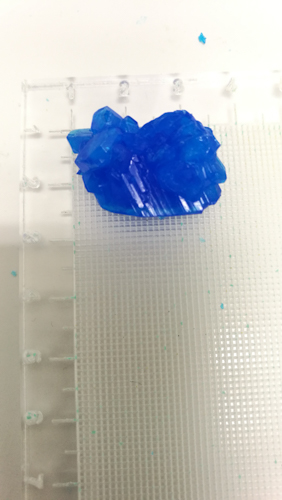
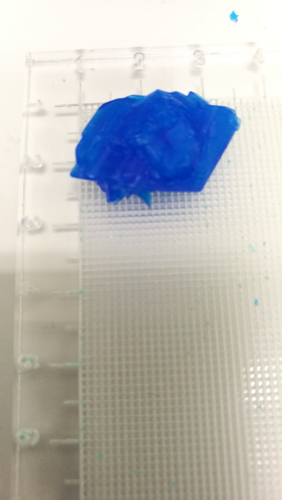
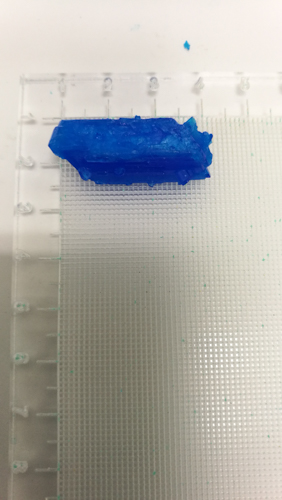
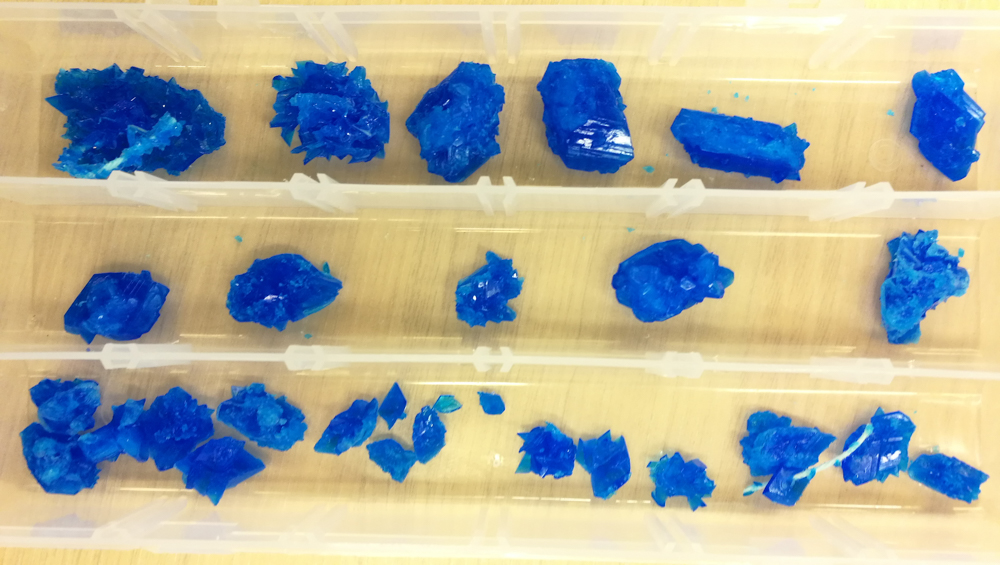
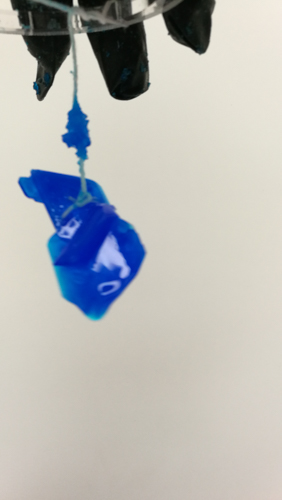
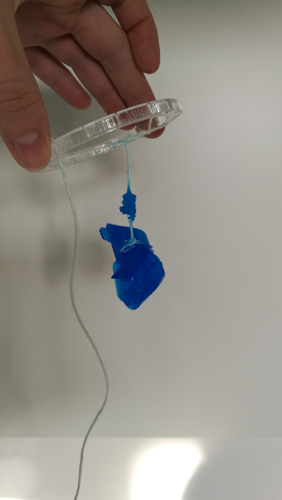
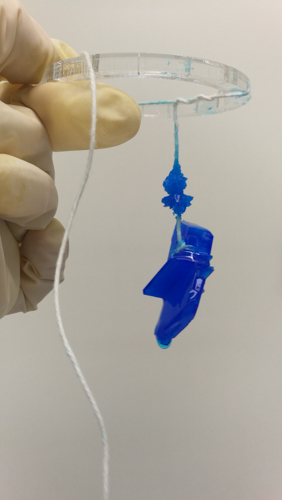
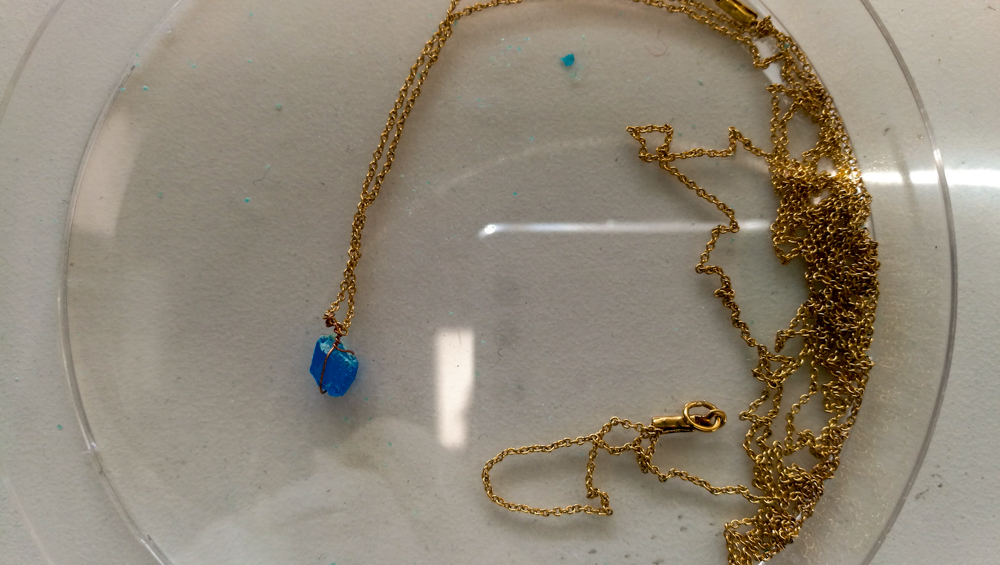
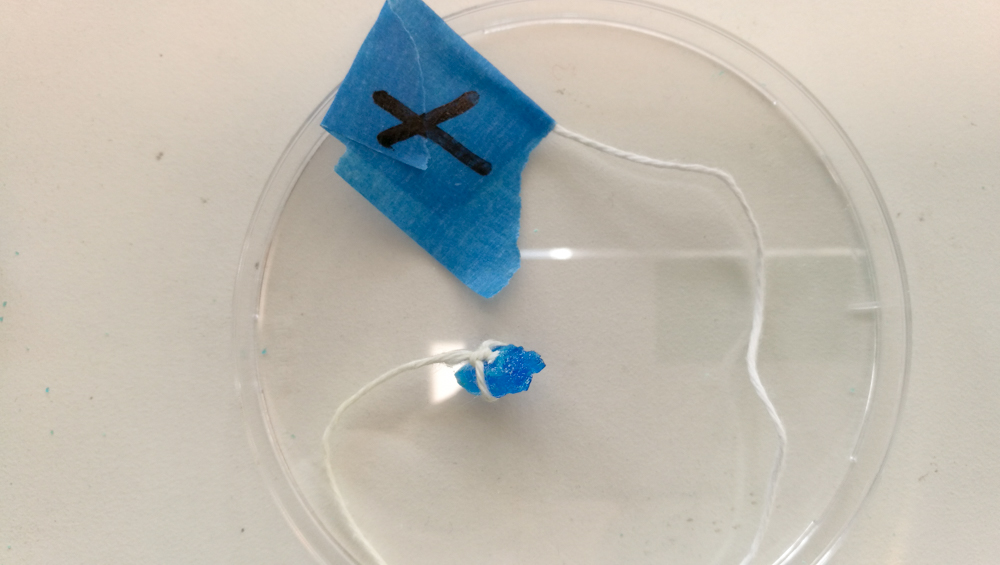
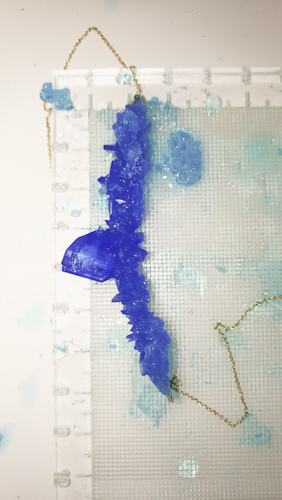
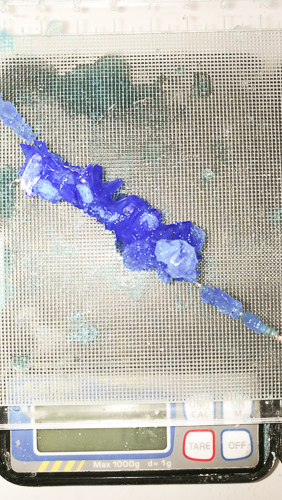
I have selected the grown cristal with these rules :
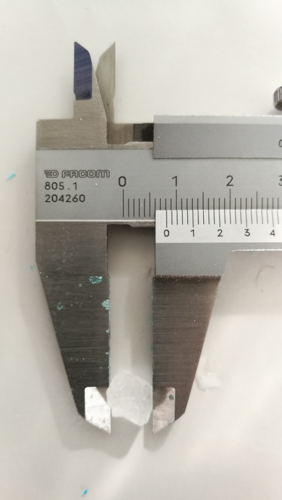
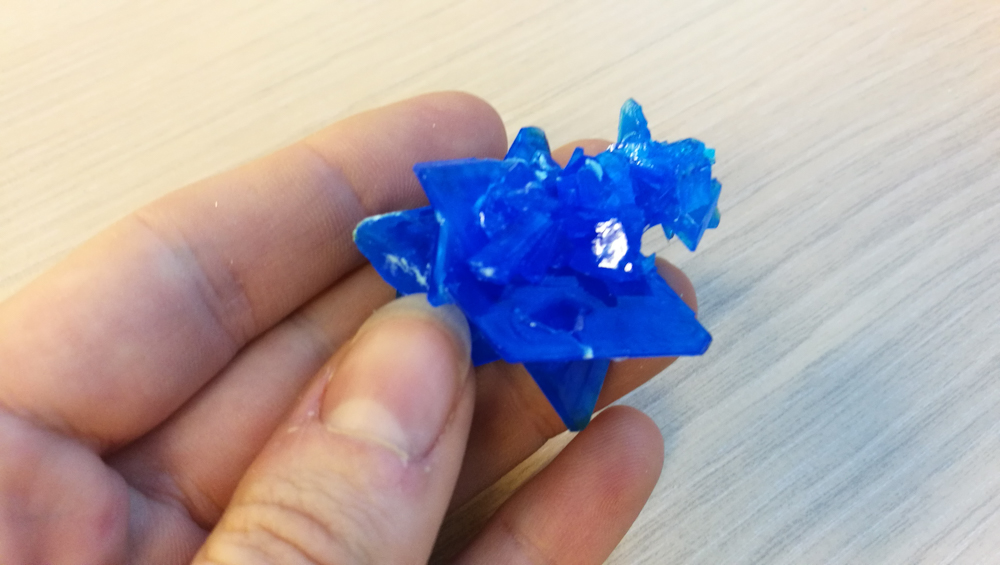
* a correct size more than 5 mm
* a strong structure
* a nice shape
* a strong blue and deep color
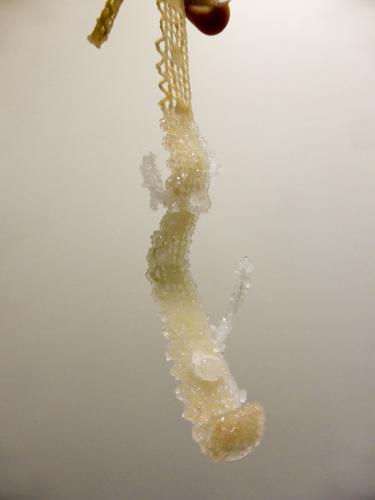
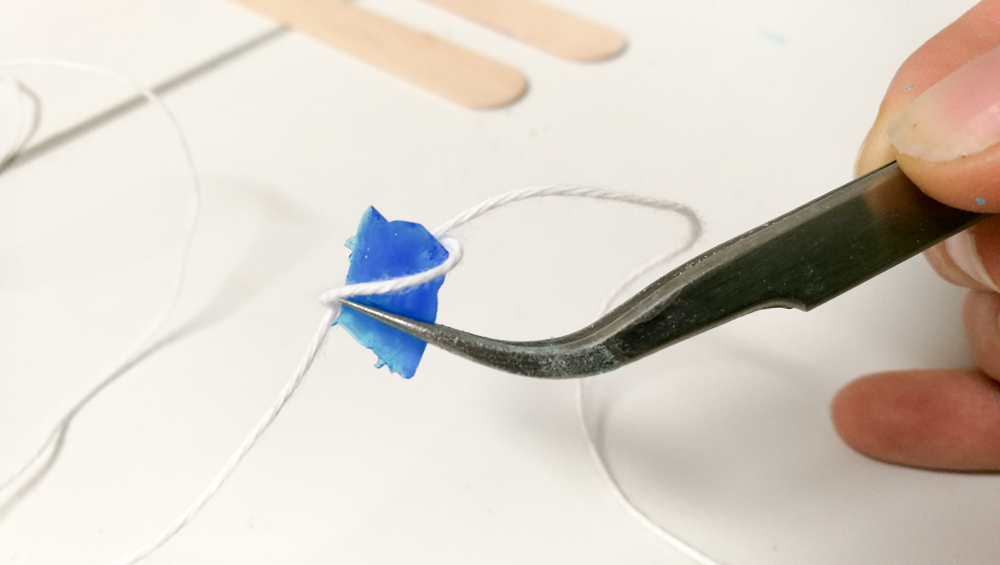
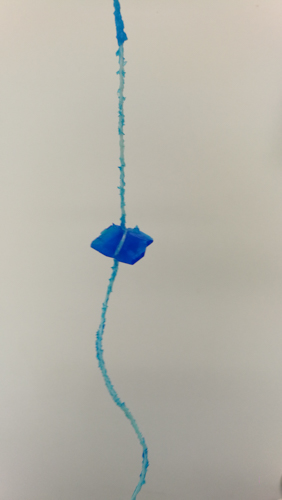
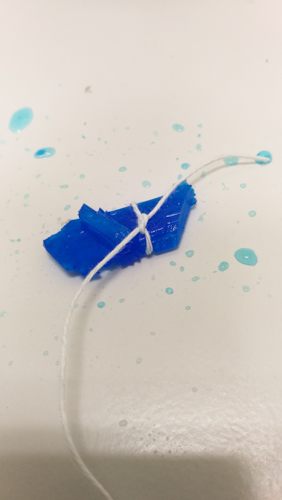
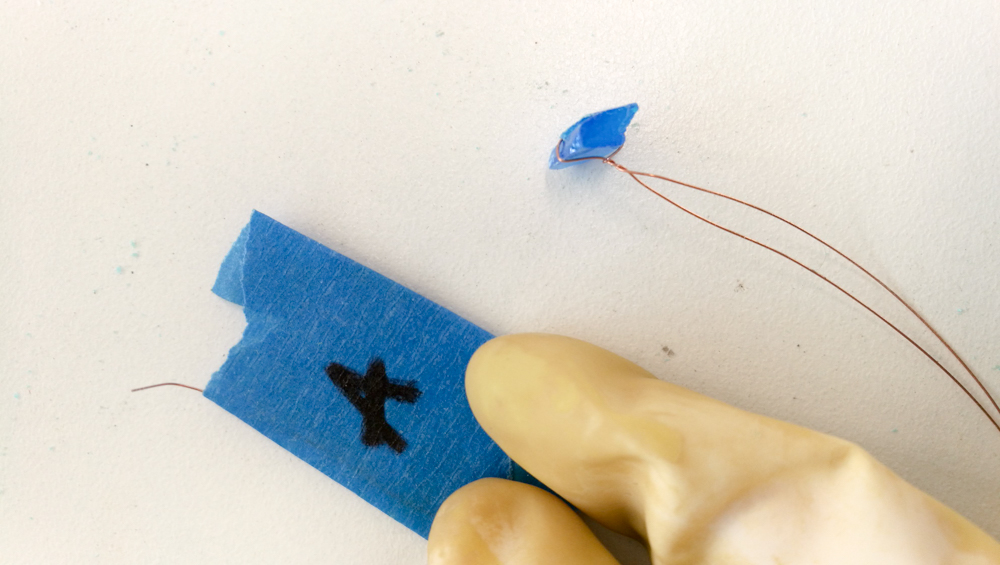
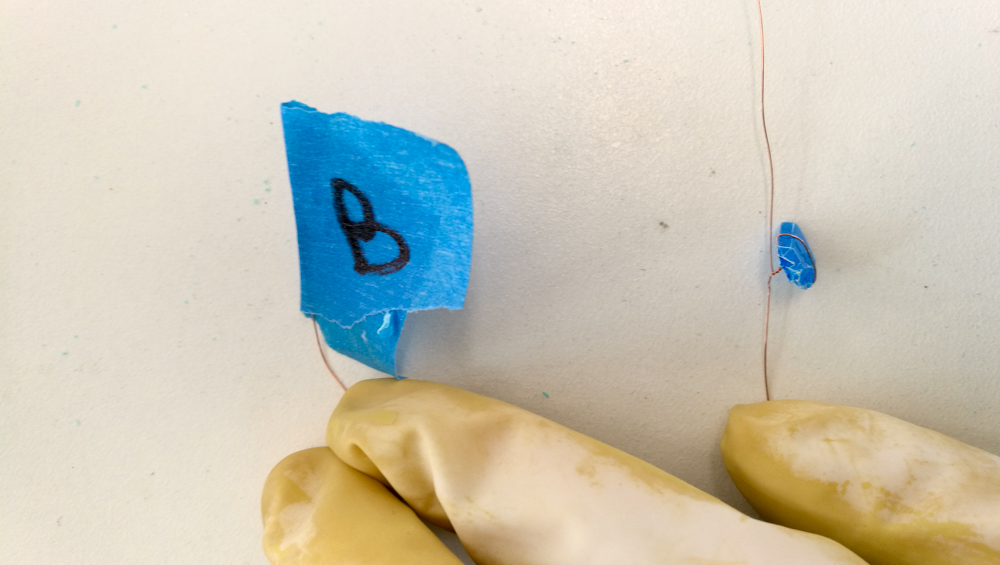
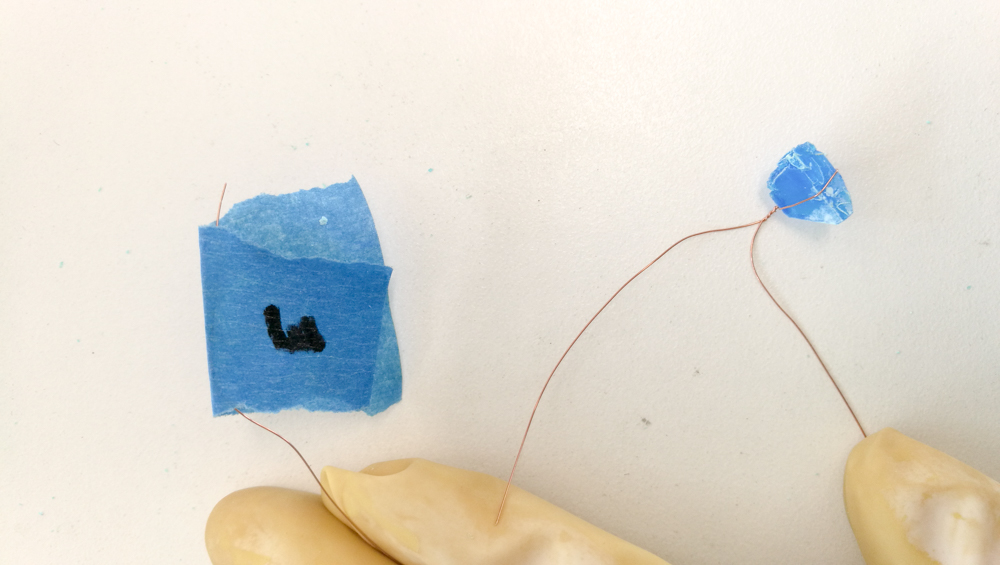
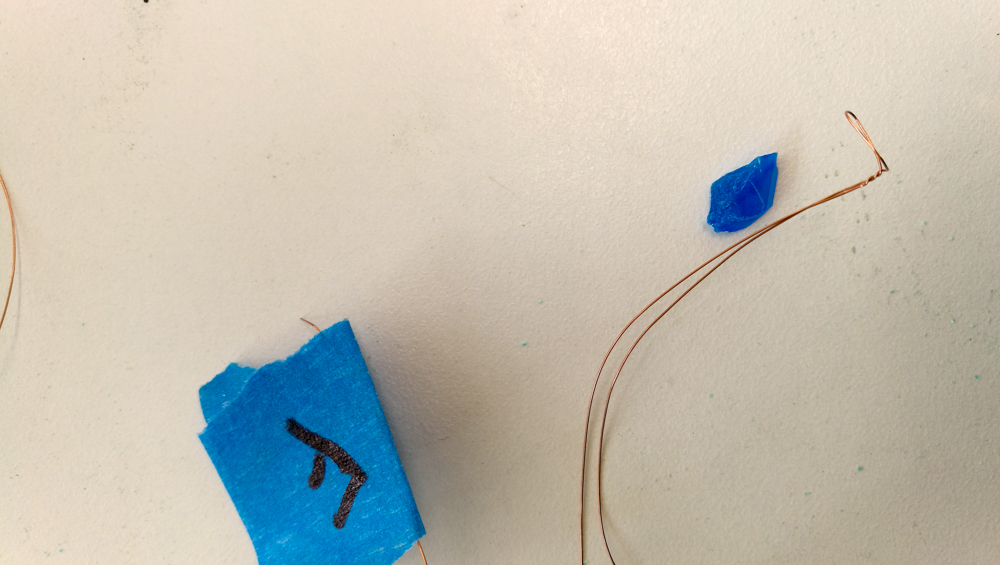
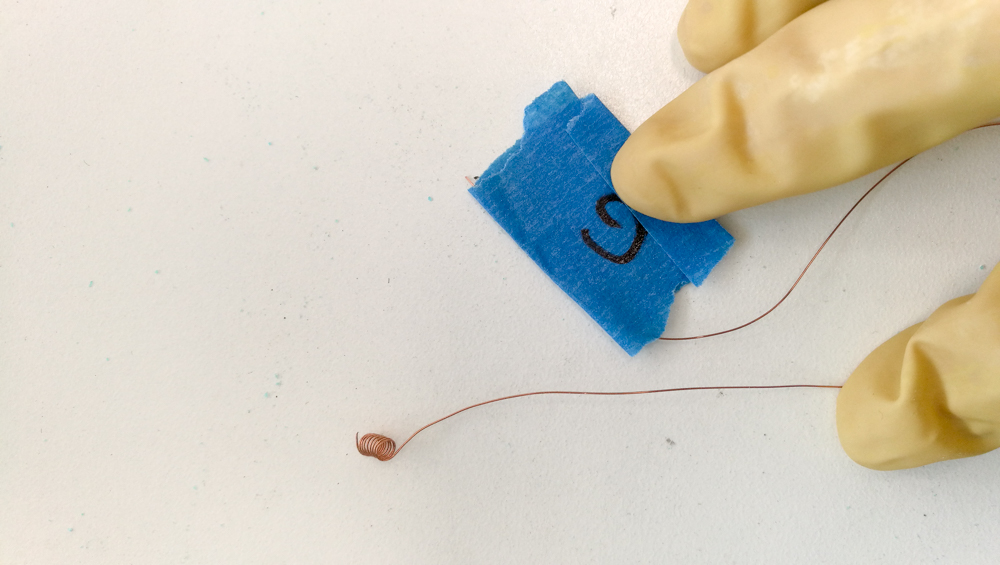
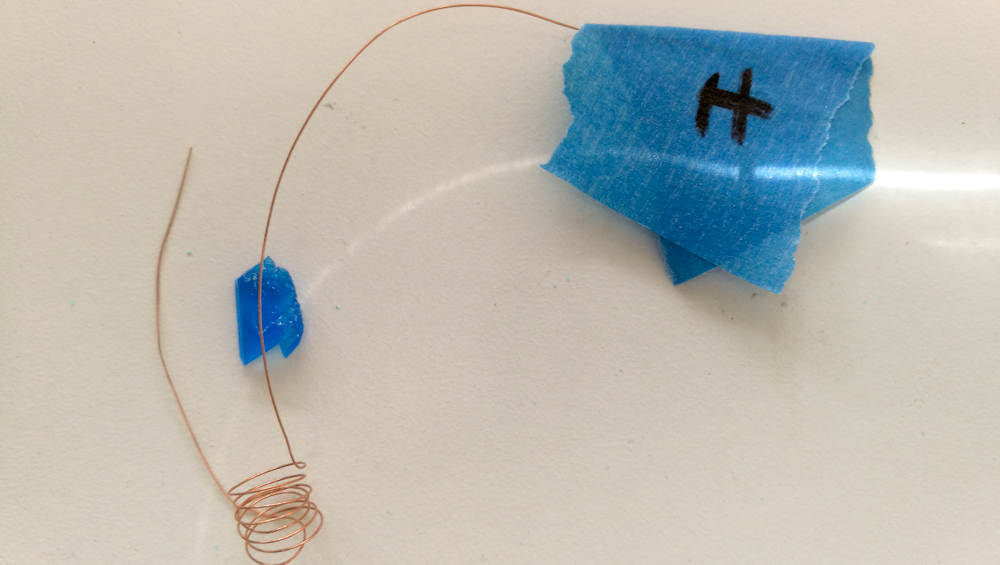
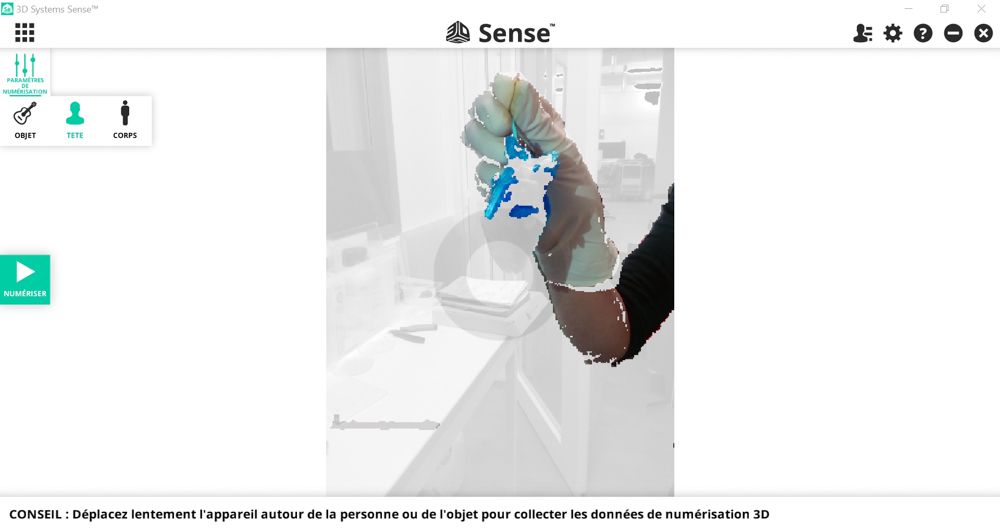
How to grow cristal around a LED to make cristal light or cristal light product ?
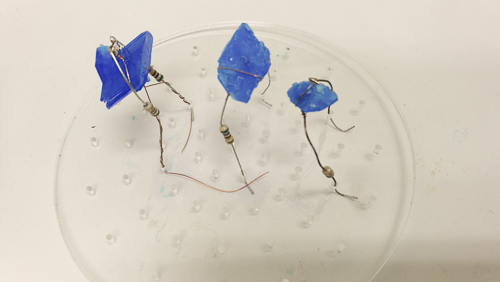
I soldered a RED LED on resistor and put on a cristal seed.
Then after few day the LED is ok.
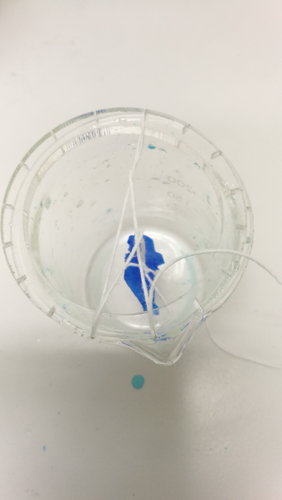
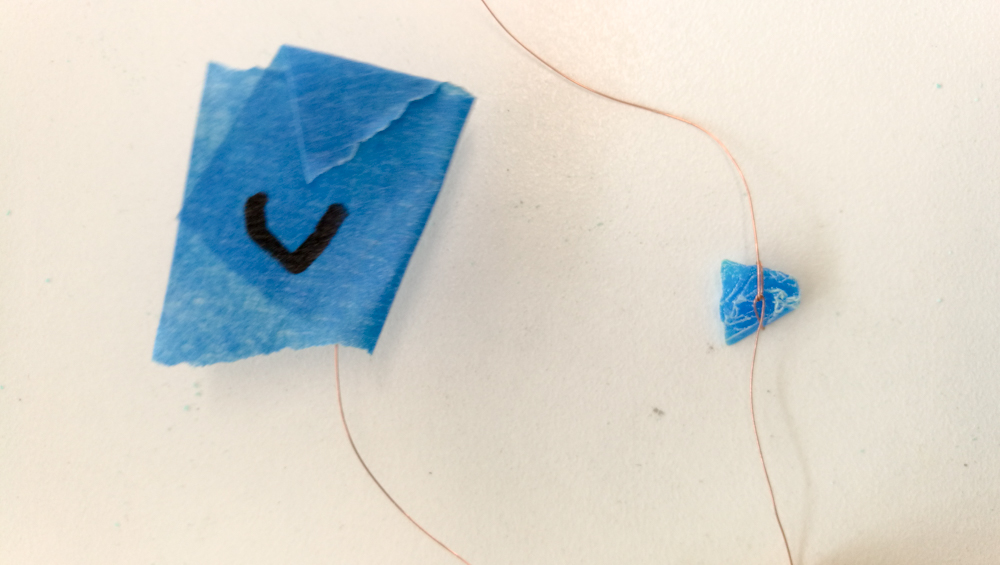
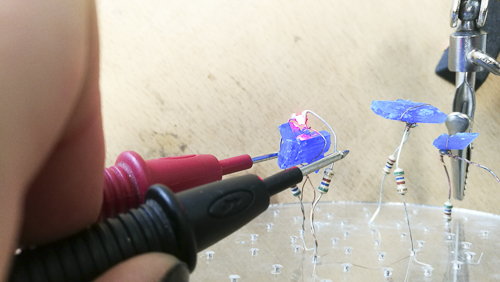
Electronic cristal
test with battery to blink an RED LED before the bath
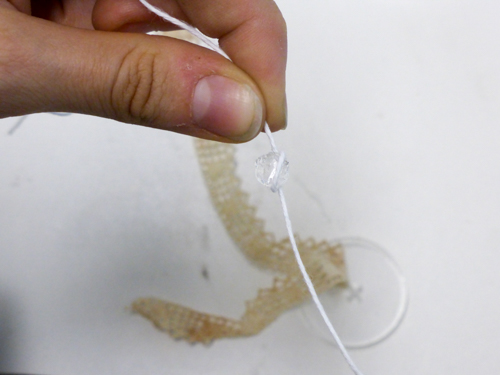
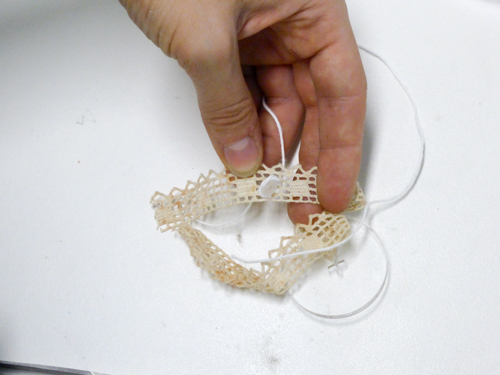
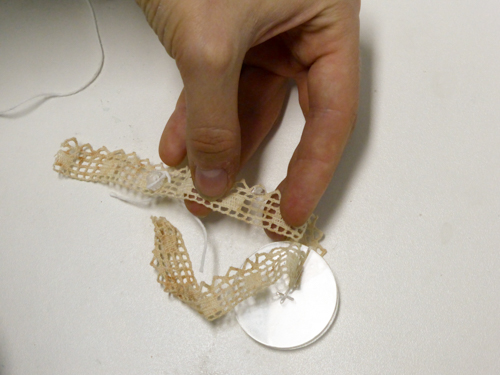
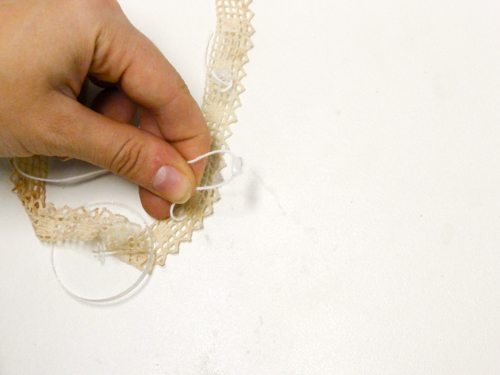
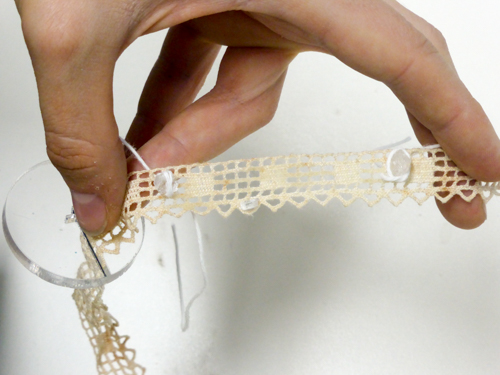
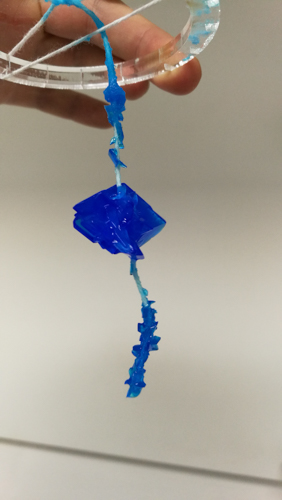
After this test I try to combine LED + circuit + fabric + cristal
The result was very good, then you can see the process in my final project.
Search
From here you can search these documents. Enter
your search terms below.