9. E-Textiles and Wearables II#

A copper thread speaker#

Usefull Link

1 the coil with copper thread#

I use a piece of black wax cloth to make the spiral.

2D drawing laser cut
Hand Swewing with copper thread part 1 Hand Swewing with copper thread part 2

2 a smaller coil with copper thread#

2D drawing 2 mm between the thread

3 Arduino uno : exemple/digital/tonemelody#

List of material

add video later

Adruino Uno 8 ohm speaker
Change with a copper thread speaker

4 Input/Output with Arduino uno : exemple/Digital/tonePitchFollower#

4.1 8 ohm speaker#

To add wire for 8 ohm speaker the positive wire (red wire) is to the right of the speaker and the negative (black wire) to the left.

Speaker Face A Speaker Face B Add wire To denude Speaker with wire

4.2 Arduino uno#

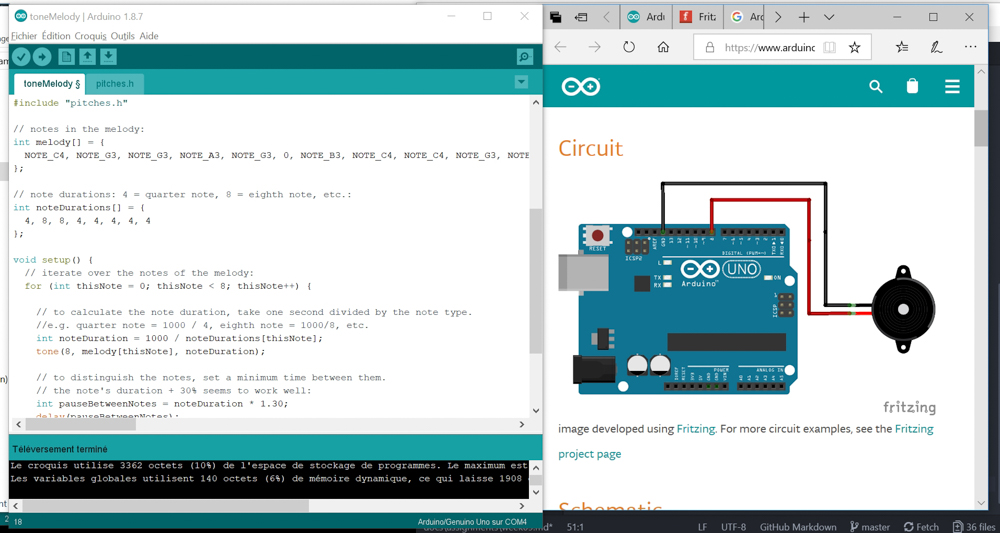
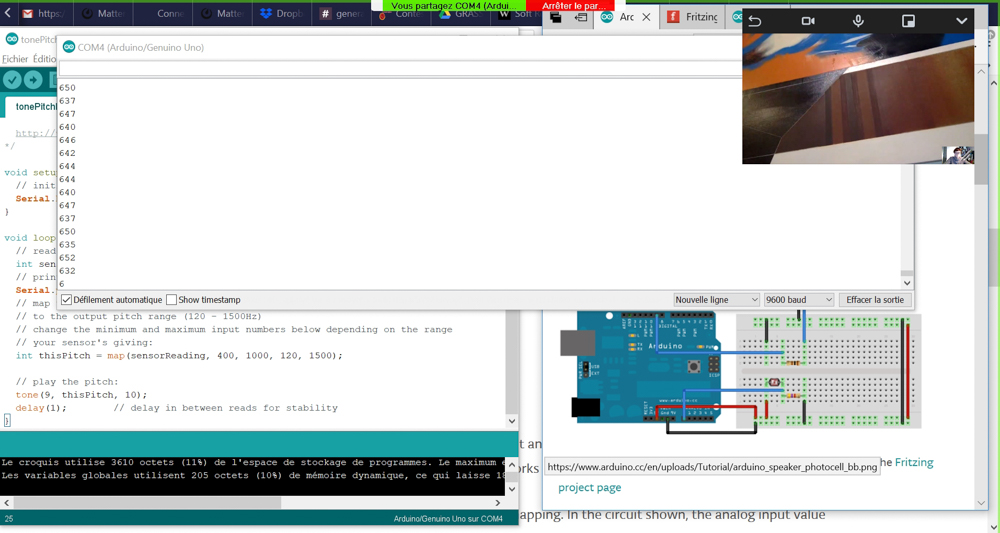
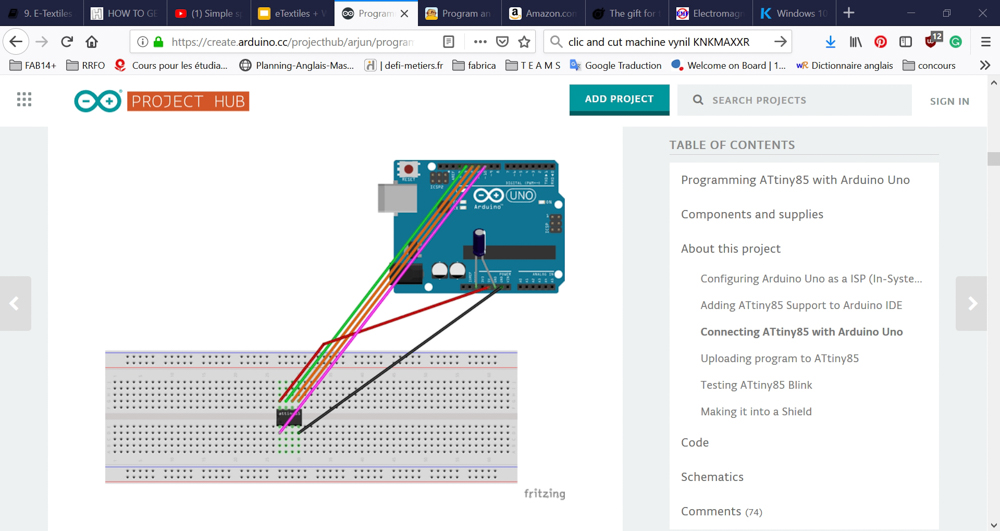
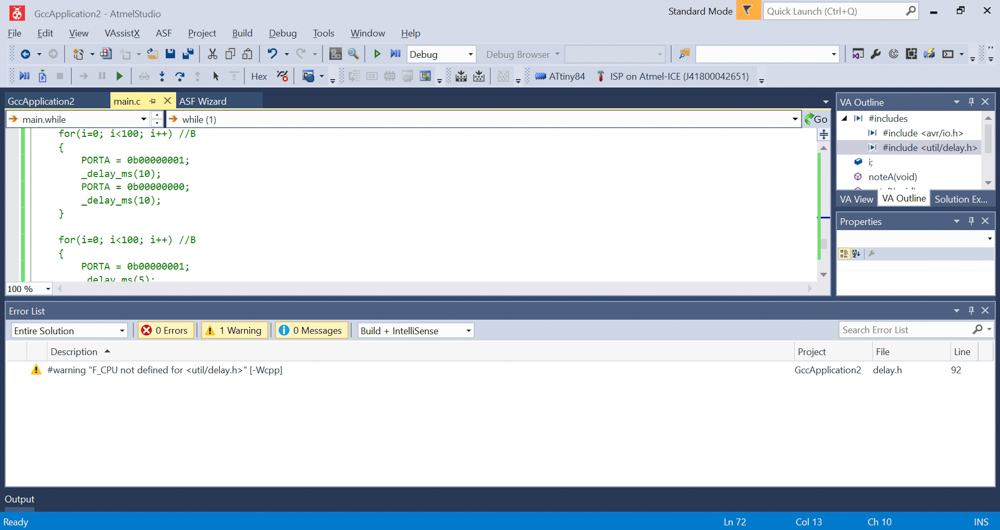
Different step to follow : - [1] Change the board for Arduino uno - [2] Change the port for One of the proposal - 
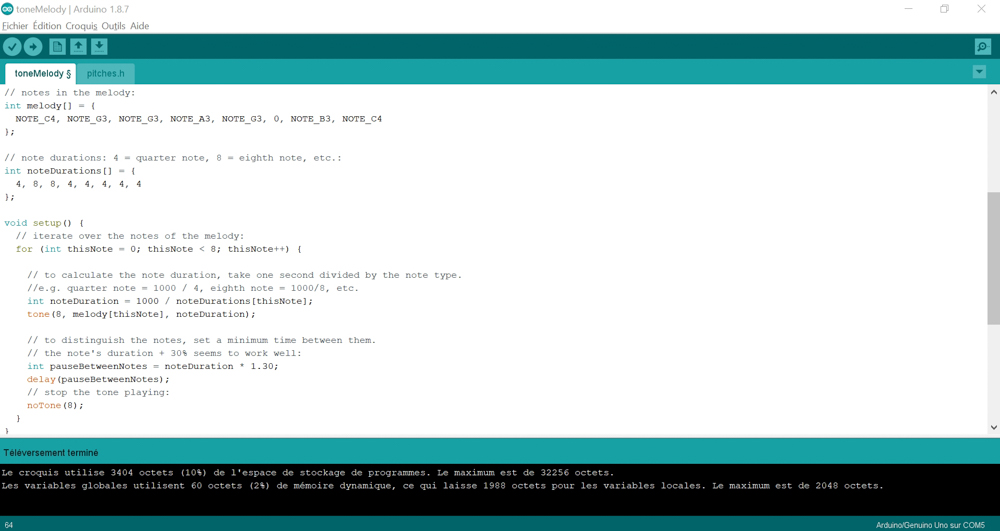
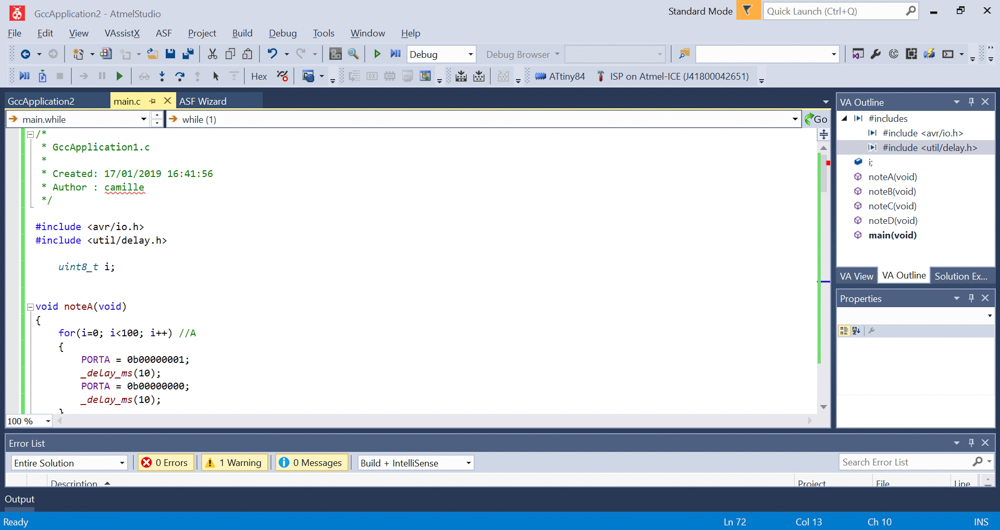
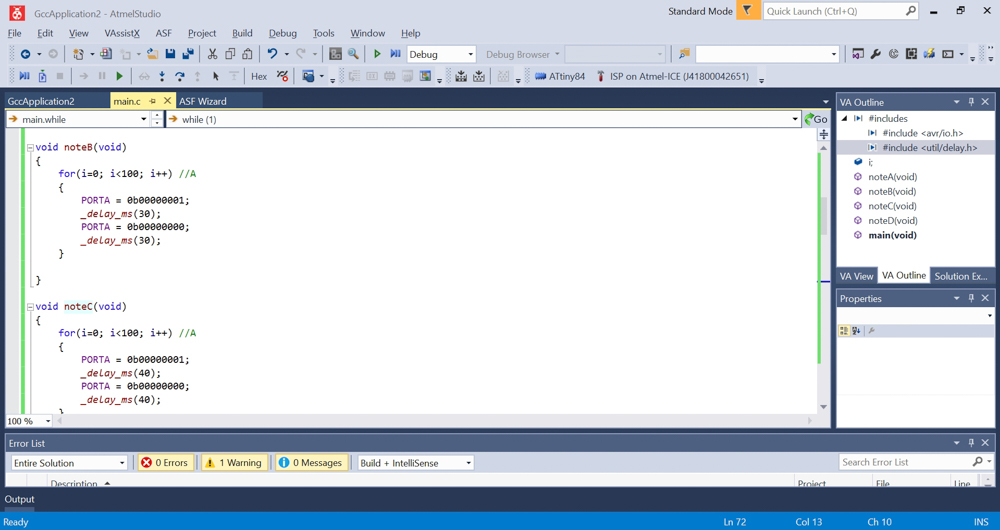
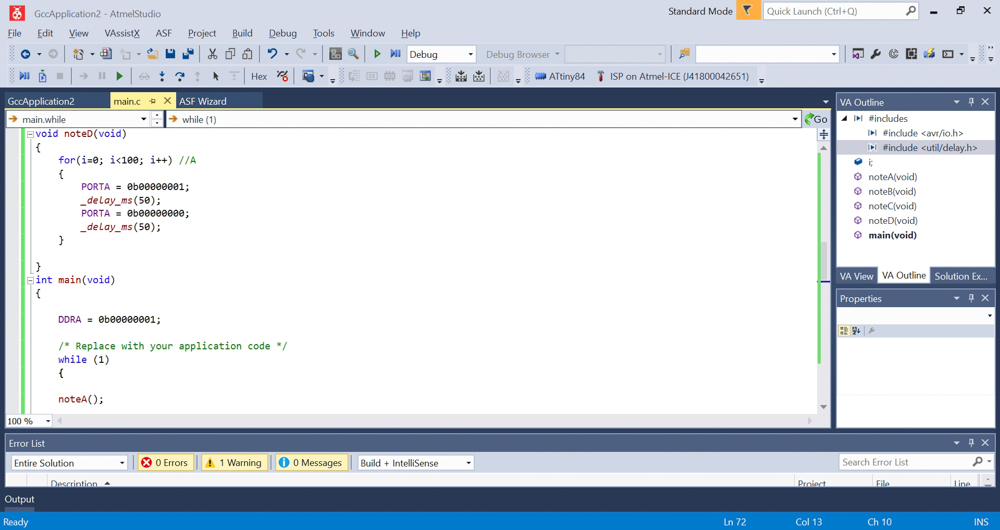
[3] If you change the code you can try to check the verifications
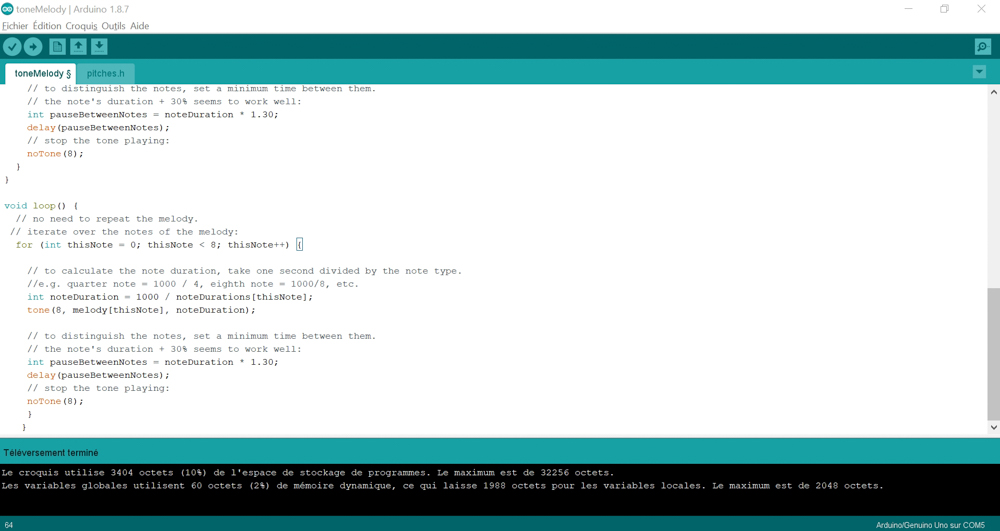
 - [4] Televerser - [5] You can check the informations with the little loupe in the right corner.

5 Arduino Uno Tone Pitch Follower#

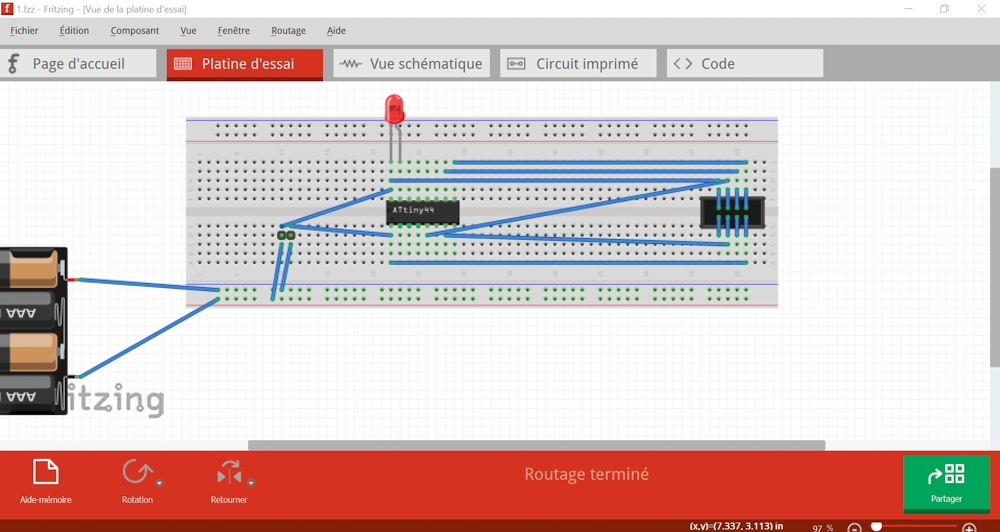
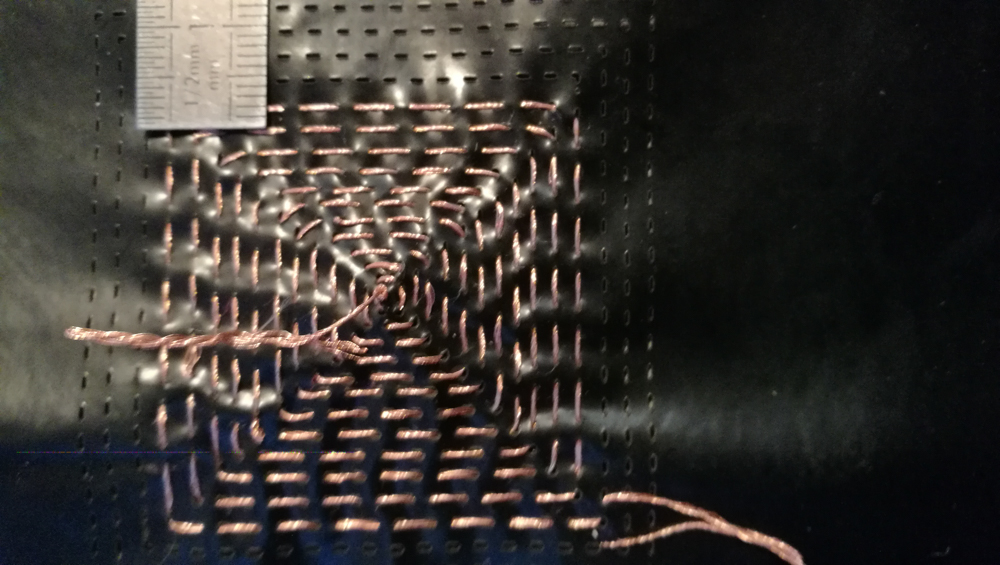
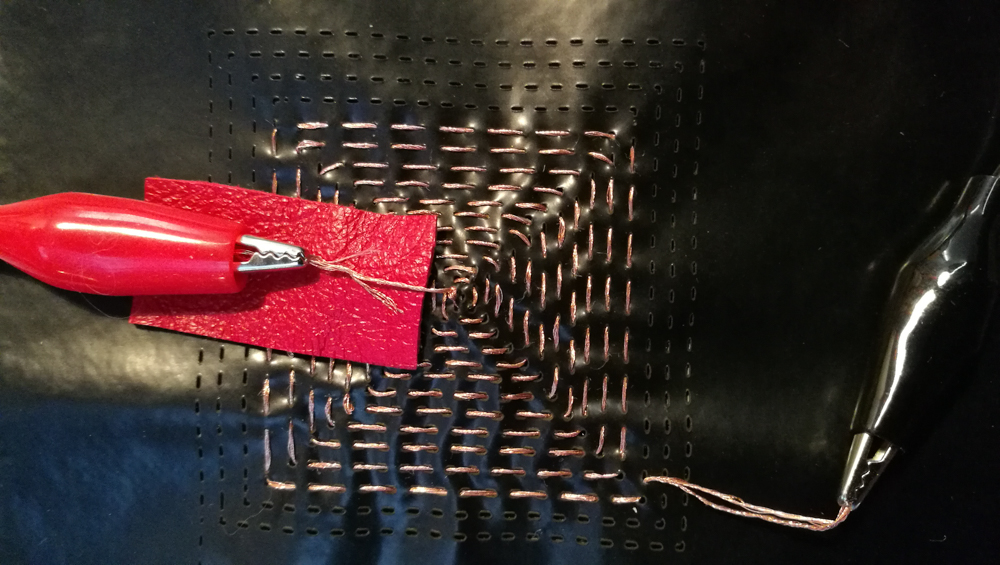
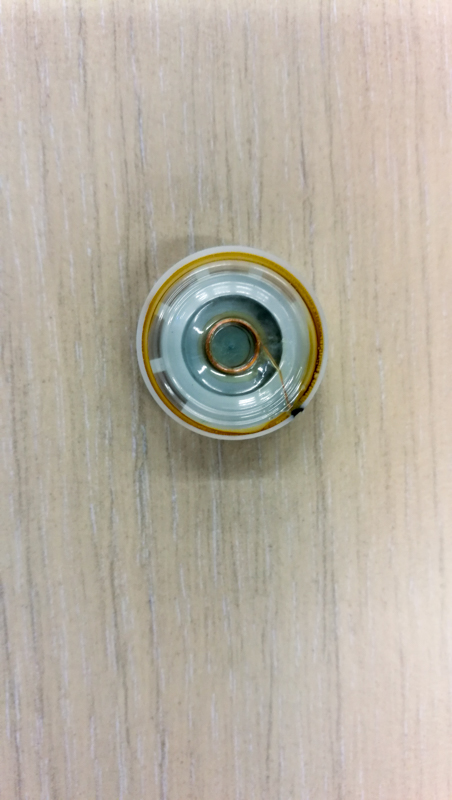
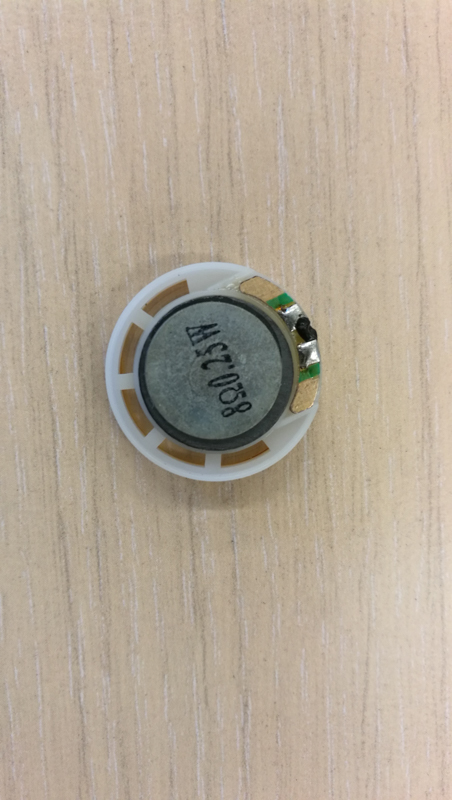
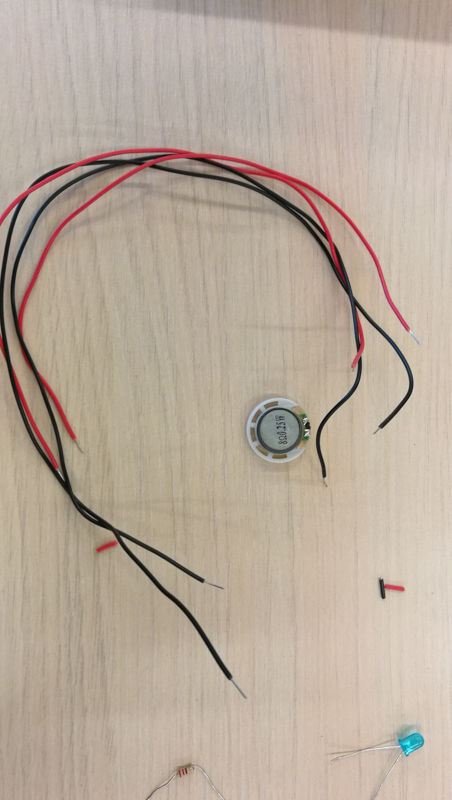
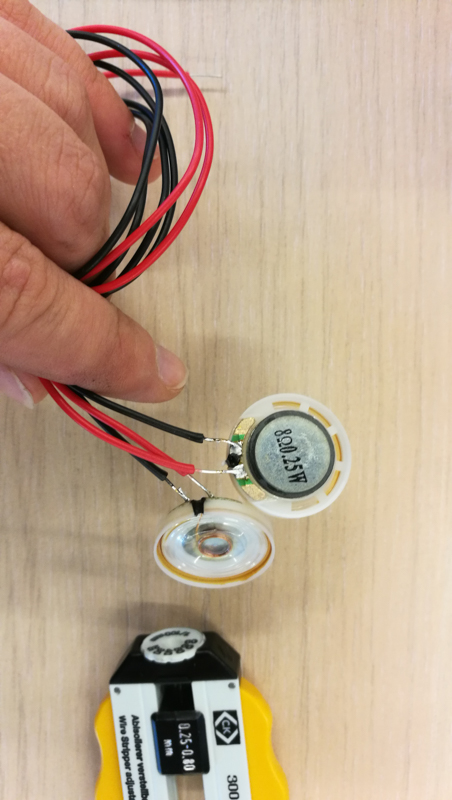
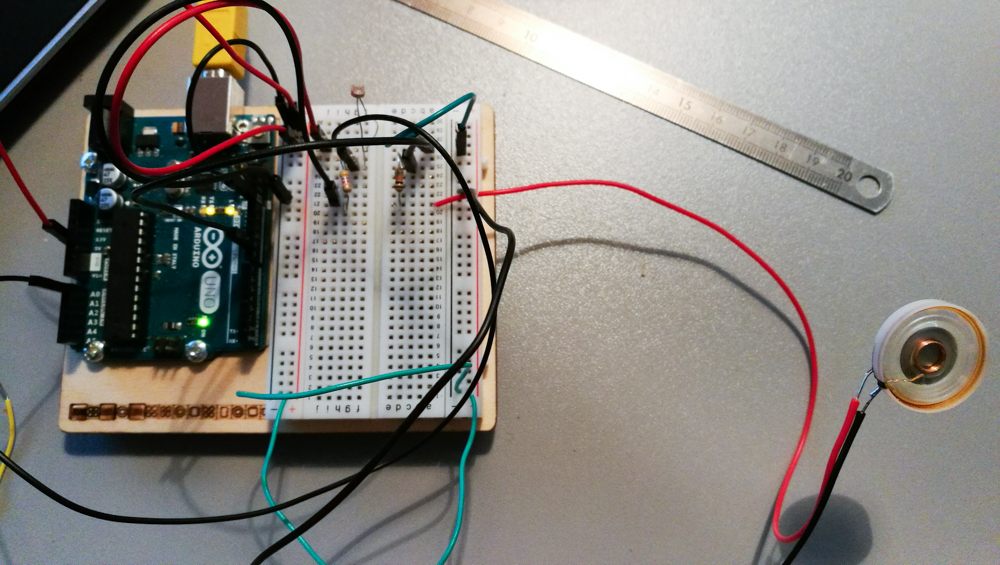
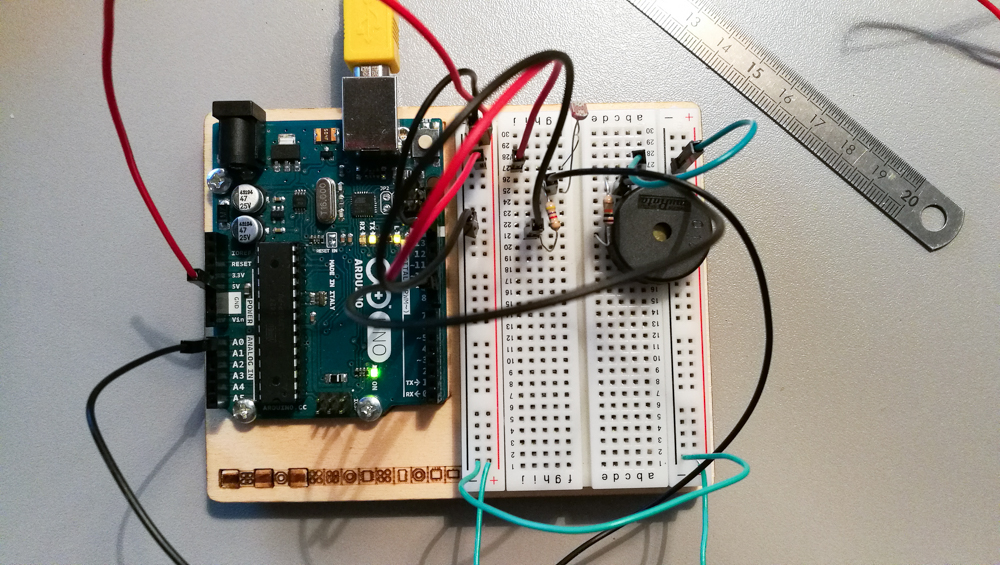
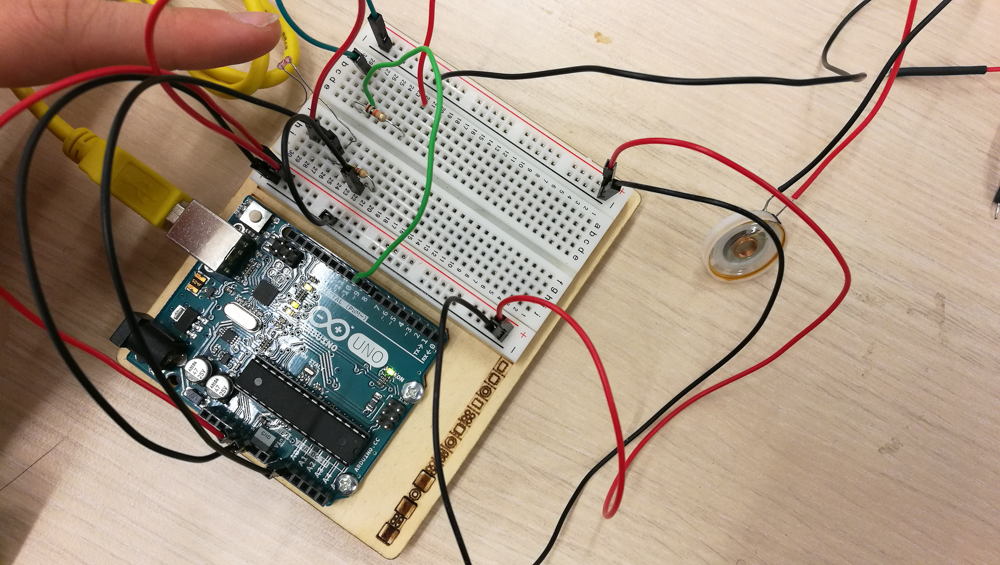
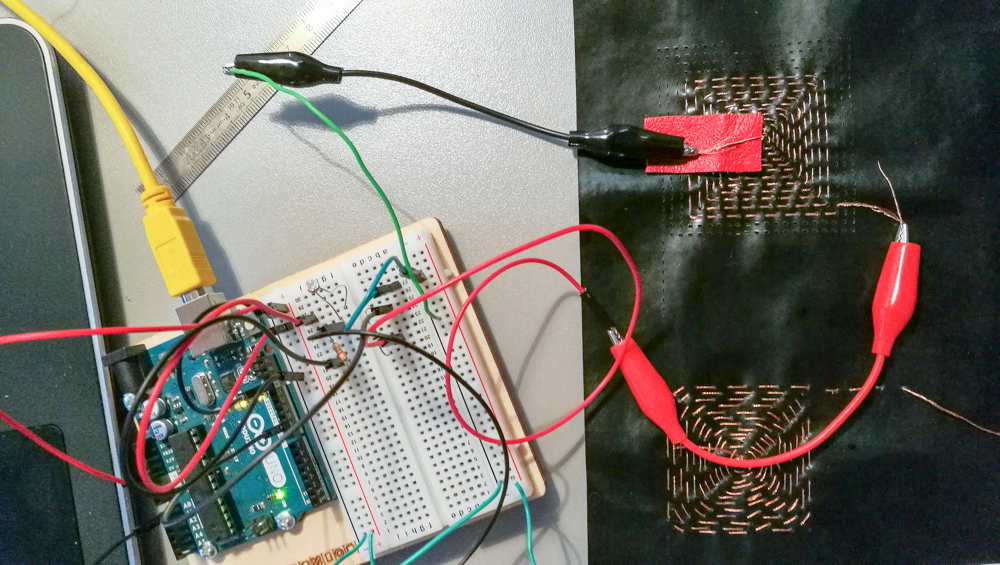
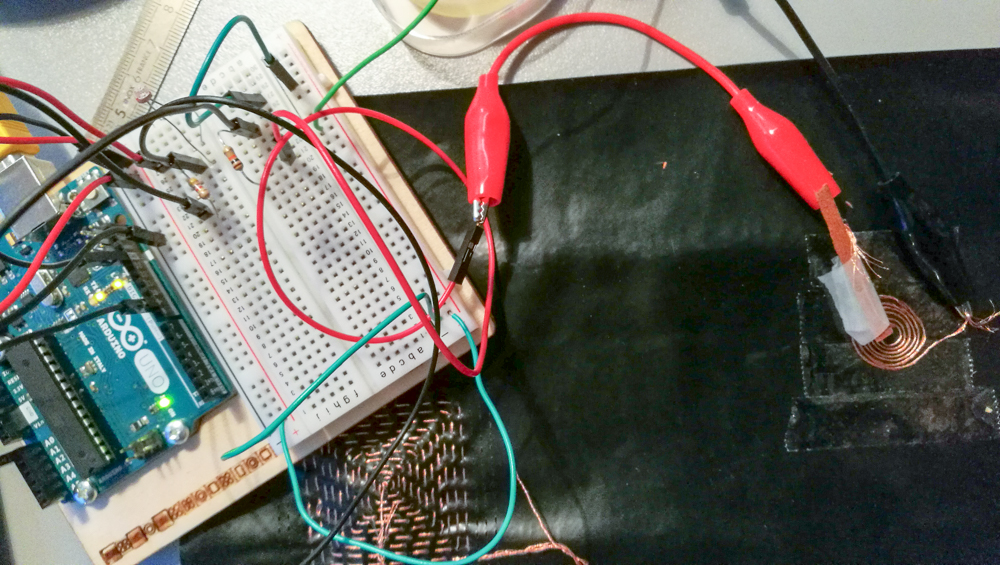
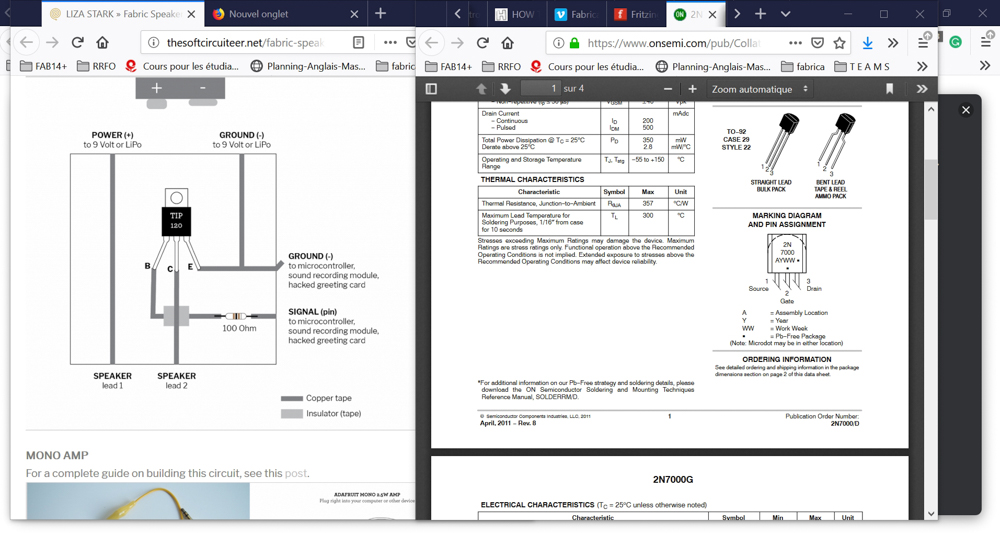
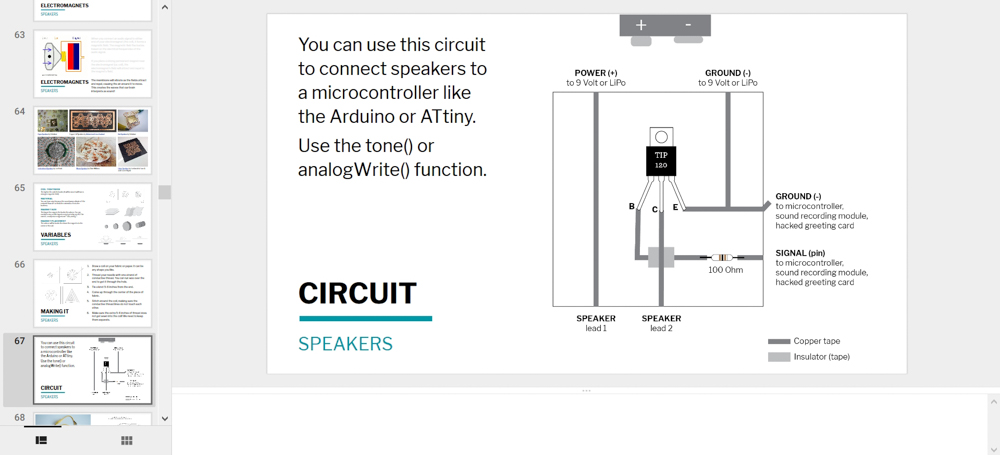
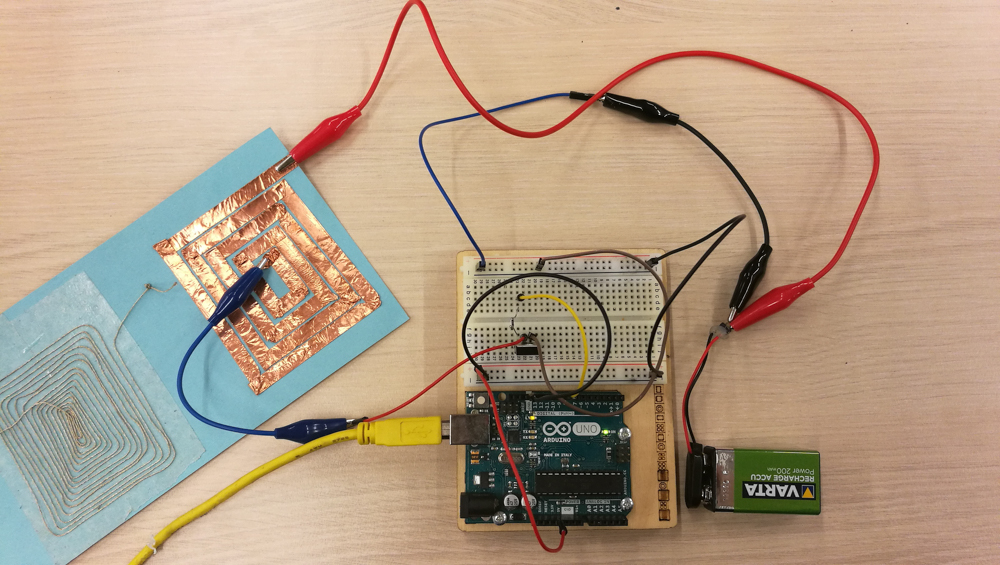
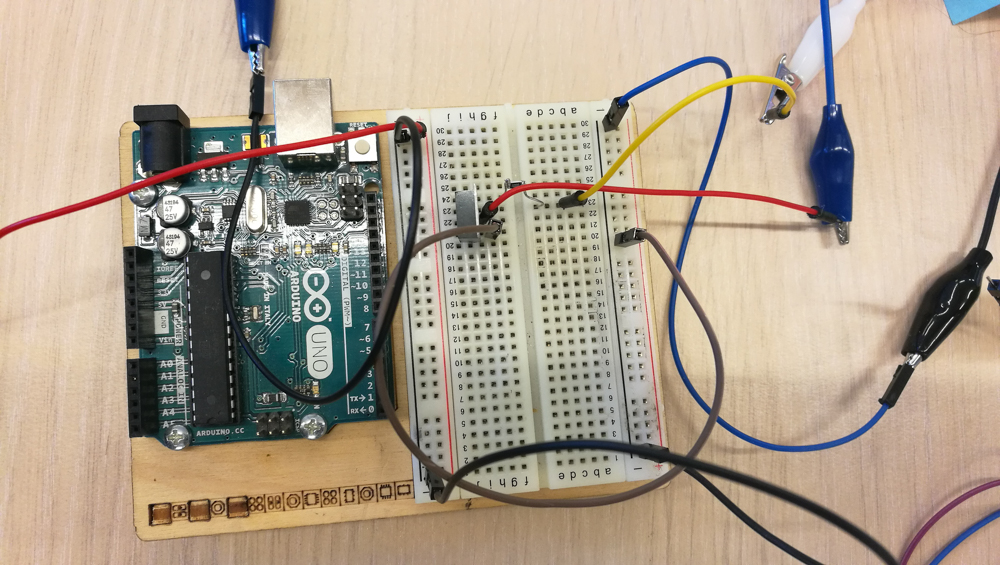
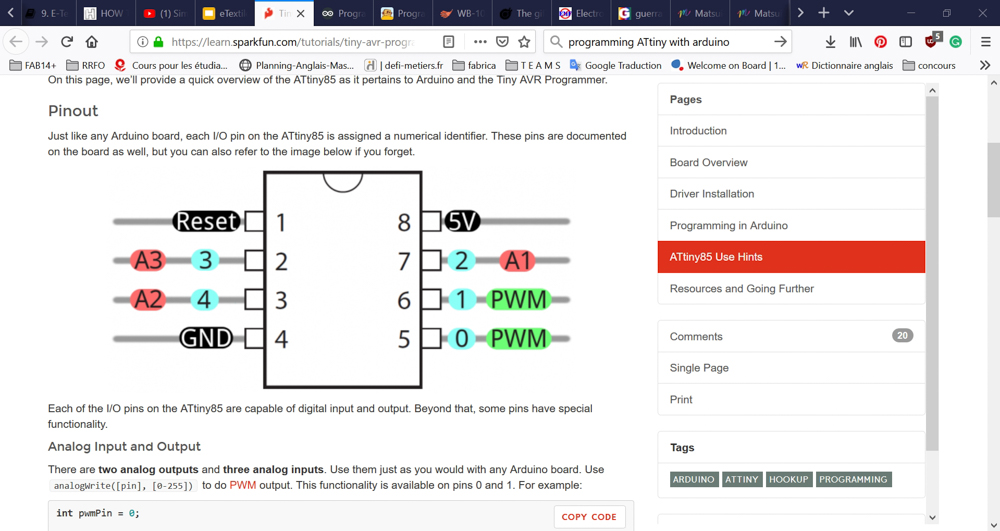
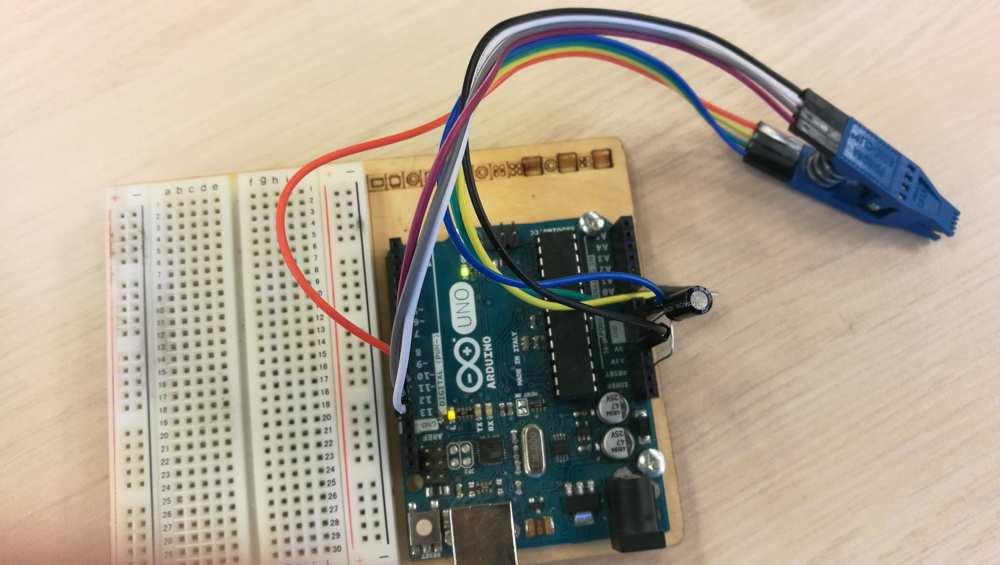
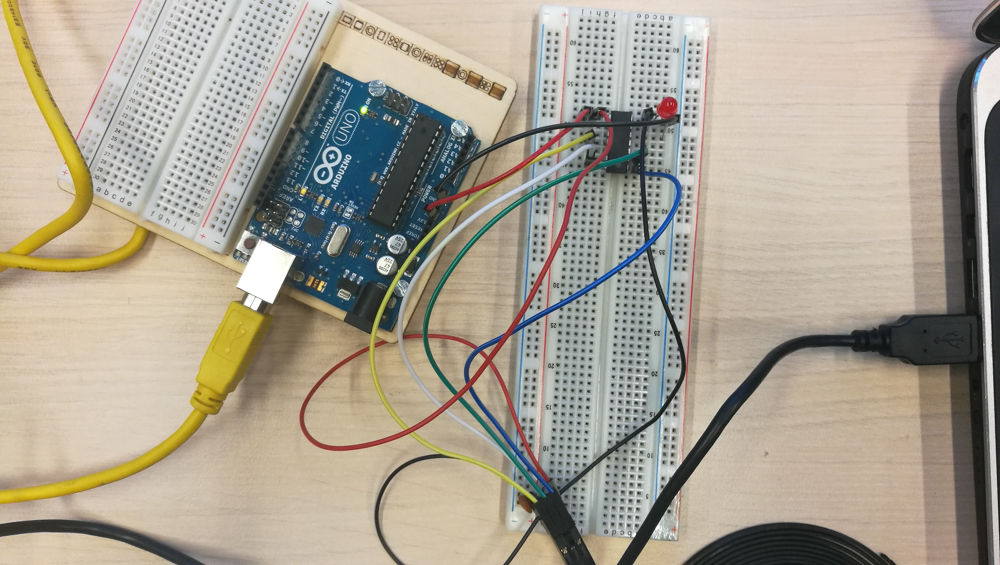
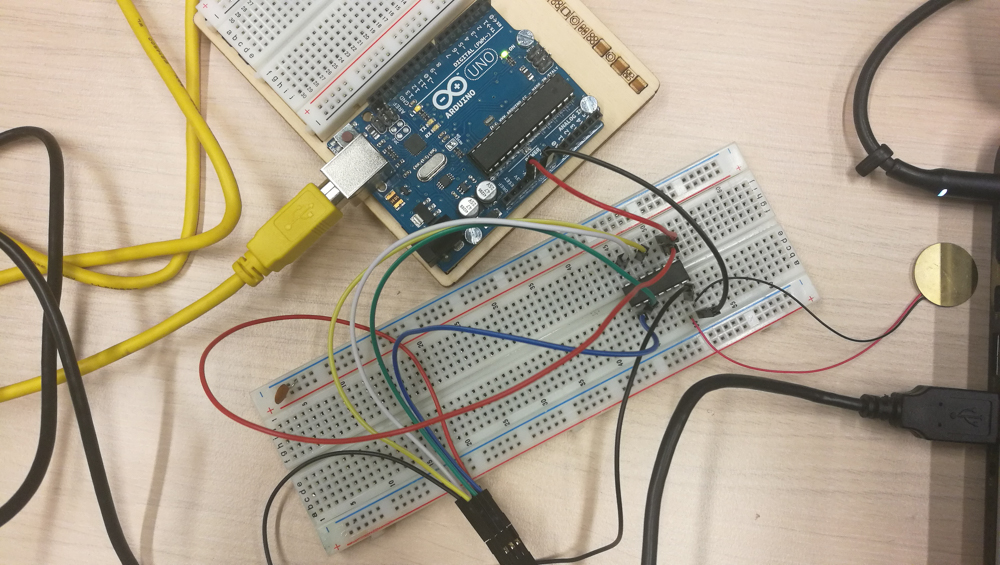
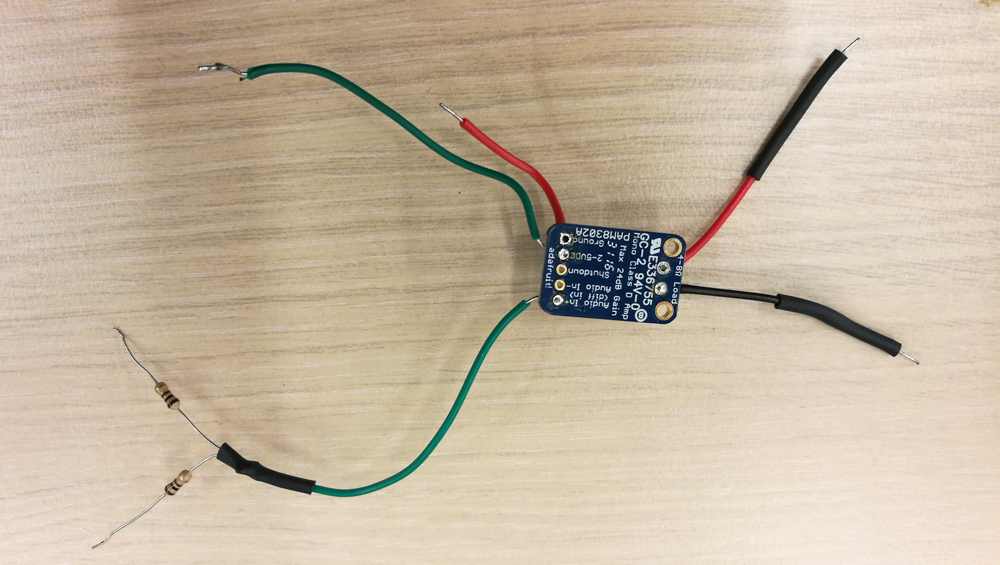
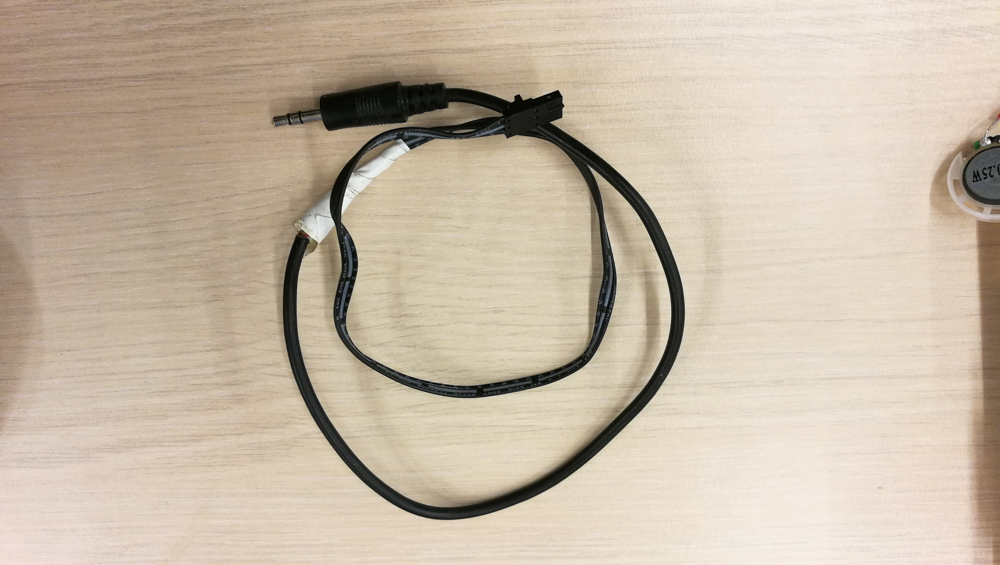
This exemple work with an Inpout : PHOTORESISTOR and an Outpout : 8 ohm speaker or piezo

Arduino Uno | - | - |

void setup() {
  // initialize serial communications (for debugging only):
  Serial.begin(9600);
}

void loop() {
  // read the sensor:
  int sensorReading = analogRead(A0);
  // print the sensor reading so you know its range
  Serial.println(sensorReading);
  // map the analog input range (in this case, 400 - 1000 from the photoresistor)
  // to the output pitch range (120 - 1500Hz)
  // change the minimum and maximum input numbers below depending on the range
  // your sensor's giving:
  int thisPitch = map(sensorReading, 400, 1000, 100, 1000);

  // play the pitch:
  tone(9, thisPitch, 10);
  delay(1);        // delay in between reads for stability
}

5.1 The control boxe with the sensor value#

In the control boxe of ARDUINO I can see the photoresistor informations when the light change (the value change if you have different source of light)

with a Good light value between 600
Less light value between 400
No light value between 200
Set up with 8 ohm speaker Set up with piezo

TEST 1 ARDUINO UNO + PHOTORESISTOR + PIEZO#

6 Change the set up with a copper thread speaker#

Set up with a 8 ohm speaker Set up with a piezo

Testing different copper thread speaker Without a transistor it DOESN’T WORK

A B C

6.1 The Magnet#

I use 3 neodymium magnets I try with 5 other strong neodymium magnets

6 cm magnet neodymium magnet

Speaker with transistor / Mosfet#

Compare Tip 120 and Mosfet 2N 7000 Different

List of material - Transistor TIP 120 Farnel - 100 Ohm resistor SMD 1206 Mouser

TIP 120 resistor 100 Ohm
Set up with copper speaker set up details
Arduino code part A Arduino code part B

ATtiny85#

Programming an ATtiny85#

Tools#
  1. ATtiny85 Amazon
  2. Capacitor 10uf 25v Sparkfun
  3. Wires
  4. One programer ISP ATMEL
  5. 5V
  6. AVR Studio AVR Studio for free
  7. Capteur
  8. AVR programming book

Research and Tutorials - Programming an ATtiny Tutorial Instructables - Programming an ATtiny Tutorial with Arduino - Highlowtech programing an ATtiny

Test 1 Start the set up#

ATtiny85 + Capacitor 10uf + Arduino

The set up
ATtiny85 mini package Data Sheet Capacitor
Arduino Setings Comment
Detail : URL de gestionnaire de cartes download and change the board in Arduino don’t forget this step
With a different pliers Details Observations
this set up works once and after never again. So we change the setting.

AVR Studio (the best one !)#

ATtiny44 The set up ISP programmer
Code exemple
void setup() {
  // initialize serial communications (for debugging only):
  Serial.begin(9600);
}

void loop() {
  // read the sensor:
  int sensorReading = analogRead(A0);
  // print the sensor reading so you know its range
  Serial.println(sensorReading);
  // map the analog input range (in this case, 400 - 1000 from the photoresistor)
  // to the output pitch range (120 - 1500Hz)
  // change the minimum and maximum input numbers below depending on the range
  // your sensor's giving:
  int thisPitch = map(sensorReading, 400, 1000, 100, 1000);

  // play the pitch:
  tone(9, thisPitch, 10);
  delay(1);        // delay in between reads for stability
}
Change the LED with a PIEZO#
Same set up
Variations#

Speaker with Adafruit Amp Mono#

I Found an old Adafruit Amp Mono
Add a jack to cut
Cut the wire To denude
Separate the tow stereo wires to make a mono to tin
I solder cable on the board Adafruit
Copper Tape Copper Tape
Karl Grimm High Flex 3981 Karl Grimm High Flex 3981 Silver 14/000

Next step To make our own PCB board like the adafruit mono amp#

PCB test 1 for an ATtiny45#

Exemple of one MIT project :

Where I can oder a PCB in CHINA : * PCBWAY

How to make a circuit and the trace file for a PCB:#

  1. Fritzing Download fritzing
  2. Some informations Fritzing
  3. Eagle Autodesk Software Download Eagle
Frizing Change the scale of the grid Settings
Test 1 ATtiny84 Circuit

After this exemple I have decided to change the micro controlor to an ATtiny84 to an ATtiny45, smaller and more efficient for my project !

1. Change the size of each component (datasheet research).

The inspector LED The inspector ICSP
The inspector ATtiny45 type The inspector ATtiny number of pin

2. Make the schematic circuit

Test 1 ATtiny45 Schematic Test 1 ATtiny45 circuit

Nota Bene When you desn’t have free space on the board to make the good link for the component you have two option :

Under the componet The resistor Bridge
The schematic circuit The circuit

Sound and Hertz#

RESEARCH that I need to do for my final project#

[x] how can we mesure [x] how can we contrĂ´l [x] how can we change the hertz [x] how can we change the power (puissance)

Sound and ear#

Caracteristic#

Other research : - Liza Stark - MIT open courses

This part is one part of my final project presentation : electronic device#