LEARN#
This page looks at the maths and electronics of how Stitch Synth works. I could probably fill an entire book with this (and maybe someday I will!), but as this was a three month project, during which time I also needed to research, design, and build Stitch Synth, I focused on documenting how to play and make it. So here, I’ll explain some things myself, but will also point you towards great resources that already exist in other places online.
Stitch Synth is a modular, e-textile, analog synthesizer. That’s the most concise way to describe exactly what it is, but it’s also a bit of a mouthful of jargon. So let’s start by breaking down those terms.

Synthesizer#
It’s the last word in the sentence, but probably the most important one: ‘synthesizer’, or synth for short, is what we’ve come to call a wide range of musical instrument that ‘synthesize’ or create sound from electronic signals. In contrast to music made using acoustic instruments, or electronic instruments that use recorded samples of other instruments, with synthesizers we create signals that artificially recreate soundwaves.
There are many many types of synthesizer out there. Just look at how many Legowelt has:
Analog#
What’s analog about an analog synth? Finding a simple and easy way to explain this is something I still haven’t mastered, and this quest has taken me down a bit of an an electronics and signal processing rabbit hole. So for now let me point you in the direction of this Sparkfun explanation of digital and analog signals and this other one one digital and analog circuits.
If you don’t want to really get into the details, here’s a surface-level explanation. Basically, when we use the terms digital and analog in normal (non-technical) conversation, they are often used to mean:
- Digital: computers, smartphones, the internet, basically anything electronic
- Analog: the real world. No electronics
The technical meanings of these terms are a bit different. And when we talk about analog vs digital synthesizers, what we mean is: in an analog synth, electronic components - capacitors, resistors, potentiometers, transistors, and integrated circuit (IC) chips - are arranged in configurations that create signals that we can turn into sound. Digital synths, on the other hand, replace a lot of these components with a computer (or a microcontroller like an Arduino).
To put it another way, imagine you need to make breafast. But you don’t want to do it yourself - you want a machine to automate the breakfast process. You could, say, design a robot and write code to instruct that robot on how to make breakfast (this is kind of like what a digital synth does), like one of Simone Giertz’s robots:
Or you could create an elaborate Rube Goldberg machine out of various different objects, which all work together to make your breakfast (this being kind of like how the analog synth works). Like Yuri Suzuki’s Breakfast Machine:
Building digital synths requires coding and less hands-on electronics, and analog synths require zero coding but lots and lots of different components. There’s much debate about which is the superior form of sound synthesis, but for me personally I found it satisfying to create circuits the analog way. I’ve written more about my decision to go the analog route in my project diary
Modular#
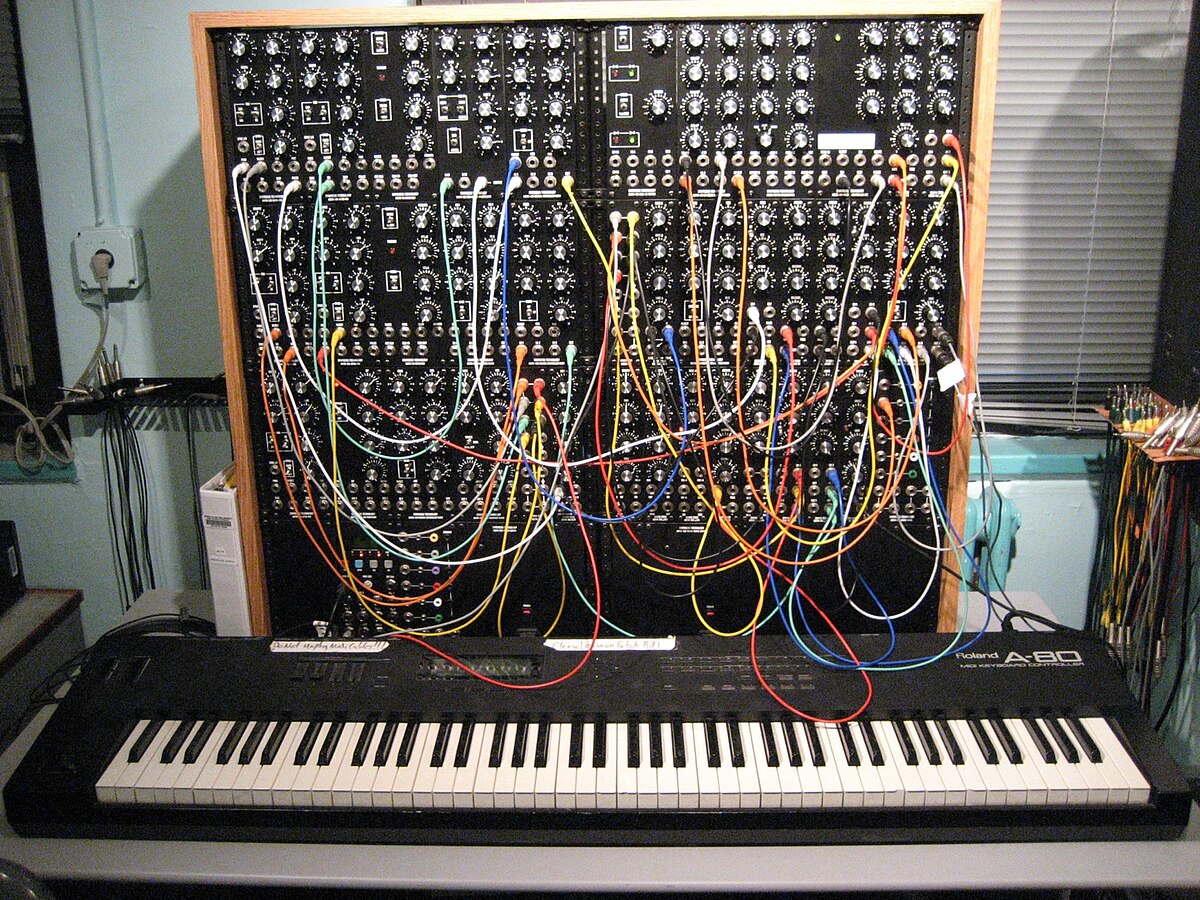
Probably the simplest part to understand, ‘modular’ means that Stitch Synth is made of separate parts, or modules, that connect together. Modular synths have been around since the 1960s, and are still in use today. Classic modular synths use patch cables (the coloured wires in the image below) to connect inputs and outputs of different modules together - personally I’m a big fan of the ‘big mess of wires’ aesthetic, but it is also pretty complex, and totally bewildering for newcomers to modular synthesis.
Stitch Synth is way way simpler - It has 10 modules, and uses metal snaps to connect them (physically and electronically) together.

E-textile#
E-textiles, or electronic textiles, is a sub-field of electronics where circuits are made (partially or entirely) out of textiles. Metallic threads have long been used for decorative purposes in embroidery and dressmaking, but it’s only in recent years that these threads, which can be conductive, have begun to be used to make soft circuits.
Conductive textiles currently available include:
- Metallic thread made out of stainless steel, silver coated nylon, copper coated teflon, etc
- Silver or copper coated conductive fabrics
- Carbon-coated synthetic fabrics
- Fabrics coated with conductive polymers
- Silver, copper or carbon-based conductive ink and paint.

Today, in 2019, there is research ongoing on developing soft components like capacitors, transistors, and various types of flexible circuit boards. The field of e-textiles isn’t yet at the point where all components in a circuit can be fabricated out of textiles and soft materials, but this may change in the near future.
At the moment, e-textile circuits can be a bit more challenging and tricky to make than regular electronics. But they also offer new and interesting ways to interact with electronics, and possibilities for us to make wearable computers that aren’t just hard devices strapped onto the body.
Some people prefer the term ‘wearable electronics’ instead of e-textiles - both terms cover much of the same ground, and which one you use is mostly down to personal preference.
Oscillator Modules#
What’s an oscillator?#
Every synthesizer needs an oscillator. An oscillator is a circuit that takes a steady signal (e.g. from a battery) and turns it into an oscilllating (changing / moving up and down) signal.
gif by William J Mullin
Wendy: the NOT gate#

I strongly recommend that you read Elliot Williams’ Logic Noise blog post, because it explains the circuit that the Wendy module uses, and shows you how to build it on a breadboard.
In short, the Wendy has a chip at its heart that contains a set of inverters, also called NOT gates. Inverters, to borrow a metaphor from Nicolas Collins in Handmade Electronic Music, are like a friend who disagrees with whatever you say - that person who always has to play devil’s advocate. Send a high voltage into the inverter, and it outputs a low voltage. Send in a low voltage, and it outputs a high voltage (for the chip we’re using, ‘high’ means 9V, and ‘low’ means 0V).
The Wendy’s oscillator circuit takes the output of the inverter, and sends it back into the input. With the addition of a capacitor and a resistor, this creates a feedback loop that results in an oscillating signal - send this to a speaker, and you have sound! The value of the capacitor roughly determines the range of the pitch you can create, and changing the value of the resistor (or indeed, using a variable resistor) allows you to change the pitch within that range.
Stitch Synth has two oscillators on it:
-
One uses a 2.2nF capacitor, and by touching the input and output points of the oscillator, your body becomes the resistor (in general, touching electric circuits isn’t advisable, but in this case it’s safe - you won’t be getting any electric shocks!).
-
The second oscillator uses a 10μF capacitor. This value of capacitor creates audio piches when used with a ‘resistor’ that’s a long strip of Eeontex resistive fabric - as used in the Daphne module.
I experimented with lots of different soft resistors and capacitor values when designing Stitch Synth, and recommend that you do this too!
Delia: the phase-locked loop#
 The Delia oscillator uses a chip that’s a little more complex than the Wendy. Again I’m going to send you to Logic Noise to properly understand how it works, as Elliot Williams has already done a great job of explaining this.
The Delia module’s circuit is exactly the same as the one Logic Noise shows you how to build on a breadboard, and I designed the Anni module to work with it.
Interactive modules#
Four of the modules allow you to play Stitch Synth by touching them. Here’s how they work.
Ada#

Ada has two strips of conductive material woven into it (the black squares in the diagram above). One strip connects to the input of an oscillator in the Wendy module, and the other connects to the output of that oscillator. When you touch both sides at the same time, current flows (via you) through the circuit and sound is created! How hard you press on the fabric strips, or how much skin you use to touch them (the tip of a finger vs a whole hand, for example) affects the tone - the harder you press, the higher the pitch.
Maryam#

The Maryam module also works with the Wendy module, in the same way as the Ada Module. By using your hands to connect the two sides of the module, current flows through the oscillator circuit in the Wendy module. Again, the intensity of touch determines the pitch you create. Different people’s hands will also create different pitches - dry hands are less conductive than sweaty hands, because sweat contains salt and makes the skin more conductive :)
The design of the Maryam module is a Hilbert curve. Read more in my project diary about this, and how I created the pattern.
Daphne#

The Daphne module is the third module you can use with the Wendy. The strips of conductive material on the front and back of Daphne create one long path of conductive fabric between the two metal snaps. Pulling on the fabric tabs shortens this path, which lowers the resistance between the two sides, and raises the pitch you create.
Anni#

The most important material in the Anni module is the yarn - it’s part conductive, and part regular (non-conductive) yarn, and the way the Anni module works exploits this. The Anni module connects to the Delia, and tones are played by pressing down on where the Anni’s loops overlap. Pressing in this way allows the conductive fibers in the loops to come into contact, allowing current to flow through them, and change the pitch that is played (when nothing is pressed, a tone is playing, but it’s outside the range of human hearing).
Volume#

The volume module is a fabric version of a potentiometer, working as a voltage divider, but instead of having a continuous range, it has three settings - low, medium and high.
What this means is that depending on what setting the Volume module is on, the current must travel through more / less resistive material before it gets to the Amplifier module, and on to a speaker. The more resistive material the current travels through, the smaller the signal, the less it drives the speaker, and the quieter the sound!
Amp#

The Amp module is a simple little amplifier circuit based on the LM386 Audio Power Amplifier chip. To be perfectly honest, amplification is the part of this whole project that I know least about. For more information, and a breadboard version of the circuit (and some alternative circuits) check out Handmade Electronic Music by Nicolas Collins.
See also my project diary entry for the week where I prototyped this on a breadboad!
Hedy#

The Hedy module is a simple filter. It’s the first step of this Logic Noise tutorial which eventually turns the raw square wave sound of our oscillators into electronic drum sounds! But the Hedy module is simpler than that - using a capacitor, a resistor, and another IC chip, it is a lowpass filter, knocking out some of the higher frequencies of the signal and resulting in a smoother sound.
Power#

The Power module is very simple, but very important! It houses the battery that powers the entire synth. Each module has a power, ground, and signal line, and connecting the power module in between the output of one module and the input of another (not Ada, Anni, Daphne or Maryam, but any of the others) will power everything.