3. Circular fashion
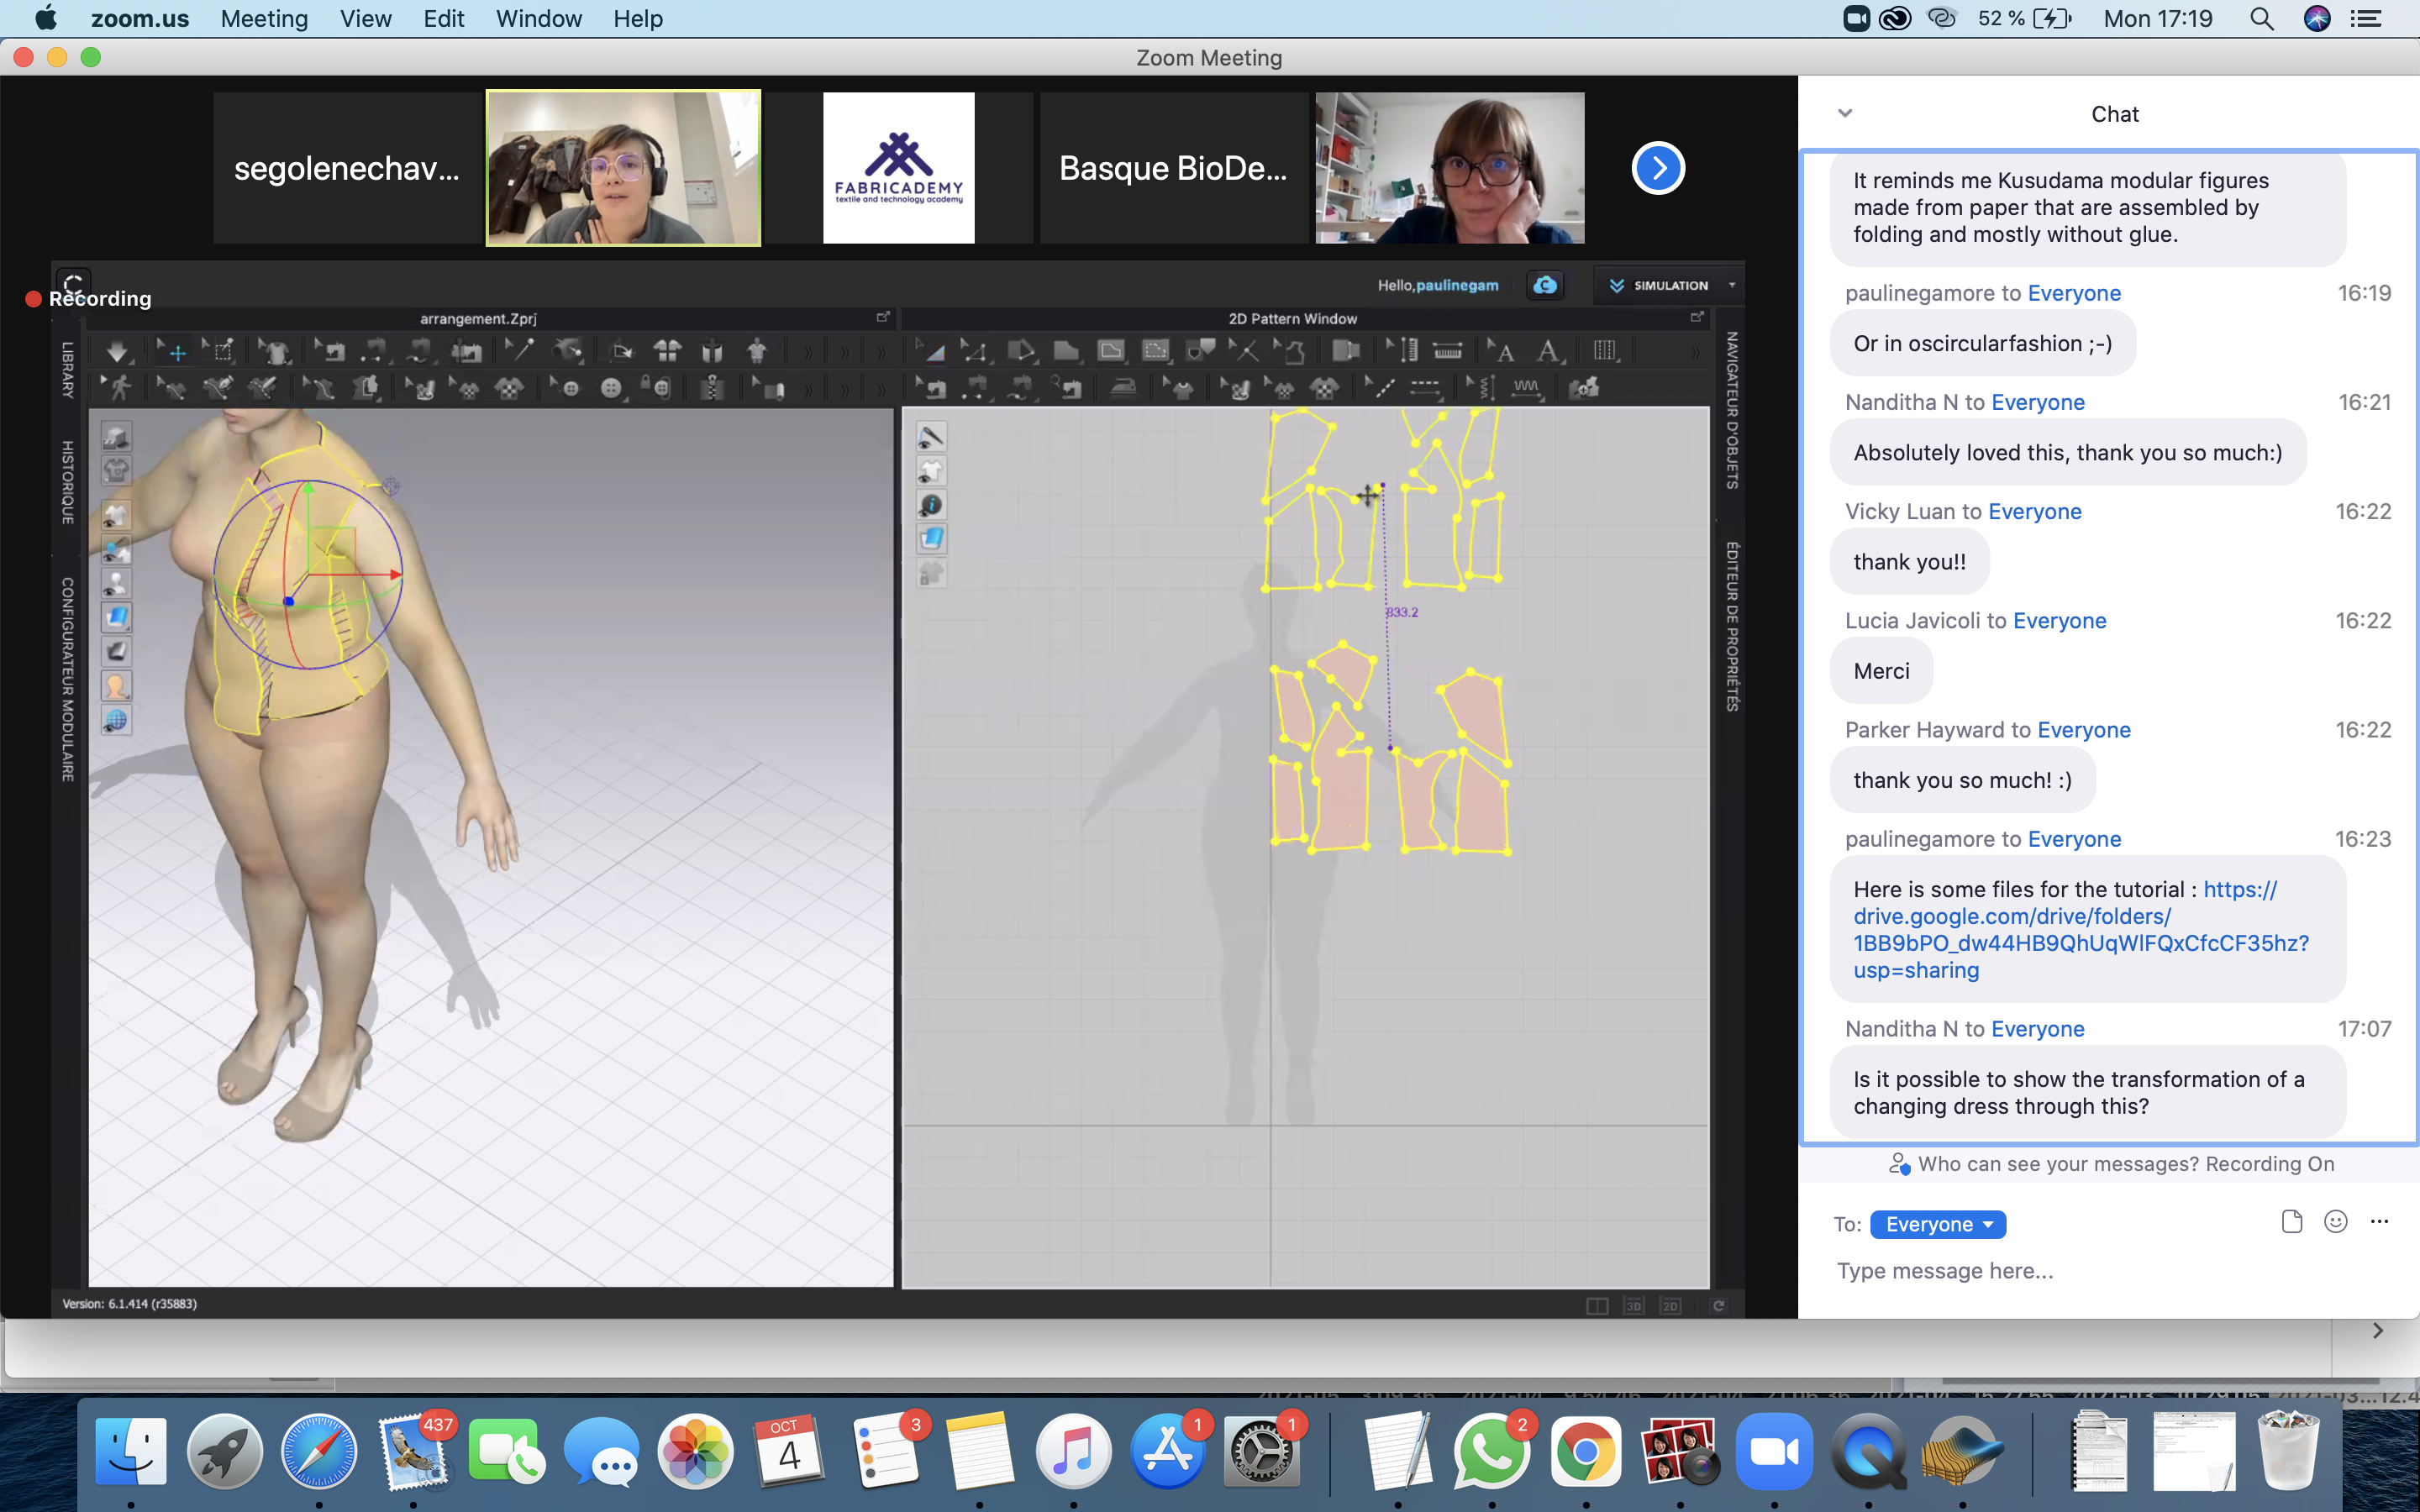
This week was interesting because we mixed modular fashion, textile, sustainbility and news machines. On monday, Elisabeth Jayot did a lecture on modular fashion and explained her projets. It was very inspiring. We understood that this new way of creating garment is a real conundrum aha. She did years of reserach and she's still working on it, meeting new partners and exploring new patterns.
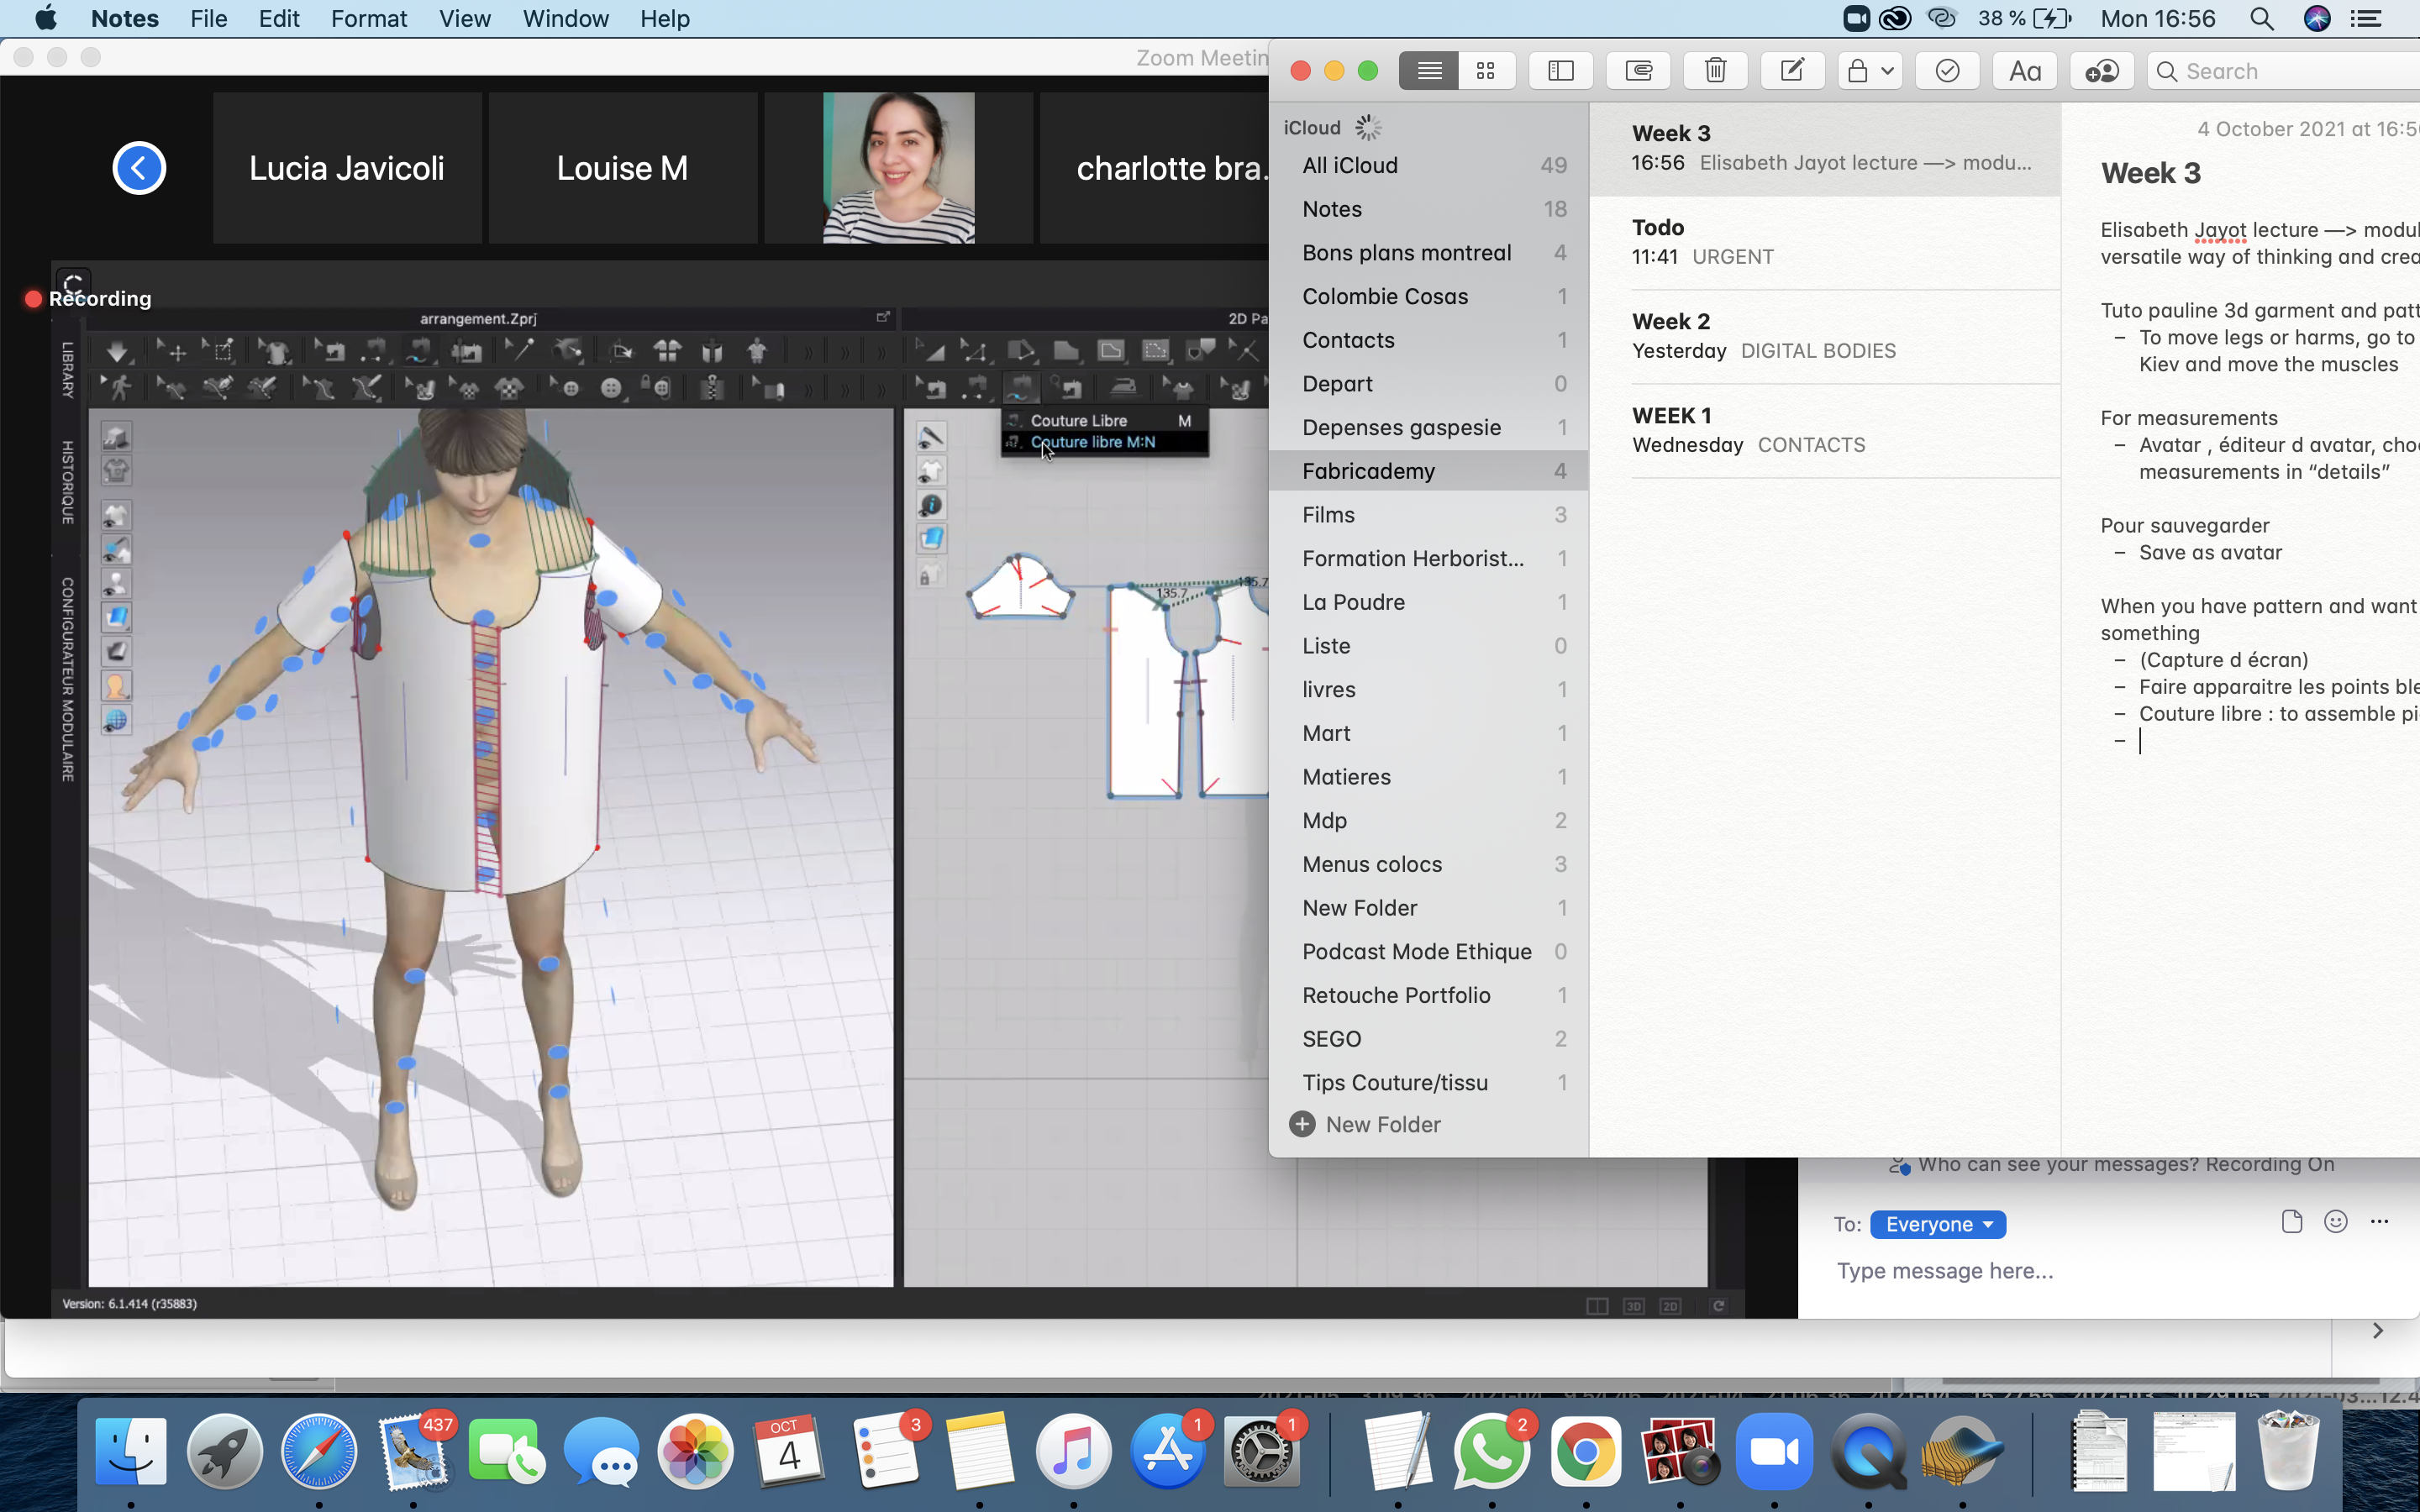
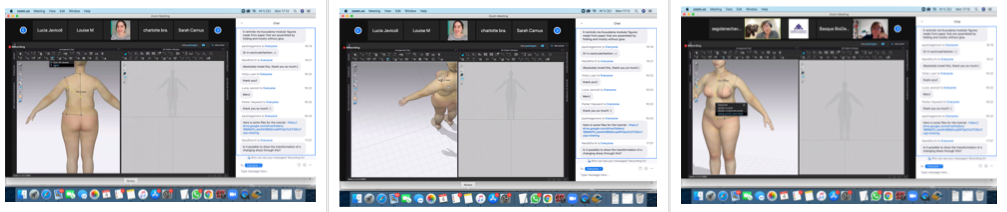
We also had a clo3D tuto by Pauline :) It was great! Especially for me who like patterns and create sur-mesure clothes. I want more clo3D tutos!
Little notes :
-
To move legs or harms : go to squelette Kiev and move the muscles
-
For measurements : Avatar, éditeur d'avatar, choose measurements in “details”
-
to save : save as avatar
-
When you have a pattern and want to change something (Capture d écran) : make appear blue points, free sewing (to assemble pieces), free sewing m/n (to attach sleeve and body, link all the points)
-
to apply fabric : go to librairy, fabric
-
When I design a pattern on mannequin : be careful, put center back, center front and shoulder with straight line.
And this is the link to all the tips and tools for clo3D
On Thursday, we had a tuto on circular fashion. It was based on the future of fashion, the possibilities that we have to create a new fashion industry, through sustainability and open source innovations.

Notes :
EPR = extended producer responsibility = reuse, buyback or recycling program
Openness = technology = future
Collaboration is key
Collecting effort to social solidarity
Free/ open source —> promote social solidarity
Documentary : The light bulb conspiracy
Book : Open design now
On Wednesday, we had the second tuto of Rhino. It was as difficult as the fisrt one, maybe a little less... This is the link to watch it again :)
Research / inspiration
 All pics are from me
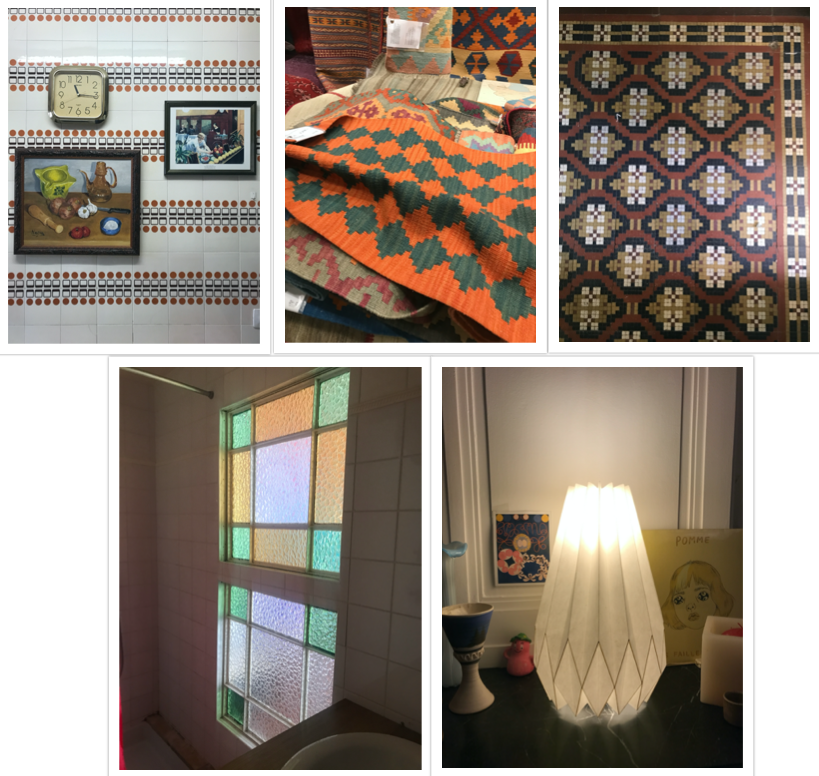
As most of the time, I was inspired by my environment. The kitchen wall is from a Airbnb's house in Spain, the carpet from my last visit to Ikea and the floor is from our Fabricademy's little house (in Oullins).
I did the white lamp 5 years ago in Lyon in a worshop and I really love its shape and light.
I don't really know how I put them together but I found them similarities. In that way, I decided to create my own lamp, pattern and light :).
Process
MY DRAWINGS AND TESTS
 Pics from me
Thickness of the wool : 2mm
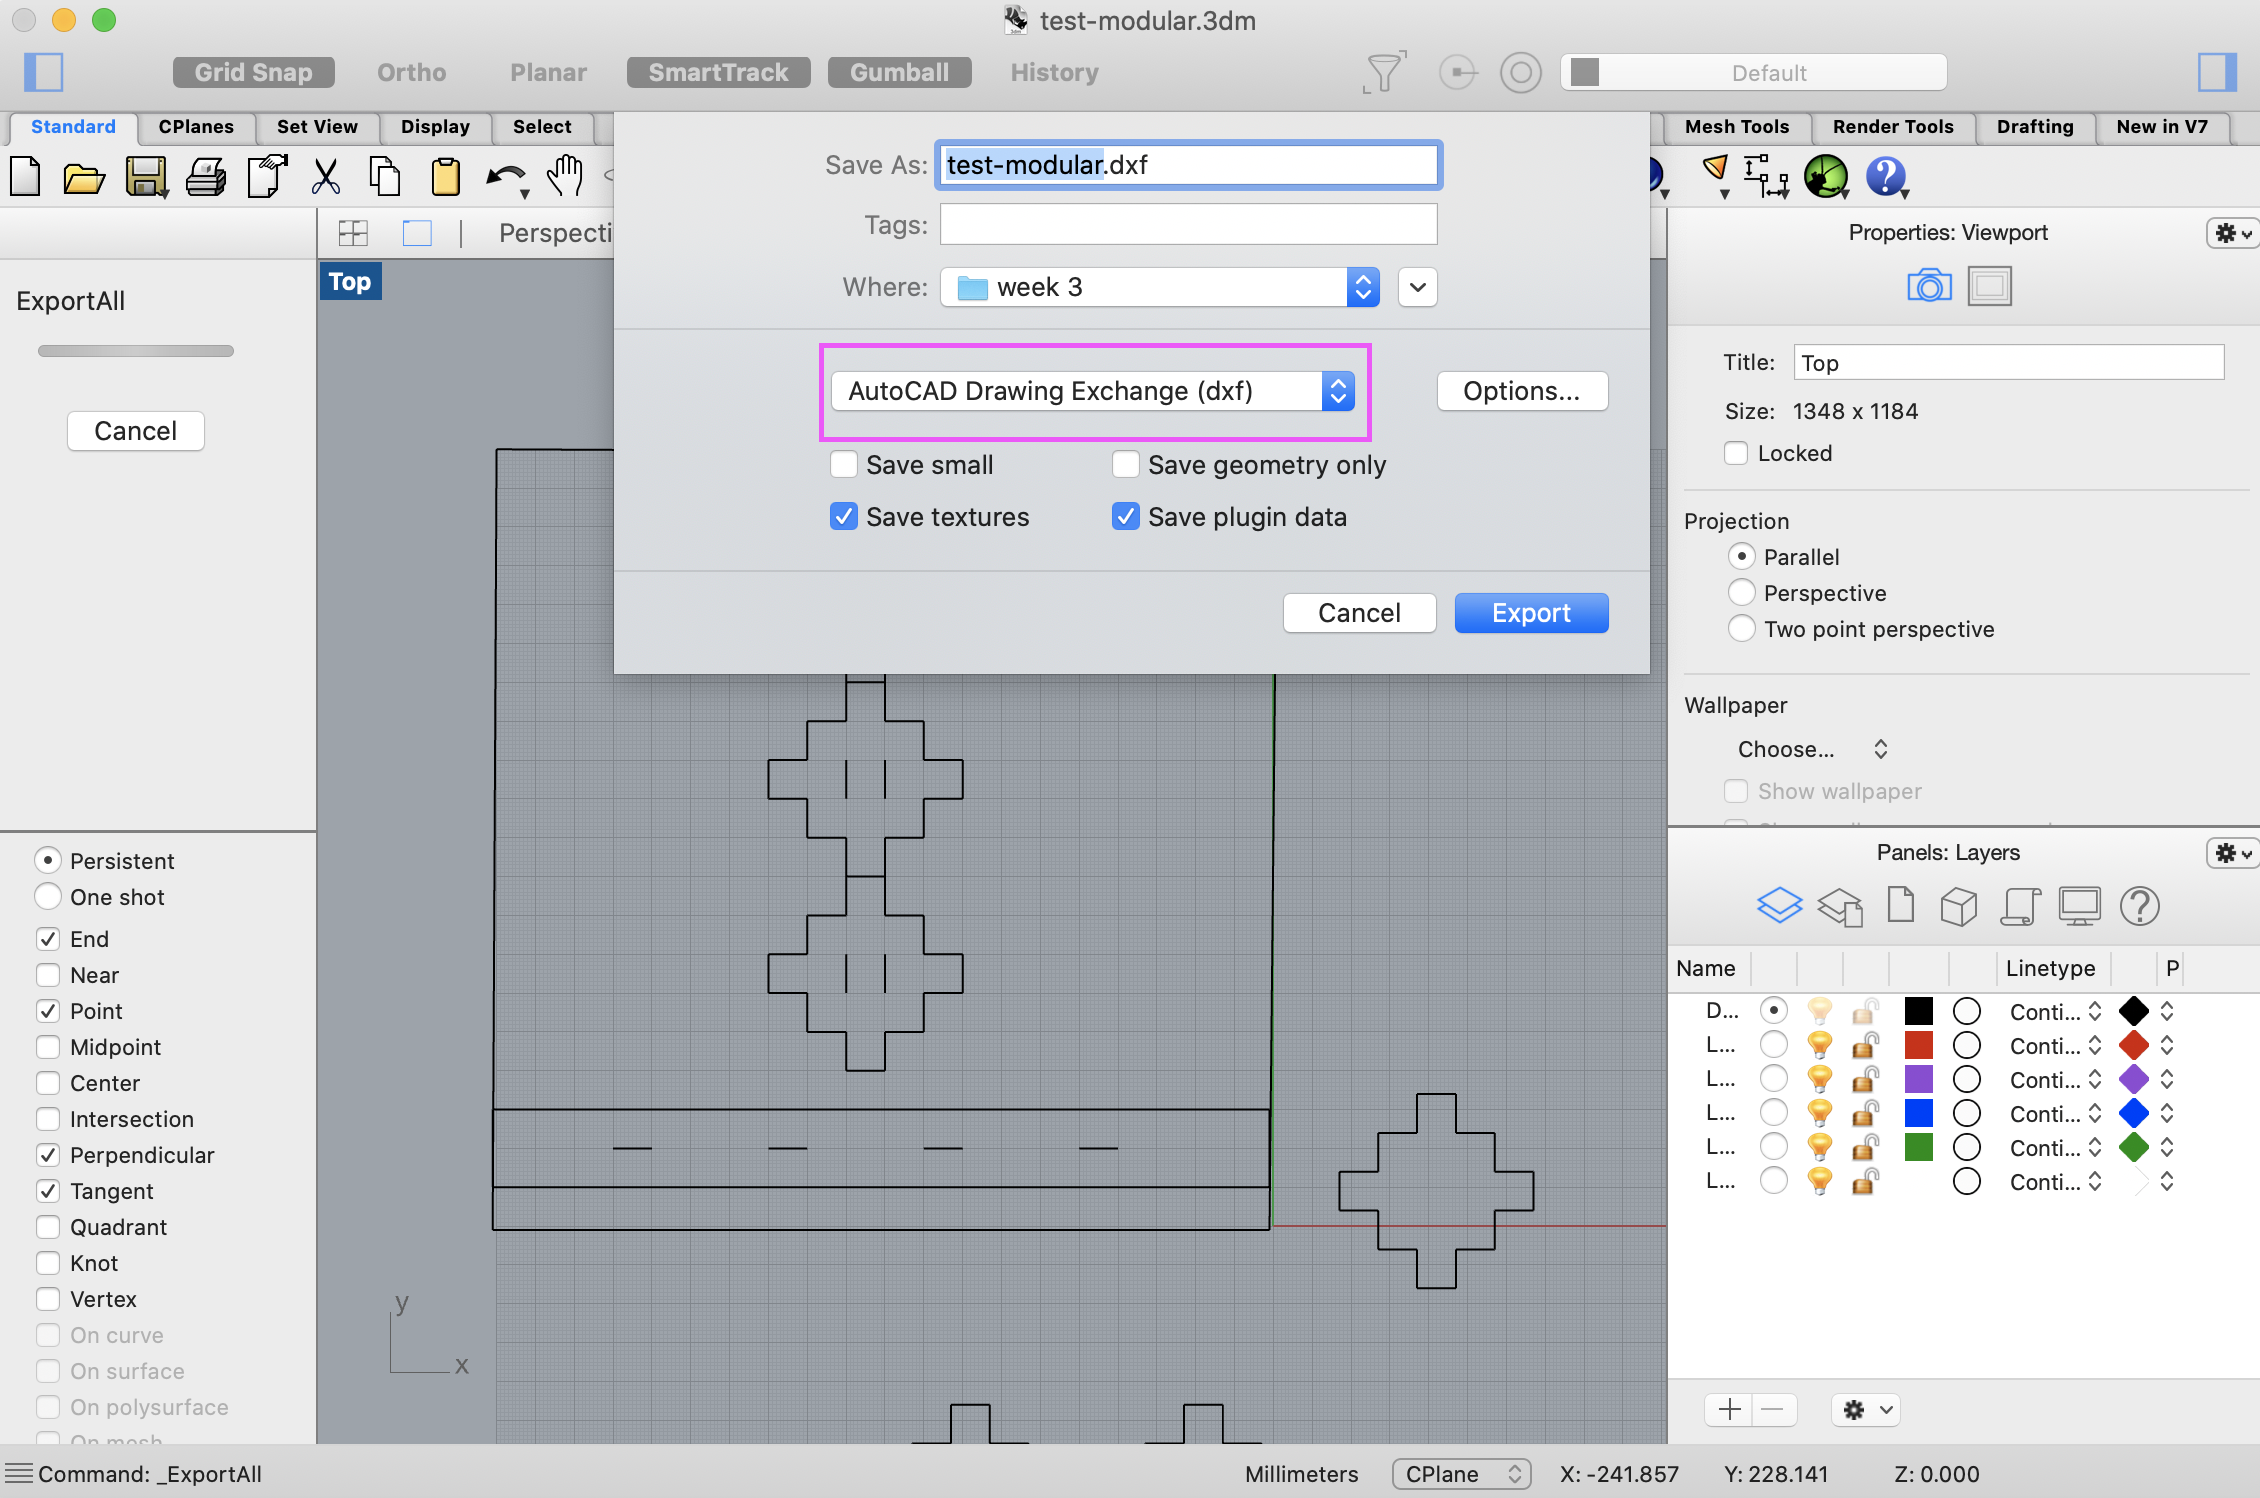
I did my drawing on Rhinoceros. I was easy because it's only little actions but I'm pretty proud to have braved my difficulties aha.
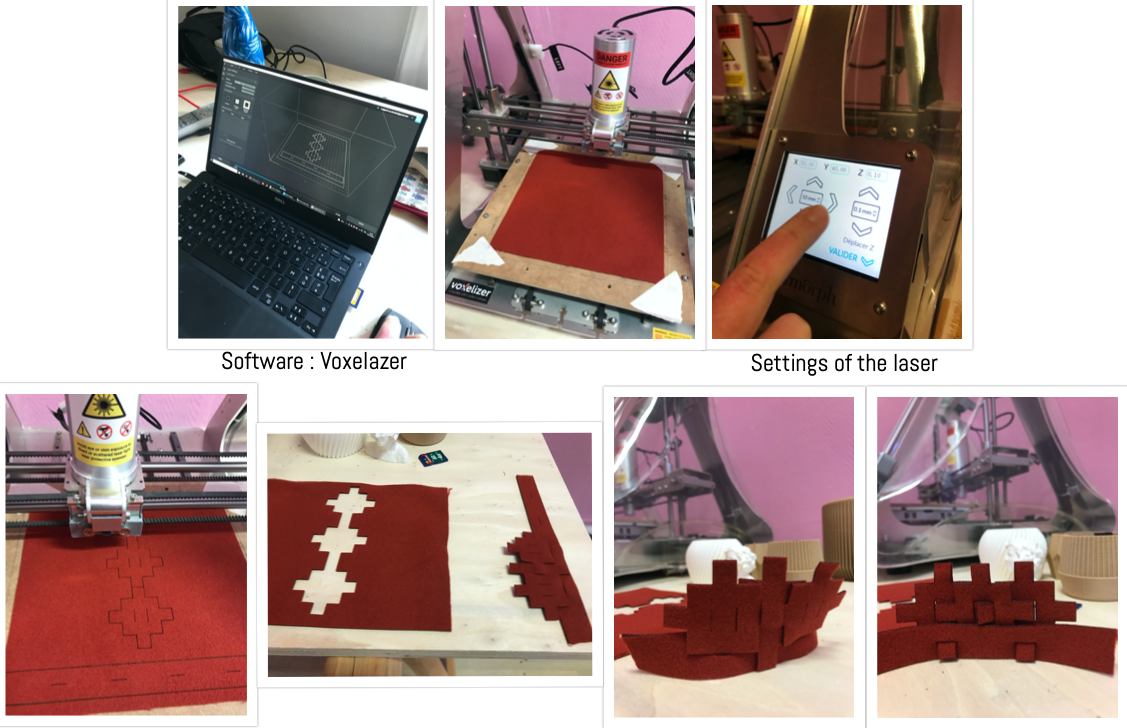
Note : Before cutting on the laser, I had to download my dxf.file in Voxelazer. I learned, thanks to Diane, that the more the fabric/material is light, the less the laser has to be quick. Because it doesn't need to stay that long, thanks to the fusion between the laser and the light of the fabric. In that way, I put 6 for the speed for my terracota wool (instead of 5 for a dark green wool).
DRAWINGS ON Rhinoceros
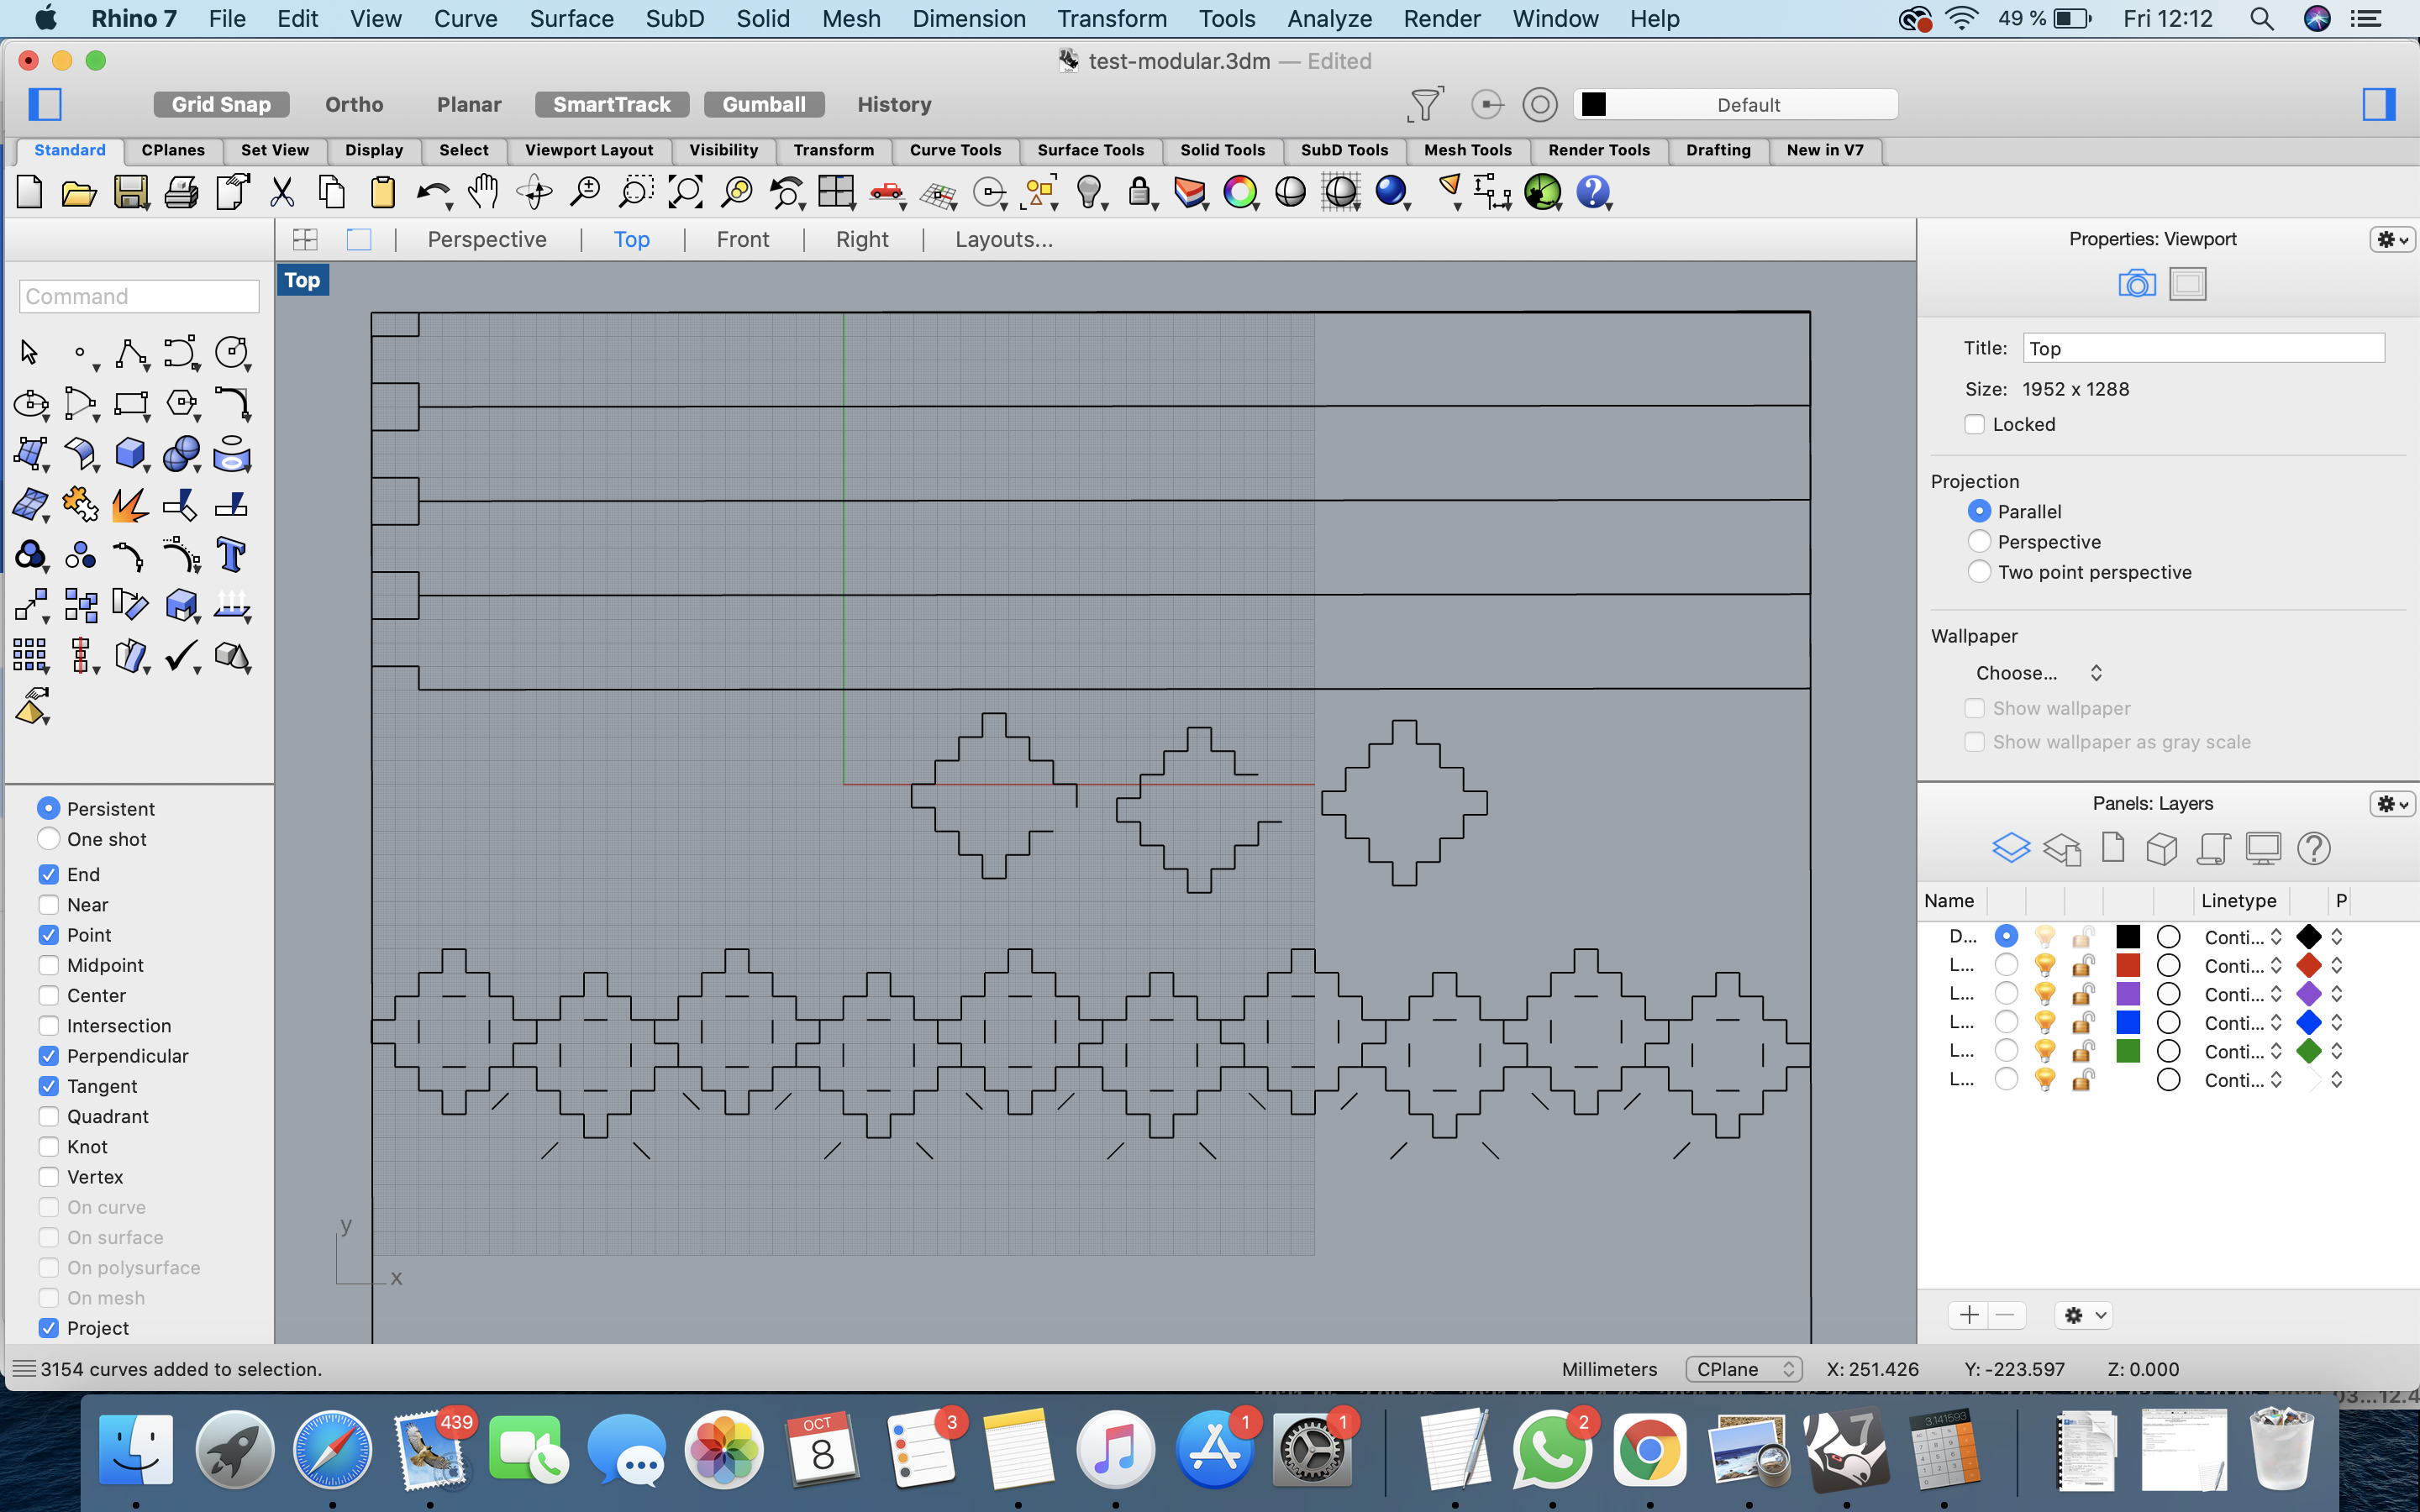
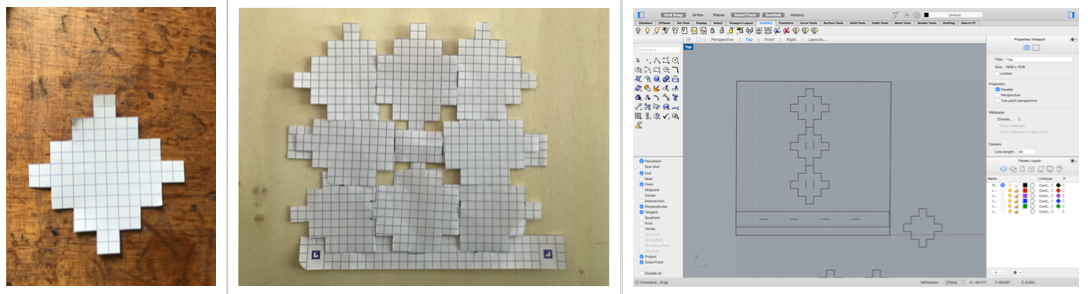
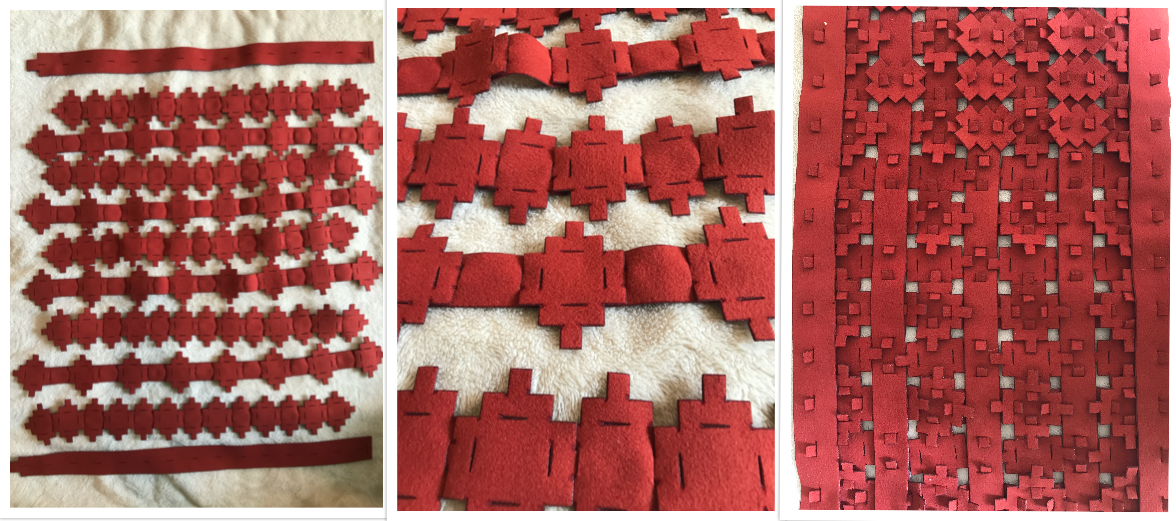
I started to create my shape and find the good way to place them according a zero waste pattern. As we can see, there are 3 different forms for my main shape.
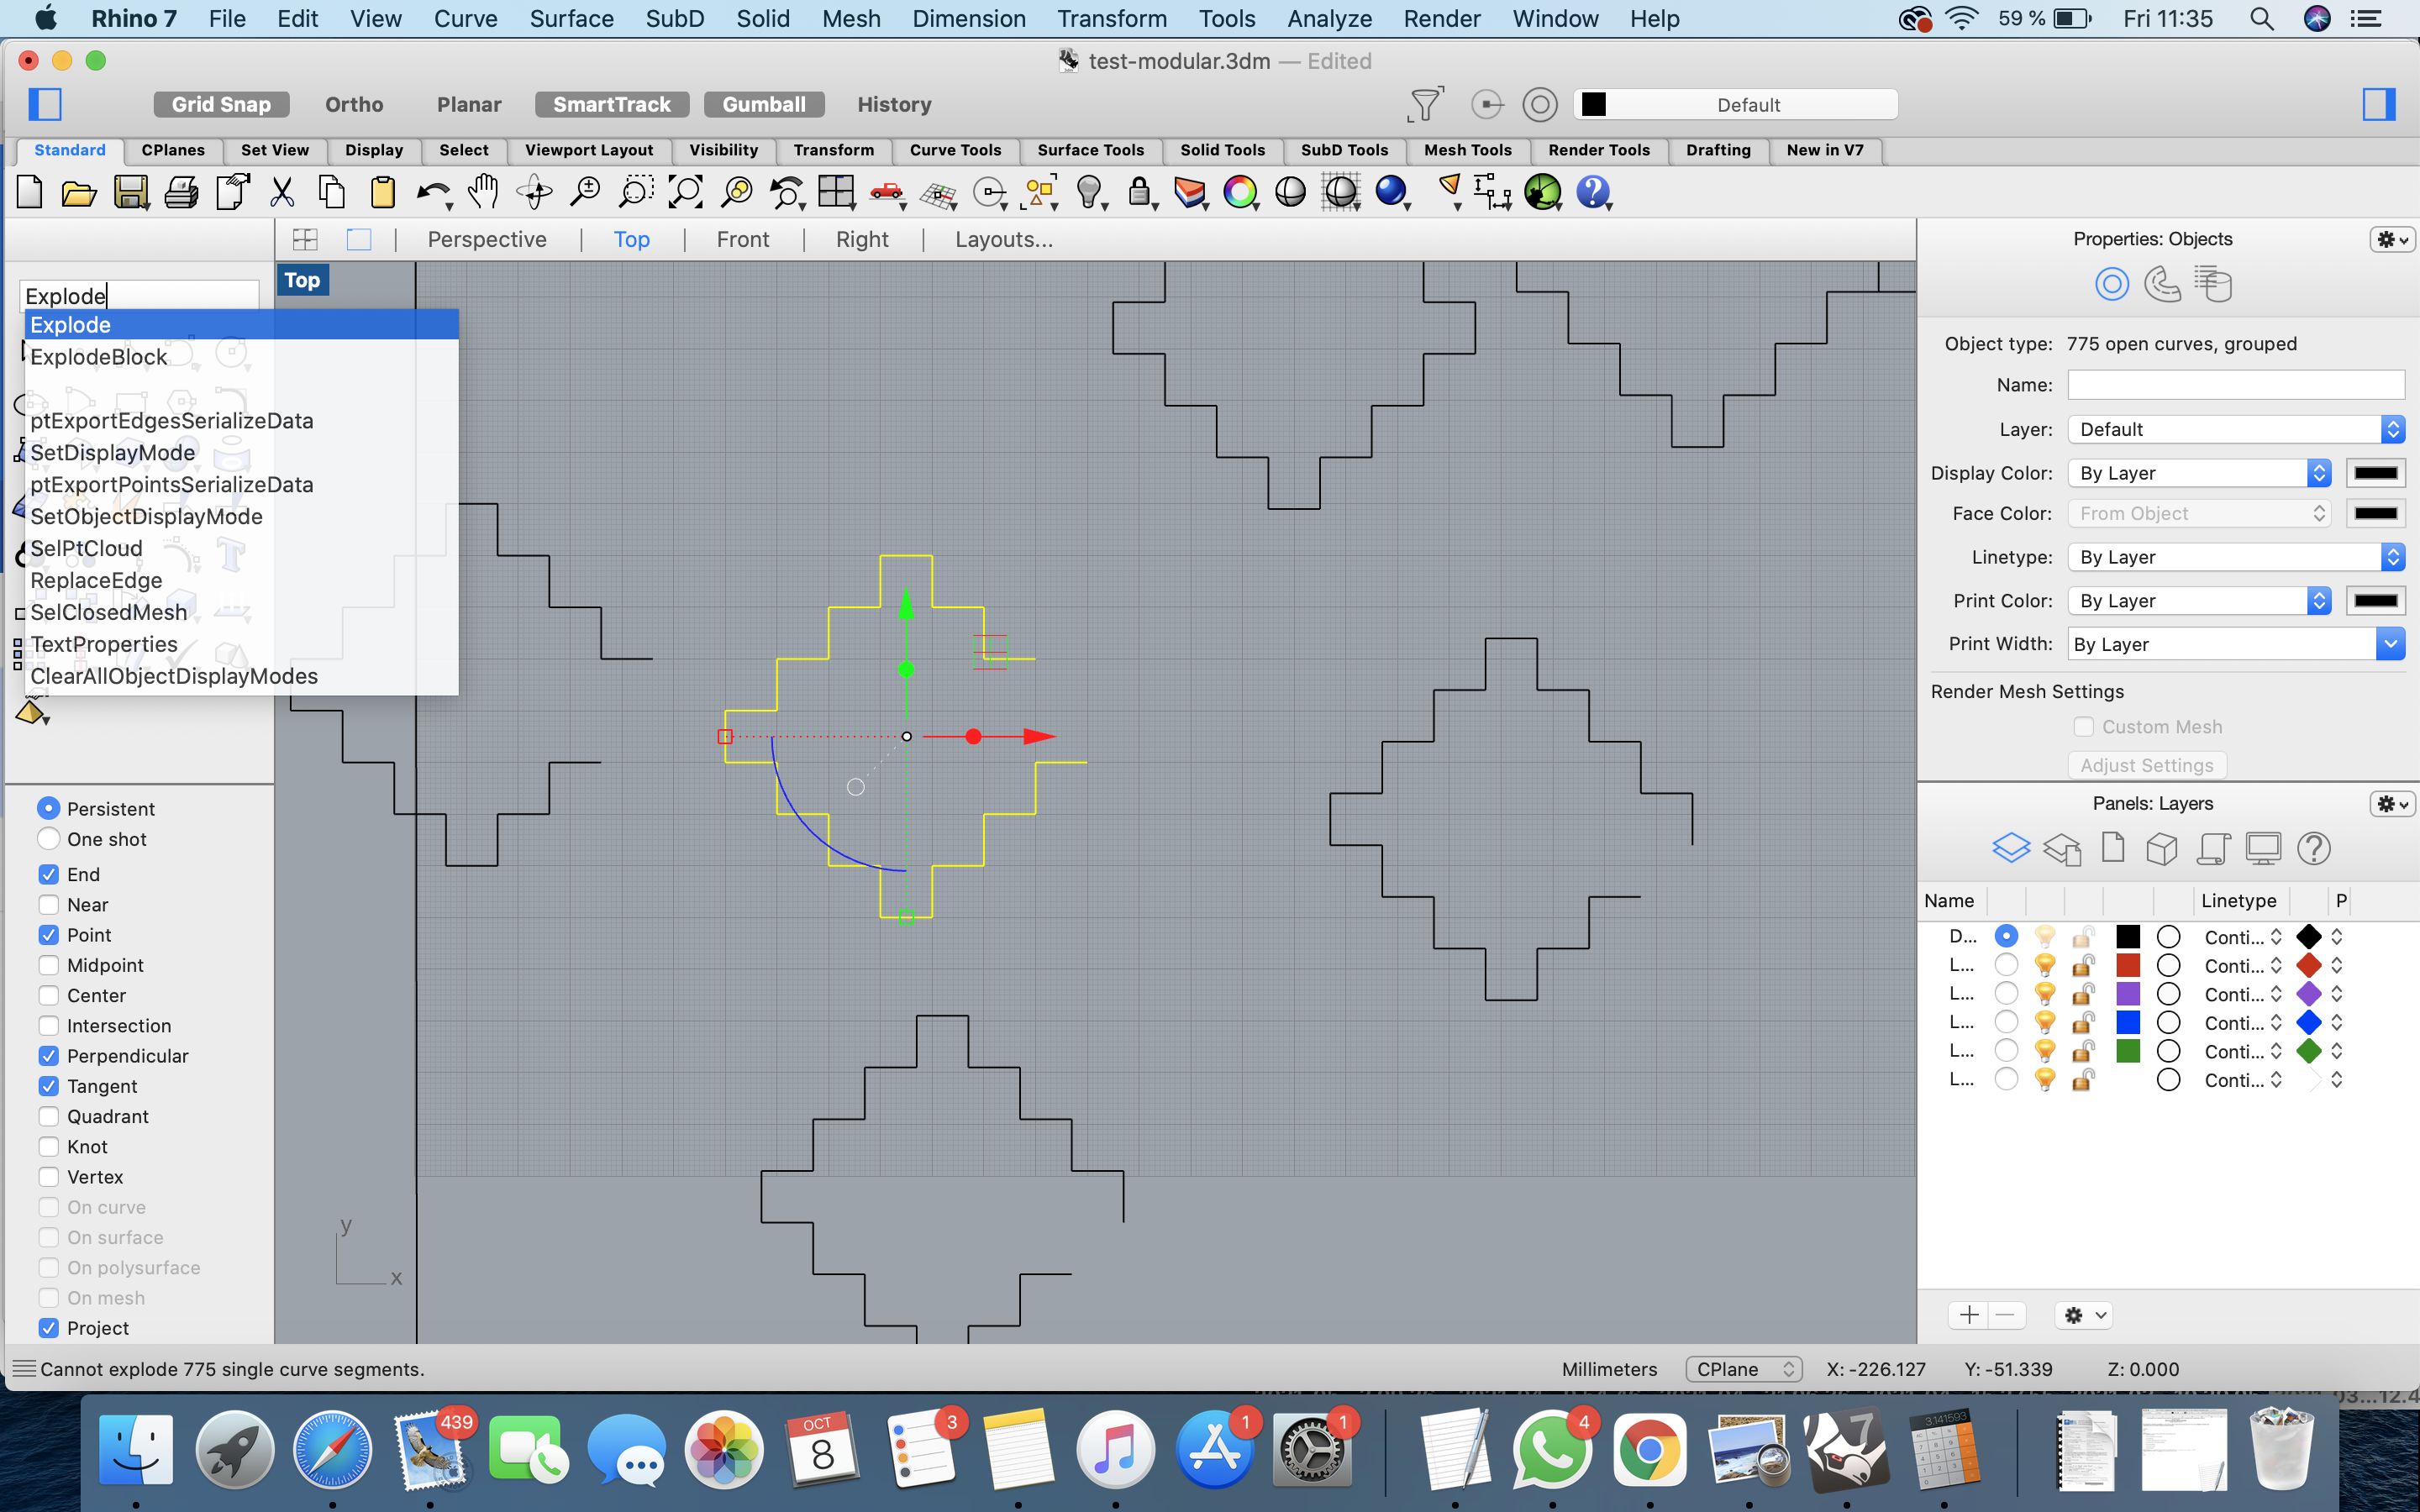
I had to create an "unfinished" piece to not have a double ligne at some place. Therefor, I had to select the piece, write explode on the command, click on the line I want to delete, delete it, select the new unfinished piece, write group on the command.
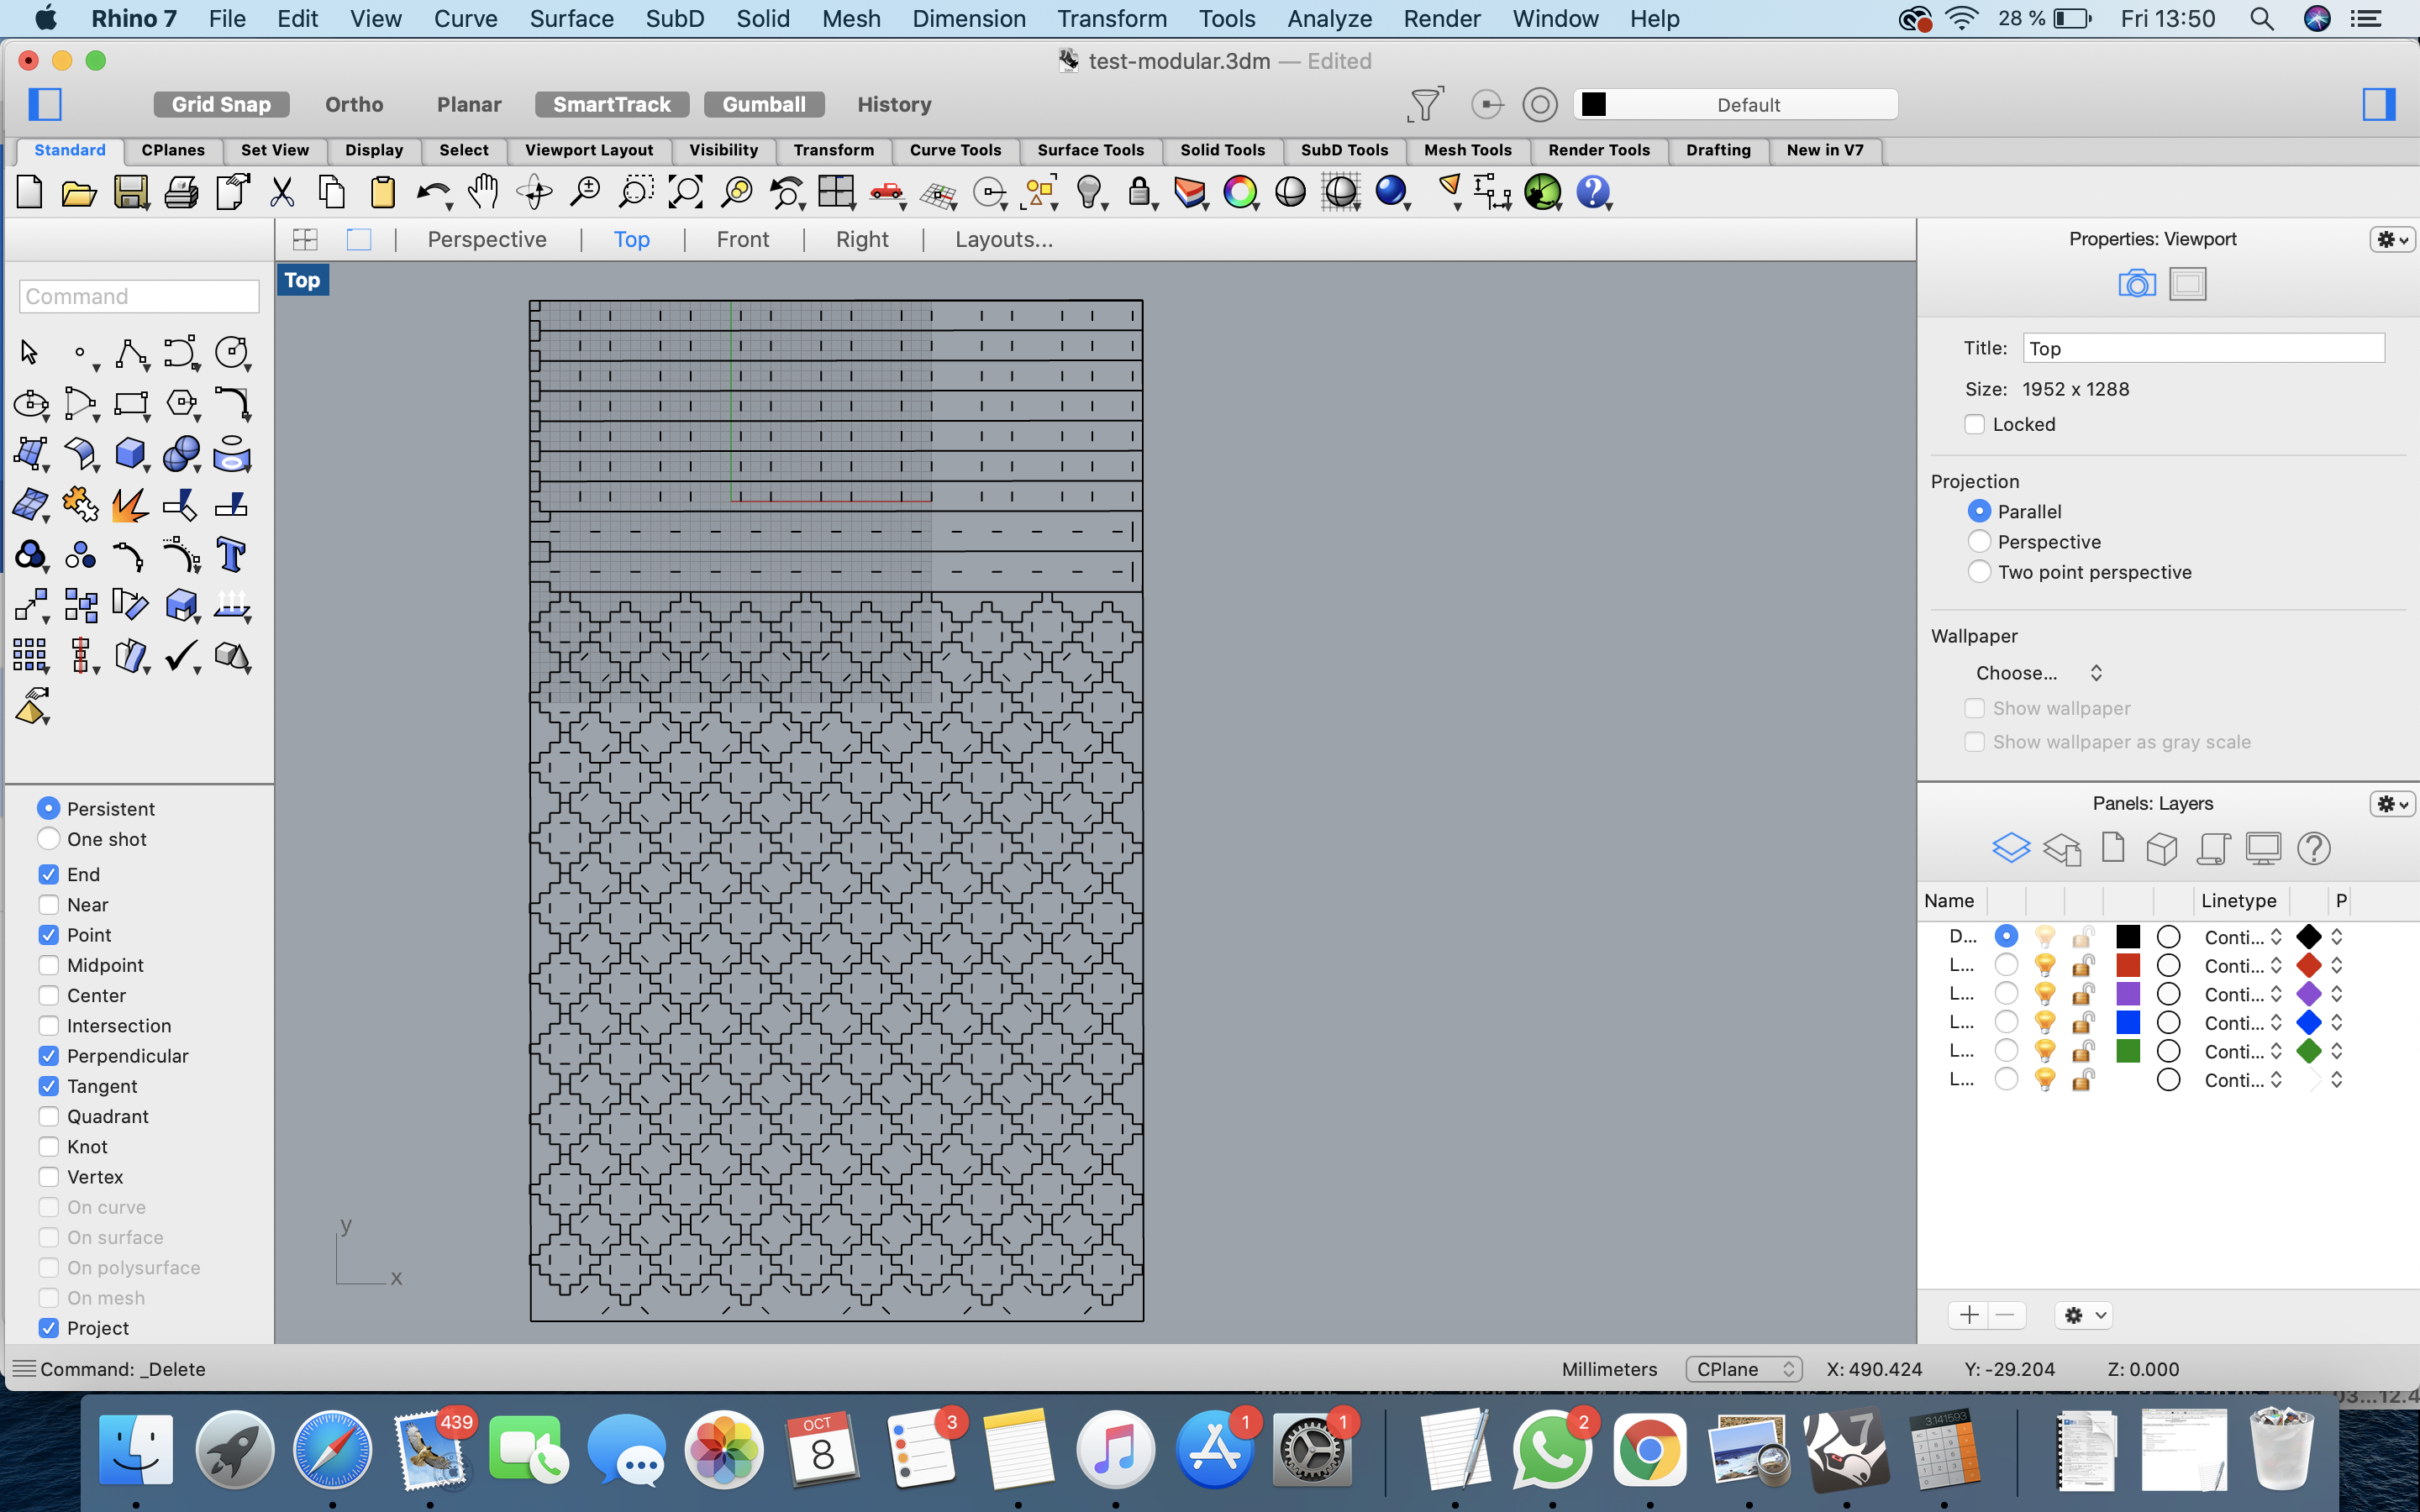
This is my final (almost) zero waste pattern. I will use the negatif parts to create structure and volume for my object. Bands are to start and end the lamp, plus to maintain the structure.
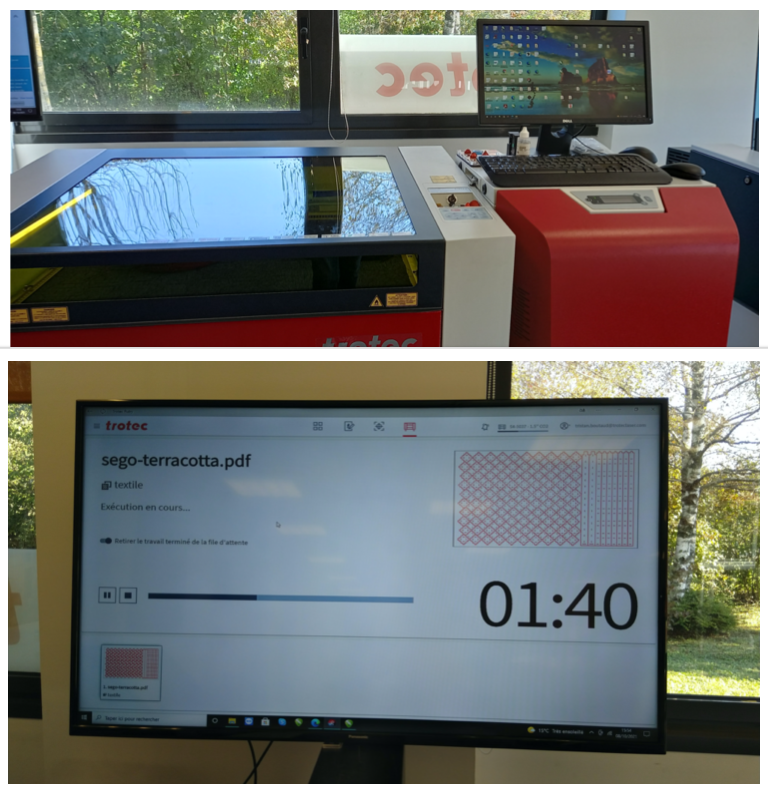
LASER CUT MACHINE
We went at the Showroom TROTEC in Saint priest. There are the reminders about the fabric we can use with the laser cut machine :) DON'T USE PVC.
My fabric measured 1016 mm x 610 mm.

ASSEMBLY AND RESULT
Steps
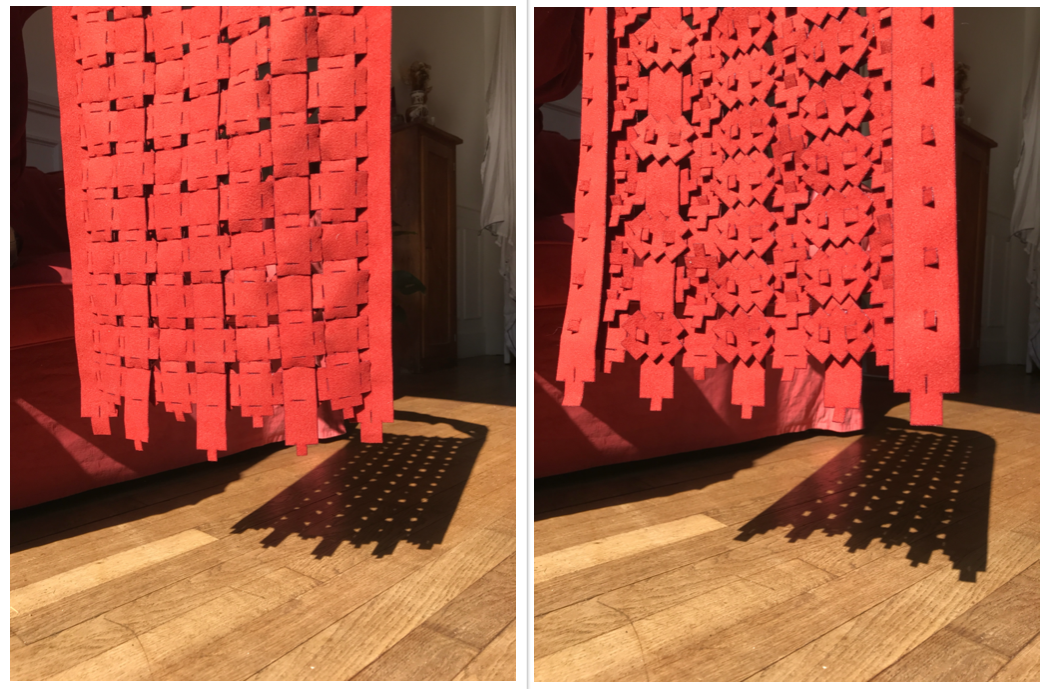
The fabric was more delicate than I thought so I had to be patient to finalize my lamp aha. My first idea was to show this side (left picture) but the other side (right picture) had more texture and volume.
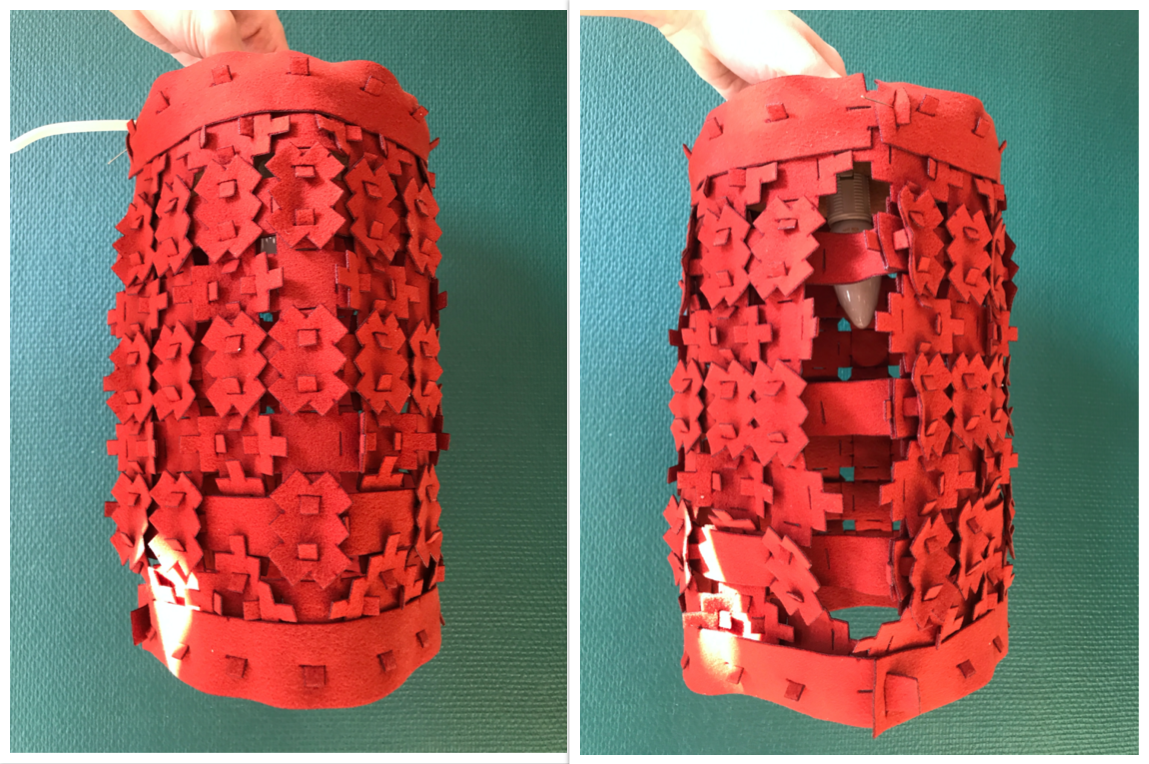
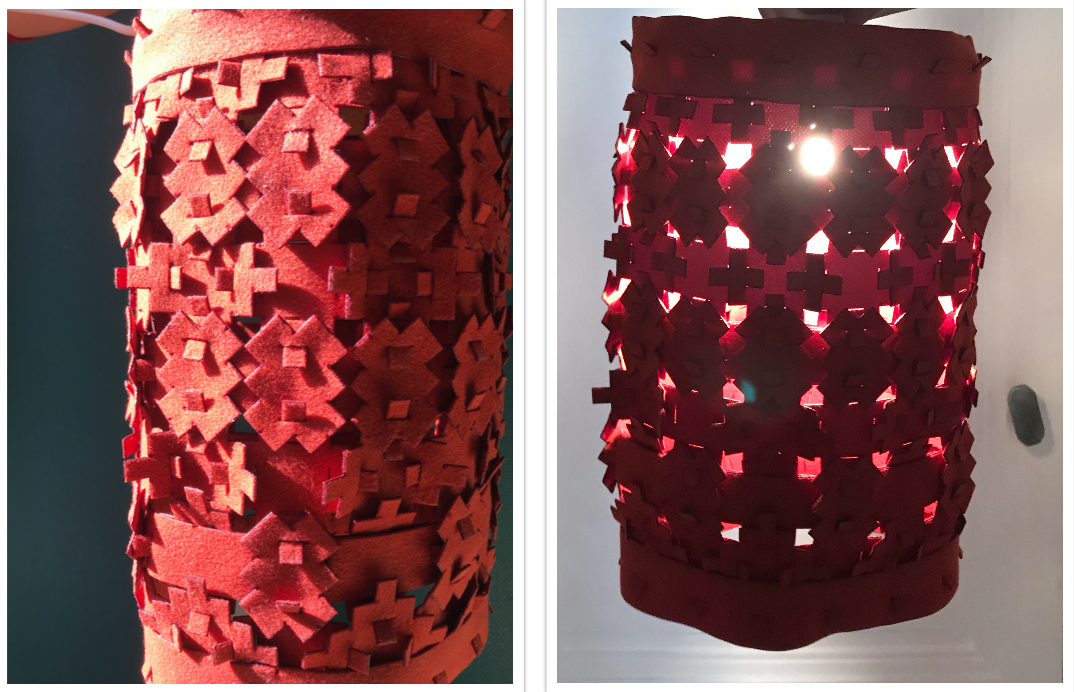
And the result! I'm kinda of Happy :) even the back of my lamp is not what I wanted. If I had to redo it, I will calculate more precisely or even do the prototype all in paper.
- I will create a stronger bottom for my lamp to keep the round shape. Maybe also I will choose a thicker fabric, but wool was a good choice because it stays together thanks to the texture.
You can download my dxf file here and my pdf file here.
And look at my work on Os Circular Fashion :)
Key words of the week/reflexion
I watched the documentary “La mode sous toutes ses coutures”
Marine Serre = patchwork, codes rupture (dénonciation)
- zwdo_collective : zero waste design pattern