2. Digital bodies
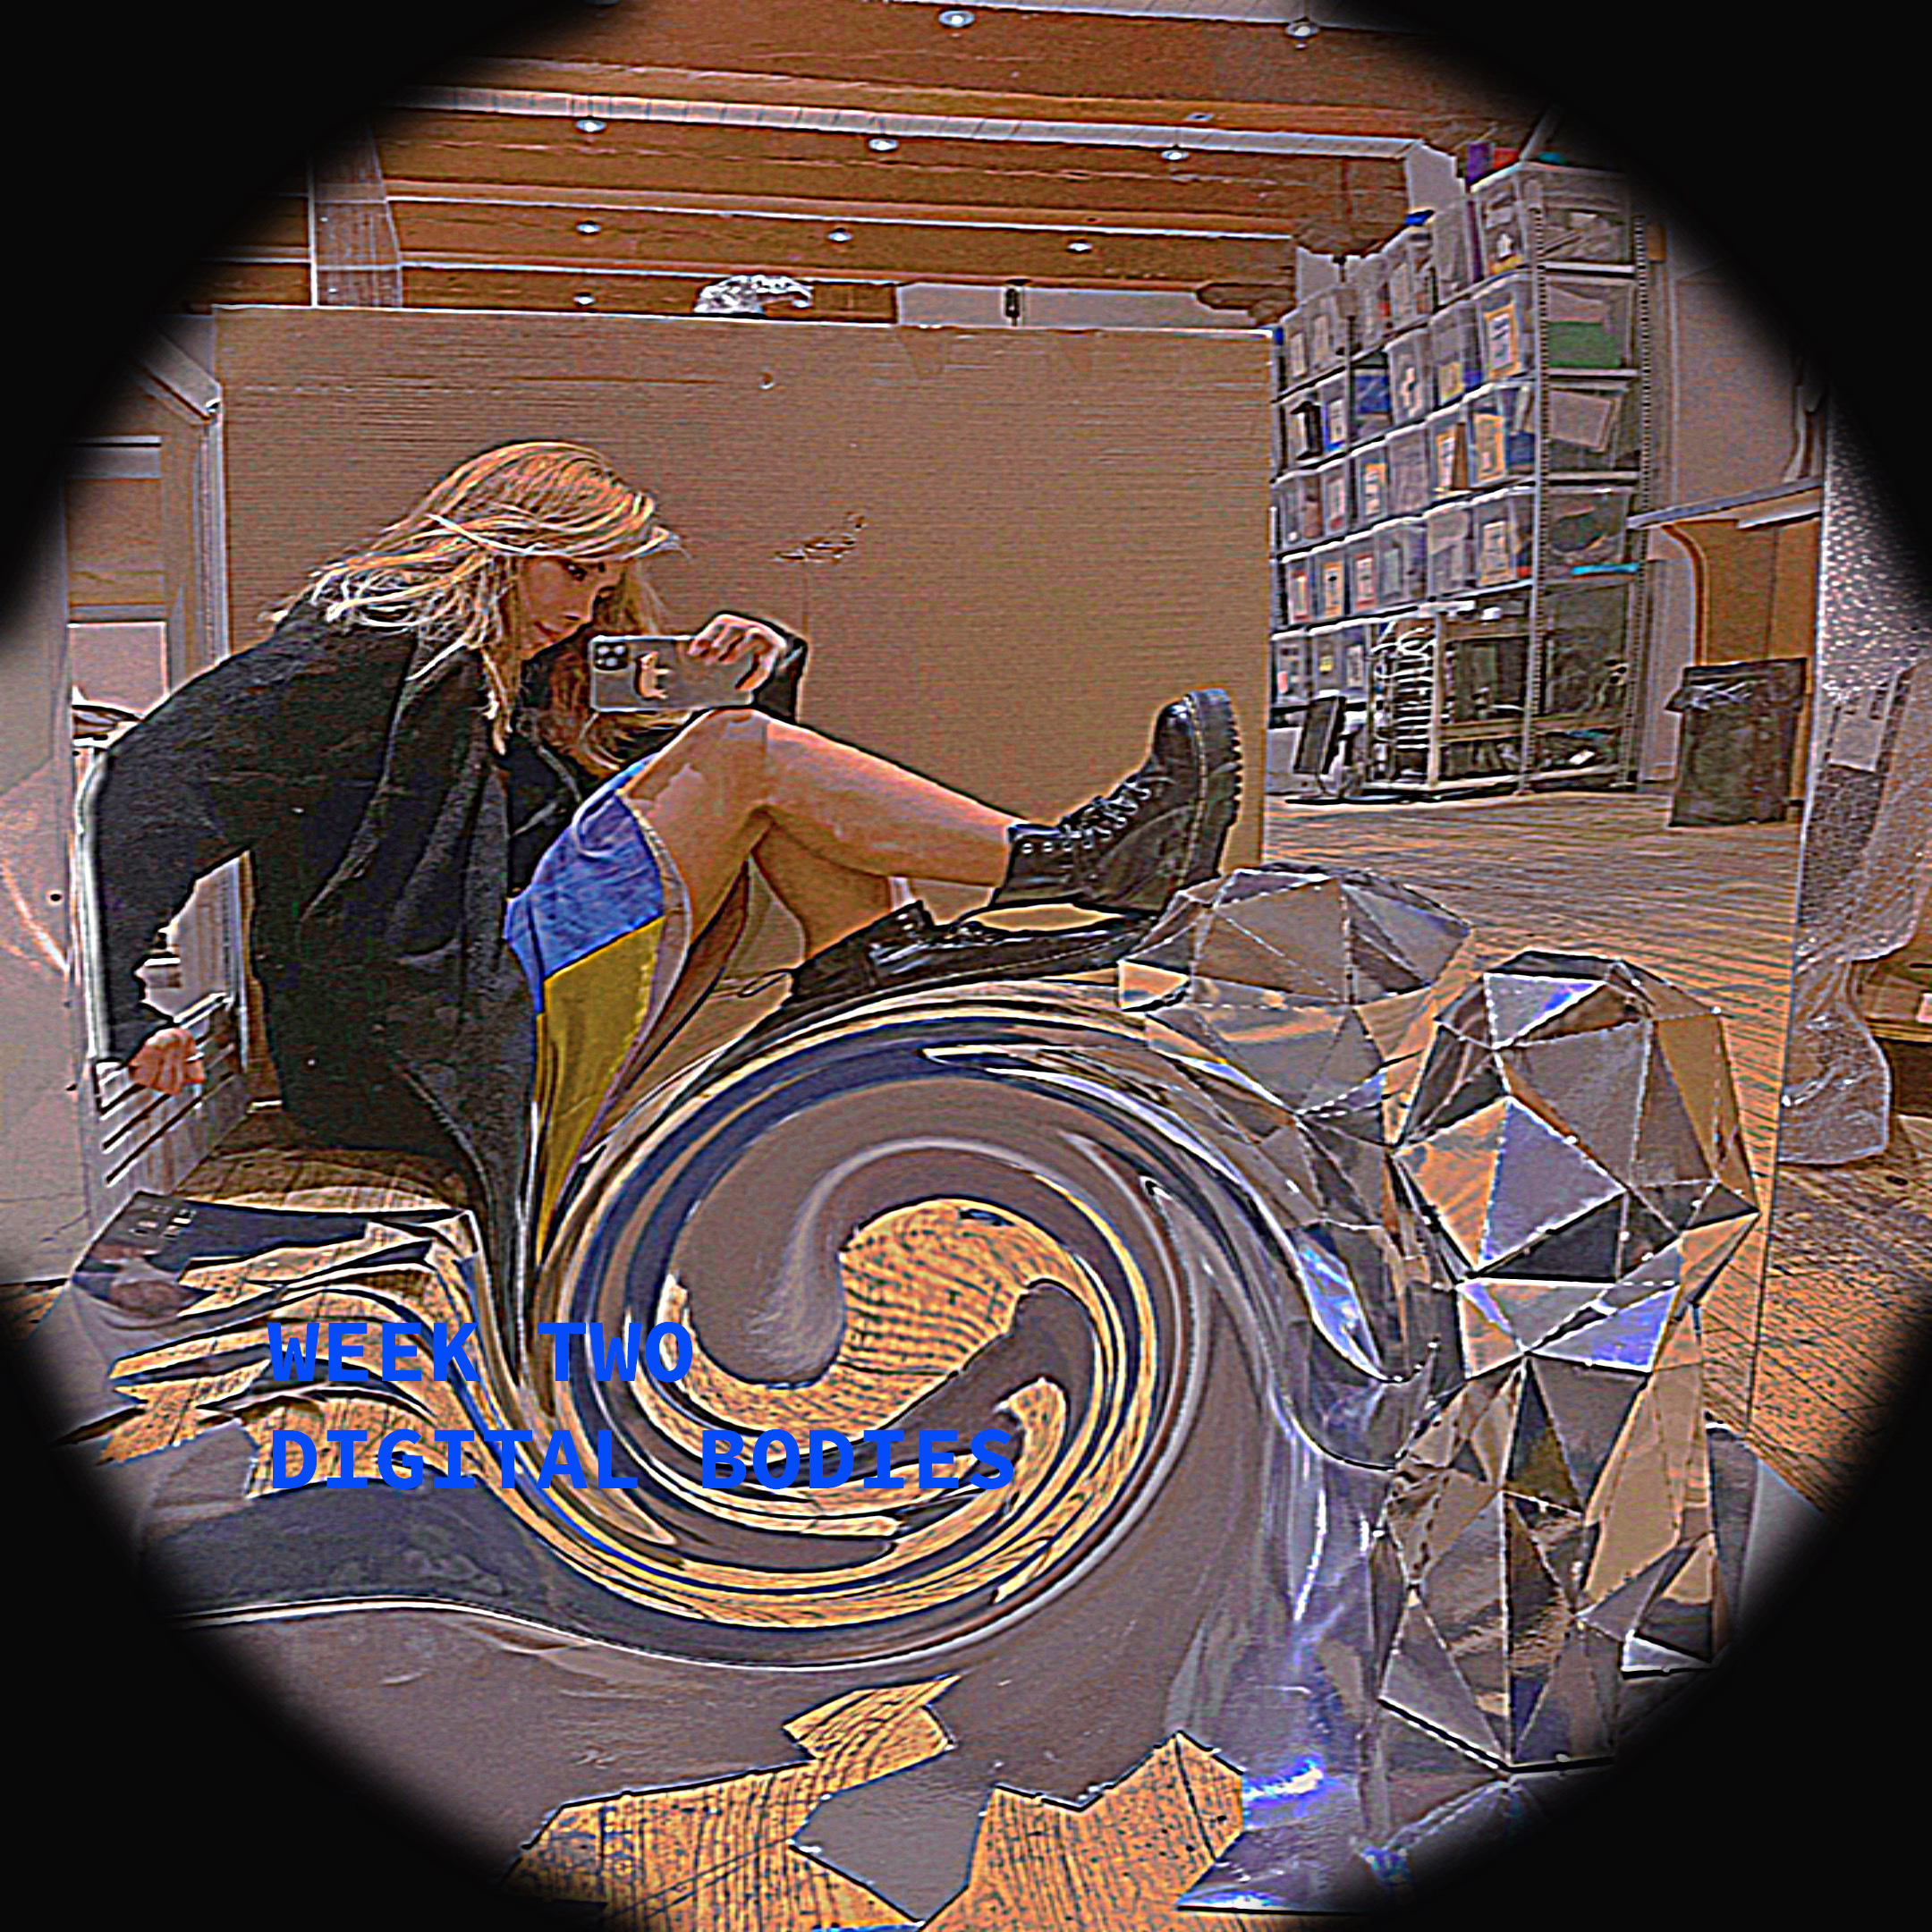 Me and my Polygon statue.
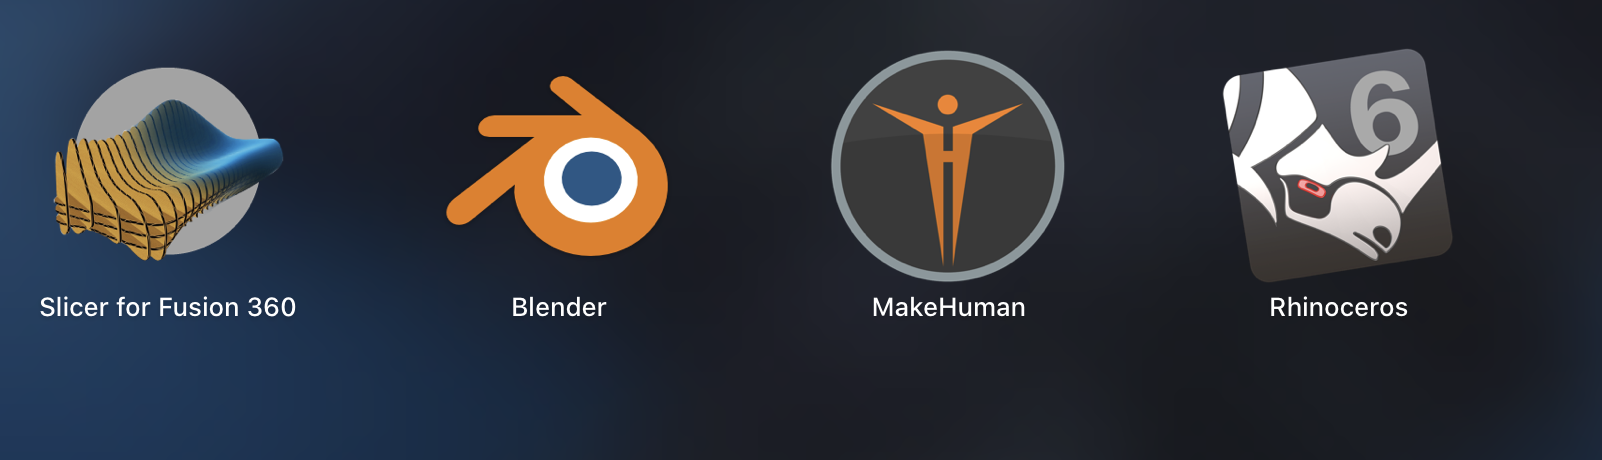
Softwares
These are the softwares we are using this week. I am very ecxcited to learn how to use Rhino. The slicer and Makehuamn are really easy to play with.
Class notes
Make human
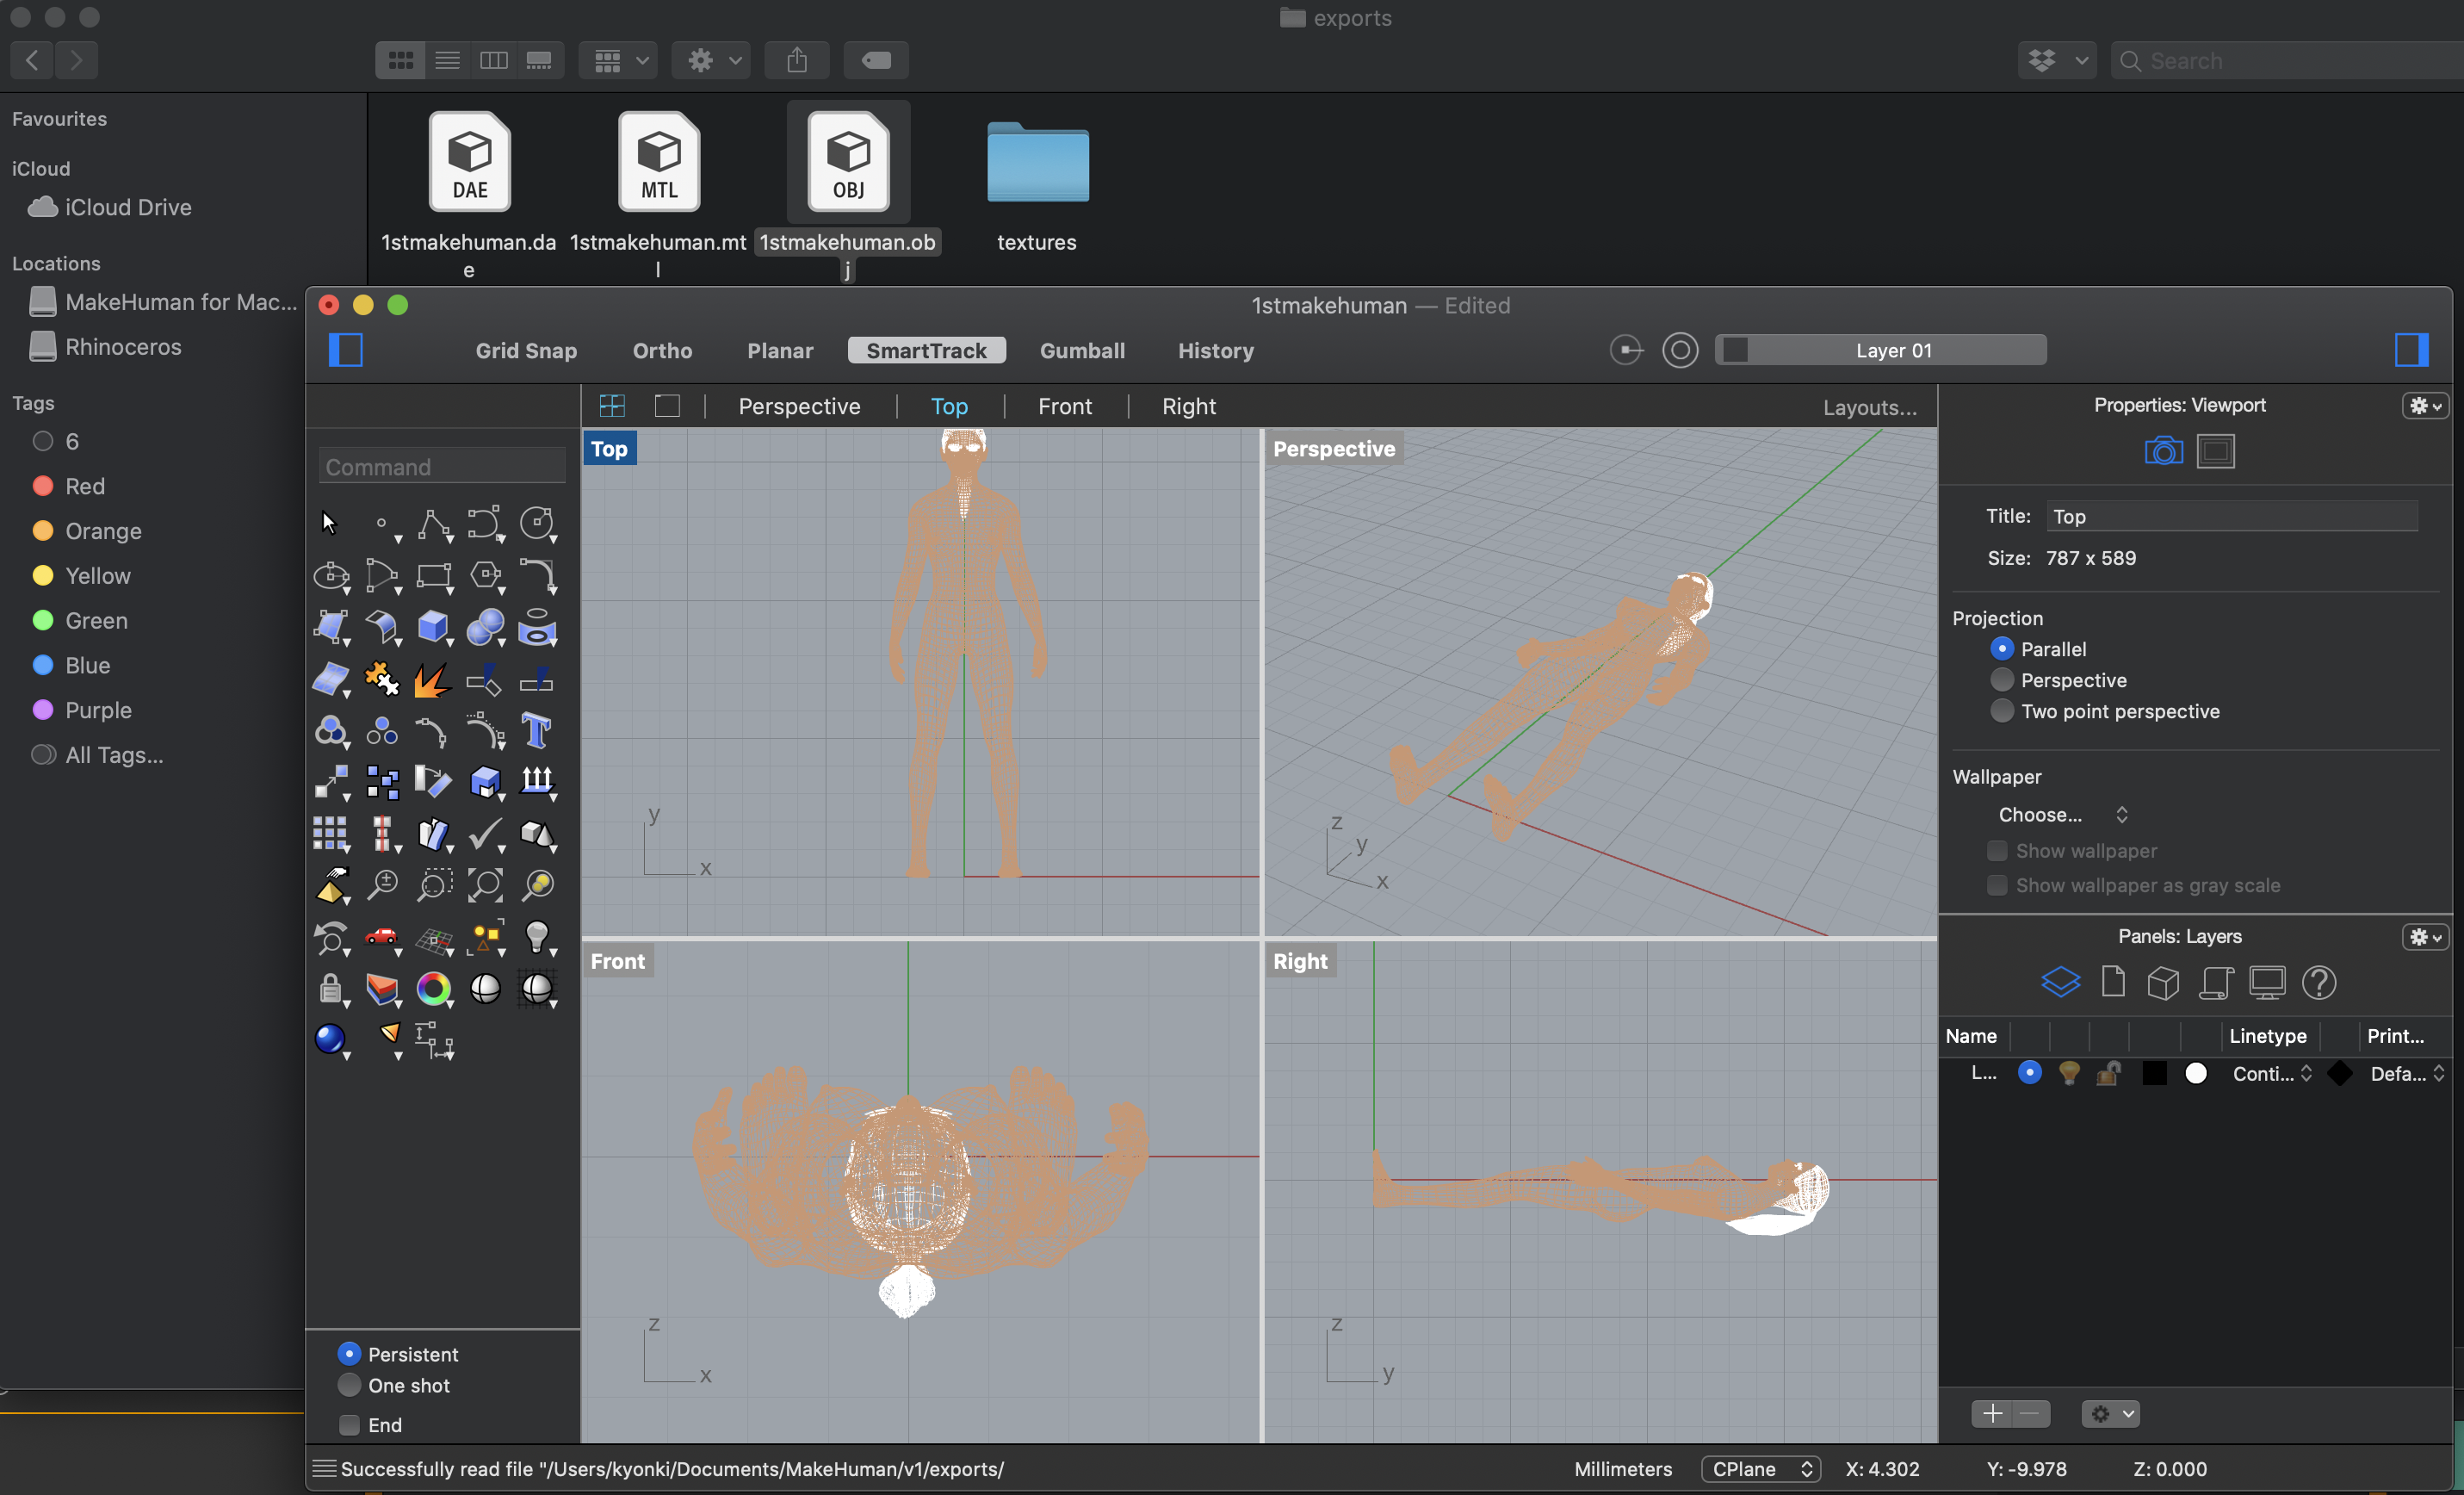
I tried to make the person look like me, Later I realized the hair and the brows will be the seperate part when view it in Rhino.
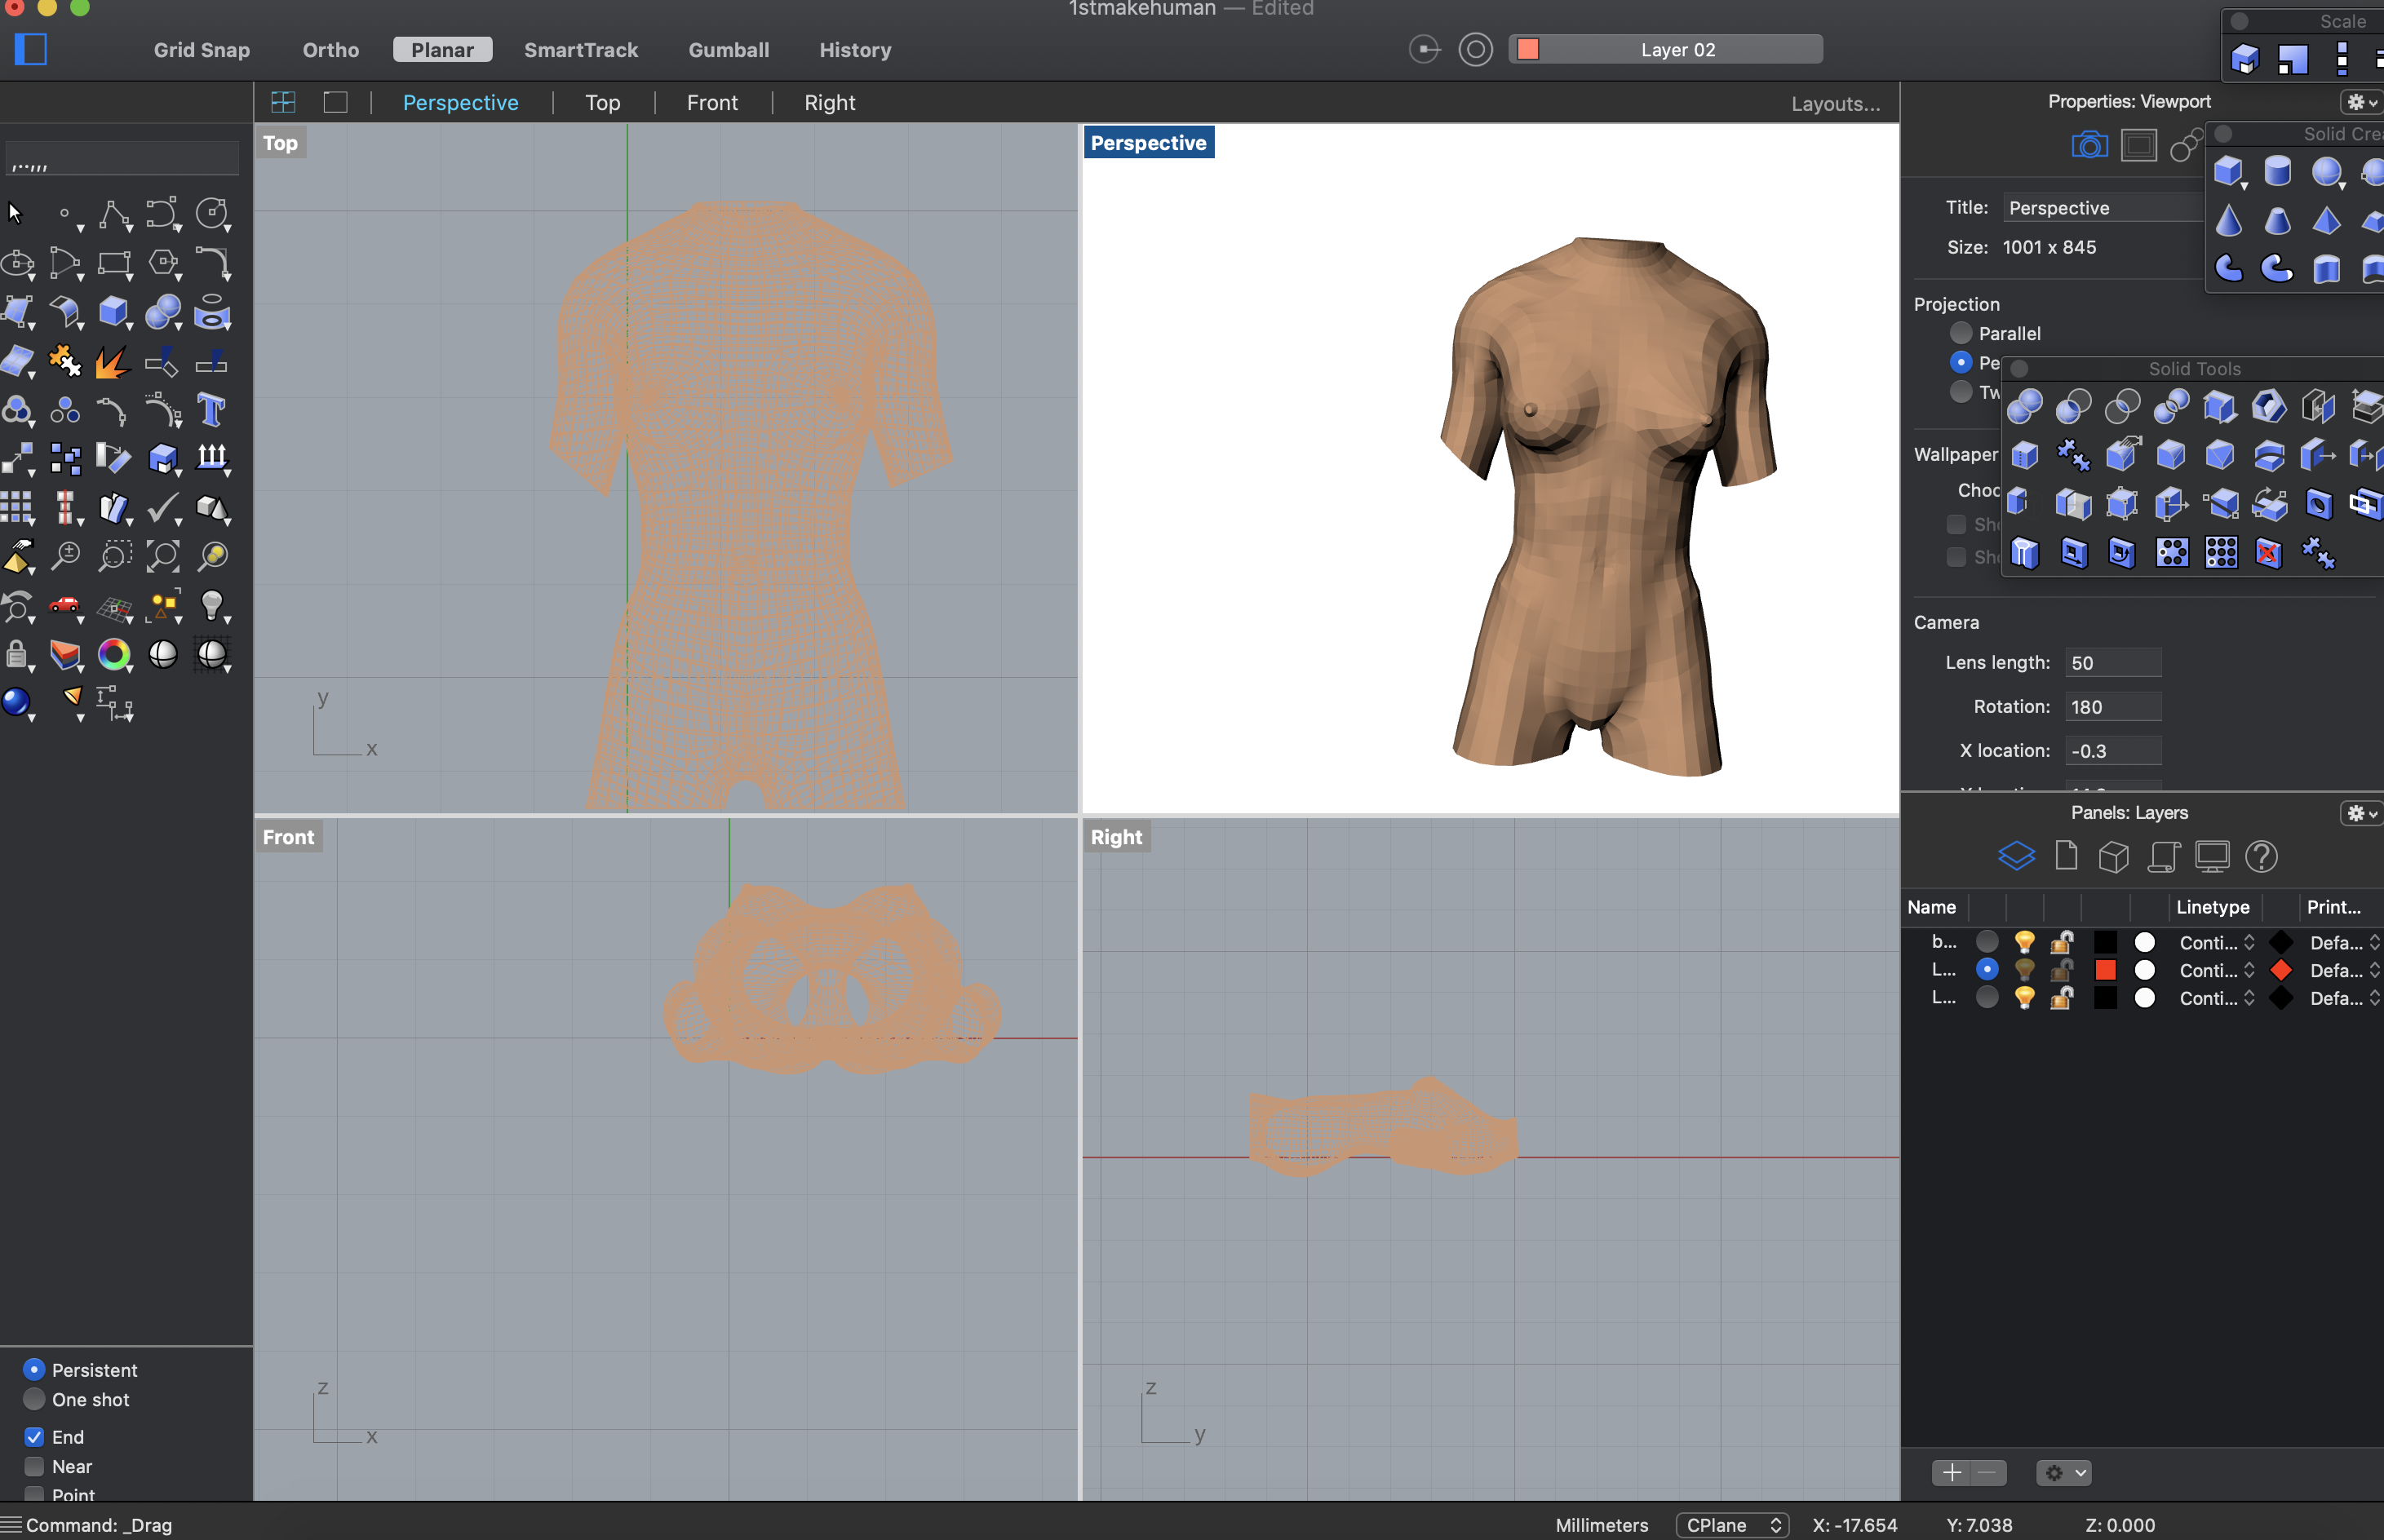
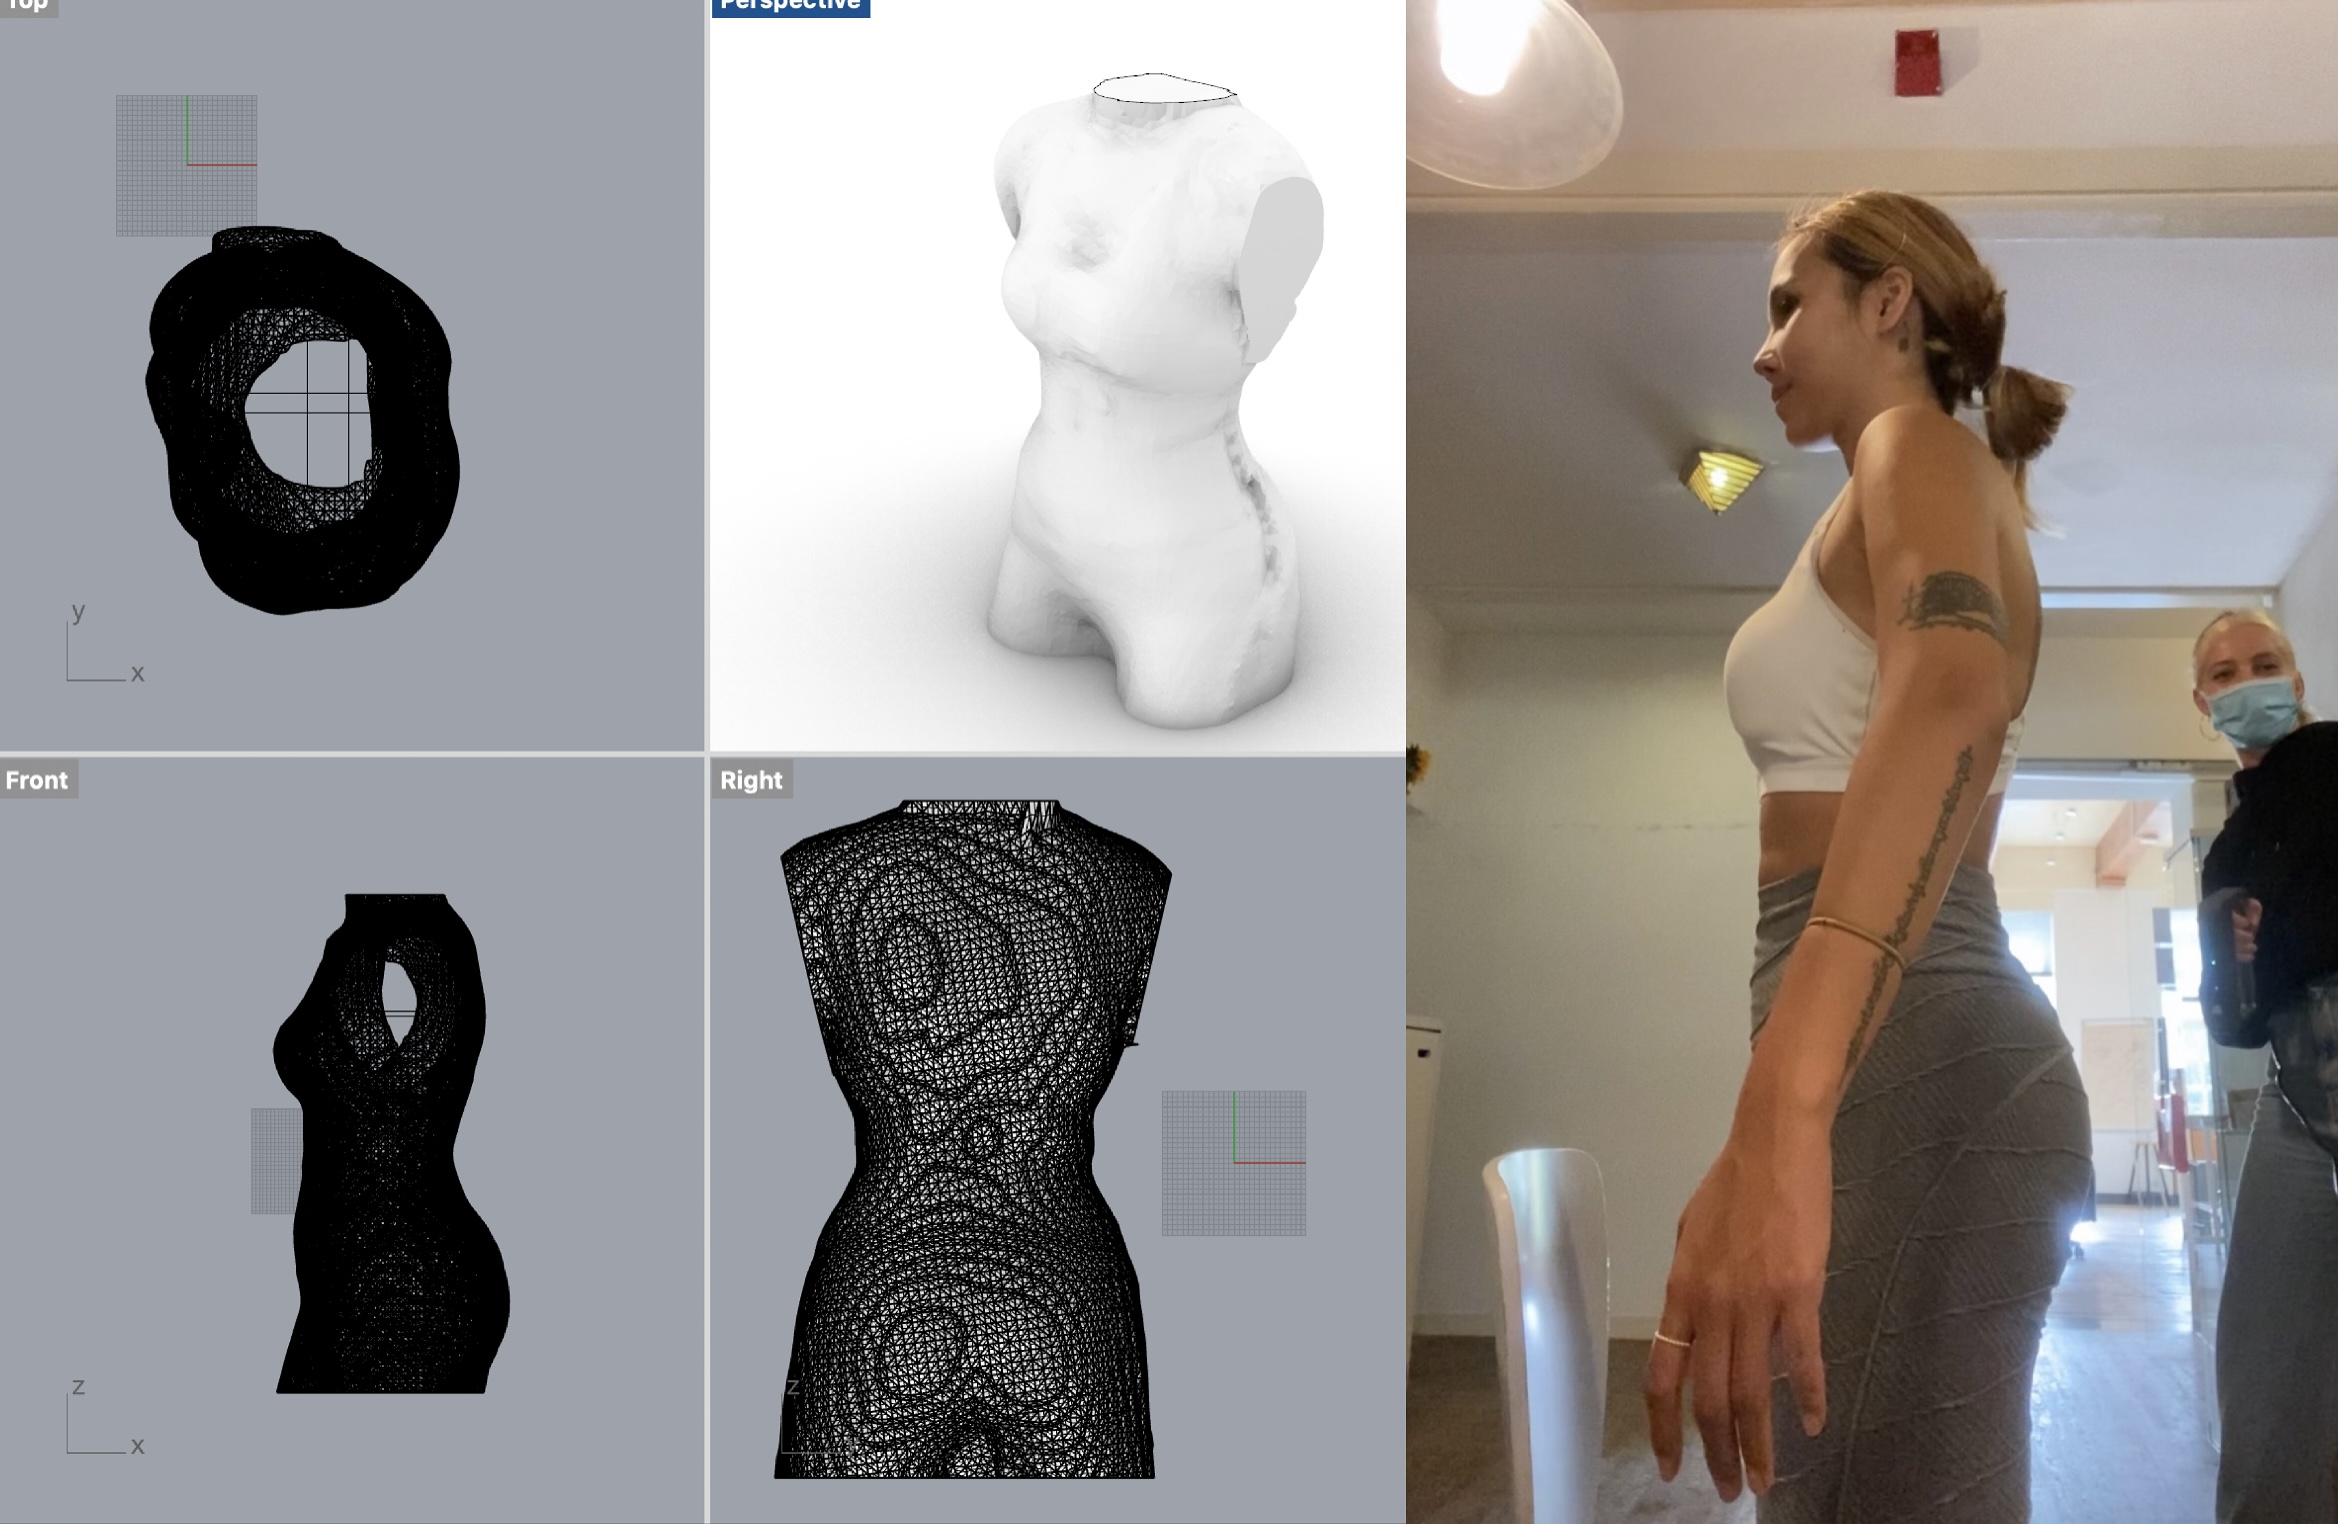
 export as obj then open in Rhino and I got the torso.
I learned about some basic tools in Rhino. I used boolean difference to break the body into pieces.
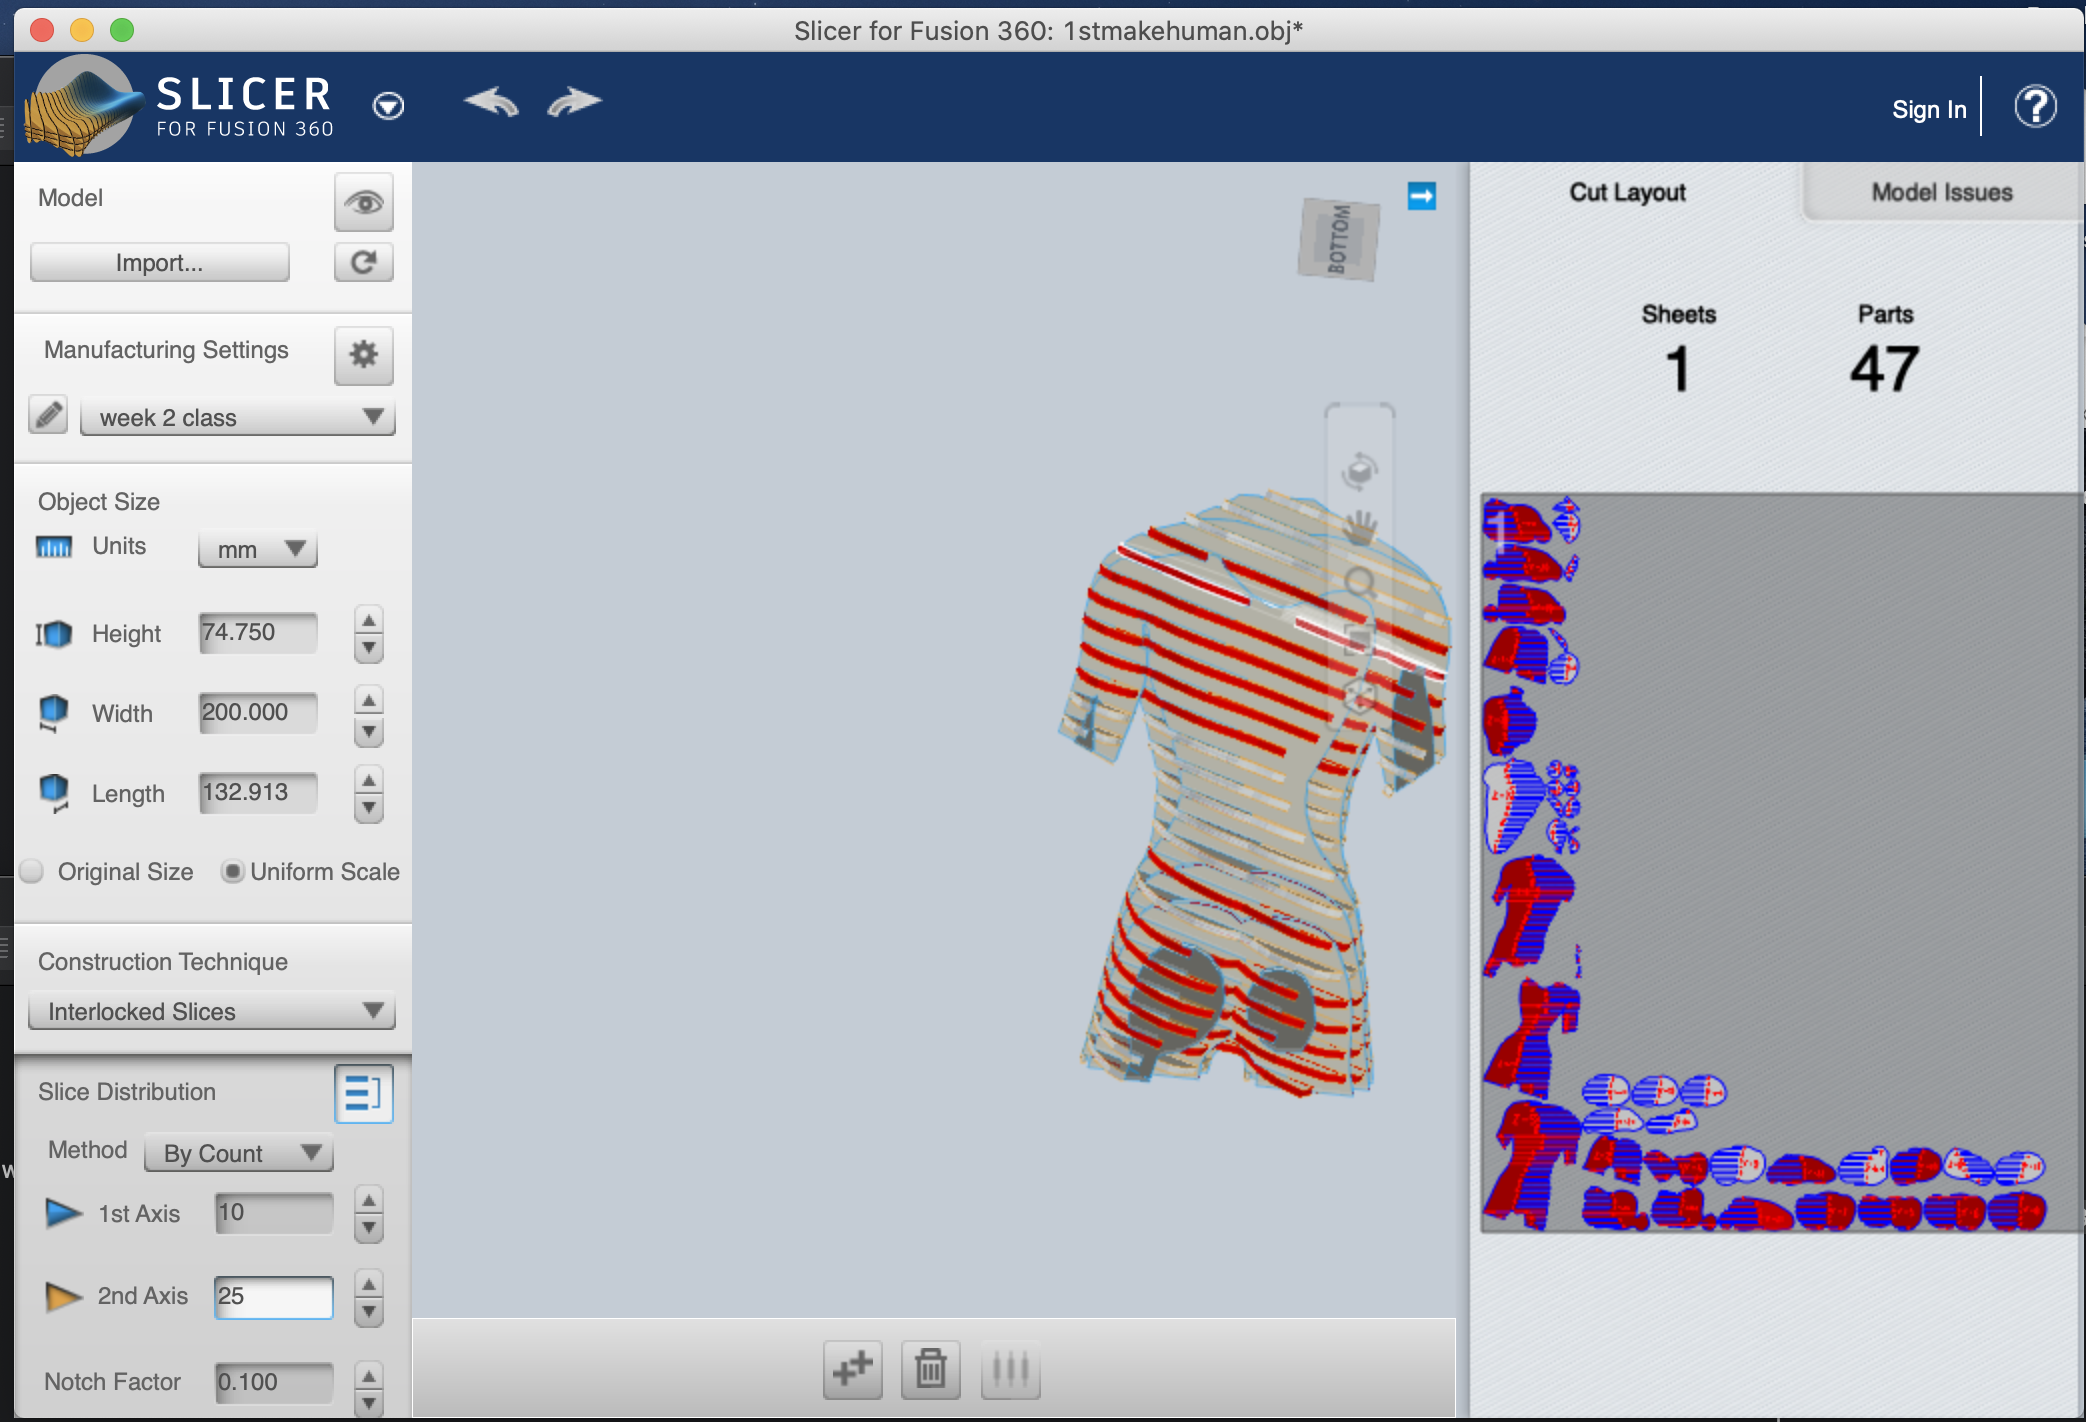
Then i tried with slicer. I did not fix the errors at this point because i will later scan my own body to do the laser cut.
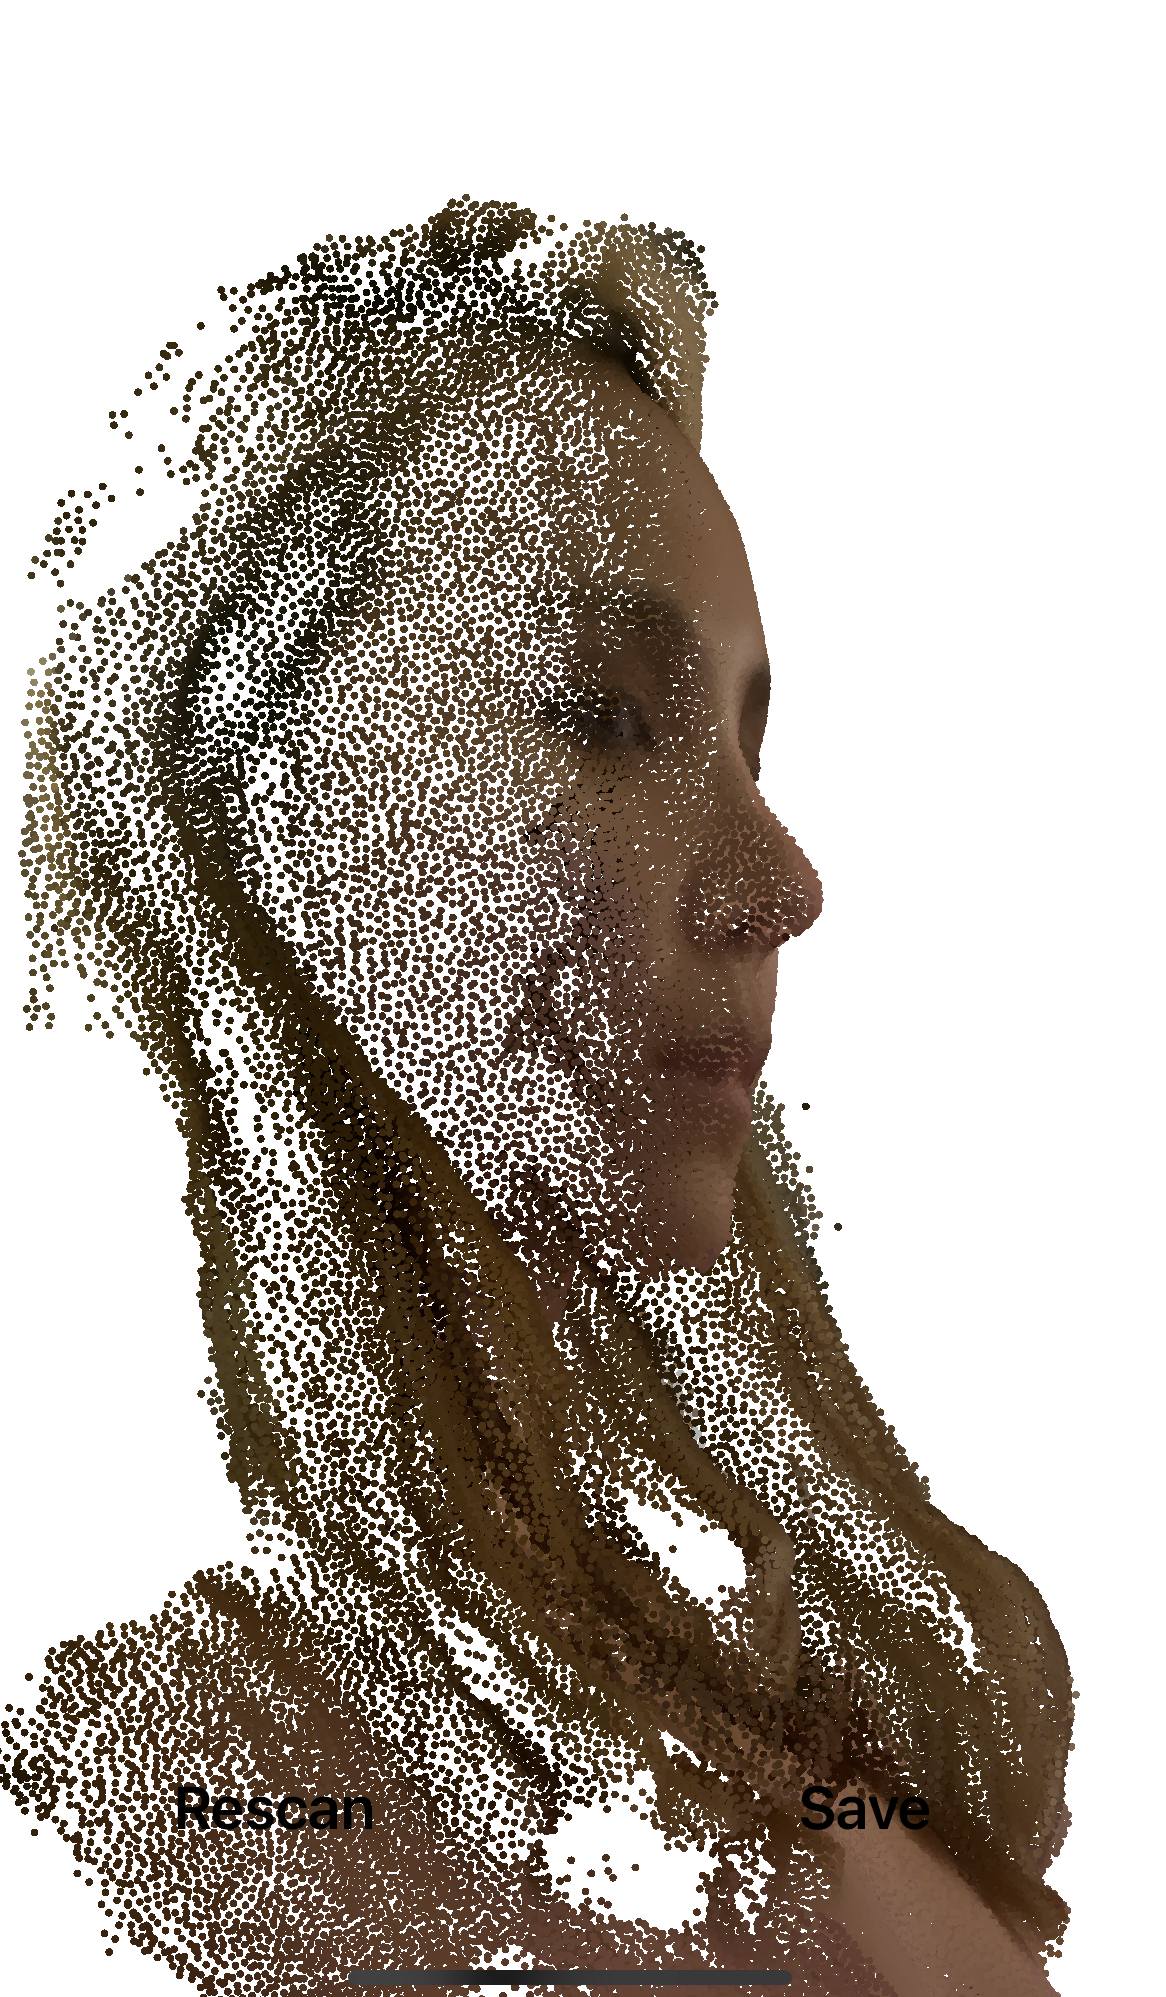
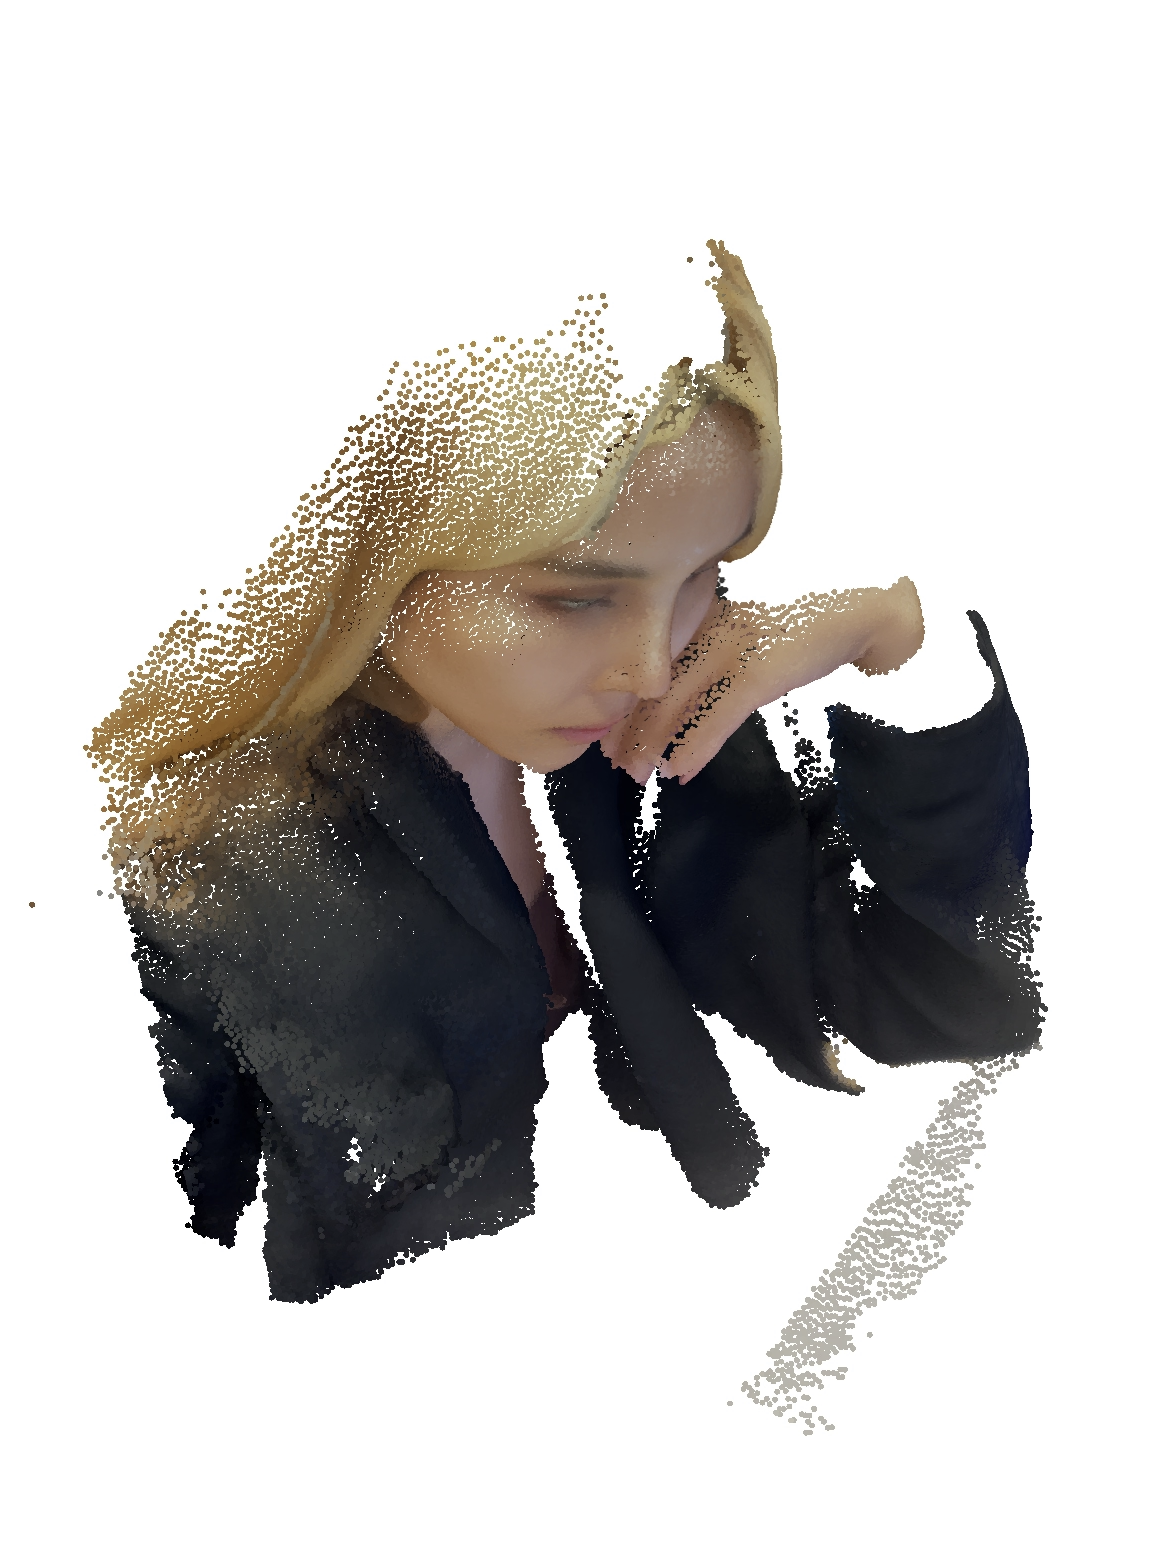
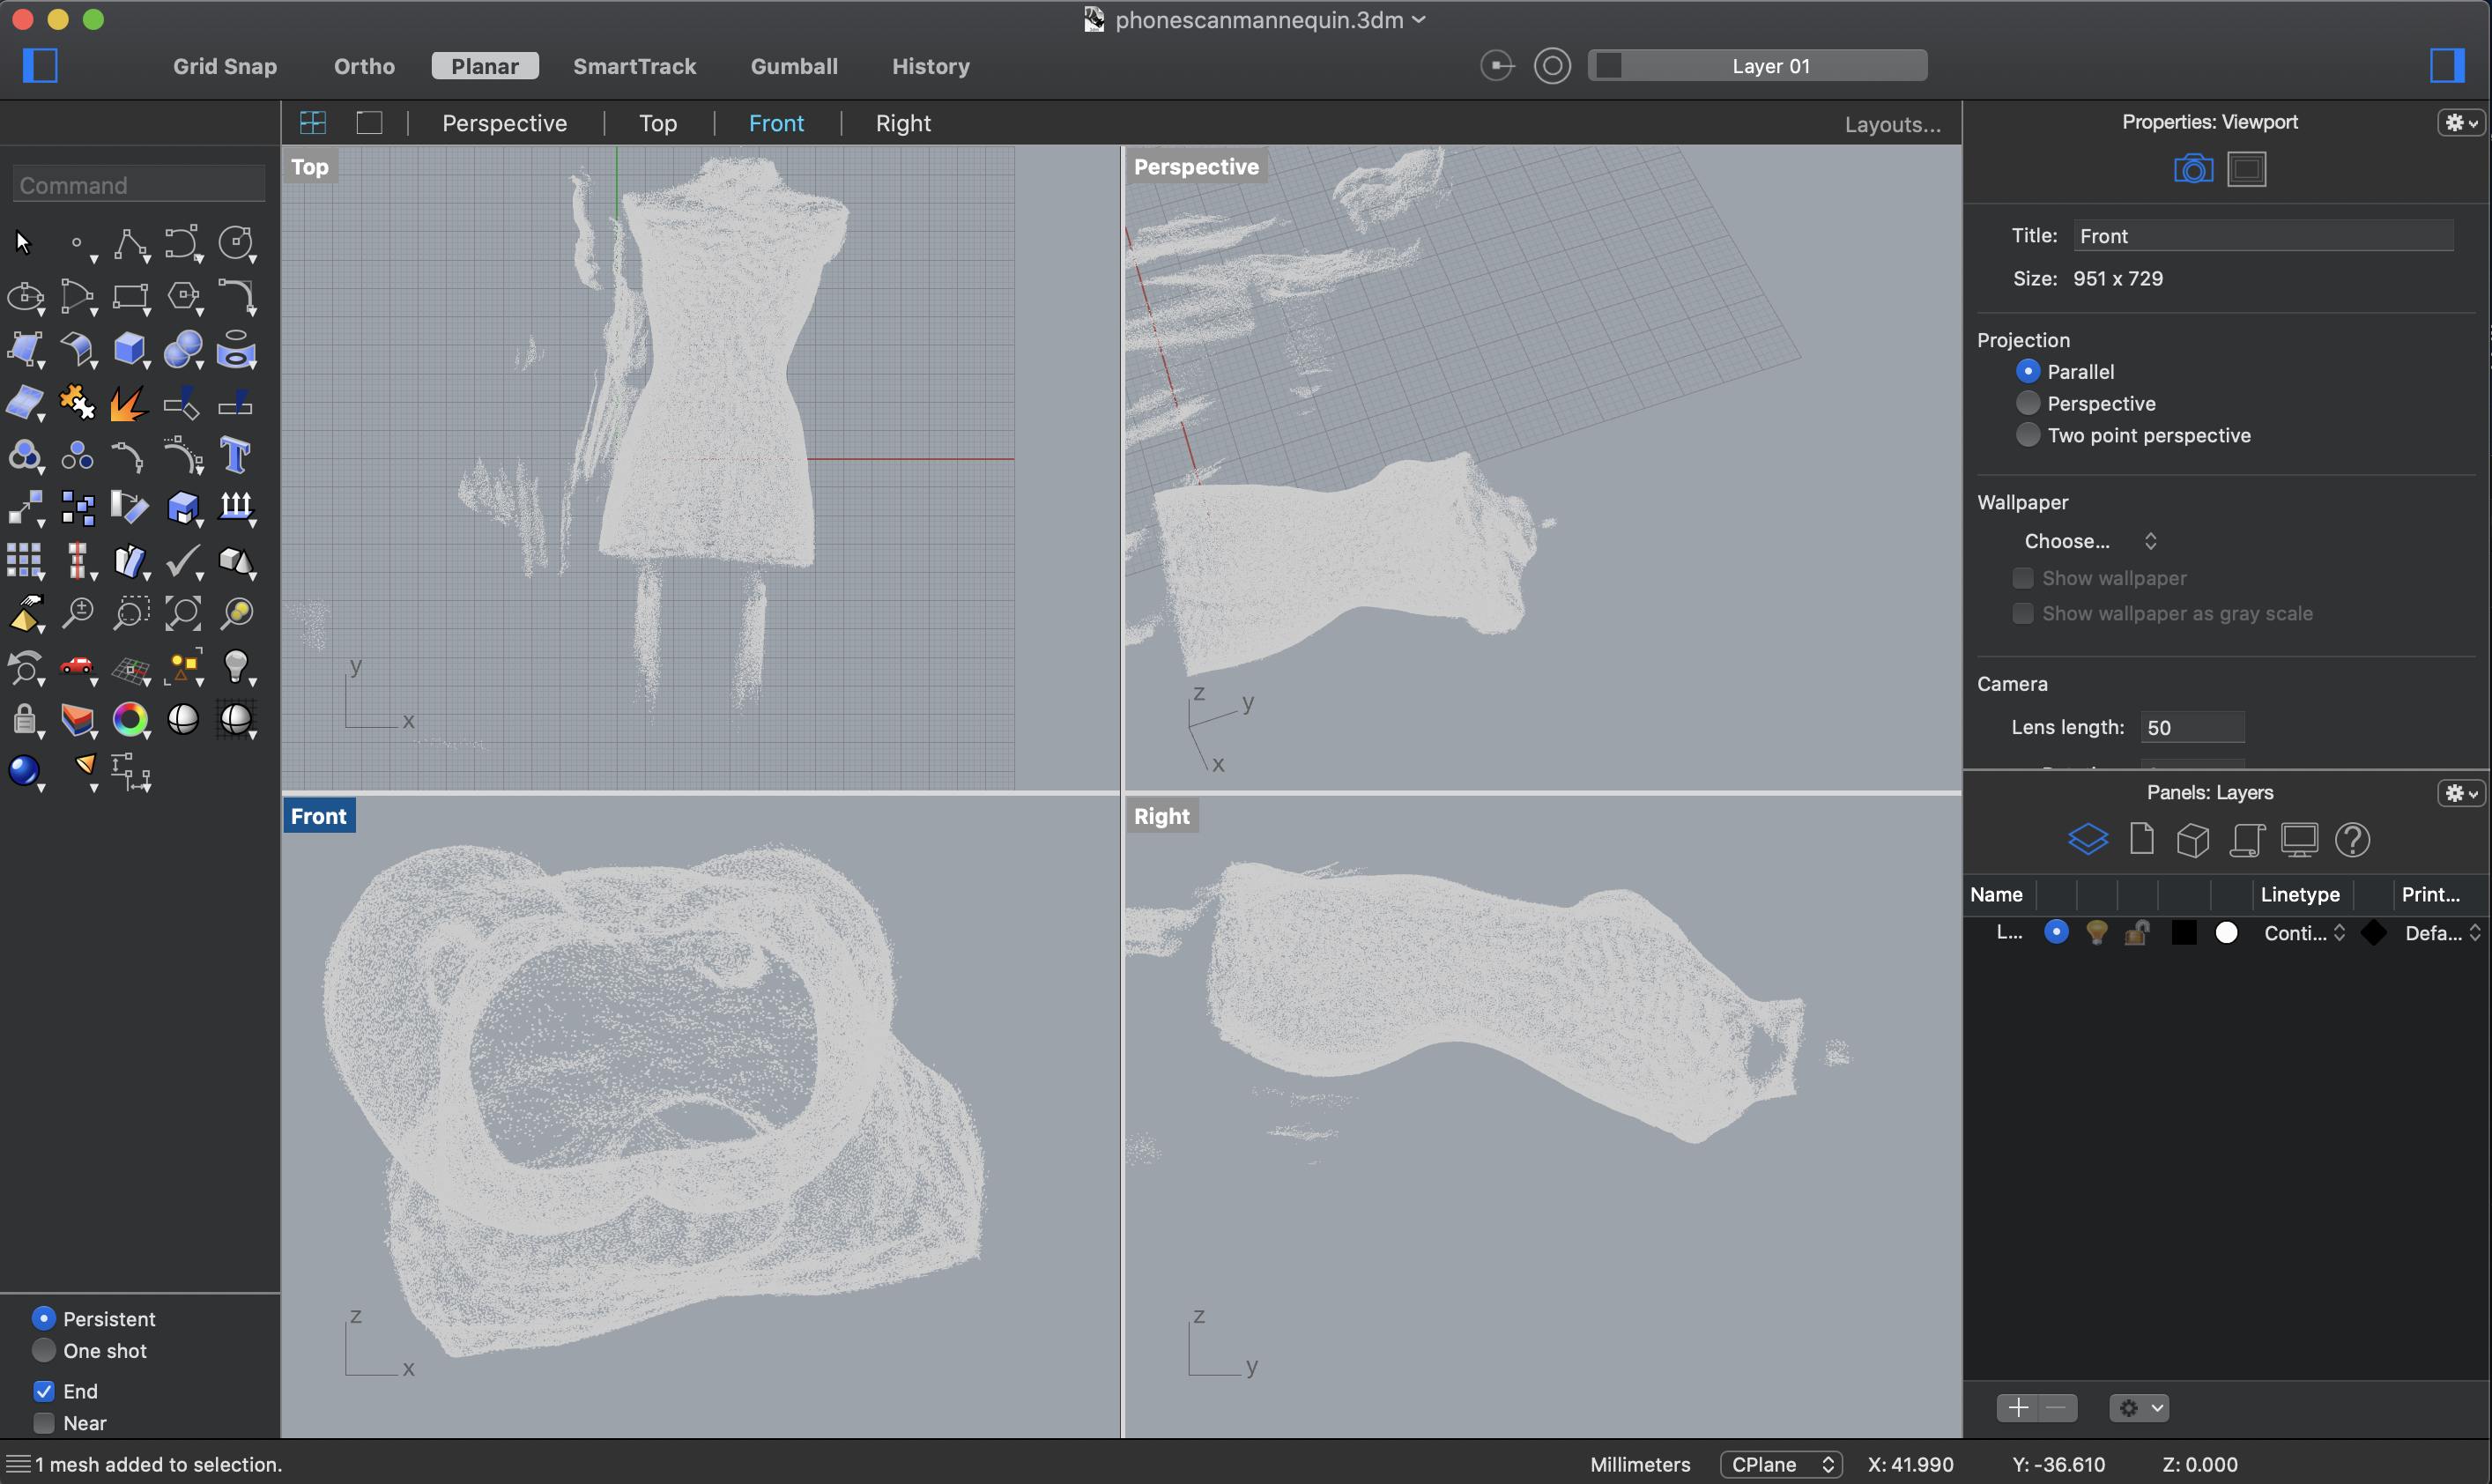
Also I tried some 3d scan on the phone. the files became dots after exporting to the laptop.
I scanned the mannequin
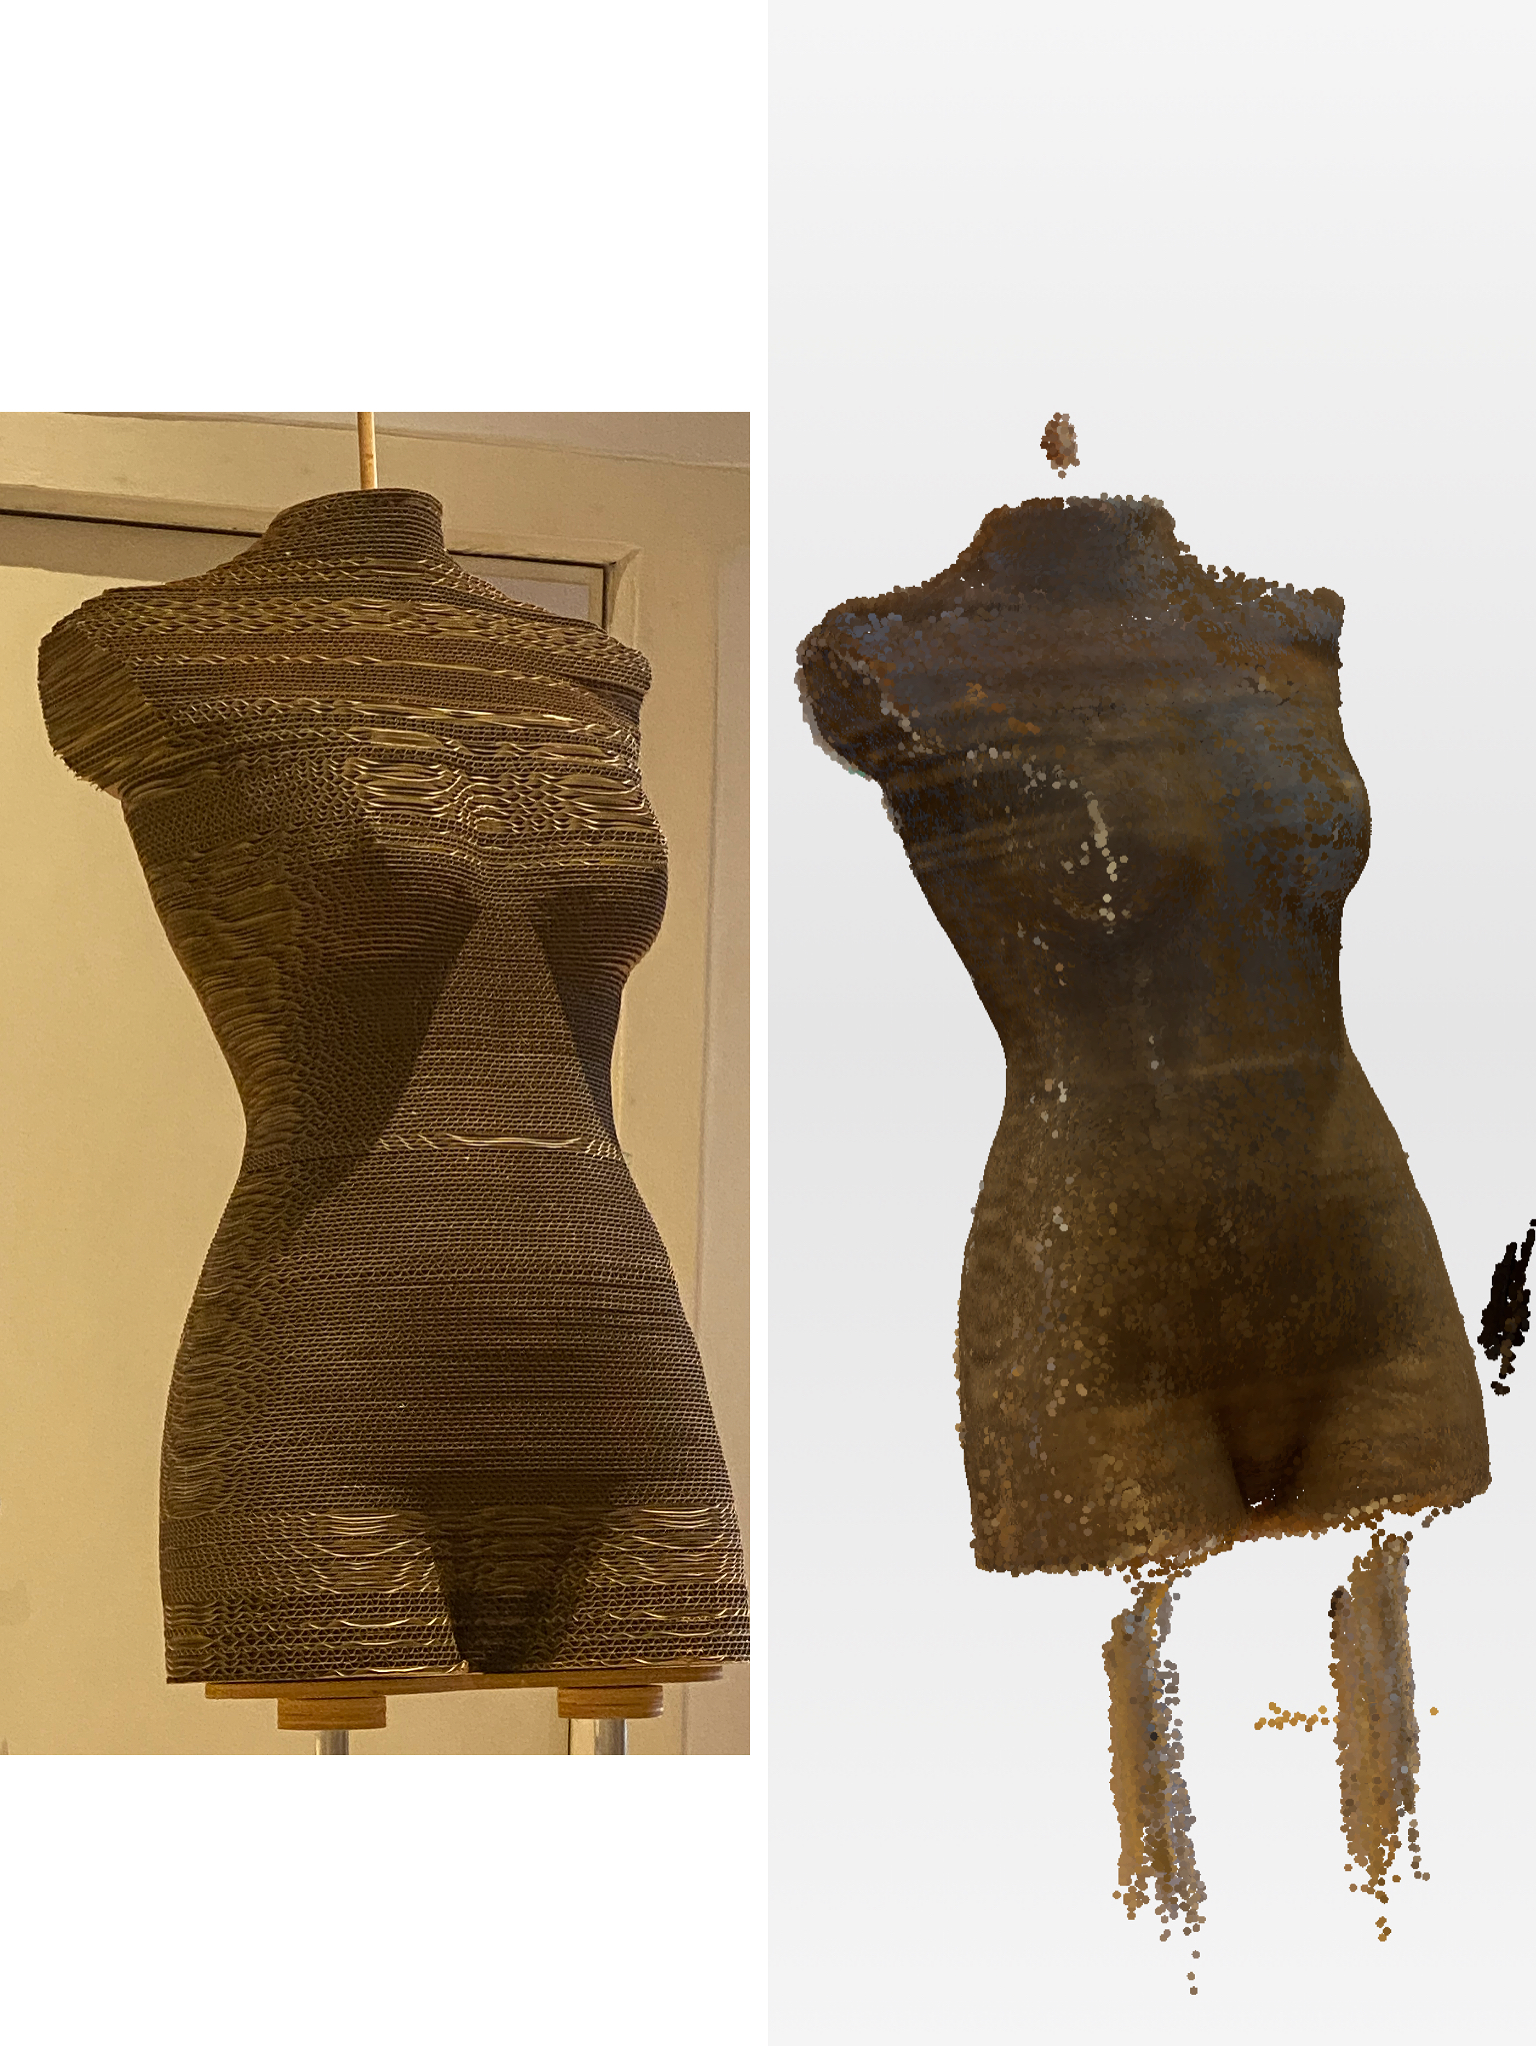 I exported on my laptop and oppend in Rhino. it's all dots no surface. I may do some research on how to create surface from points later.
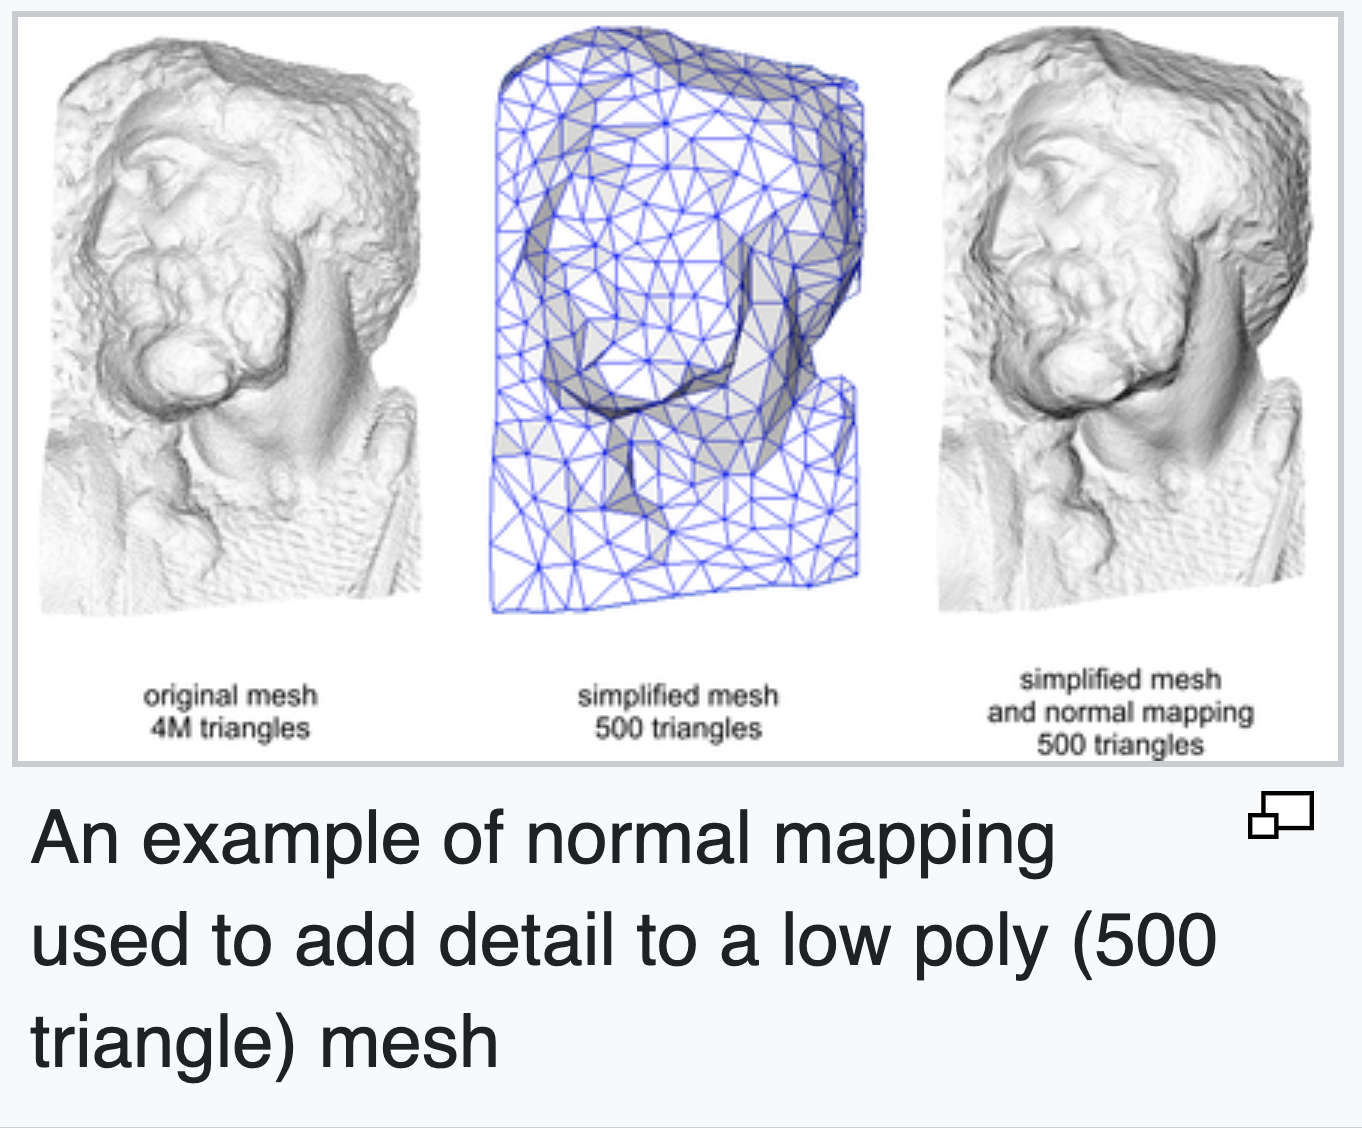
Low Poly Aesthetics
Low poly is a polygon mesh in 3D computer graphics that has a relatively small number of polygons.[1]
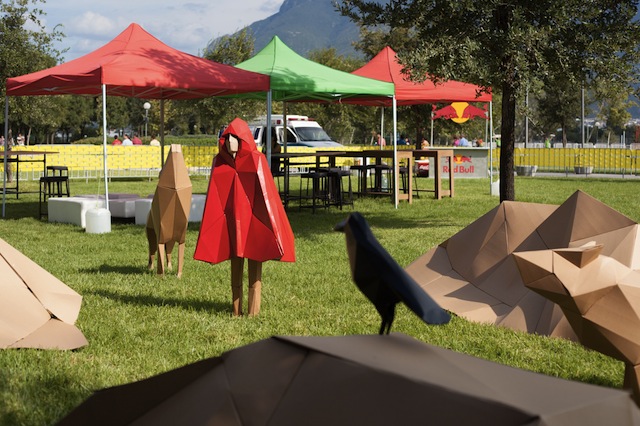
I like how the low poly arts look blocky and simple while still able to represent the object. I think it will be fun to do my own figure in polygon.
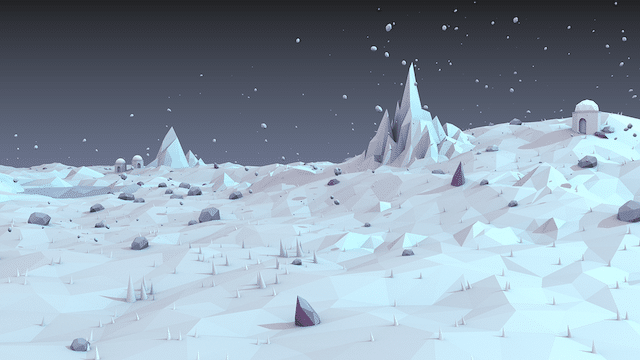
I like the clean and crystal-like look that created with polygon. That is why i choose reflective materials. I think it will be also cool to use transparent materials but if will requre me to be able to use the joints really well. The joints are to tiny to hold the shapes , i think it can work if I make something larger.

Process
I decided to use my own torse. It just sounds awesome to have my own "statue" and now here is a quick way.
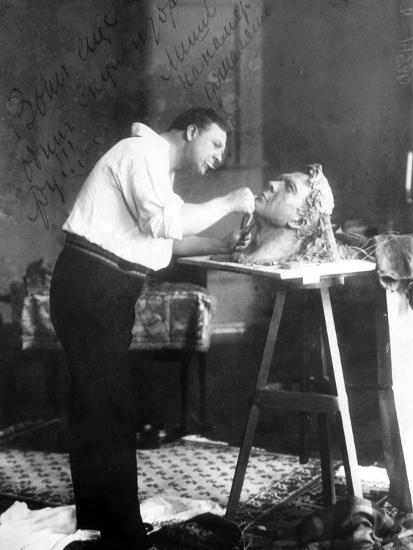
(image: Feodor Chaliapin makes sculpture of himself)
I also sculpted myself before (with polymer clay) I always enjoyed making things in 3d form like sculpting or making clothes.Maybe i can use the technology for my future sculpting work.I can create some mold with rhino to make more precise sculpting works.
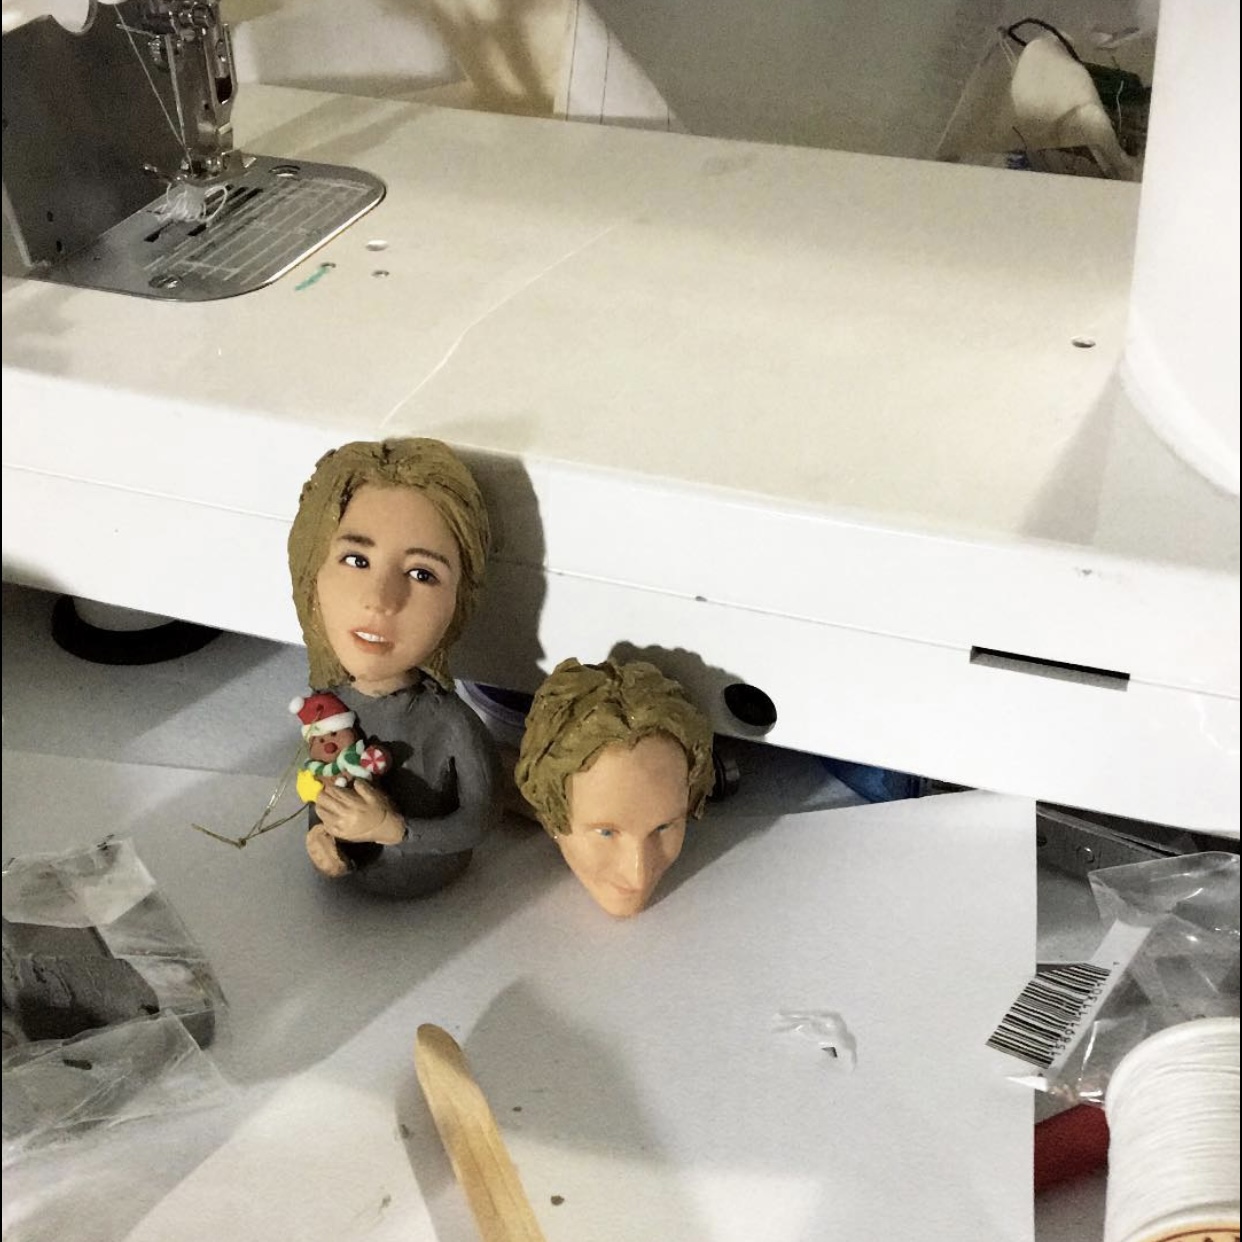
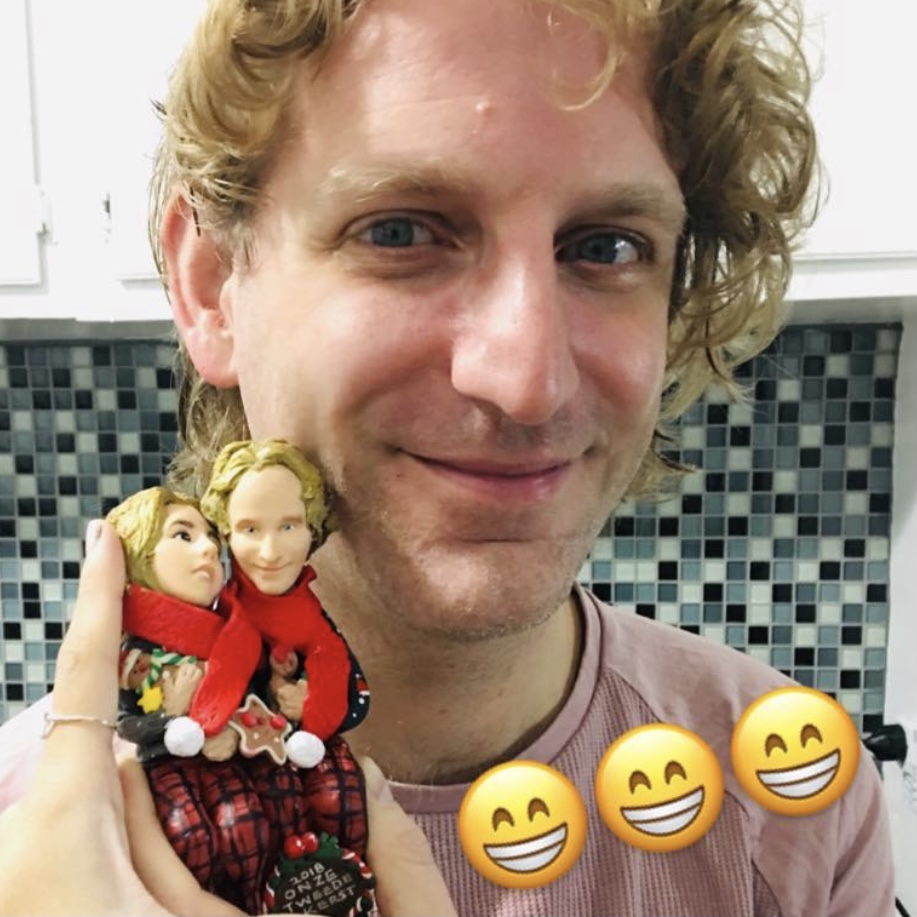
This is a Christmas tree ornament.
I use the scanning of my torso for this project.I found out the stableness of lightings is very important for the quality of the scan. Scanning took a lot of time becuase of the lighting. I think it works the best when i being rotated instead of the scanning person walk around becuase the light will change. The final scan took like 30 minutes and I was holding my arms without moving much. Also thanks Rebecca and Sara for scanning me. It is really tiring. I think it will be nice with there is any rotating base to stand on.

I used MeshLab to check/fix the holes of the scan. I had a lot issues when I open it in Rhino. It eventually worked.
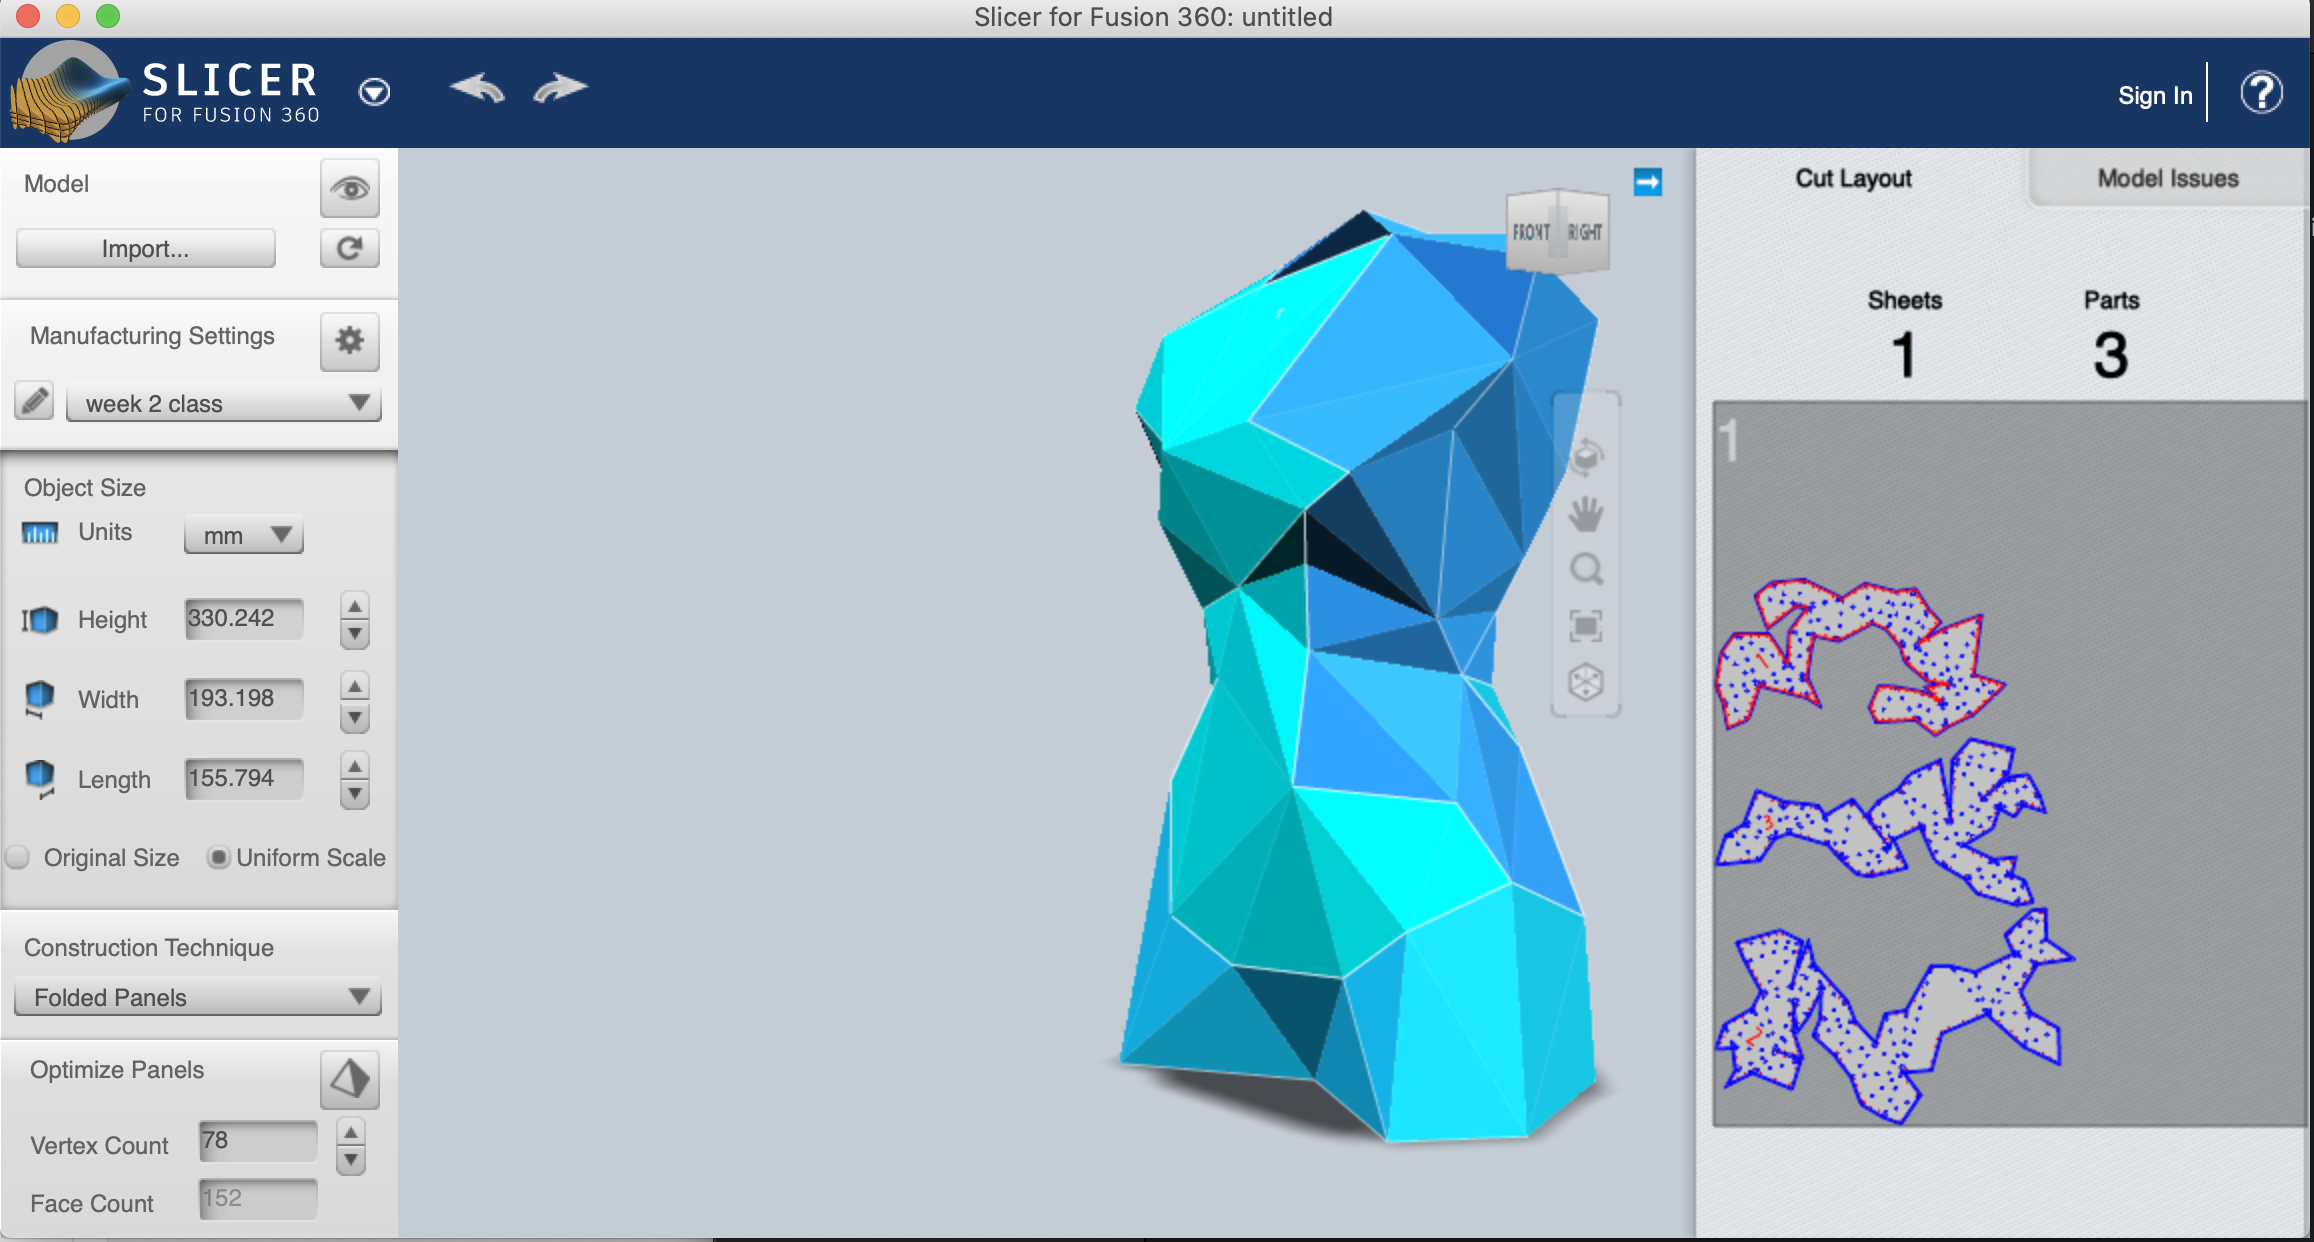
Her is the plan B in case i do not have enough time to finish the folded panels. This is radical slice. I think it is a lot easier because the slicer program can walk you through every single steps. I was worried that I will not be able to finish the folding panels on the Show&Tell day.
Unlike Radical slice, folded panel do not show how to fold and piece them together. It stressed me out a little but I decided to push it.
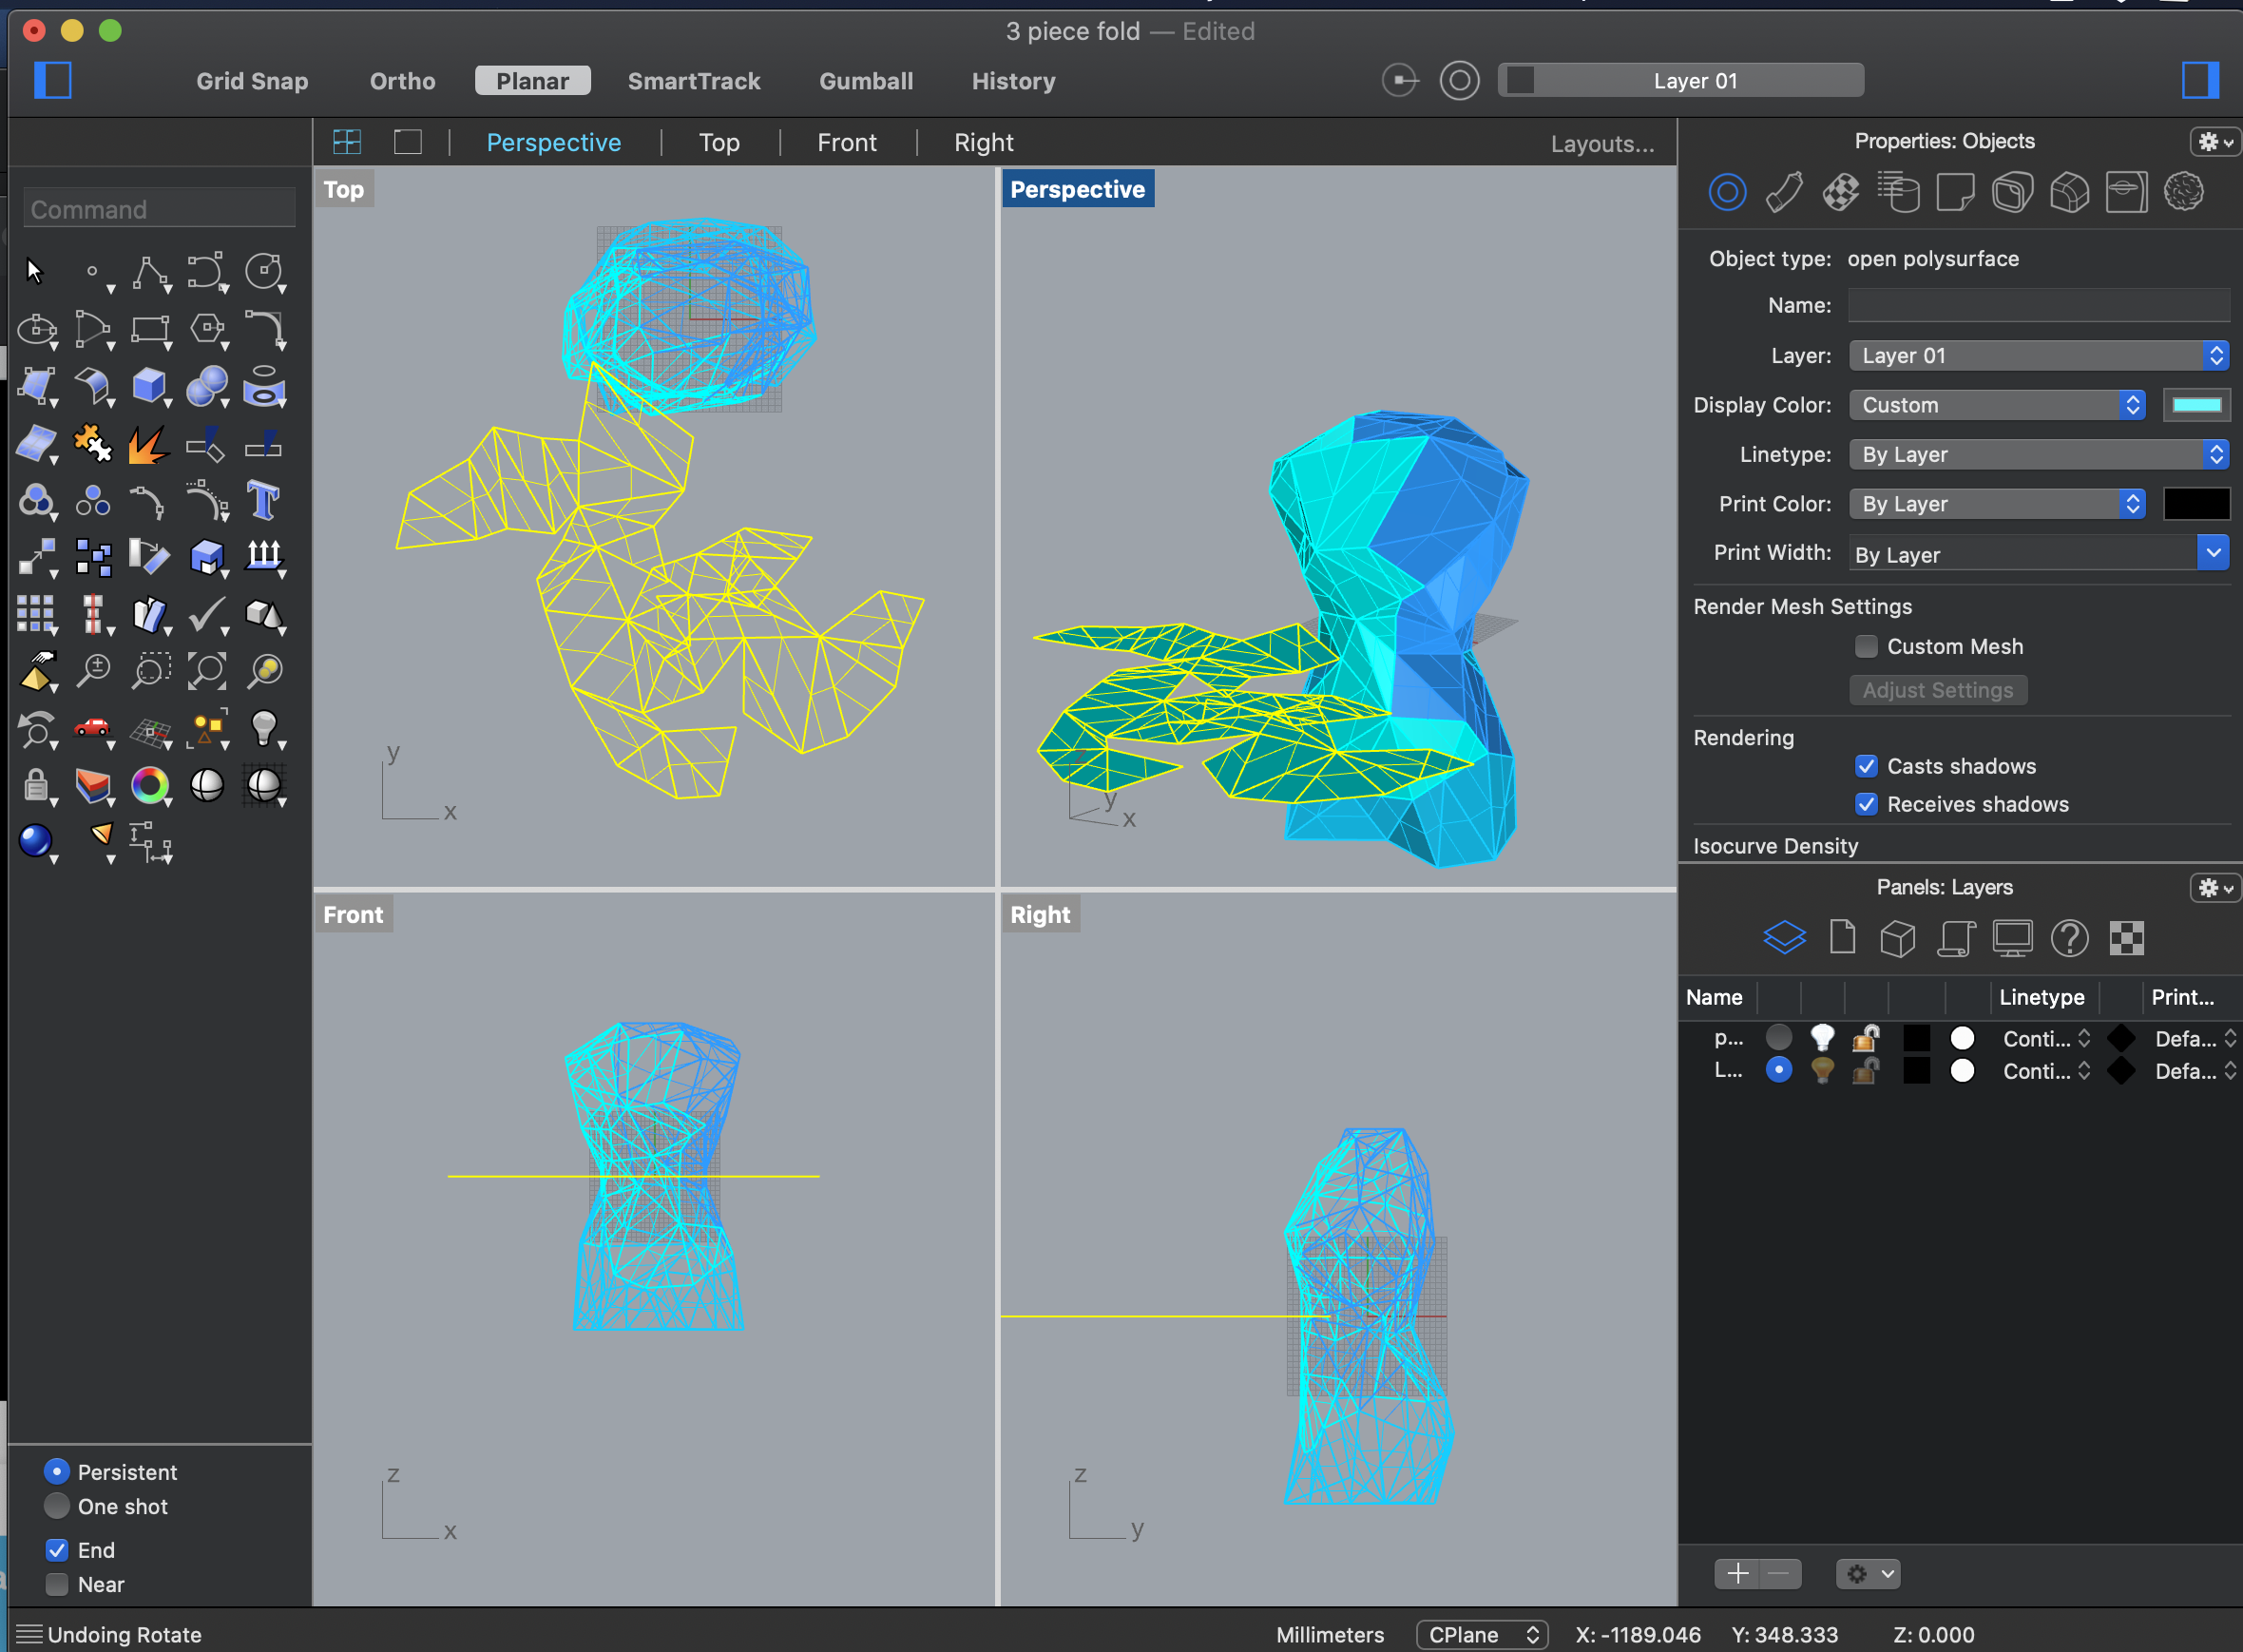
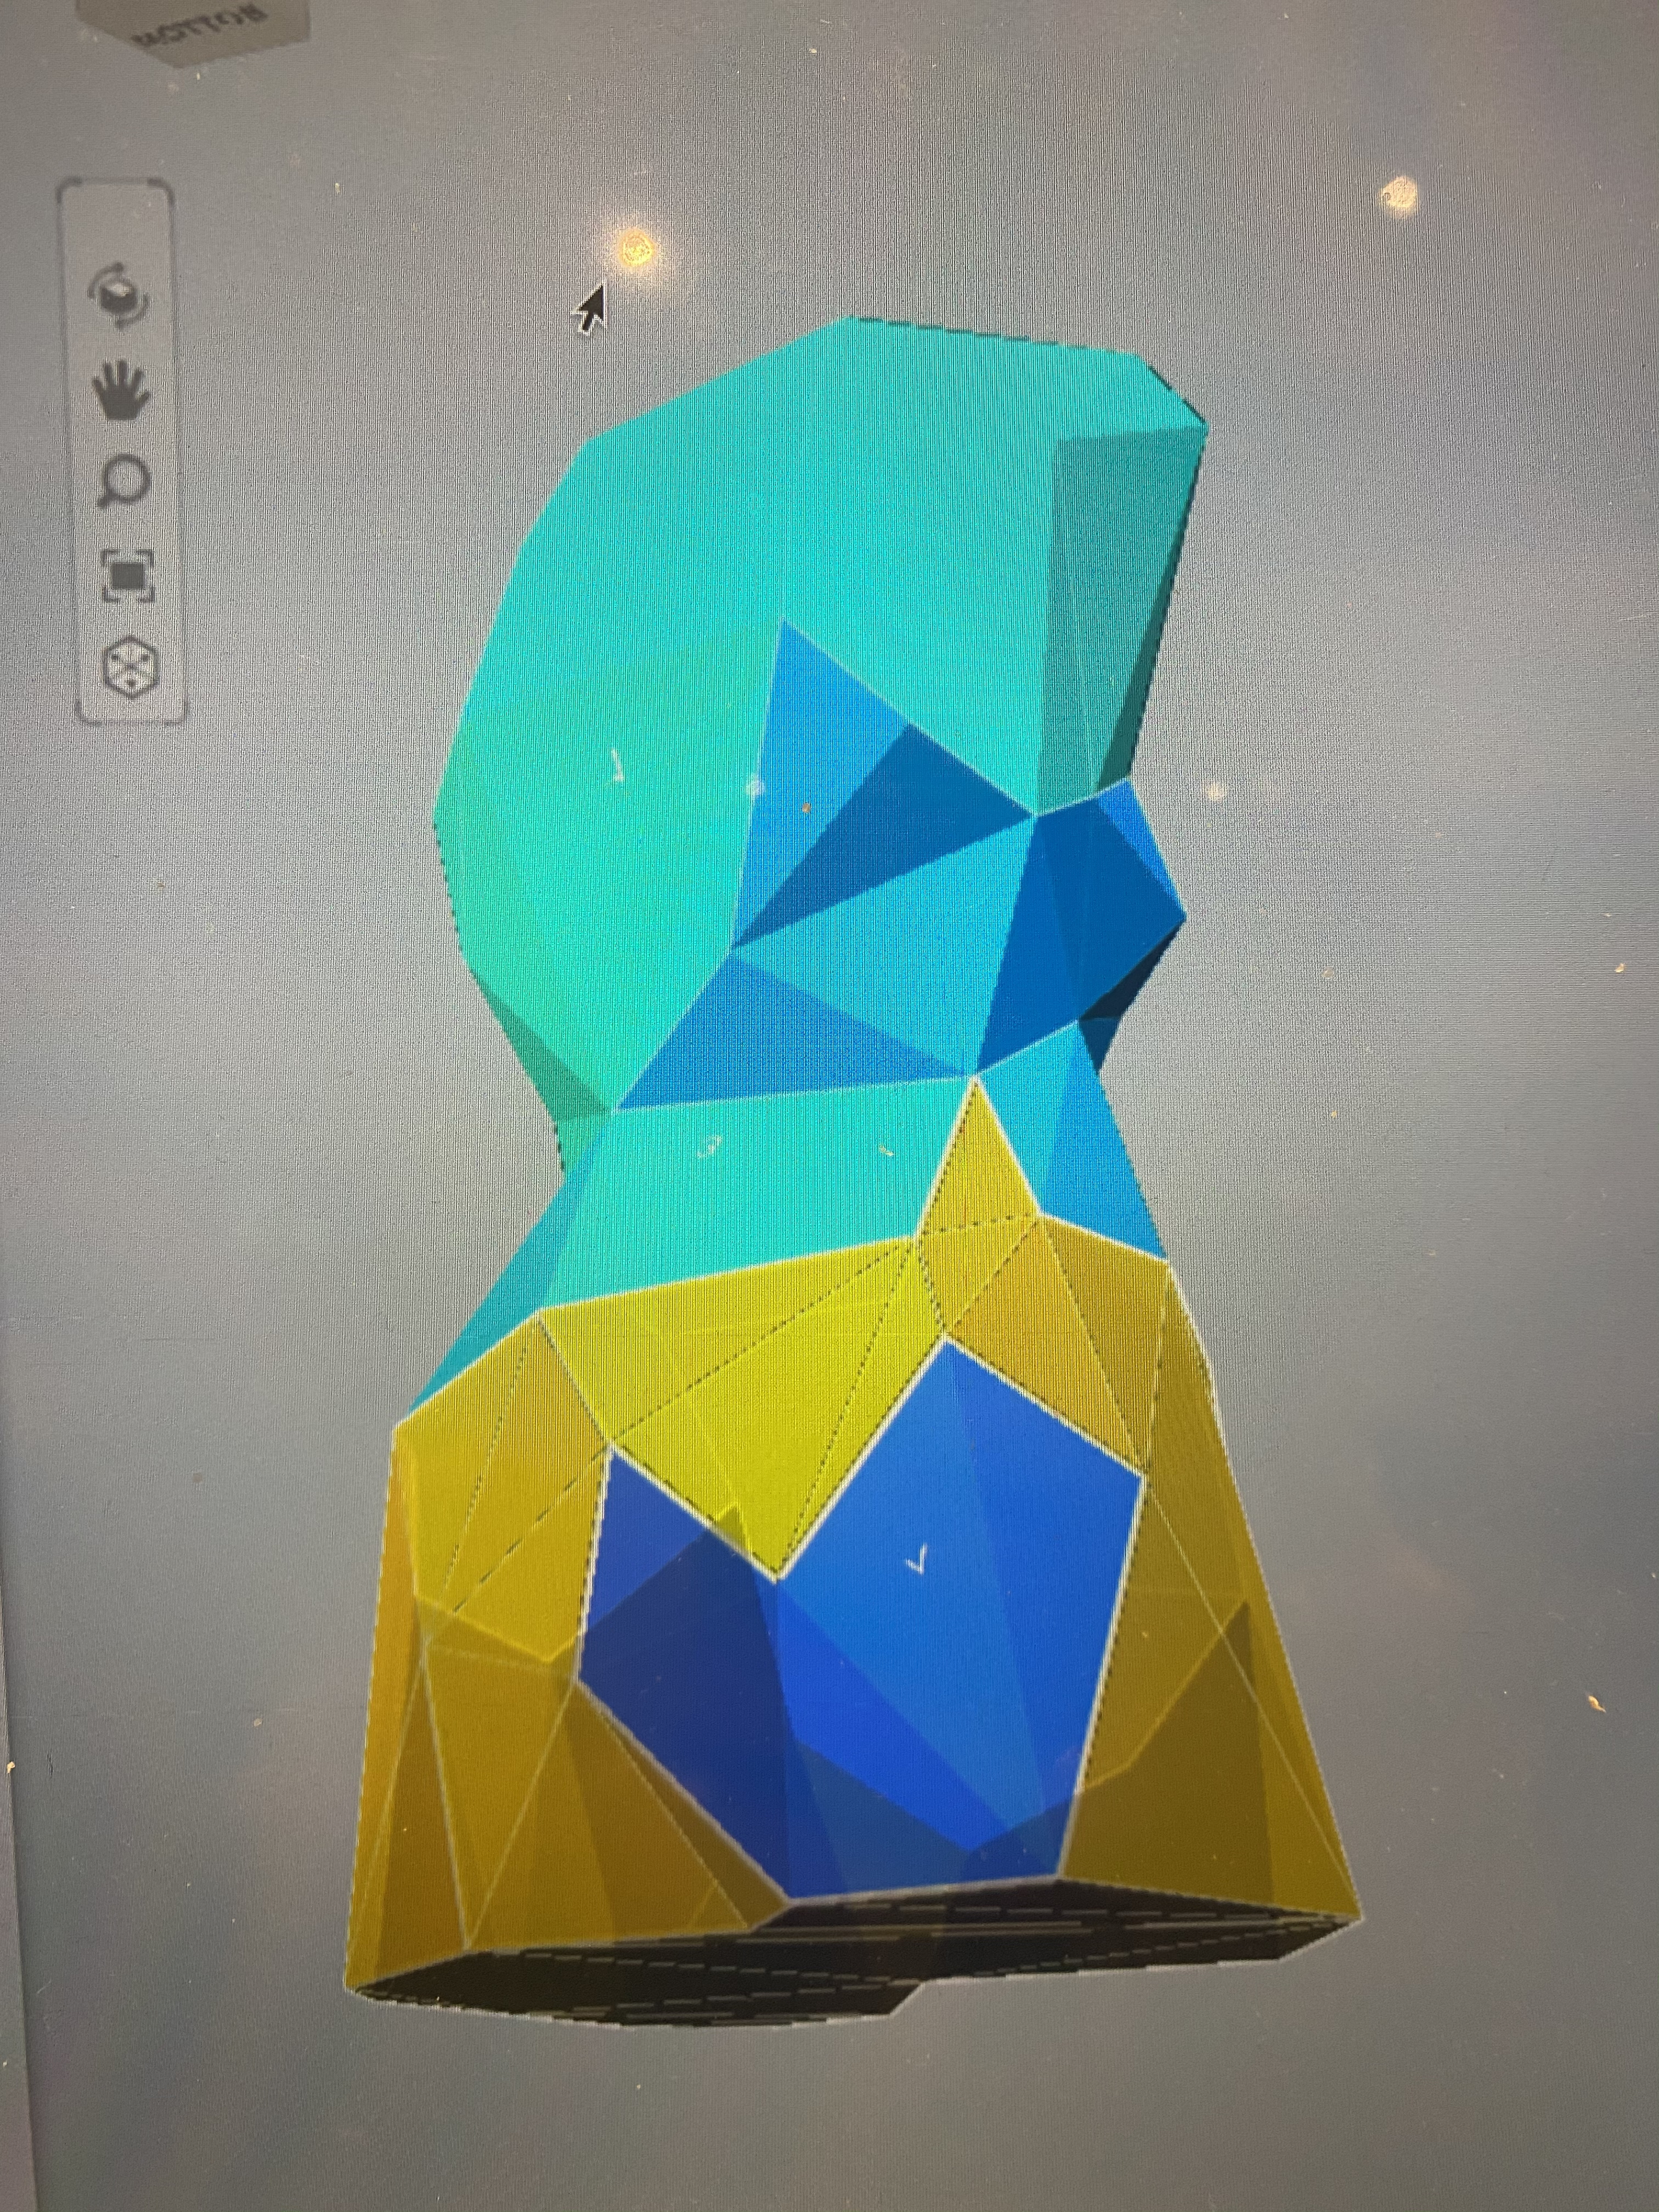
 I found a way to see the structures better: I exported the obj file on Rhino, it became a mesh. The parted are seperated when open in Rhino.
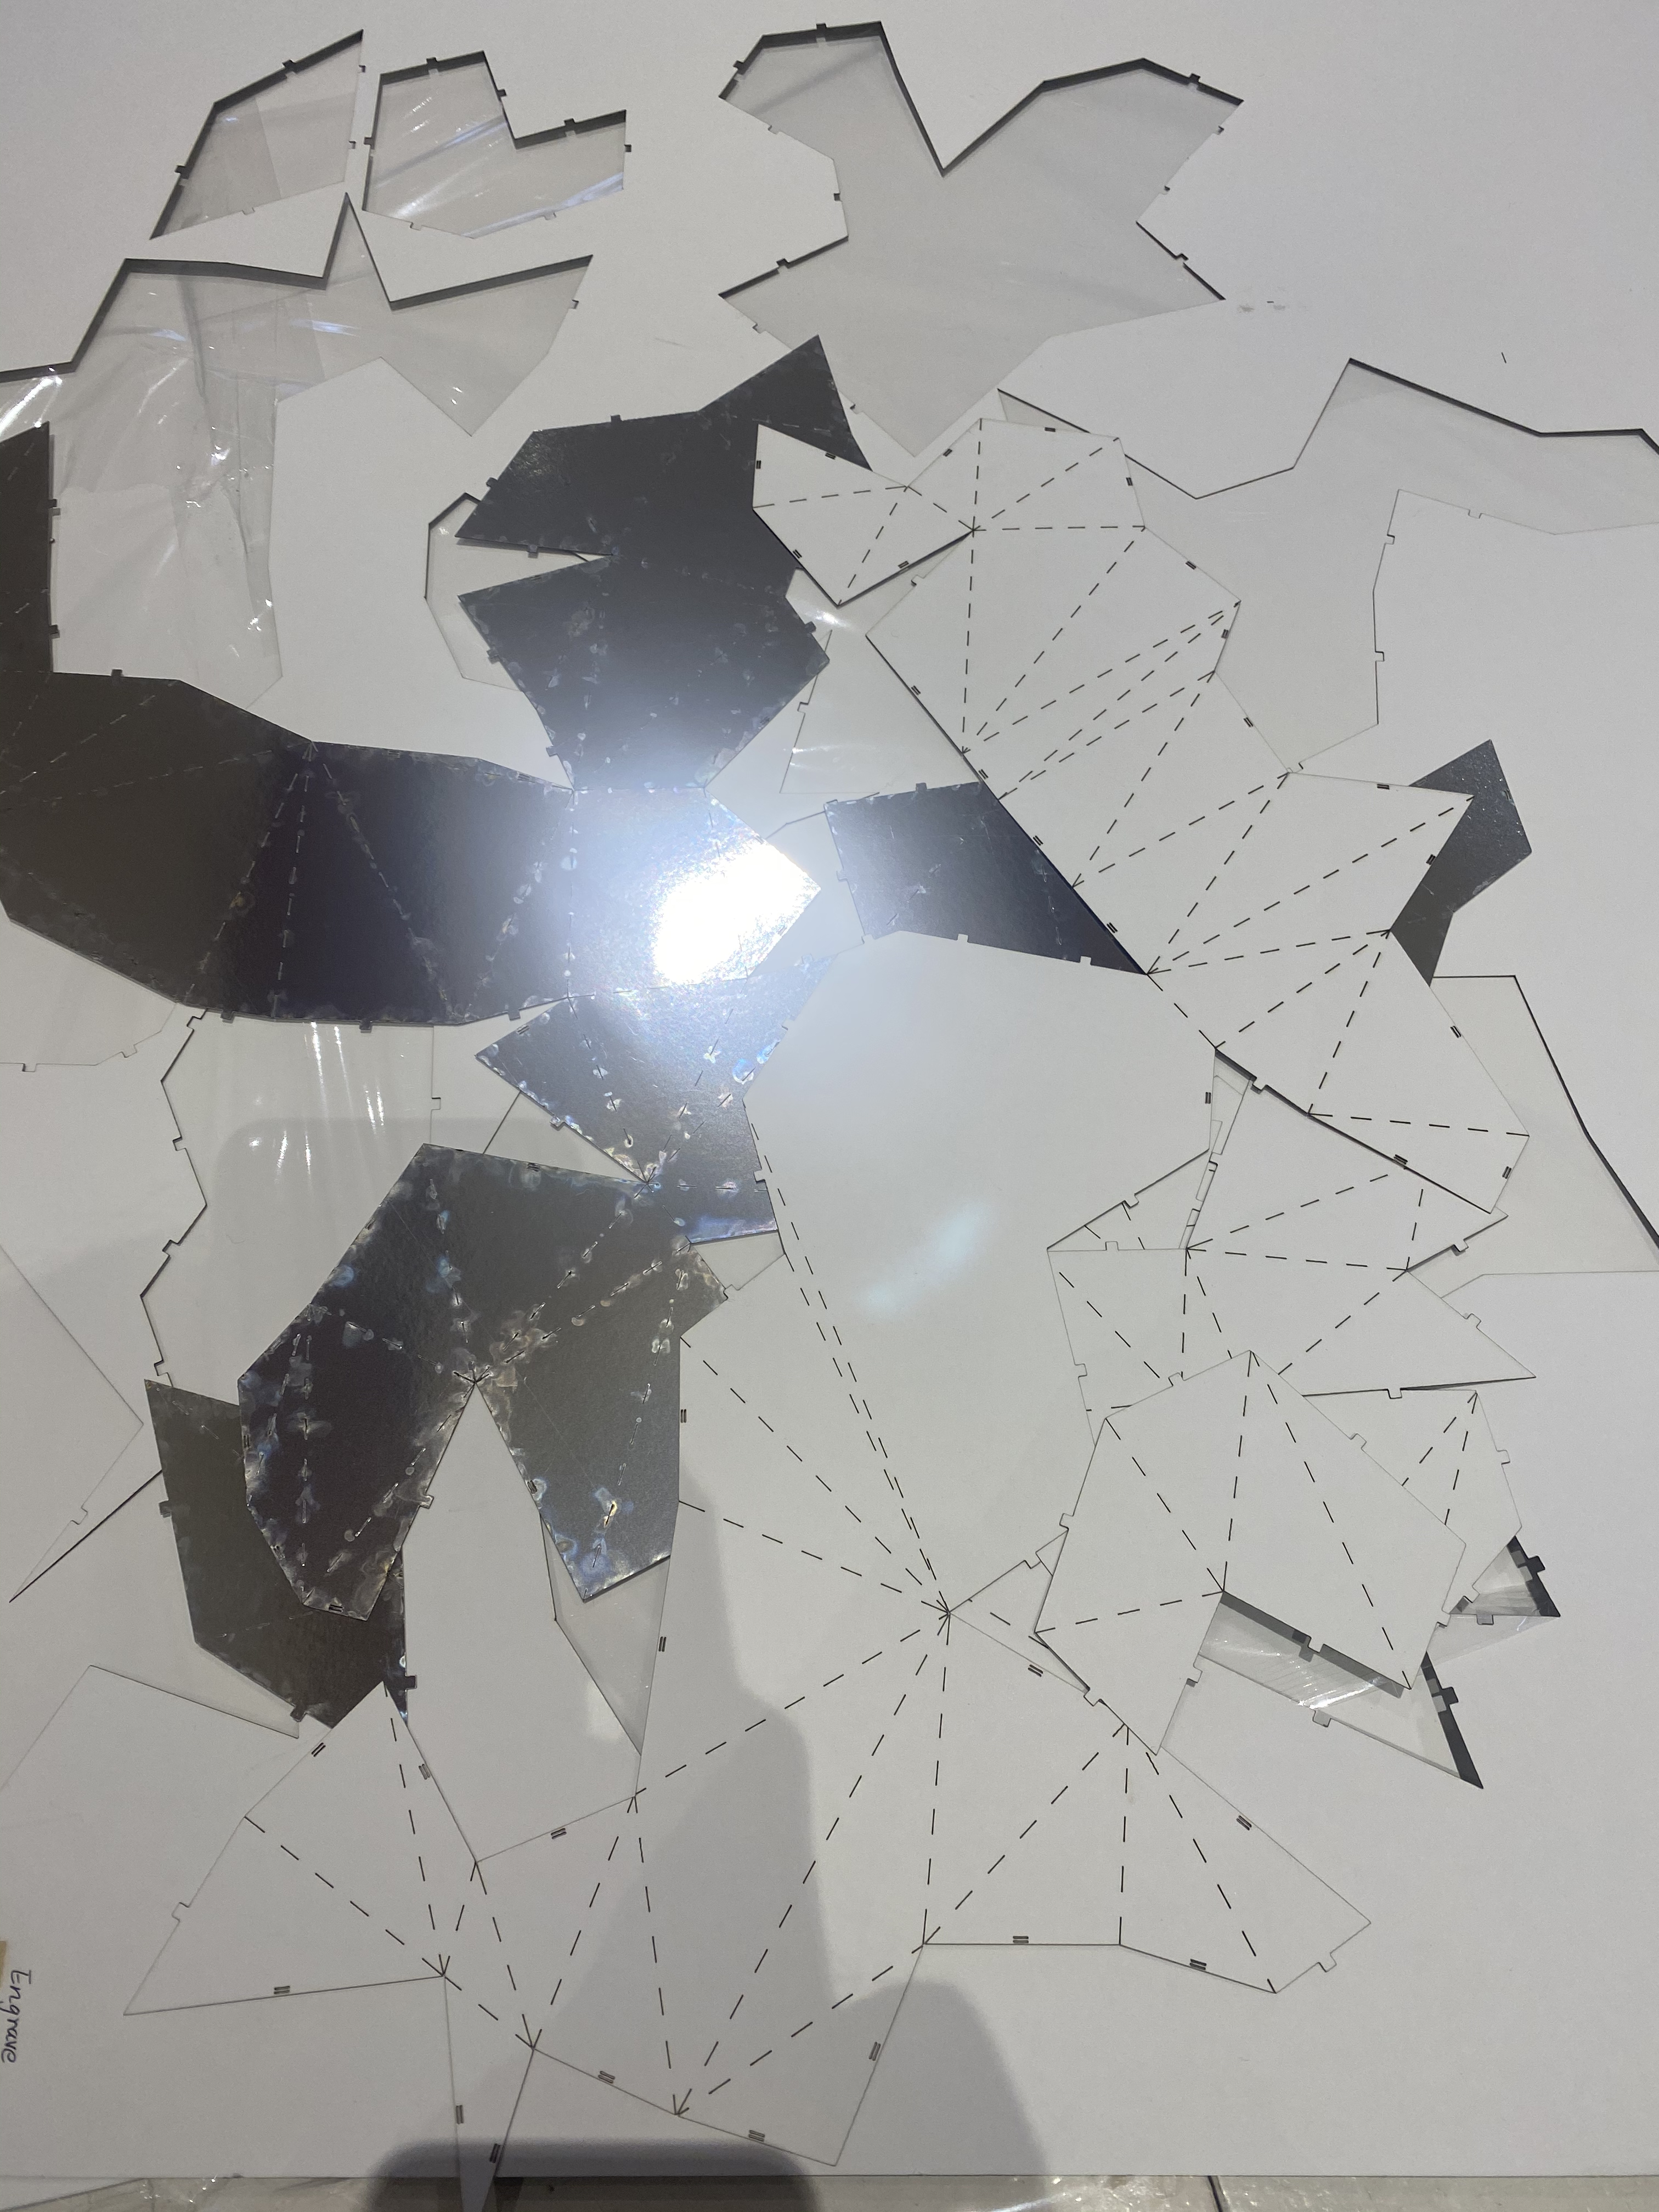
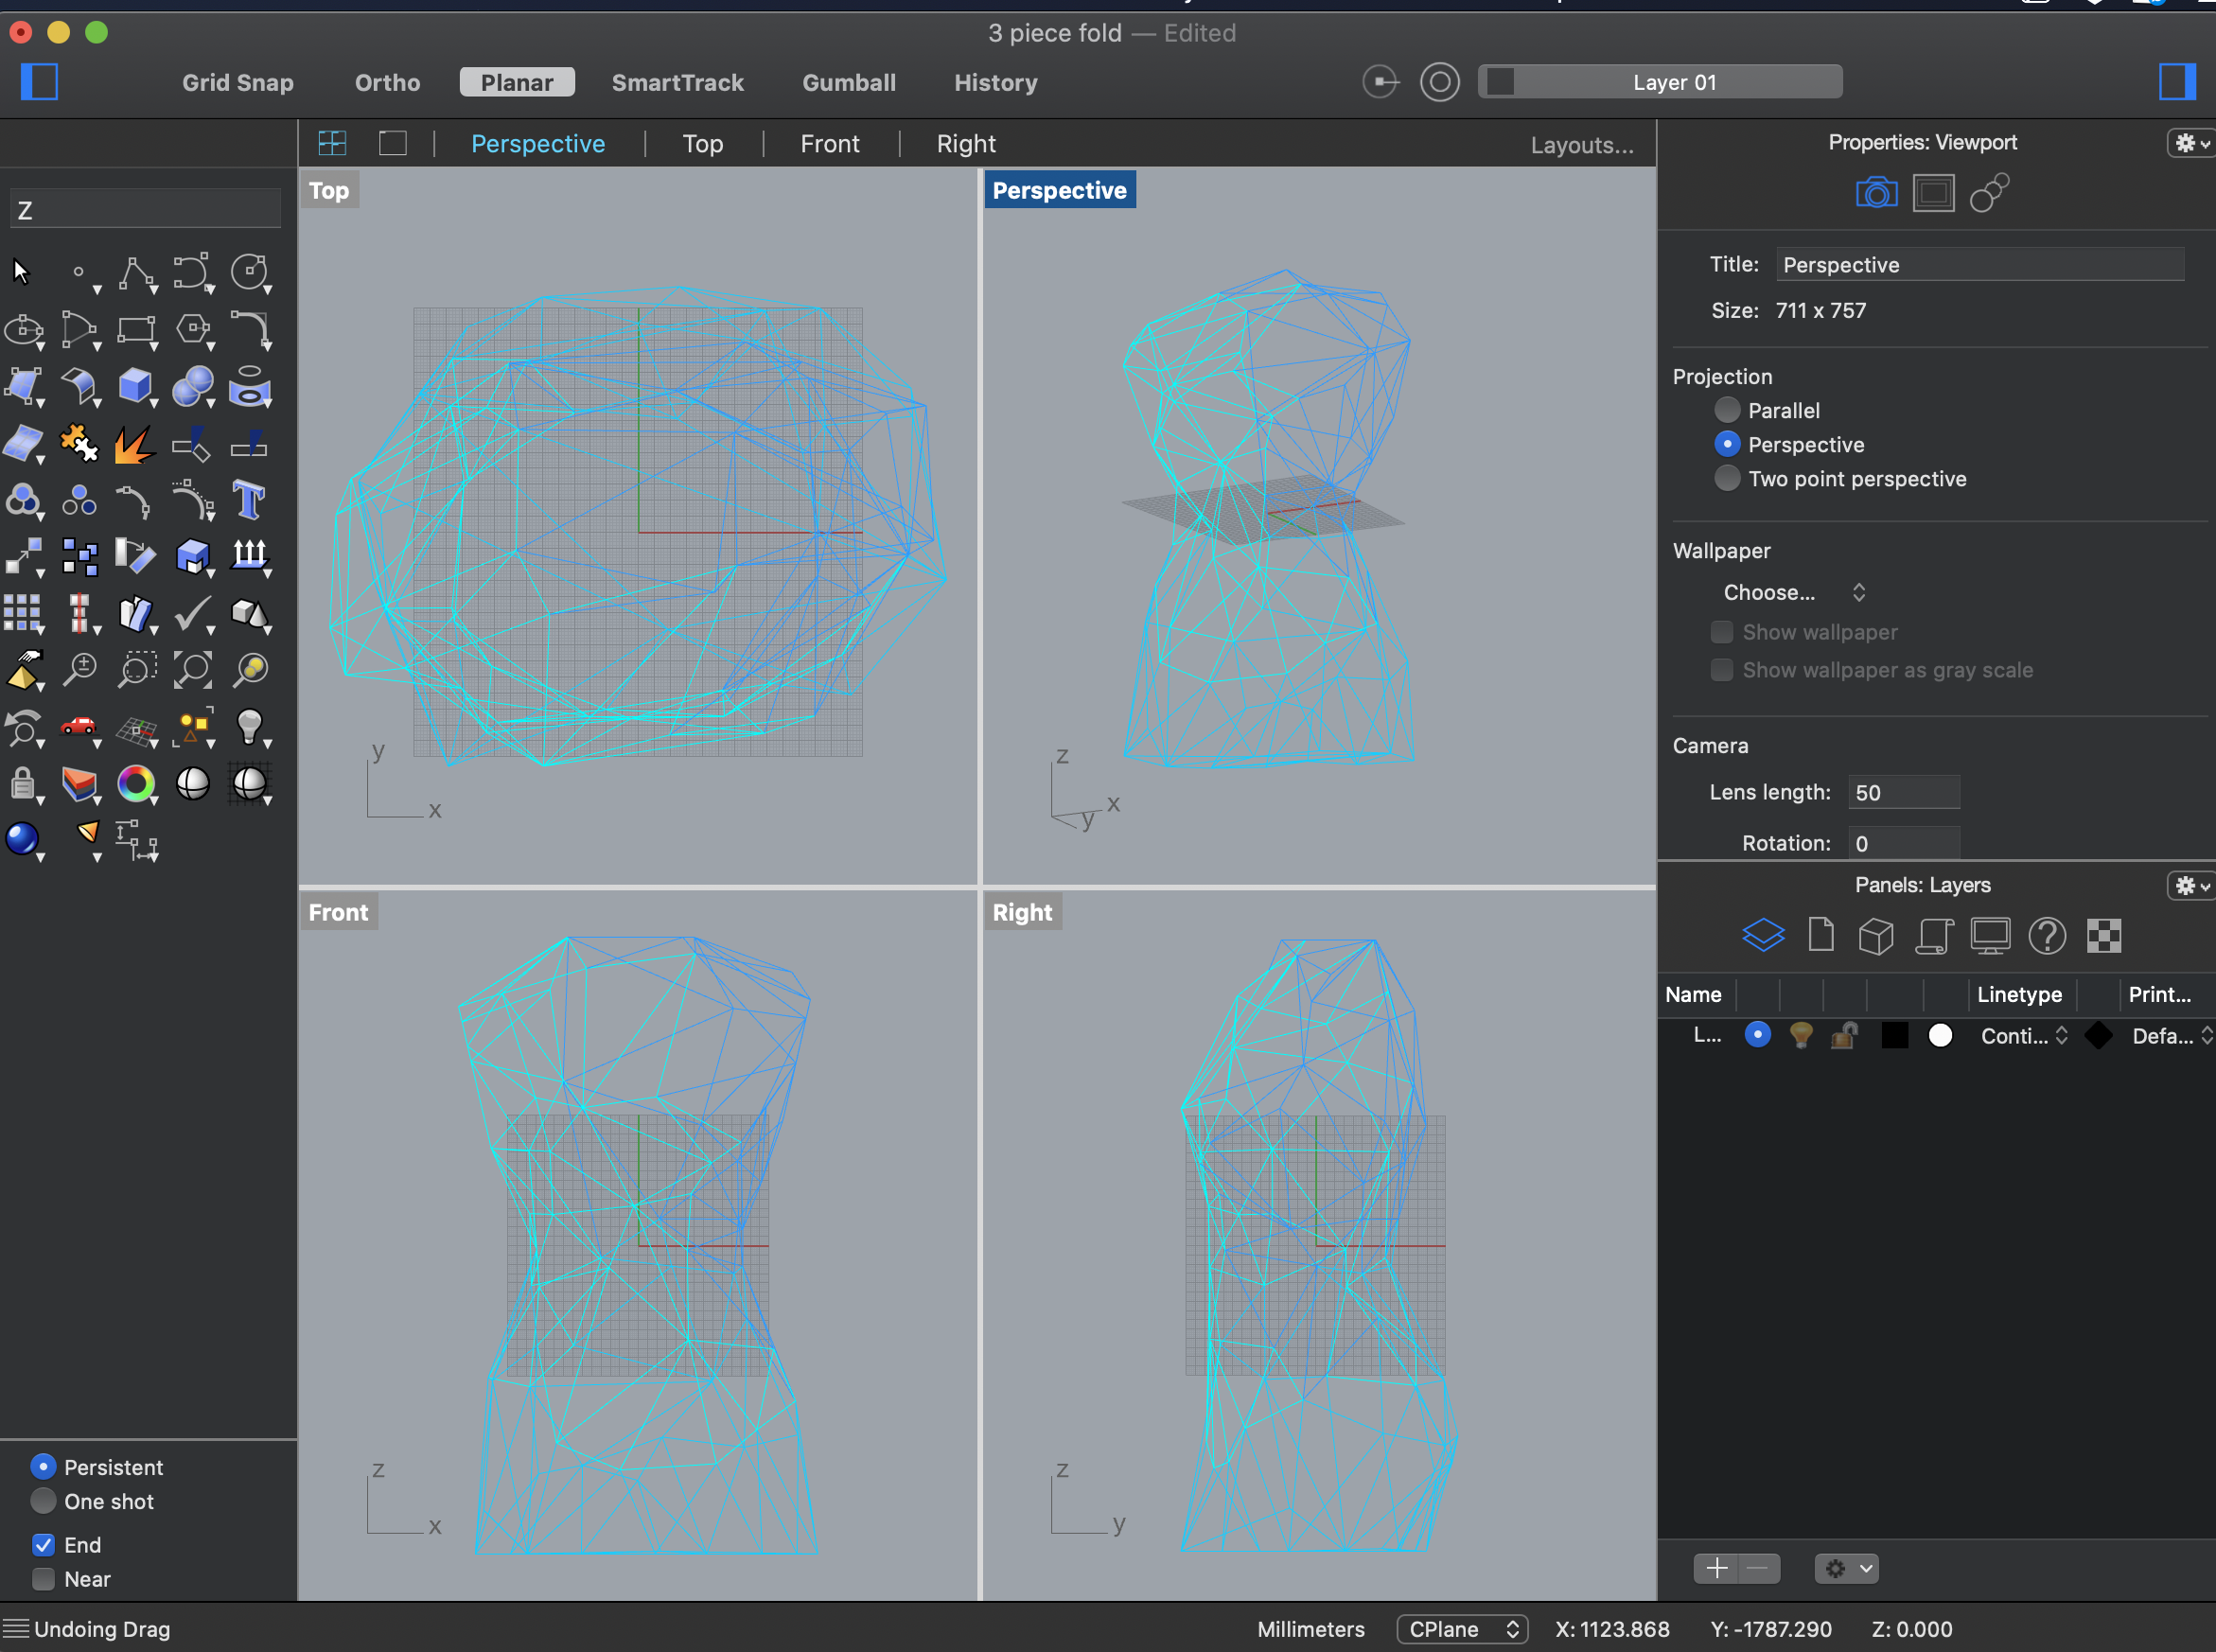 Then I typed "MeshtoNURB" in command, so i get the polygon copy.(The unroll function does not work on mesh. ) Then I type "UnrollSurf" to flatten the polysurface, so I can locate the mountains and the valleys more easily. It might be easier to just add more seams, but i expected seams to be breakable, so i try to keep as less pieces as possible to make it to look cleaner and to be more stable.
Here is the setting. I measured the dimension and the thickness of the material. I misunderstood earlier: the measurement i put here is not the size of the statue but the size of the material. I did half scale.(the actual measurment divide by 2) I have some hald scale mannequins, sometimes draft patterns in haldscale and digitize it and make it normal size with Gerber.
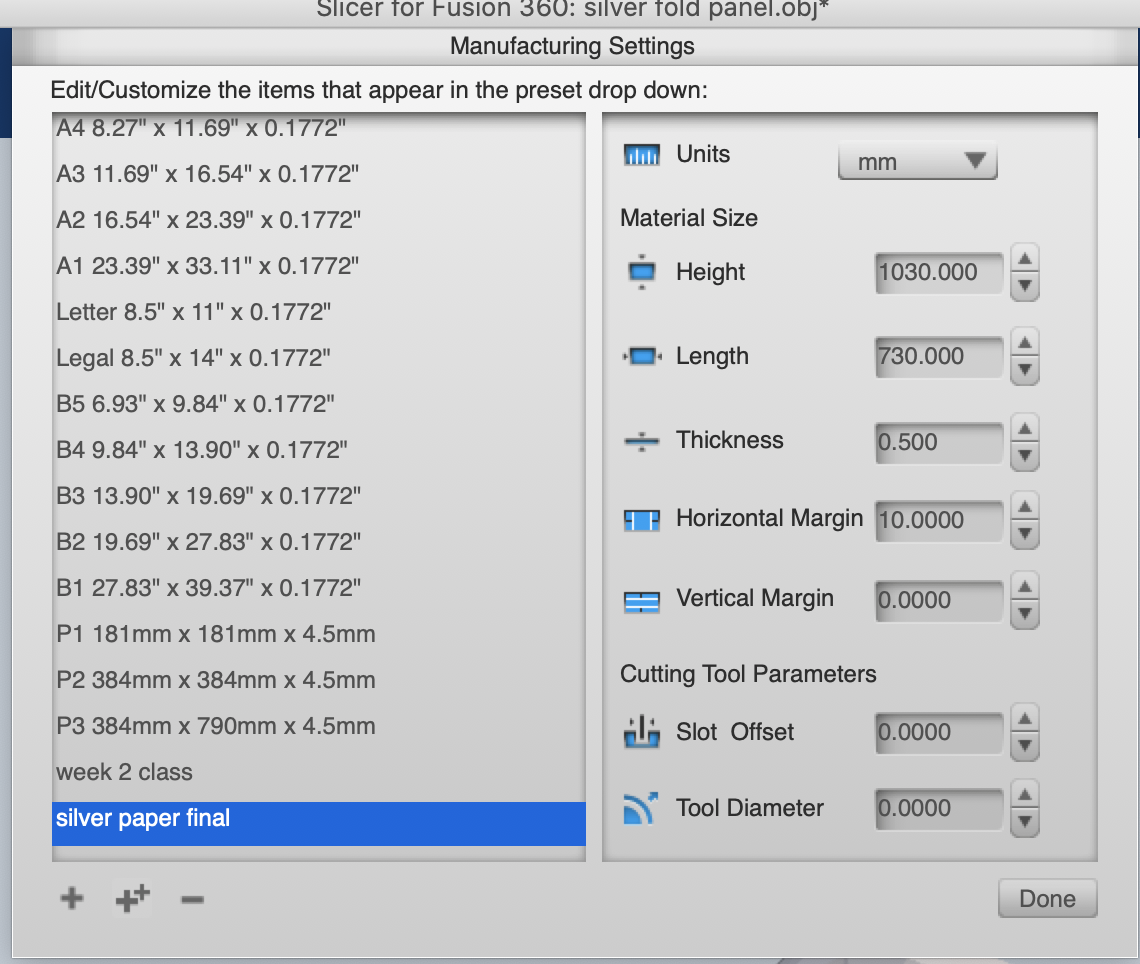
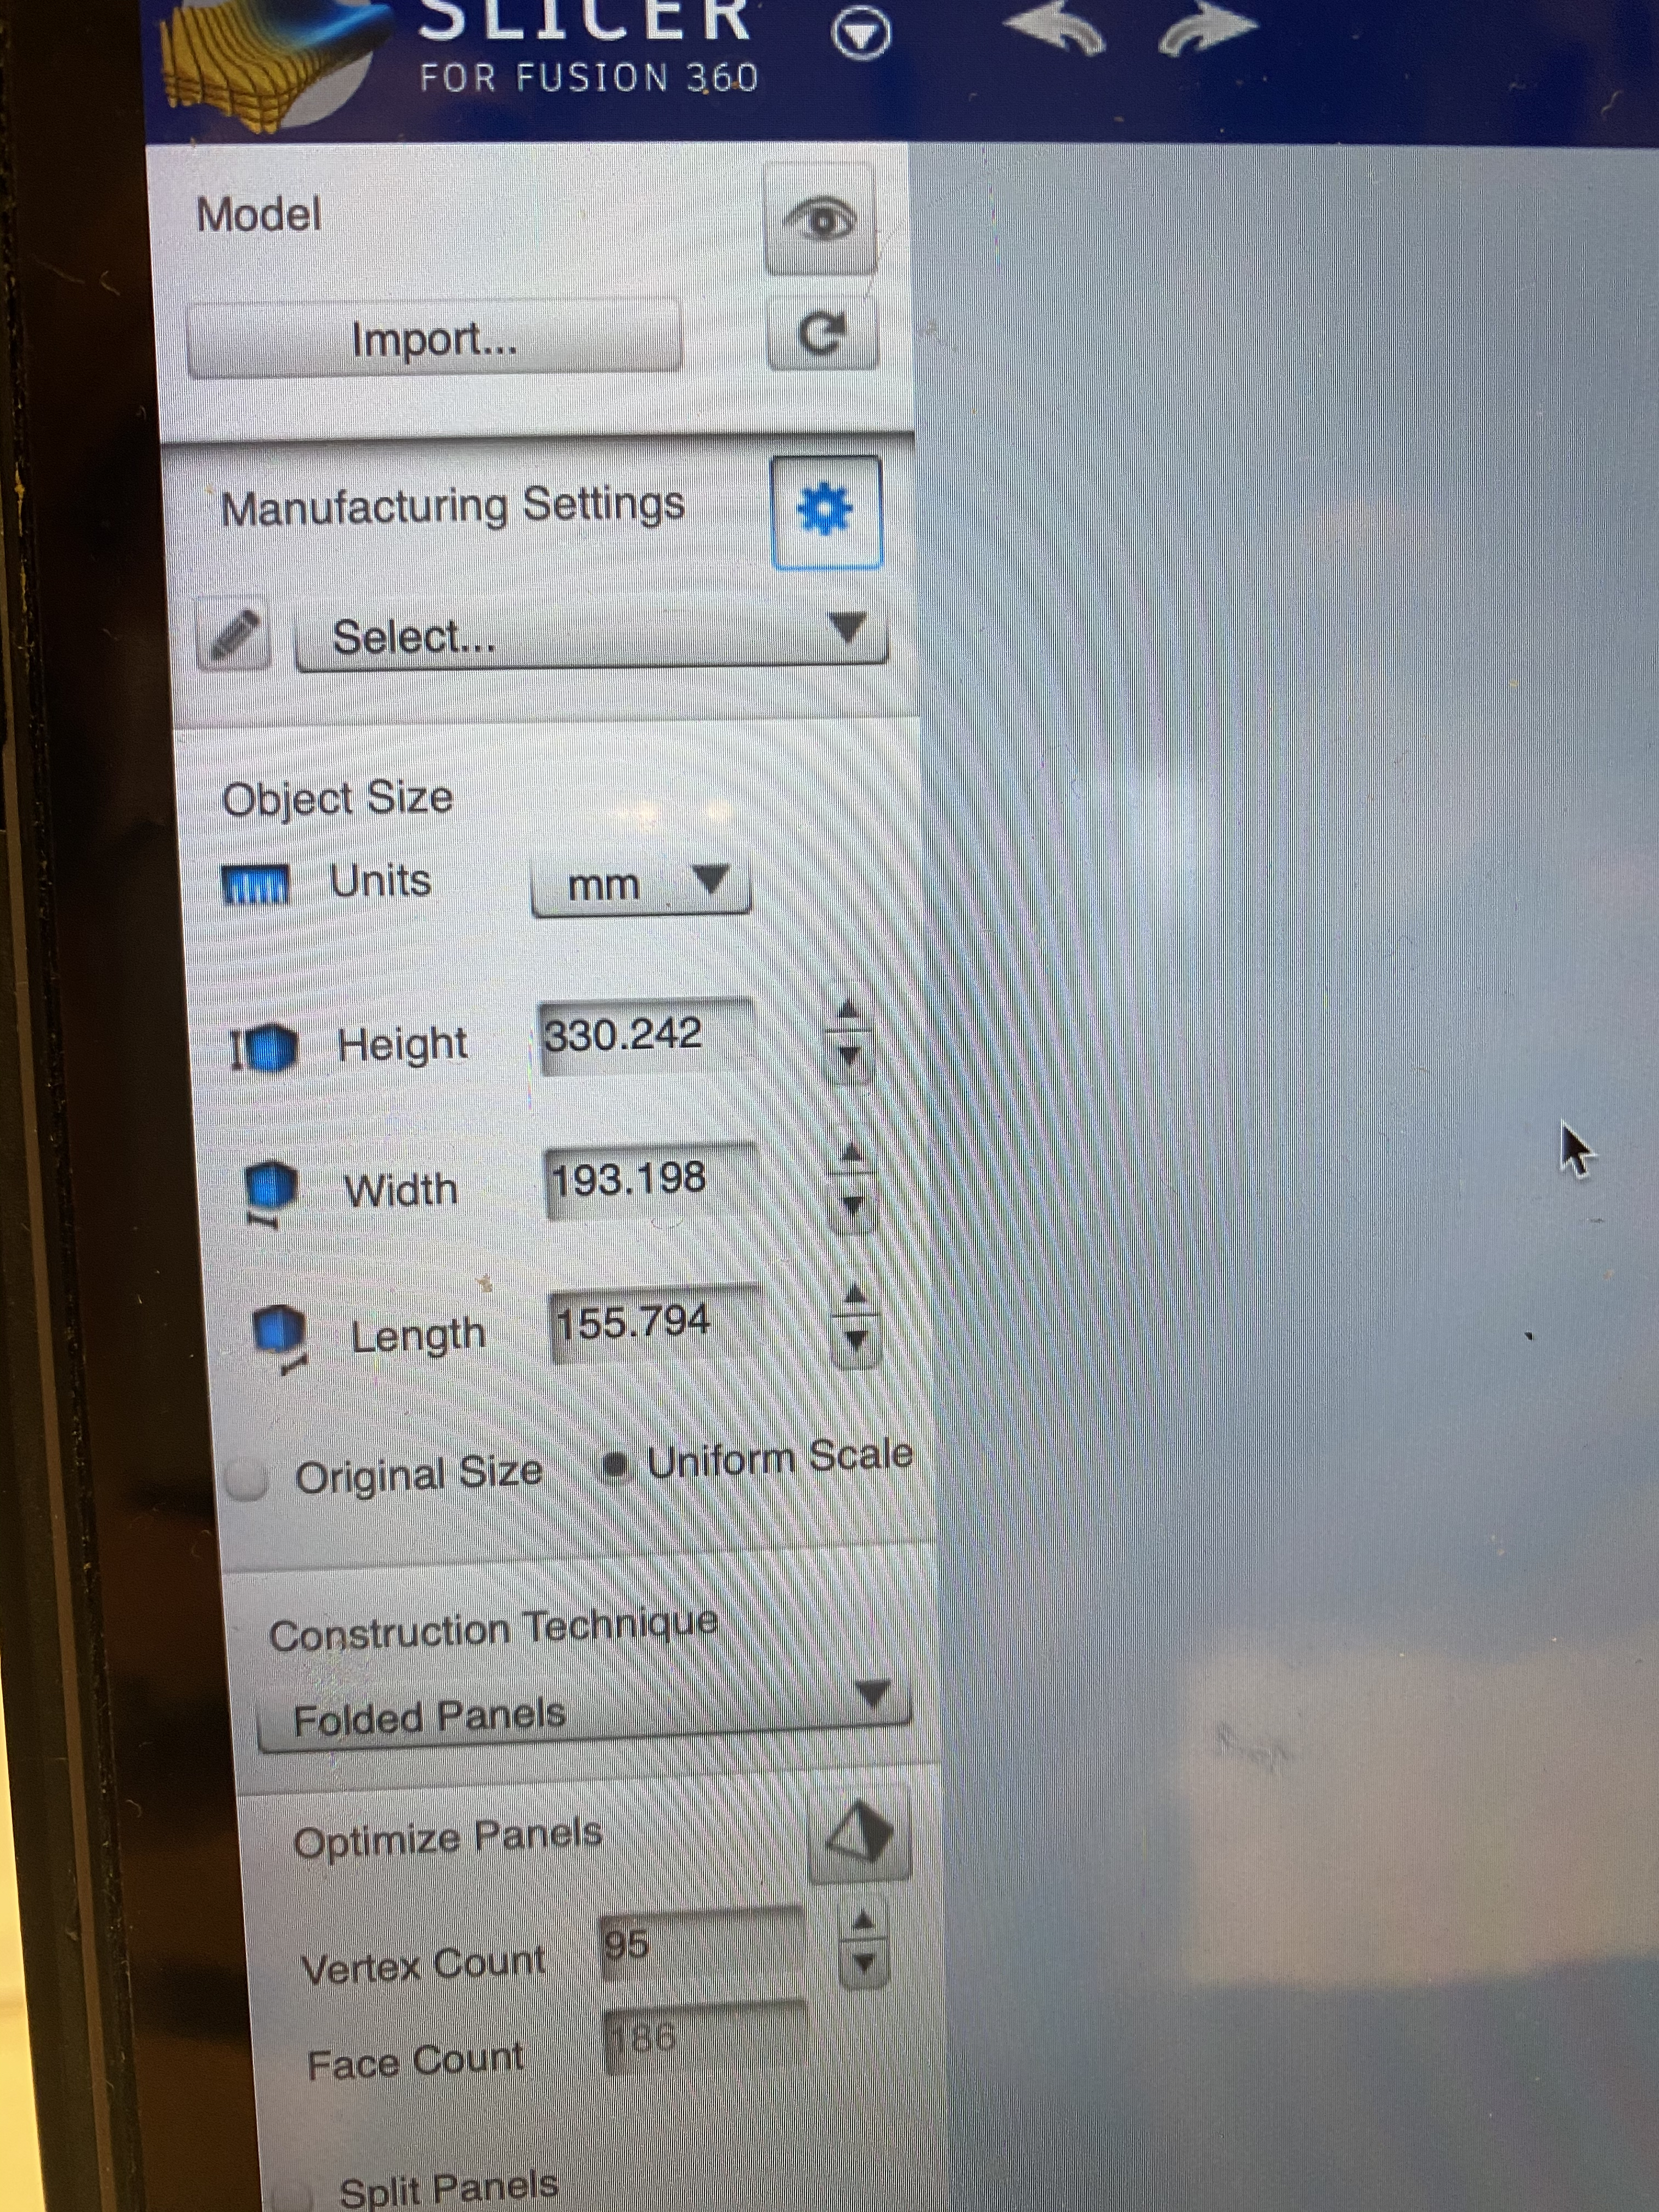
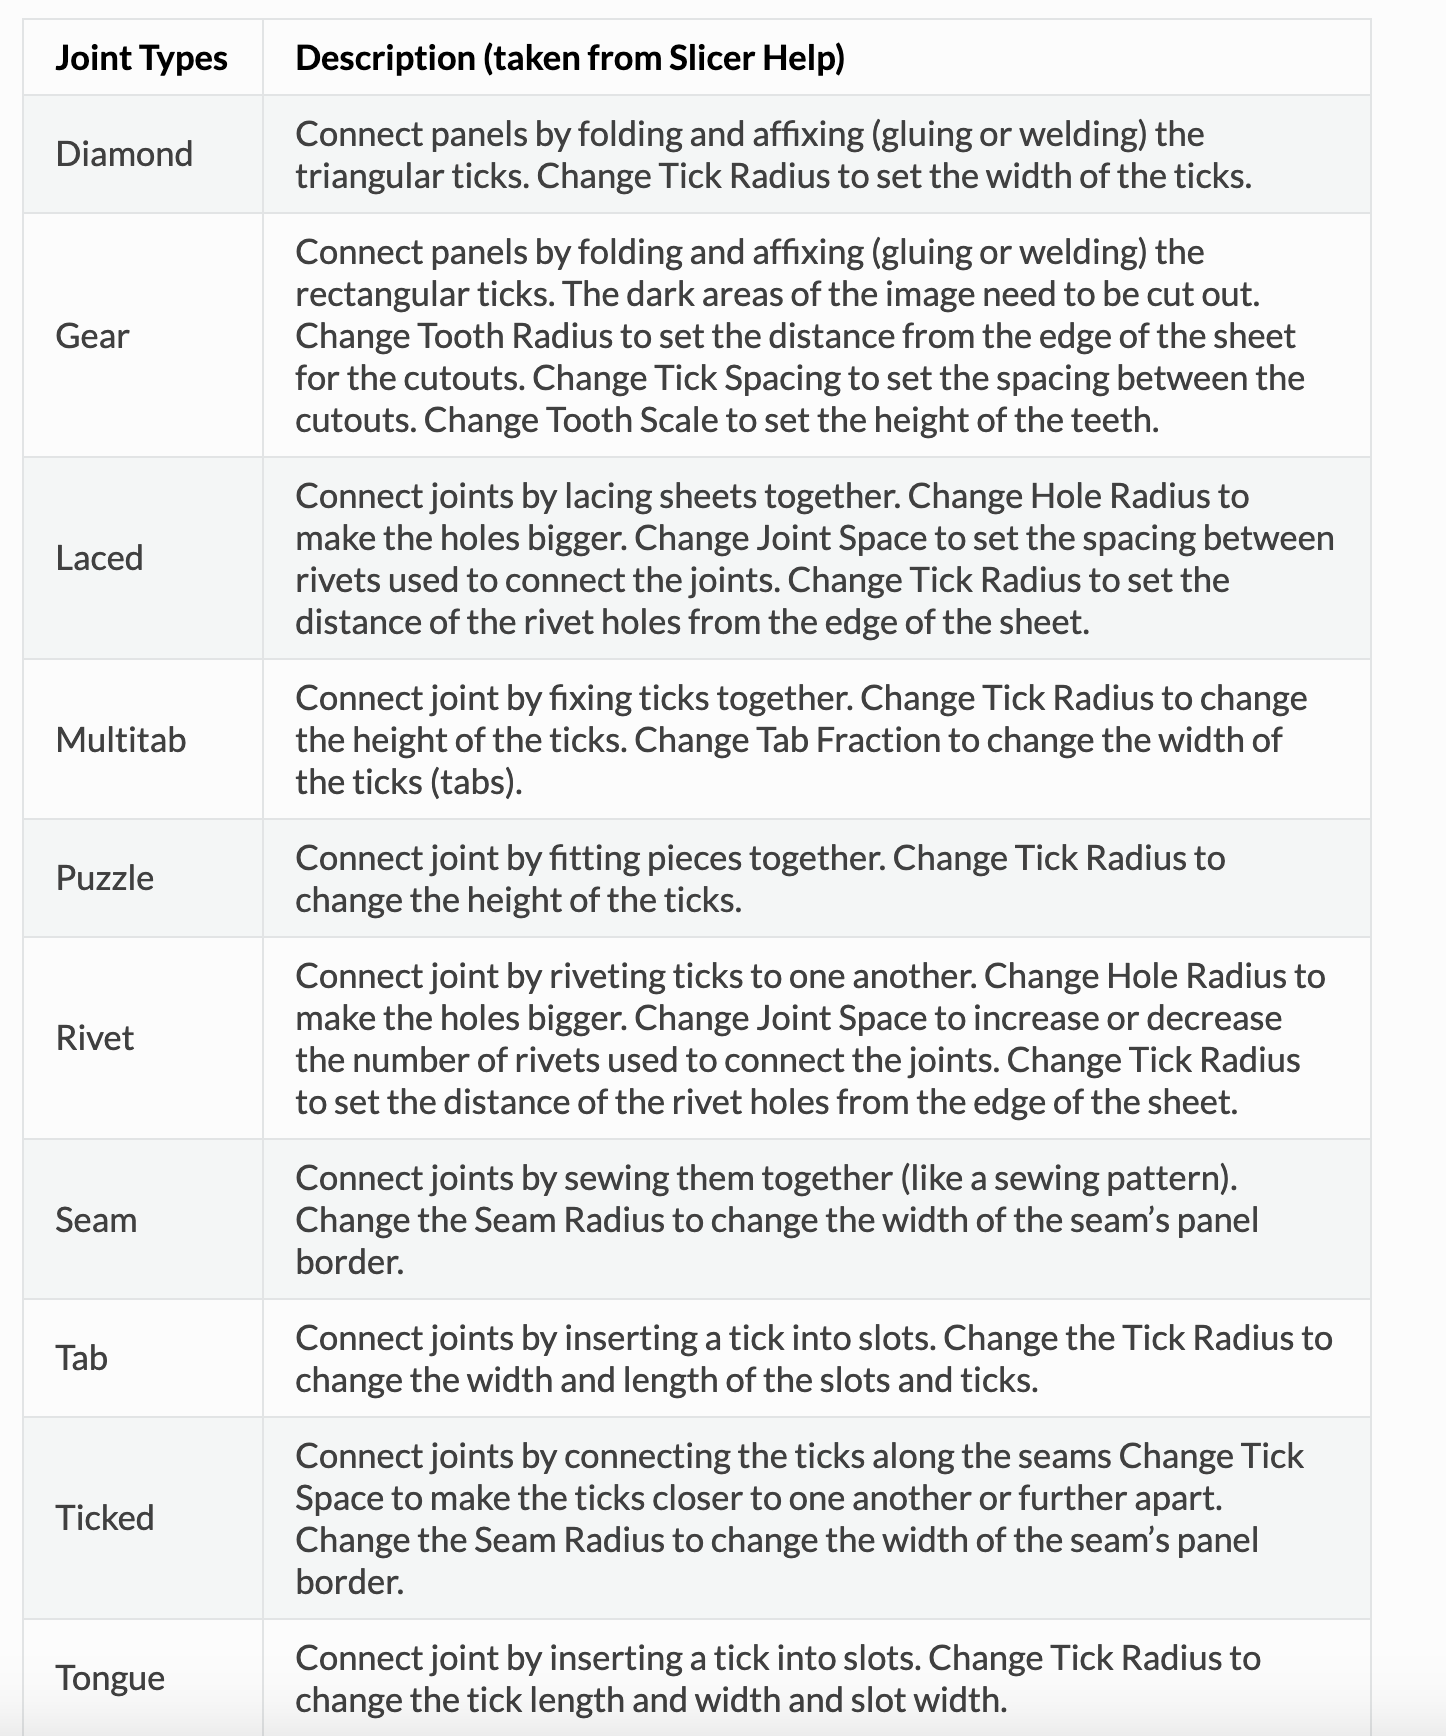
I did some settings wrong. I did not think about joint types earlier. Here is the imformations I found on the website about different joint type. i chose the tongue joint. I did not test them, but the tongue joint is just the biggest among them when I view it in "get plan" in slicer. I could just tape it in the beginning but i really need the joint for enclosure in the end.

I also added some seams in case I get confused later. There are 7 pieces total. I could do more pieces but I am worried that the joining parts will not look pretty. I started from the smallest piece (#7) lafter when I assemble.
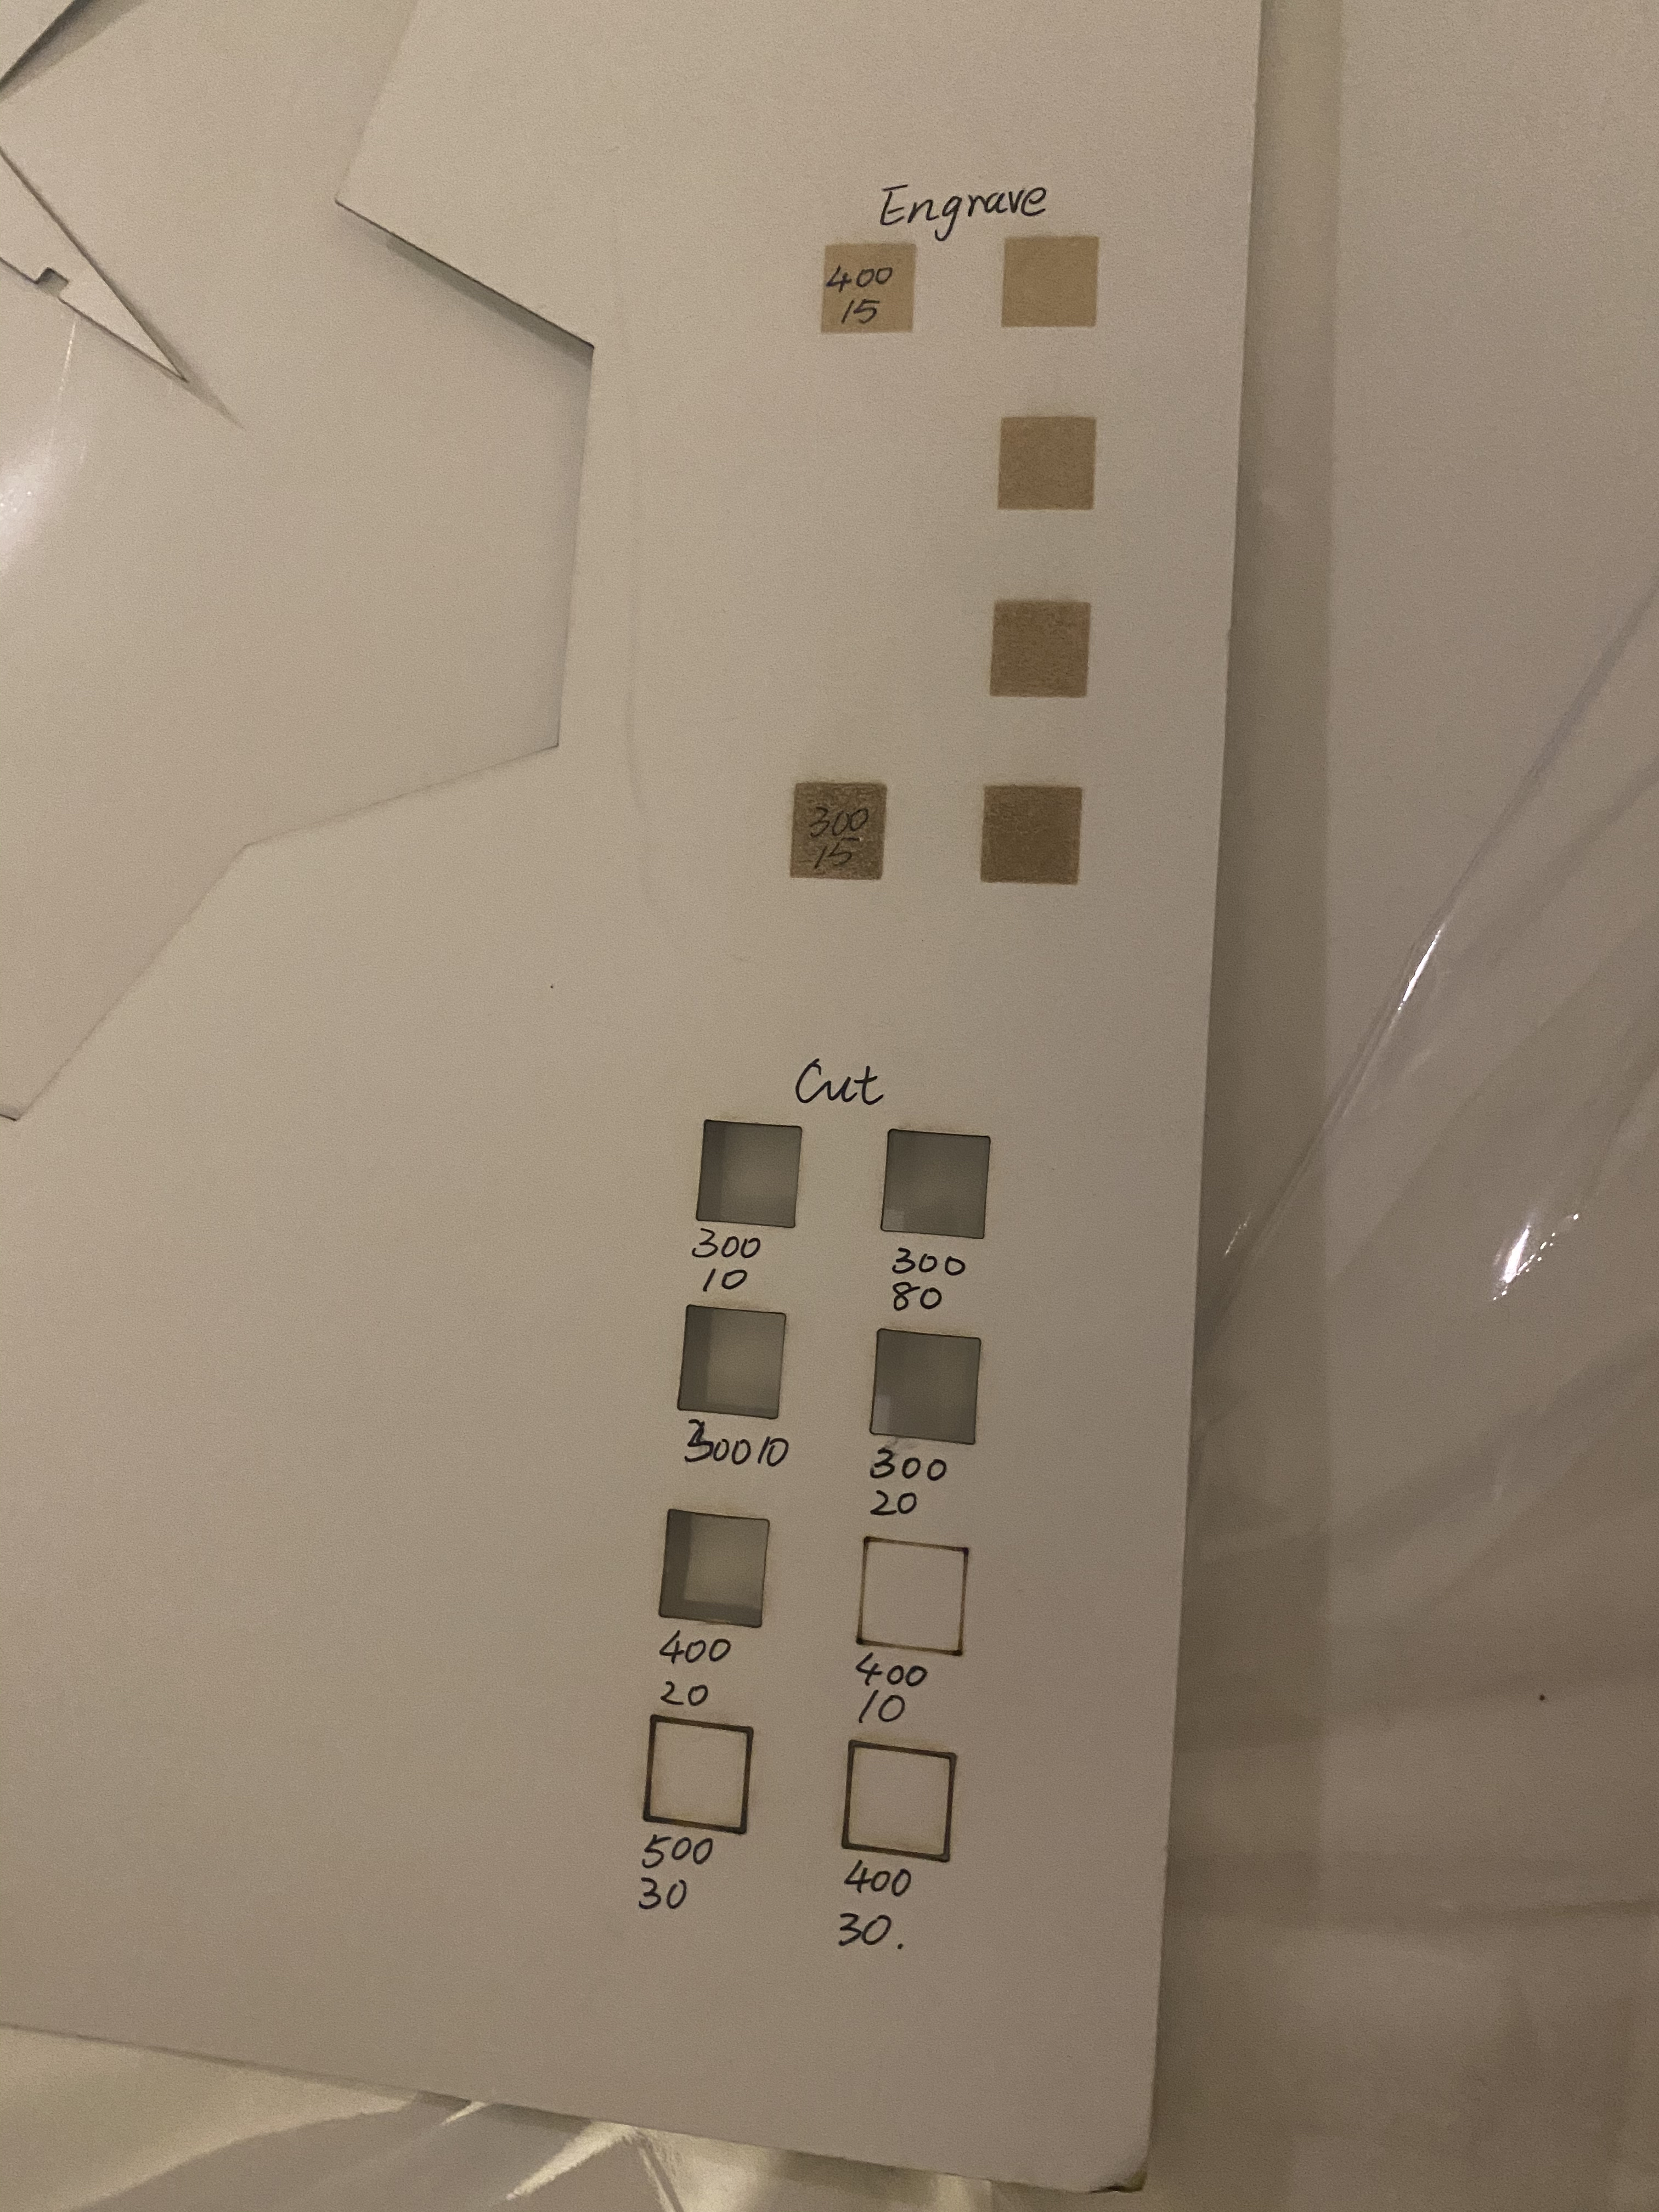
I tested different settings for laser cutting. I found out the papers are quite easy to cut. almost all settings work unless it goes too fast. (If it goes too fast it will not cut deep enough.) the fastest it can go for short lines are 300. I also found out that the paper will not be engraved if the power is under 12. I decided to laser cut only because the engraved lines are not deep enough.
Finally cutting the real thing!
The real challenge actually starts here. I have to stay really focused otherwise I get lost. I started from the smallest piece and fold each line. It gets easier and easier in the end. the tougue joint functions as notches and tell me where to attach. I recommand leave the biggest and the most complicated piece in the end to finish. The "UnrollSurf"function can be helpfil as well. The image is mirrored. I had to take pictures with my phone and flip them to check how to assemble.

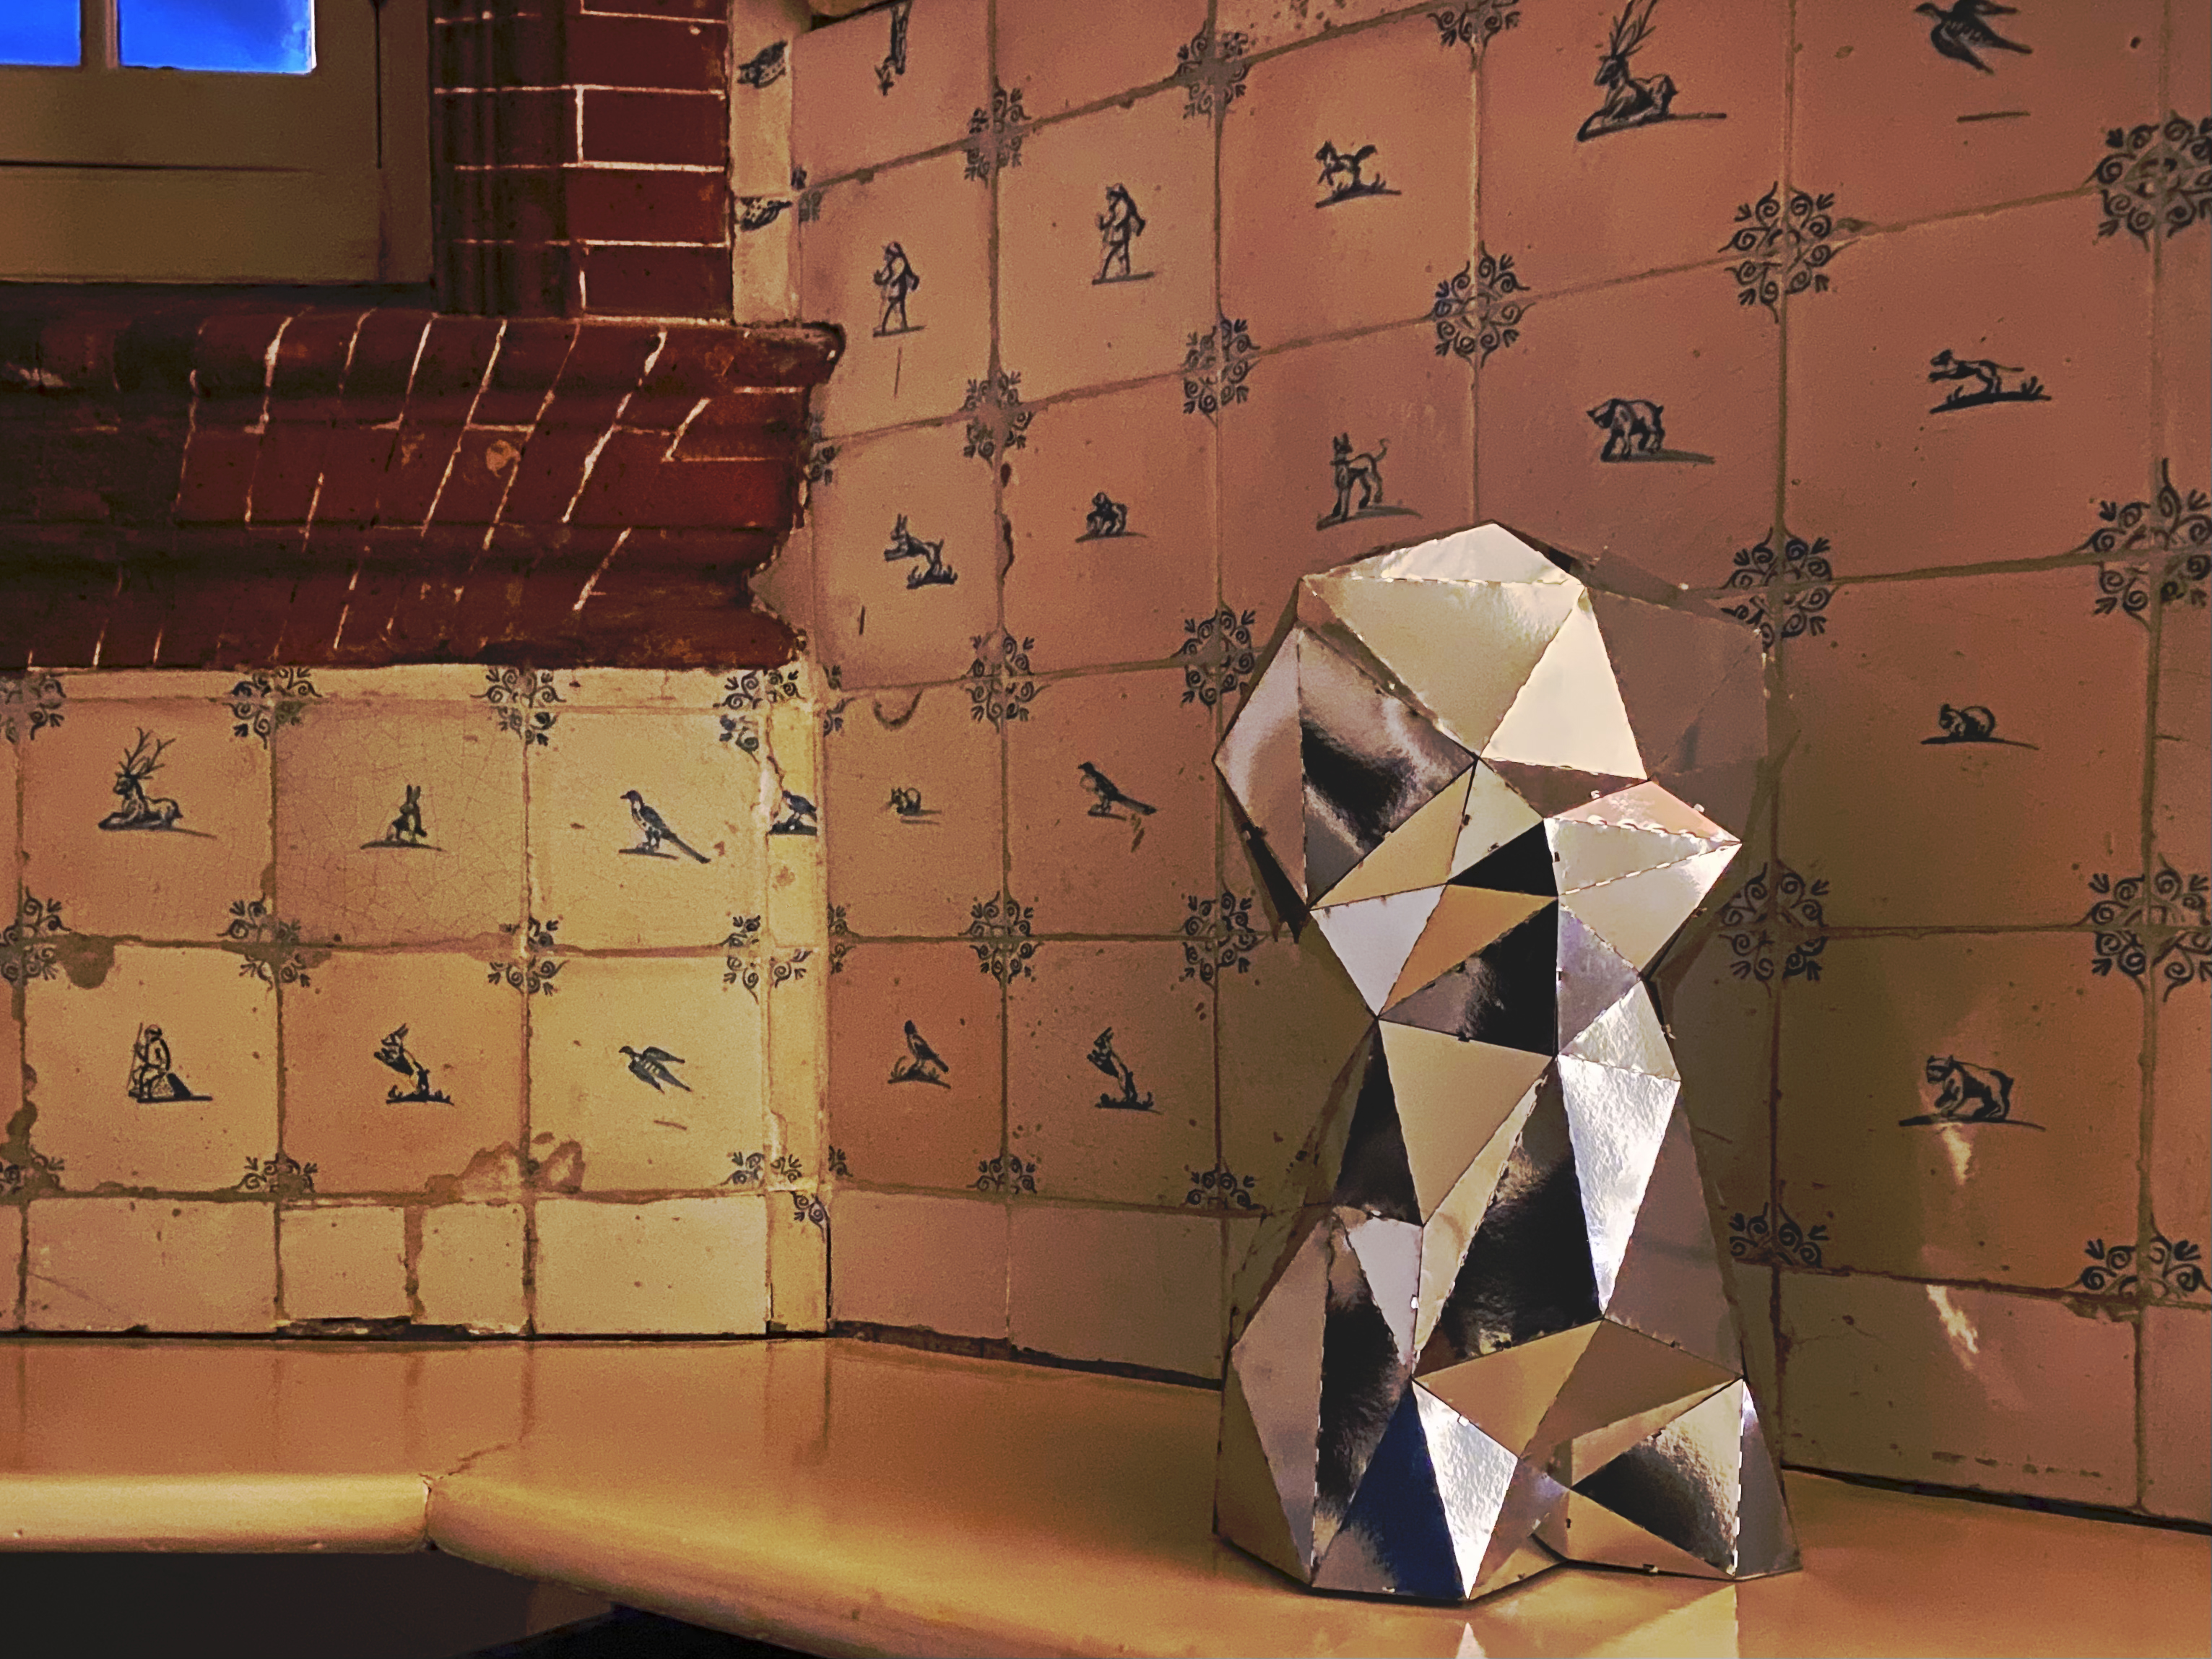
Final Look
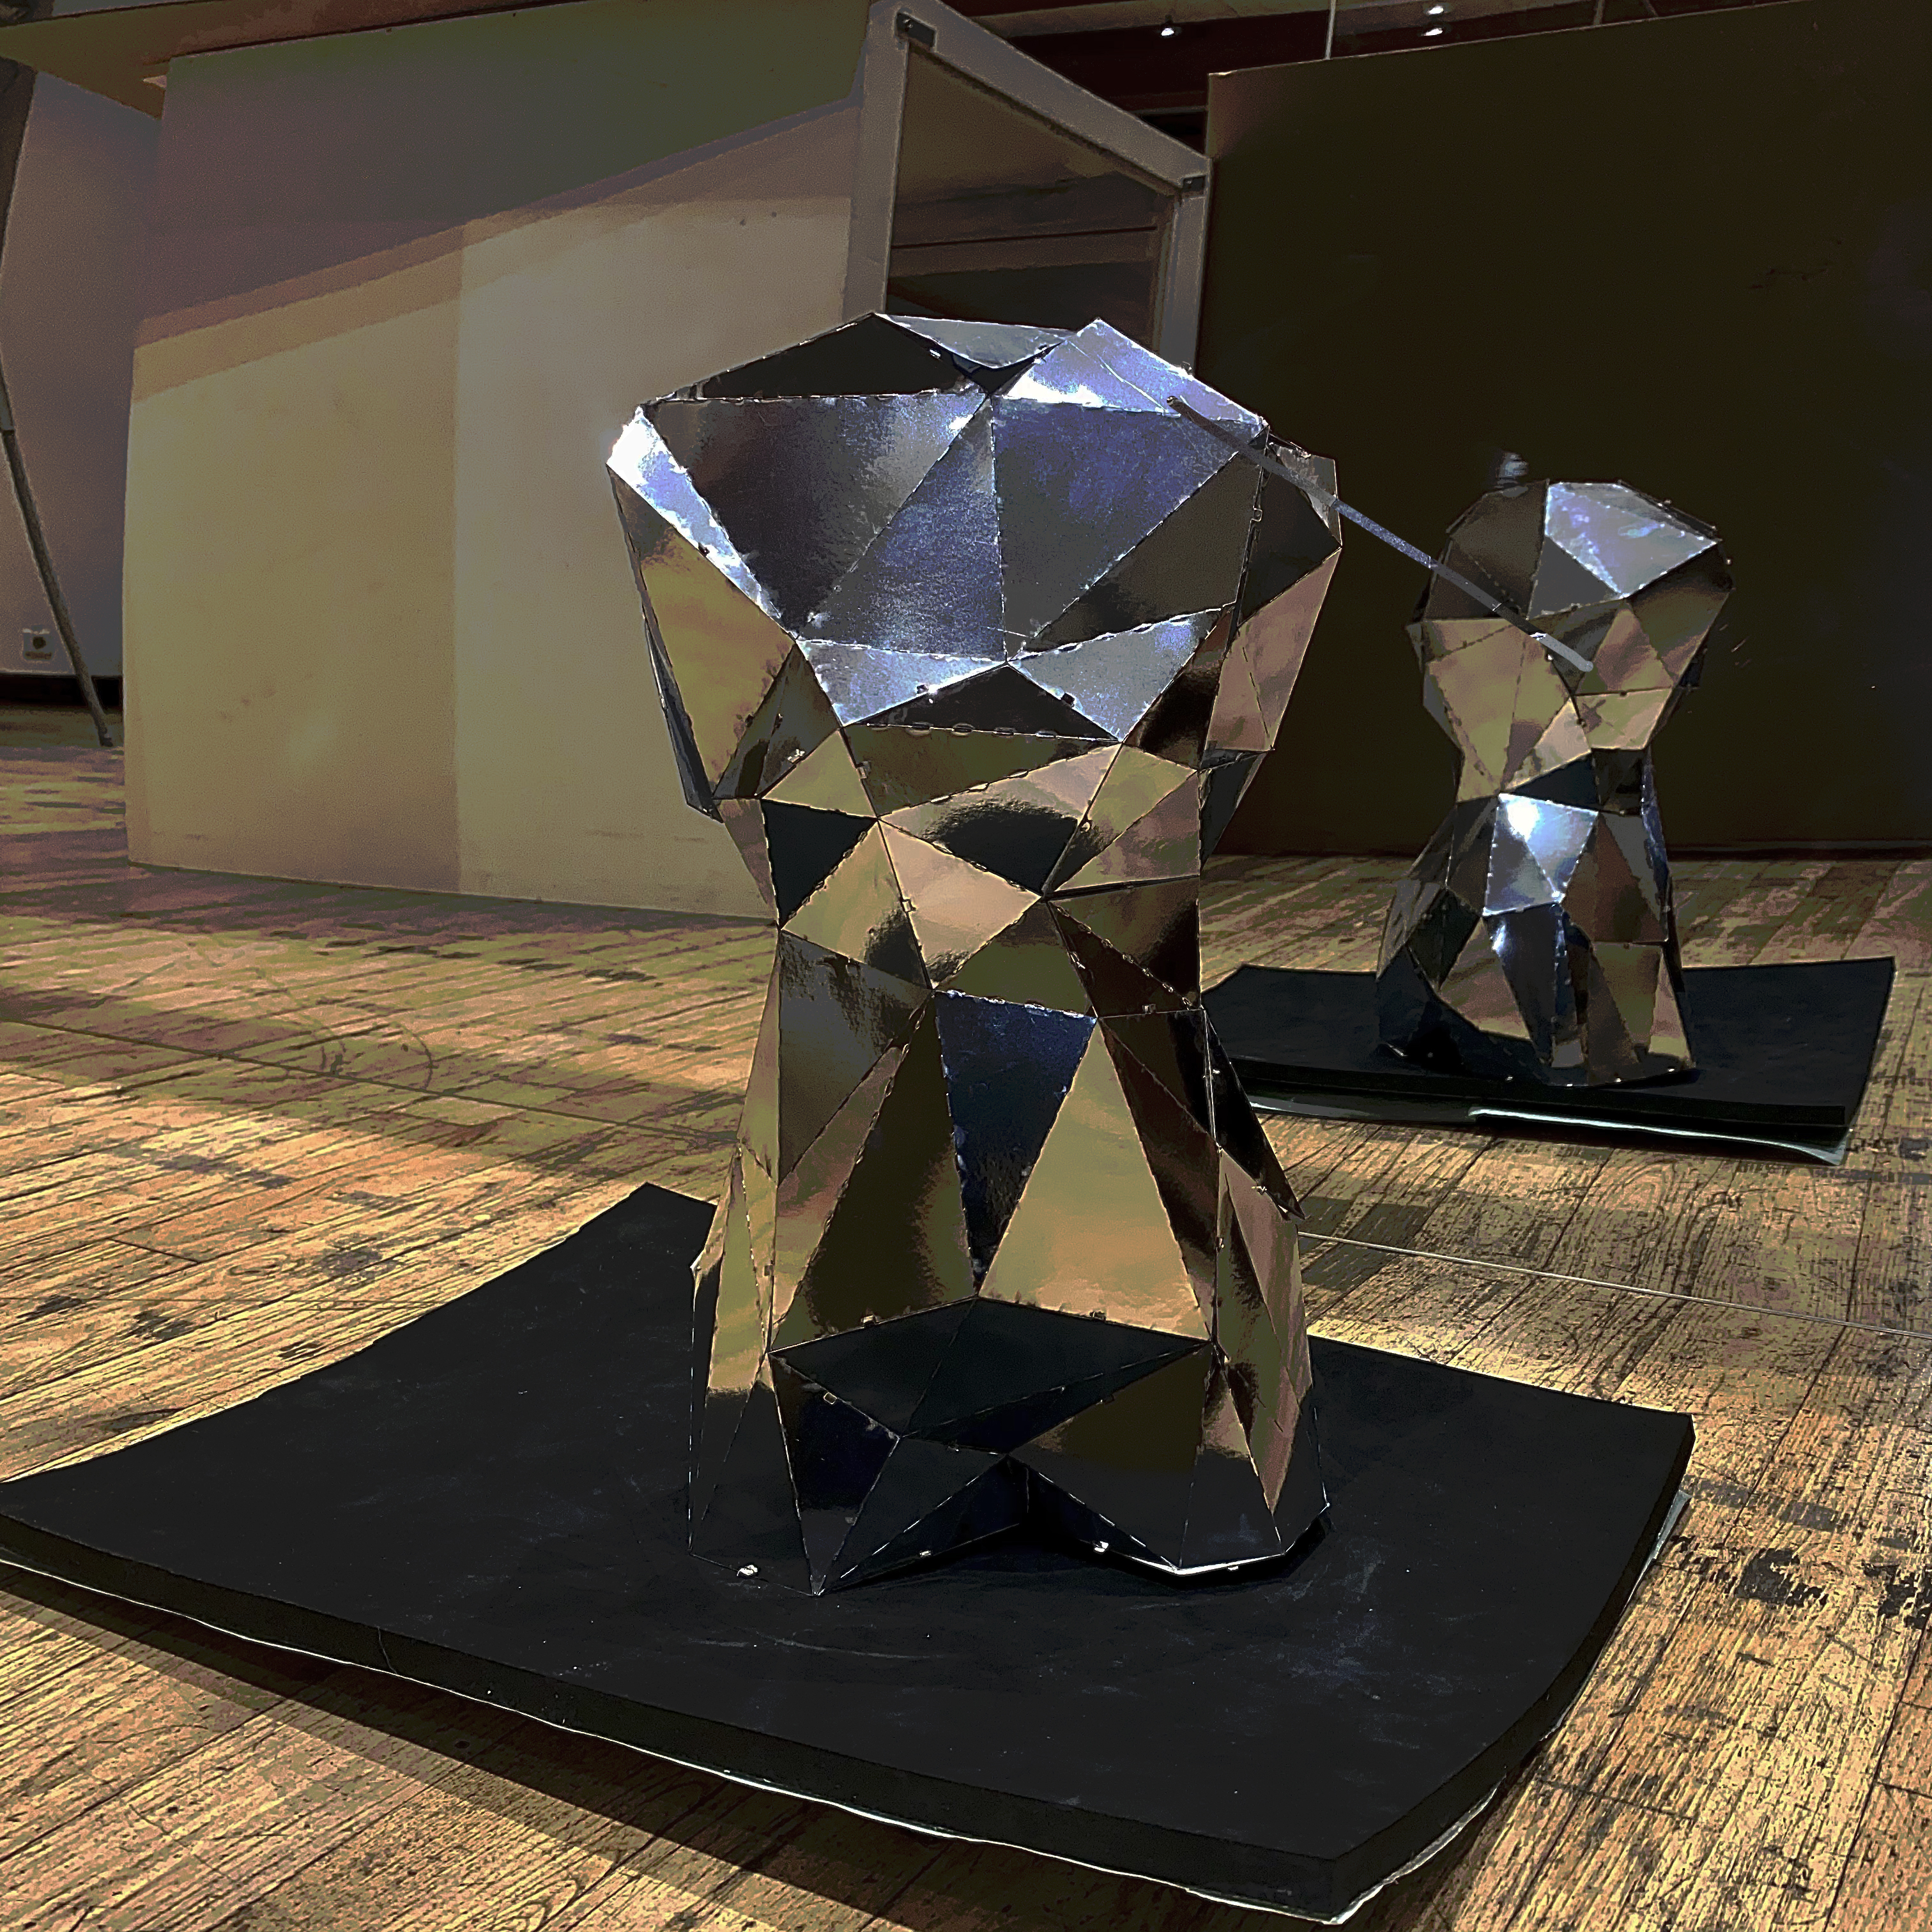
It can be used as house decoration.(if it last.)
Citations
- Dariush Derakhshani, Randi Lorene Munn (2008). Introducing 3ds Max 2008. John Wiley and Sons. p. 240. Retrieved 12 July 2011.