Circular Open Source Fashion
Circular fashion is a system of production and consumption that aims to eliminate waste and pollution by extending the lifespan of garments.

- Sustainable Design: High-quality garments that stand the test of time and are easy to repair or recycle.
- Responsible Materials: Use organic, recycled, or biodegradable textiles that reduce the environmental impact.
- Reuse Models: Encourage the sale and exchange of secondhand clothing.
2. References, research & inspiration
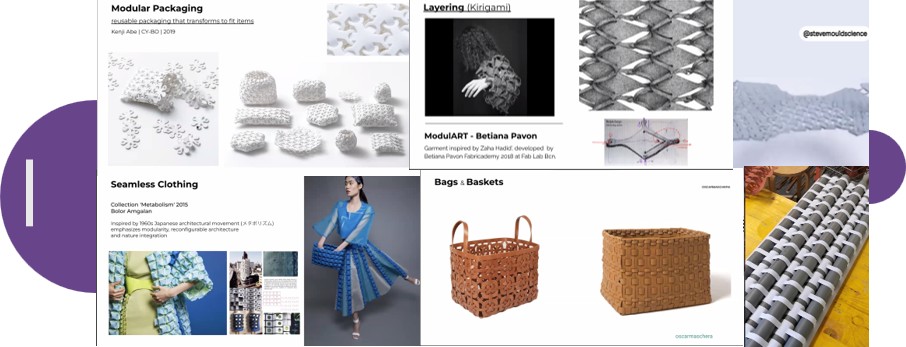
I drew inspiration from several of these projects to create my own; I found them all interesting, especially the ones that involved volume. I also followed the work of cienciaorigami, which helped me think outside the box and discover new ways of constructing with kirigami. I also invite you to visit the project library, where you can find more references.
Tessellation
The process of fitting things together in a pattern with no gaps, or an arrangement of shapes created in this way.
Kirigami
Kirigami is the traditional art and technique of cutting and folding paper to create decorative or three-dimensional figures and designs.
I also began to get inspired by the shapes of flowers and Wicius Wong's principles of form and background.
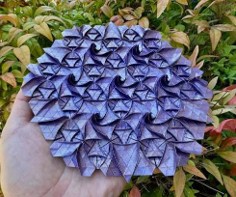

Country living
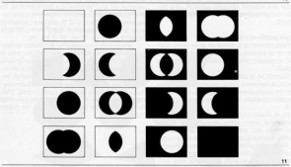
Wicius Wong

3. Tools
4. Process and workflow
Step 1
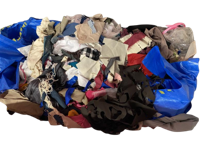 First, I looked through my fabric stash in the recycling bin and picked out different types—felt, fleece, a pair of sweatpants, and denim—to start experimenting with the materials.
Step 2
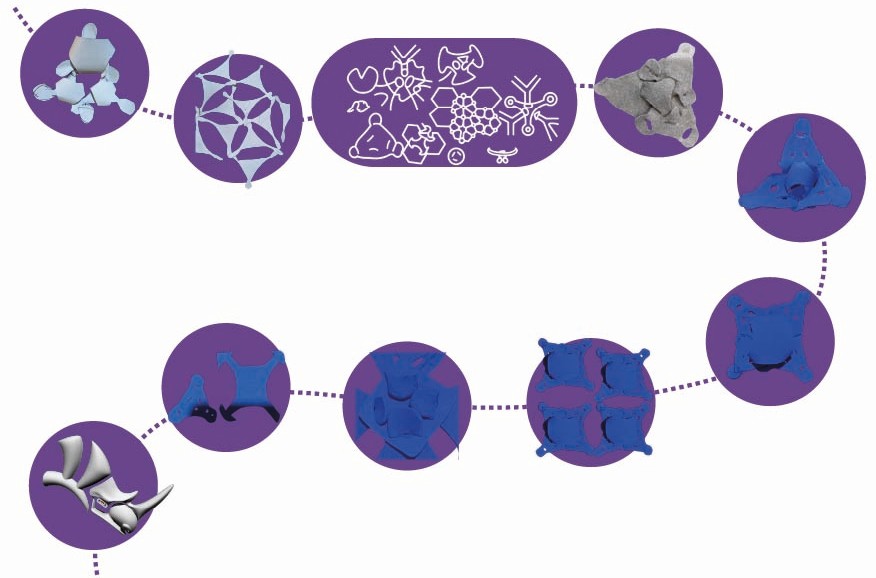
I let myself get carried away by the process and began to play with the paper, experimenting with the material; I achieved an initial result by placing the tabs on the back to create volume.
Step 3
Then I moved to the whiteboard, where I played more with the shapes and gained a better understanding of the concept of male and female joints, thanks to my advisors Raúl Babines and Mar Chávez.
Step 4
In a third phase, I switched from paper to felt, where I recognized its fibrous nature. It allowed me to create a better-composed shape, although it couldn’t be fully joined with the other modules.
Step 5
Next, I switched to foam as my material, formed a square, and loved the shape. I experimented with the width of the holes to better understand the limits and determine what size would keep the pieces securely in place.
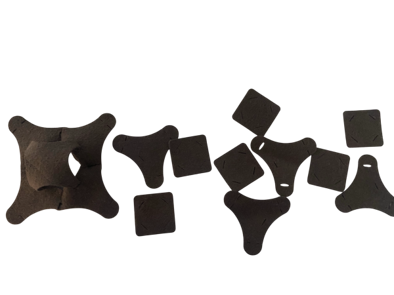
That's how I figured out all the pieces I would need, so I cut them out of foam and tested them.
Step 6
I made more modules and wanted it to be an open module—not completely closed—since the principles of form and background are also present in space. I decided to use felt and polar fabric. Finally, I transferred the design to Rhino.
Step 6.1
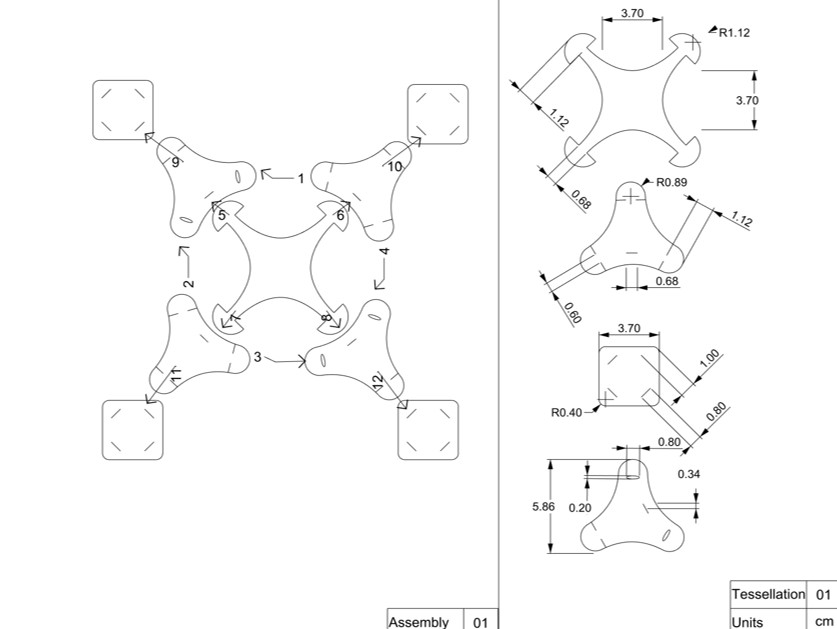
Using the measurements from my previous models as a guide, I took the measurements and began sketching them out in Rhino.
Step 6.2
As you can see, some modules have lines and others have circles. This is because the parts of my module that require movement need more space, while in the others, the fabric needs to stay in place. Here's a step-by-step guide on how I made my modules:
Measures
Step 7
I spread my fabric out on the cutting bed. Since it was recycled fabric, I didn’t have much of it, so I started with a small file and then adjusted my design based on the number of pieces I had.
I turned on all the buttons and imported the file into Smart Carve.
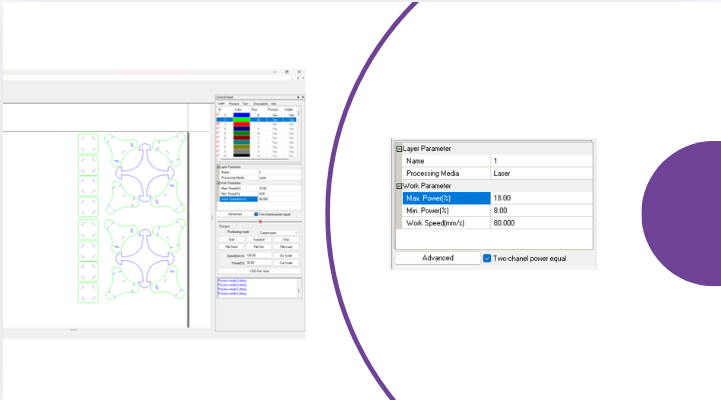
I set the laser height to 6 mm.

I started with these parameters: 15 and 8. I noticed that some pieces were hard to cut through. I settled on 18 and 8. It worked well for my two types of fabric. This was a bit tedious because I had to keep changing the origin to make the most of the fabric.
With the second piece of fabric, which was a full sheet, the work went much faster.
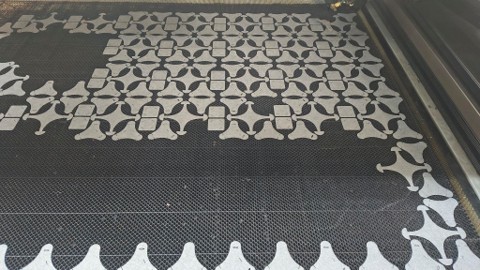
parameters
- Max. Power(%): 18
- Min. Power(%): 8
- Work Speed(mm/s) 80
- Fabric material: Fleece & Felt
- Thicknes of material: 2mm
Tips
- Measure your fabric first to arrange your pieces within that space
5. Testing results
After cutting the three fabrics I tested, velvet, felt, and fleece, I tested them for tear resistance and stretch. The fleece and felt passed the test, but the 1mm-thick velvet was not suitable.
*Check out the video testing:
6. Interlocking
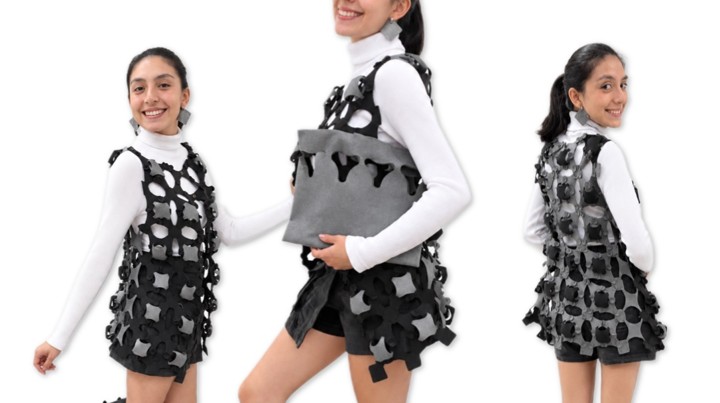
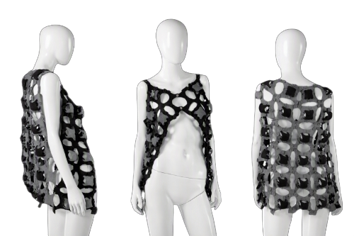
Putting the pieces together was the most complicated part of the process, since I had a limited number of pieces and my design had to take that into account. My body was my canvas; the pieces adapted and adjusted according to my needs. Fortunately, I had the same number of gray and brown pieces, so I was able to play around with color combinations.
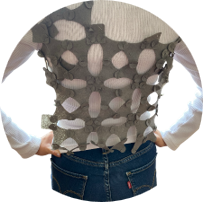

This is how it was born: Bloom Autumn, named after its colors and the appearance of clustered flowers that seem to bloom, made from recycled materials such as flelt and polar fleece.
7. Weekly reflection & critical thinking
This project was a huge challenge for me. I learned that you learn more from your mistakes, like not throwing away the fabric before the finished product is complete, or calculating the cuts more carefully so as not to waste time. Part of the process was also letting the design itself teach me. It was all about “trusting the process.” I was surprised that I was able to complete a project like this, and that I was also able to share it with my mom, which makes it even more special. During this session, I was able to get a better handle on laser cutting and gain more confidence. Looking back, I would have adjusted the design (the one you see now) so that I could use both lasers on the cutter to save time. I’m proud to have applied the principles of circularity and to have reused fabrics; the only thing that matters for the design is finding materials you can work with to achieve a similar result. This experiment introduced me to a new construction method I wasn’t familiar with, and it has left me inspired to keep experimenting for my final project.