State of the Art, Project Management & Documentation
Introduction
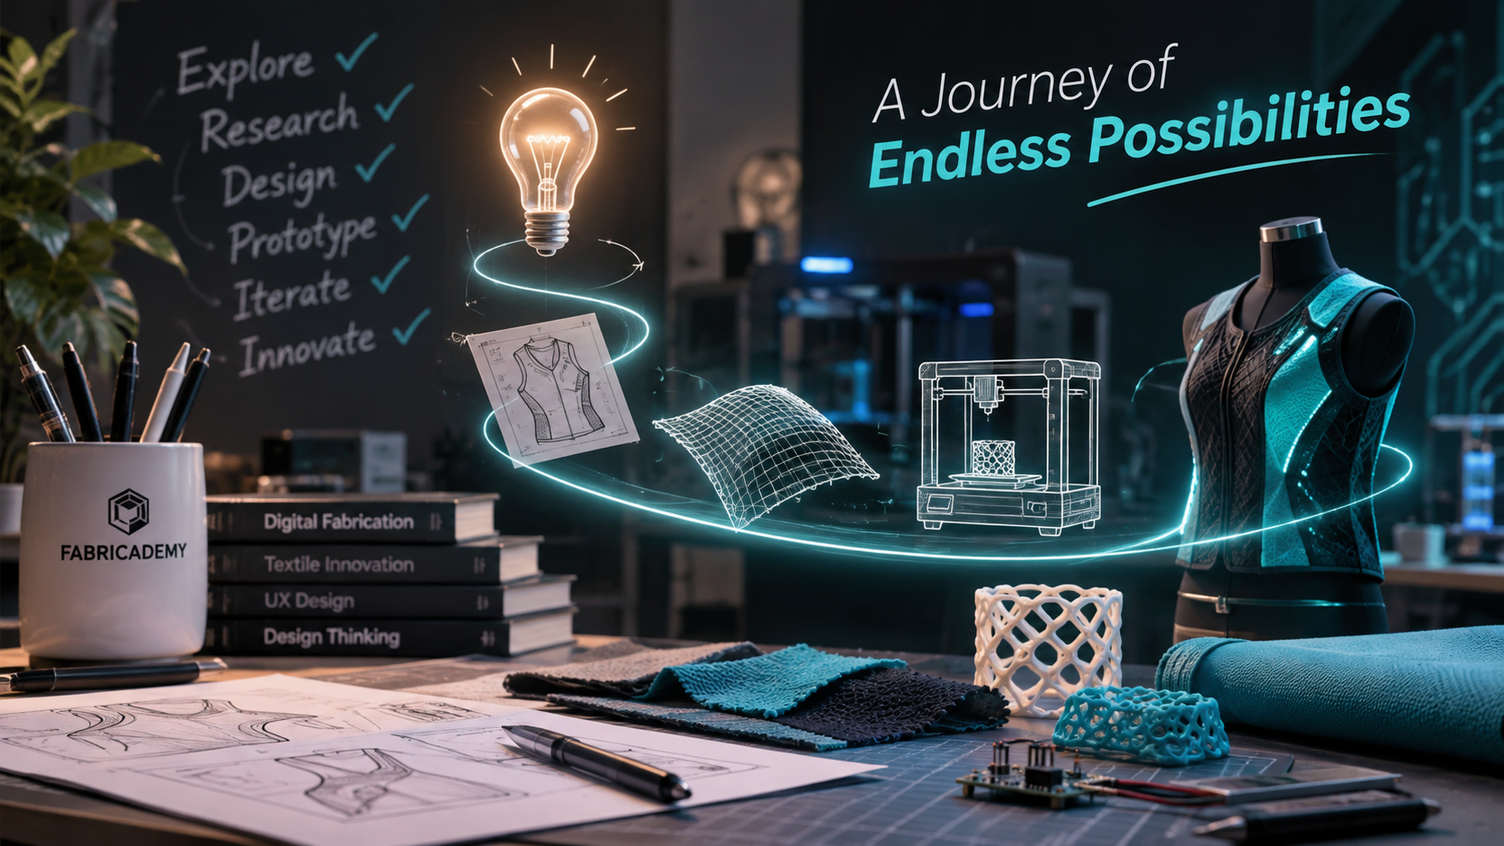
The first week of Fabricademy introduced us to the program, its learning structure, and the relationship between textiles, digital fabrication, and emerging technologies.
During this week, we explored three main areas:
- Program Introduction: Understanding Fabricademy, its requirements, learning objectives, and the possibilities of combining textiles with digital fabrication.
- Assignments & Evaluation: Exploring the weekly assignments, documentation requirements, and evaluation process.
- Website Development: Learning how to create our own documentation website and publish our work throughout the program.
FROM CHALLENGE TO PRODUCT
For me, designing a product is more than creating an idea or developing its visual appearance. It is a structured journey that starts with understanding a challenge and gradually transforms it into a meaningful solution.
I approach this journey through a user-centered design process, combining UX Design, Project Management, and Documentation to ensure that every stage has a clear purpose and direction.
Understanding the Challenge
Every project starts with identifying the problem, understanding the context, and exploring the needs of the people who will use the product.
Through research, observation, and asking the right questions, I define the challenge before jumping into solutions. This helps me understand what needs to be designed and why it matters.
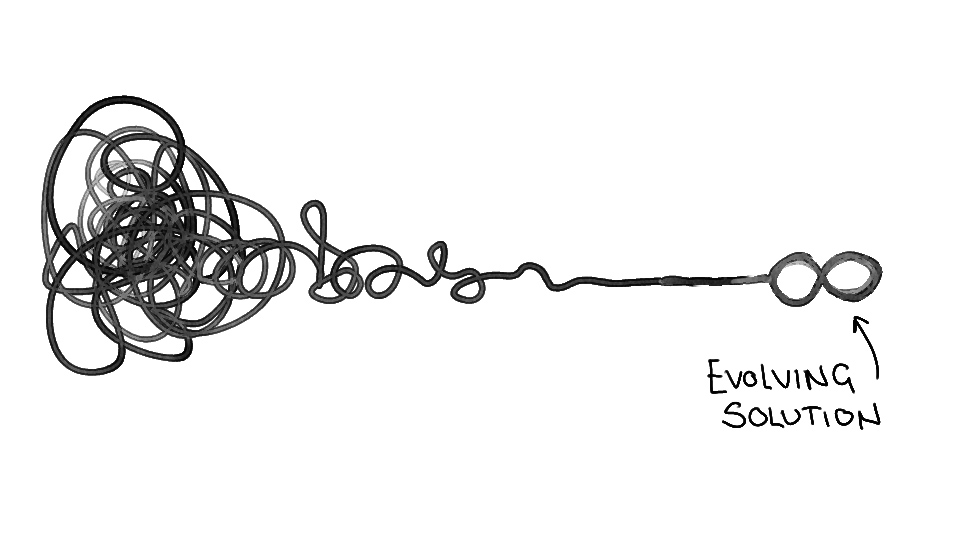
Research, Planning & Management
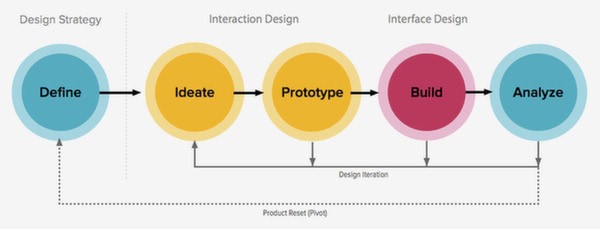
Once the challenge is clear, I organize the project into manageable stages. I define priorities, break down tasks, manage time, and identify the resources needed to move forward.
Project management helps me maintain a clear direction while staying flexible enough to explore new ideas and adapt to unexpected challenges.
Design & Experimentation
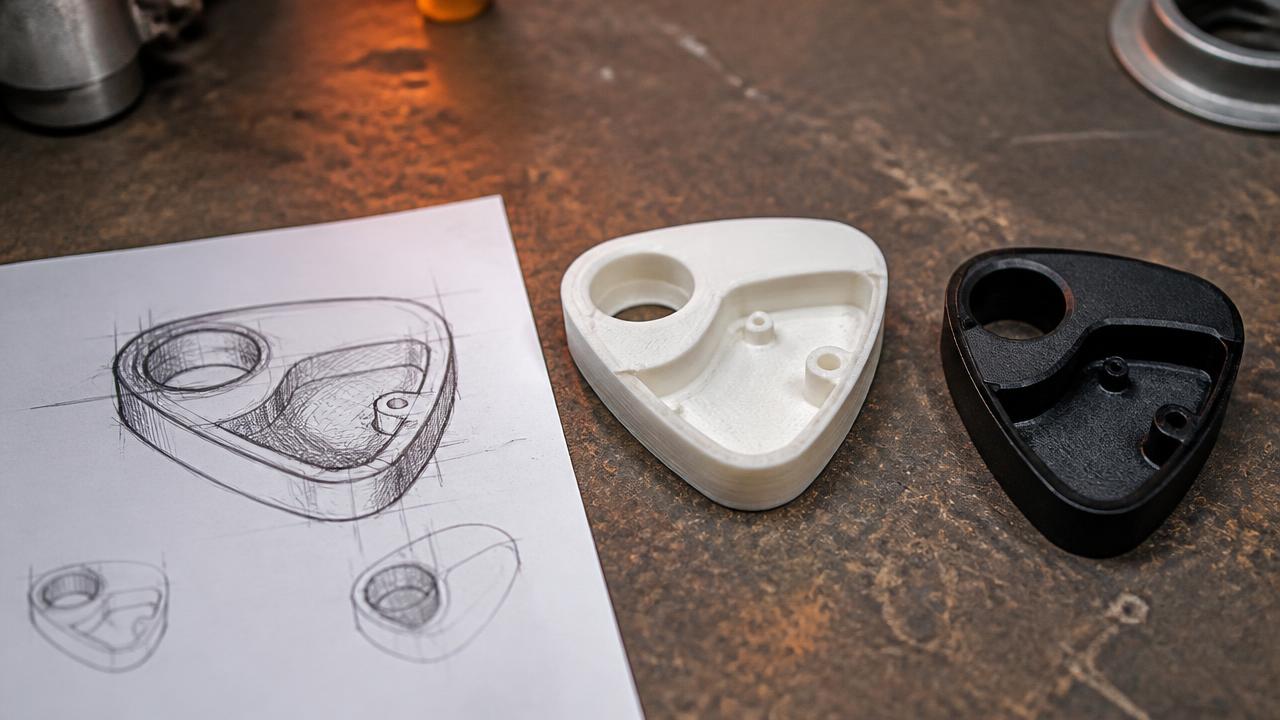
This is where research turns into action. Through sketching, ideation, prototyping, and testing, I explore different possibilities and gradually develop solutions.
I focus on understanding how people interact with the product and how its functionality, materials, and form work together.
Prototype to Product
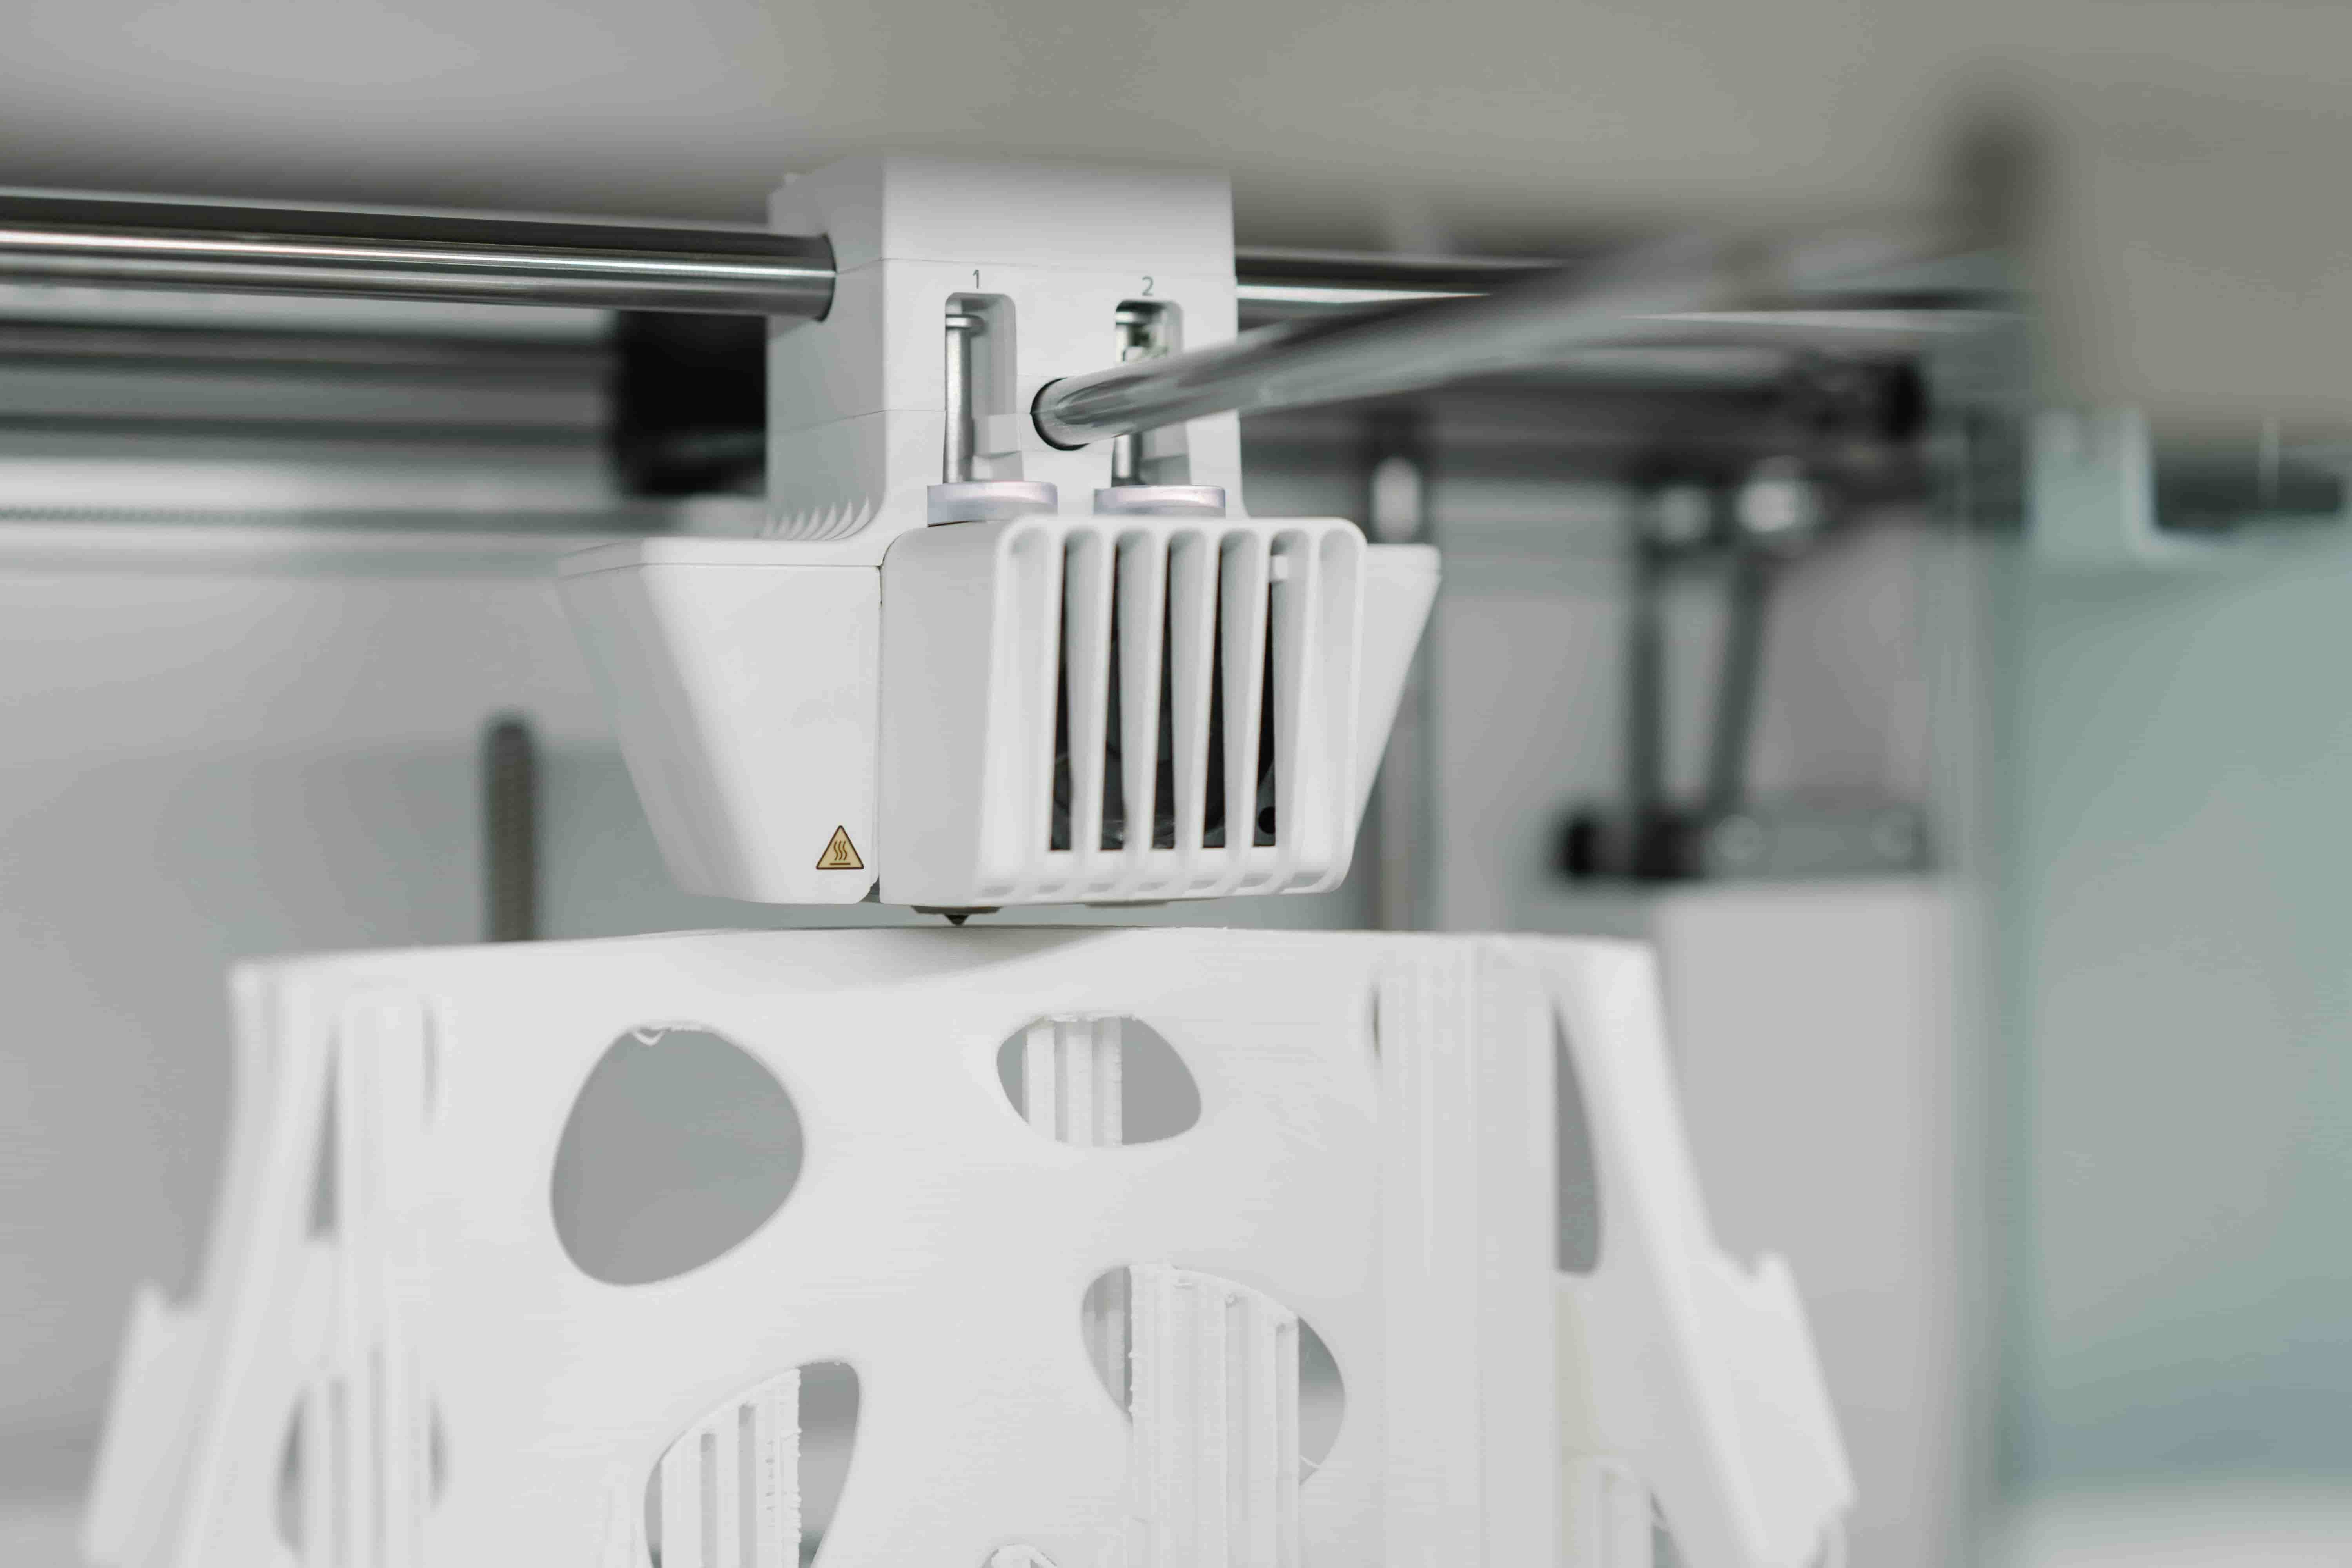
The final stage is about evaluating and refining the solution. Feedback and testing help identify what works, what needs improvement, and how the design can evolve.
For me, the goal is not simply to finish a product, but to develop a thoughtful solution supported by a clear process and continuous learning.
Documentation
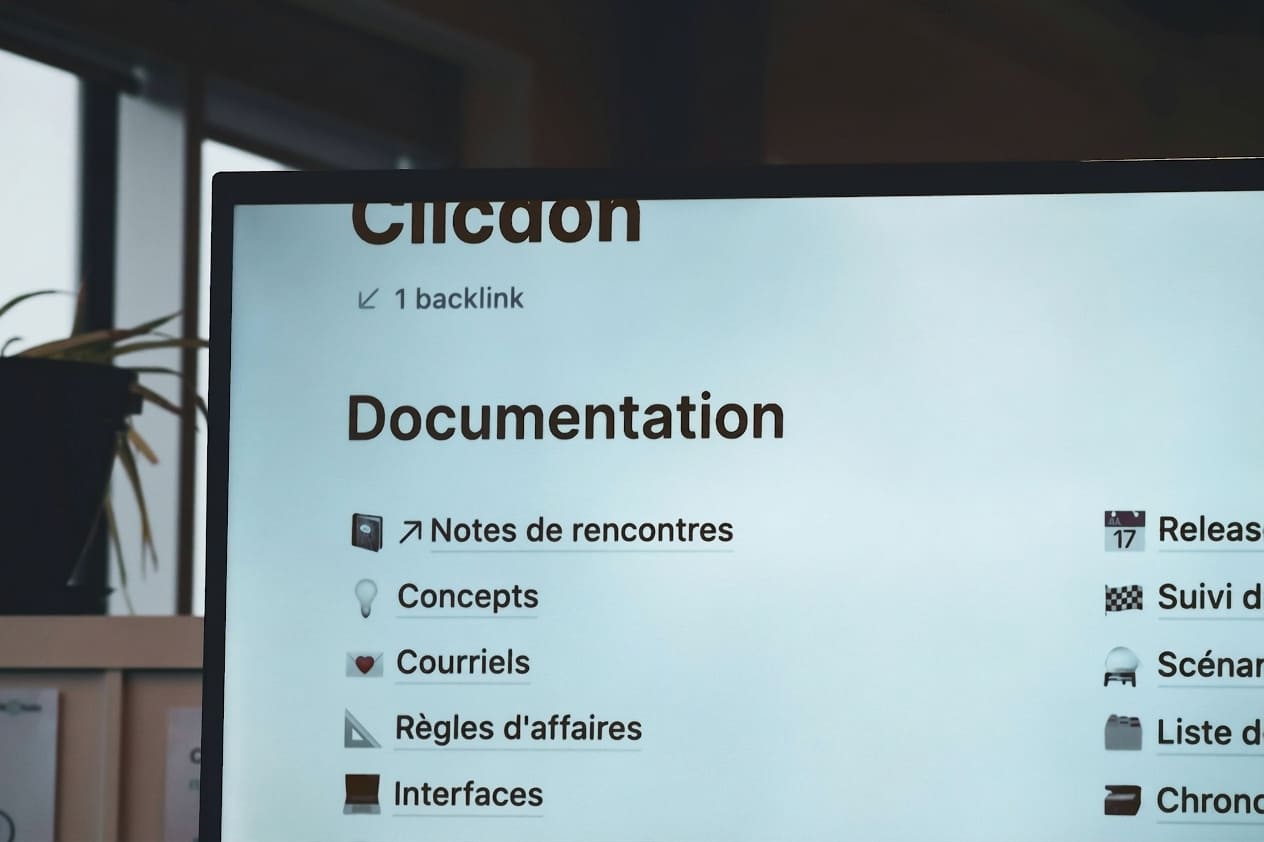
I record research, references, sketches, experiments, challenges, decisions, and outcomes through notes, photographs, and technical information. This creates a record that helps me reflect, learn from each iteration, and communicate the development process clearly.
I believe that a successful design process is not only defined by its final outcome, but also by how the journey is planned, explored, tested, and documented.
MY INSPIRATION
Whenever I start a new project I look beyond the obvious. I observe how people interact with products explore materials experiment with technologies and search for opportunities to transform challenges into meaningful solutions.
My approach to design is influenced by people who have challenged conventional thinking and created new connections between design, technology, science, and human experience.
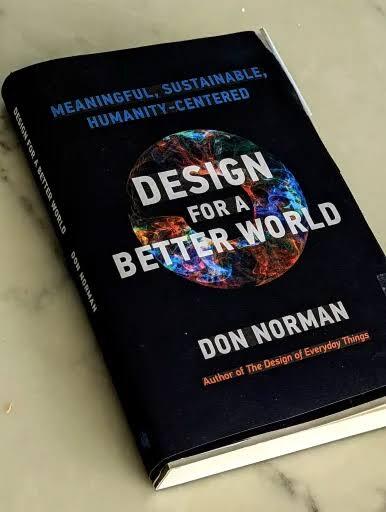
01. Don Norman — Human-Centered Design
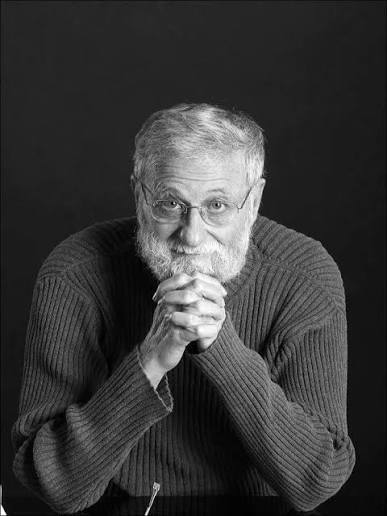
I am inspired by his approach to understanding human behavior and designing products and experiences around people real needs. His work reminds me that good design should make things easier, more meaningful, and more intuitive.
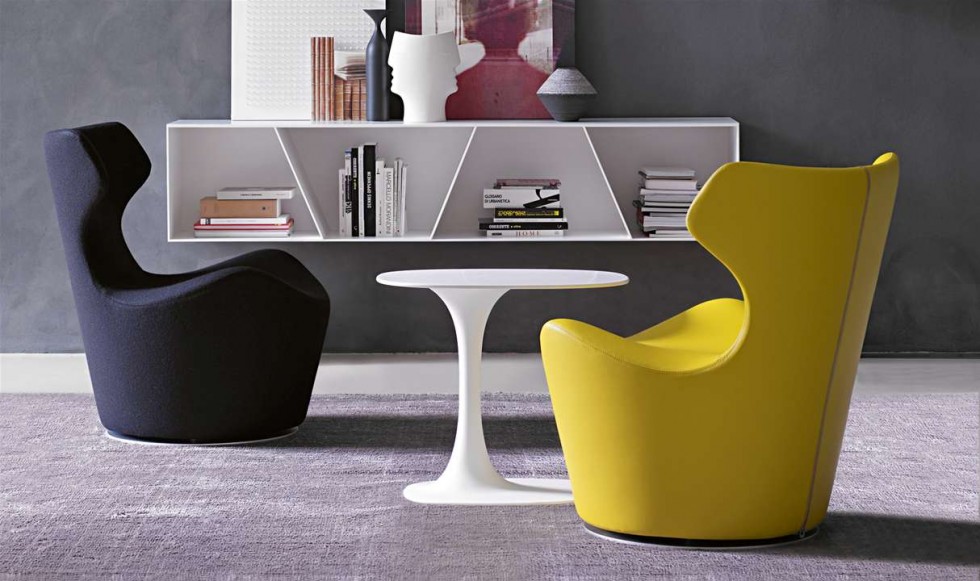
02. Naoto Fukasawa — Designing Through Simplicity
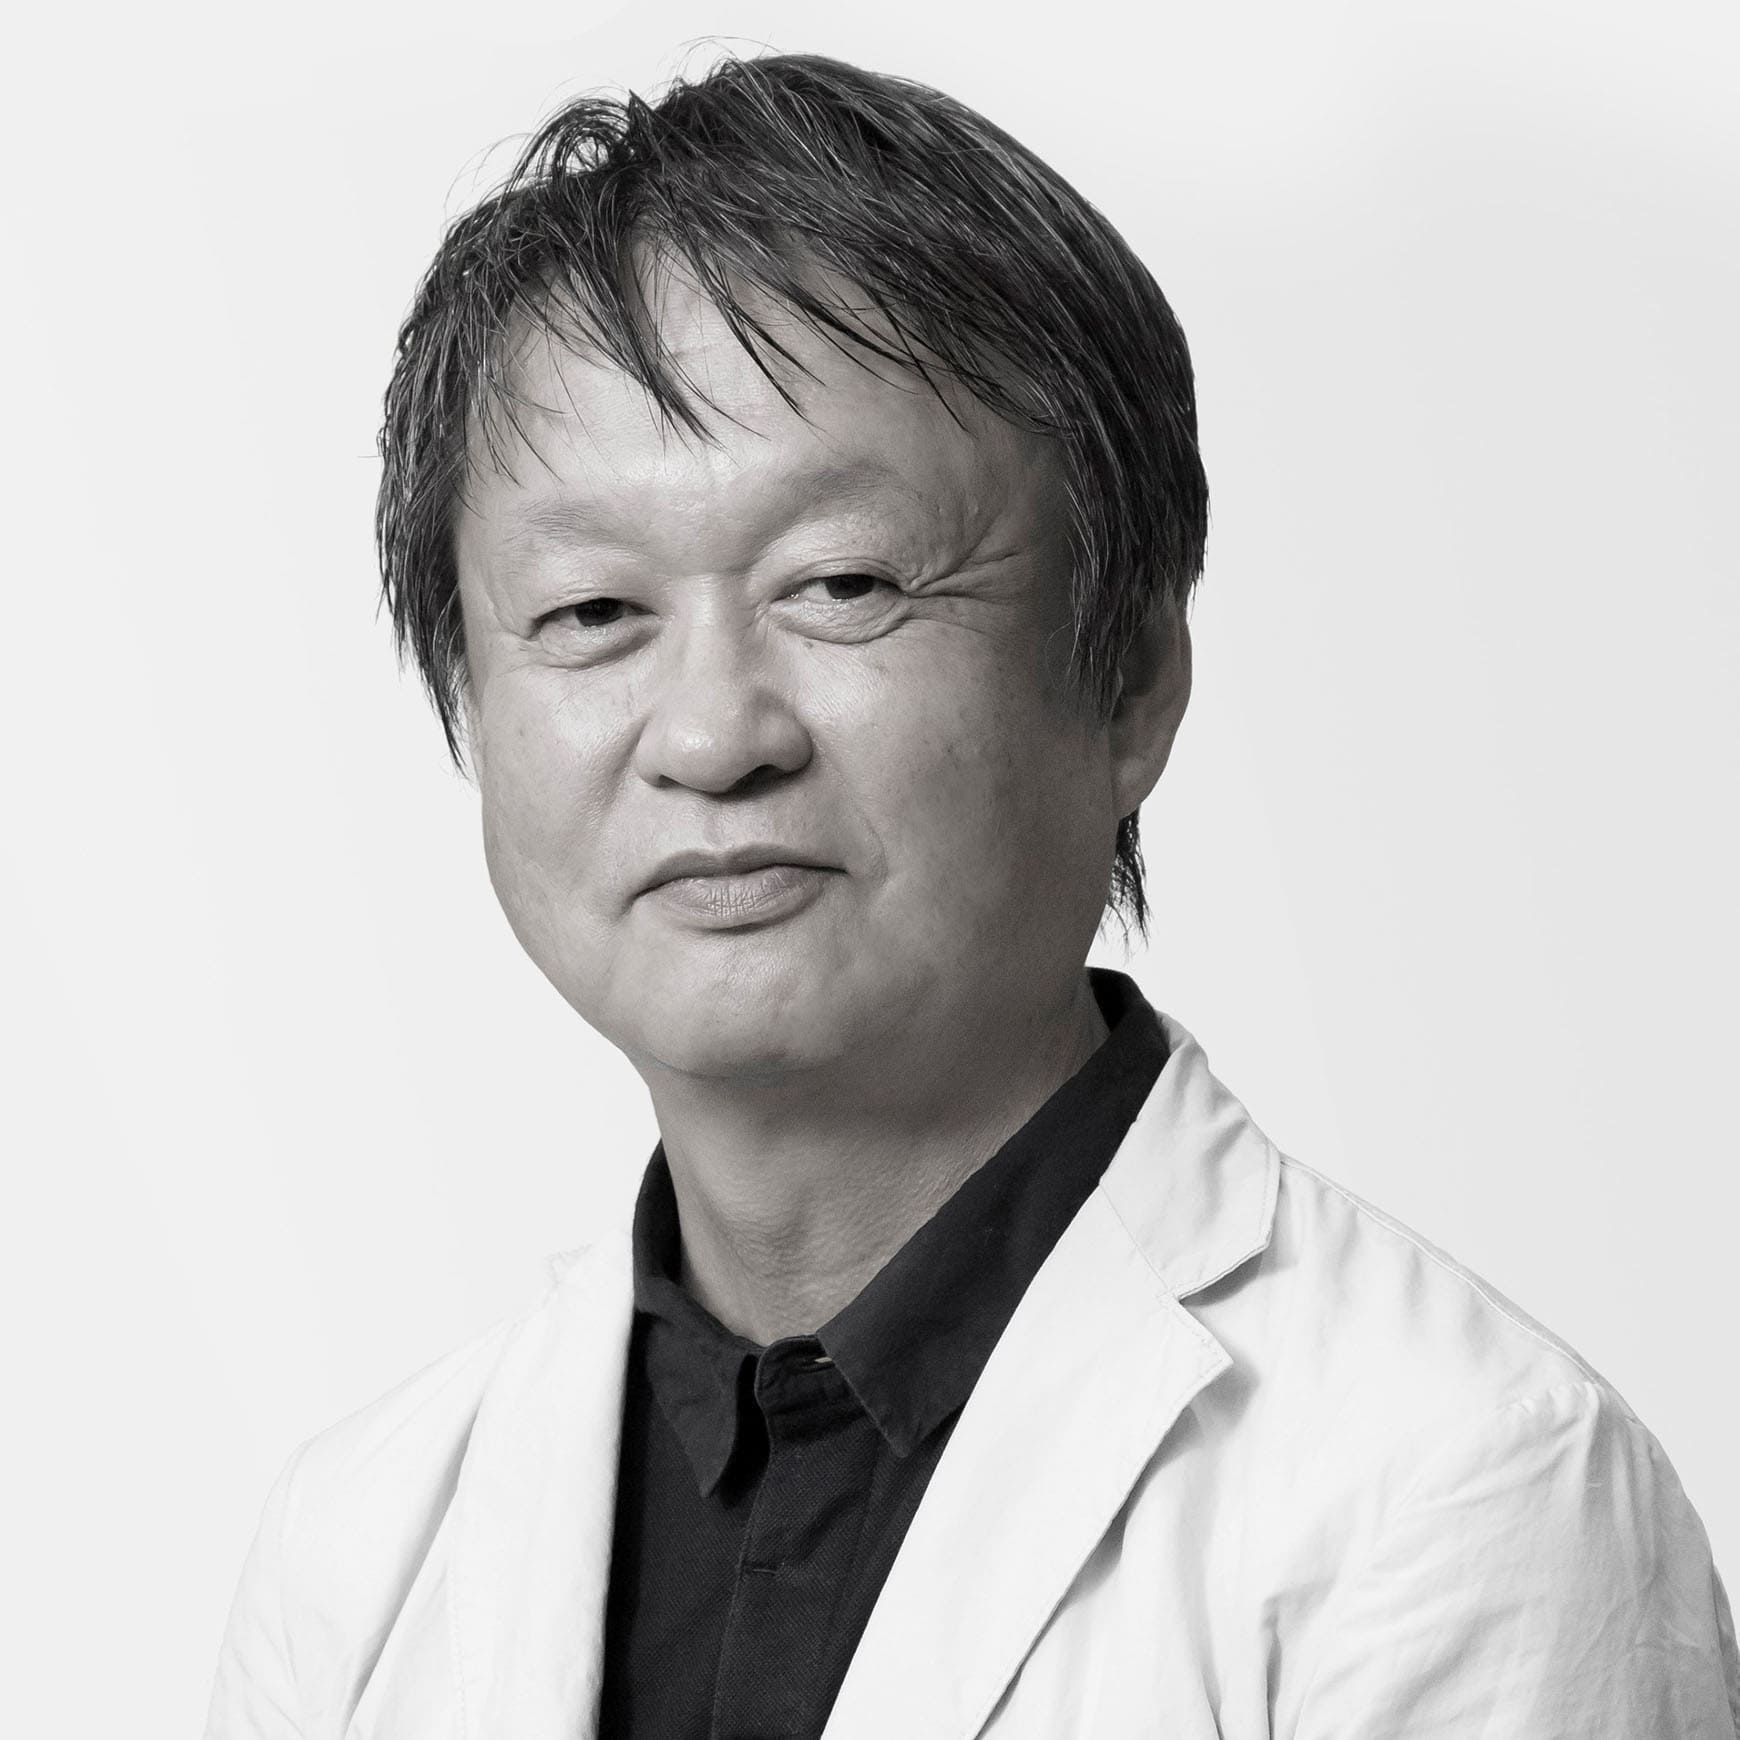
I am inspired by Naoto Fukasawa's philosophy of designing products that feel natural and intuitive to use. His approach reminds me that great design is not always about creating something complex or visually impressive, but about understanding human behavior and making everyday interactions simpler and more meaningful.
THE CPF MAKER SPACE
2.1 — A Quick Tour of the Makerspace
The Makerspace Amman is a program sponsored by the Crown Prince Foundation (CPF). It is a digital fabrication environment dedicated to supporting young people in innovation, design, experimentation, and manufacturing.
It provides access to different tools and workspaces that help users transform their ideas into physical prototypes.
2.2 — Makerspace Facilities & Sections
During the tour, we were introduced to different sections of the Makerspace and the opportunities they offer.
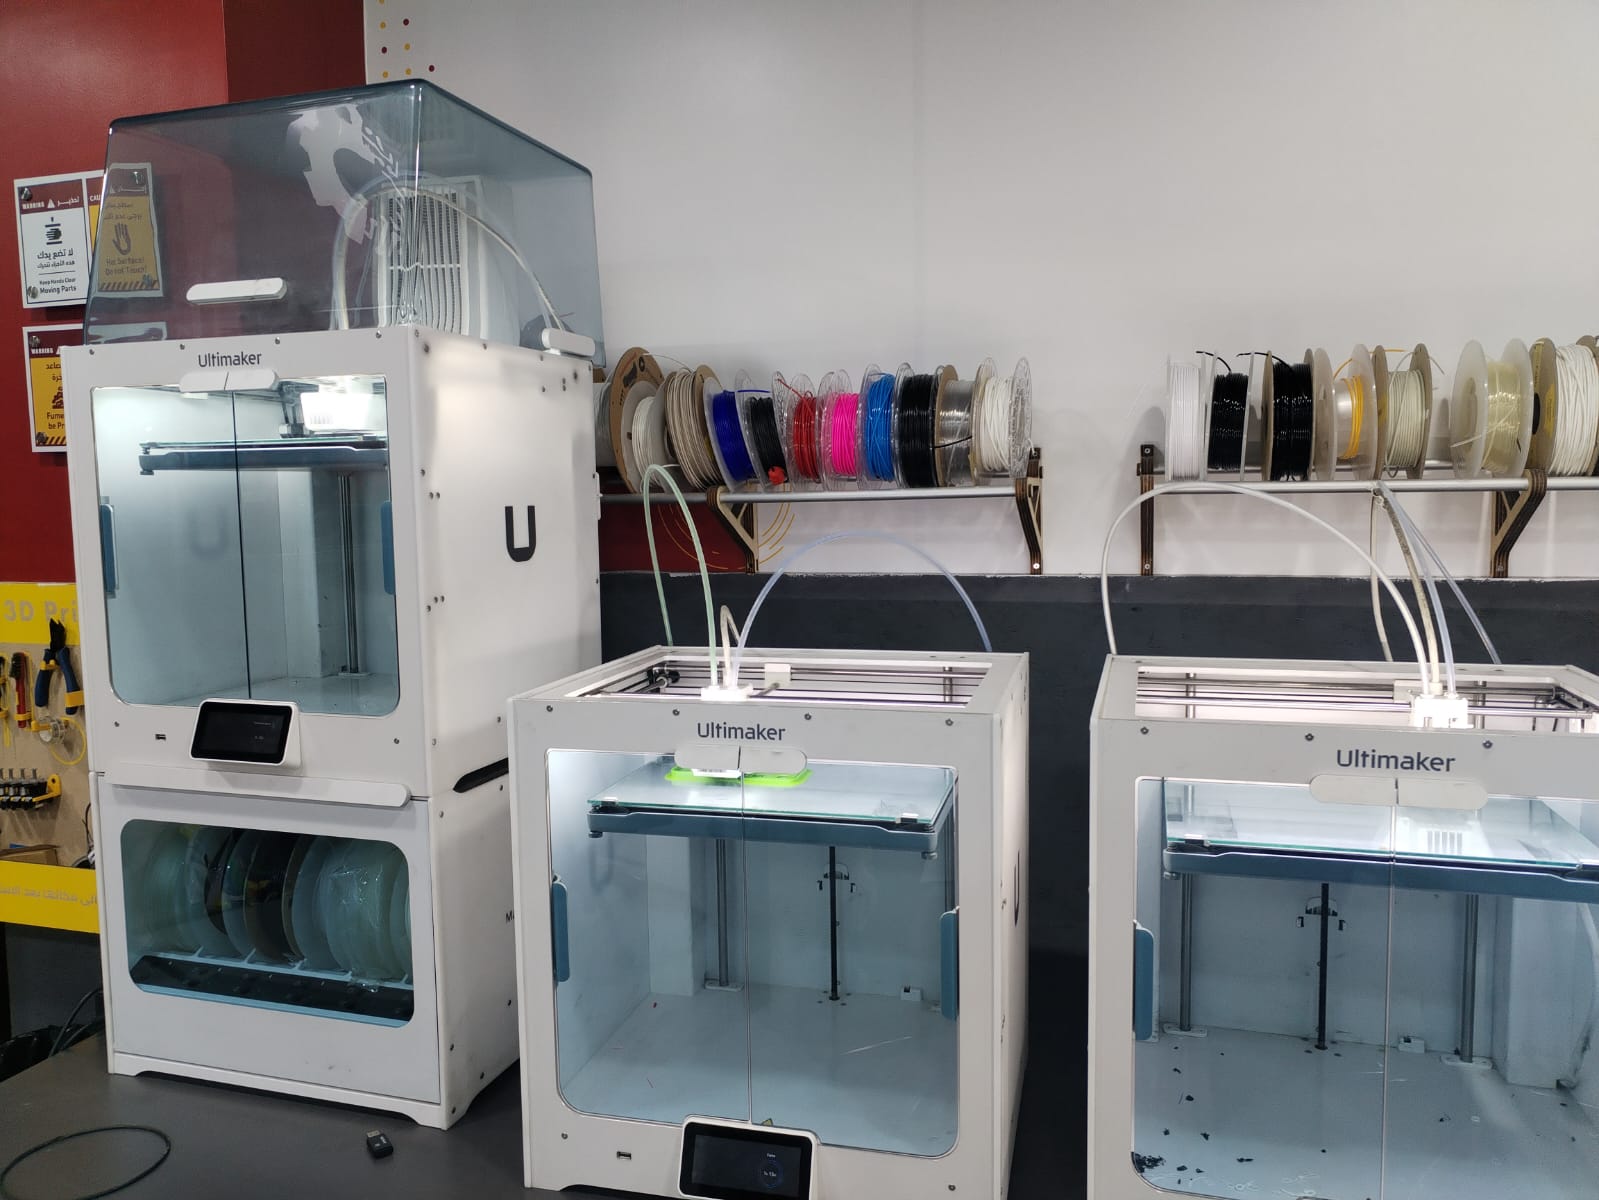
3D PRINTING
A space dedicated to additive manufacturing and creating physical prototypes.
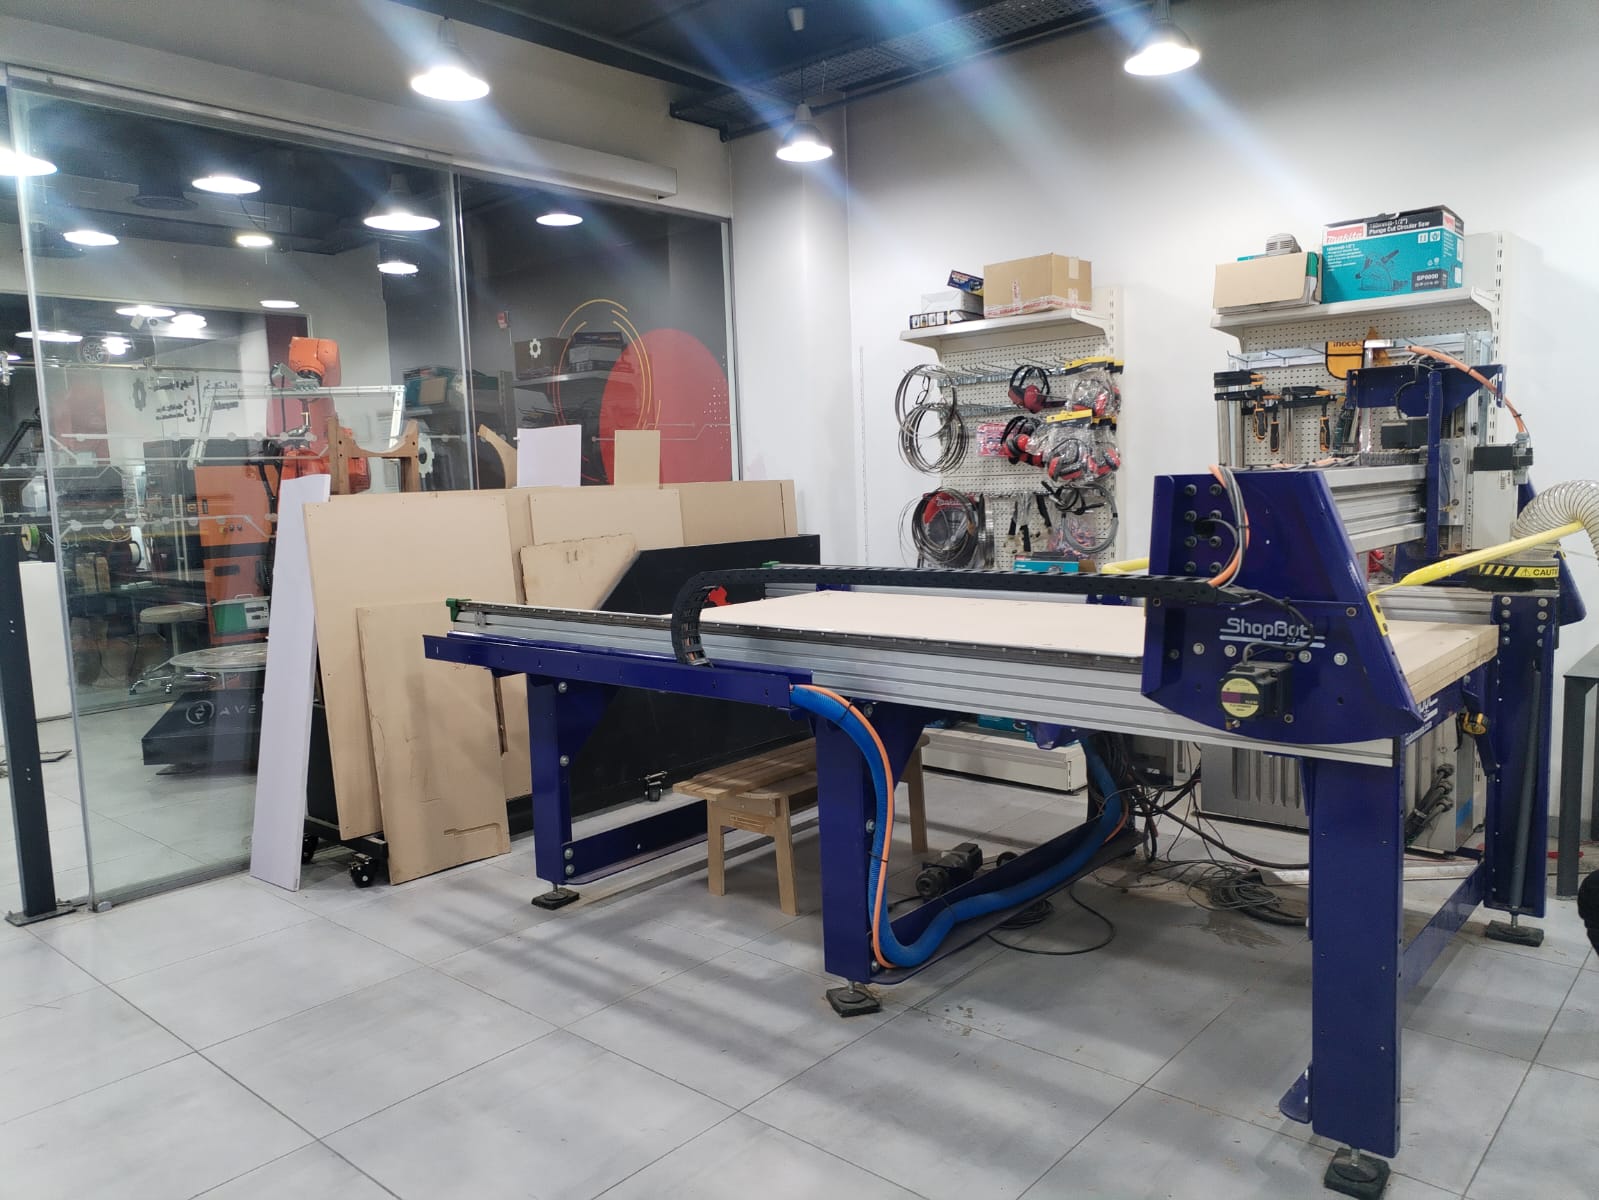
CNC MACHINING
A section for computer-controlled manufacturing and material processing.
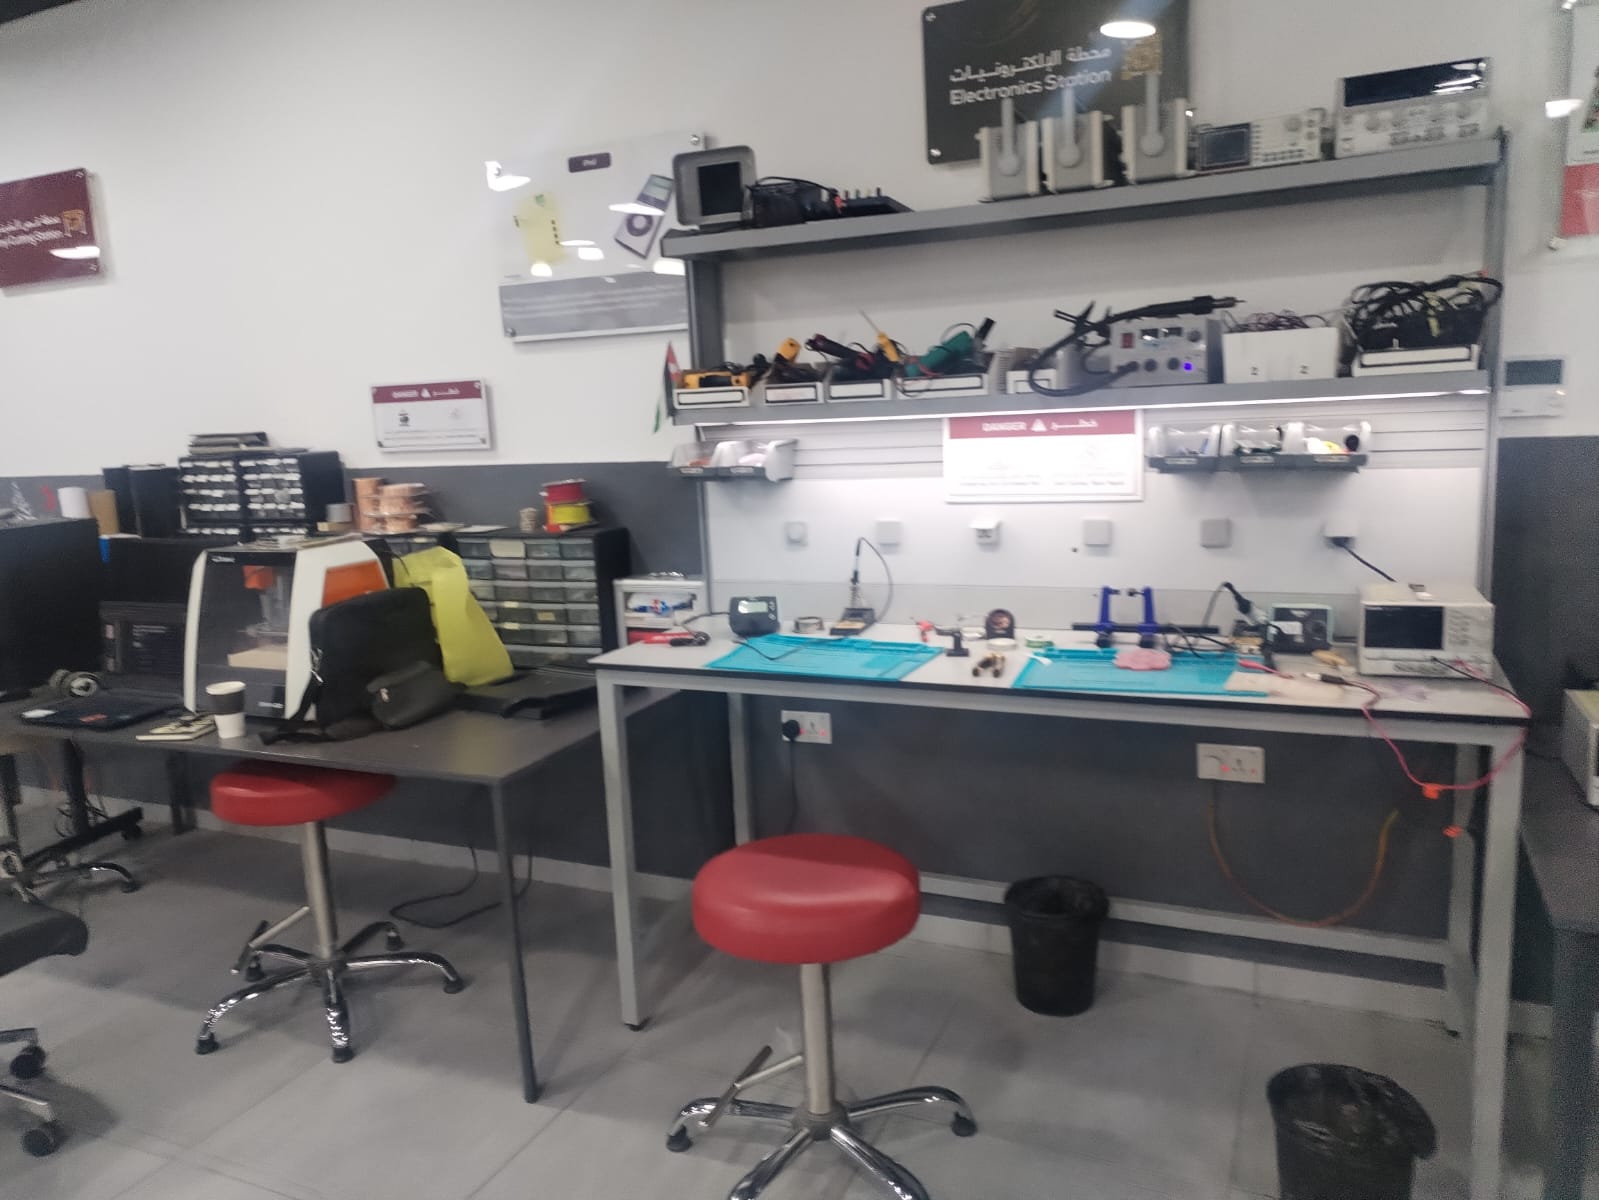
ELECTRONICS
A workspace for electronic components, circuits, and interactive experiments.
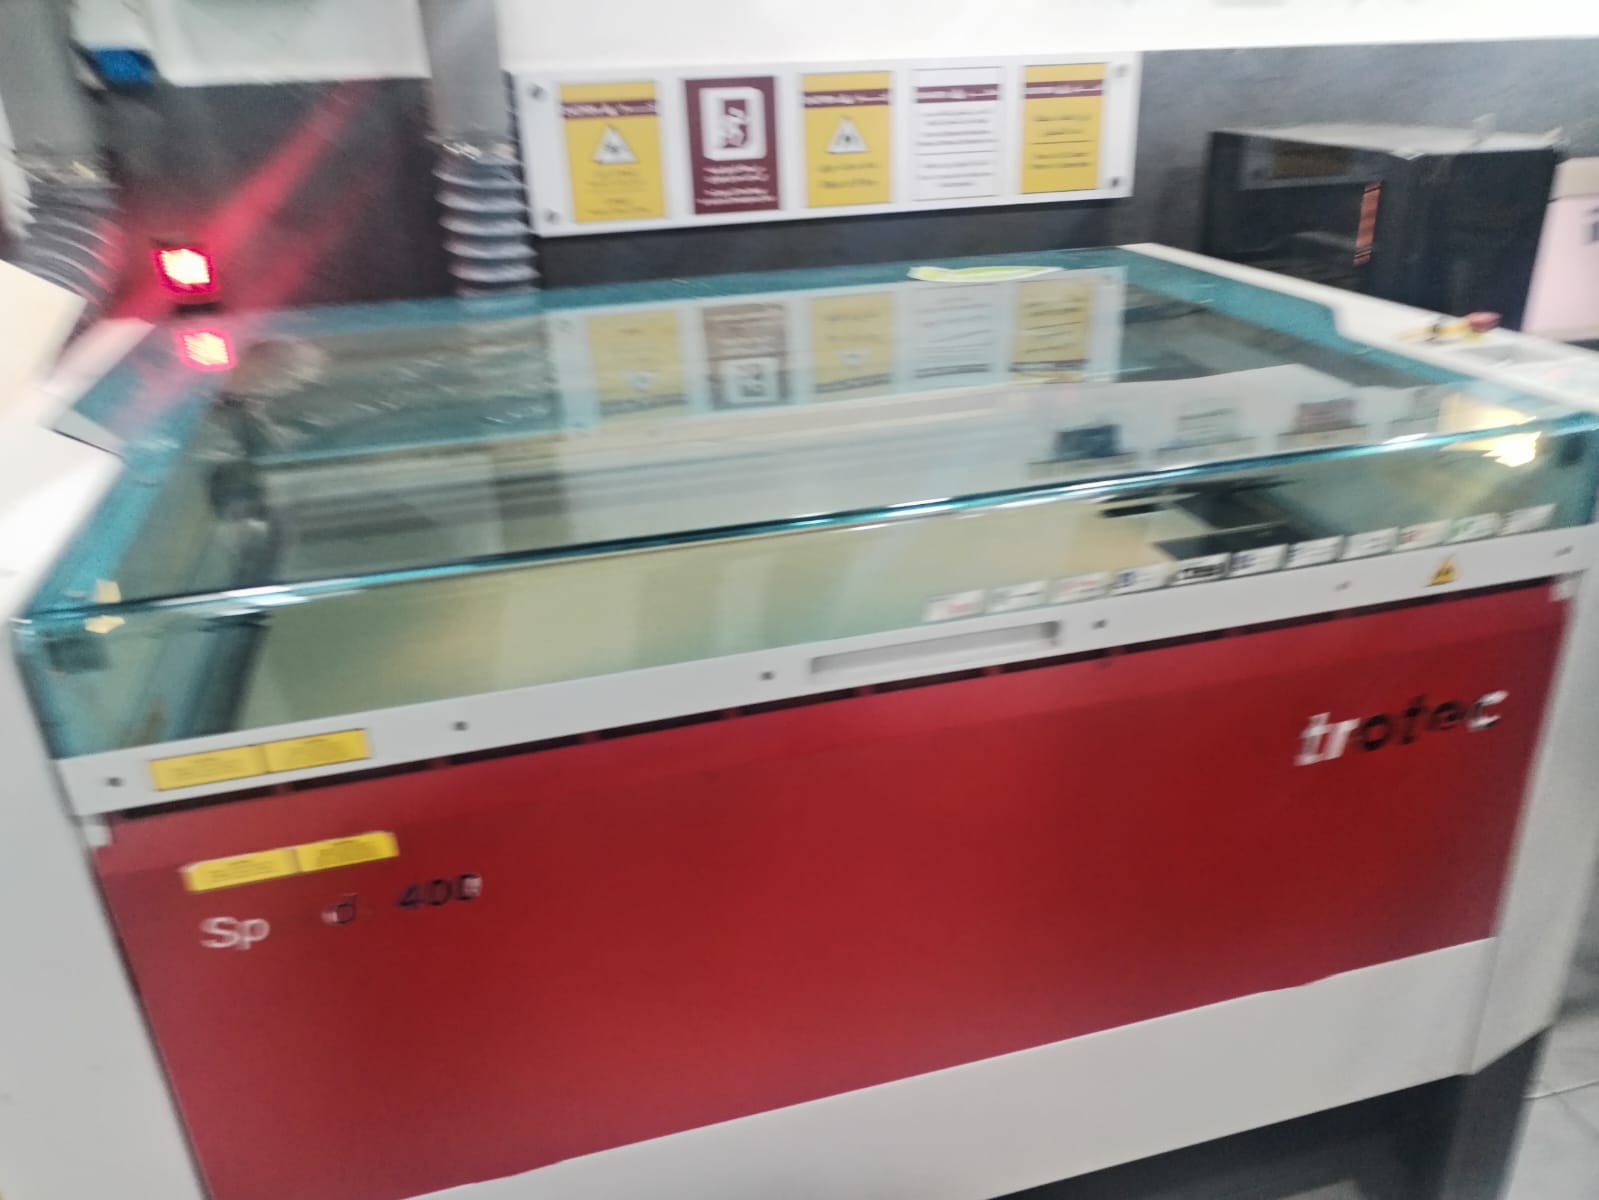
LASER CUTTING
A section for precise cutting and engraving of suitable materials.
2.3 — Safety in the Makerspace
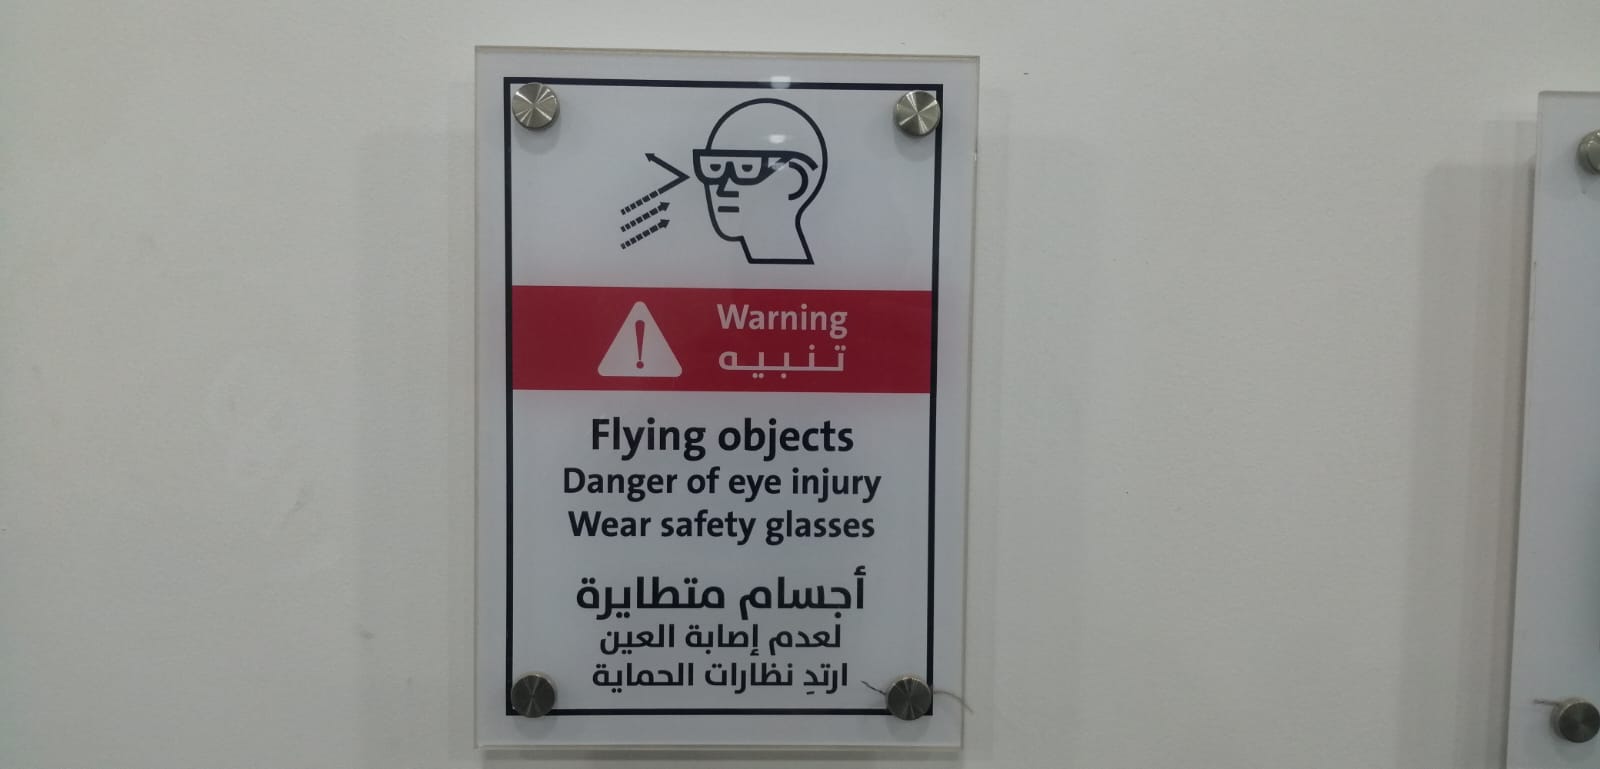
Safety is an essential part of working in any digital fabrication environment.
During the tour, I noticed the safety instructions and informational signs displayed throughout the Makerspace. The presence of staff members also helps guide users and visitors and supports a safer working environment.
Understanding safety procedures is important before using any machine or fabrication tool.
MY WEBSITE WORKFLOW
Step 01 — Sketches & Design
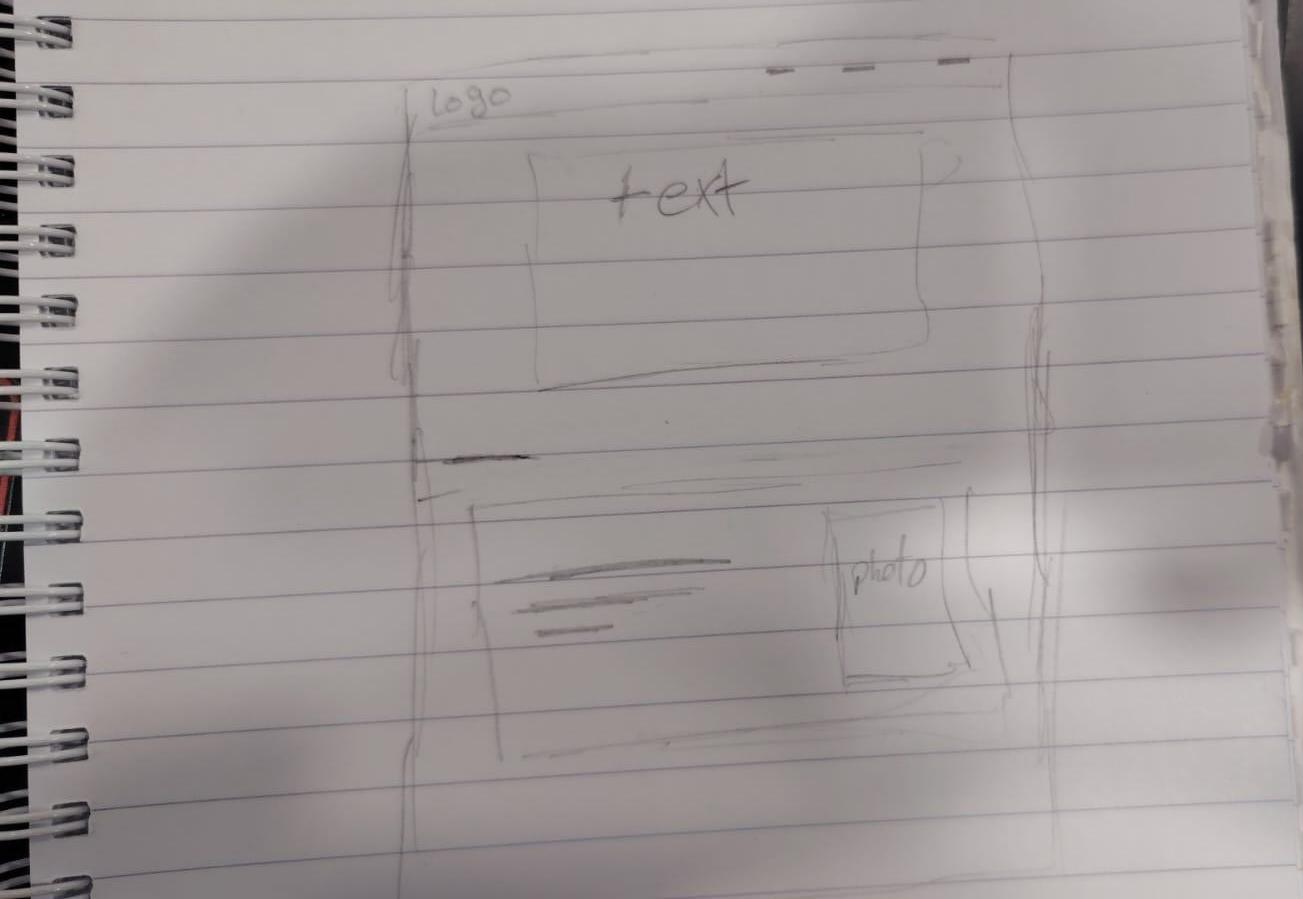
I started by creating preliminary sketches on paper to explore the structure and layout of my documentation website.
After developing the initial ideas, I moved to Figma to create a digital prototype before translating the design into code.
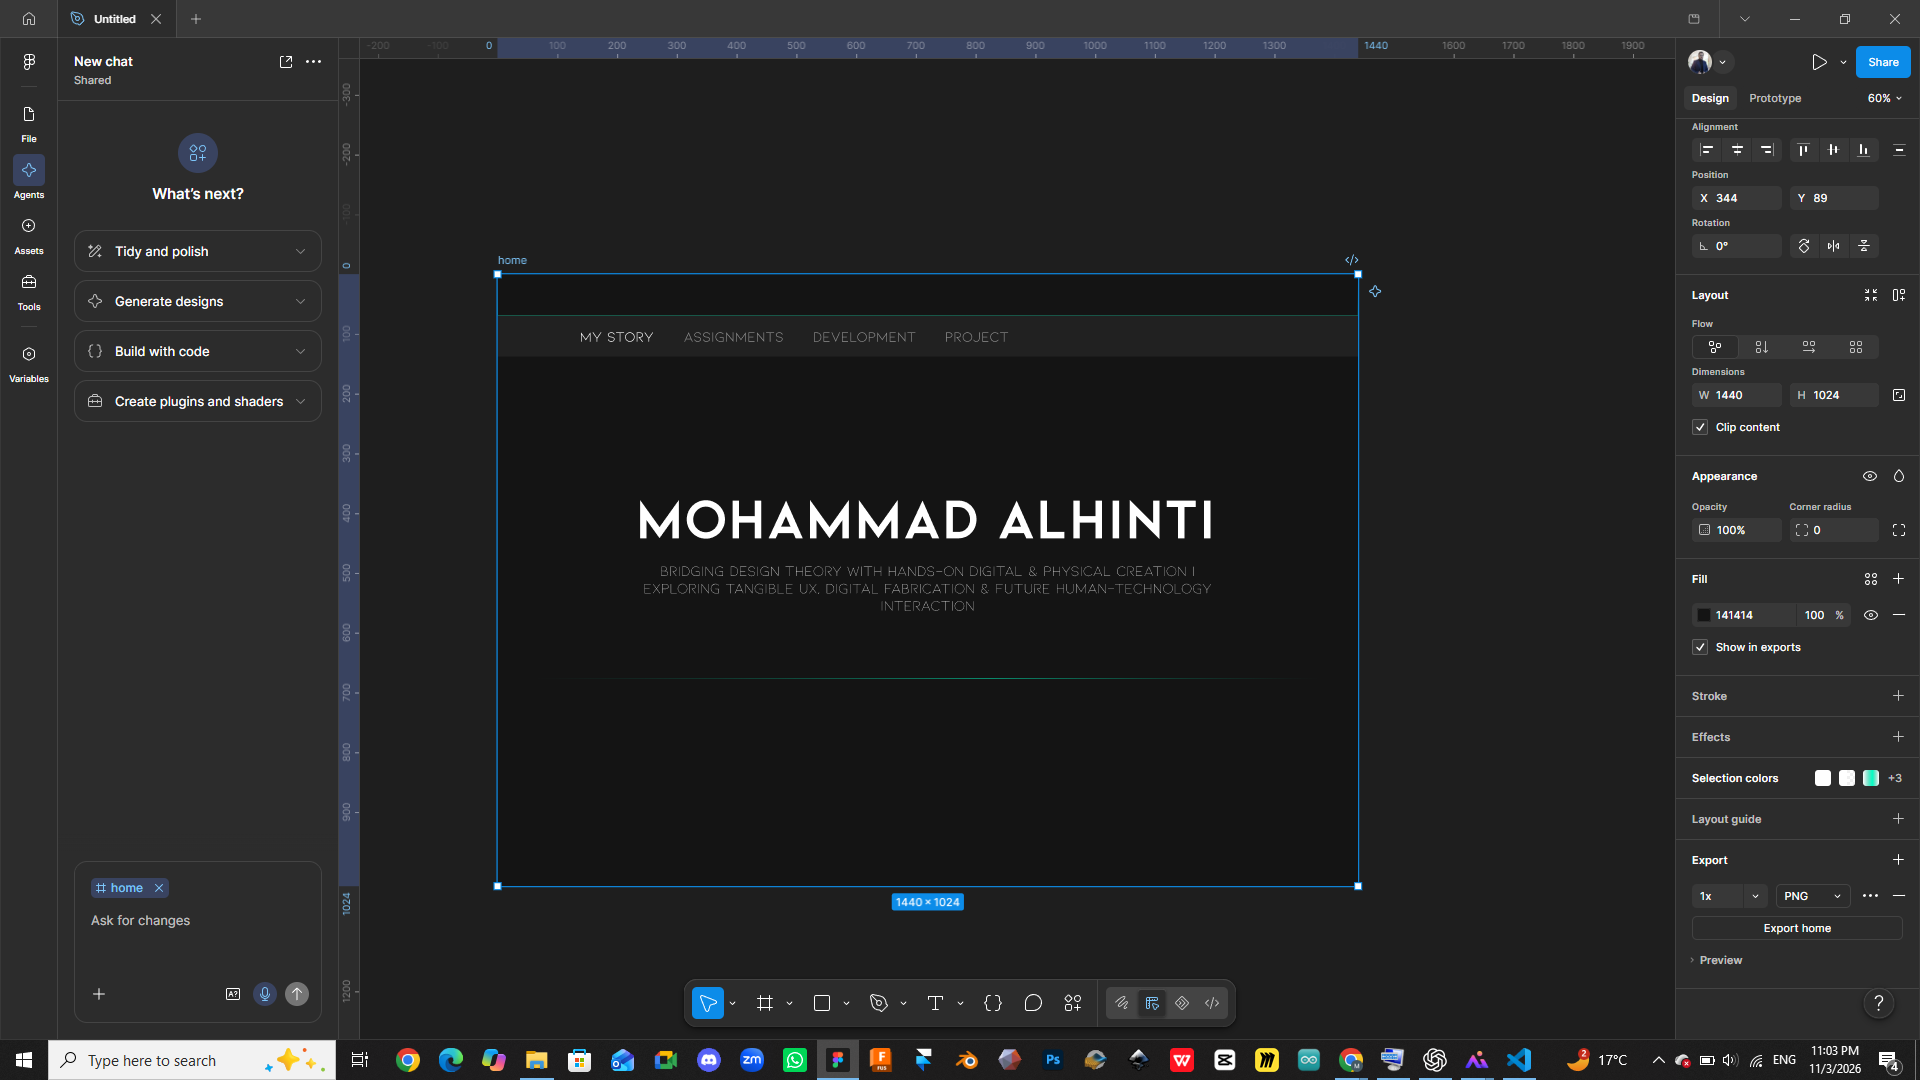
Figma Software
Figma is a cloud-based interface design and prototyping tool used to create and collaborate on digital products, including websites and mobile applications.
Step 02 — Learning HTML & CSS
The next stage involved learning the basic technologies used to build and style websites: HTML and CSS.
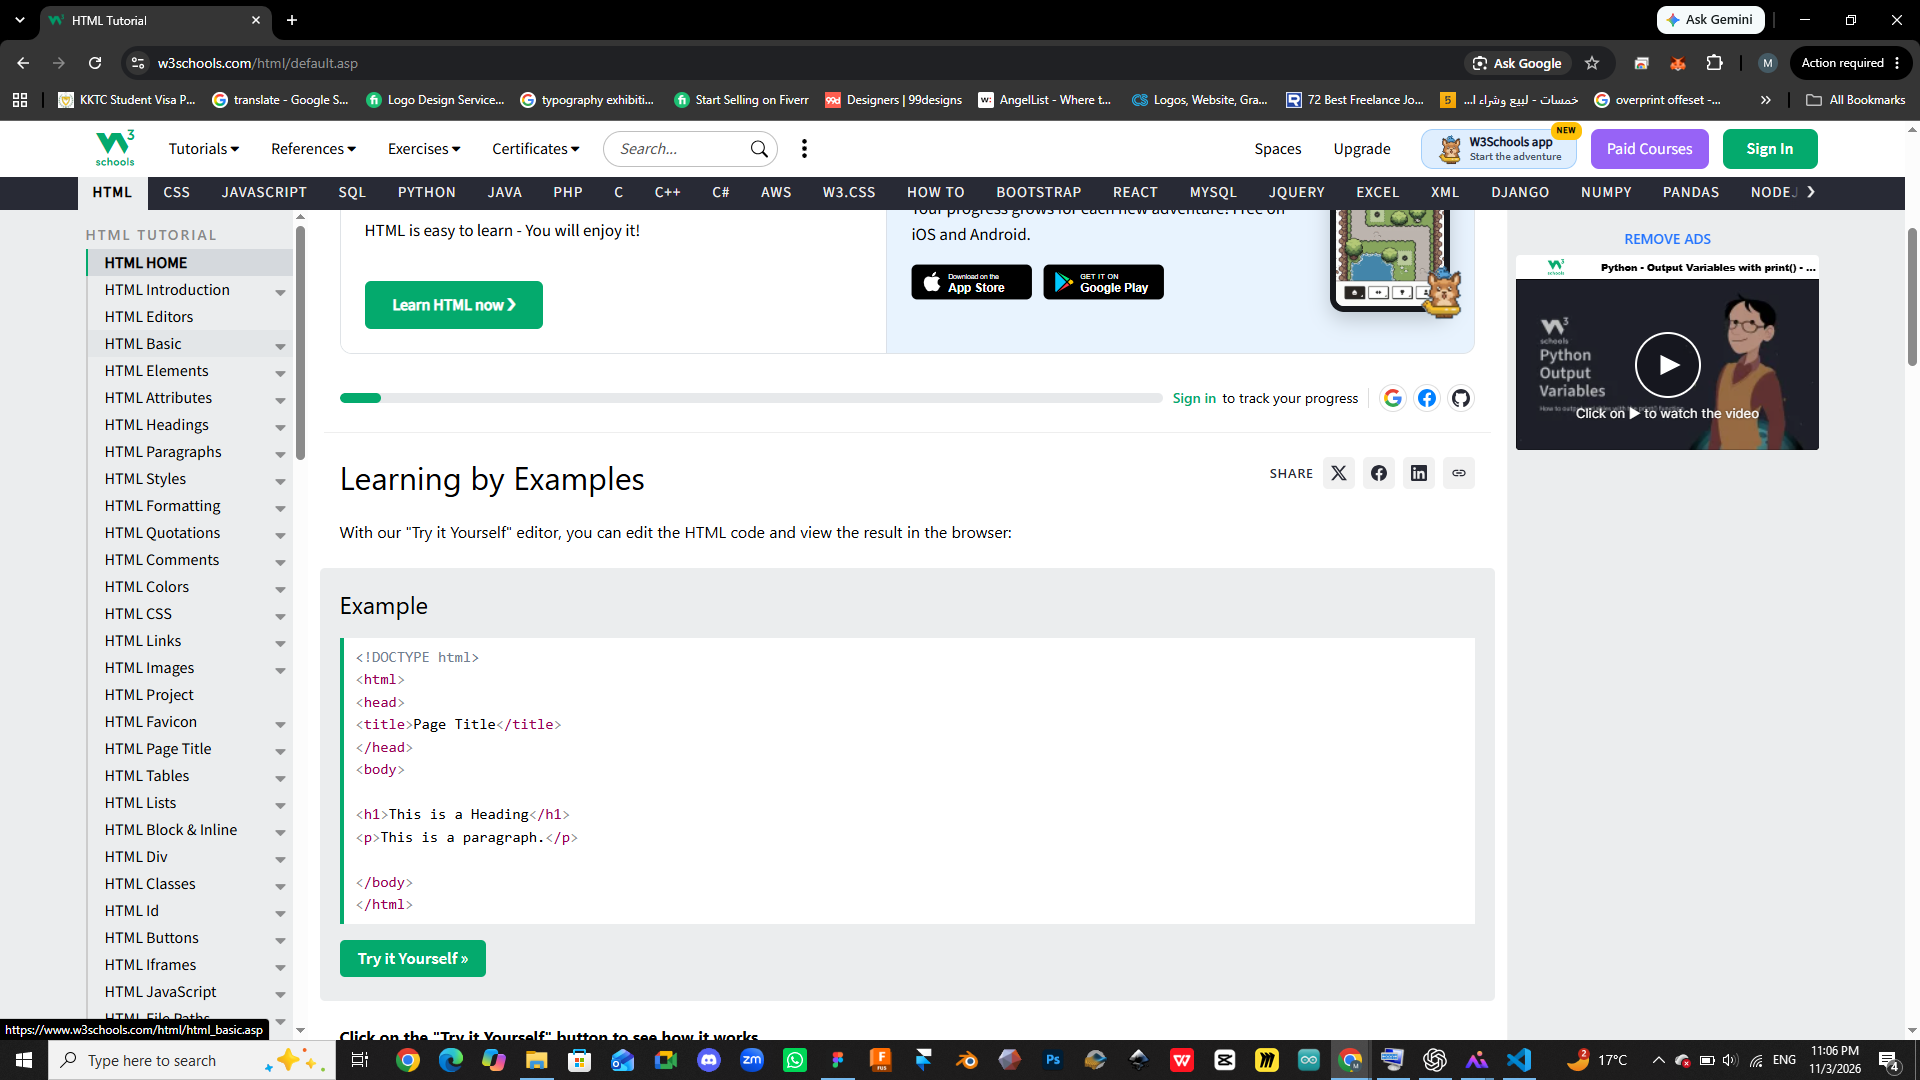
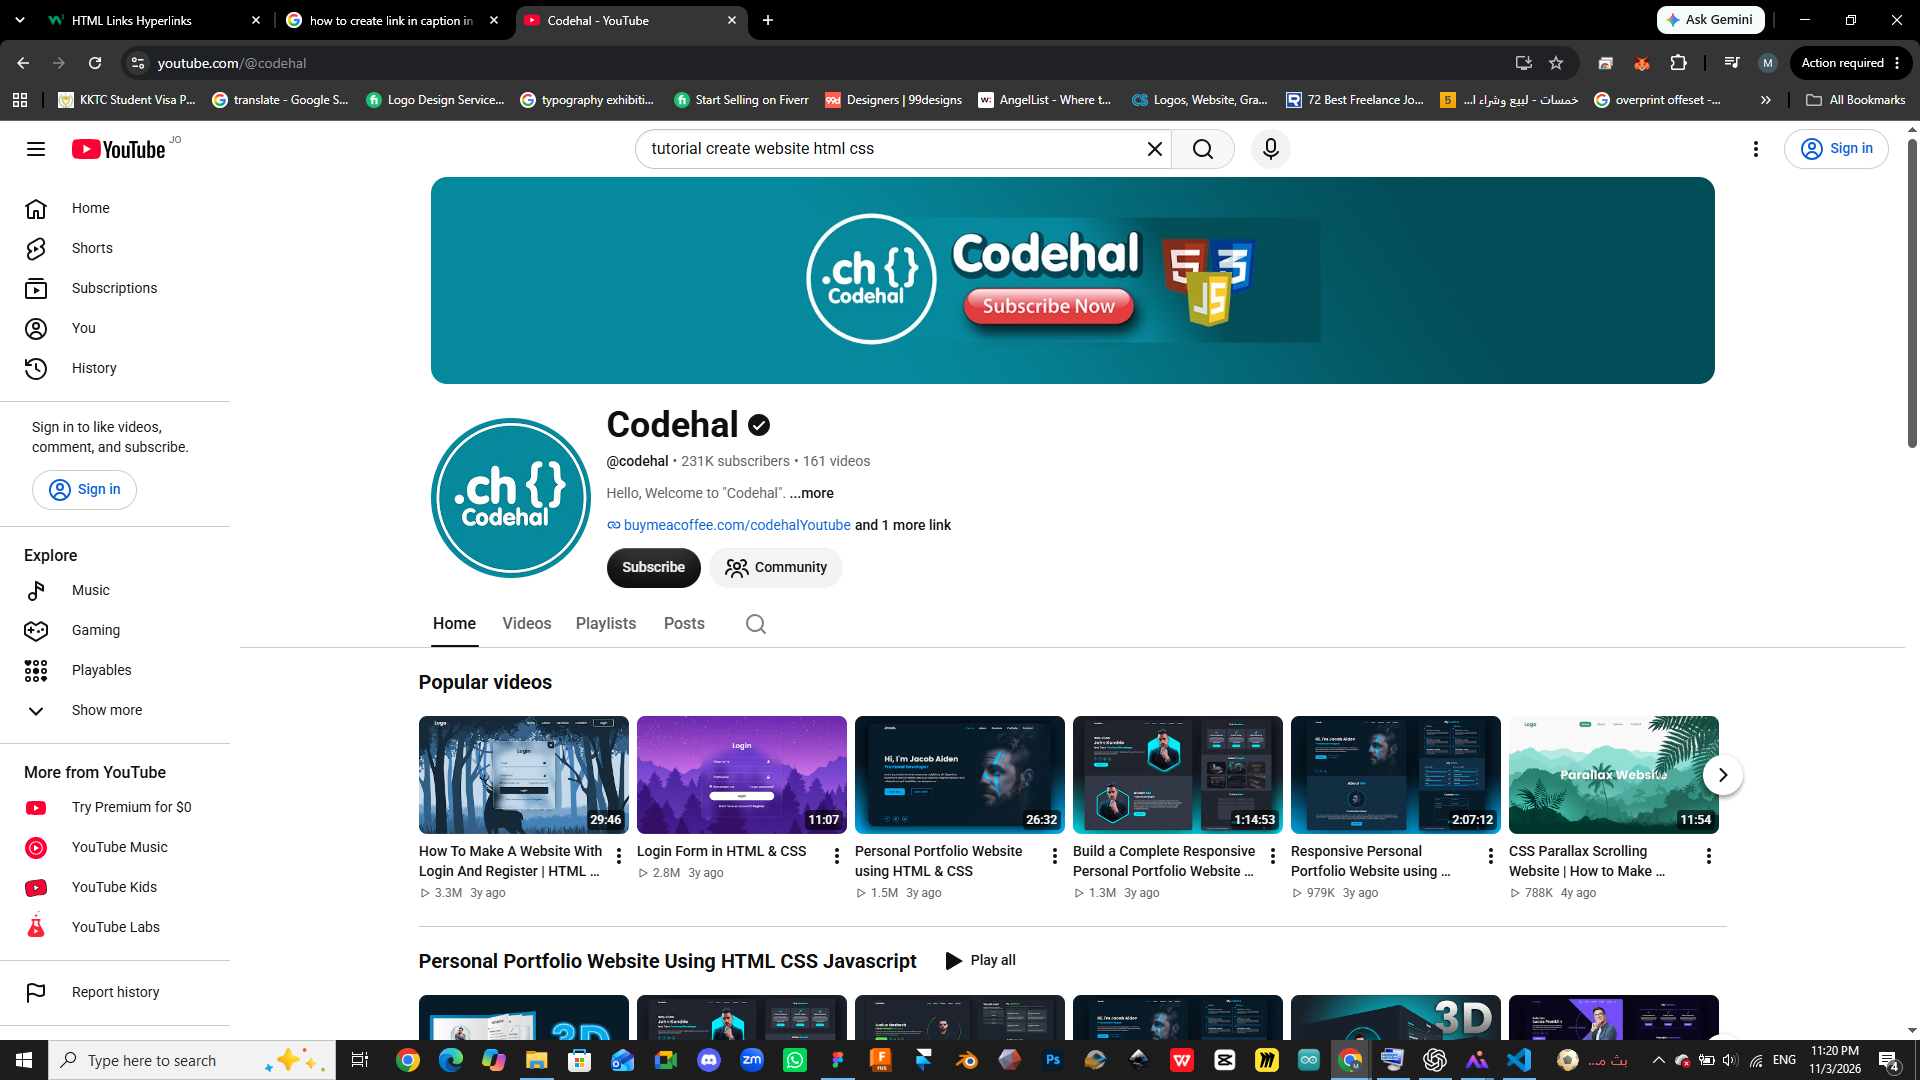
I used online learning resources, including W3Schools and YouTube tutorials, to understand the structure of web pages and how to control their visual appearance.
Step 03 — Building My Website
Change Website Name:
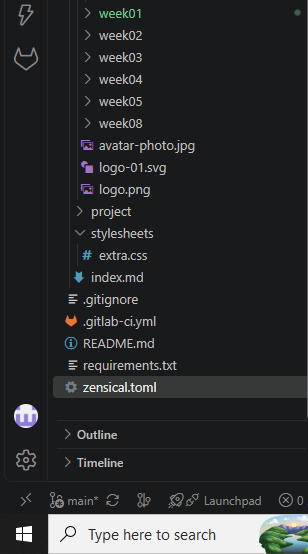
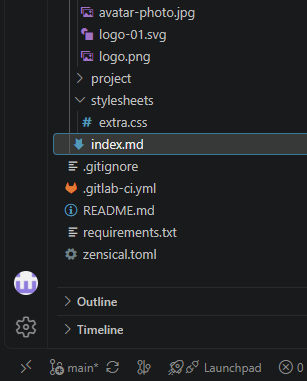
First I opened the Zensical file to change name of the web.
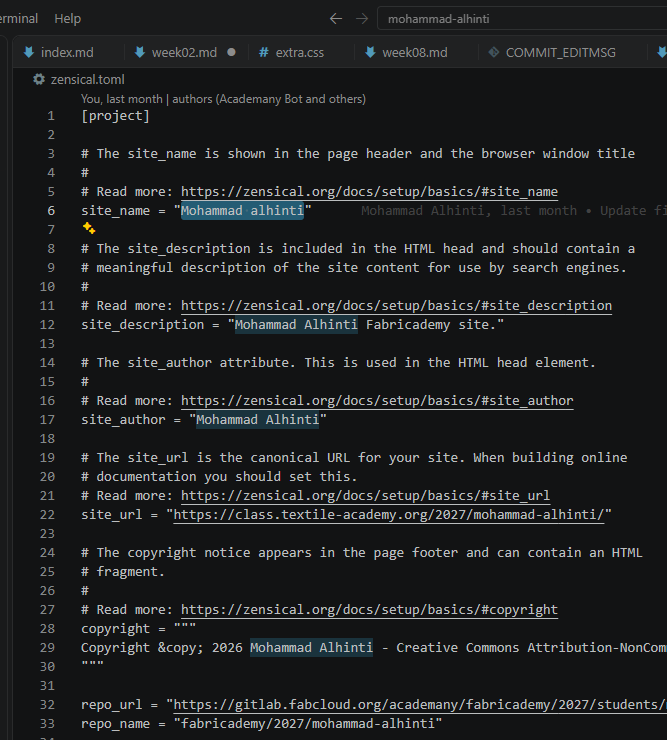
Then I changed My Website Name to Mohammad Alhinti after that I started to create and change my website form index file.
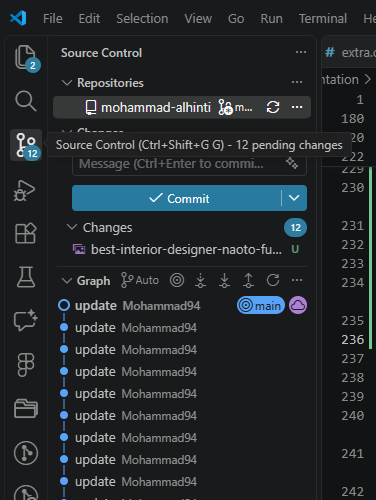
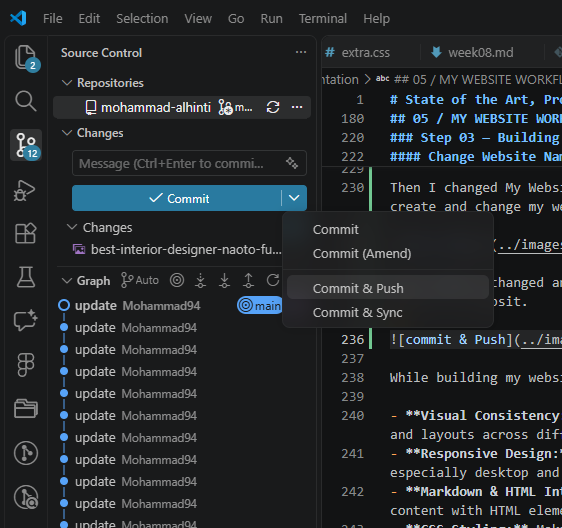
After When I changed and create my design for website I used commit and push to publish my websit.
While building my website, I encountered several challenges:
- Visual Consistency: Maintaining consistent spacing, typography, colors, and layouts across different sections.
- Responsive Design: Adapting the website to different screen sizes, especially desktop and mobile devices.
- Markdown & HTML Integration: Understanding how to combine Markdown content with HTML elements to achieve the desired layout.
- CSS Styling: Making sure that custom styles work correctly with the website theme.
LAYOUT & CONSISTENCY
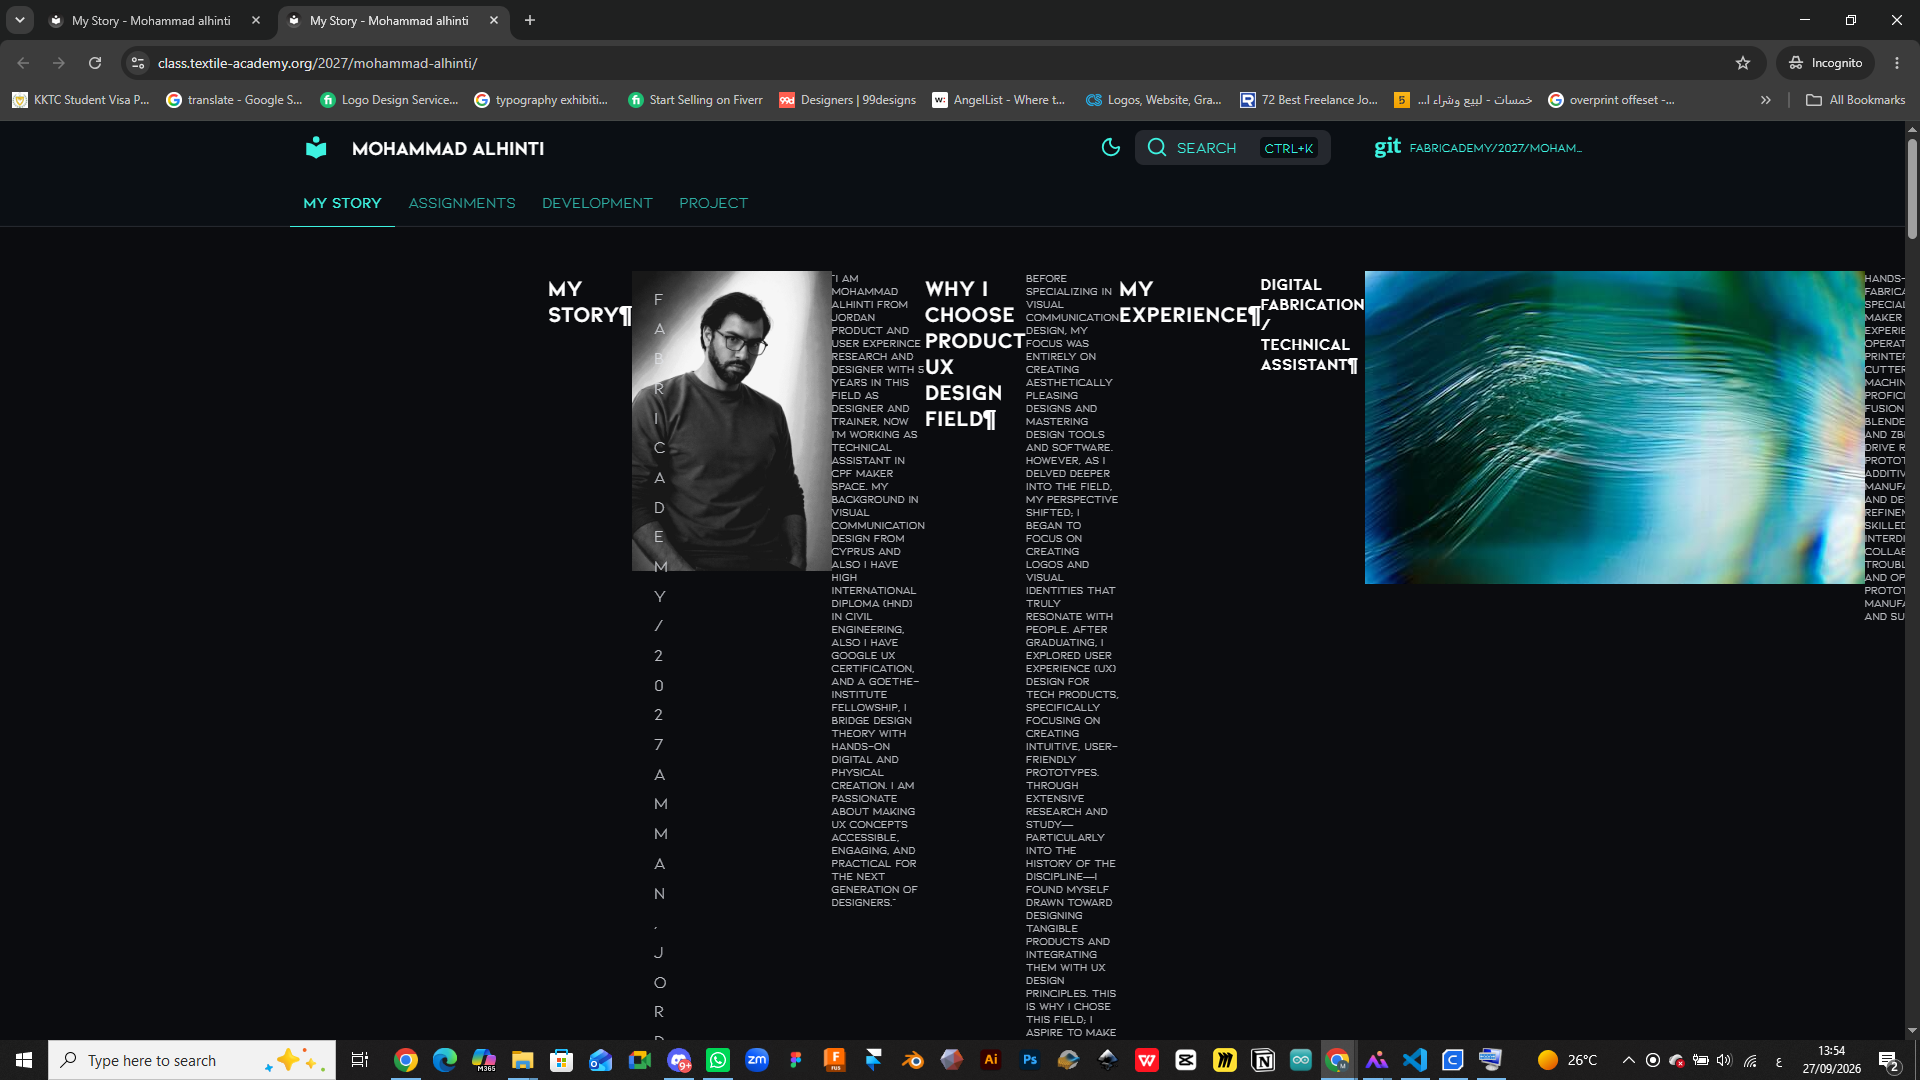
RESPONSIVE DESIGN
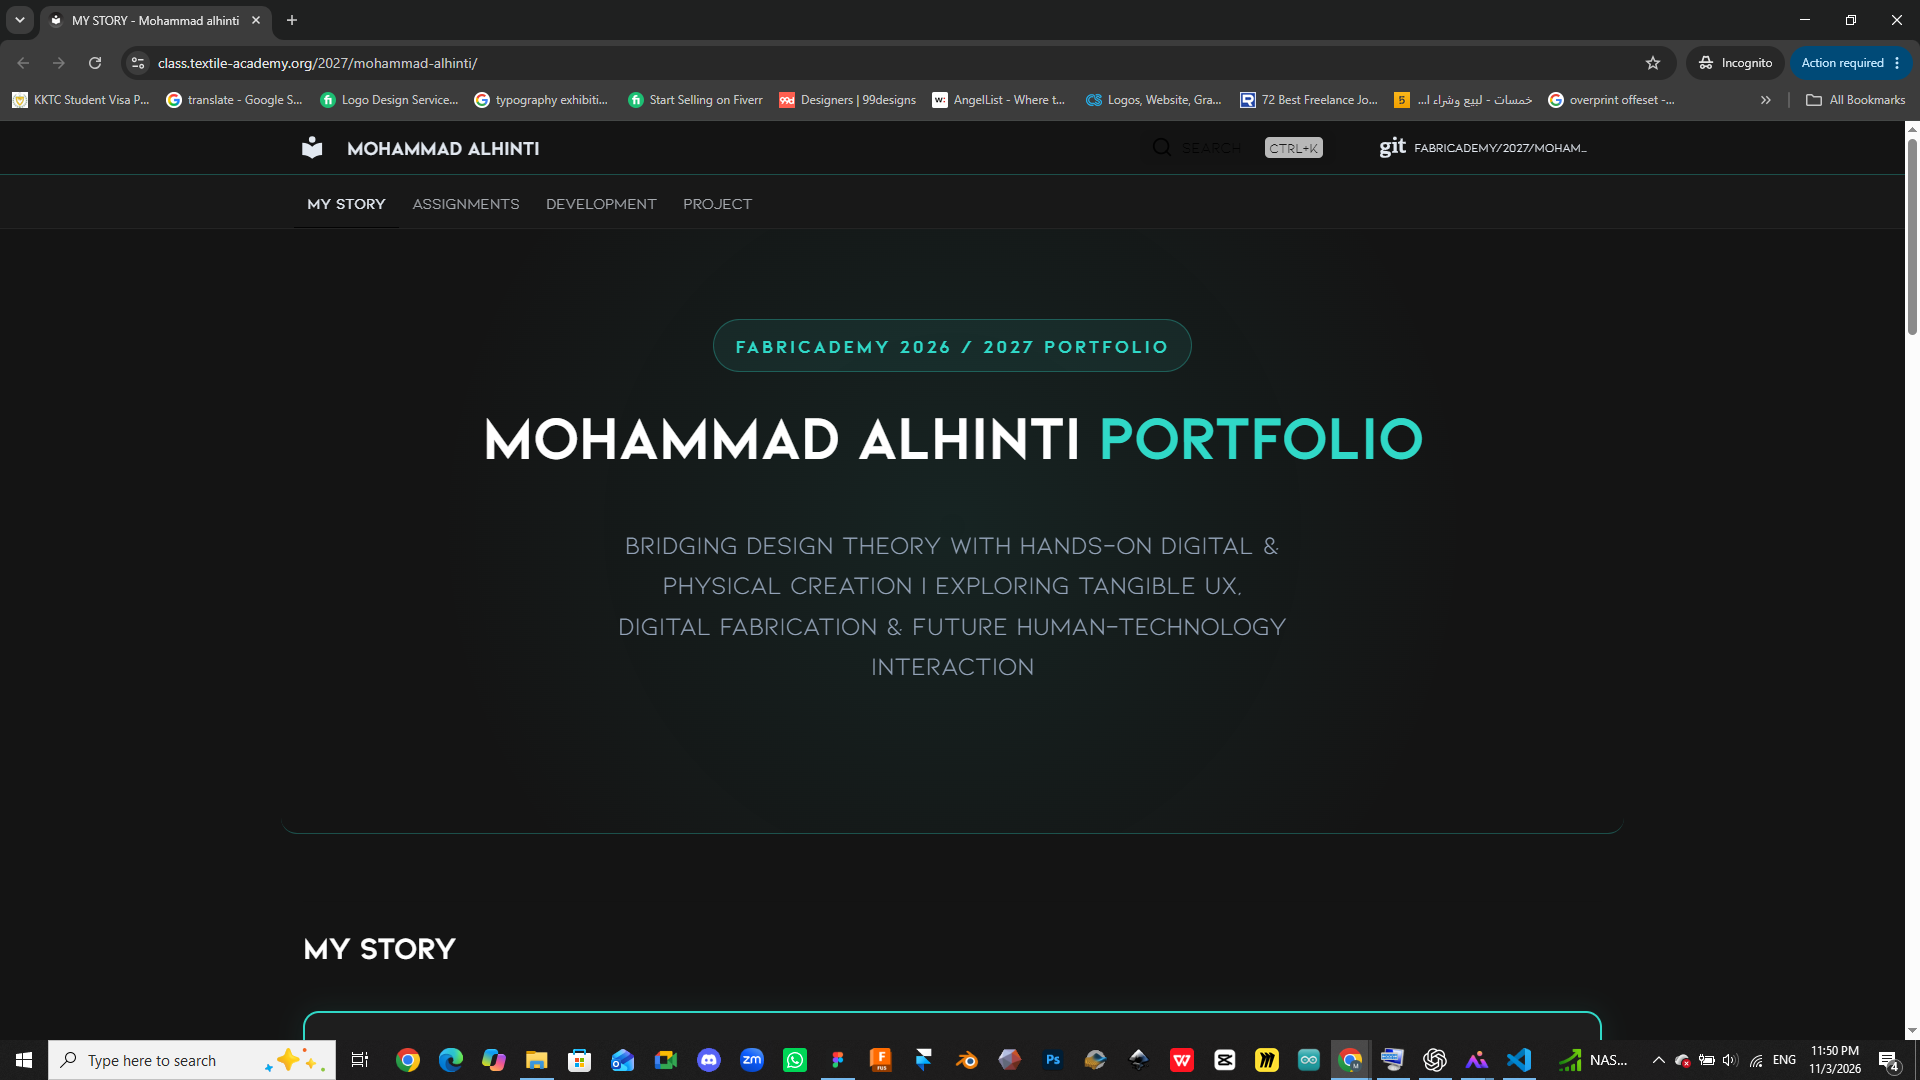
To overcome these challenges, I reviewed the course materials, searched for solutions online, and used AI tools to help me understand problems and explore possible improvements.
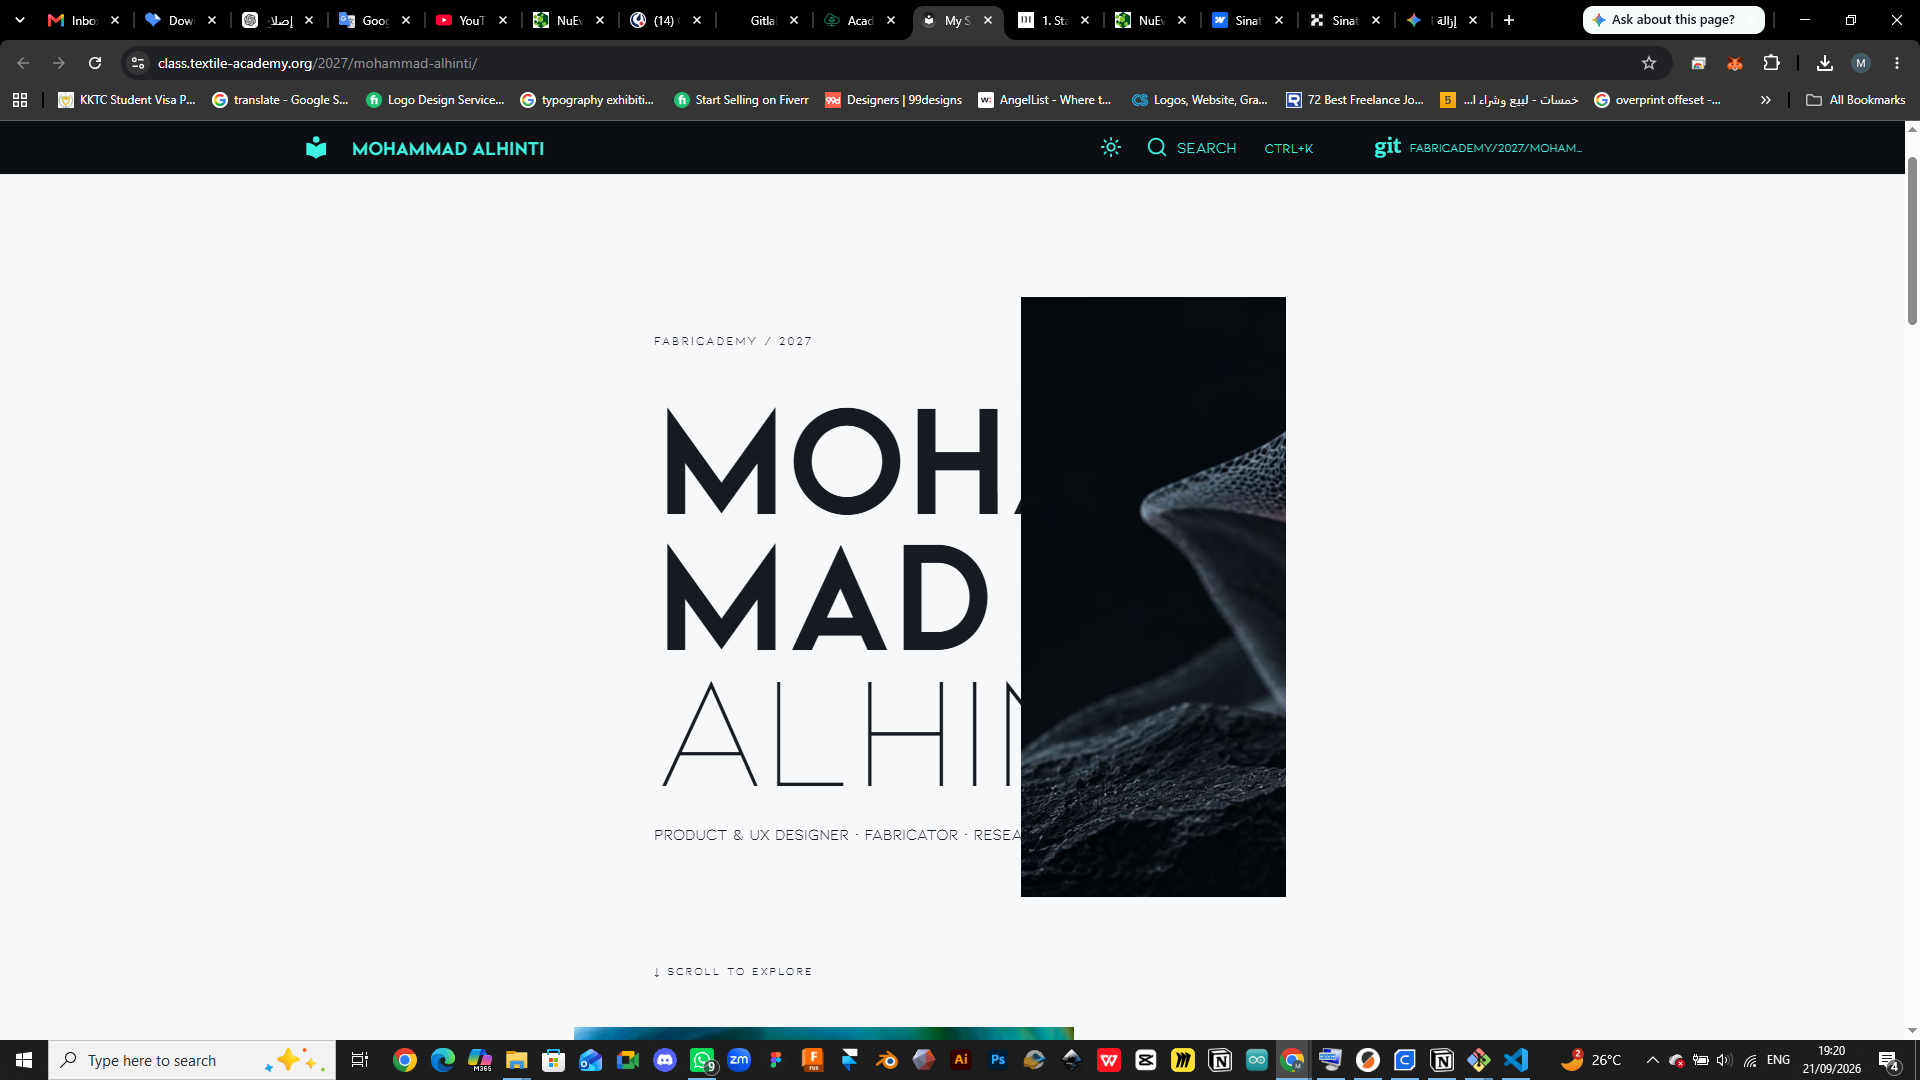
After several iterations and adjustments, I was able to develop the first version of my website.
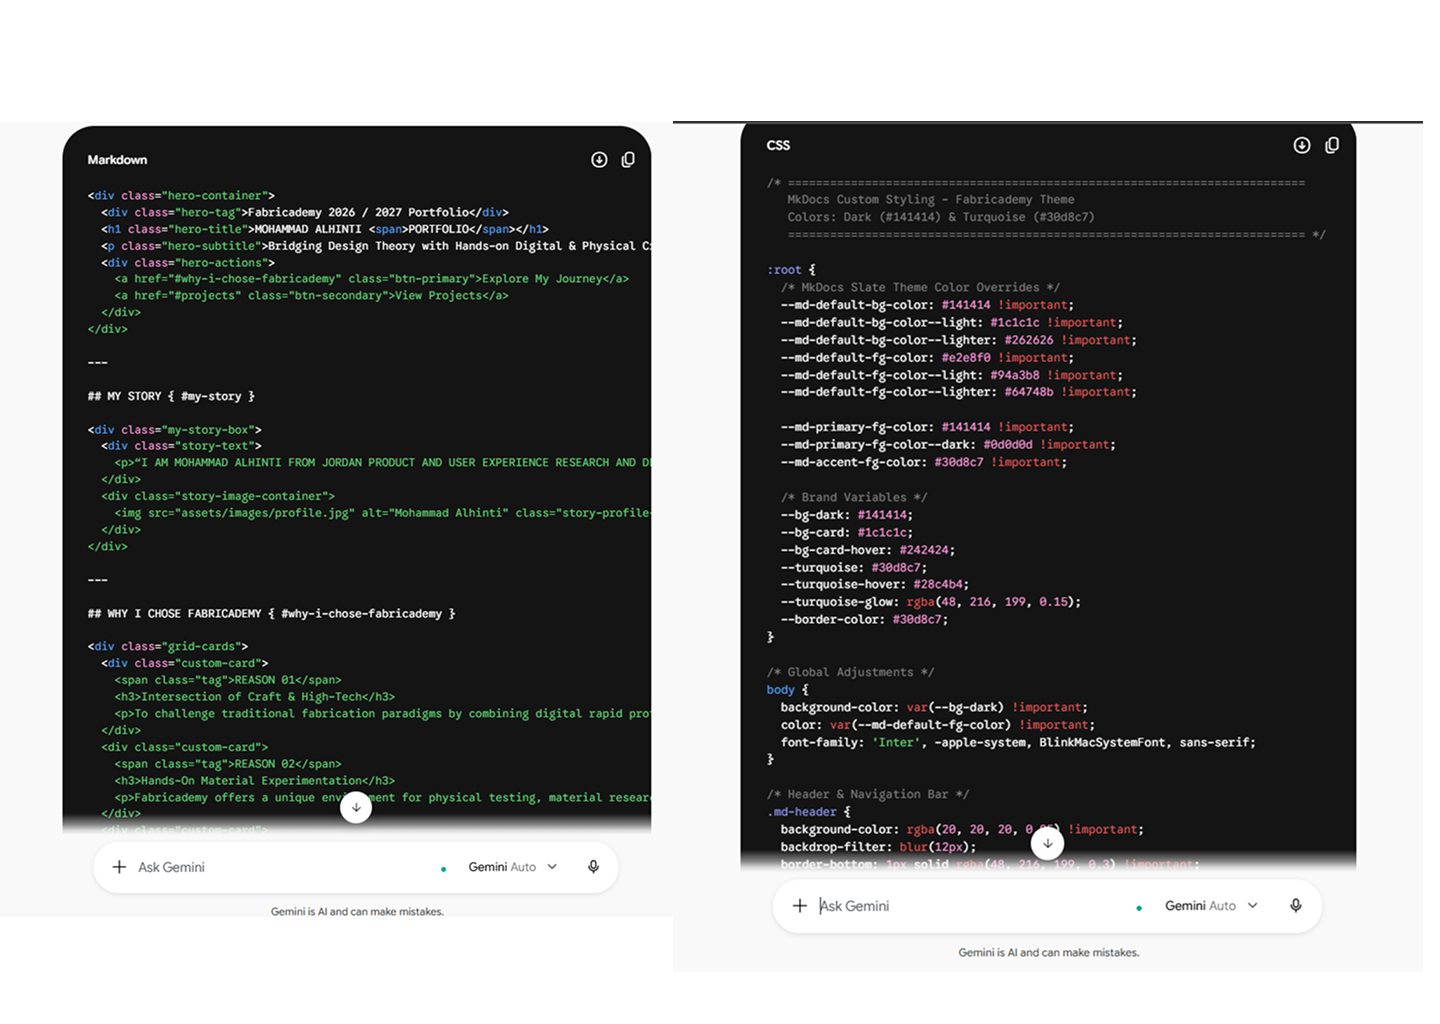
AI-Assisted Development — Gemini
During the development process, I also used Gemini as an AI-assisted tool to help me explore HTML and CSS solutions.
REFLECTION
What I Took Away From Week 01
The first week helped me understand the structure of Fabricademy and the importance of combining practical work with research and documentation.
It also reminded me that creating a website is itself a design process. It requires planning, experimentation, testing, and continuous improvement.
Most importantly, I began to see documentation not simply as a requirement of the program, but as an opportunity to reflect on my work, share knowledge, and make the learning process visible.