Soft robotics

Understanding
Soft robotics is a robotics subfield that focuses on creating mechanical systems with flexible, elastic, deformable materials like silicone, that allow them to bend, squeeze or twist and return to their original shape without deforming. These are often biocompatible, nature inspired and can adapt to complex environments.1
2. References, research & inspiration
For this week I watched some videos on how to make different soft robotics, I was specially interested on making it "walk".
Tools
Process and workflow
Vinyl soft robot
The first exploration we made at the lab at Ibero Puebla was creating a vinyl "soft robot". This technique is quite accessible and useful to understand how air behaves and for me, it was useful to understand about the air channels required for making soft robotics.
Shape
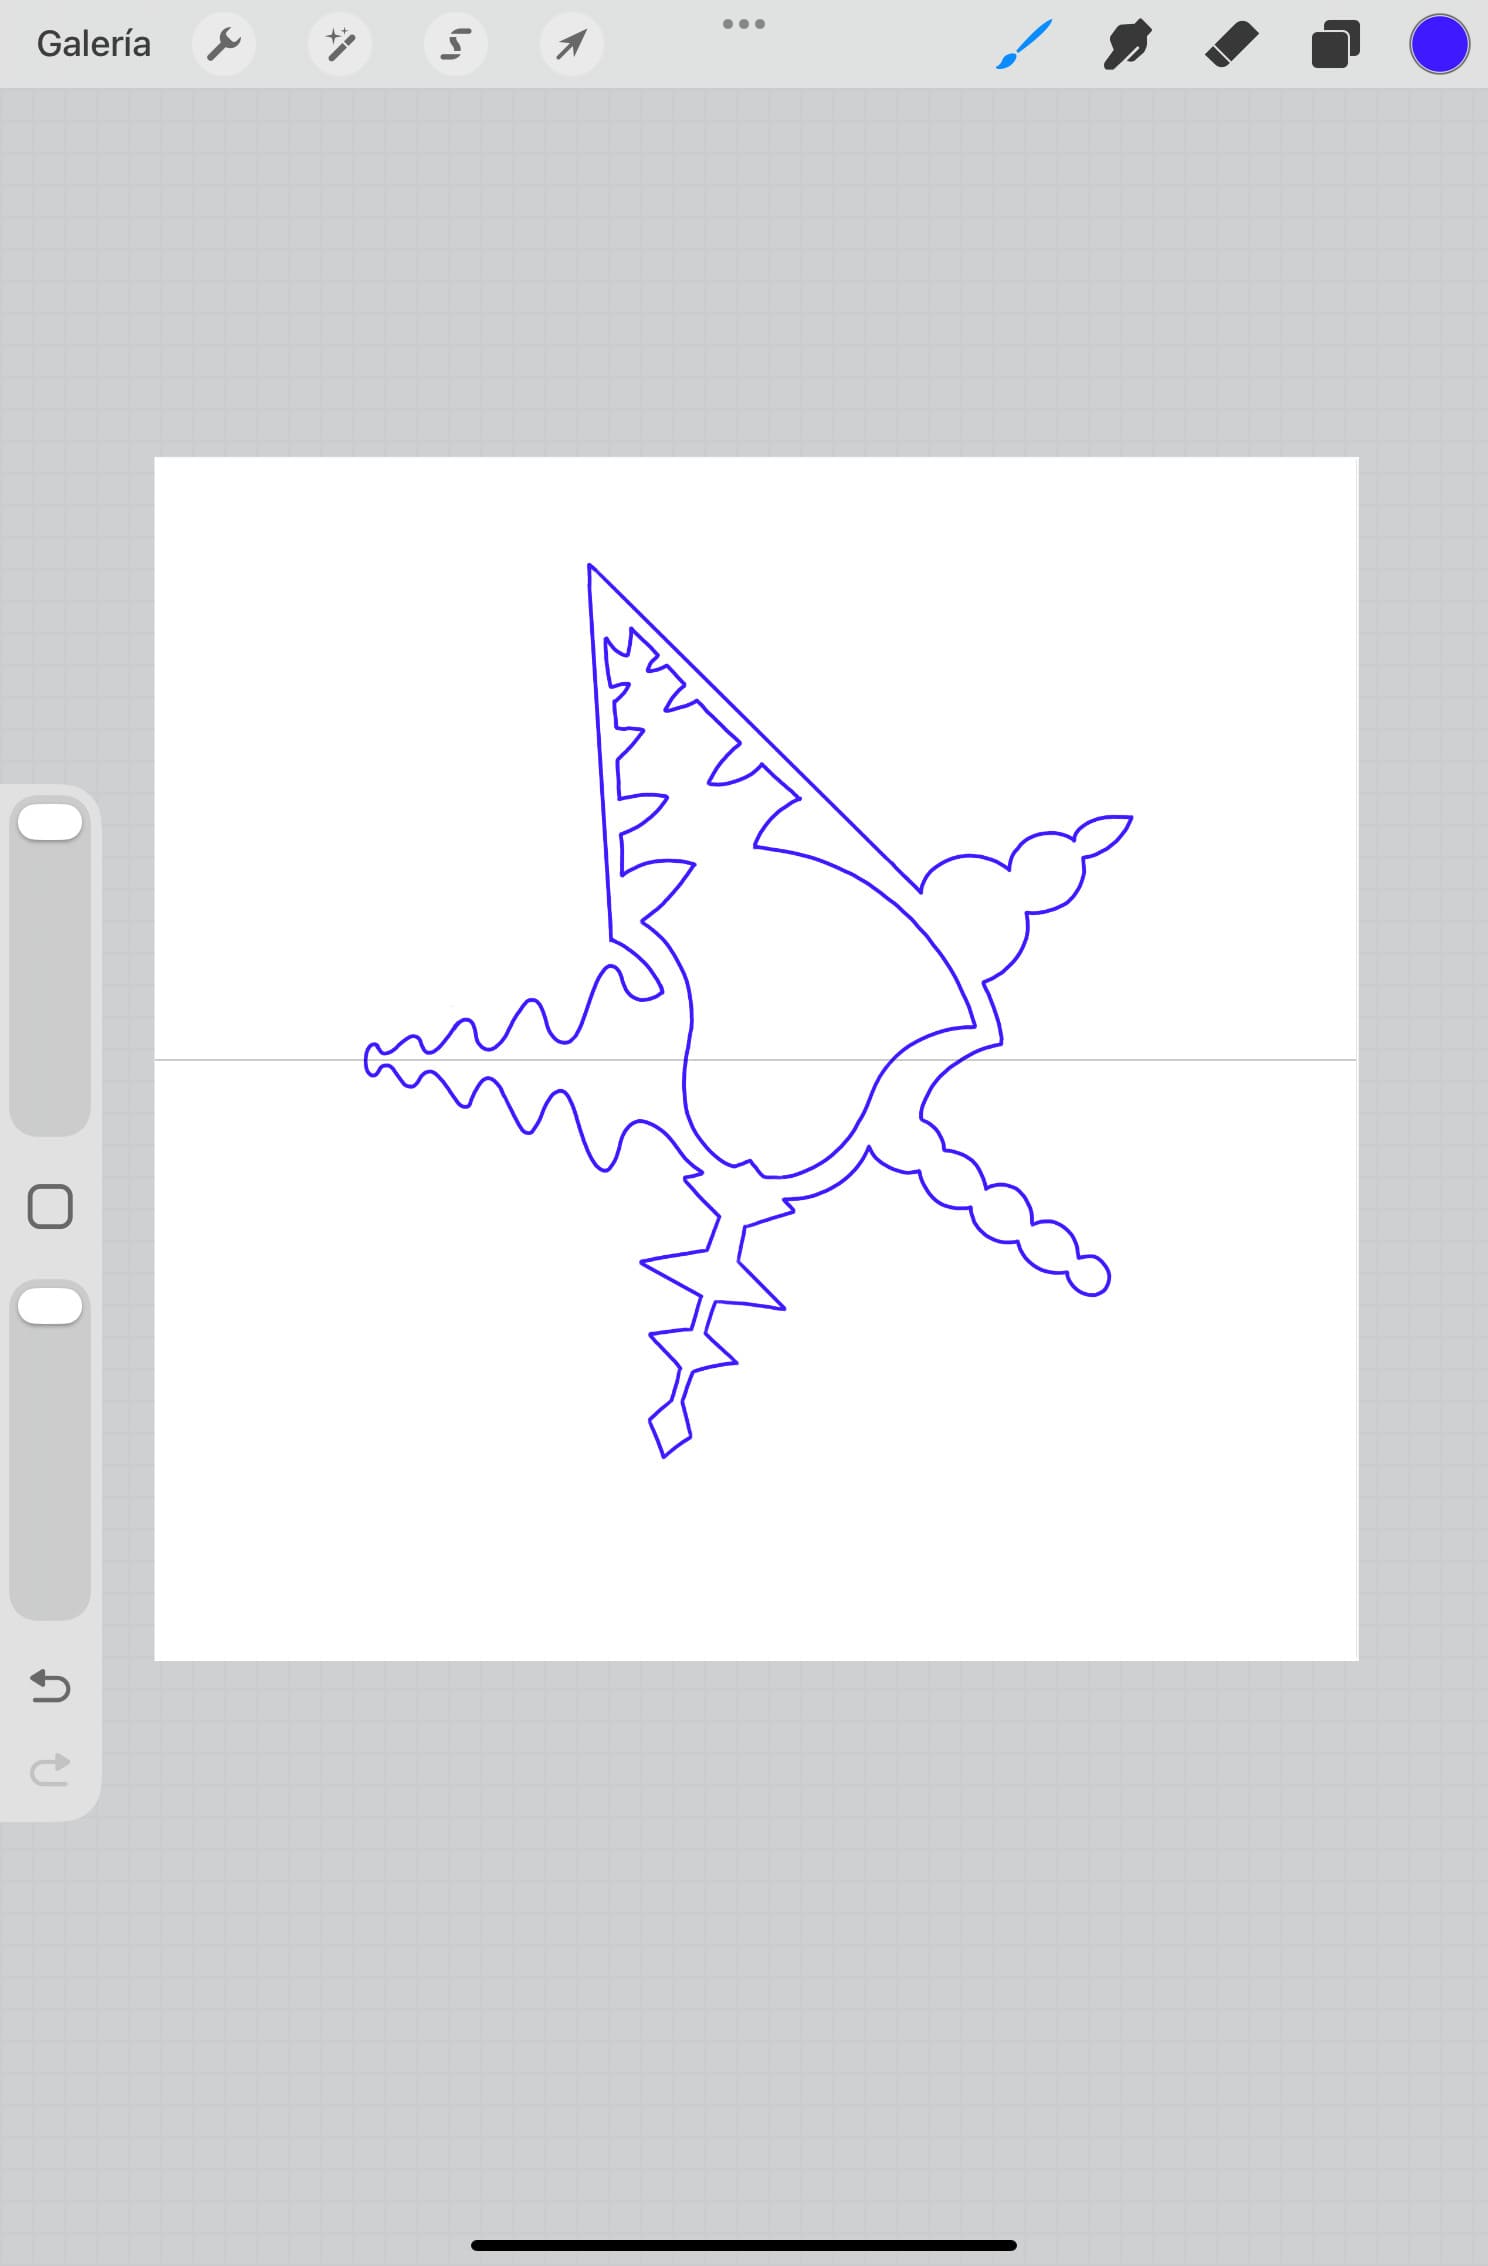
We decided as a group to make a star, so I decided to give each end a different design to see how air would behave. I started drawing it on Procreate, exporting it as png and opening in Illustrator to vectorize, for this I did:
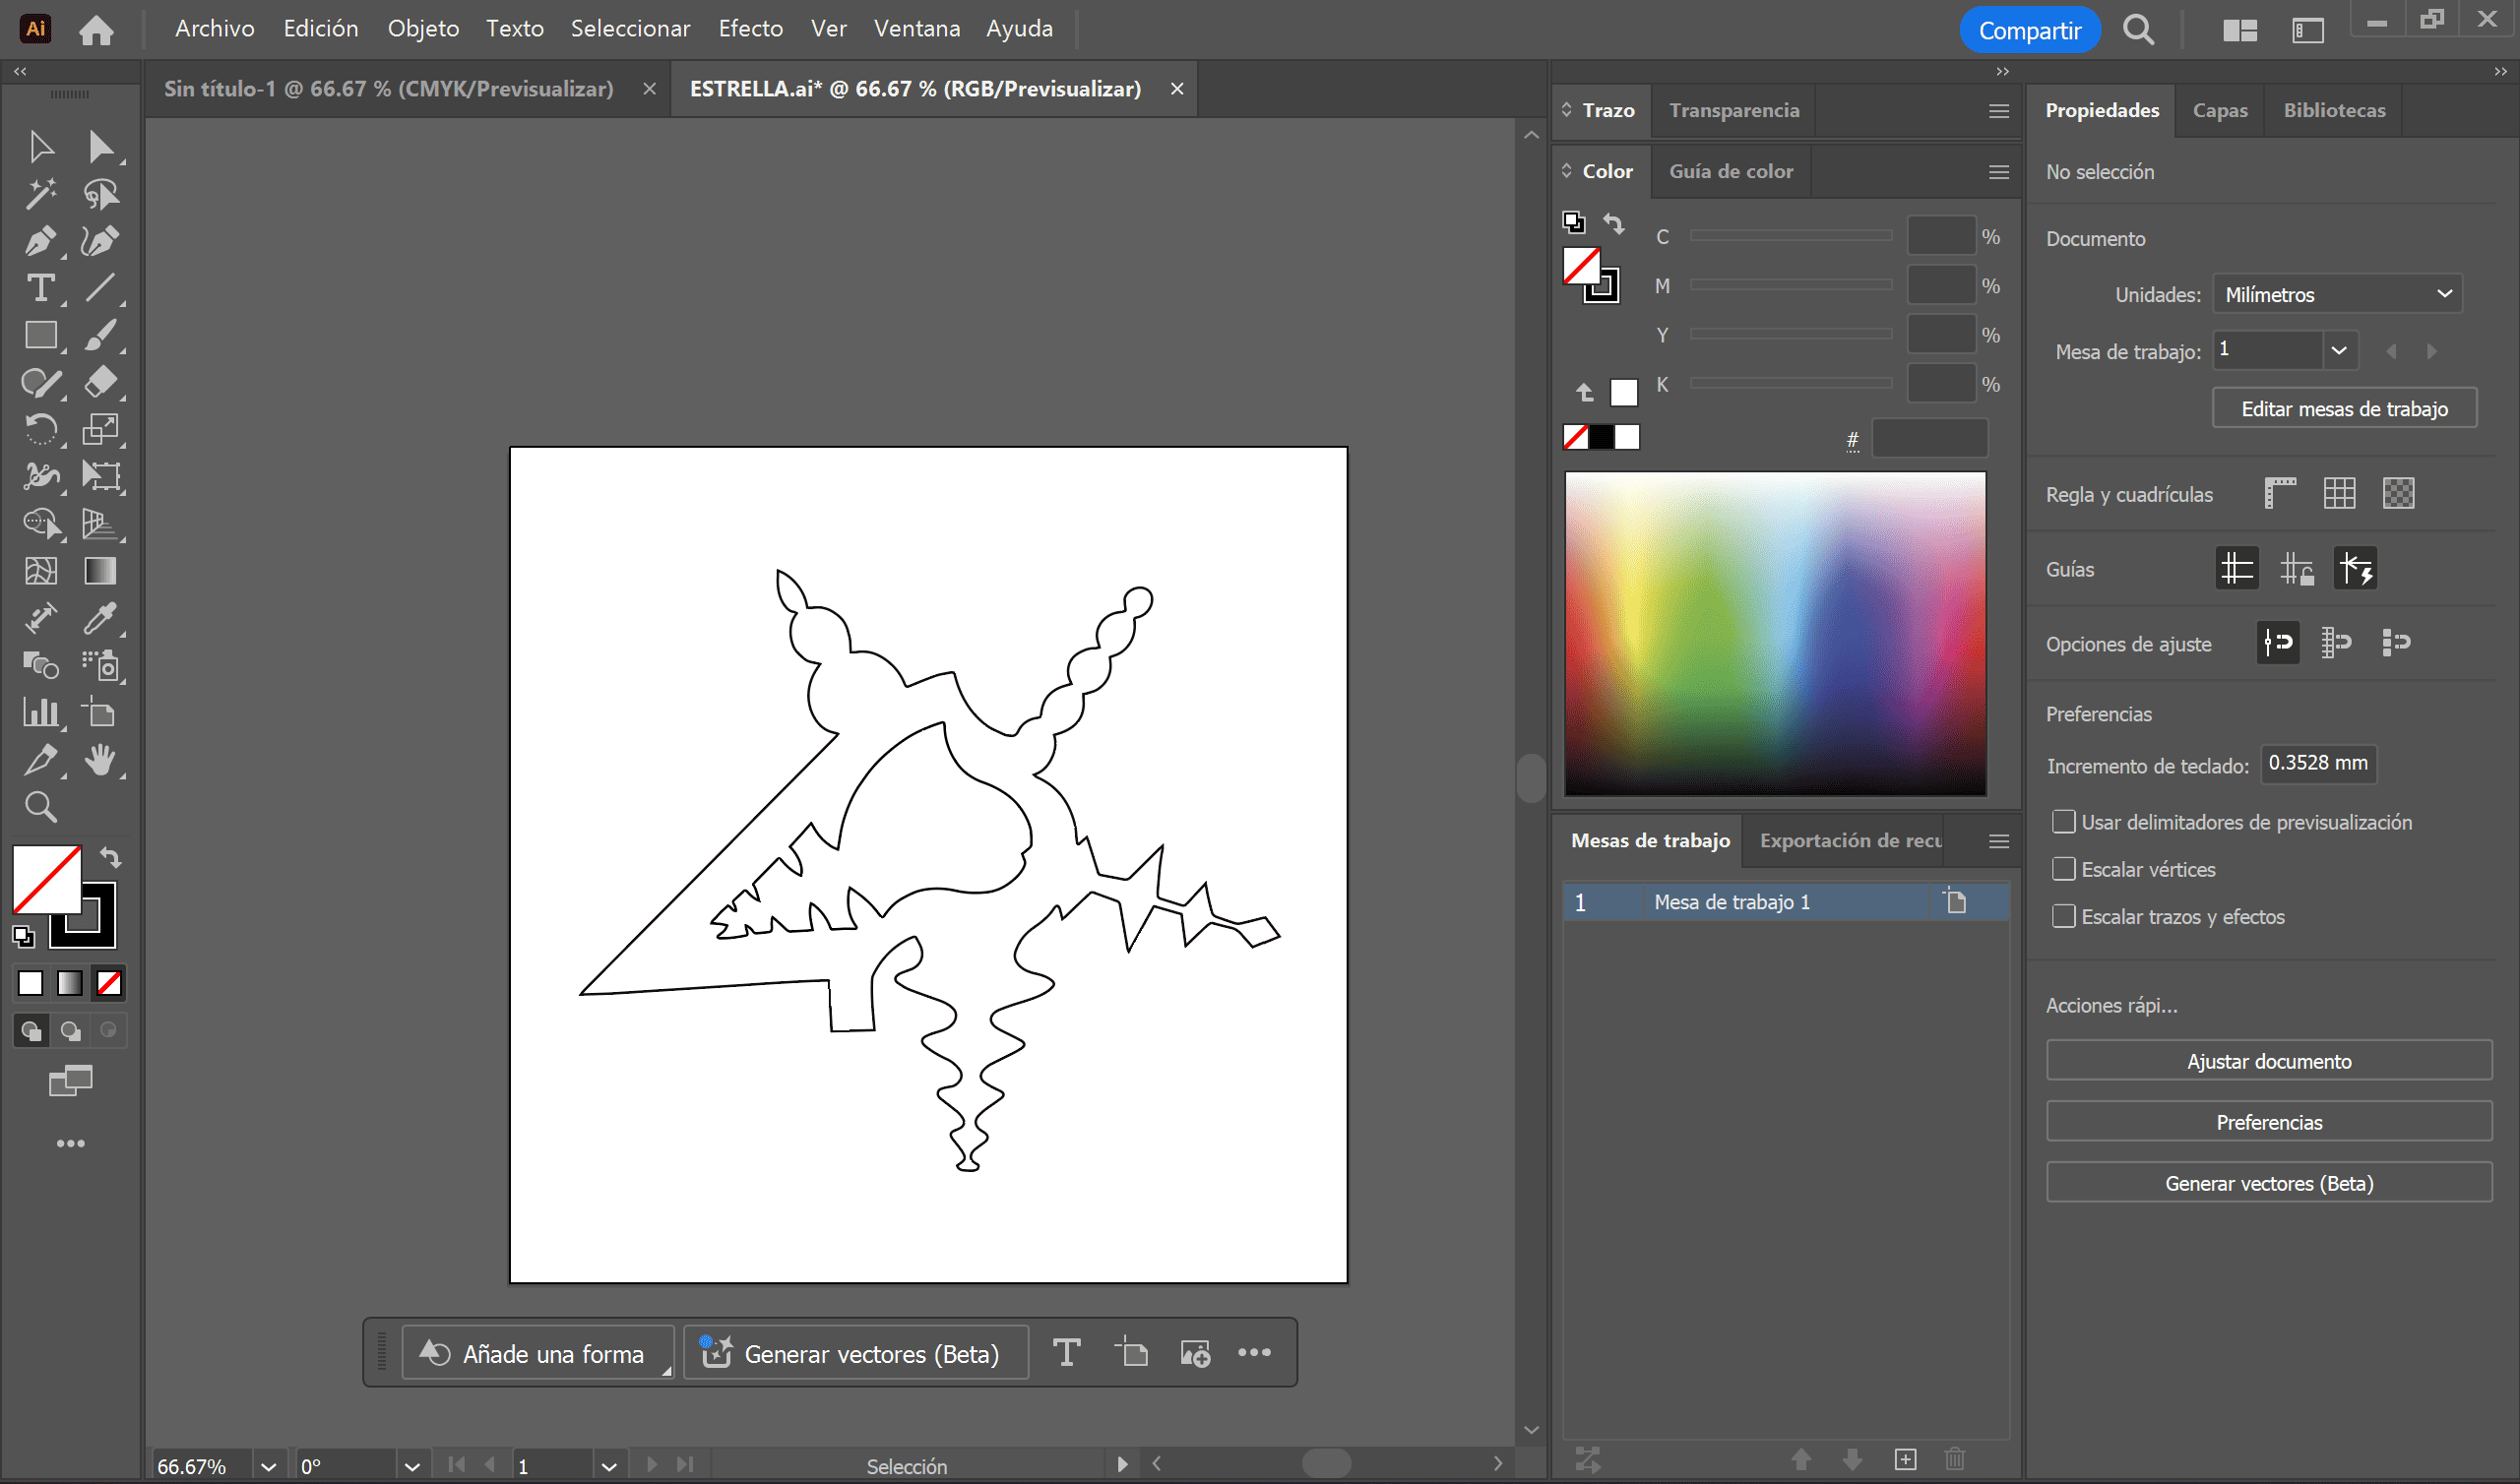
- Step 1: Open Illustrator and place image (File > Place), then click Embed in the top bar.
- Step 2: With the image selected, open Window > Image Trace.
- Step 3: Choose Black and White Logo.
- Step 4: Adjust lines threshold and check "Ignore White" to remove background.
- Step 5: Click Expand in the top bar to turn the trace into vector paths.
- Step 6: Export as DXF file.
Cutting
For the shape I used cooking paper and to cut it I used an Xtool F1 Ultra laser cut machine. I copied the .dxf file to a USB drive, inserted it in the machine computer and imported it. Then selected blue light, and the parameters I used were: power 100%, speed 26 mm/s.
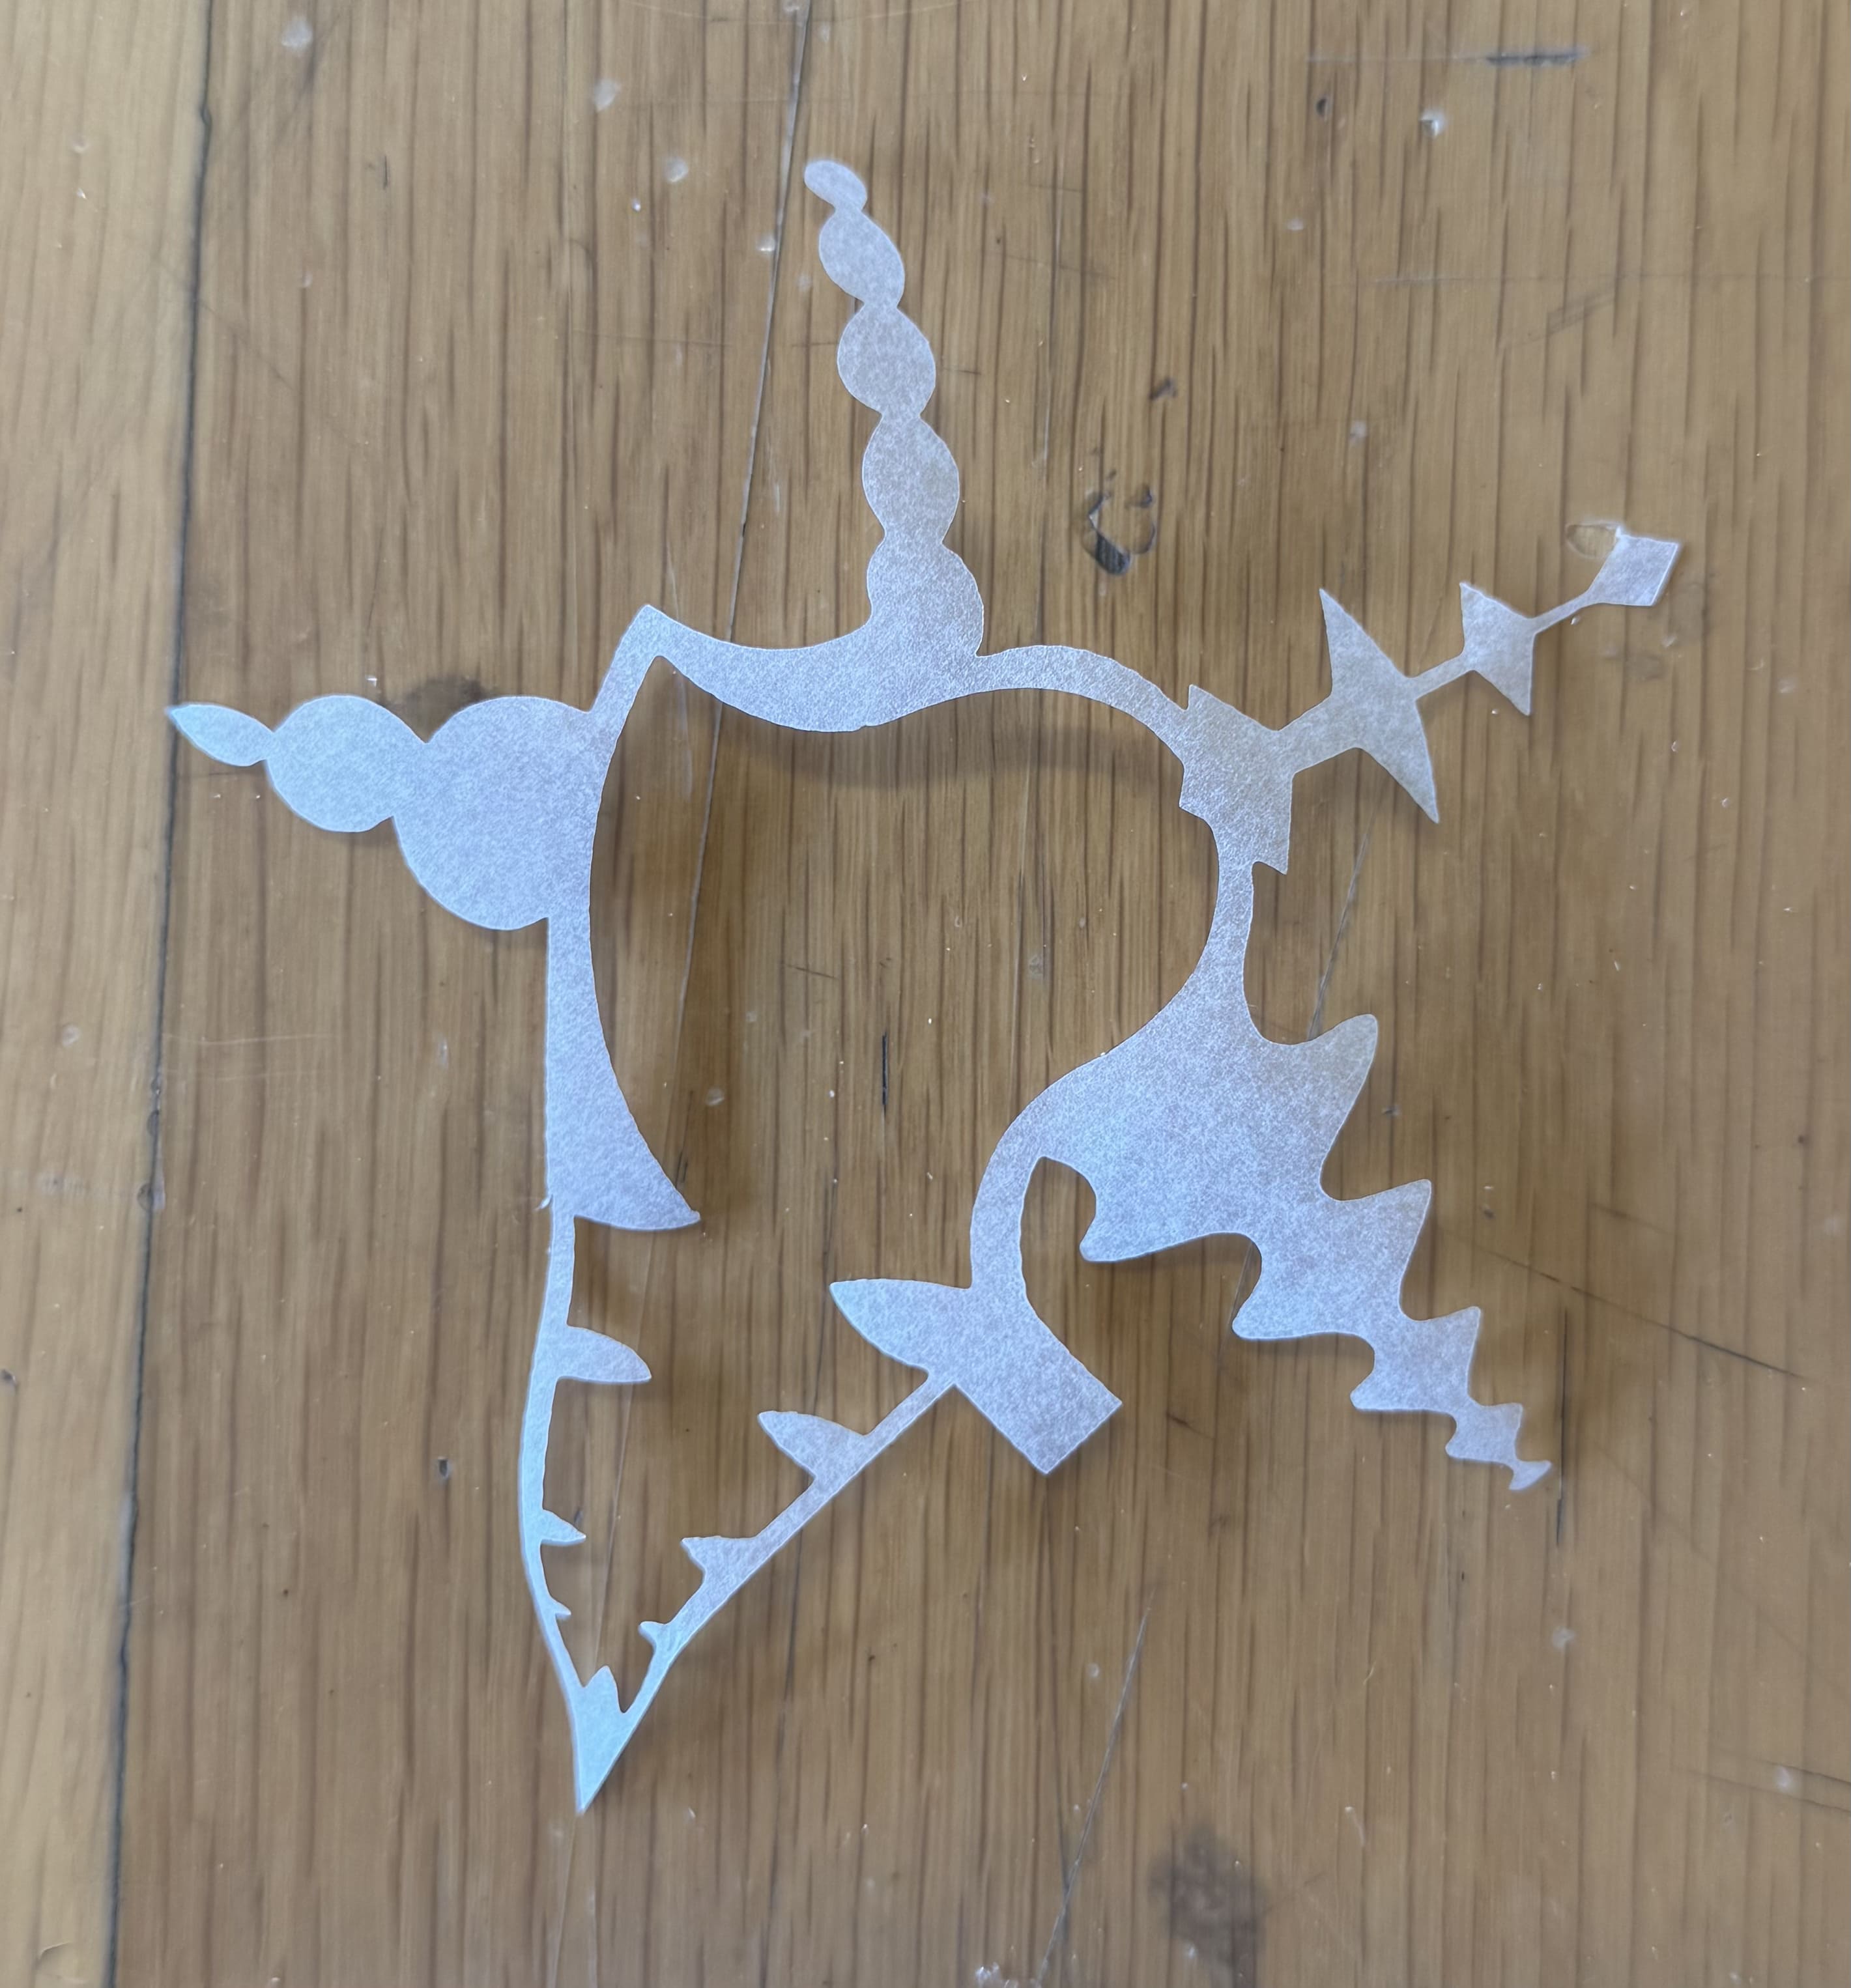
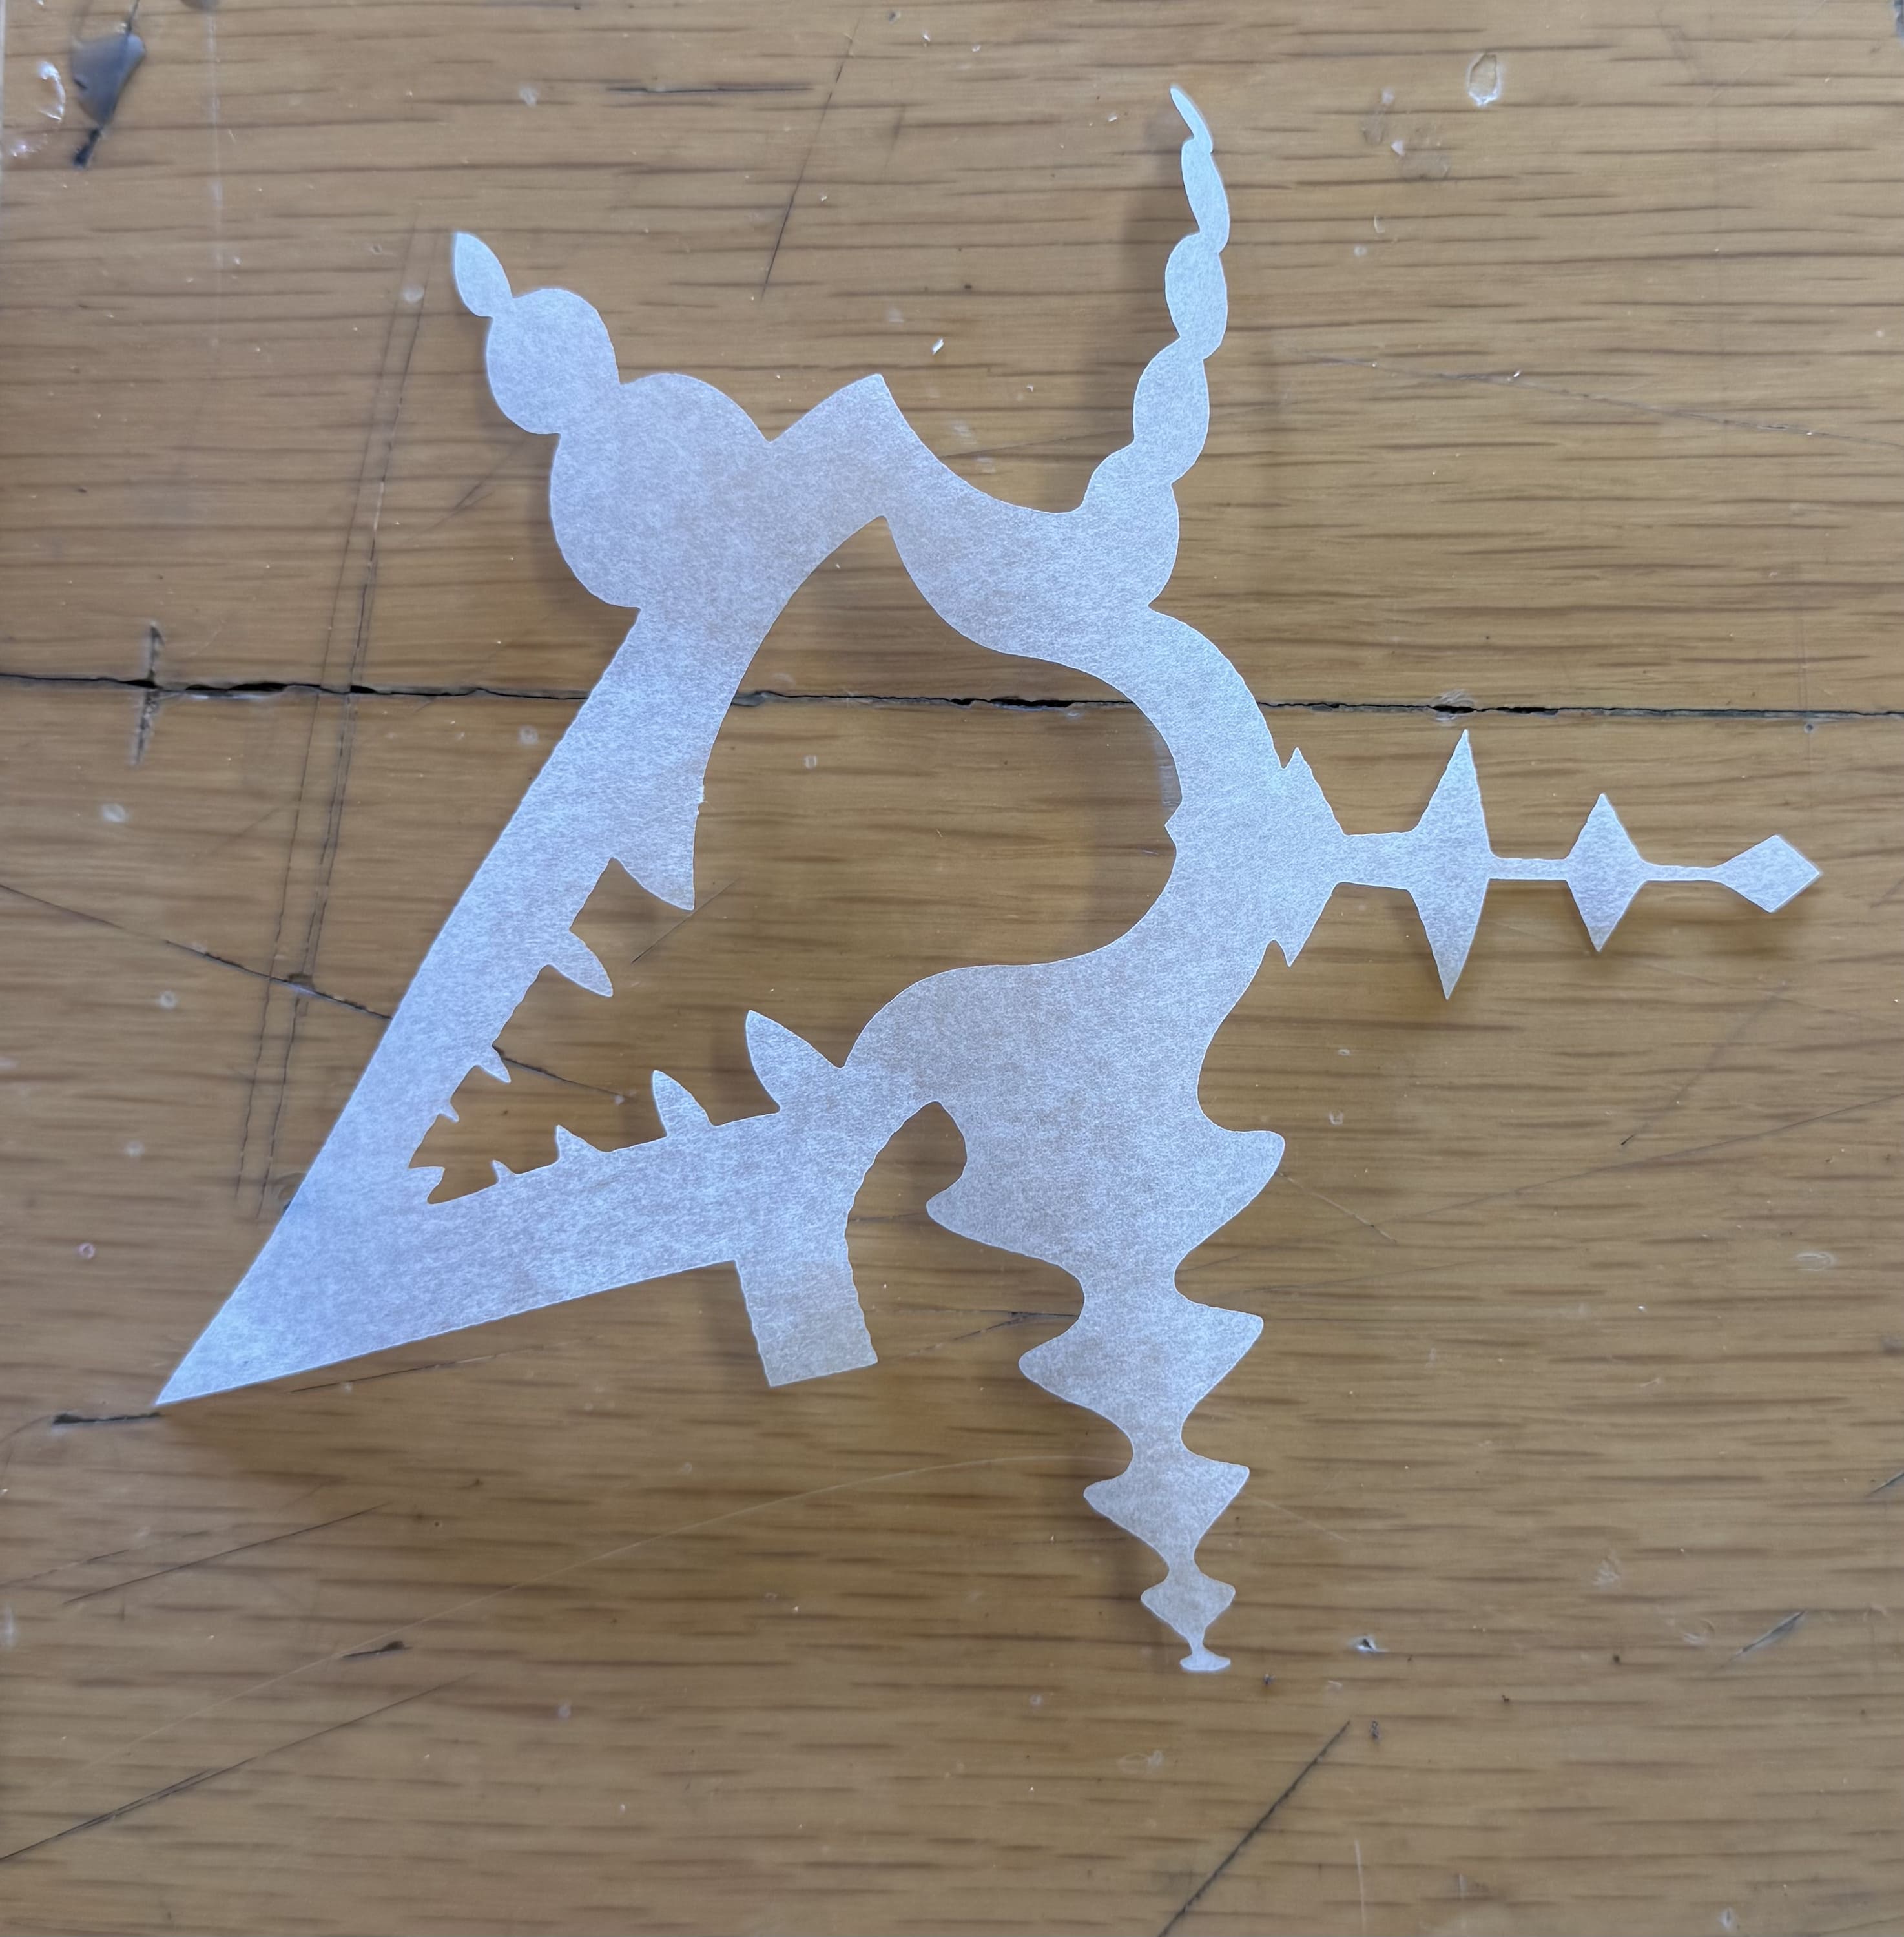
The first cut I made was too thin, so I edited the file on Illustrator, making some parts thicker so that the air could flow better.
The second cut was thick enough so I used that one.
Vinyl
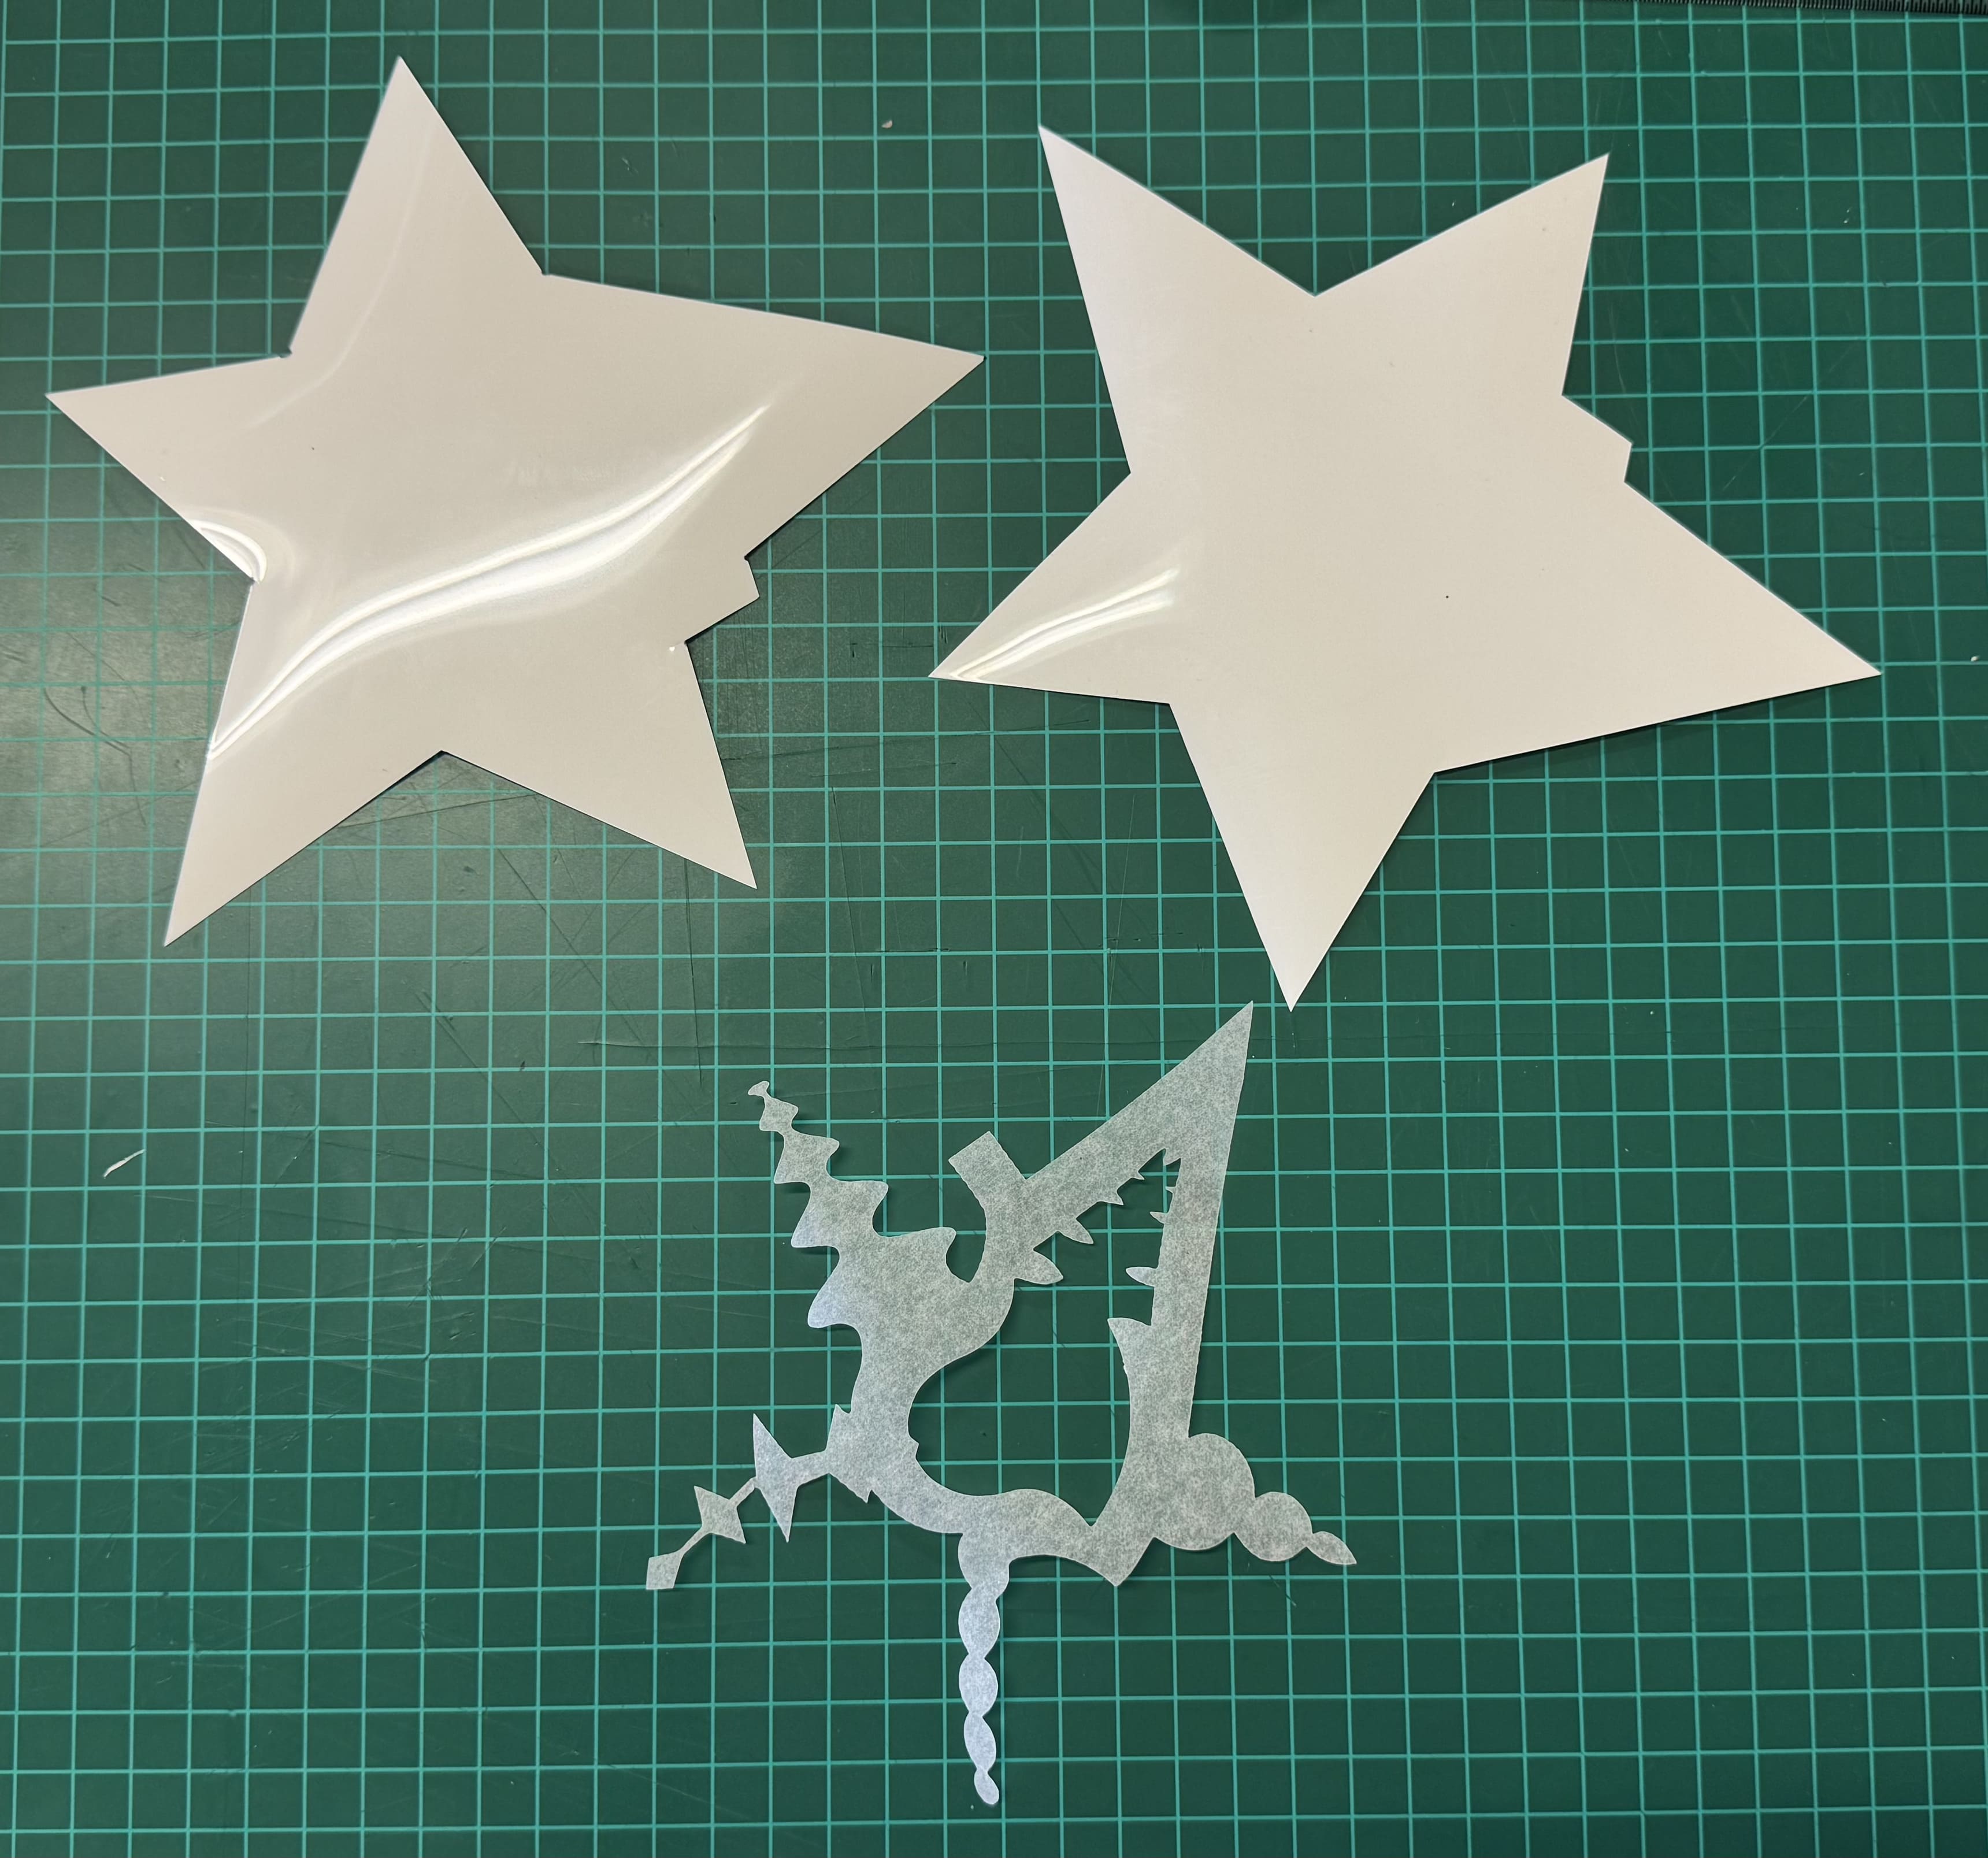
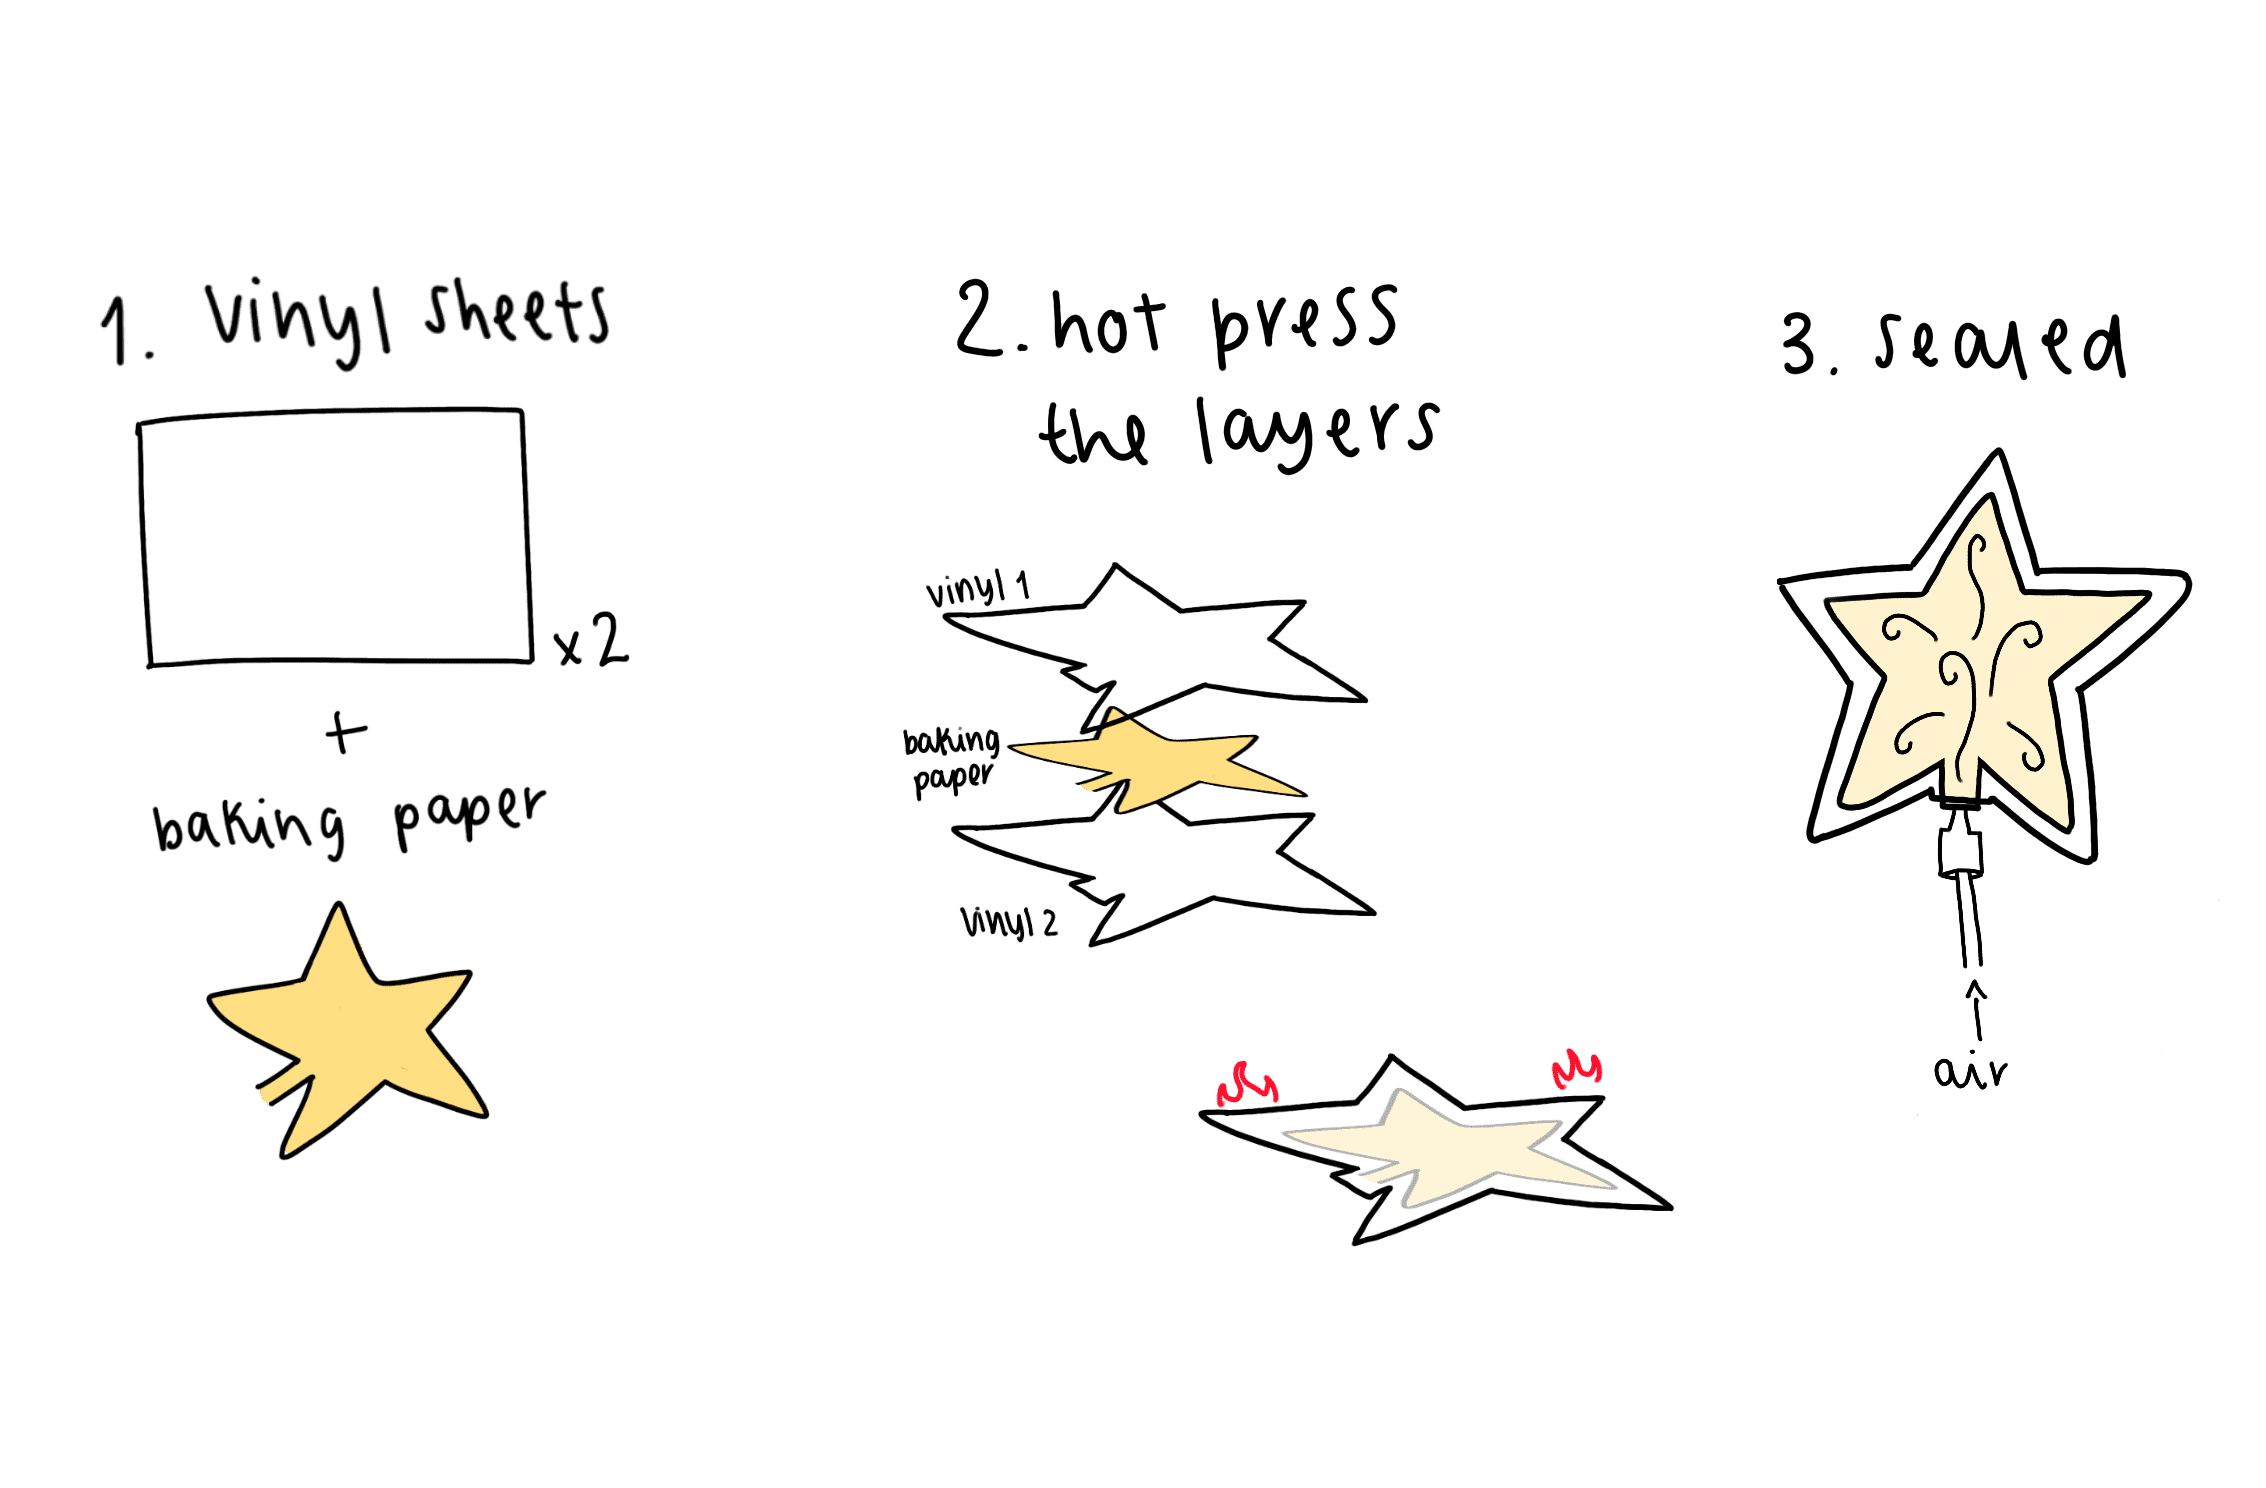
I cut 2 corresponding pieces of vinyl, making an offset of the star on which I based my lines. Placed vinyl 1 > cooking paper > vinyl 2. Arranged them the best way possible, making sure the vinyl was encapsulating the cooking paper and took it to the heat press.
HOW TO DO AN INFLATABLE
Heat press
I put some cooking paper over and under the vinyl with the contained cooking paper. The parameters I used for the heat press were: 150°C temperature 15 seconds.
Then I took off the protective plastic of each vinyl.
Results
Silicone soft robots
Button
Inspired by the walking robot video I linked before, I decided to make a kind of button.
Mold
Using the mentioned video as reference I made my version of the shape and attachment points. I used Rhino to make the 3D model. Ending up with 2 molds, 1 for making the button, and the second one as a base for using it.
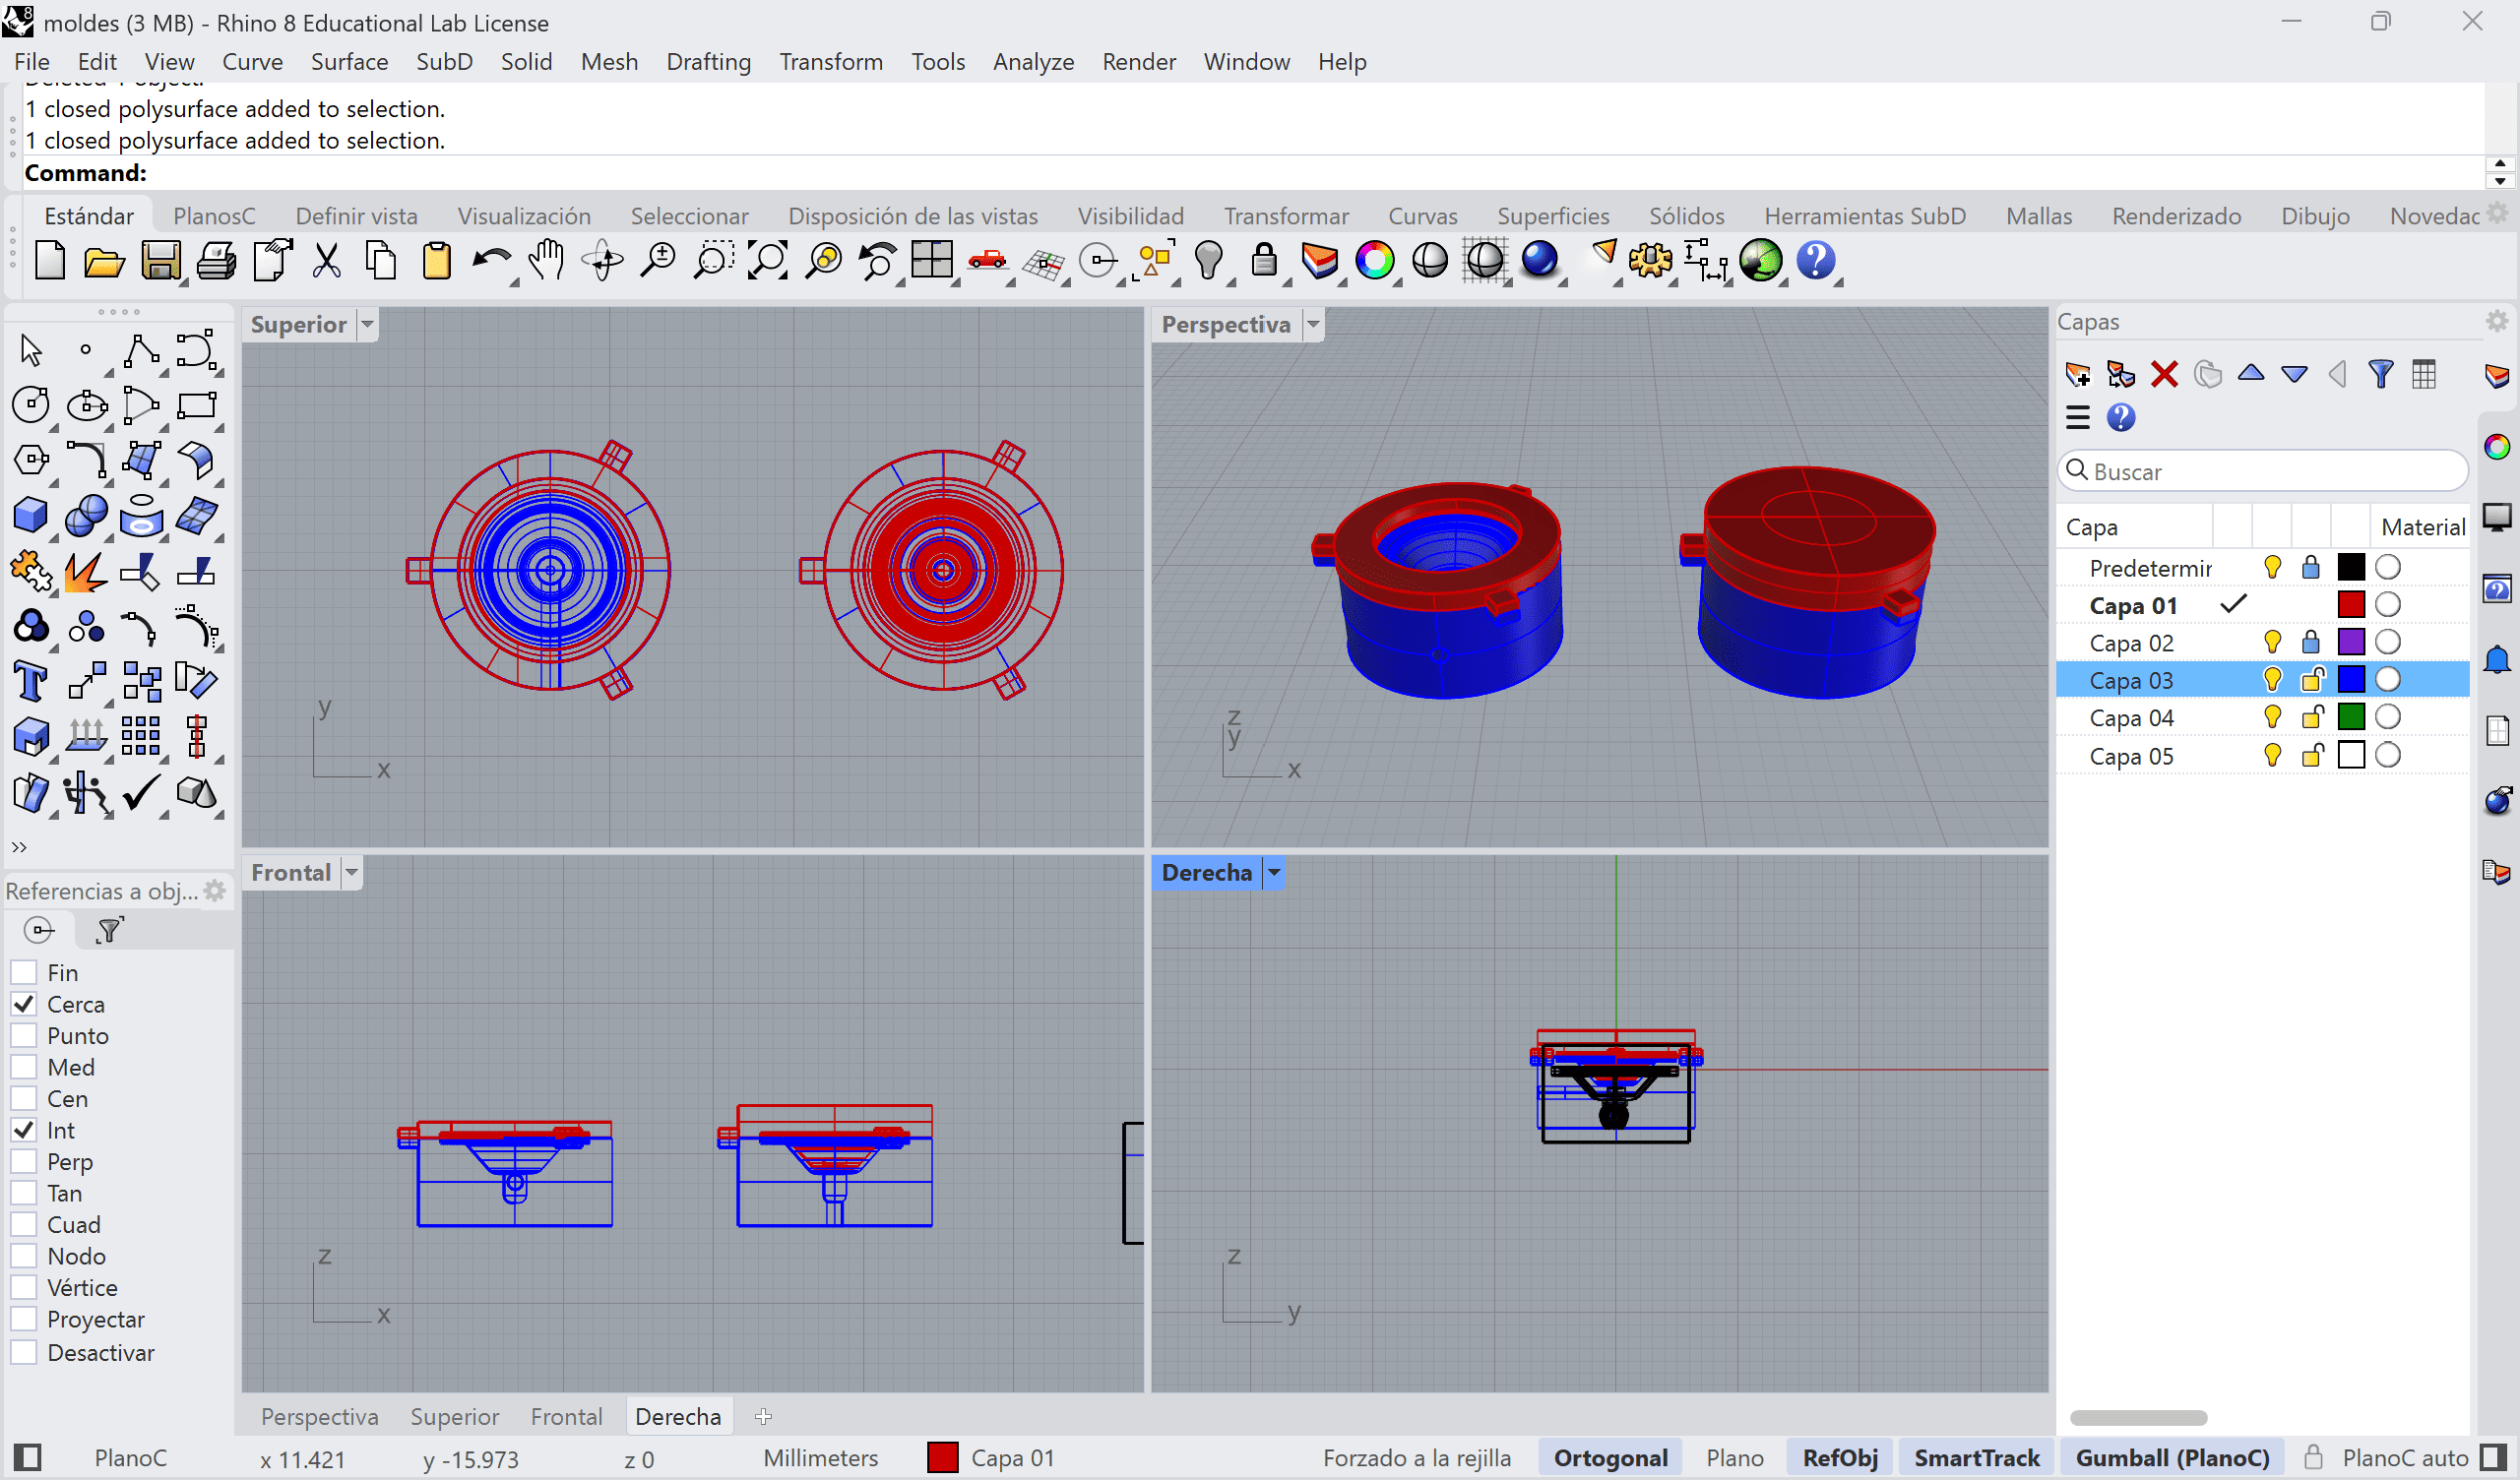
3D printing
To print it I used a BambuLab A2L machine.
After printing it, I noticed it was really small so I thought it would be hard to work on it, so I scaled it 2x and printed it again.
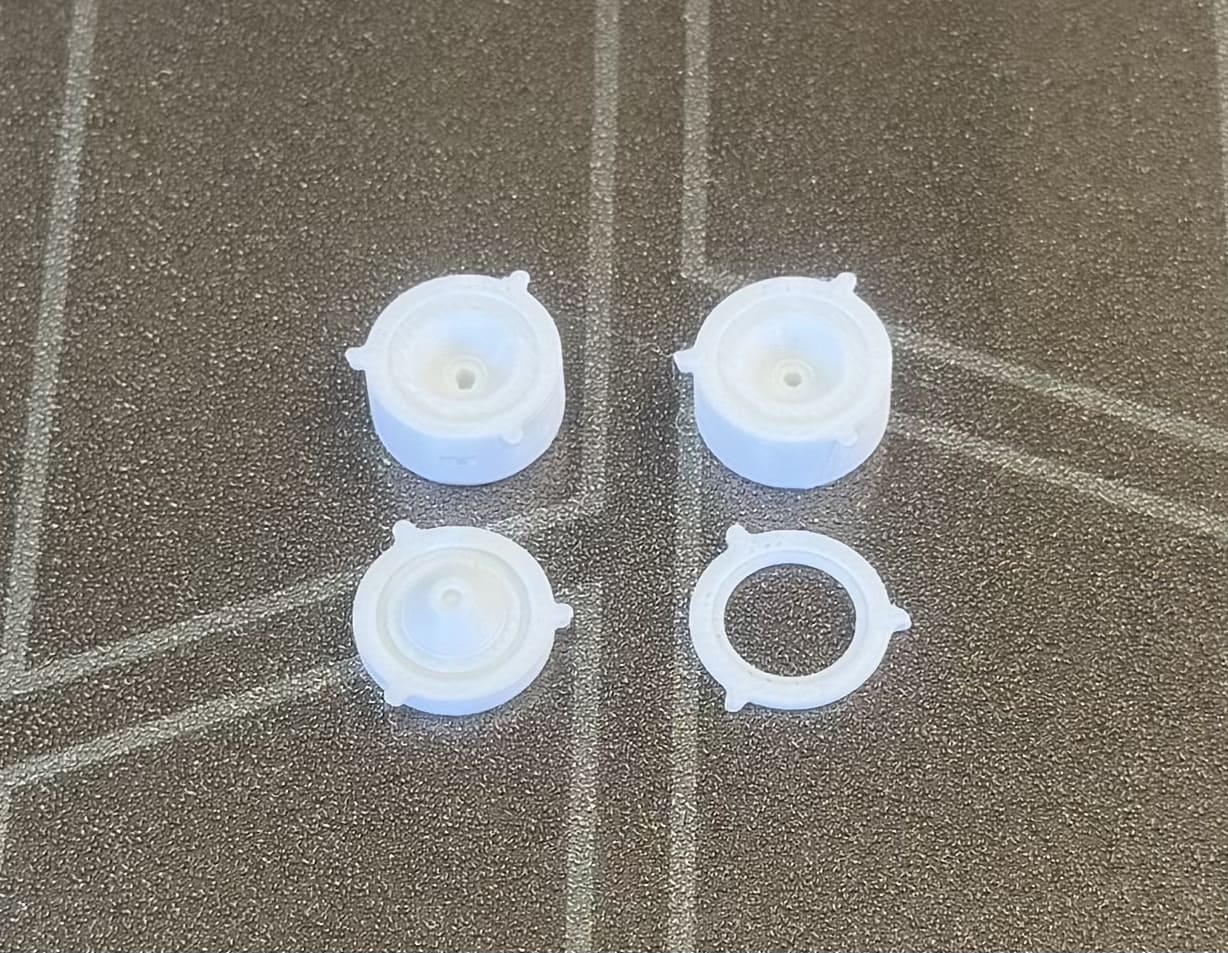
Here you can see the size difference.
Silicone pouring
For this I used Ecoflex 00-30.
The mold was still so small so I only used 3 ml for it, since this moment I started thinking maybe it was not gonna come out as expected.
Unmolding
When I unmolded it I saw that it was really small and thin, even a part broke a bit, so I tried again, this second try didn't even fill the mold, it was just a tiny line. So I tried once again and got a piece that was thick enough for it to work, but still really small.
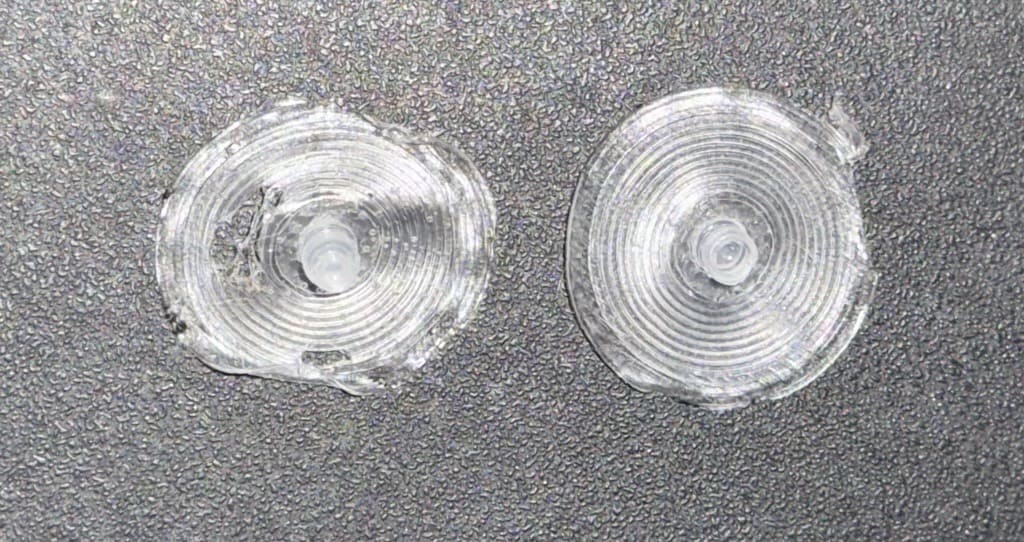
Results
Even though it was really thin and small, it worked for a bit.
Crawling soft robot (attempt)
The first idea I had for this week was making a kind of walking spider based on the xenia coral shape and motion, but after watching the soft robot walking and crawling video I decided to try and make a kind of crawling worm, still based on the shape of the ends of this coral.
Mold
Using the same shape of the xenia coral ends and following the shape of the mentioned video I made my mold, and I tried to use the following scheme:
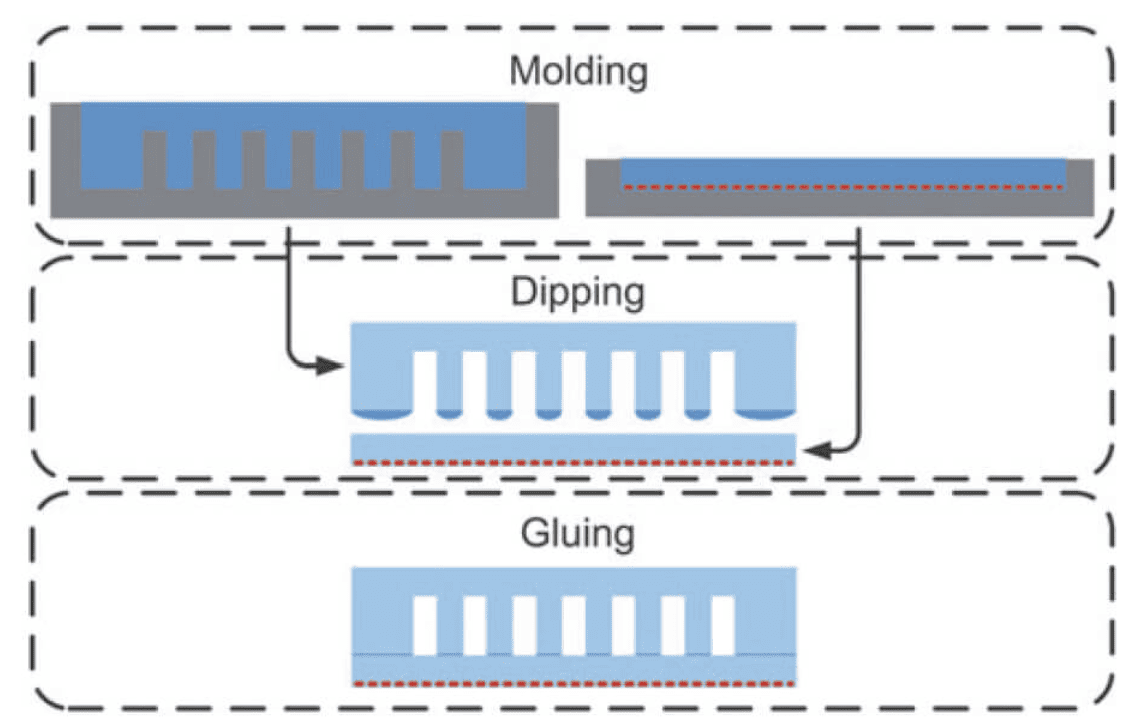
I say try because this part was a bit hard for me, I think I made the process a bit more complicated, but still made it work.
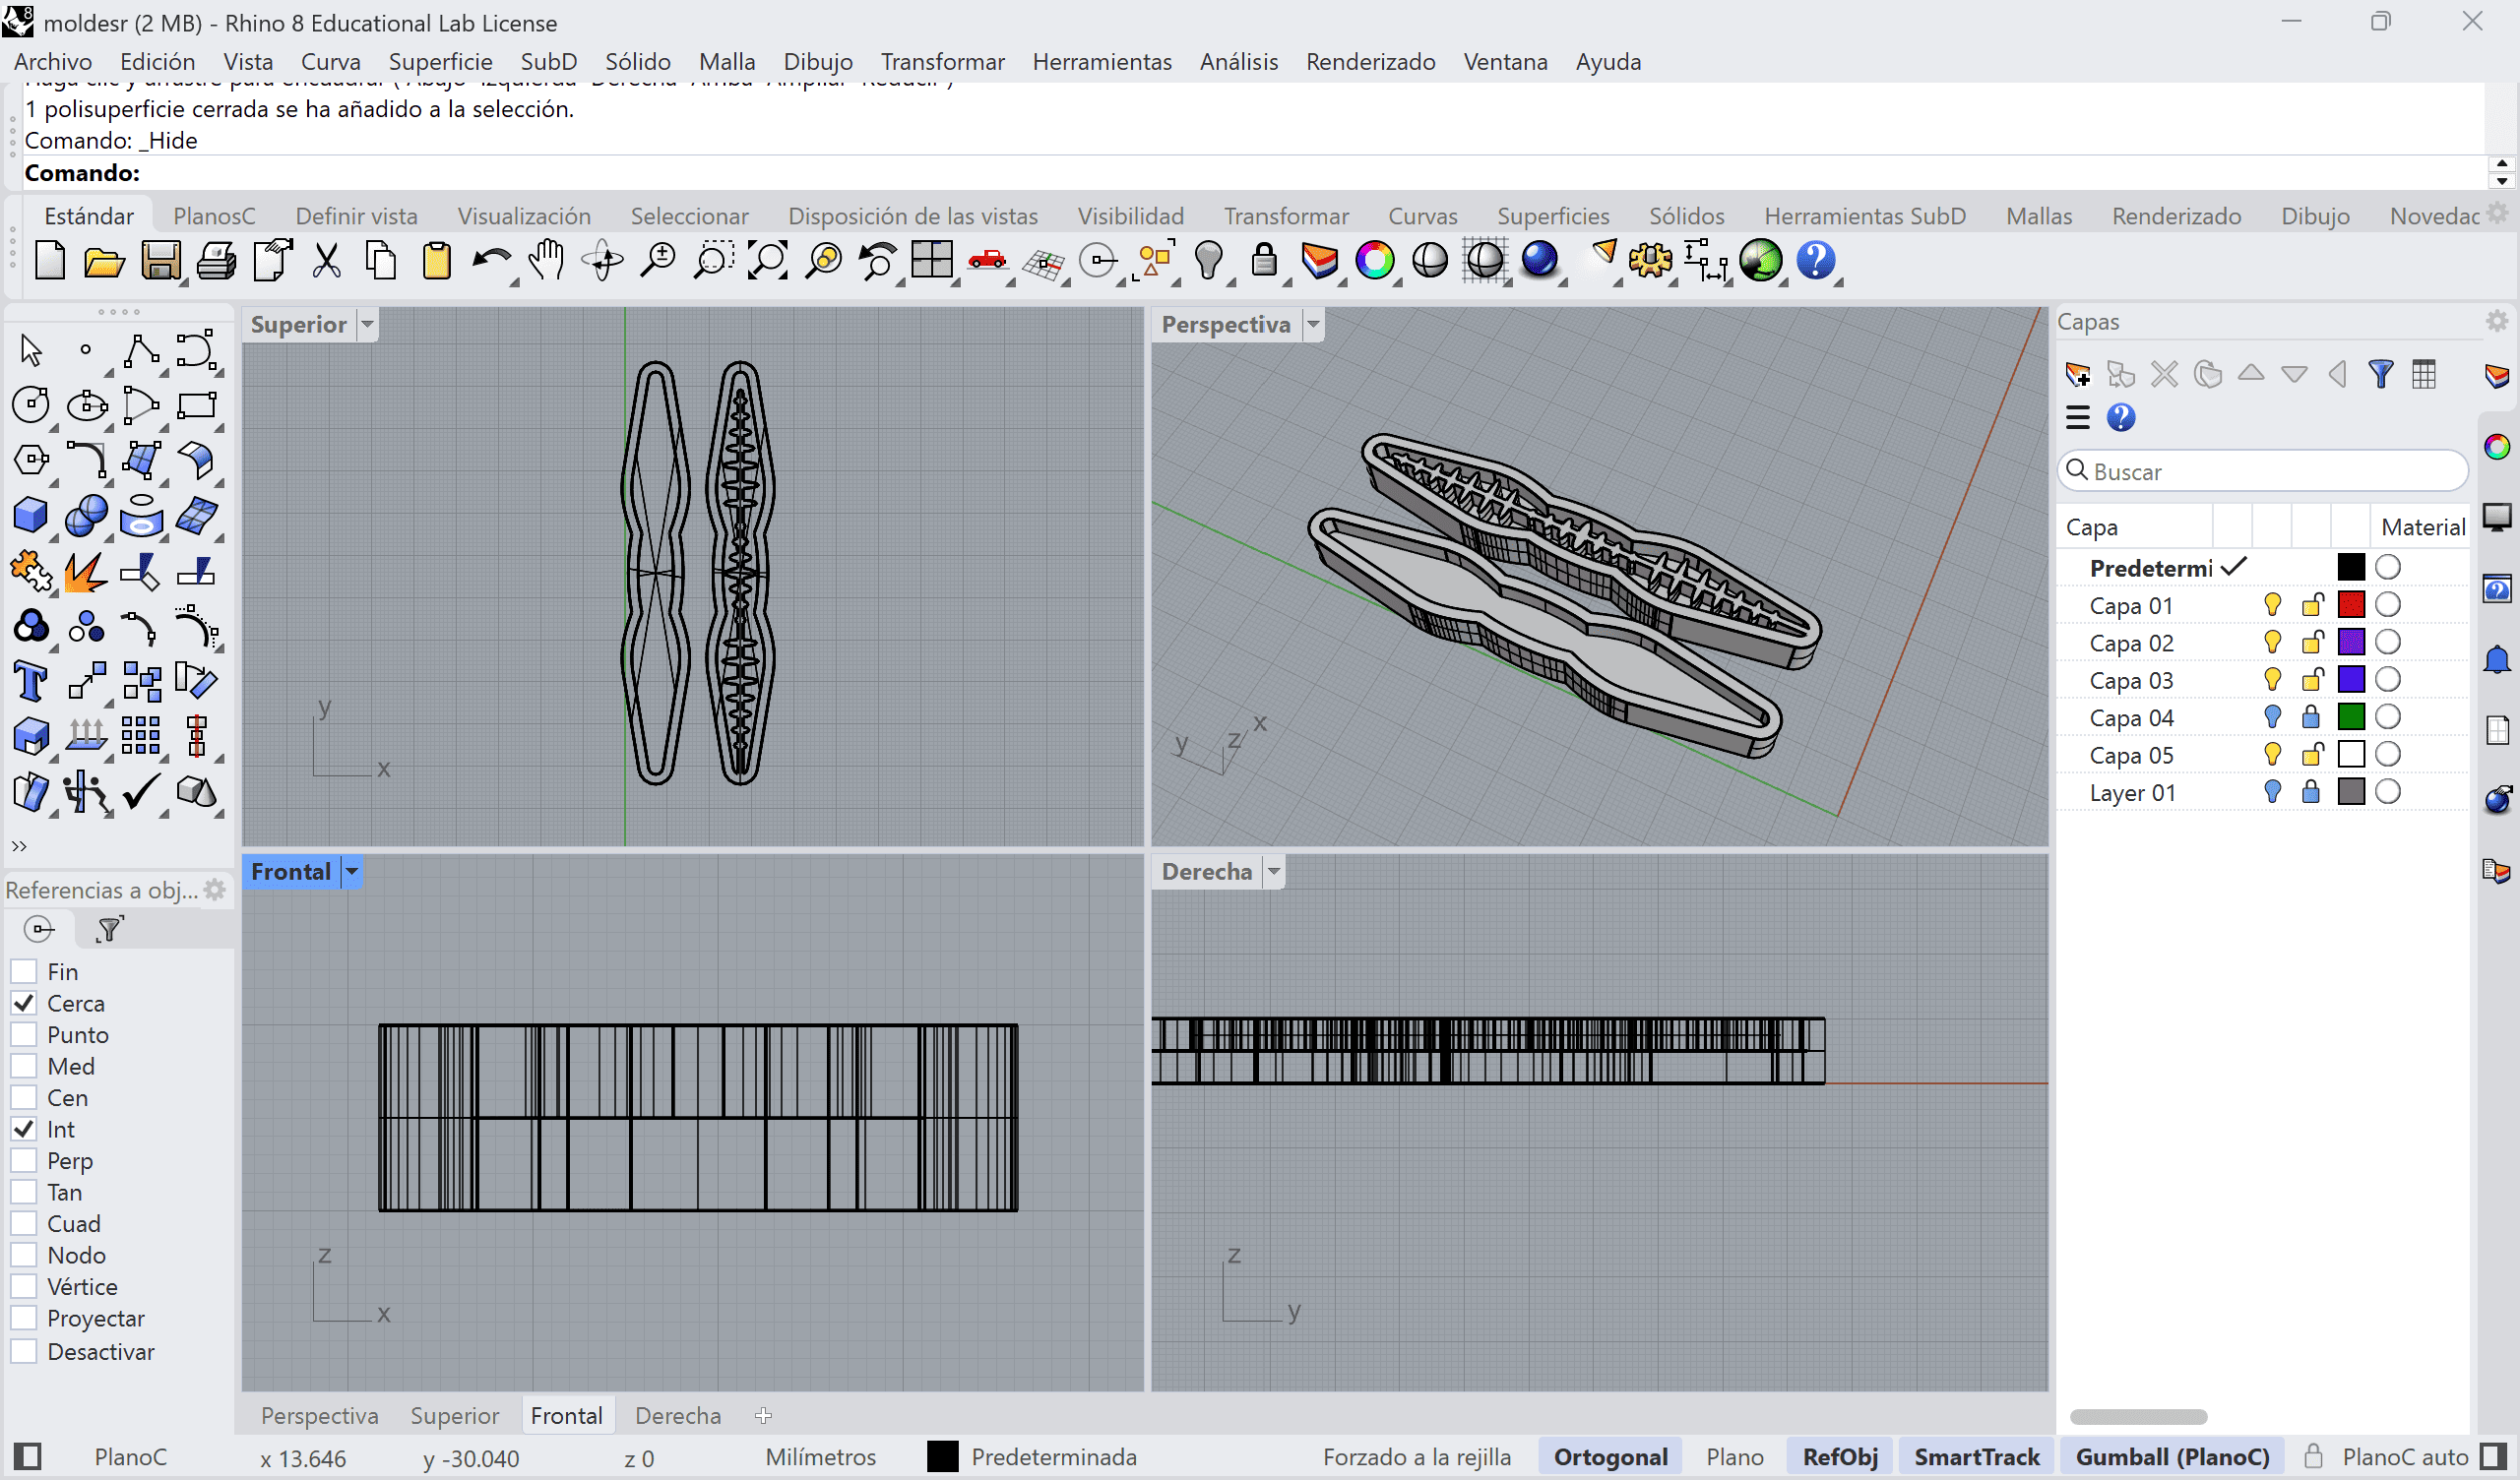
I used Rhino to make the mold and export as .stl
3D printing
To print it I used a BambuLab A2L machine.
Silicone pouring
As with the previous one, I used Ecoflex 00-30.
My mold had 3 pieces, 2 walls and the middle part, where the air would flow. I used 5 ml for each and approx. 1 ml to join them.
Unmolding
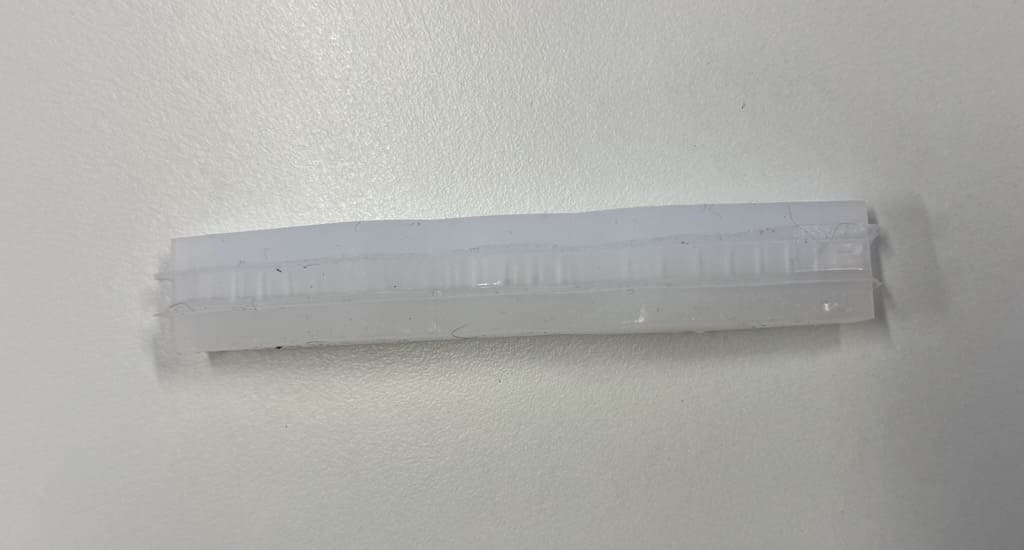
After unmolding this is the result I got:
Result
Even though I didn't get the result I was looking for which was making it move, it was still really interesting to see the behaviour of the silicone and the air interacting.
6. Weekly reflection & critical thinking
This week I learned a lot doing new stuff, observing air flow and interacting with different materials, how different shapes made some folds, etc. It was also the first time I've worked with silicone which I really enjoyed, and my first time making molds as well, which was a bit confusing at first, but now I know how to and I also figured out how to make it work.
7. Fabrication files & References
-
Reference: Brook Beacher; Soft robotics, explained; 2024 ↩