E-textiles
1. Objective
This week, I explored digital and analog sensors through a transparent glove with lights. I learned to build a basic circuit, make a glove pattern, and sew electronic connections into fabric. I also tested how light could respond to pressure, distance, and facial expressions.
My starting question was: What if a wearable could make the feeling of closeness visible?
What if we could make a tool to explore the emotional distance we feel when we are close to someone?
2. Research and inspiration
This work is inspired by Artificial Intimacy. Today, dating apps such as Tinder and Bumble help us connect with other people through a screen. I became curious about another kind of connection: what happens when we share physical space?
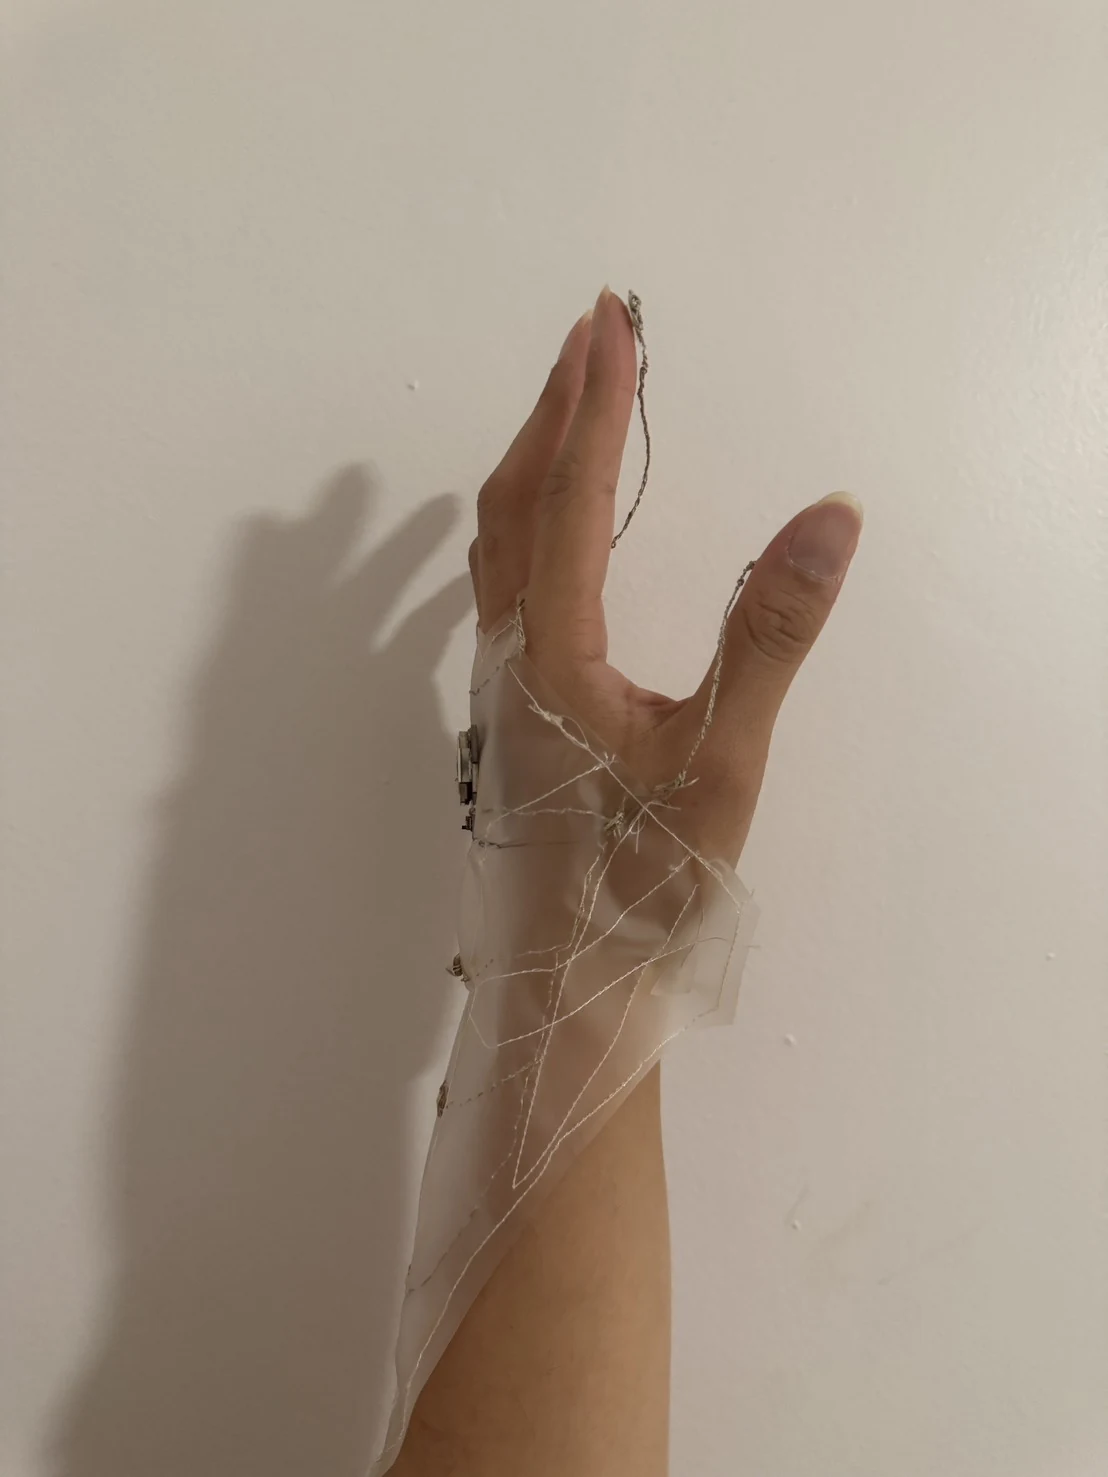
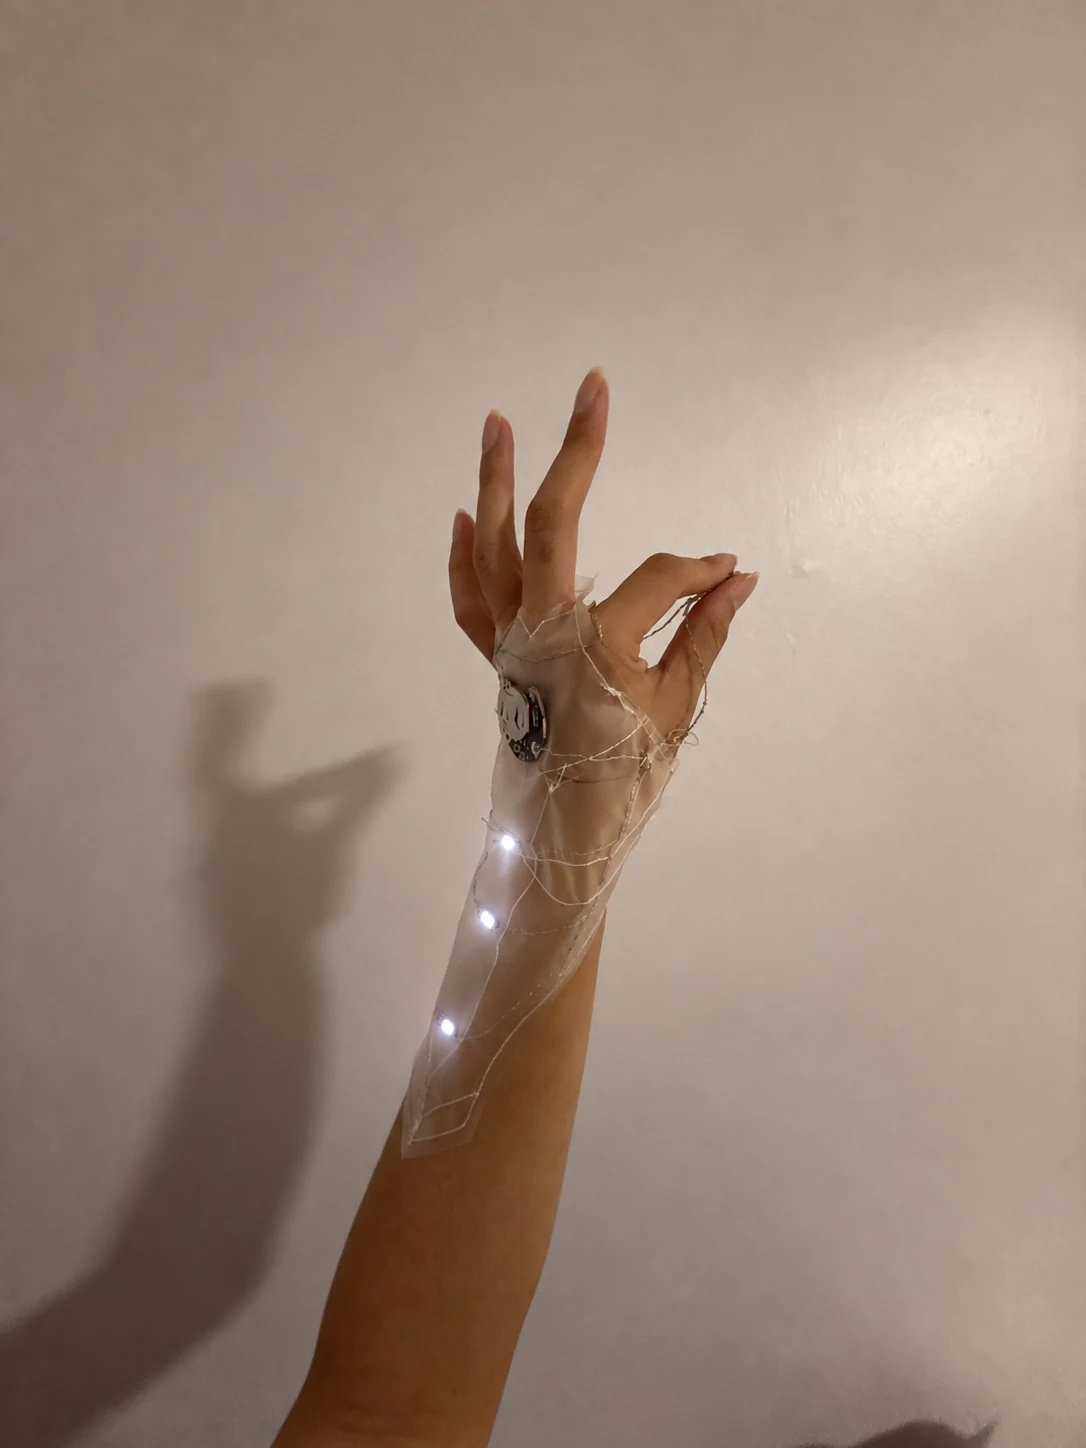
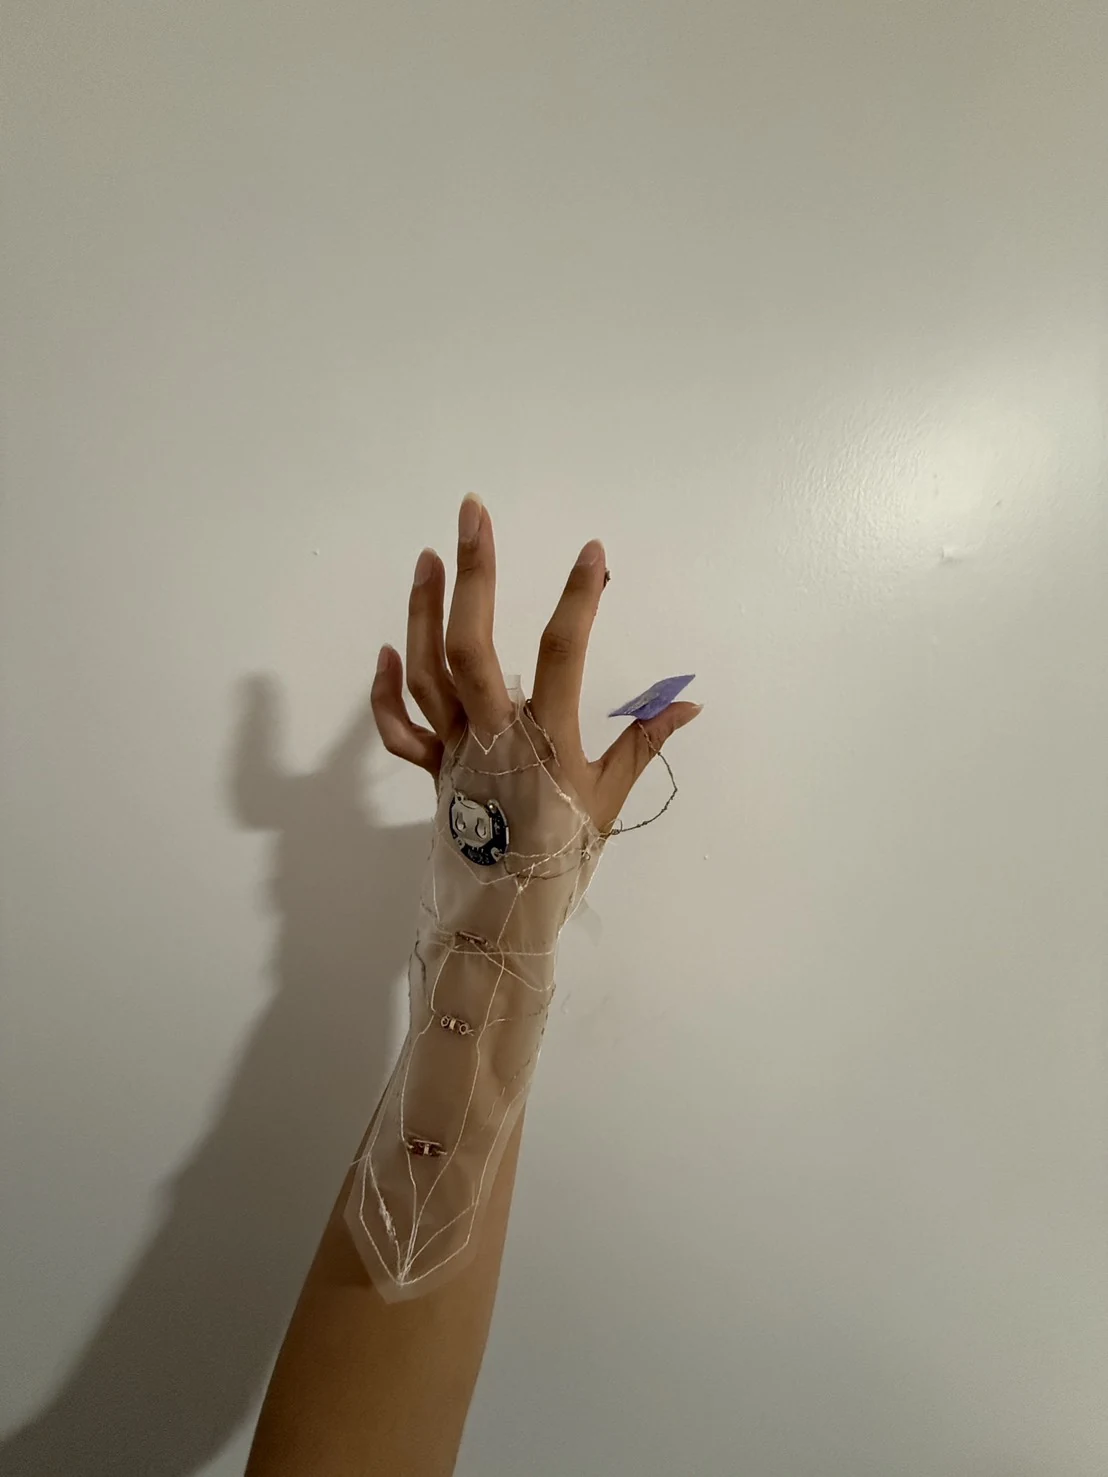
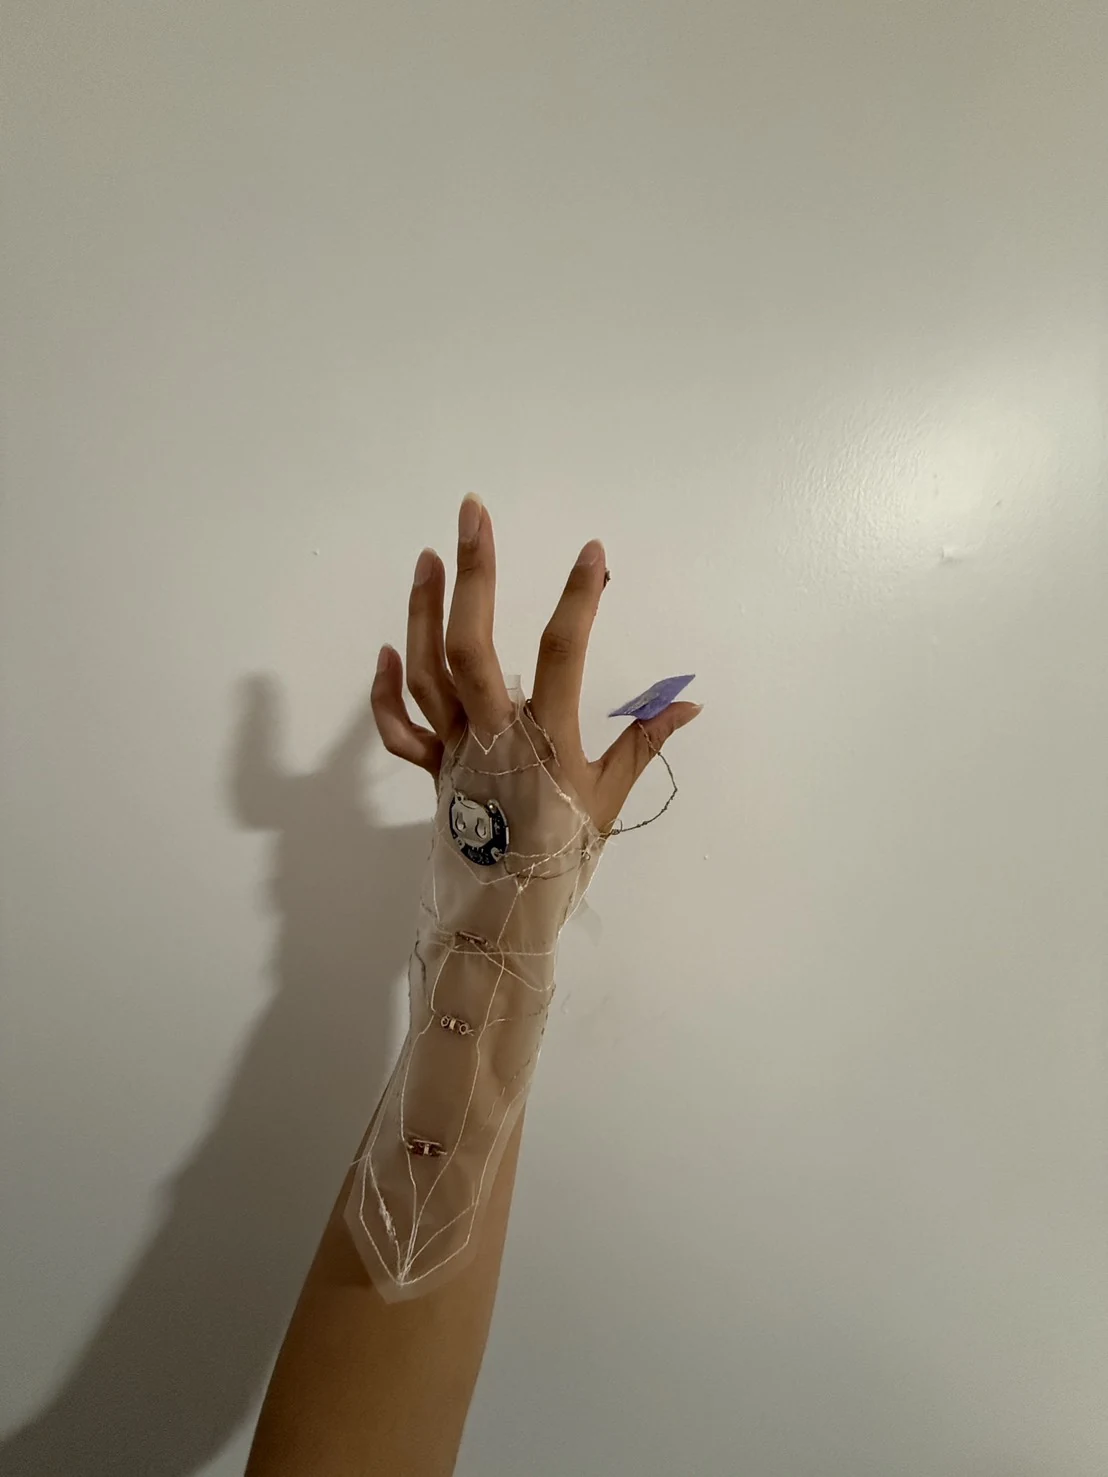
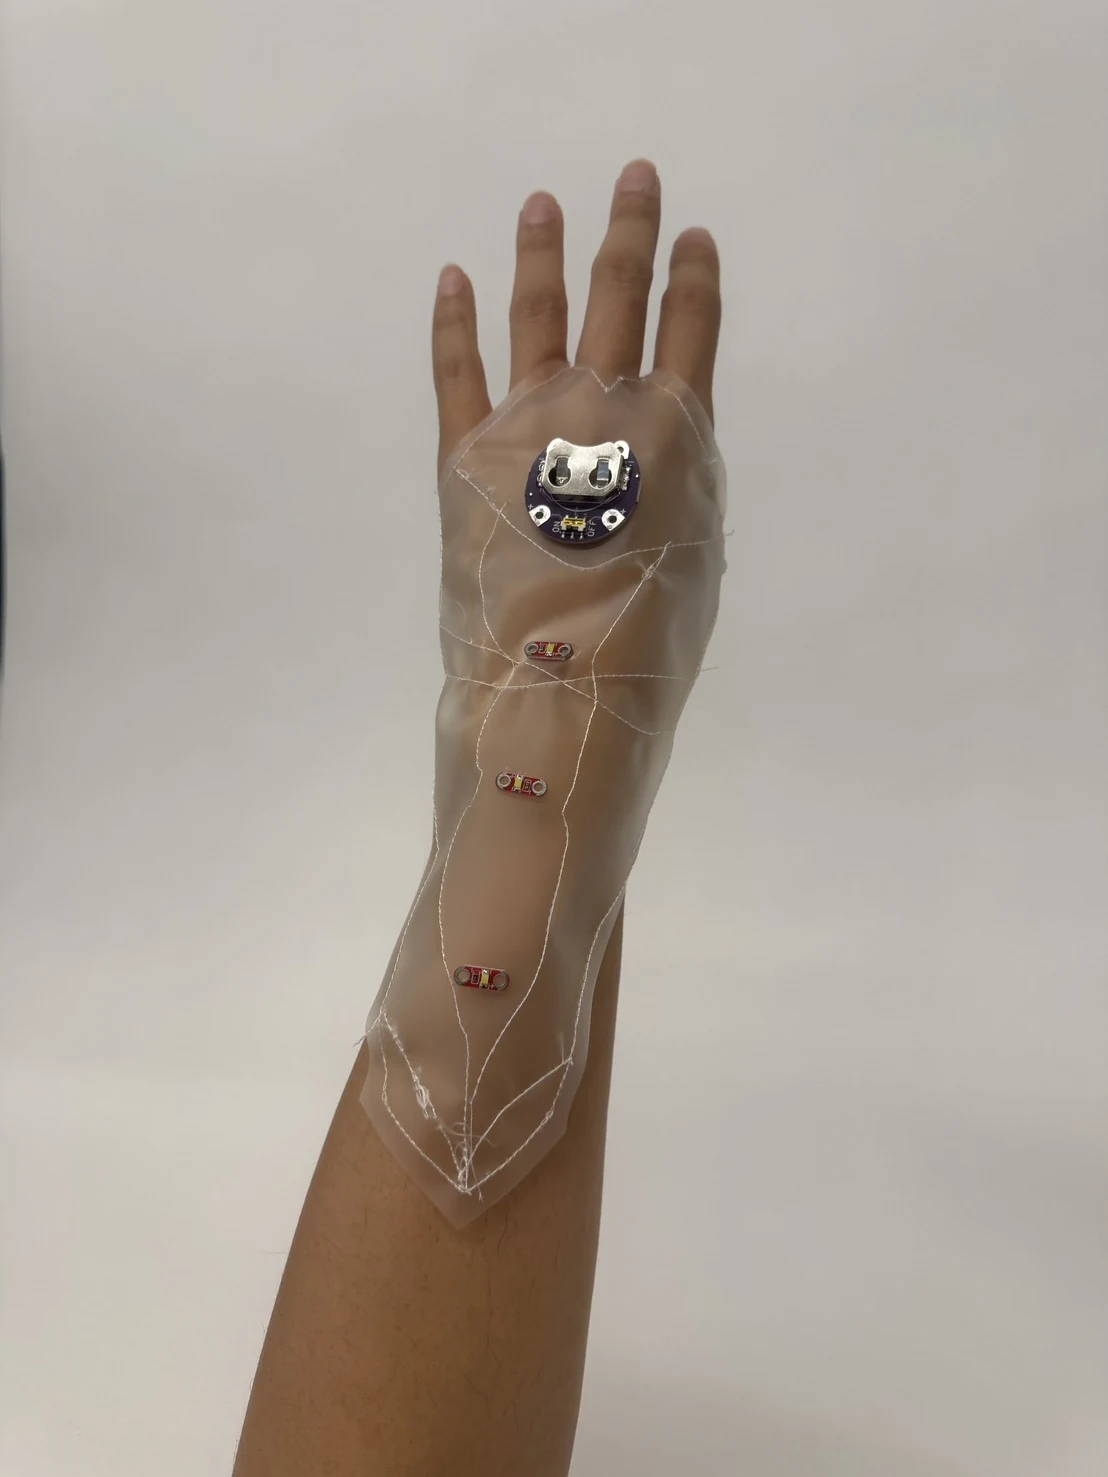
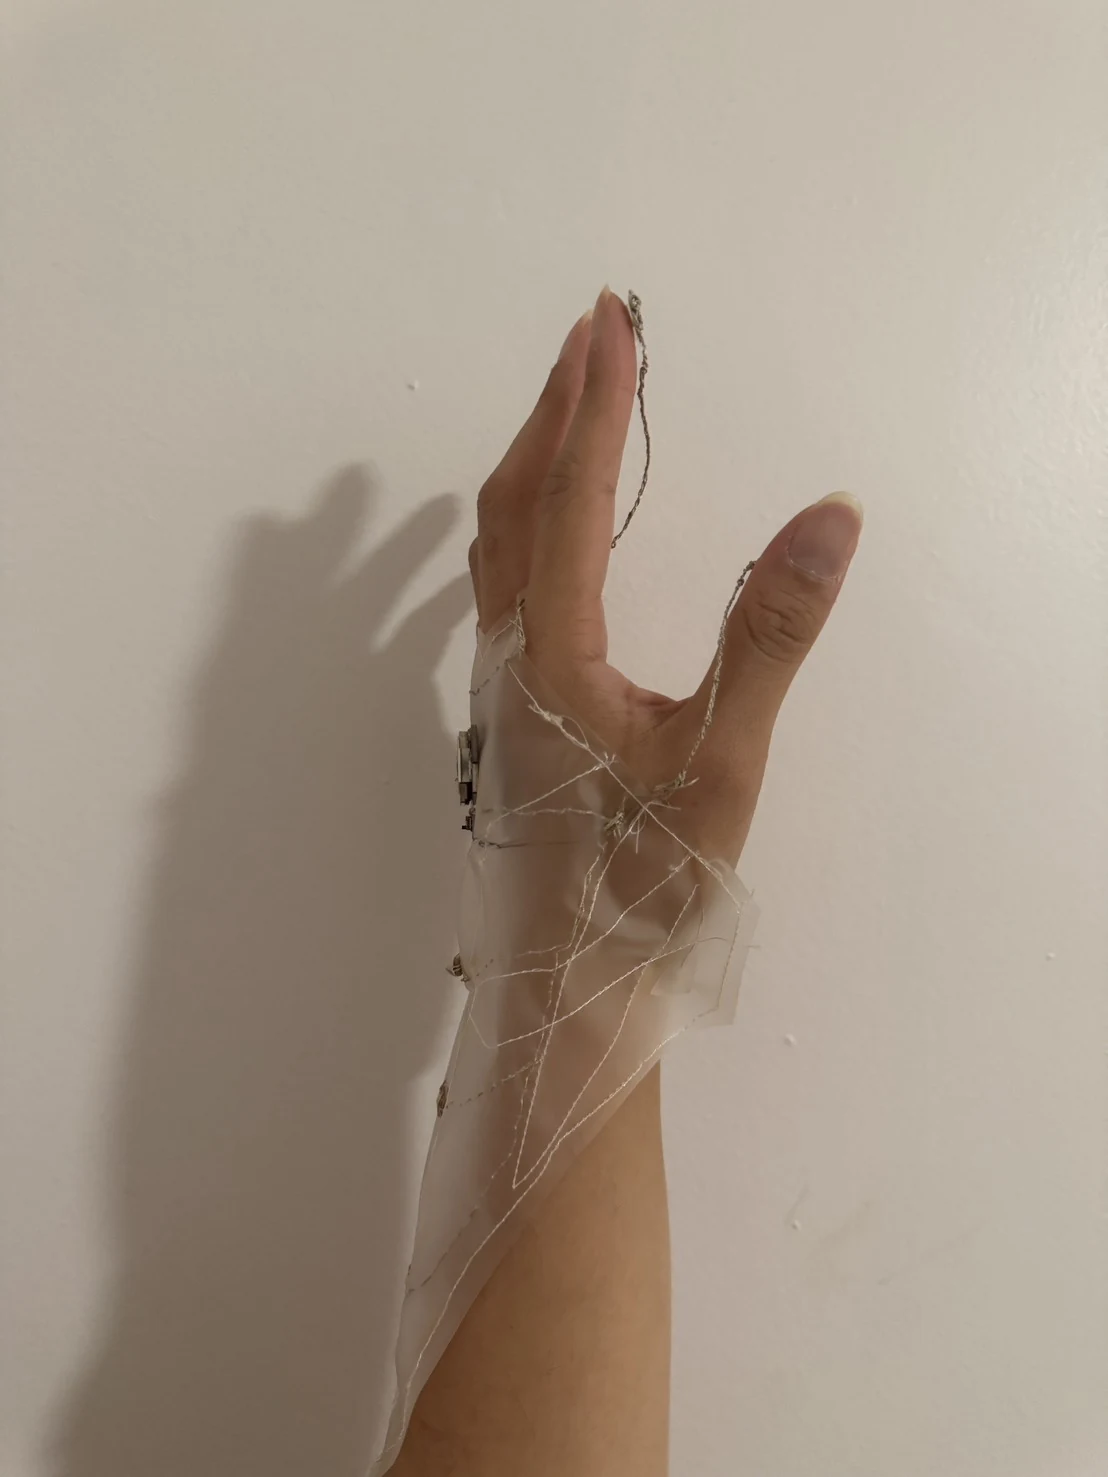
The class introduced digital and analog sensors. I wanted to use these ideas to explore human distance through textile, transparent material, and light. The glove became a way to test that question. Its transparent surface lets me see both the hand and the circuit, while the lights make the interaction visible.
3. Tools and materials
- Arduino board and Arduino IDE
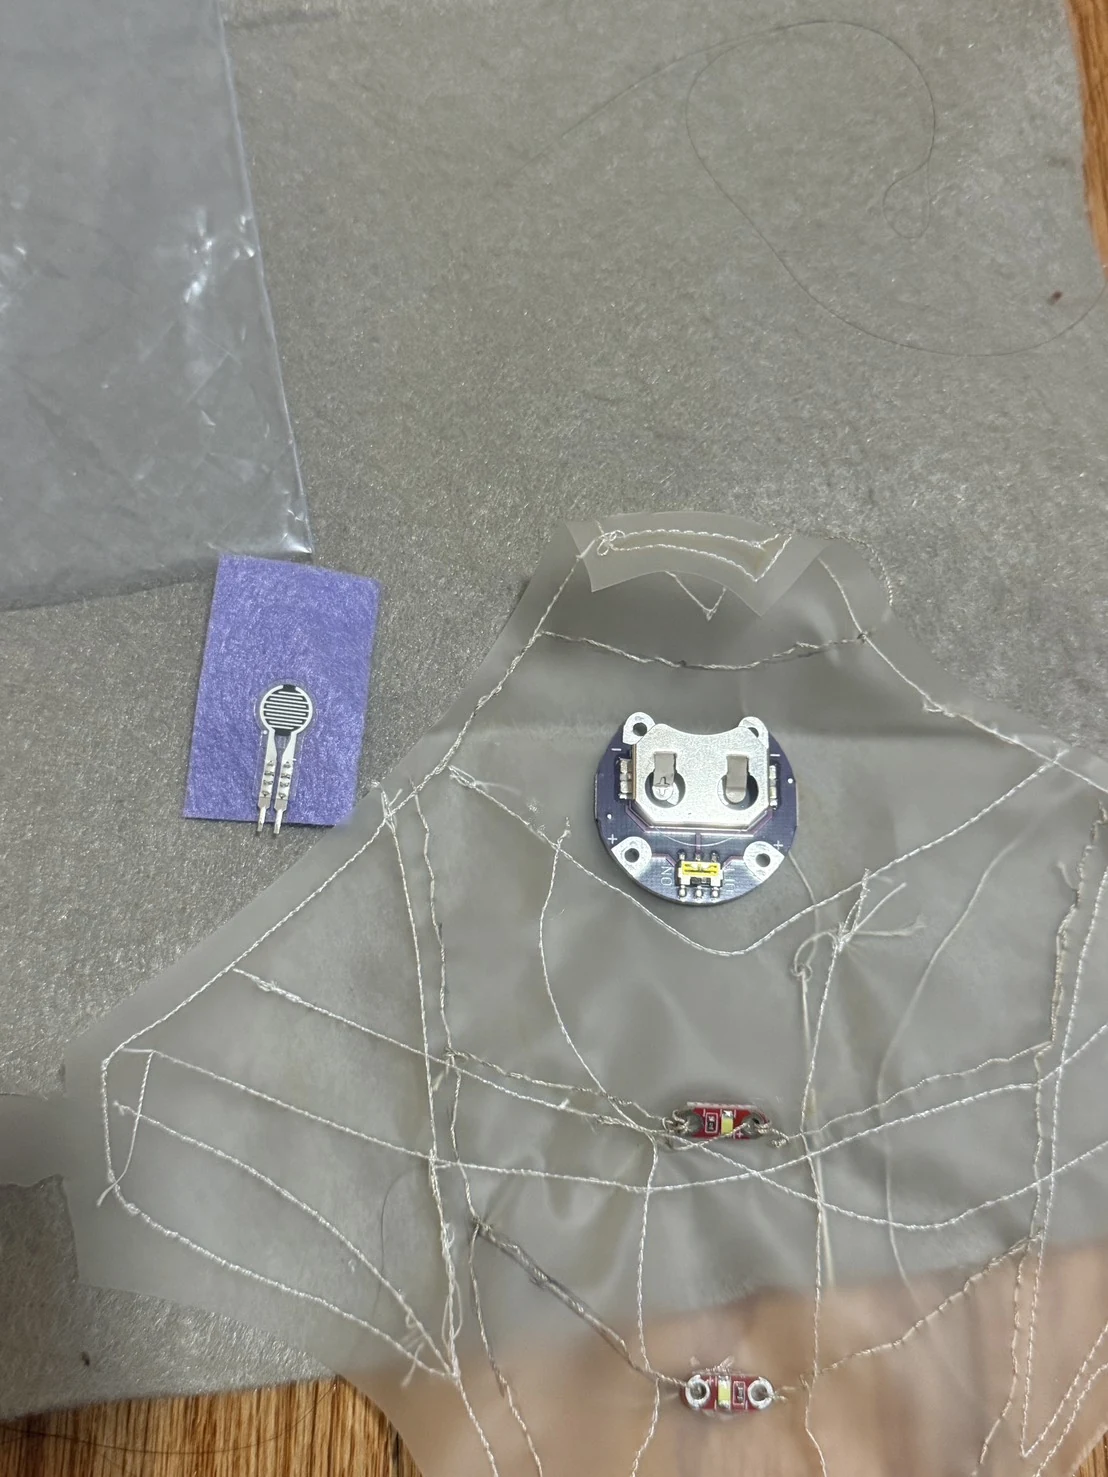
- Sewable electronic components, LEDs, and a battery holder
- Conductive thread and connecting wires
- Transparent fabric, paper, and a cutting mat
- Sewing machine, needle, and thread
- Thin-film pressure sensor
- Computer and camera for the face-tracking experiments
4. Process and workflow
4.1 Building a basic circuit
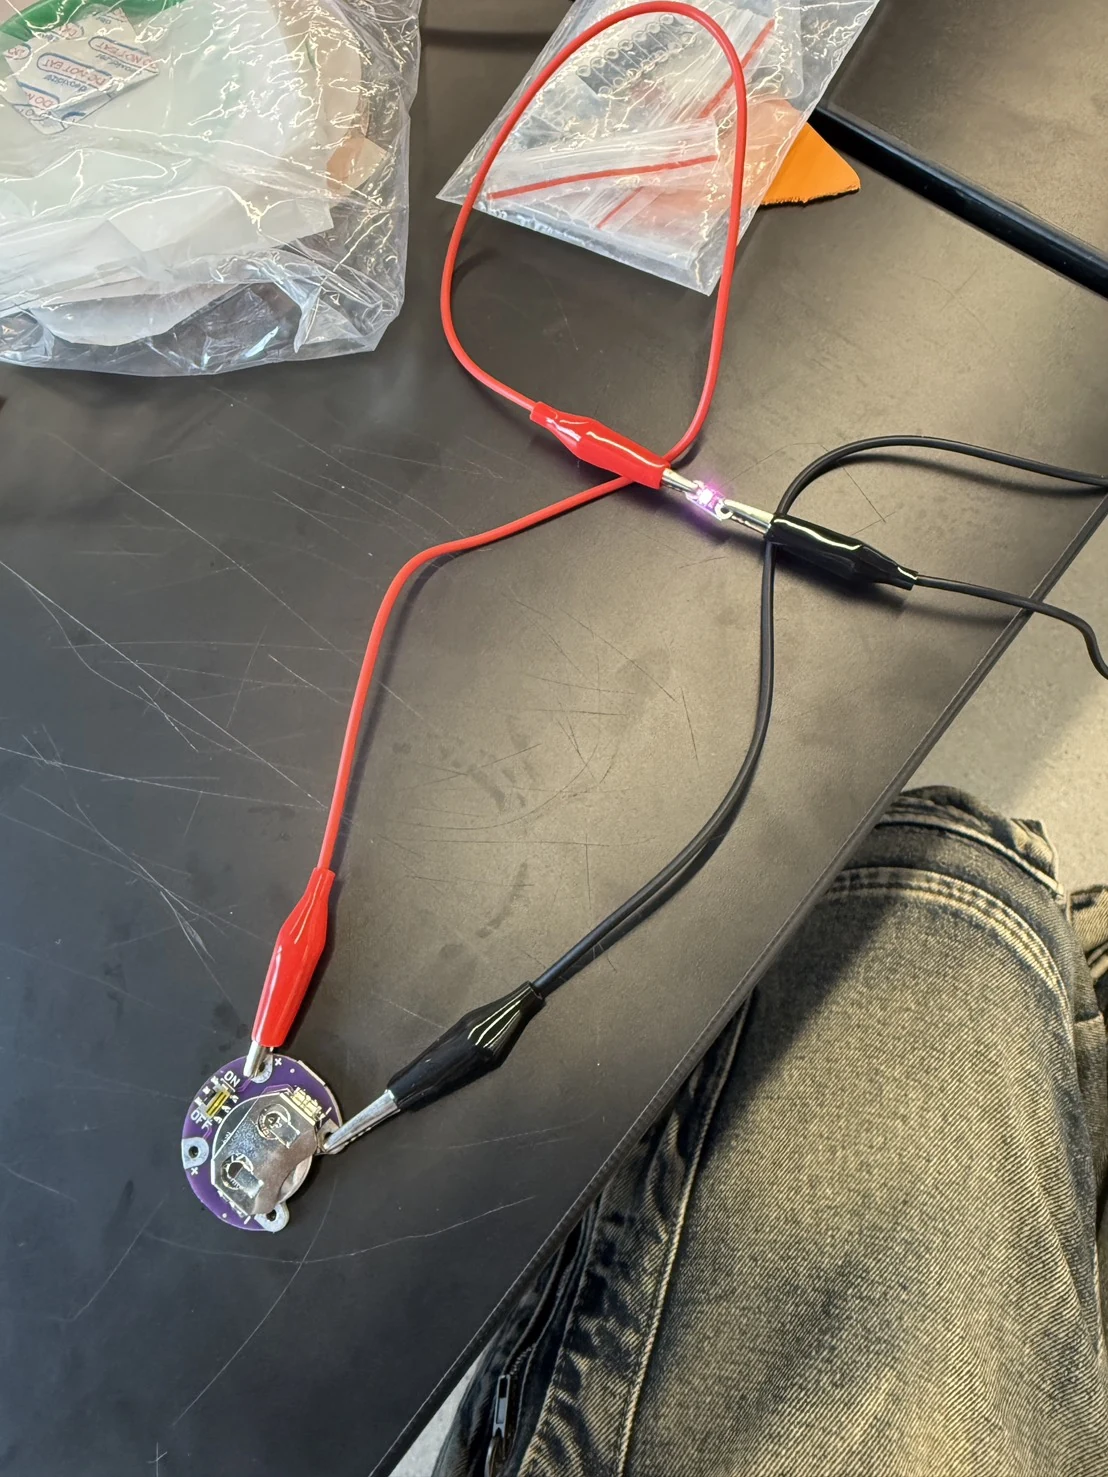
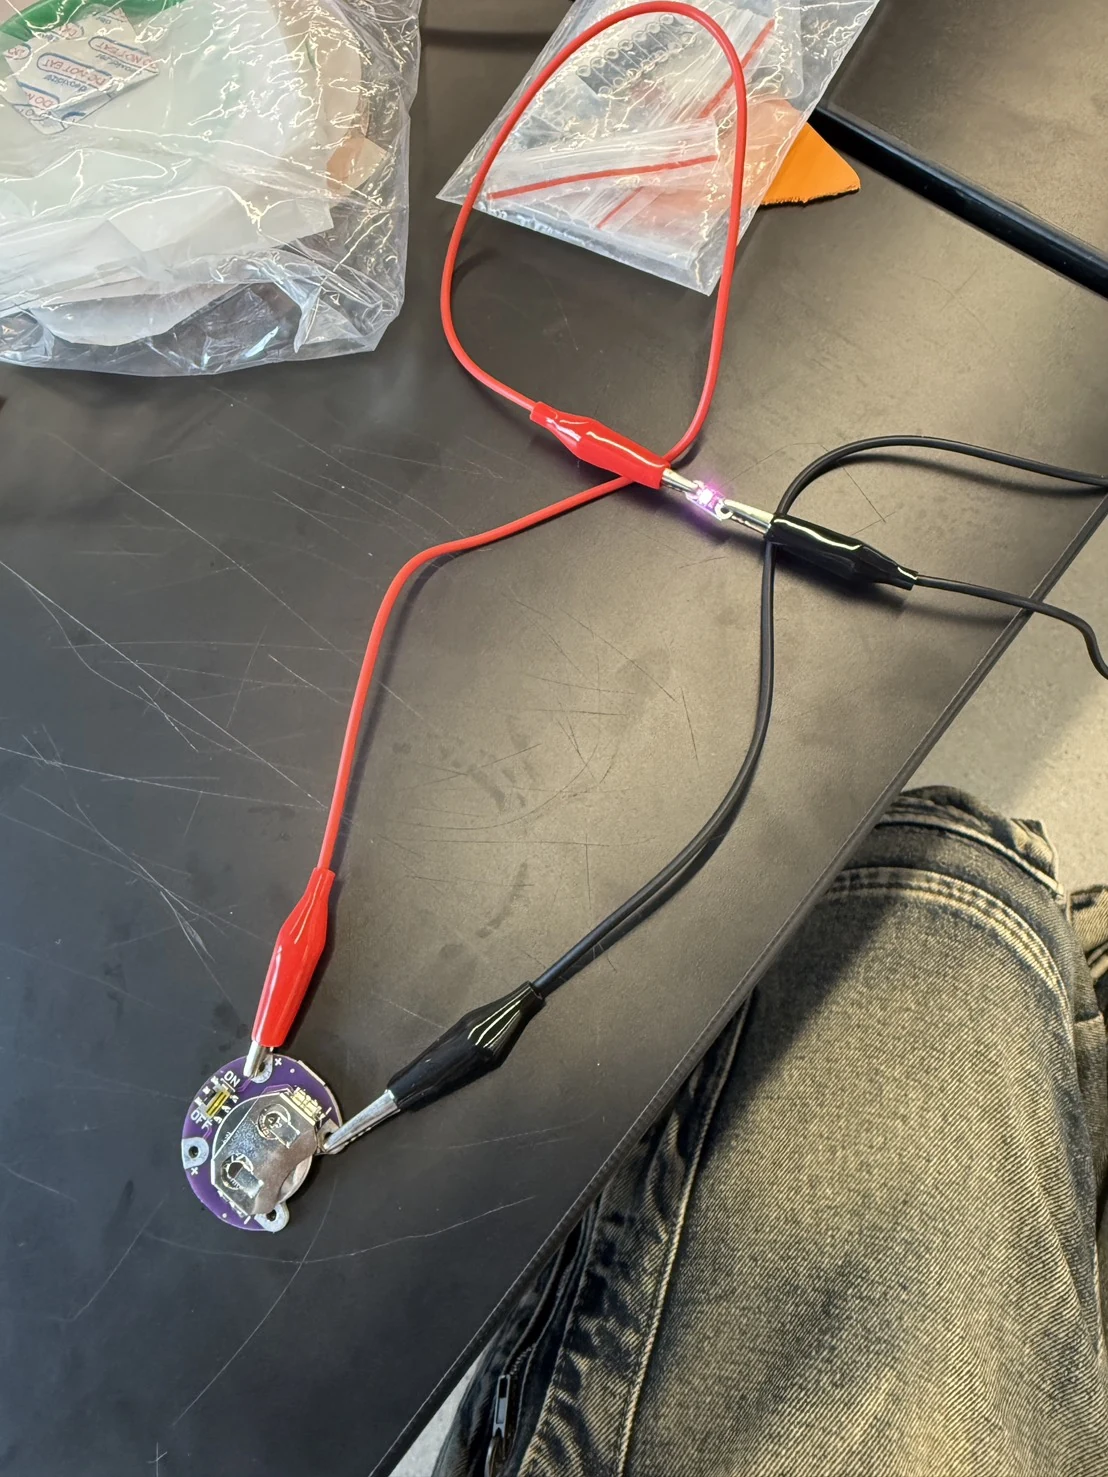
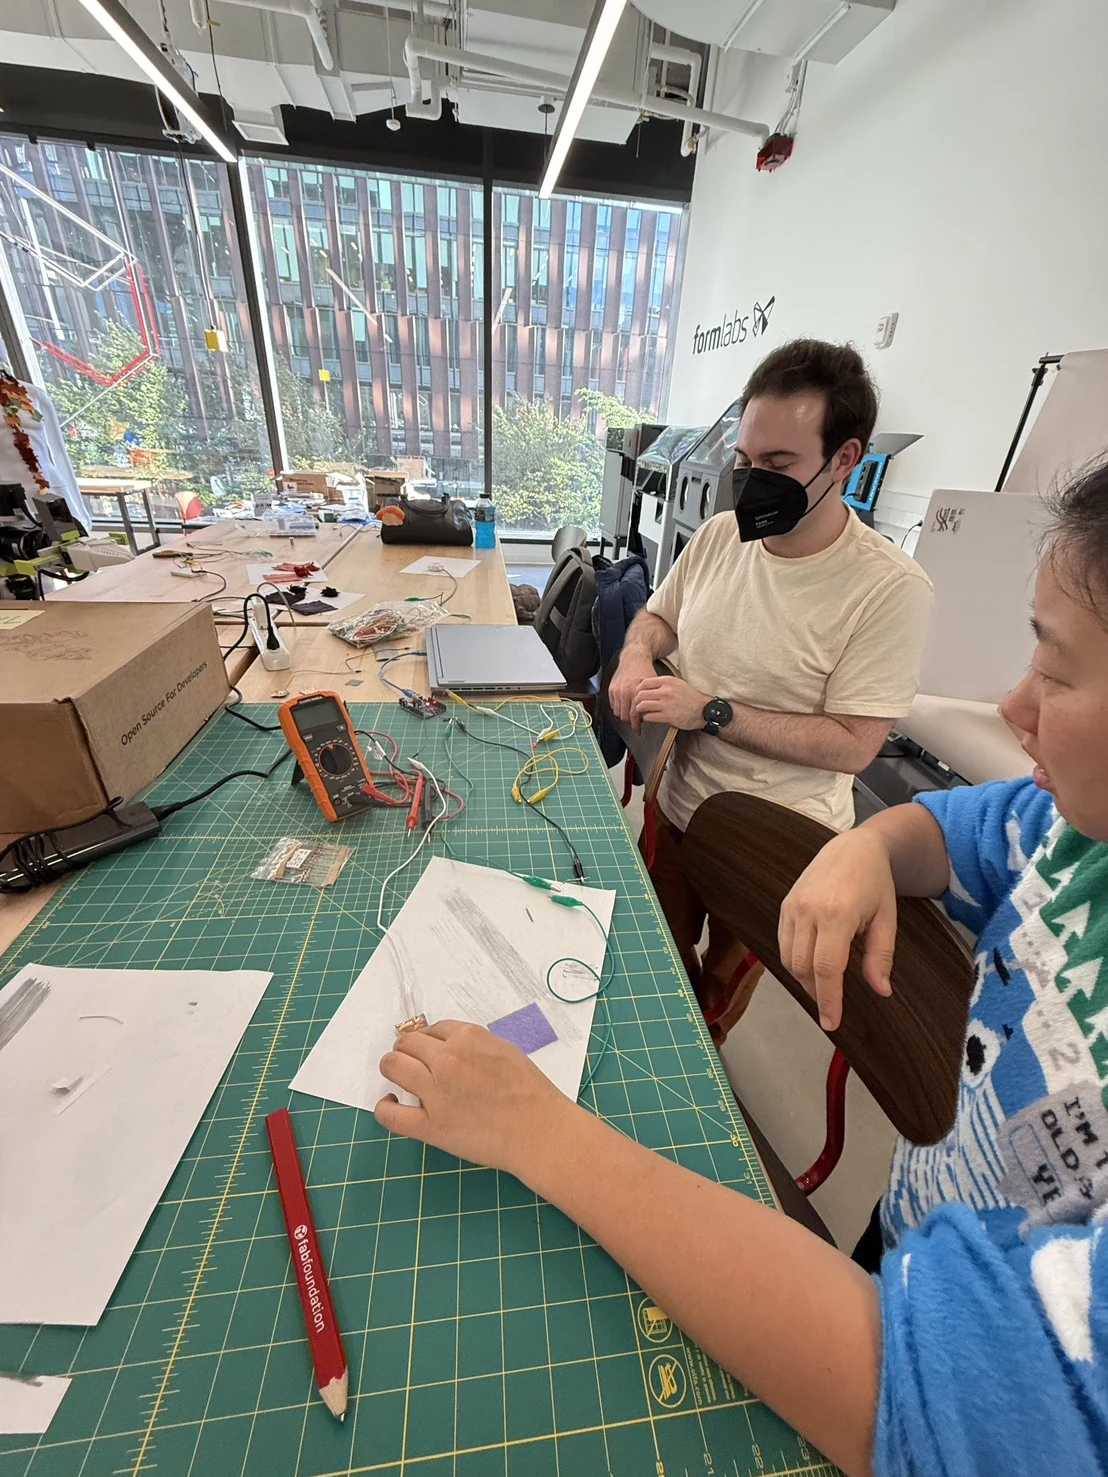
Myles taught me how to build a circuit. I started with a simple connection so I could understand how the components worked together before moving them onto fabric.
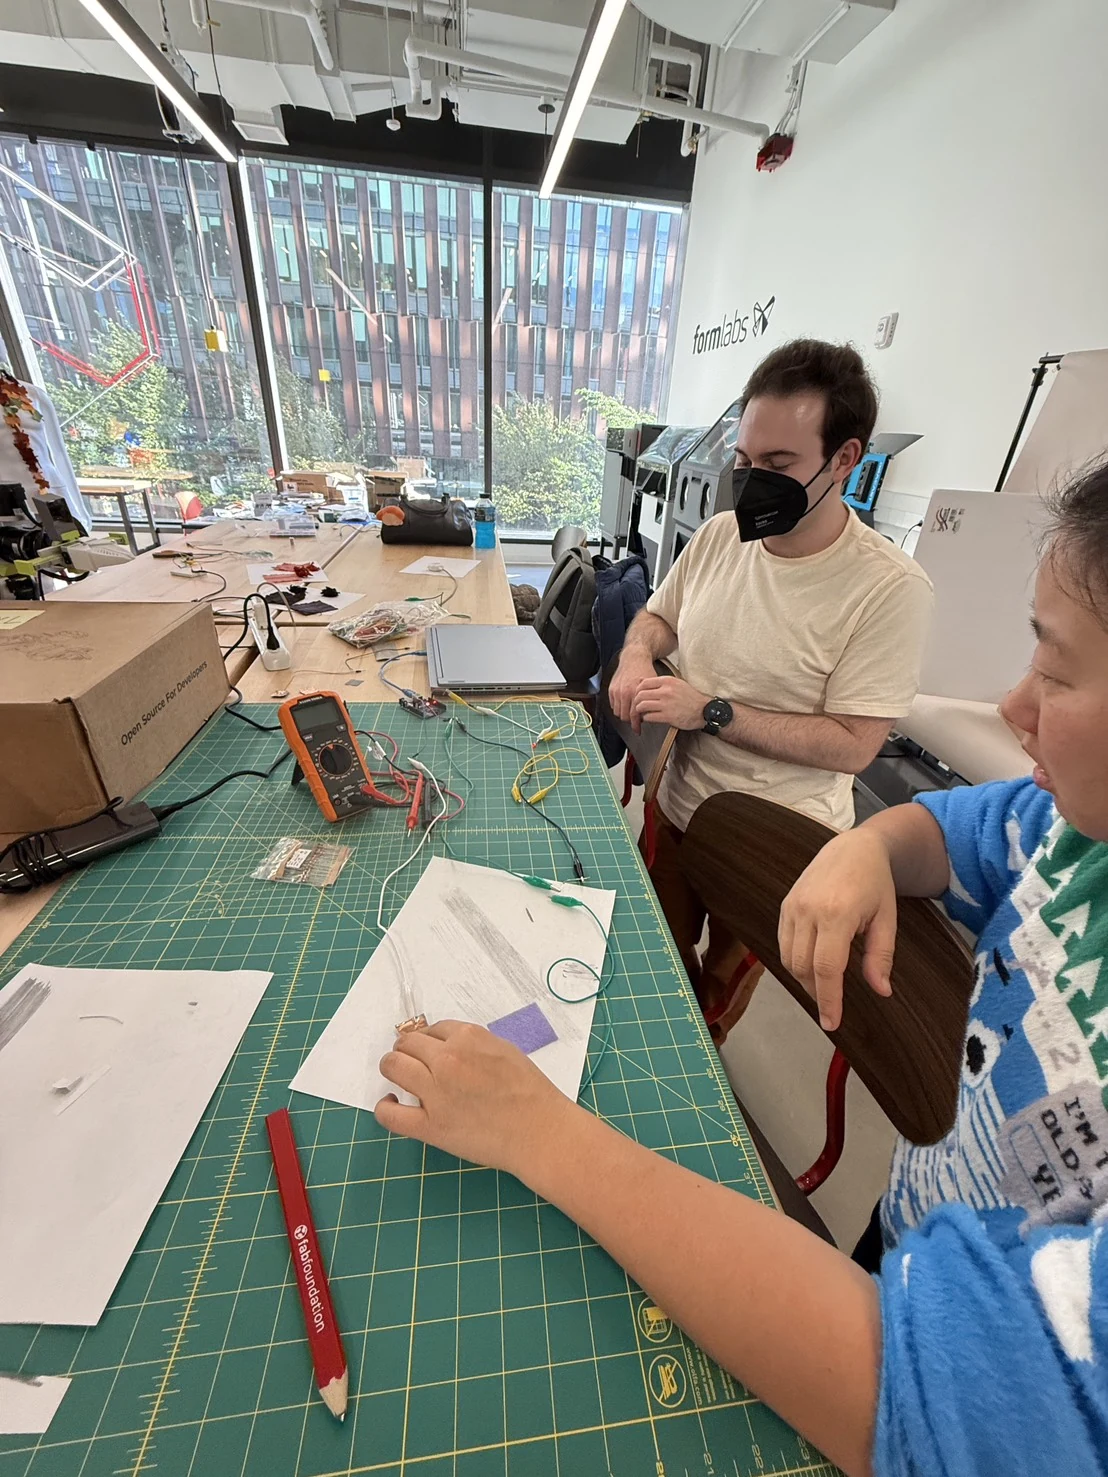
I explored the process together with Myles and Jinger. Learning with them helped me connect the electronics to the wearable I wanted to make.
4.2 Developing the glove pattern
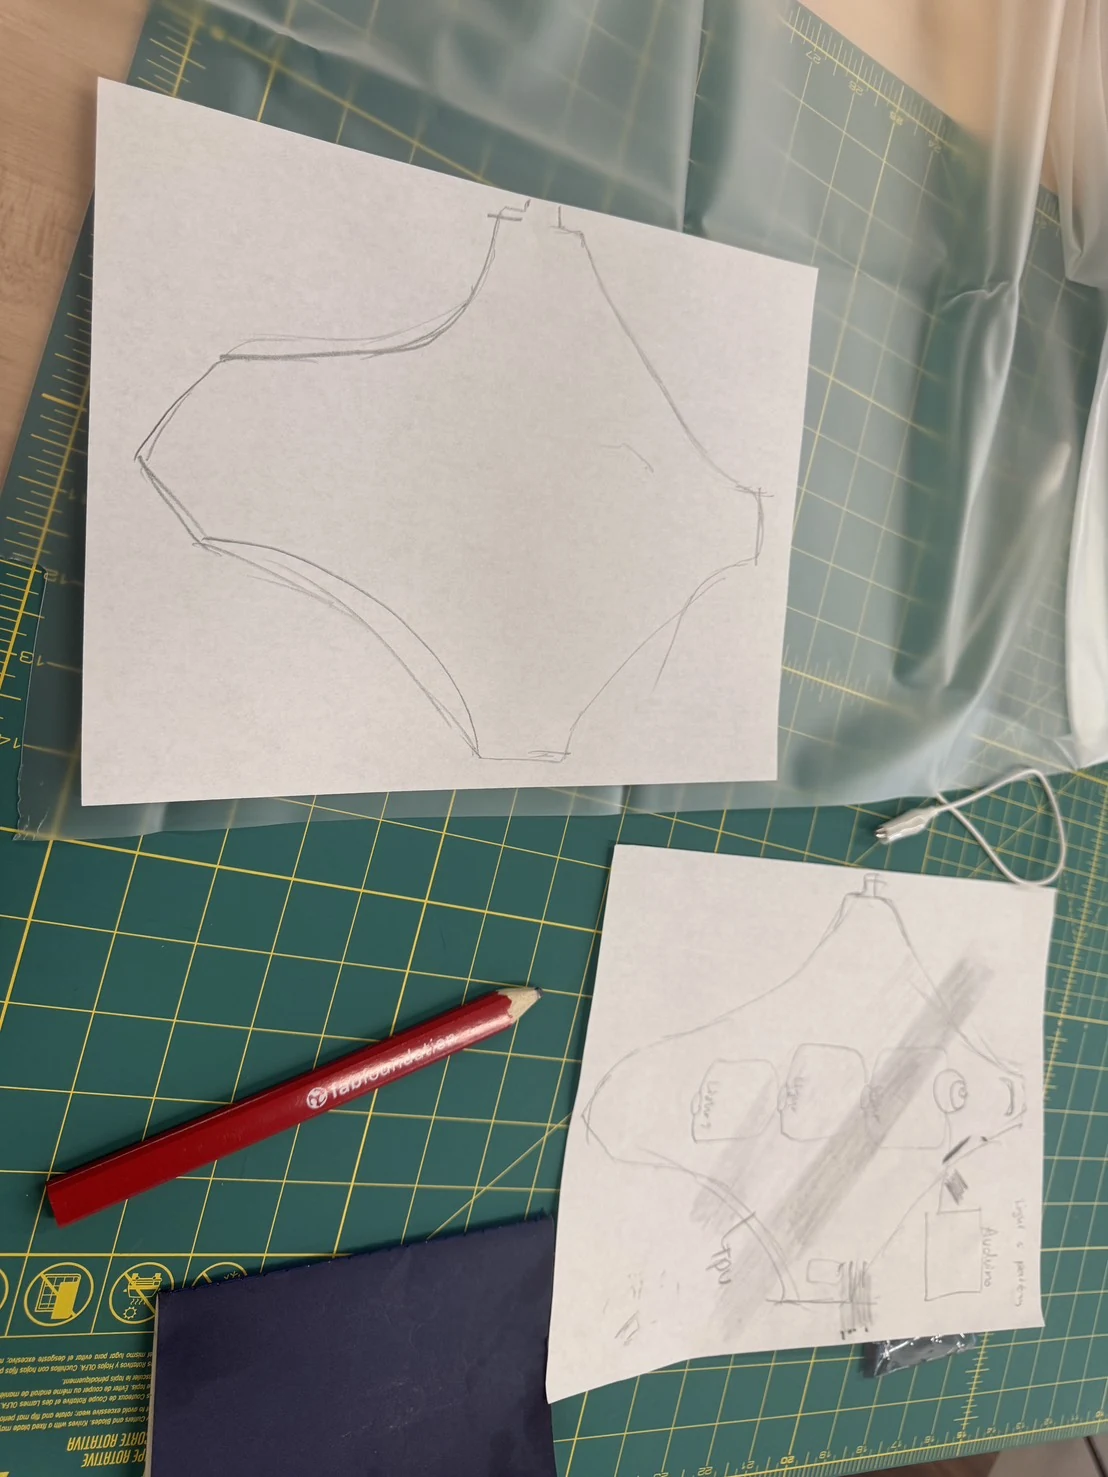
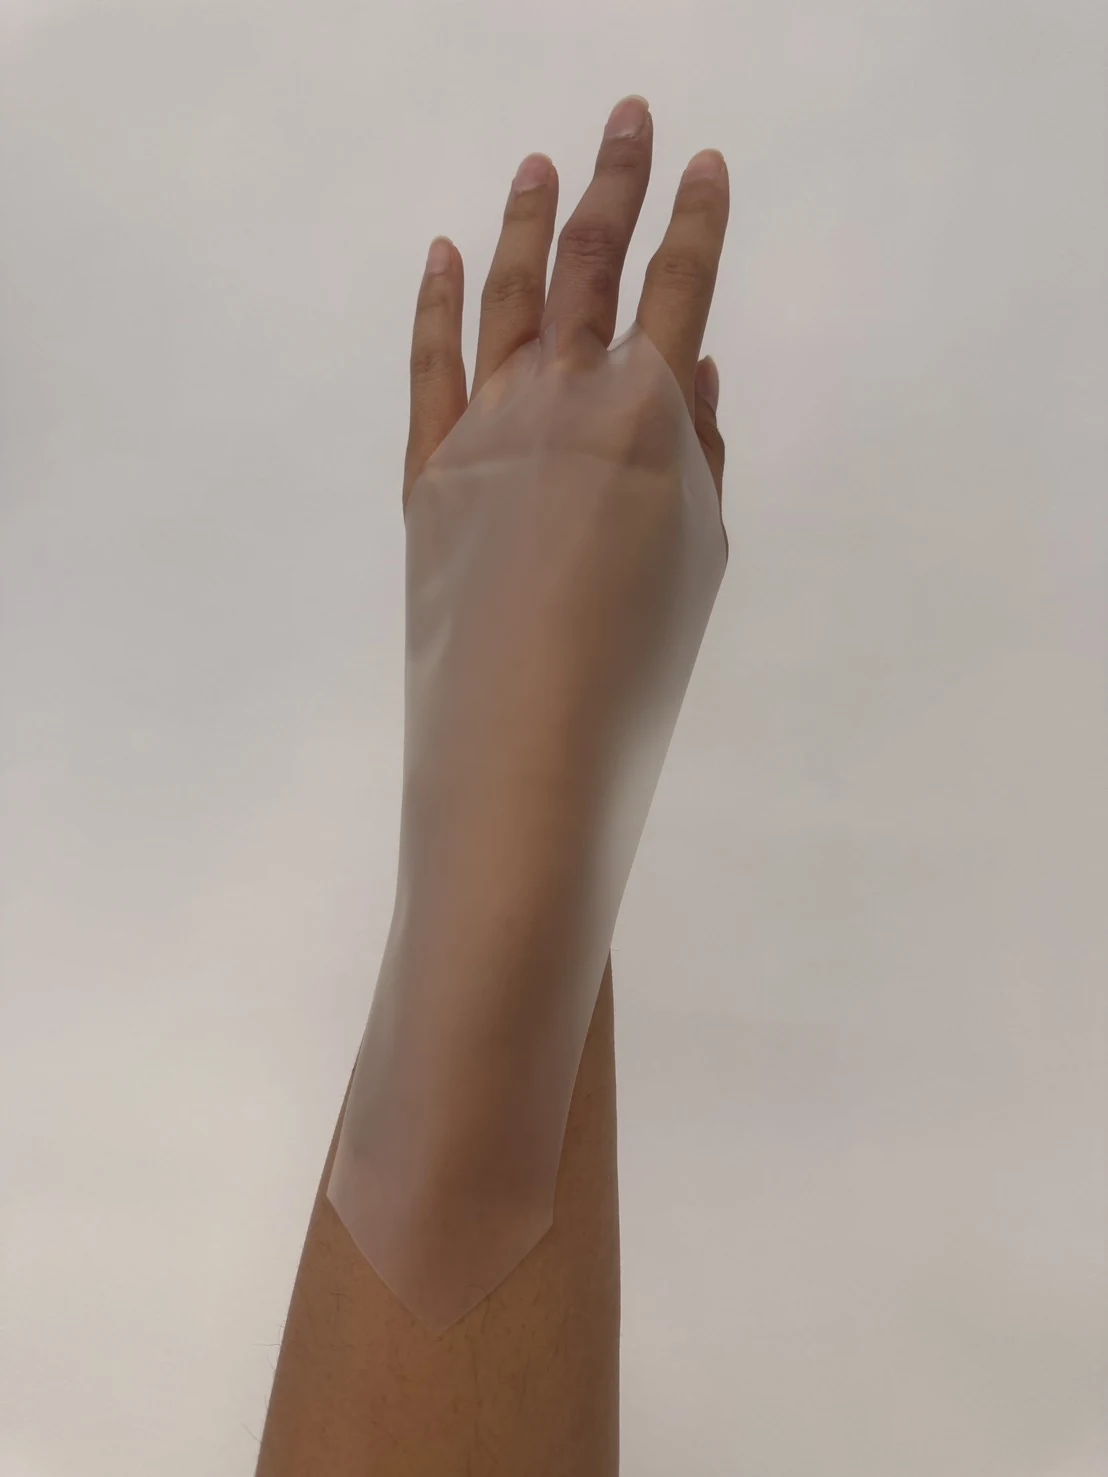
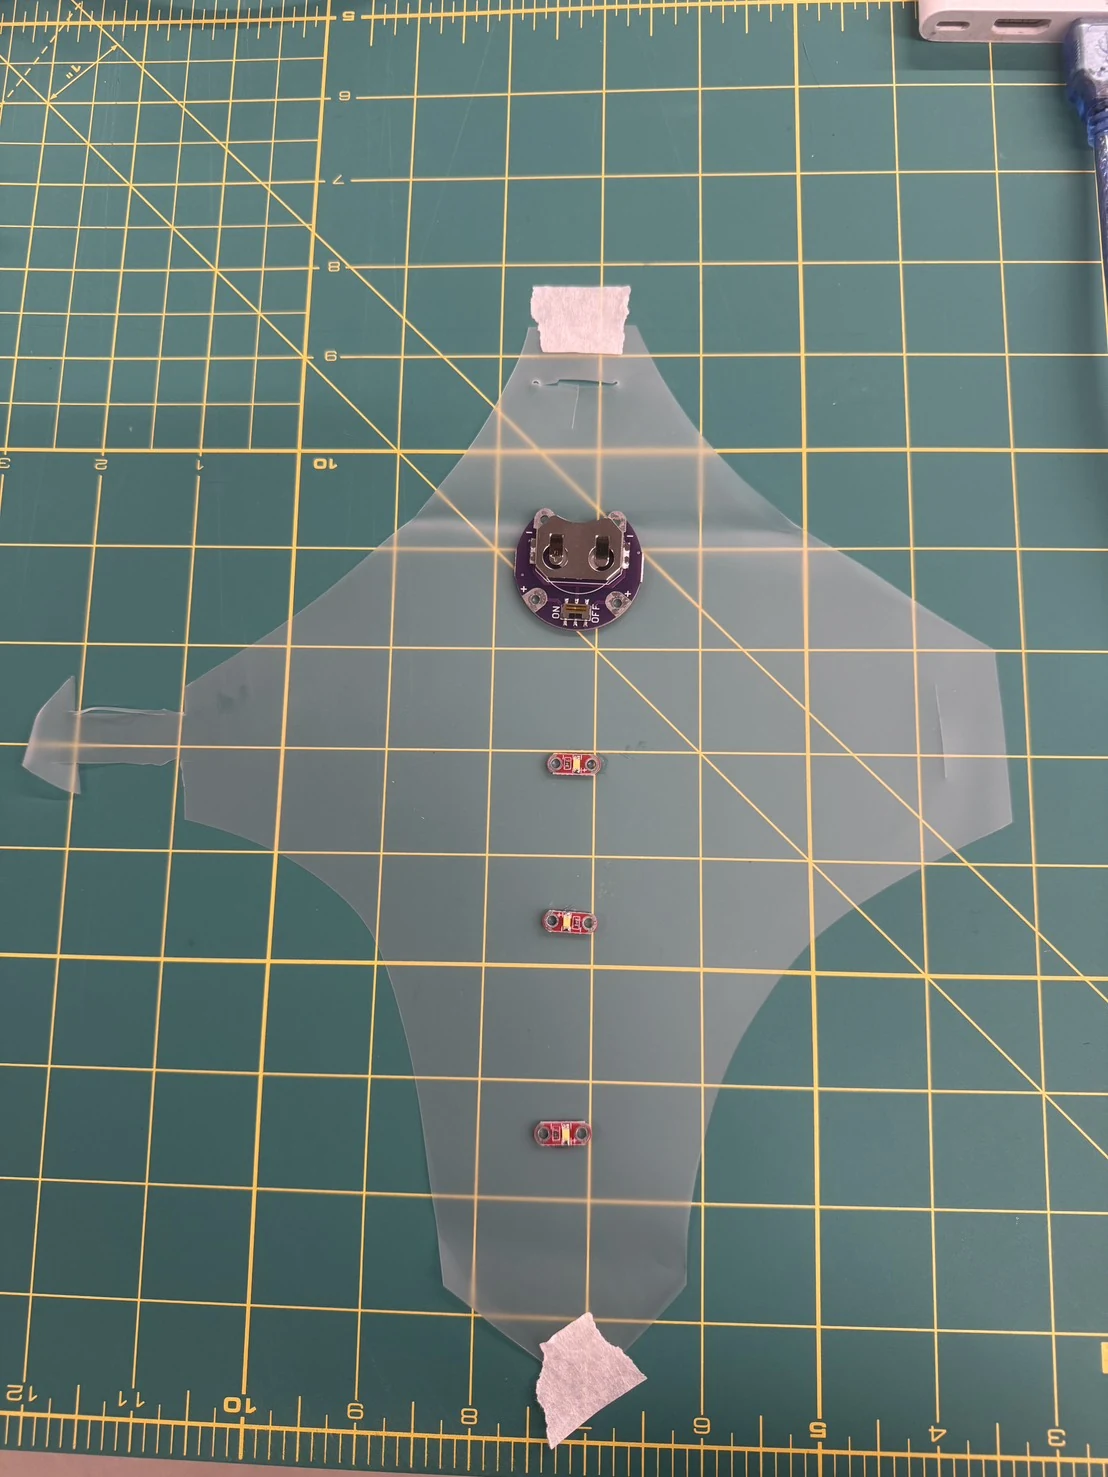
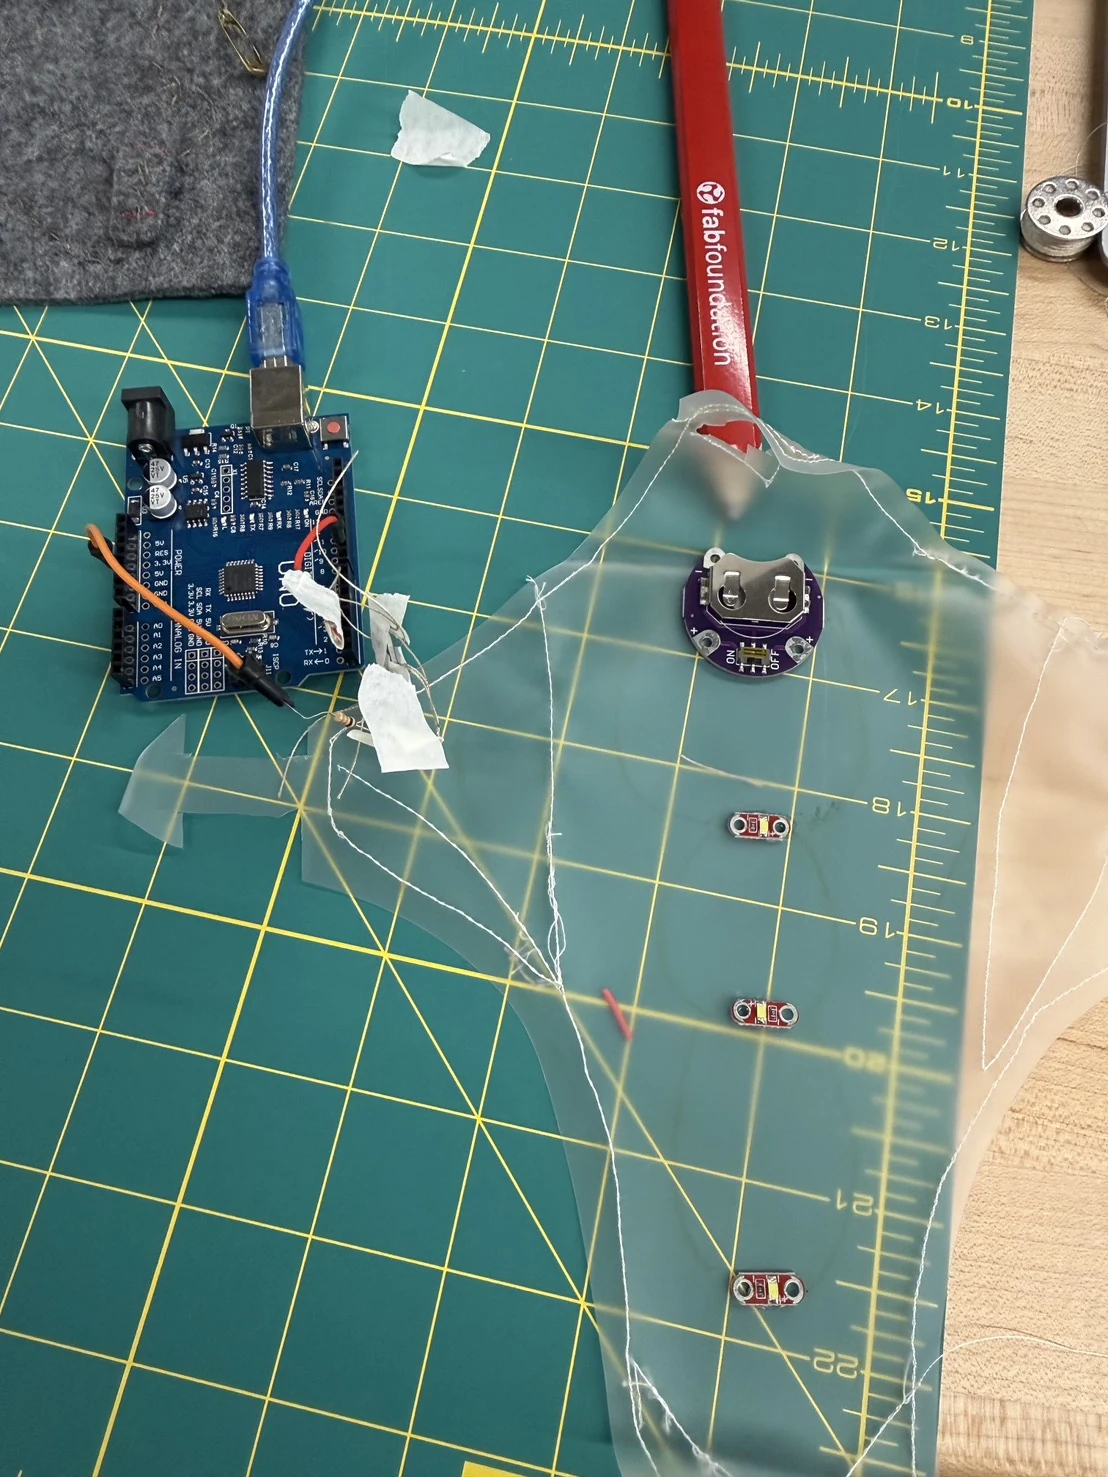
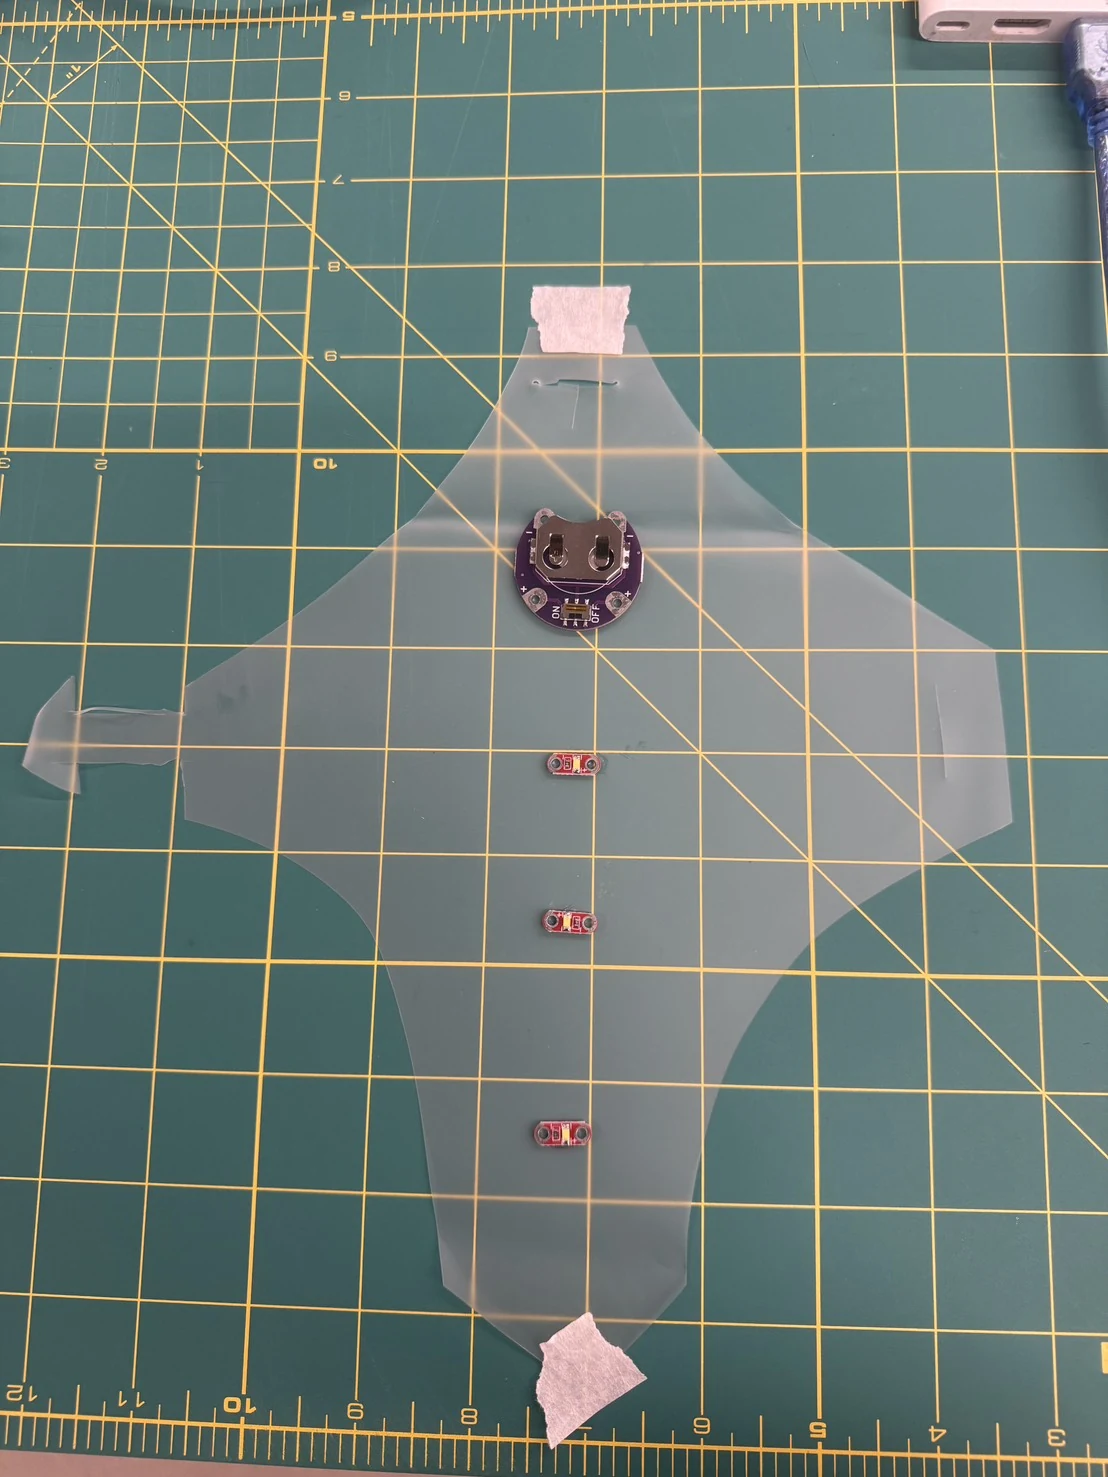
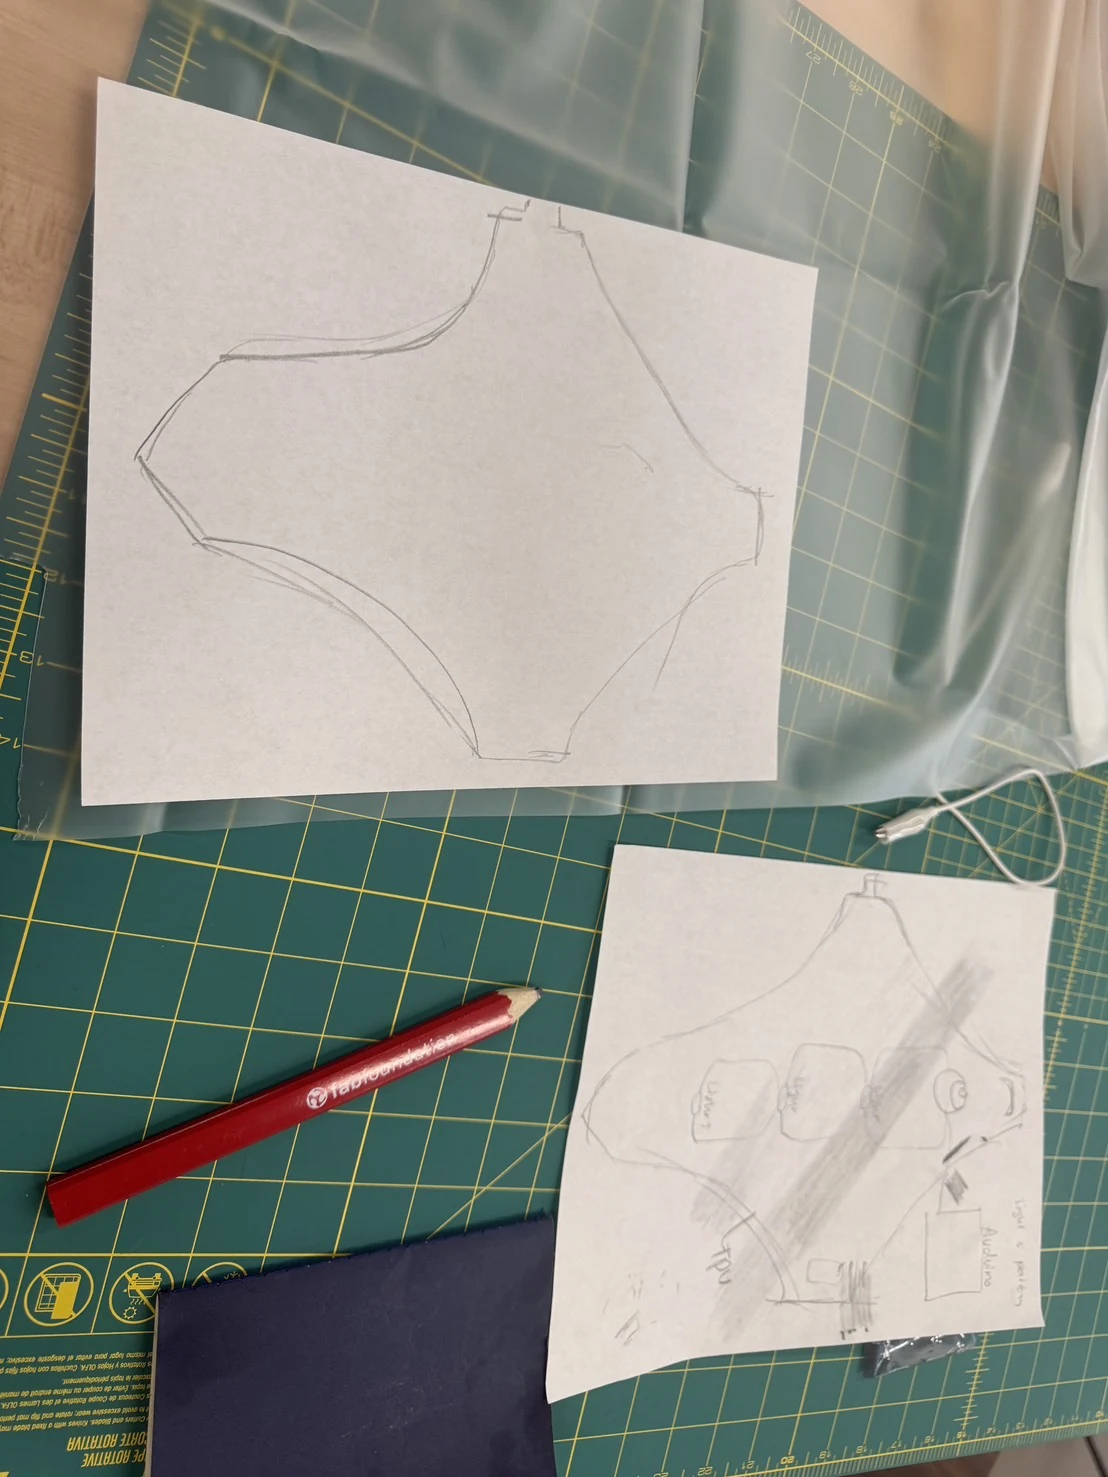
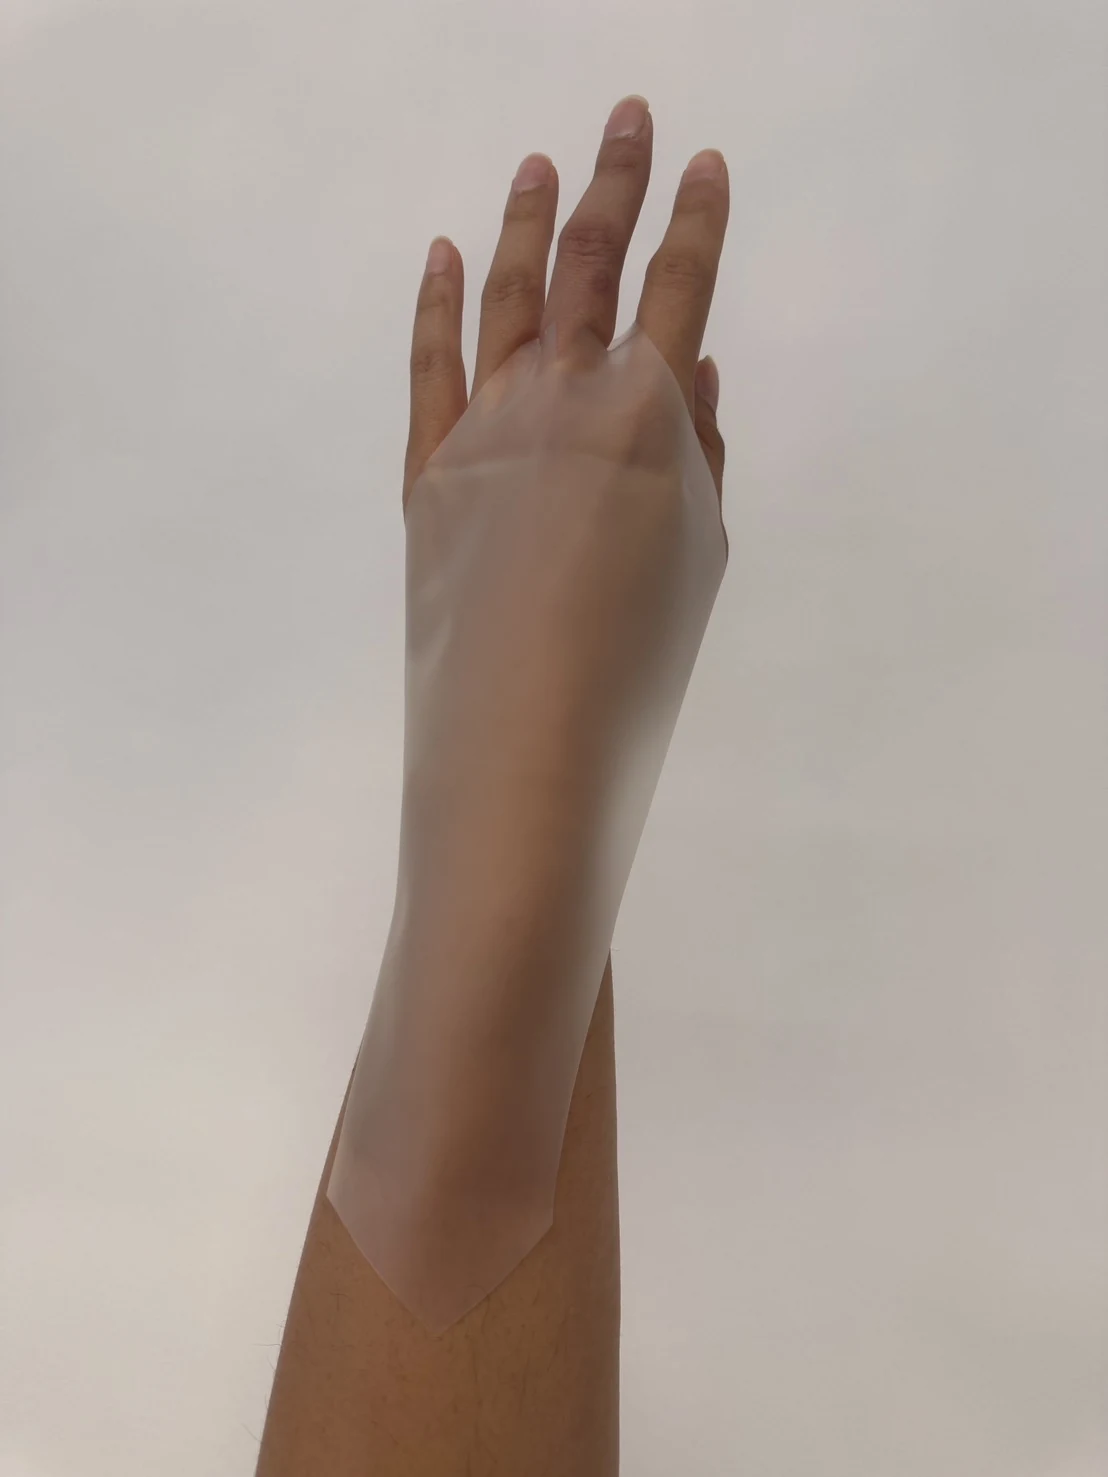
I drew a paper pattern and transferred it to transparent fabric. I tried the fabric on my hand to check the shape, then planned where the electronic components and lights could sit.
4.3 Testing the lights
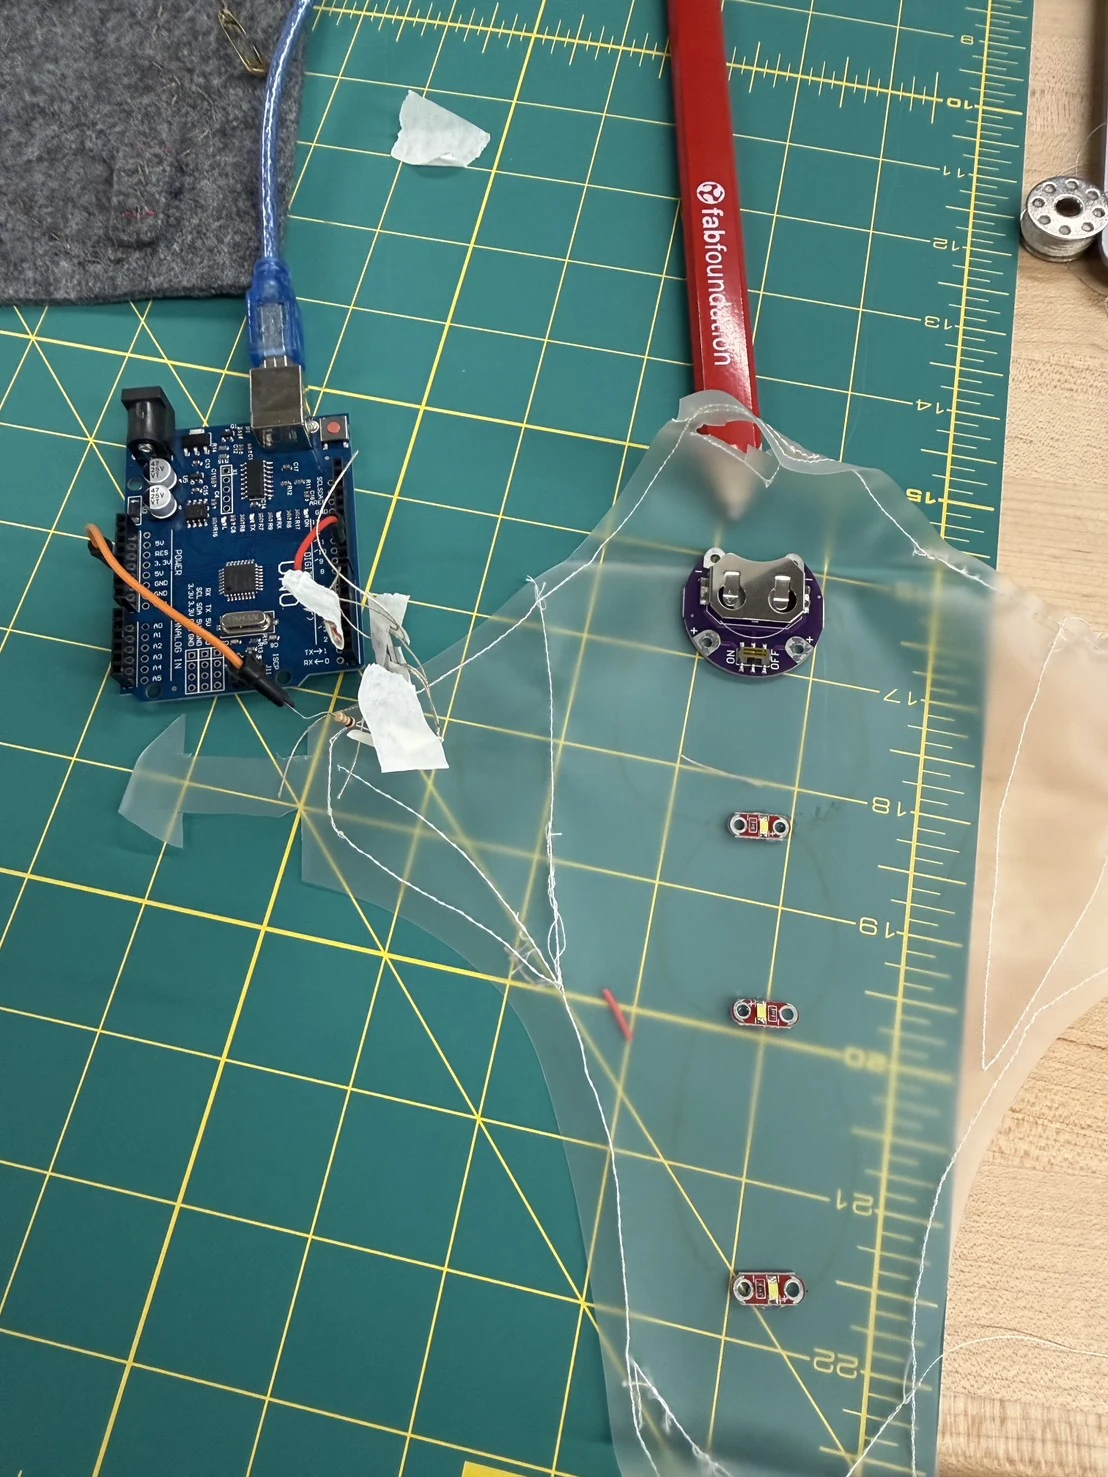
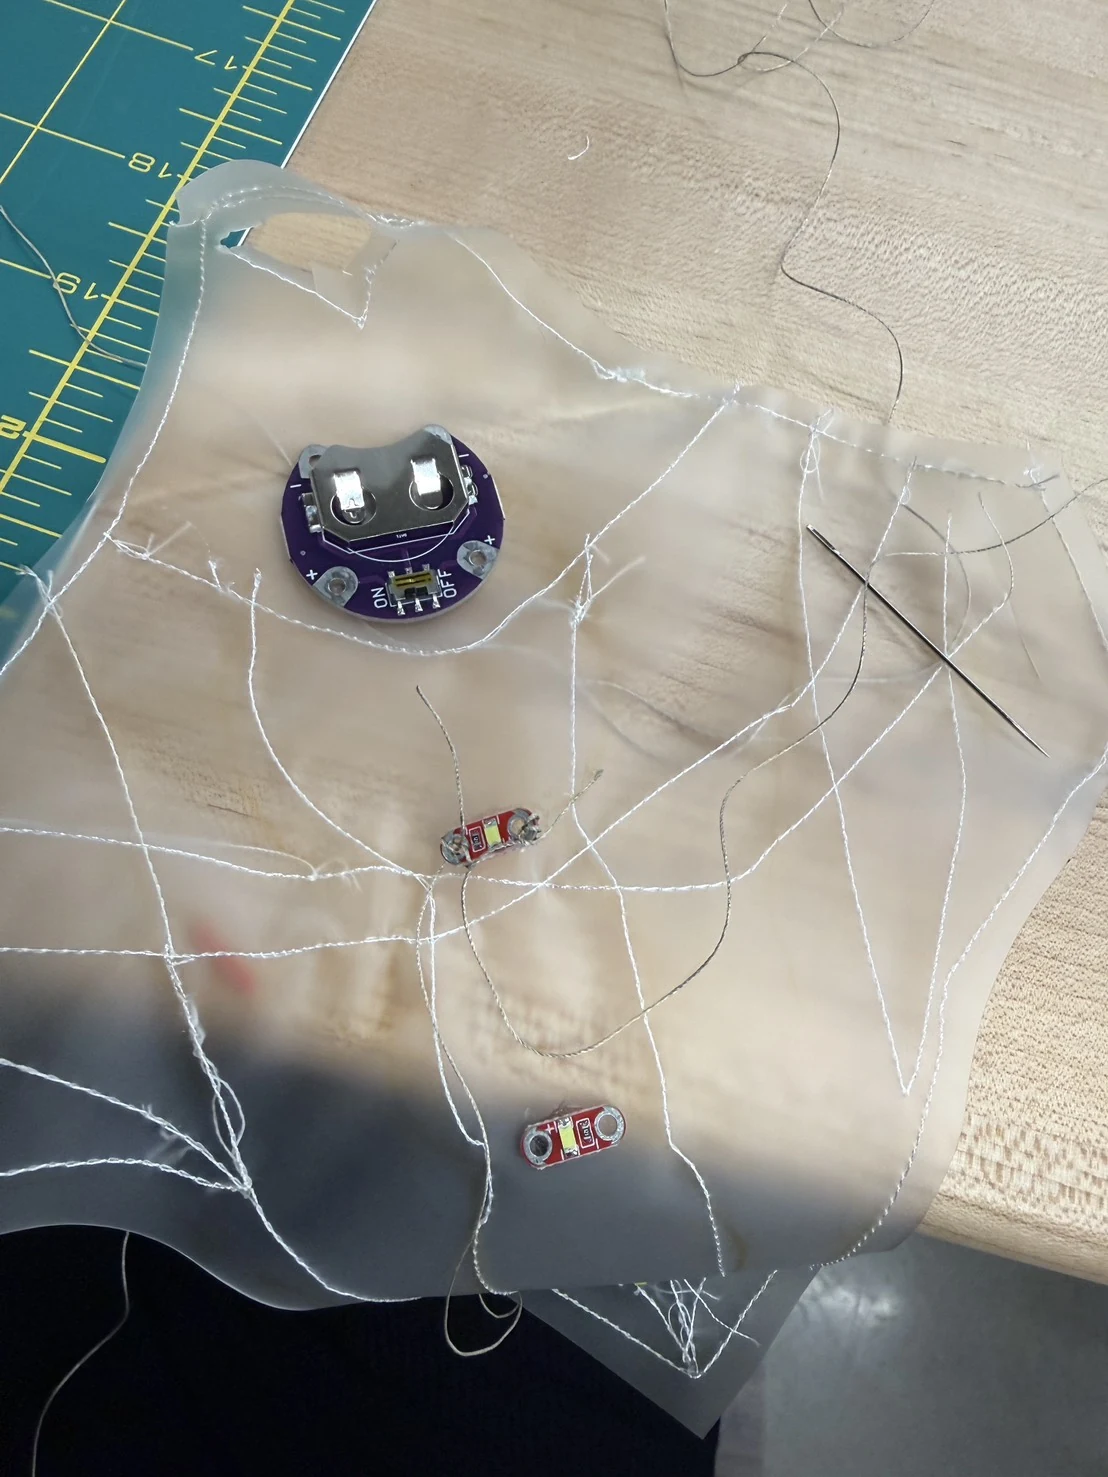
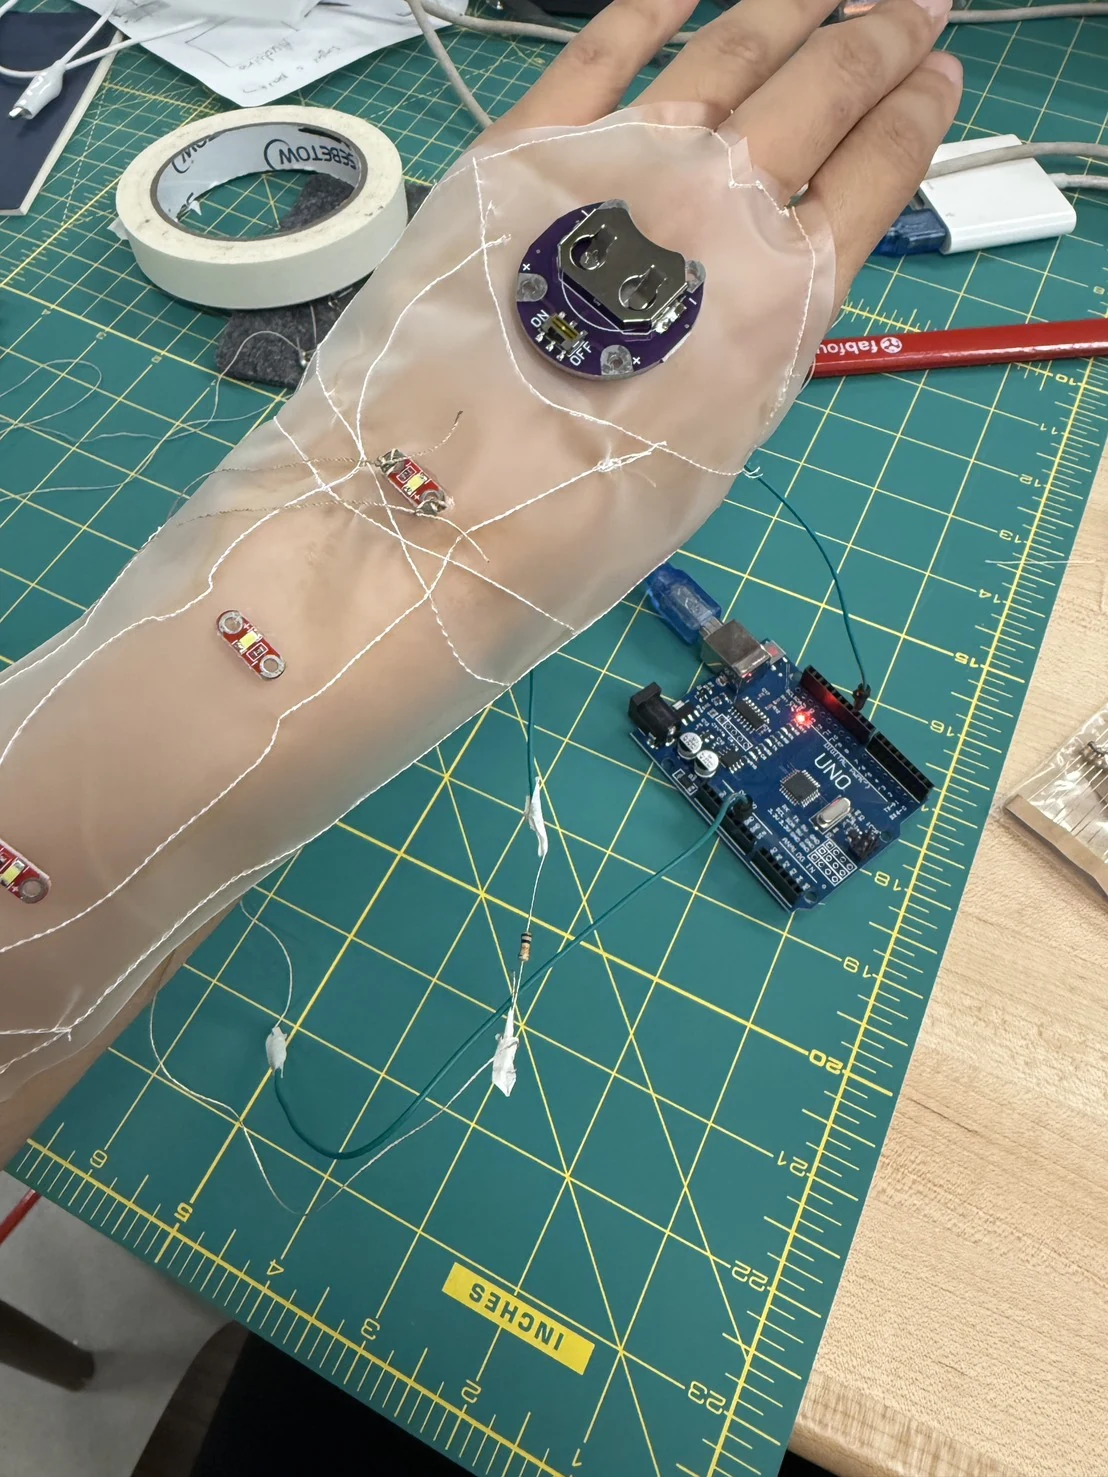
Before finishing the sewing, I connected the glove circuit to Arduino and tested the lights. This let me check the electronic parts while the glove was still flat on the table.
4.4 Using the sewing machine for the first time
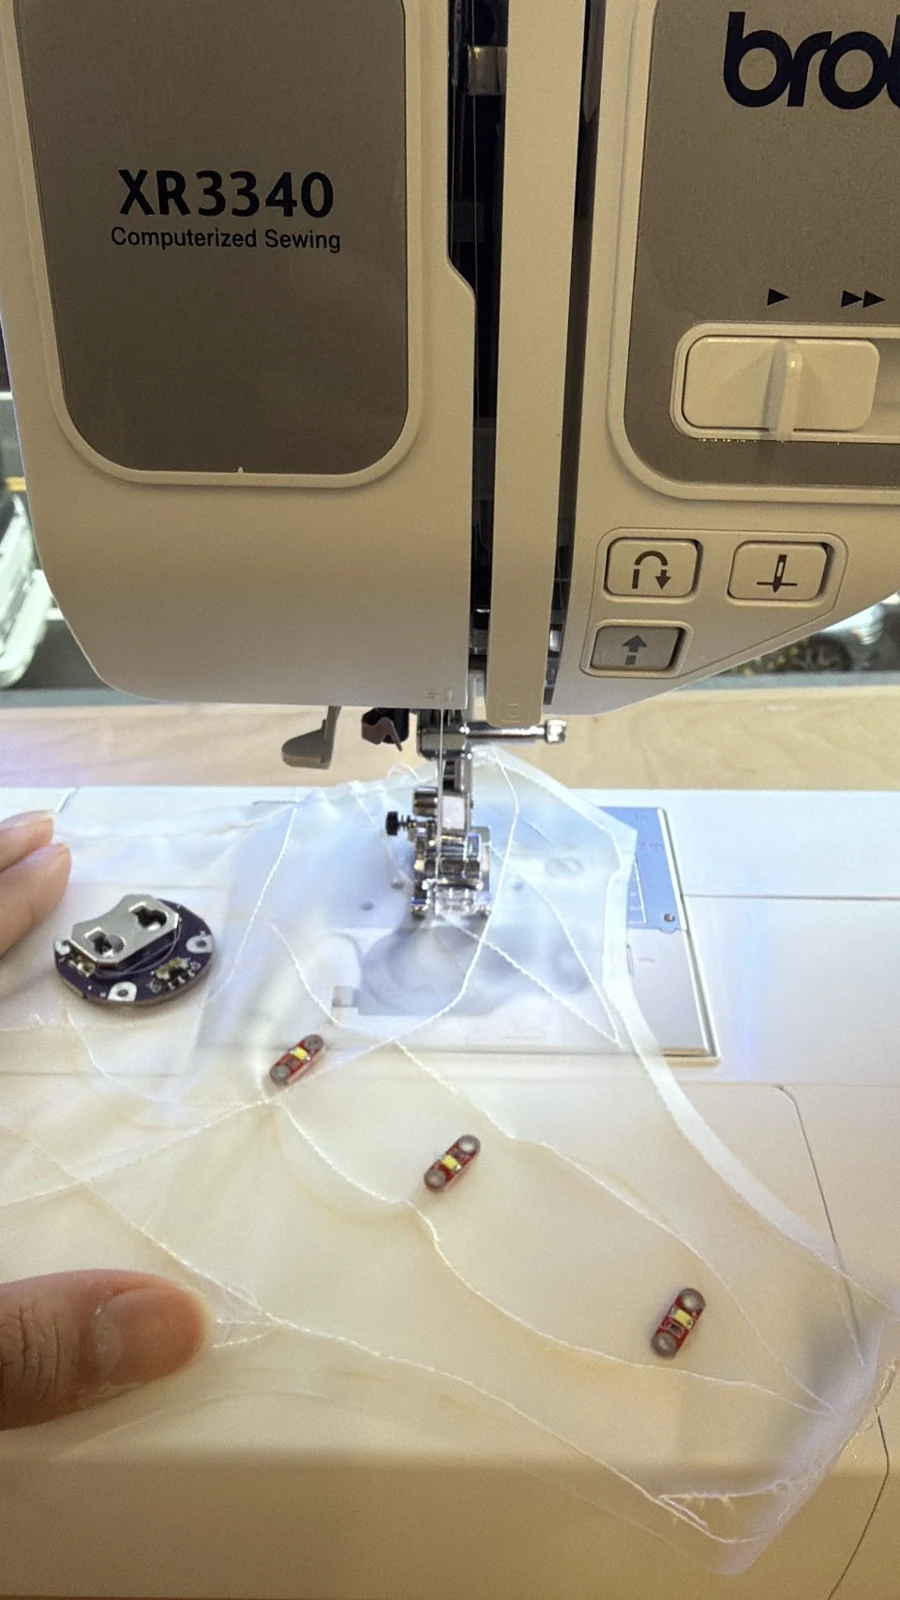
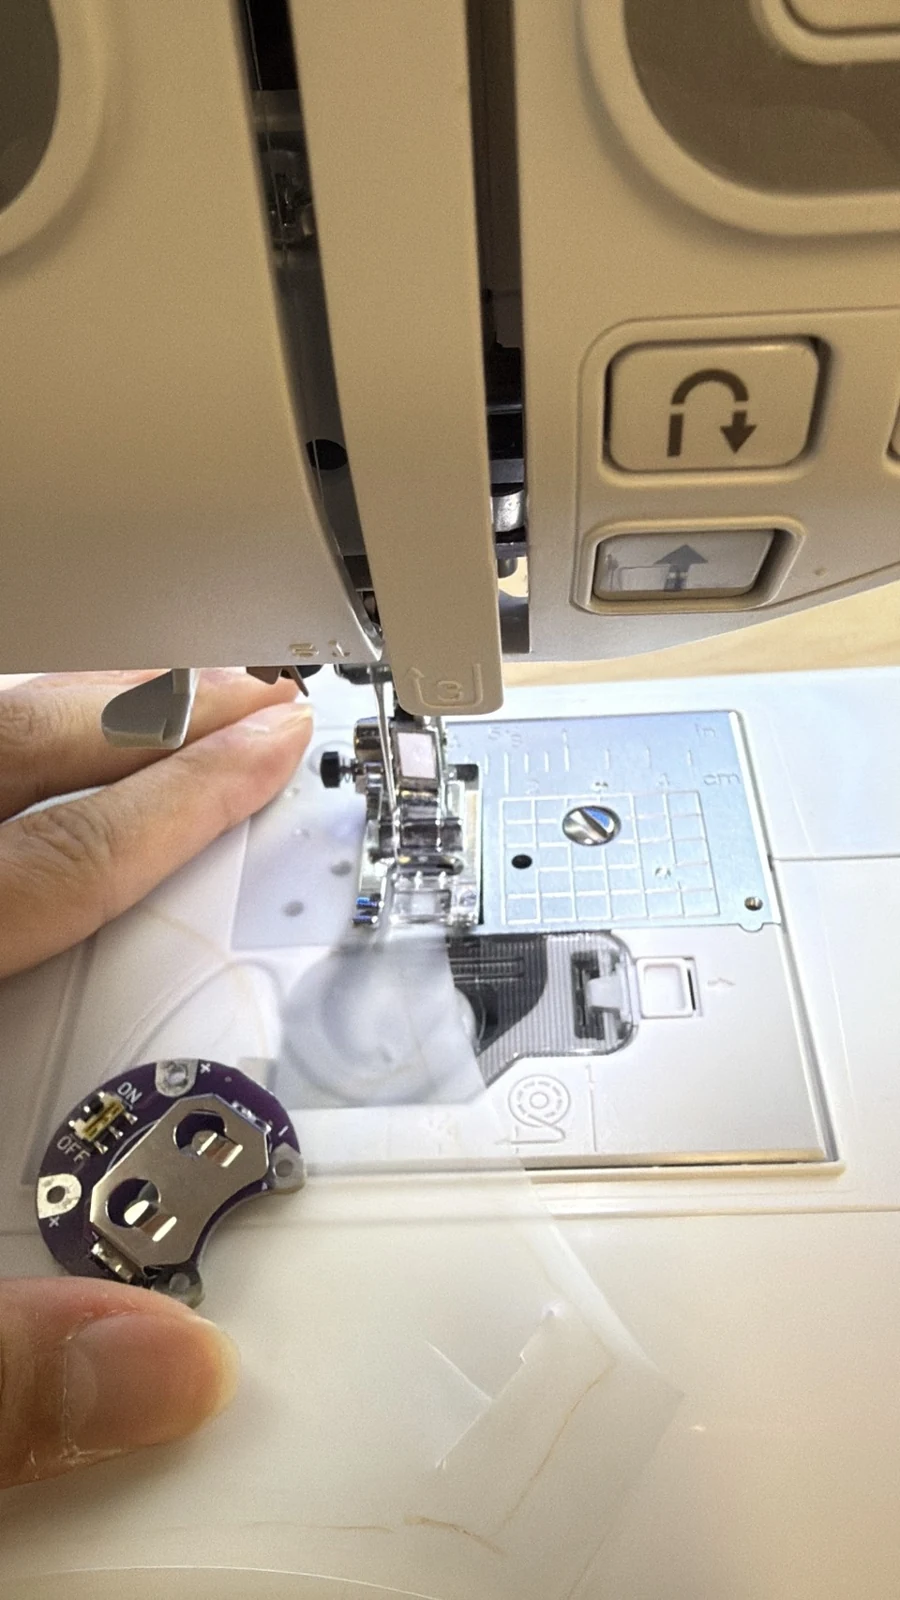
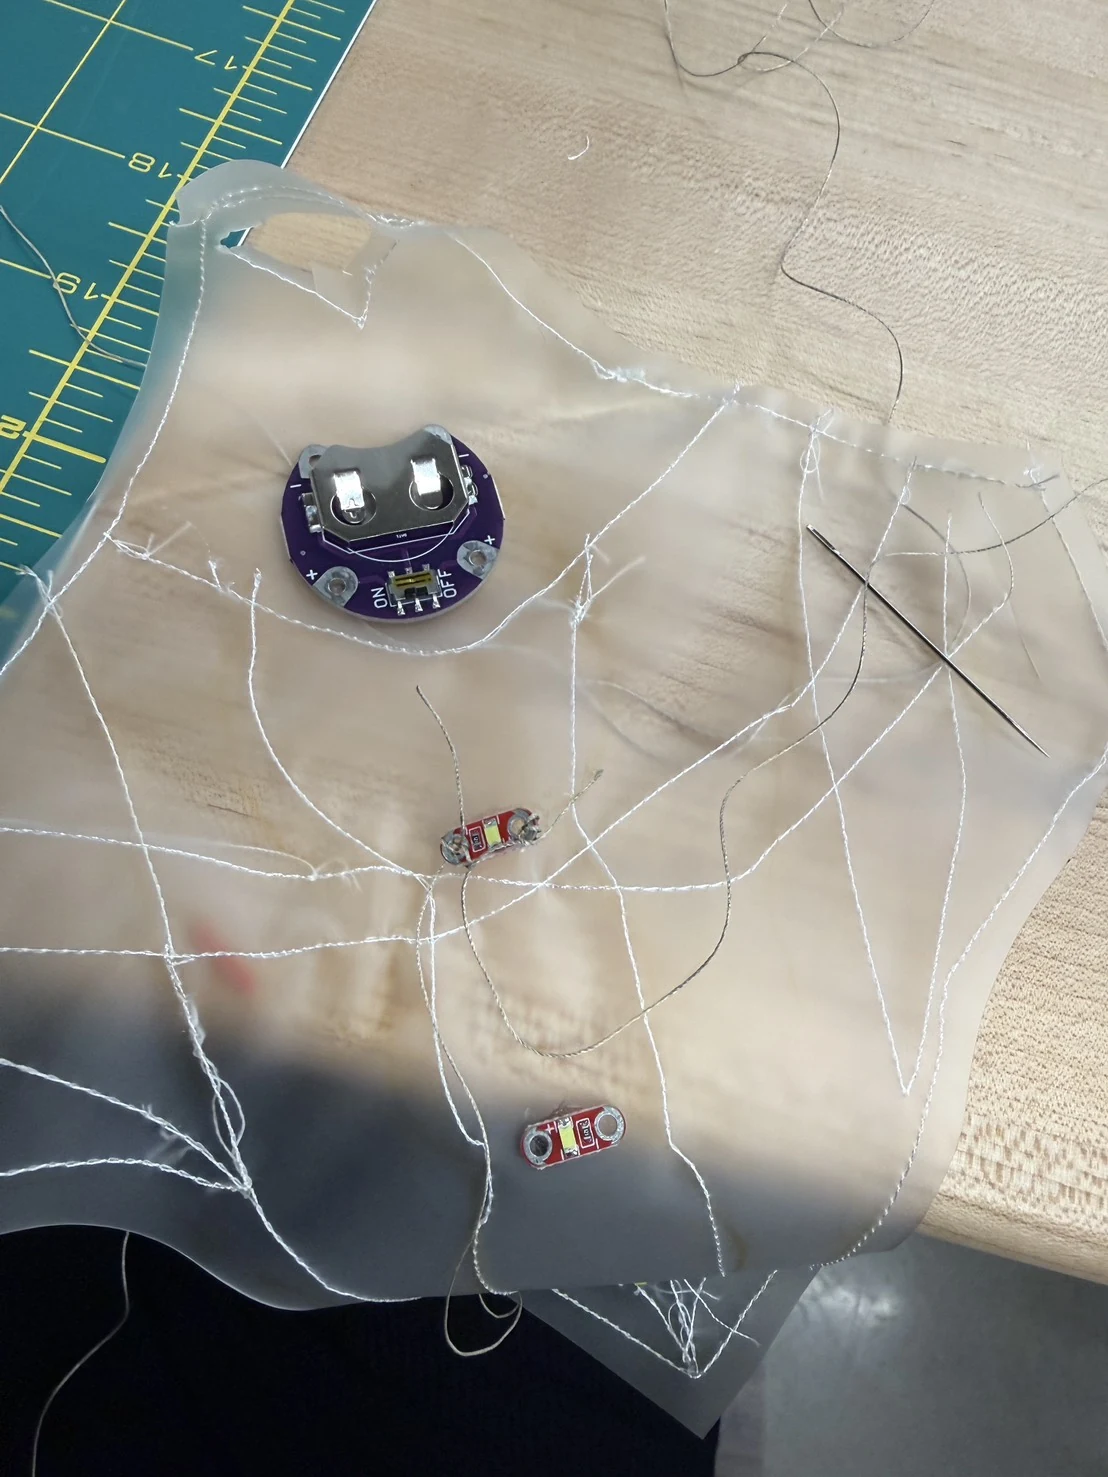
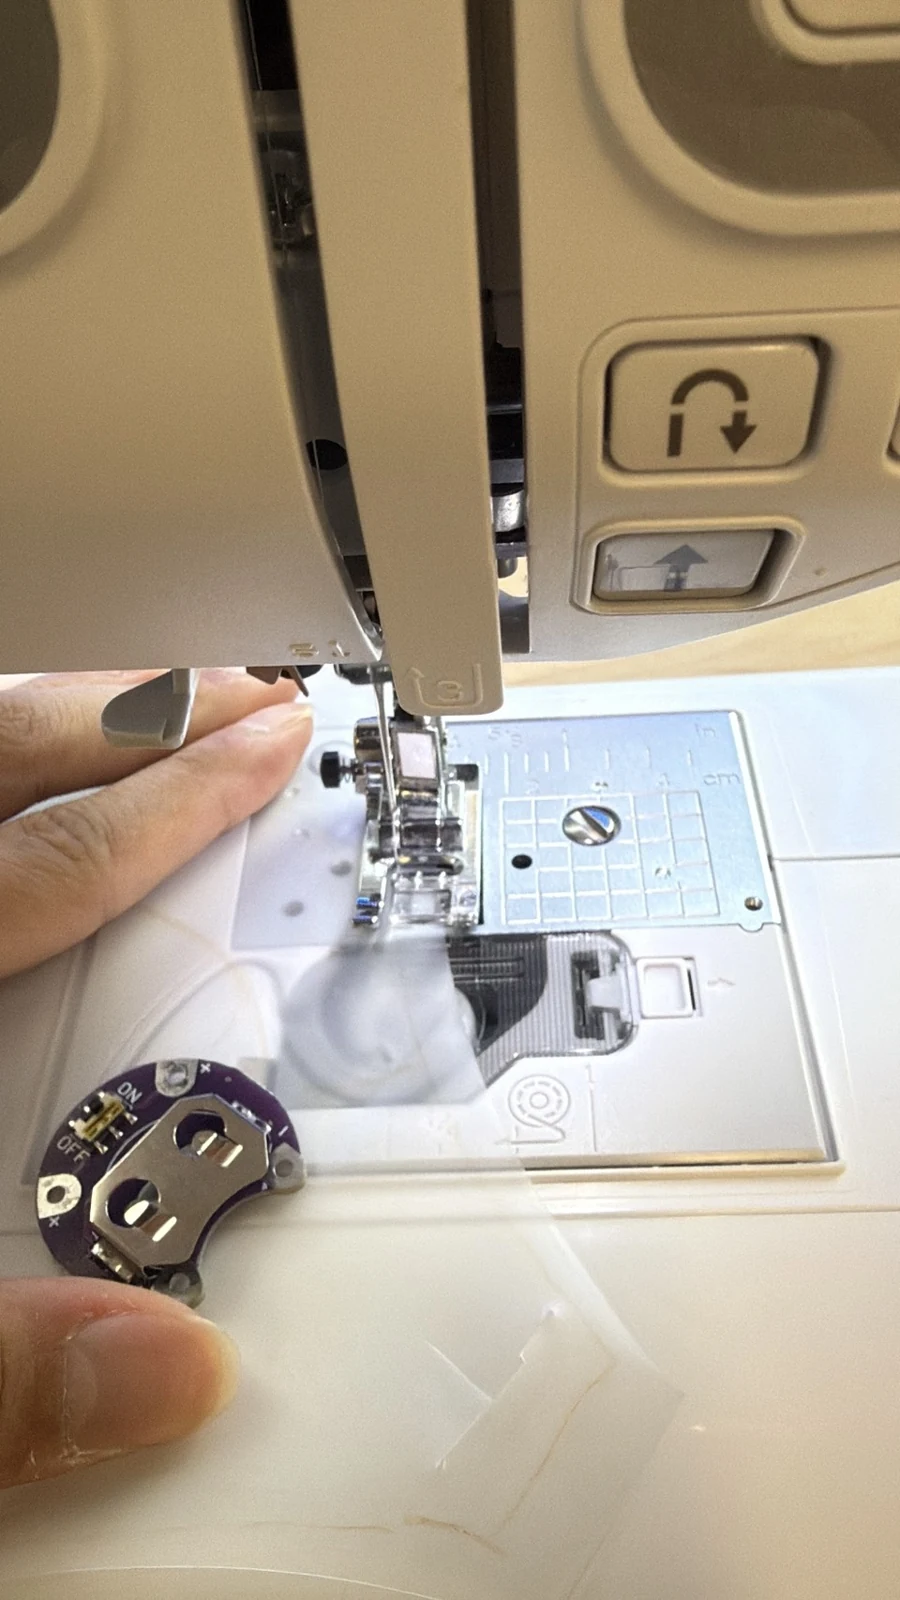
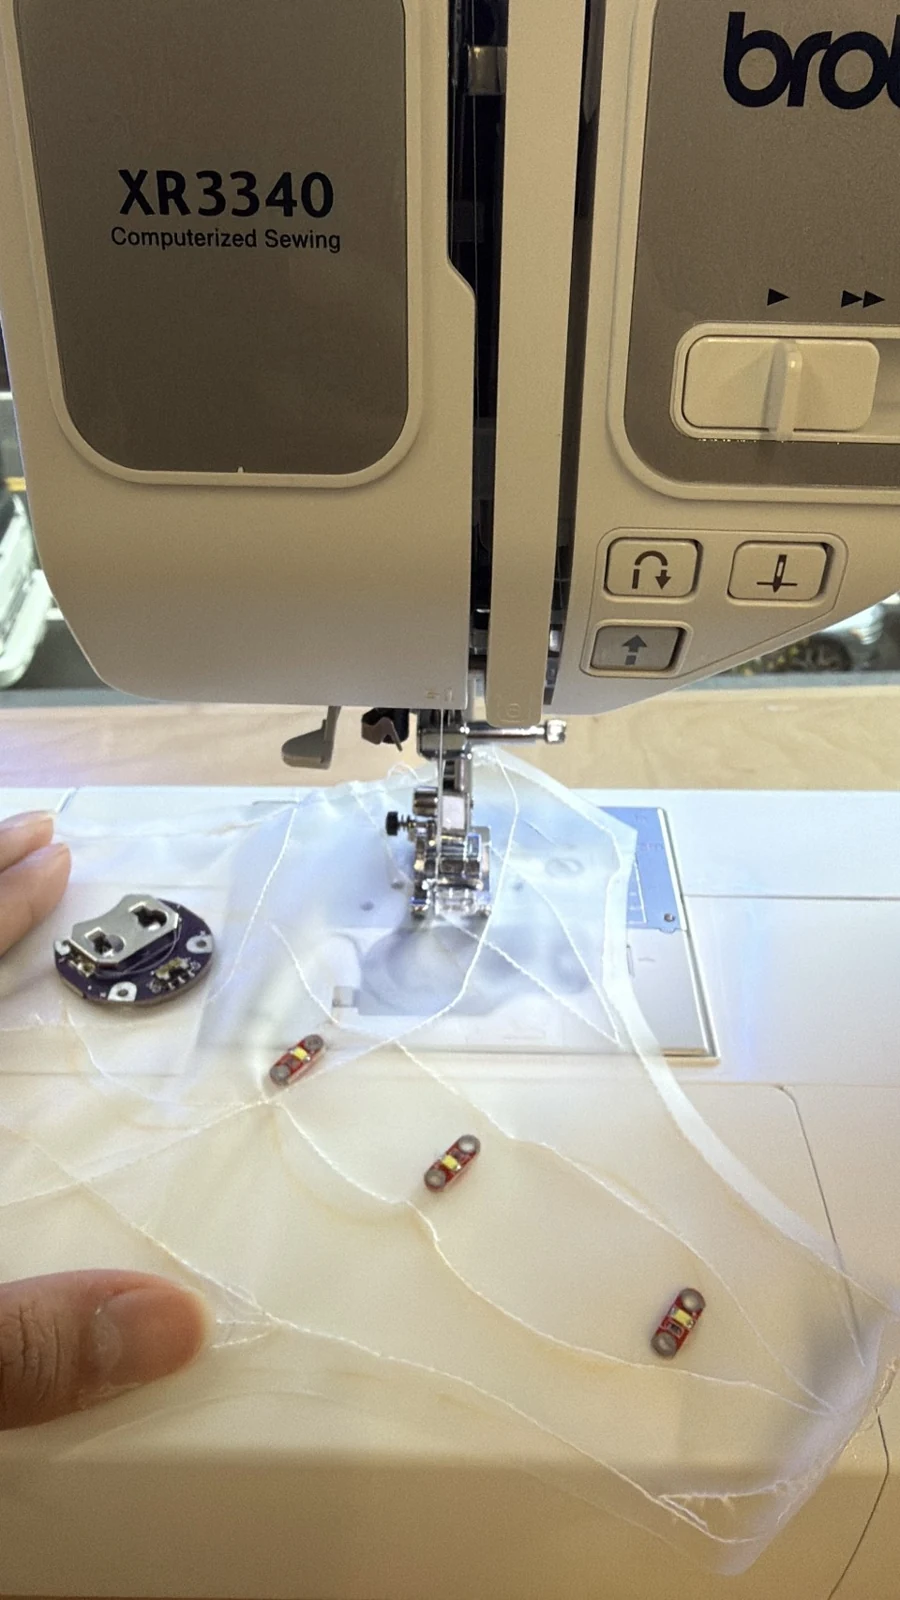
This was my first time using this sewing machine. I practised guiding the transparent fabric under the needle and sewing around the electronic components.
4.5 Exploring face tracking and distance
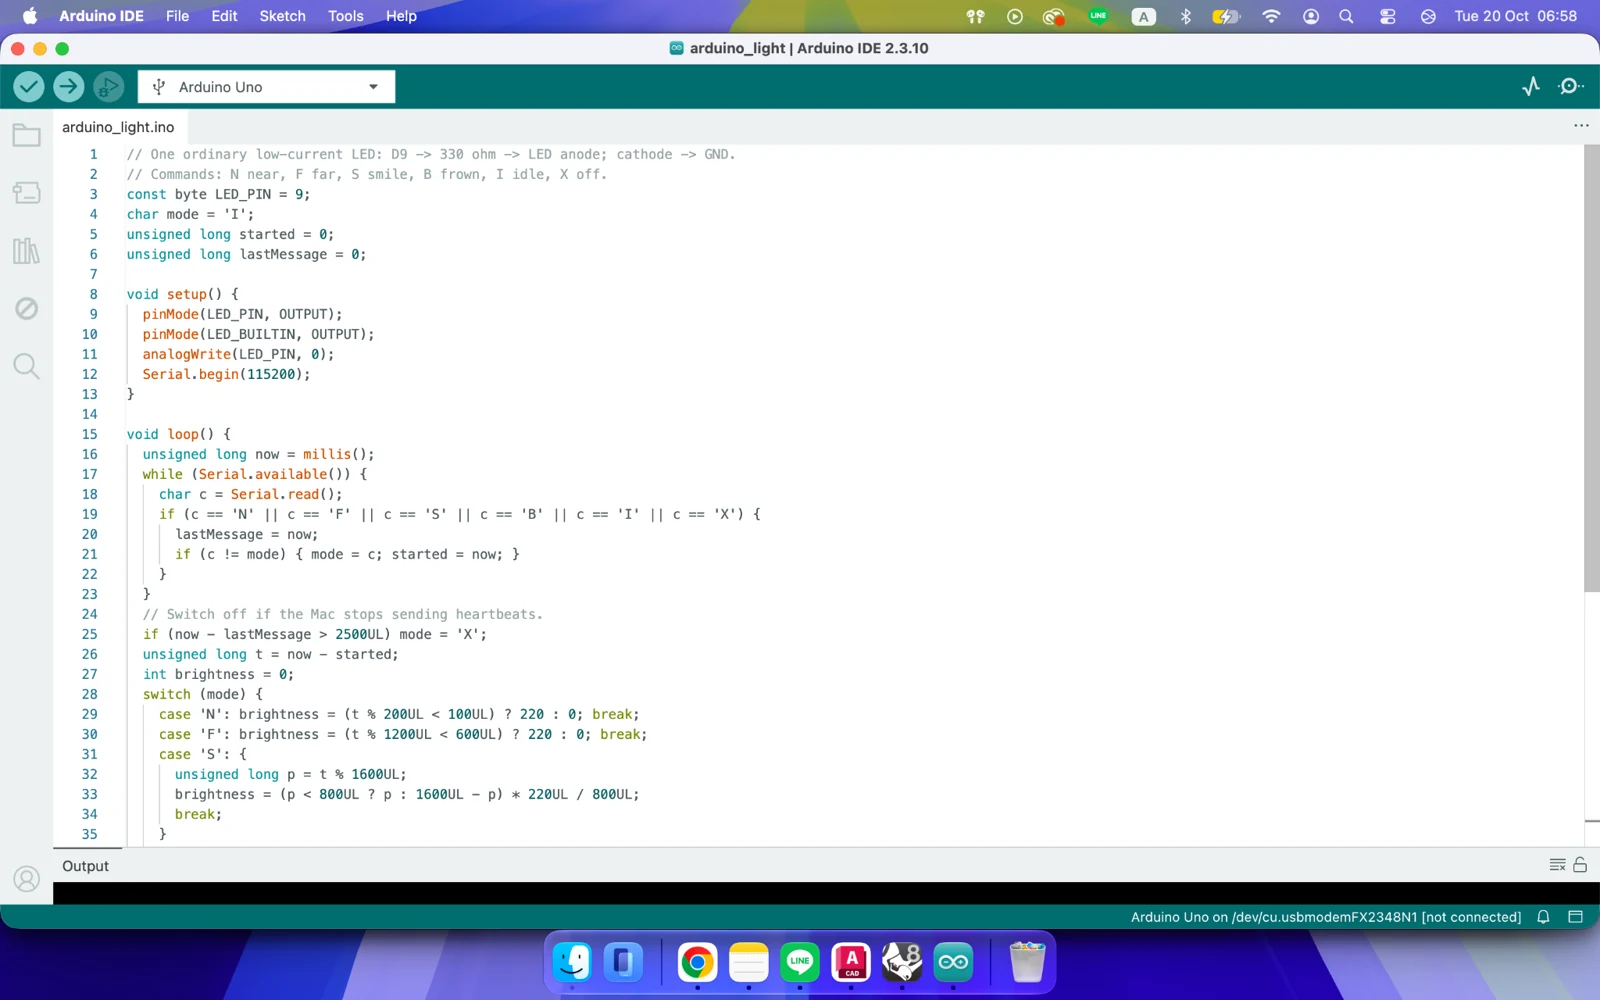
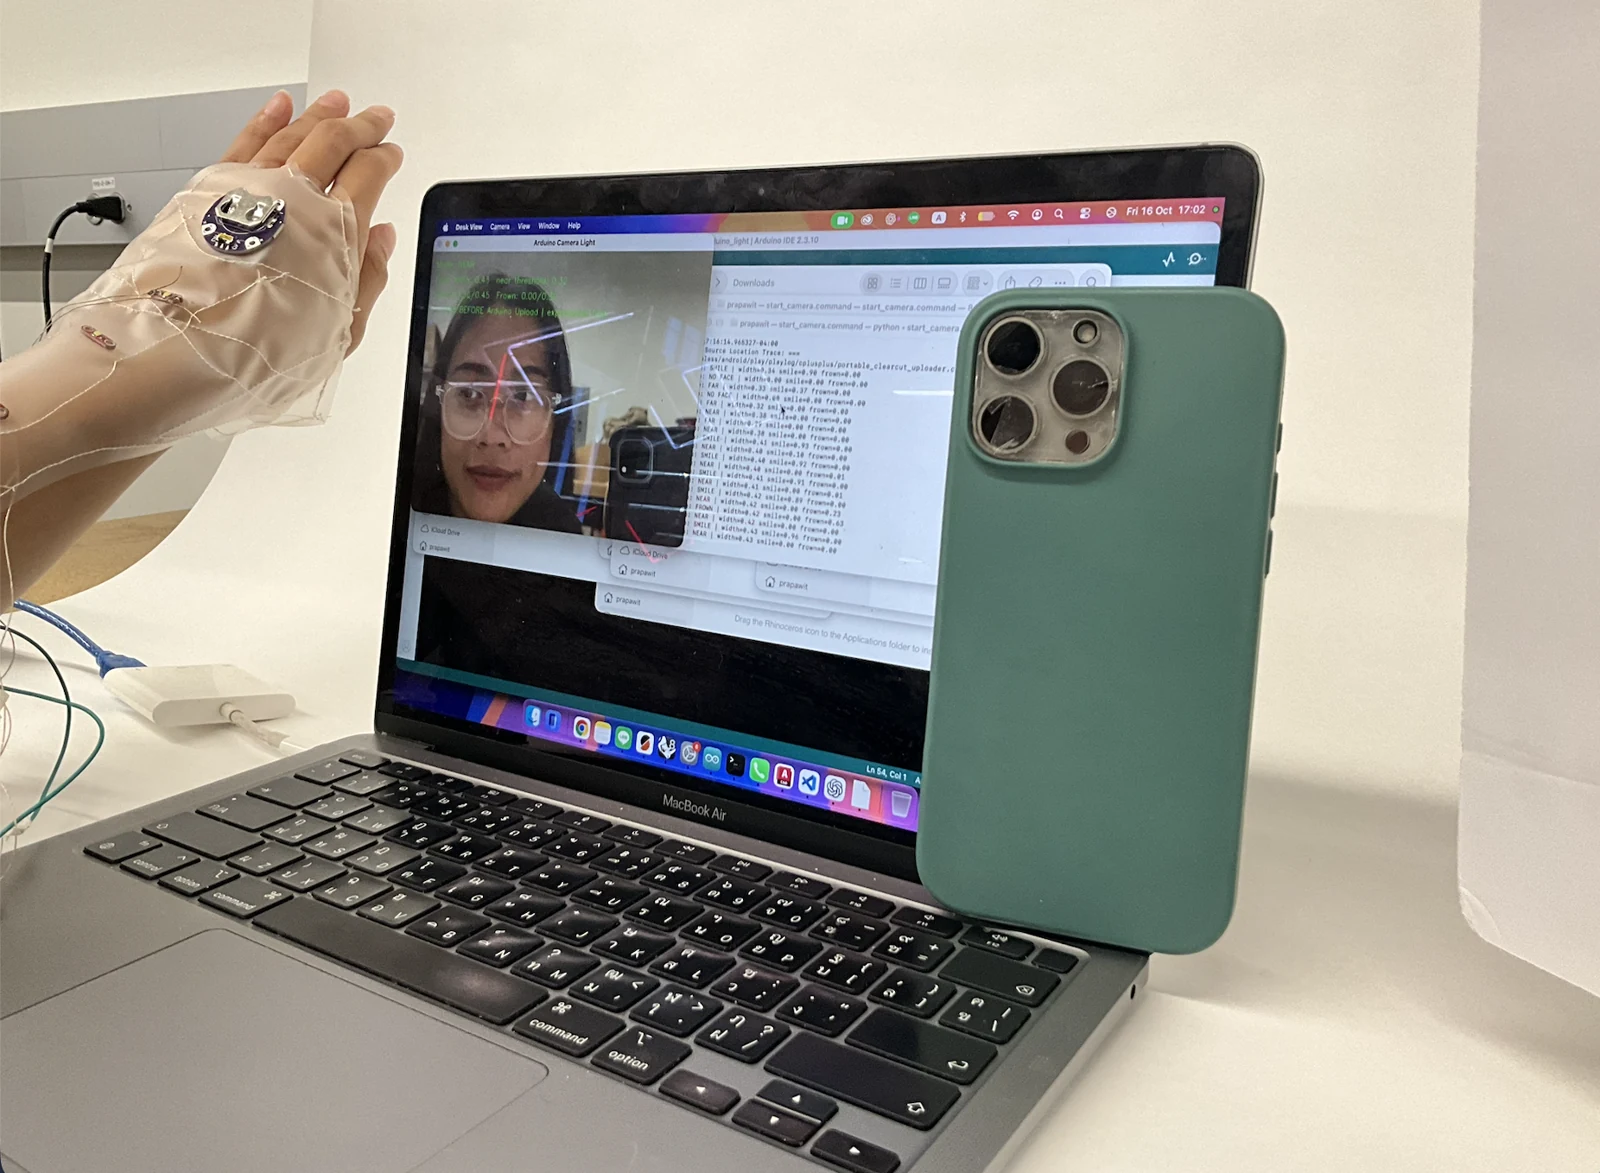
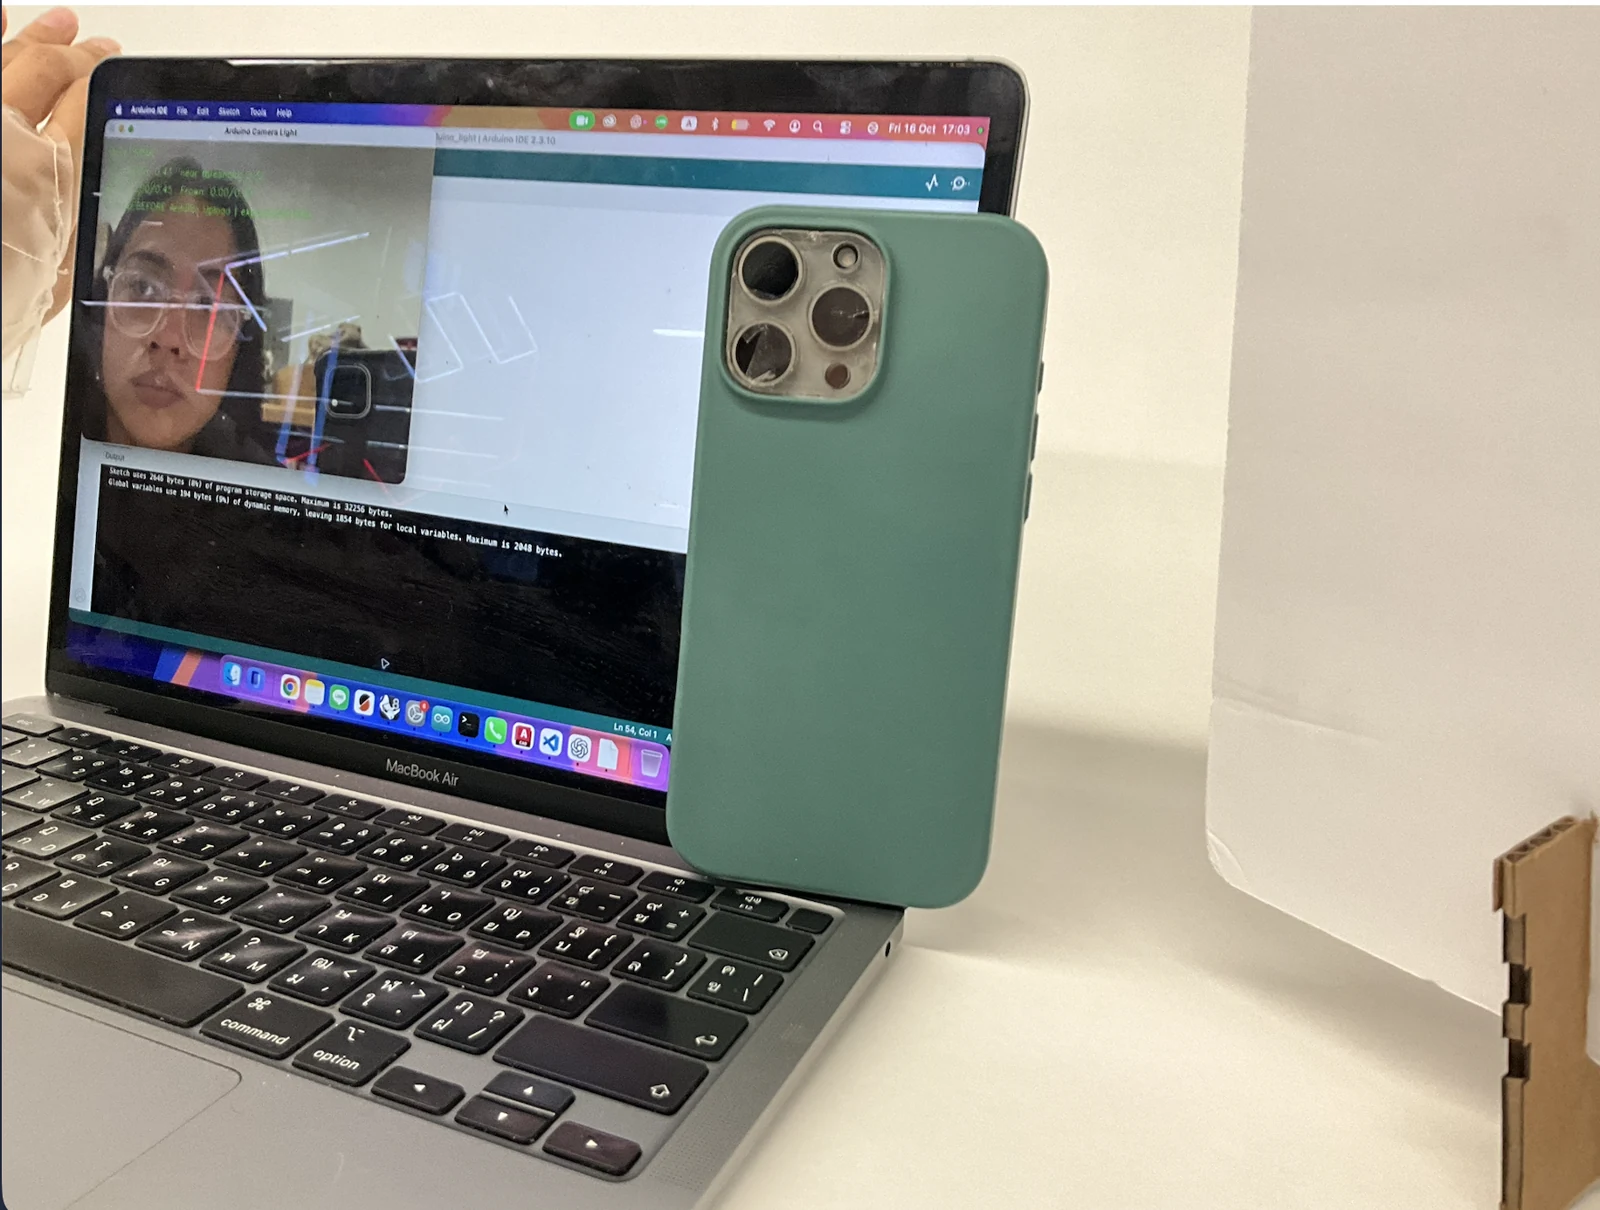
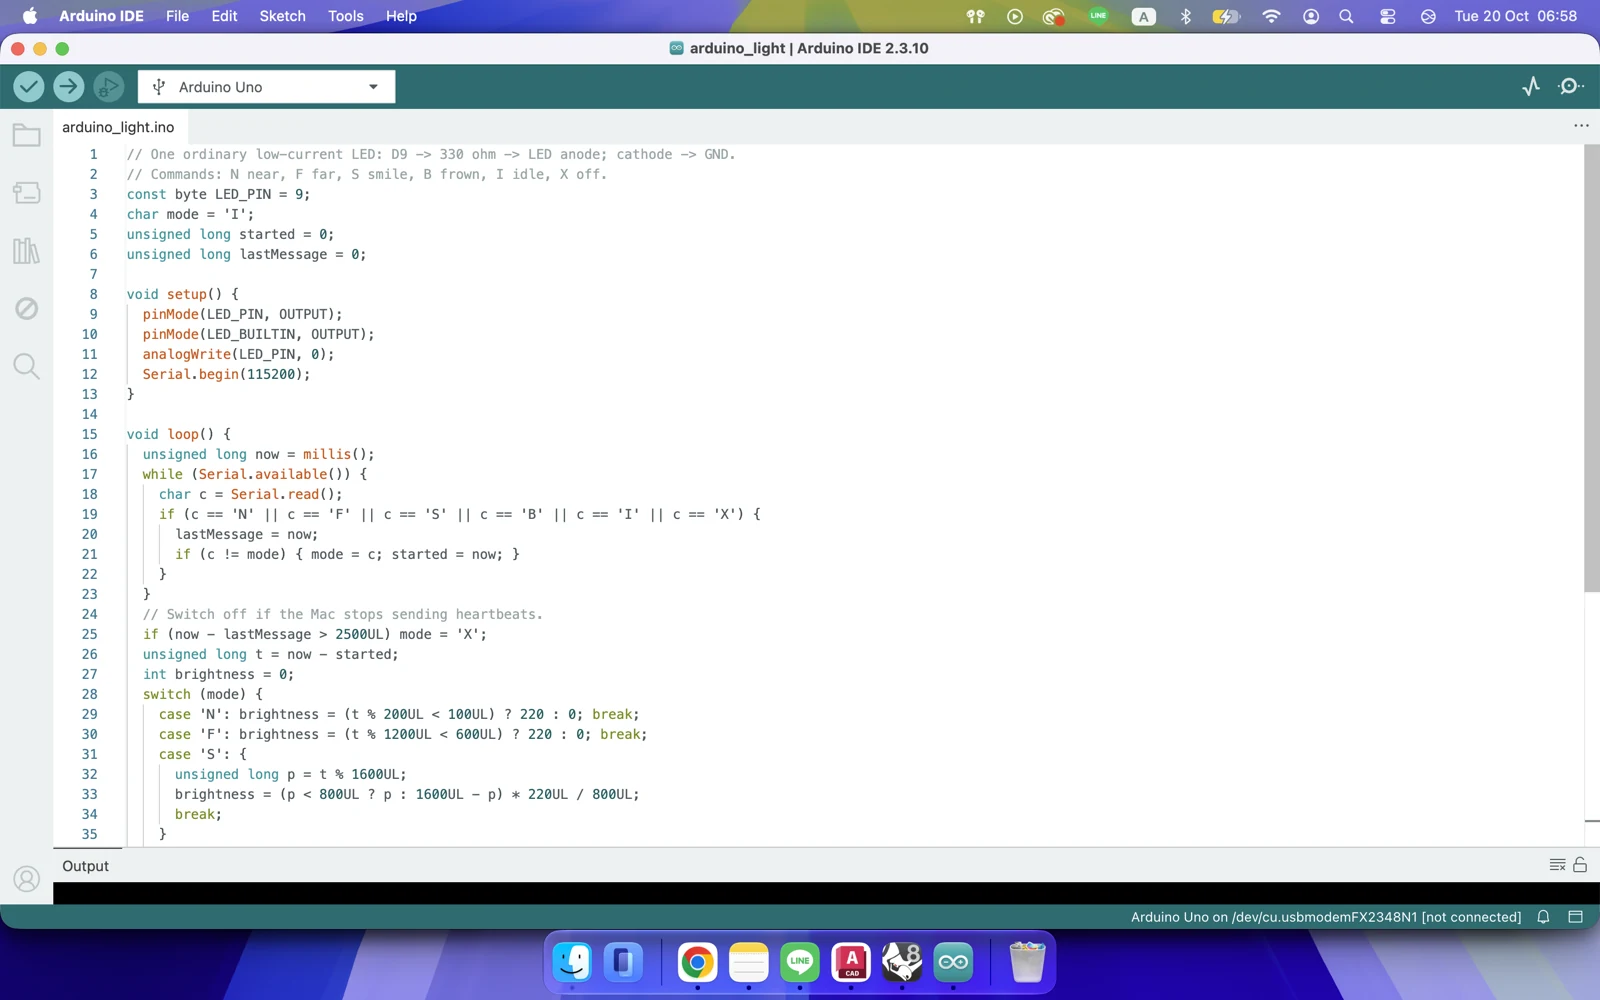
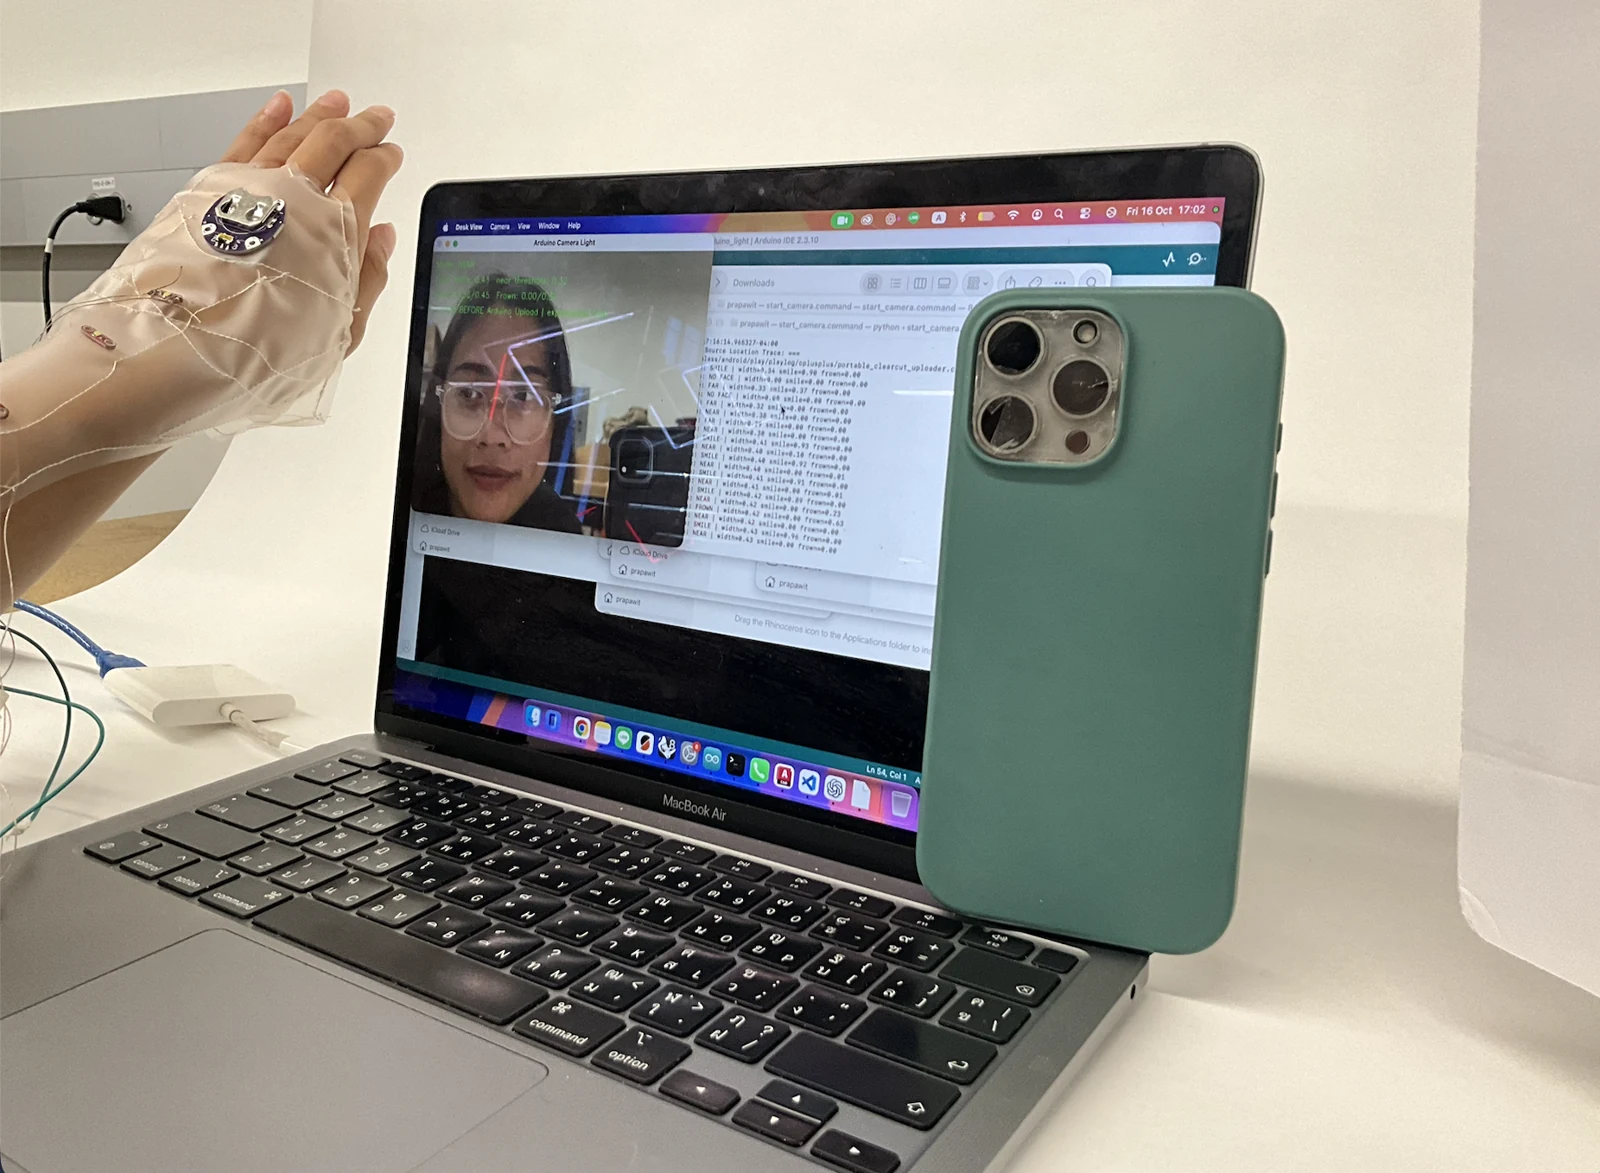
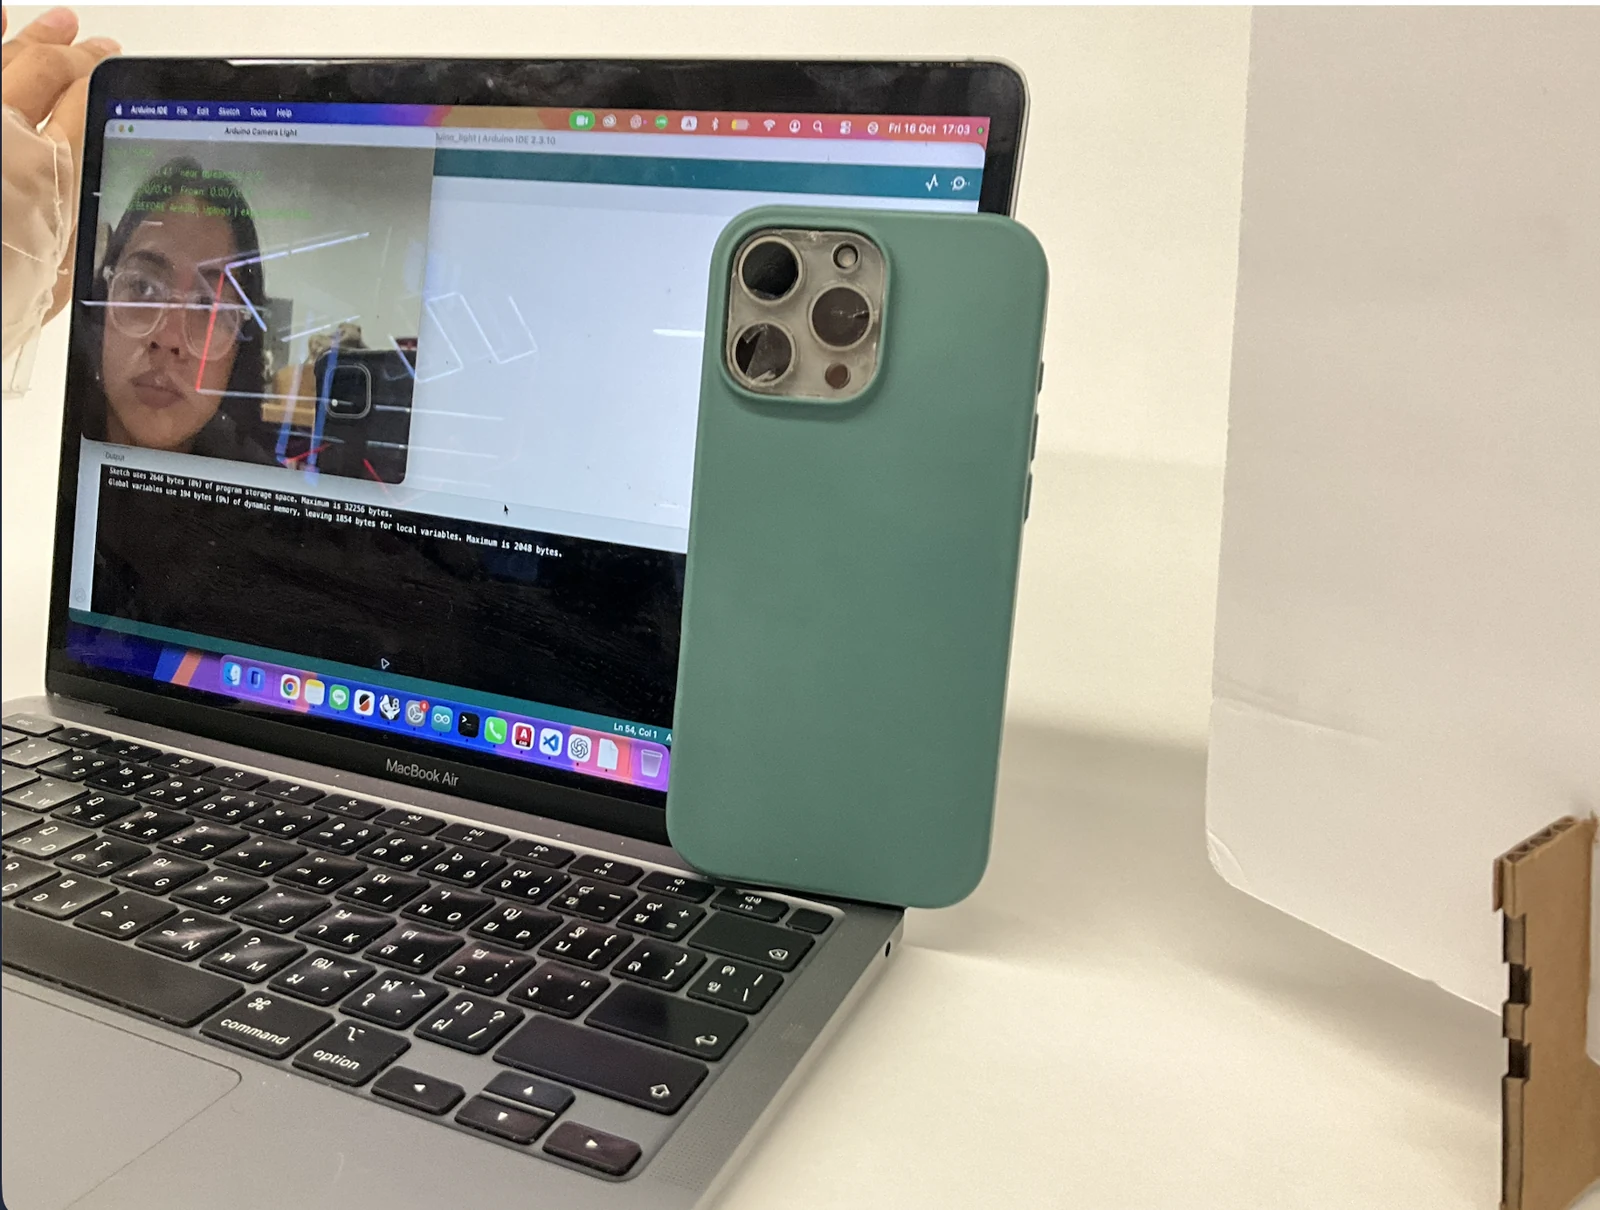
With Jinger, I explored face detection and five emotion states. I connected this experiment to the glove and tested how the lights could respond to distance and facial expressions. These are the responses I recorded in my notes:
| Input | Light response |
|---|---|
| Moving closer | The light turns off. |
| Moving farther away | The light turns on. |
| Smiling | The light becomes brighter. |
| Frowning | The light becomes dimmer. |
This was a way to explore my question about closeness through visible changes in light.
Arduino test
Watch the Arduino test on Vimeo
Testing with my own recording
Watch the recording test on Vimeo
Testing the lights on the glove
Thank you, Jinger, for helping develop this experiment!
4.6 Digital sensing
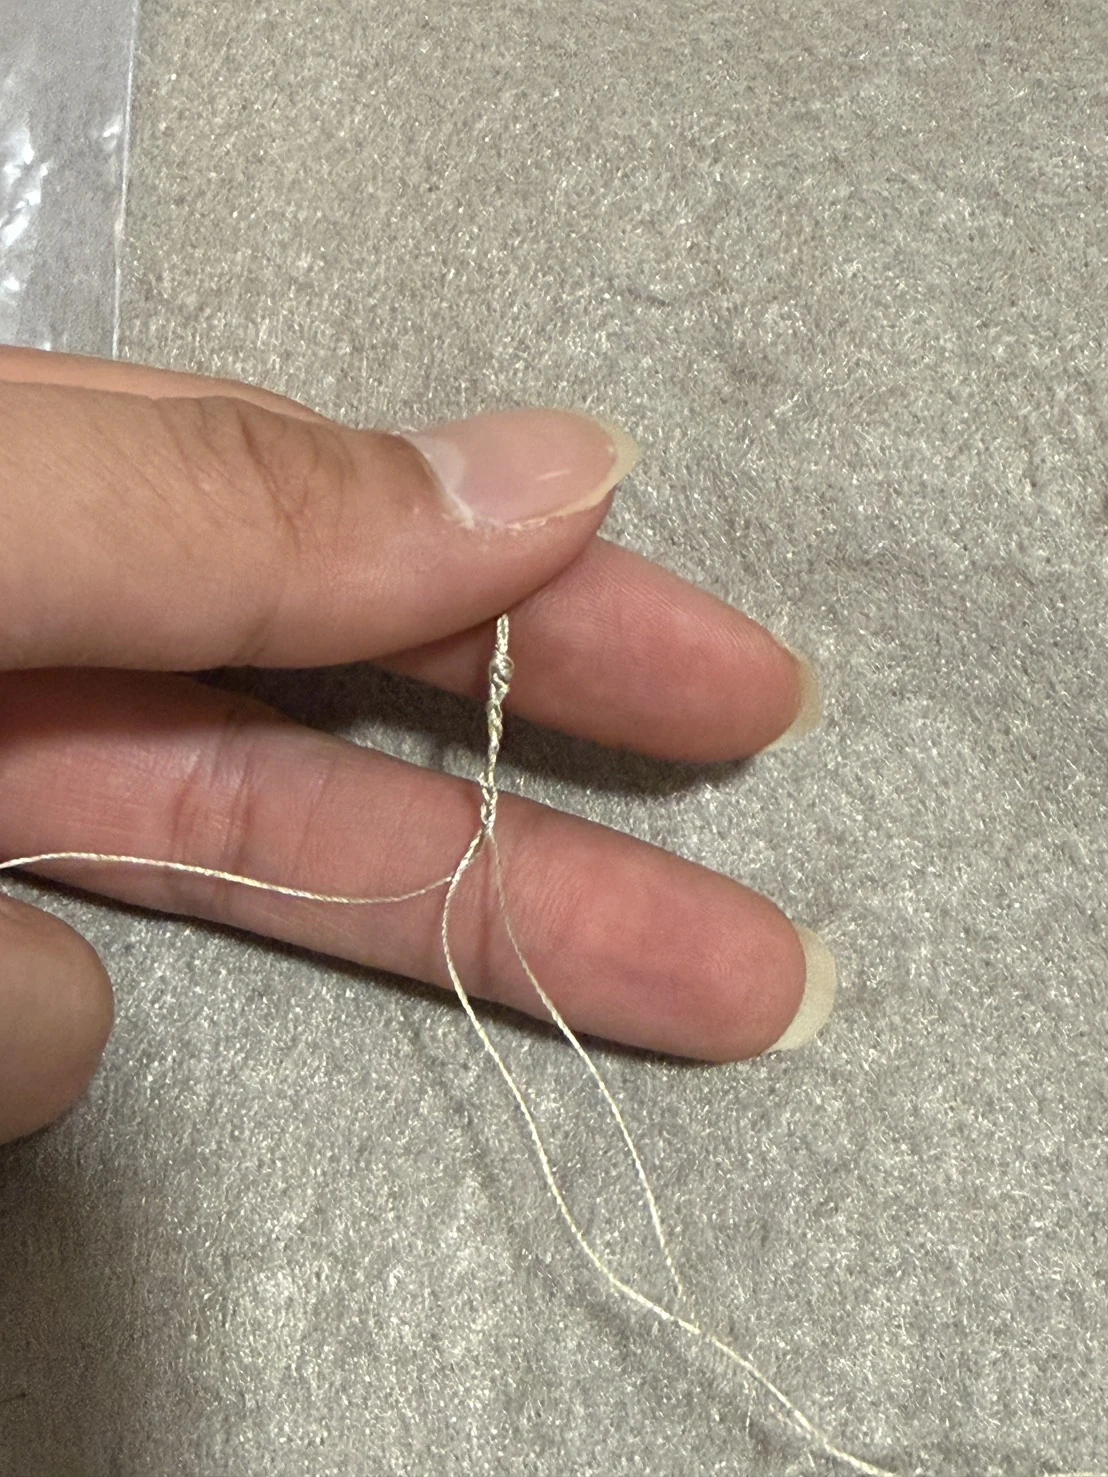
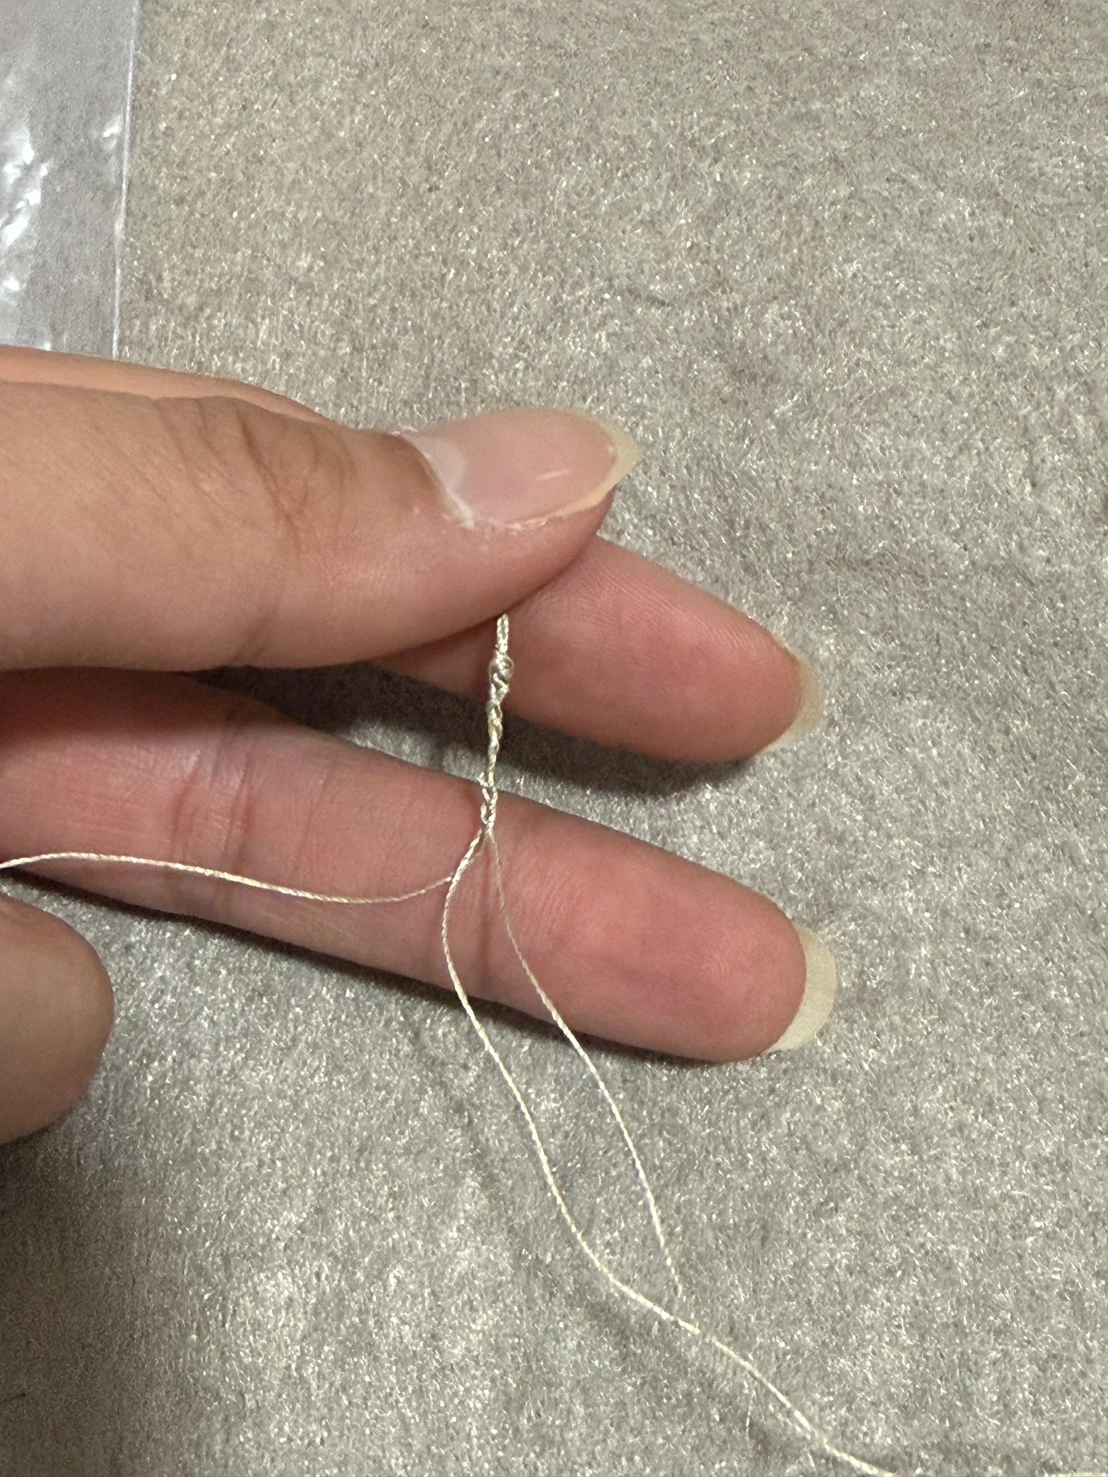
For the digital experiment, I worked with conductive thread and an on-or-off light response. I sewed the conductive thread myself, building up a thicker section to work with.
4.7 Analog sensing with pressure
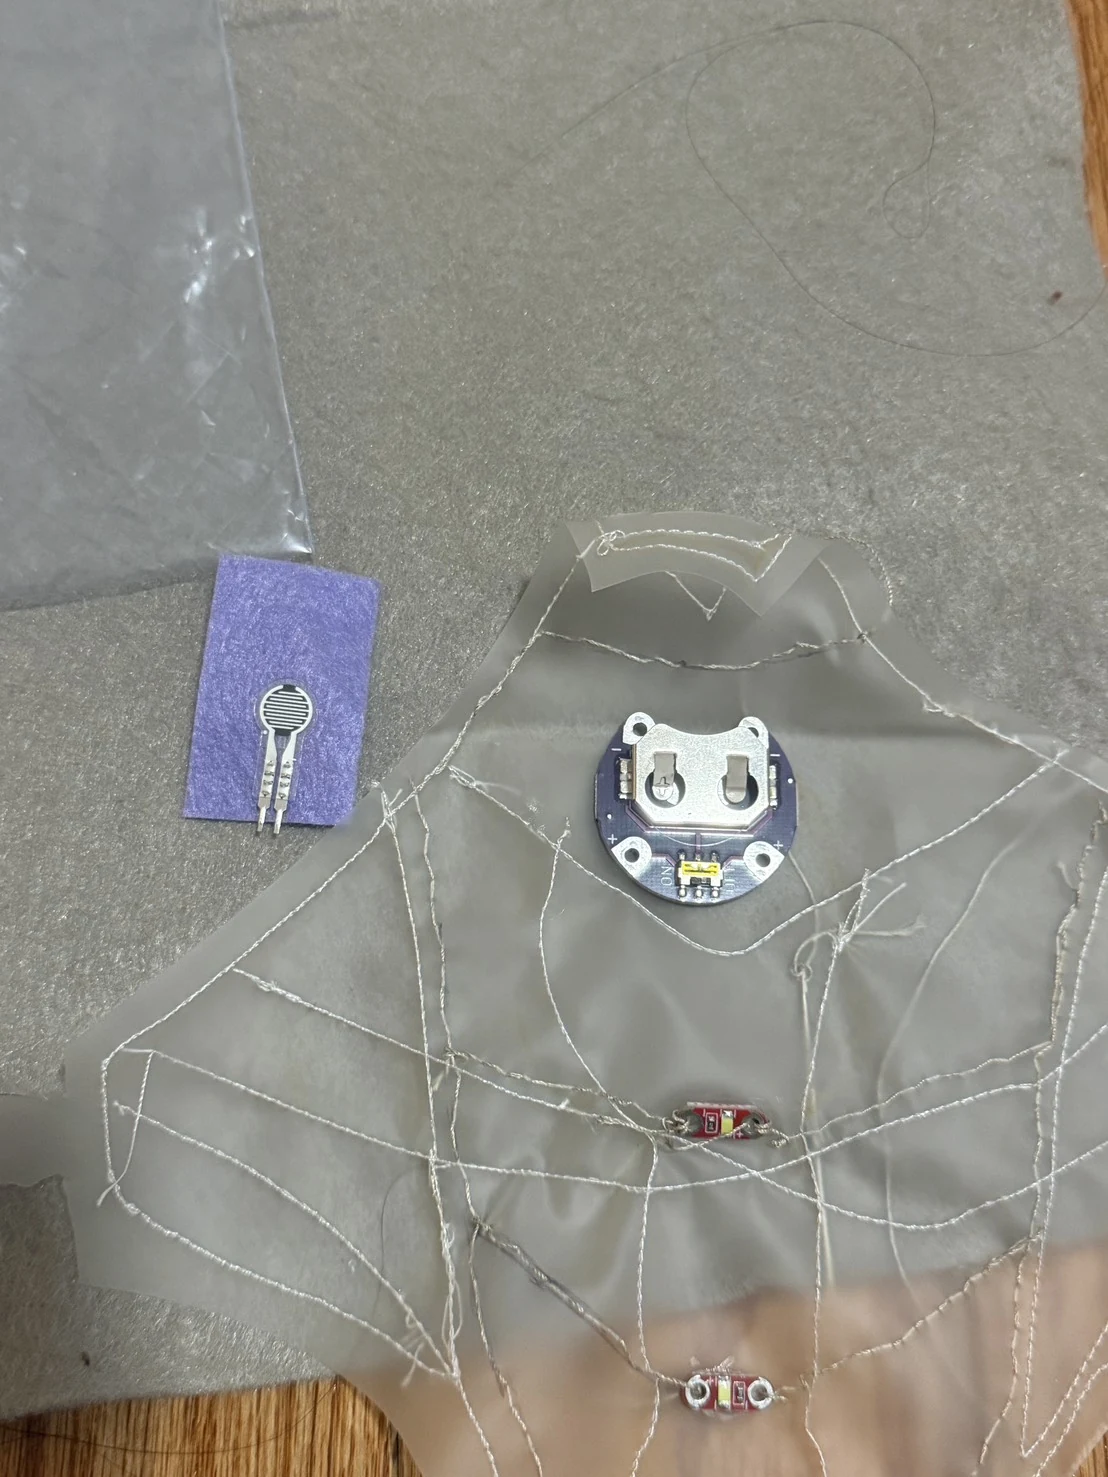
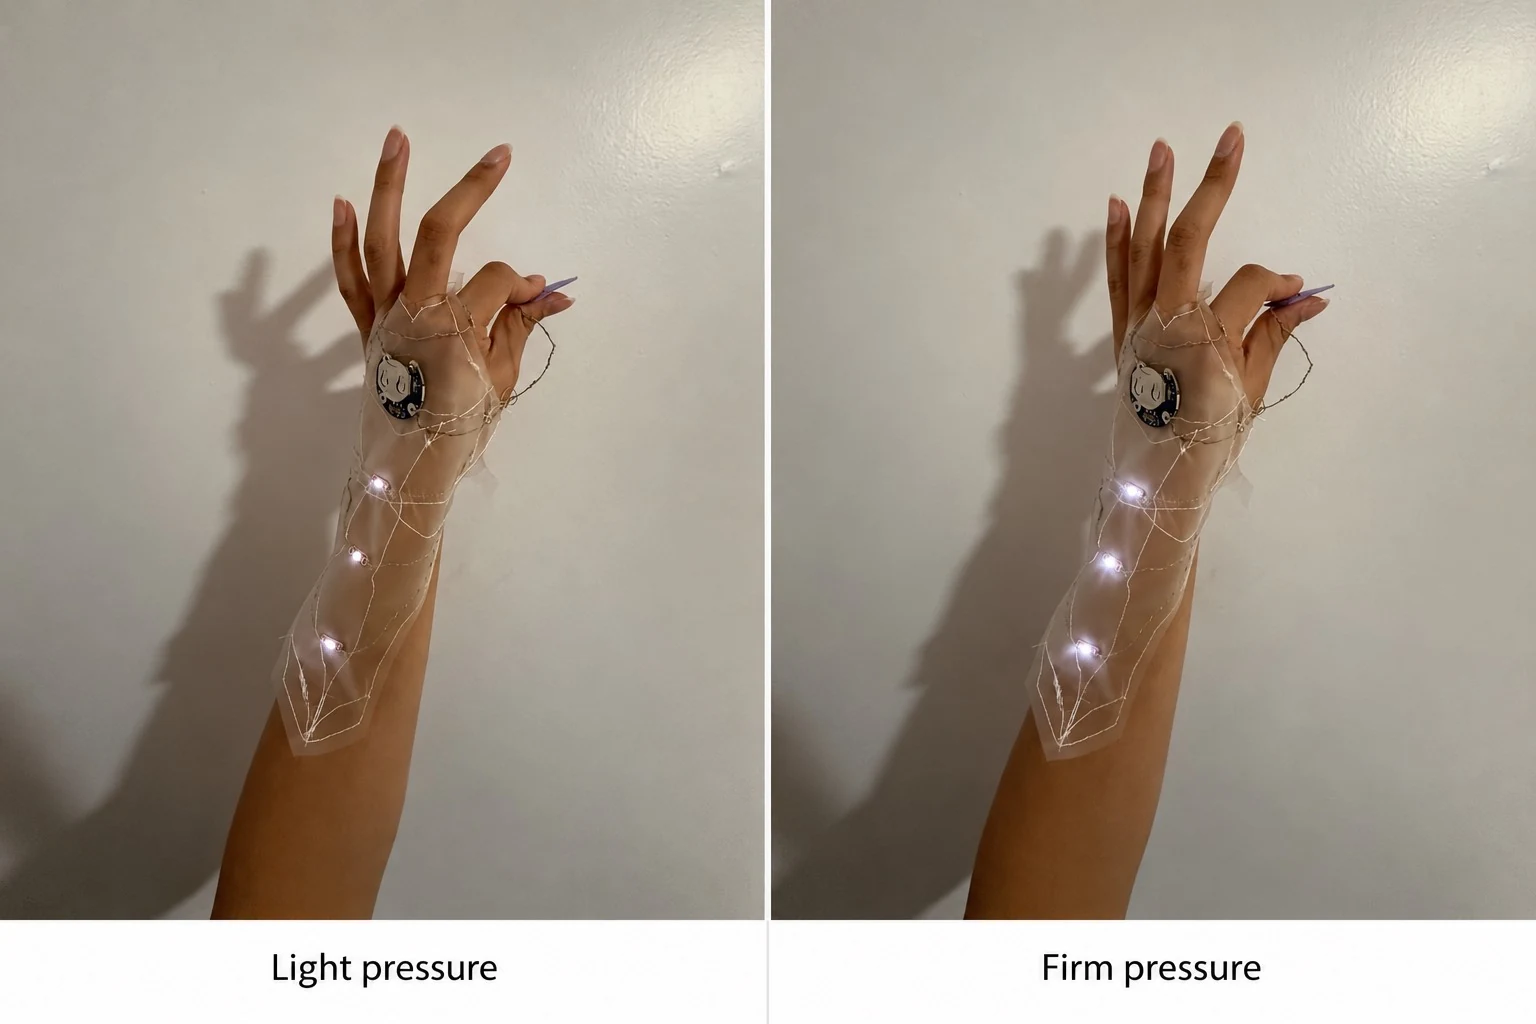
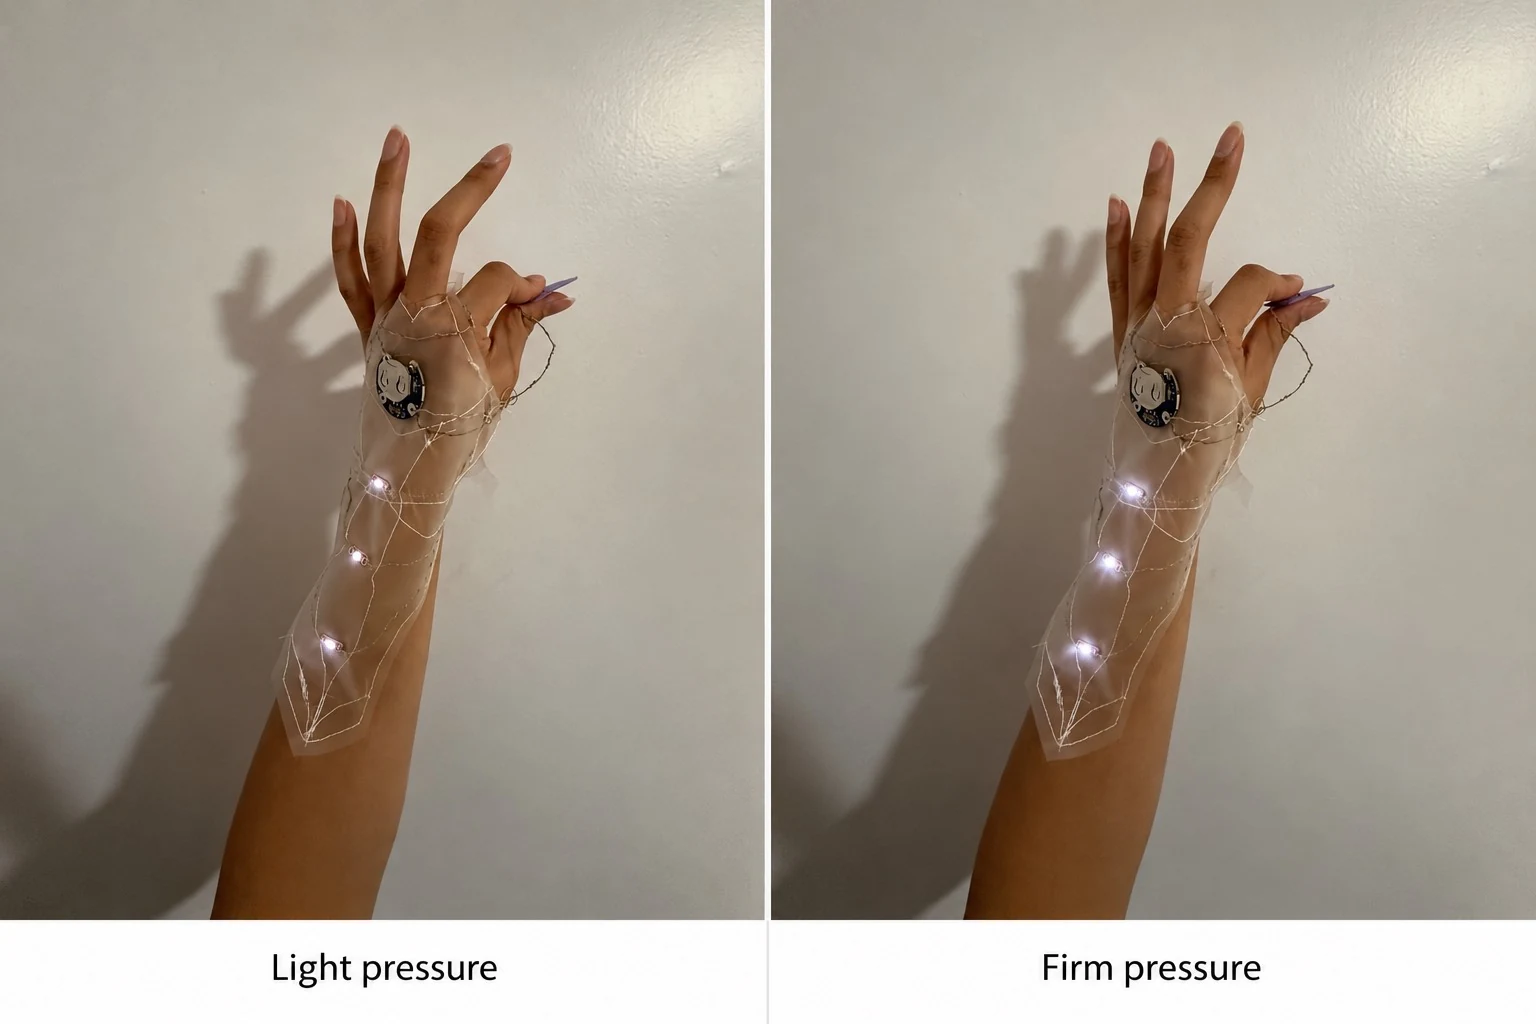
For the analog experiment, I used a thin-film pressure sensor with the circuit. I compared light pressure and firm pressure to explore a changing response rather than only two states.
5. Results
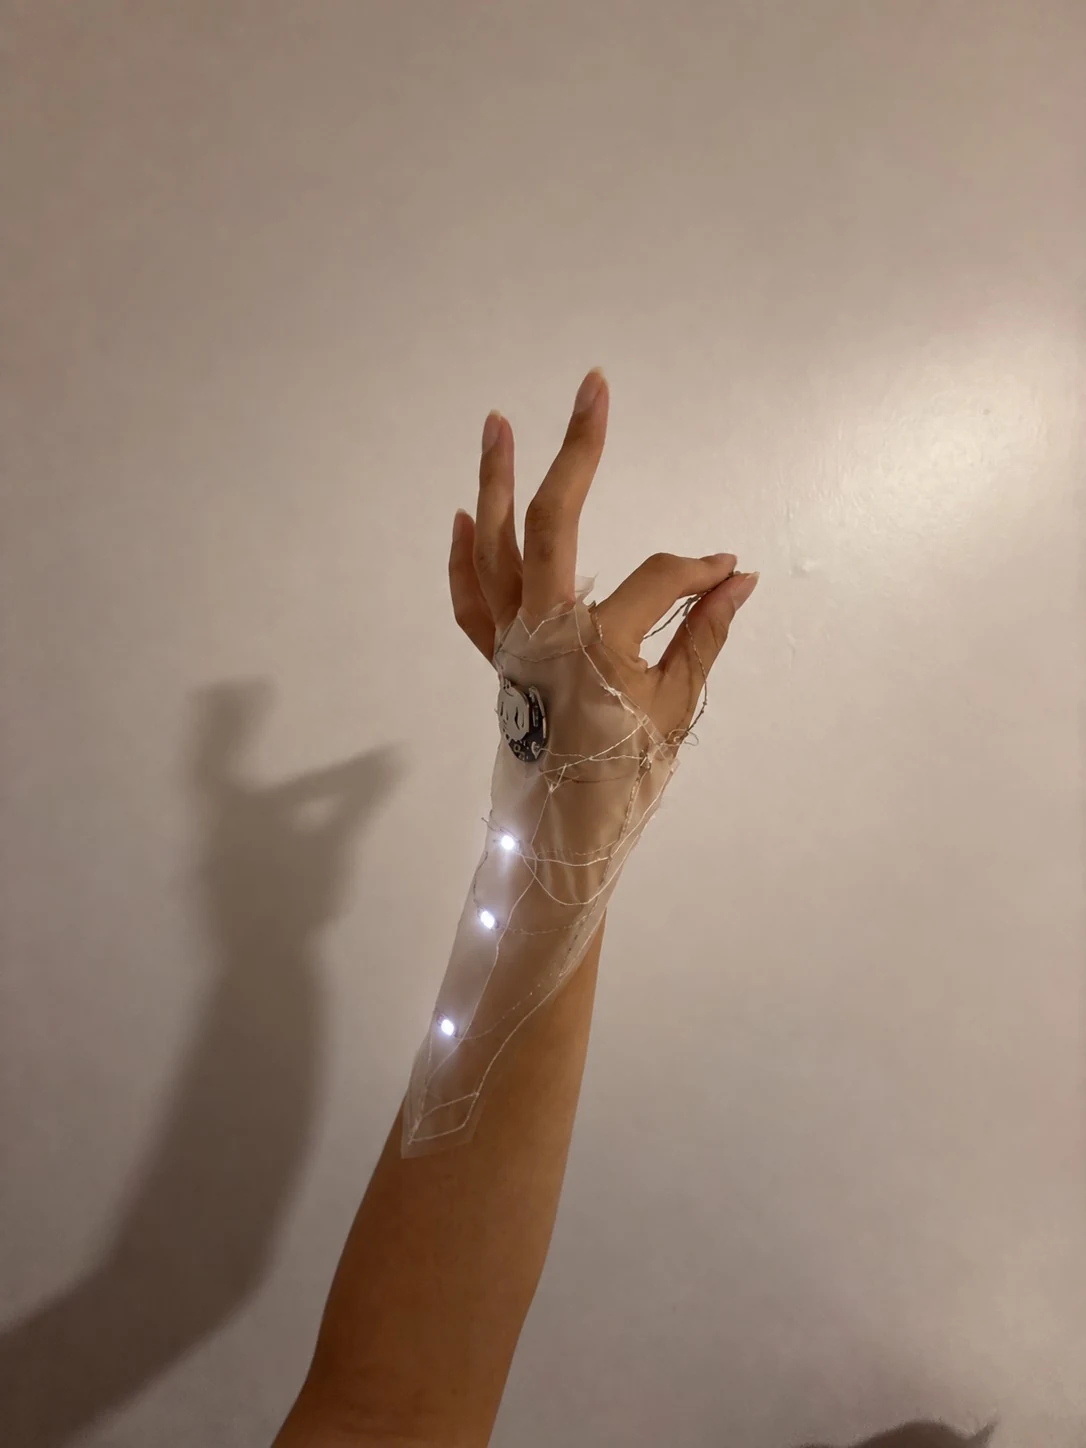
I made a transparent glove with a sewn circuit and lights, and used it to explore digital and analog sensing. The process brought together pattern making, machine sewing, conductive thread, Arduino, and face tracking.
The digital experiment explored switching between two light states. The pressure experiment explored how an input could vary. The face-tracking tests helped me connect these light responses to my interest in distance and human connection.
Class photo gallery
These are all the pictures from my class folder, including the original views of images used above and additional views of the glove. Select a picture to open the larger version.
6. Weekly reflection
There was a lot to make this week, and I really enjoyed it. Building a circuit and using the sewing machine were new experiences for me. Working with the glove helped me bring those skills together and gave me a starting point for exploring textile, transparency, light, and closeness in my final project.
Thank you to Sherry, Jack, and Chelsea for talking and sharing with me. Thank you to Kim for showing me your previous work, and to Quientin for your suggestions.
I am also grateful to Prof. Larry Sass and Alexander Htet Kyaw for the conversations and different perspectives. They gave me ideas that could help me build something for my final project.
Thank you to Myles and Jinger for learning and experimenting with me, and thank you to Fab Lab at Kendall! :)
7. References
- Artificial Intimacy on Goodreads — inspiration for the work.
- Arduino test on Vimeo.
- Test using my own recording on Vimeo.
- Glove test on Vimeo.
Images are from my original document and class folder. Credit to Jinger for help with the face-detection experiment.