Circular Open Source Fashion
1. Objective
This week’s objective was to enter the world of circular fashion by experimenting with modular design and zero-waste textile production. We were introduced to tessellation theory and to working with Fusion 360.
1.1. Personal context
The topics of recycling, upcycling and the Commons, are already well anchored in many layers of my everyday life - both professional and personal. I try to work as much as possible with ressources that already exist and with items that can be transformed, to give them a second life or a whole new existence. Having to work with what is already there, gives me constraints that can direct me to thinking differently in order to accommodate the material at hand.
1.2. Material choice
For my project, I decided to give myself a constraint based on ressources and decided to use a pack of synthetic felt that has been catching dust in my workshop for way too many years. So there I was, with a pile of colourful A4 sheets and no idea what to make with them - may the fun begin!
2. References, research & inspiration
2.1. Look and feel
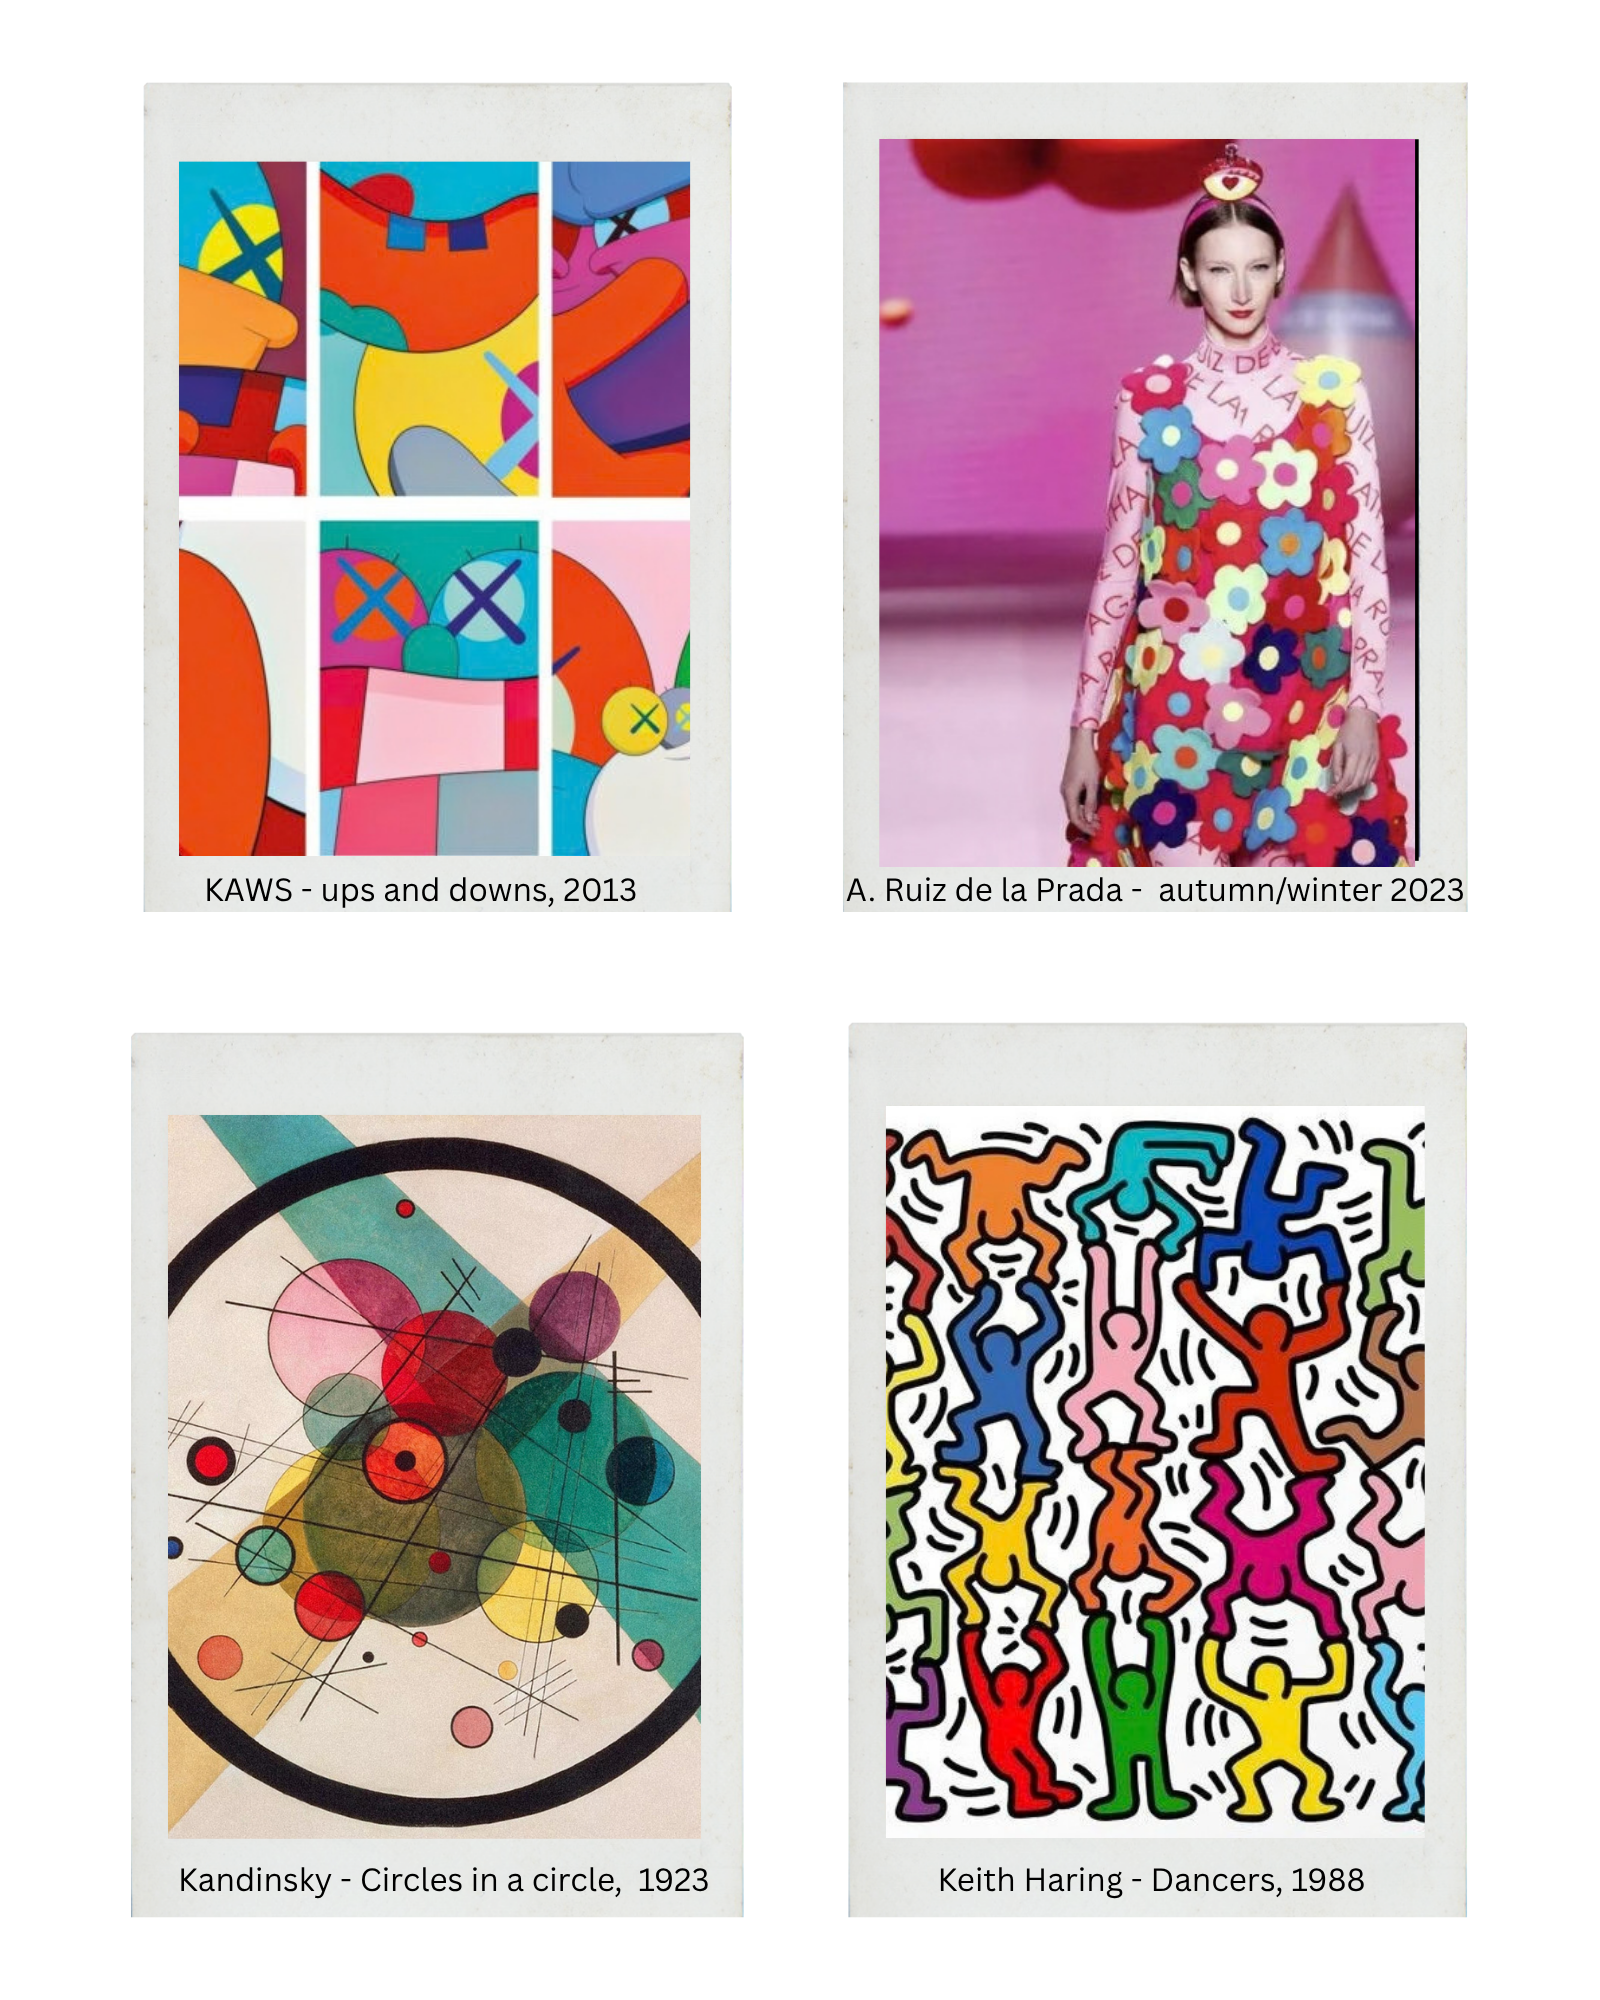
Keeping my felt sheets’ bold colours in mind, I looked for inspiration in abstract pop art and the Dutch De Stijl movement. There were already some artists and designers whose bold and simple use of block colours I had adored for a long time, so I started with them. Diving back into their universes helped me shape my own design ideas and discover new artists along the way.
Artists and designers I drew inspiration from
-
Bold colours in fashion Agata Ruiz de la Prada
-
Repetition & block colours Keith Haring
-
Block colours KAWS
-
De Stijl movement Piet Mondrian
-
Ressourceful crochet fashion design Aluma
-
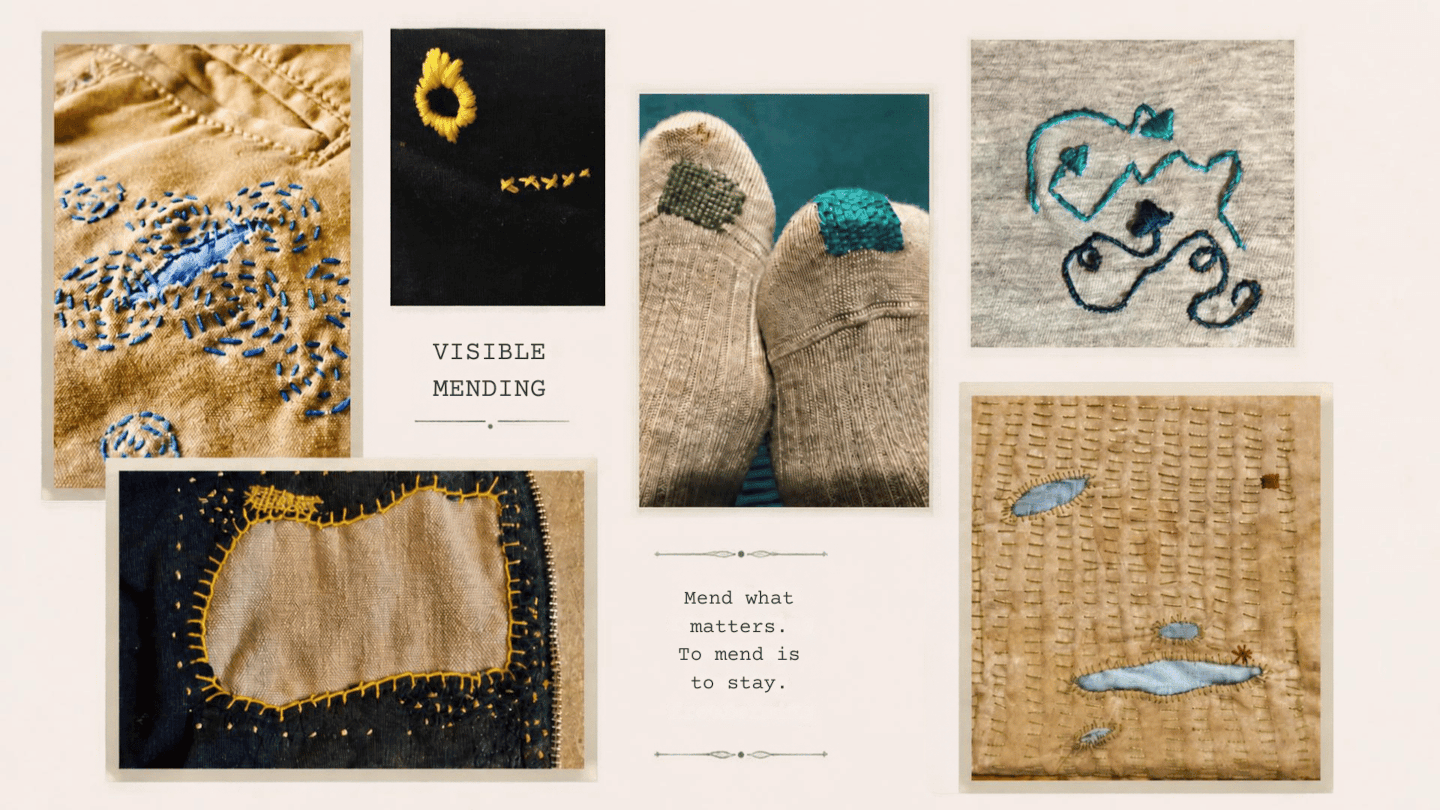
Visible mending Hikaru Noguchi
-
Textile Experiments Linda Harvey
-
Recycling and upcycling fashion Raeburn Fashion
2.2. Concept
After our tutorial, I had a word that appeared and that started to inhabit me: Shelter.
To me, shelter is a place of safety. It’s a place where we can feel strong even at our weakest. It’s a place that all living beings should have access to. It doesn’t necessarily have to cover us completely. Perhaps one can find shelter in a sort of talisman. An accessory that makes them feel strong. Like a soft armour to face a harsh world.
I wanted to imagine a textile object that could provide shelter in countless shapes and sizes. Easy to construct. Playful and beautiful. Could it become a tent? Would it be wearable? Should a person be able to completely disappear in it? Lots of questions to explore, once the fabric itself would exist!
While researching this idea of portable, textile shelter, two images struck me particularly. One is of a traditional clothing from Navarra, a rural region in the north of Spain. One can get a real sense of protection from the huge capes the women are wearing. The other image is of a contemporary design, where a portable ‘curtain’ allows the wearer to hide from or interact with the world. I particularly like this aspect of duality for my shelter concept.
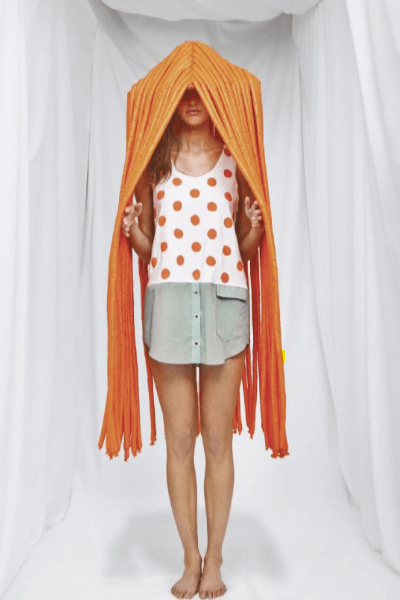
Femke Agema - 2012 collection
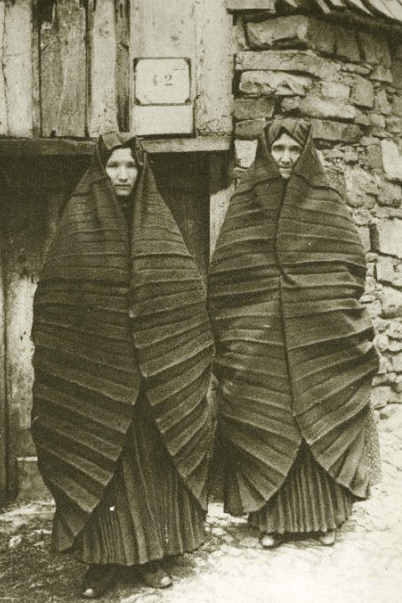
”Aunayas” from Navarra - 1900
3. Tools
List of tools I used this week
- Vector design of modules made in Inkscape
- Images edited with Gimp
- Videos edited with Microsoft Clipchamp
- Images compressed with TinyPNG
- Videos compressed with Handbrake
4. Process and workflow
4.1. Paper tryouts - or conquering childhood trauma one snip at a time
After the tutorial on tessellations and no-sew designs, I felt an overwhelming sense of inadequacy and self-doubt. These theories had triggered an old fear of mine - the fear of Geometry. Back in my schooling years, I tried so hard to do well in geometry, as I loved the shapes and forms one could create with just two points and a joining line, but unfortunately, I just could not manage to understand most of it.
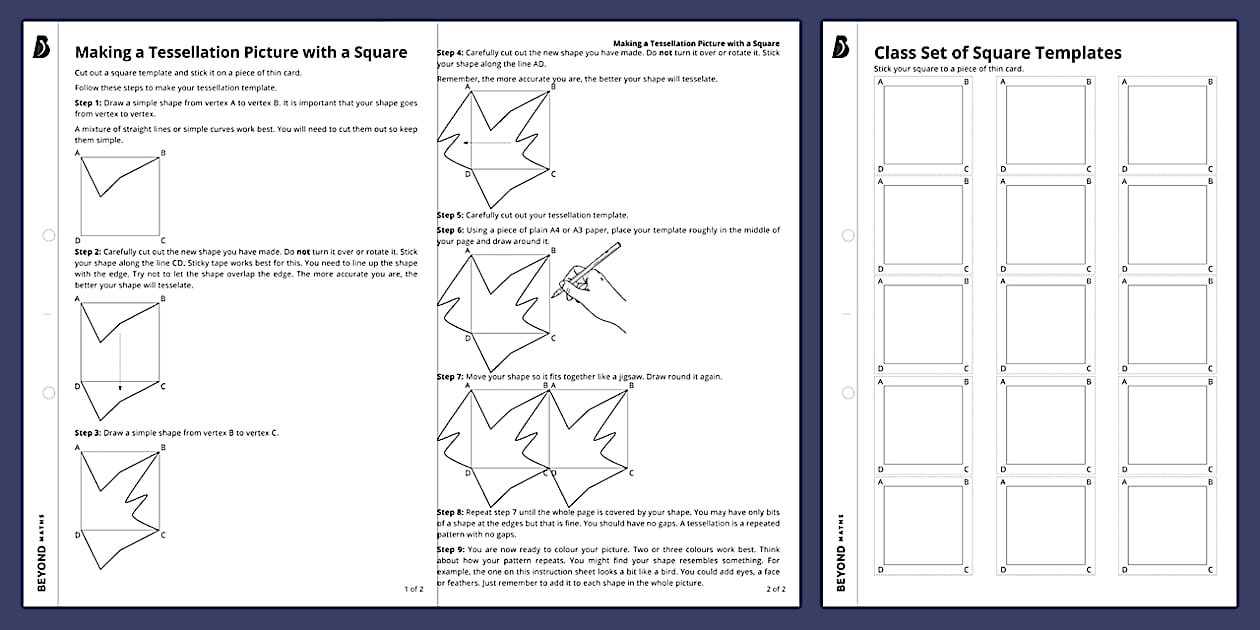
However, instead of trying to find an easy way out of this exercise, I decided to take the bull by its horns and face my fears. Equipped with scissors and paper I followed our teacher’s advice to first practice through drawing and cutting and folding. I found an easy to follow written tutorial1 and oh what joy, when about two hours later, I had not only managed to create interlocking, no-sew squares by myself, but also my very own, first tessellation figure!
During this process, my thoughts kept wandering to the late Paul Vock, my first geometry teacher, who albeit strict, was very supportive and recognised my efforts. So much so,that once he gave me two grades on an important test: one grade was for accuracy (pretty low as usual), and a second grade for execution and aesthetics (10/10)! This small gesture had a profound impact on me and inspired me to dedicate this week’s project to his memory.
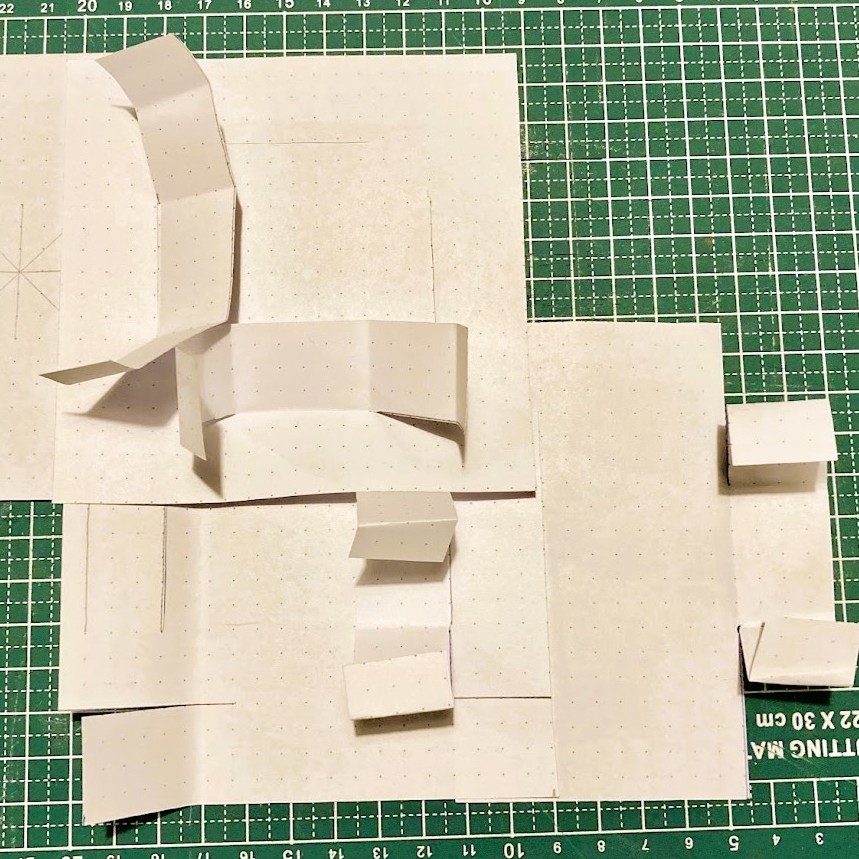
The magic of interlocking
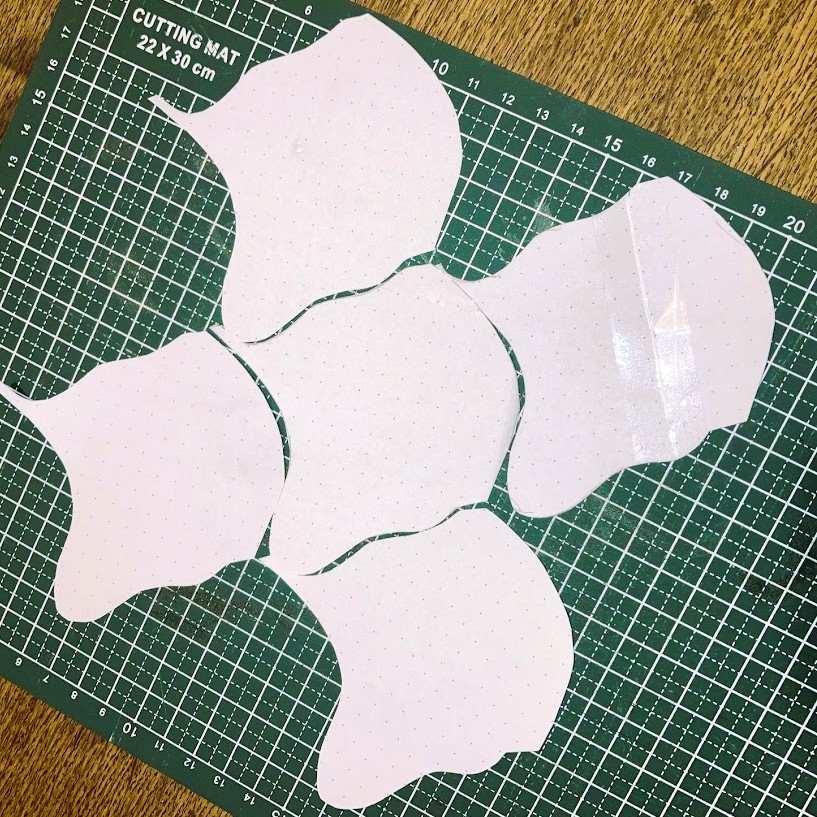
Tessellating like a pro
4.2. Beauty in simplicity
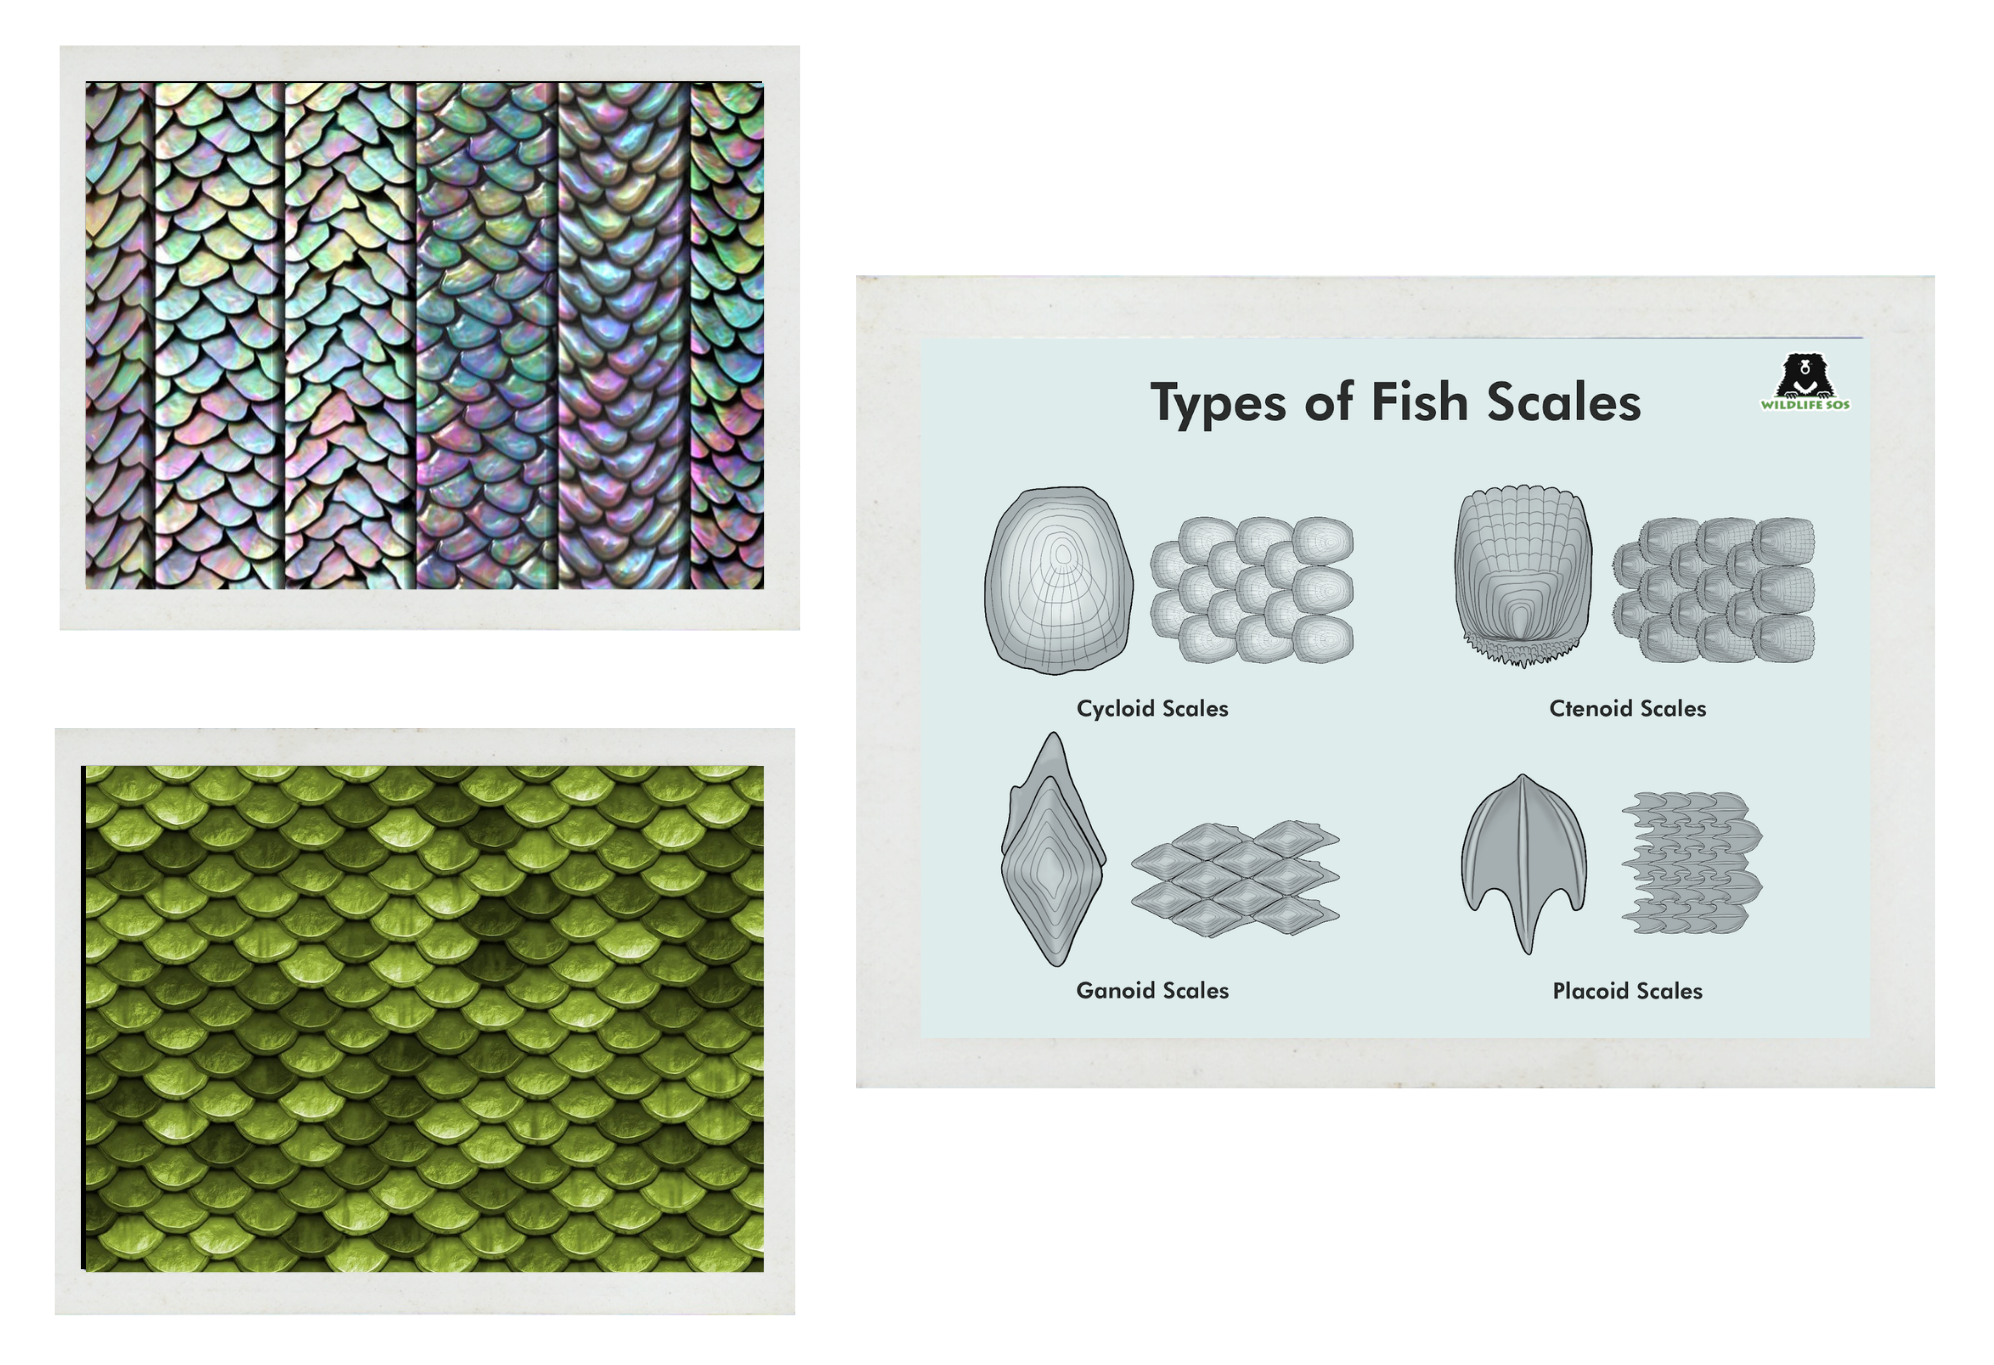 Image sources2
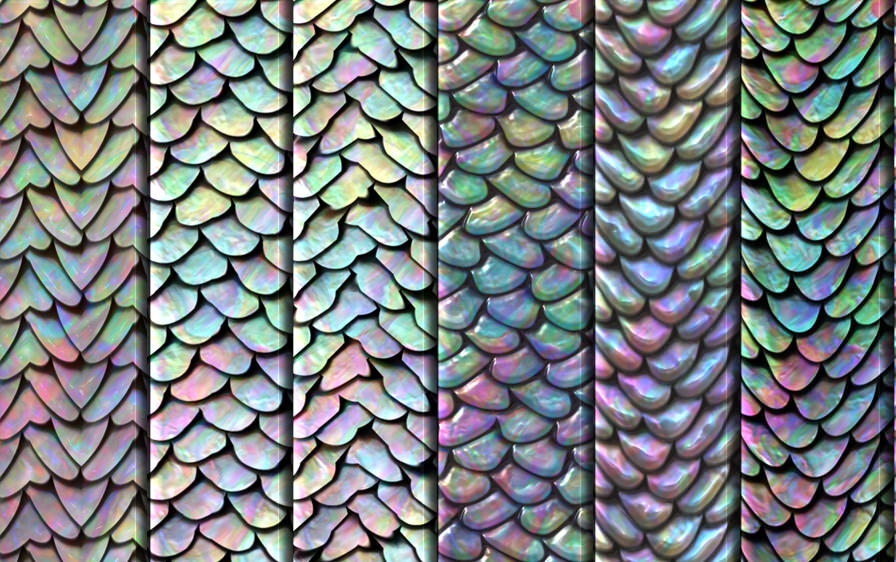
When thinking of repetition, I was immediately drawn to fish scales. I took their simple, recognisable shapes that repeat endlessly as the starting point for my own creation. My initial search then led me to simple circles. Circles that could overlap, mix and match and double up.
As I had all those differently coloured sheets of felt, I wanted to create a modular canvas in black, that would provide a visual backdrop for all those colours.
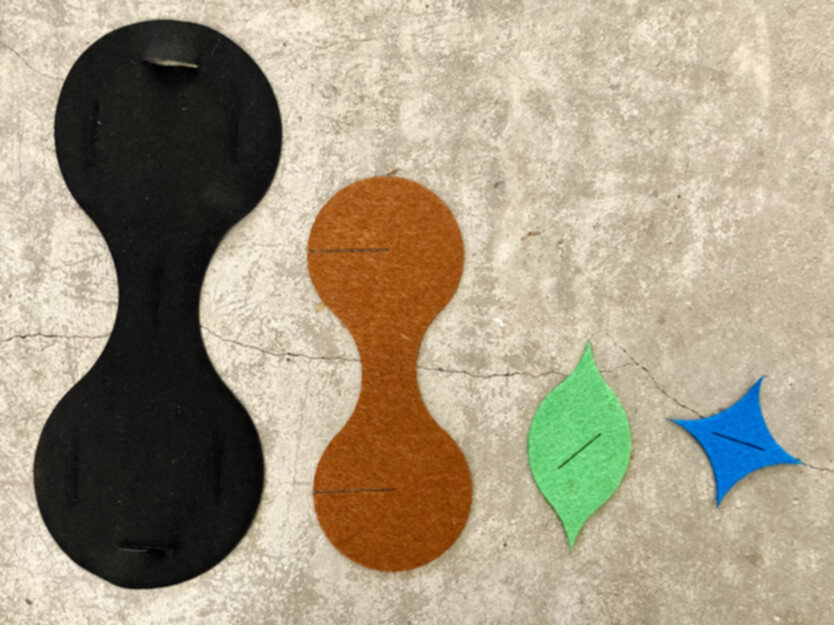
By adding the tessellation philosophy to the mix, I settled on peanut-shaped modules, that could be nested in themselves and when connected, only let the circles be visible. The black 'peanuts' would be around 30% larger than the coloured felt modules. The black parts would have the female interlockings, and the coloured ones wouldn't need any male interlocking system, as their rounded shape would act as a natural interlocking part. I did later decide to add slicing to the coloured parts, so that they could interlock among each other.
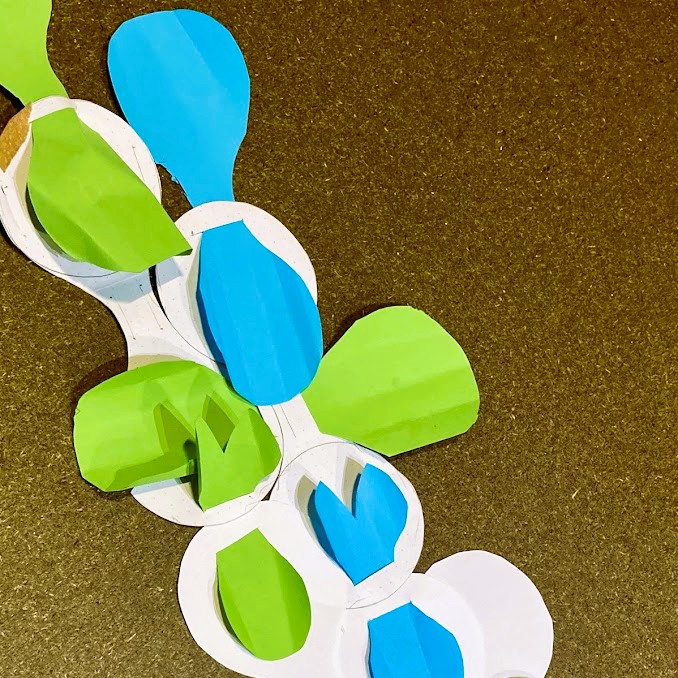
Paper prototype
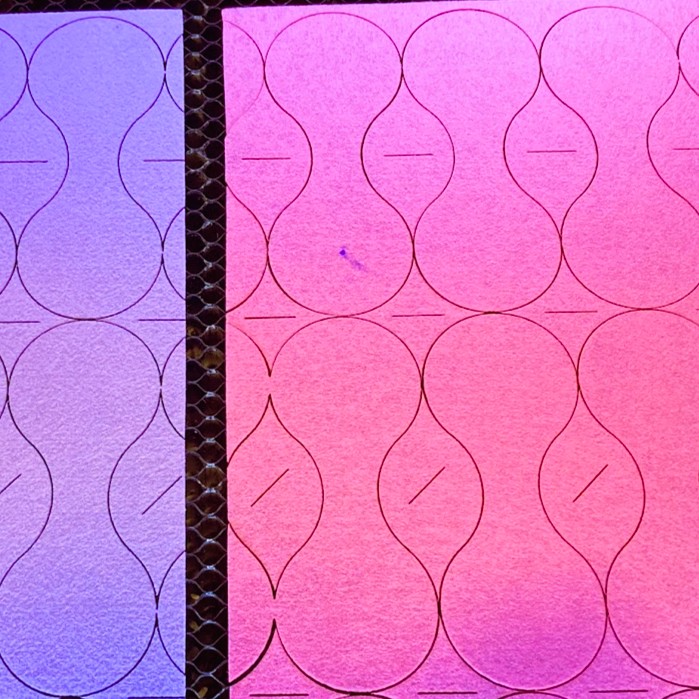
Laser cutouts of felt fabric
4.3. Designing my modules in inkscape
Following Stephanie’s recommendation, I chose to use inkscape to draw my modules, as it seemed a much easier tool to draw my shapes with. Stephanie gave me a priceless crash-course in inkscape that enabled me to work autonomosly very quickly.
Inkscape tutorial
4.4. Nesting my modules and prepping for the laster cutter
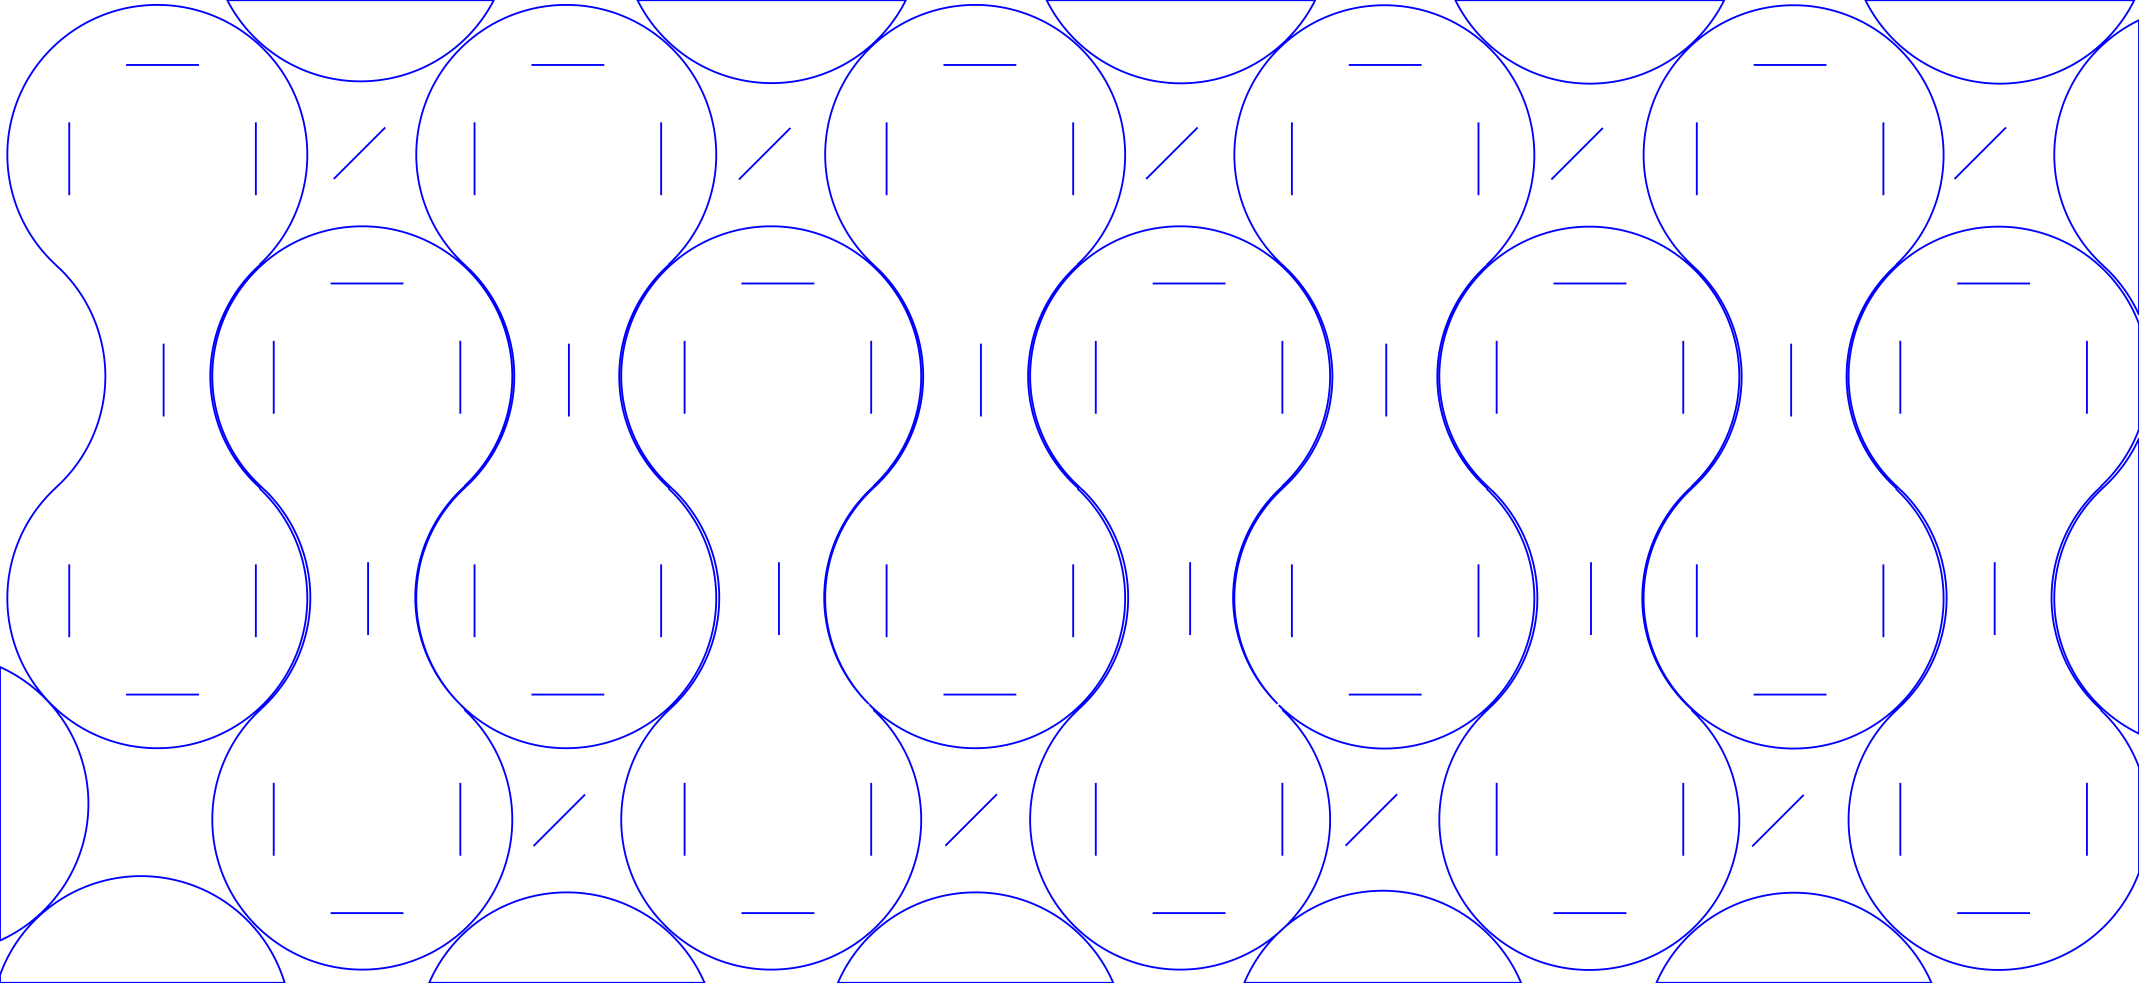
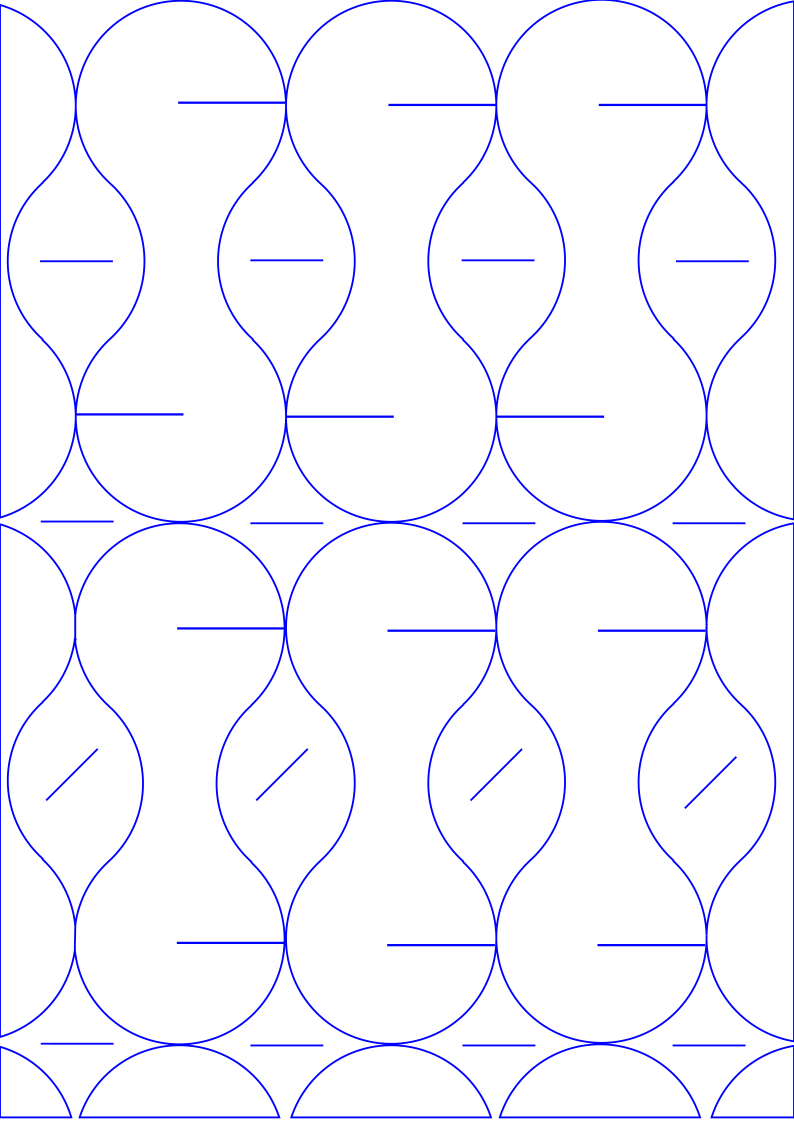
I did the nesting of my modules in inkscape as well and I added additional female interlocking systems to the parts that were created in between the “peanut”-modules, so that all the fabric could be used.
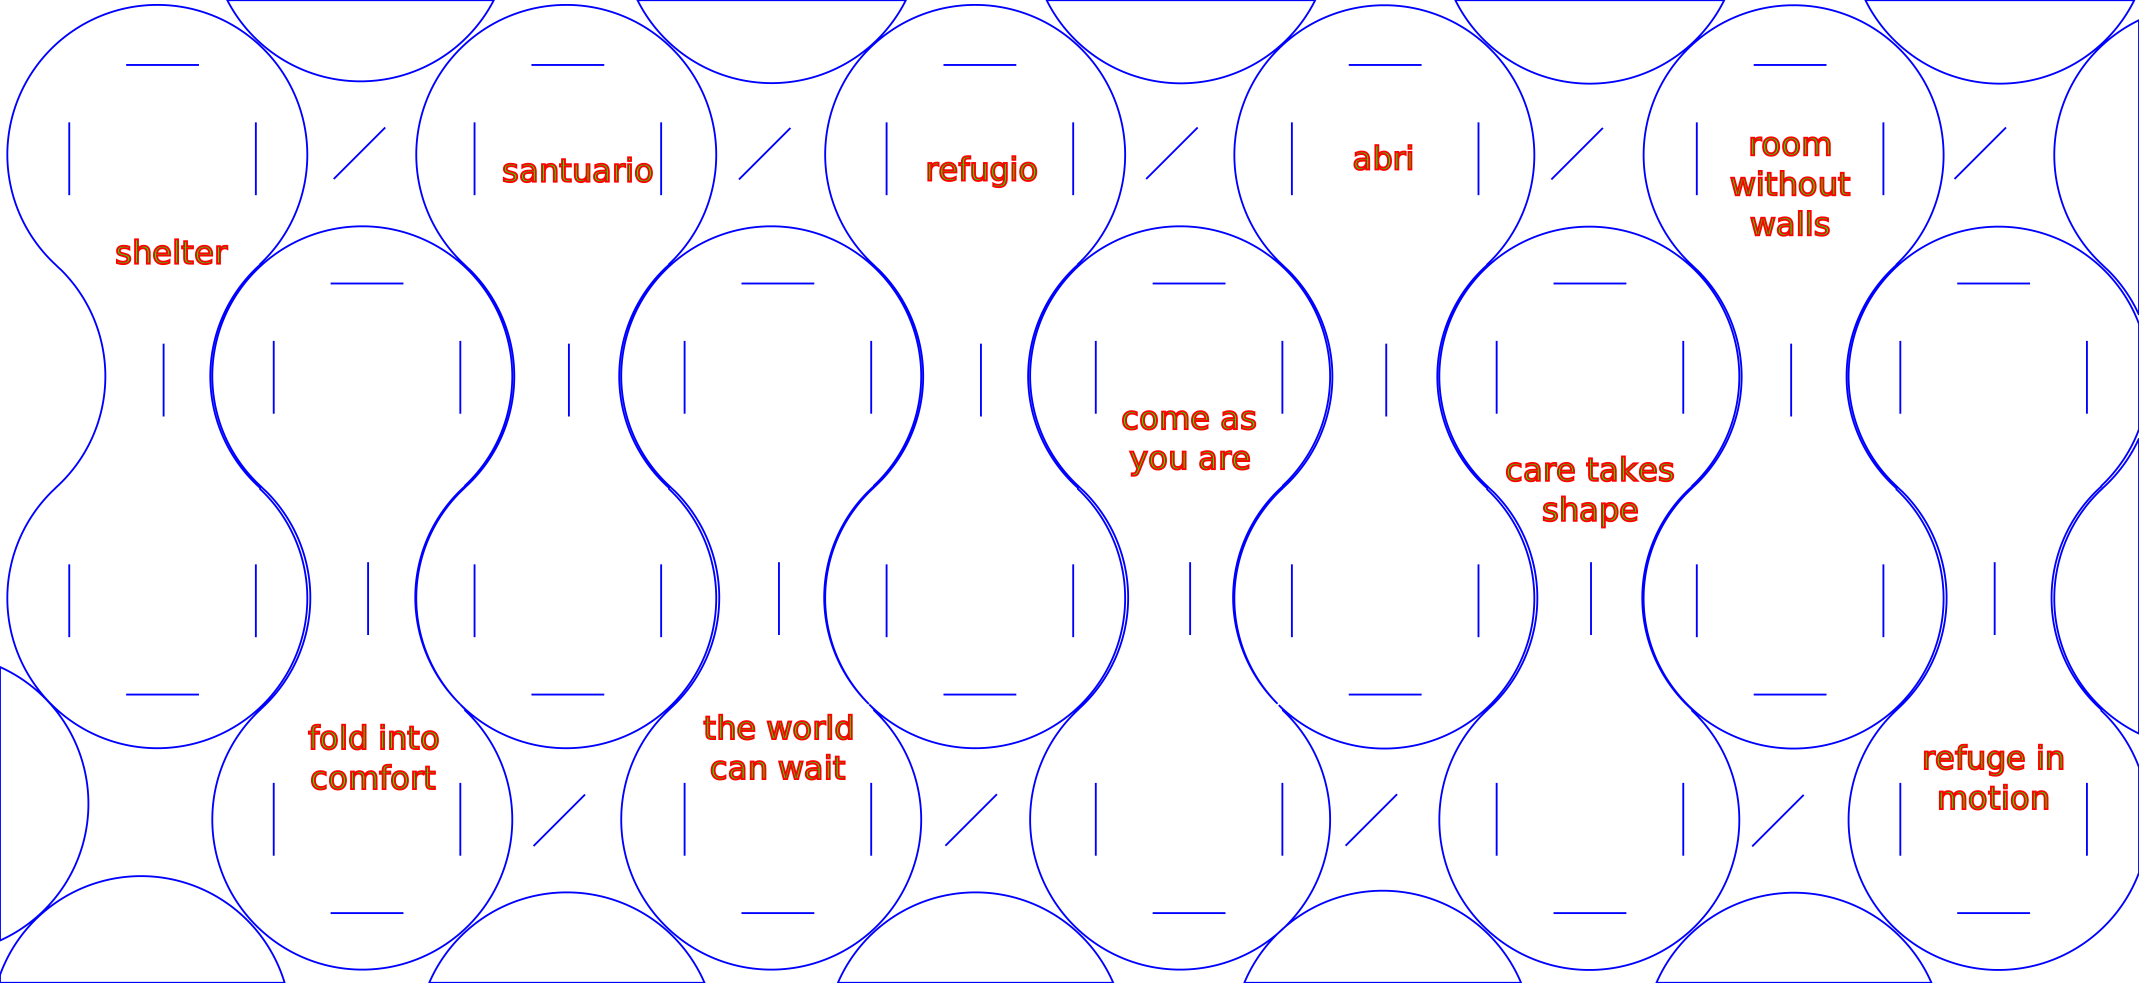
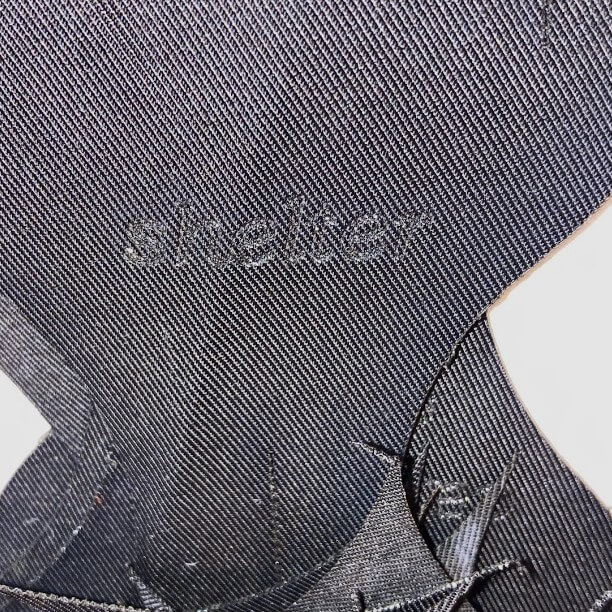
I also decided to play with engraving some text in the black modules, as a kind of hidden messages to the ‘wearer’. I searched for quotes and poems on shelter, but in the end I settled on single words and tiny sentences instead. In order to do the engravings, I needed to do a third file, so that I could engrave a small batch of my black modules and keep the rest bare.
Downloadable project files4
4.5. Assembling and meeting the material
In total, I cut 60 large black modules and 96 coloured modules.
At first, I tried to find a logic to the assembly process, which resulted in a straight-lined textile, that already allowed many ways of using it.
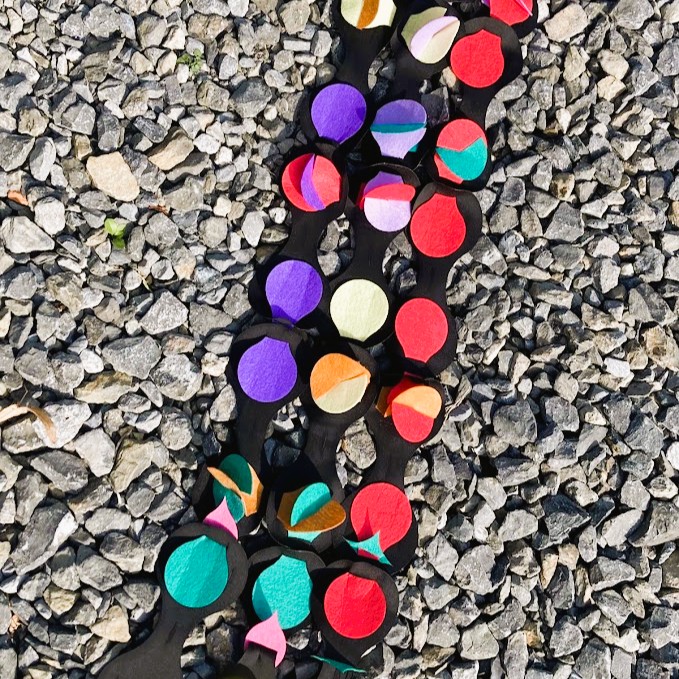
However, I found the textile too flat and foreseeable, so I took another approach and went completely random with the assembly process, not worrying about logic nor creasing the black fabric.
All of a sudden, the modules made sense and the proposition became clear: This project was inviting me to be playful, unplanned and intuitive. With this approach, anything becomes possible: one can create holes and spaces, can make chains, create dense areas and leave others airy and fraying. It fit perfectly with my portable, textile shelter idea.
Rock'n Roll assembling
5. Results
5.1. RE-fugio
Etymology: Refugio comes from the Spanish word meaning "refuge" or "shelter," which is derived from the Latin word refugium. The Latin roots include "re-" meaning "back" and "fugio," meaning "to flee," indicating a place to which one can flee for safety.3
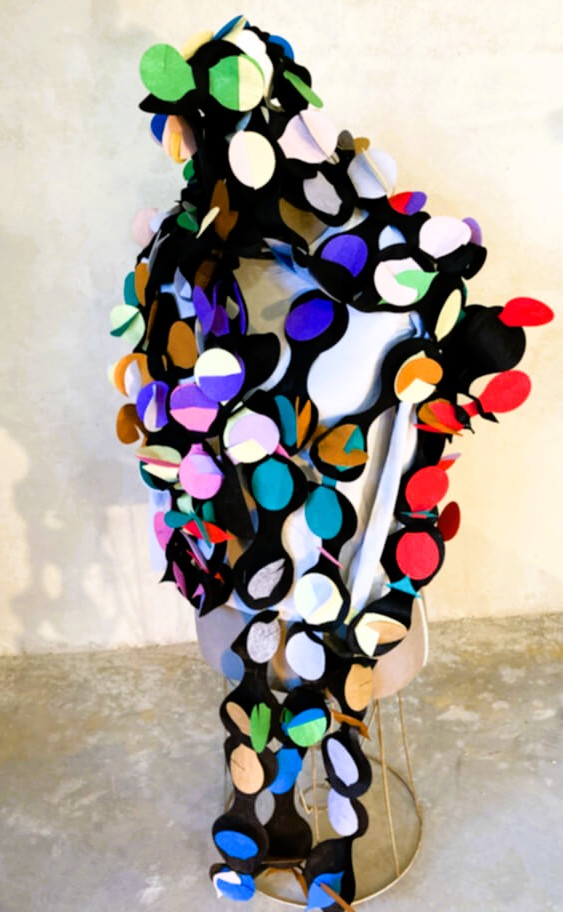
The spelling with the capital "RE", hints at the reusability, the reconstructability and the transformability of the object. I wanted to play with this idea that one can go back to it again and again, and find new possibilities every time.
5.2. When images say more than a thousand words
Soundtrack by: Cinematic AtlasAudio
Materials used & Laser cutting settings
- Coloured, synthetic felt - 1.5mm thickness
- Black, cotton-acrylic mix - 0.8mm thickness
- Laser settings for cutting: power = 35% // speed = 20mm/s
- Laser setting for engraving: power = 15% // speed = 150 mm/s
6. Weekly reflection & critical thinking
6.1. Learnings
I learned that I could take pleasure out of a task involving geometrical thinking and that applying theories directly onto a material, is extremely helpful to help grasping those theories.
Another thing I learned is that it is important that I follow my instincts, even if they feel uncomfortable at first. Experimenting and working conceptually is where my personal practice is deeply rooted and it's good that I stick to my way of working, regardless of how others might be approaching a task.
6.2. Troubles
The engraving of the black modules was a nice idea, however, the result was way too hard to read, to be of real impact. I will definitely keep looking into engraving fabric, as it somehow really intrigues me. And the idea of little intimate messages in textiles attracts me.
6.3. Connection with my life
This modular project has really surprised me on many levels and I can already imagine many ways I could use such a project in the future. Some examples include:
- participative costume-making for a project such as the Zinneke Parade
- modular scenographic elements for a performance piece
- modular installation that can be manipulated and changed by audience members
As much as I was afraid at the beginning of this assignment, I feel extremely inspired by this process and can really imagine this becoming a part of my creative processes.
7. Fabrication files & References
-
download the Tessellation tutorial ↩
-
sources - Types of scales // Rainbow scales // Green scales ↩
-
download all fabrication and laser cutting files ↩