Computational Couture
Weekly assignment
**Learning outcomes**
- Research skills: the participant has acquired knowledge through references and Concept development
- Design skills: the participant has acquired 3D modeling skills and explored parametric skills
- Fabrication skills: the participant is capable of executing the file-to-production workflow, from 3D modelling to 3D printing
- Process skills: Anyone can go through the process, understand it, and reproduce it
- Final outcome: Create samples/swatches of 3D printing as fabric or on fabrics and a 3D/parametric model
- Originality: Has the design been thought through and elaborated?
Student checklist
- Document the concept, sketches, references and artistic or scientific articles on 3D printing and parametric modeling
- Design a parametric model using Grasshopper3D or Blender (or alternative parametric software) and upload the 3Ddesign file + required parametric files
- Learn how to use a 3D printer and document the step-by-step process and settings
- Document the workflow for exporting your file and preparing the machine, G-code, and settings to be 3D printed
- Print your file and document the outcomes
- Upload your STL file
References, research & inspiration
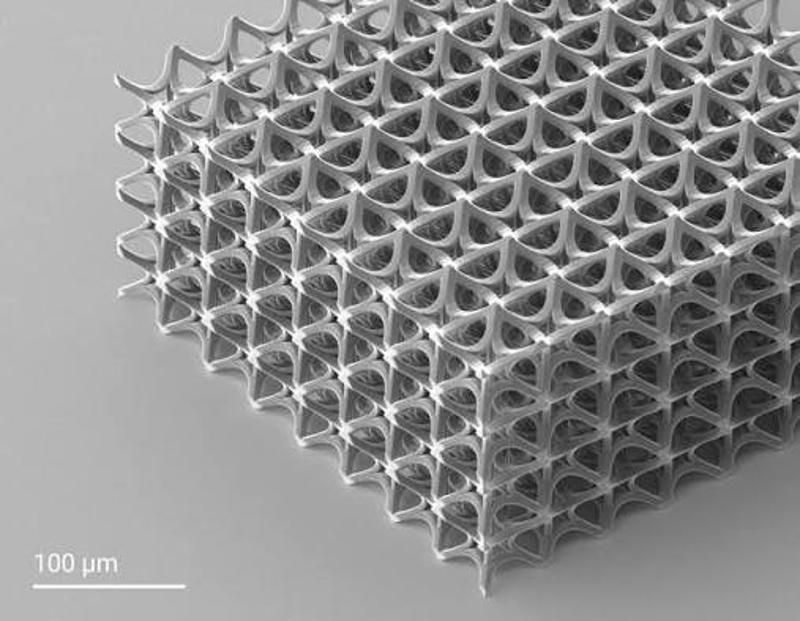

Before the weekly session, my exposure to computational design was mainly through parametric architecture and 3D printing on fabric in fashion; both of these things are interesting and worth exploring in their own right. That’s why Julia Koerner’s session on computational couture was a great deep dive into the possibilities of the field. The journey from inspiration to final products in such varied fields and their application, manufacturing methods, and designs was a great reintroduction.
Thus, the general plan was to experiment within the topic as broadly as I can for the week. Most of my previous work in computational design has been in Fusion 360 and with solid “technical” part designs. Hence, these free-flowing, organic, and almost living designs were fun to think about.
The Idea
The first part of the process was to understand the software for the design process; the ones I decided to use were Fusion360, Blender, and Rhino+Grasshopper, in that order of proficiency.
The second part was the main ideation. I knew what I wanted in the initial stages of the process - to create a parametrically generated, 3D-printed scale fabric to kick start the process.
Previously, I had some experience with geometry nodes in Blender. But I am completely new to Grasshopper, only starting a few weeks back. Thus, the challenge with exploring these tools was to connect my imagination and the capabilities of the tools. This was a blocker in the process of answering the question of what exactly to make.
After messing around with the software, discussion, and an off-the-cuff demo from my mentor, this is what I have understood about the process - - No matter the look of the design, be it organic or mechanical, at the core, the computational design is based completely on the data and a structured manipulation of data. - Most of the time, the data will be in the form of numbers or will need to be converted to numbers. Another source for the data might be attributes of the mesh loaded in Rhino. - Since the tools are visual, most work takes place in a coordinate system (Cartesian or polar), with a time component as well. To create a design, it needs a foundational mathematical formula to generate the points and curves, and the “design” arrives from manipulating these points and curves.
This actually helped me understand the Grasshopper session much better and gave me the idea for creating the organic mesh bracelet to explore the grasshopper environment.
The Process
Fusion 360
I started with Fusion 360 to make parametric, 3D-printed, fabric-scale armour patches. To change the various parameters and observe the changes. The process to achieve it is very simple in Fusion. To make a customisable model, first create the variable in the Change Parameters” feature under the Modify dropdown. At its simplest, this method works by substituting variables instead of constants while providing the dimension measurements and other “Parameters”
The basic tile chosen was a rectangle, with its length, width, extrusion, and taper angle being parametric variables. Additionally, since the whole idea is tiling, the number of tiles in the X and Y axes, as well as the spacing between them, are also variables.
While checking the 3D printed fabric-bound tiles, Observed that the play with the taper angles was creating different bending angles. I already new that by changing the size of the tiles the structure can be curved in a certain way but the taper angle is also another part of the pheonomena. Hence, The I decided to dive deeper into and create a parametric system that turn any 3D surface into flat printable planer surface and for that I chose to use Blender and Geomentry Nodes.
Blender Geometry Nodes
Rhino+Grasshopper
7. Fabrication files & References
-
File: Grasshopper definition.. ↩
-
Reference: Author; Title; Source; year ↩