BioFabricating Materials
Objective
Weekly assignment
Learning outcomes
- Research skills: the participant has acquired knowledge through references and Concept development
- Technical skills: Master techniques for growing and crafting personalised materials
- Process skills: Anyone can go through the process, compare and explore the recipes
- Final outcome: create a material chart
- Originality: Has the design been thought through and elaborated?
Student checklist
- Include some inspiration: research on artists, projects, platforms that work with biomaterials, local ingedients and resources
- Produce at least samples from one crafted and one grown material:
- Crafted material - explore the different recipes and understand how to adjust them based on the ingredients (bioplastics/resins/extruded yarns/gathered&twisted fibers/non-woven matrix)
-
Grown material - explore the different recipes and understand how to adjust them based on the ingredients (bnc / mycelium / molds / etc)
-
Document your recipes, the ingredients and process and if there have been changes, document your unexpected discoveries
- Name your materials, classify them by typology and display them in a systematic order of samples
- Submit some of your swatches to the analog material library of your lab. (20cm x 20cm approx.)
References, research & inspiration
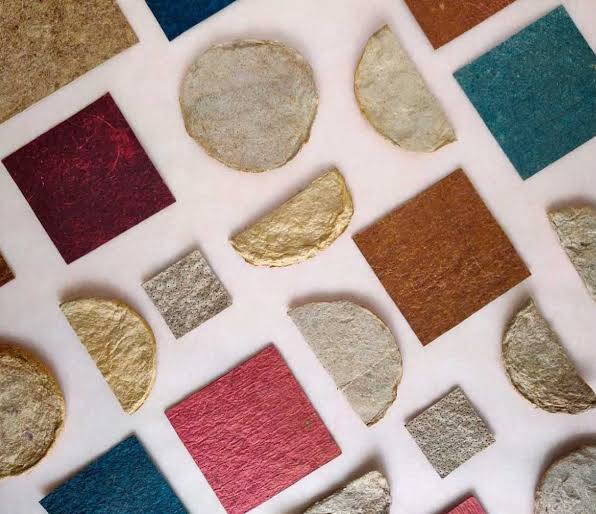
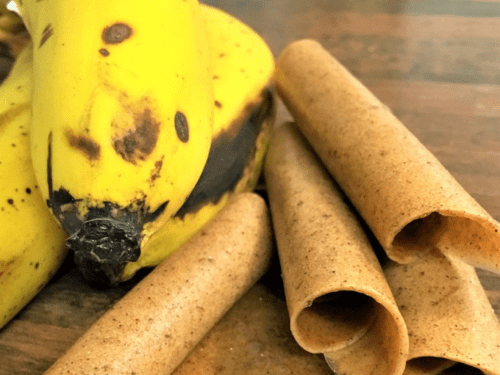
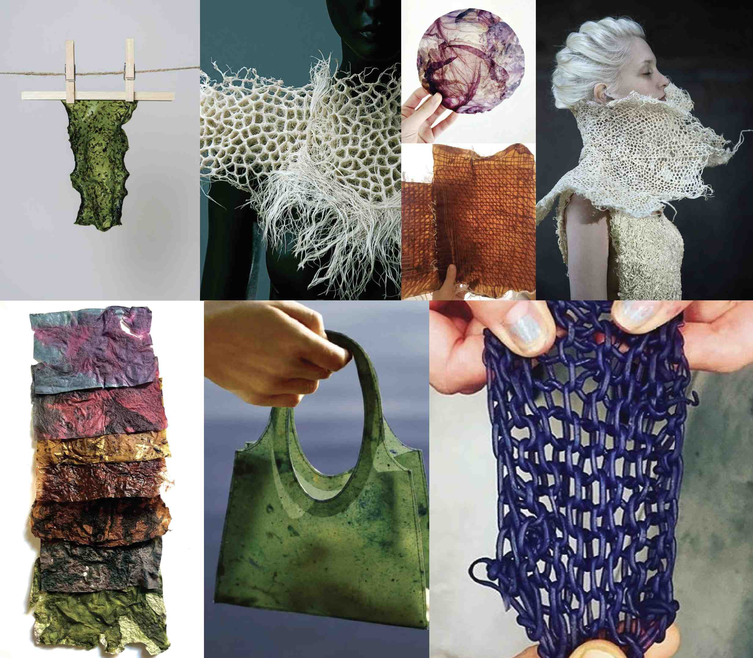
Before starting the experiments, I looked at how designers and material researchers are already working with biomaterials. The weekly session covered various approaches and technicalities of the process, and during my research, I came across a few people near the city working with coconut and banana leathers to show how agricultural waste can become fibrous, leather-like sheets. They can be dyed in rich colours and made into workable sheets for fashion and accessories. Beyond flat samples, the session also covered materials being used for garments and accessories in the form of lace-like, net-like and knitted structures, layered dyed sheets that resemble hide, and a translucent bioplastic handbag. Together they showed me how much a material’s character depends on its recipe, fillers, dyes, thickness, and finishing. That pushed me towards testing many variations rather than perfecting one, and towards treating each sample as a design exploration as well as a technical test.

The Plan
Biomaterials take a long time to grow, set and cure, so the plan was to get the first round of samples started as early as possible and iterate from there.
I wanted to explore two directions:
- Grown materials: materials produced by living organisms. The two options considered were Kombucha (SCOBY) and Mycelium. Because of procurement and setup requirements (sterile conditions, spawn sourcing), I chose Kombucha.
- Crafted materials: materials made by cooking and casting biopolymers. The options considered were:
- Gelatin-based materials (various versions)
- Alginate-based materials
- Other proteins and polysaccharides such as pectin or casein
- Agar-agar-based materials
Every available source for alginate sold it premixed, which could not be used for this purpose. So I decided to go ahead with gelatin and pectin.
Final list of materials to try:
- Kombucha leather
- Gelatin / glycerine variants (Bio Foam, Bio Silicone, Bio Resin)
- Pectin variations
I also planned to experiment with filler materials across the crafted samples: coffee grounds, tea leaves, bagasse cellulose and kaolin clay.
The Process
Kombucha Leather
Materials
For 1 liter / 1 kg brew mix
Sweet tea
- 750 g (or ml) Water
- 50 g Jaggery (or cane sugar)
- 6 g Organic black tea (loose or 3–4 tea bags)
- 200 g Starter culture (Kombucha liquid + cellulose)
Proportions
- Sweet Tea: ≈ 900 g (90 %)
- Starter Culture: ≈ 100 g (10 %)
Process
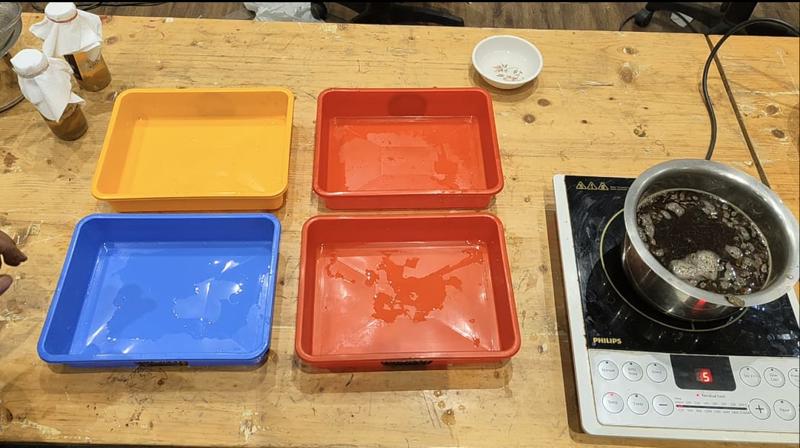
- Boil 750 g (or ml) water.
- Add 50 g jaggery and stir until fully dissolved.
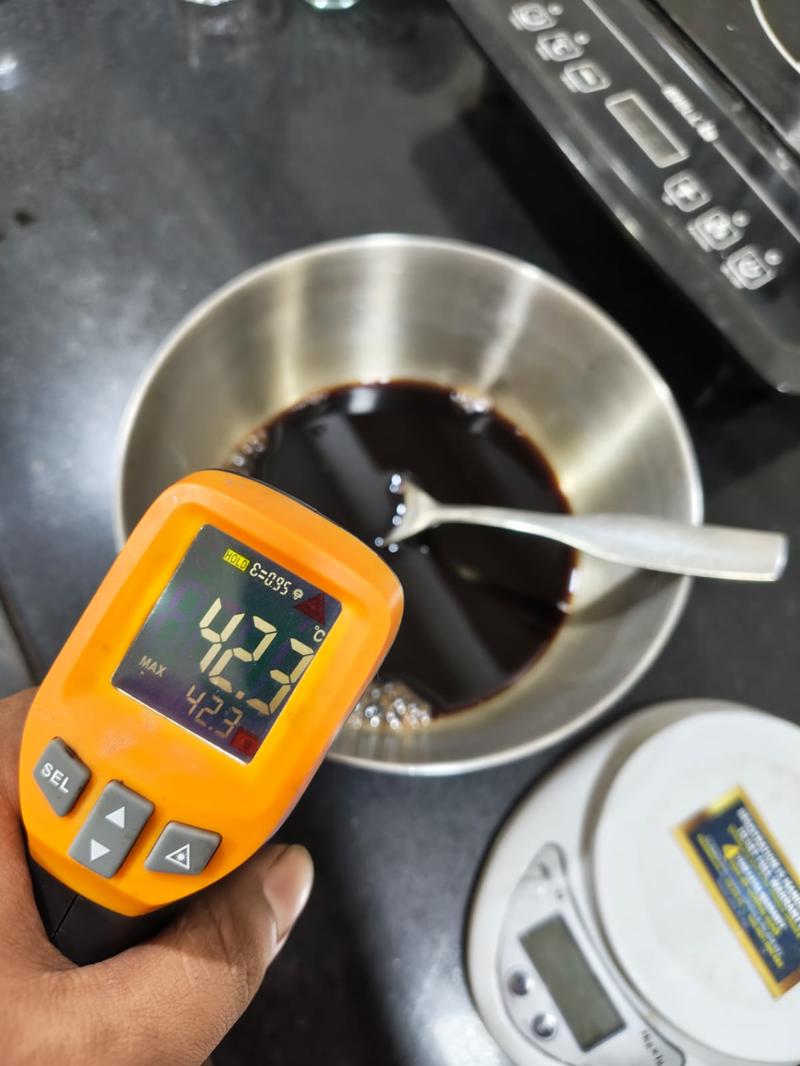
- Add 6 g organic black tea; steep for 10–15 minutes to extract color and tannins for stronger microbial activity.
- Strain out tea leaves and allow the sweet tea to cool to below 30 °C.
- Gently add 200 g starter culture (do not stir vigorously).
- Pour into a wide, shallow, sterilized glass or plastic container.
- Cover with breathable muslin or cotton cloth secured with an elastic band.
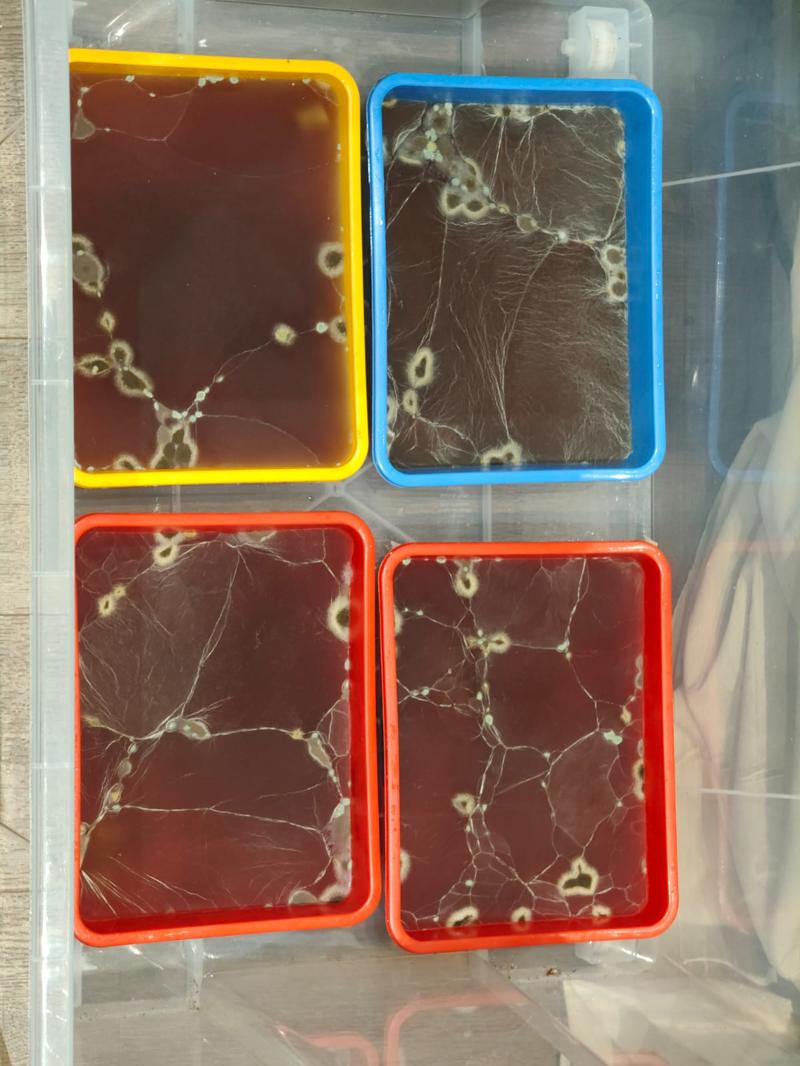
- Incubate at 25–30 °C in indirect light for 10–21 days until a cellulose mat (SCOBY) forms.
- Harvest when 3–5 mm thick.
Post-Processing
- Rinse the SCOBY thoroughly in clean water.
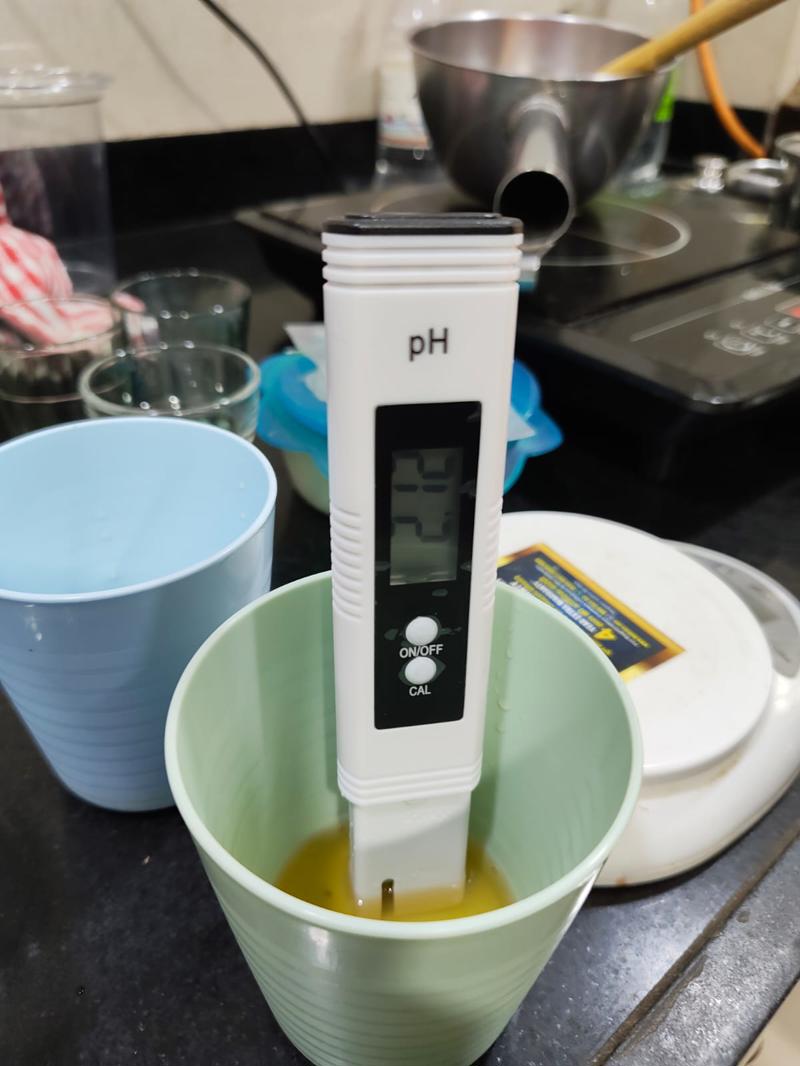
- Soak in a mild vinegar bath (pH ≈ 3–4) to neutralize.
- Dry flat on a non-stick sheet at room temperature or at 35–40 °C until leathery.
- Optionally condition with glycerine or beeswax for flexibility and waterproofing.
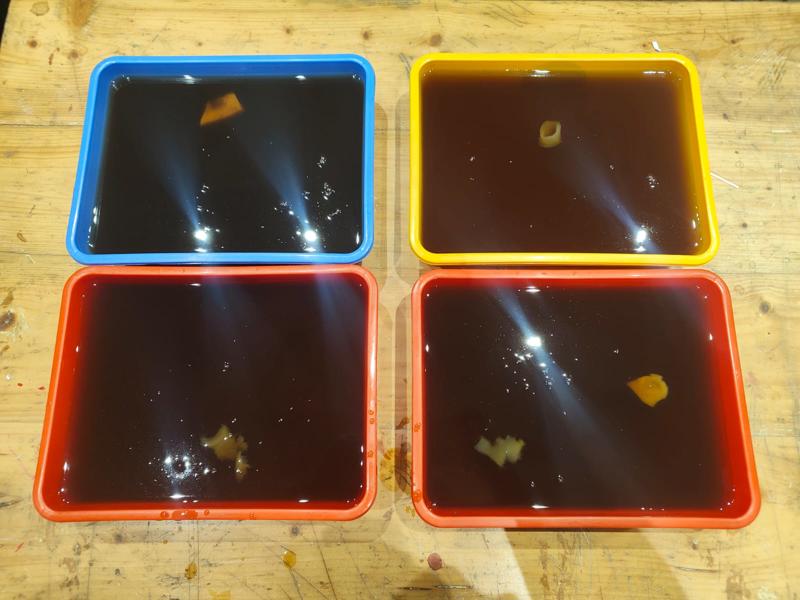
Notes and modifications: q - Instead of sugar, I used jaggery to encourage faster growth. - Once the kombucha was brewed, I separated it into wide trays and stored them in a box with restricted ventilation.
Pectin Leather
Ingredients - 220 ml water (preferably distilled) - 20–30 g glycerol - 15 g pectin powder
Recipe
- Pour 220 ml of water into a cooking pot. Add 20–30 g of glycerol and mix gently.
- Place the pot on the stove and begin heating. Gradually add 15 g of pectin, stirring continuously as you add it.
- Bring the mixture to a boil. Once boiling, continue cooking for another 10 minutes, stirring continuously.
- Apple pectin naturally tends to form clumps during cooking. Use a hand mixer while the mixture is still cooking to break up the clumps and achieve a smoother consistency. Alternative: Allow the mixture to finish cooking, then transfer it to a blender and blend until smooth.
- Remove the pot from the heat and let the mixture cool for 10–15 minutes.
- Once the mixture has cooled slightly, pour it into your desired mold. Spread it evenly to achieve a uniform thickness.
- Leave the material to dry completely. Drying time depends on the weather, room temperature, humidity, and material thickness.
Estimated drying and setting time: 4–5 days.
Wait until the material is completely dry before removing it from the mold.
Variations:
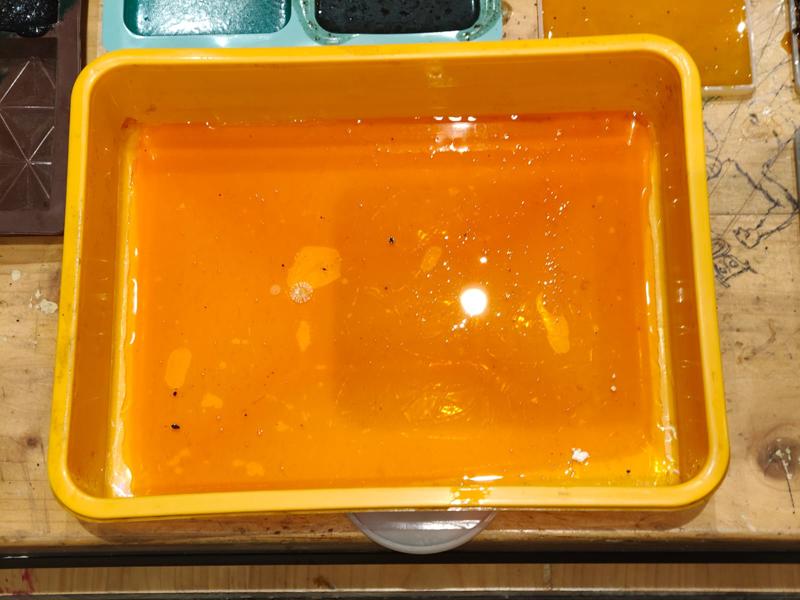
- Following the recipe, I added orange dye for identification.
- I made two variations:
- The recipe's described proportions
- A high-glycerine version for a more flexible output
Fillers added:
| Filler | Proportion (w/w of pectin) |
|---|---|
| Coffee grounds | 100% |
| Coffee grounds | 50% |
| Tea leaves | 50% |
Gelatin Materials
Three gelatin-based materials were made. Each was colour-coded with a dye so the samples can be told apart.
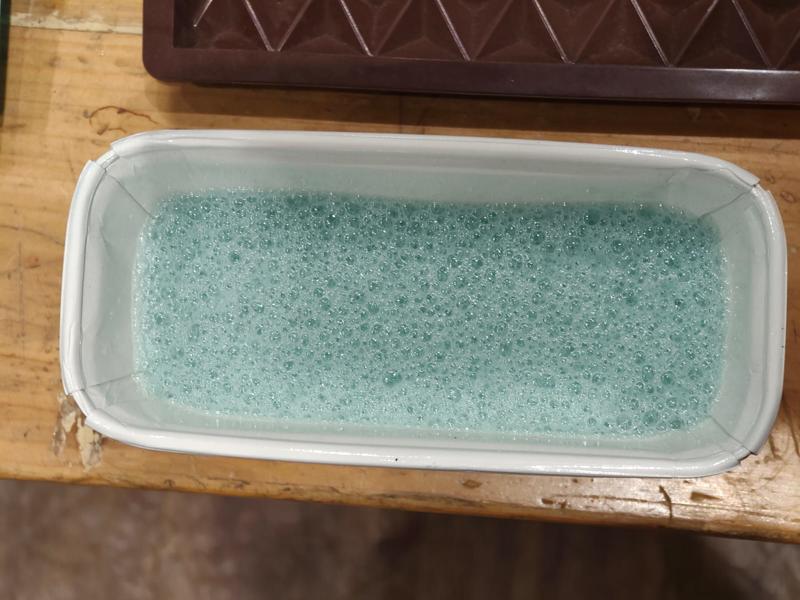
Bio Foam
Materials
- 36 g Gelatine
- 36 g Glycerine
- 450 ml Water
- 3 tsp Dish soap (≈ 15 ml)
Recipe
- Heat 450 ml water (not boiling).
- Add gelatine + glycerine; stir until fully dissolved.
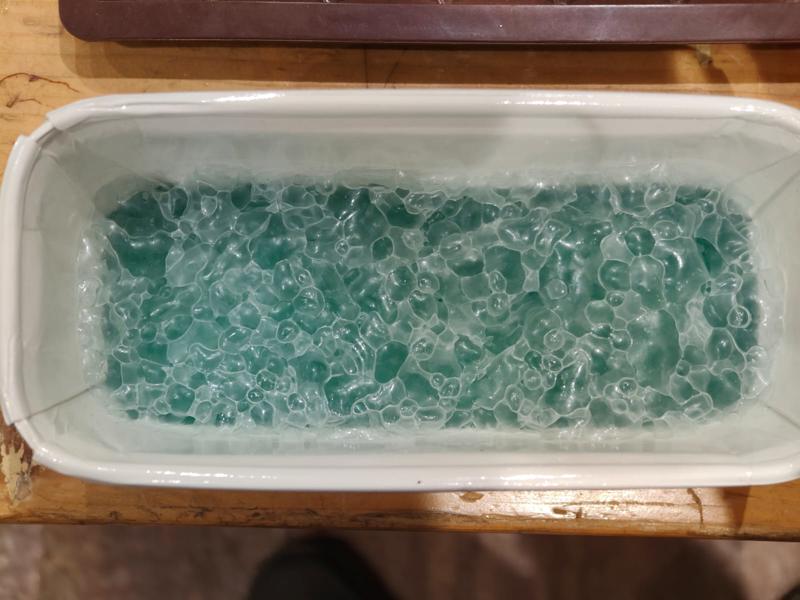
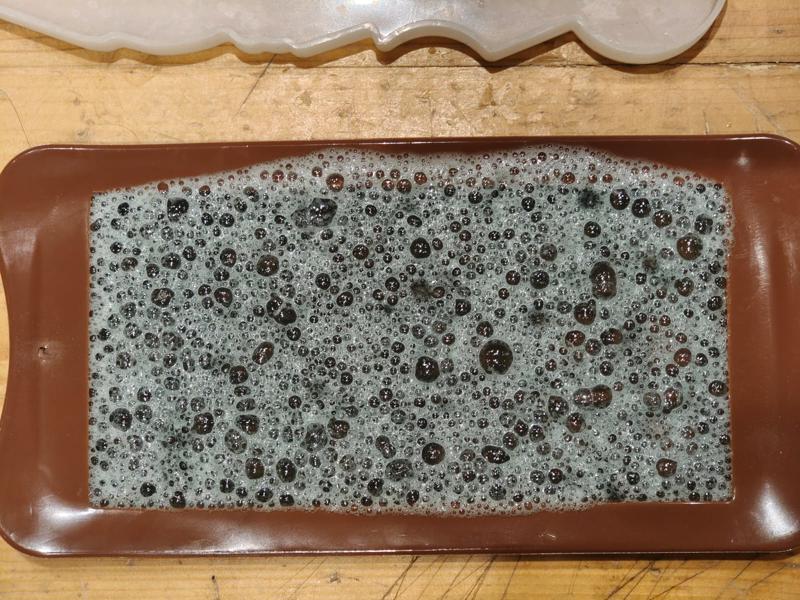
- Remove from heat, add dish soap, and whip until airy foam forms.
- Pour into shallow molds or trays; dry 2–3 days at room temperature.
Estimated drying and setting time: 3-4 days.
- Dye: Blue
- Fillers:
| Filler | Proportion (w/w of gelatin) |
|---|---|
| Kaolin clay | 50% |
| Tea leaves | 25% |
Bio Silicone
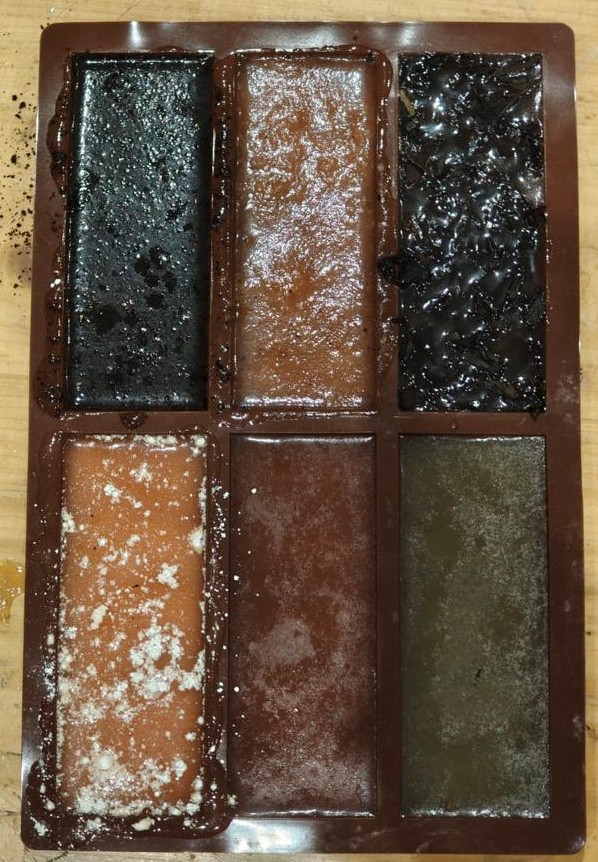
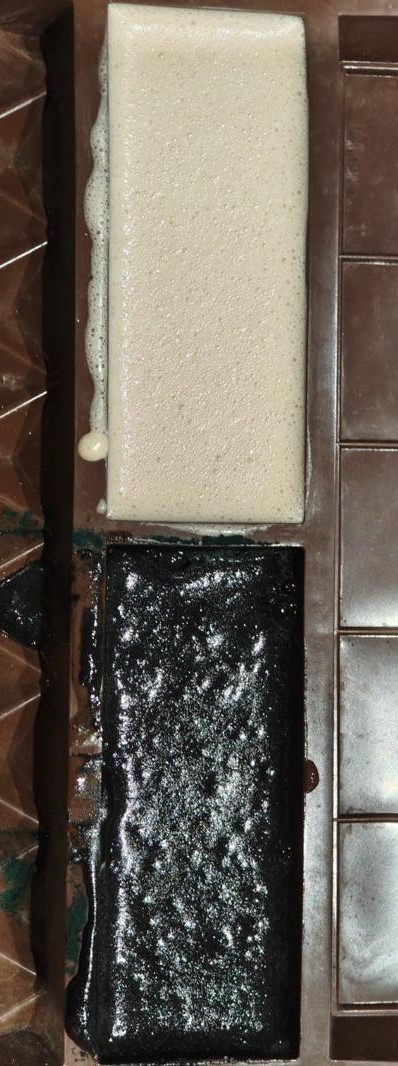
Materials
- 116 g Gelatine
- 116 g Glycerine
- 580 ml Water
Recipe
- Heat water to 75–80 °C.
- Add glycerine first, then sprinkle in gelatine while stirring.
- Stir 20–25 min until smooth and syrup-like.
- Pour into molds; alternate pressing overnight.
Estimated drying and setting time: 5-10 days.
- Dye: Red
- Fillers:
| Filler | Proportion (w/w of gelatin) |
|---|---|
| Kaolin clay | 100% |
| Coffee grounds | 100% |
| Coffee grounds | 50% |
| Bagasse cellulose | 25% |
| Bagasse cellulose | 50% |
| Tea leaves | 25% |
Bio Resin
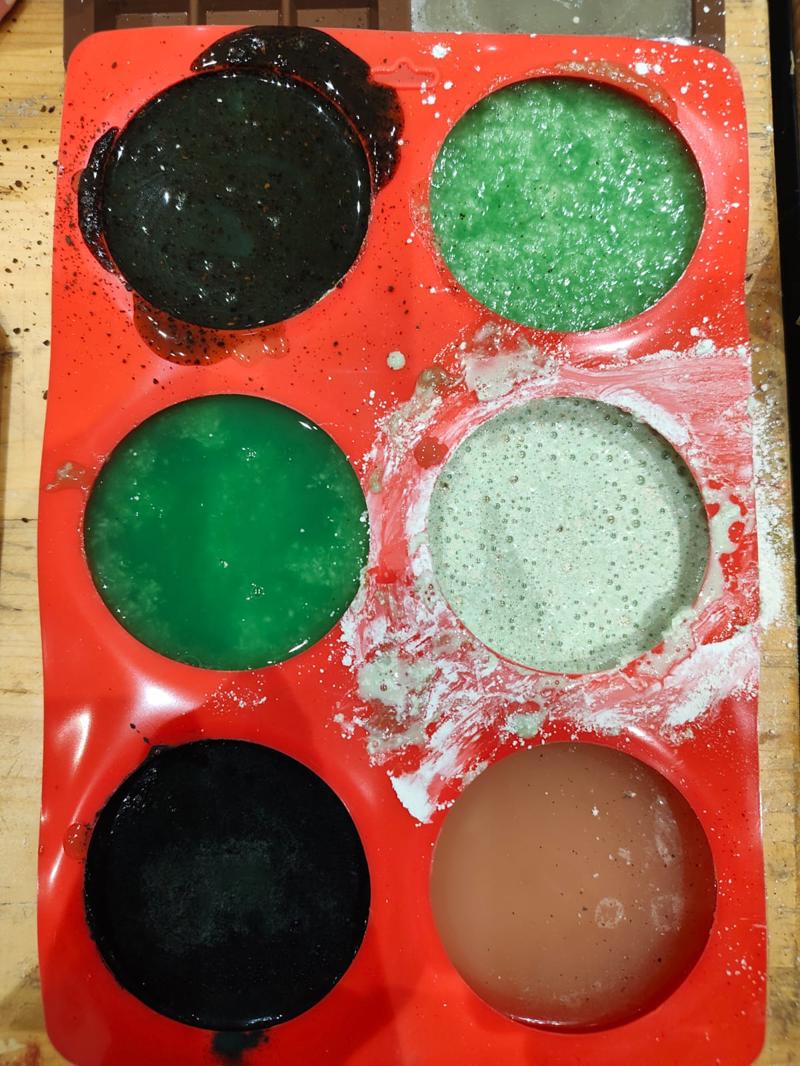
Materials
- 128 g Gelatine
- 21 g Glycerine
- 640 ml Water
- Coffee filter (optional)
Recipe
- Heat water + glycerine.
- Gradually add gelatine while stirring until clear and viscous.
- Skim foam with a coffee filter.
- Pour slowly into molds.
Estimated drying and setting time: 5-10 days.
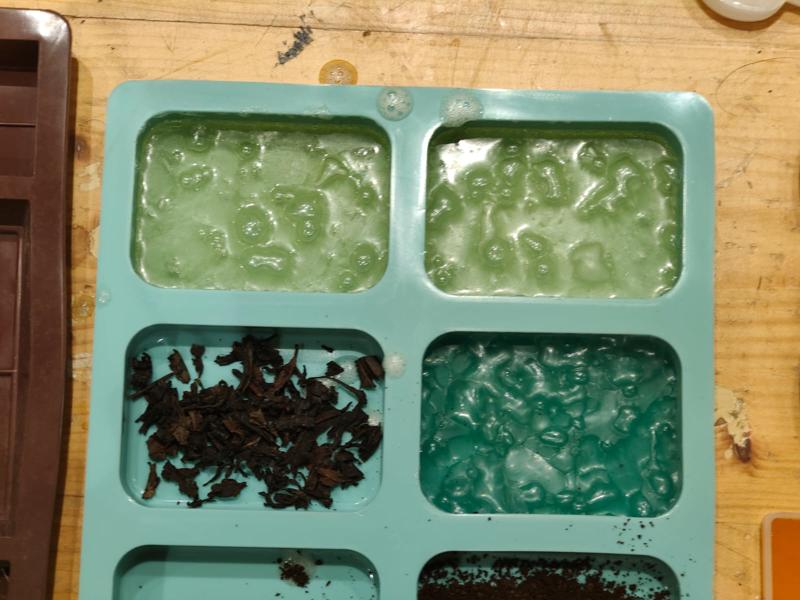
- Dye: Green
- Fillers:
| Filler | Proportion (w/w of gelatin) |
|---|---|
| Kaolin clay | 100% |
| Coffee grounds | 100% |
| Coffee grounds | 50% |
| Bagasse cellulose | 25% |
| Bagasse cellulose | 50% |
| Tea leaves | 25% |
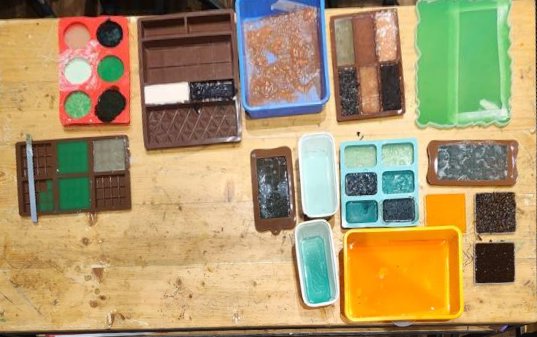
Overview of All Samples
Learnings and Takeaways
- Time: The biggest learning during this week was that the time itself is an ingredient; and an important one.
- Constraints shape the design: Premixed alginate and the mycelium setup requirements narrowed the options, so the final material list reflected what was feasible as much as what was interesting.
- Slow materials need upfront planning: With growing and curing taking days or weeks, I couldn’t iterate quickly. I had to design the whole experiment as a matrix of variables (binder, glycerine level, filler type, filler ratio) before seeing any results.
- Traceability makes results comparable: Colour-coding each material family and stating fillers as % w/w of the binder let me compare samples instead of ending up with an unlabelled pile.
- Formulation defines the material: The same gelatin became foam, silicone-like or resin-like depending on the recipe, and pectin changed flexibility with glycerine content.
- Fillers are structural decisions: Coffee, tea, bagasse cellulose and kaolin each interact differently with the matrix, which affects flexibility, surface and drying.
- Grown vs crafted are different ways of working: With kombucha I set the conditions (jaggery, restricted ventilation) and the organism does the work. With cast materials I control the outcome directly.
- Think in trade-offs: There is no single perfect recipe. Each material sits somewhere between flexibility, strength, appearance and process time.
Questions for further research:
- I was told by my local Instructor, Jesal Mehta that rice husk as a filler messes with dying and setting time for the gelatin mix. I have observed the same with Spirolina powder, day 4, it is still significantly behind in terms of setting.
- The role of tannin in the biomaterial developement. Be it Biochromes or growing kombucha or other application, the presence of tannin and it benefits is something I would like to get into further.