Digital bodies
A body as a territory
Two years ago, during my internship at the CPF Makerspace, I watched Zahya and Shahd work on their final projects at Fabricademy.
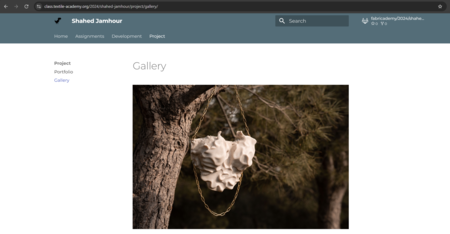
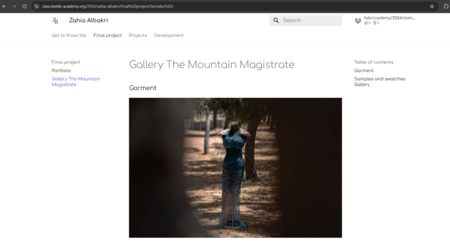
Seeing how they approached the body as a territory for growing and developing designs made me connect the dots. As an architect, I had always been used to thinking about land in a similar way: as a territory that can be explored, occupied, transformed, and reimagined.
At the same time, during my public art residency at the Jordan National Gallery of Fine Arts (JNGFA), I was surrounded by performance artists who approached the body itself as a medium.
This week brought these two ways of thinking together, It gave me the opportunity to translate my growing attention to the body into a medium for artistic expression, design, and experimentation.
Part 01: Tutorials, 3D Scanning and Ideation
a. Getting started with Blender
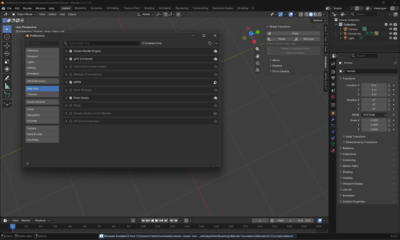
The week began with a Blender tutorial by Rico. It was my first time working with Blender, and we explored the basics, including how to install and use add-ons(I used this later to install an add-on called rokokko).
b. 3D scanning: exploring different methods
Claudia introduced us to 3D scanning. I experimented with different approaches, from scanning small objects with my phone to capturing one of my older projects using the lab's scanner.
Scanning with my phone
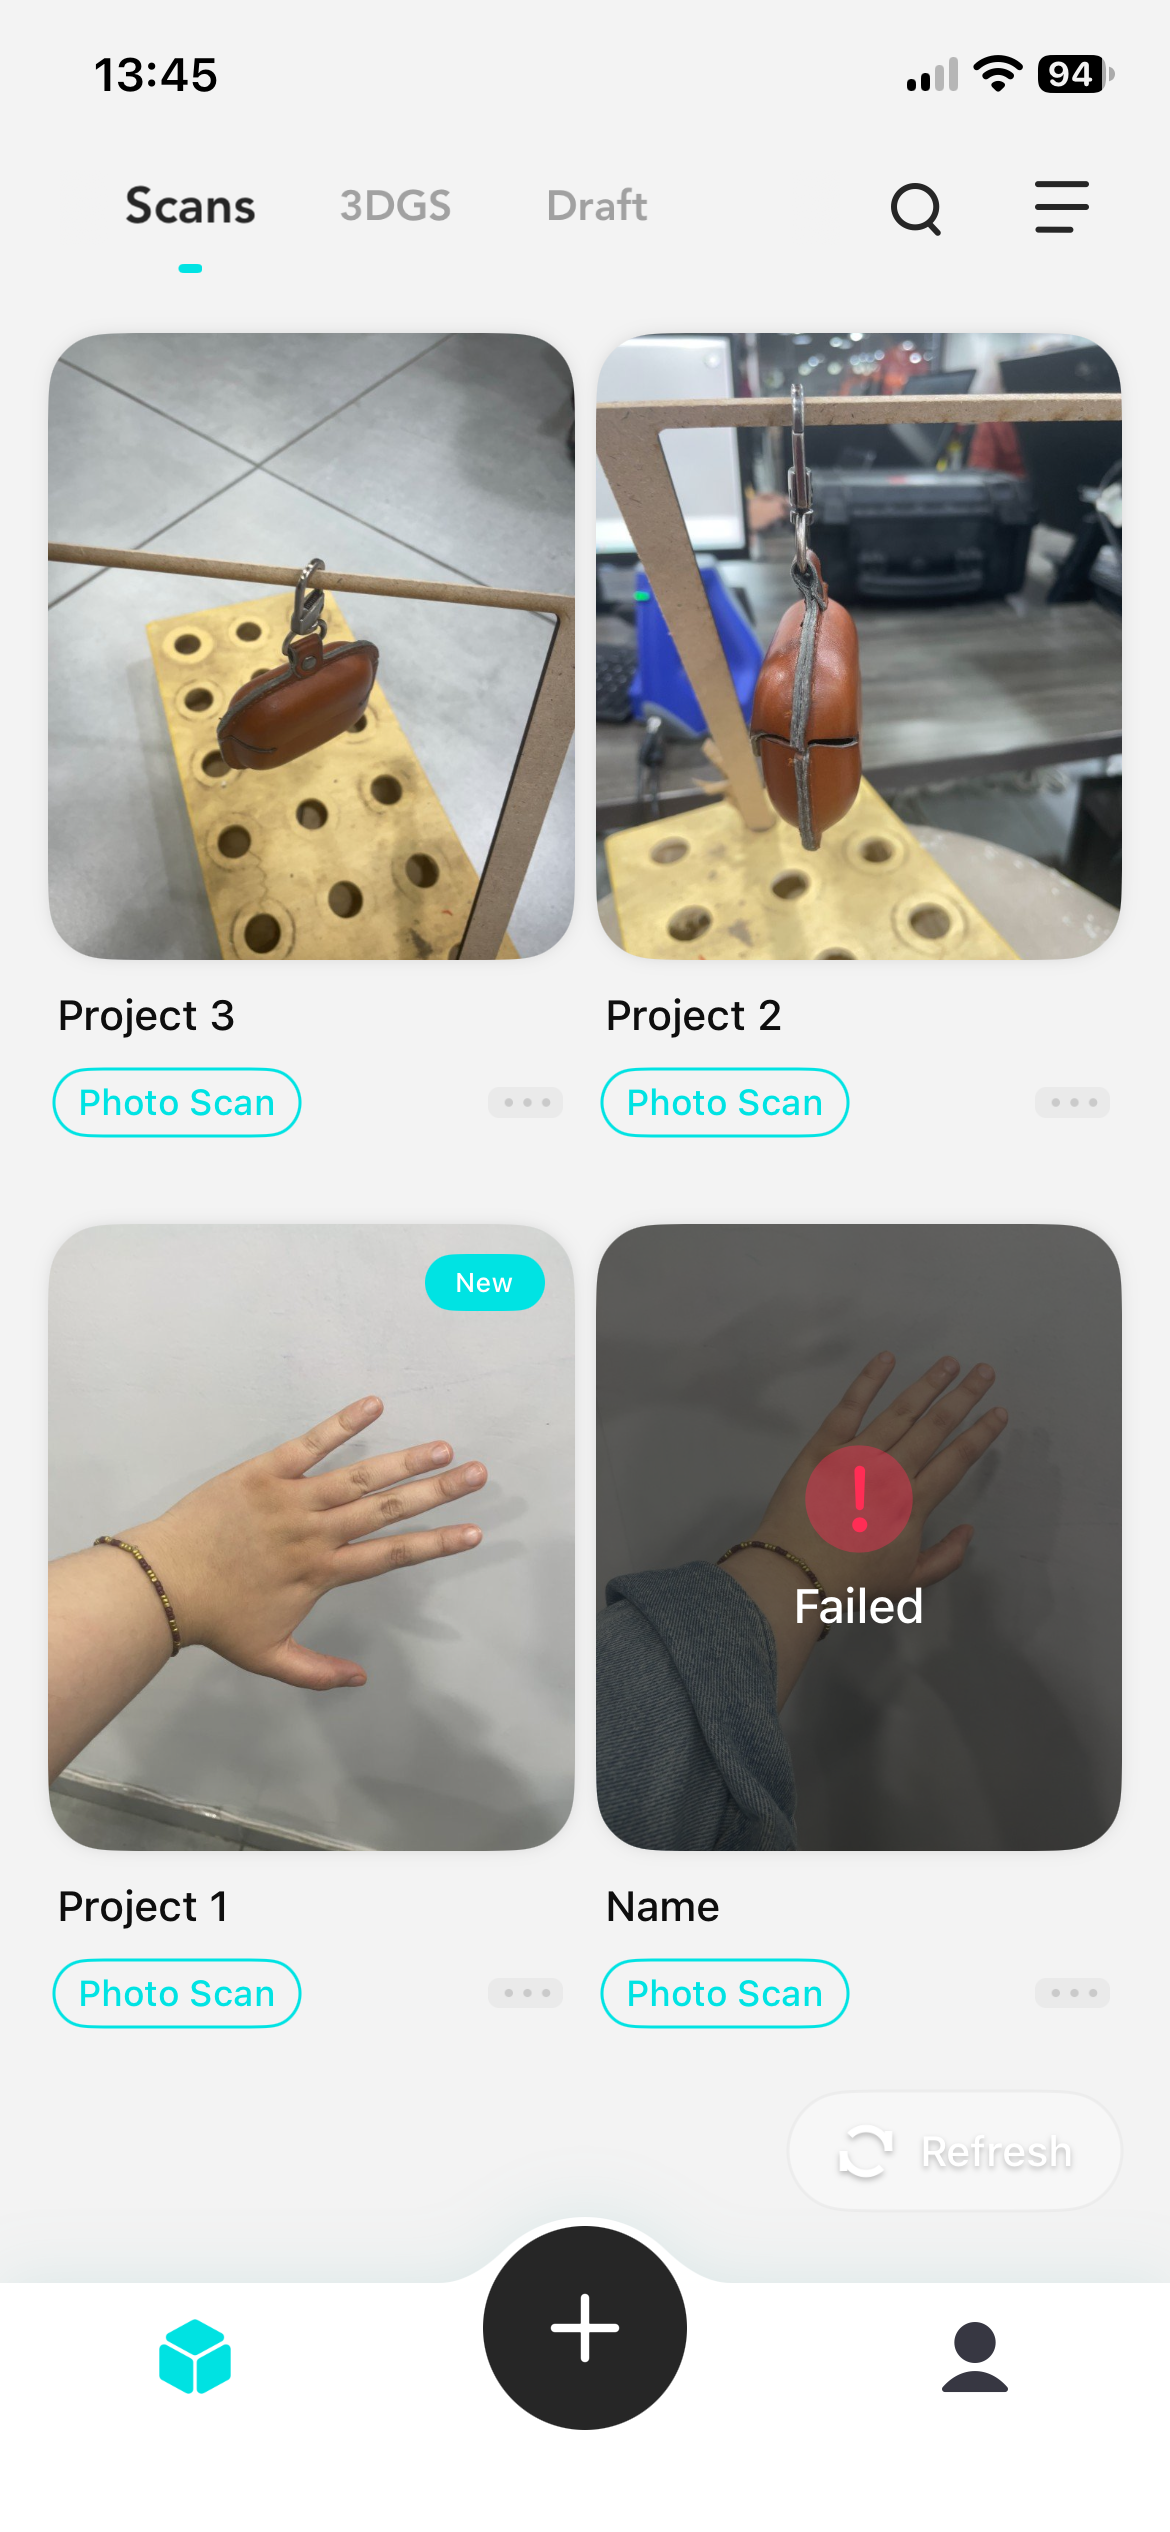
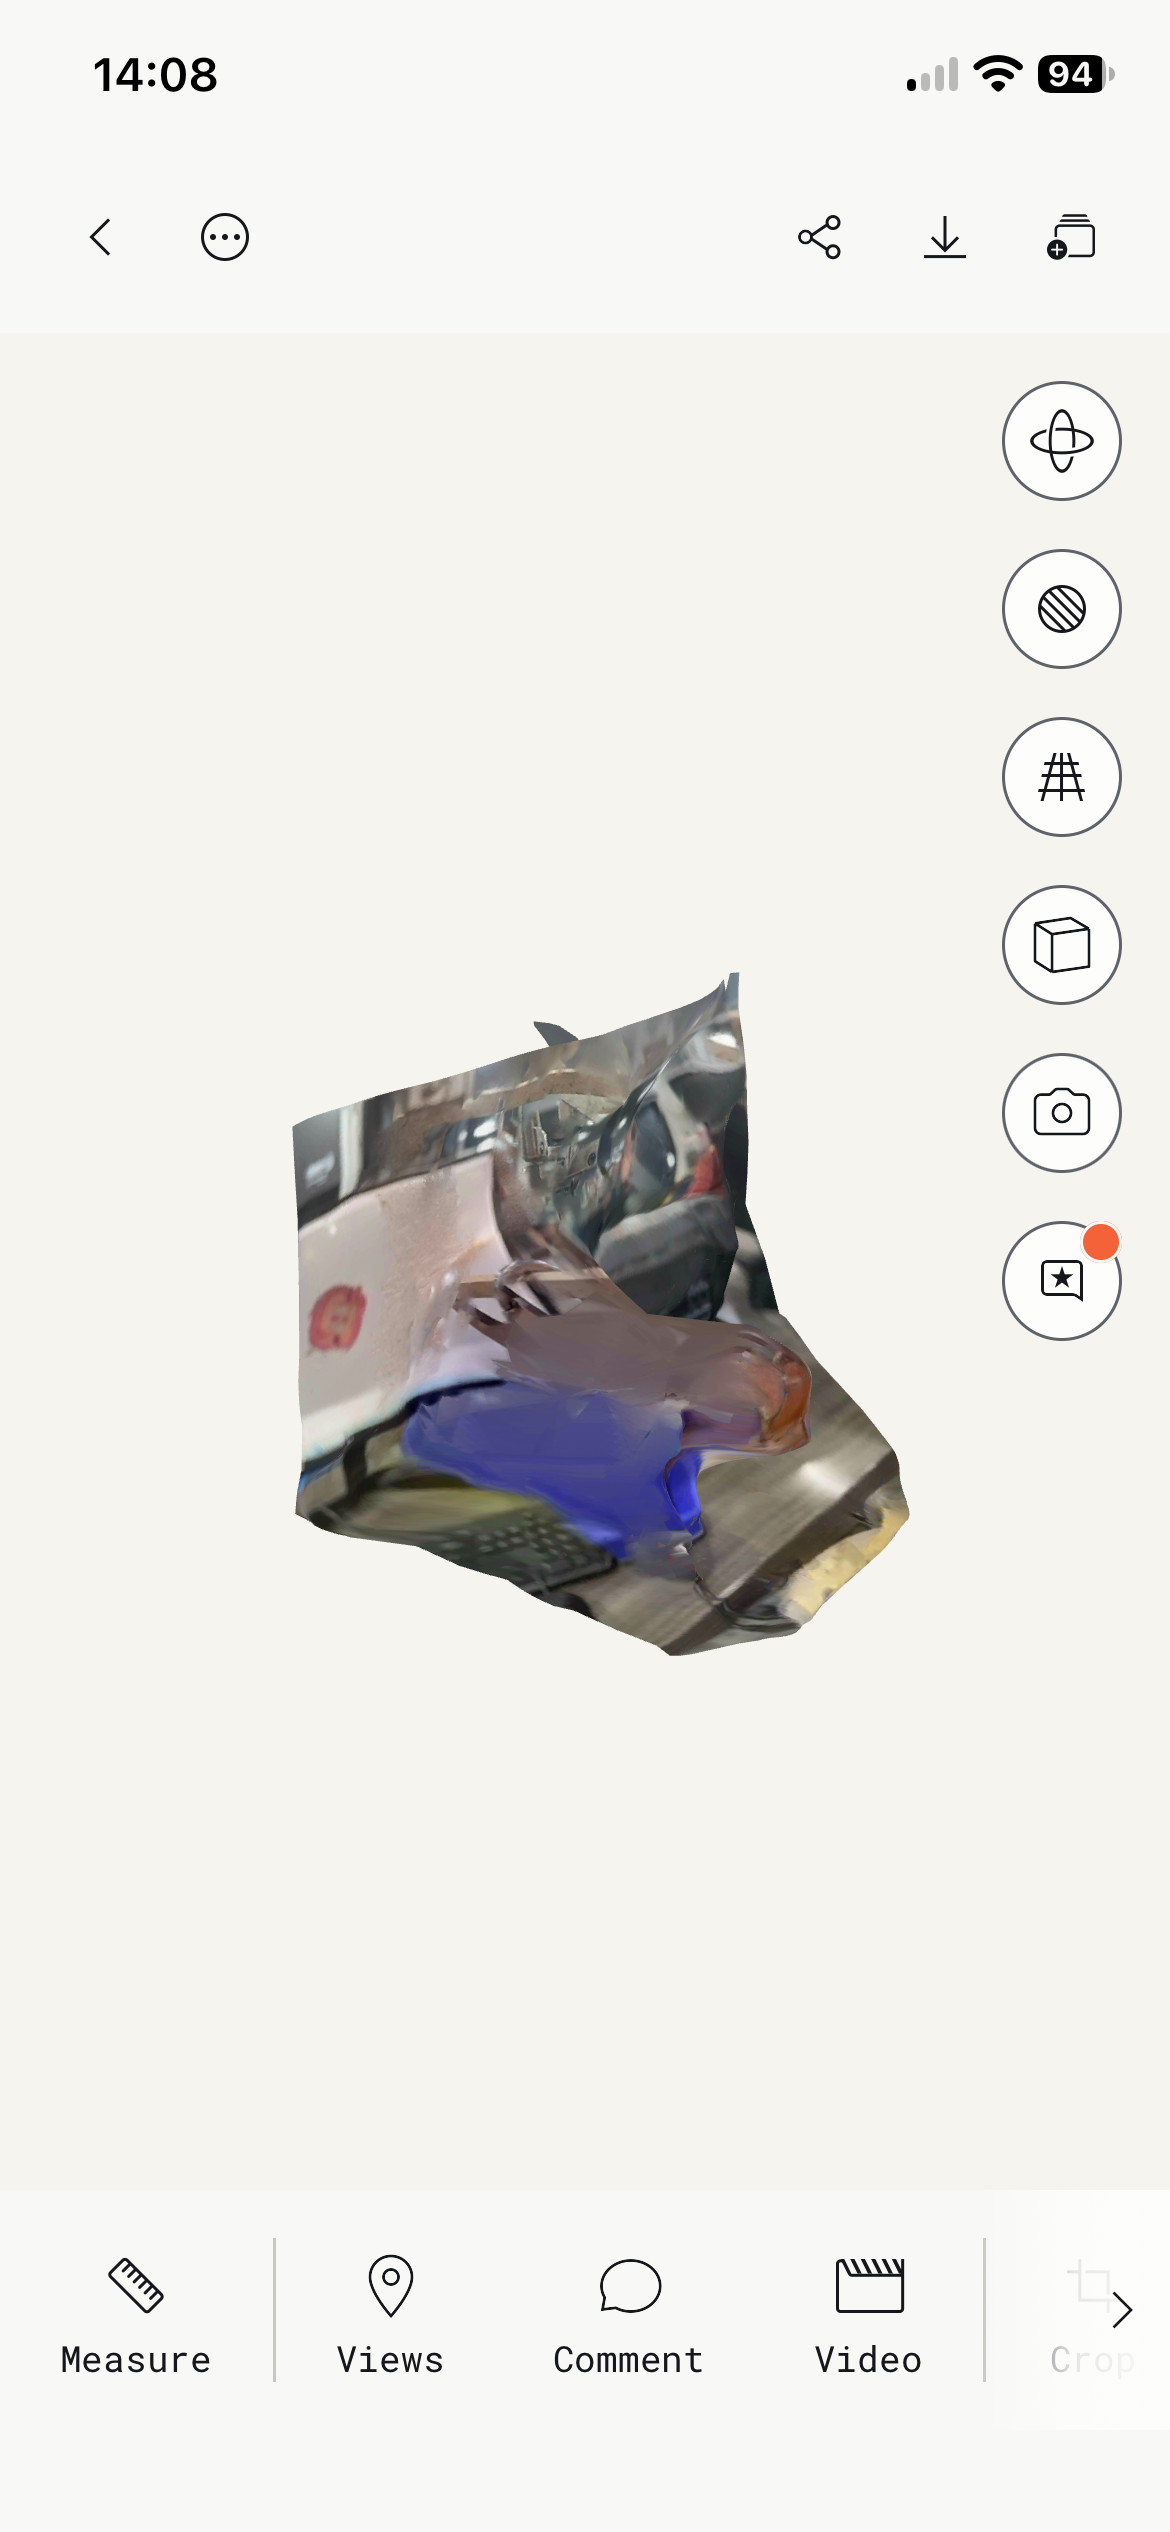
My first attempt was scanning my hand using the KIRI Engine app. The result was not particularly successful; the geometry and details did not capture the hand as I had imagined.
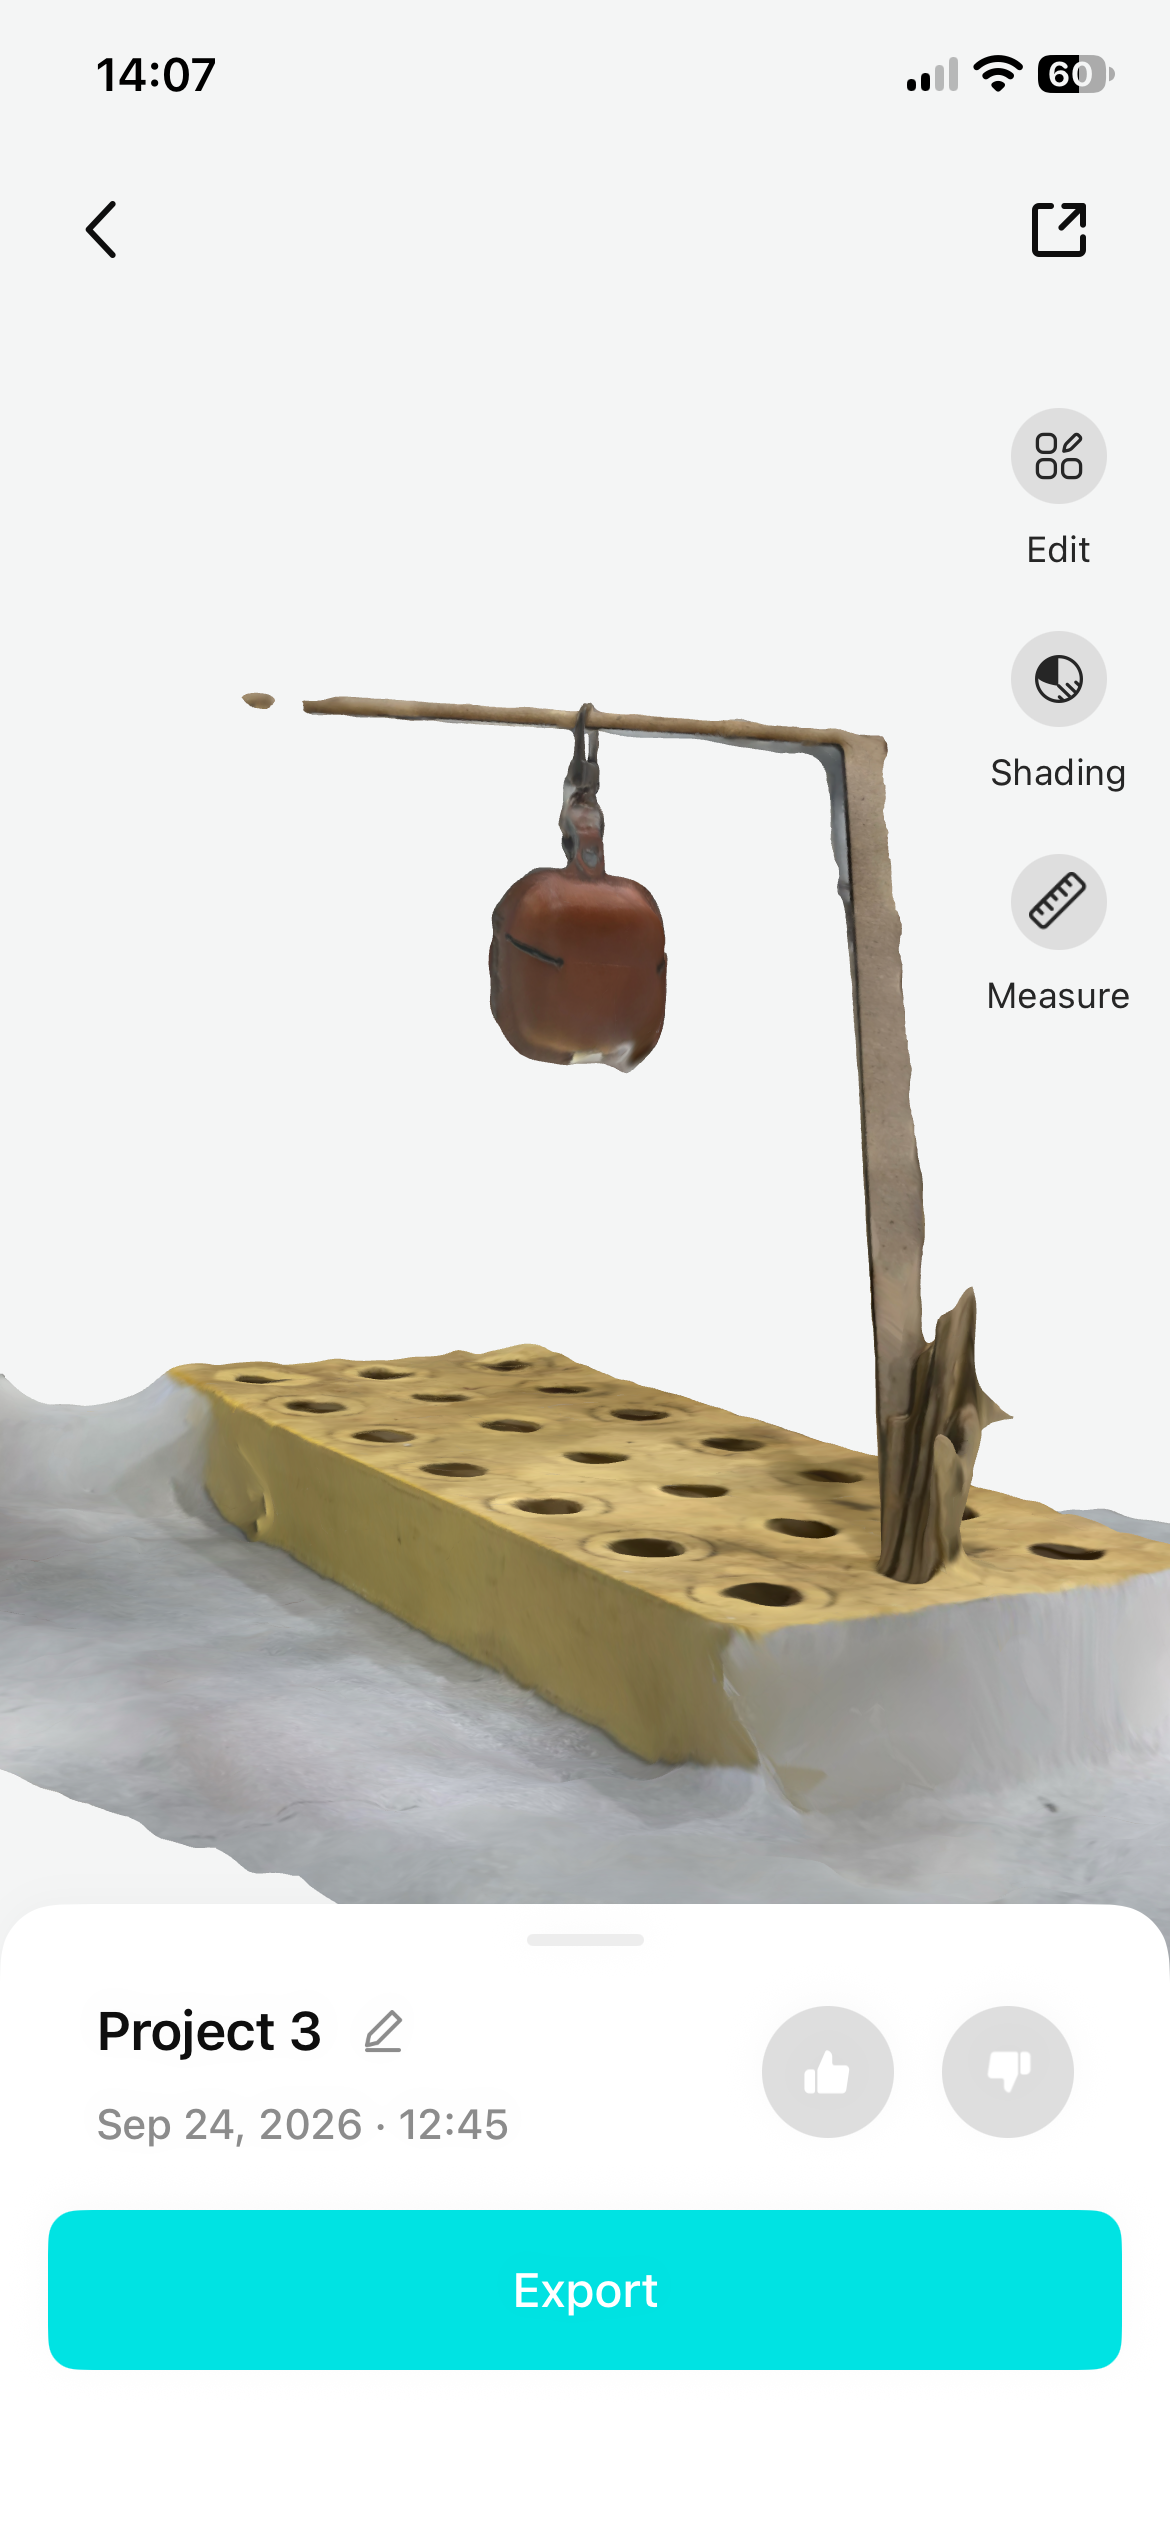
I then tried Polycam with my AirPods case, Zeina helped me doing the stand :)). This time, I kept the object fixed on the ground and moved my phone around it. The result was much better.
Scanning with the lab's Artec 3D scanner
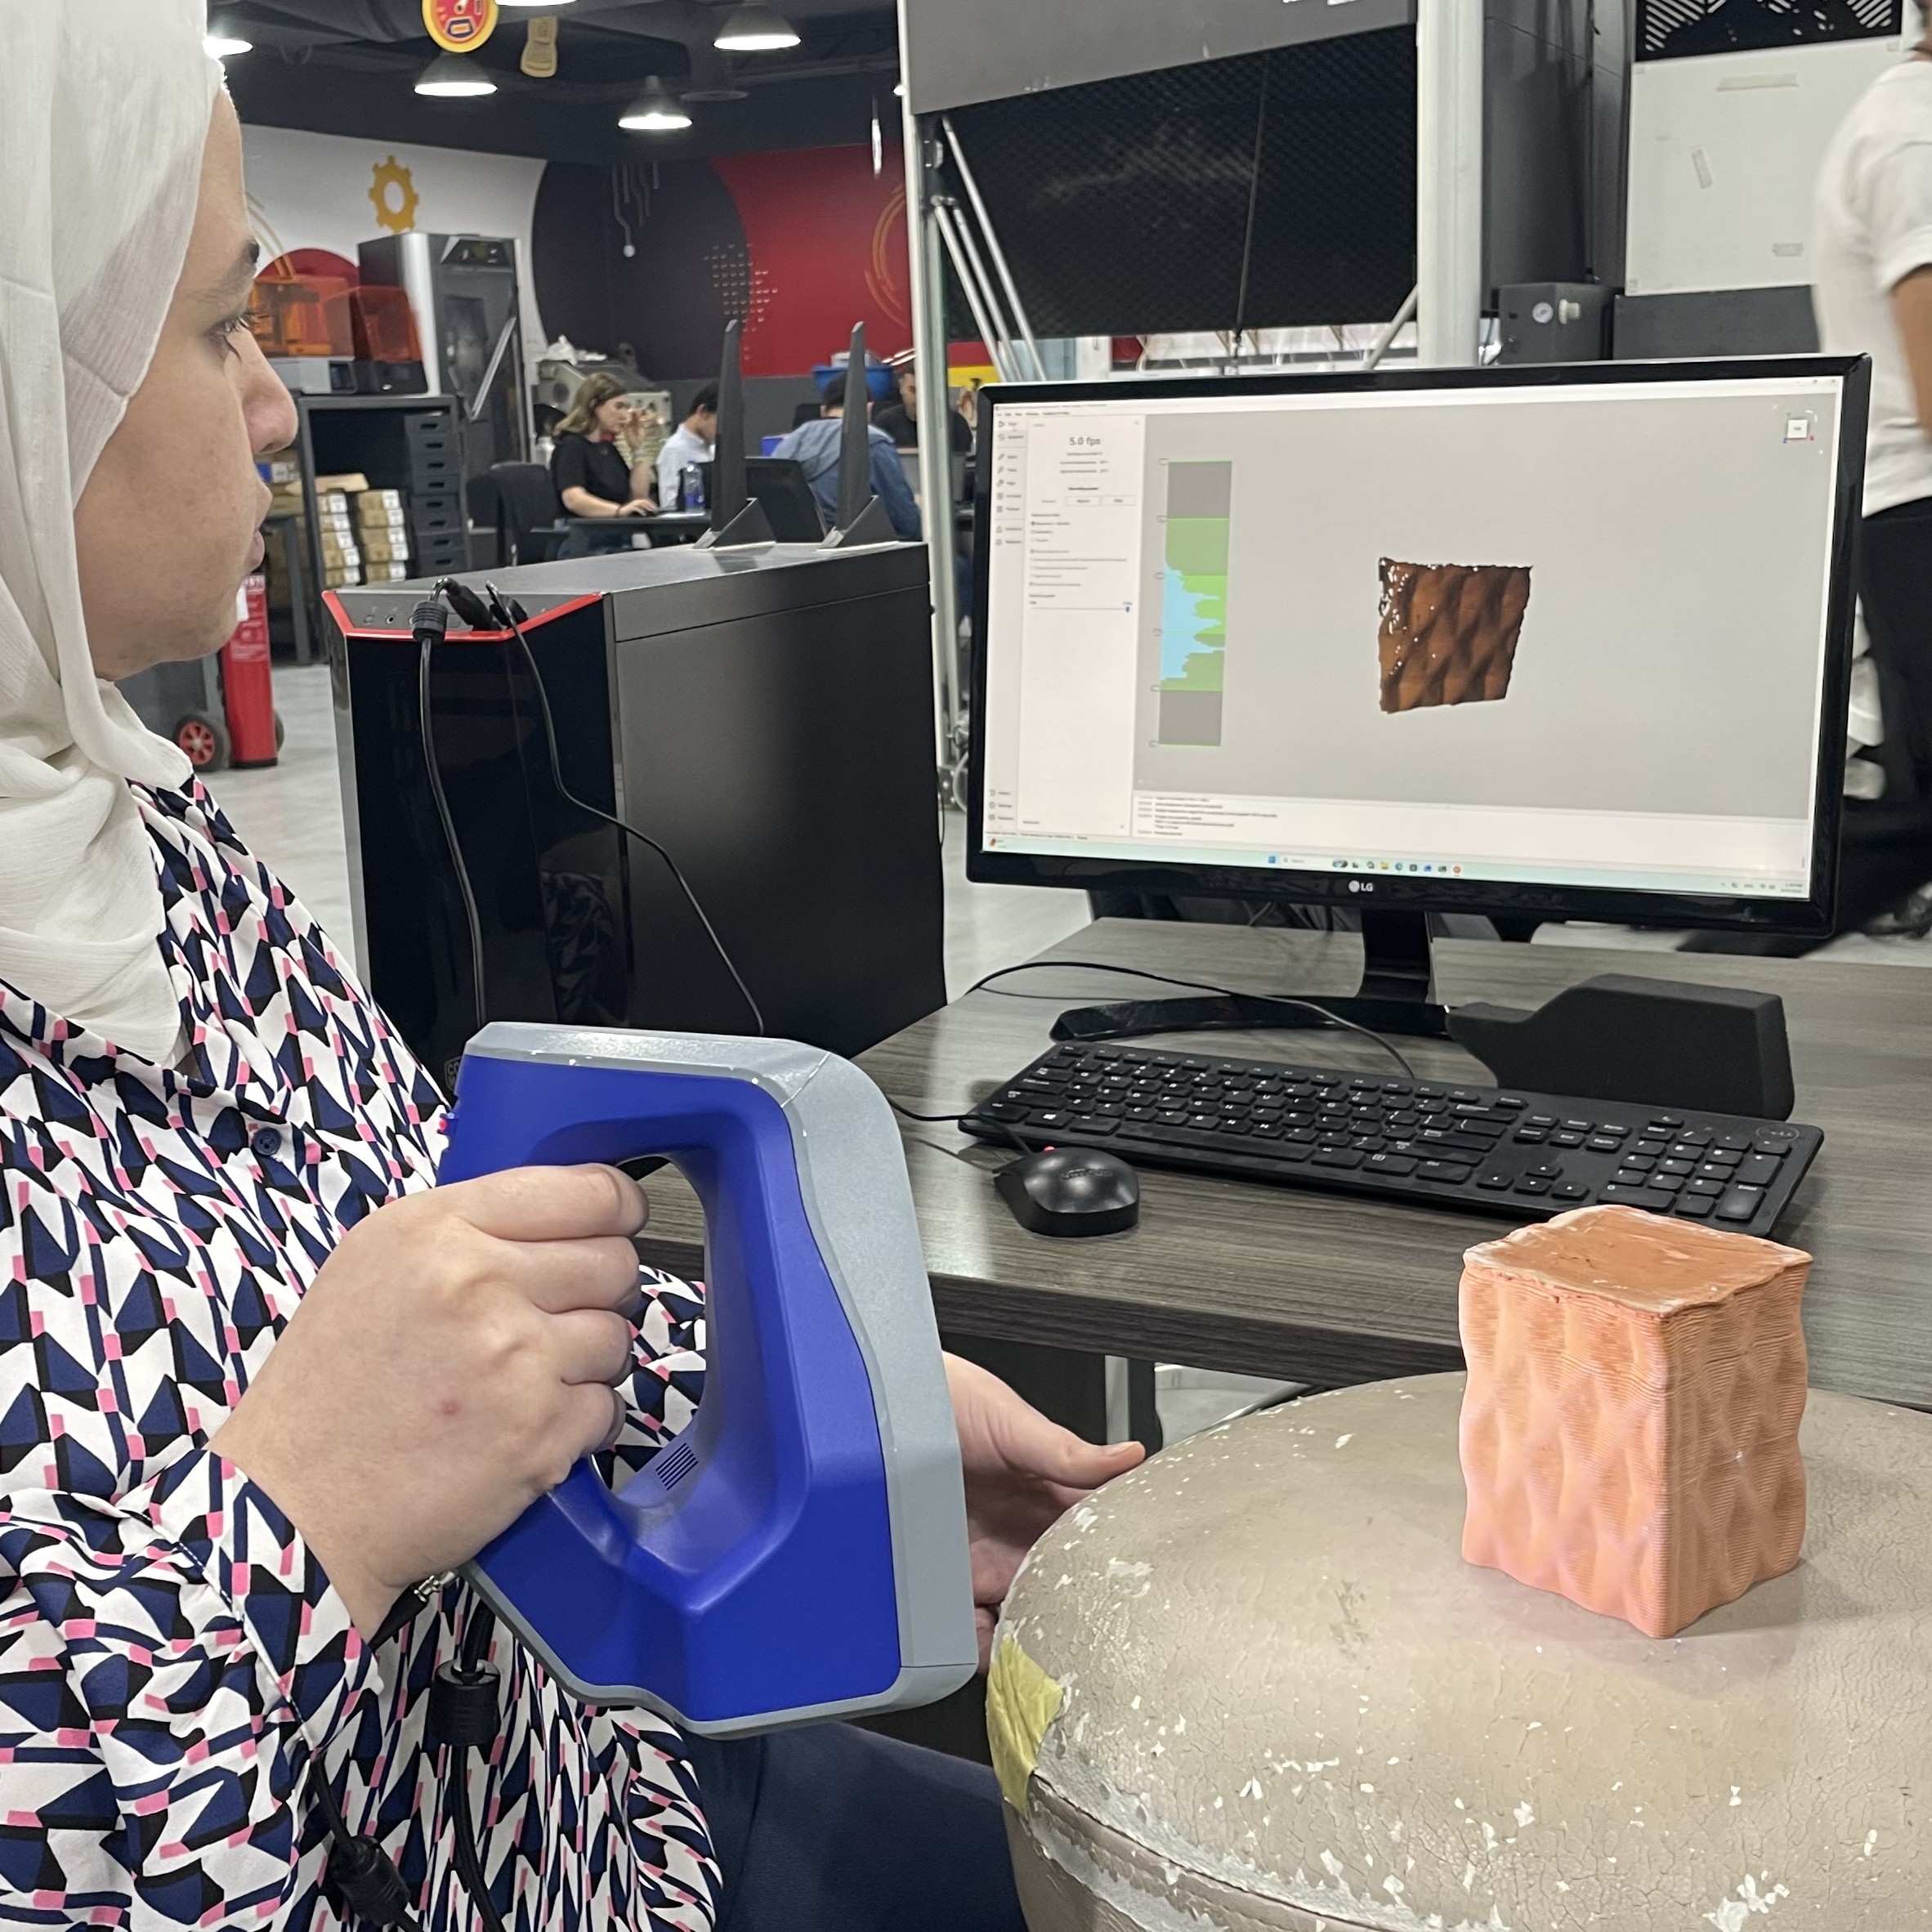
For my next experiment, I used the lab's Artec 3D scanner to scan an older project of mine, originally printed with clay, the result was interesting.
The lab had a rotating stand for the Artec scanner, but it had not yet been activated, so instead, we placed the object on a revolving chair and slowly rotated it by hand while scanning.
Inspiration
In my Hello page, I mentioned how my interest in the body developed through witnessing different approaches to it: as a territory, a medium, and a space for expression.
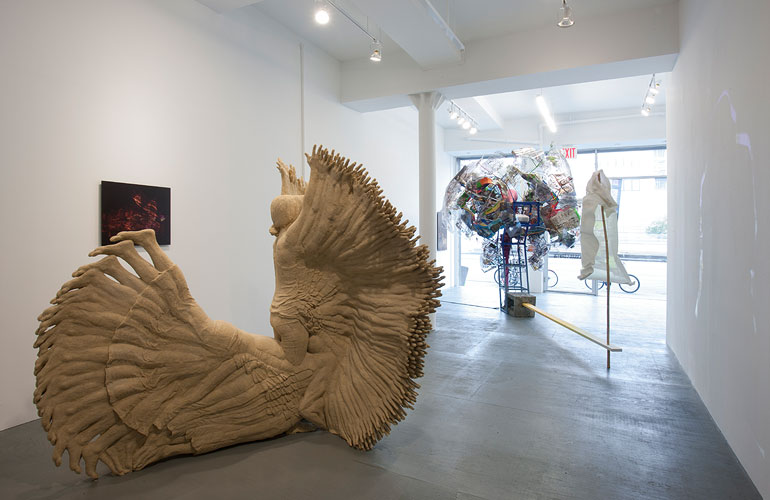
Through the Digital Bodies lecture, I discovered Katie Grinnan. Her work Mirage resonated with what I had in mind, particularly its exploration of the body as a form that can be reconstructed and transformed.
I was drawn to the possibility of moving between the physical body and its digital representation.
I wanted to explore the body as a territory of تحرر — liberation. Not simply as a body escaping physical restrictions, but as one questioning the boundaries through which we understand and experience it.
Part 02: Choreography and Design
The Dance: Freeing Body — تحرر الجسد
I wanted to translate this idea into movement before translating it into a digital model.
Together with my friend, dancer and choreographer Lour Mdanat, we developed and recorded a choreography titled Freeing Body — تحرر الجسد.
The dance follows three stages of the body's struggle towards liberation: from restraint and hesitation, through resistance, to a state of reclaimation.
a. Restraint: The body turned inward
The dance begins with a body that feels bound, trying to break free.
Its movements are hesitant, fearful, and shy. The body folds inward, holding itself back, as if negotiating with an invisible restriction.
b. Resistance: Testing the boundaries
The movement gradually becomes sharper, faster, and more forceful.
The body searches for its limits, pushing against them, touching its surroundings, and testing the boundaries of its movement. It struggles to move beyond what confines it.
c. Reclaimation: A body in relation
The final stage moves towards calmness and coherence.
The body opens outward and reaches a more grounded, reconciled state. Rather than separating itself from its surroundings, it develops an extended and more conscious relationship with them.
The recorded choreography became the starting point for translating movement into digital form, and eventually into a physical sculpture.
Part 03: Dance Tracking and Turning Poses into Mesh
a. From performance to motion capture
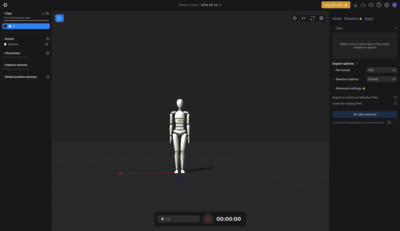
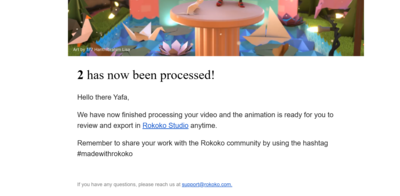
To translate the choreography into a digital body, I uploaded the recorded performance to Rokoko Create.
The platform extracted the movement from the video, allowing me to bring the choreography into a 3D environment without manually animating every movement.
After processing, I reviewed the animation in Rokoko Studio and exported it as an FBX file.
b. Bringing the motion into Blender
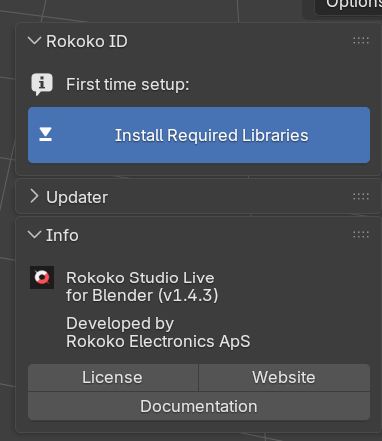
I installed the Rokoko Blender plugin to import the motion-capture data and transfer the animation to a digital character.
The plugin was updated through its Libraries interface.
c. Finding a digital body
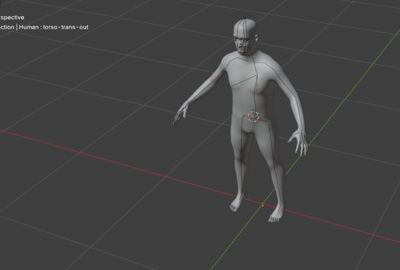
My first attempt was to use characters created through MakeHuman in Blender. However, I ran into compatibility issues with the rigs and the retargeting process.
I eventually selected a character from Mixamo, which provided a rigged character that I could use as the target for the Rokoko animation.
d. Retargeting the choreography
The next step was to transfer the motion from Rokoko's source character to the Mixamo character.
This process, known as retargeting, connects the movement of one rig to another. Since the two characters use different skeleton structures, their corresponding bones need to be mapped correctly.
e. Troubleshooting the rig
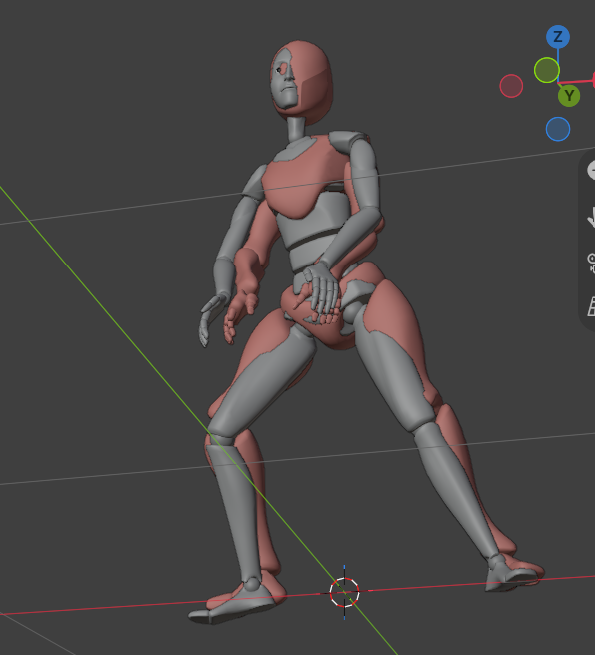
The first results were distorted, with overlapping body parts and duplicated limbs.
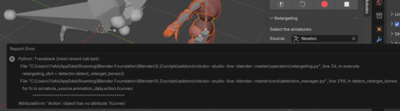
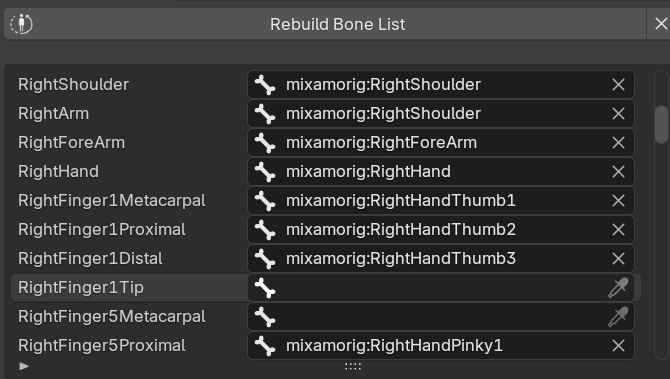
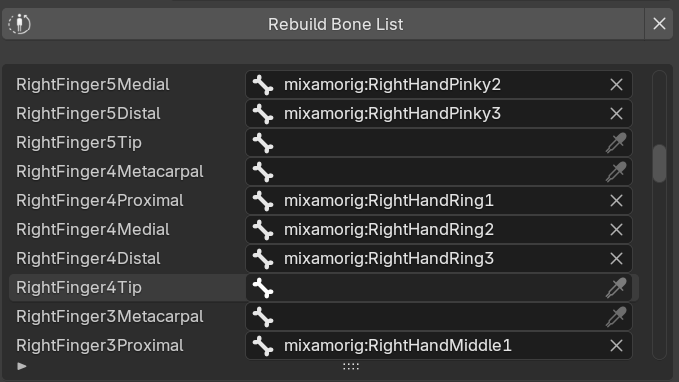
After examining the bone-mapping list, I found that some shoulder assignments had been duplicated, with upper-arm bones assigned to shoulder bones as well.
I corrected the shoulder and upper-arm mappings separately and hid the original Rokoko source character when inspecting the Mixamo character, since both could appear together and make the model look doubled.
This was one of the most challenging parts of the process. It required checking the individual bone assignments rather than simply repeating the retargeting operation.
f. Extracting three moments from the dance
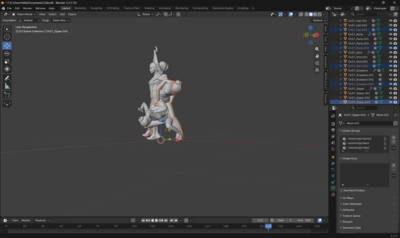
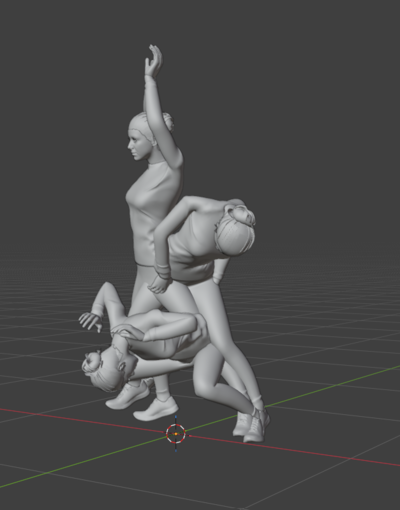
Once the character was moving correctly, I returned to the choreography and selected three frames that represented the stages of the dance.
| Pose | Frame | Stage |
|---|---|---|
| 01 | 79 | Restraint |
| 02 | 113 | Resistance |
| 03 | 200 | Reconciliation |
I duplicated the character at each selected frame and converted the animated objects into static meshes, preserving the body's position at that moment.
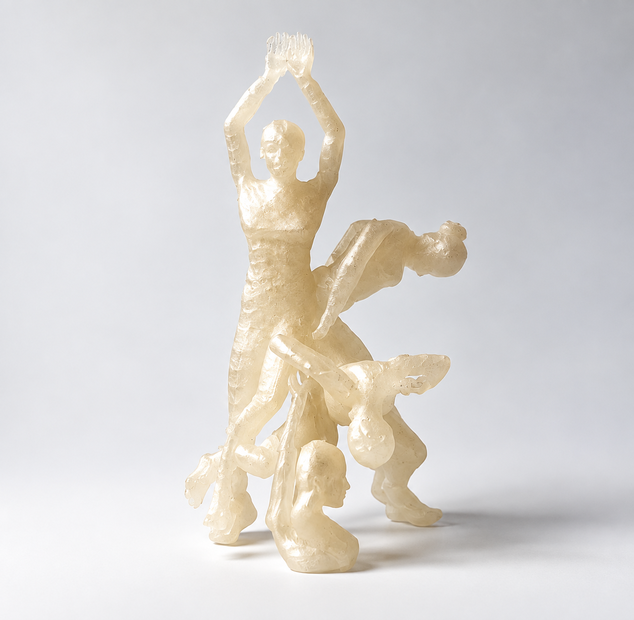
These three frozen moments became the basis for the sculptural composition.
g. Joining the character's components
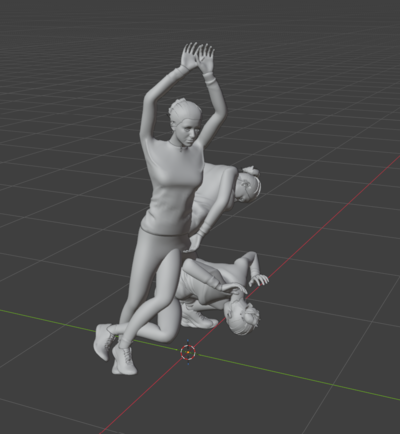
The Mixamo character was made up of separate objects, including the body, hair, clothing, eyelashes, and shoes.
I selected the corresponding components of each pose and joined them into one Blender object using Ctrl + J.
This simplified the model's structure and prepared it for the next stage of mesh processing. However, joining objects does not automatically fuse intersecting surfaces into a single watertight volume.
h. Exporting to STL
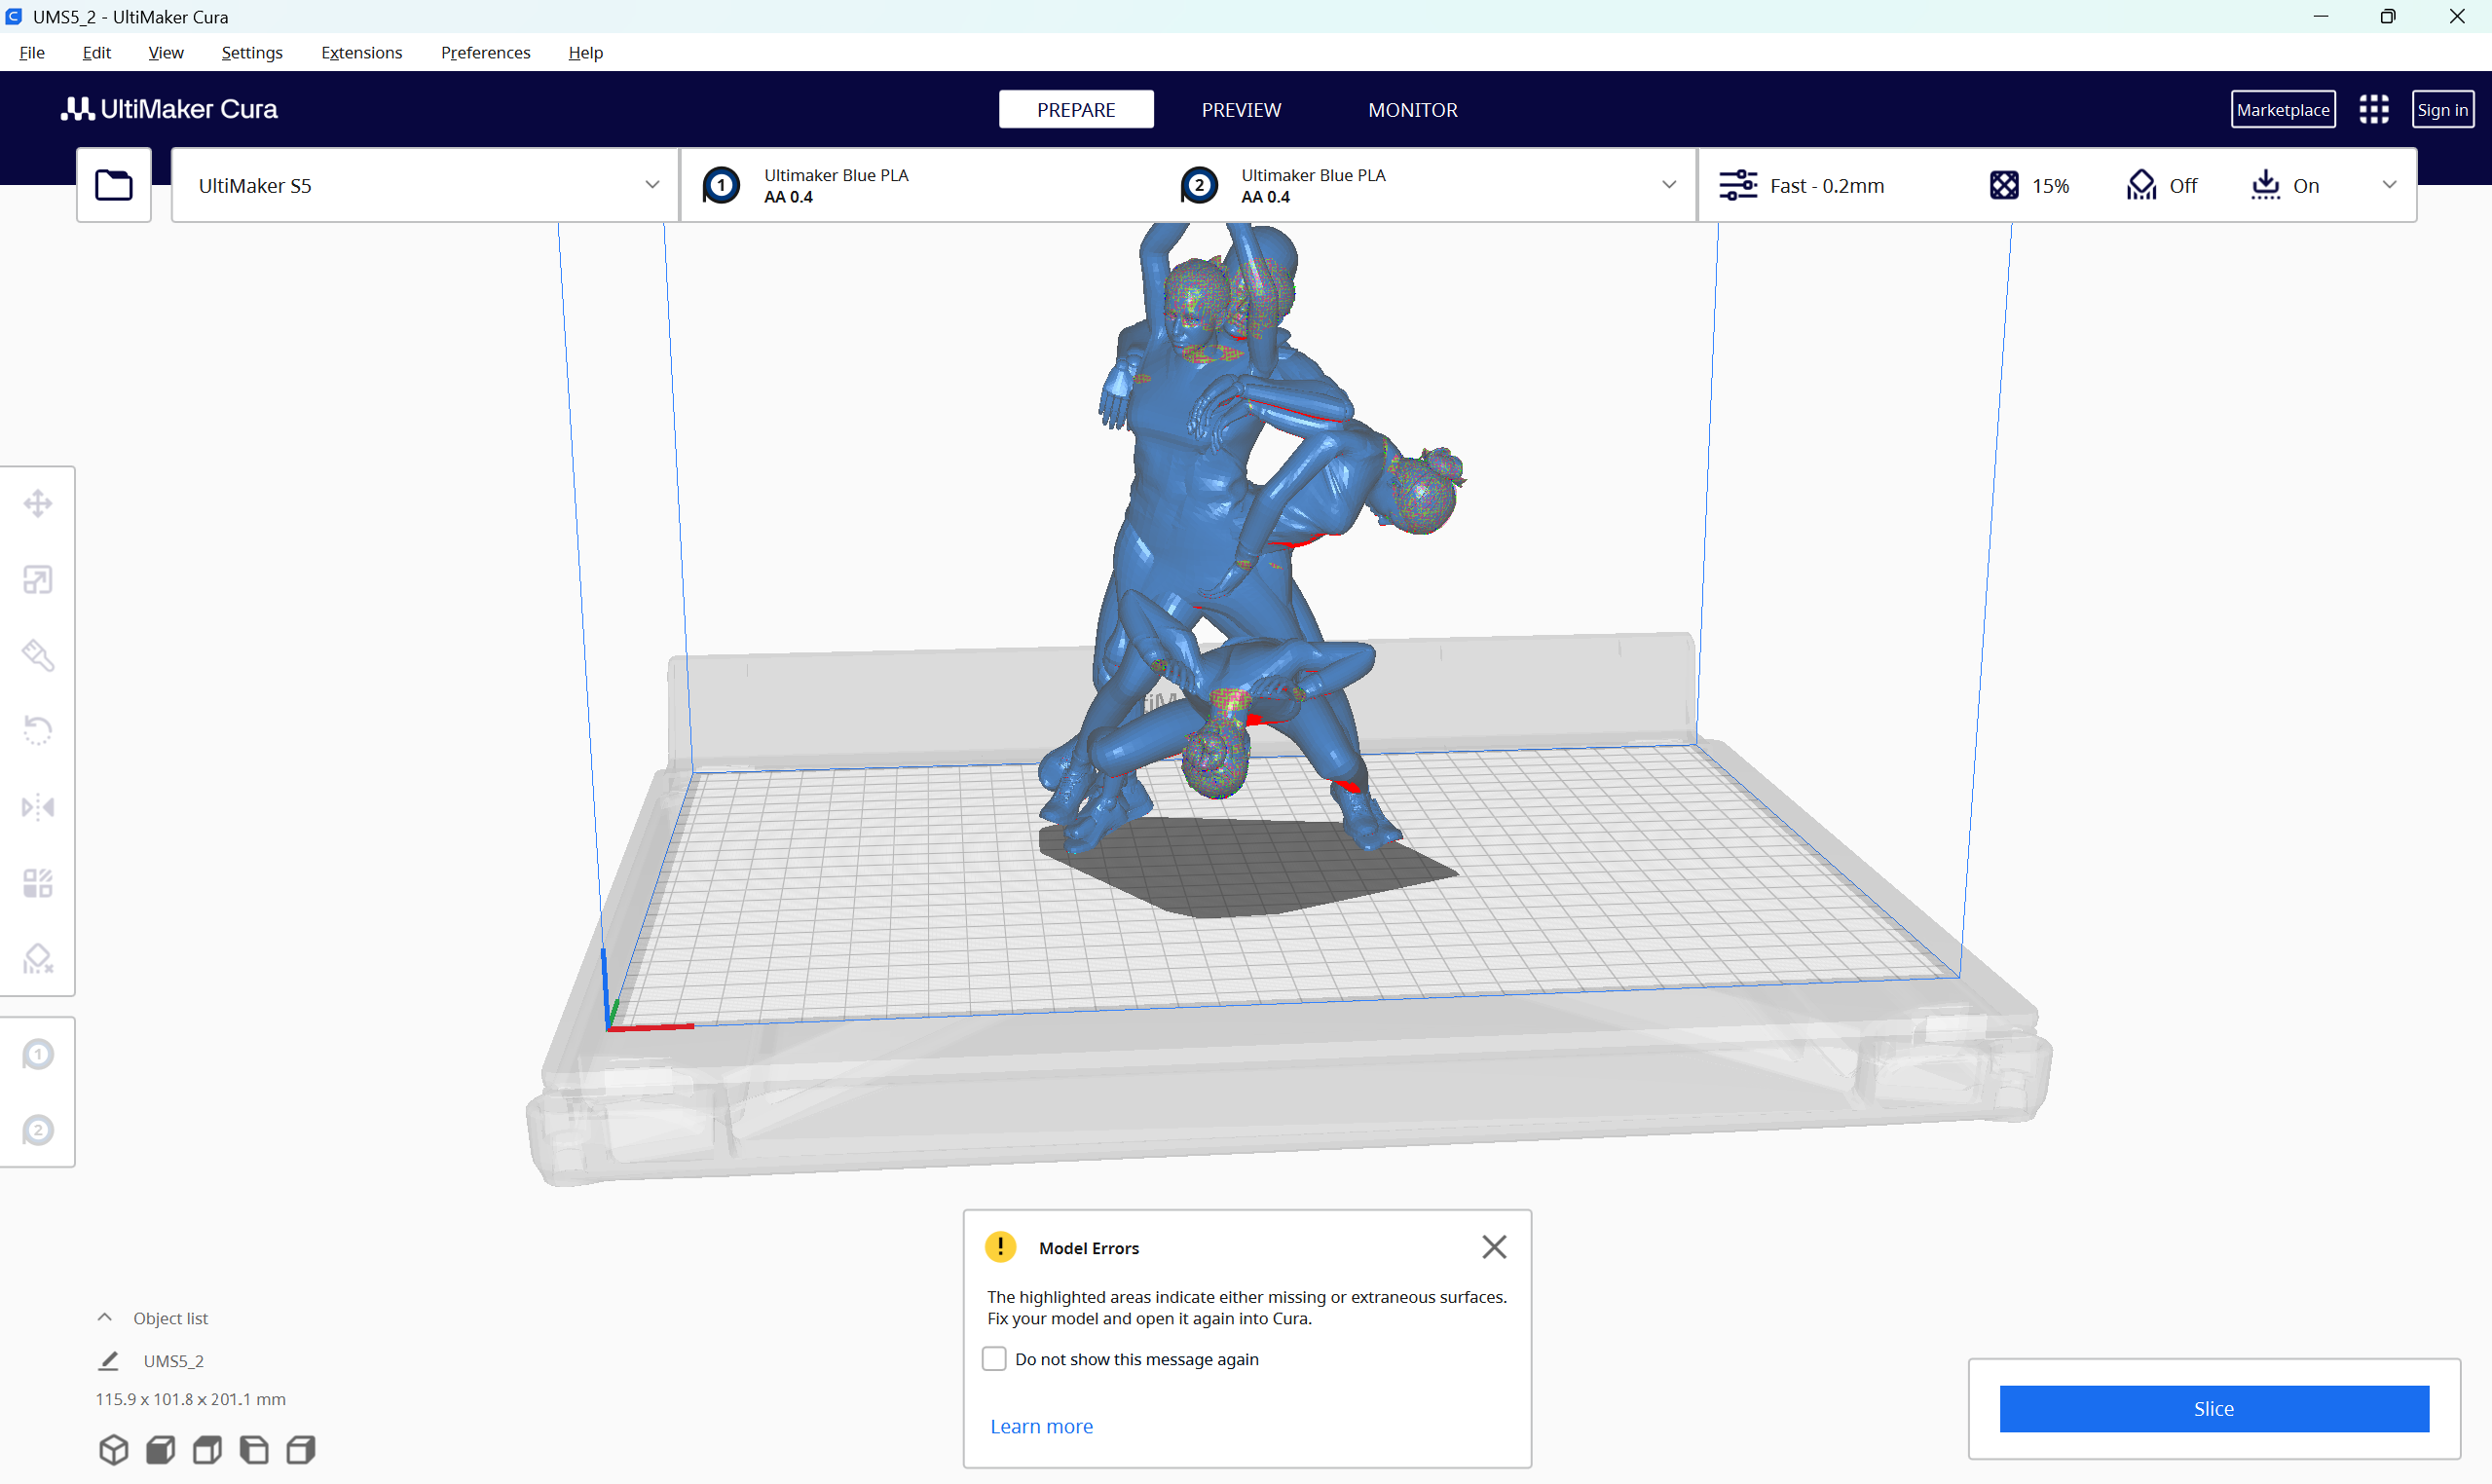
After extracting the poses and organising their components, I prepared the models for export as STL files.
We spent Sunday morning trying to fix the mesh. I was being patient and working through the troubleshooting. While Claudia encouraged me to ask for help, I didn't mind asking, but I also wanted to understand what was going wrong and solve it myself, and I did!
Part 04: 3D Printing and Assembly
a. Preparing the sculpture
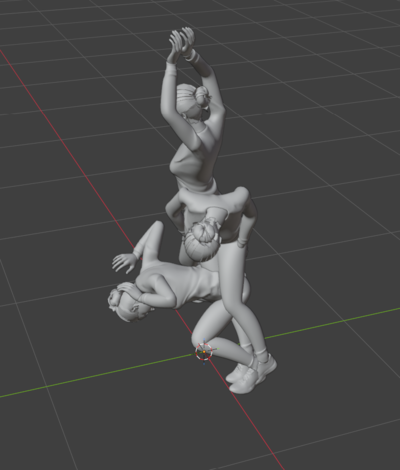
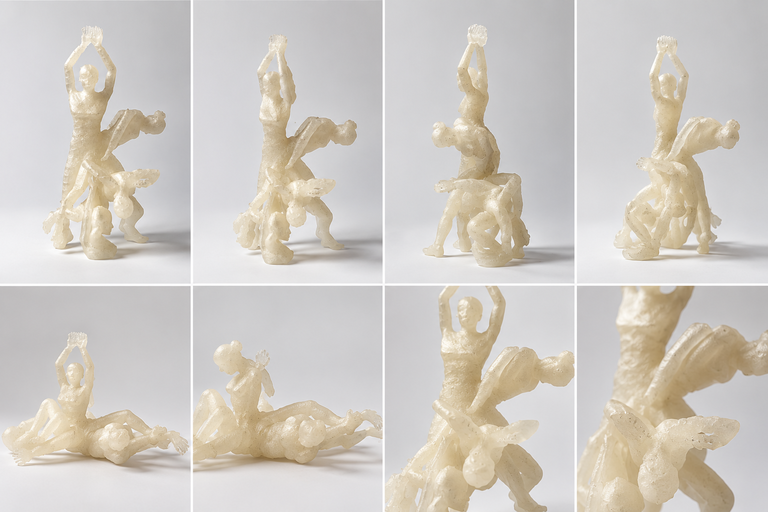
The next stage was to bring the three poses together into a sculptural composition.
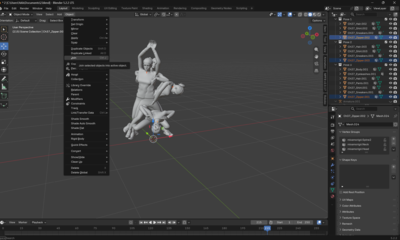
Before fabrication, the meshes needed to be checked for intersecting geometry, open edges, and non-manifold surfaces.
Voxel remeshing in Blender can be used to fuse intersecting surfaces, while maintaining a suitable level of detail.
The preparation process involved arranging the poses, checking the scale and dimensions, fusing the geometry where necessary, and exporting the final model as an STL file.
b. Slicing for 3D printing
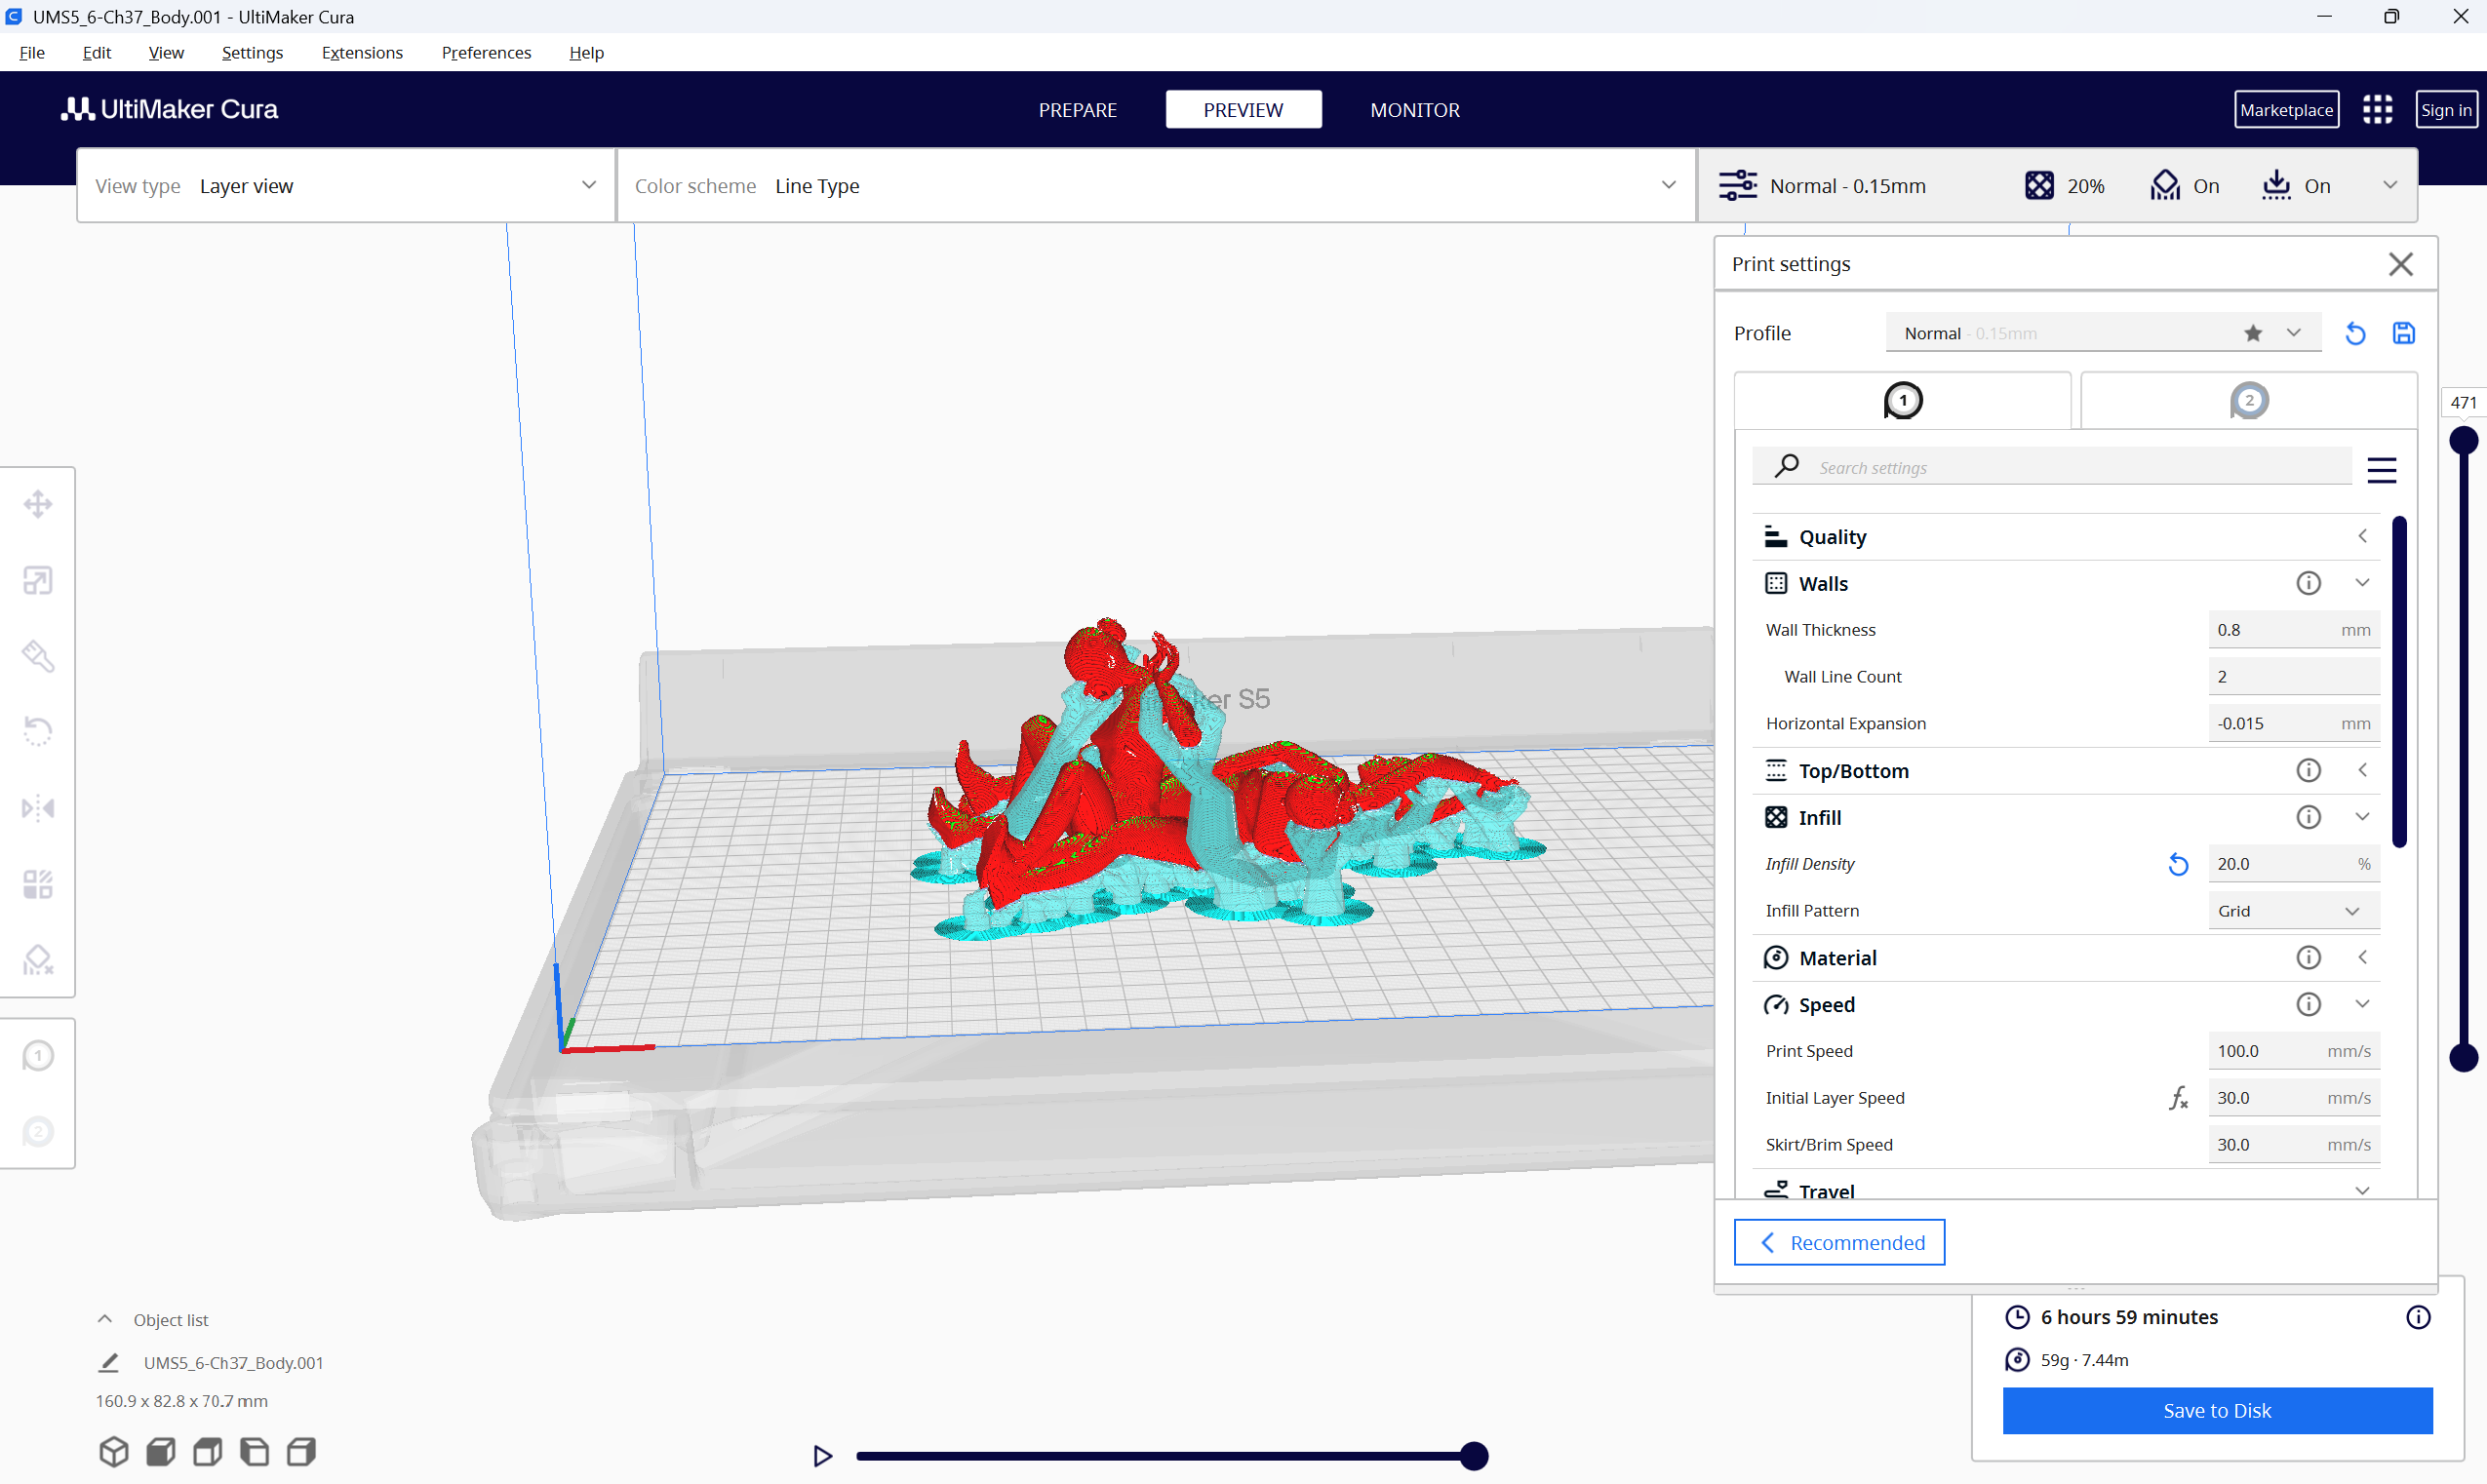
I imported the STL model into Cura to prepare it for 3D printing.
The model was oriented and scaled according to the printer's build volume and the selected material. The slicer then generated the layers and toolpaths required for fabrication.
c. Troubleshooting the first print
The first printing trial did not work as expected.
Together, we adjusted the placement of the body in Cura and prepared another attempt.
Results
Additional Part 05: Projection Mapping
From the digital body to light
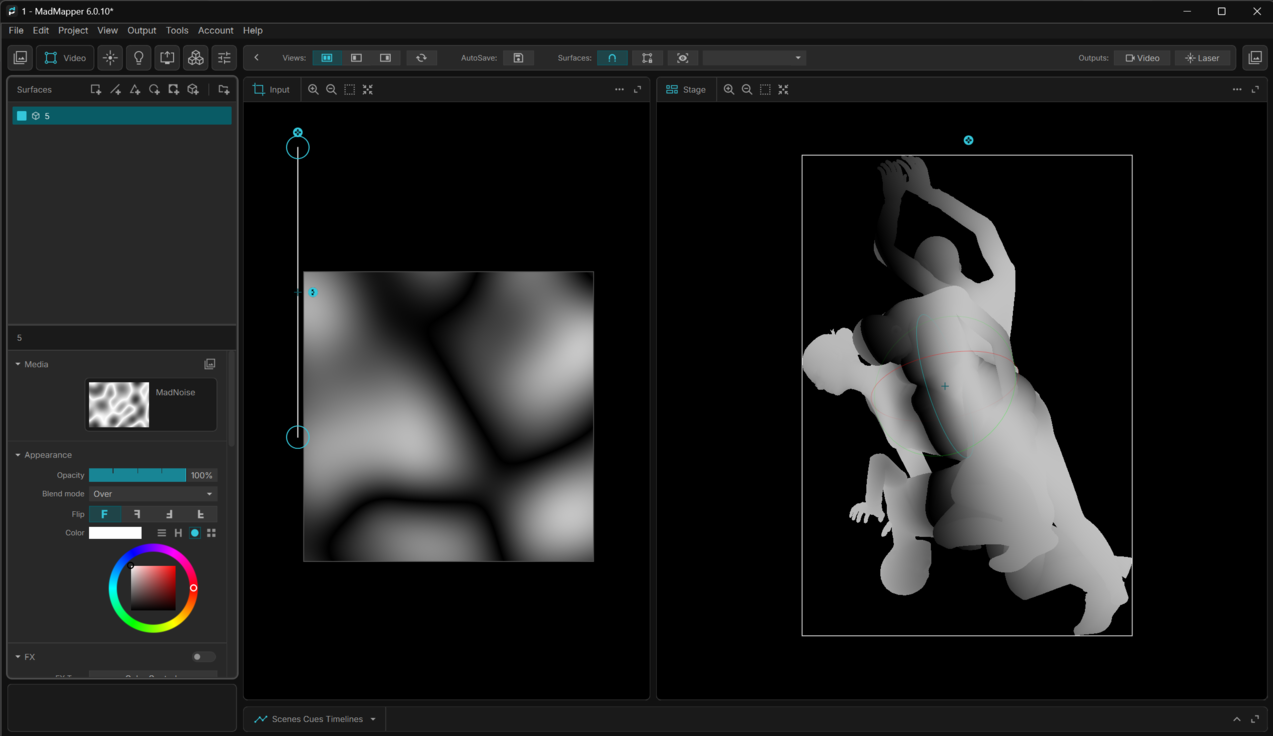
Beyond the physical sculpture, I wanted to continue exploring the body's digital presence through projection mapping.
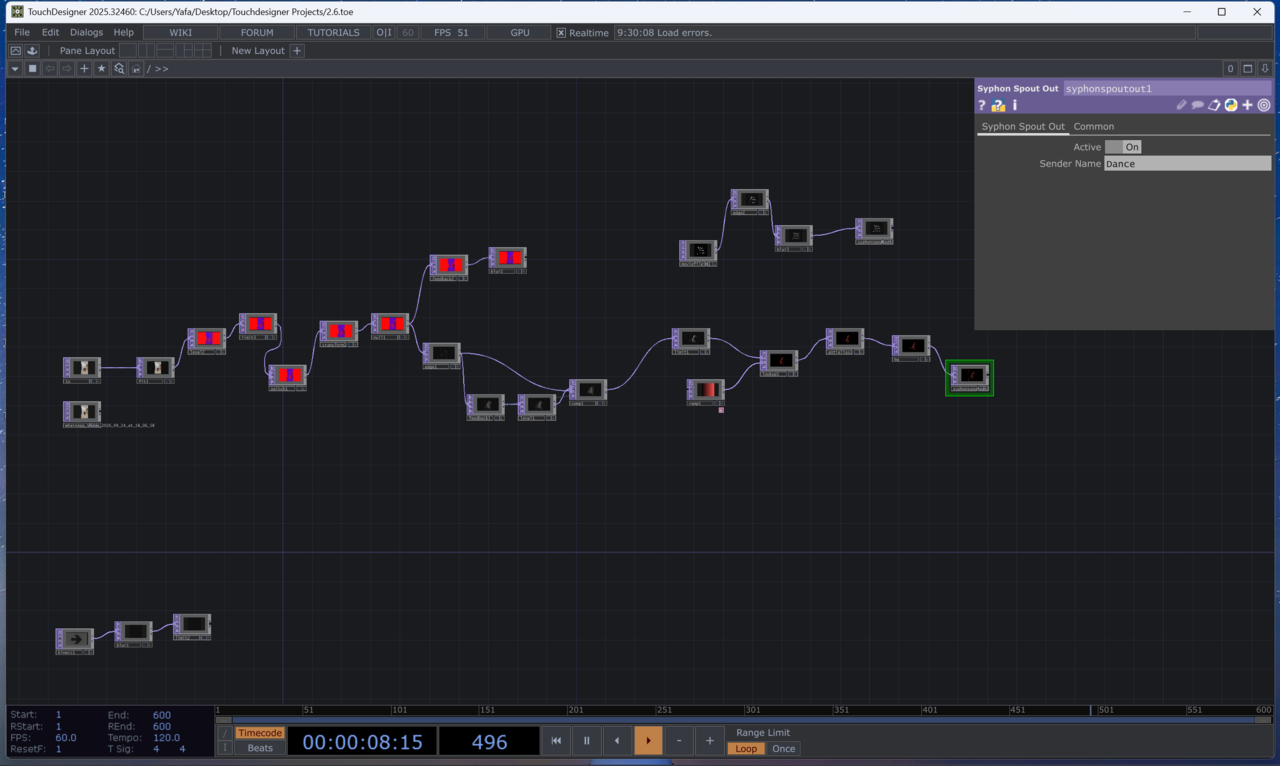
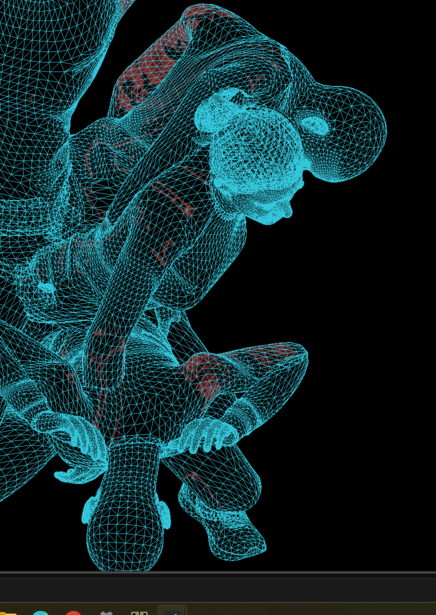
I imported the character into TouchDesigner and began experimenting with the visual direction for the projection.
The visual atmosphere was inspired by Eyad Rimawi's Forgiveness, combined with bold, futuristic imagery.
I imagined the body gradually dissolving into light, leaving behind traces of its movements — تلاشي.
Conclusion
This week was articularly meaningful to me because it brought together different ways I have been thinking about the body for years: as a territory, a medium, and a space of expression.
Starting with a choreography, I was able to translate movement into motion-capture data, reconstruct the body digitally, and extract moments that could eventually become a physical sculpture.
It also taught me something about the way I work. I learned to organise my time better, stay ahead of the process, and leave room for the unexpected.
The body that began as movement became a digital character, then a series of frozen moments, and eventually a sculptural form.
For me, the process is not about capturing the body once and for all, but about exploring how it can keep transforming across different mediums.