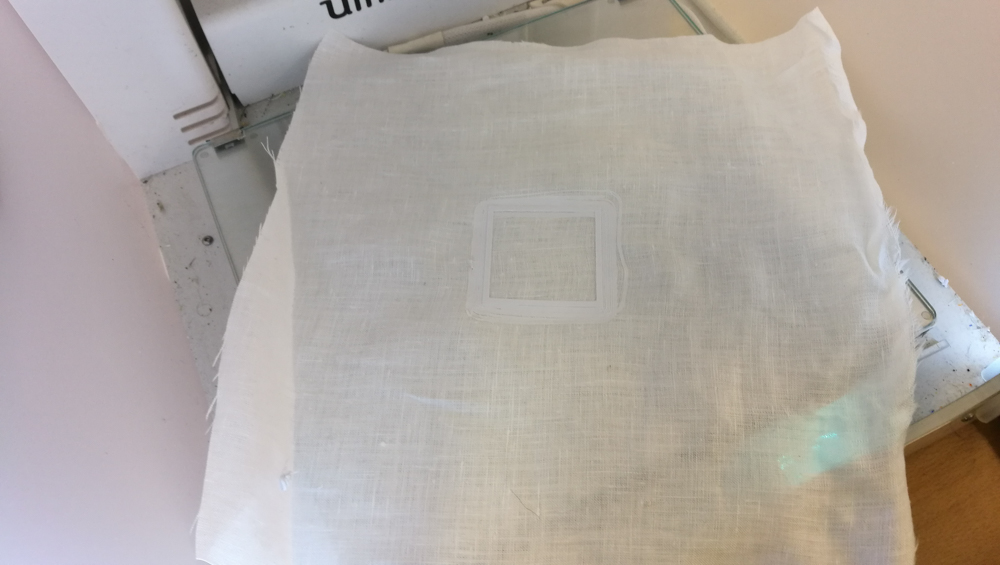
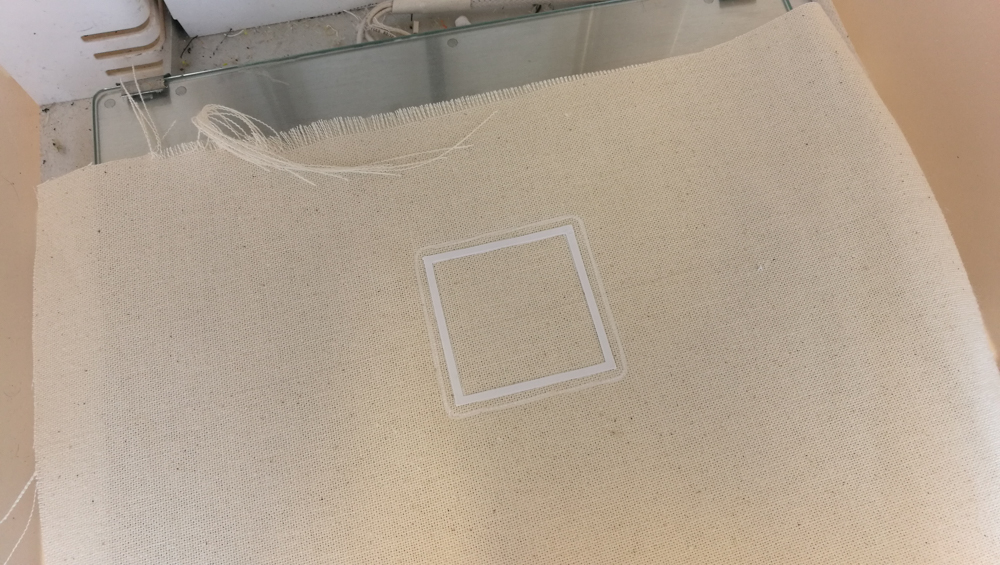
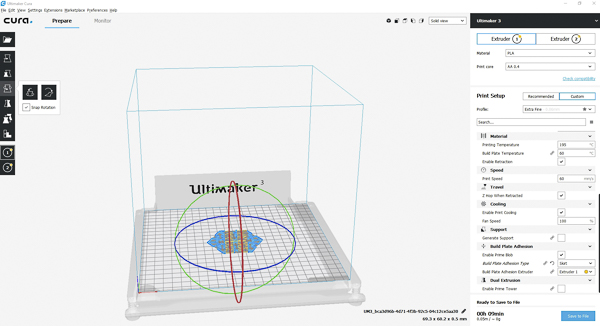
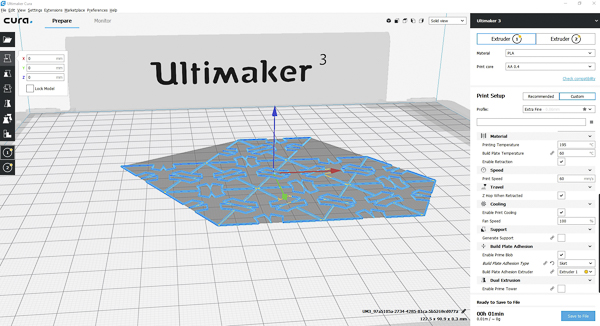
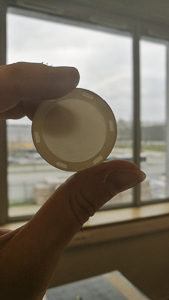
Adding a rigid material on top of a piece of fabric could be a way to add structure to a piece of fabric without a seam.
Add 3D shape
no-seams fabric
flexibility
rigidity
Depending on the modeling, the fabric and the filament we can have different results.
Nota Bene : I was sick during this week, I worked with a fusion parametric setup and I will try in few weeks to learn more grasshopper and parammetric design software.
Since I know fablabs well, I have seen and worked with many 3D printers.
But in the last 8 years, I have just used a 3D printer once which was to complete an application for a competition.
I’m interested in open source data, files and 3D modeling, but I’m not convinced in the efficiency of these tools.
For this assigment, I researched and took the time to learn more about these tools and their potential.
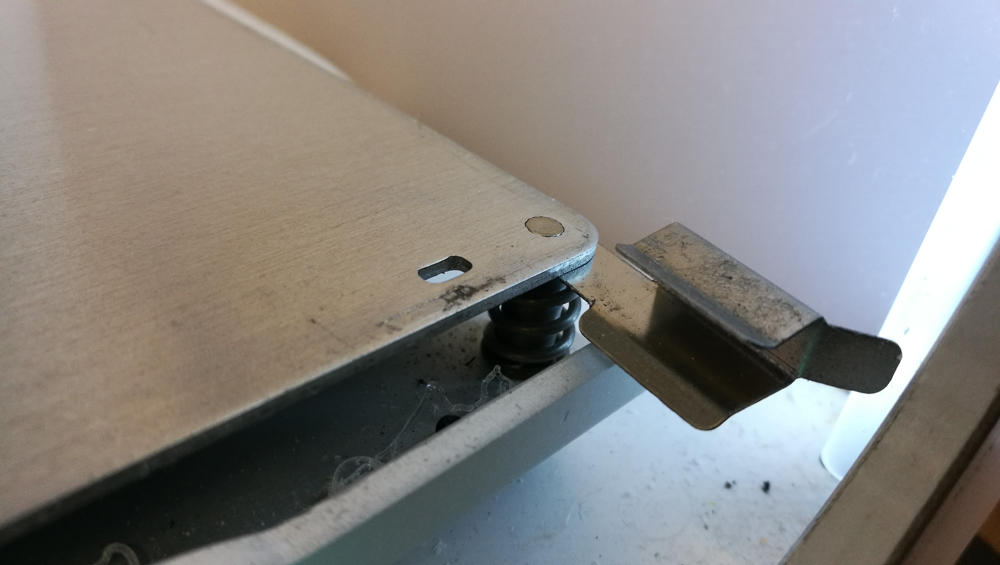
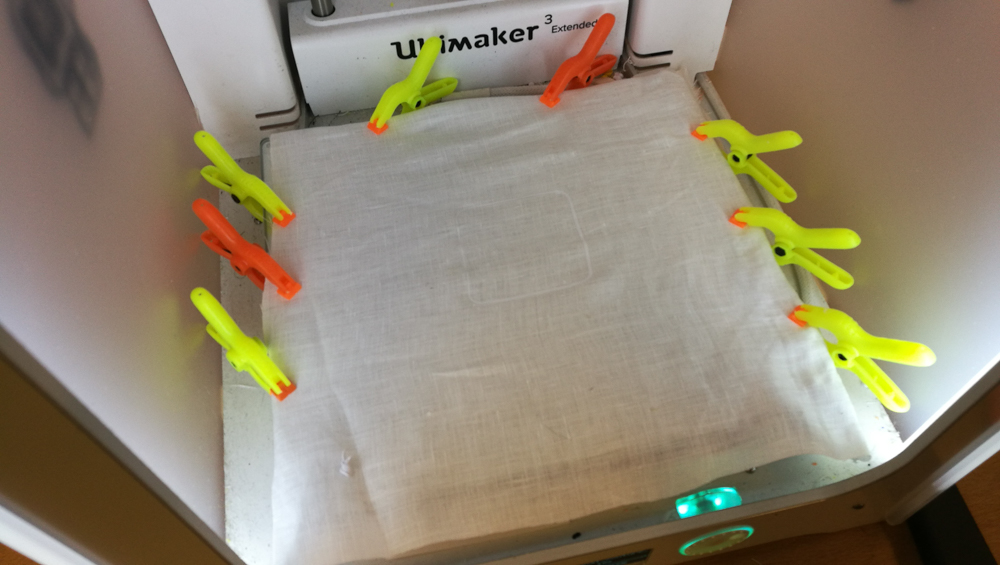
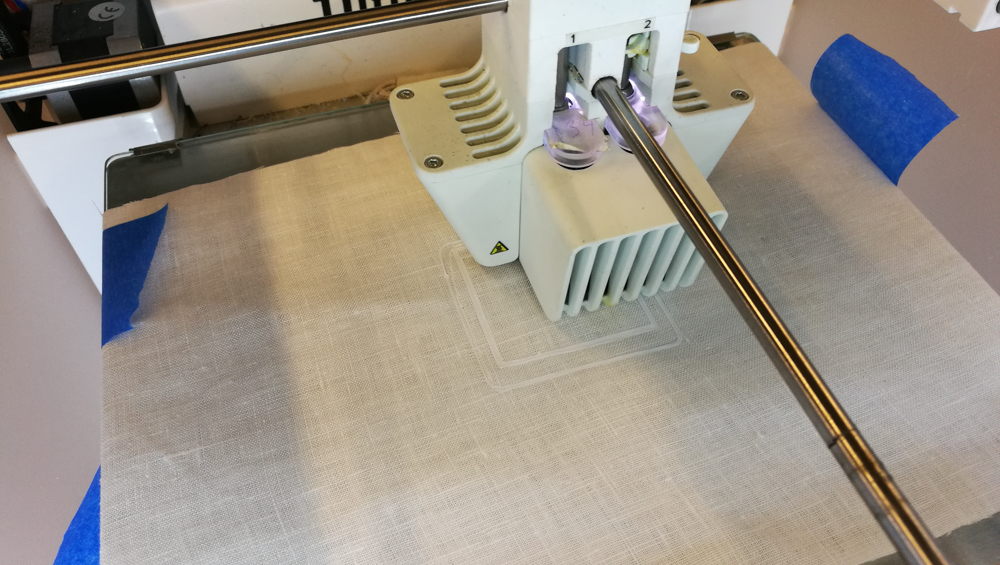
Pliers can disturb the machine, this can be dangerous as the fabric moves during this process
Test 2
Scotch Tape
Result
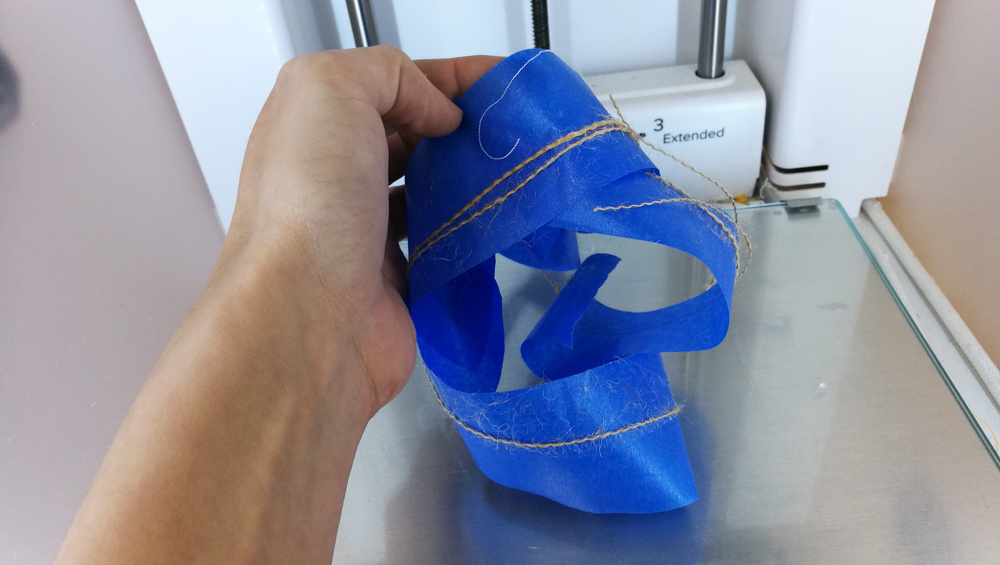
The scotch tape is not strong enough so the piece of fabric moves during the printing
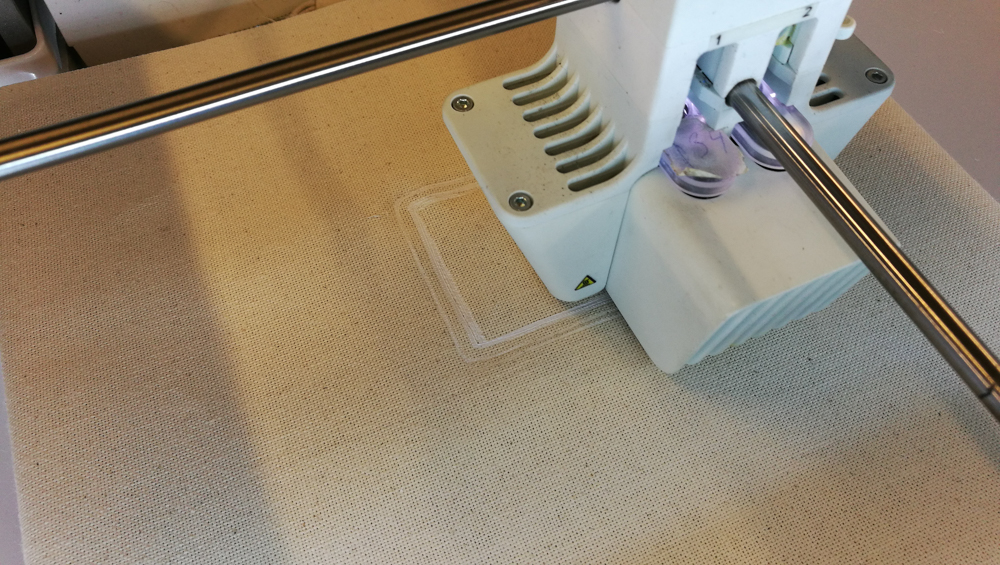
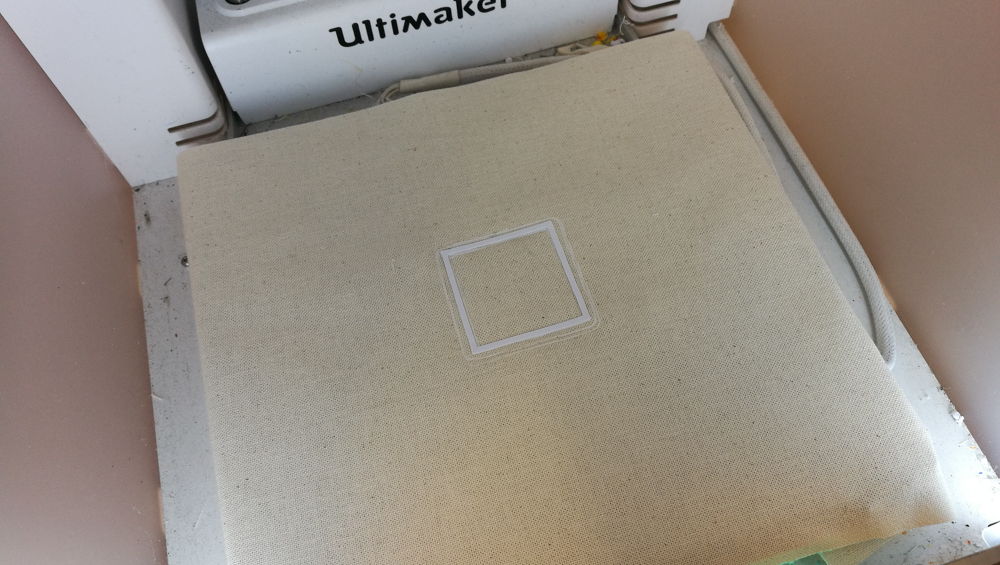
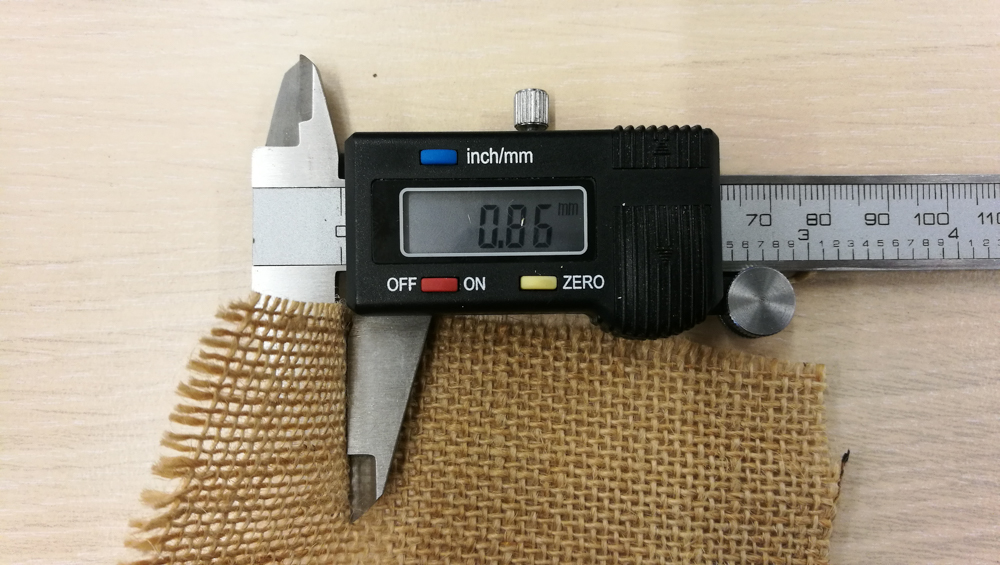
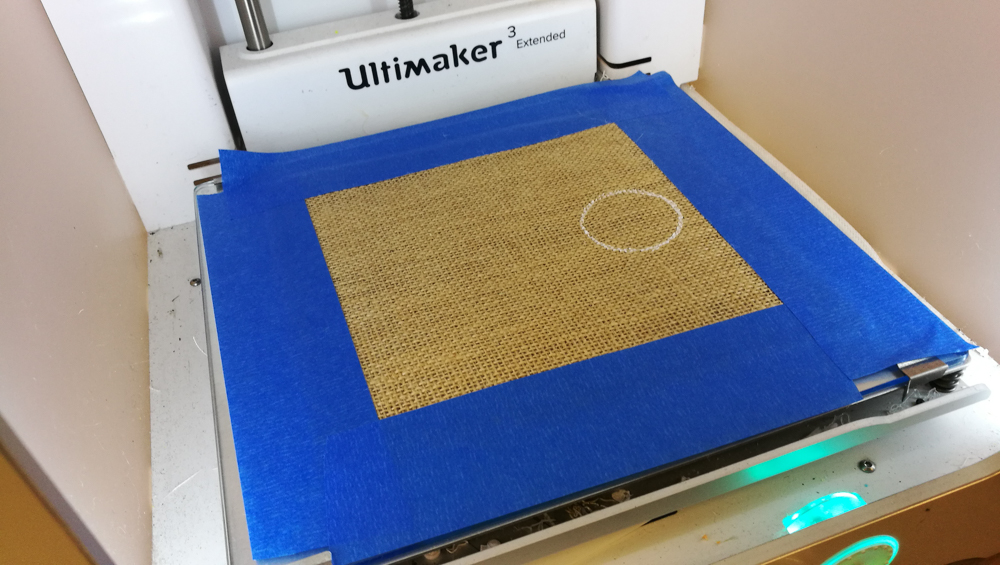
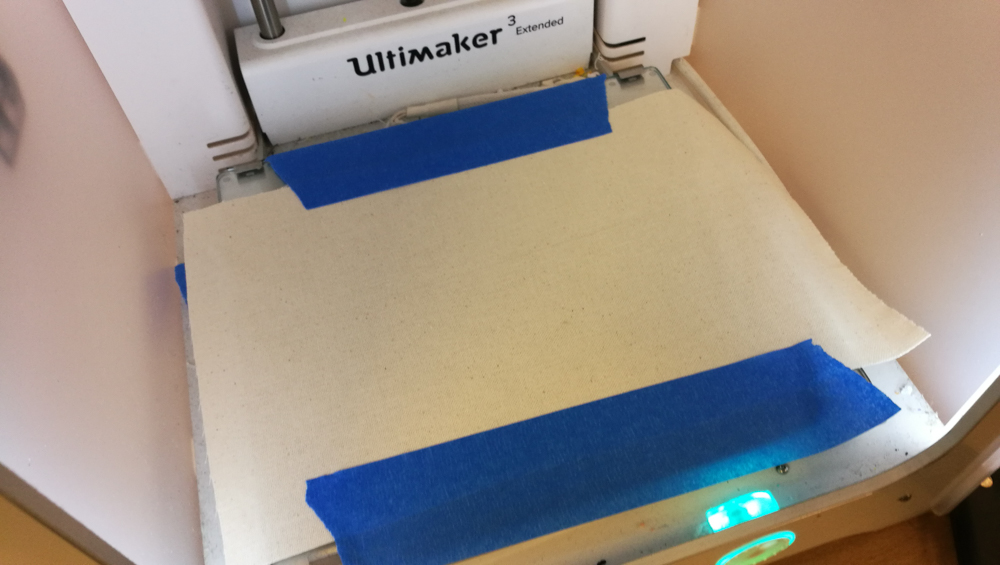
Piece of burlap material
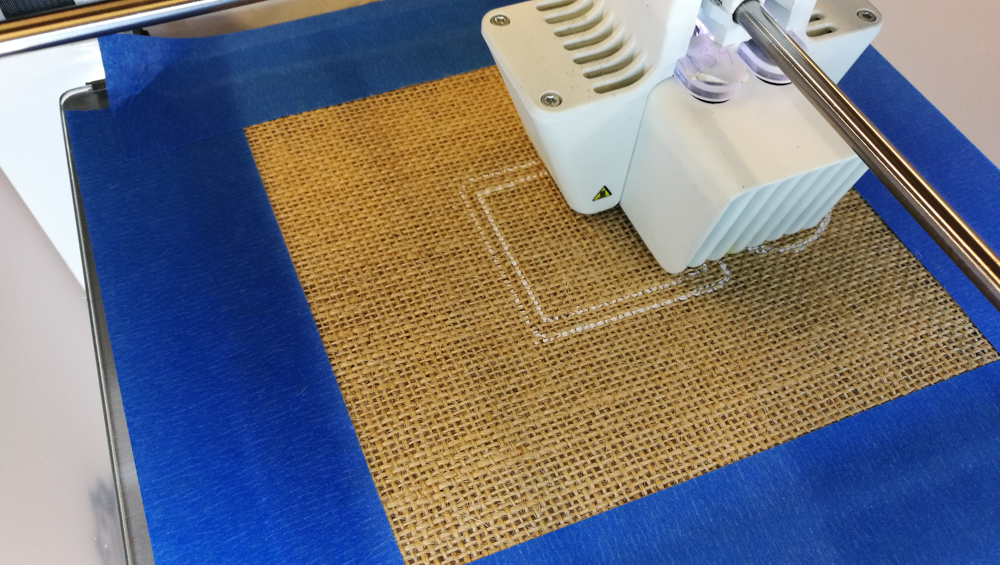
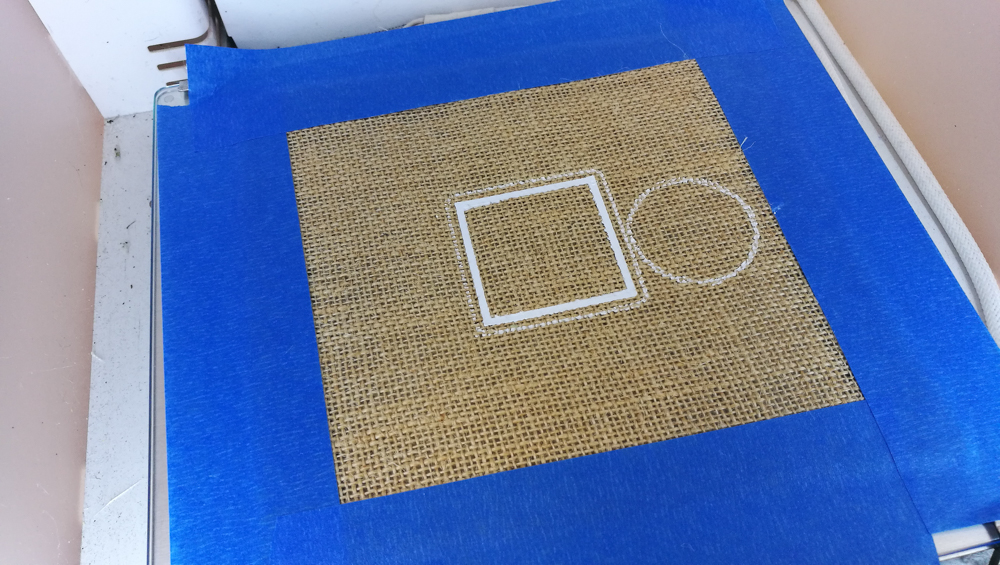
Test 3
Blue Scotch tape
Result
Test 3 Blue Scotch tape
Test 4 Thin fabric and blue scotch
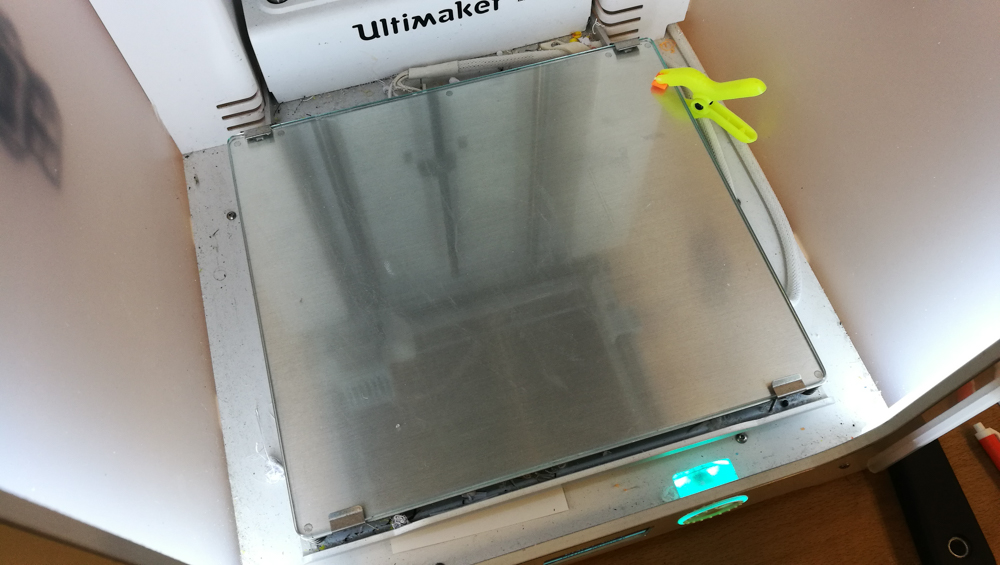
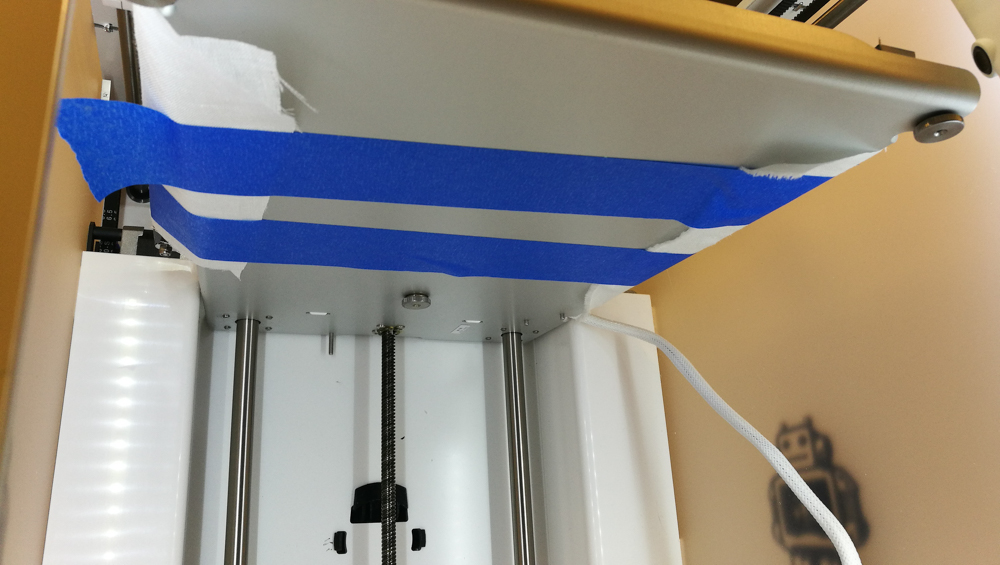
Under the build plate
Observations
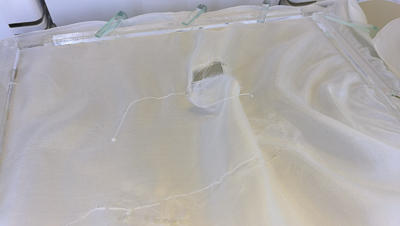
the fabric moved a bit during the process.
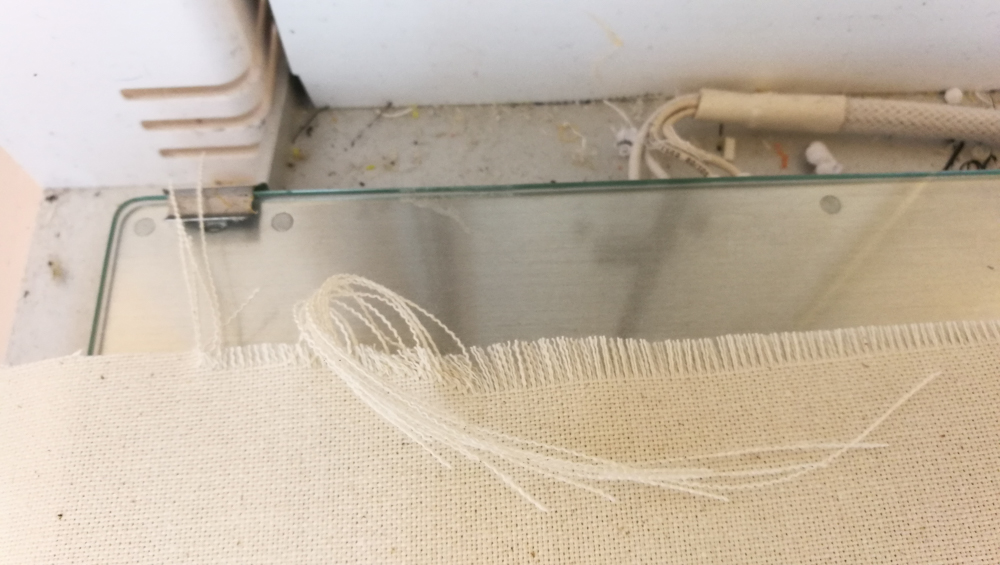
Test 5 Thin fabric
Detail : threads
Good result
Observations
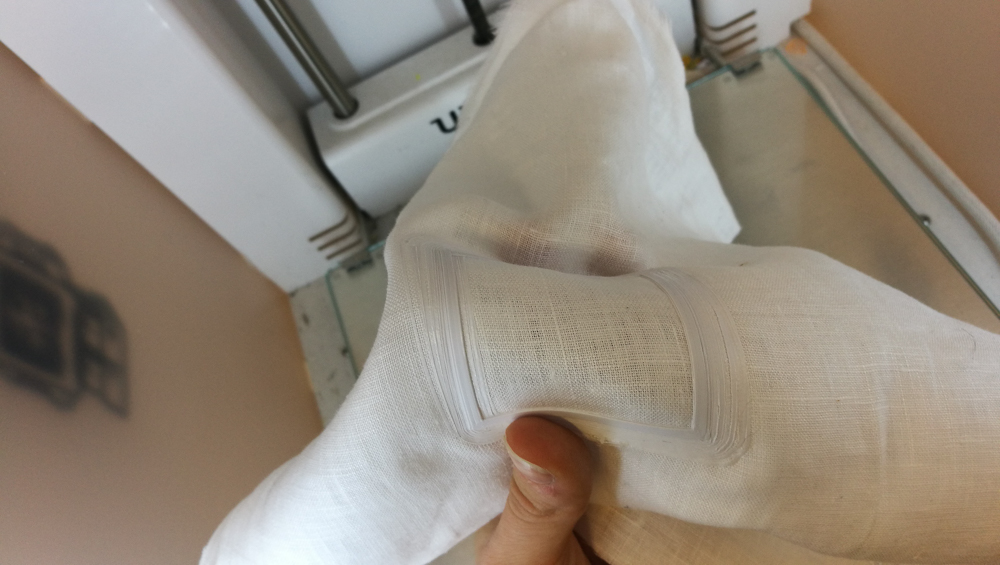
the piece of fabric also moves during the process and the fabric is also fraying
Observation : The tape is not strong enough, the fabric moves, the results are good but for a larger or a very thin material piece the result is not good enough, I would try with other pliers.
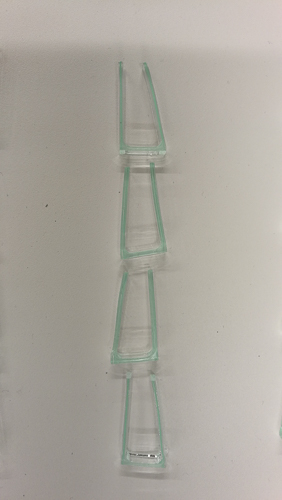
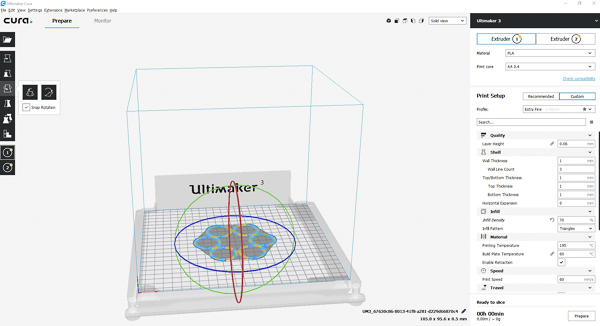
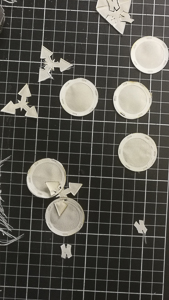
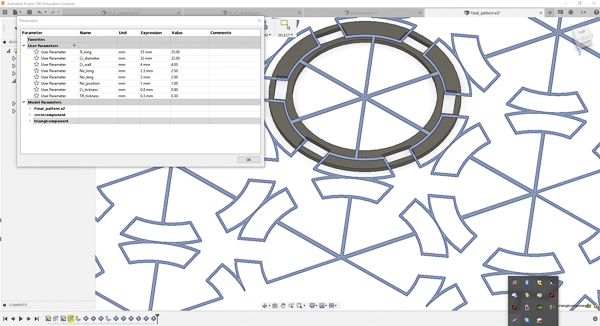
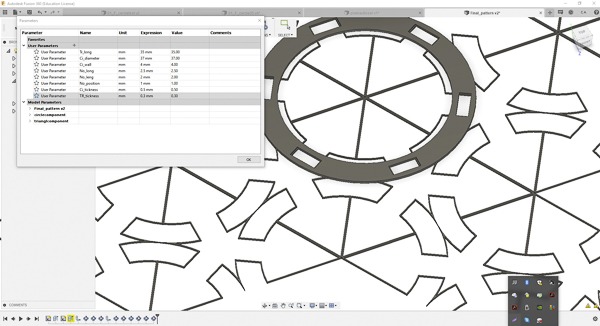
I used acrilyc 6mm. I have made 3 different sizes of tools to take 2mm / 4mm / 6mm.
The thickness depends on the material I want to clip down.
For the plate of the ultimaker the bigger is the best one.
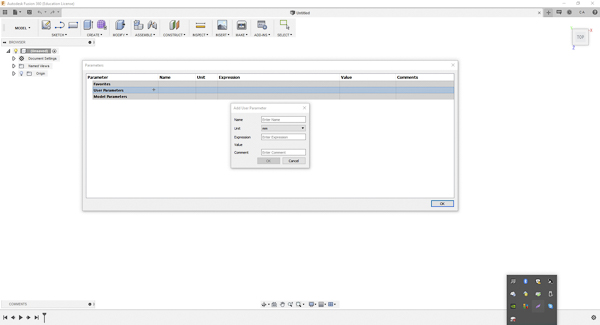
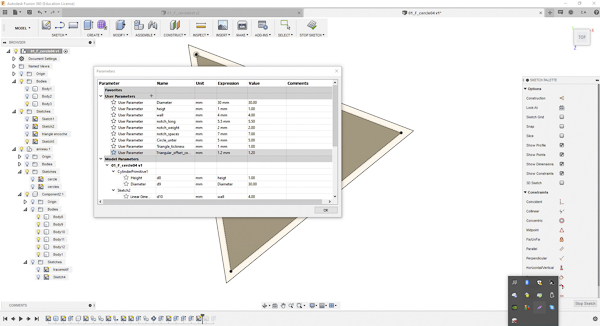
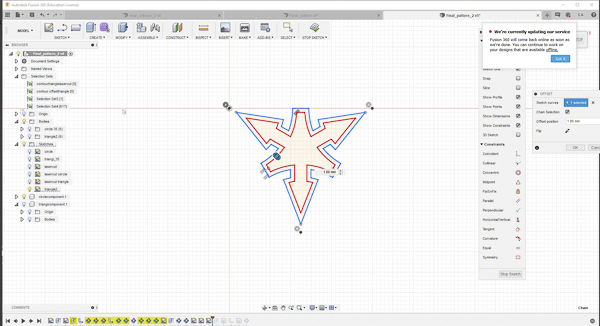
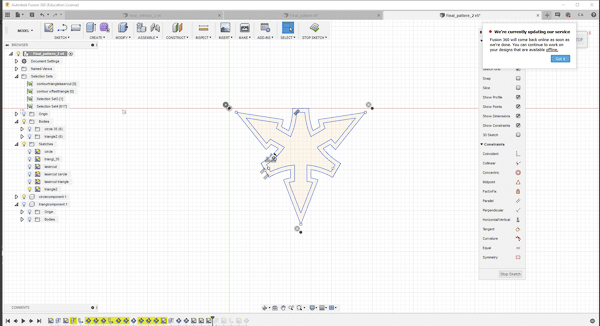
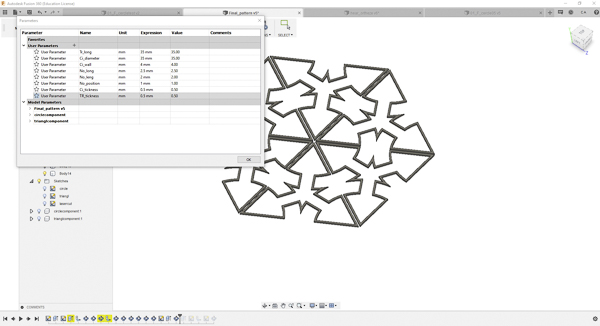
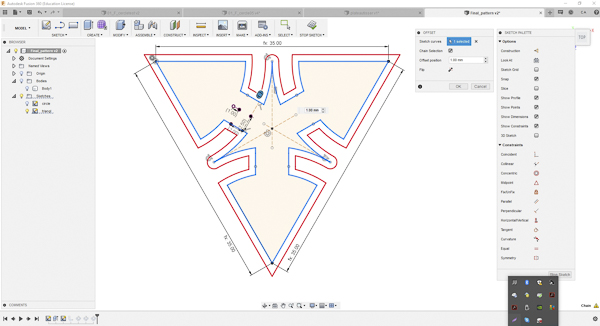
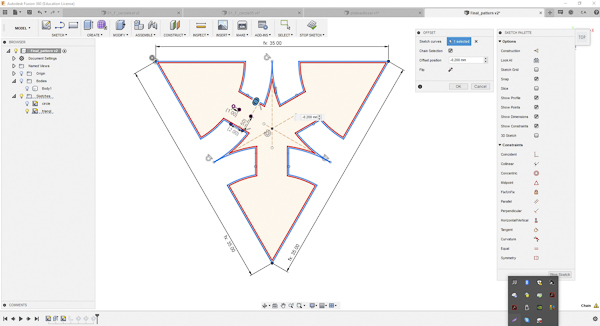
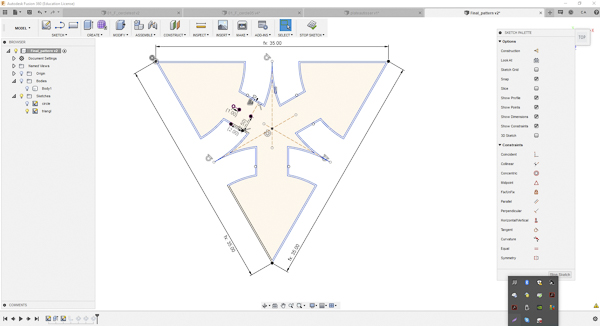
For my parametric design I used Fusion 360.
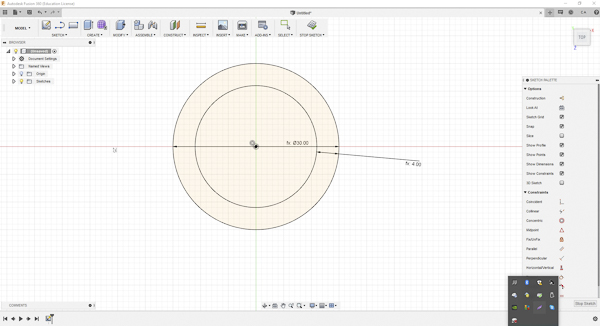
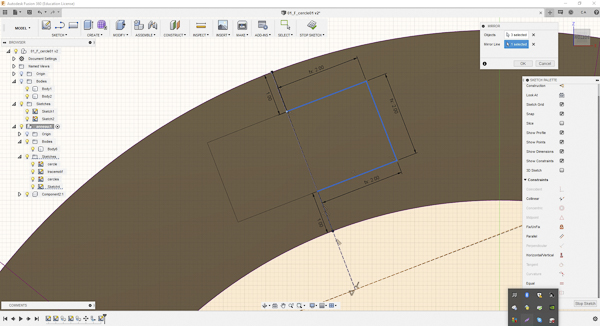
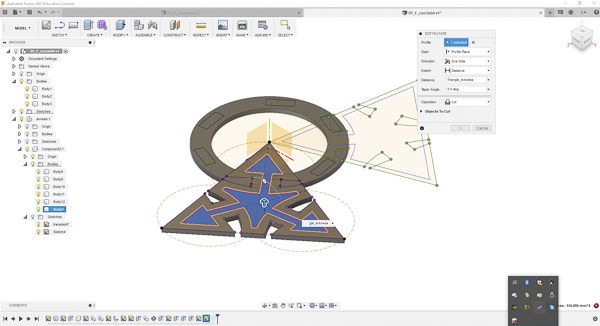
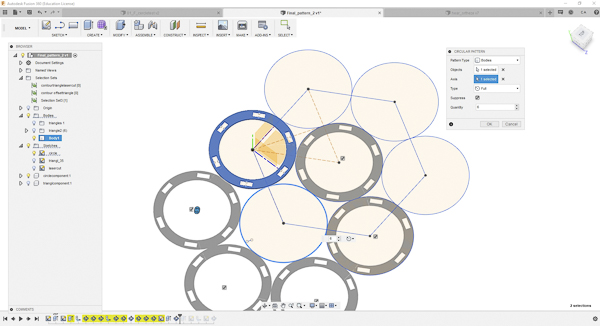
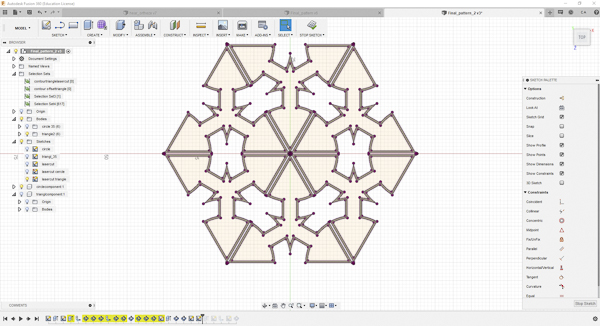
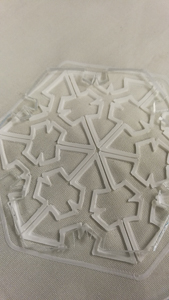
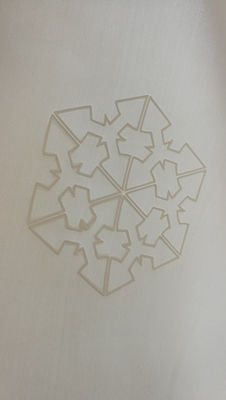
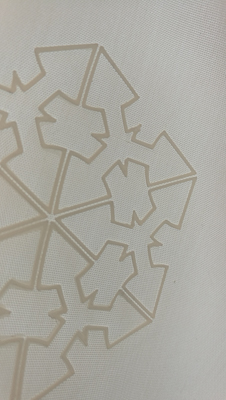
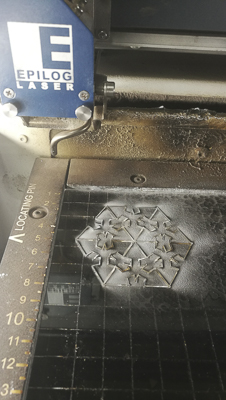
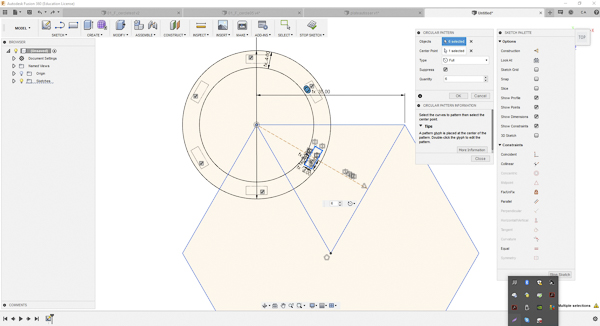
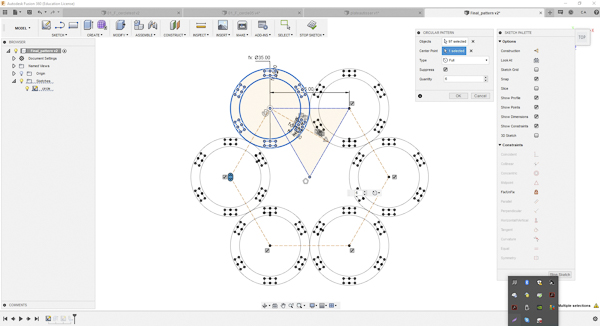
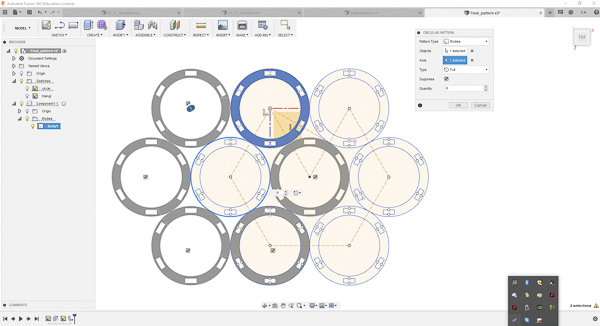
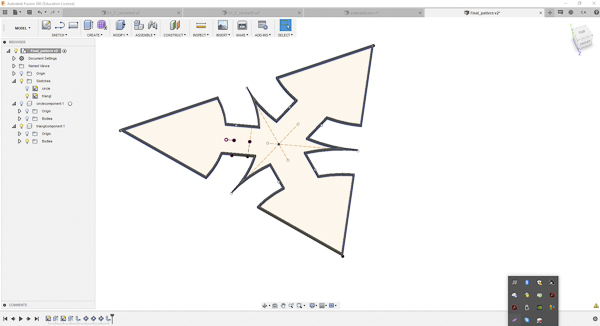
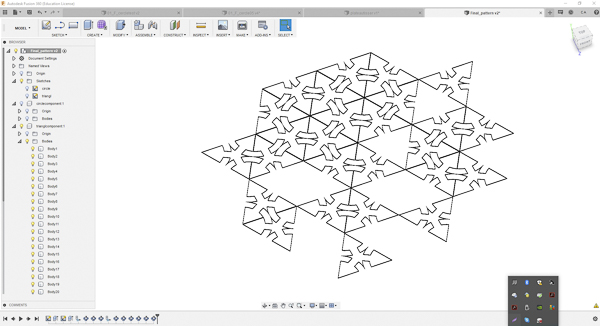
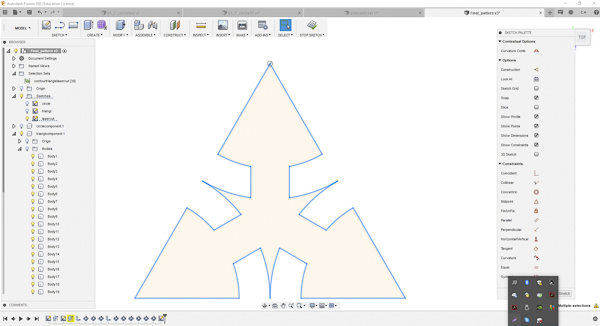
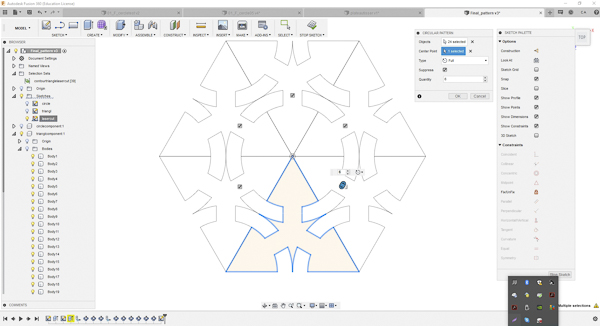
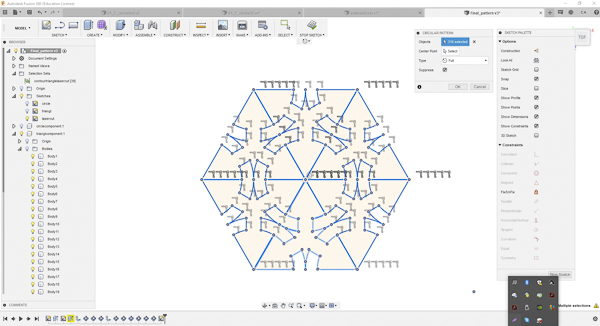
I tried to find a way to make a modular shape with notches for a test of my final project and take the pattern that I have made from an old assigment.
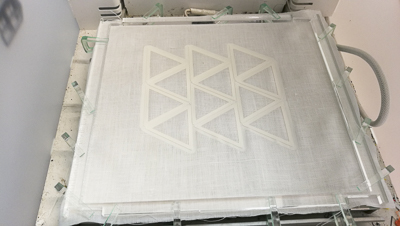
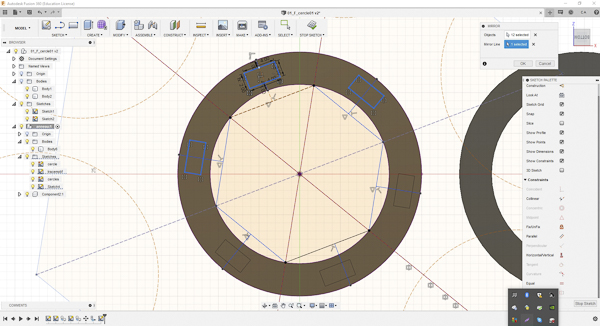
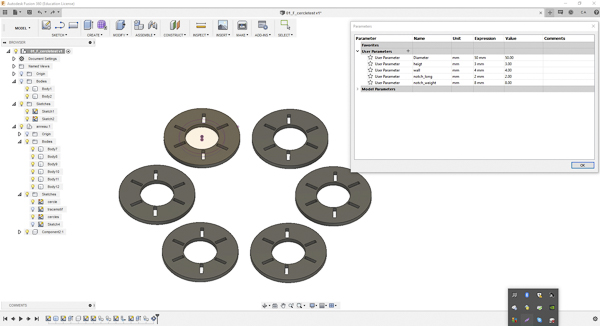
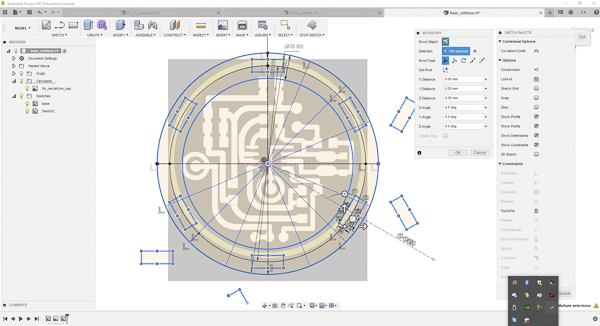
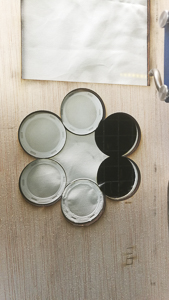
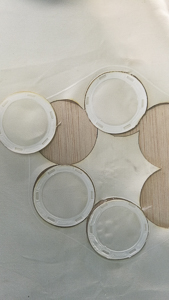
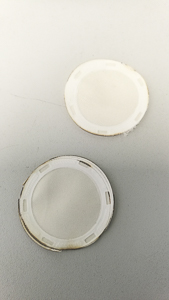
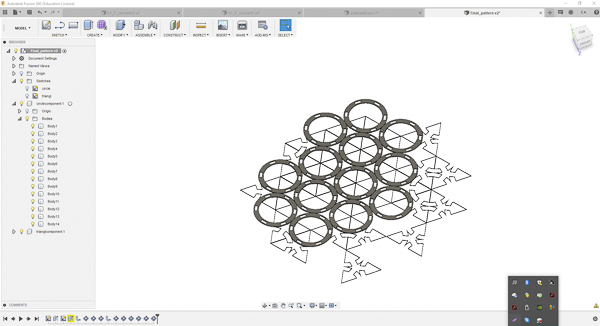
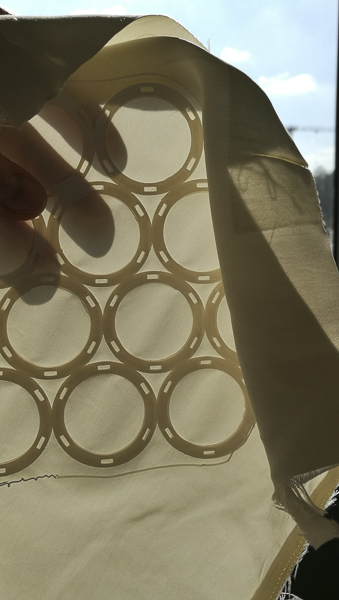
the device is composed of circles with notches and could be combined with triangles parts.
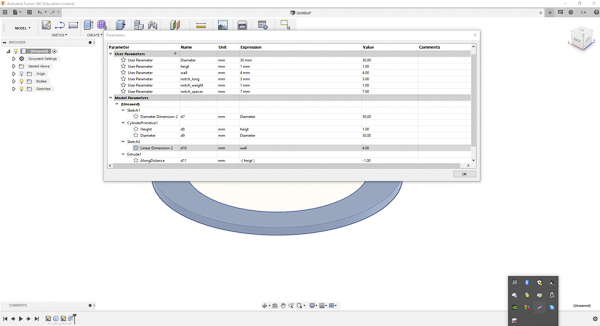
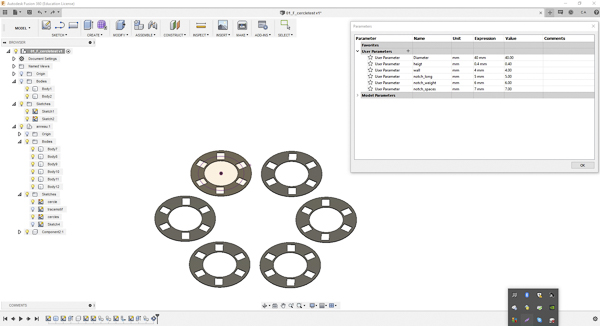
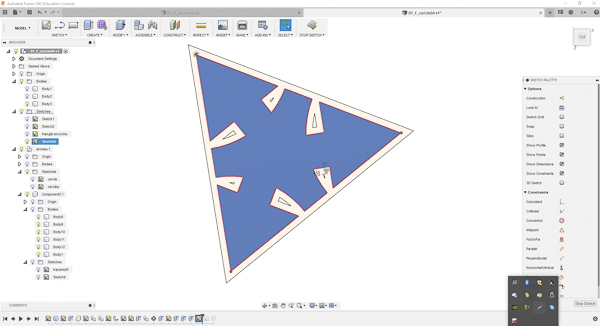
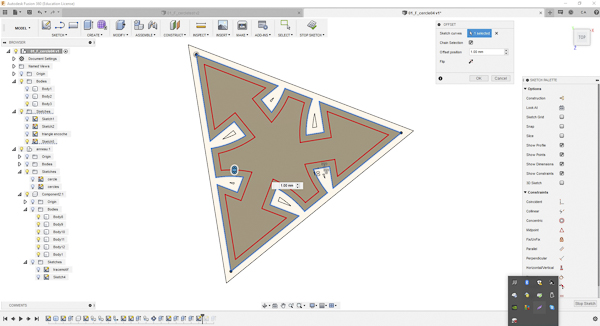
Then on the final image, you can see the shape is chaging it’s only with the parameters of the design.
At any moment during the design process I can change the size of the circle, the thickness, the size of the notches…
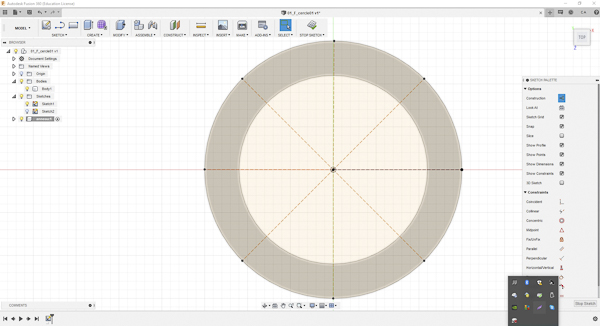
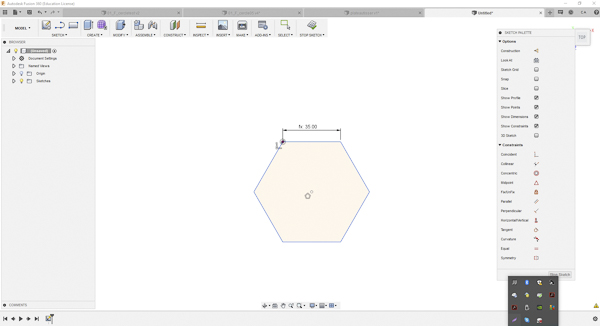
The circle shape is for a modular part, with different components that we can combine together.
This circle shape will be the base of the project.
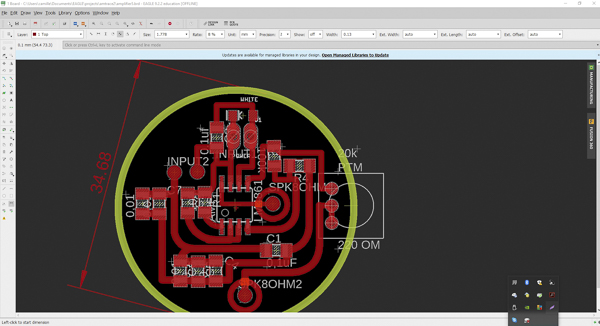
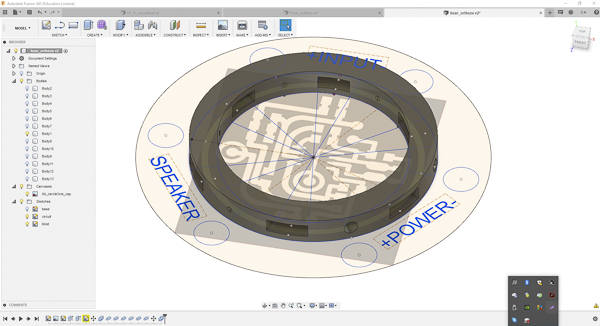
My circuit from Eagle
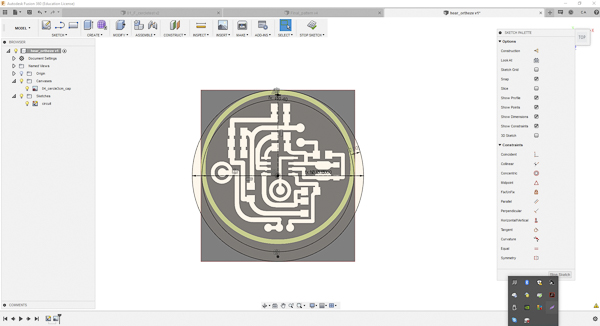
The layer from fusion 360
The symetrical design for notches
Notches and holes
holes for wires
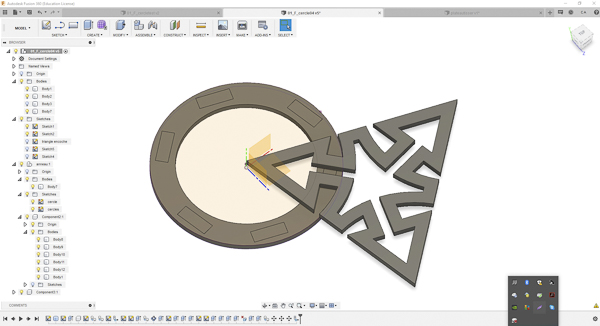
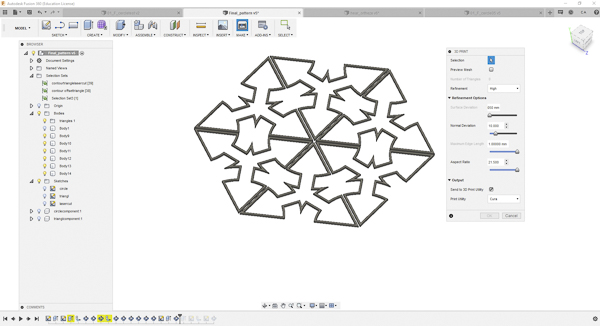
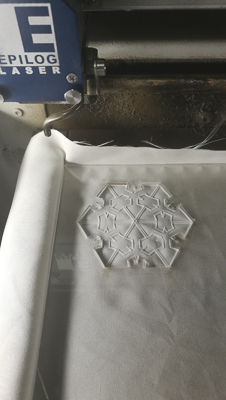
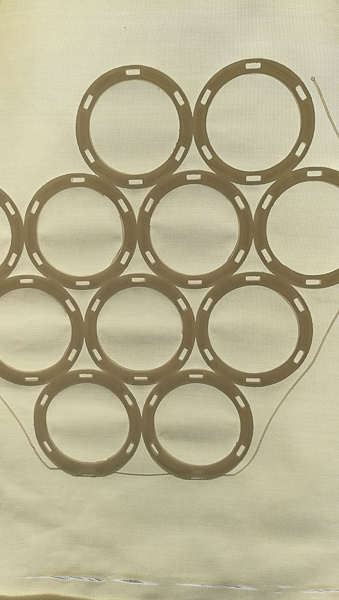
make a pattern for the 3D print
3D print the circle part and prepare the lasercut file#
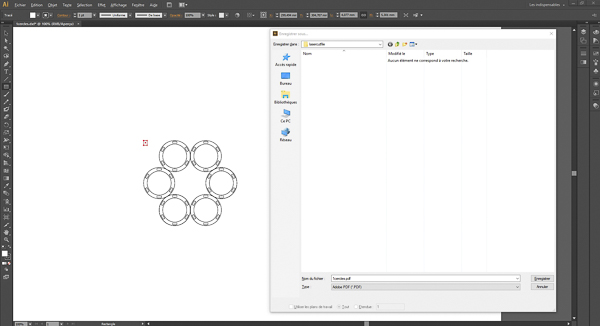
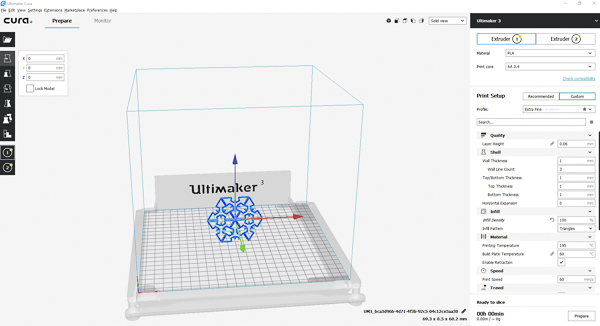
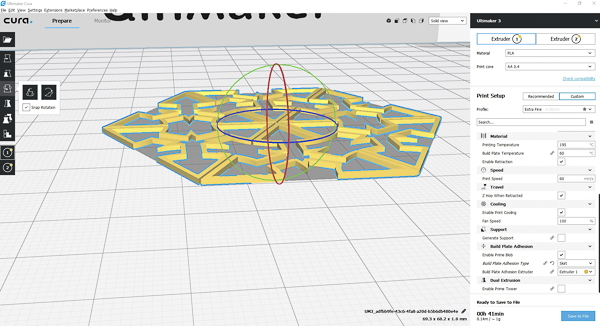
The process with fusion 360 is easier because the software has the settings for exporting the 3D files through Cura directly. The process is : Fusion 360 > Cura + Fusion 360 > dwg + LaserCut
Cura settings for ultimaker
Trace 3D for lasercut export from the skech a .dwg layer
Import the .dwg in Illustrator and export in .pdf
This is the beginning of how we can combine different machines found in a same space : 3D printer + laser cut (see the protocol below).
3D print the triangular part and prepare the lasercut file#
make a kind of guide with a thin material (acrylic or paper to find the xy origine)
put the fabric underneath
now cut the fabric
Lasercut the silk
The guide and the fabric
Result
Detail
Light detail
This guide is make with wood 5mm. But this is too thick, the laser is not cutting all the fabric and it’s not sufficiently precise. I will try to make a very thin guide with plastic sheet or paper.
The reason for this is to help locate the origin.
The silk is very thin and we need to find the direction of the threads, droit fil in french.
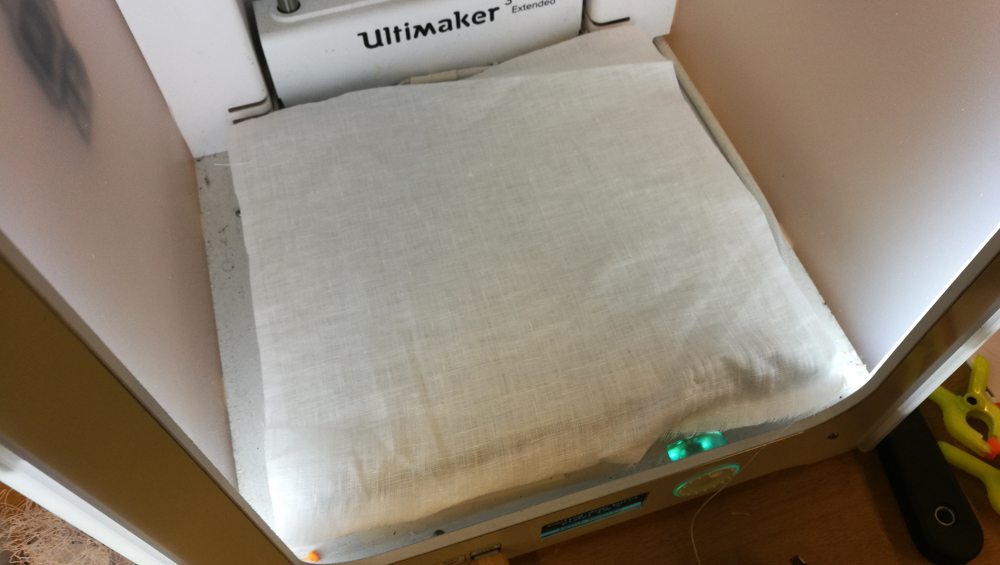
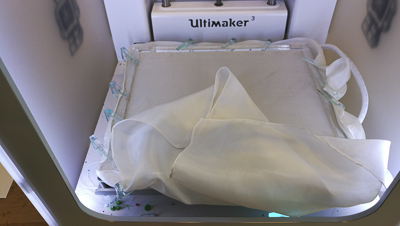
The silk fabric is so thin that it took me 10 minutes to put the fabric inside the machine to be sure that it wouldn’t move during the process.
The fiber of textile is very fragile.
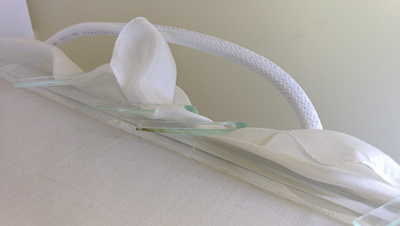
check the tension of the fabric by hand and by testing its sound#
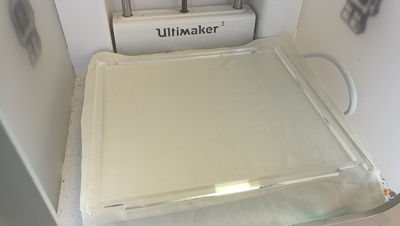
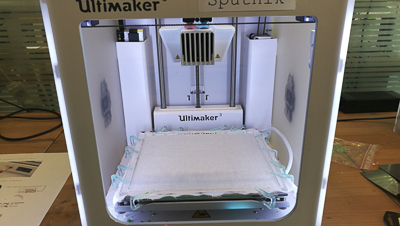
Checking the fabric is correctly installed on the ultimaker#
I used this technique for my final project, but for the parametric part I think grasshopper will be nice to learn
I like to understand the combination of the different tools and machines that we have in the lab.
It’s a real production line and I try to find the limits and test them.
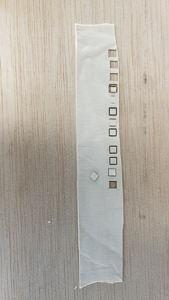
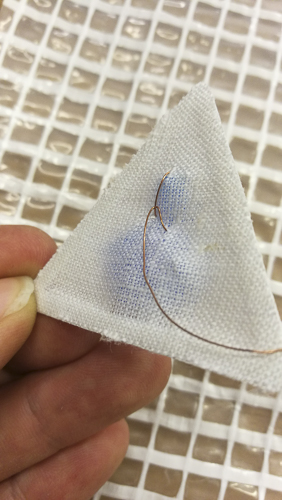
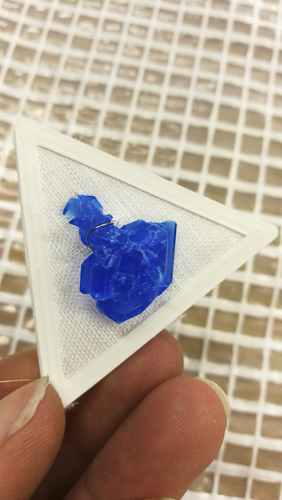
Face A
face B
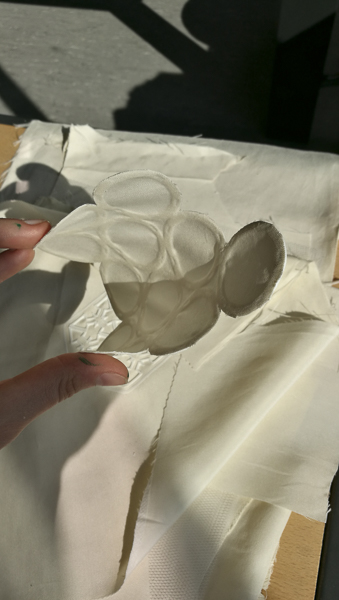
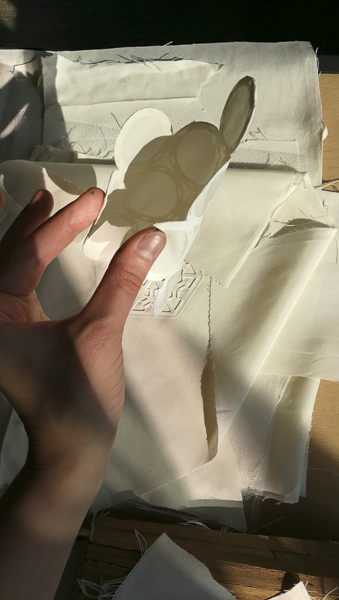
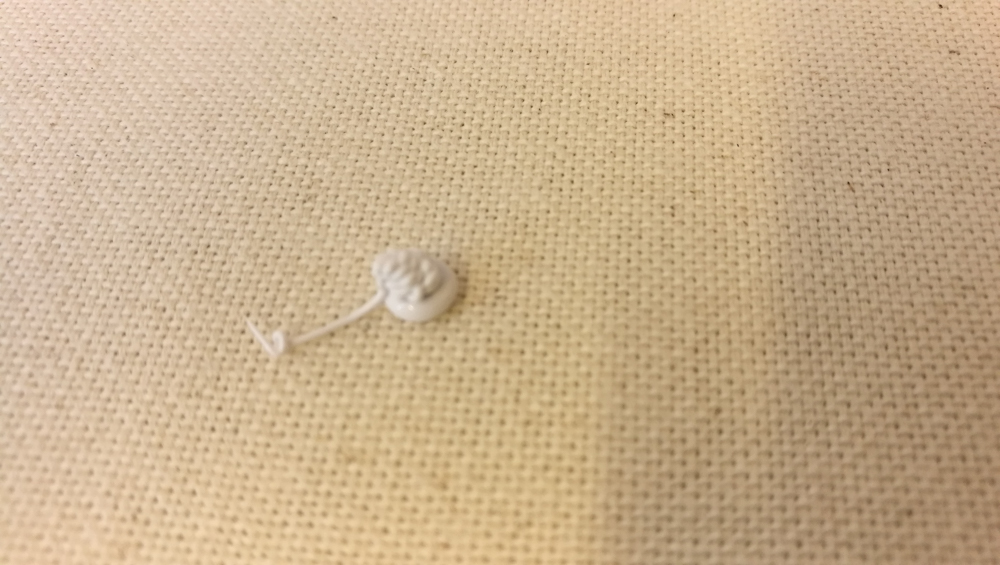
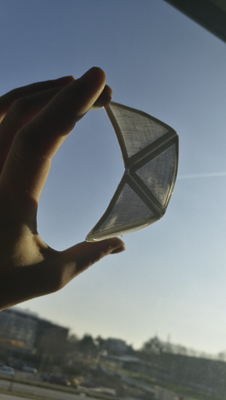
The crystal seed can grow on the fabric but not on the PLA so it’s a way to control the shape of the crystal.
After two weeks the crystal was not on the whole piece. After a few weeks more, the copper had eaten the fabric. So the crystal wasn’t inside the triangle.
Search
From here you can search these documents. Enter
your search terms below.