11. Soft robotics#
Research#
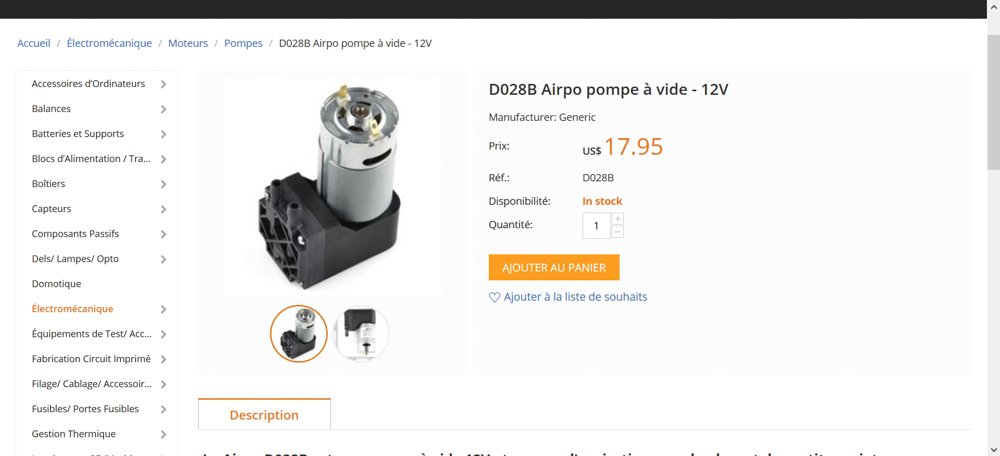
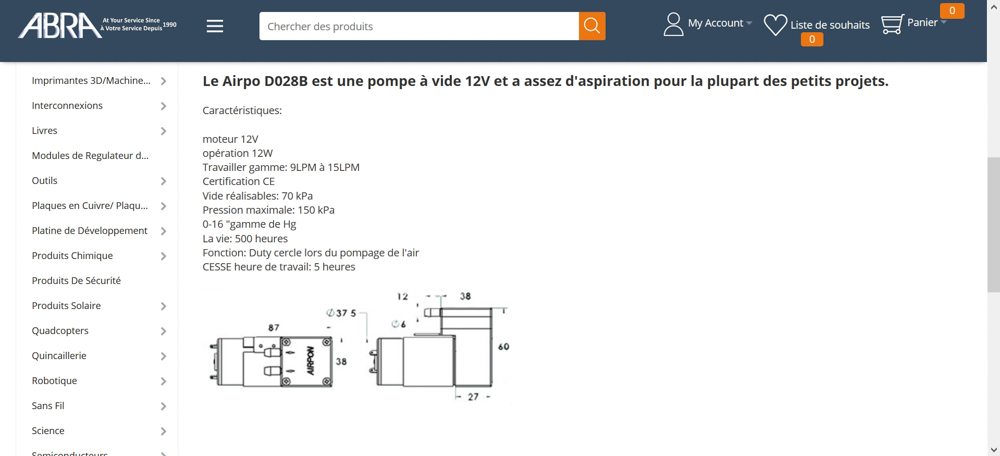
Air Pump#
| The Air Pump | Data Sheet 1 | Data Sheet 2 |
|---|---|---|
 |
 |
 |
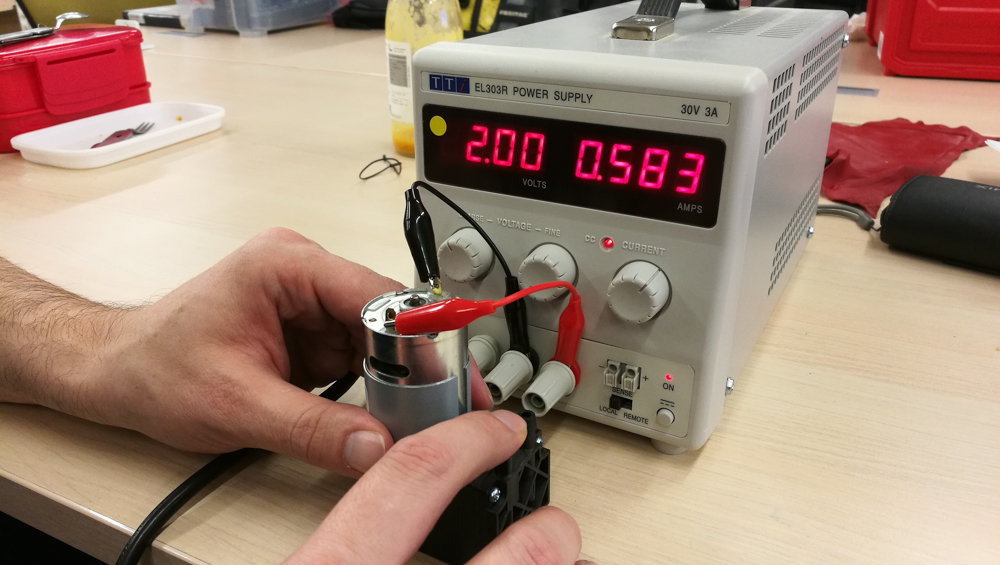
| The first air pump test the air flow between 12V and 8V |
|---|
 |
Serial Driver from sparkfun#
| The serial driver face A | The serial driver face B |
|---|---|
|
 |
| Arduino schematic | the set up |
|---|---|
 |
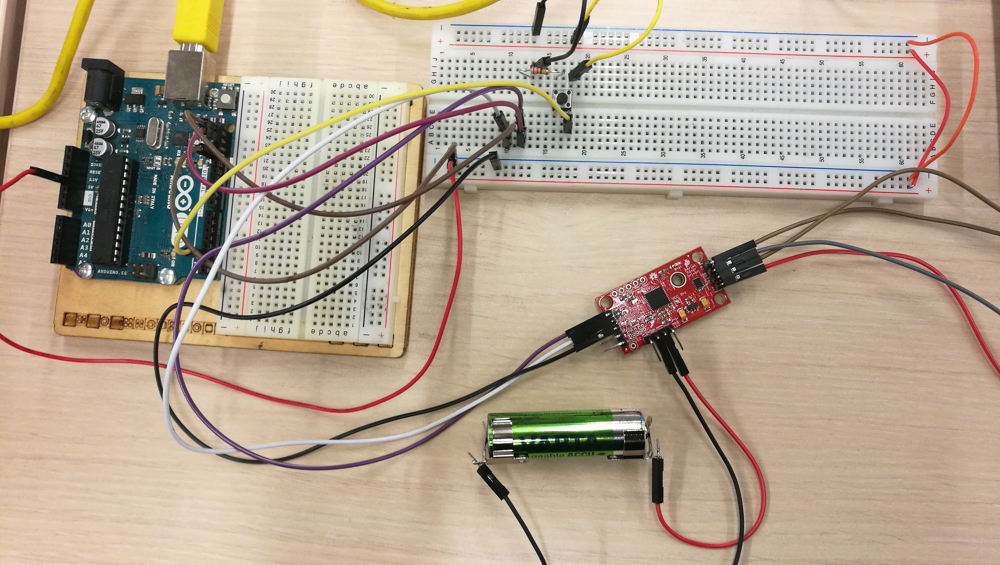 |
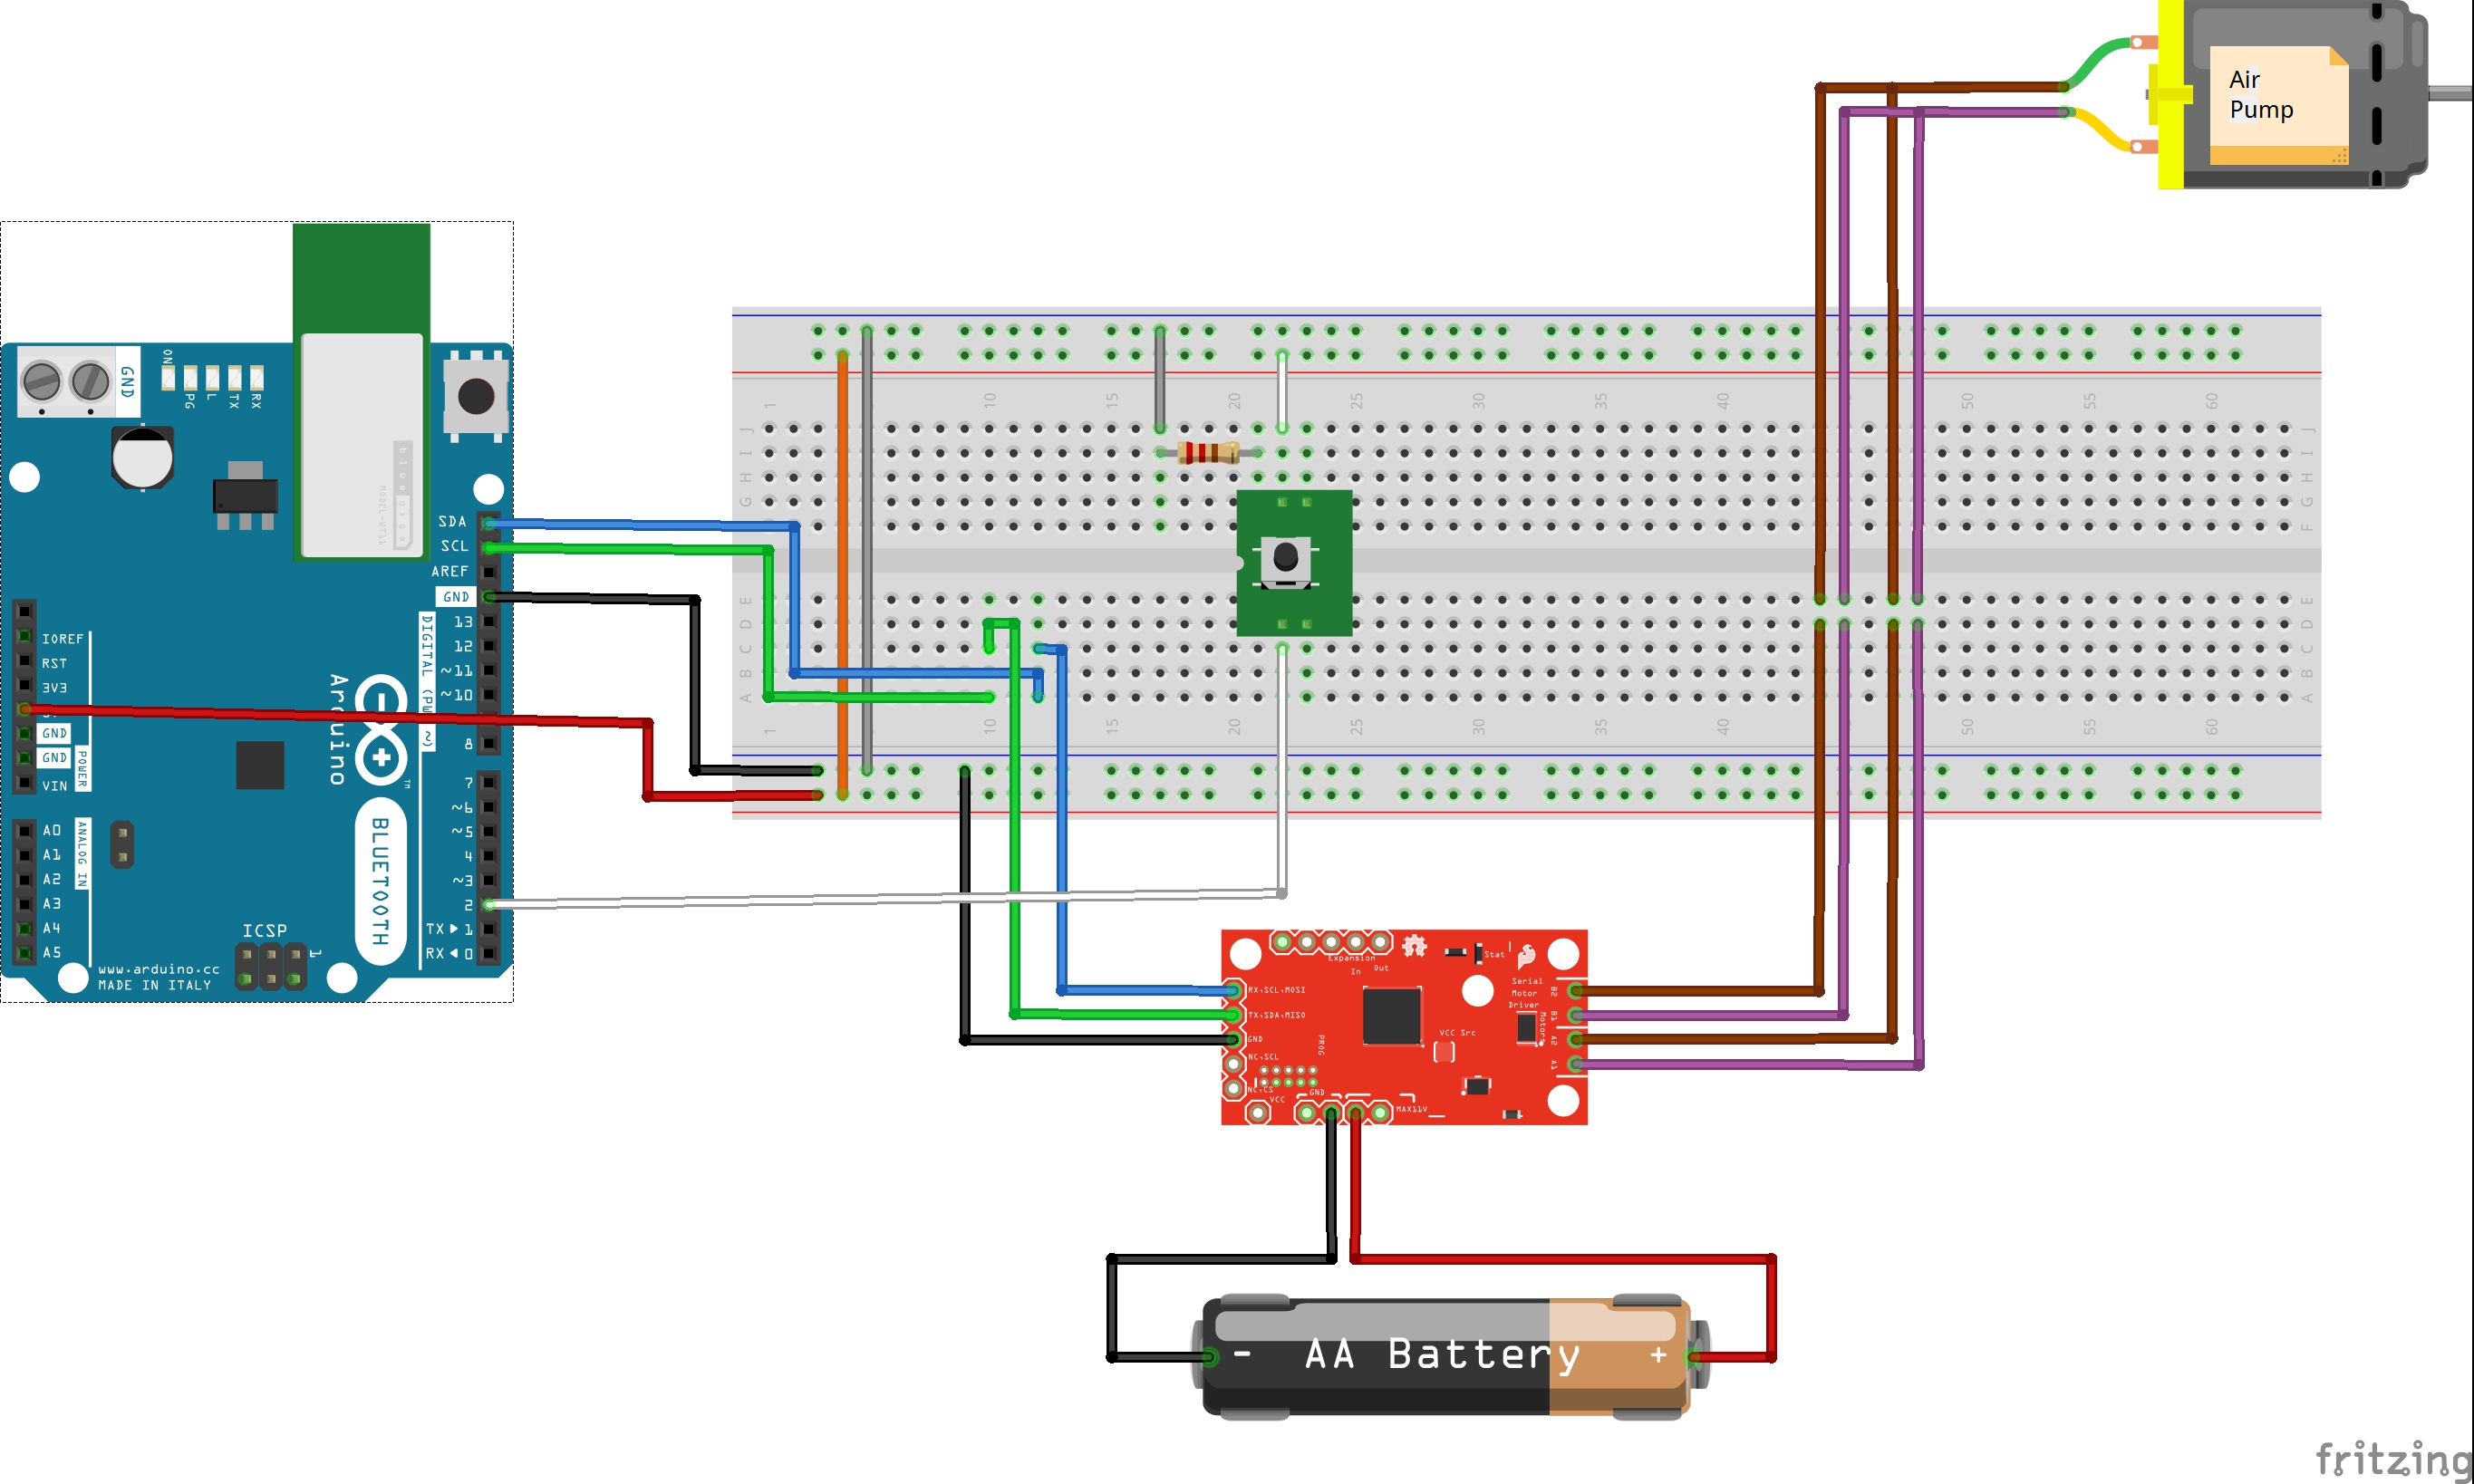
I missed the code for Arduino to manage the air pump with arduino with the Julie’s code.
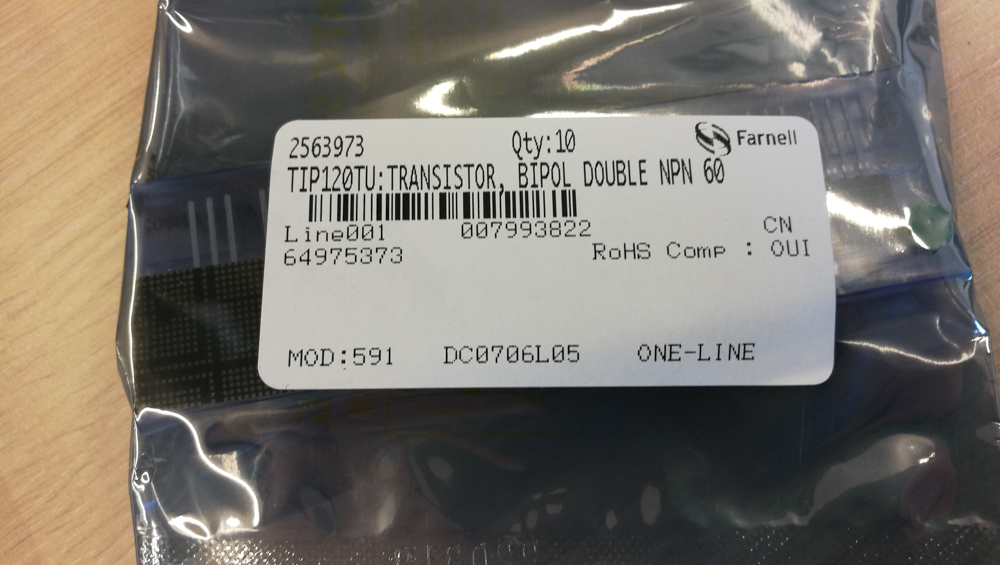
The circuit with Tip 120#
I was waiting for my order with 10 TIP 120. - To purchase the TIP 120 bipolaire from Farnell - Tip 120 data sheet - link for the shematic and tutorial
| TIP 120 | the piece | PIN |
|---|---|---|
 |
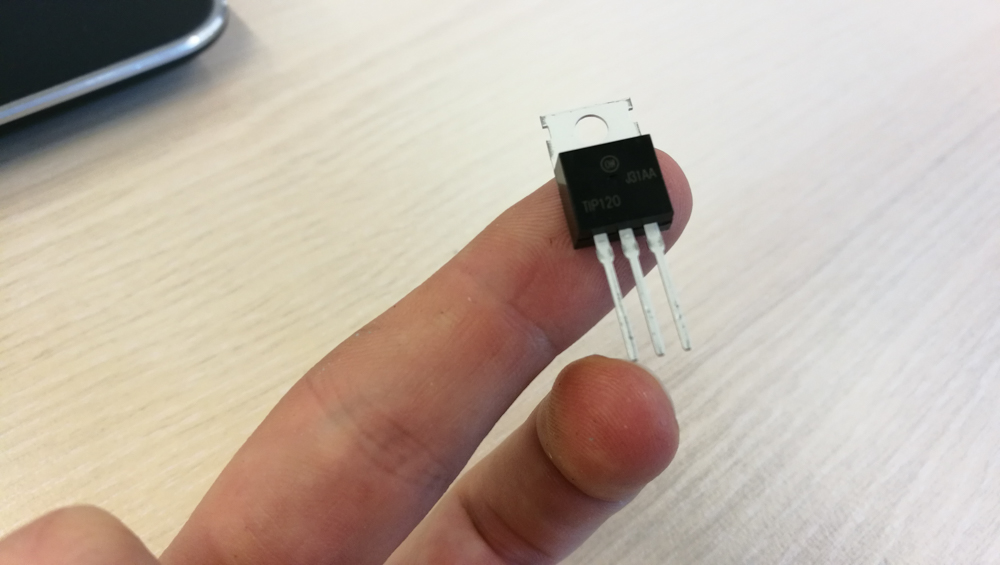 |
a : pin / b : grd dc motor / c : grd arduino |
-
List of the pieces :
- Arduino
- 2.2KOhm Resistor (brown red red and gold)
- TIP120 Transistor
- DC Motor Air Pump 12V
- Powersource
- Some wires
Simple and short code#
int tip120PIN = 9;             // I choose Arduino's PMW pin 9
void setup()
{
pinMode(tip120PIN, OUTPUT);    // Set pin to be output
analogWrite(tip120PIN, 255);   // 0 to 255 to control motor speed
}
| The set up arduino + TIP 120 + Air pump |
|---|
 |
Observation : I don’t have informations from the control boxe, I’m not sure about my code…
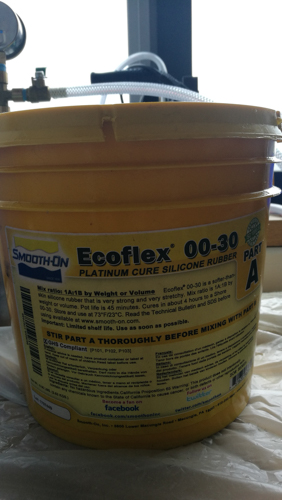
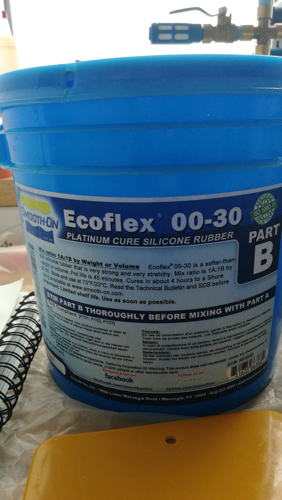
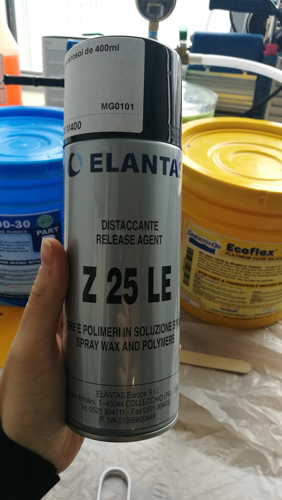
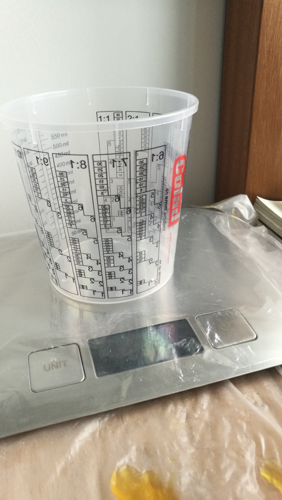
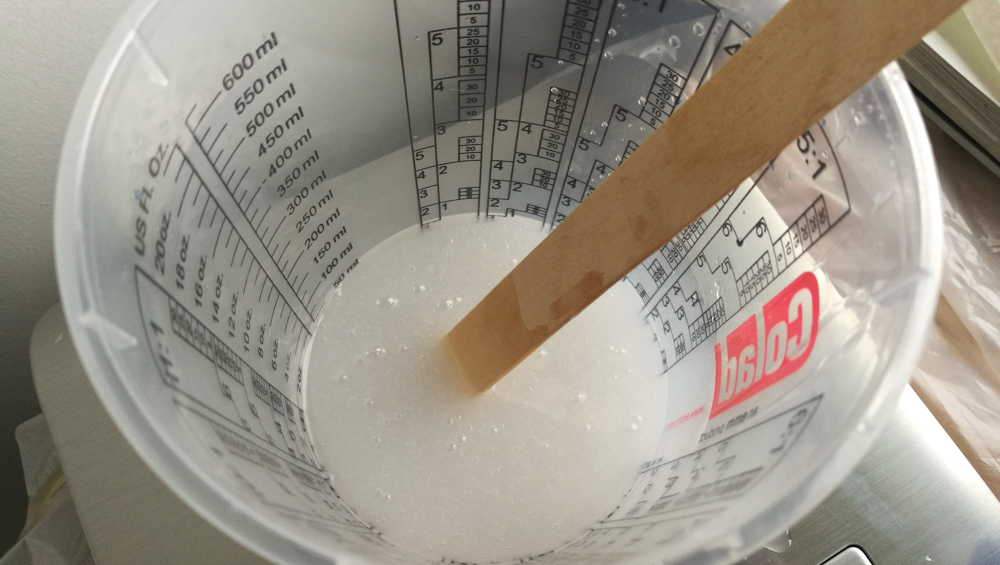
EcoFlex Property and Tools#
EcoFlex 00-30 Part A 50 % / EcoFlex Part B 50 % Wait 4 hours at room temperature (or 10 minutes in an oven at 150ºF ).
| Ecoflex part A | Ecoflex part B | Release agent | Balance |
|---|---|---|---|
 |
 |
 |
 |
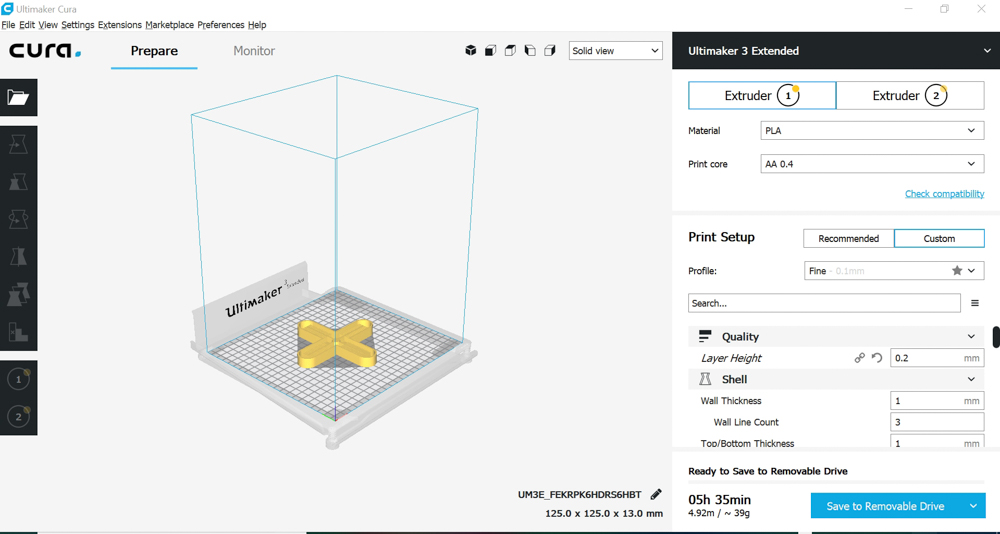
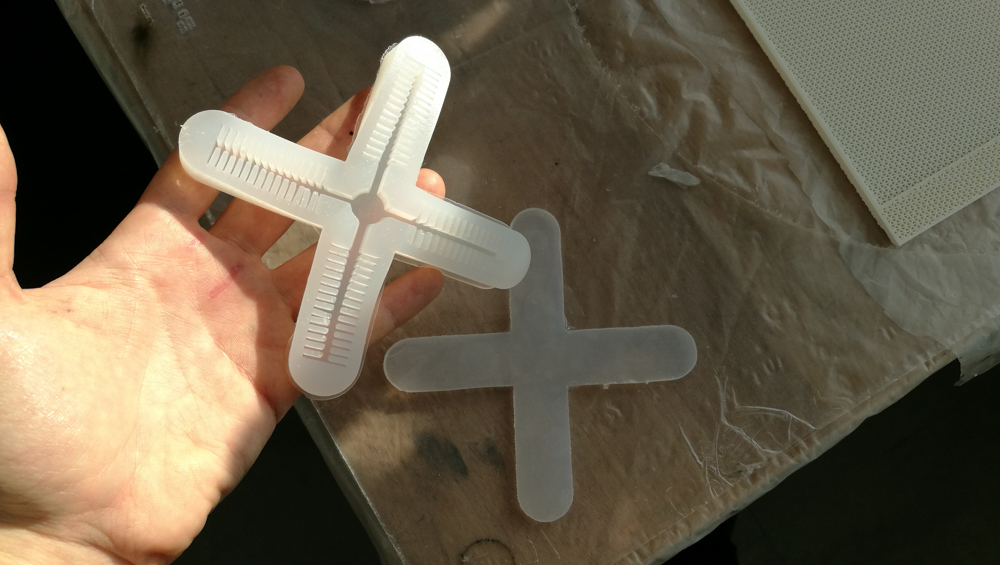
Test #1 for Soft Gripper#
- Tutorial and downloads 3D mold instructable part 1
- Harvard Video with a soft robotic egg gripper
- Soft Robotics for chemists 2011 different shape
- Soft Robotics Tool Kit to understand and read
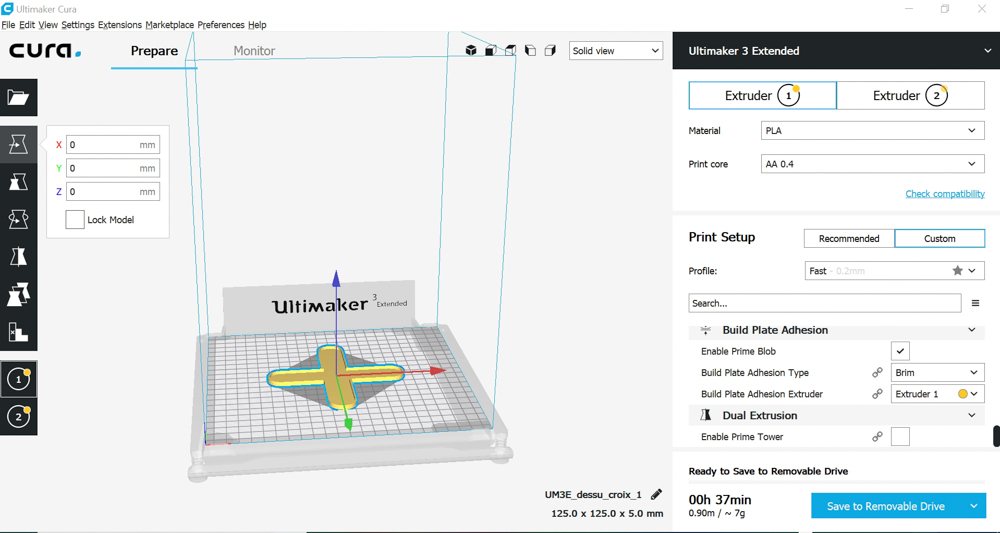
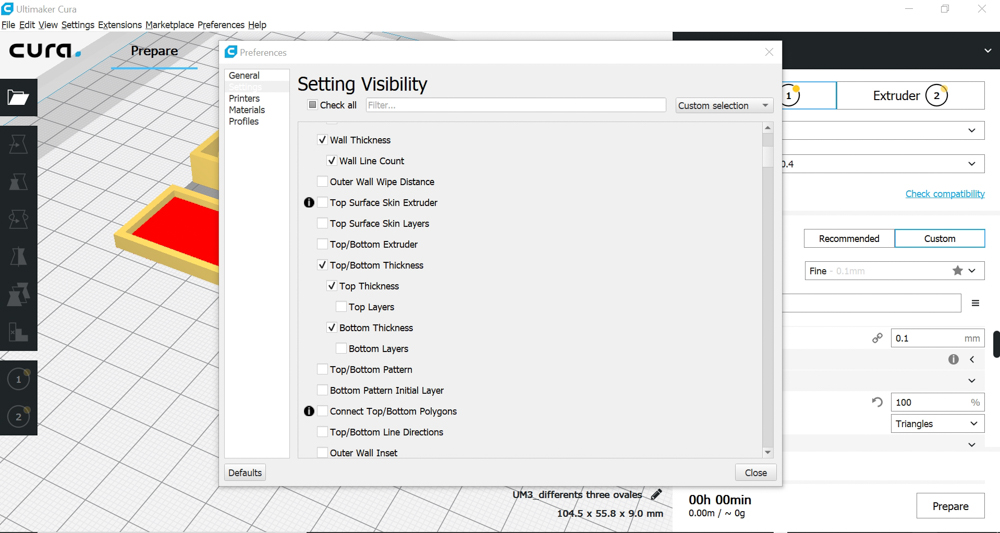
| Cura 1 | Cura 2 | Cura 3 |
|---|---|---|
 |
 |
 |
| Printing preferences | preferences 2 | preferences 3 |
|---|---|---|
 |
 |
 |
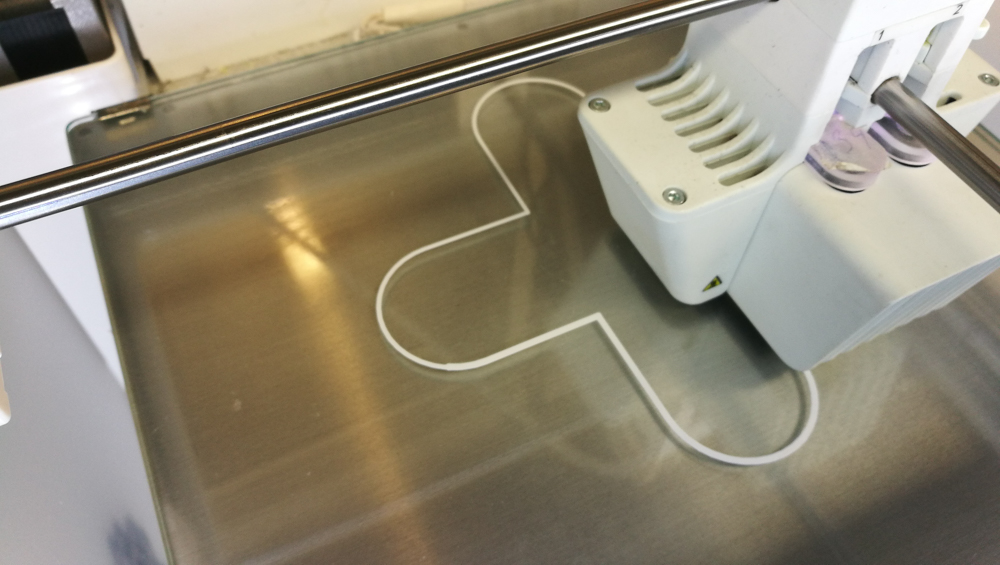
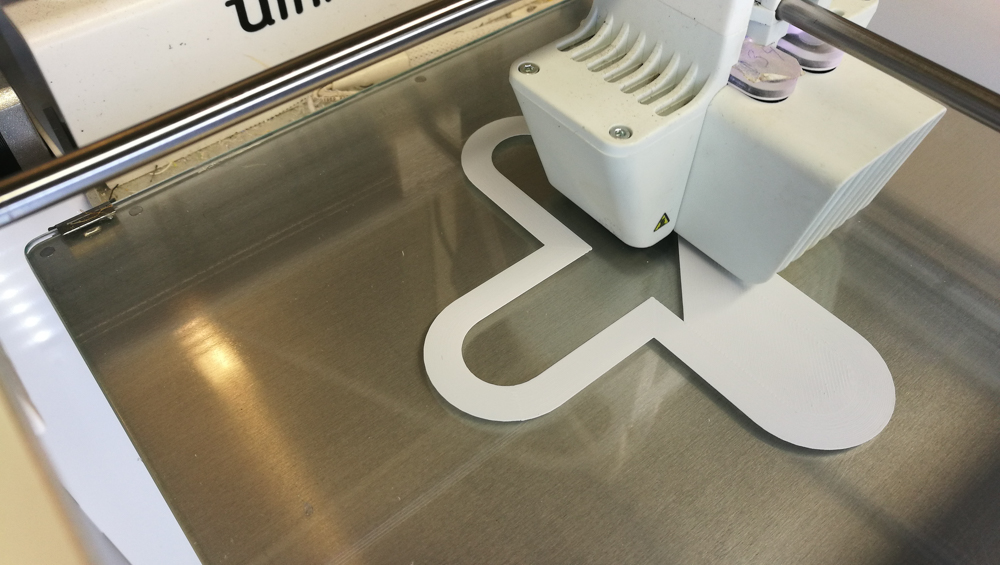
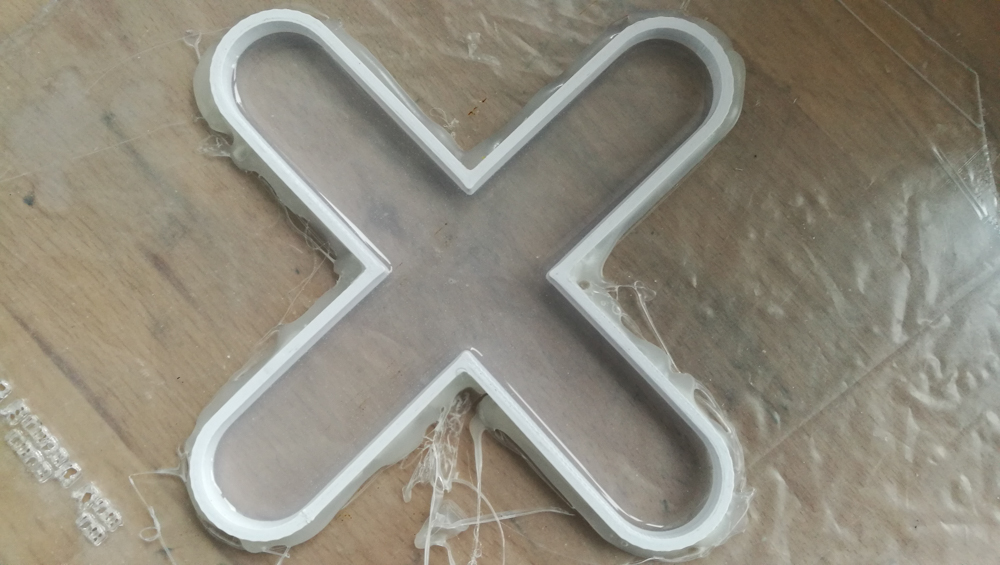
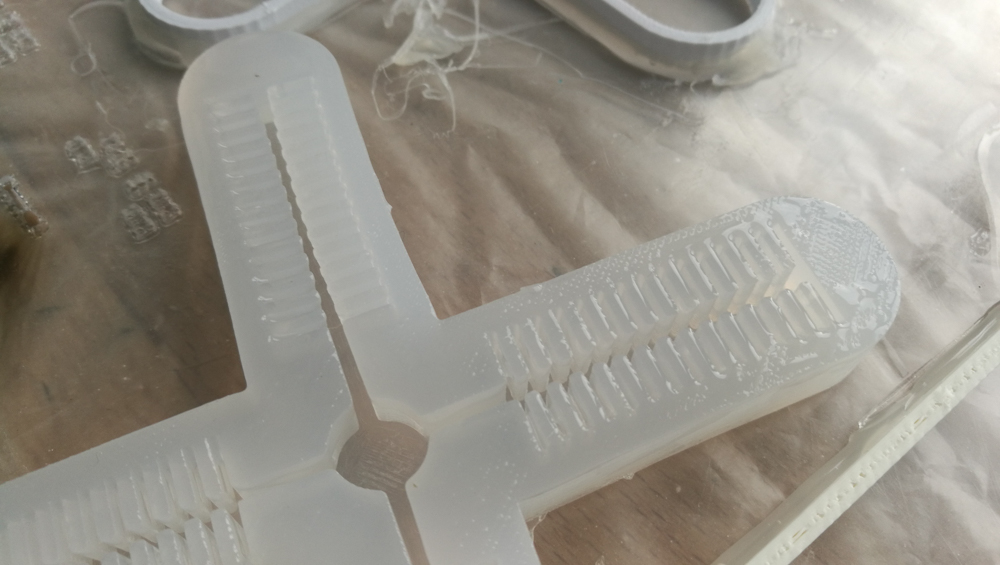
| 3D molding top part | printing top part |
|---|---|
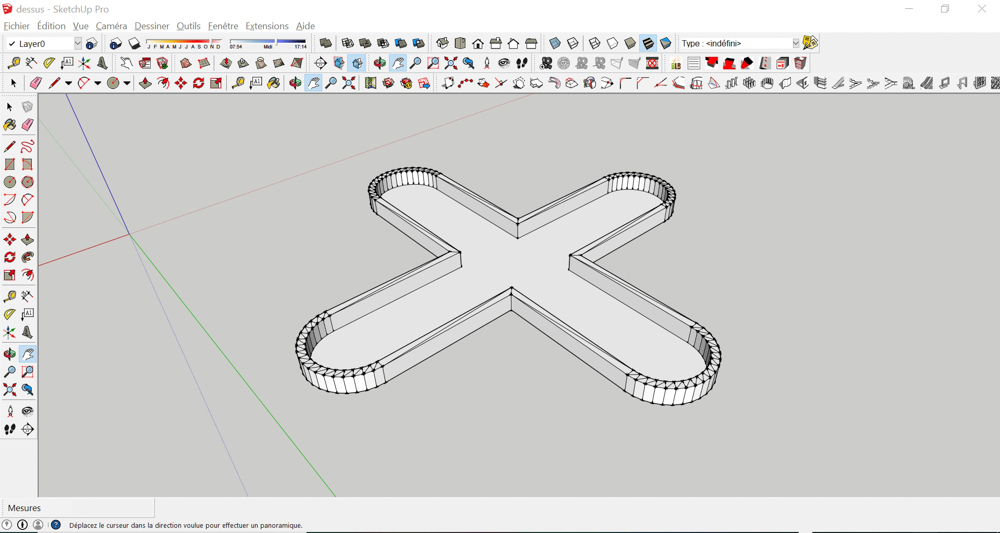 |
 |
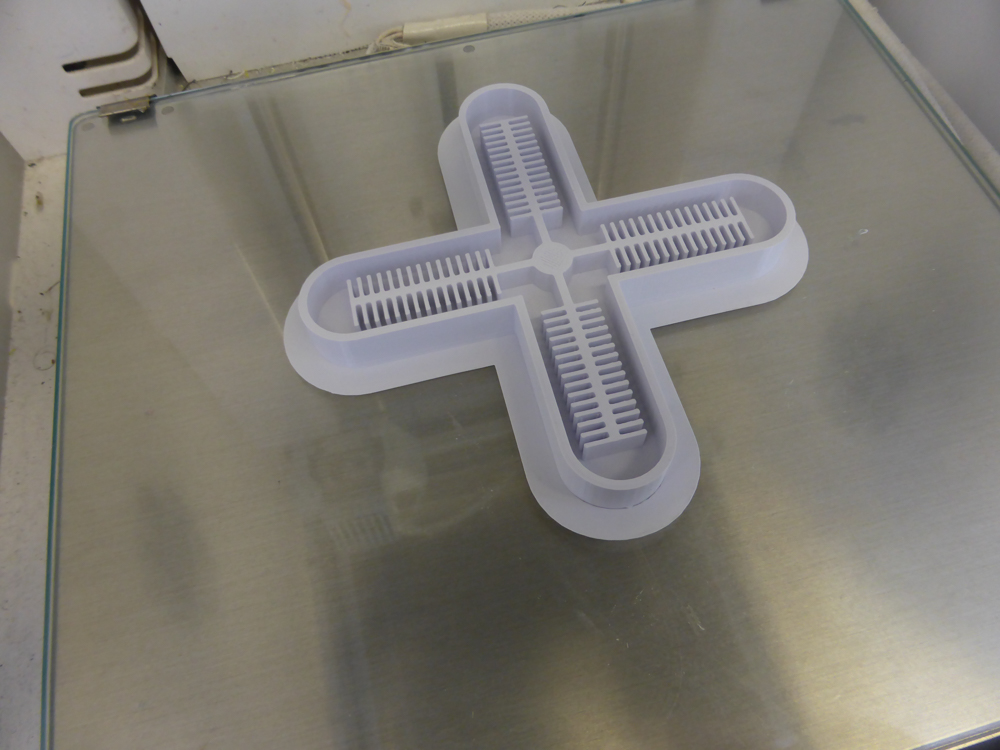
| The mold with 2 parts | Observation |
|---|---|
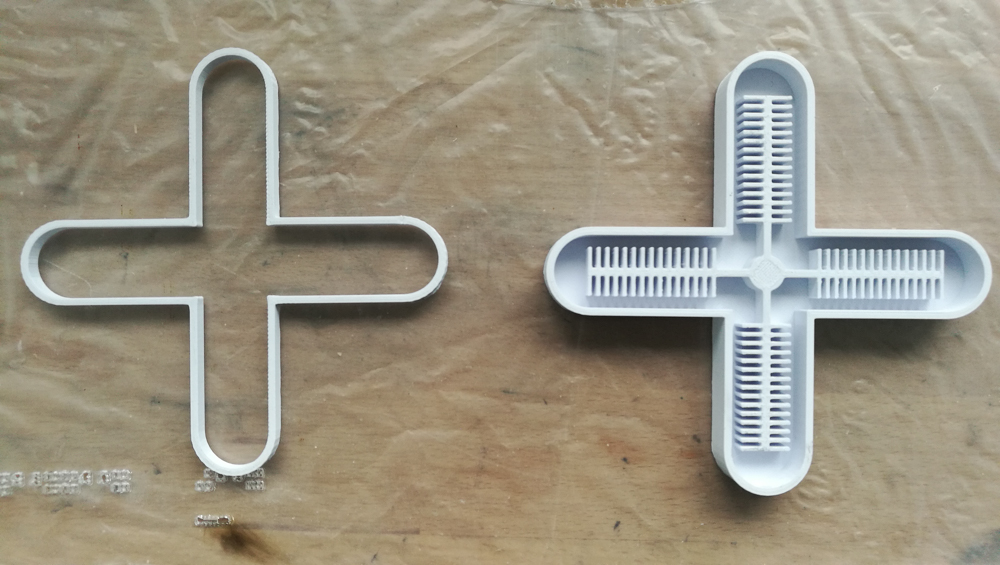 |
The top of the mold is for to make one layer of silicone. Actually it’s not working because I can’t have a good control of the thickness of the silicone what I cast inside. |
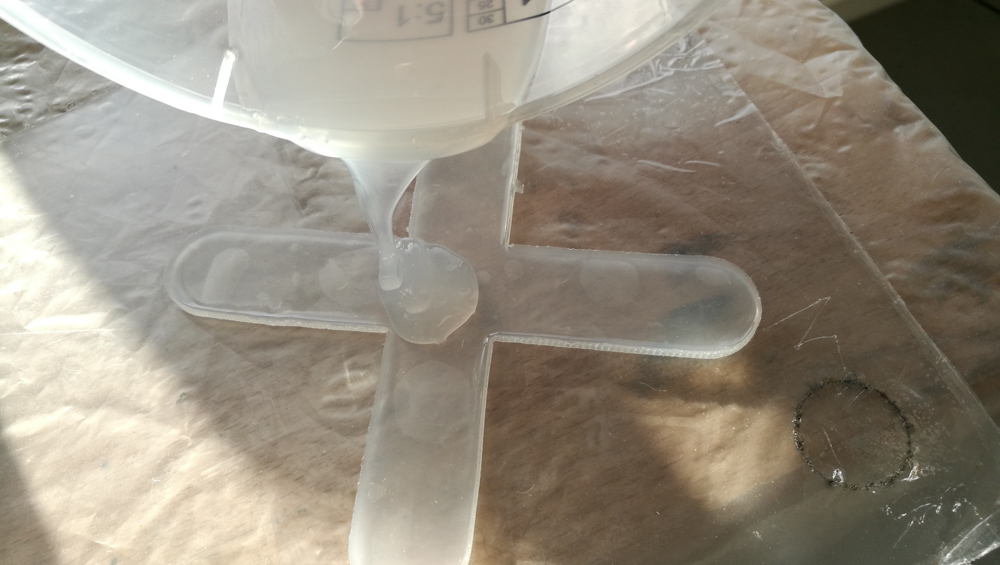
| Silicone | Cast part 1 | Cast part 2 |
|---|---|---|
 |
 |
 |
 |
 |
 |
| Add silicone to glue those two parts | Put together those two parts |
|---|---|
 |
 |
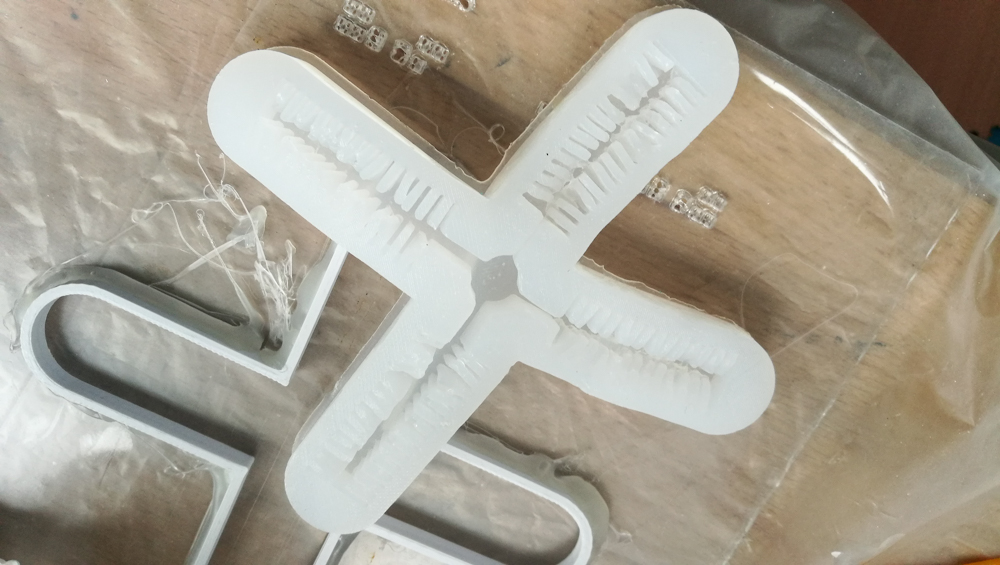
| Default of the mold | First test with the air pump | Comment |
|---|---|---|
 |
 |
The air isn’t homogeneous, because the channels for the mold are not regular enough. Because I don’t wait enough ! |
Test #2 soft gripper#
I use the same mold but I use also a vacuum machine to take out the air inside the silicone.
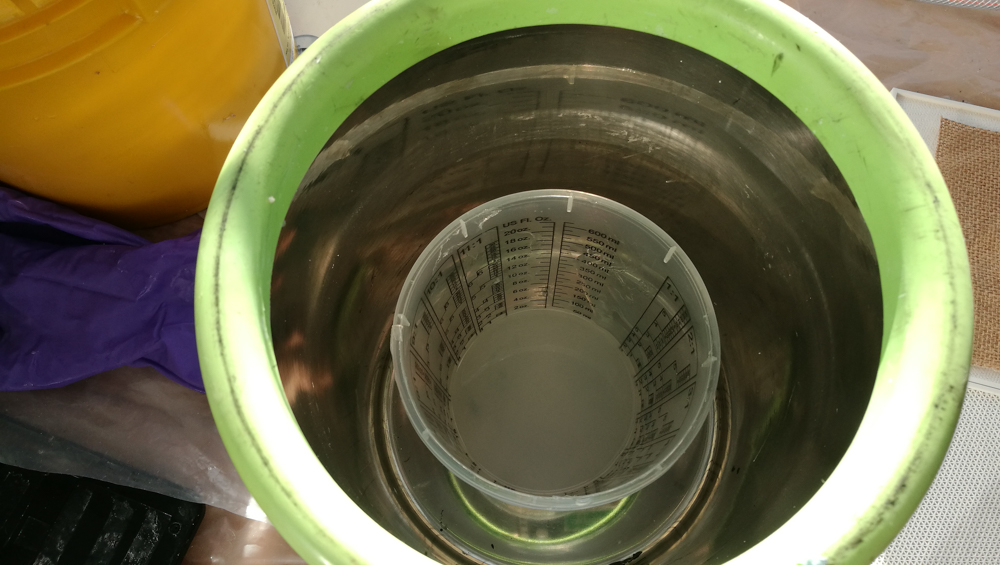
The vacuum machine#
| The Vacuum Machine | Put out the air of the silicone | Put inside the silicone | close the cover |
|---|---|---|---|
 |
 |
 |
 |
Important To use this vacuum machine you need before to use it, open the first sluice gate and close the second one. At the end of the process you can close the first one during a few seconds to take out the bubbles. After that you can and open the second one in order to put air inside again and take the silicone.
| Put out the pressure and the air very SLOWLY | Silicone without air bubbles |
|---|---|
 |
 |
| Second cast for the mold | part A | part A + B |
|---|---|---|
 |
 |
 |
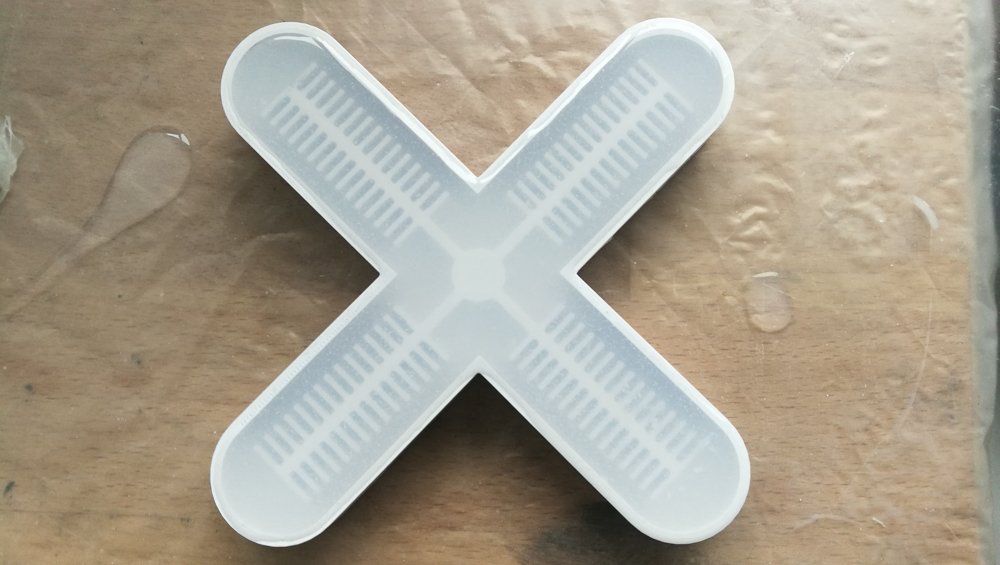
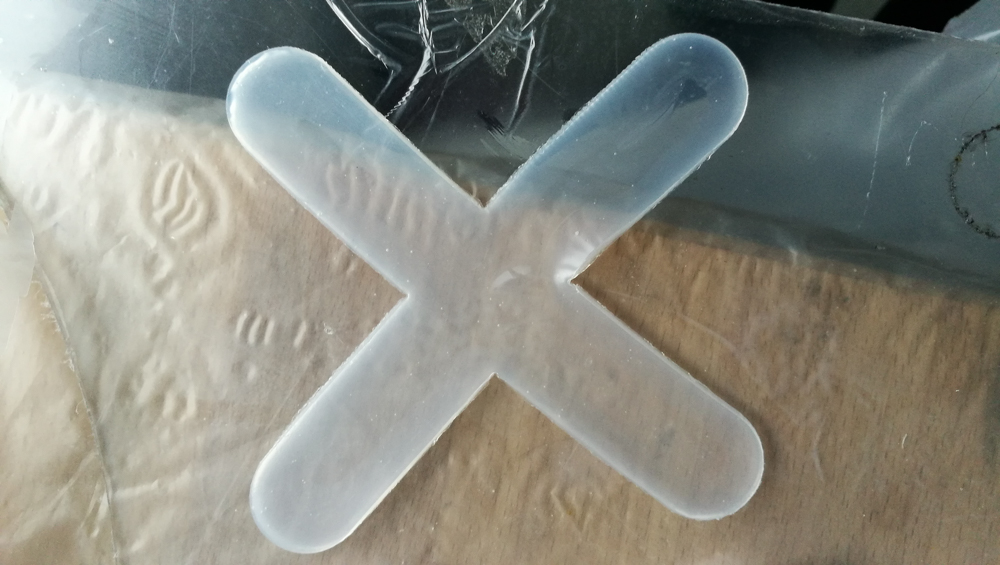
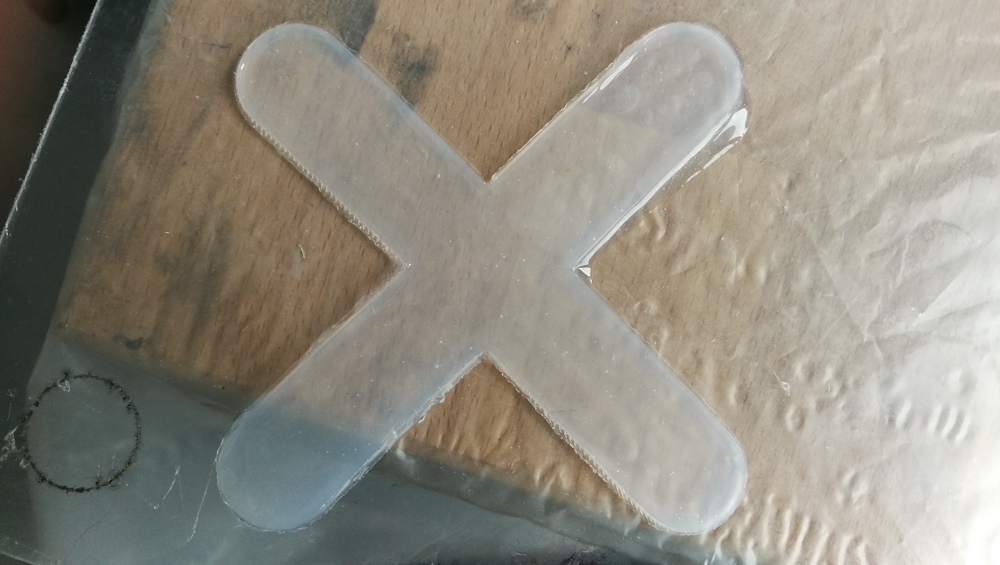
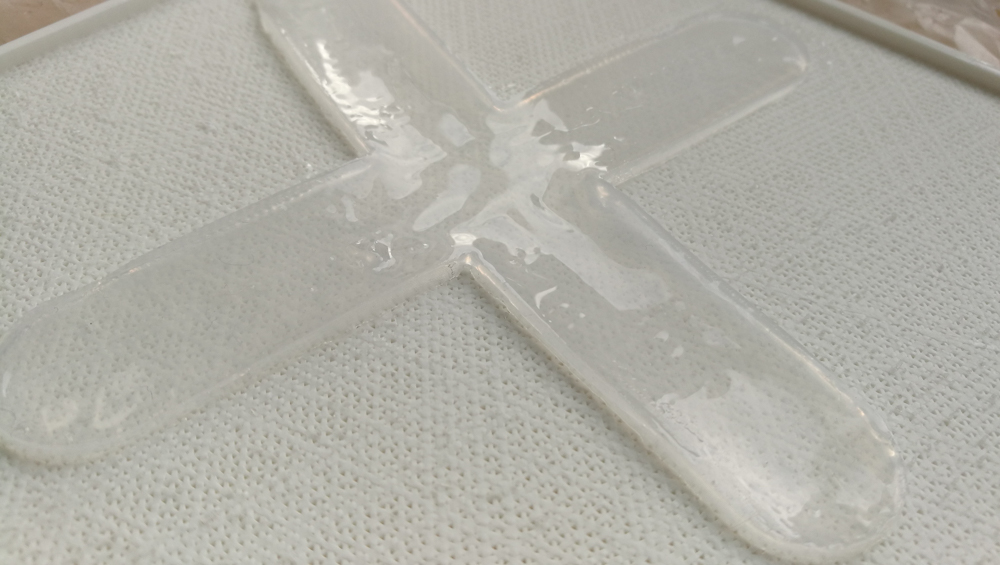
| Part A | Observation |
|---|---|
 |
the air channel is perfect and the silicone doesn’t have bubbles. |
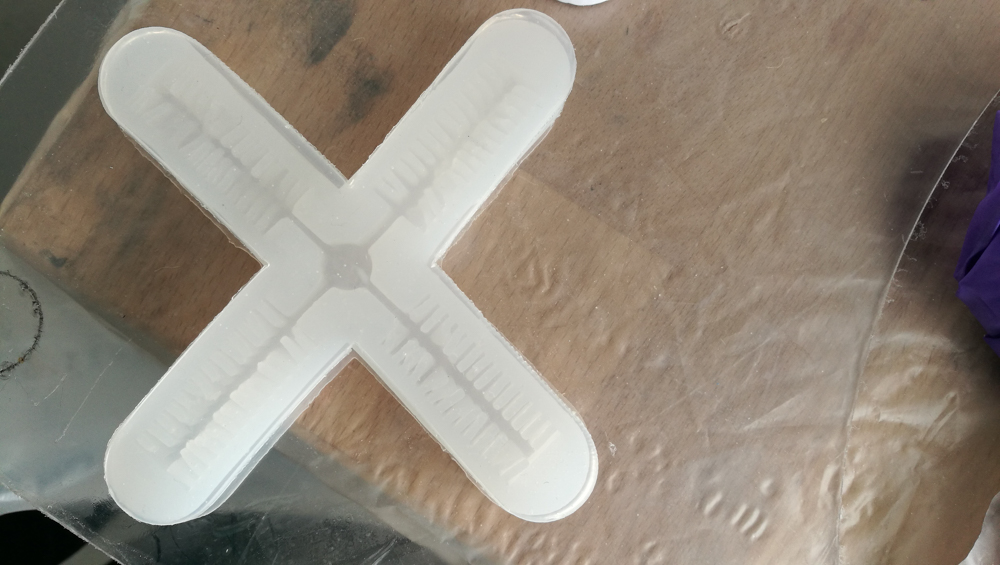
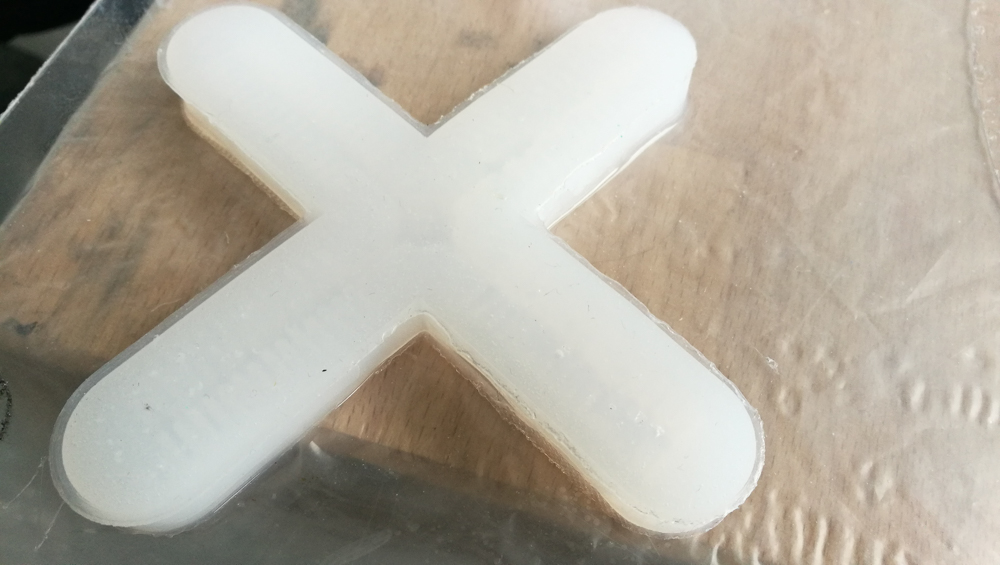
| Part B | Observation |
|---|---|
 |
This layer is too tick and not flat is like the edges are not flat so I need to make a new level with the silicone. This new silicone what I add, could glue the air channels and the layer top together. I need to put more silicone inside to have a flat level for the top part of the mold. But with this technic the layer isn’t so thin than I would like. |
| Cast a little of silicone on the top | See the edge |
|---|---|
 |
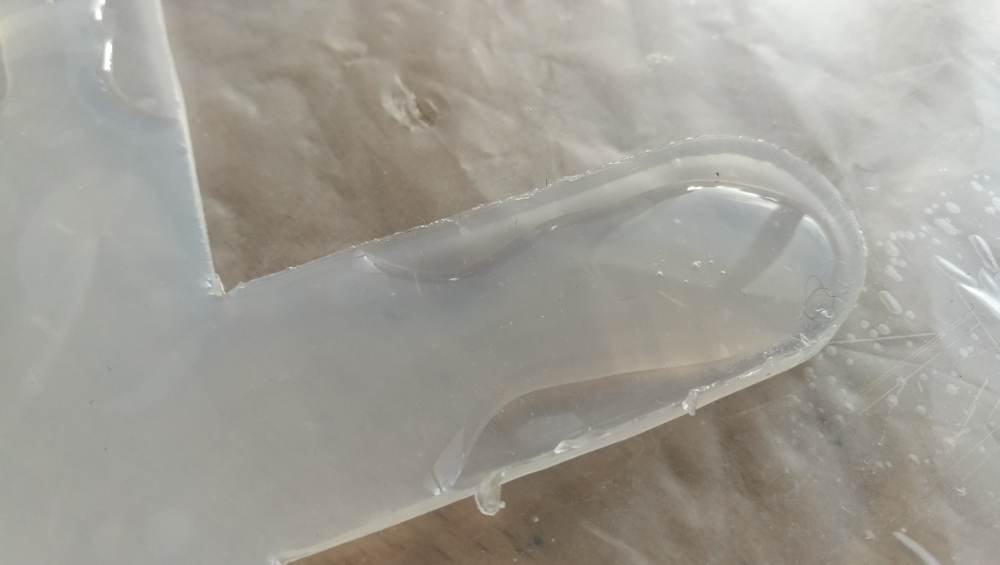 |
As you can see on the last picture the silicone layer is too tick.
| Waiting like this during 4 hours |
|---|
 |
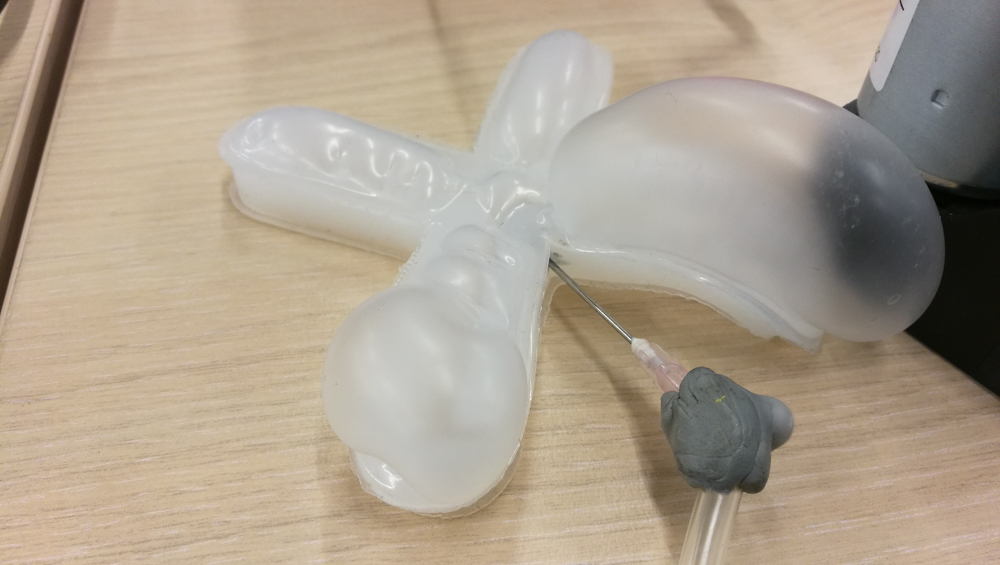
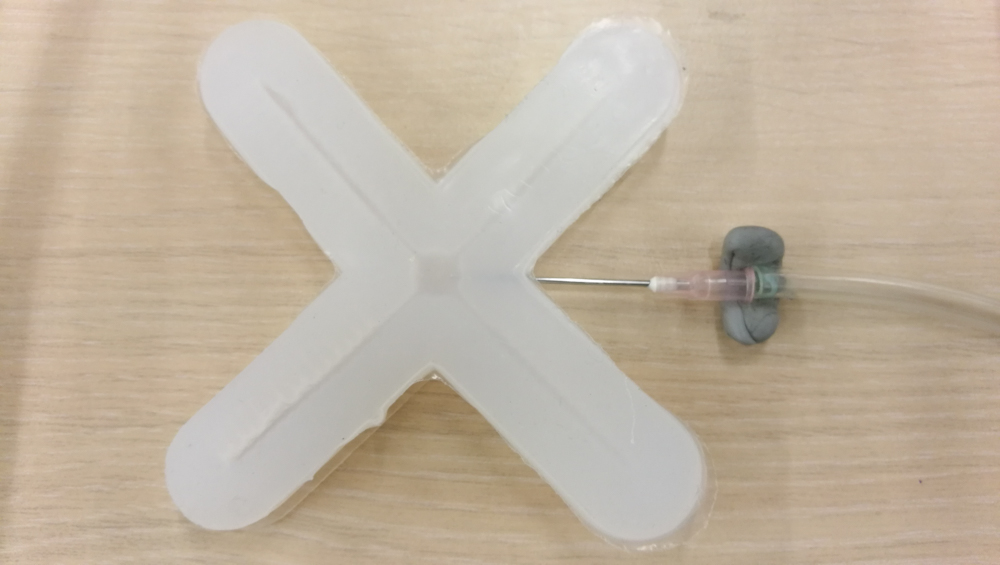
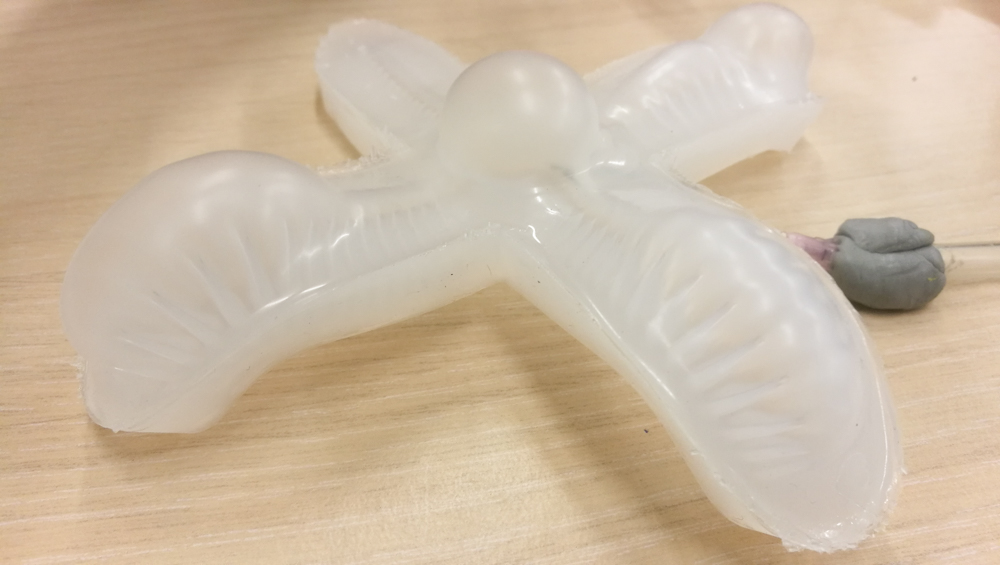
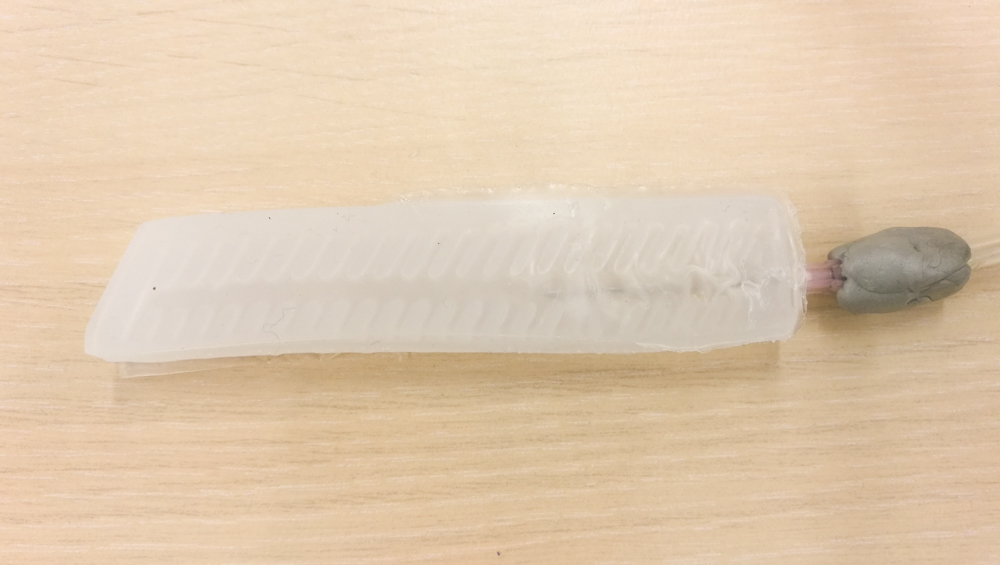
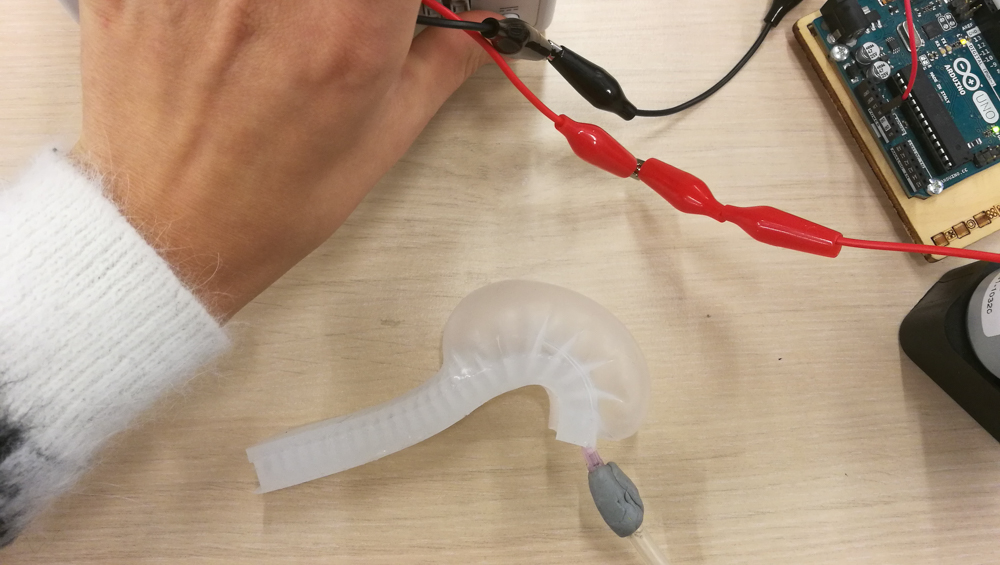
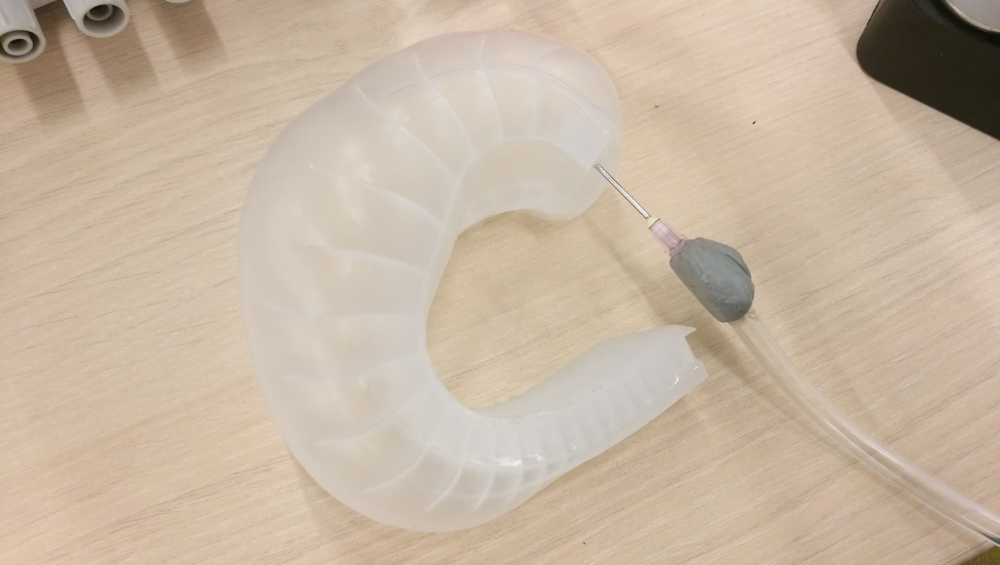
| Put the needle | Put the air tube with a seal | Close the set up |
|---|---|---|
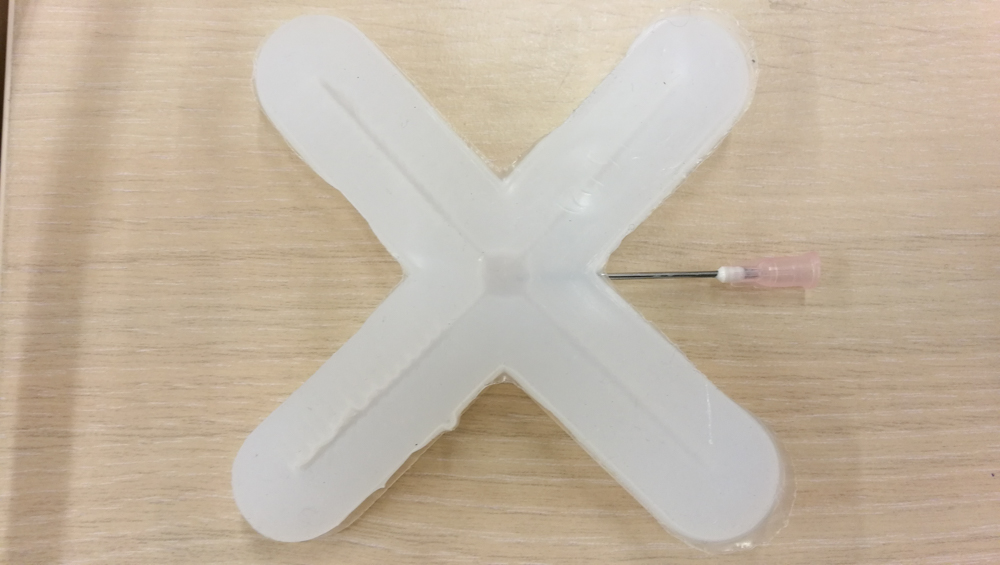 |
 |
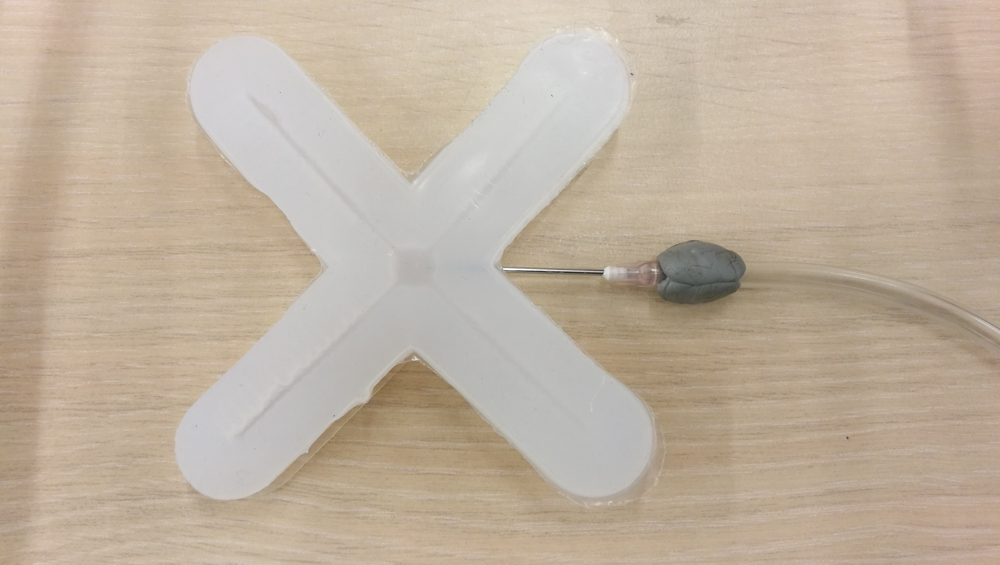 |
The seal for the needle and the tube could expulse the air if you have too much air inside the gripper. So it could help to not break the gripper.
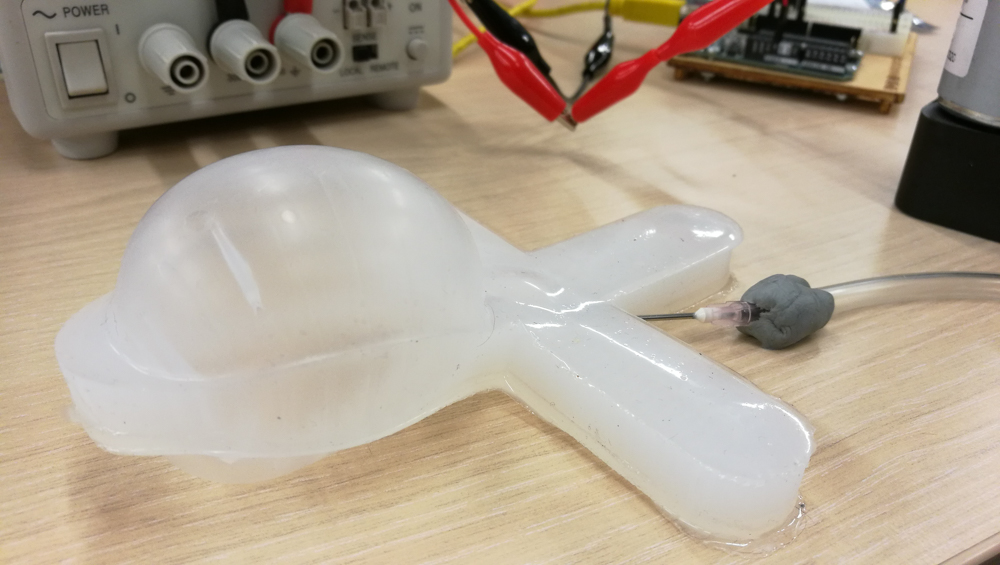
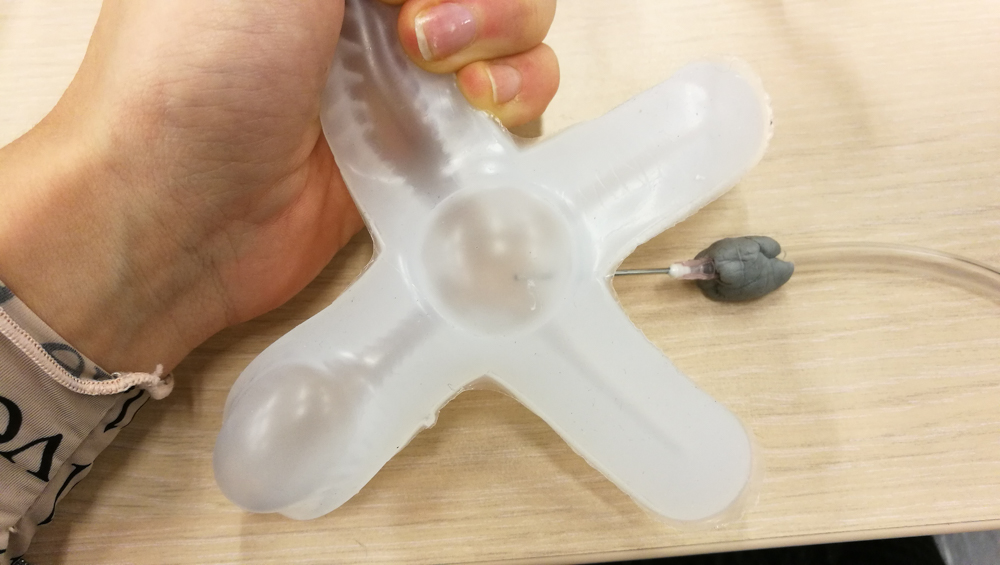
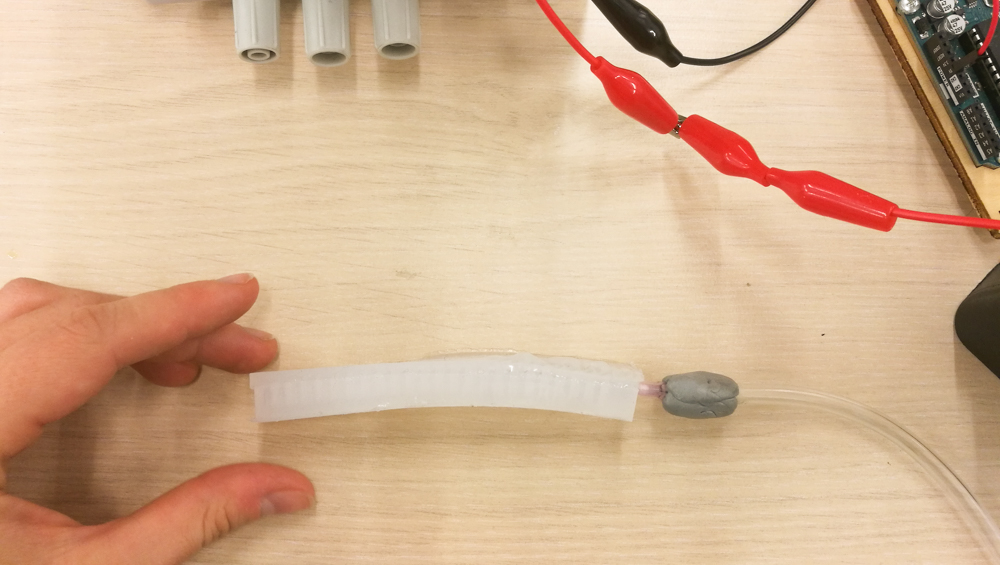
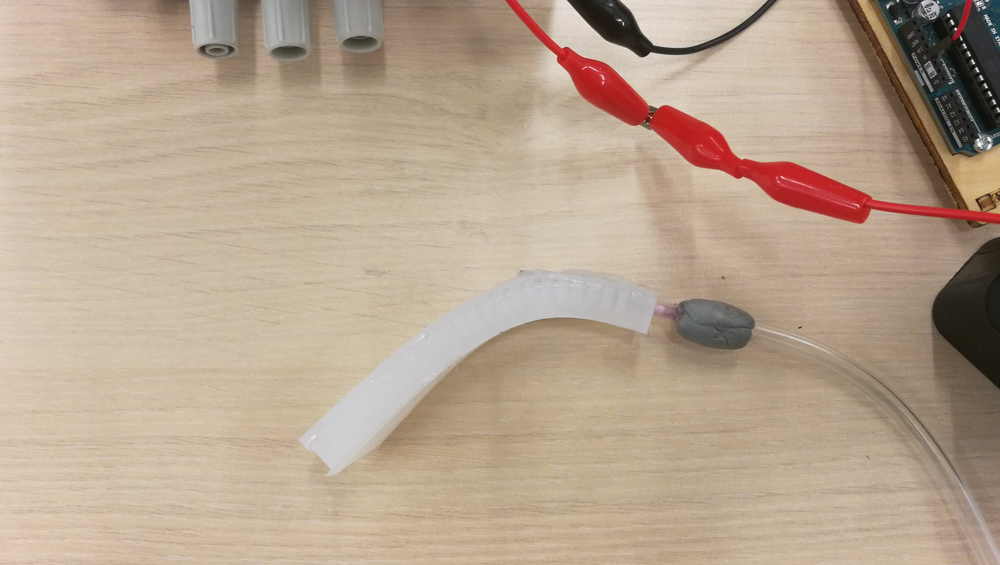
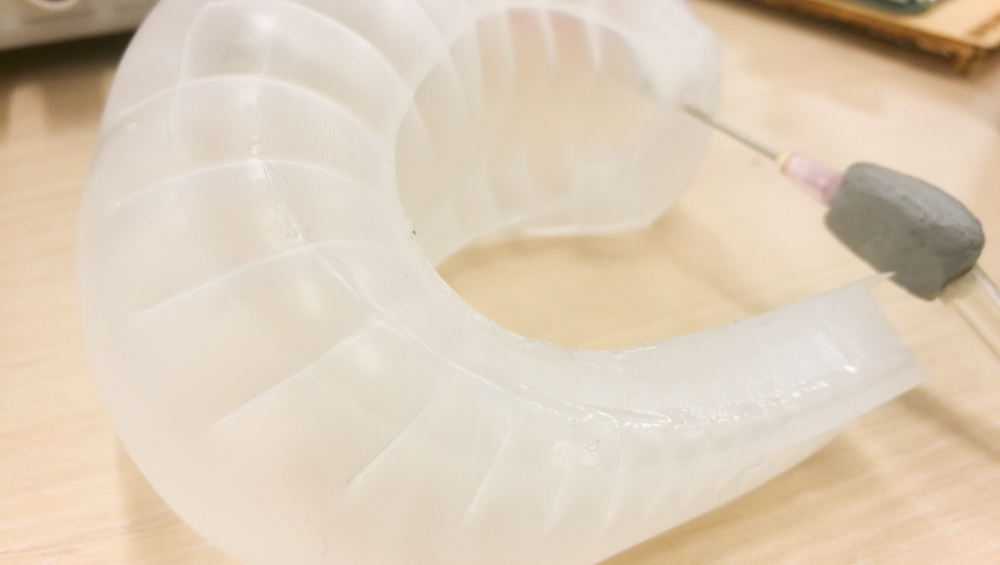
| 2nd gripper 1 | 2nd gripper 2 | 2nd gripper 3 |
|---|---|---|
 |
 |
 |
Test #3 for the gripper#
I have changed the process to put those two parts of the mold and add silicone on the two surfaces what I want to glue together.
| Add silicone on the top layer | Add silicone on the cross bottom piece | Add weight in the middle and to wait |
|---|---|---|
 |
 |
| Result |
|---|
 |
Make sheet of silicone with textile#
In parallele I make a mold to make sheet of silicone.
This mold have two goals : 1. make a textile and silicone sheet for the base of the next inflatables. 2. make a mold for the wastes of silicone if I have made more silicone than I need to use.
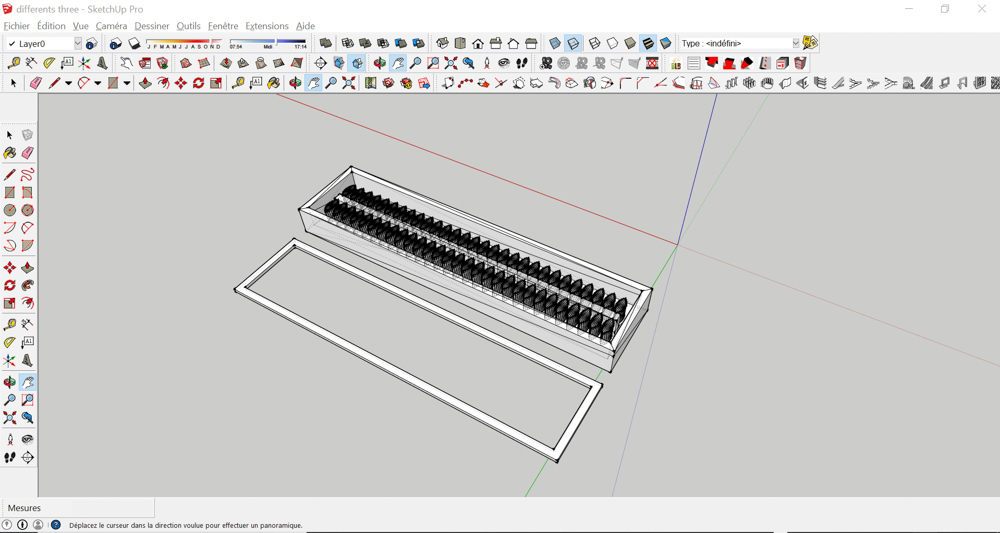
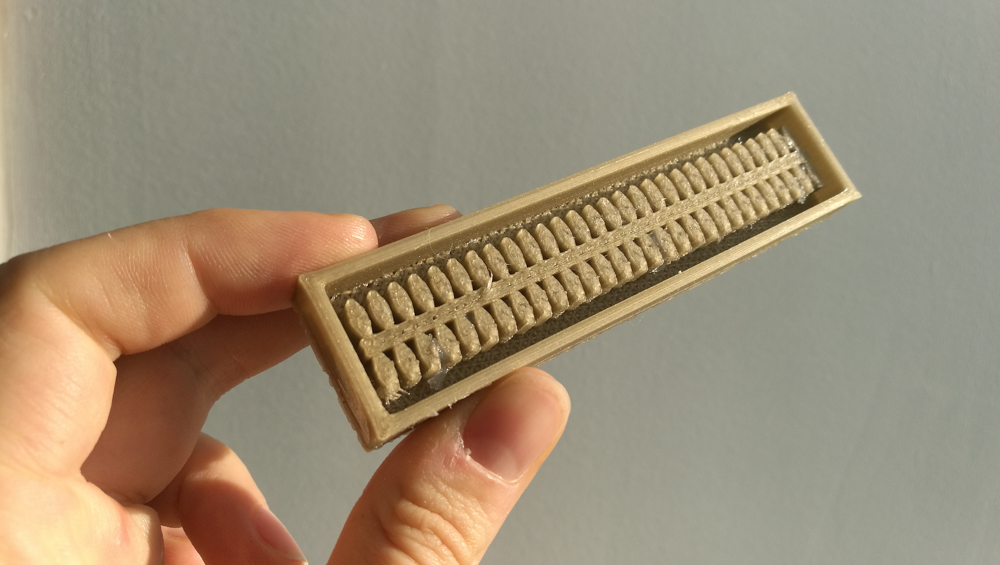
| 3D molding sheet | The 3D printed mold | With a layer of fabric |
|---|---|---|
 |
 |
 |
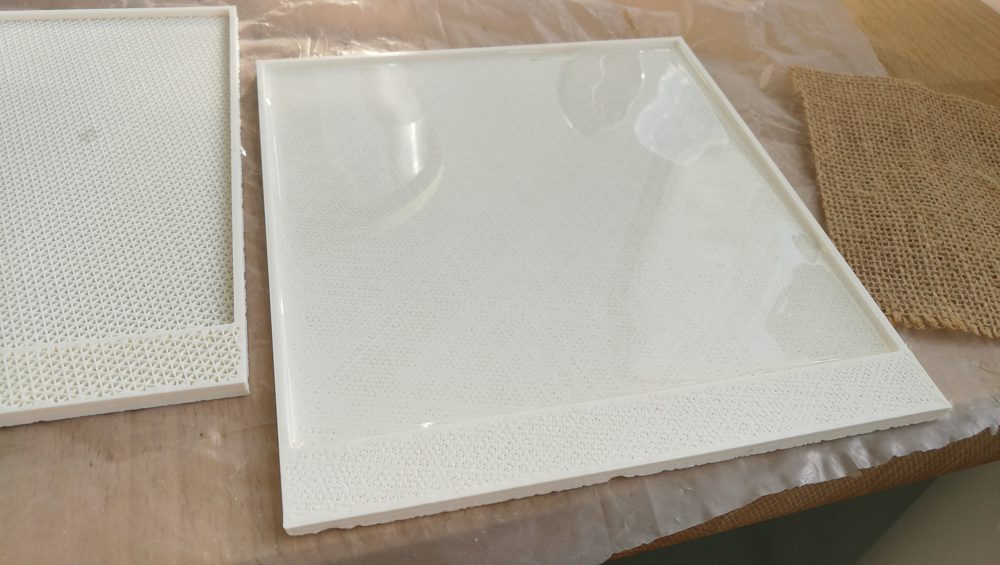
| Piece of Fabric | Comment |
|---|---|
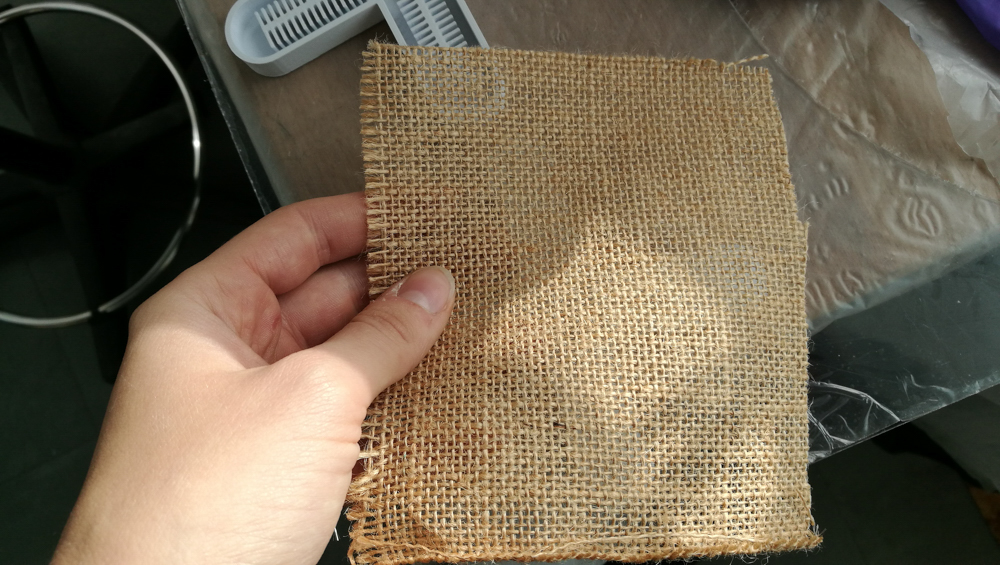 |
The tickness of the mold is adapted for this piece of fabric, I make a wall of 2.7 height because the tickness of the fabric is 0.9. And I have multiply by 3. |
| Put the first part silicone into the mold | Waiting 4 hours |
|---|---|
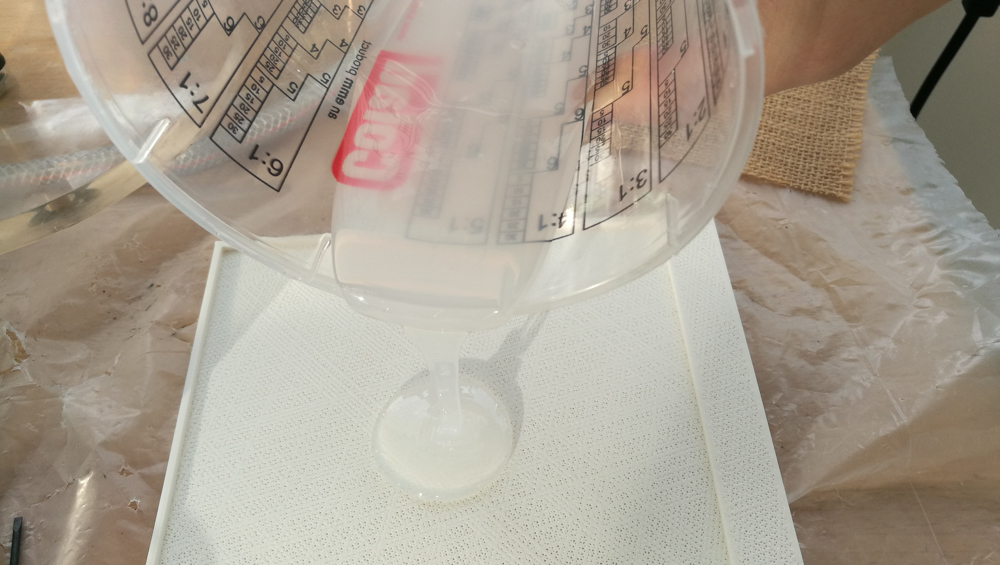 |
 |
In progress…
5 air chambers channels and fabric#
small air channels with intervals#
Other air channels exemples for soft gripper or soft robotic#
The soft robotic movement depend of the shape of the channel what you make like as could read.
- Elipses
- Diagonals lines
- 3D Spheres
- Thin layer for the top of the molds. To produce a new top layer for the gripper and to correct the tickness of the layer. I have make a mold for the gripper with a smaller height of the wall. Past mold with 6 mm of height and a new mold with 1mm of height.
Elipses#
| 3D molding | Printing | Observation |
|---|---|---|
 |
 |
I put very fast preferences for the 3D printing and the details are not good enough. |
 |
 |
The chambers are to close : the pla is too tick, the mold doesn’t work at all !
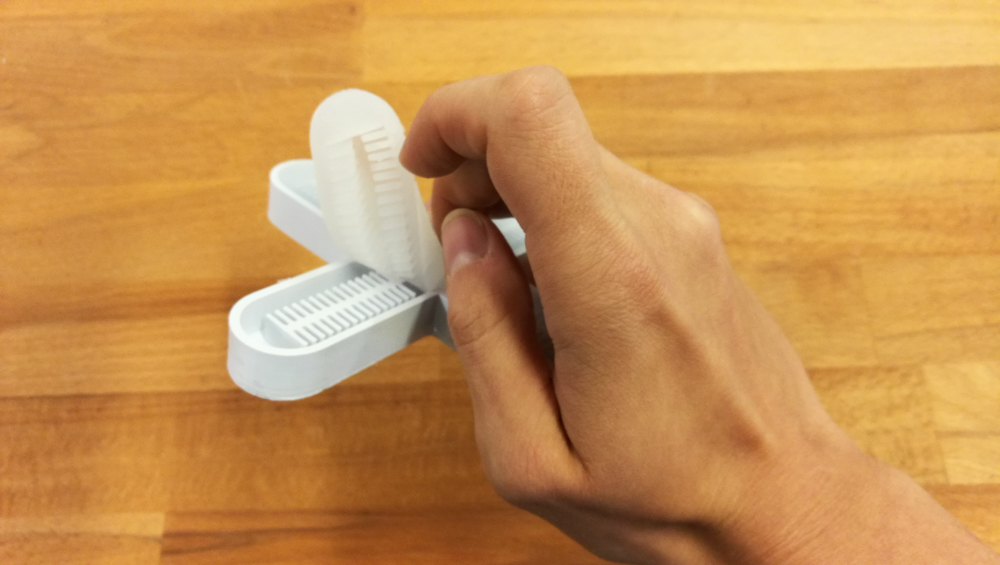
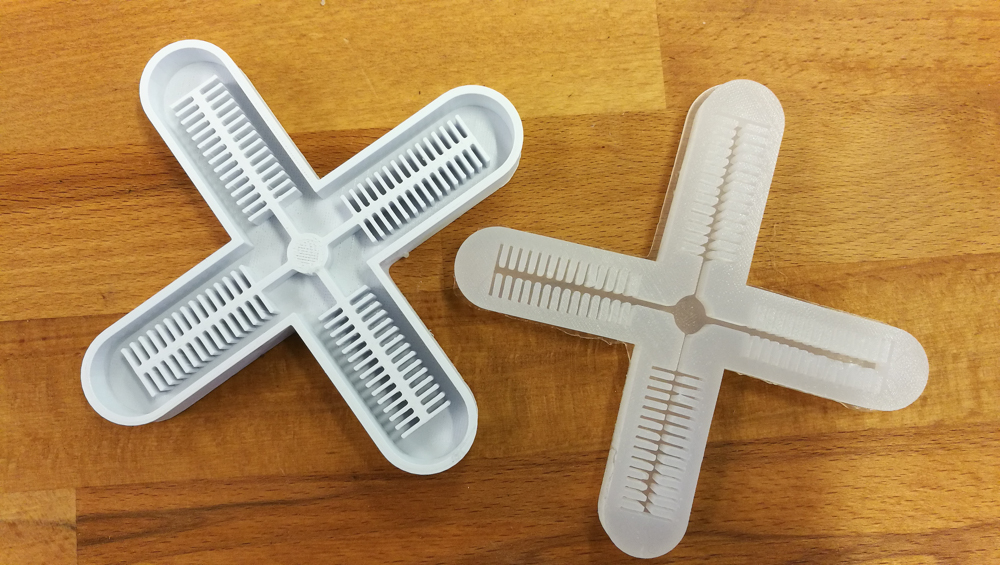
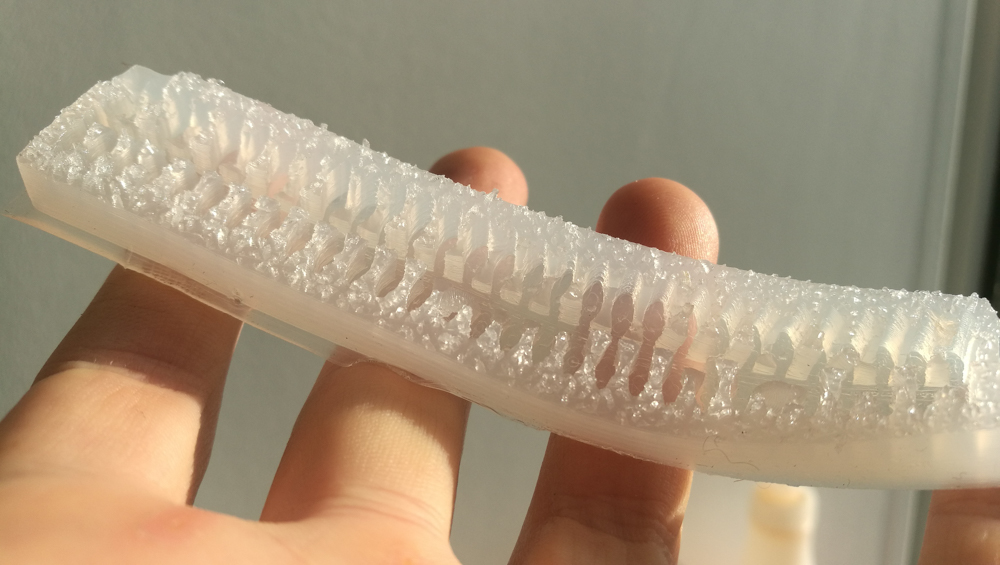
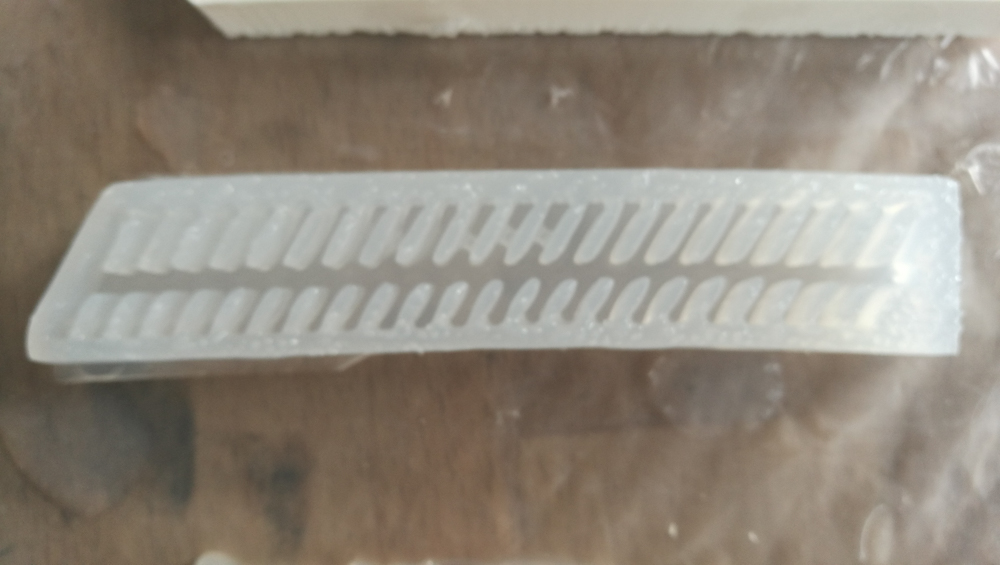
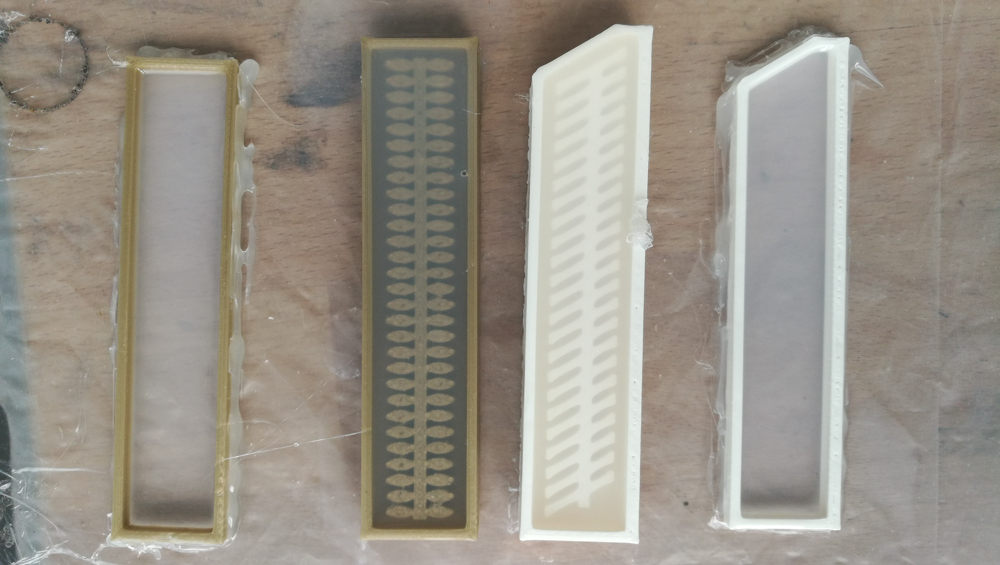
Diagonals lines#
| Part A | Part B |
|---|---|
 |
 |
| The cast | And add weight |
|---|---|
 |
 |
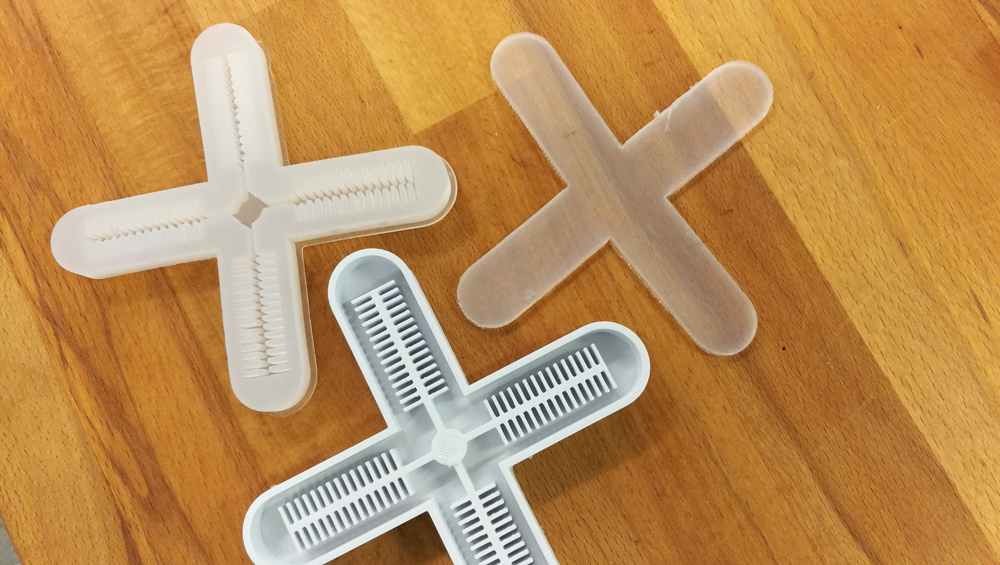
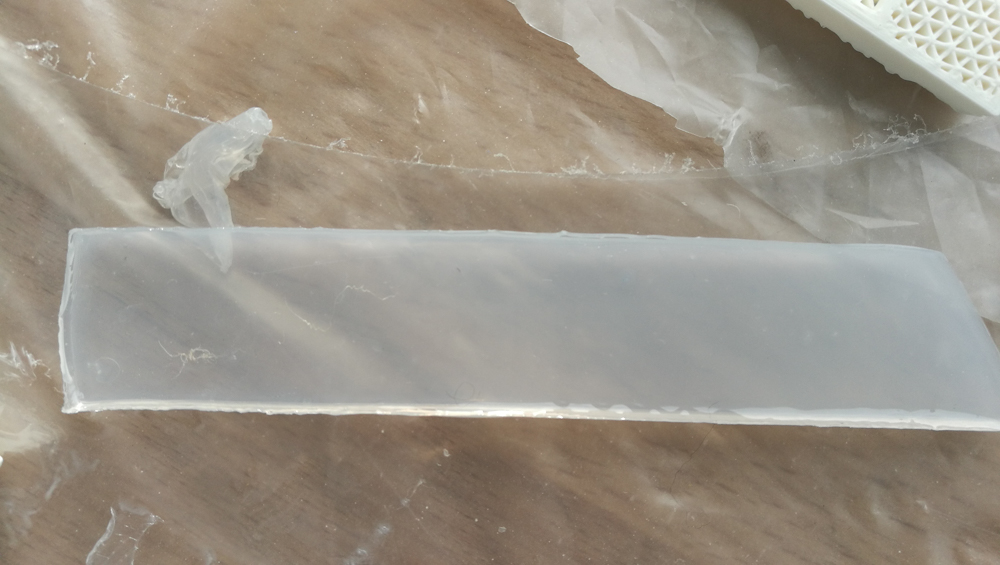
| A | B | C | D |
|---|---|---|---|
 |
 |
 |
 |
 |
 |
| Result |
|---|
|
3D Spheres#
| 3D mold | NEW Settings |
|---|---|
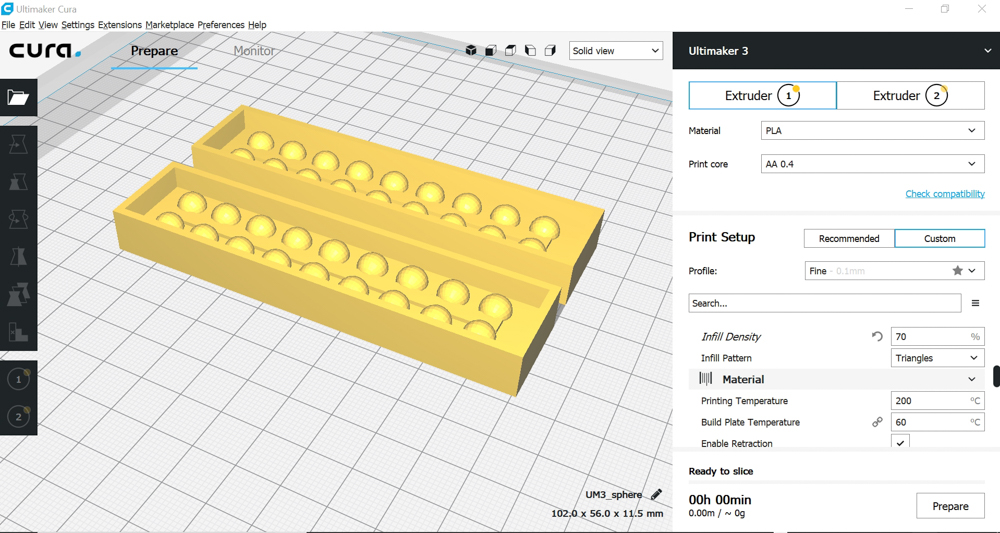 |
 |