11. Soft robotics#
Inspirational project#
For this week, I wanted to create necklace from silicone rubber. I make first test on vinyl paper. I make some pattern to understand what is soft robotics. So, I made 3d printed mold for this assignment. But I failed to make silicone rubber liquid. And Nishtha told me to do some changes in my 3d printed mold. It is in process....
1st attempt with Vinyl paper#
Materials
- Vinyl paper
- Air flow injection
- Iron
- Food paper
The process
-
Make the pattern on paper
-
Cut parchment paper or food paper with shape.
-
Take a vinyl paper.
-
Put proper food paper on sticky side of vinyl paper.
-
Make another same as first.
-
Stick both to eack other.
-
And pump air on that.

2nd attepmt#
After my first attepmt with vinyl paper I tried to make something different with vinyl. I observed that there is problem in thik line to inflate. So I decided to make a design which involve 0.5 mm line to 10 mm. I downloaded one tree design and edit in Corel Draw 2d software. I am very friendly with Corel Draw software. So, First I import that tree design in Corel Draw. And Stared to edit that design. I select tool of Quick trace to make my design clear.
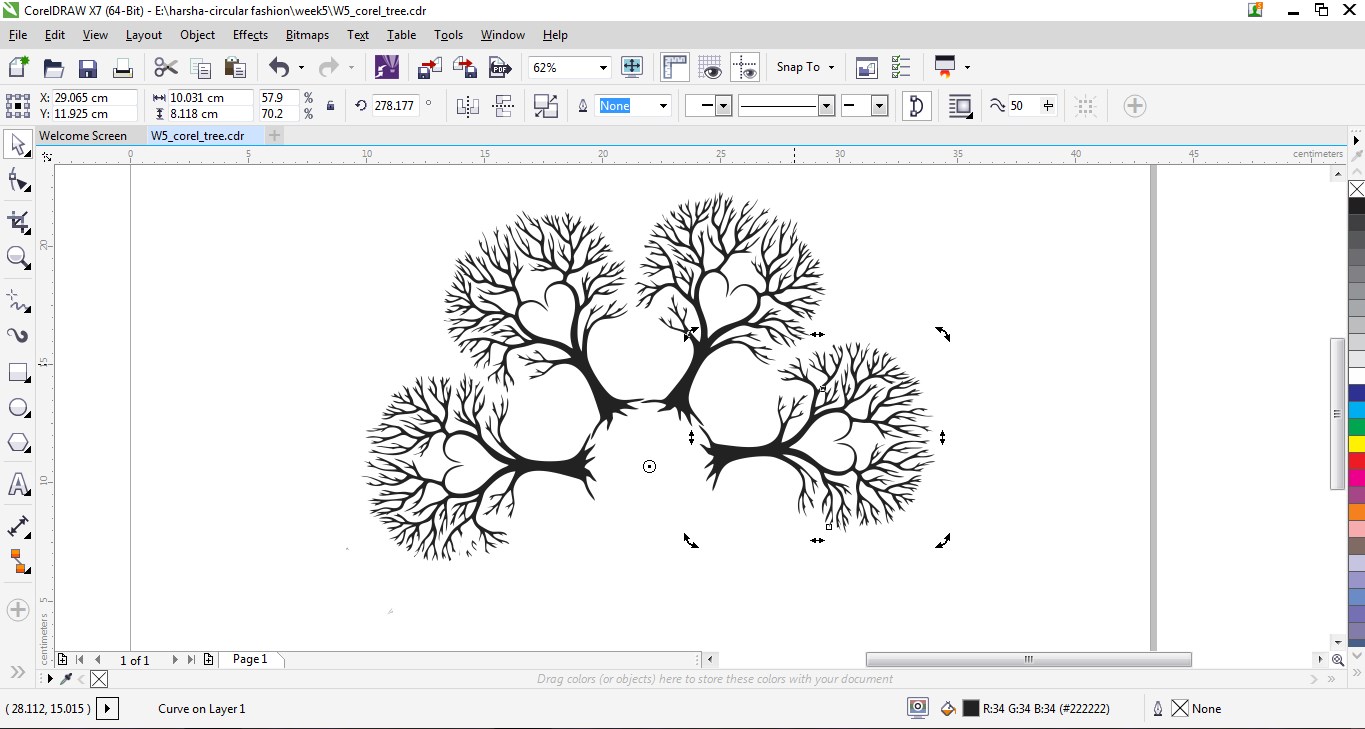
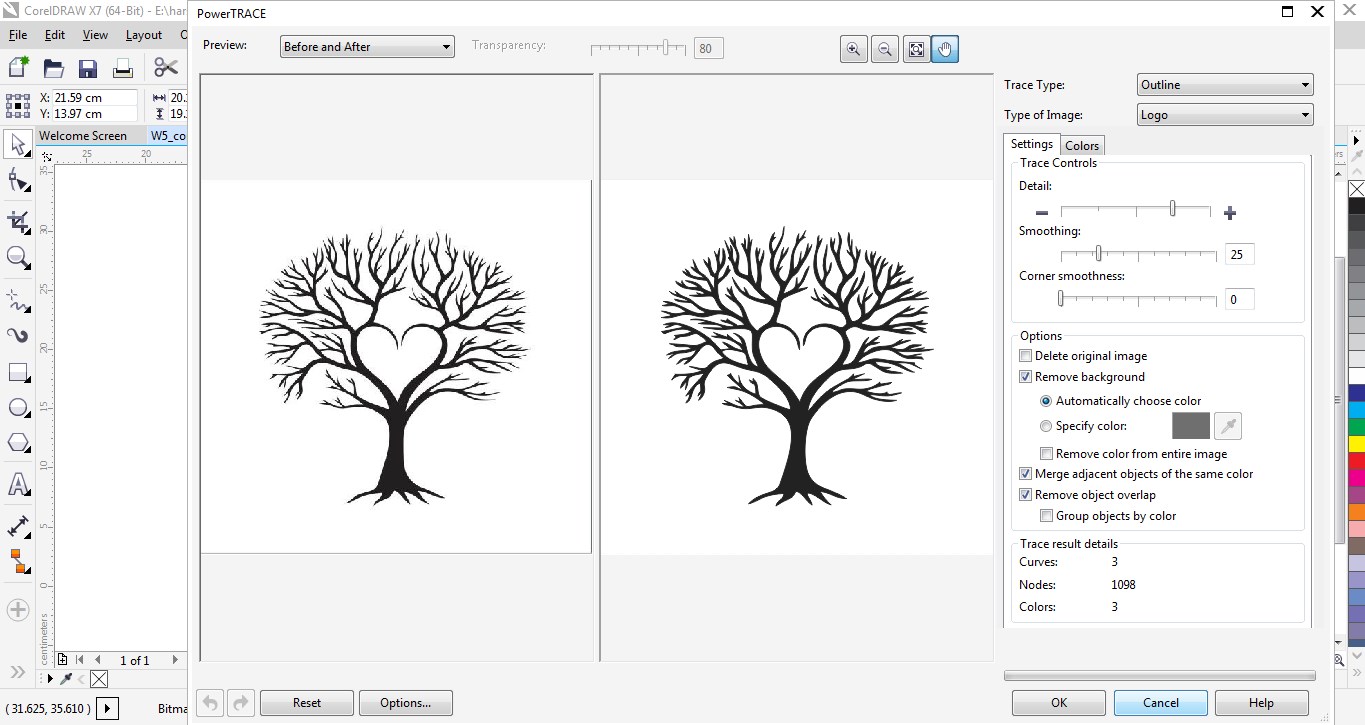
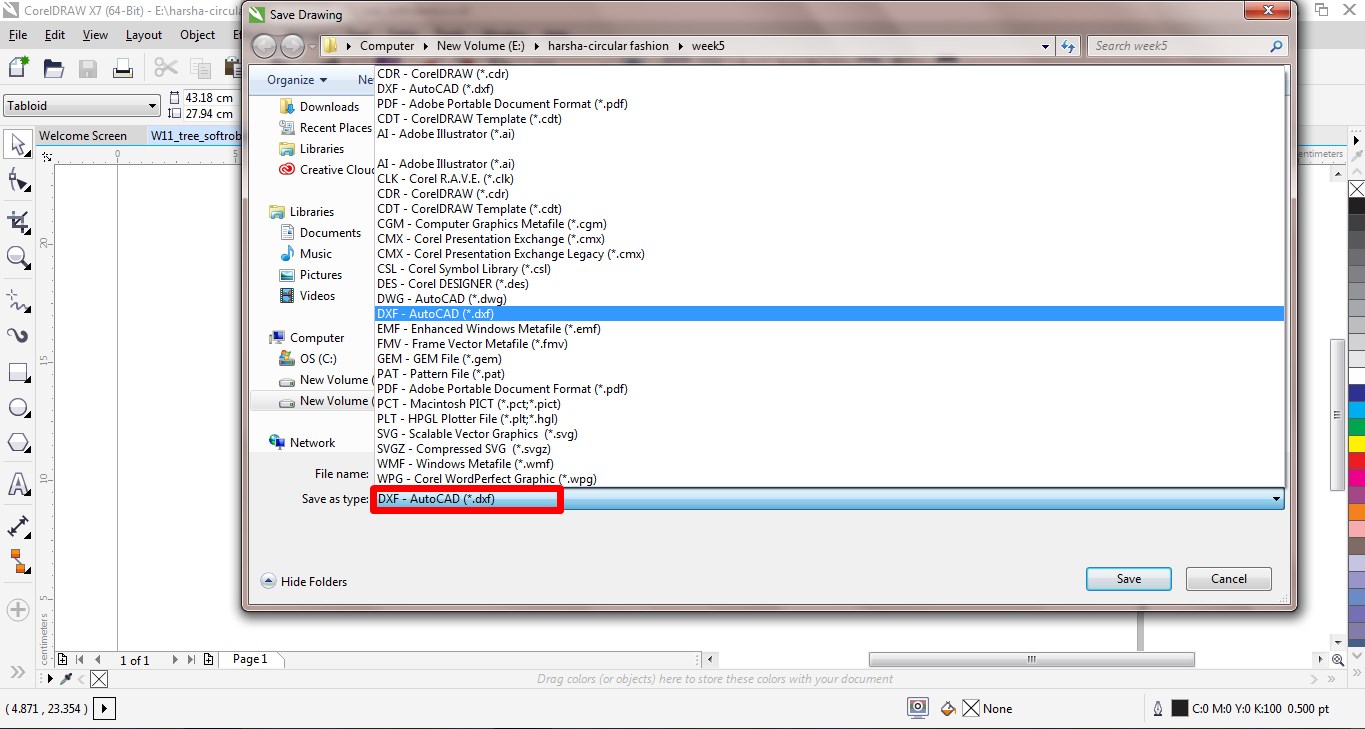
Then, I select that design to make it as flower patels in 180°. Grouped that all designs. Now it’s look like a flower… 😎. I saved that design in .dxf for laser cutting.
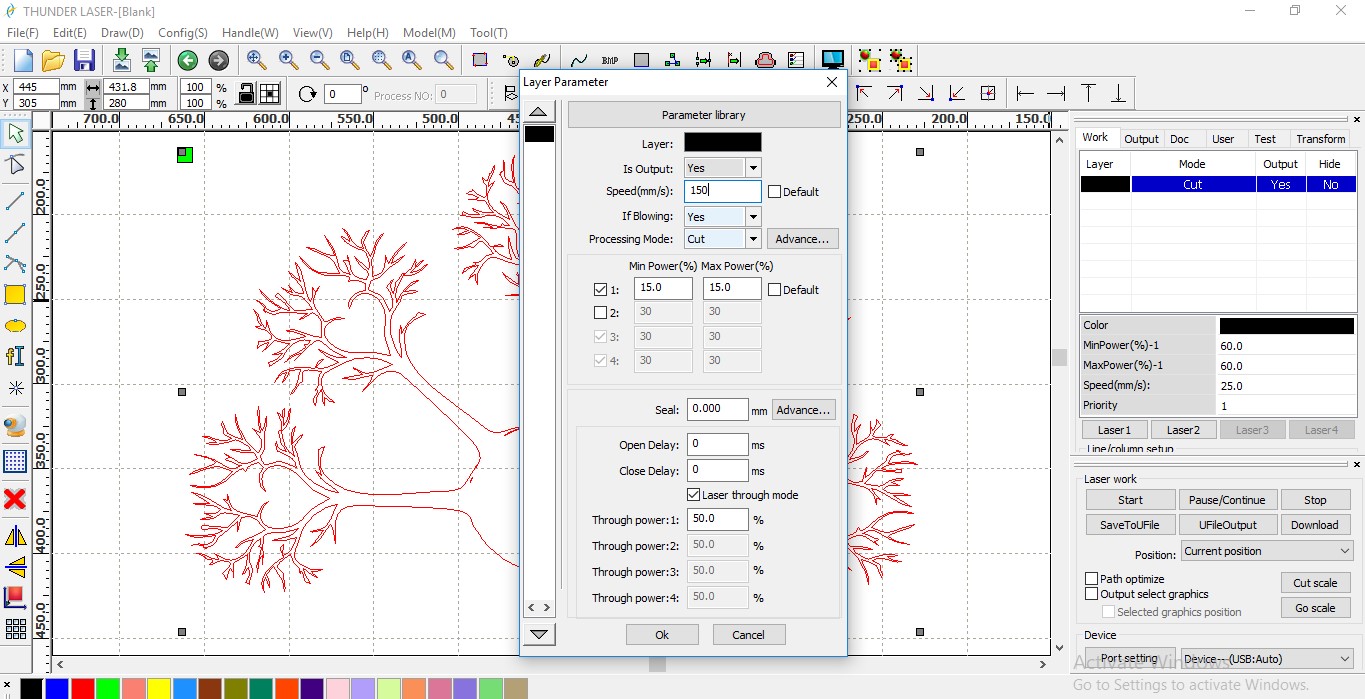
For laser cutting, import .dxf file in RD works And set the power 10 ,Speed 100.
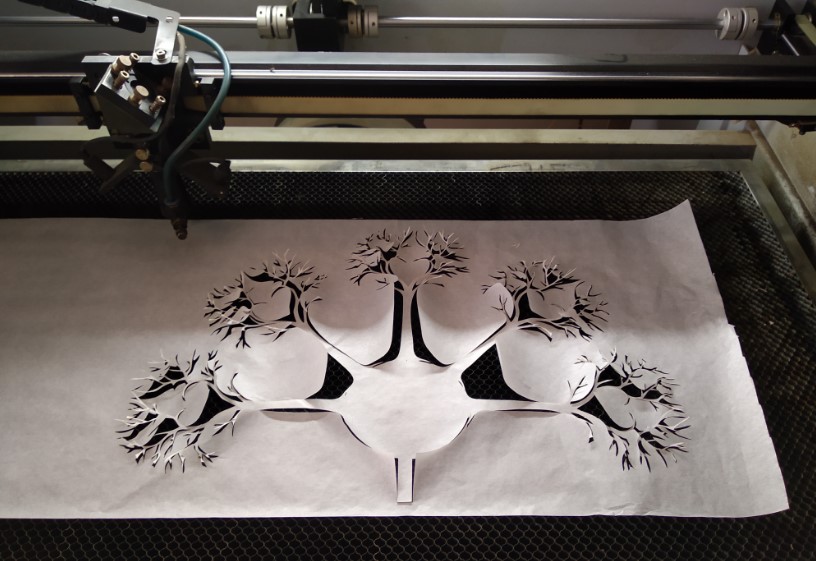
Join Glue side of vinyl and perchment paper each other. Also make another same....And join them each other very carefully.
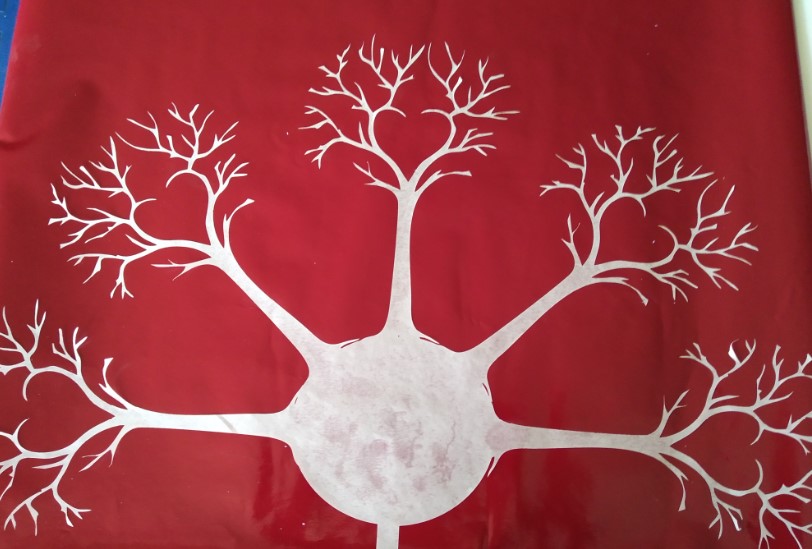
Results#
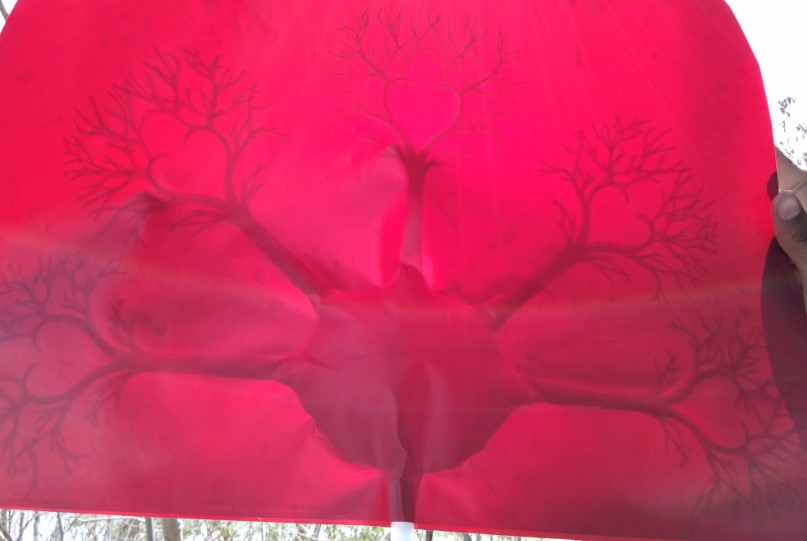
I observe that some channels are very thin so, it looks good when air goes by channel to channel.
Soft robotics with vinyl from HARSHADA RAUT on Vimeo.
3rd Attempt#
To create the mold I use 3d print mold. I made 3d mold design in Autodesk 123D Design software. I learned 3d printer in workshop at vigyan ashram. But this is first time to design mold on software. To create the mold underneath I had to draw in 3D another surface with chambers (to receive the air) and canals in between to let the air goes through and print in 3D.
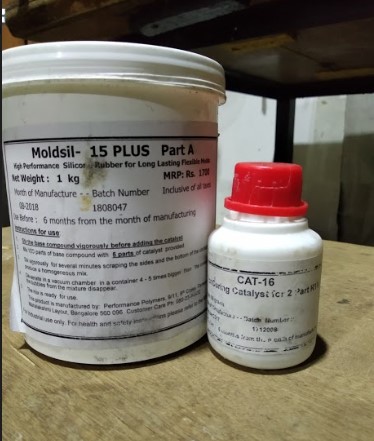
Materials
- Silicone
- Activator Liquid for silicone
- The mold
- Air bomb DIY
- Container to make the mixture and a tool for blending
- Gloves to protect your hands
The Process
-
Make the 3D model of the airbags.
-
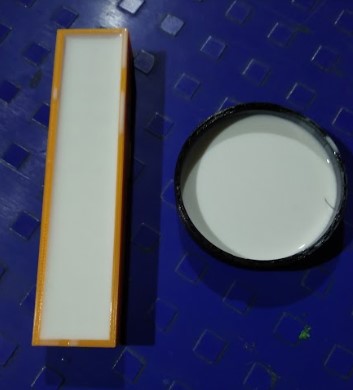
Design the mold. I decided to make to use 3D printer to obtain the molds for the silicone.
-
Built the mold with the cut pieces and have it ready to put the silicone.
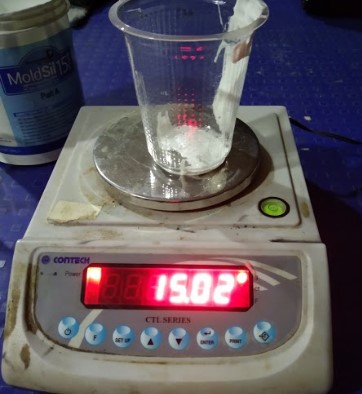
-
Prepare the silicone mixture in the required proportion described in the silicone bottle. In this case, the proportion of the Silicone 30 is 3 ml of the activator liquid each 100ml of silicone.
-
Spread the silicone preparation into the mold and let it dry for 30 minutes.
-
Get off the mold and prepare the next mold for the top piece to cover the current mold.
-
Put the first mold on the lid while it is not completely dry and let it dry for 3 hours.
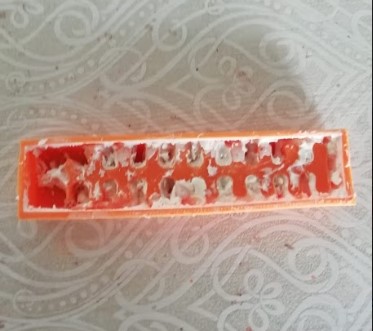
I was unsucessfull to make this mixture....so, I will try this again .
Did Again..!!#
I again made mixture of silicone rubber and did it. This time I got succeful but I saw it was little bit hard. I checked it but It doesn’t work. But I am sucessful this time for mixing it well and remove bubbles.

Original files#

Fabricademy by Harshada raut is licensed under a Creative Commons Attribution 4.0 International License.
Based on a work at https://class.textile-academy.org/.
Permissions beyond the scope of this license may be available at http://vigyanashram.com/.