6. BioFabricating Materials
INTRODUCTION
This week we were introduced to biomaterials, which they can be materials that are bio-based, bio-degradable and/or bio-compostable. The techniques for fabricating biomaterials are divided into crafted and grown.
The ones that are crafted are clasified into:
- BIO-plastic, or bio silicone, or bio resin, or bio foam
- FISH-leathers or fish plastics
- FRUIT-leather
- ALGAE-leather, algae-yarn
- Bombix
- coconut-mat
The materials that are grown are clasified into:
- MICROBIAL-leather
- FUNGII-leather
- TEMPEH-leather
- LAB GROWN-leather
- Spider-silk
Now, lets go deeper into bio plastics. Whats are plastics? here is what we were introduced in class:
Plastic is a word that originally meant "pliable and easily shaped?". It only recently became a name for a category of materials called polymer. The word polymer means "of many parts," and polymers are made of long chains of molecules. Polymers aboud in nature. Cellulose, the material that makes up the cell walls of plants, is a very common natural polymer. The first synthetic polymer was invented in 1869 by John Wesley Hyatt, who was inspired by a New York firm's offer of $10,000 for anyone who could provide a substitute of ivory... By treating cellulose, derived from cotton fiber, with camphor, Hyatt discovered a plastic that could be crafted into a variety of shapes and made to imitate natural substances like tortoiseshell, horn, linen, and ivory.
So we can put it this way, a PLASTIC is when you have a polymer that needs a plasticizer to create flexibility, filler to avoid shrinkage, stifenning to structure and reinforce, expanding to create foams, plus color or pigment. Now if we want to make a BIOPLASTIC you will neeed to use agar, alginate, geltaine or starch as your polymer, then have a plasticizer like glycerine, filler like: egg shells, chalk, fibers, oils, etc. For stiffening you will use fibers, natural debri, and for the bio plastic to expand you can use: green soaps or emulsifiers, then you add natural inks and/or pigments.
Here is a list of researchers artists, designers, clubs, organizations, brands you can look up for beautiful inspiration, final outcomes, and even recipes:
- Miriam ribul
- Juliette Pepin
- Aagje Hoekstra
- Mayan Pesach
- Eric Klarenbeek & Maartje Dros
- Ari Jonsson
- Amam
- Austeja Platukyte
- Bioplastic cookbook by Margaret Dunne
- Cactus leather
- Mango & Mycelium leather, packaging and more
And many many more :)...
ASSIGNMENT / BIOMATERIALS
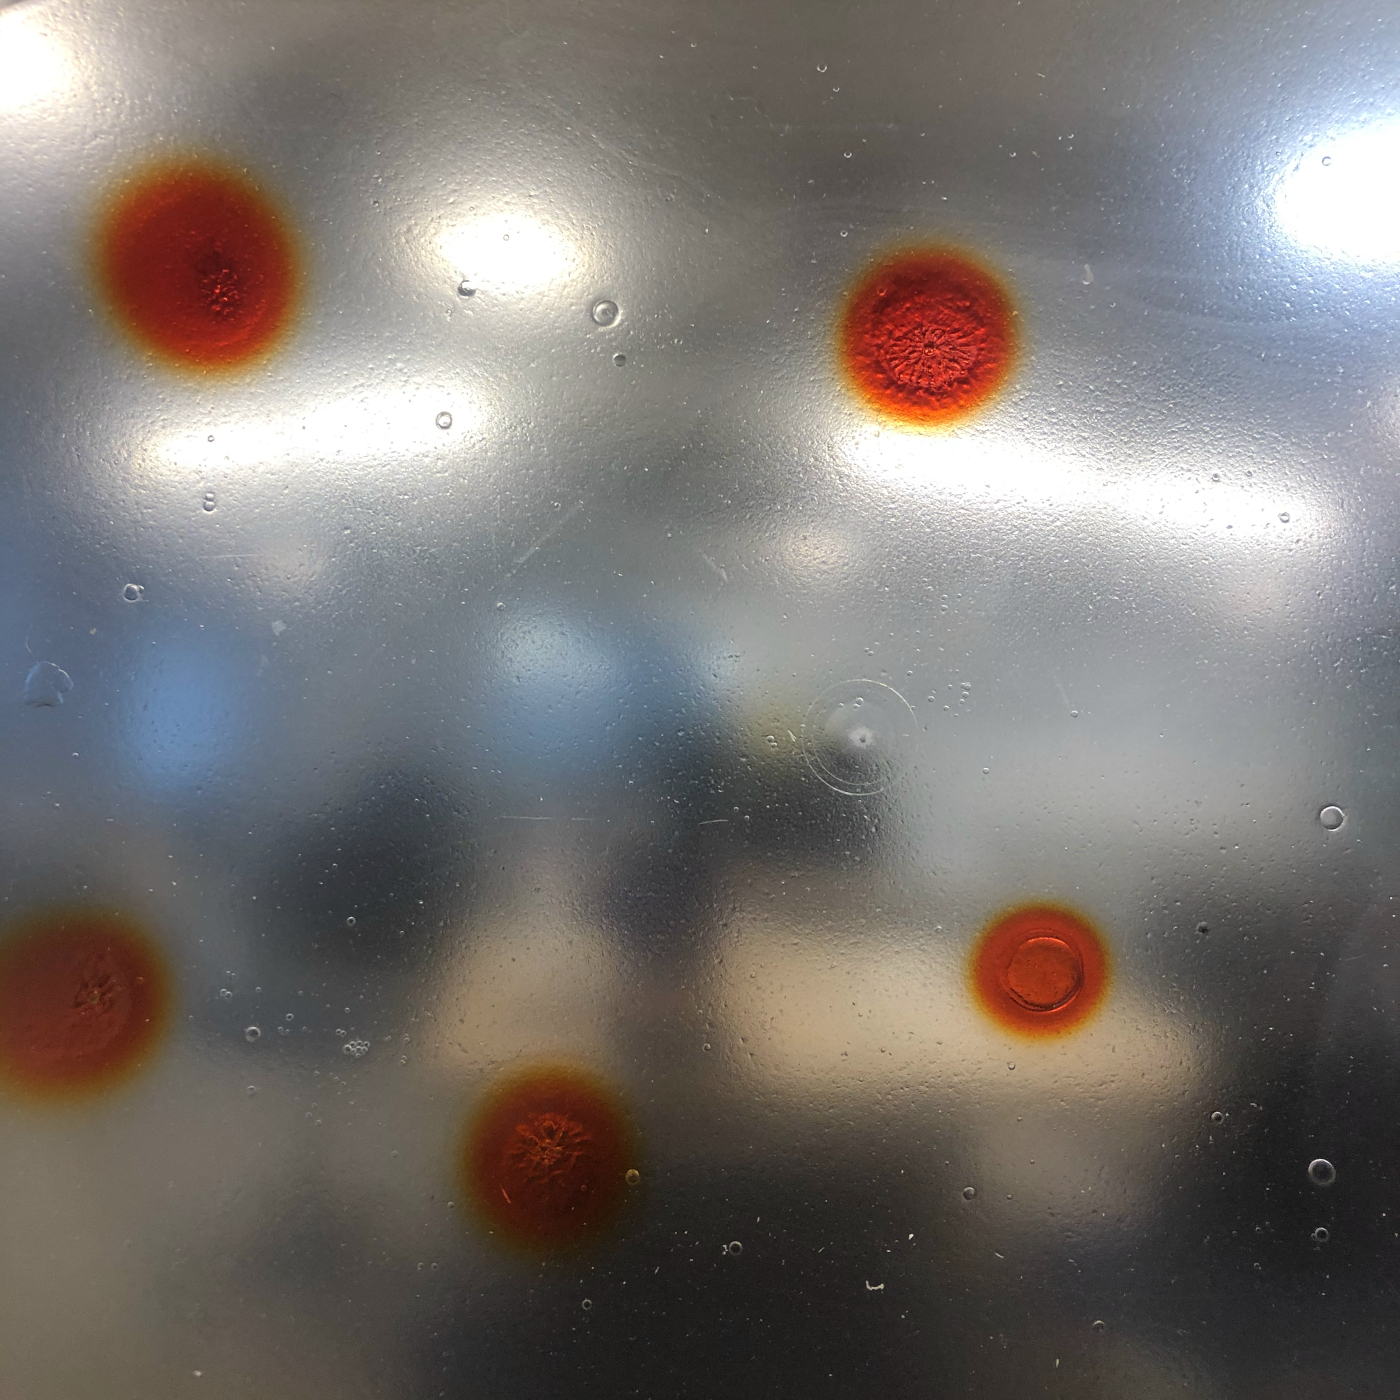
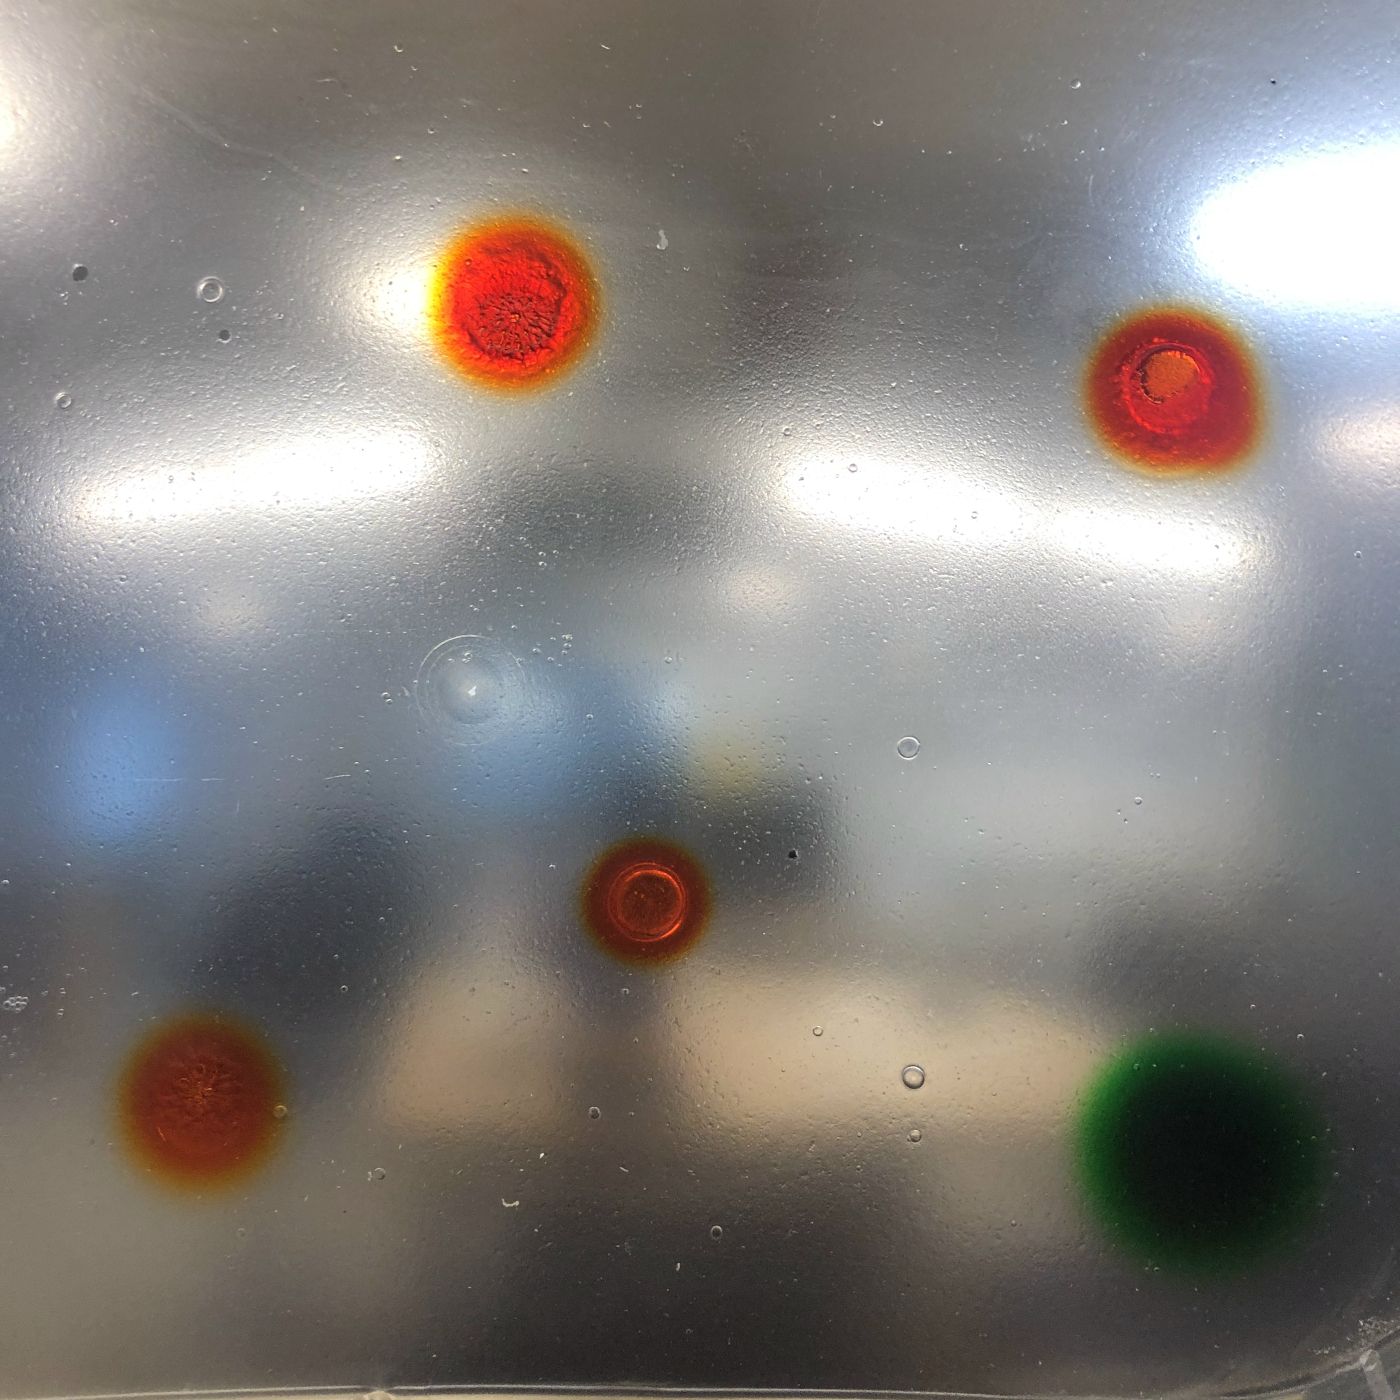
For this week, I experimented with agar and mainly food waste. My first recipe was using agar. AGAR is a jelly-like substance, obtained from red algae. Agar is a mixture of two components: the linear polysaccharide agarose, and a heterogeneous mixture of smaller molecules called agaropectin. Agar is a compound known as a polysaccharide. The final outcome is a plastic substitute that can be casted in very thin films, resembling plastic foils. The casted material is never elastic, but is flexible.
AGAR RECIPE
Here is the recipe and process for the first biomaterial. I tried and use the BIO FOIL recipe, for this one you will need:
3gr of Agar 20gr of gelatine 5 gr of glycerine 500ml of water tbd pigment

HOW TO:
- The first step is to warm up the water in a pot, it can be plain or already dyed.
- add your plasticeser, in which case will be the glycerine. This will allowed to bond with the agar, your polymer, then add it.
- Mix genlty until they form a smooth mix, it might take longer to fully disolve, if having trouble, add sublte heat.
- After ingredients are mixed, simmer fro 20 min (80C max).
- Once your mixture has thickened, it will look like syrup almost, pour it into your chosen surface.
The final outcomes vary depending on the mold you use. In this biofoil I added a few drops of vegetable ink.
GELATINE RECIPES
The next recipe I tried was using gelatine. Gelatine is an animal ingredient, made from collagen present in animal parts. It comes in various fomrs, such as jelly, dry thin flat sheets or powder, in almost all cases it is a transluscent material, which can be easily coloured. Its spiral waste product of the food-meat industry of today, meaning that given the current industrial scene it is seen as a repurposed waste, aiming for a circular/spiral impact. It is not vegeterian or vegan, being fully animal based.
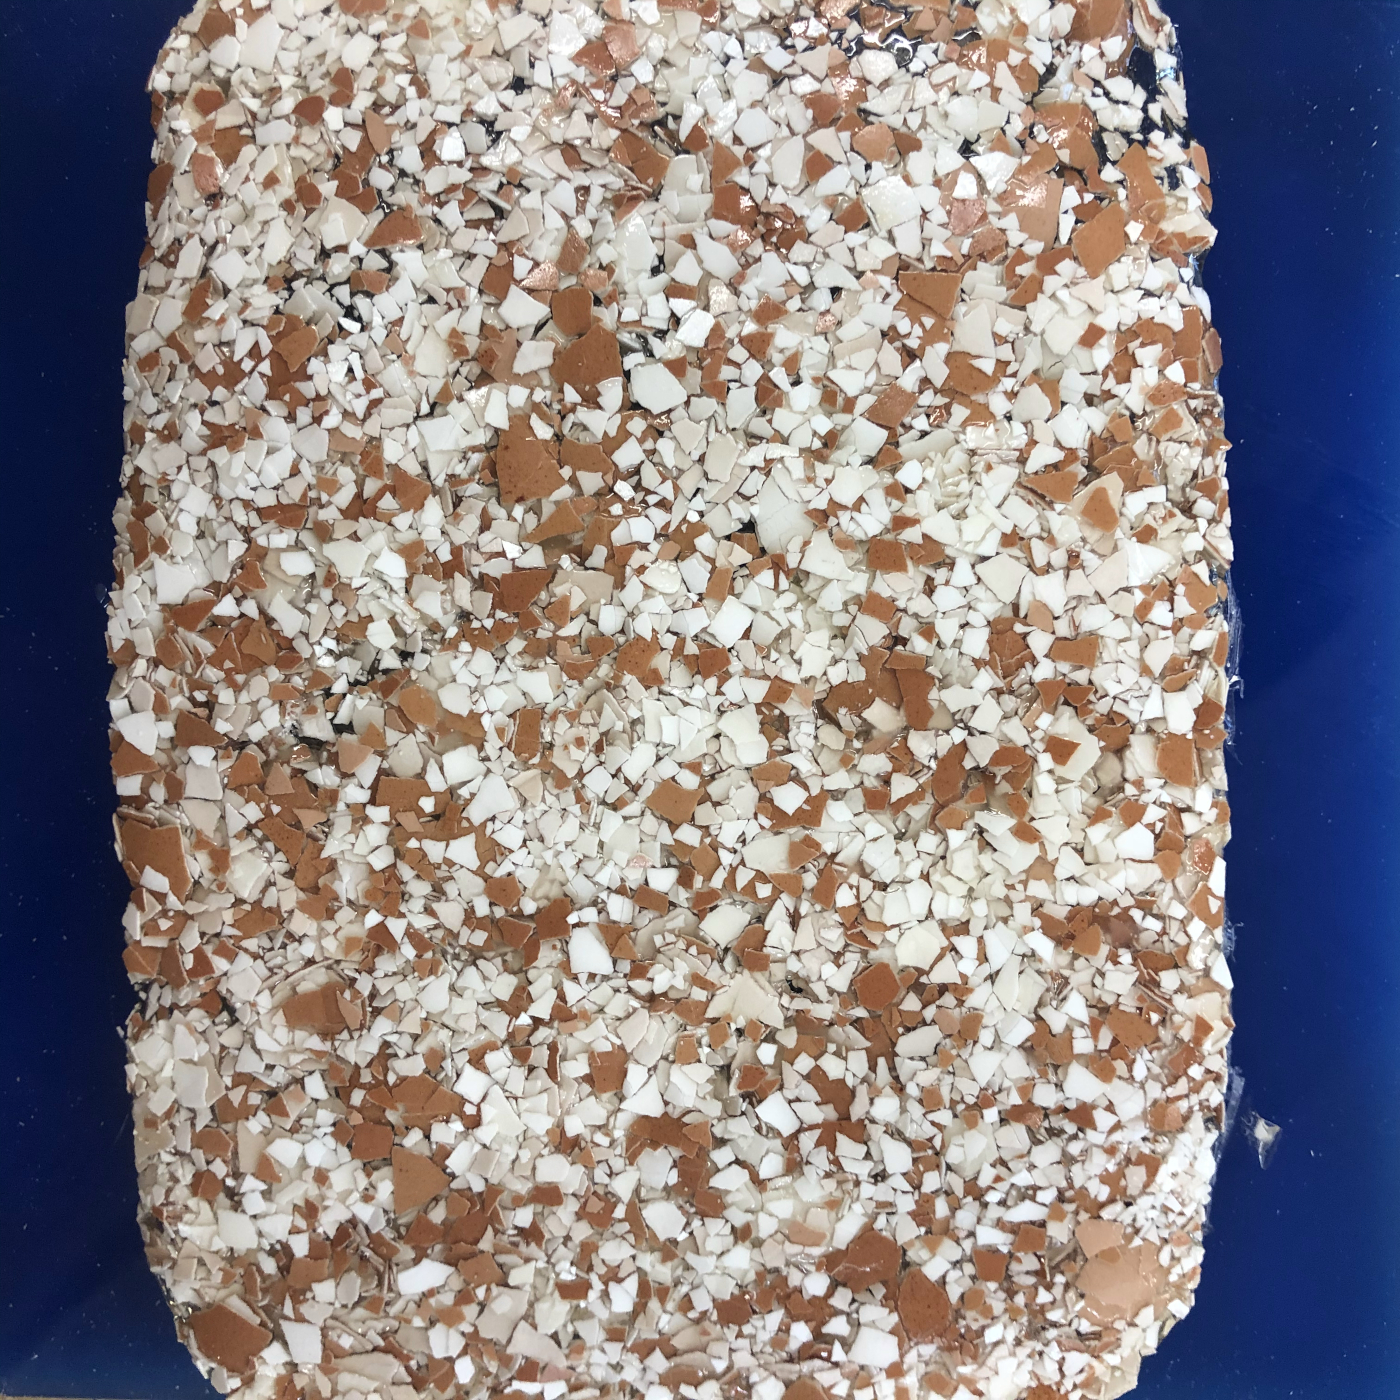
For gelatine I tried two different outcomes, the first one is the BIO RESIN, this is what you will need:
48gr of gelatine 8gr of glycerine 240ml water tbd pigment egg shell or coffee ground works well, if you are using egg shell try to smash it well until you get almost a powder.
HOW TO:
- Warm up the water, plain or already dyed.
- Add your plasticiser, the glycerine will bond with the gelatine, the polymer.
- Add the gelatine (your polymer) and gently mix until you get a smooth mix.
- Simmer for 10-15 min (86C max).
- Once your mixture has thickened, almost like syrup, pour your chosen surface, I had egg shell throughout the mold before pouring mixture.
OUTCOME
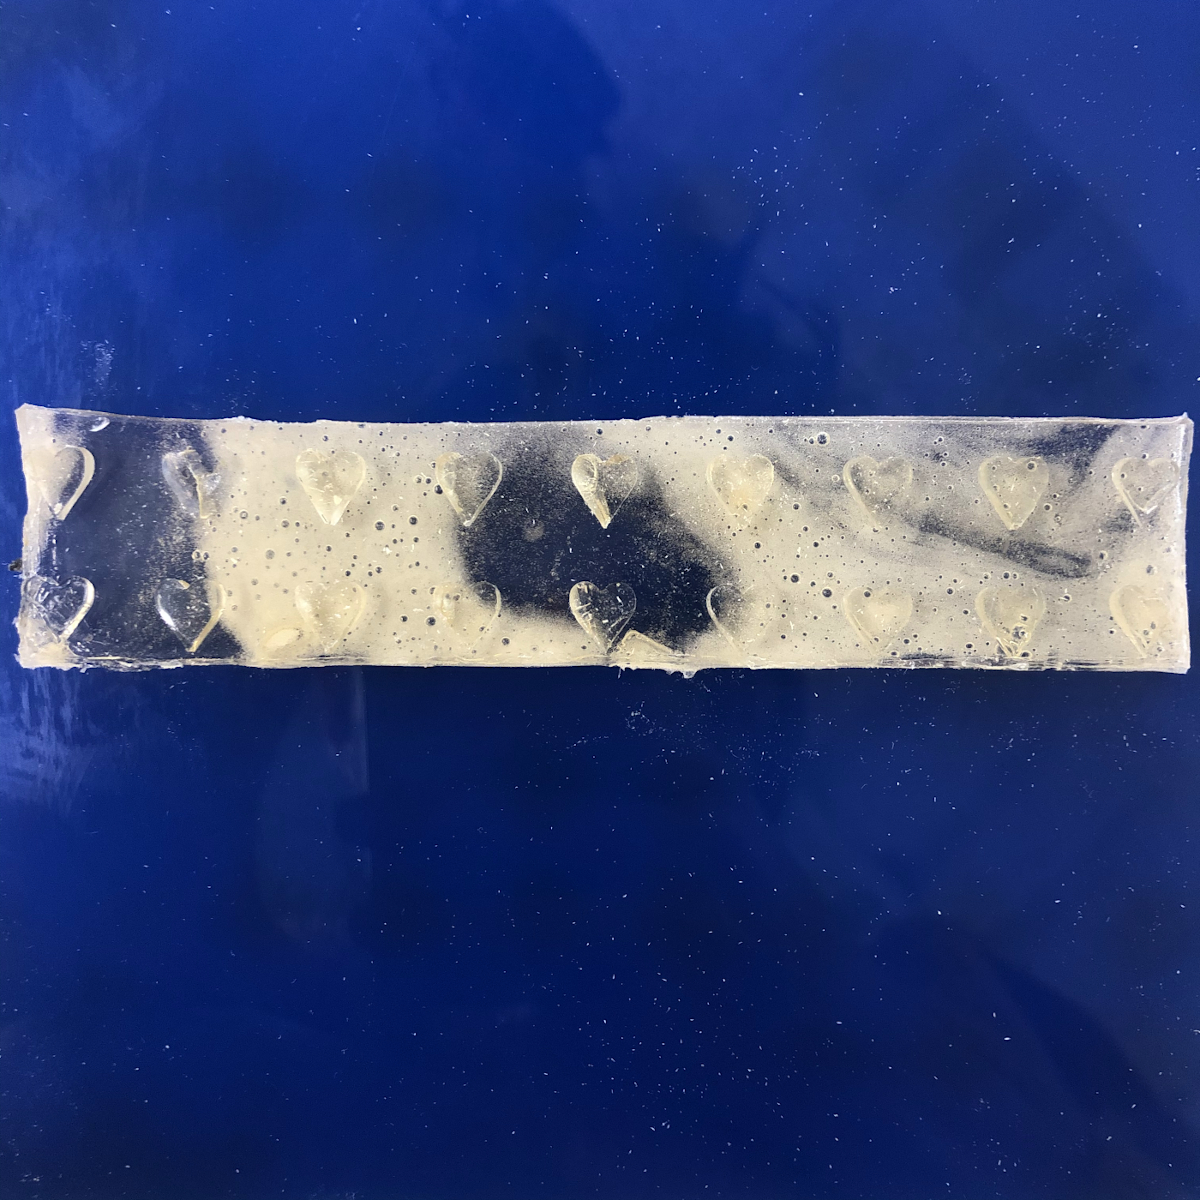
The second gelatine/based biomaterial I did was a BIO SILICONE, here is what you need to try this recipe:
48gr of gelatine 48gr of glycerine 240 ml of water tbd pigment
HOW TO:
- Warm up the water, plain or already dyed.
- Add your plasticiser, the glycerine will bond with the gelatine, the polymer.
- Add the gelatine (your polymer) and gently mix until you get a smooth mix.
- Simmer fro 15-20 min (86C max).
- Pour into mold, let the mould try in a ventilated and dry room, turning your piece until its dry will help you preventing mould formation, but might affect deformation due to water loss.
OUTCOME
FRUIT LEATHER RECIPES (BANANA & MANGO)
BANANA RECIPE 50 gr of banana peels (Feel free to add from 20gr to 20gr) 15g of glycerine 5ml of gelatine 125ml of water
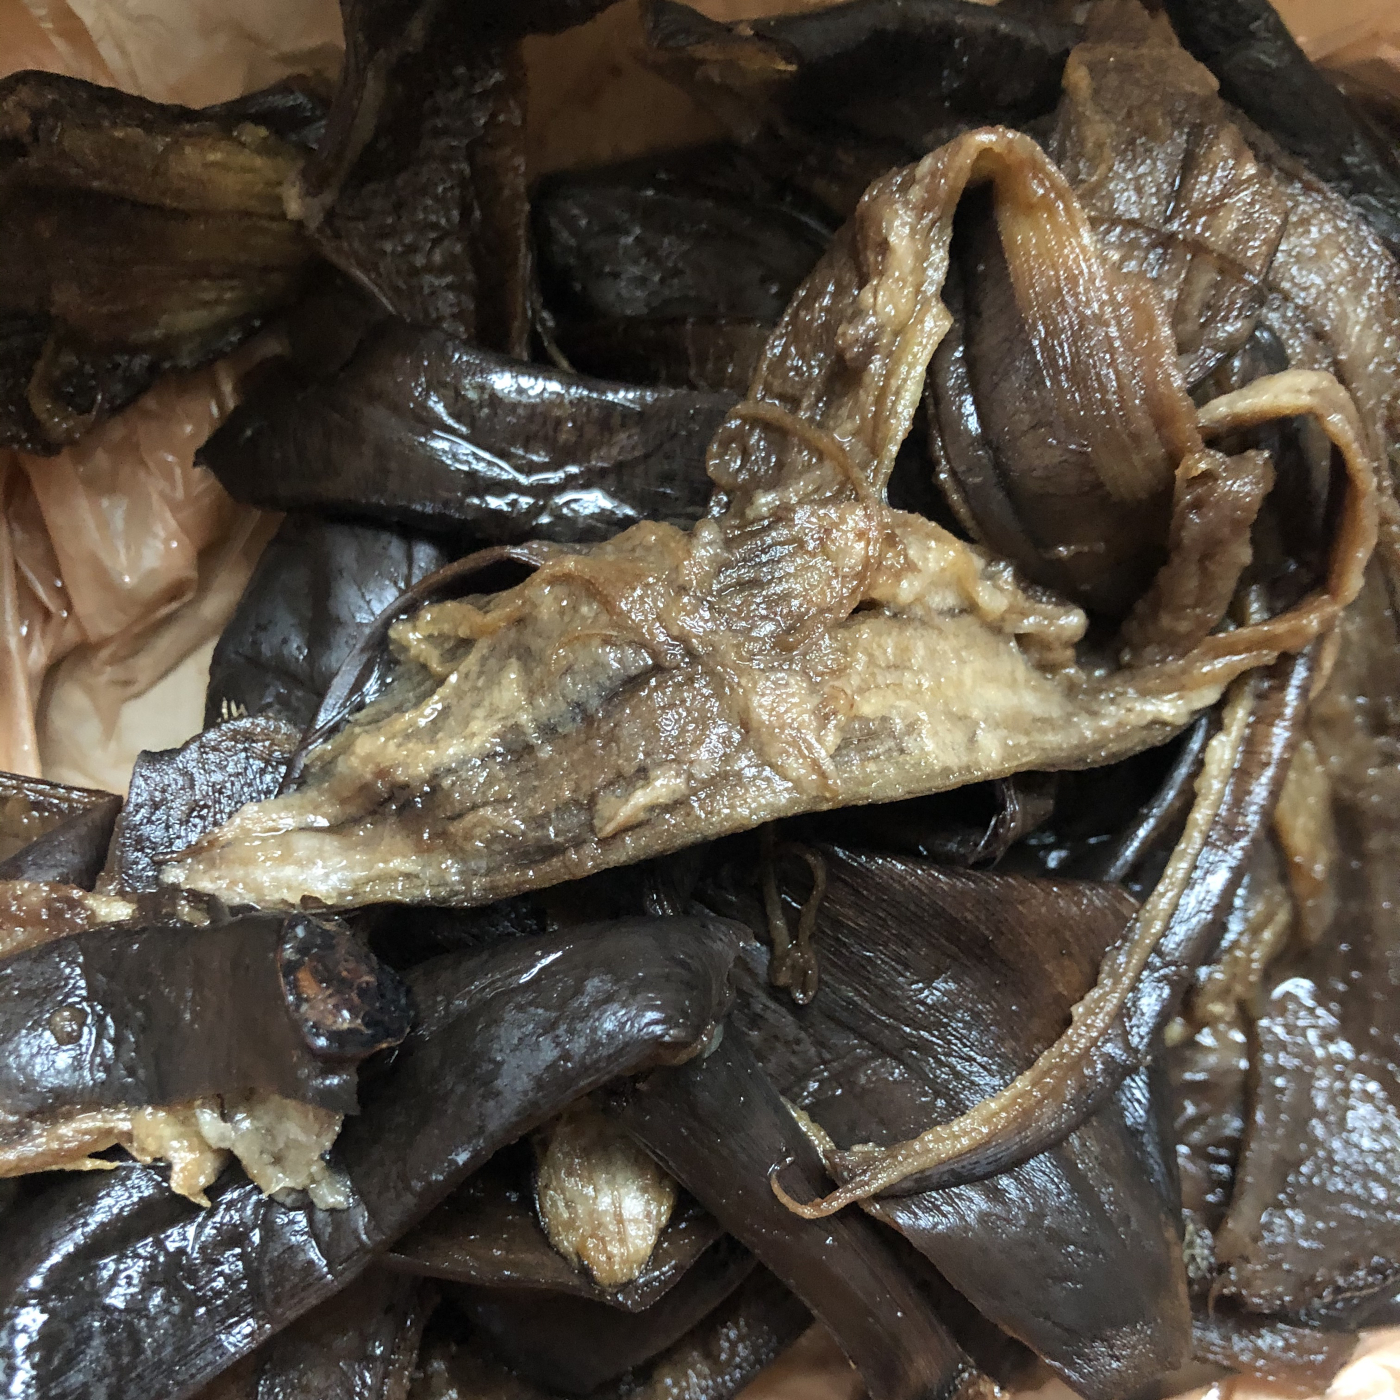
HOW TO:
- Start by putting the banana peels into a food processor or blender until you get like a pulp, you will need to add water to get it, so make sure you add water little by little.
- Warm up the water, plain or already dyed.
- Add glycerine and gelatine until you get a smooth mixture.
- You then add the mixture of banana peels.
- Simmer for 15-20 min (86C max).
- Once the mixture has thickened pour it into your desired molds.
- Let the mixture into mould until it completely dries.
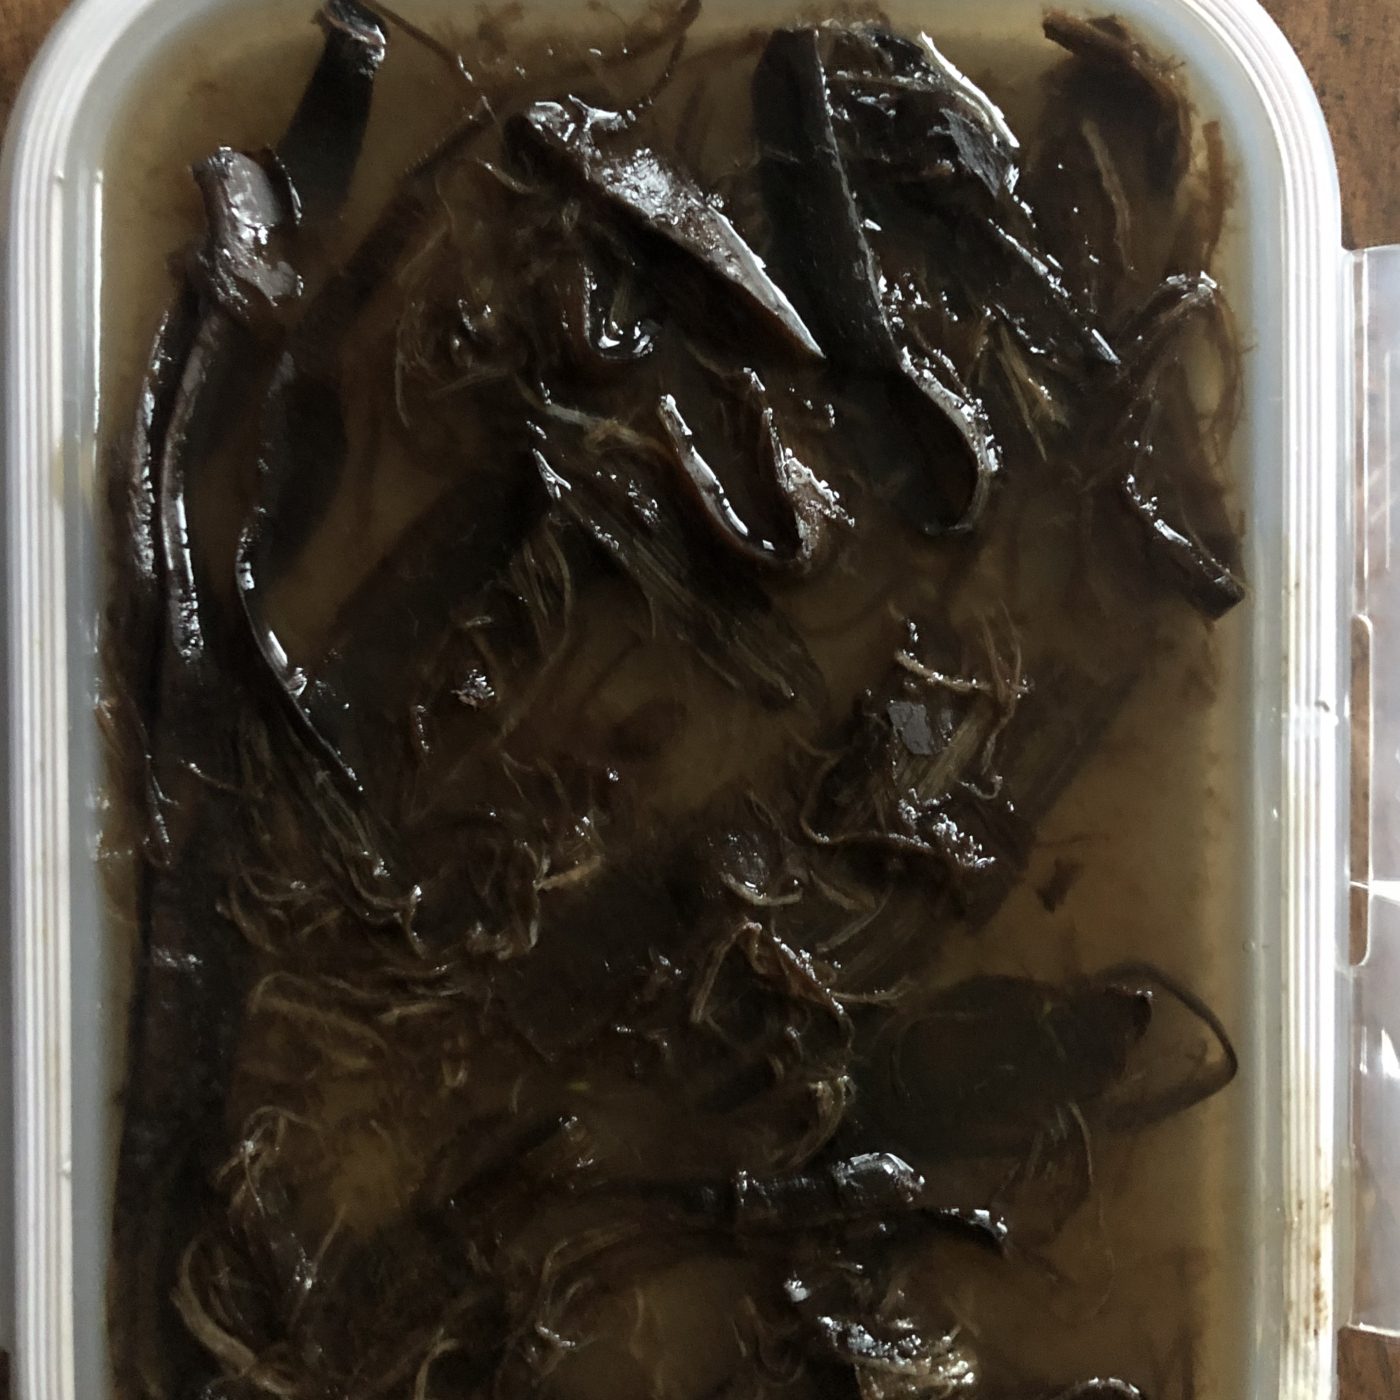
OUTCOME:
The final outcome was definately not what I was expecting. I had a problem because I dont have a food processor, and I used an old blender that barely did something to the mango peels. Probably a better mixture and a thiner layer of a mold would have made the difference into getting something closer to leather look.
MANGO RECIPE 50 gr of mango peels (Feel free to add from 20gr to 20gr) *You can also use the pit, but you will have to crash it almost into a powder consistency 15g of glycerine 5ml of gelatine 125ml of water
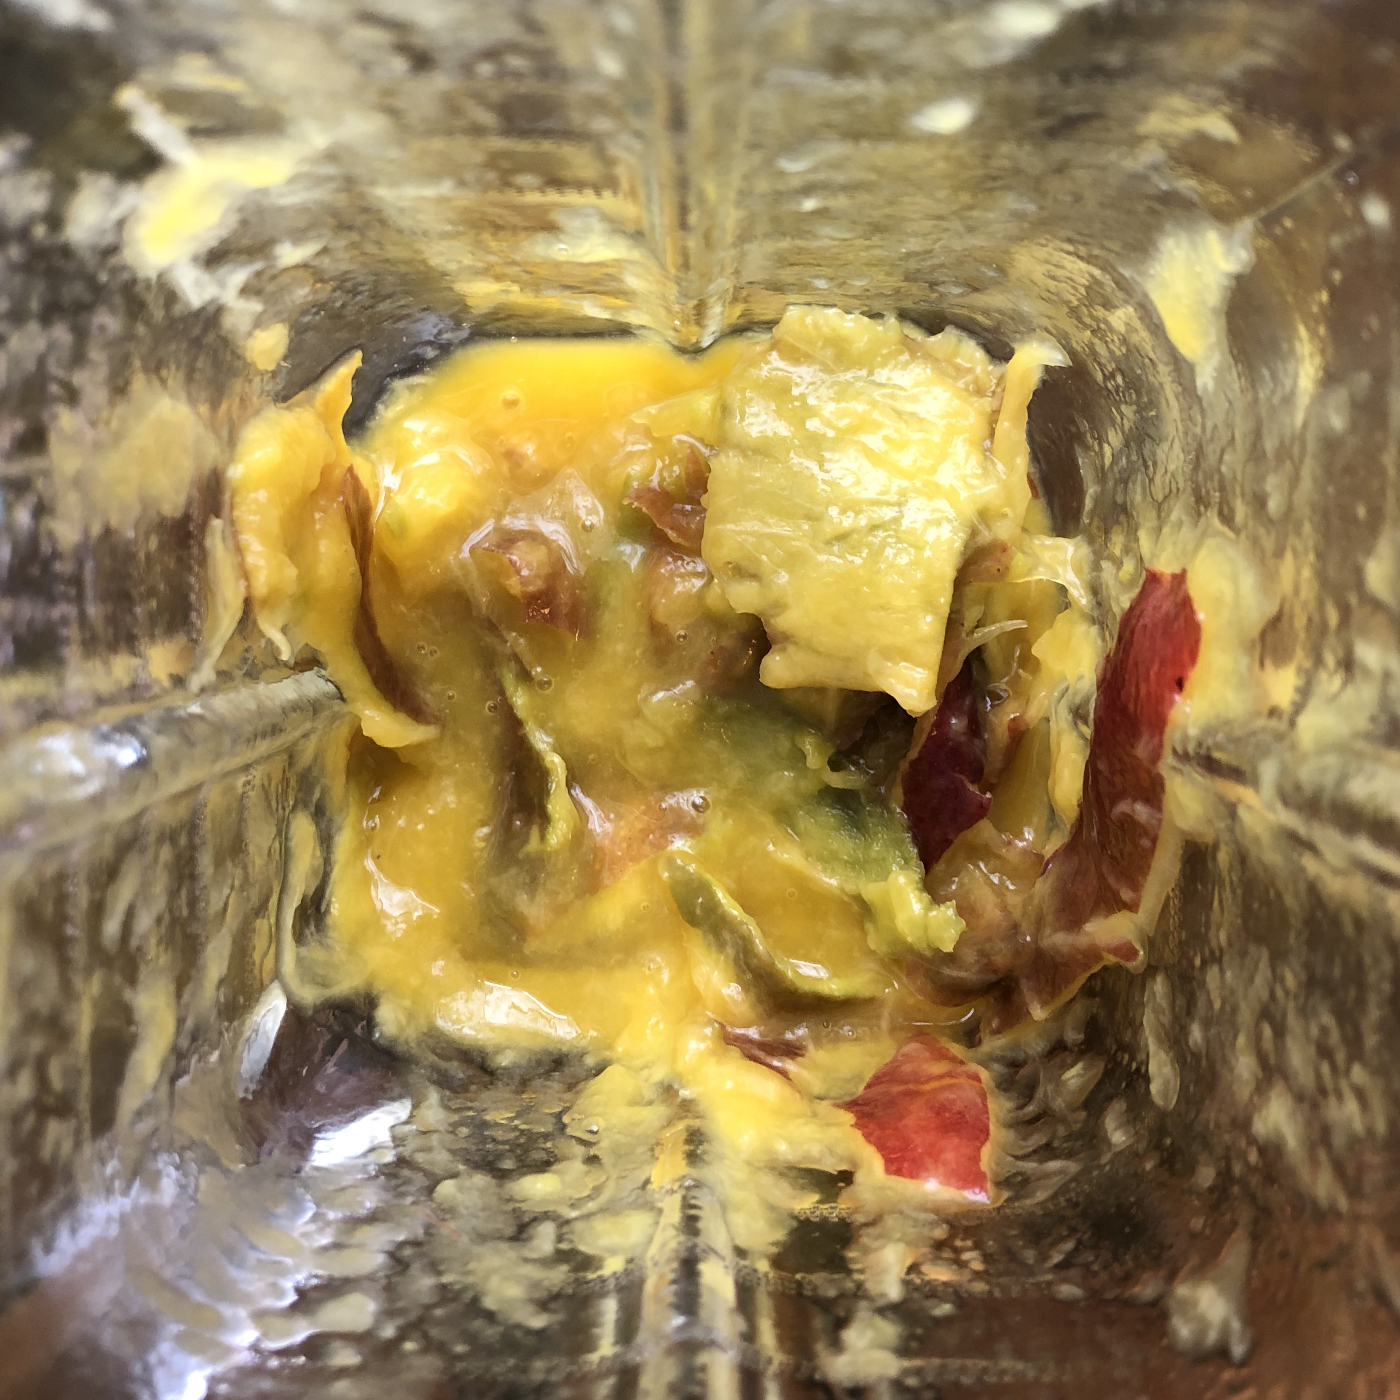
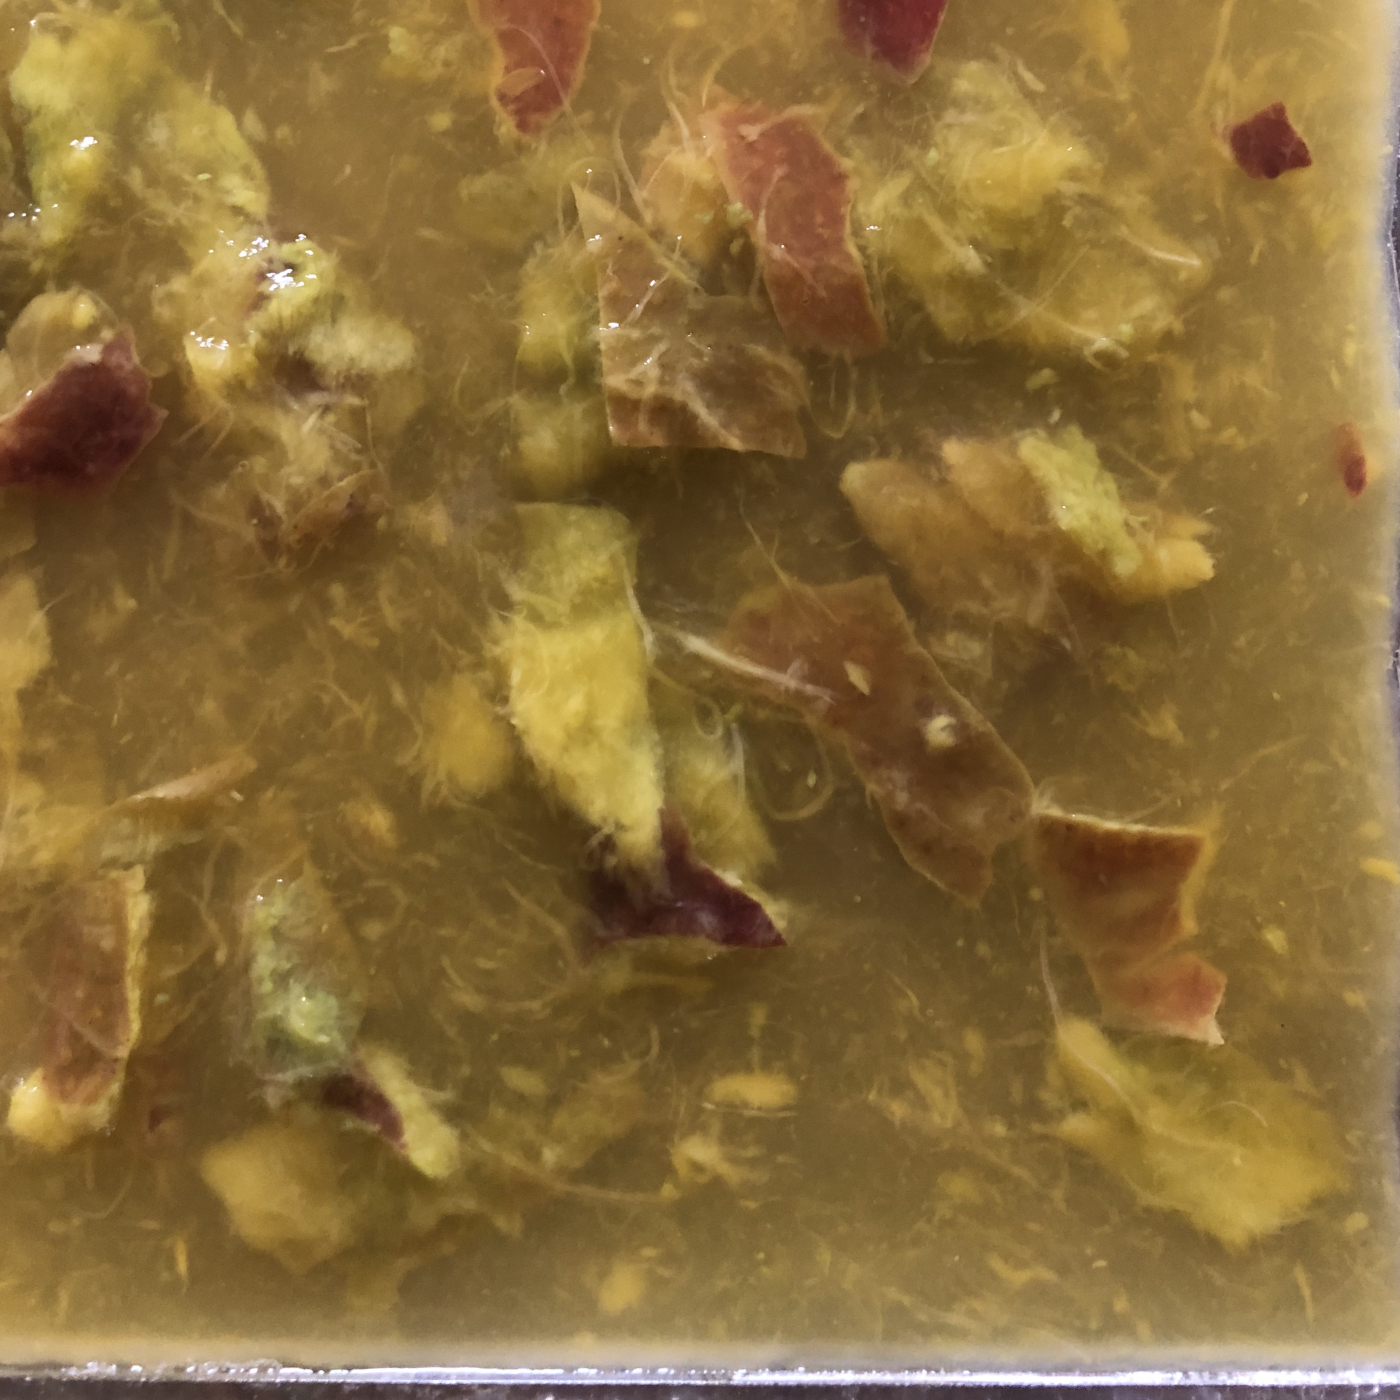
HOW TO:
- Start by putting the mango peels into a food processor or blender until you get like a pulp, you will need to add water to get it, so make sure you add water little by little.
- Warm up the water, plain or already dyed.
- Add glycerine and gelatine until you get a smooth mixture.
- You then add the mixture of mango peels, and/or pit powder and some pulp.
- Simmer for 15-20 min (86C max).
- Once the mixture has thickened pour it into your desired molds.
- Let the mixture into mould until it completely dries.
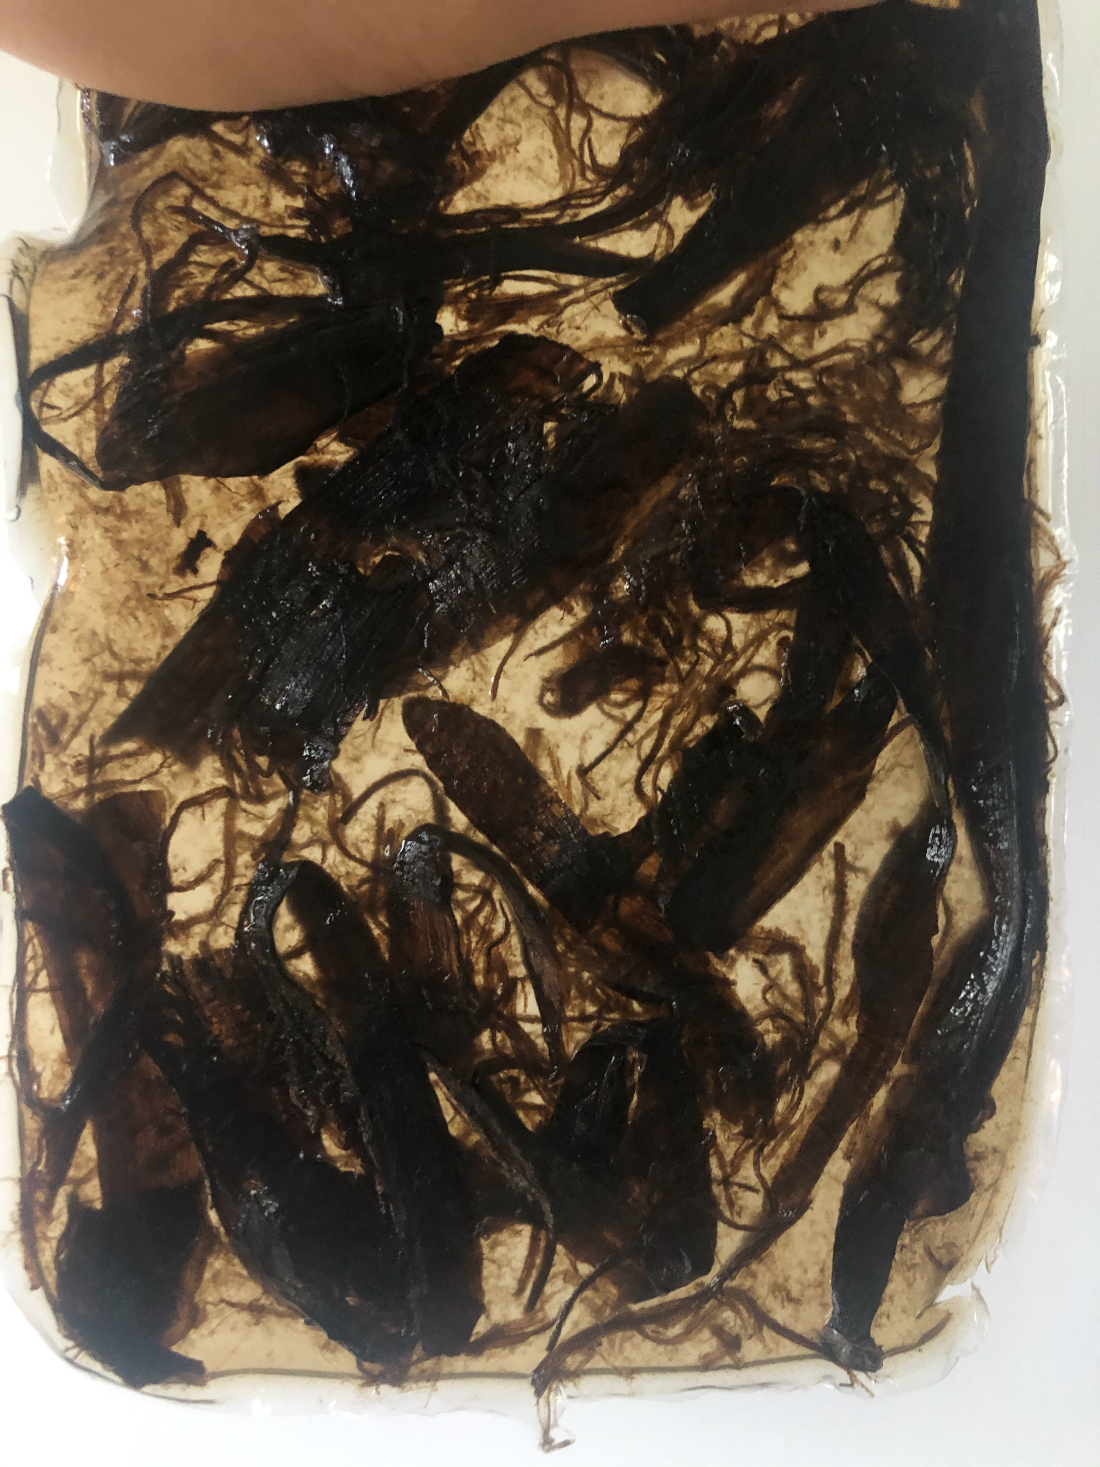
OUTCOME:
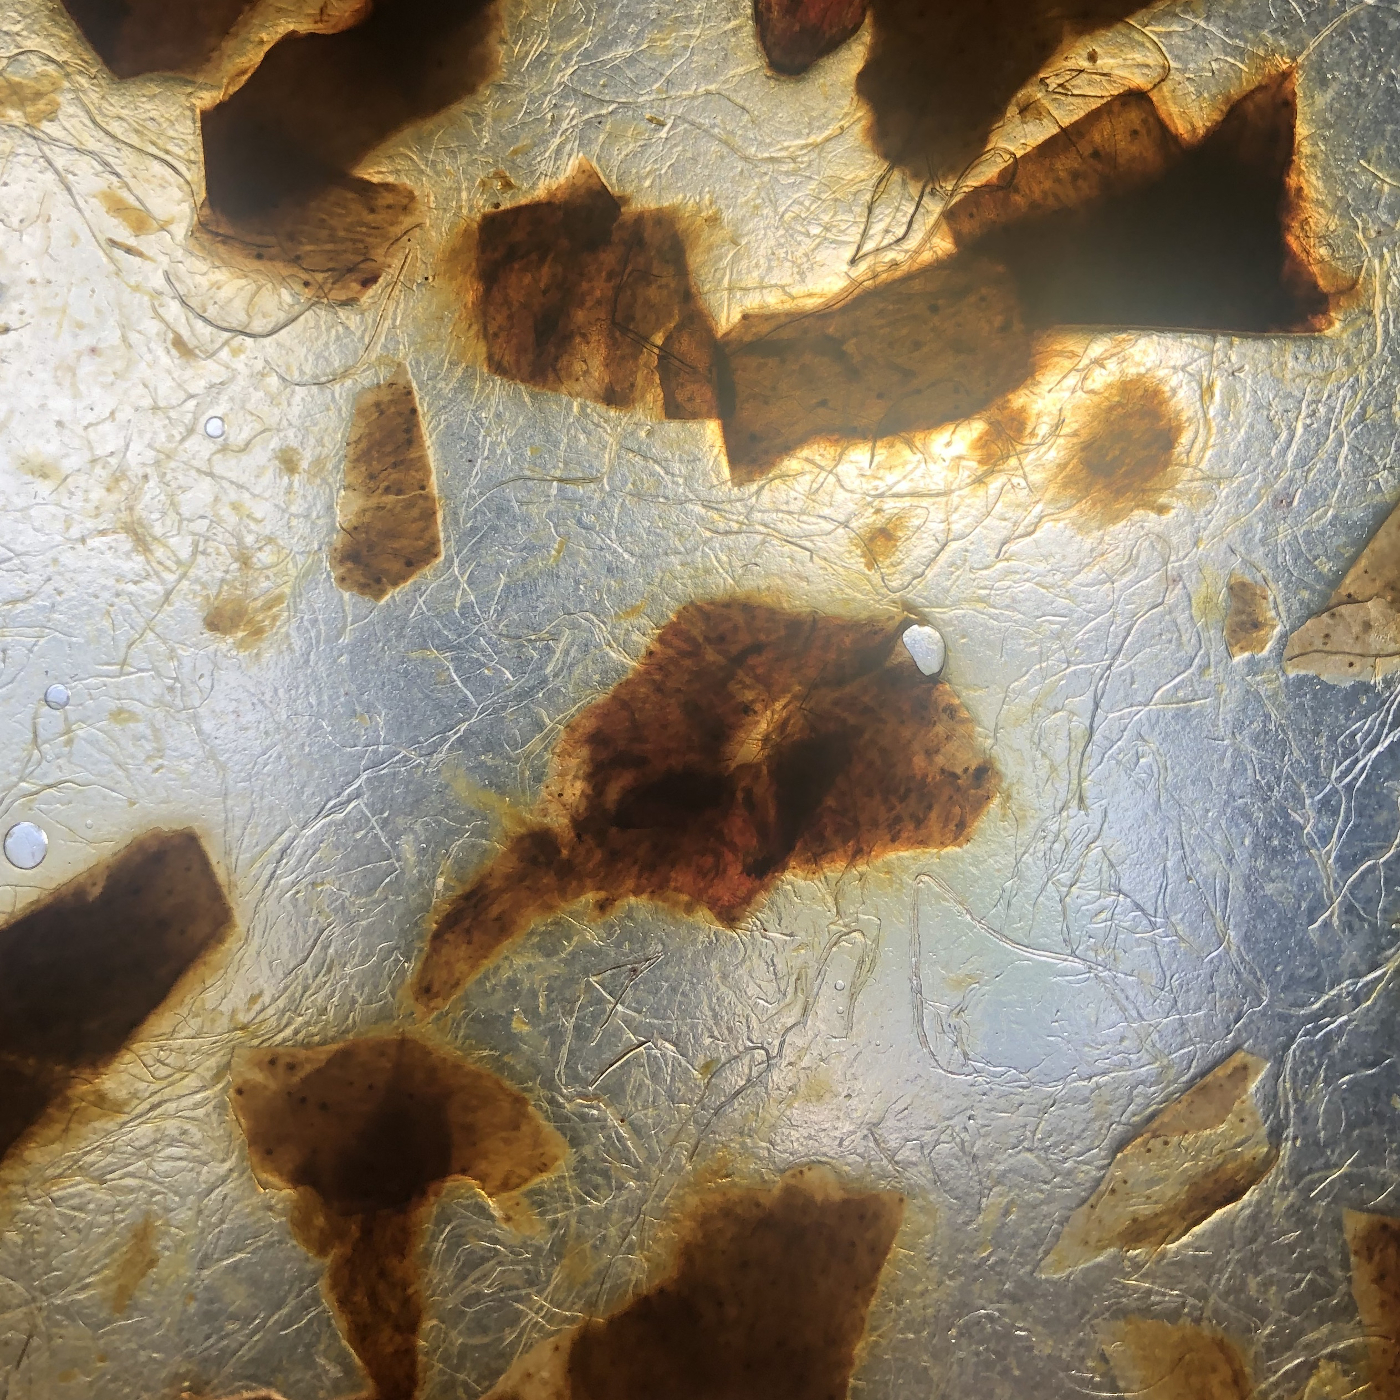
The final outcome was definately not what I was expecting. I had a problem because I dont have a food processor, and I used an old blender that barely did something to the mango peels. Probably a better mixture and a thiner layer of a mold would have made the difference into getting something closer to leather look.