3. Circular fashion
INSPIRATION
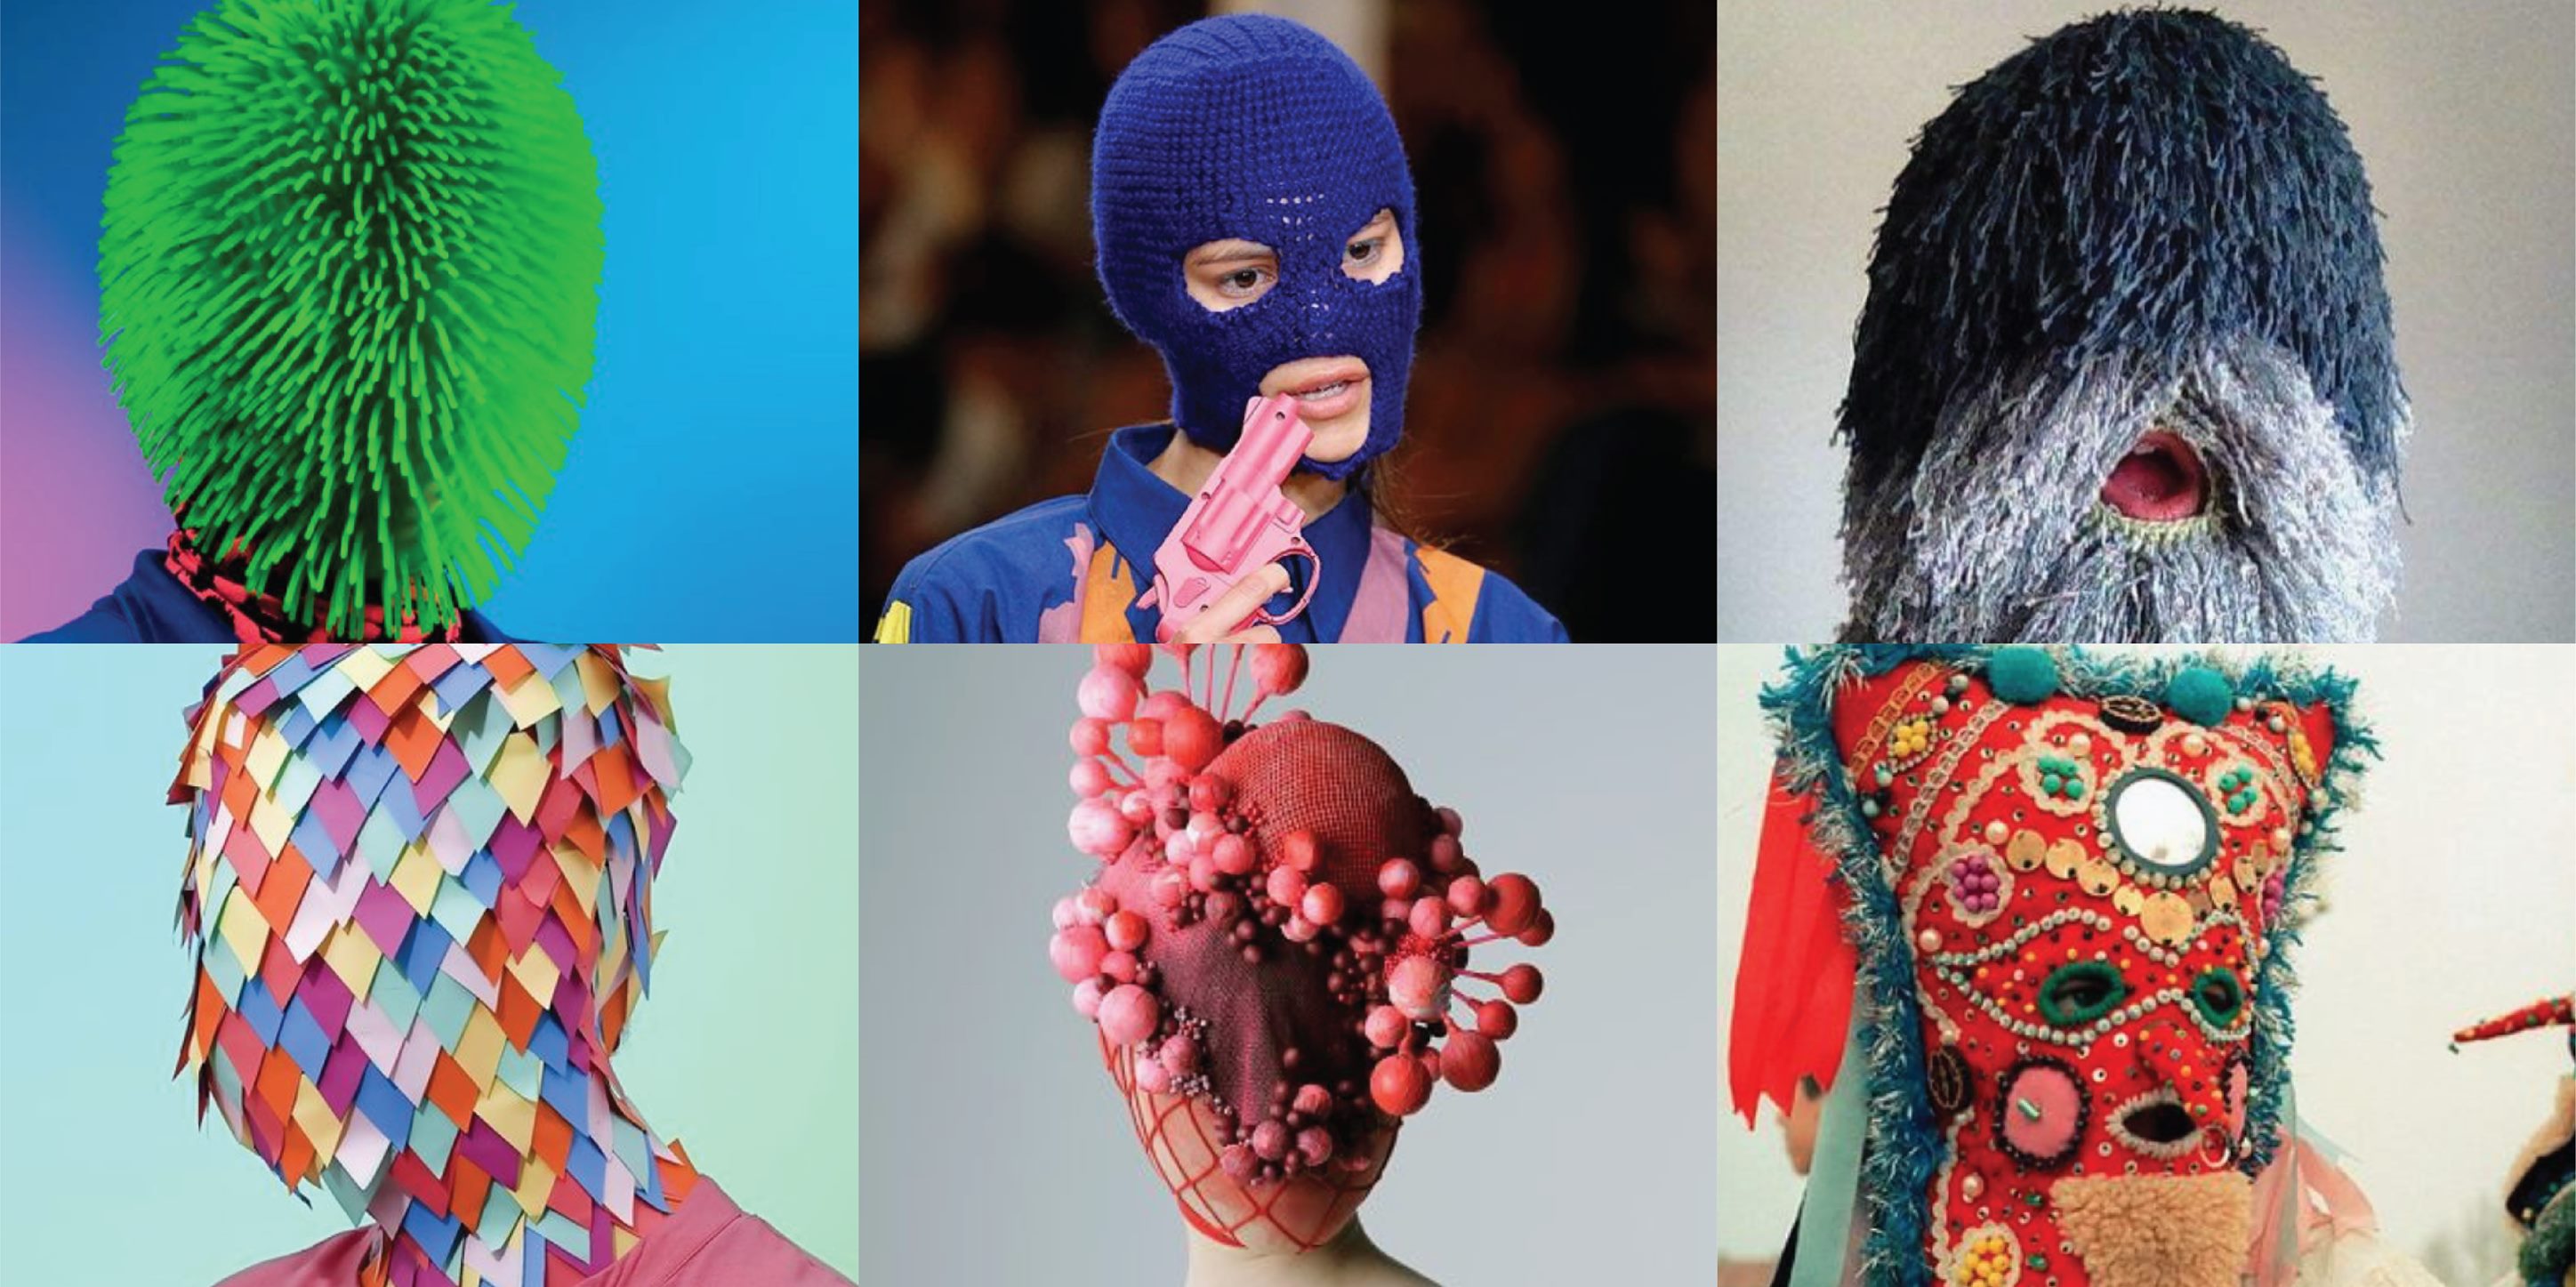
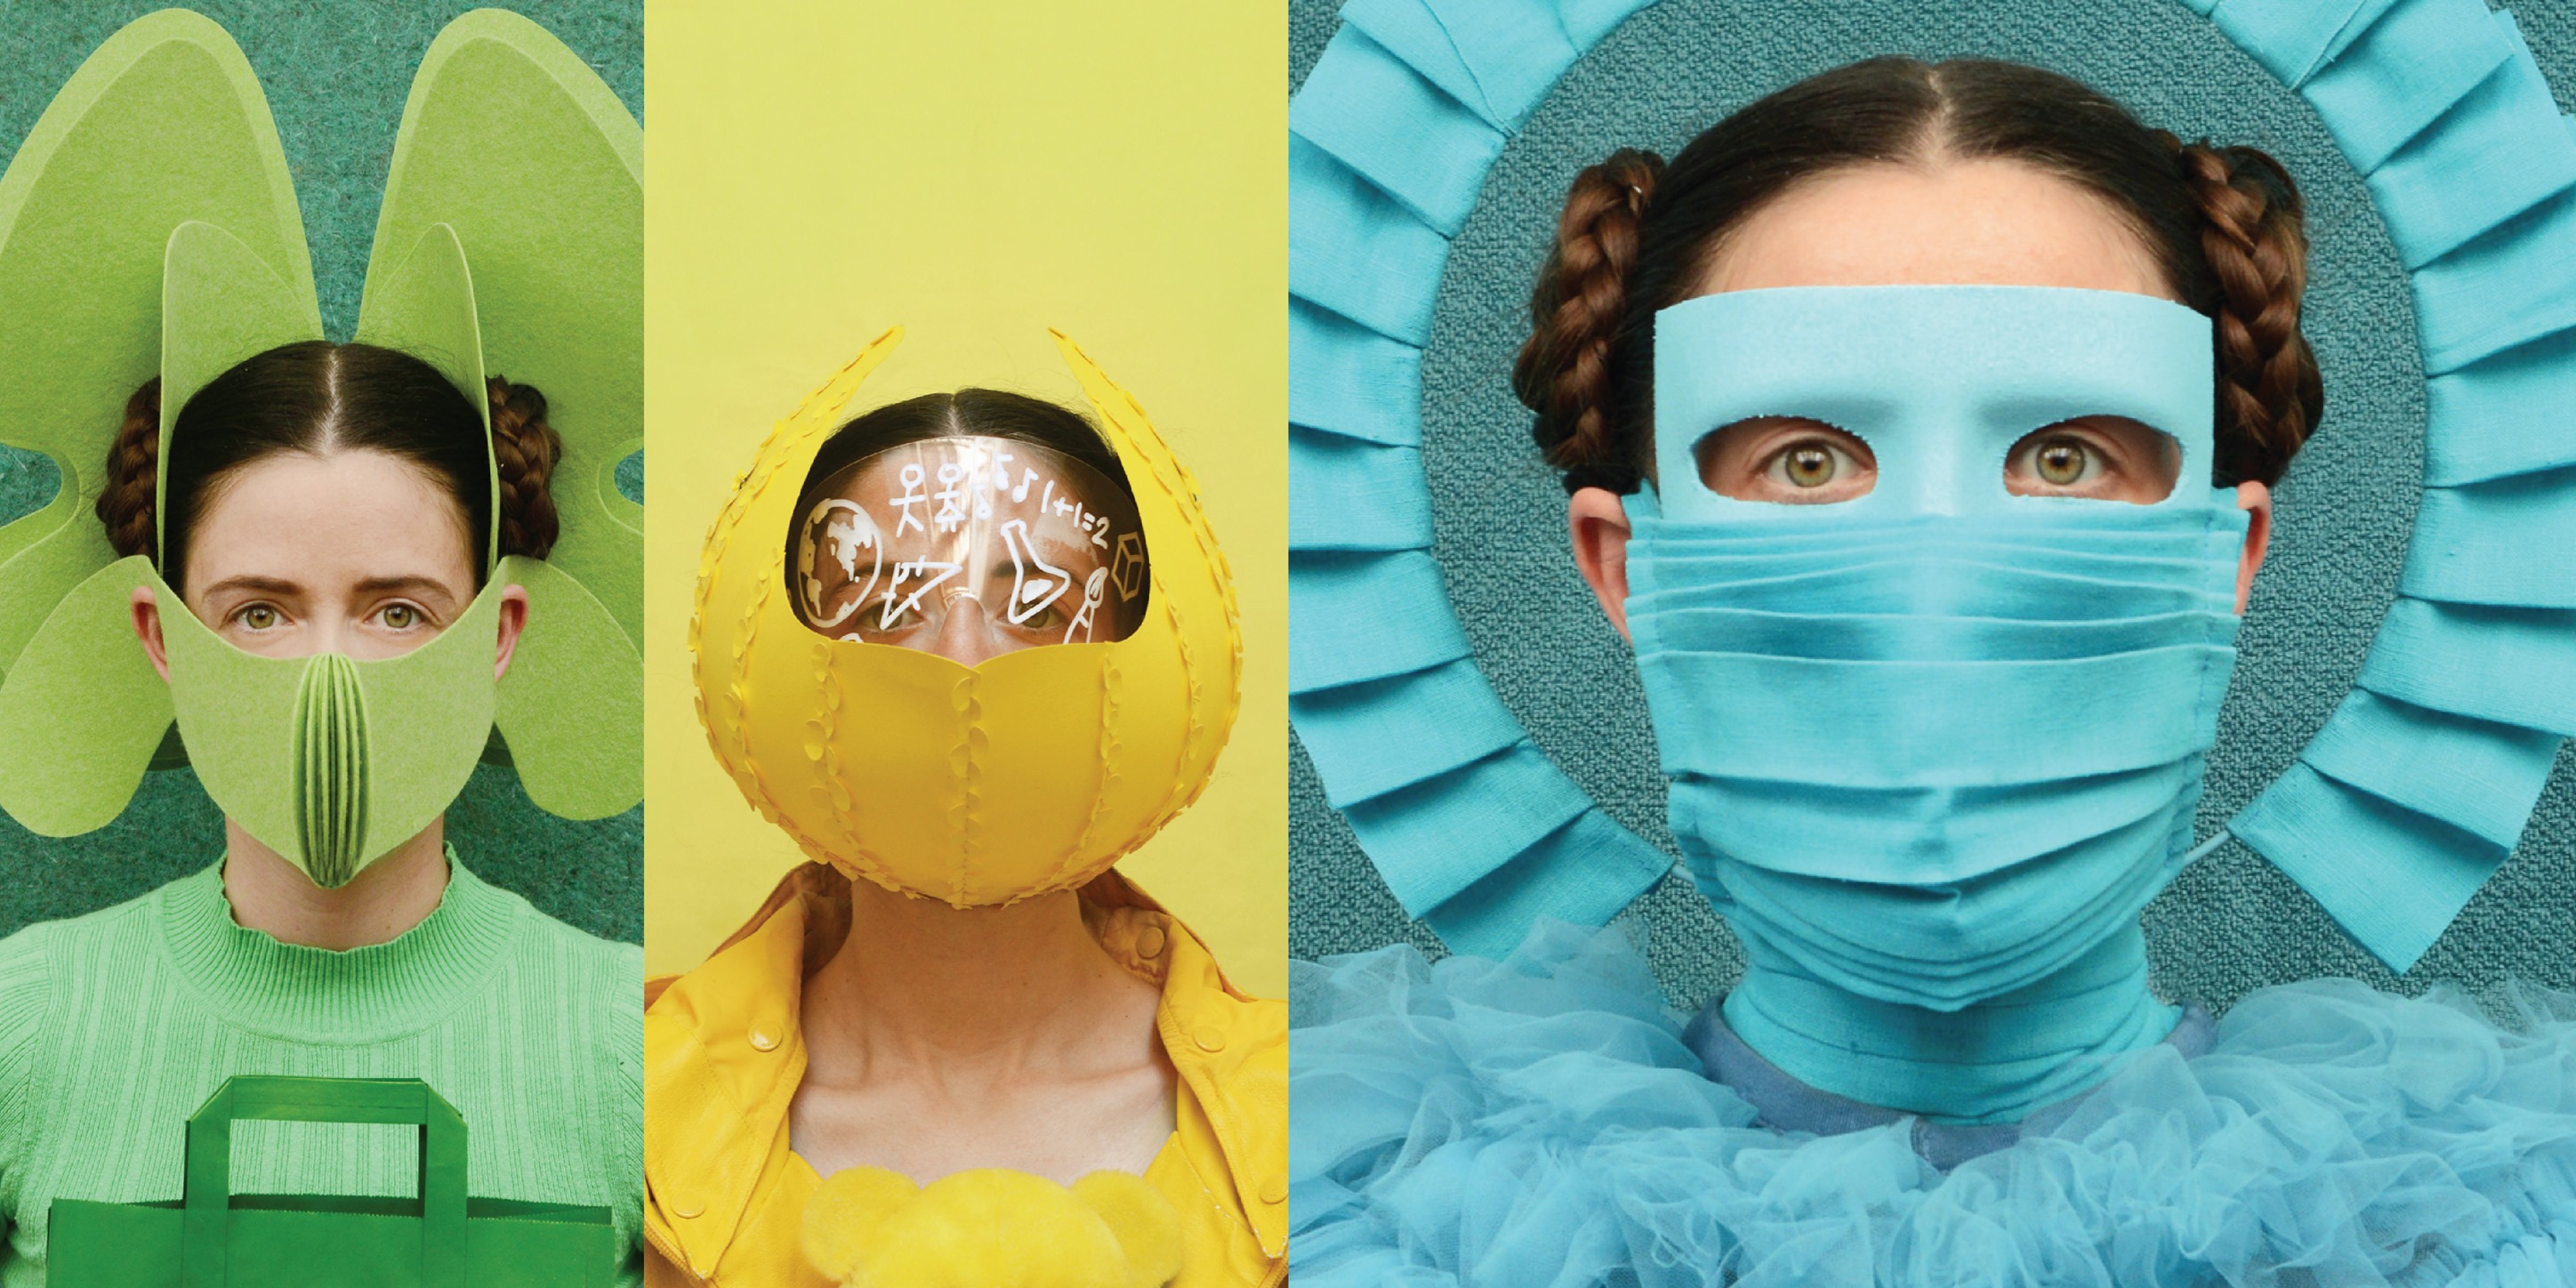
Freyja Sewell
I tookFreyja Sewell as my inspiration for this week, I found this publication on Deezen and I liked her work a lot. She designed this masks to honor workers that were in action during Pandemia inspired with the monks. You can read the article if you want. It's really impresive the way she used the local materials and how she transformed them to a really nice fancy dress, the stetics of color, it's really nice, and also she used a lot this type of fabric that I'm going to use for this assignment.
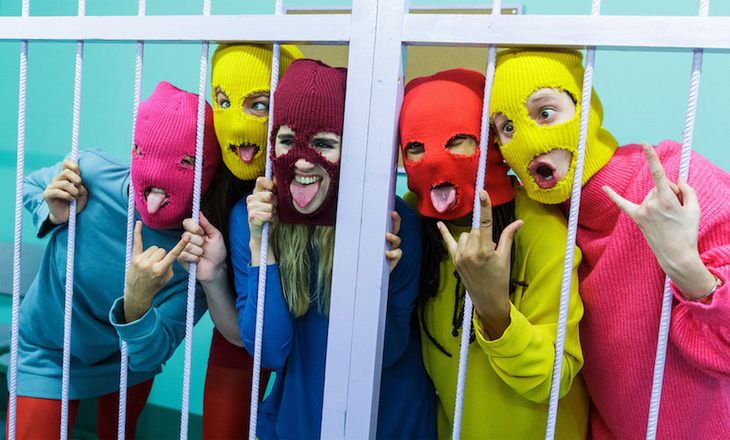
Pussy Riots' Balaclavas
I also find very interesting this girls, Pussy Riots,the way they protest against government with this Balaclava, it is very fancy way with those colors to protest. I writed it as a example because, for this week I would like to make a balaclava with the logic of this assignment.

GROW
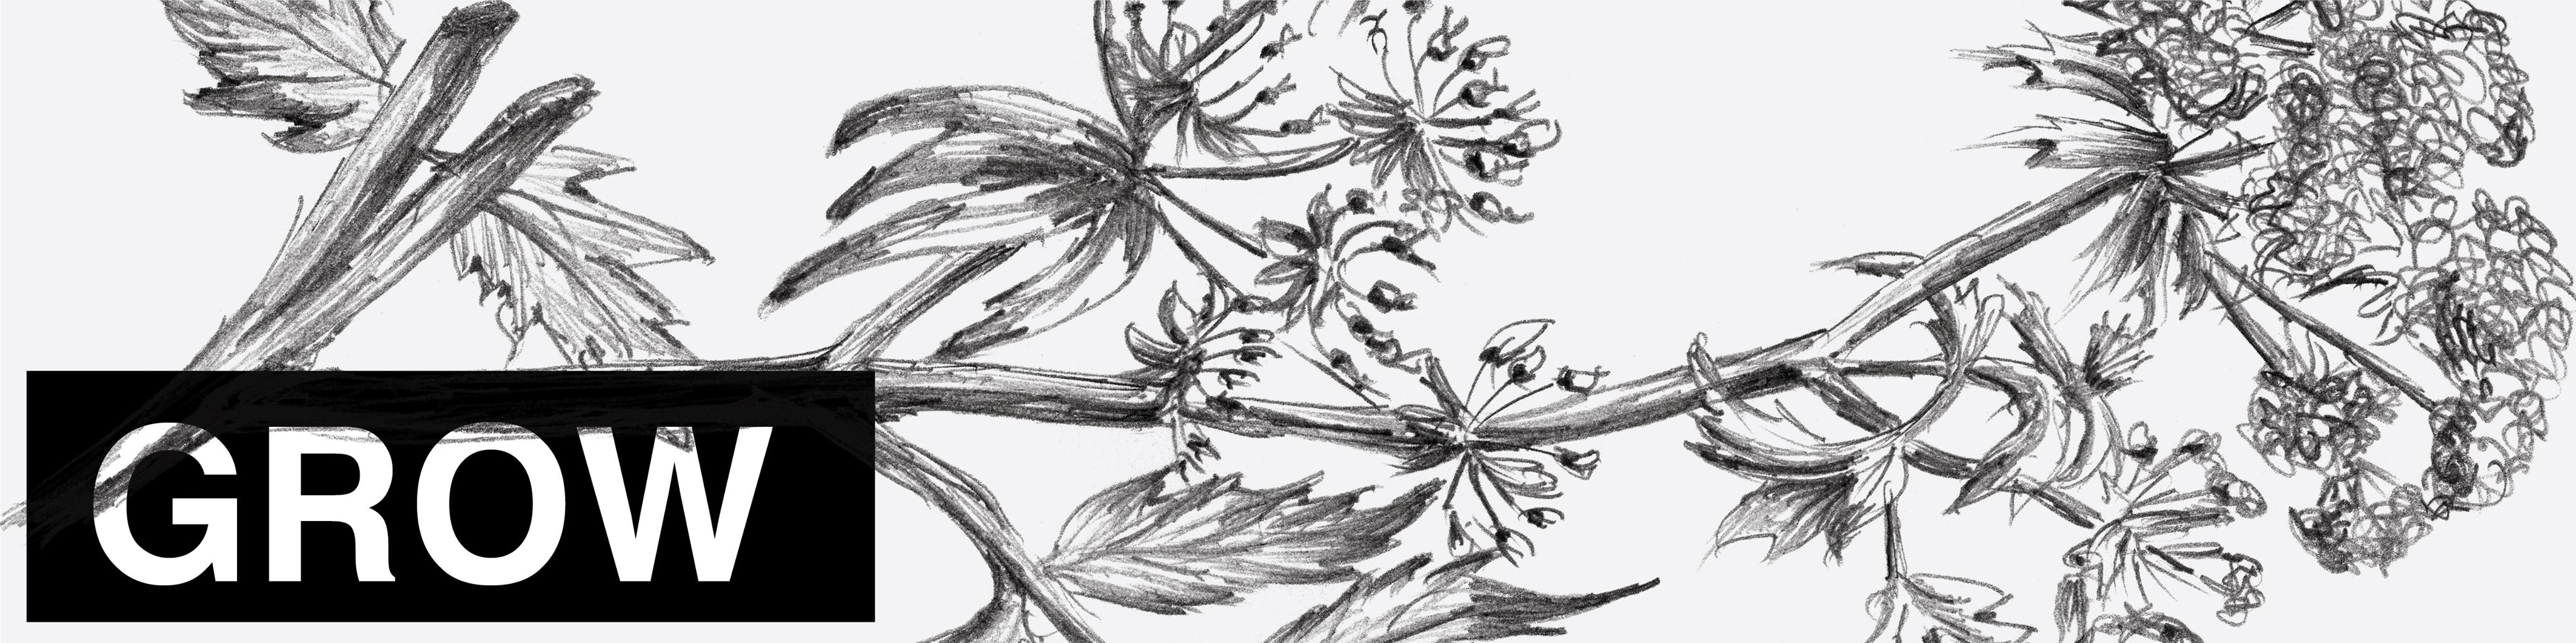
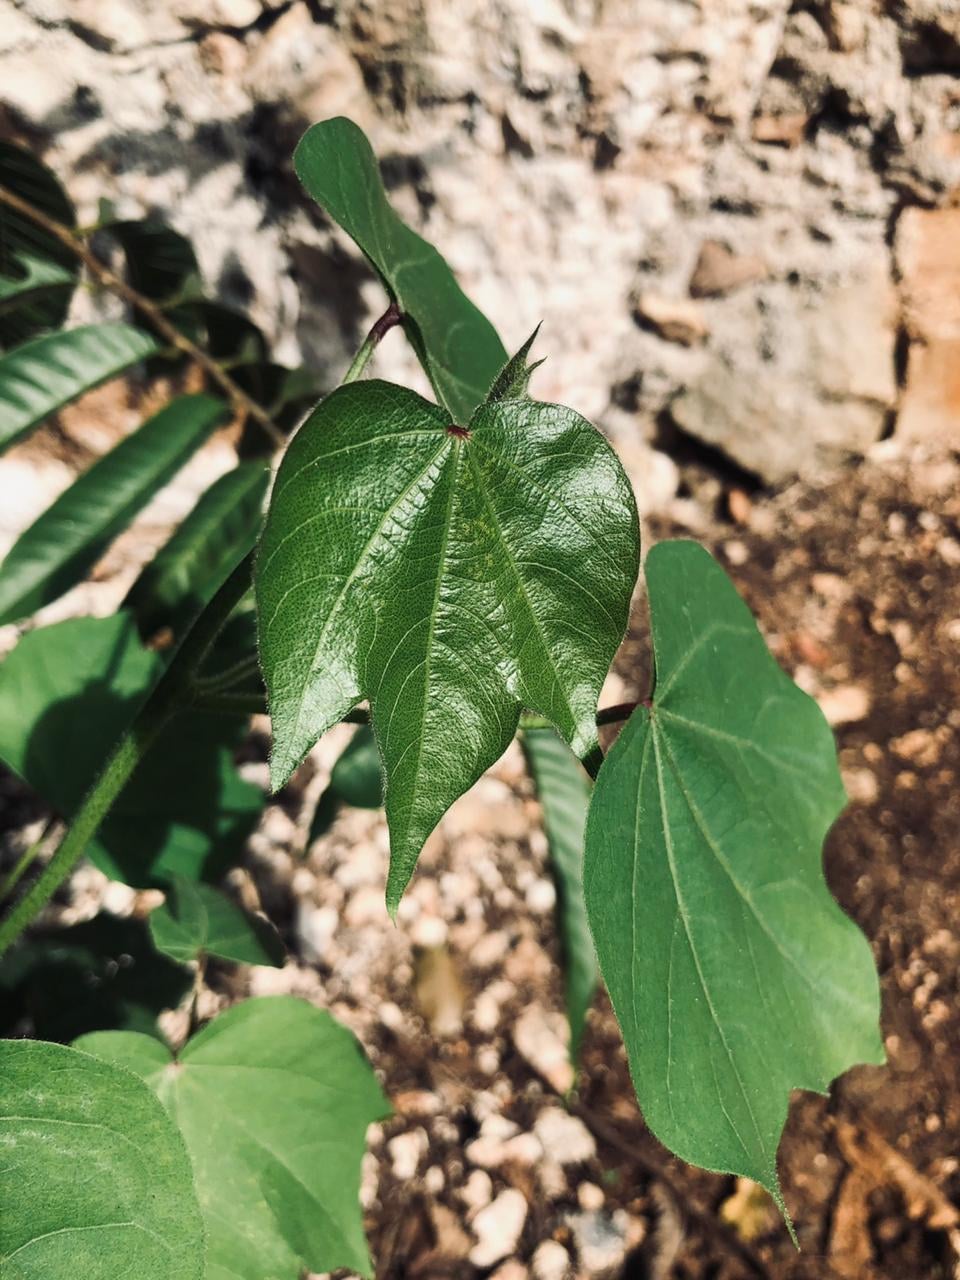
Until now, it's been hard to keep this personal goal hahahaha, for this assignment, I planted cotton in the garden of the Fab Lab, it's very little yet, but in a few month, maybe a year, I can finely has cotton harvest. Before I had a big plant with the cotton bals, it was really nice actually, but it was too old, someone told me that I need it to cut it down and then plant a new one, so i did that. I hope this one grows as much as the oldest. I will do this as much as I can, I really would like a tea area, dye area and edible garden one day. My dream bio lab hahaha.
DESIGN PROCESS
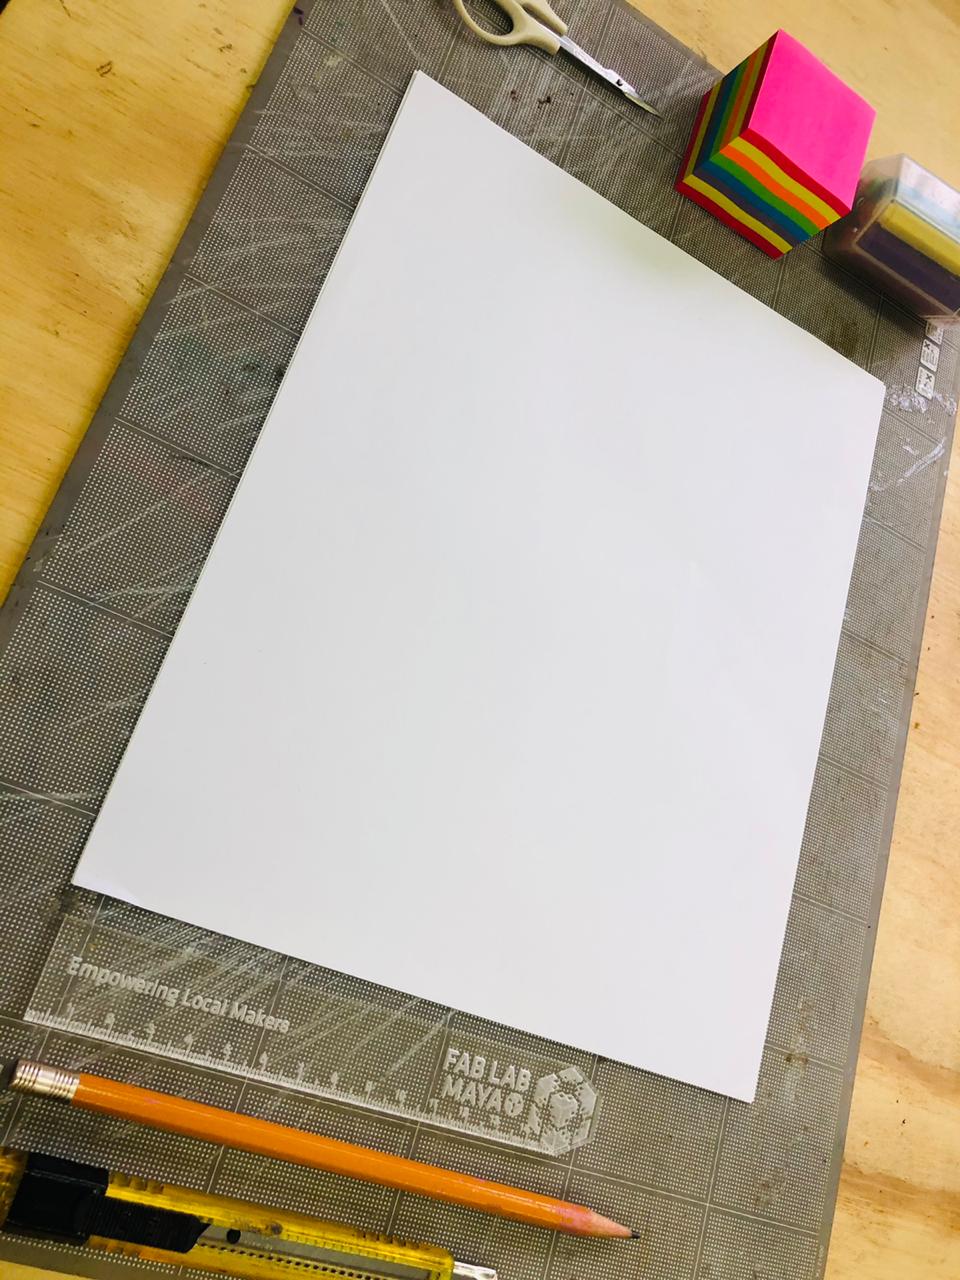
Ok, so, here we are. First, I put everything I will need to start. I have to confess that I'm not so manual, I mean, I prefer to do a really fast prototyping, maybe draws and that's it hahaha. But for this week I will need to do the hard work for this.
-
- post tips
-
- scissors
-
- pencil
-
- ruler
-
- cut table
-
- pens
-
- cutter
-
- white paper
This assignment i found really hard, one year ago, I tried to do it, and I was so frustraited, because it is so simple and so complex in the same time, because I was traying to do something real different, but then, I asked my self, How I'm going to do something complex, if since the very begin I don't understand the basic? So that is why I need to do this, the square form, then I will see what's next.
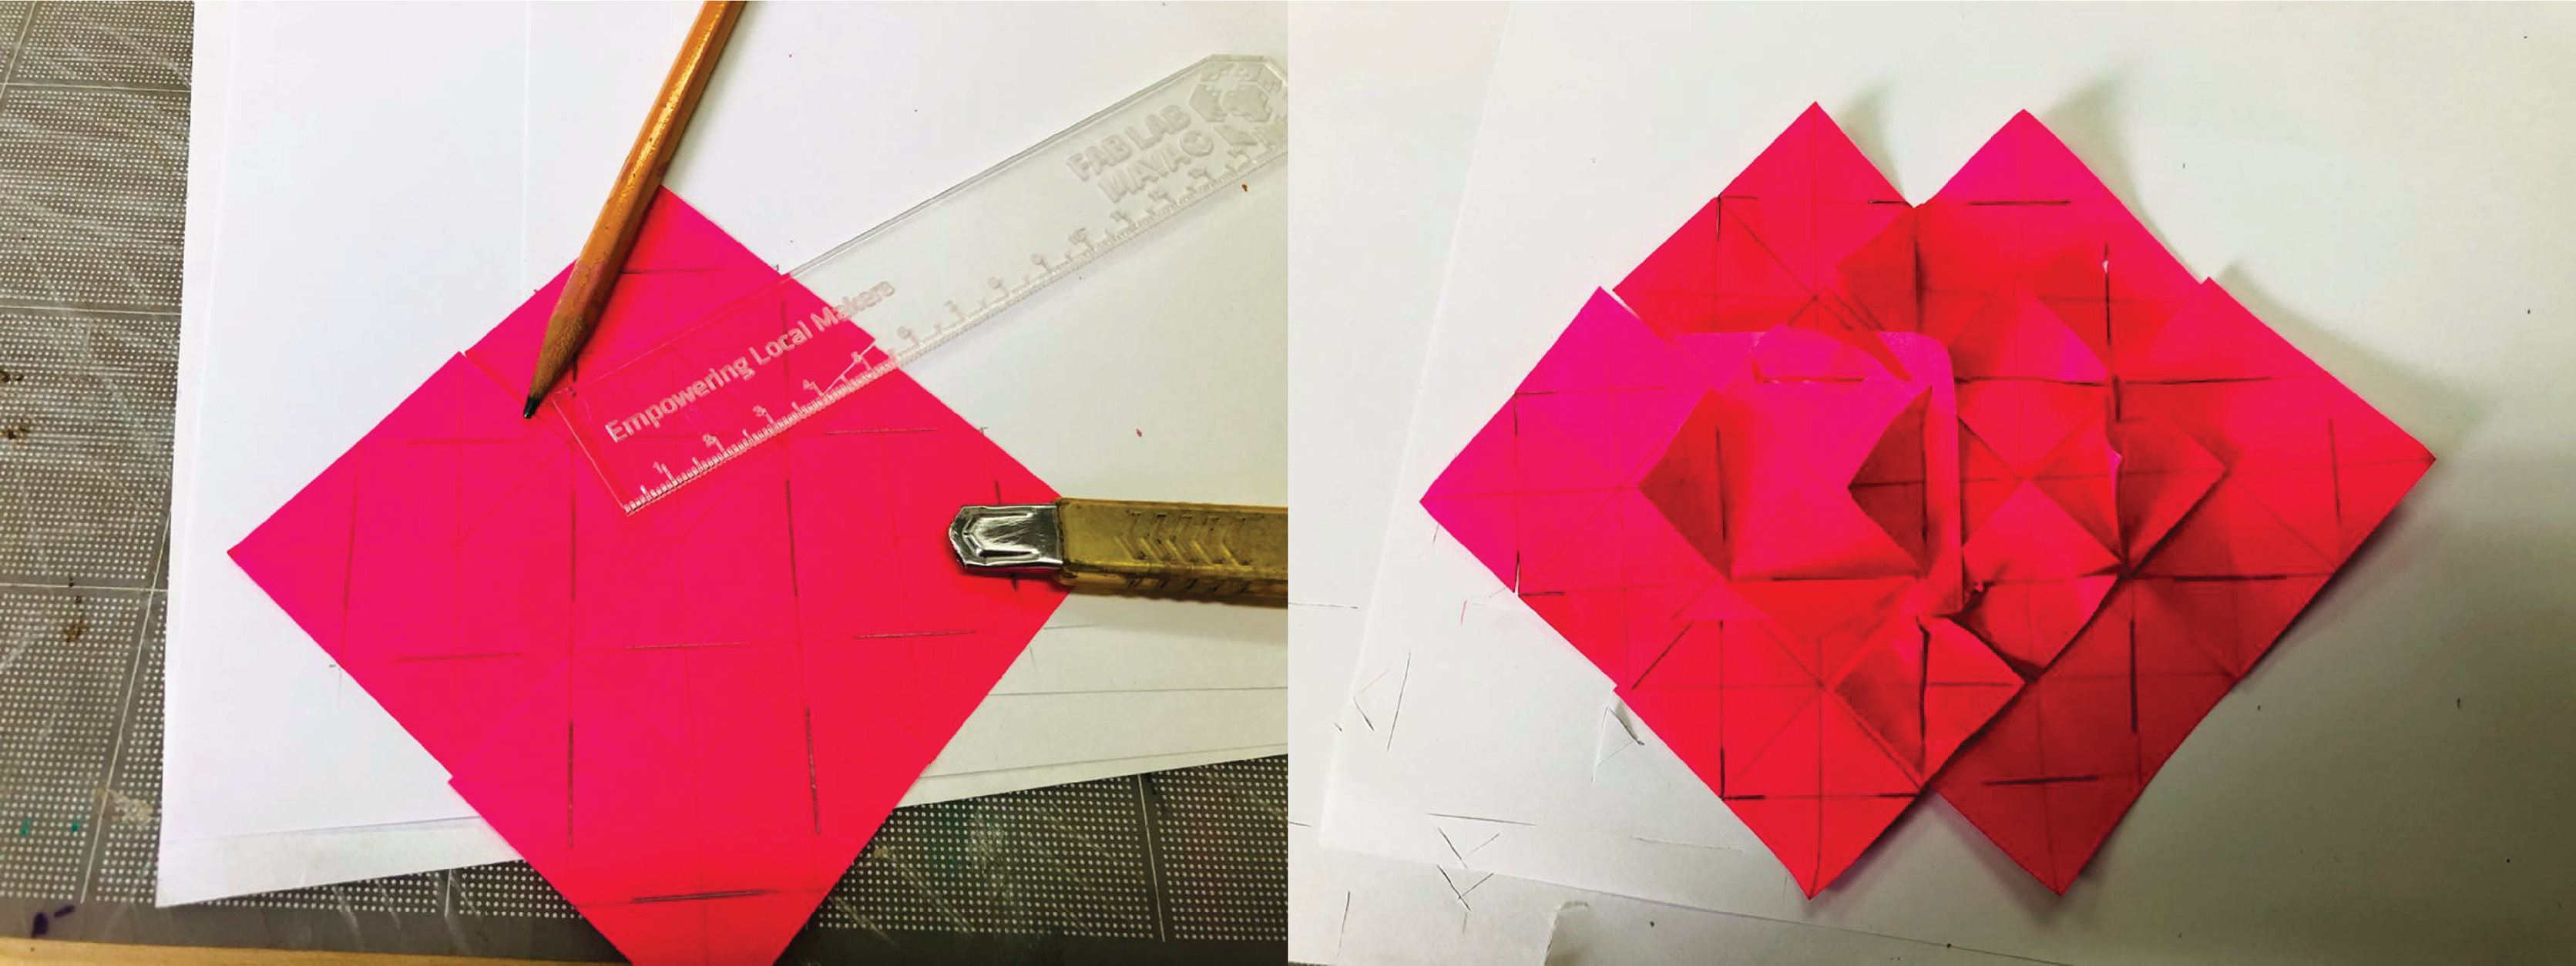
My idea is to make a balaclava, so I think I will need to work with a small scale module, that's why I took the post tips, they are really little and I can see in real time if it works or not. First I started with the square, I have to say that until now I enjoyed how to do all the geometric lines, It remindme when I was in college. I cut paper, I draw some lines and I joined them togueter, I got it. I undestand it better but I felt the same honestly, I was frustrated because I wanted to do something really different.
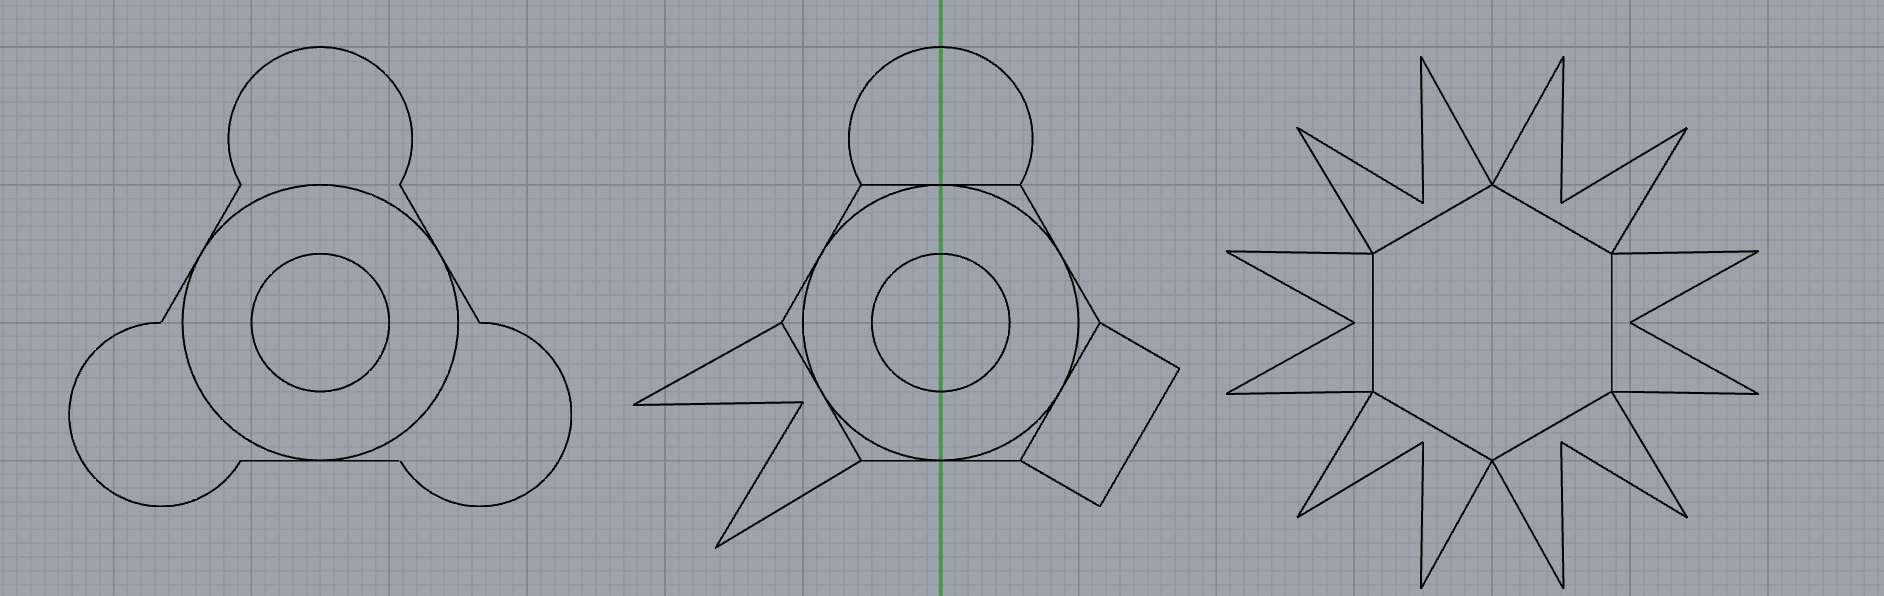
This frustration push me to try other forms, but this time in rhinoceros 3D, so, I can work faster. I like a lot the triangles, but in my research i didn't found nothing I like it, I tried to add different shapes in every extreme point, but again didn't like neither one hahaha
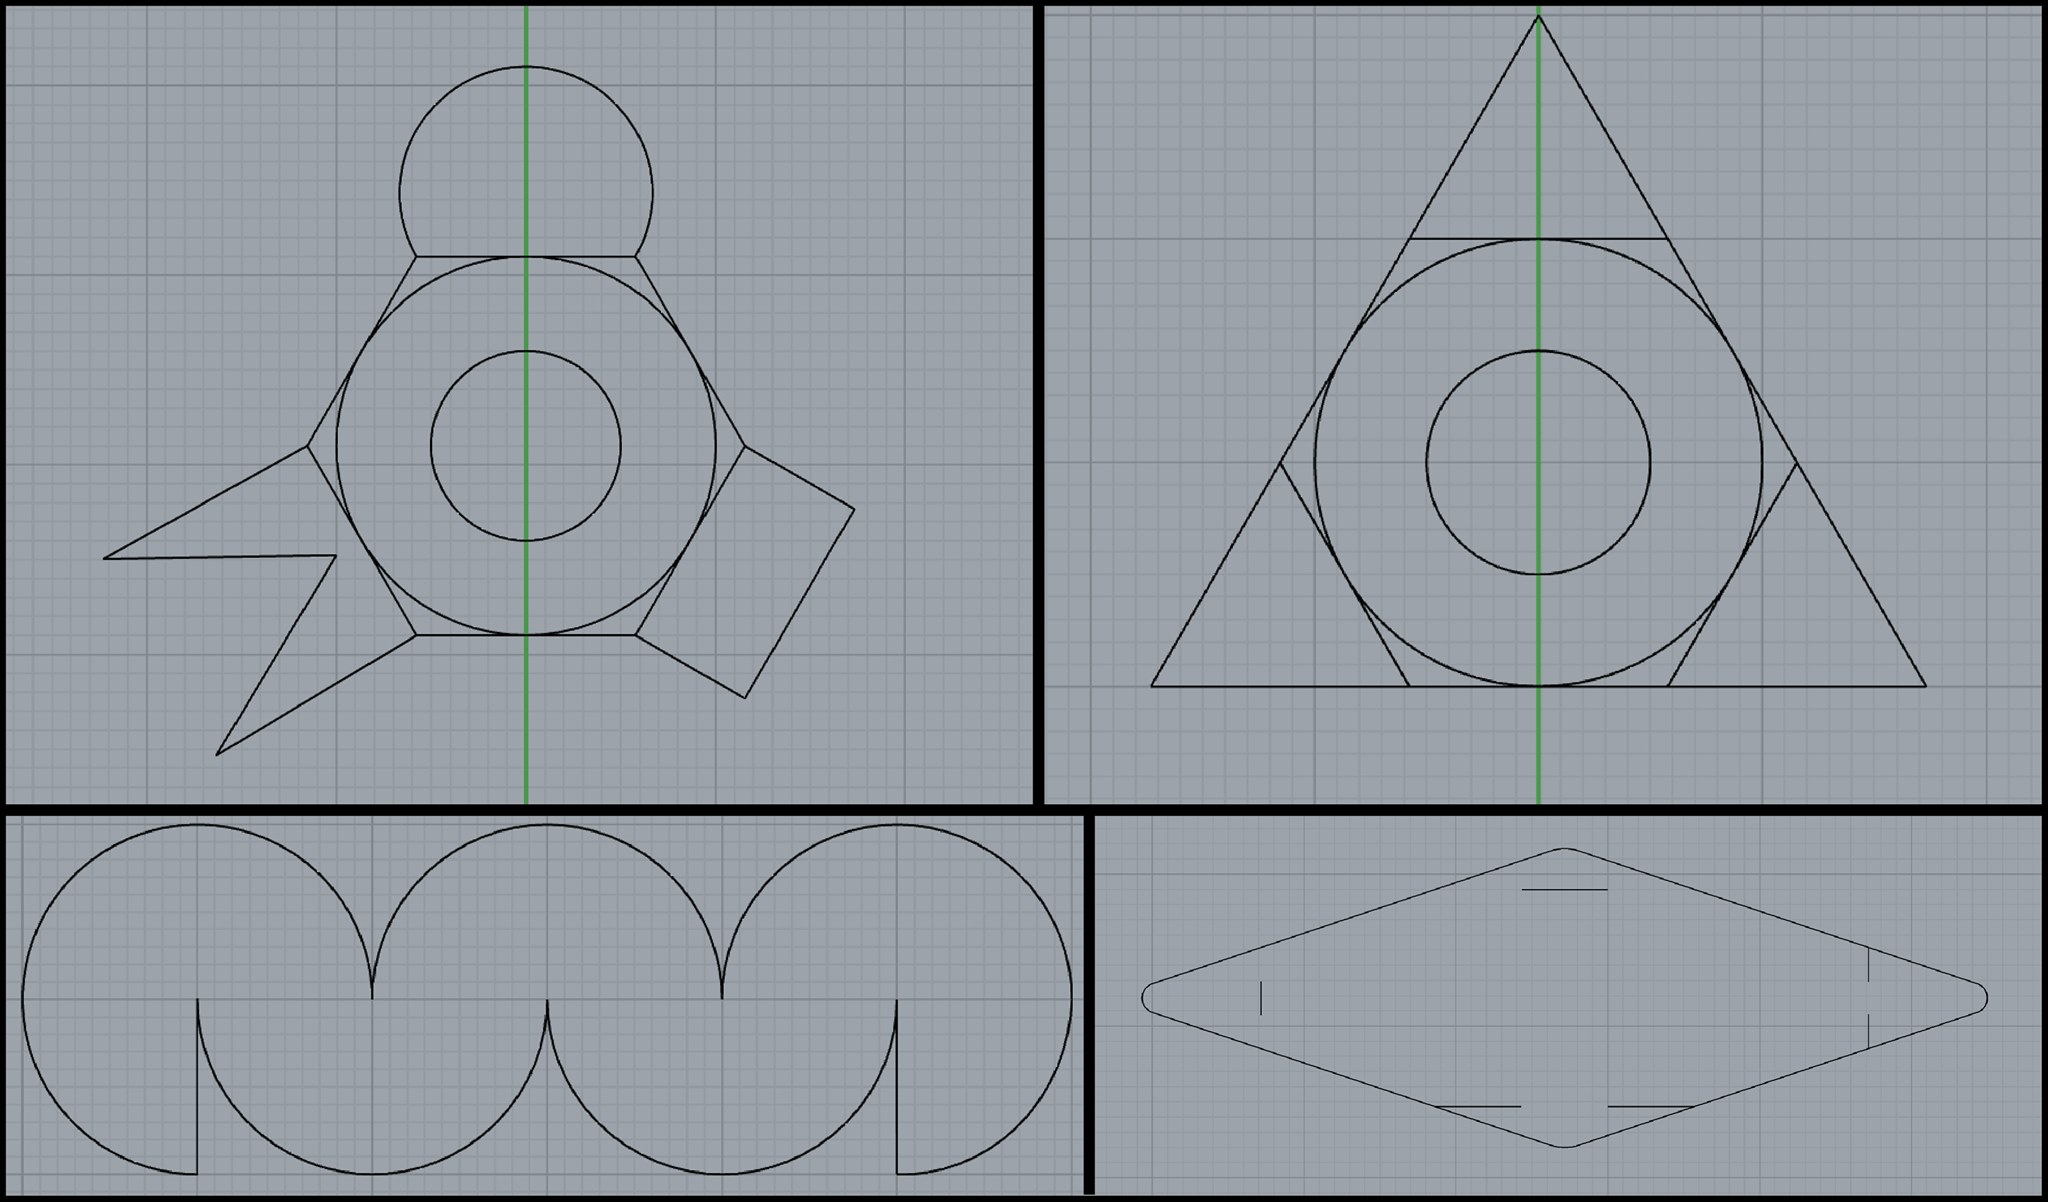
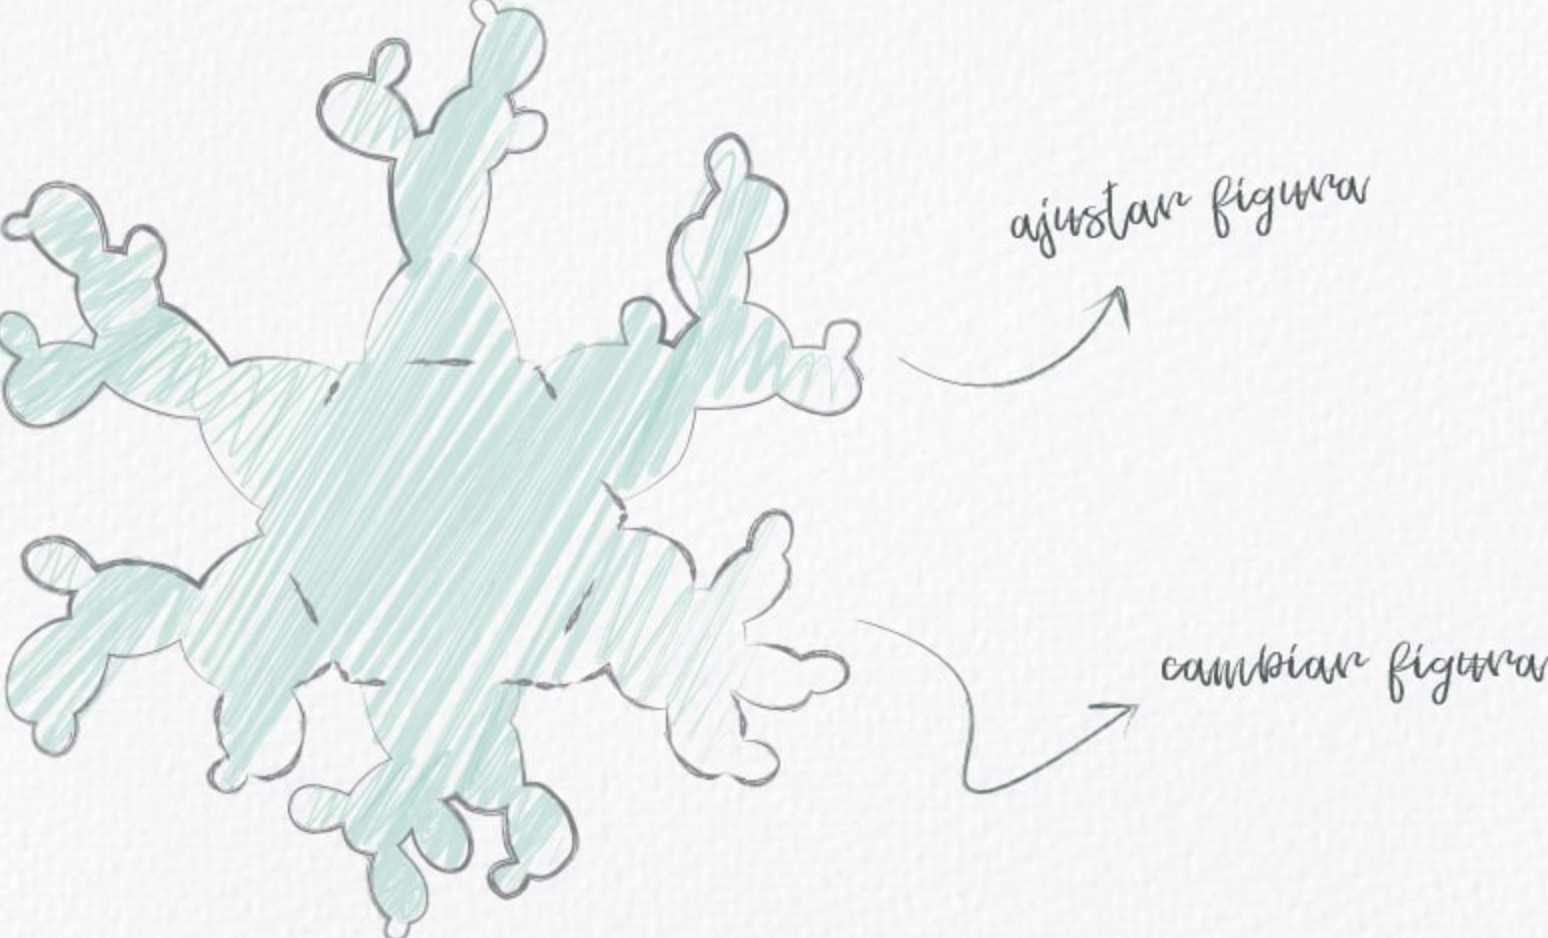
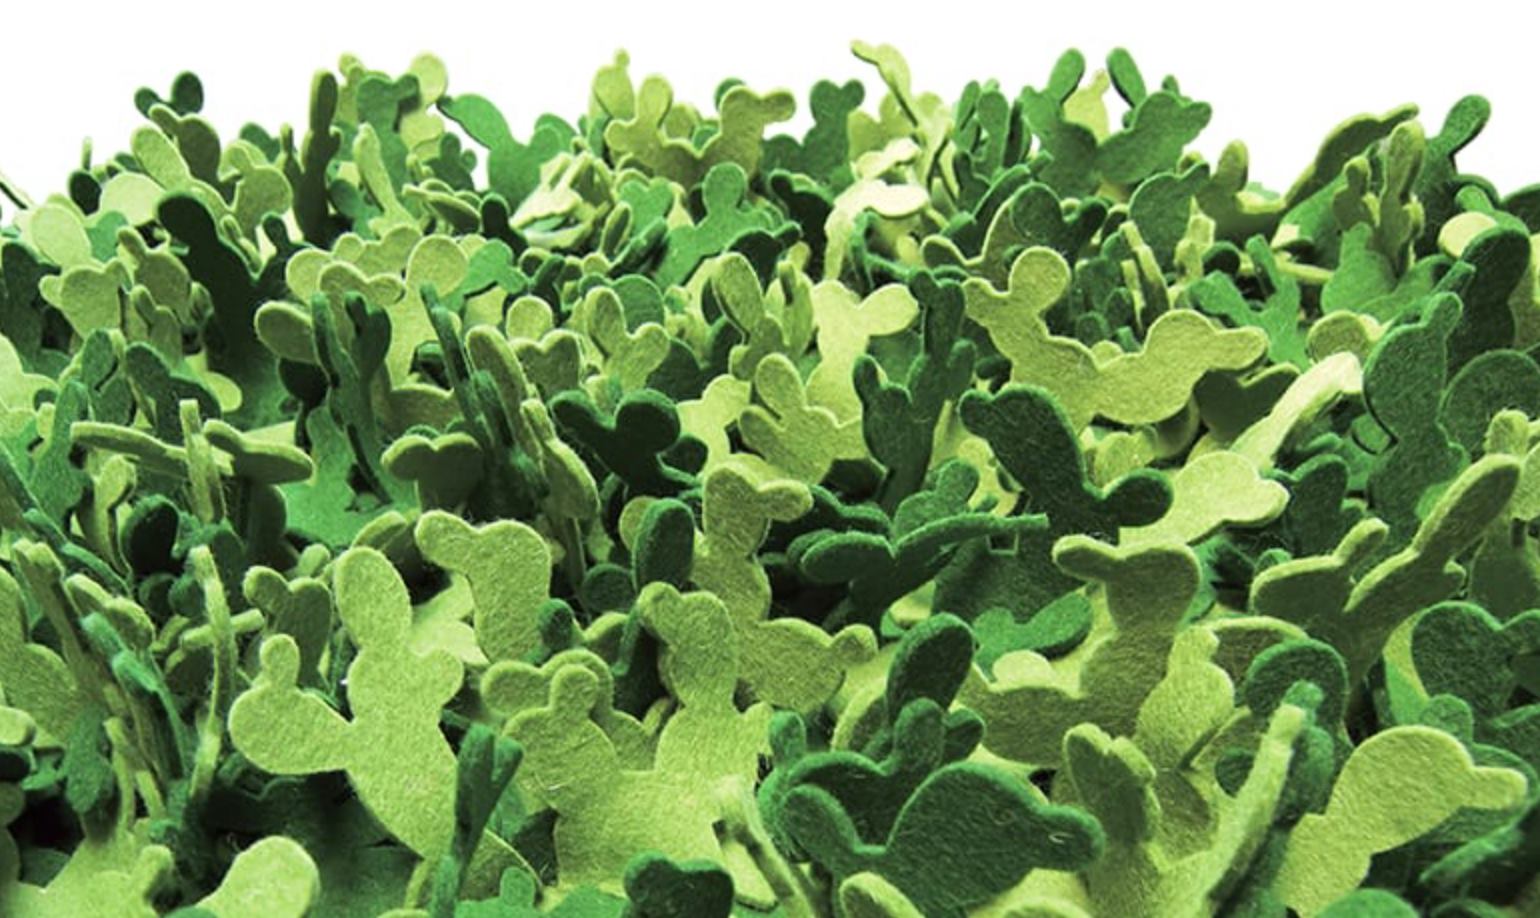
And then I found a Mexican designers that works with wool with this modular patterns, the firm is Dejate Querer, this firm together with a famous industrial designer Ariel Rojo made this cactus design. The fisrt time i saw their diagram, the drawing below, I though, that it looks that it's hard for them too hahahaha because they were using basic shape as hexagon but in every extreme part they change the forms. That's not science and It works and mostly It looks nice, so I decided to go for it. Sudenly the frustration disapear, yas!!!
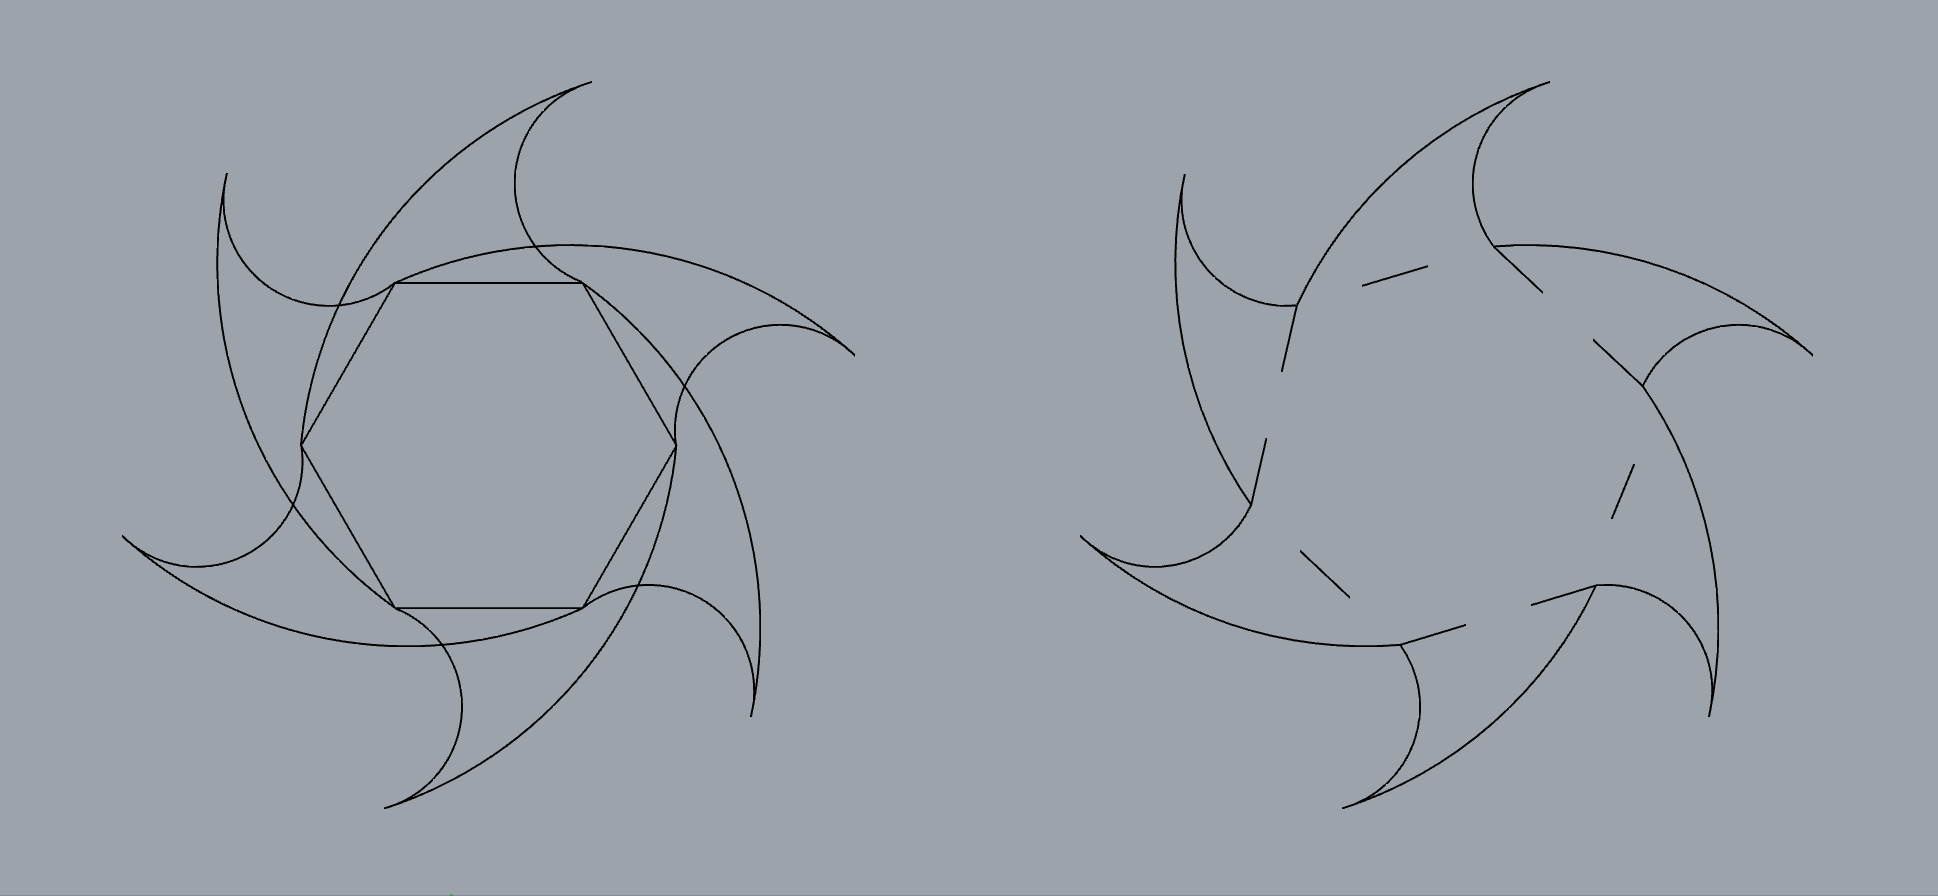
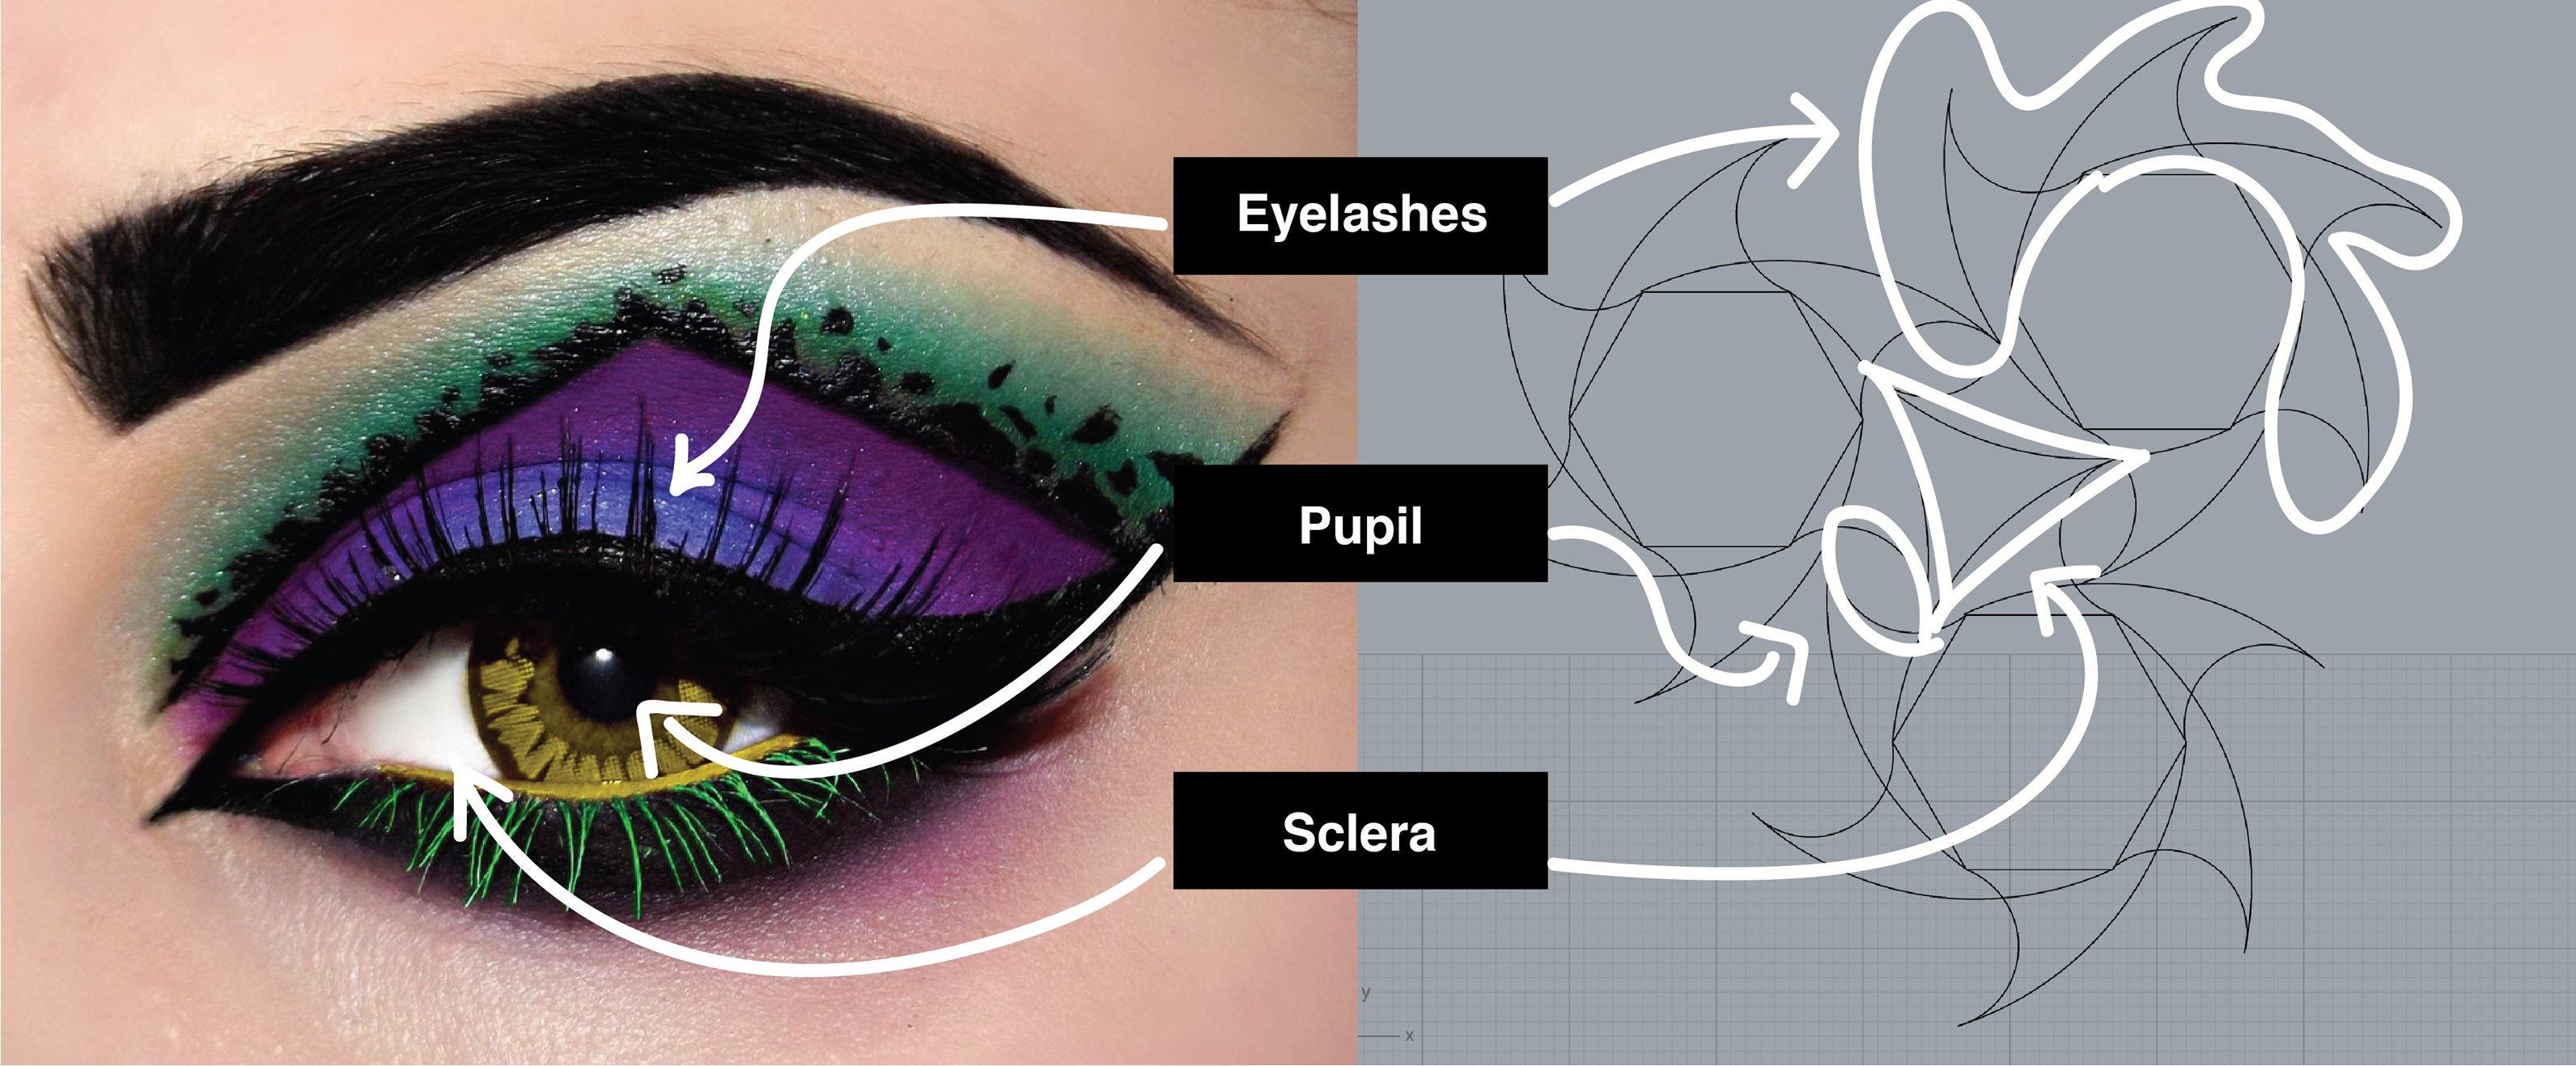
Here I'm again with my boring form hahaha, a hexagon, I came with the idea to make it like an eye, so in the extreme part, I draw curves, so maybe when I put them together, they may look like eyelashes, but I'm not sure about this. I took the post tips and I start cutting in the form I wanted, and it seems that it works, also the scale, this drawings in paper are like 3 cm long.
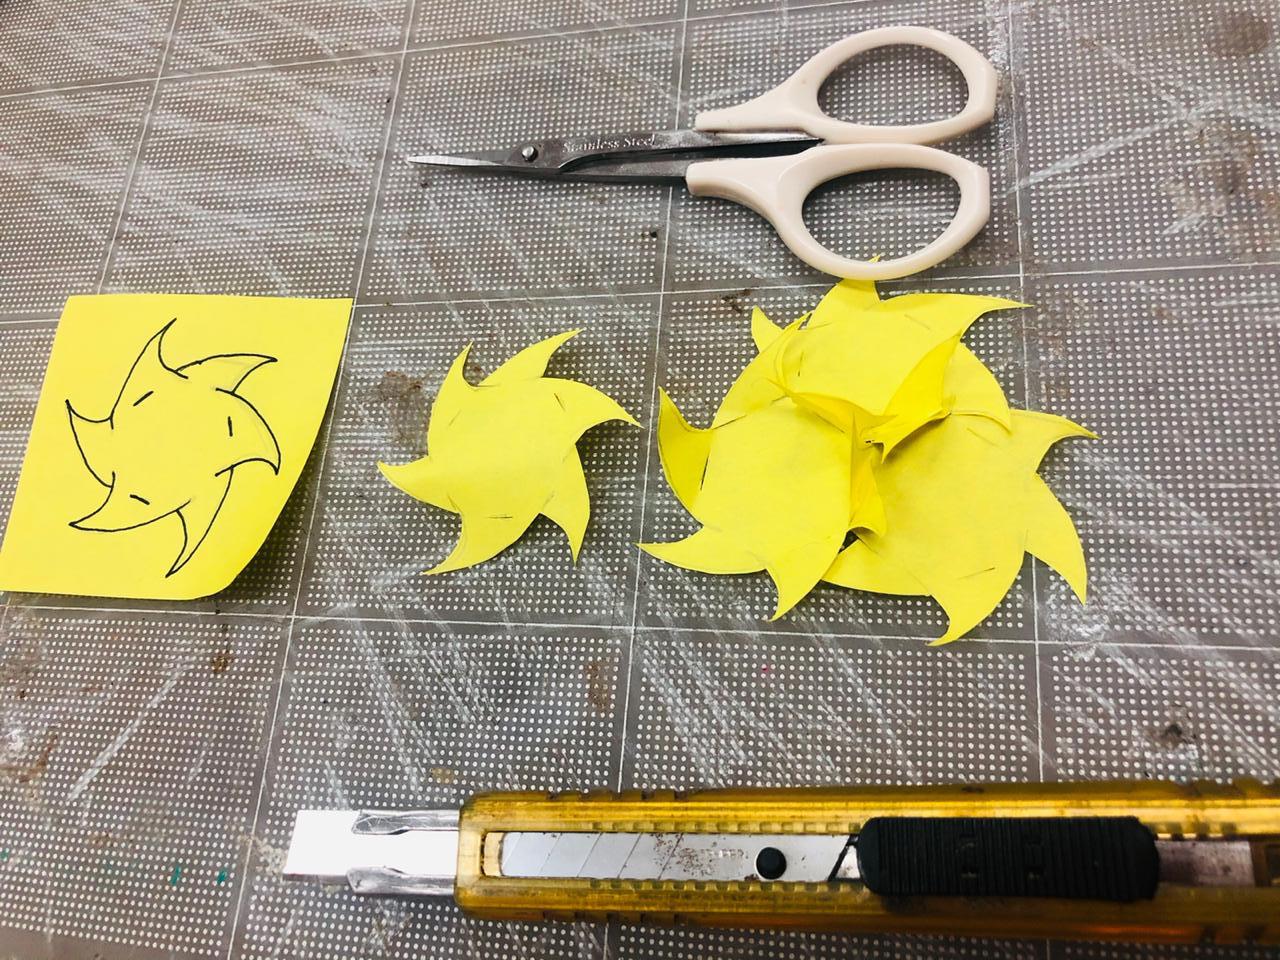
Like I see it was working, I drew it in the rhinoceros 3D software and it looks nice, I liked, and then, when I finished the geometries, the final form, I started to accommodate the pieces, I was very worried about the left overs, so, I took the enough time to make sure it works, it wasn't so hard honestly.
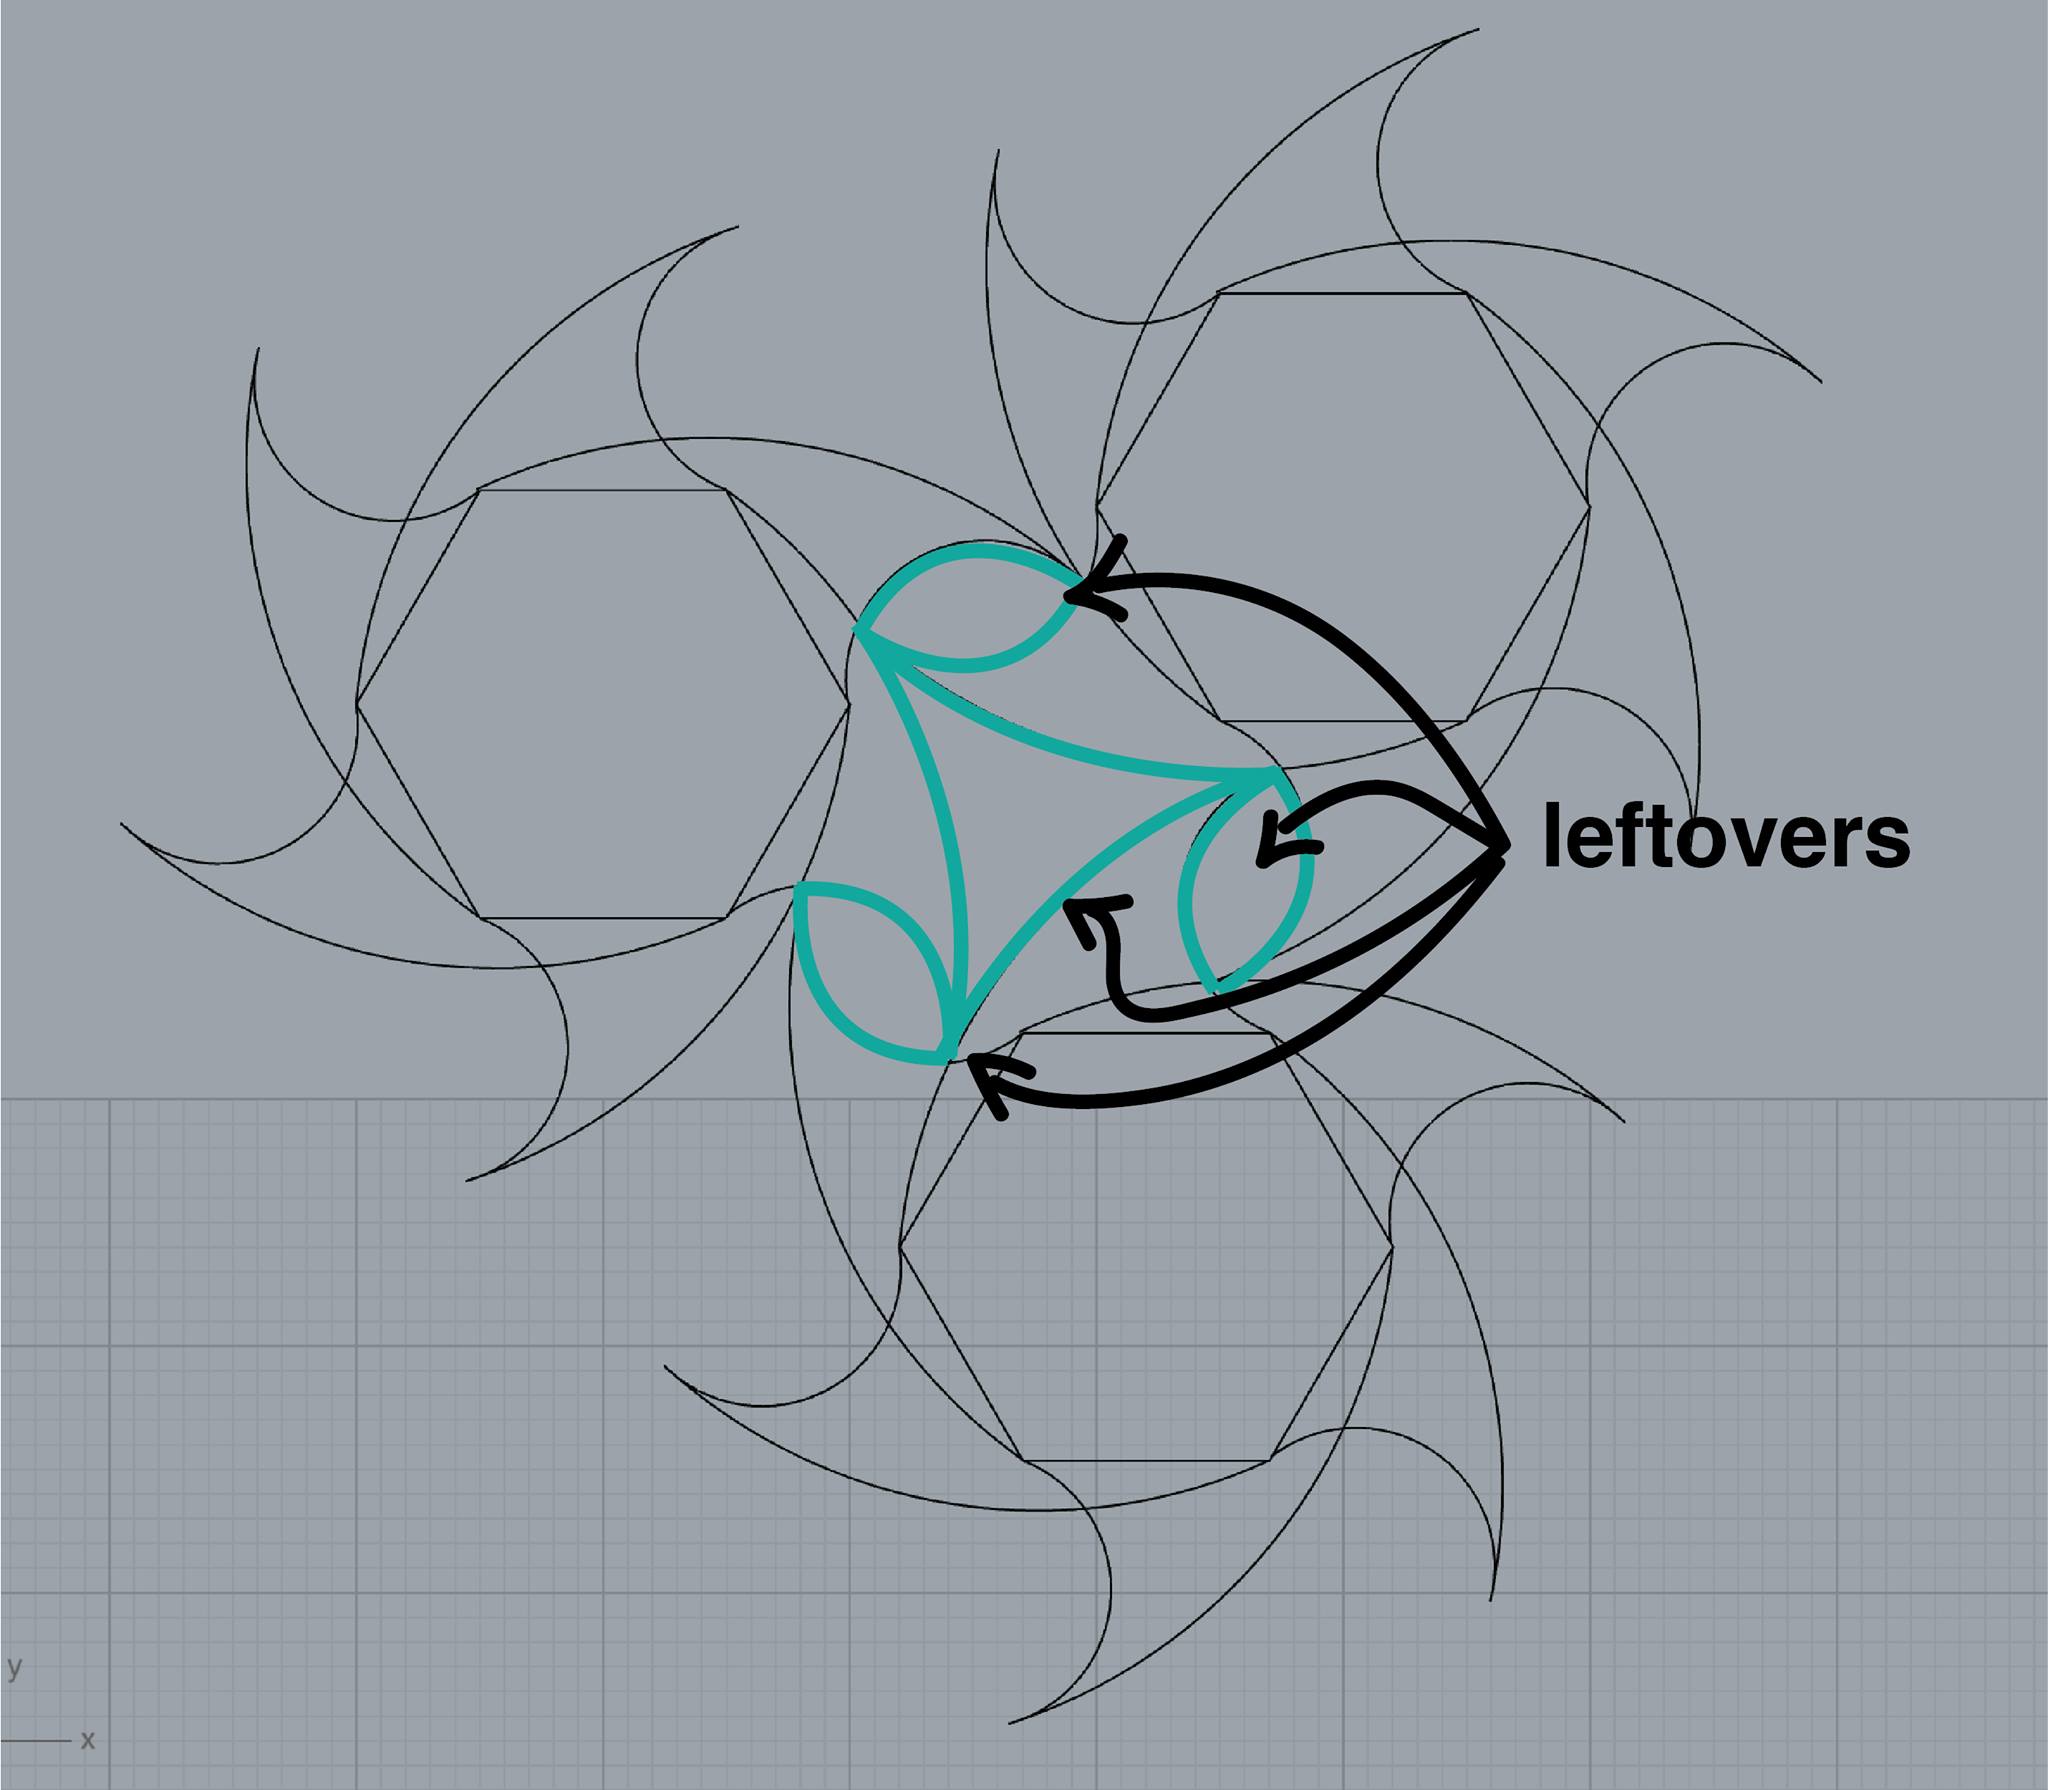
When I finished the distribution of the pieces I realized that I had two more pieces, the leftovers. One that looks like a oval and other like a triangle. I though that maybe if I puttem togueter they can look like and eye, so a drew the extra lines.
FABRICATION
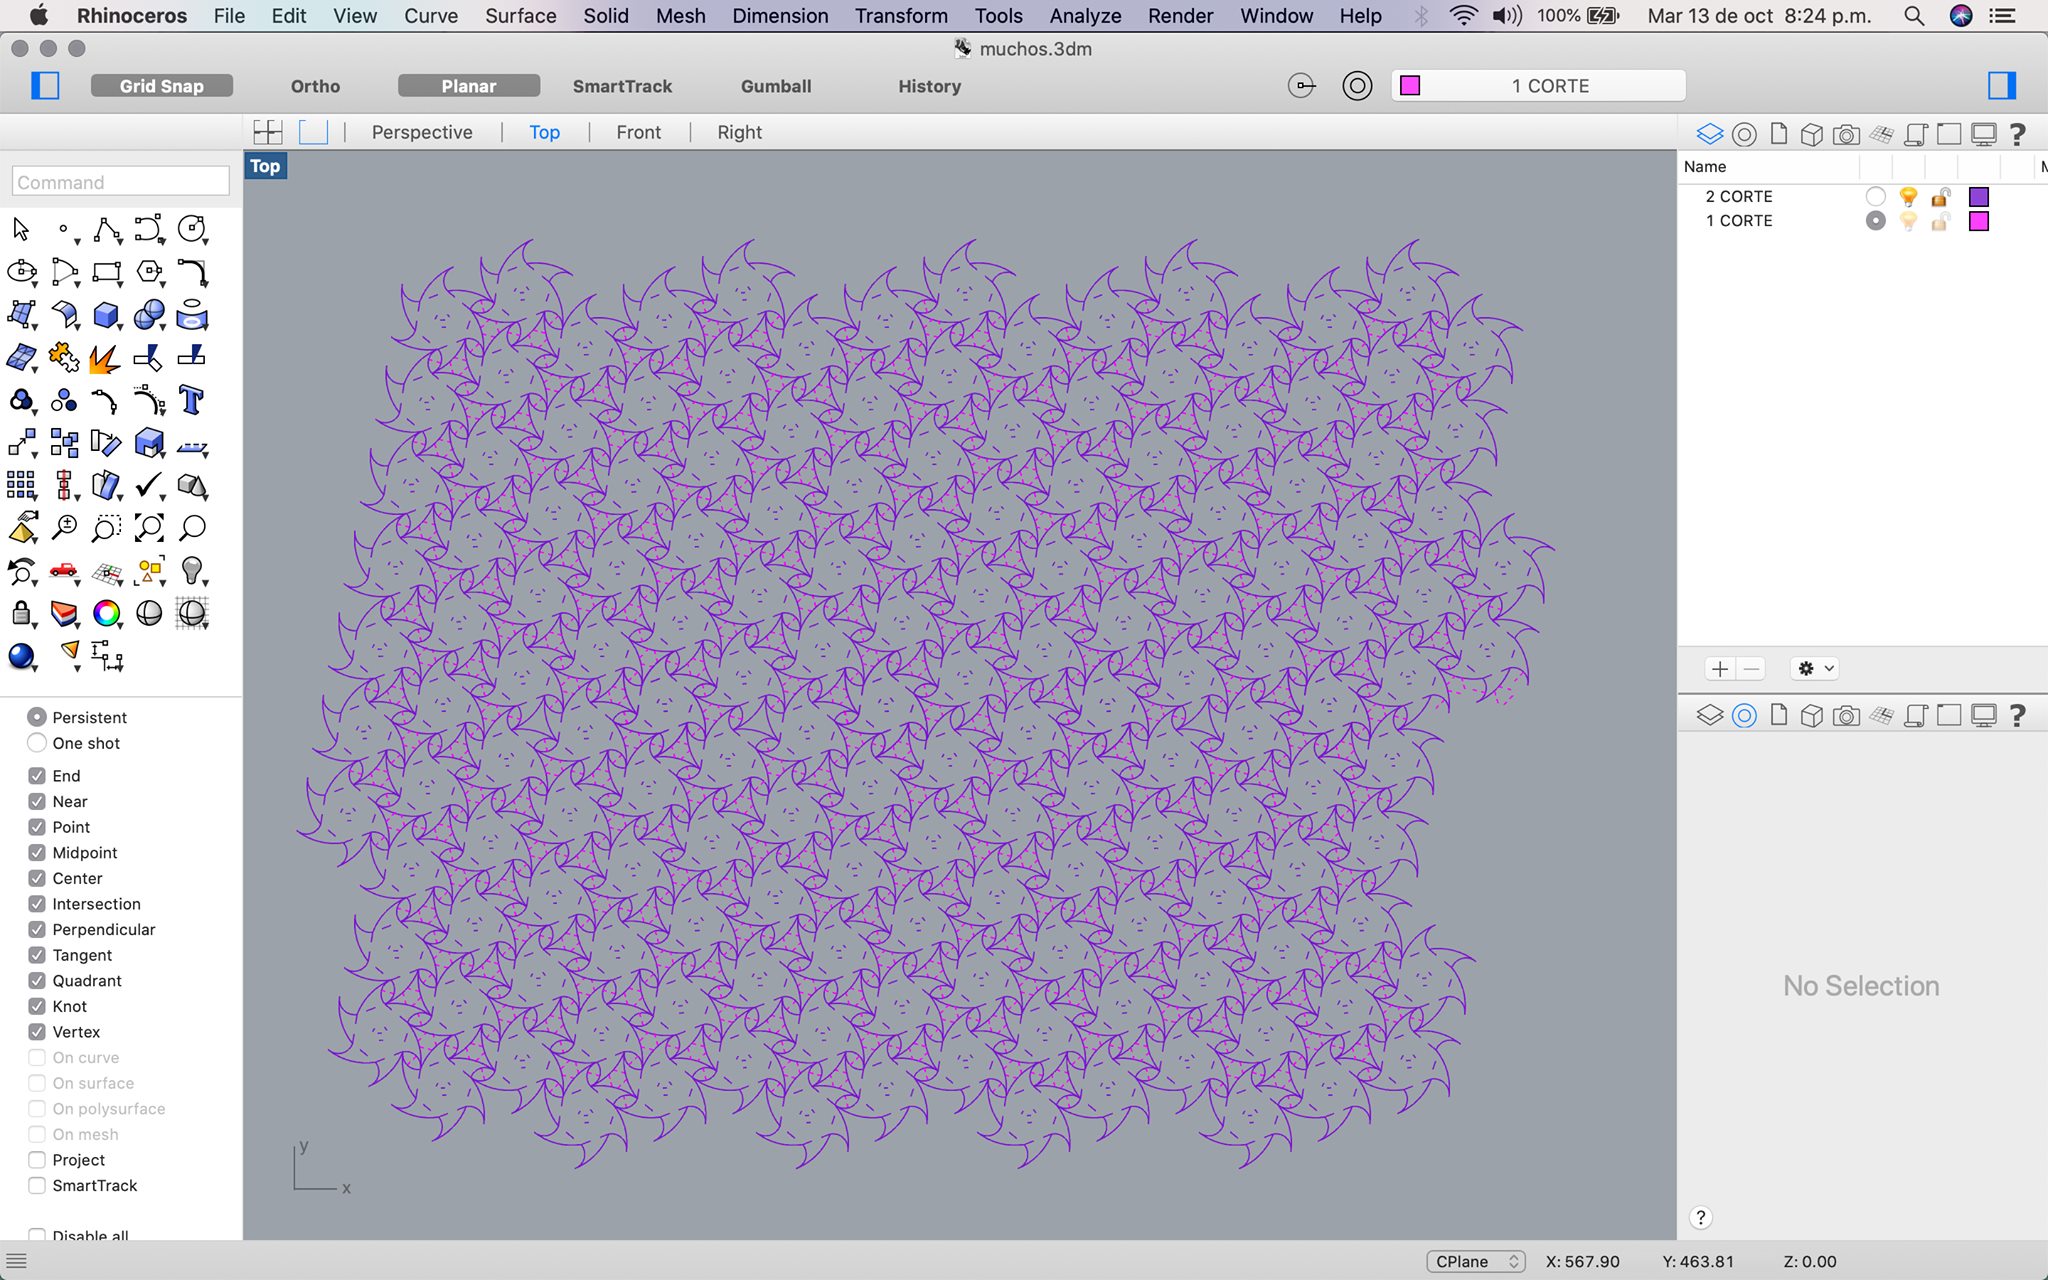
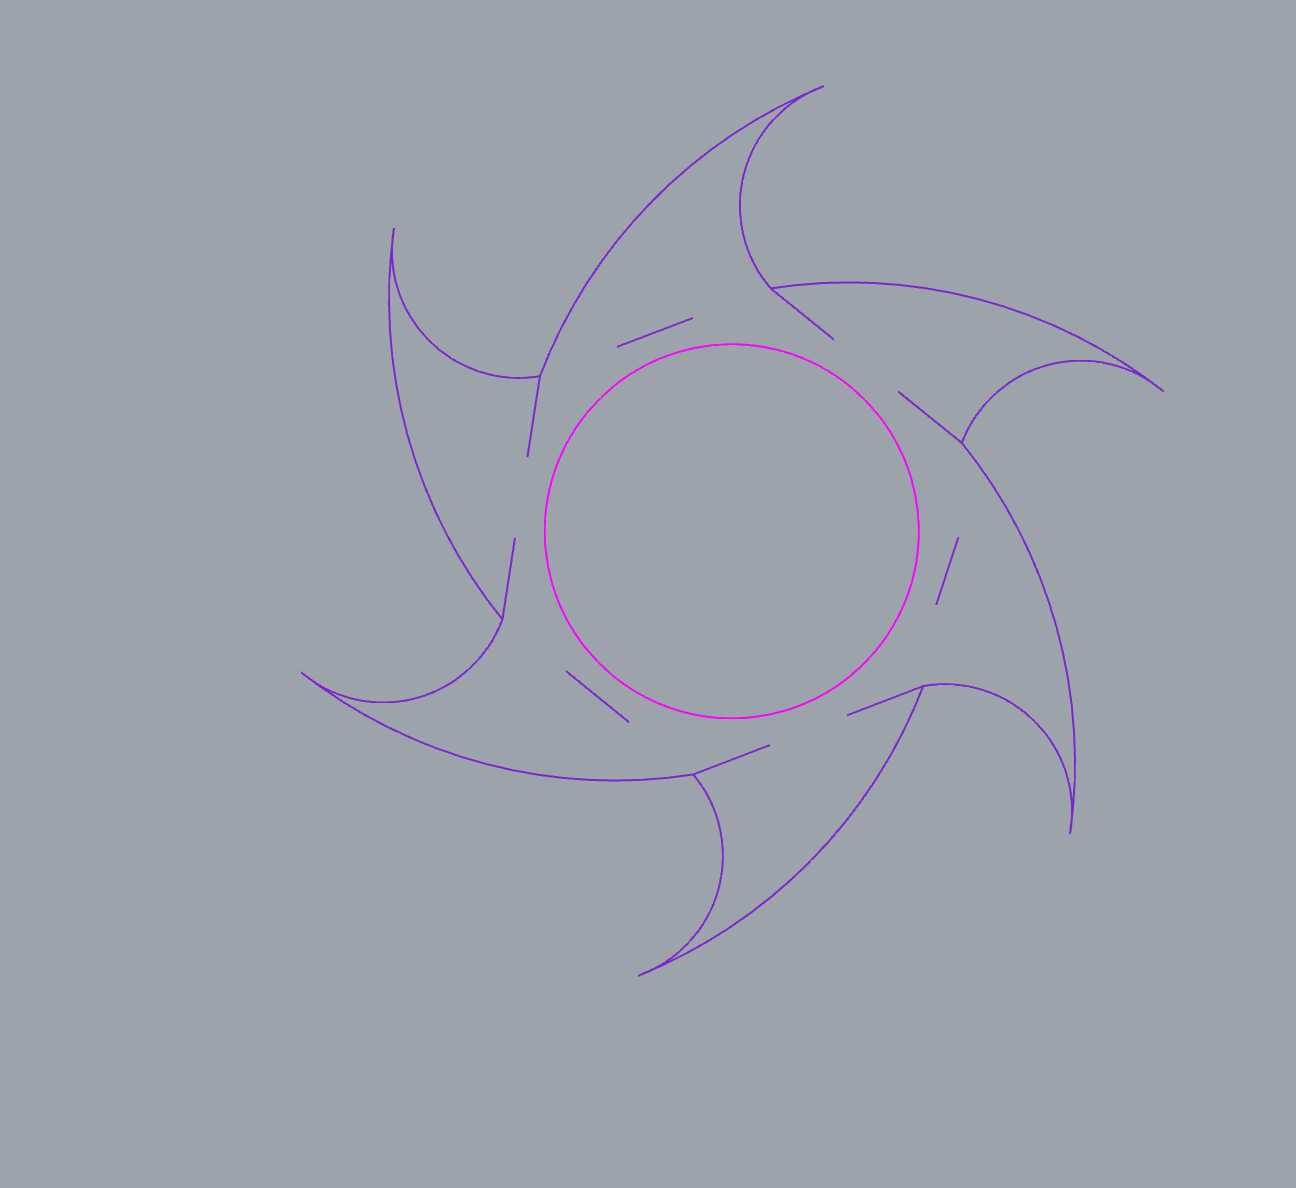
Here is my final distribution, As you can see, I have two layers, all lines has to be cut, but it's better to cut some of the lines first and then the others, I have one layers for the first cuts, and another for the final cuts that in this case is the polylines that looks like a "star", my final module. It's really important to do this, so if someone else wants to make your modelular thing, they can follow the step by step. I'm really picky about sorting out layers #SorryNotSorry hahahaha
In the recitation, Zoe told me that i need to make the holes for the eyes, so the thing can look like a balaclava, I tried to taking out one of the modules, but I didn't like it, so I changed two modules and I puted a circle like in the picture. I hope it looks nice.
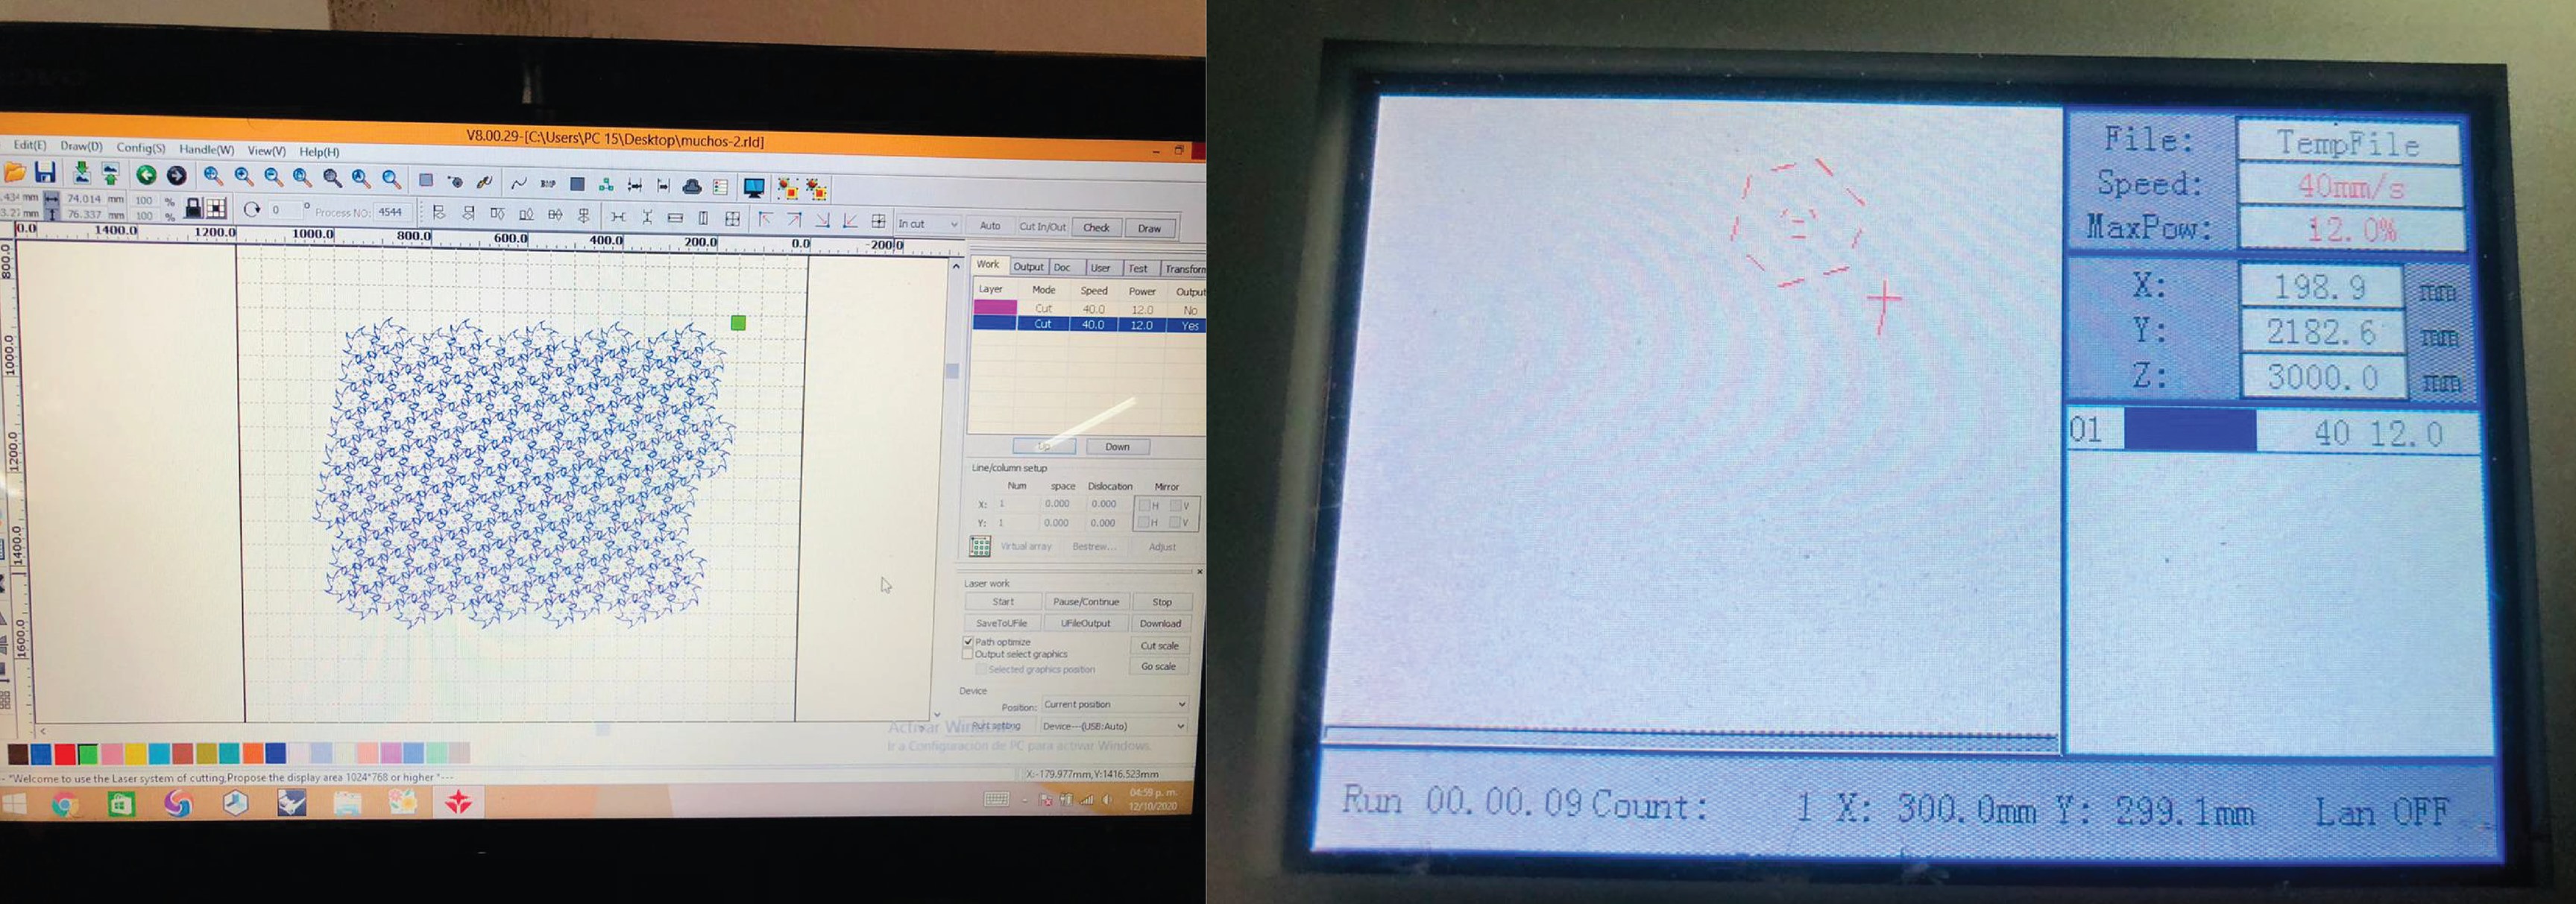
Here I have the settings for this material, it was really fast, or at least faster than I thought, It took 20 minutos to cut all the pieces, there were more than 50, I guess.
forgot to mention that for this work, I had to put a MDF under the fabric, this gave the fabric stability, besides it helps with the little pieces to not to fell down. And here you can see first I cut the lines for the joints and then the polyline of the module or the "star", the triagule and the oval are not polylnes, this are the result of the distribution of the pieces, that's why it took litle time to cut all pieces.

It is better understood with this video. First the lines of the joints and then the cuts or in this case, the "star". I don't like the star name by the way hahaha.
After 20 minutes, all the pieces, yei!!!
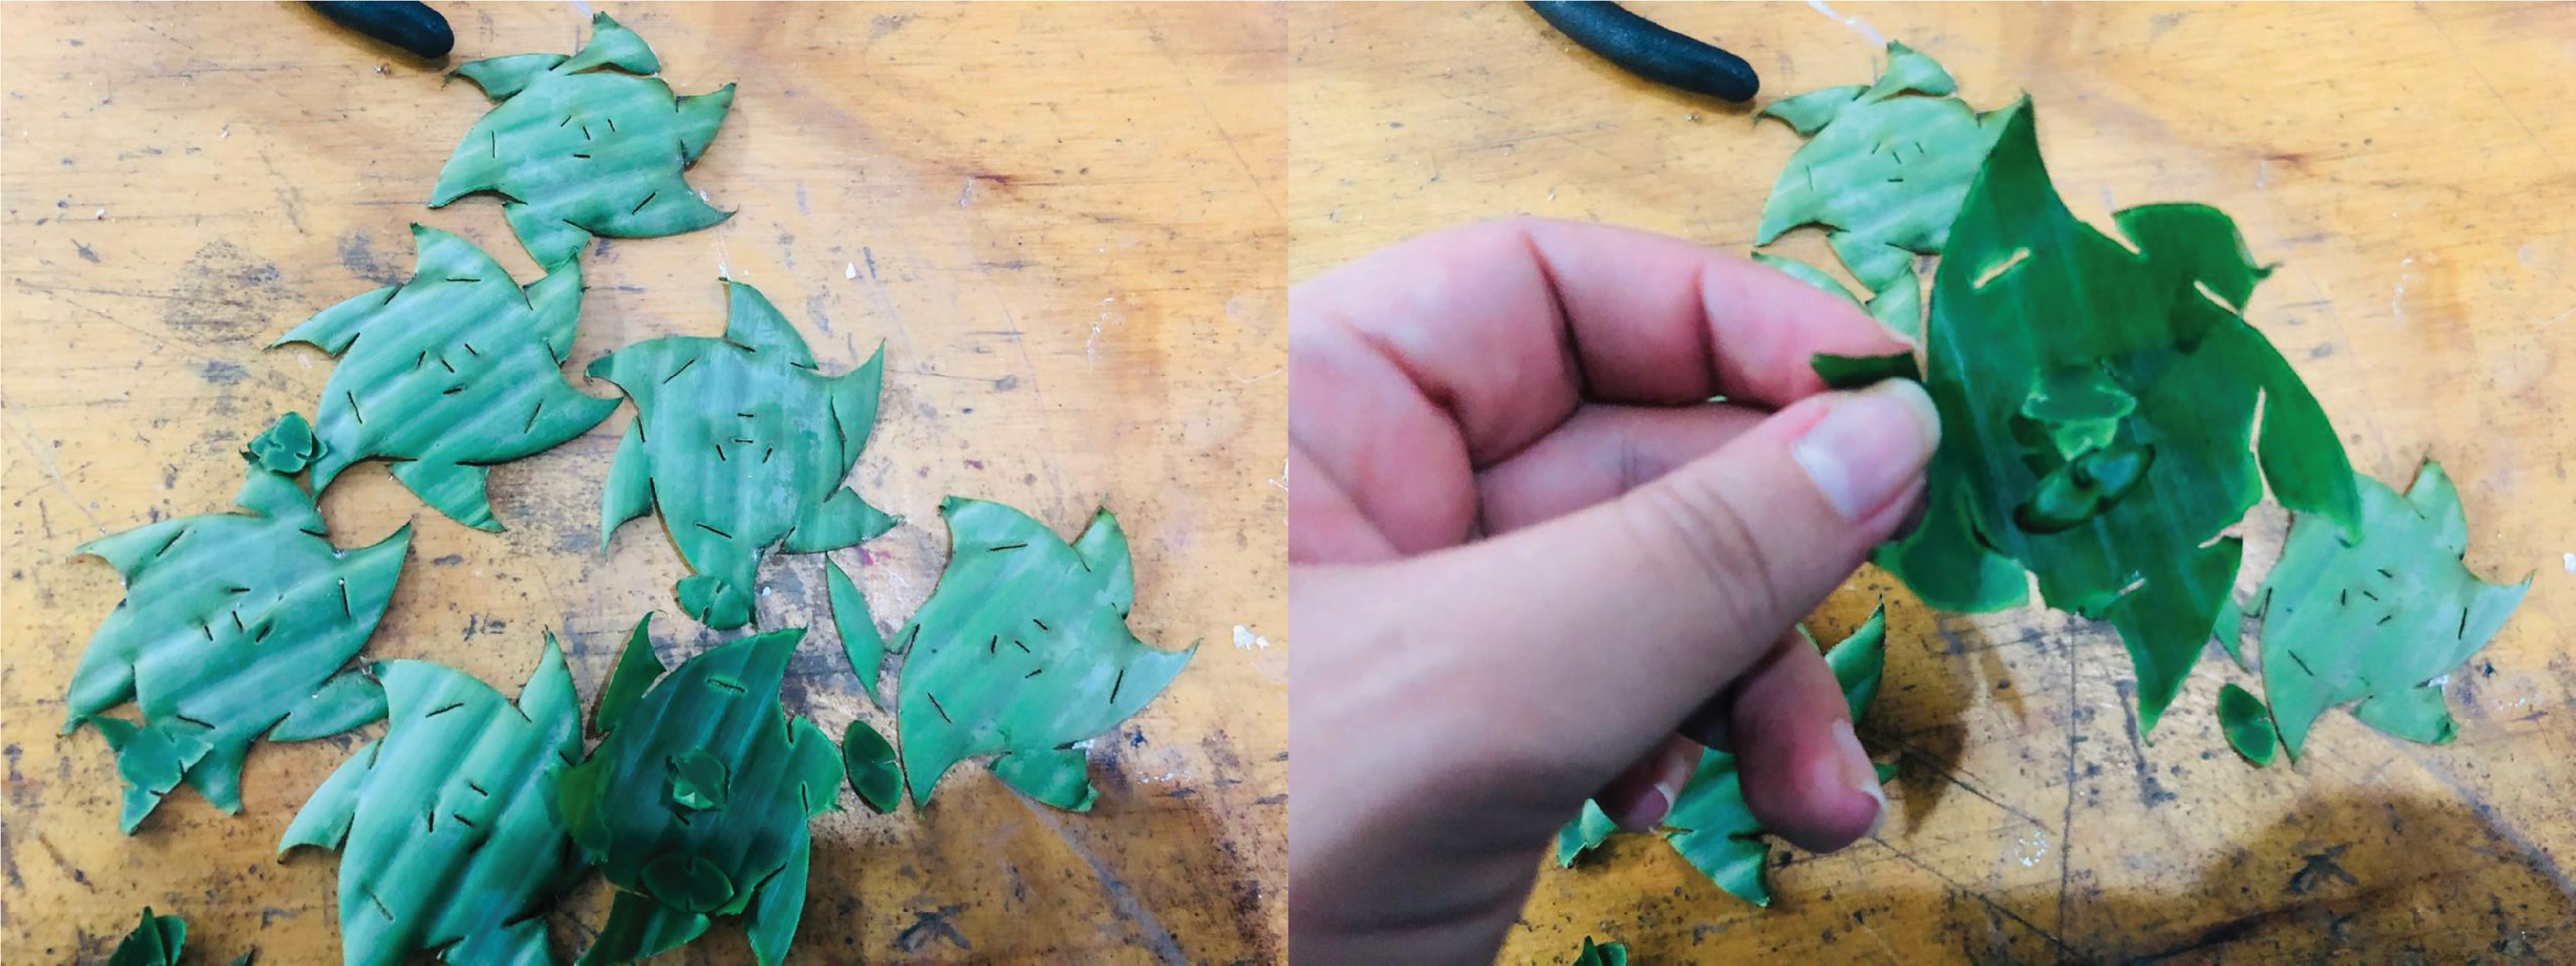
After this I thought it could be a good idea to experiment with other material, a natural one, I experimented with banana leaves that I have in my bio lab, but it didn't work, they were so delicated that they broken very easy and besides they got like dead, in the morning they were green and in the afternon they were dry and brown, ofcourse that was going to happen, they were alive before I cut them hahaha.
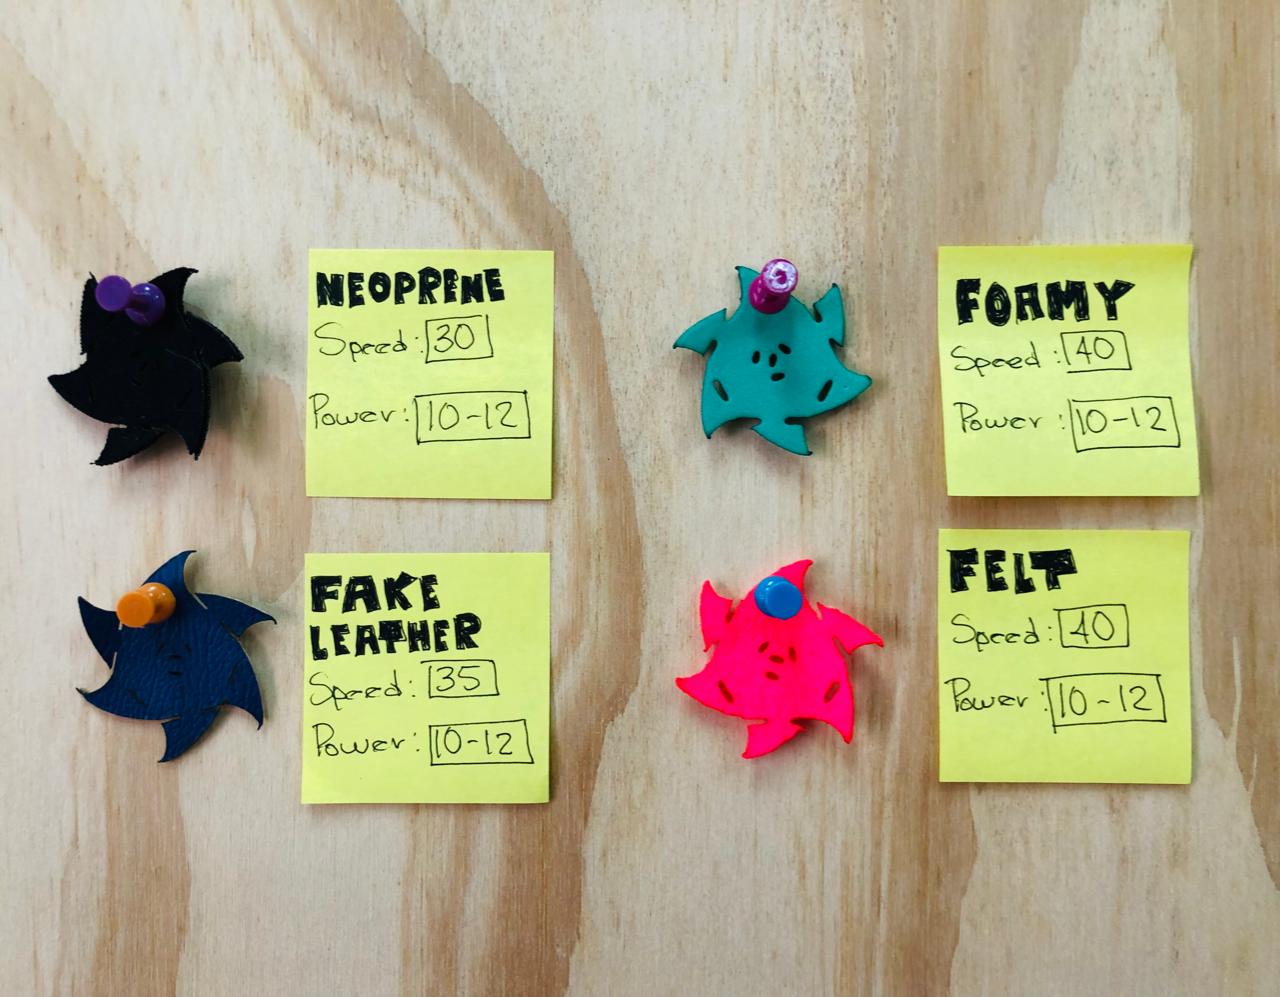
Before the final prototyping I made some test with the laser cutter using different materials. As you can see, the values of the SPEED and POWER changes, this depends on the fibers
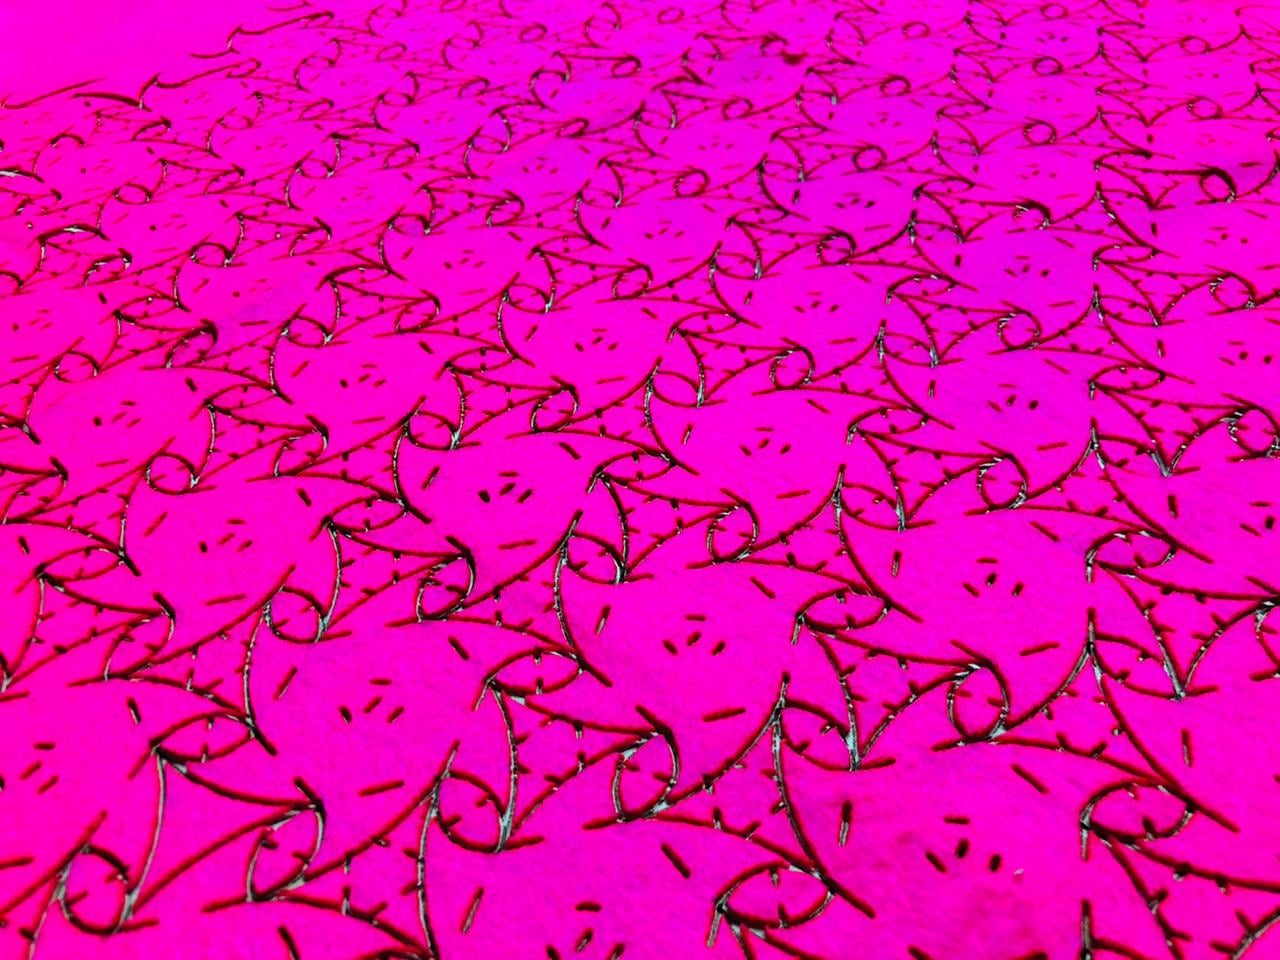
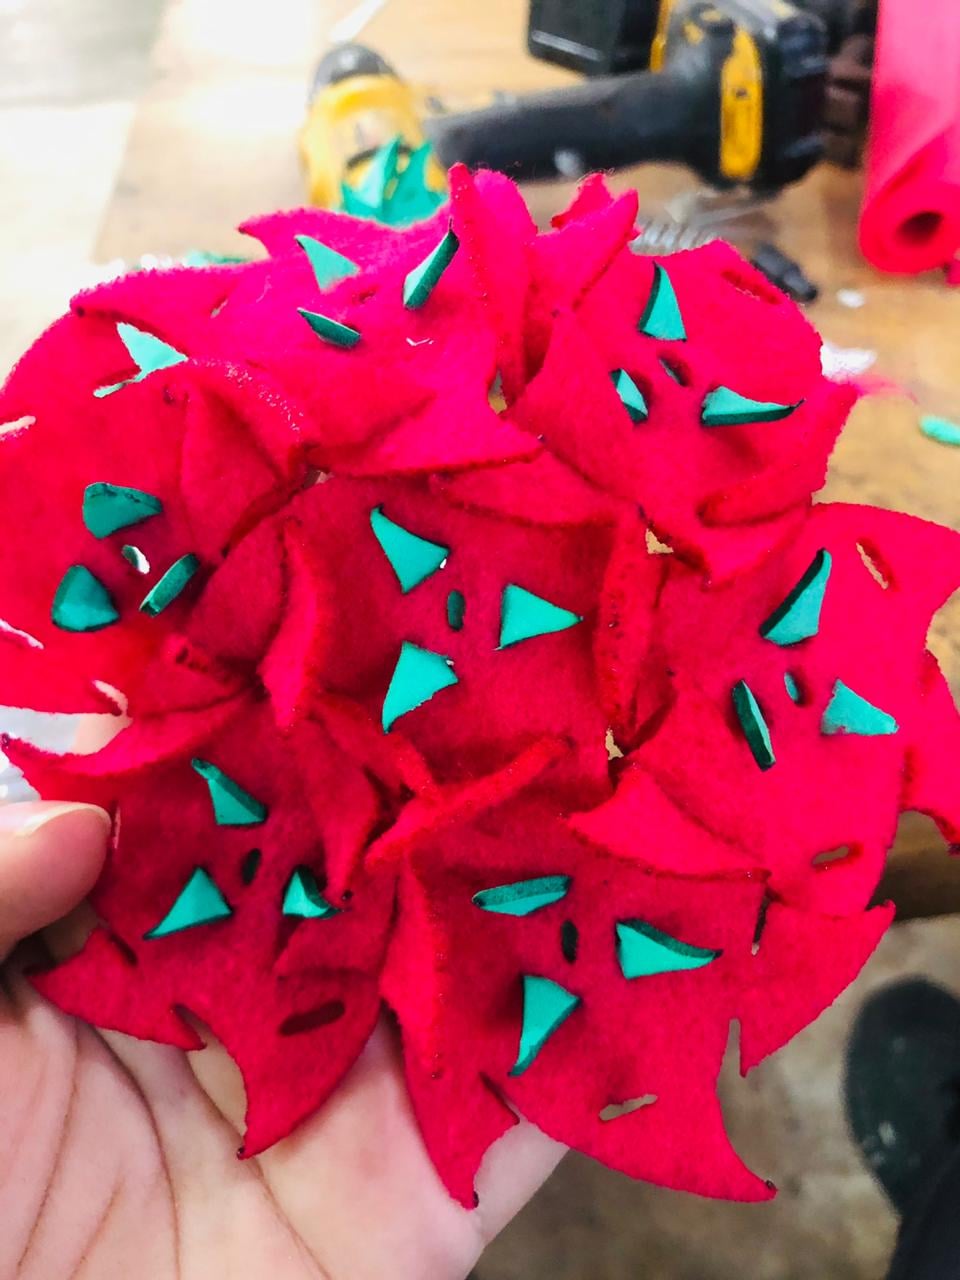
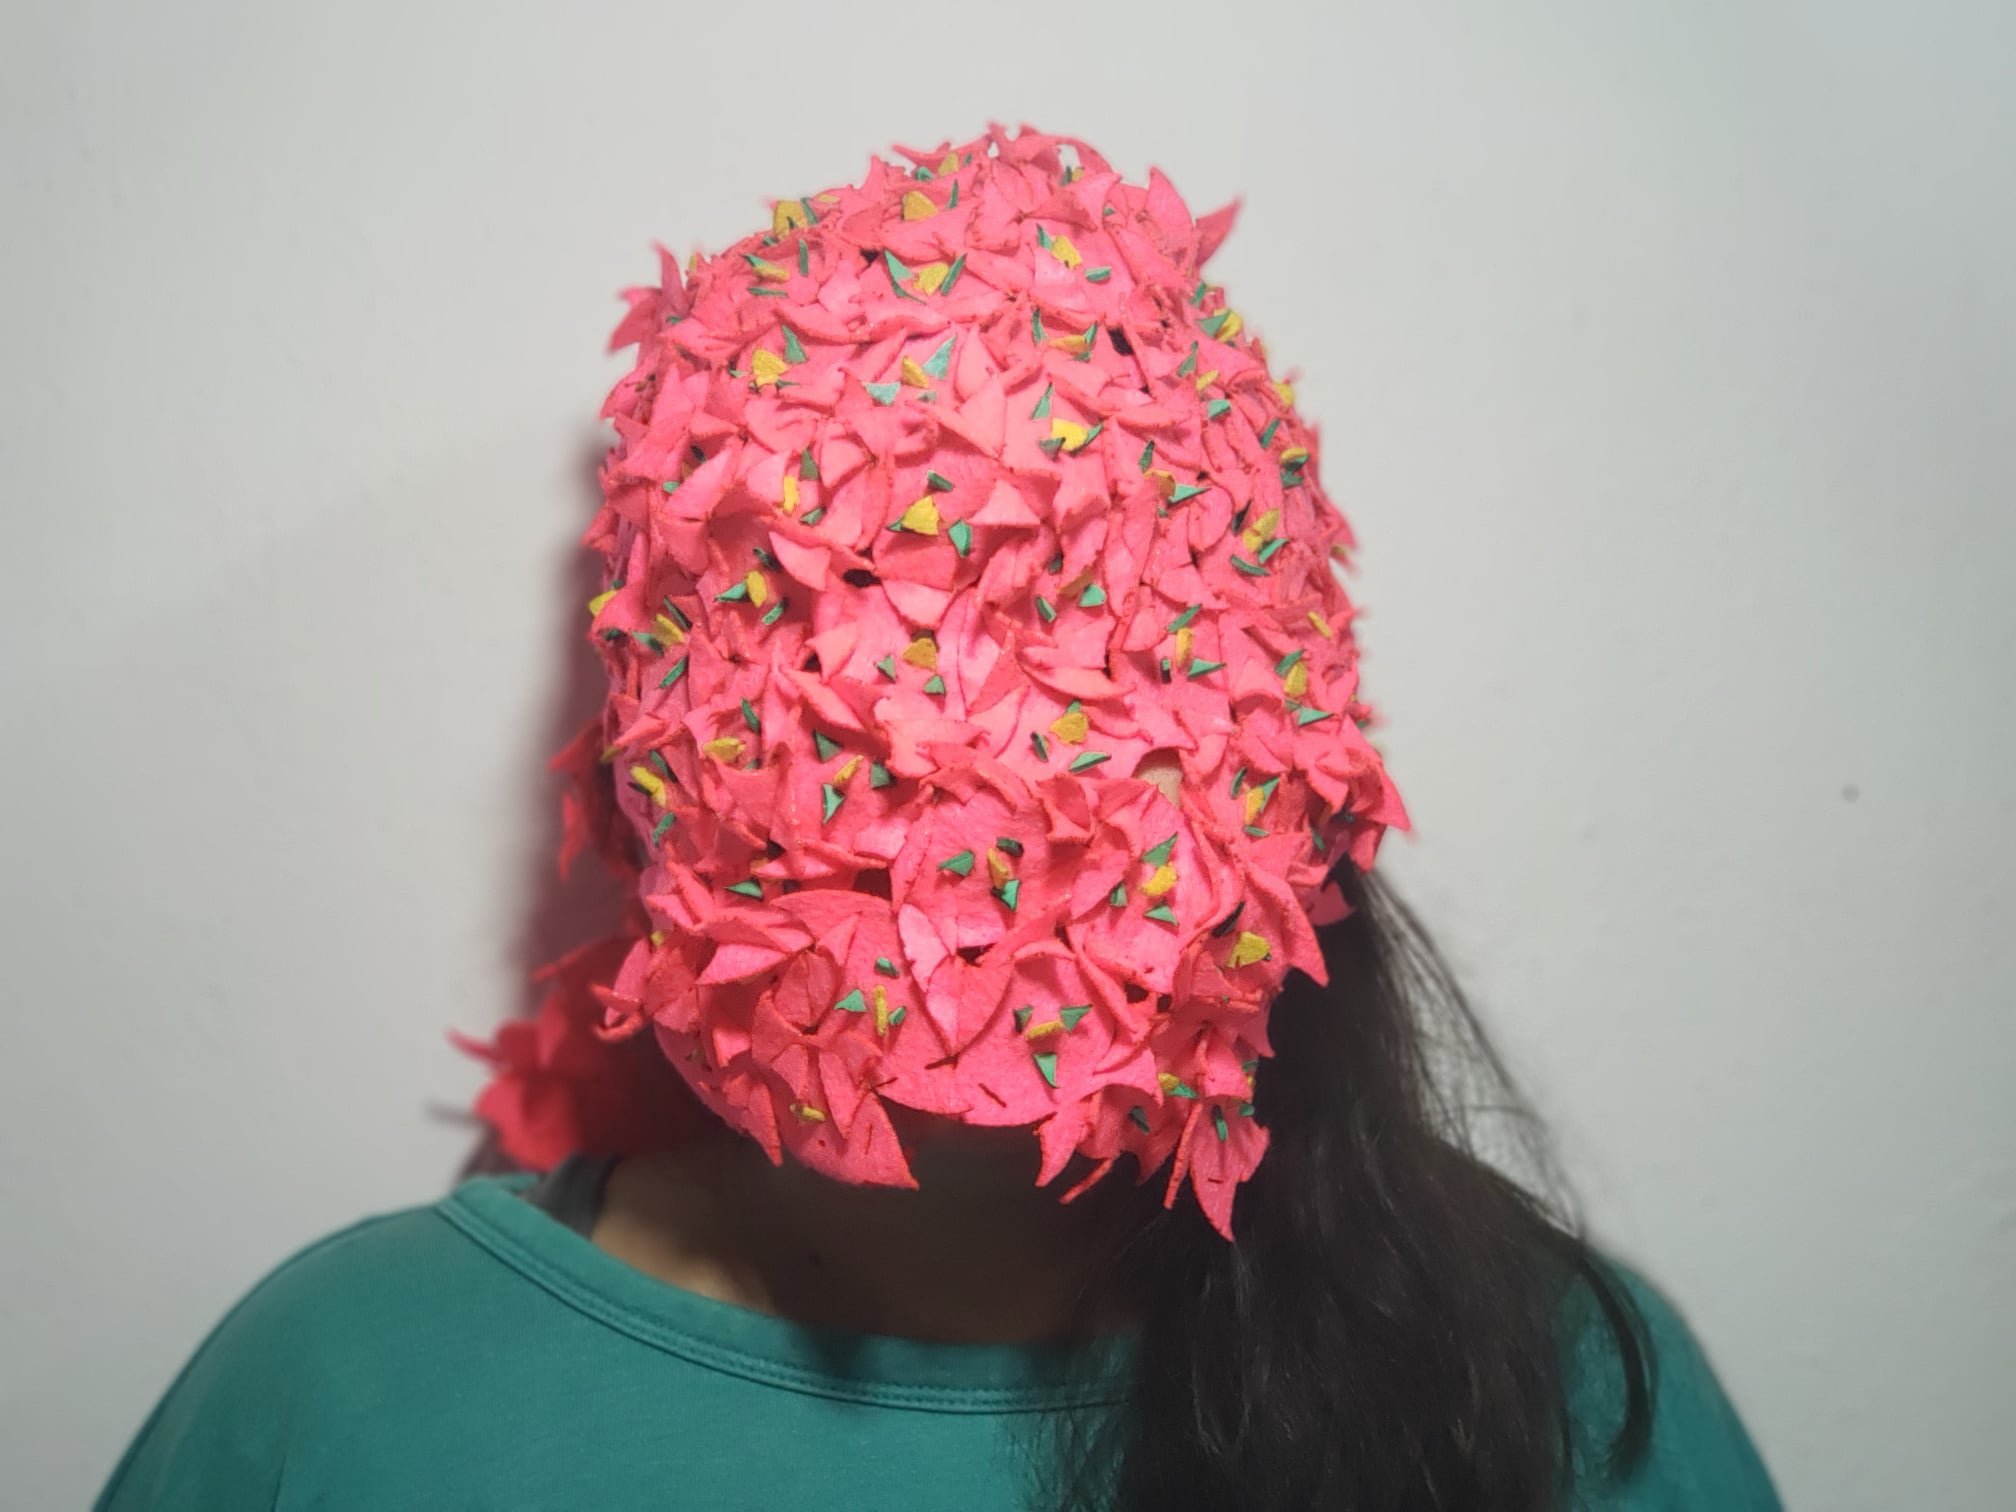
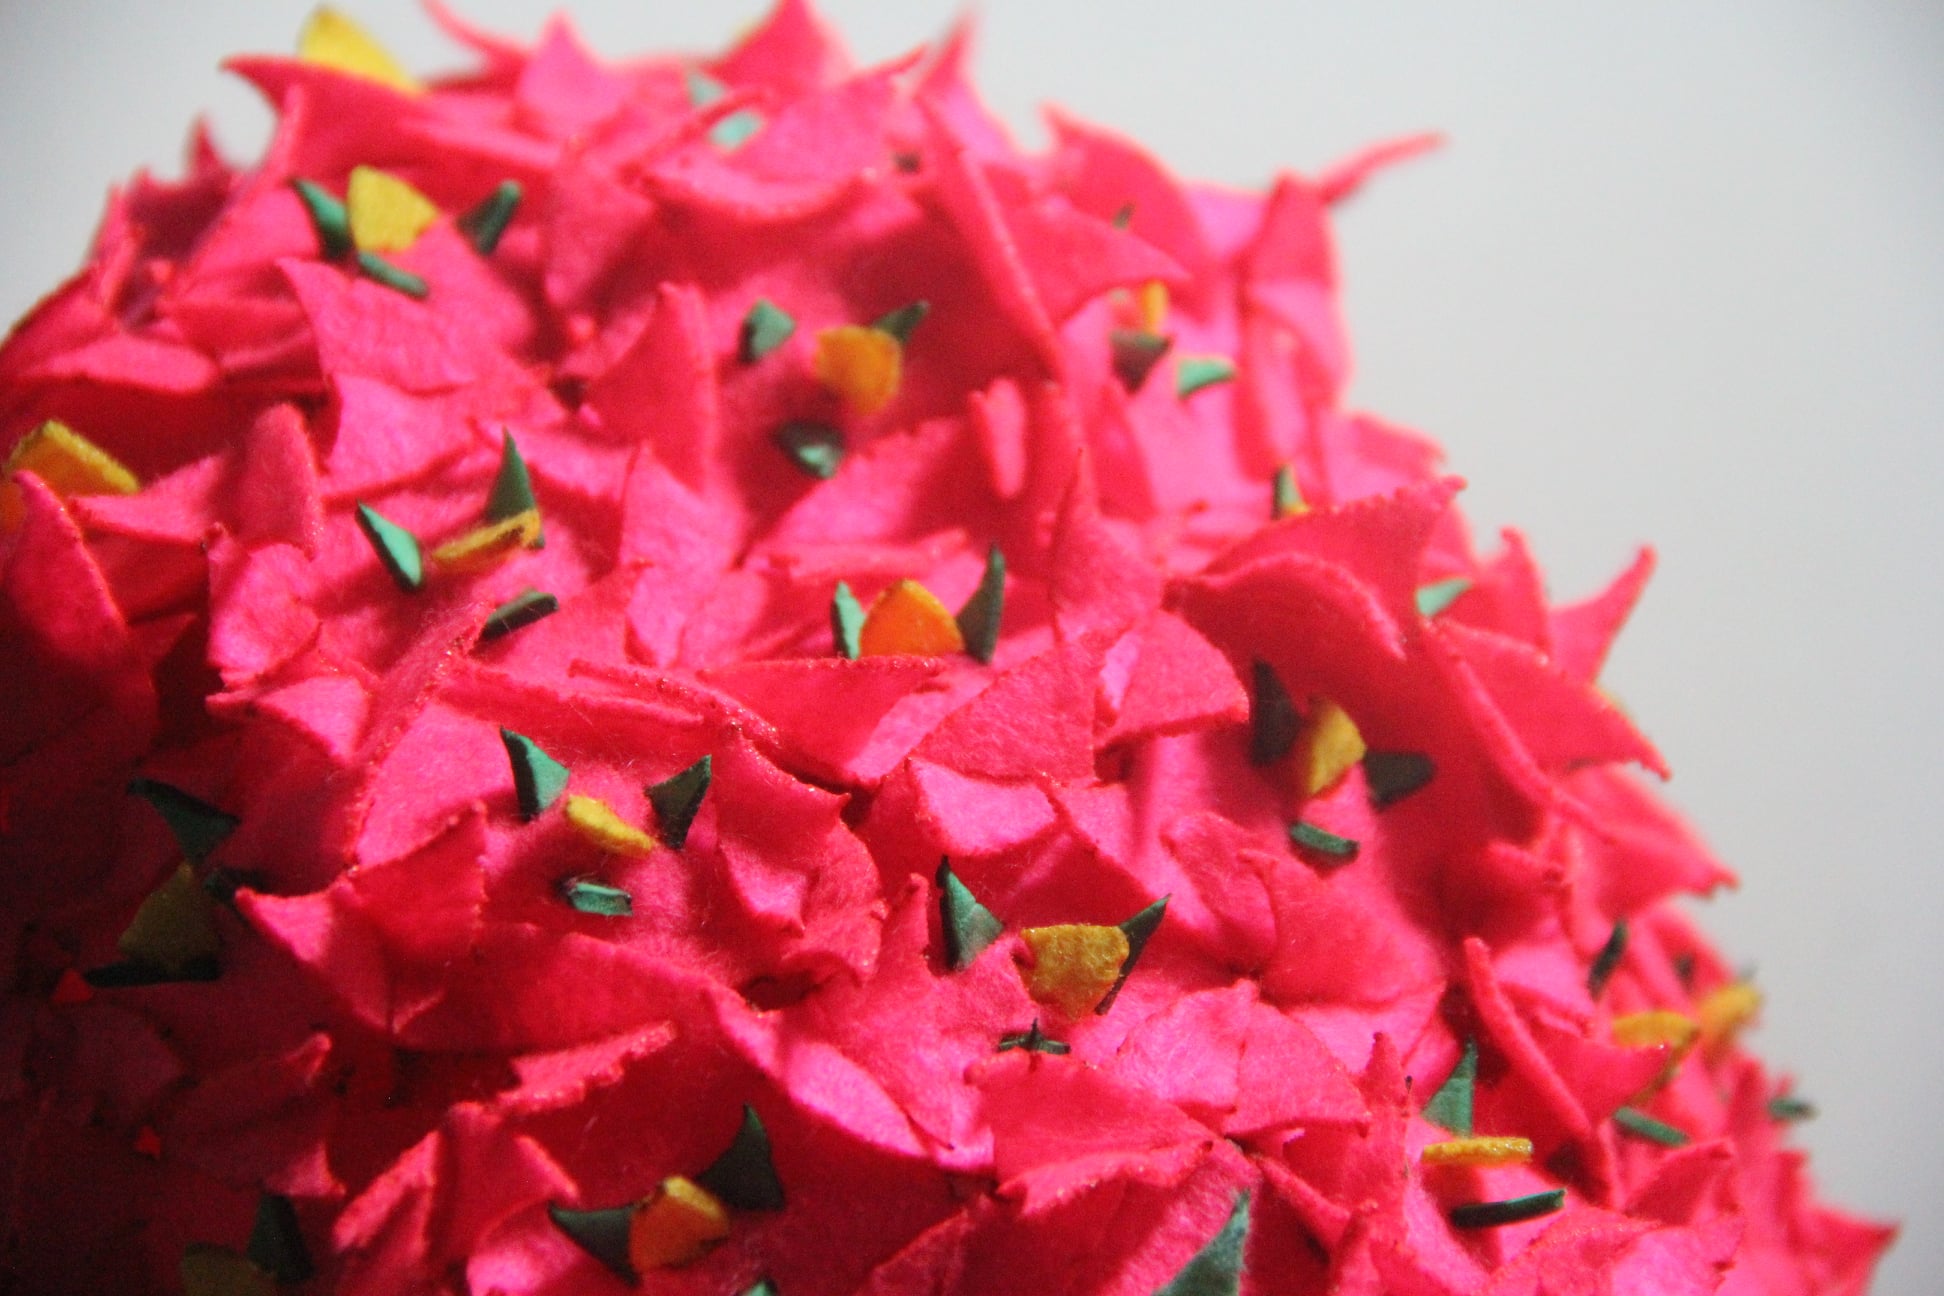
Here I start joining the pieces together and guess what? They don't look like an eye, but I liked more, together they look like an alien flower, I don't like pink color but flourecent pink mkes me crazy, and combining with the litle flourecent pieces looks very nice.
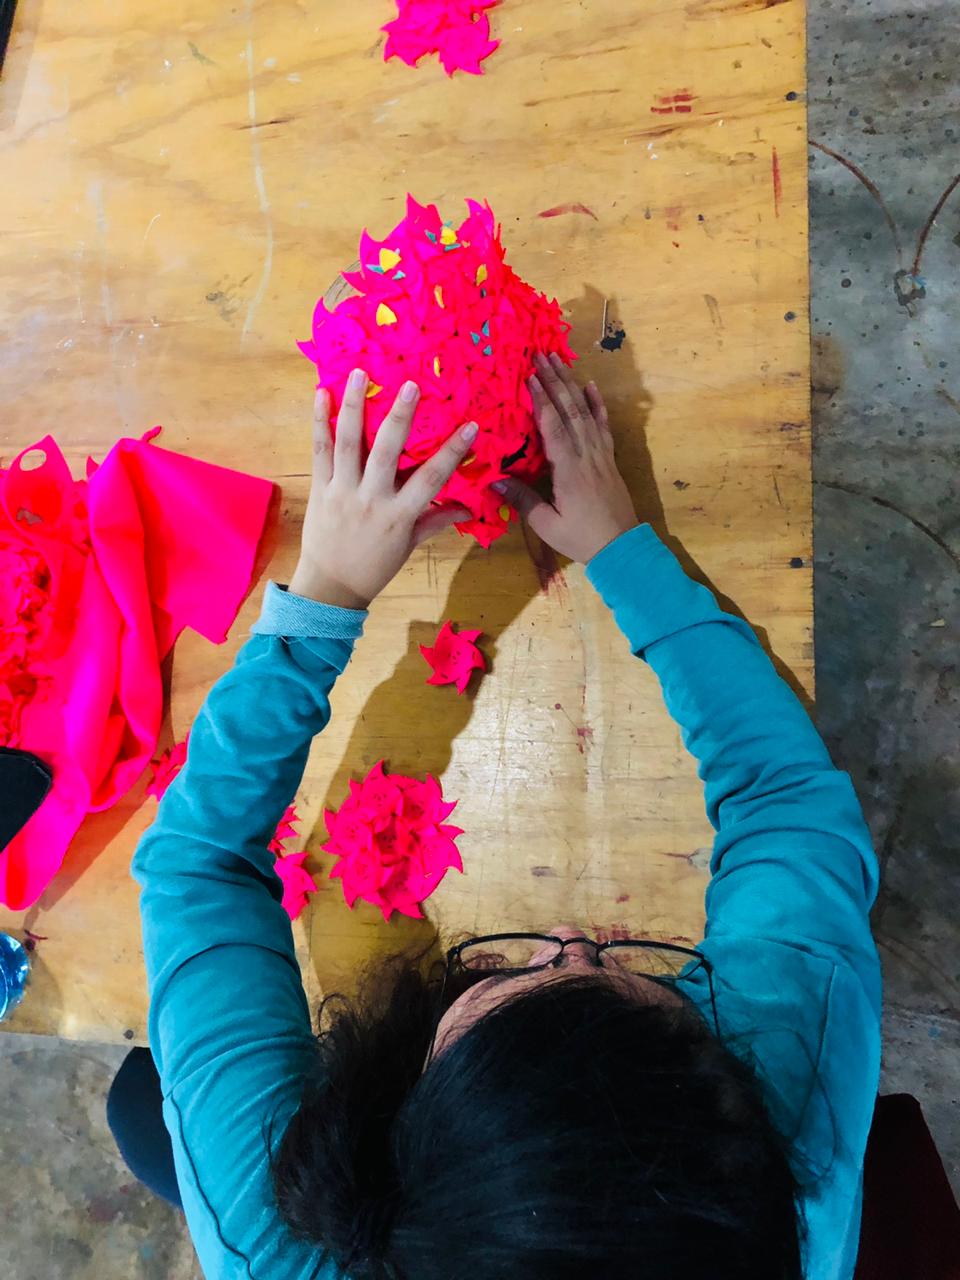
For making the balaclava I took and old head mannequin for giving the form, I didn't want to make a rug or a planar thing, so here I'm trying to to the thing.
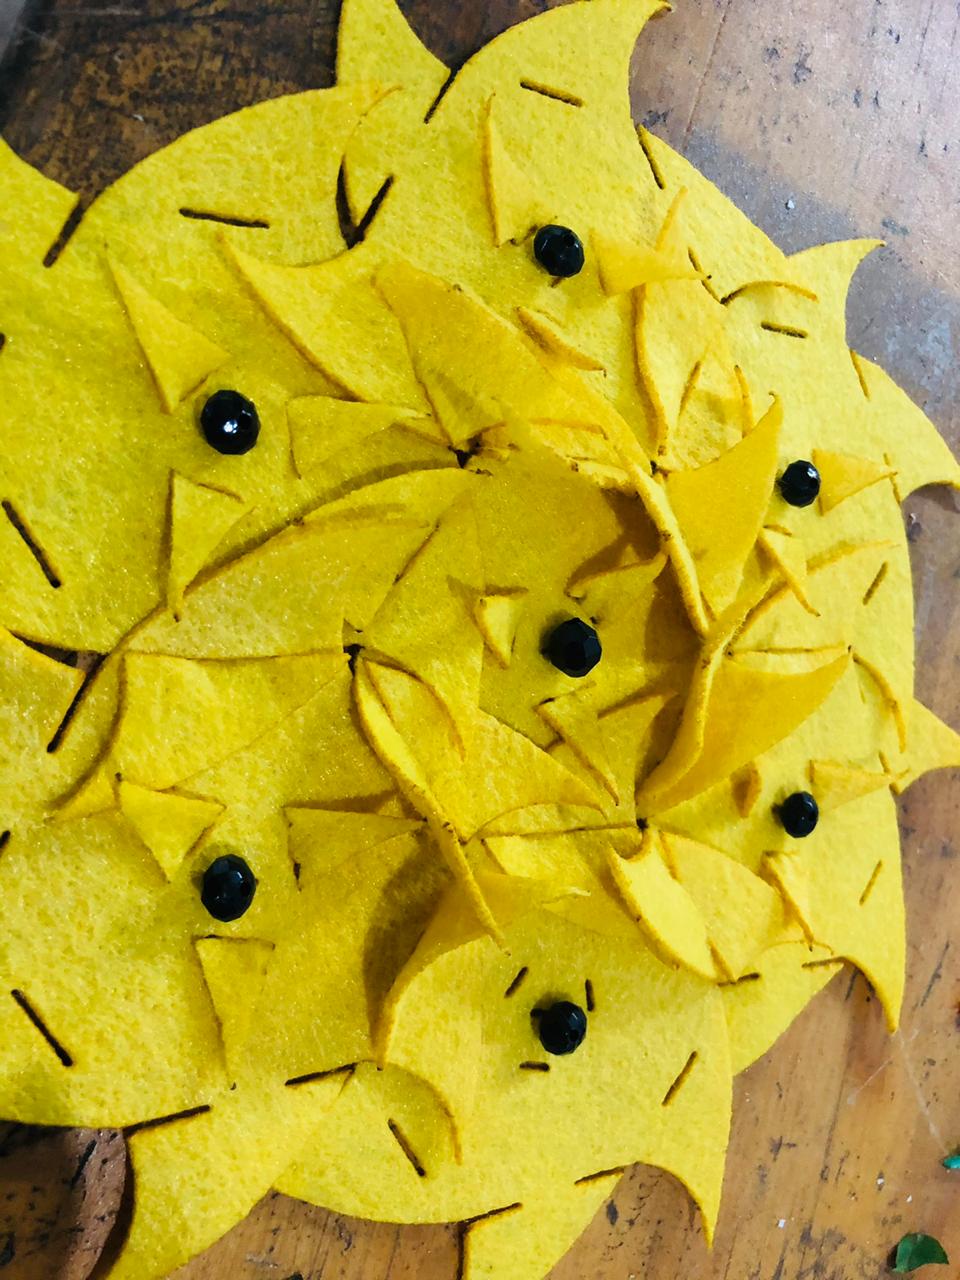
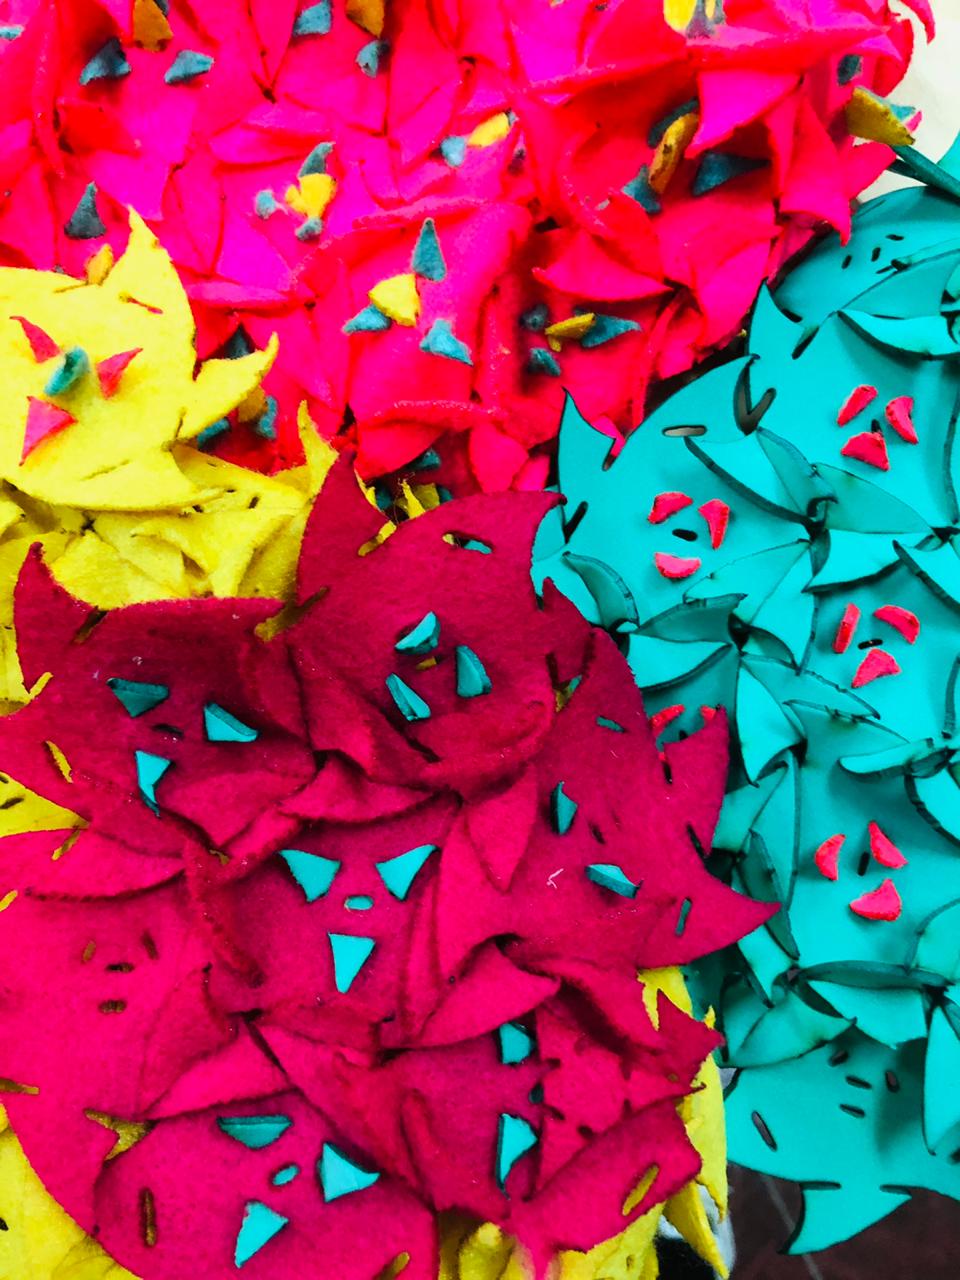
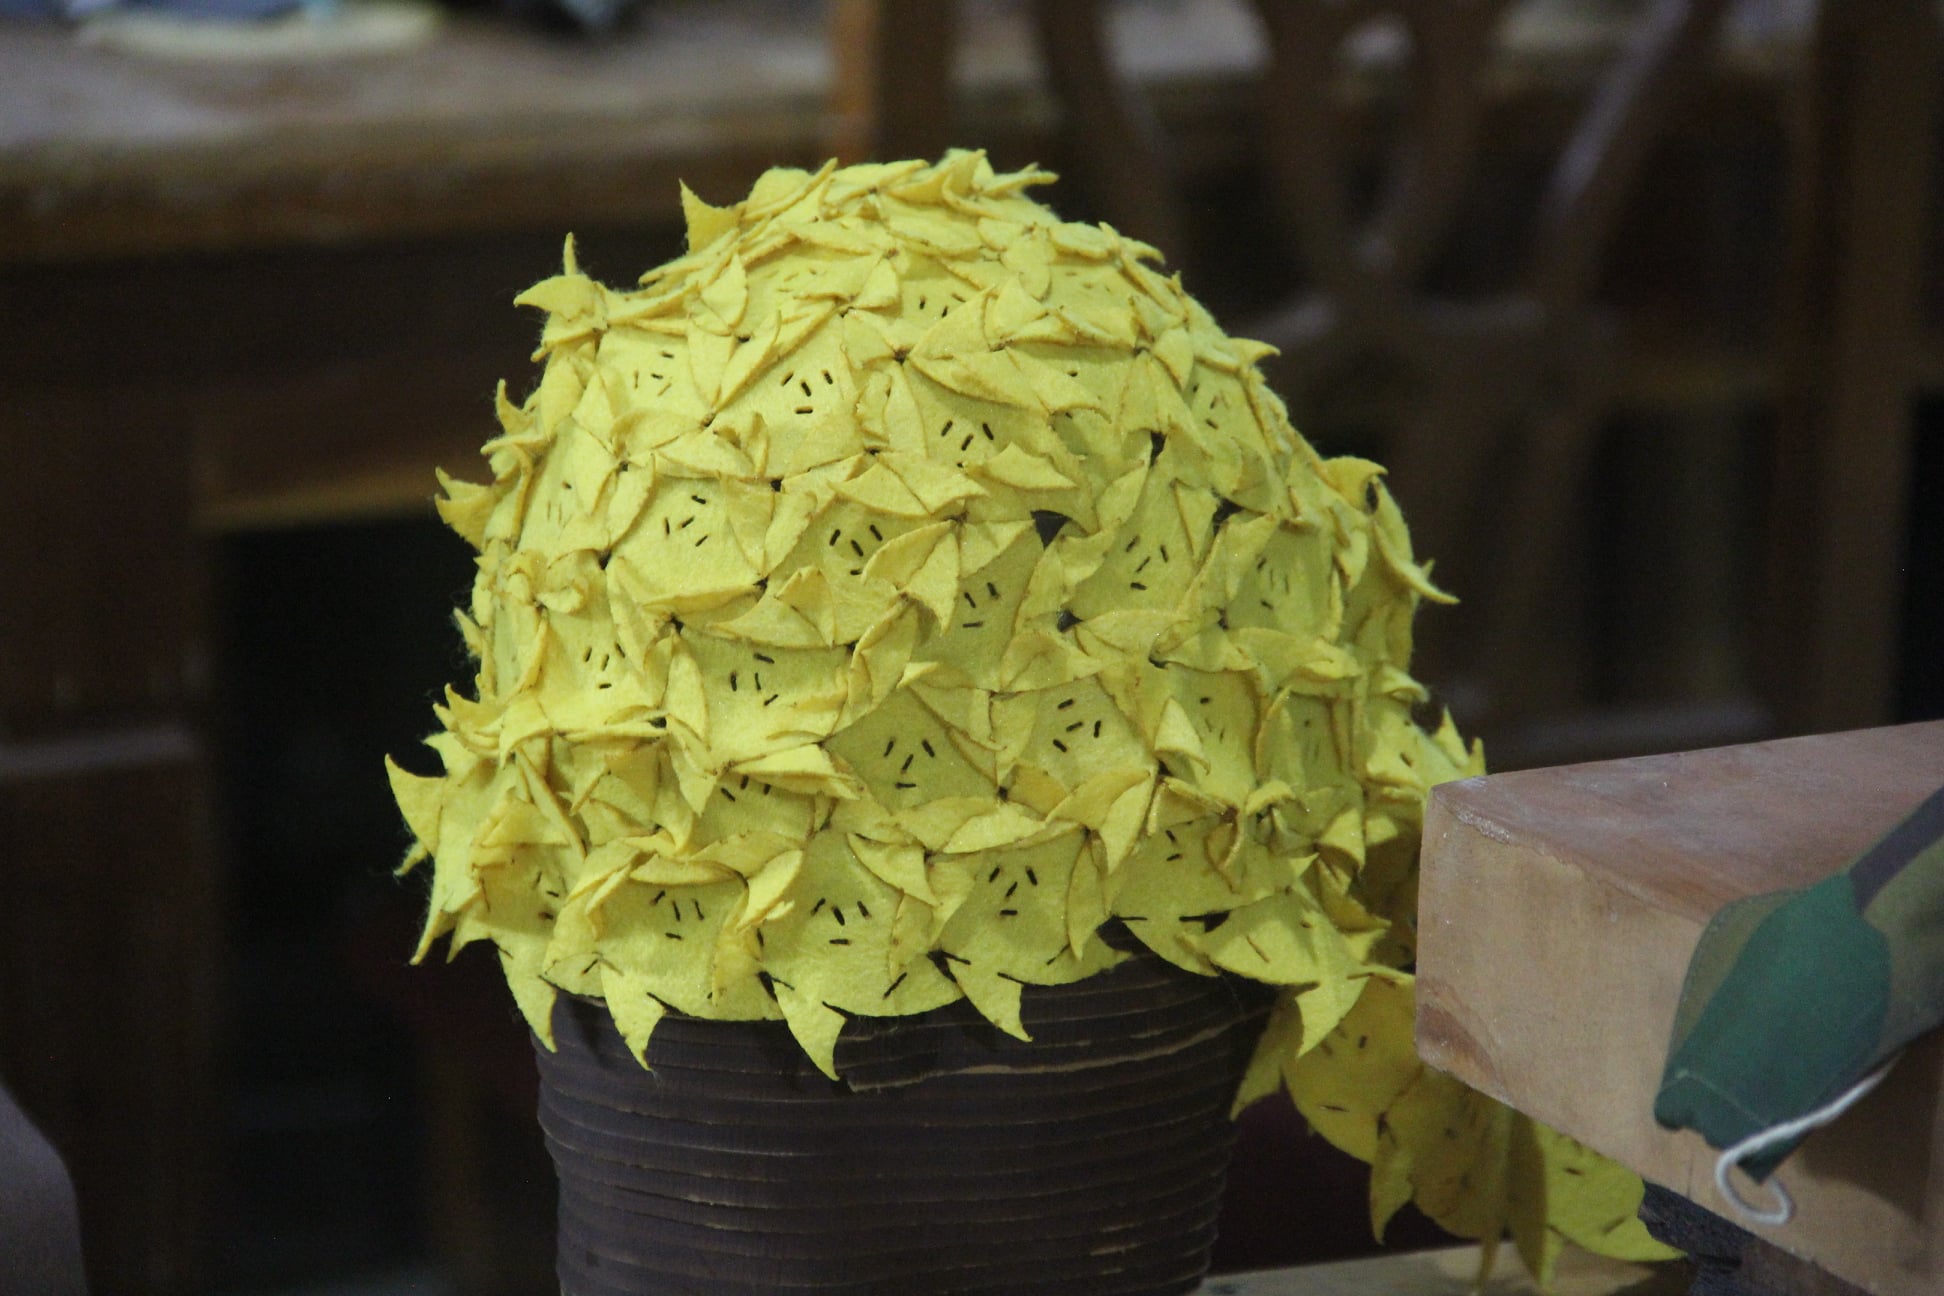
With the yellow fabric I tried to combine with other elements like a small spheres I found in a local store, but, they didn't convince me, so it was just an experiment.
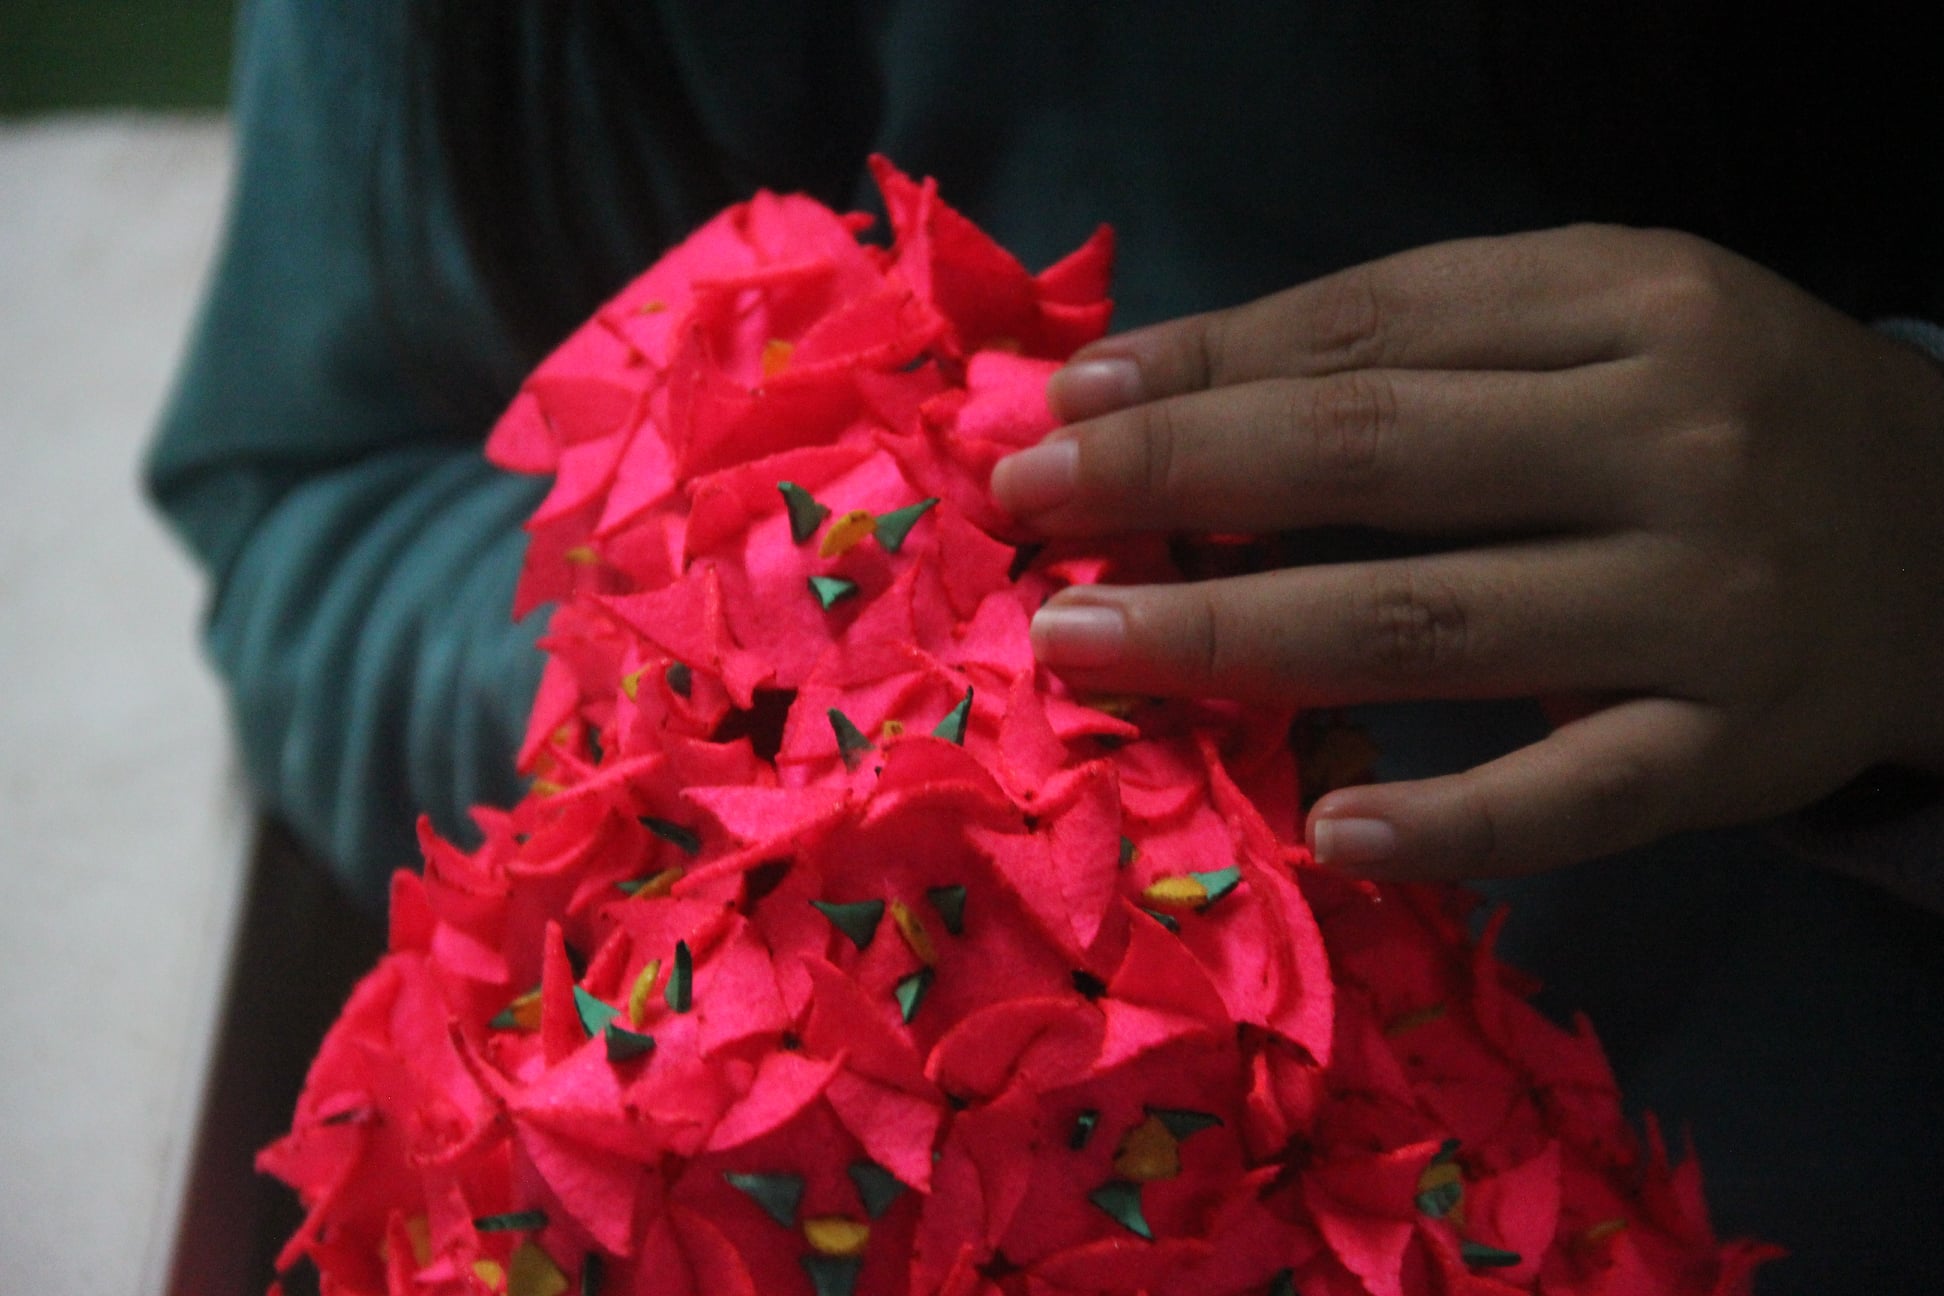
When I was joining the pieces together I felt the same than when I do meditation. I felt so relaxed, I enjoyed more than when I was cutting paper with the scissors, I think i need this as a new hobby besides meditation. this took me more time, like 3 or 4 hours, because the little pieces were like hard and it was night already so at the end I suffer a little, but I liked the process.
FINAL RESULT
It looks weird hahaha, but I liked it, I spent like 3 hours joining all the pieces, trying to make a nice combination, my team helps me a lot because It was very late at night in the fab lab. I have to integrate the modules with the holes for the eyes, I will also try to make it more stetic and ofcourse I need better pictures but I love it. It doen's look like a riot balaclava like the ones from the Pussy Riots but it looks like a alien garden in the face.
I tried to make more combinations, all look rad, but It is like 3 hours per every one, so I only finished one, the final one.
LINKS
Here you can find the links where I will storage my information for the documentation of Fabricademy
- OS Circular Fashion Here I upload my files in oscircularfashion.com
Download files
NOTES
- Go for basics When you feel frustrated, just go for the basic, It is a waste of time to think and think and think, it is like running in circles and that makes waste a lot of time and that is something we can not allowed because there is a lot of work to do and we have only one week. This is my personal advised, you're welcome hahaha
NECESSARY MATERIALS FOR THIS ASSIGNMENT
| Qty | Description | Price | Link | Notes |
|---|---|---|---|---|
| 5 | Cotton fabrics | 07.00 $ | local store | USD |
IMPORTANT INFORMATION ABOUT THE ASSIGNMENT
CLASS
Fabricademy 20-21 WEEK 3 OS CIRCULAR FASHION from Textile Academy on Vimeo.
LEARNING OUTCOMES
- References and Concept development
- Design: sketches, prototypes, material choices, tests, 2D vector design software
- Fabrication: laser cutting, workflow, assemblying, material used and leftovers
- Documentation: Anyone can go through the process and understand it
- Final outcome: Is the project assembled, functioning and complete
- Originality - Aesthetics: Has the design been thought through and elaborated
STUDENT CHECKLIST
- [x] Design and prototype with paper and scissors modular configurations and locking connections. Document the paper prototypes
- [x] Run tests of laser cutting of your designs in fabric and document the parameters for the chosen fabric.
- [x] Design and Document the process.
- [x] Laser cut the modules. Create a modular or seamless garment, showing that the connection is well-designed and holds the pull/stretch of a garment. Document the assembly process and tests.
- [x] Upload the open source file in pdf, in correct scale with 1-5 pictures at (https://oscircularfashion.com) (preferably in white background)
- [x] Submit some of the modules to the analog or digital material library of the lab. Recommended size 20cm *20cm. (extra credit)