6. BioFabricating Materials
https://class.textile-academy.org/2021/trinidad.gomez/assignments/week06/#
 For this week I don't have exactly a designer, but this assignment is one of my favorites, one that really makes me excited and one of the reason I dedicided to take Fabricademy, because I really want to learn how to make my own material with natural waste.
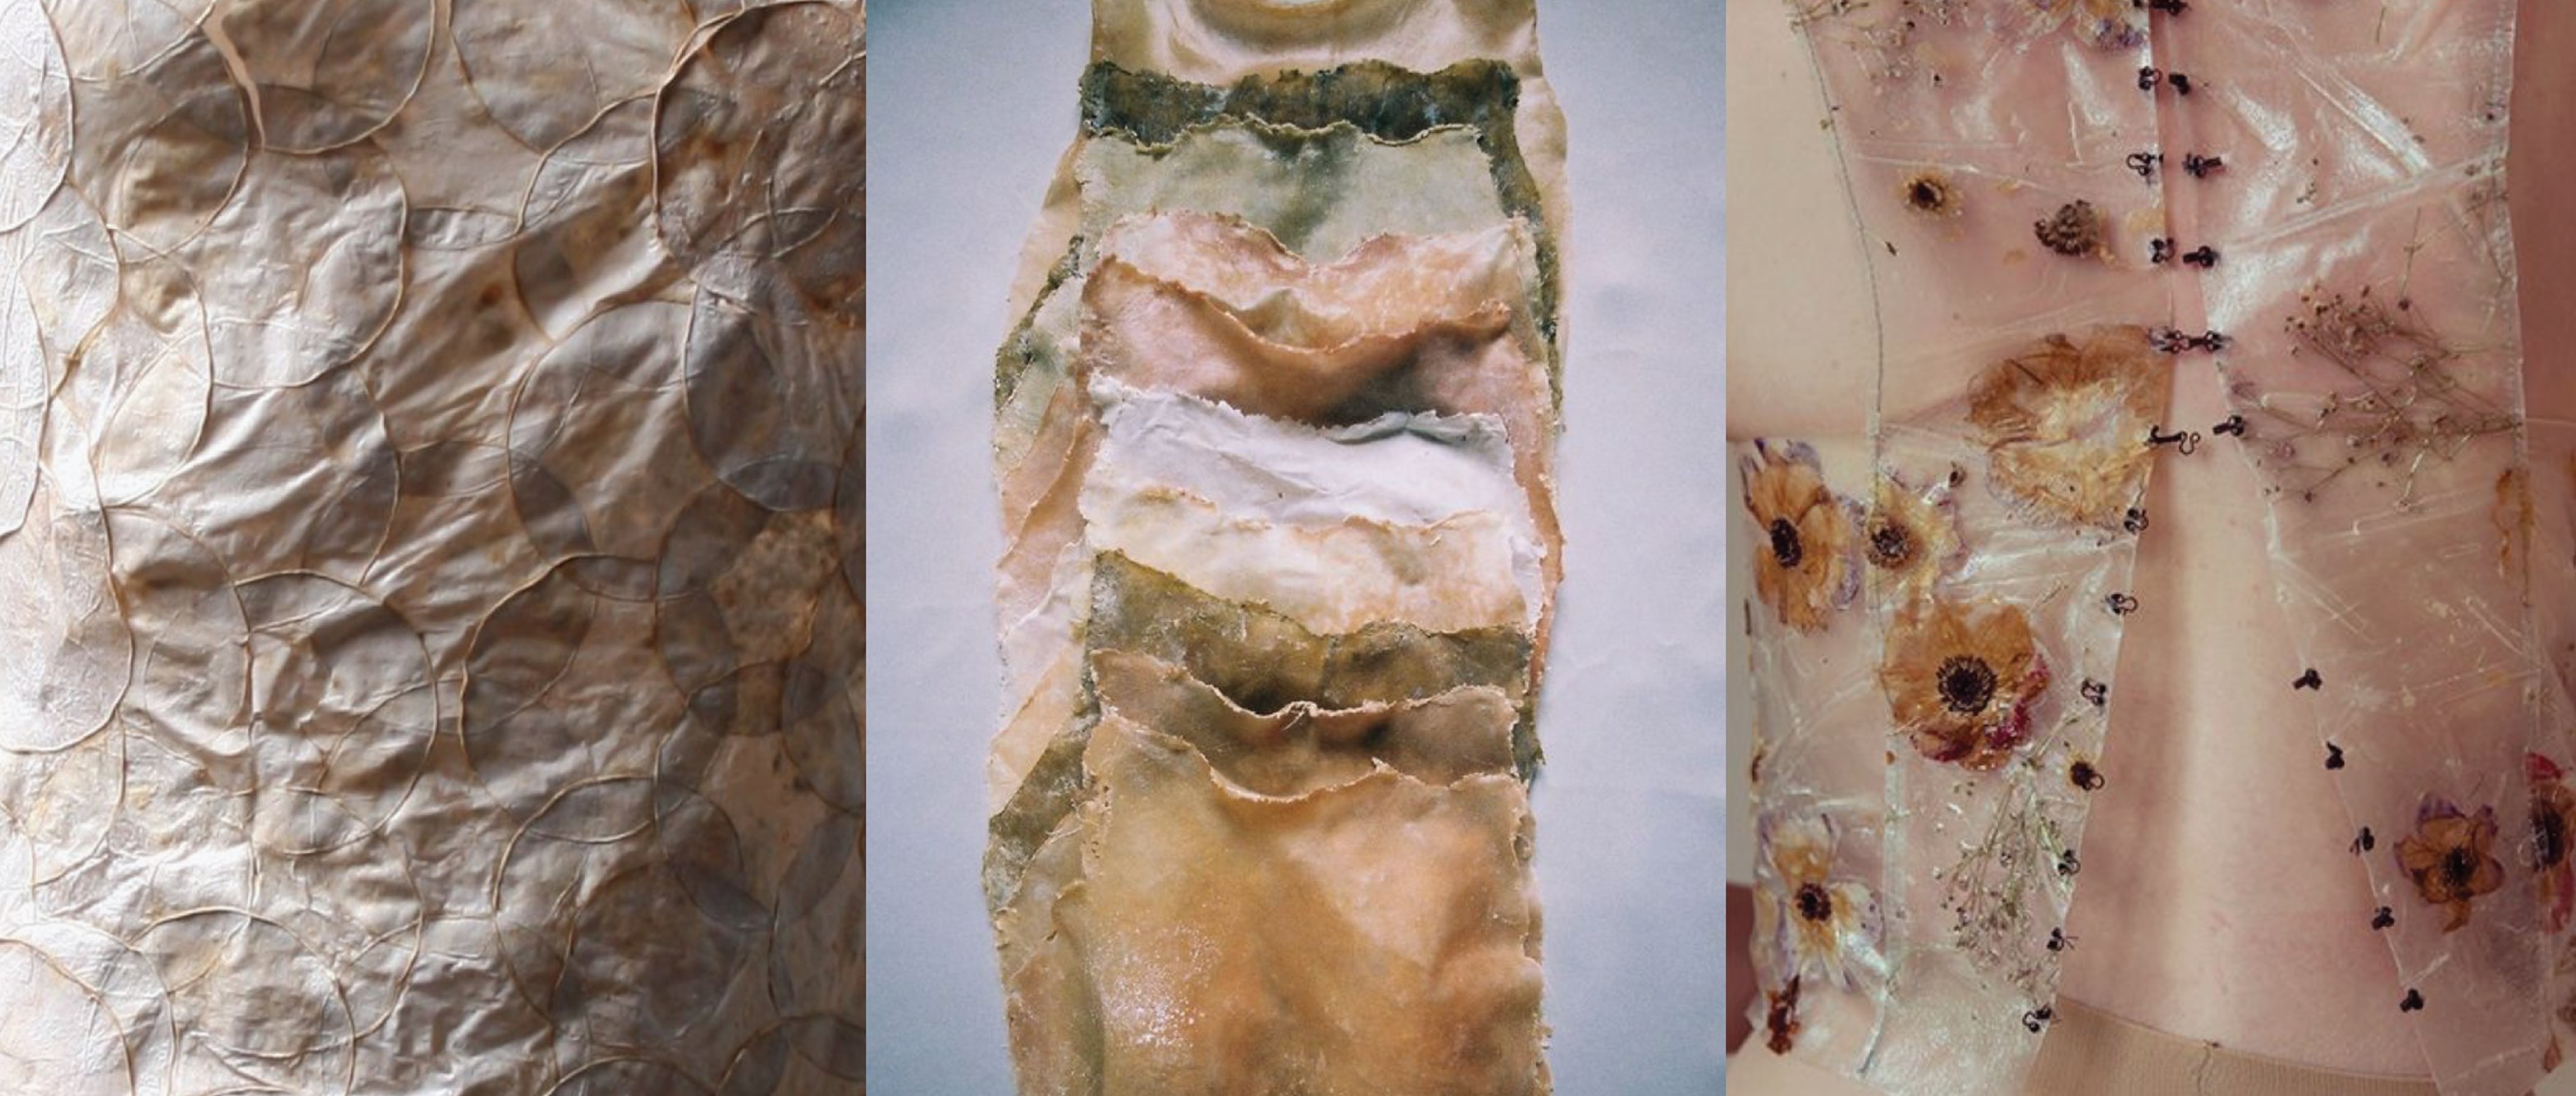
In this case I will show that my inspiration are textures, I used to see gore movies a while ago, when I was studying my master at IAAC, I had a studio class where we made very viseral things in terms of estetics. So, I choose this three images where I love how the raw material are the main characters, besides when I took the first bootcamp in Barcelona of Fabricademy, i saw for the first time the Kombucha and, I FELL IN LOVE of KOMBUCHA SCOOBY LEATHER! but like crazy hahahaha but ofcourse I want to learn so bad other kinds of material, so, here we go...
CRAFTED MATERIAL
As I understood, craft material are those that we create combining liquids or chemicals let's say, we can use glycerine, gelatine, agar agar, Alginate corn starch, etc, we can change their properties by changing the amount of every component.
They can be elastic or rigid, they can be conductive also, wich I'm very interested, but it depends in what you want, this assignment is a lot about experimentation, so, after, maybe on vacation, I will continue to produce bio materials with the local natural waste, I already had some ideas with some local resines, algaes and gum, yes there is a local tree that produce the raw material of the gum, I'm very excited as always :)
GELATINE
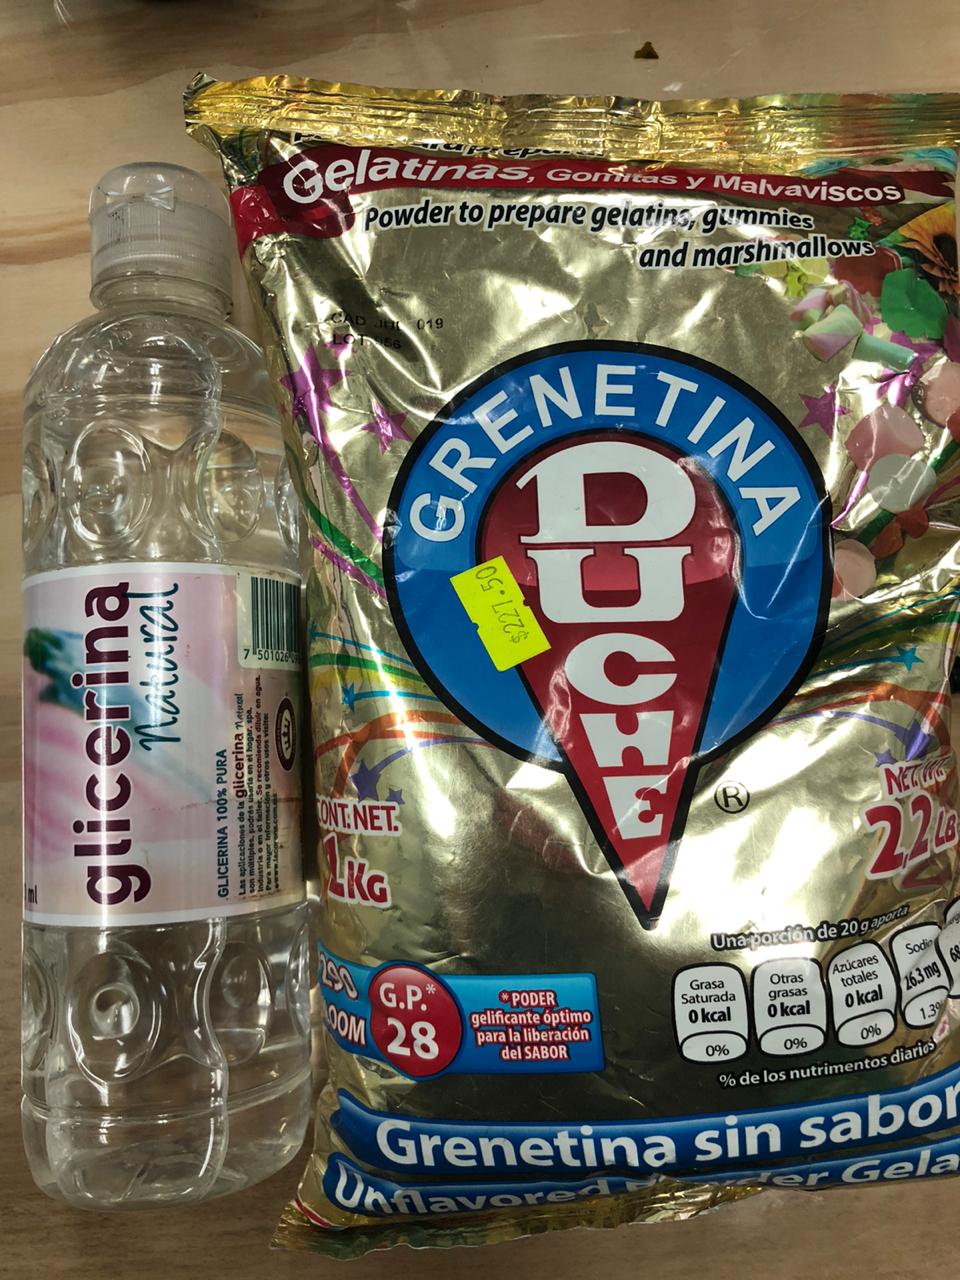
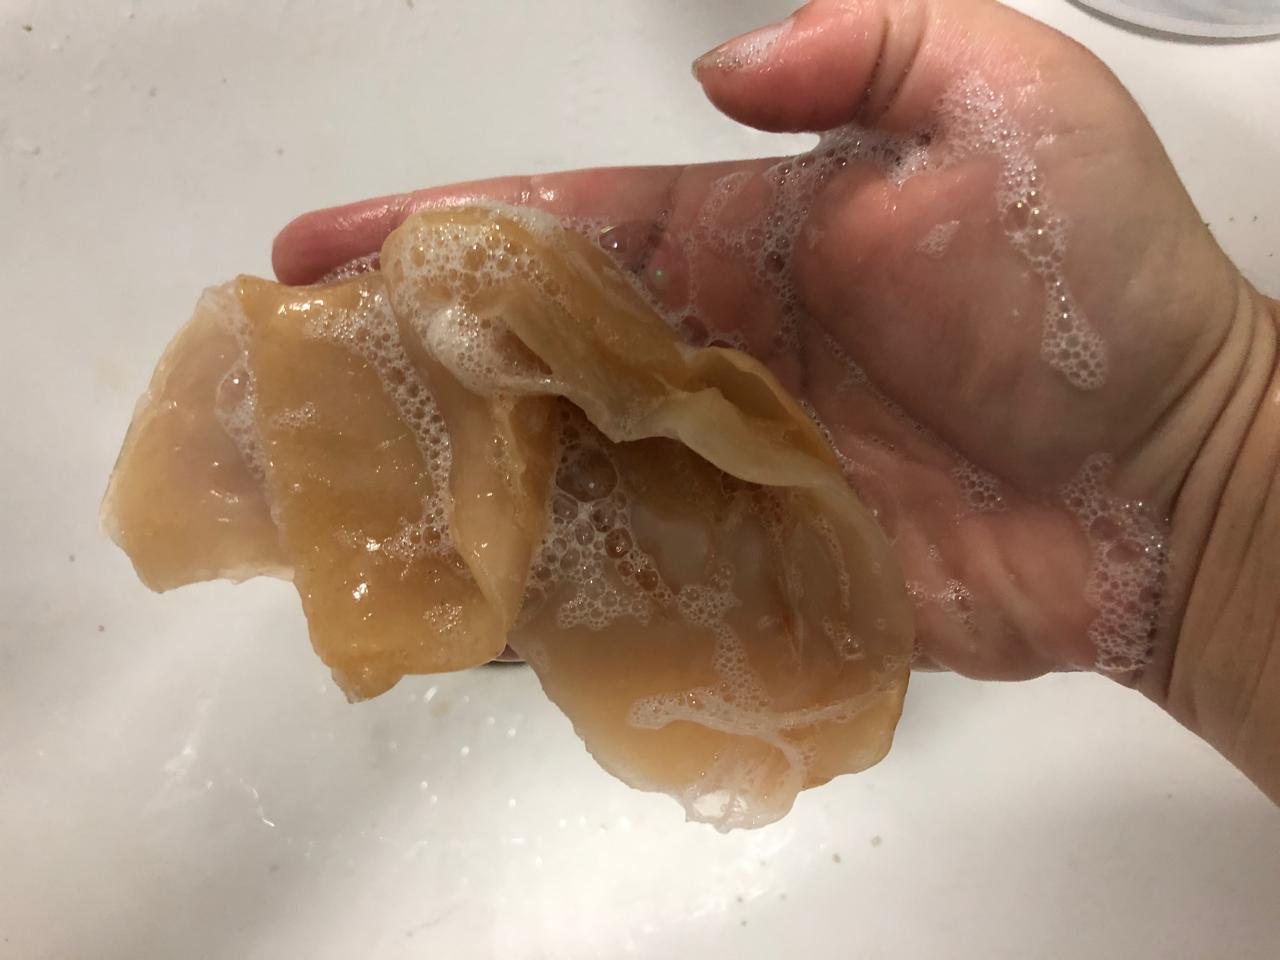
Gelatine is one of my favorites after I saw the Clara davis work, she is one the master in bio material, I found a lot of recipies from her, even books and publication, so this will be my first bio materials. I have to confess that my gelatine is expired hahahaha, I bought it three yars ago to make bio material but I never used it, I already bought a new gelatine powder, but I will try to use this one hahahaha if it doesn't work, I will use the new one.
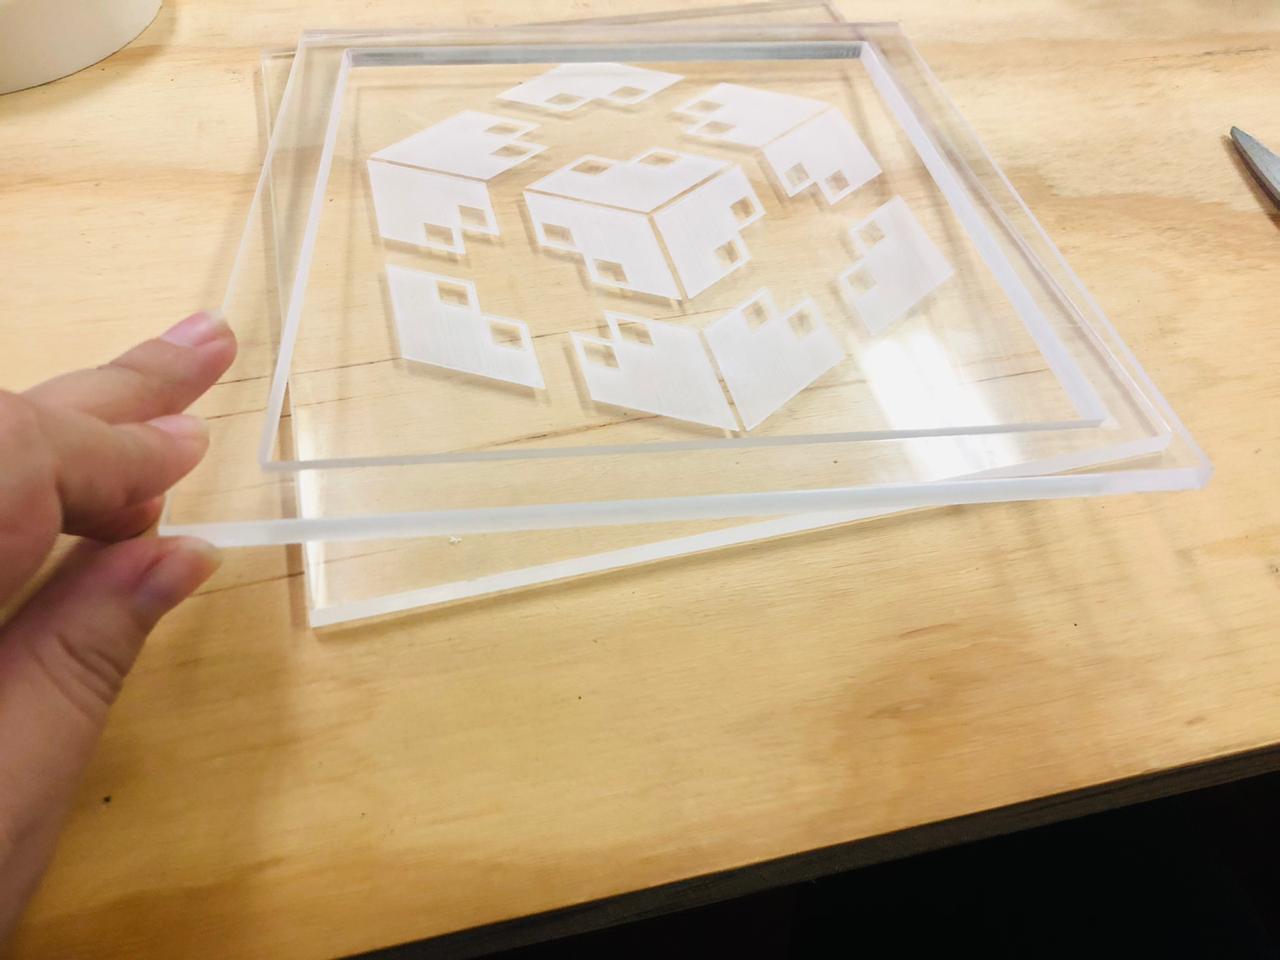
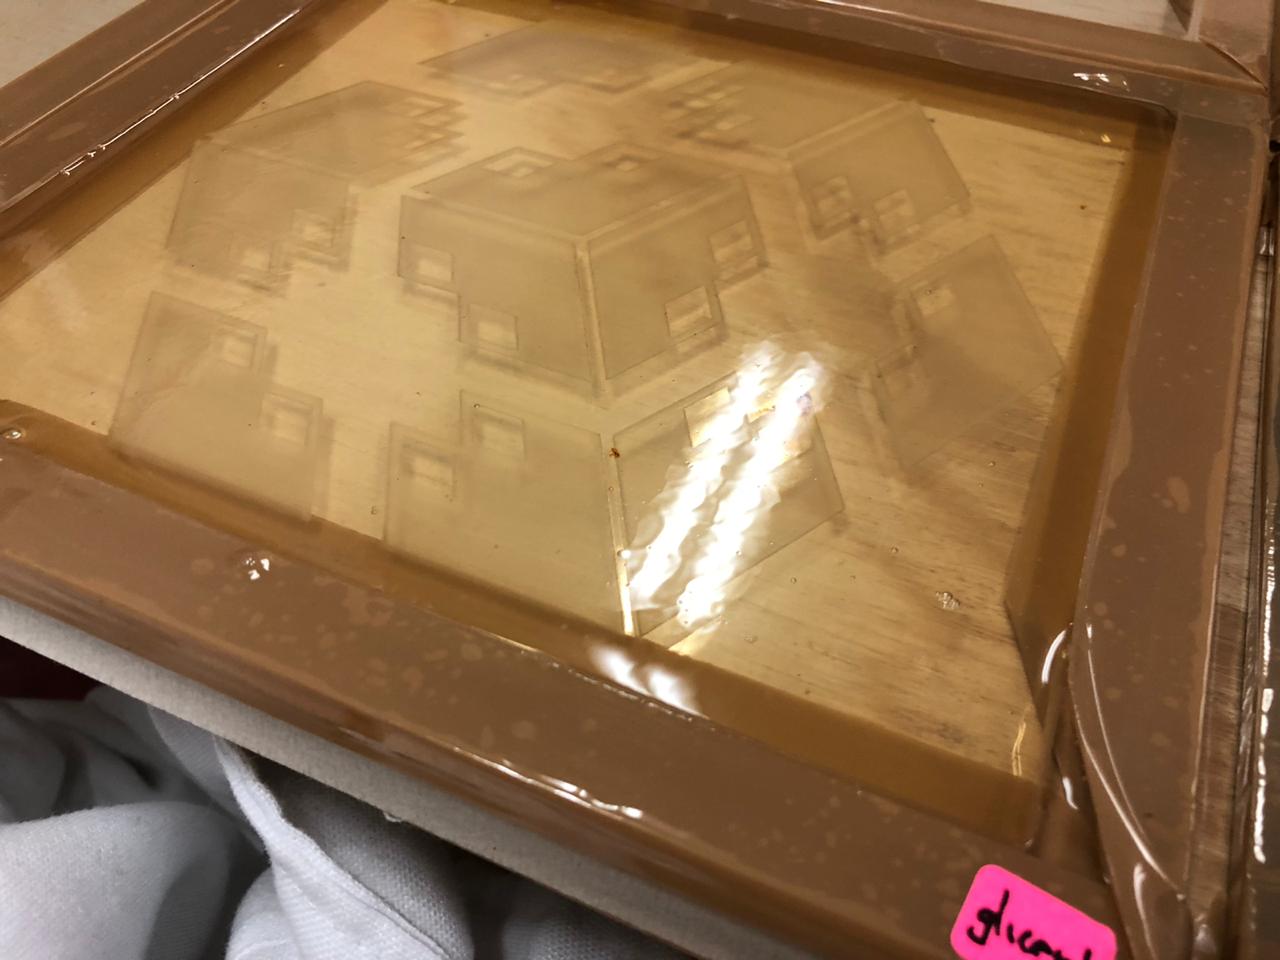
First of all, I made the frames with the laser cutter machine, I draw the file on Rhino and then I cut them, every frame is like 17cm x 17cm, in one I engrave the Fab Lab Maya icon on purpose to see If the material takes the texture, but the others are simple and flat, I put tape to everyone to seal them and then, they are ready. I will let the rhinoceros software file to download it, if you want it, at the end of this publication.

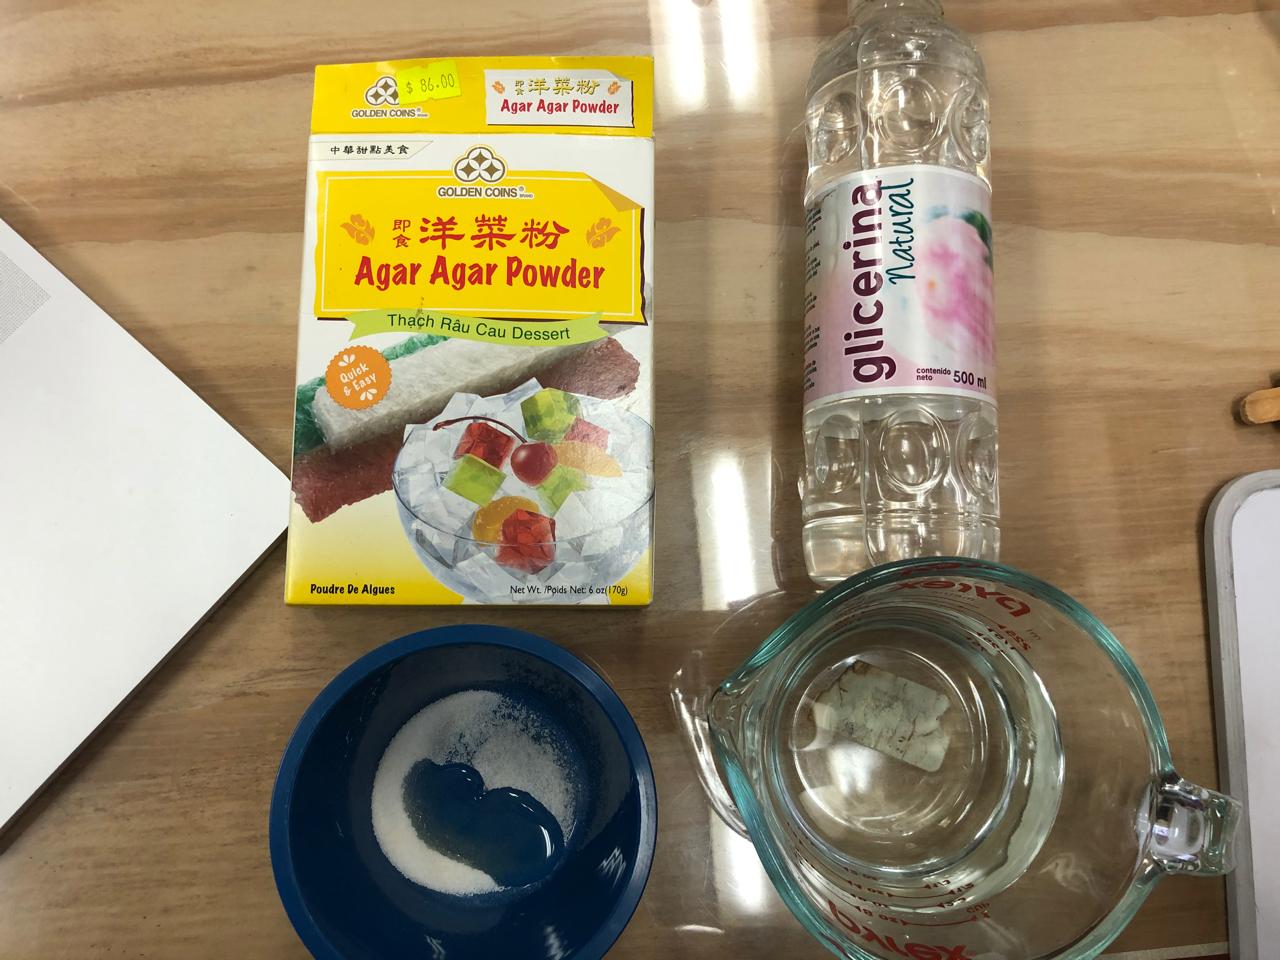
I took this recipe, but I will write it here. This are my materials:
-
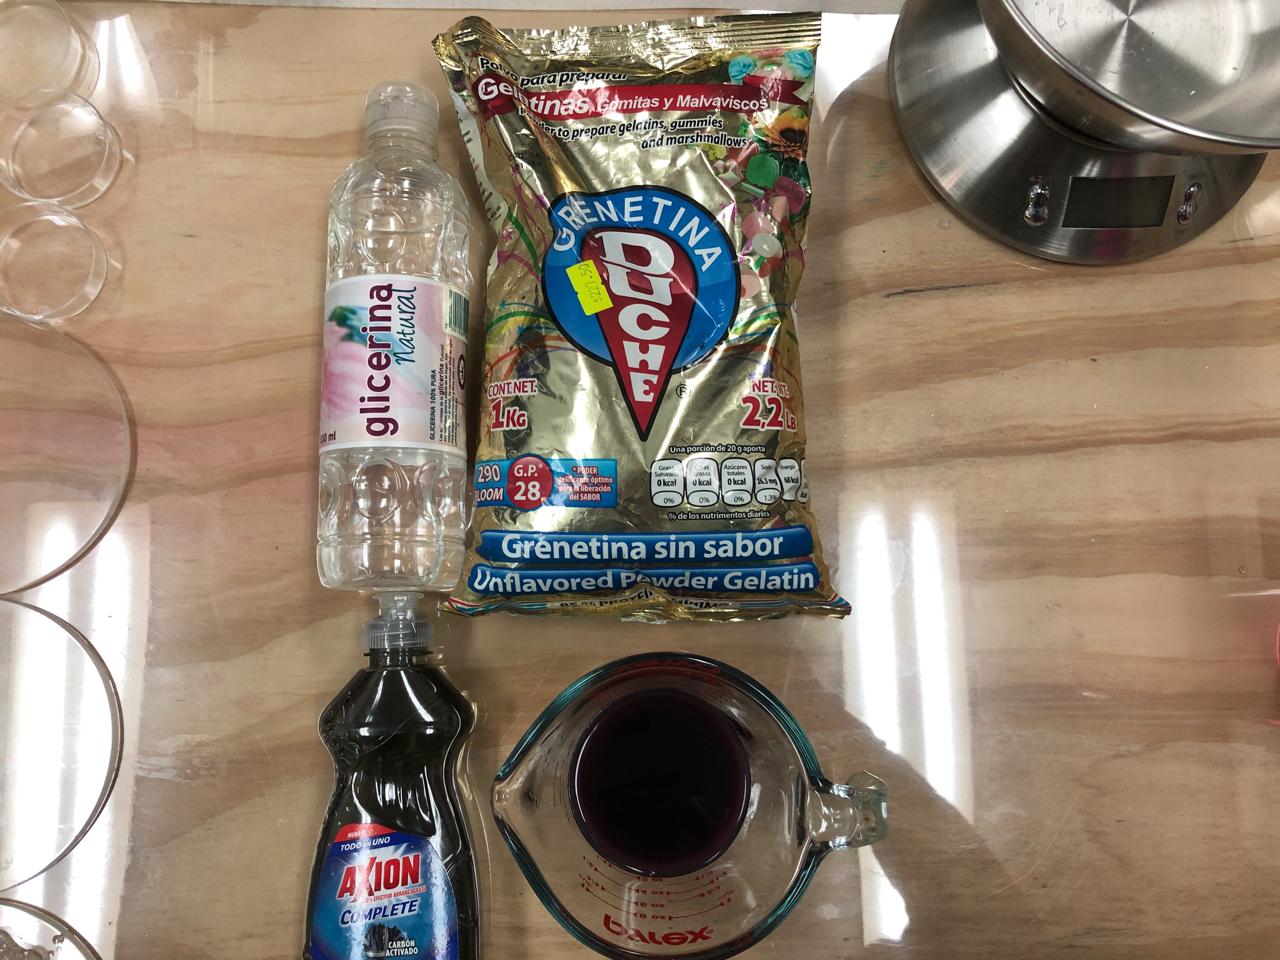
12 GM Glicerine
-
48 Gelatine powder
-
240 ML Water
This recipe is easier than I thought, here are the steps that a followed according to the recipe:
-
Clean everything before to start
-
Measure the correct amount of every material, it is useful to do it and separate them in different containers
-
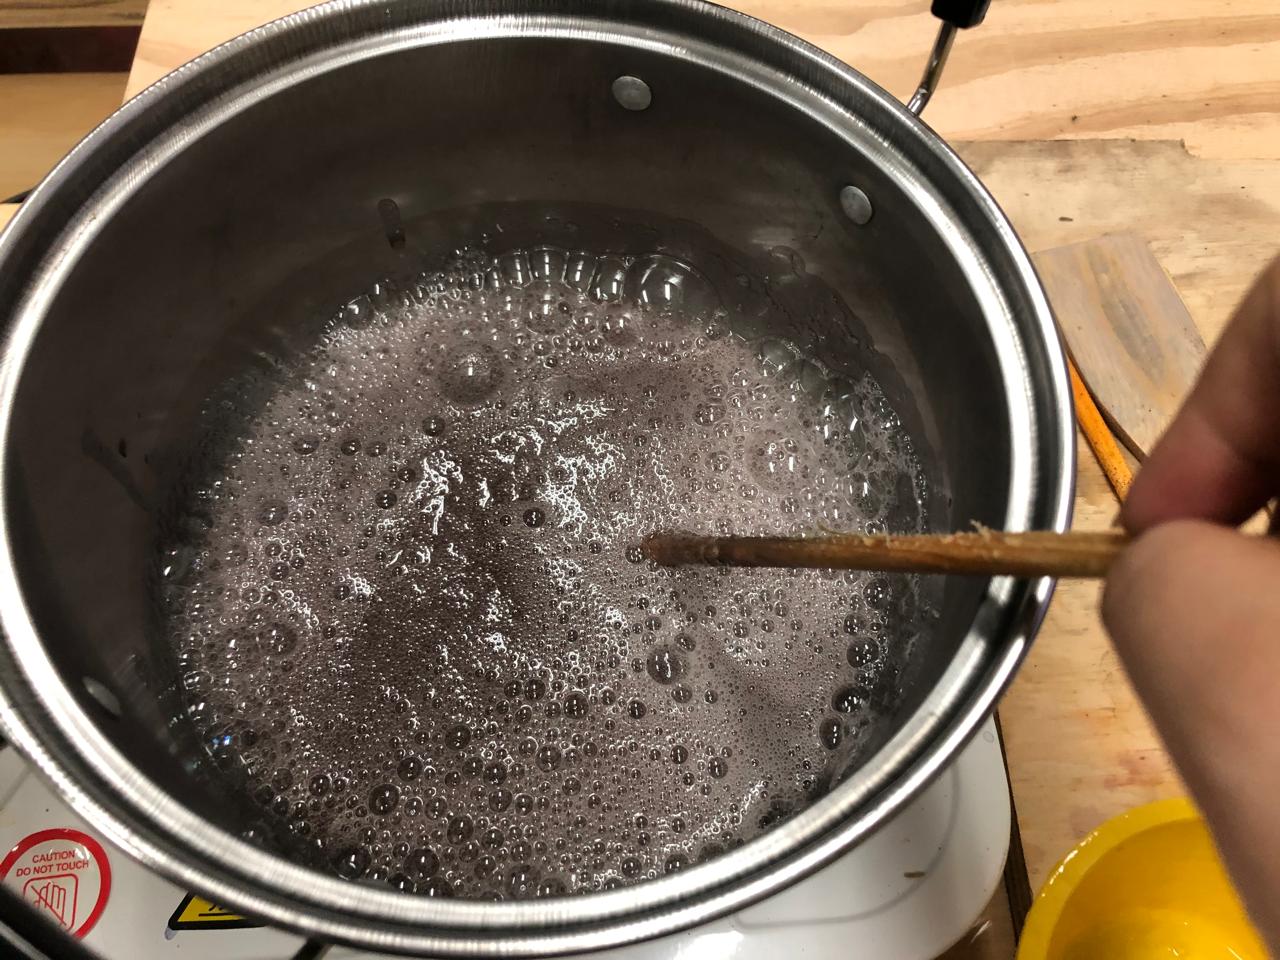
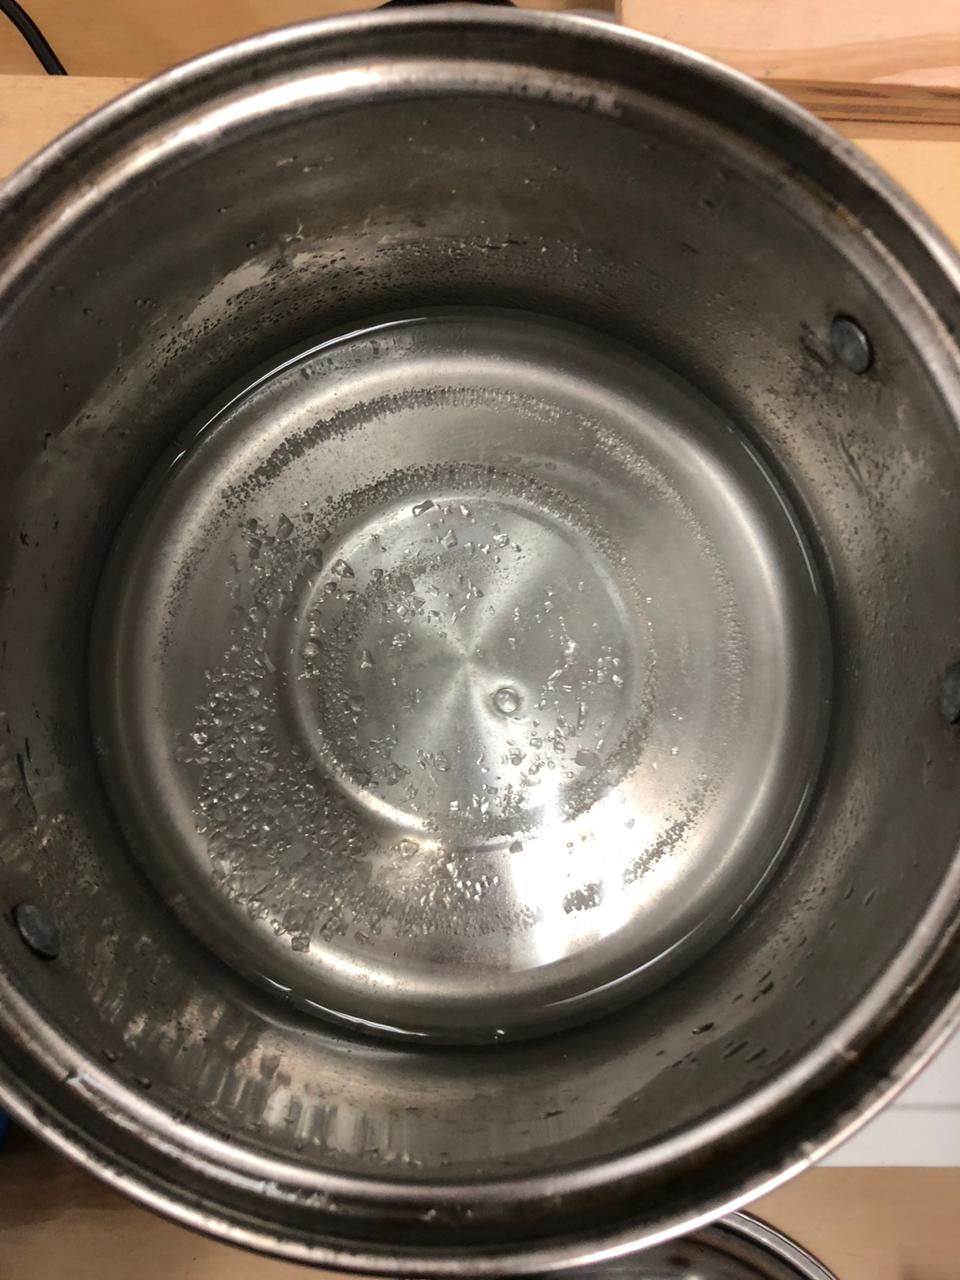
Put the water in a pot and heat it
-
Add the glycerol in to the pot with hot water, It suppose that while moore glycerol more elasticity you will get.
-
Add the gelatine, mix it very well until everything is transparent.
-
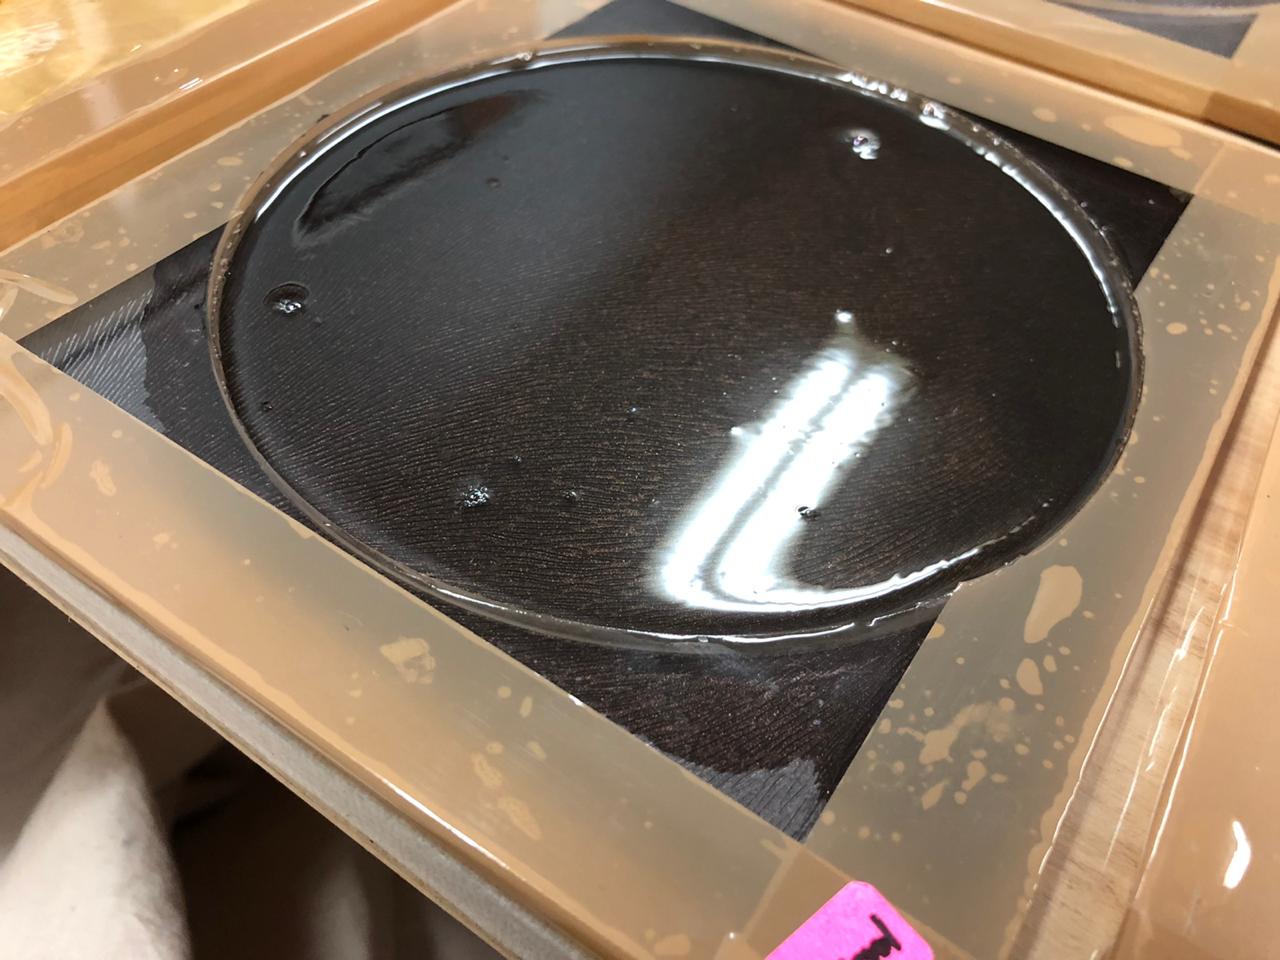
After 5-10 minutes, I turn off the electric stove I wait other 10 min and then I put it into my frames.
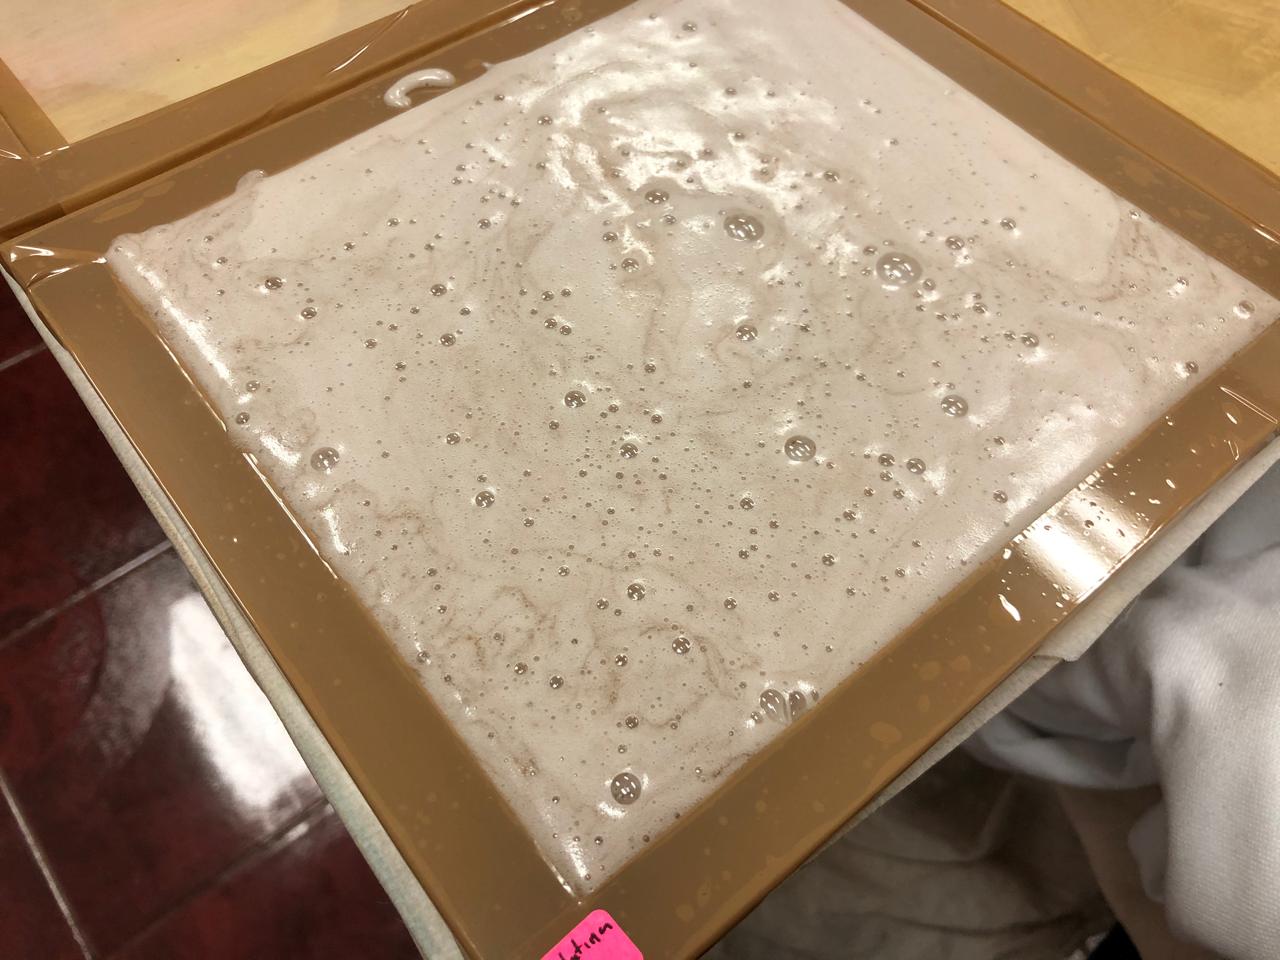
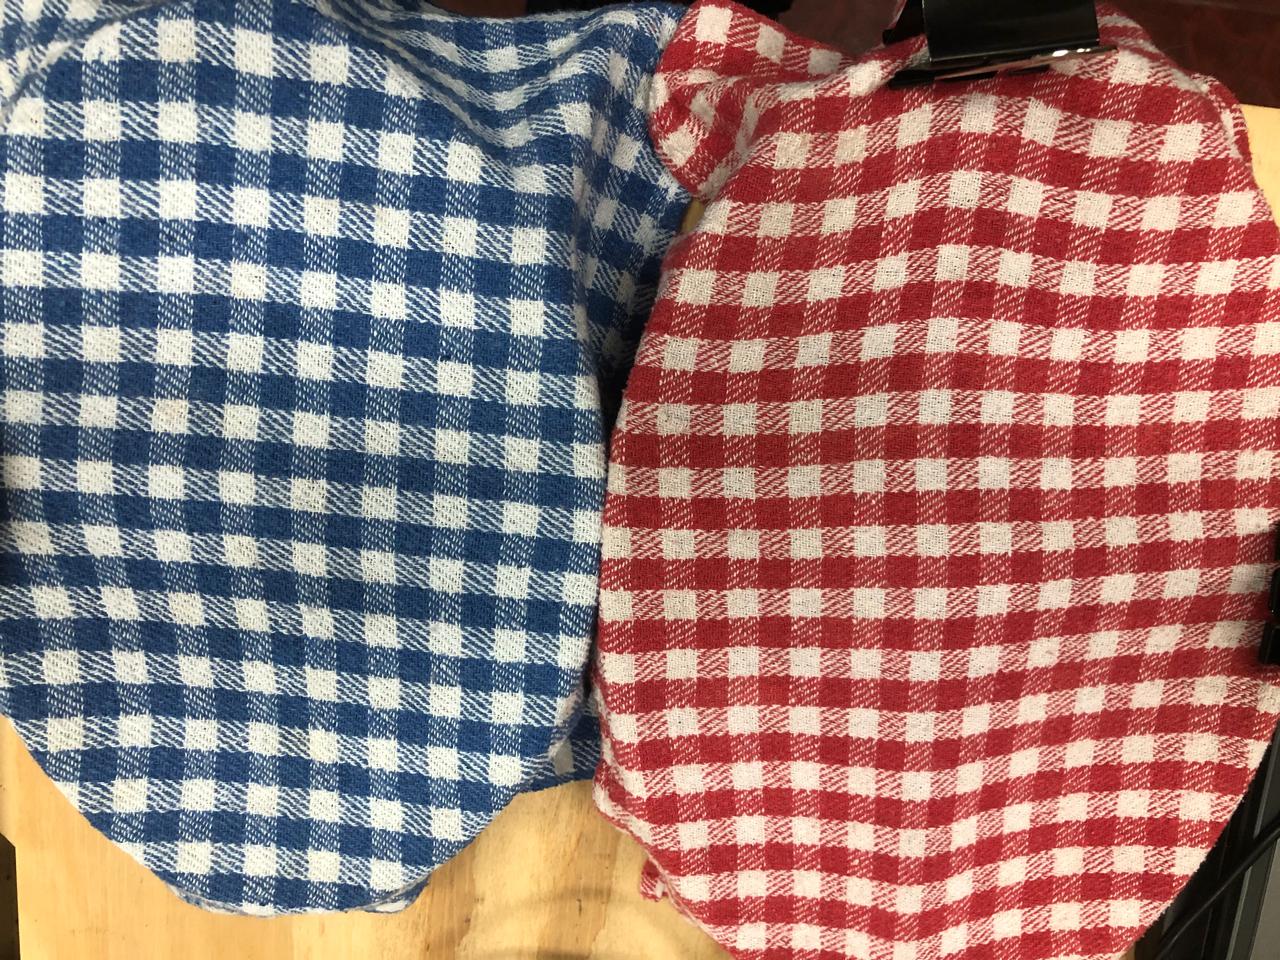
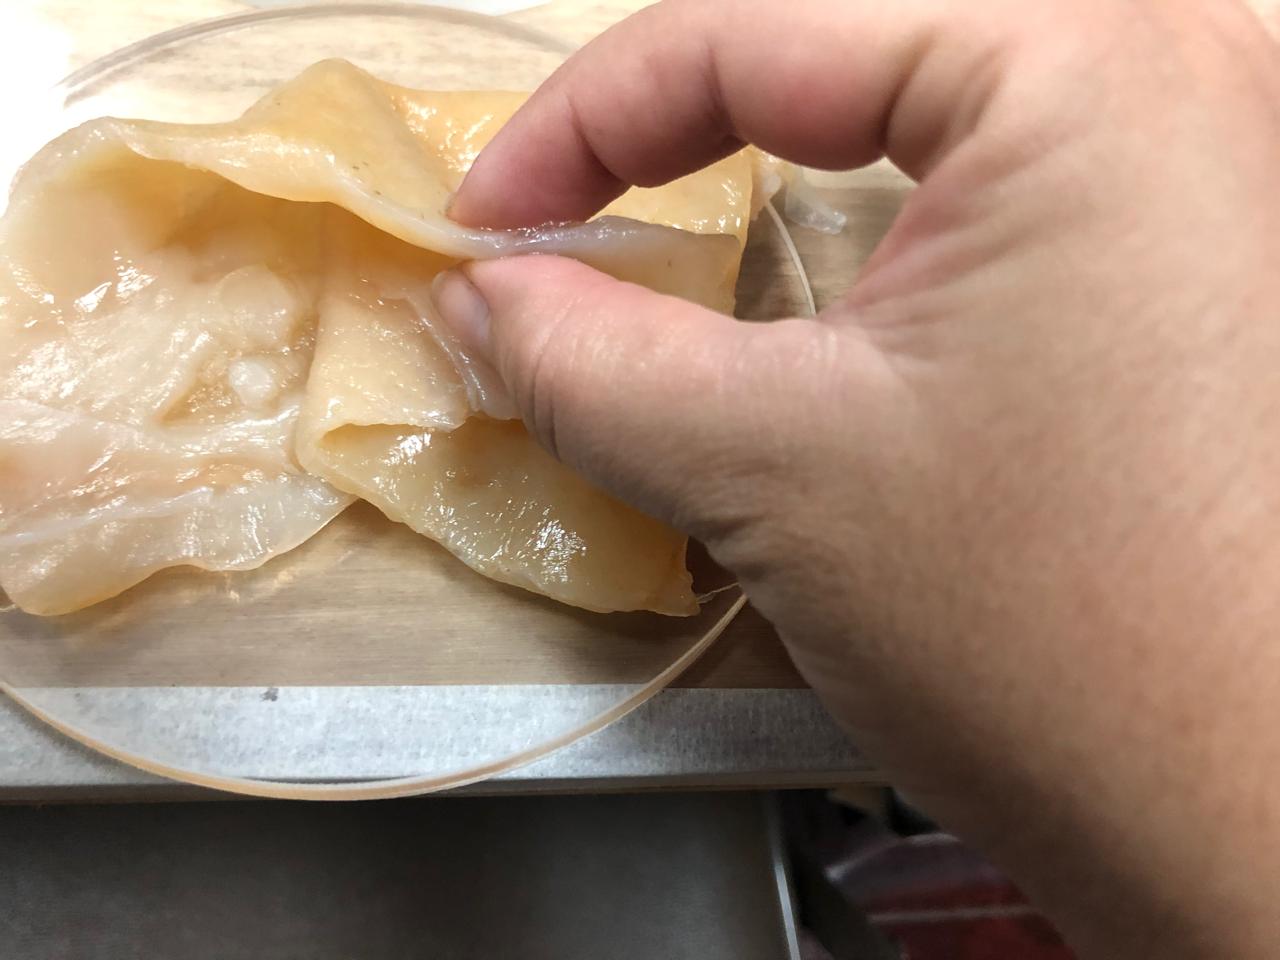
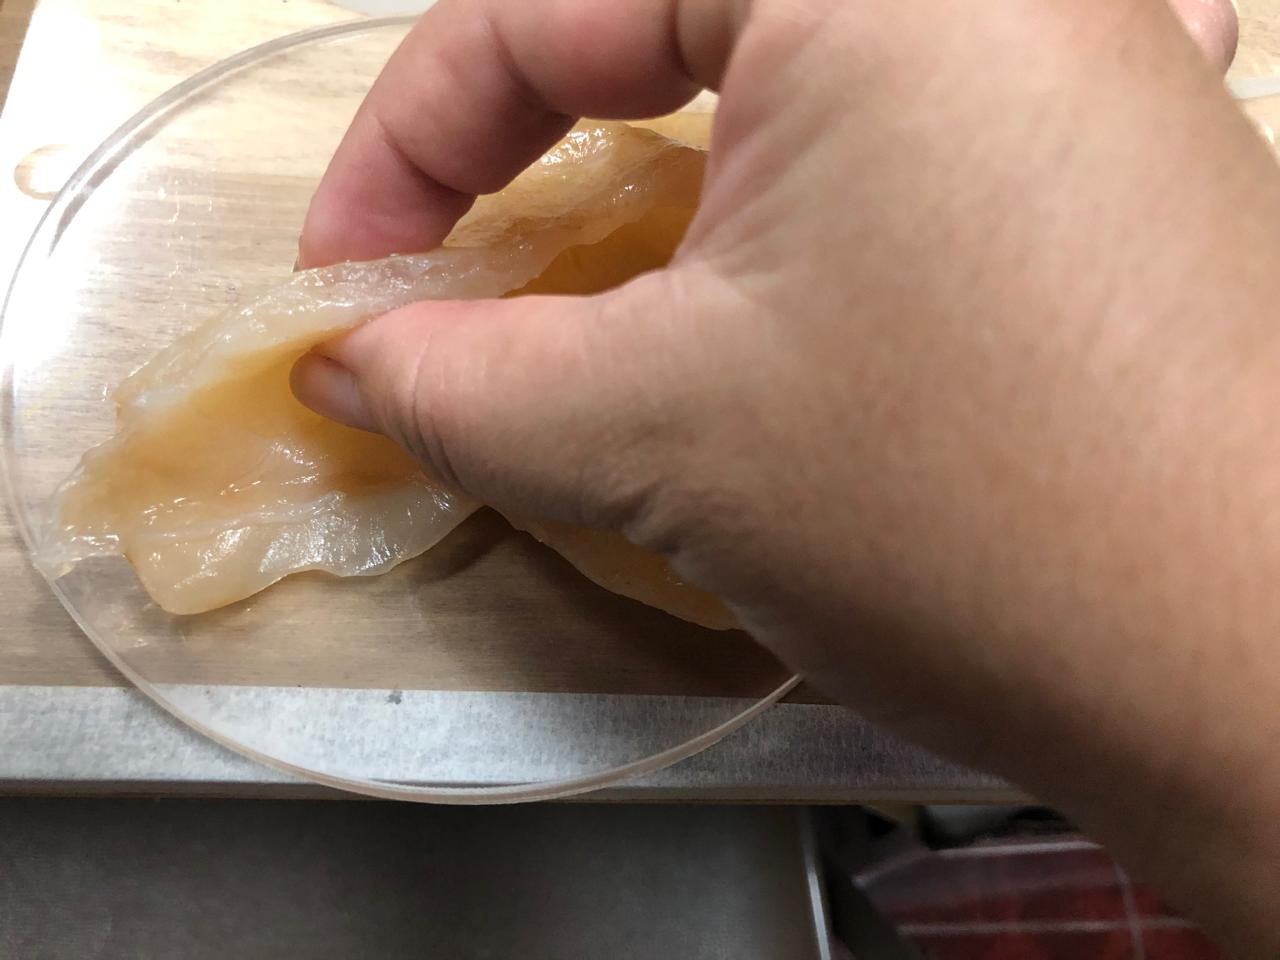
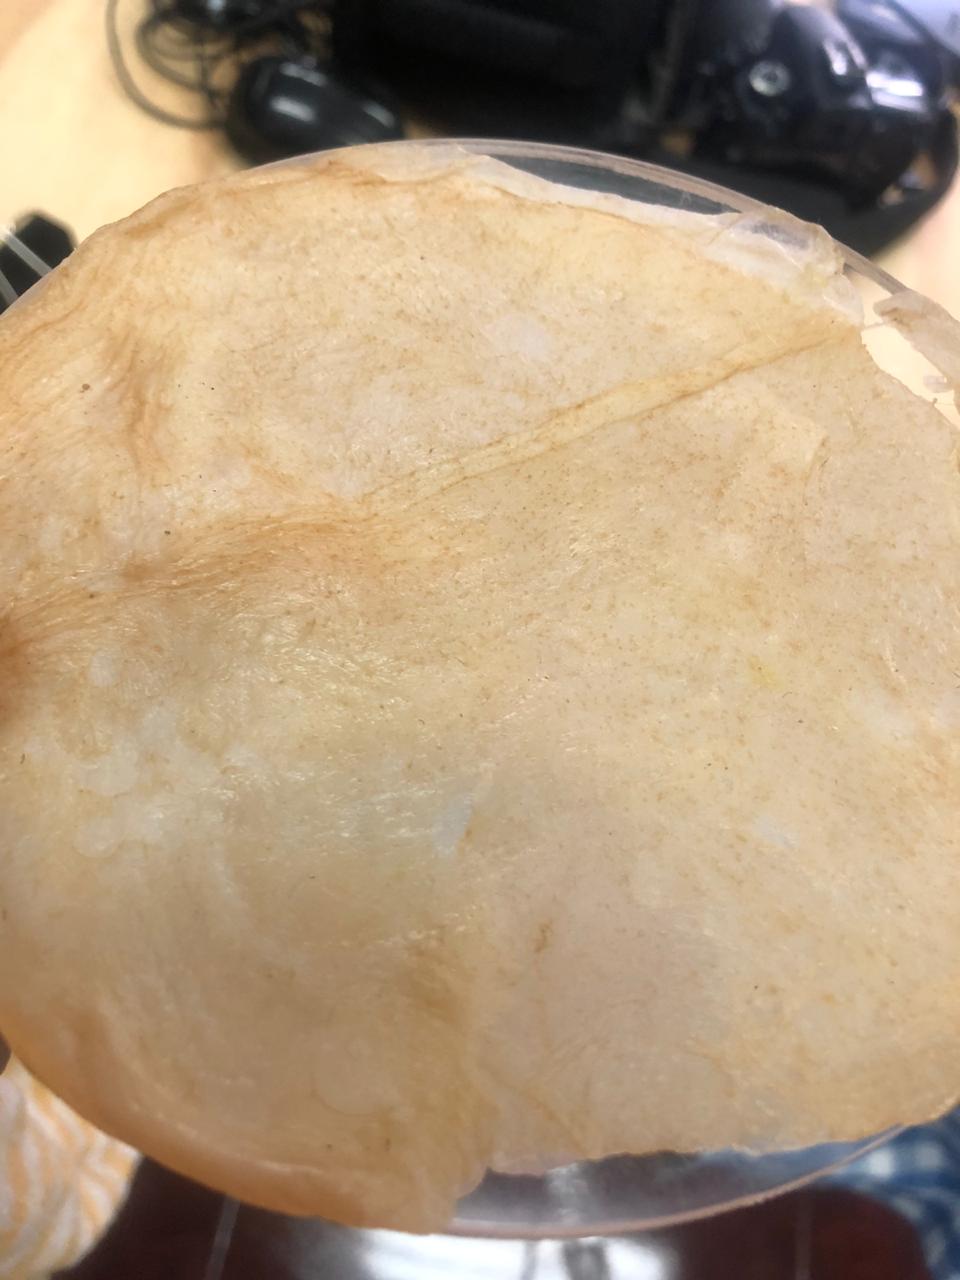
As you can see, the circle frame has a vinyl fabric, very resistant that has an animal texture, I want to se if the gelatine can adopt this texture
And in this frame I put it in the one that has the Fab Lab Maya logo, same purpose, just to see if the material adops the texture. I forget to add color water, that is why they are transparent but, when I master the technique I will try with different colors and sizes.
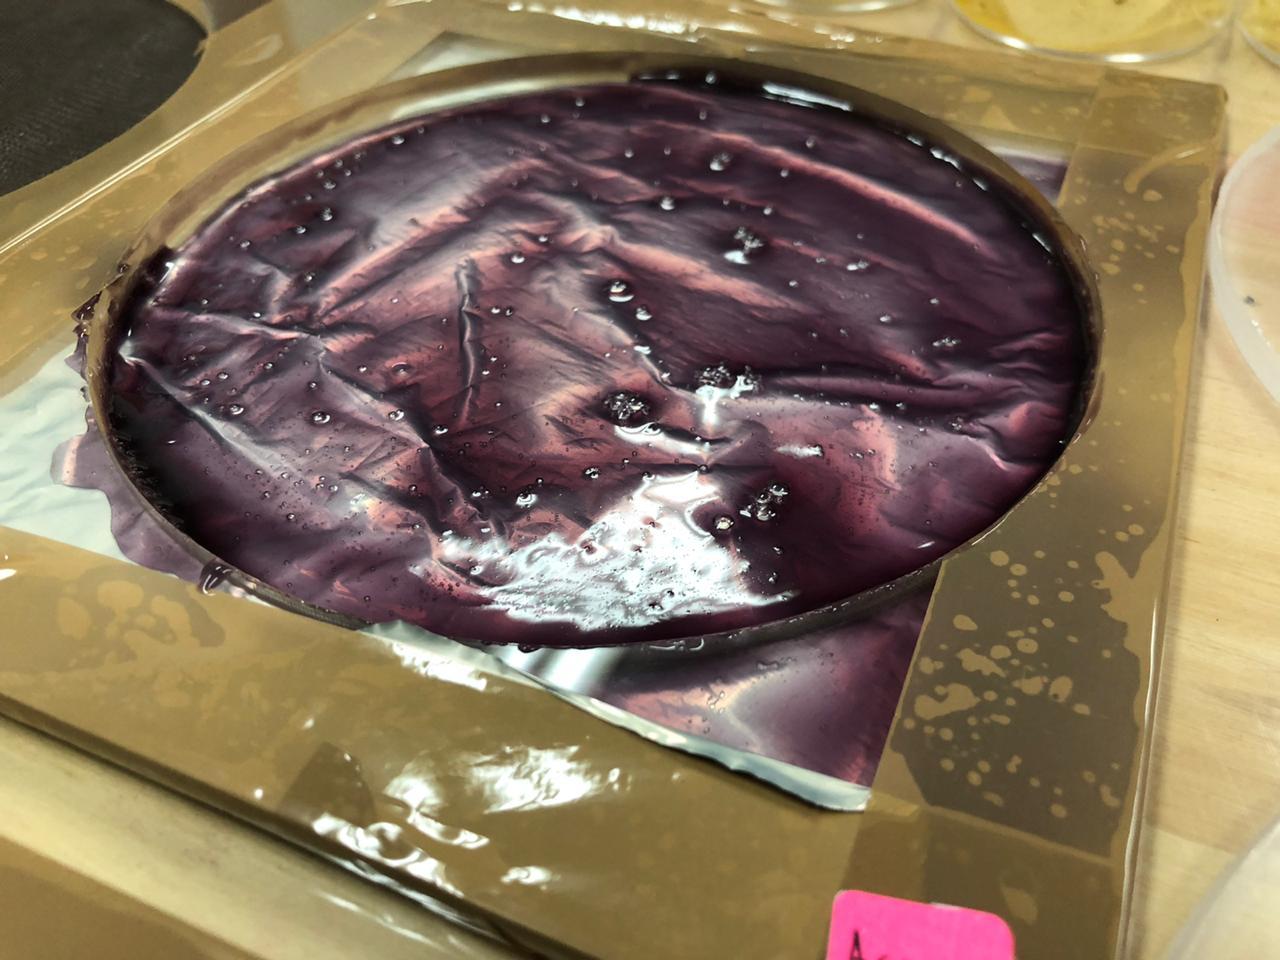
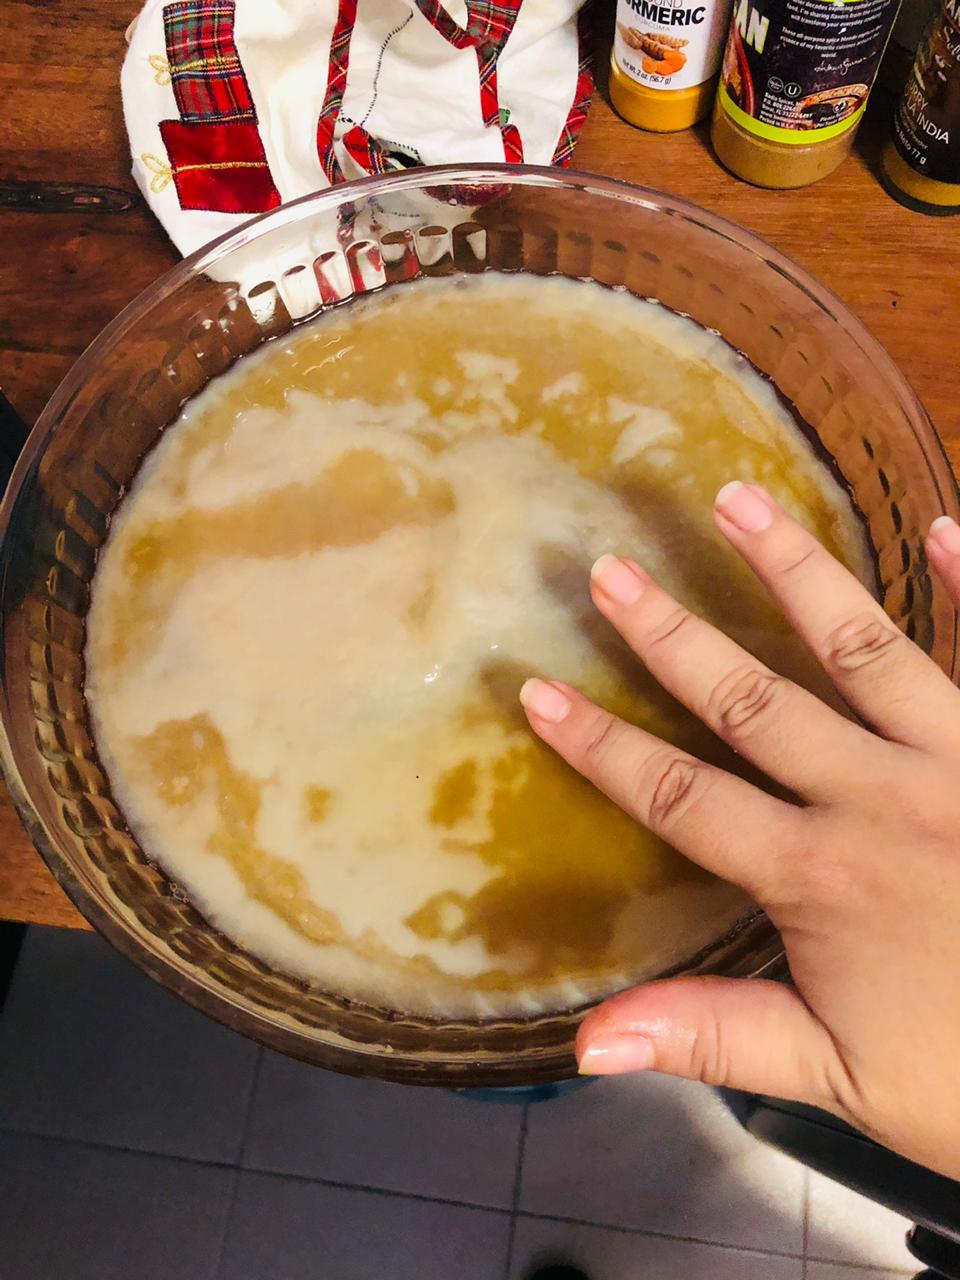
GELANITE FOAM
For this material I chose this recipe, page 9, for this one I was very excited to make it, because, some day I would love to design my own shoes and of the shoe soel I think this material is perfect. As you can see in the link, there is a different ways to prepare the recipe, I chose to make one very flexible, that is why I took the data from the last column of the table, but if you want to do something more rigid, you can chose the data of the other columns.
This are my materials:
-
45 GM Gelatine
-
6 ML Liquid Soap
-
60 GM Glicerine
-
60 ML Water
-
Prepare your frame first of all and clean all your instruments.
-
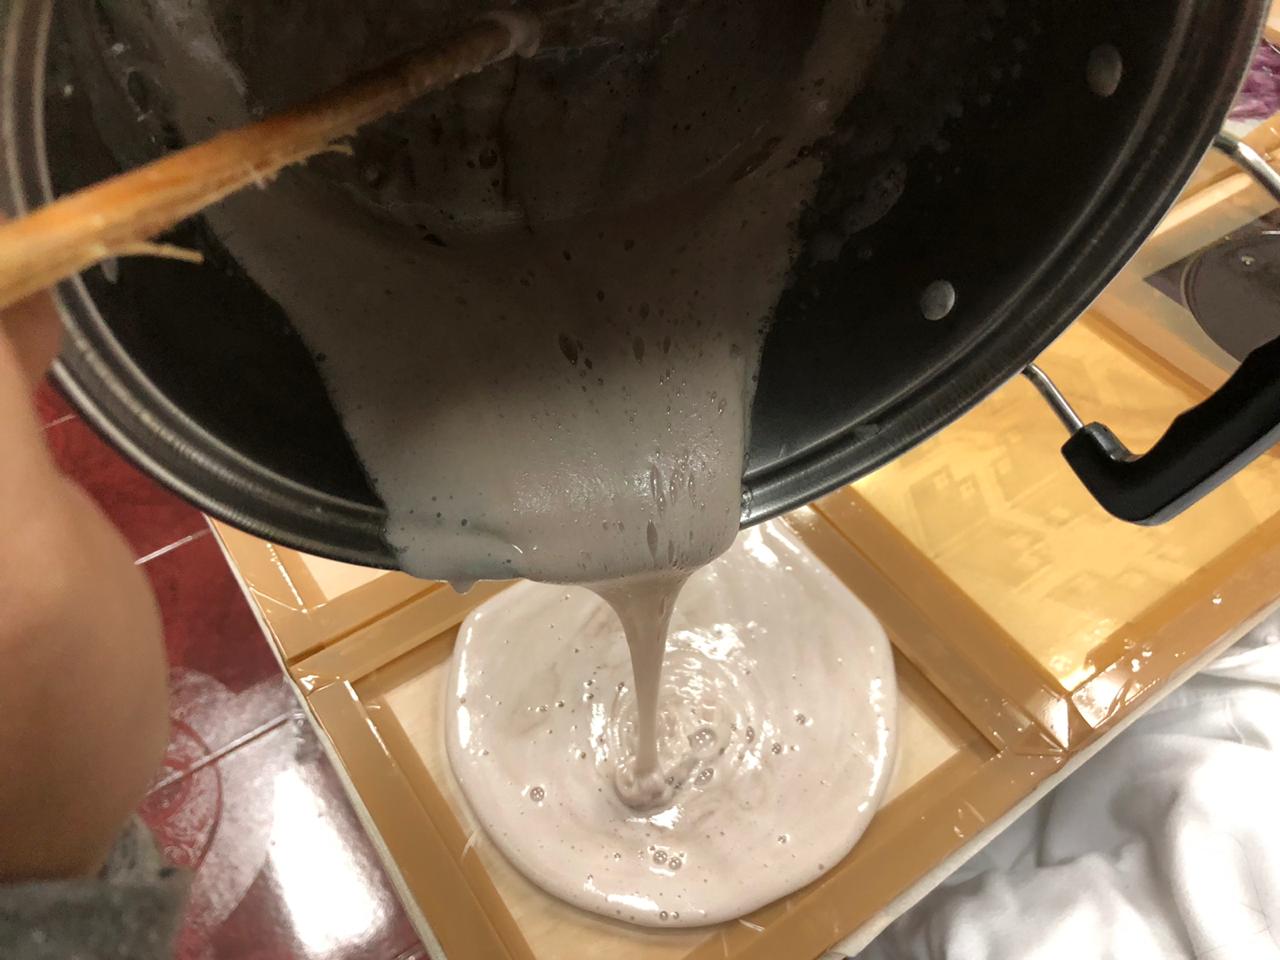
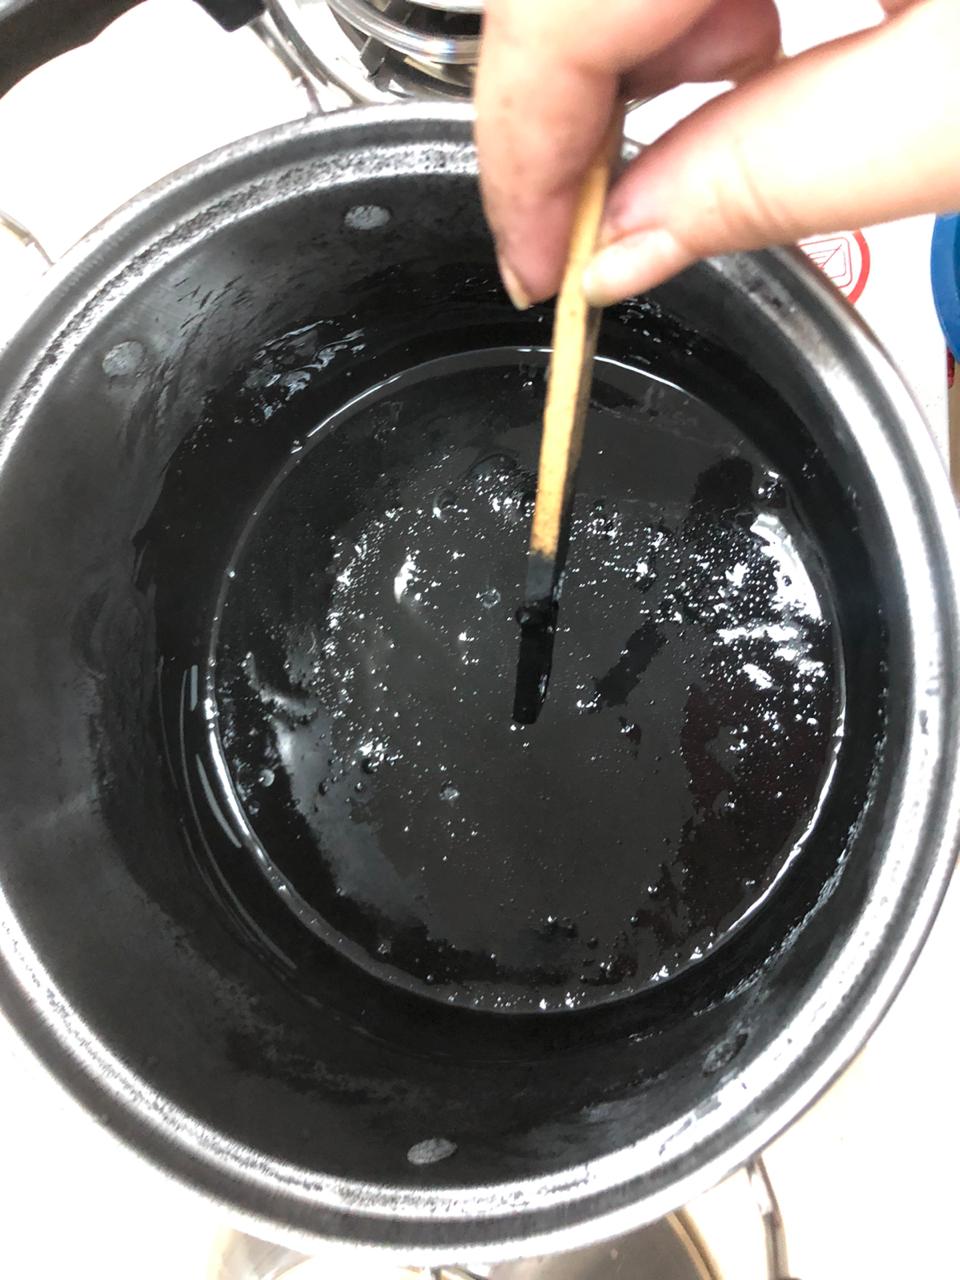
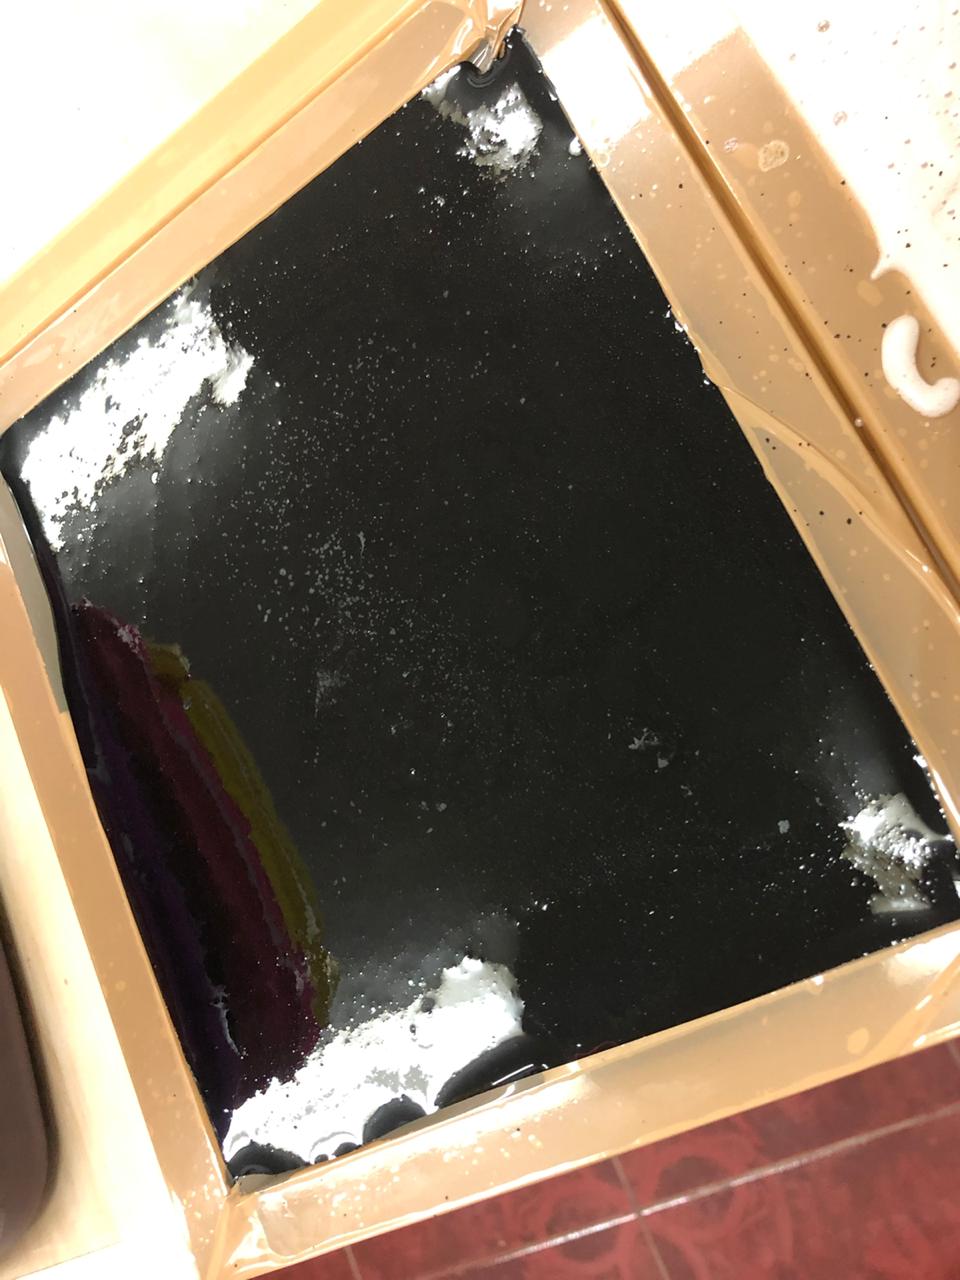
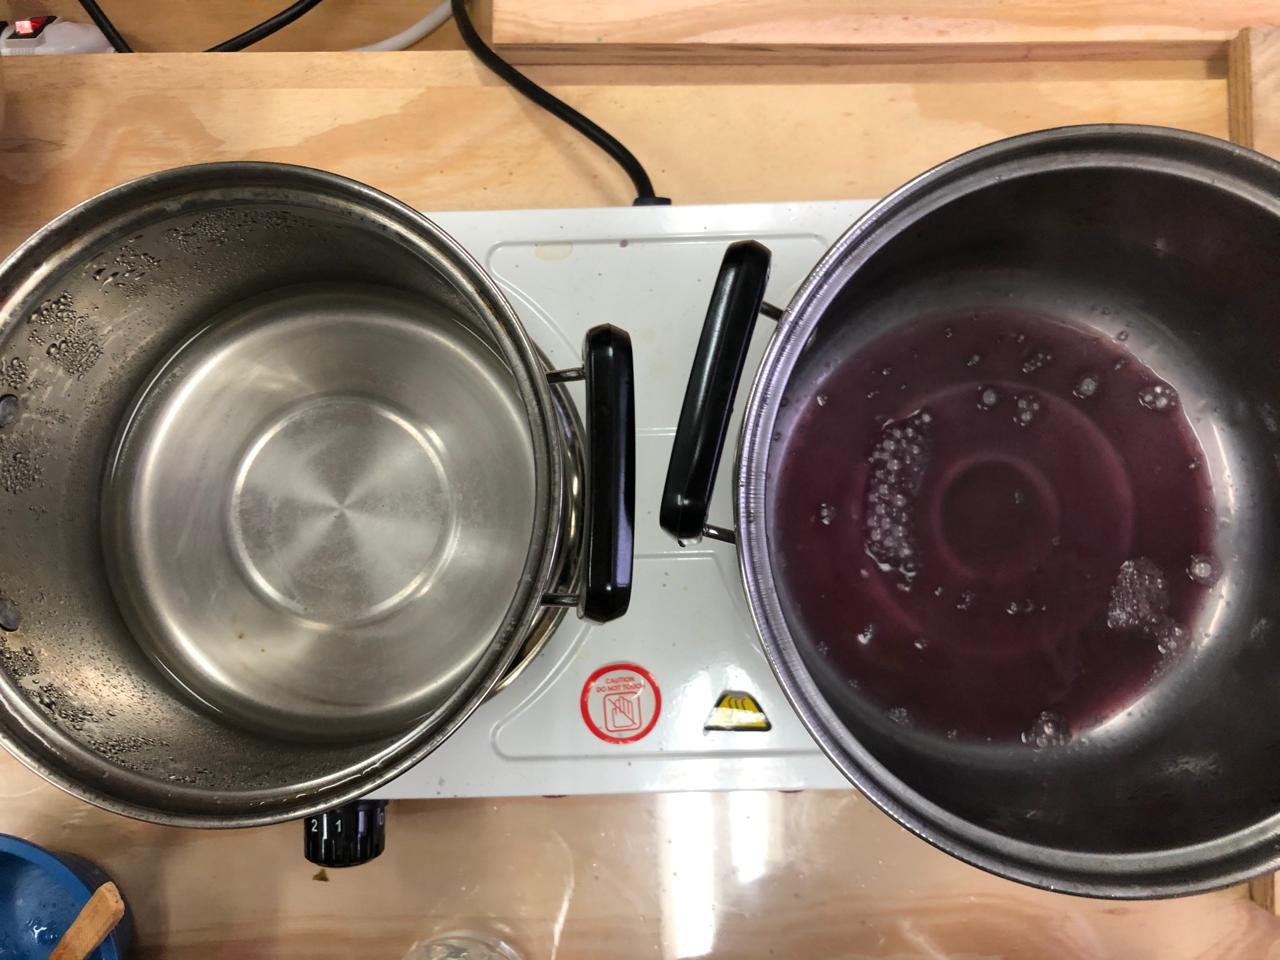
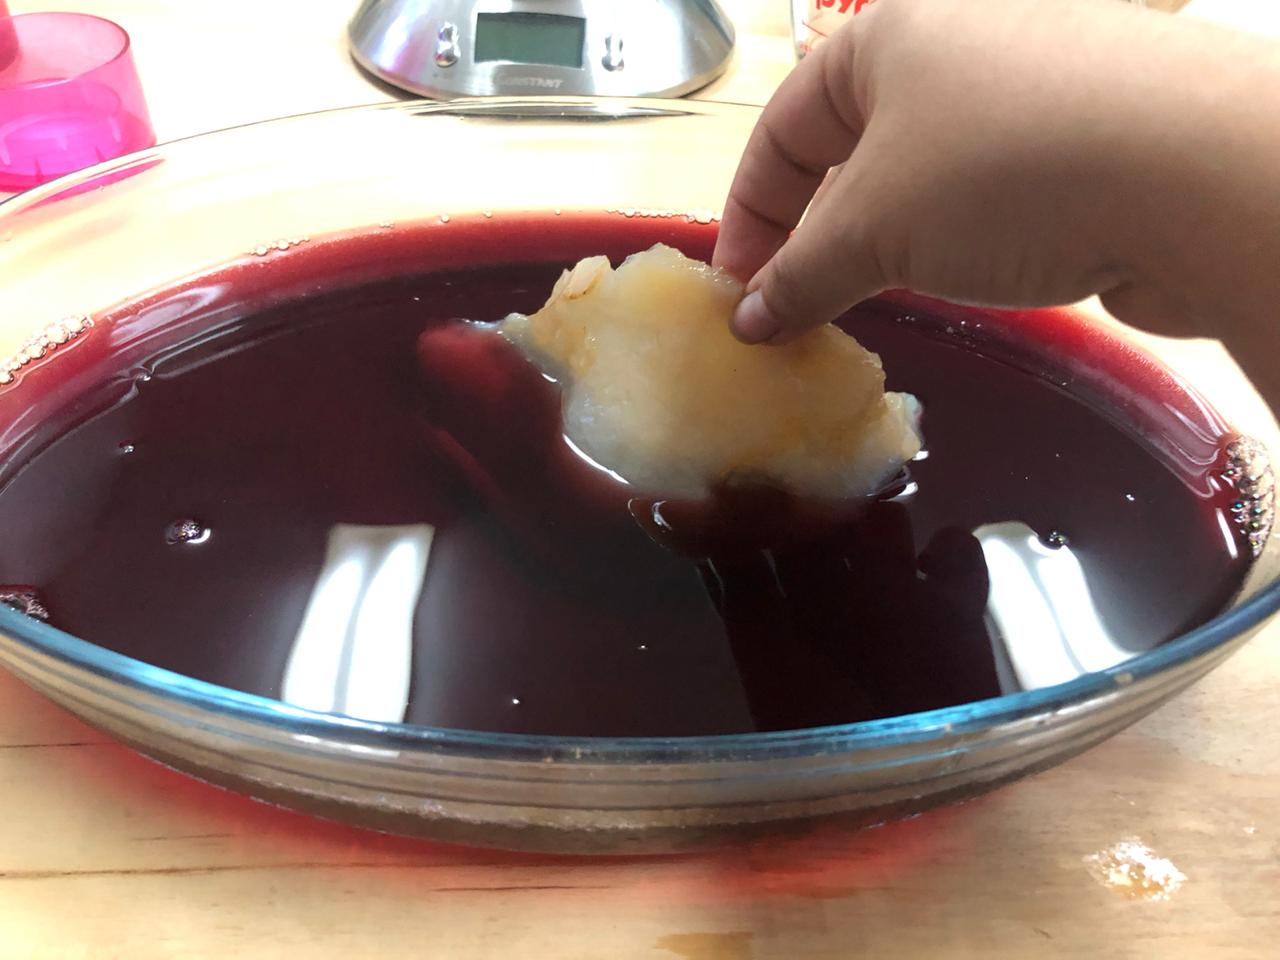
Add everything but not the soap in a pot. Make sure all the cuantities are correct and mesured in a proper weighing machine. By the way the water I chose is purple because I waited until this week to dye with red cabbage on purpose, so instead of adding simple water, I add to my mix the purple ink.
-
Cook over medium head until you have a homogenous mix.
-
Add the soap, mixed very well until you have bubbles, in this step you will need a hand blender machine or a lot of energy like me that I did manually hahaha
-
Wait a little bit until the liquid foam is less hot, but not so much, otherwise, it will be very hard to remove it from the pot. When you feel that the temperature is pertinent, add it to your frame.
-
An important step that nobody mention, CLEAN YOUR TOOLS IMMEDIATELY hahahaha, because then it will be very hard to remove it from the pot.
Shake it, Shake it, Shake it, Shake it, Shake it, Shake it, Shake it, Shake it, Shake it, Shake it, hahahahahaha
As I said before, I tape my frame to make sure the liquid or the material, doesn't fall and make a horrible mess.
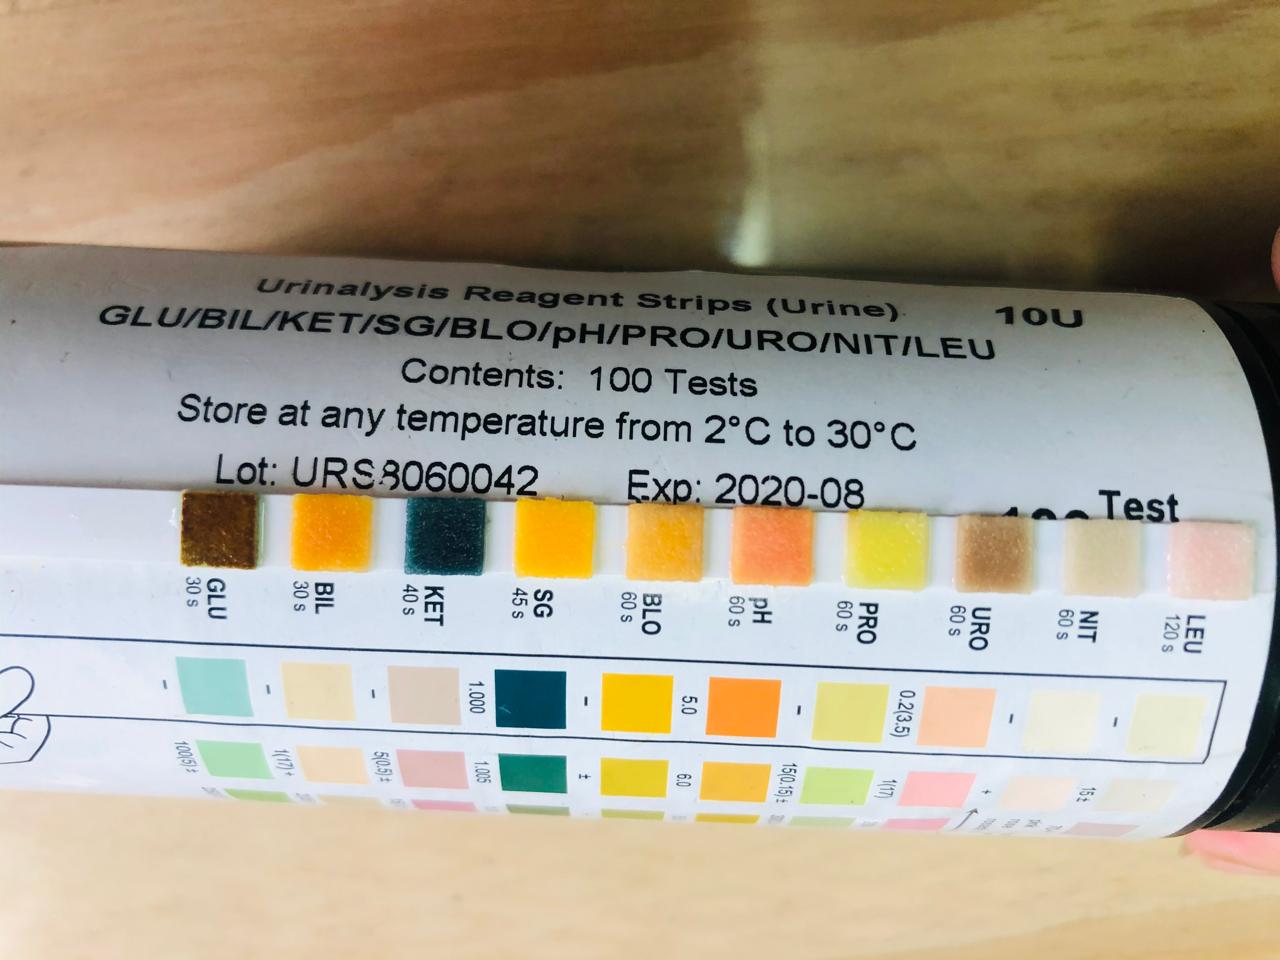
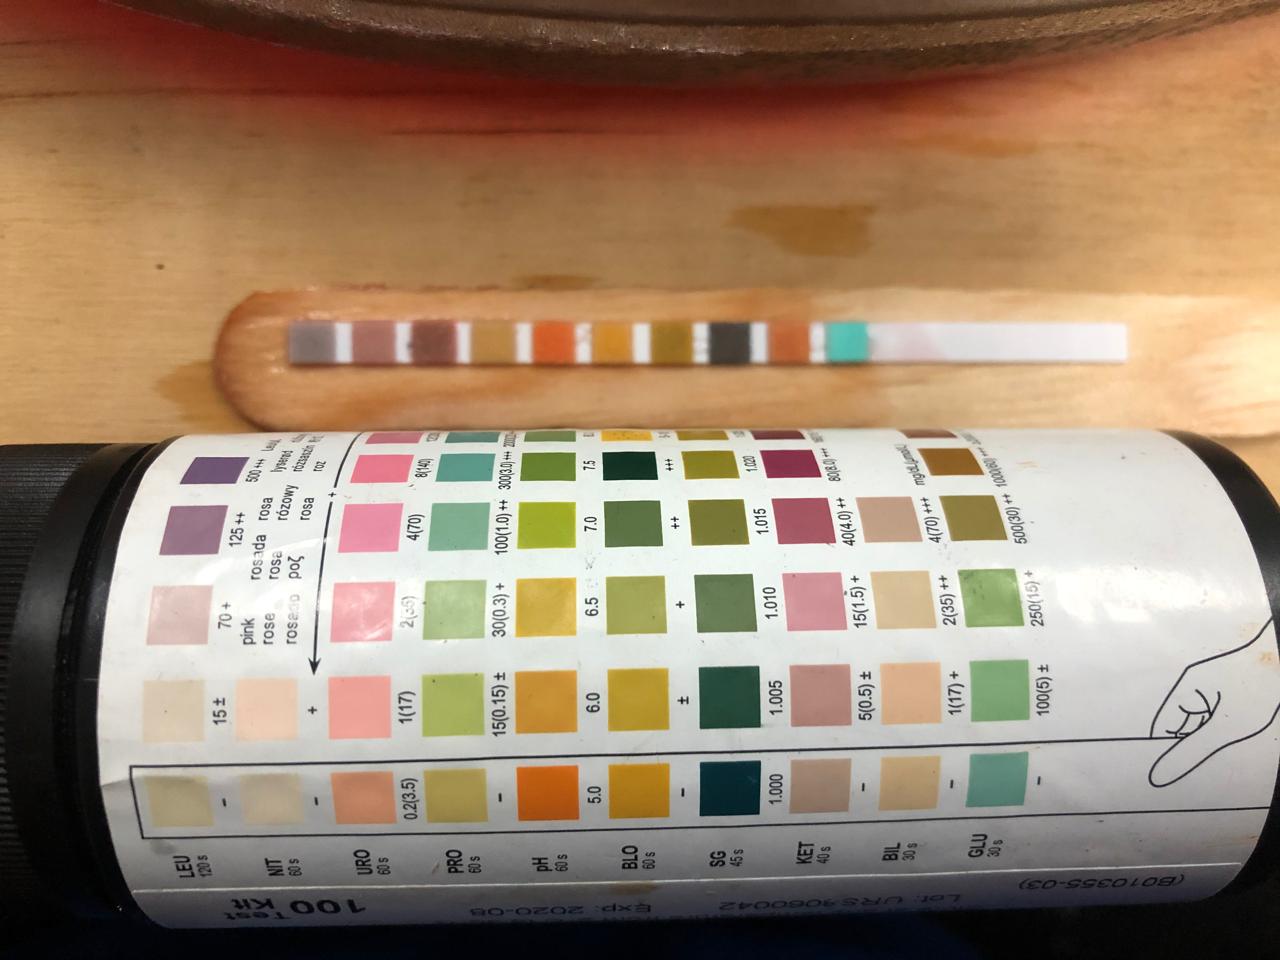
FAIL CONDUCTIVE GELATINE WITH CARBON ACTIVATED
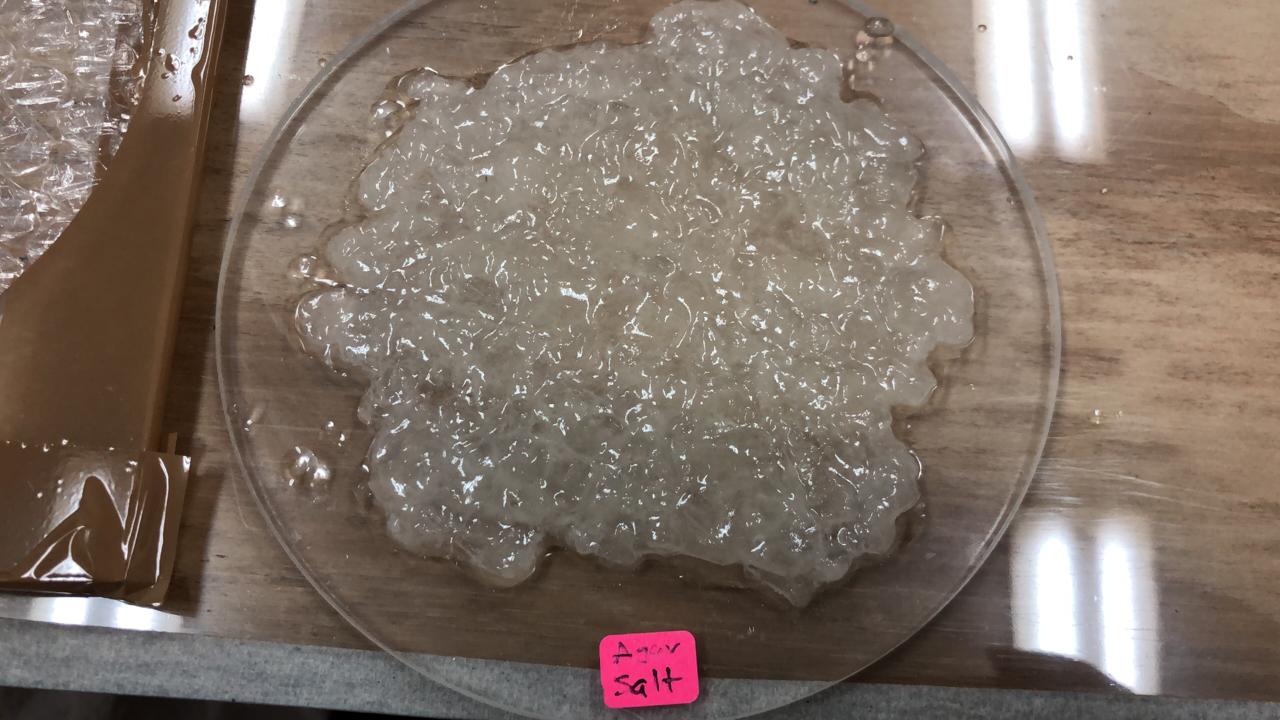
FAIL AGAR AGAR

FAIL CONDUCTIVE AGAR WITH SALT
GROWN MATERIAL
This kind of materials is about literally how to grow materials, in this case from a community of bacteria, yeast or mycelium. I think it is more dificult than crafted materials because you have to have to control of more things than just a temperature of a stove, in this case, everything has to be really really clean, otherwise you can contaminate the bacterias and you will have a huge fail. In this part of the assignment I will try to make 3 different gorwn materials, Kombucha, Fishskin and Mycelium.
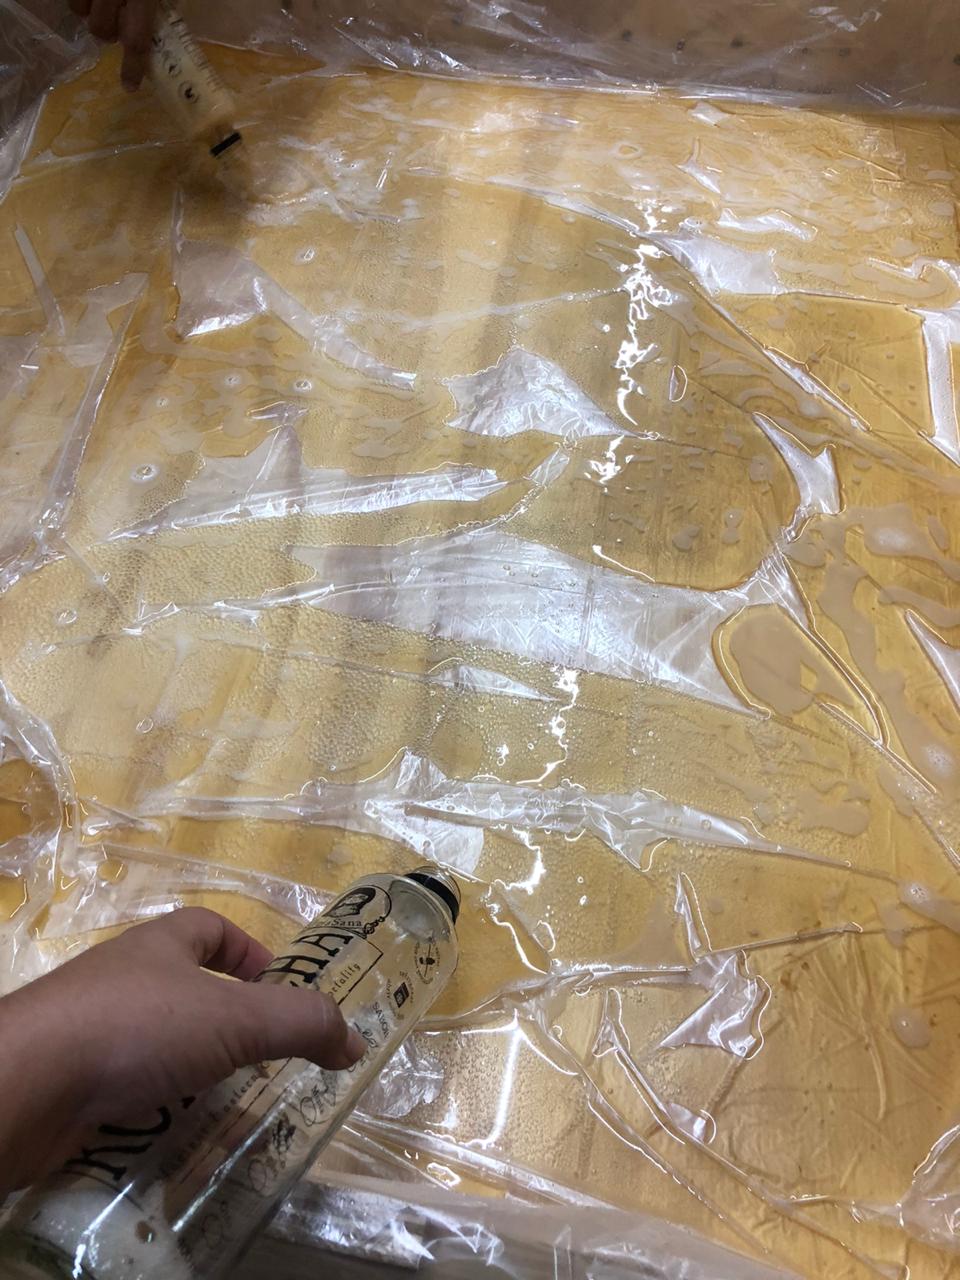
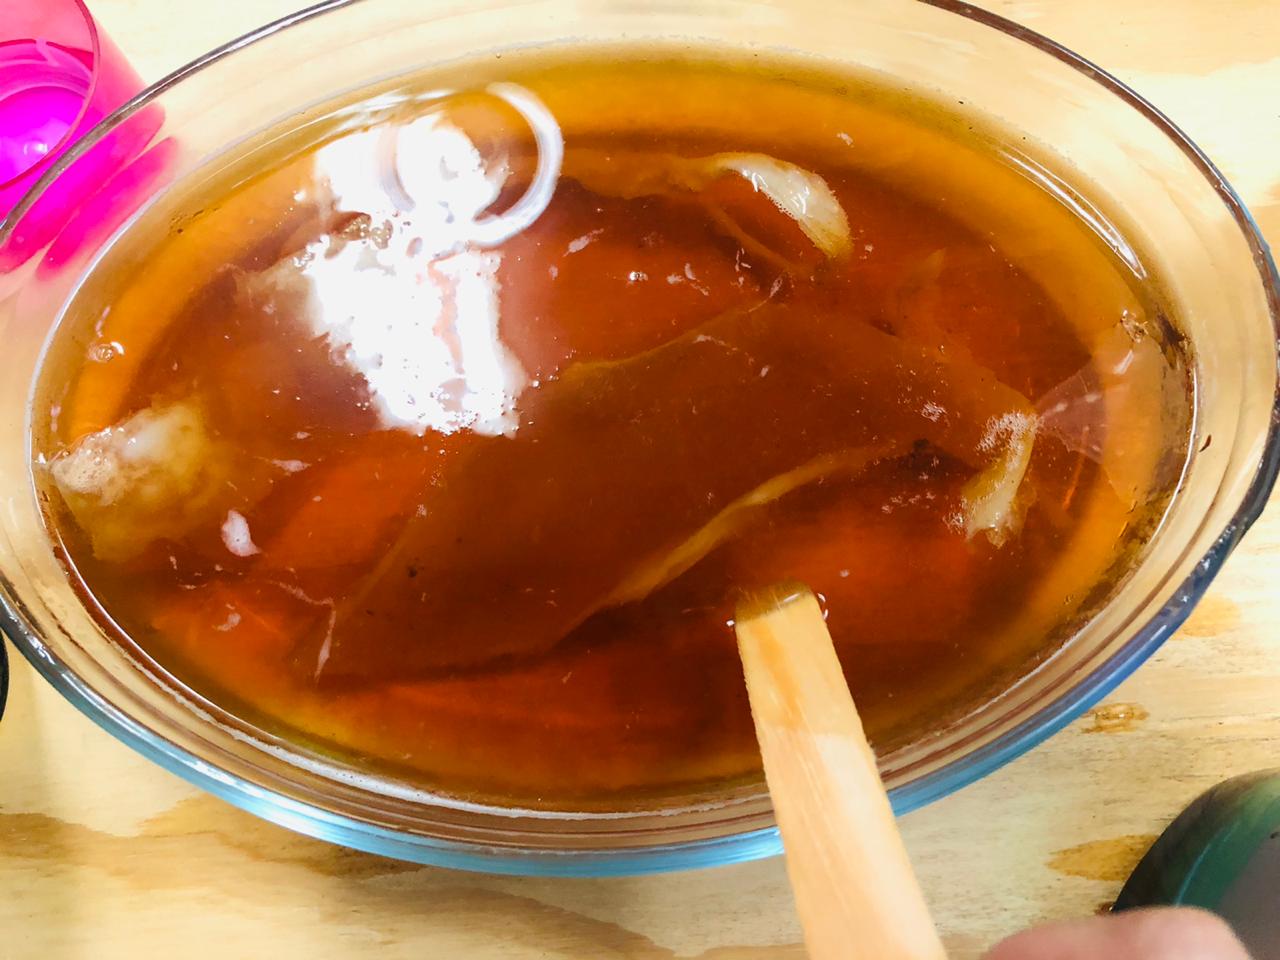
SCOOBY KOMBUCHA
When I made the first bootcamp of Fabricademy 3 years ago in Fab Lab Barcelona I meet the Kombucha leather, since that, I've been trying to grow my own, and in two years I couldn't do it, but now finally I found my own recipe. I feel the master now, I feel like I'm the Lady Kombucha hahahahah
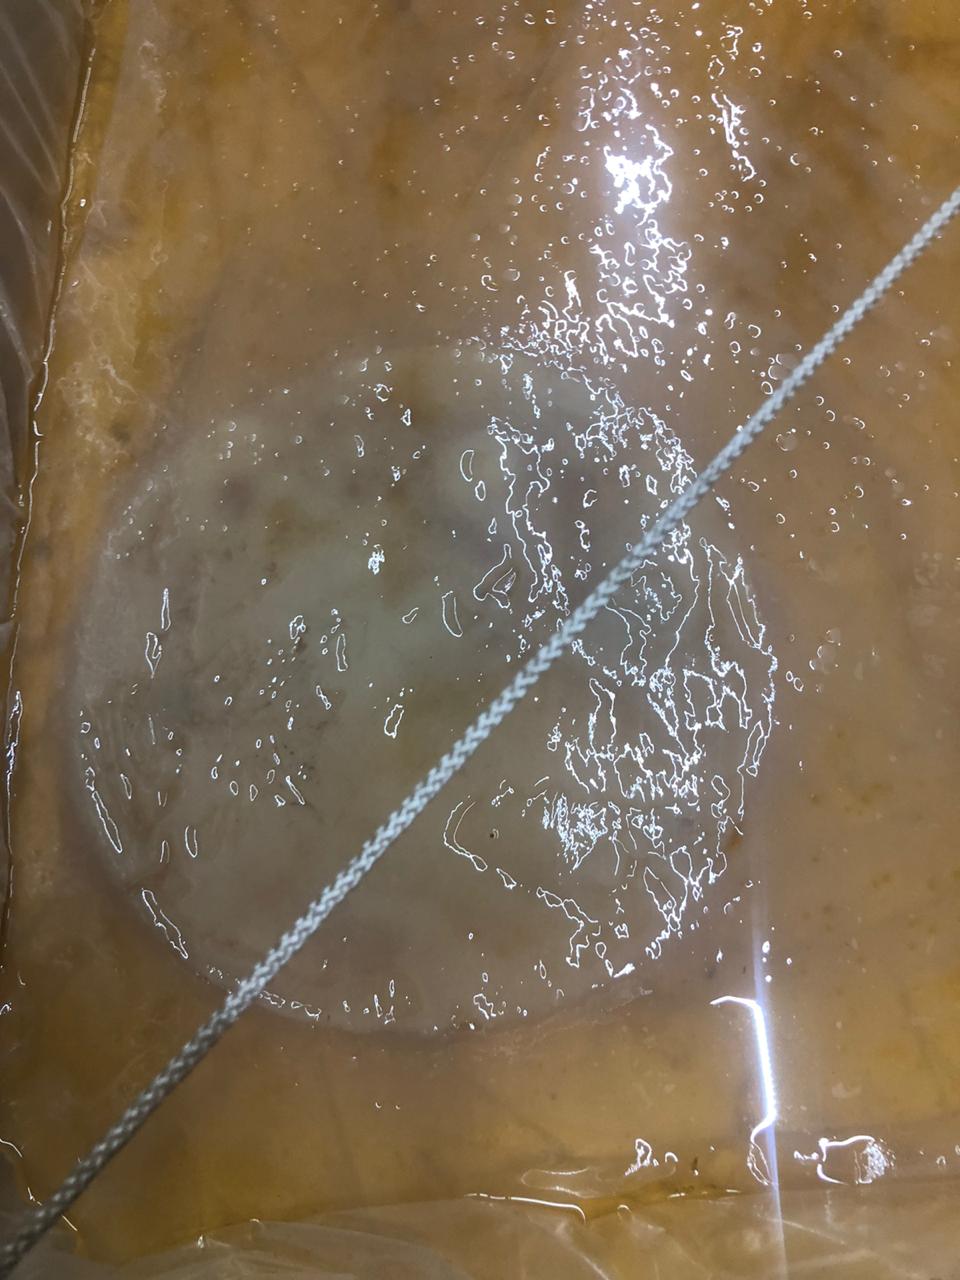
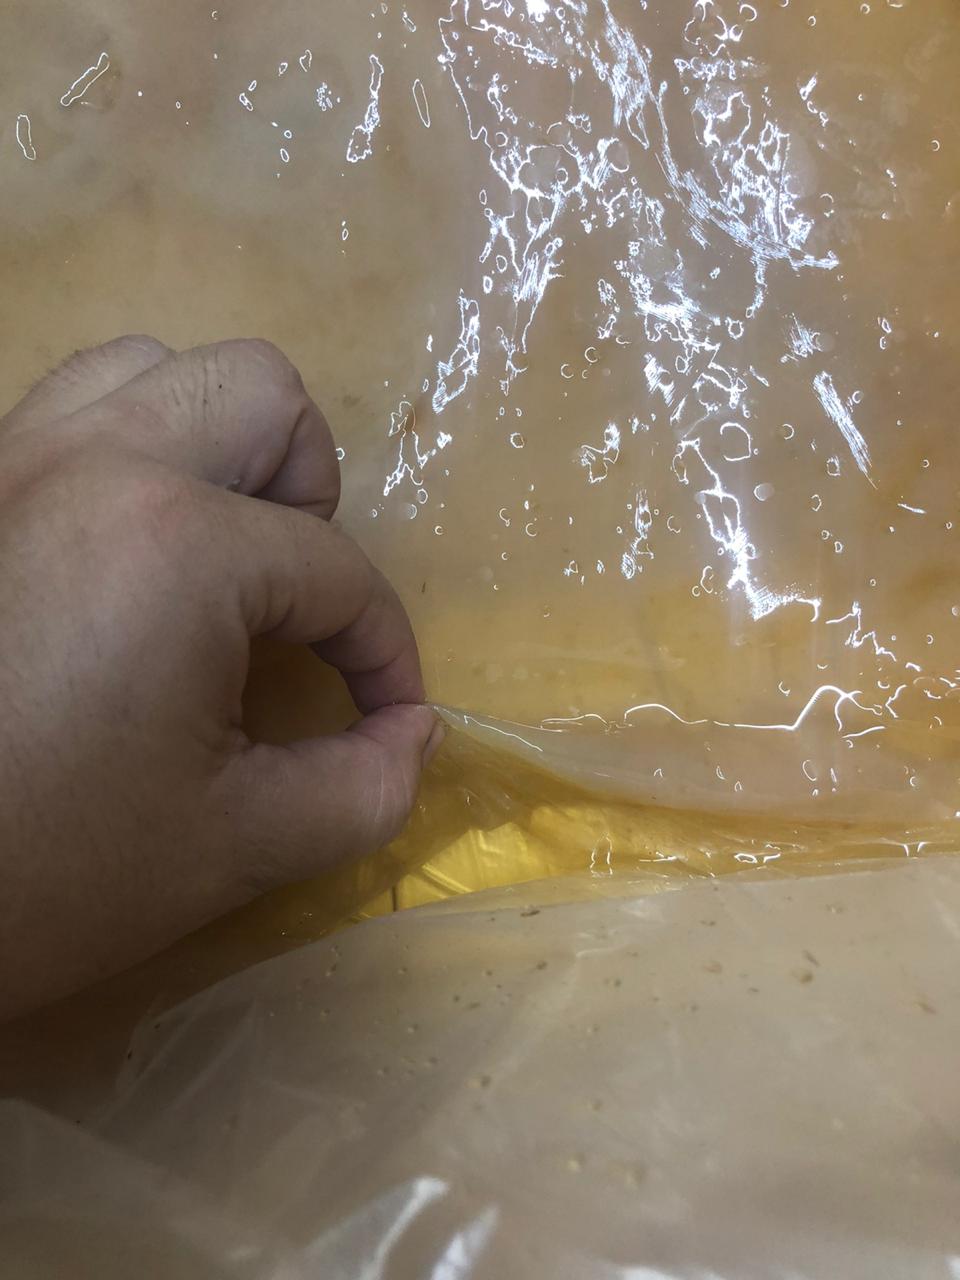
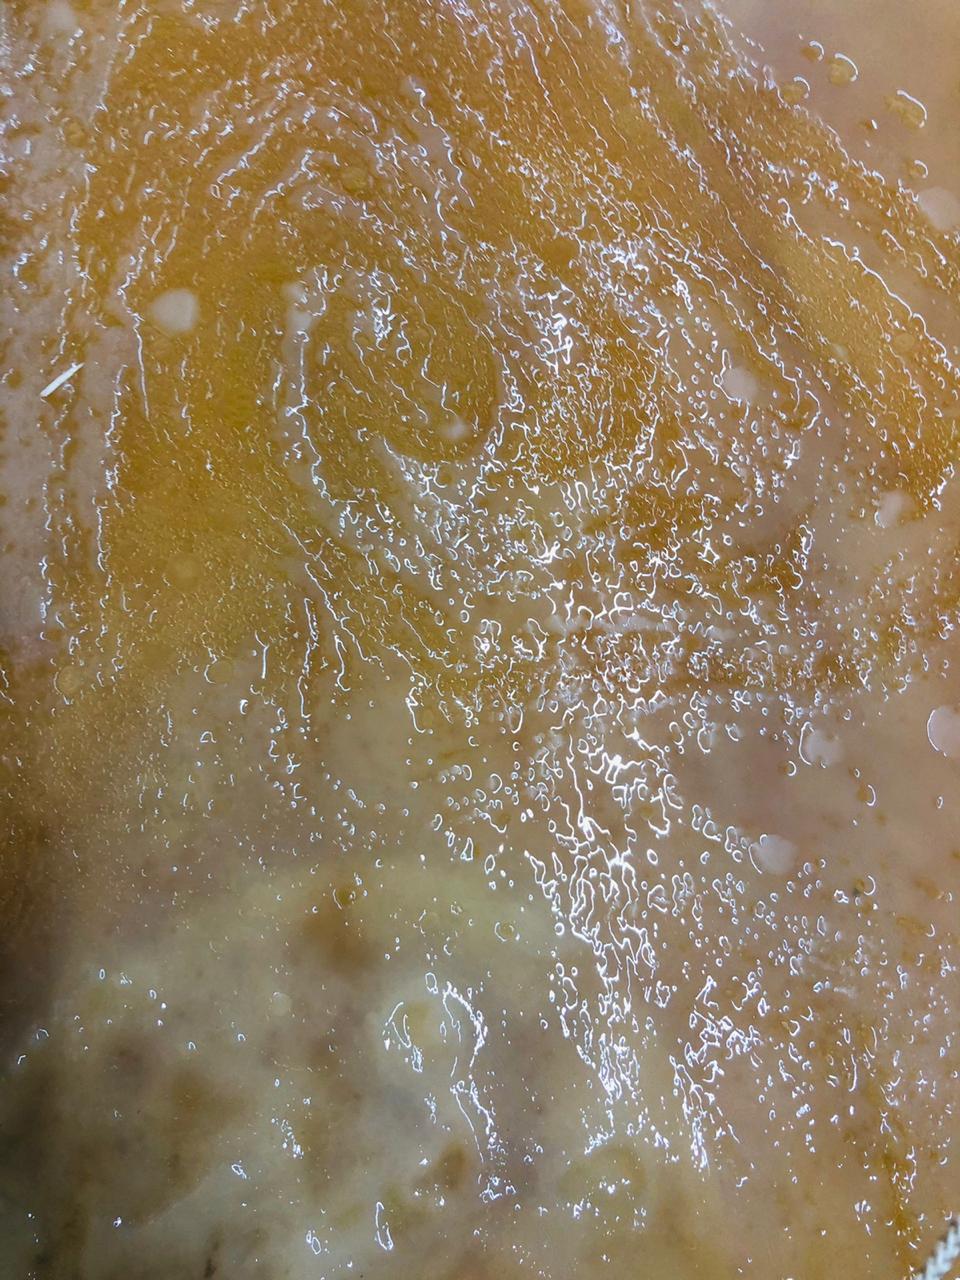
As you can see here I have two kombuchas growing, I took me a lot of time to get it honestly, first of all, there wasn't so much information at that time, about kombucha ans scoby. Here in my area really a little people knew about Kombucha, so it was really hard to get it.
But over time, Kombucha become more famuse, there is even one comercial brand, callen "La bruja sana". I started with this brand but one friend of mine told me that I only have to use the kombucha and then some sugar and tea, I did this, but it never grew, I don't know why and I got really frustrated but now I have it, I think the problem was that the cuantities of sugar and tea were not proper besides, this comertial brand of Kombucha maybe hasn't the proper PH, I don't know, I can be so many things but finally i got my own recipe, after fail, after fail, after fail. My problem now is that now, I don't want to dry them, I love them just as they are, disgusting wet pieces of bio meat <3 hahahahaha
Here in the video you can see they are like one cm thickness and this happened only in two weeks! I saw a video where Anastasia from Fab Lab Barcelona said that her Kombucha grows in two month, but for me only one week, but this could be maybe becuase here the weater is warmer, the recipe, etc. Isn't look beautiful?
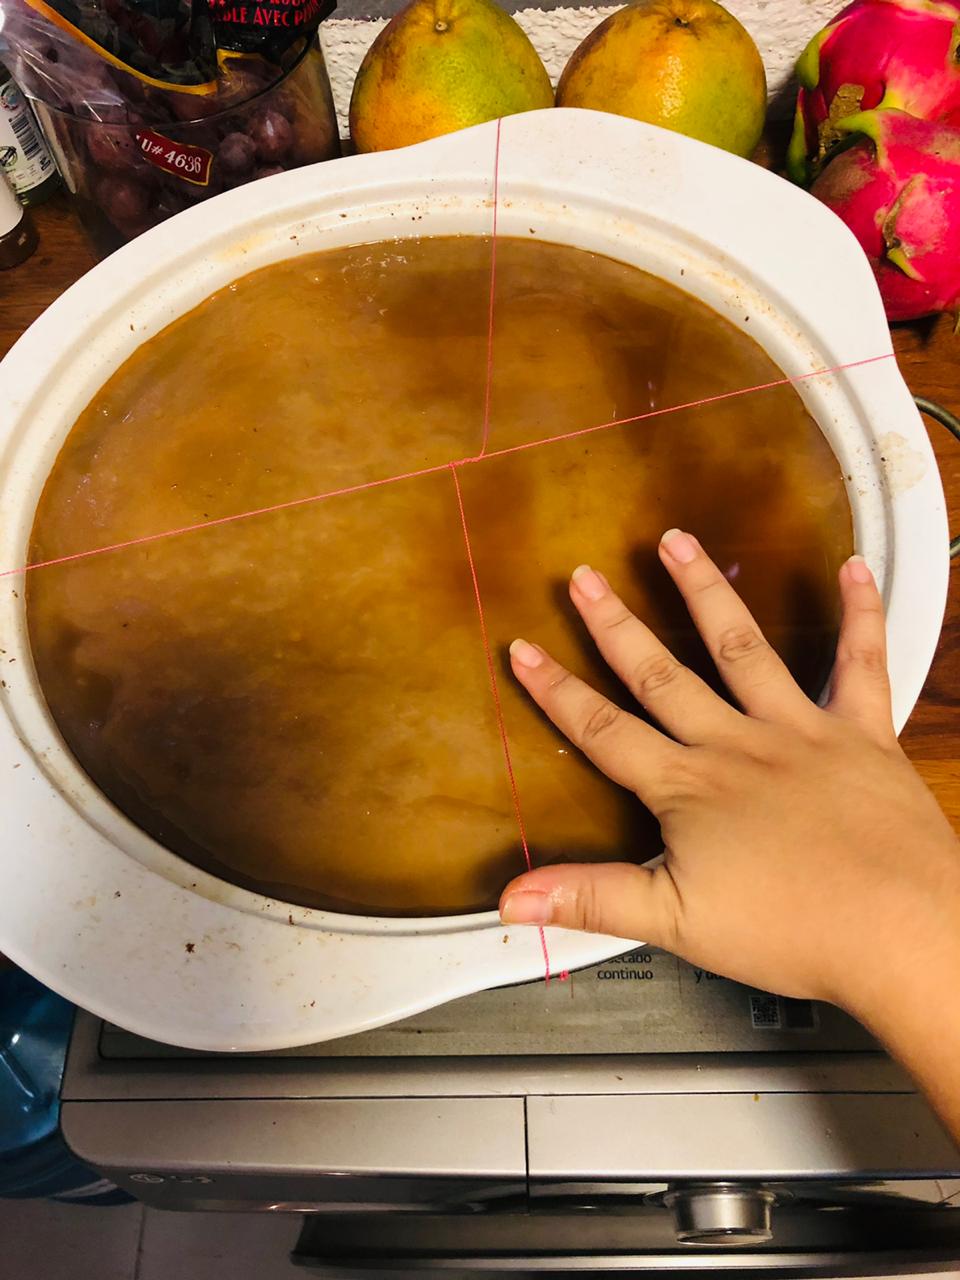
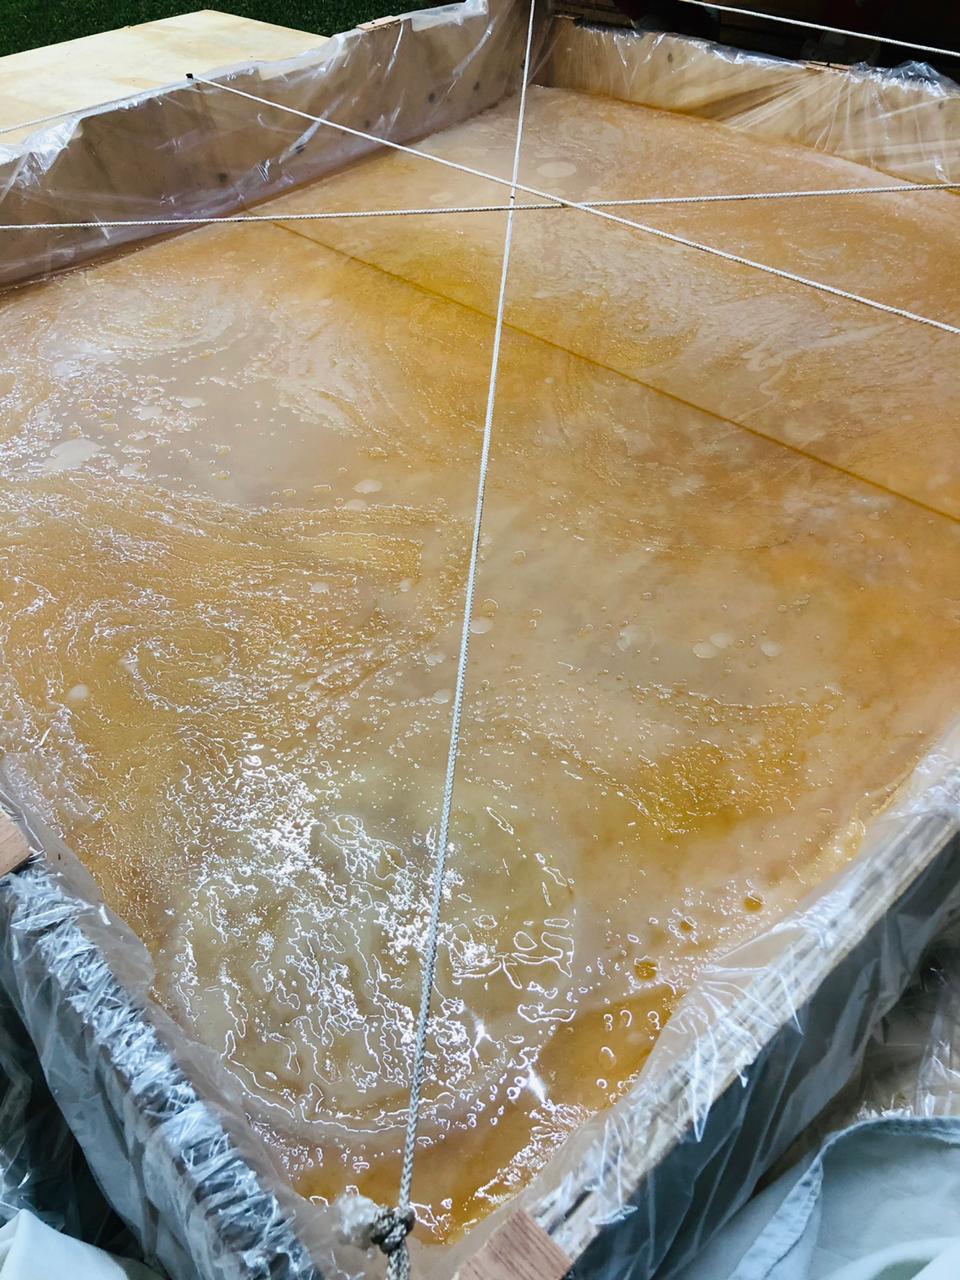
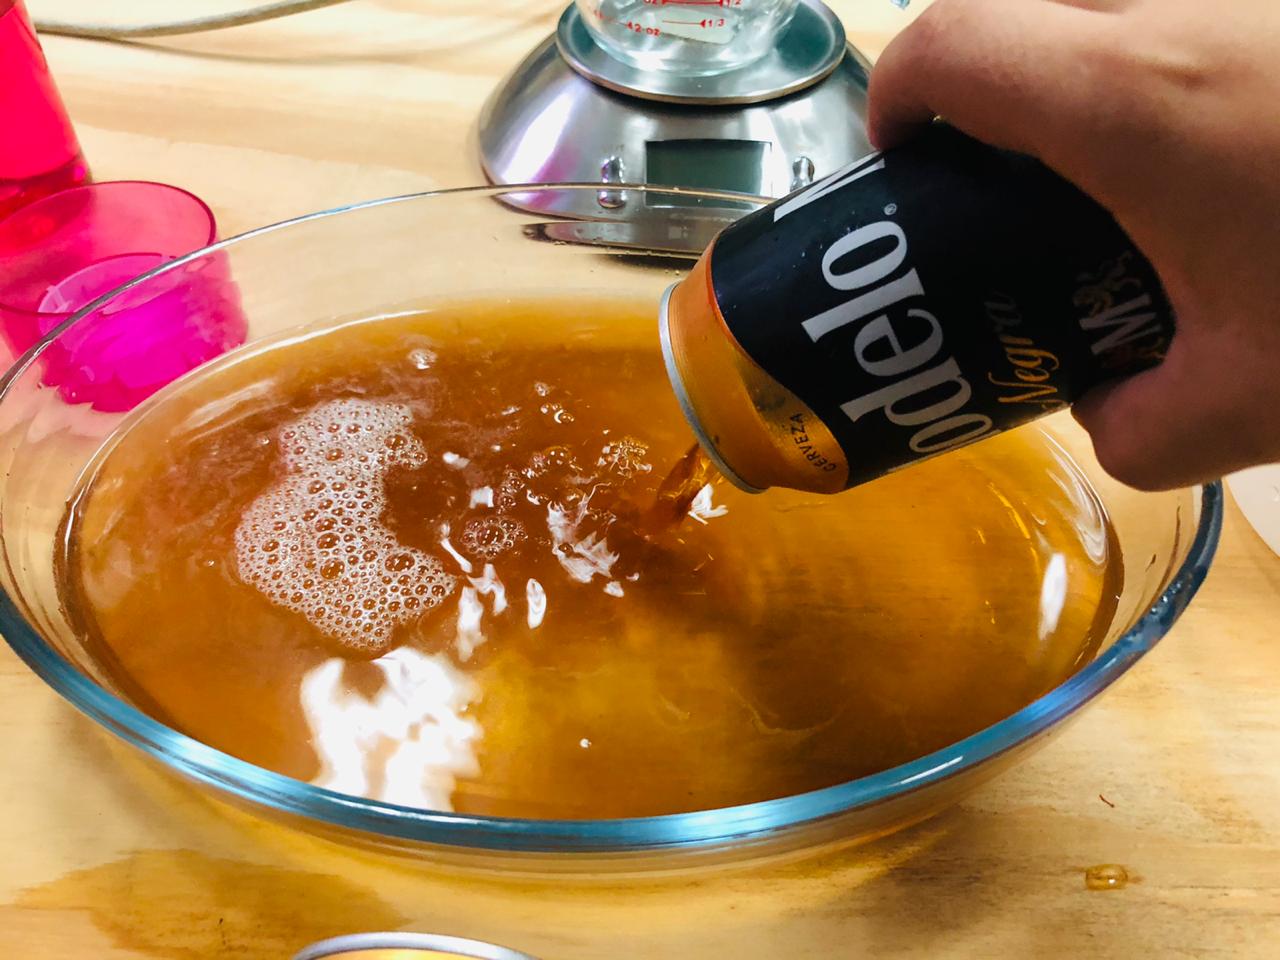
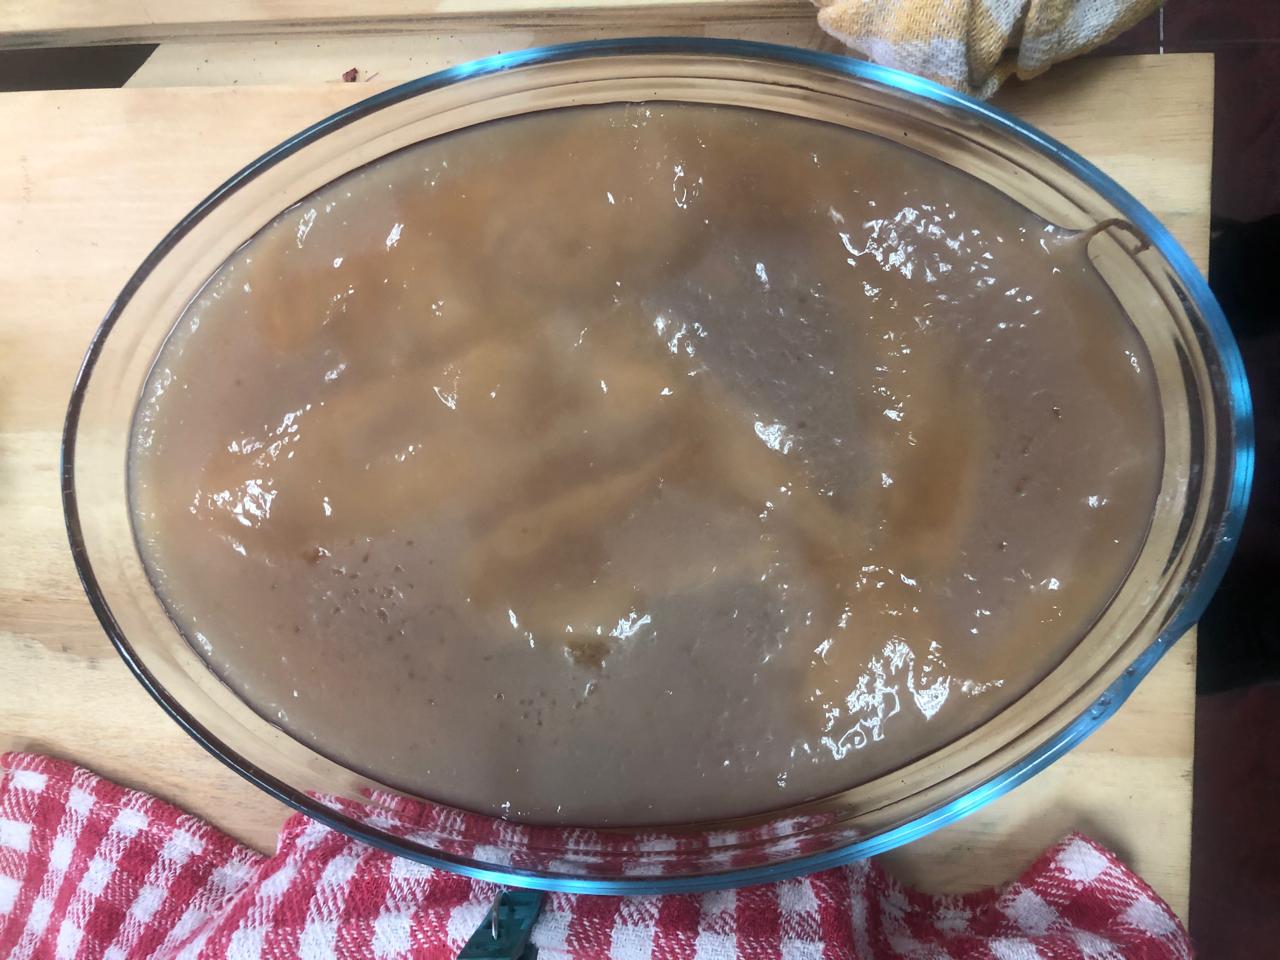
BIG SCOOBY KOMBUCHA 1M x 1M
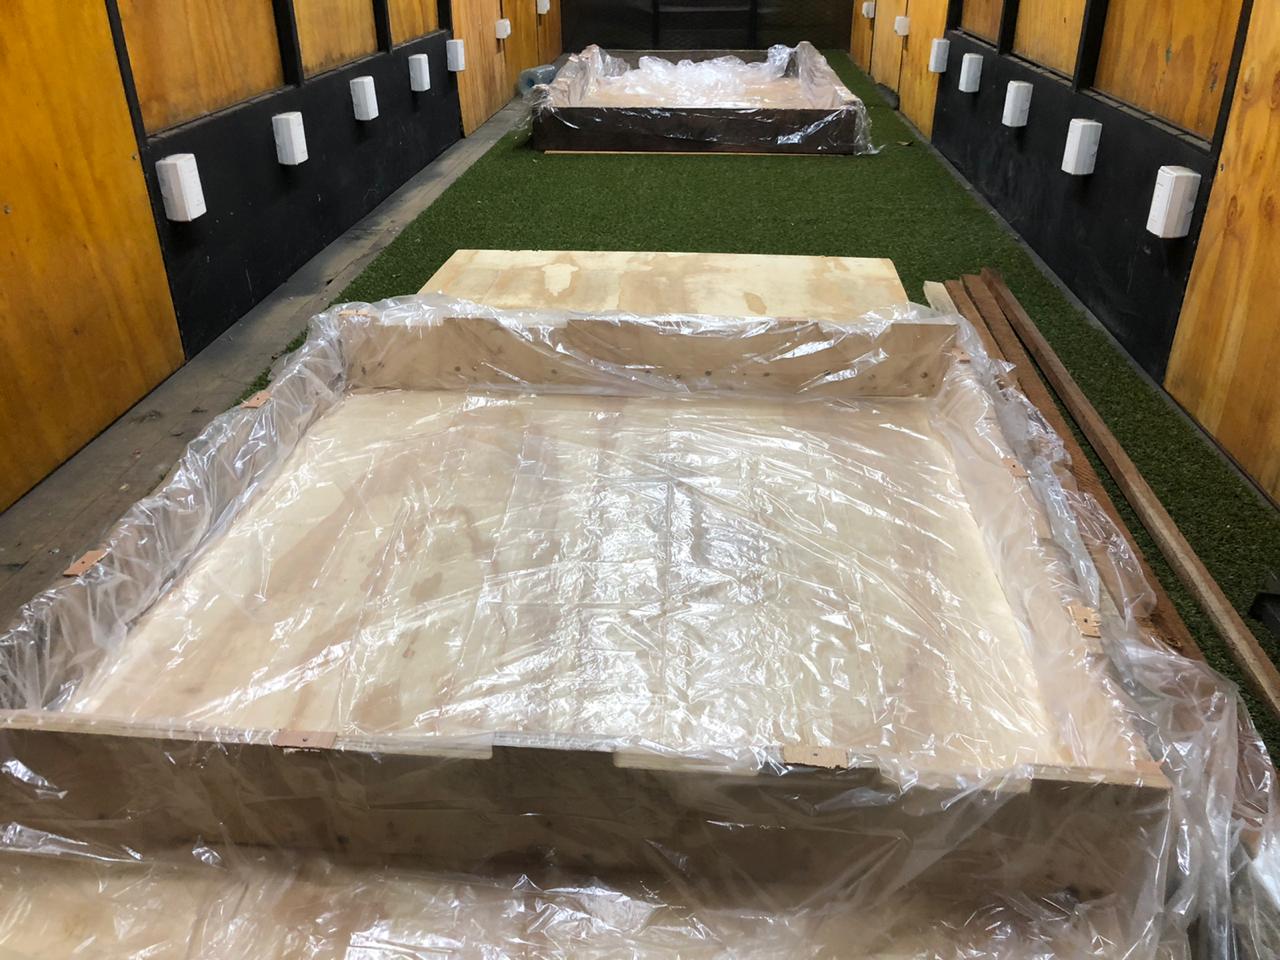
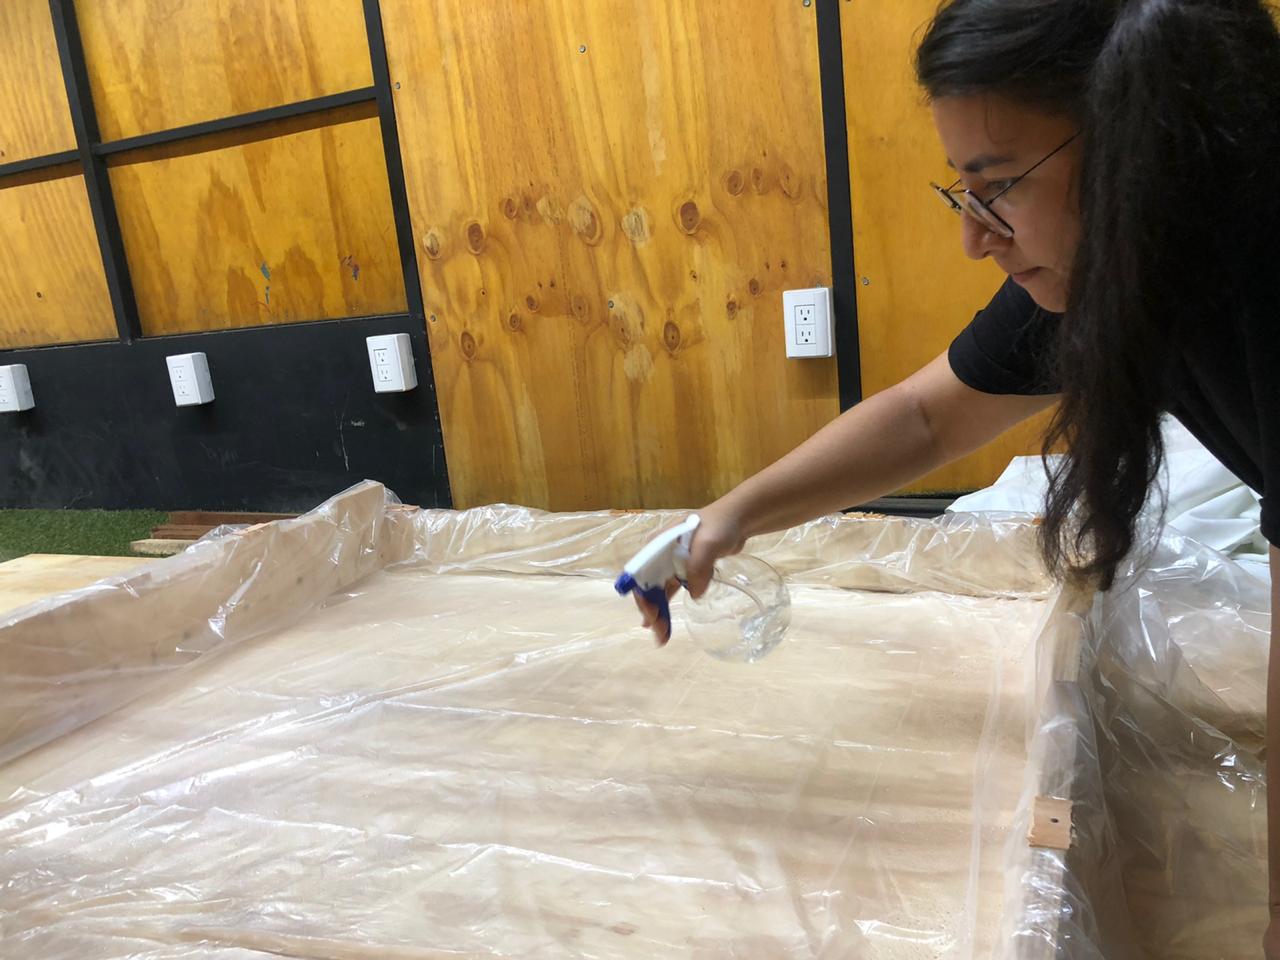
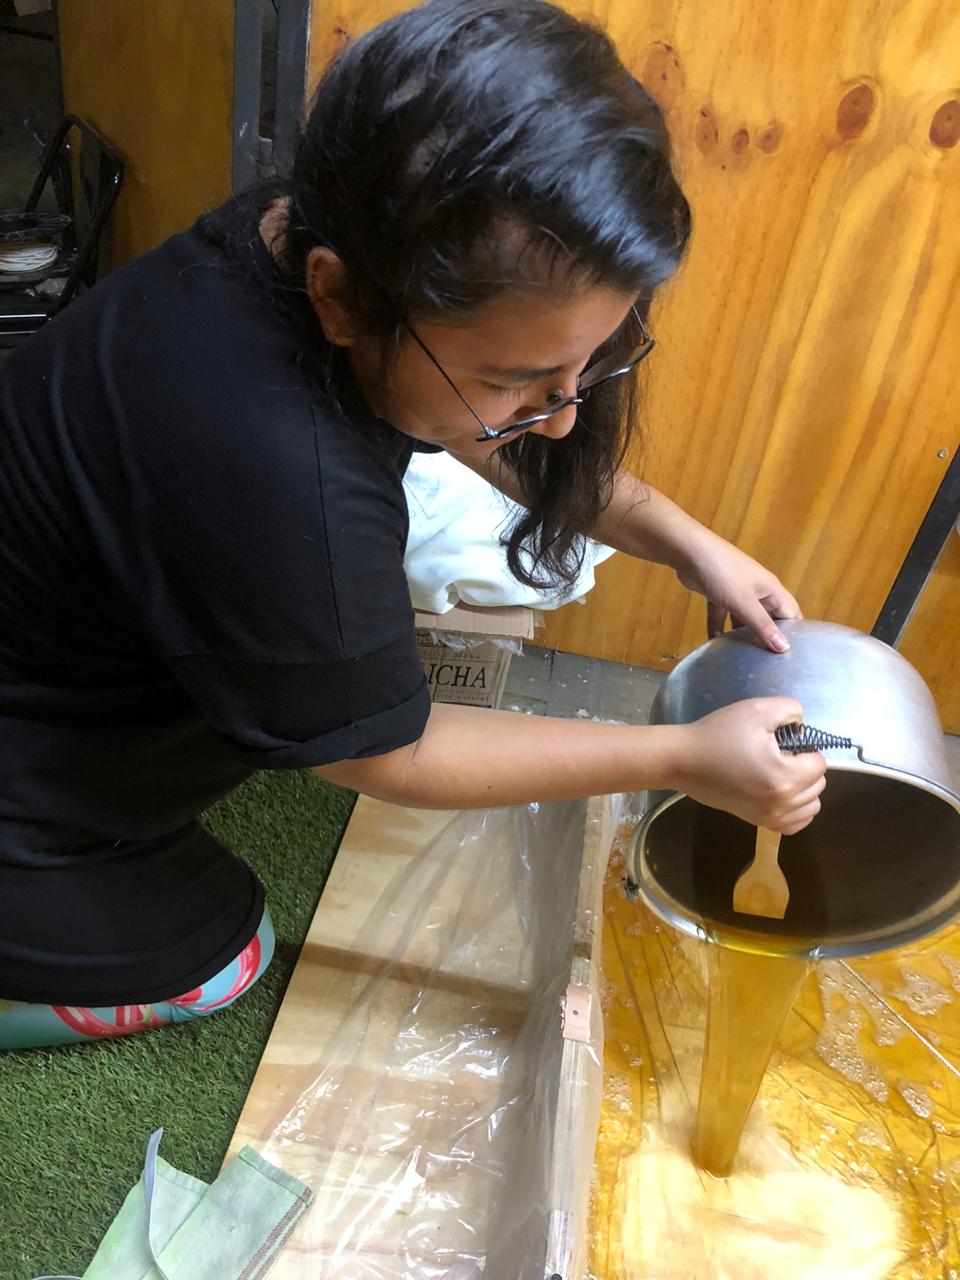
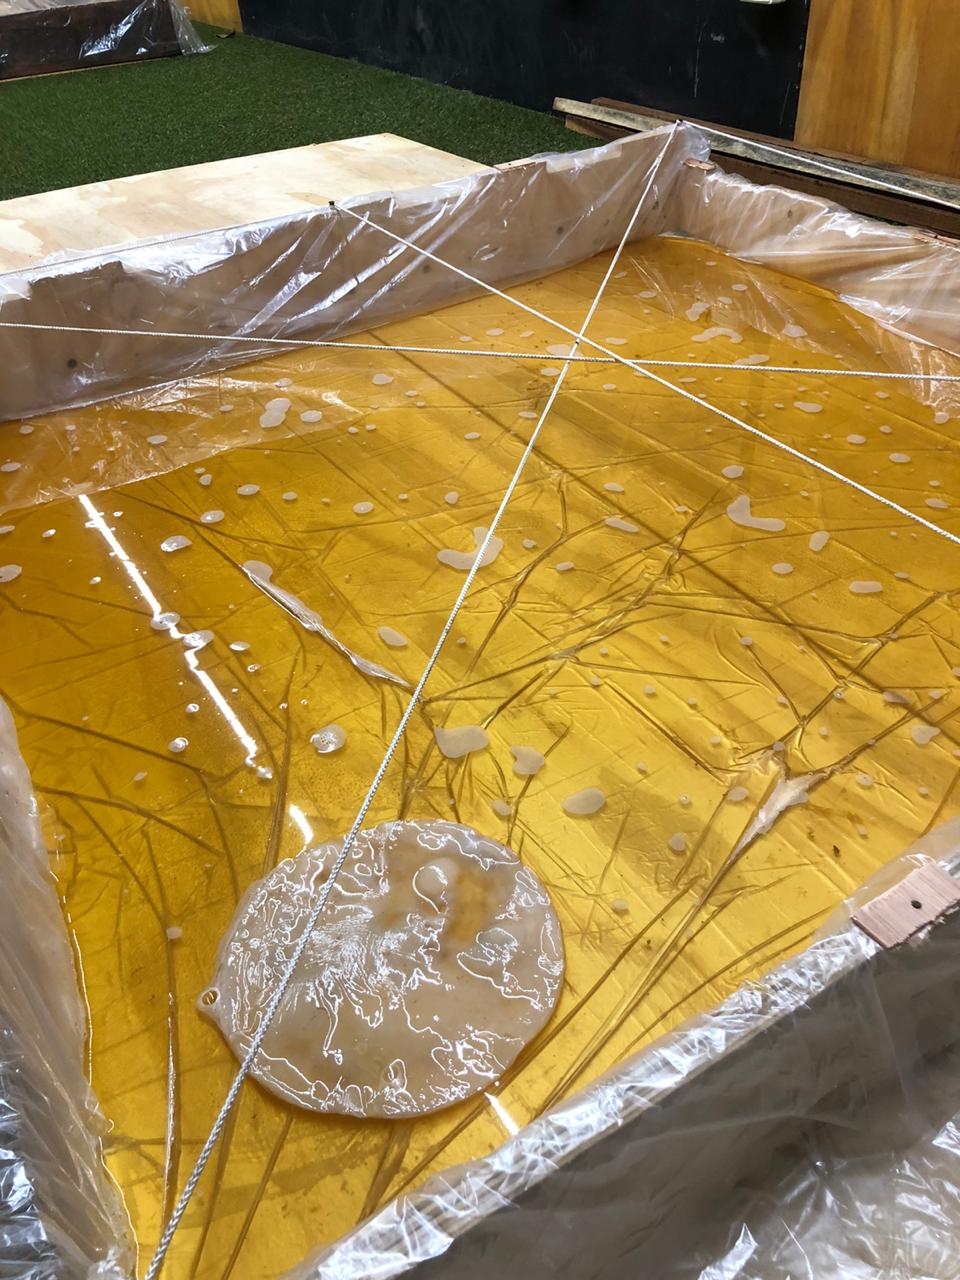
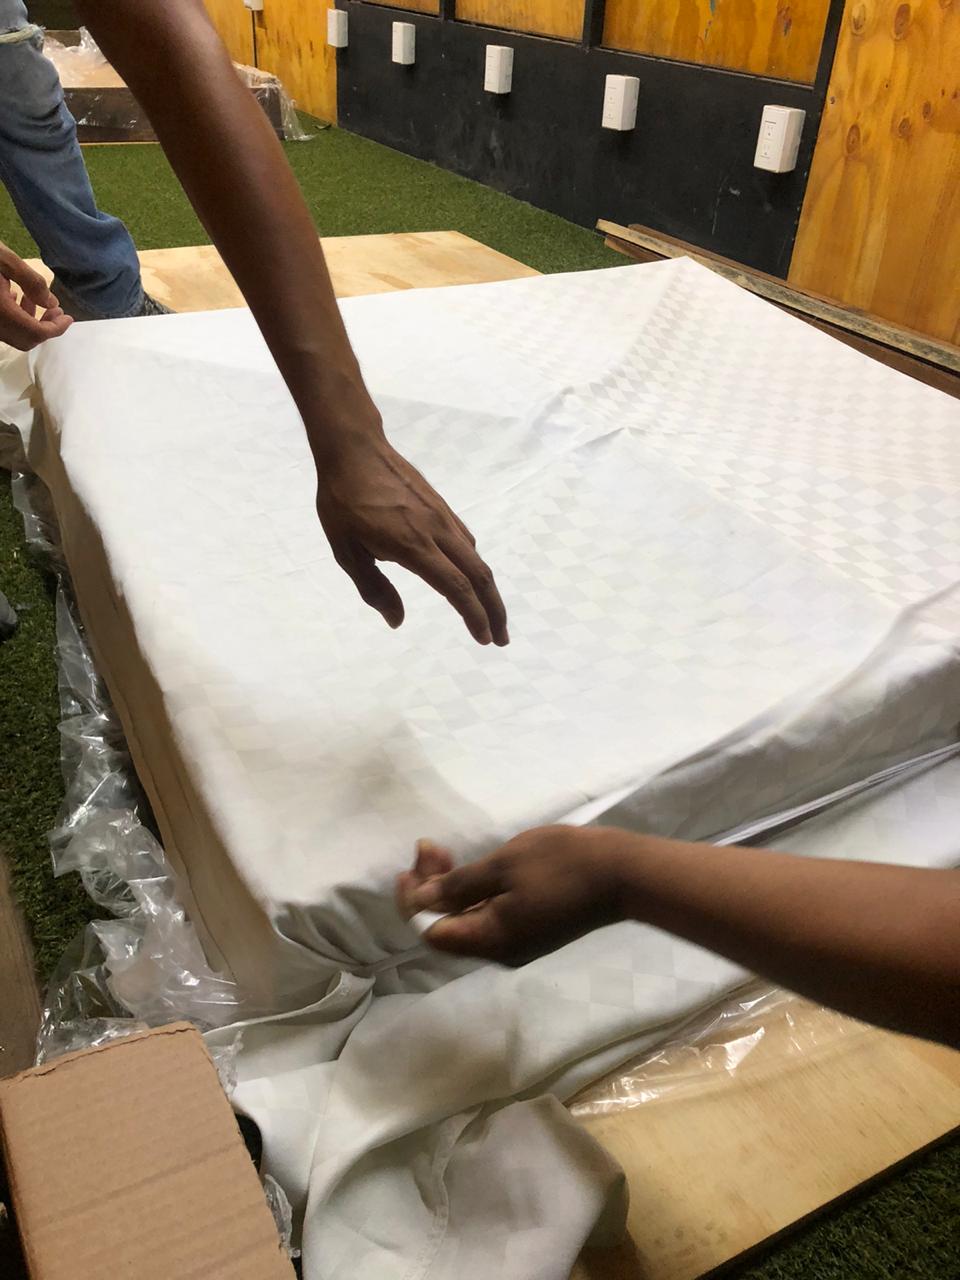
After I master the recipe, or at least this is what I like to think hahahahaha, I decided to grow a big one! First I wanted to grow one that is one meter by two meters, why? because this is the size of my laser cutter, but...... I realized that it was too expensive hahahaha so I decided to first start with one of one meter per one meter, if it works, after I can make more biger, and forever hahahaha honestly I'm doing it because I want to make some workshops about kombucha leather, so here we go...
First of all you will need a good place where to grow the kombucha, so, in my case, the Fab Lab Maya is too big and sometimes there is dogs, birds, bugs and once we found a rat hahahahaha so I have to make sure that the place is a good place. Lucky for me I have a big trailer inside the lab that we used to used as the Fab Lab Maya Móvil, but now is empty, so here inside is silent, is dark, and is the warmest place in all the lab, so it is perfect, the greenhouse of my baby Kombucha.
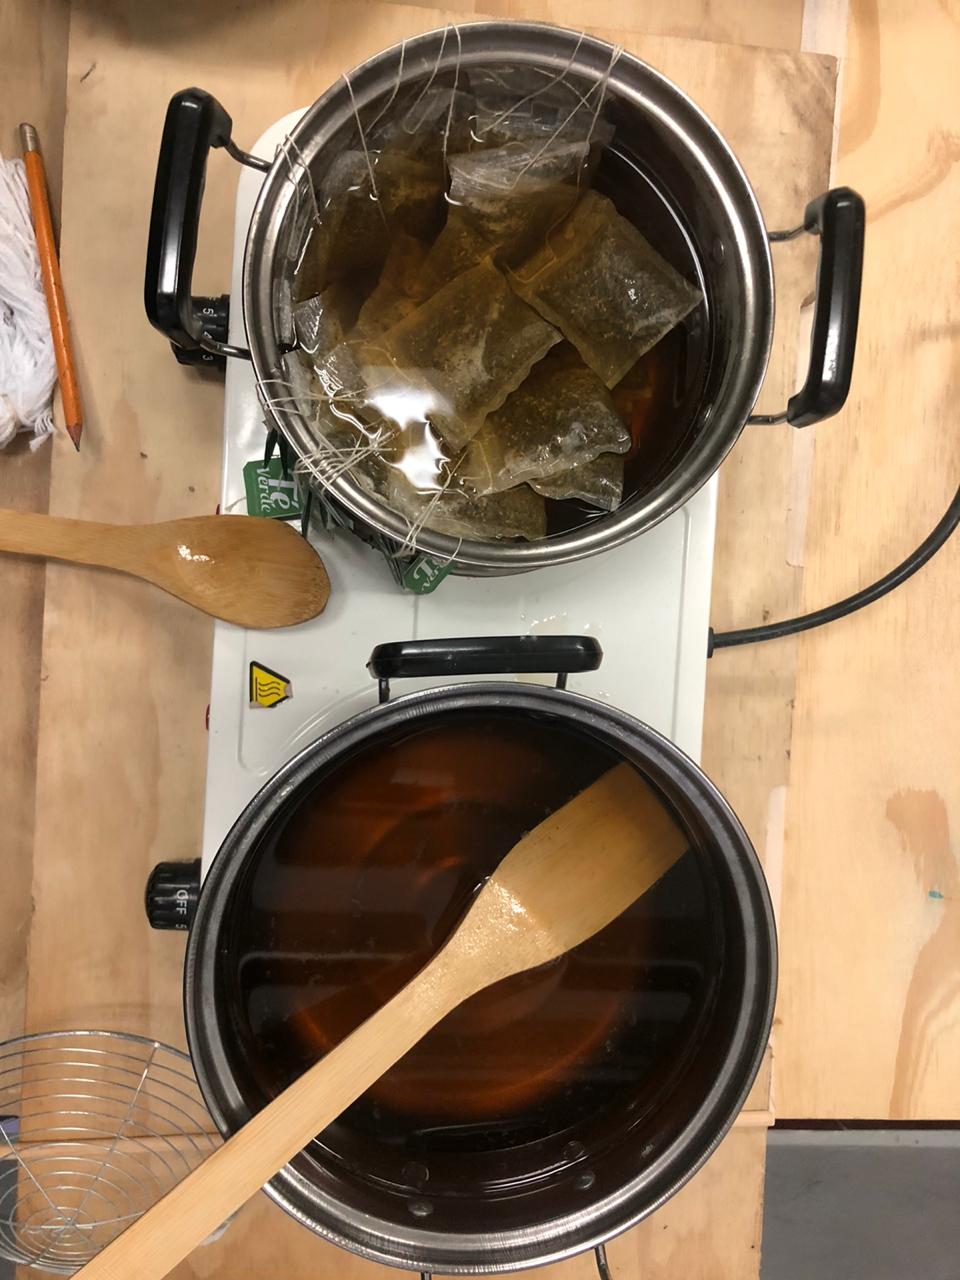
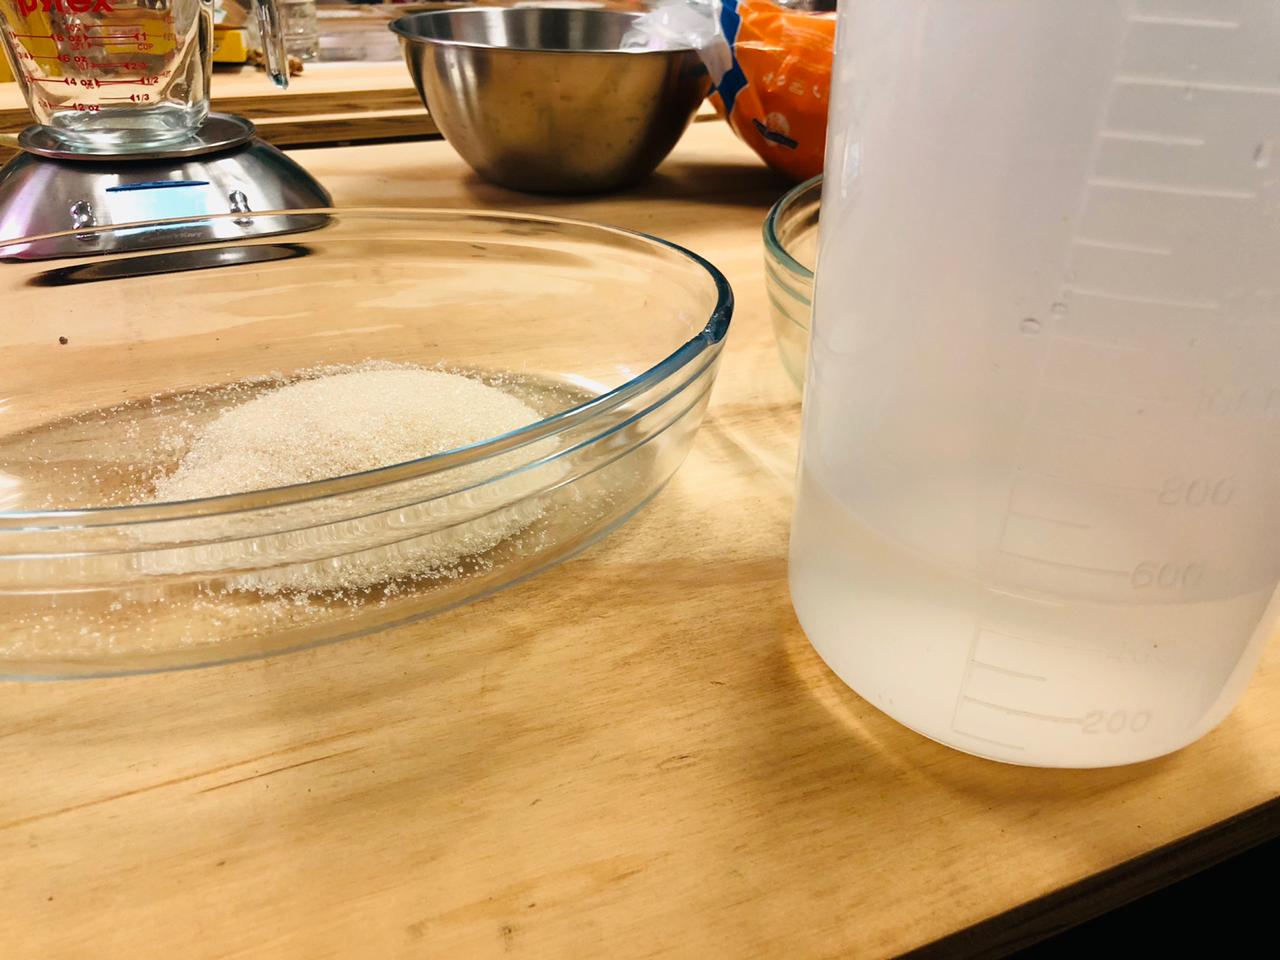
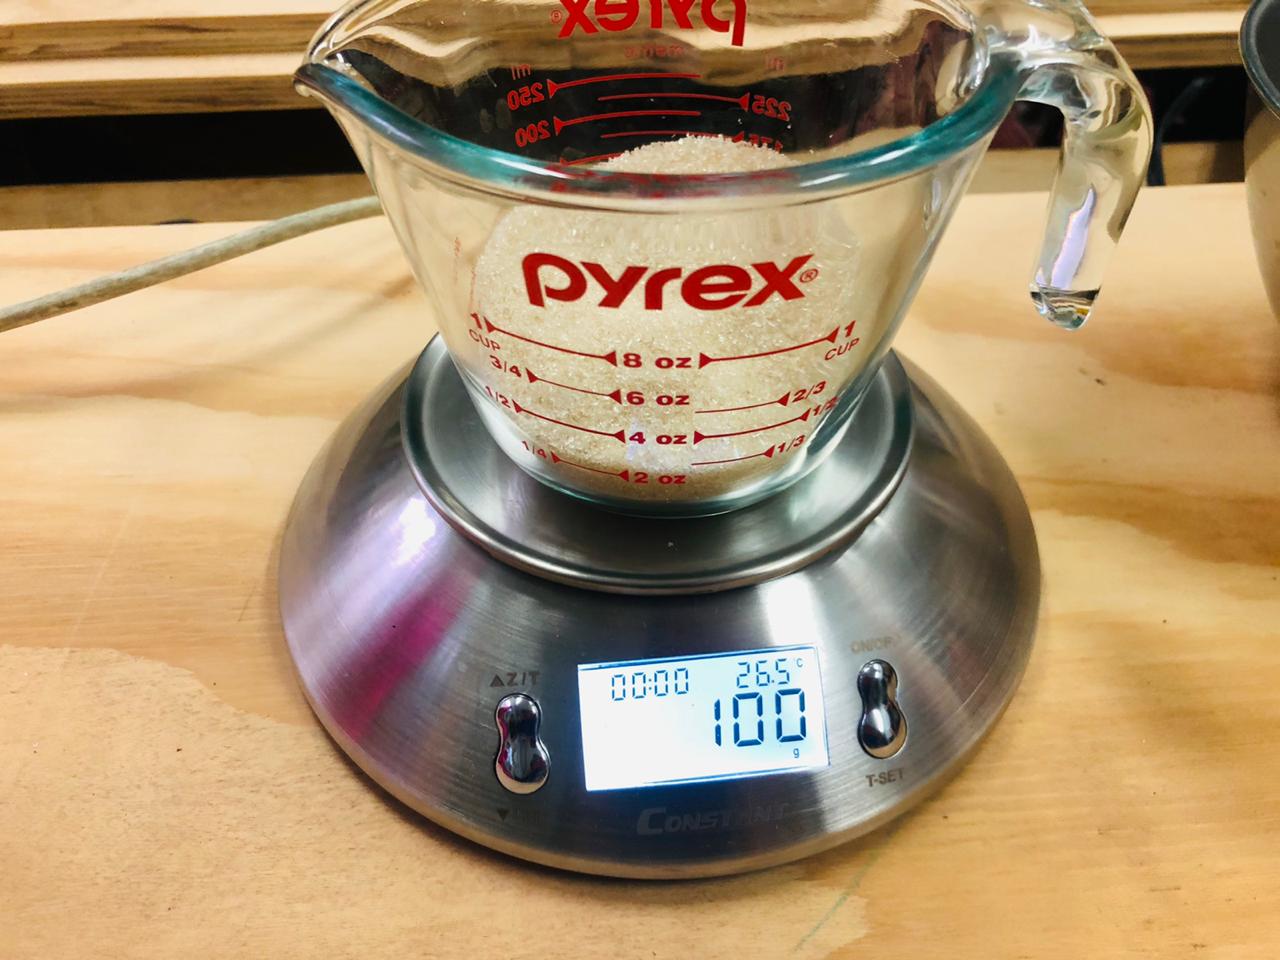
My recipe:
-
1 litre of water
-
250 gm of sugar
-
1 litre of Kombucha tea
-
5 bags of green tea
-
1 piece of scooby
Horrible texture from Trinidad Machuca on Vimeo.
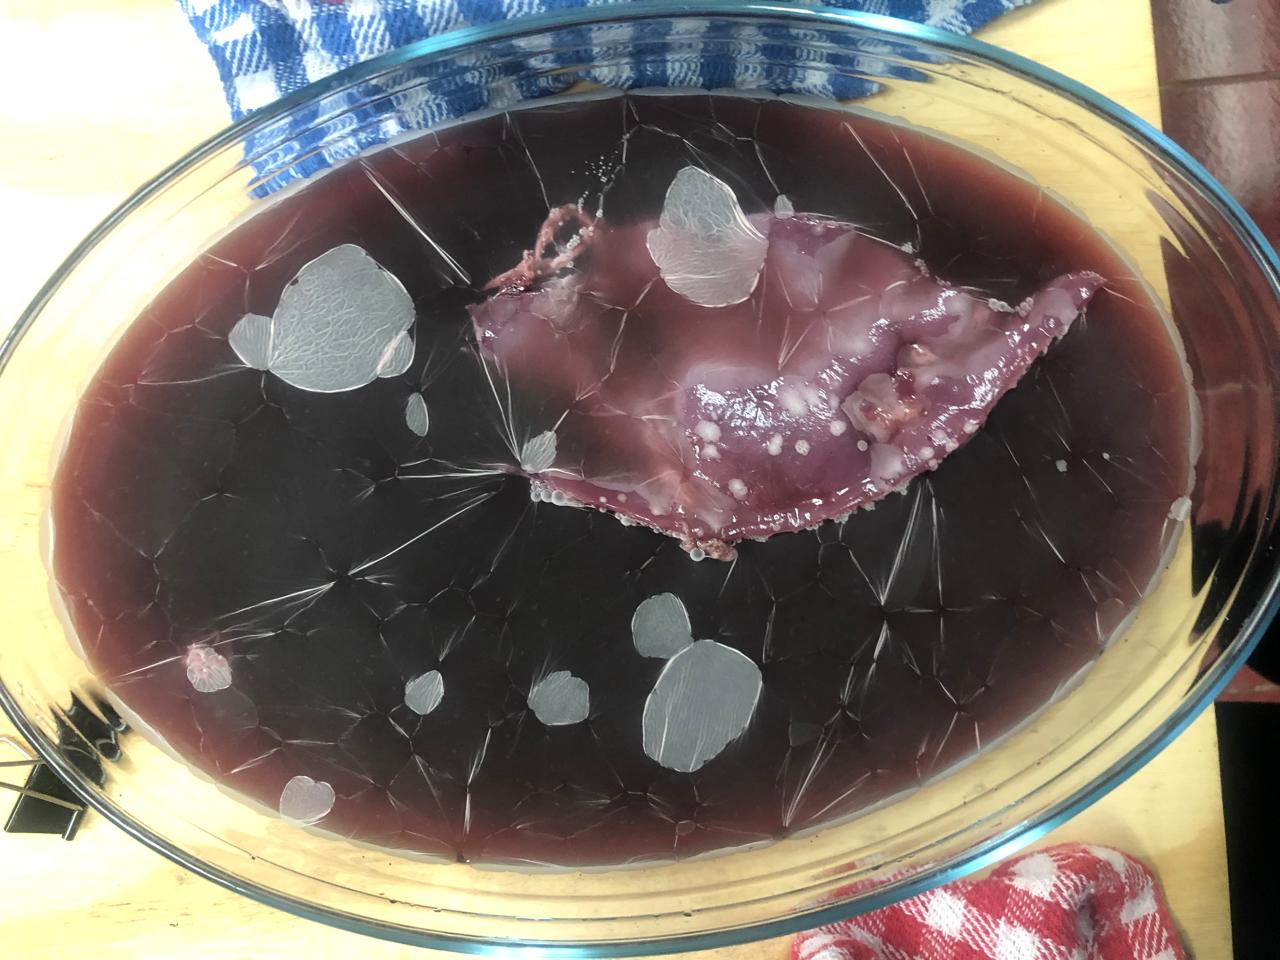
WINE SCOOBY
BEER SCOOBY
DRY SCOOBY
FISH SKIN
Soon...
MYCELIUM
Soon...
I WANT TO KEEP COOKING BIOMATERIALS!!!!!!!
IMPORTANT INFORMATION ABOUT THE ASSIGNMENT
LINKS
Recipies
- RECIPIES FROM MATERIOM
- SECREST OF BIOPLASTICS BY CLARA DAVIS FROM FAB LAB BARCELONA
- BIOPLASTIC COOKBOOK BY FABTEXTILES
Tutors
- Adriana Cabrera General Tutor
PERSONAL NOTES
- Problem with frames Before to start the assignment, I first did my frames, but I had a lot of doubts about the size of the frames because, I didn't know how small or how big they should be, I mention this is because it was the first time I made bioplastics, so, I didn't know if the material would evaporate in the stove, or what is the perfect thikness for every bio material. At the end I experiment a lot, some times I had a lot of liquid, and sometimes I had very little, but it's ok, is about experimenting I have fun and I love it! hahaha I want to make more bioplastics for sure.
NECESSARY MATERIALS FOR THIS ASSIGNMENT
| Qty | Description | Price | Link | Notes |
|---|---|---|---|---|
| 0 | ---- | 00.00 $ | ----------- | USD |
| 0 | --- | 00.00 $ | ----------- | USD |
| 0 | ---- | 00.00 $ | ----------- | USD |
| 0 | --- | 00.00 $ | ----------- | USD |
| 0 | ------- | 00.00 $ | ----------- | USD |
| 0 | ----------- | 00.00 $ | ----------- | USD |
CLASS
LEARNING OUTCOMES
- Master techniques for growing or crafting personalised materials
- Documentation: Anyone can go through the process and use the recipes
- Final outcome: create a material or color chart
- Originality - Aesthetics: Has the design been thought through and elaborated
STUDENT CHECKLIST
- [] Produce at least one crafted or grown material
- [x] 1. Crafted material - explore the different recipes and understand how to adjust them based on the ingredients
- [x] 1. Grown material - explore the different recipes and understand how to adjust them based on the ingredients
- [] Document your recipes, the ingredients and process and if there have been changes, document your unexpected discoveries
- [] Name your materials, classify them by typology and display them in a systematic order of samples.
- [] Submit some of your swatches to the analog material library of your lab. (20cm*20cm approx)