1. State of the art, project management and documentation
- Build a documentation website describing yourself and your motivation for the textile-academy, including your previous work
- Upload the documentation to your project page on class.textile-academy.org
- Add references and research based on the topic of your interest
- Learn how to upload images, videos, references and how to use markdown and gitlab
- EXTRA POINT Customize your website and document how you did it
Setting my documentation process
This week I worked on setting up my website and the documentation process.
In order not to get into an endless inception, I will not document how I documented the making of my website. I will limit this documentation into how I made the first page of my website, about me, my interests and my previous works
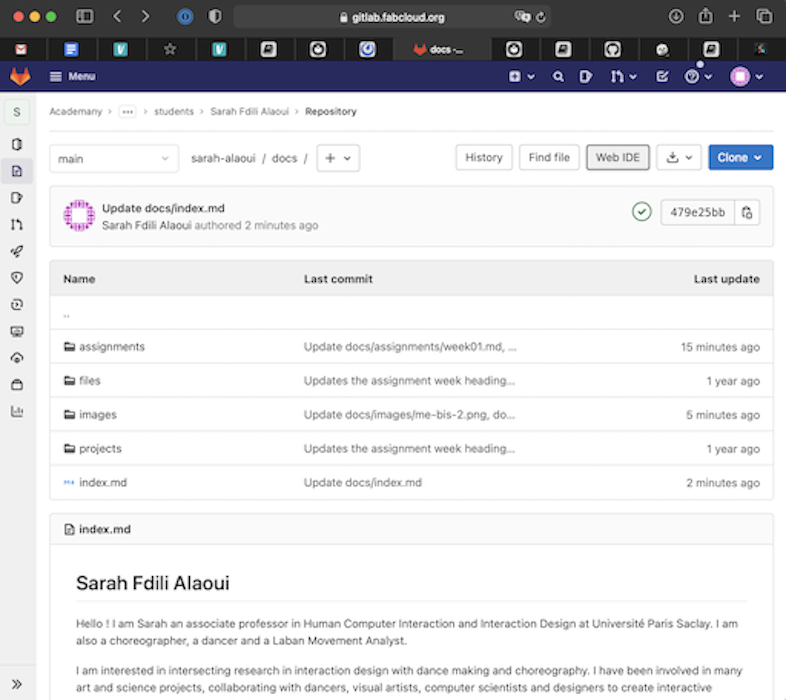
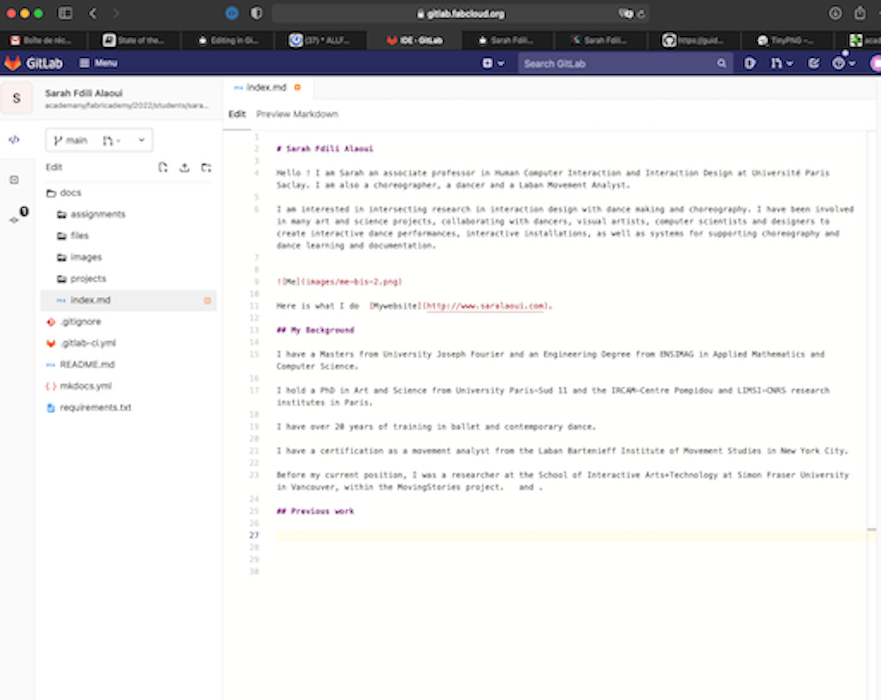
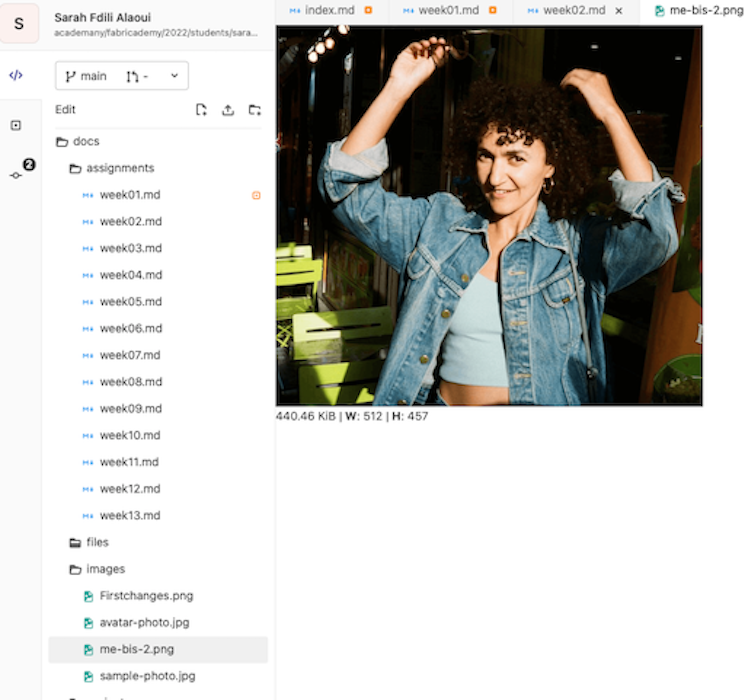
The first step I do is to use the web IDE on Gitlab:
The second step is to check the syntax of markdown on the following website https://guides.github.com/pdfs/markdown-cheatsheet-online.pdf
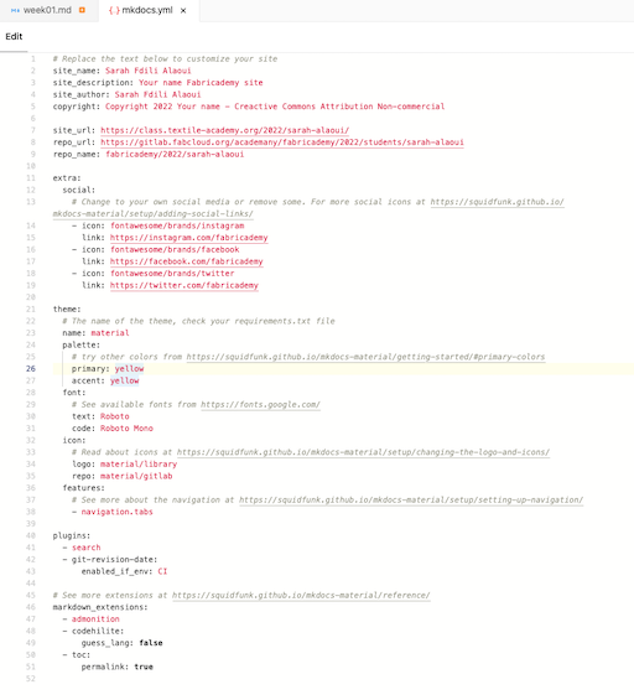
Changing color
I make an easy color change as well as put my name on the website onto the mkdoc.yml
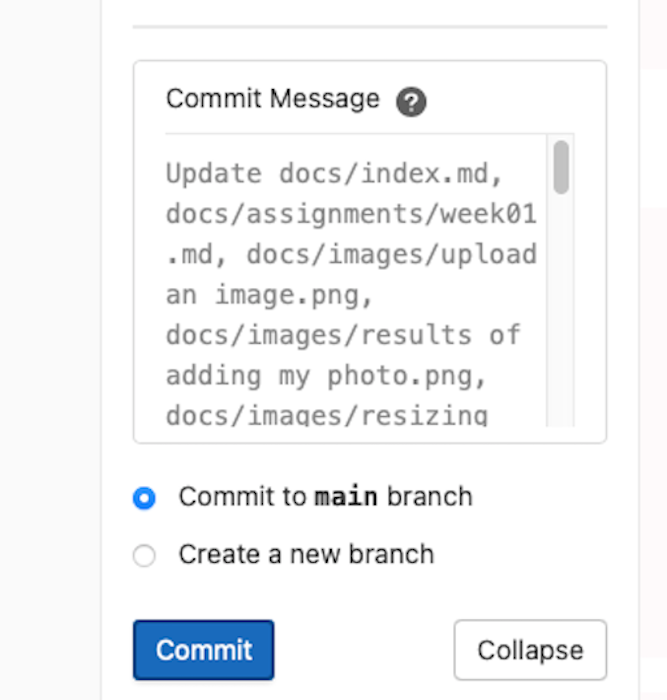
Commiting and checking the website
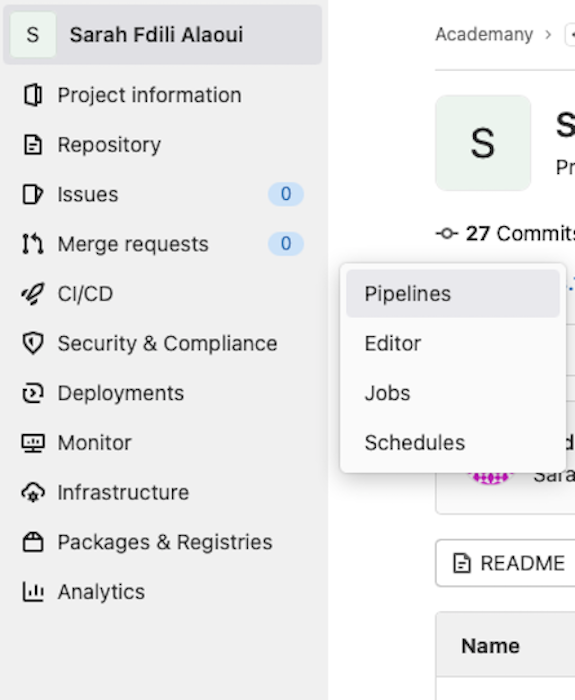
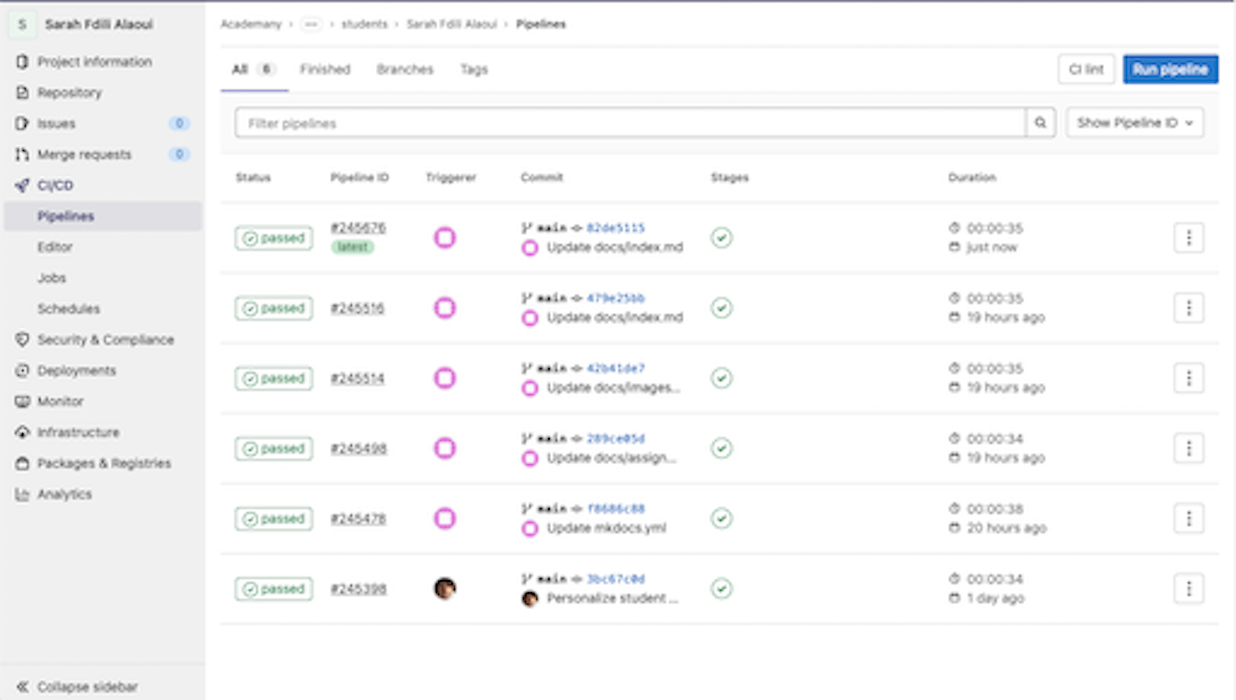
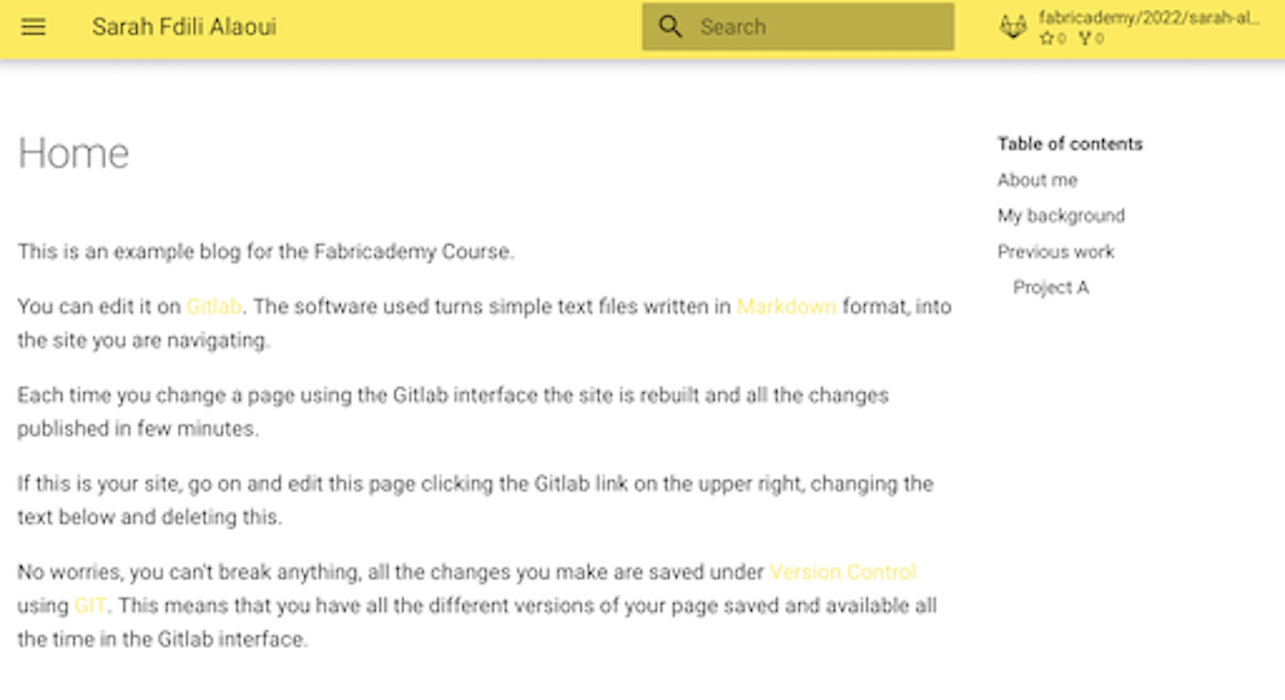
I commit the changes by pushing the commit button and then commit to the main branch. I then check the pipeline of the commit in my main project by going on to CI/CD then pipelines. I see that all is good with the commit and no conflicts are found. I check that all went well and the website is updated.
| Commiting | checking updates |
|---|---|
 |
 |
 |
 |
Adding text
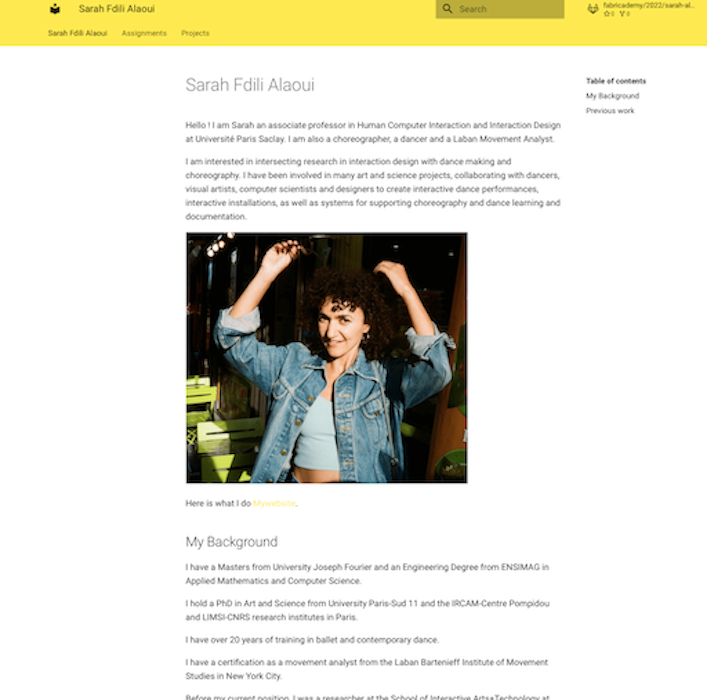
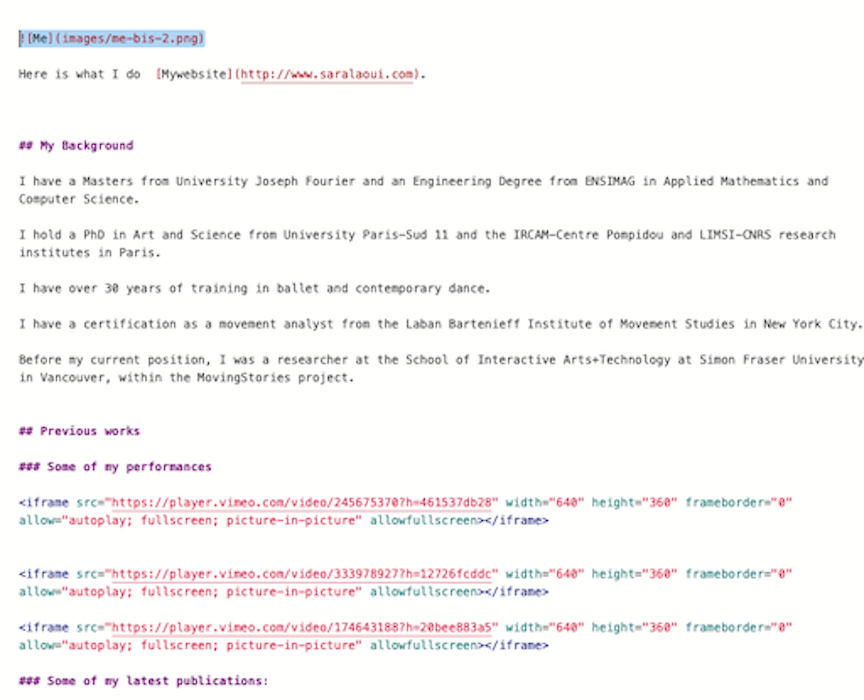
I write a description text as well as some sections to organise it in the index.md file as such:
Adding Images
In order to add an image, I first resize it. I pass it through the website https://tinypng.com
Then I resize the number of pixel via the Preview application. I decided to always keeping the same width for all my images to 512 pixels, for clarity reasons.
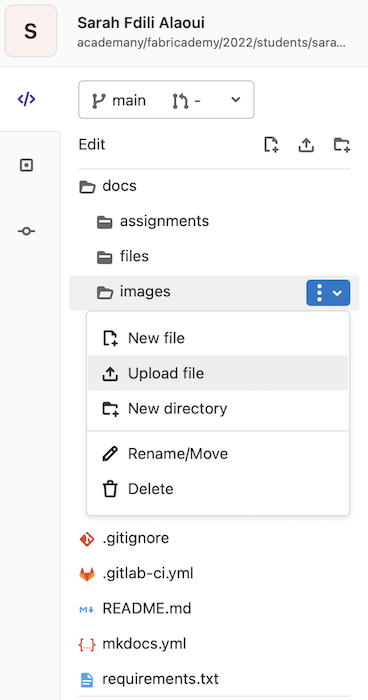
I upload the image by clicking on the right dots and click upload. I check the result of adding the image into the image file, it looks ok. I check how that went in the website after I commit the changes. It looks ok.
| Image resizing | downloading |
|---|---|
 |
|
 |
 |
Embedding videos
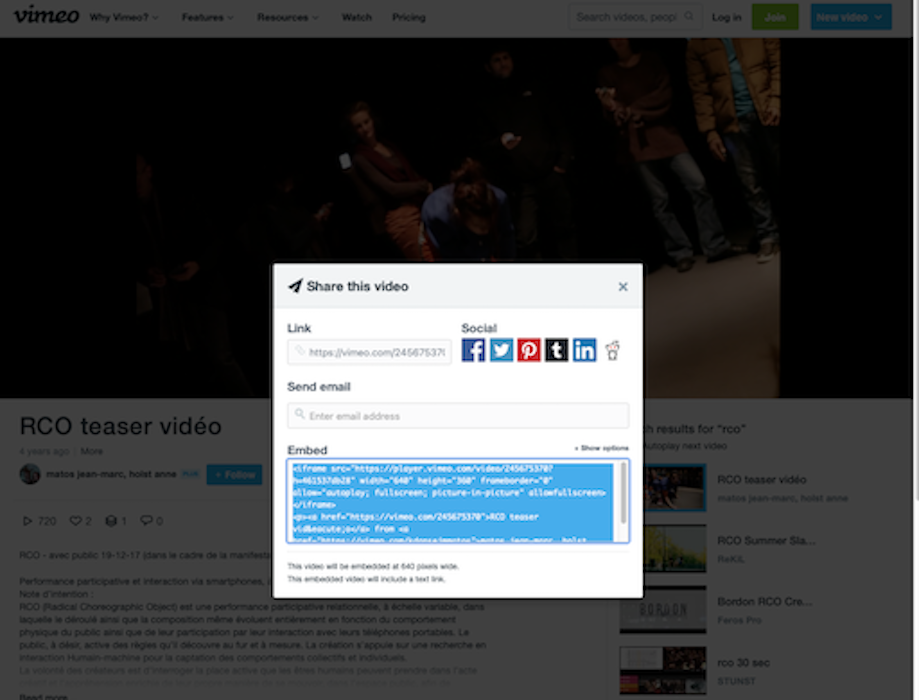
I embed the videos into my "previous works" by going to vimeo and clicking on the "share button" and then copying the code under "embed" and pasting it into my index.md file:
Adding links
I add some links onto my index.md file by adding the following code onto my page
For each changes that I add to the page, I commit and I check the pipeline and the resulting changes on the website, to make sure everything works as intended.
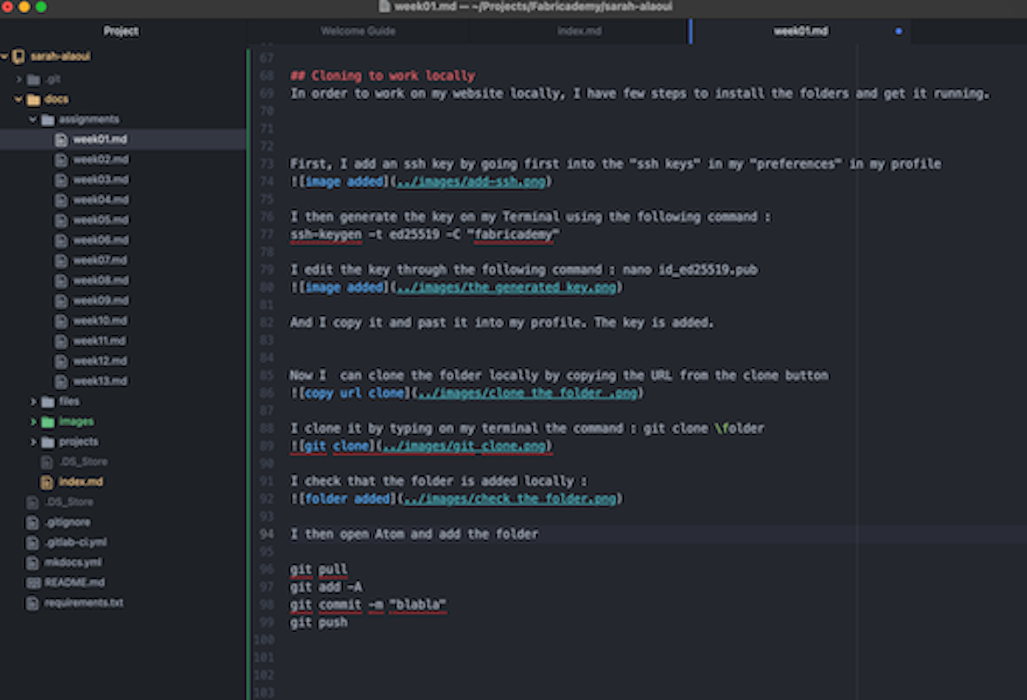
Cloning to work locally
In order to work on my website locally, I have few steps to install the folders and get it running.
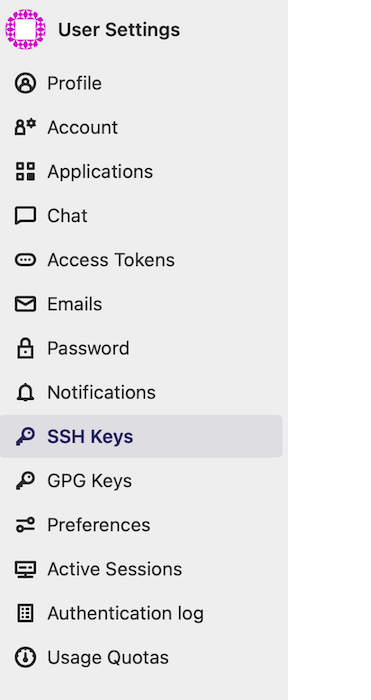
First, I add an ssh key by going first into the "ssh keys" in my "preferences" in my profile
I then generate the key on my Terminal using the following command :
ssh-keygen -t ed25519 -C "fabricademy"
I edit the key through the following command :
nano id_ed25519.pub
And I copy it and past it into my profile. The key is added :rocket:
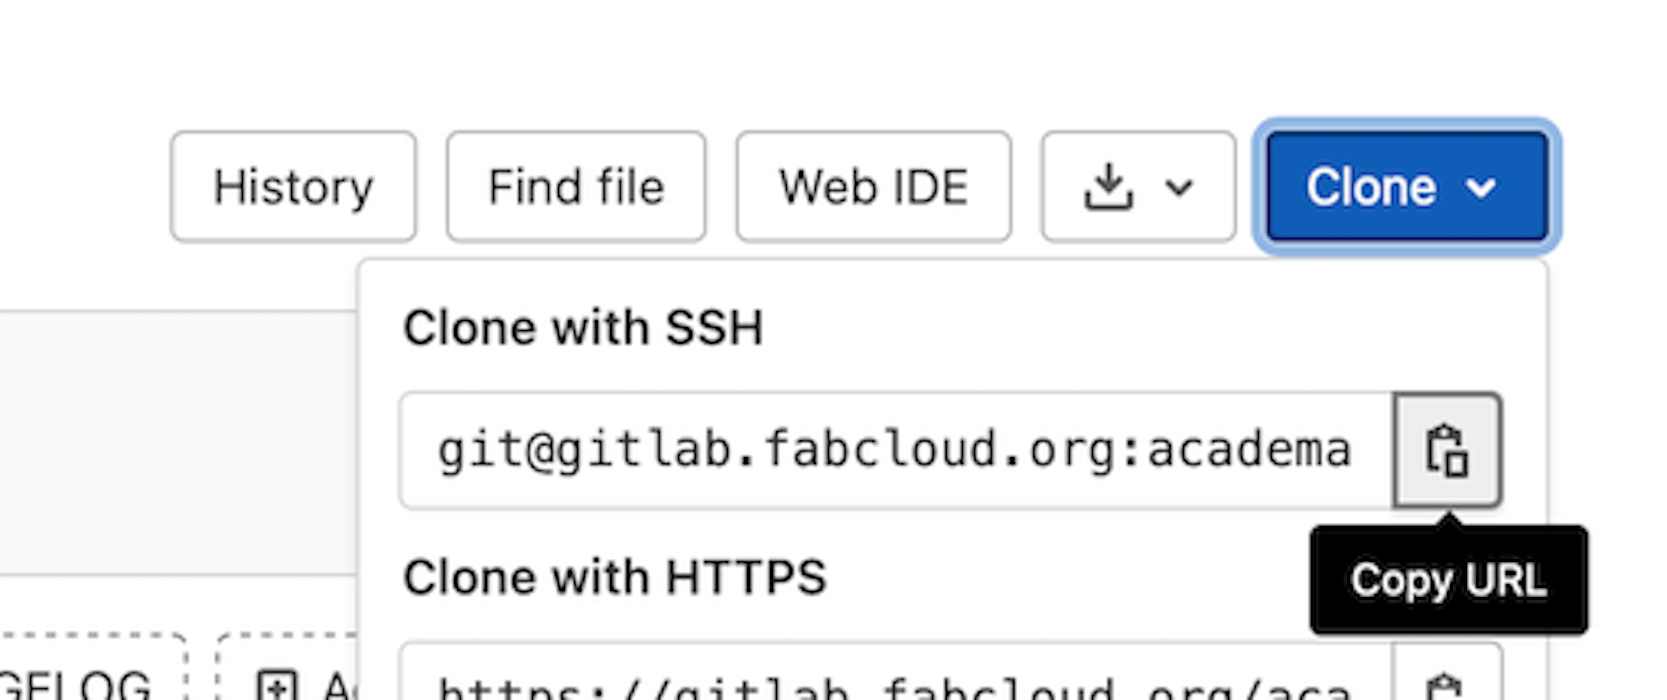
Now I can clone the folder locally by copying the URL from the clone button
I clone it by typing on my terminal the command :
git clone URL
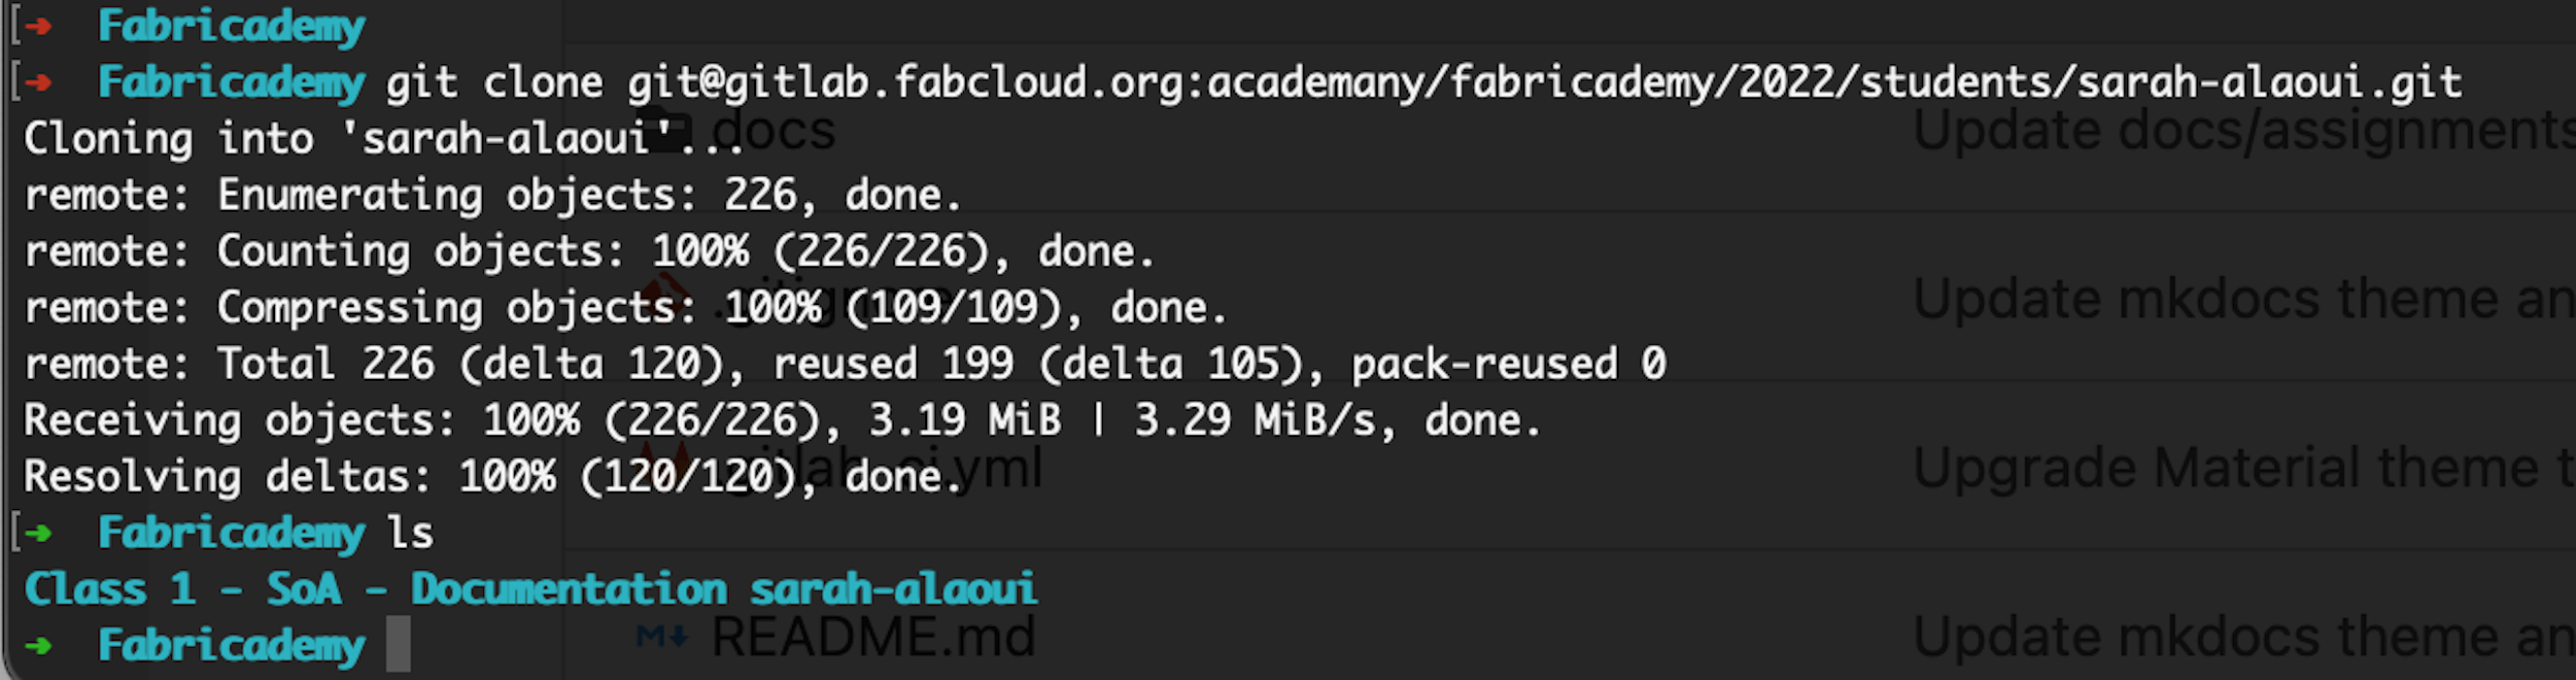
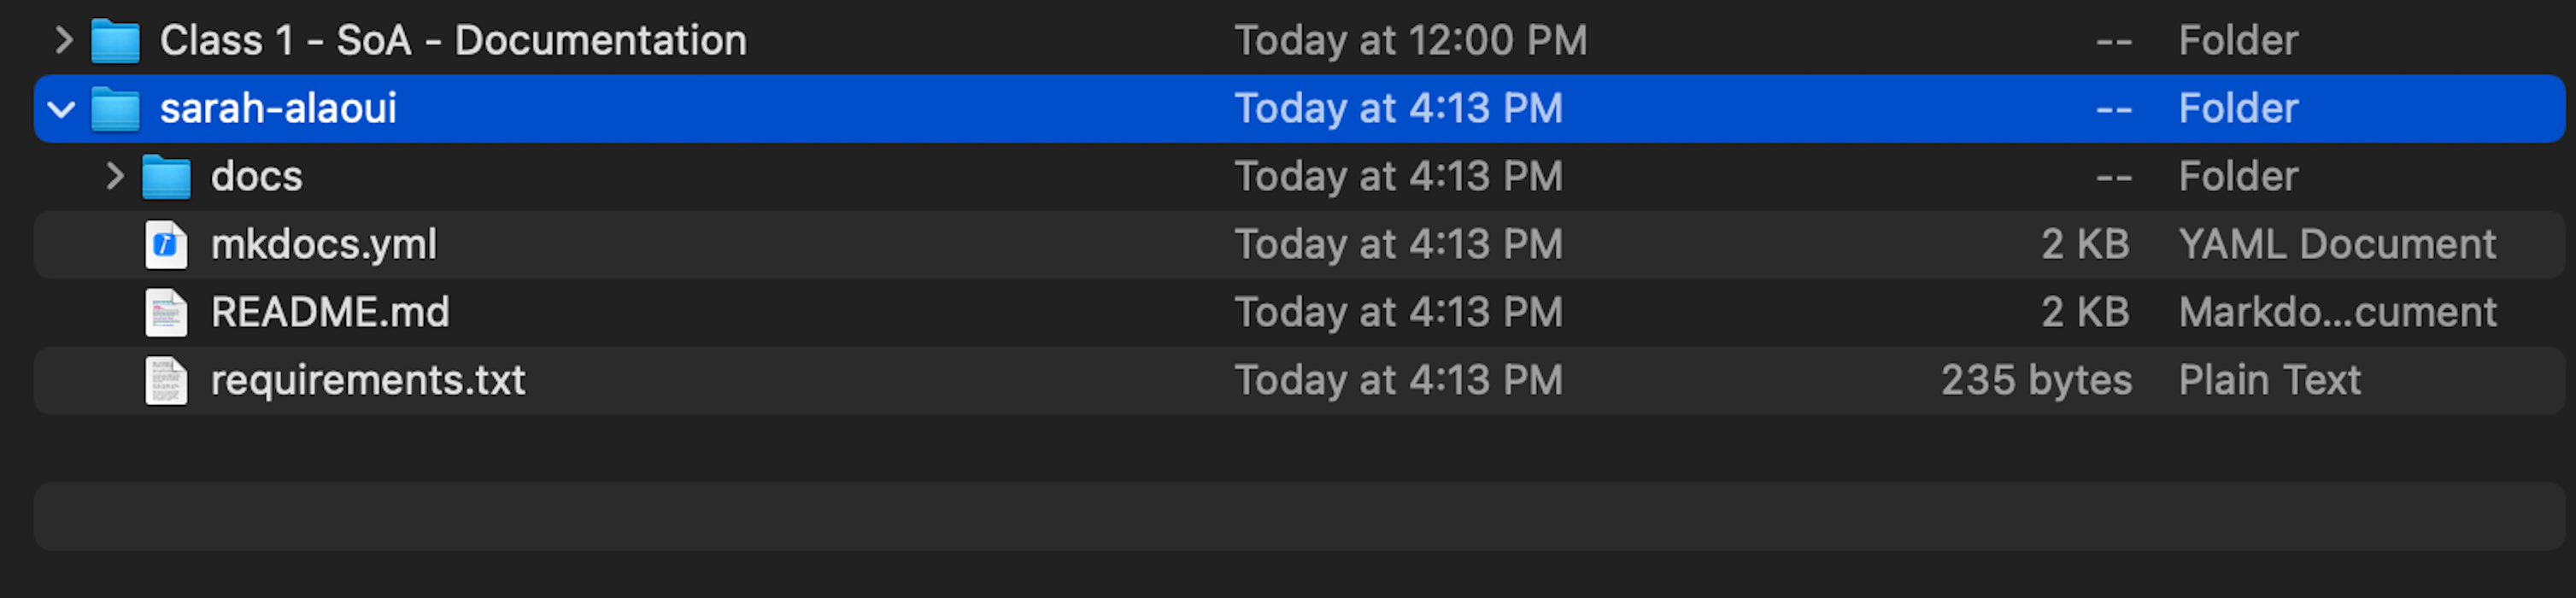
I check that the folder is added locally :
I then open Atom and add the folder and I can start to make changes locally.
In order to pull the changes into my github, I run the following commands:
(git pull) - But no changes have been made on the web IDE.
git add -A
git commit -m "comment on what has changed"
git push