10. Open Source Hardware - From Fibers to Fabric
ASSIGNMENT WEEK10
- Research and document existing fabrication methods, machines and industries , add references and sketches of the machine and the chosen process
- Design and document the files of the machine, machine hack or tool and fabrication - assembly process
- Document the schematic and the programming code (if any)
- List the materials: electronics, materials amount other (references of the components)
- Design, create and document a final outcome, a sample project of your process
- Make a small video of the machine
- Create an interface for controling your machine
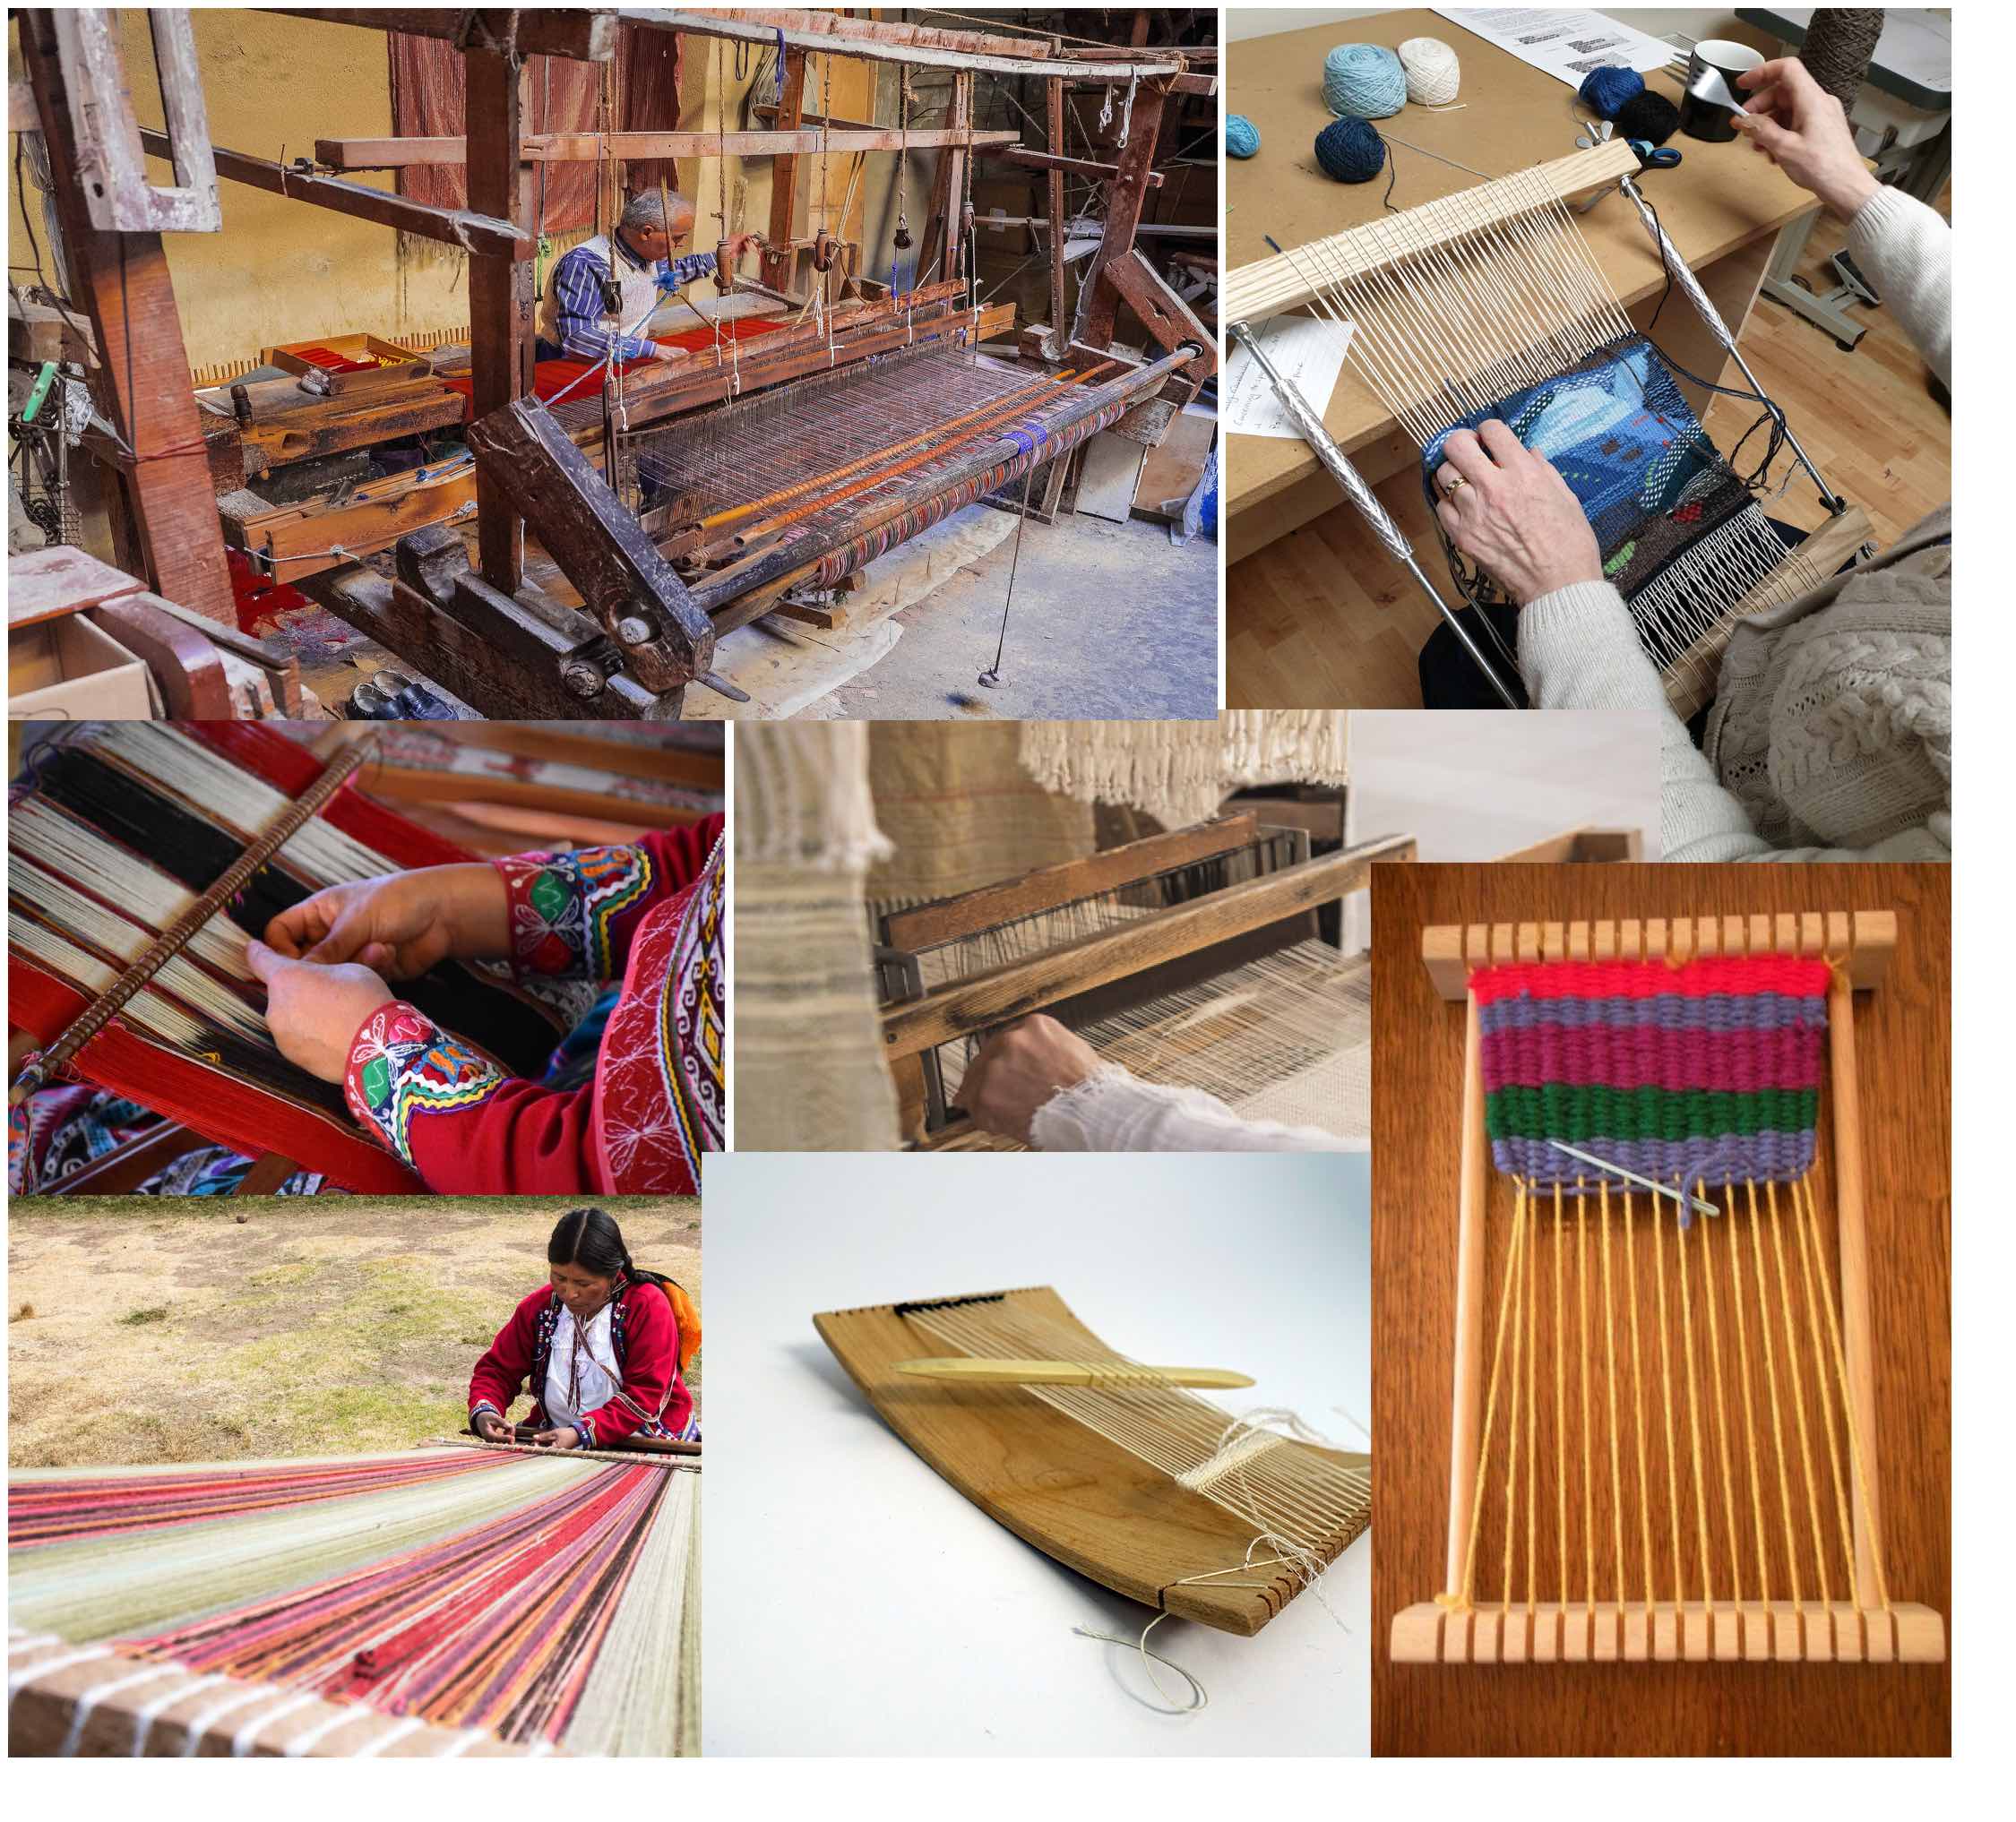
Inspiration
I am very inspired by the possibility of designing a machine that is a loom, to practice weaving. I am interested in manual or computational looms. Some of the materials that inspire me within the history and relationship to that craft can be viewed here:
Design used of the machine
I have adapted and reproduced a loom that is available in the following LINK.
The process is quite simple and can be summurized in the following diagrams.
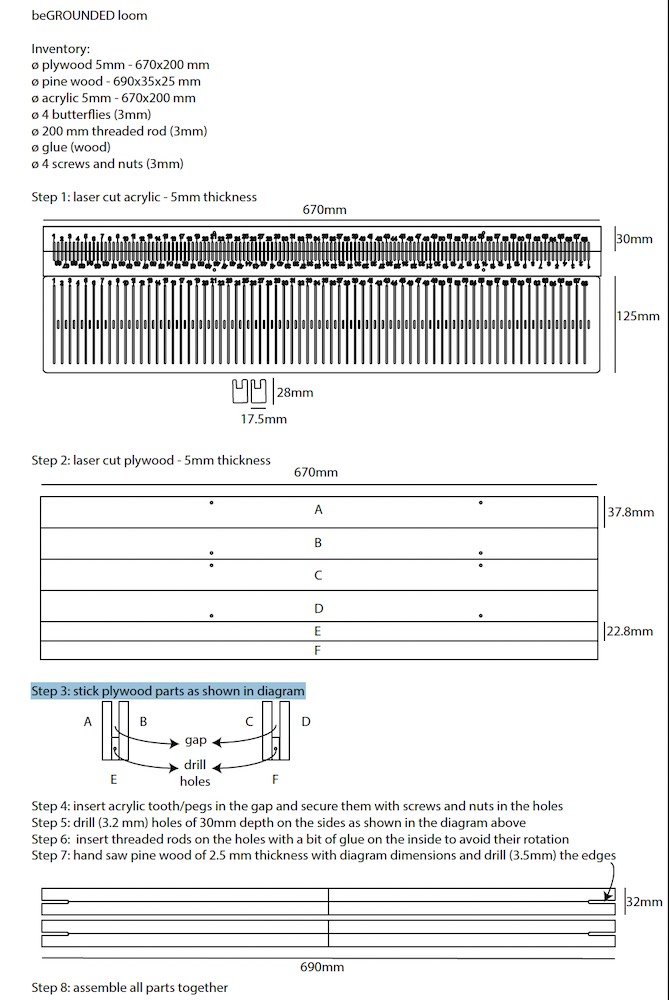
The schematic of the cutting sheets and parts
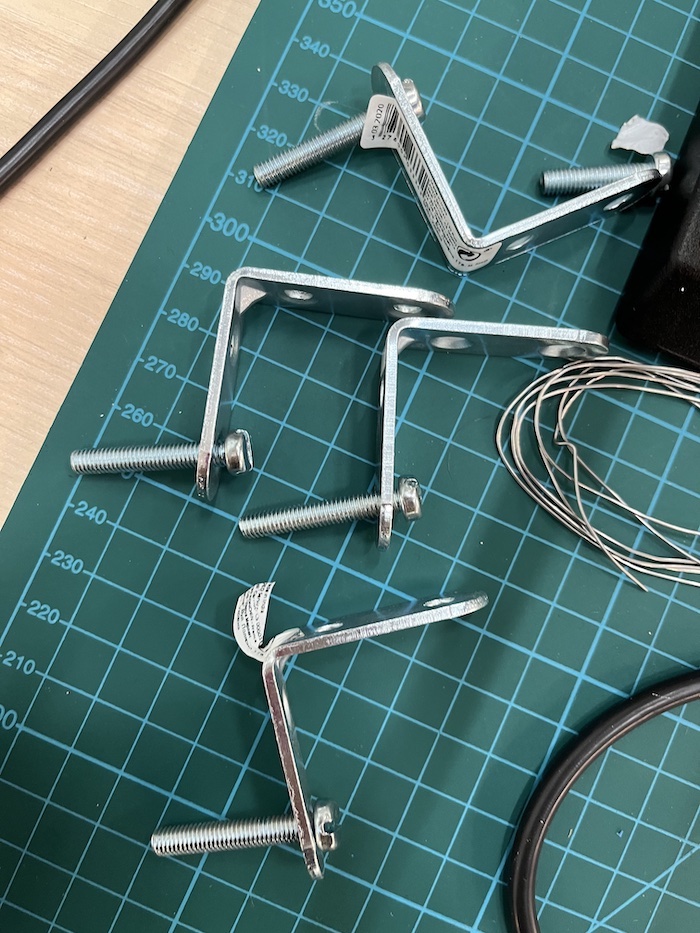
List of material
- plywood 5mm - 670x200 mm
- 2 beams of 25mm length and width
- acrylic 5mm - 670x200 mm
- 4 corner attachments
- 8 screws
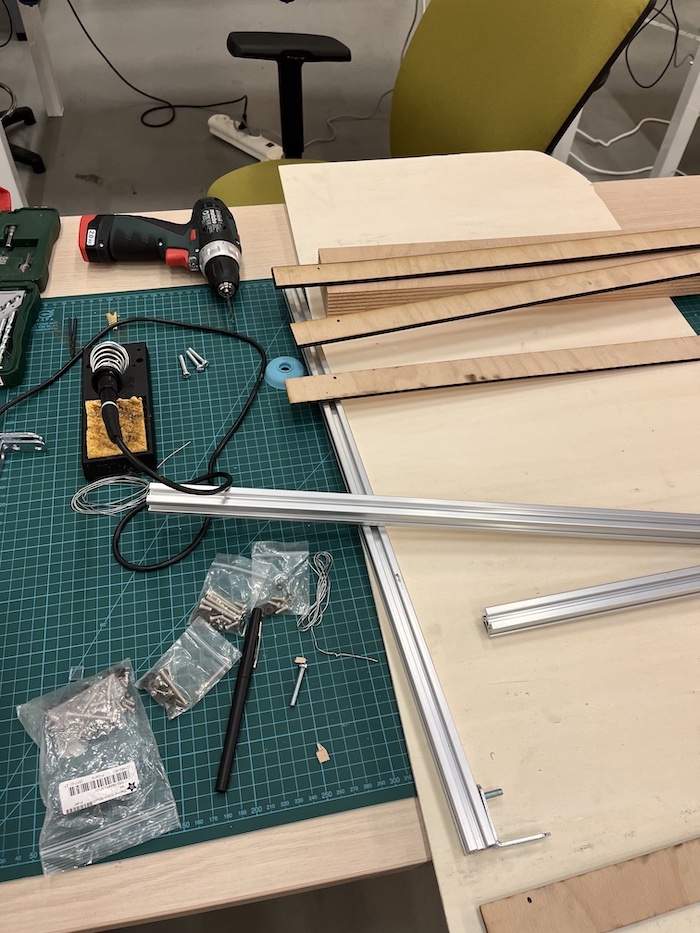
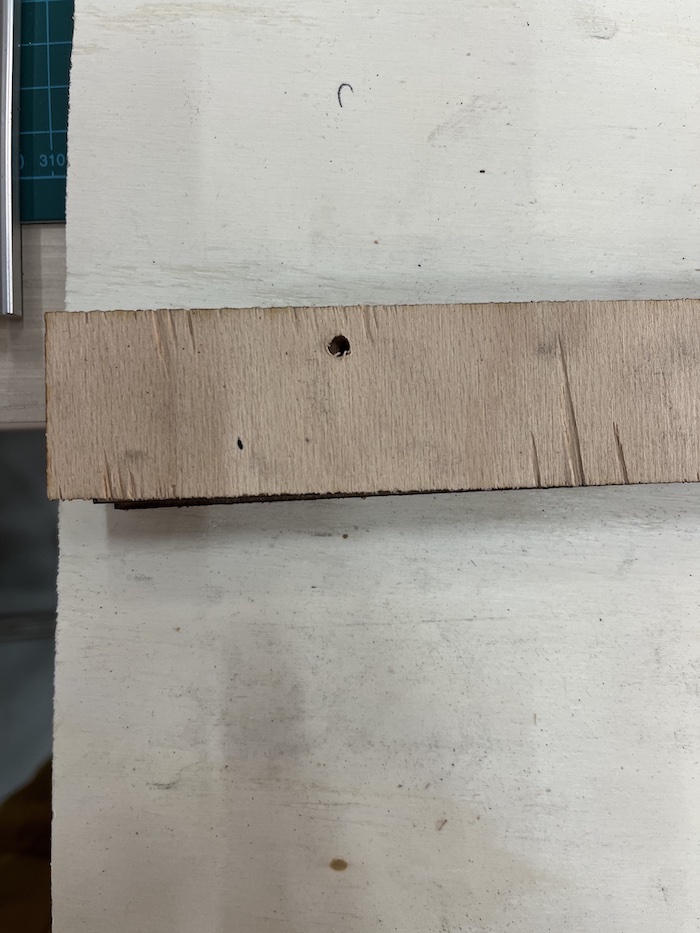
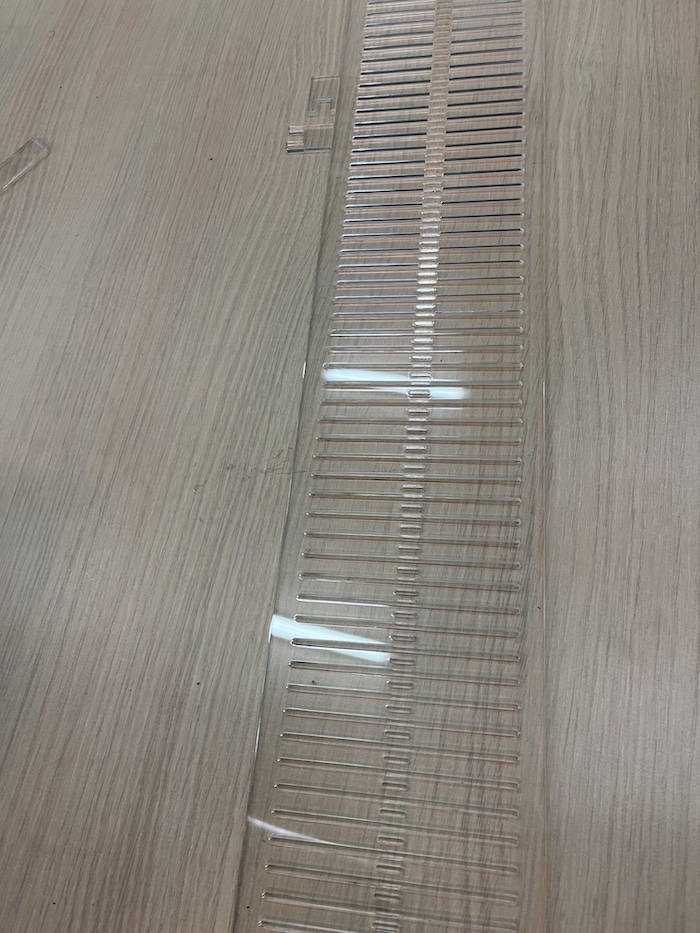
Step 1 : laser cut the plywood - 5mm thickness
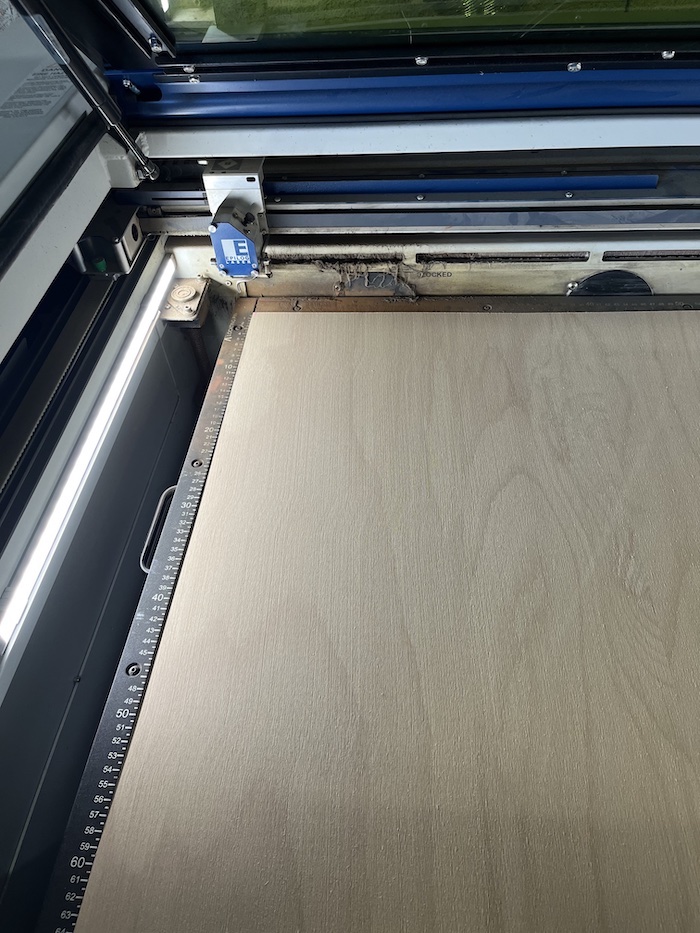
I laser cut 4 pieces of wood of 670mm x 37.8mm.
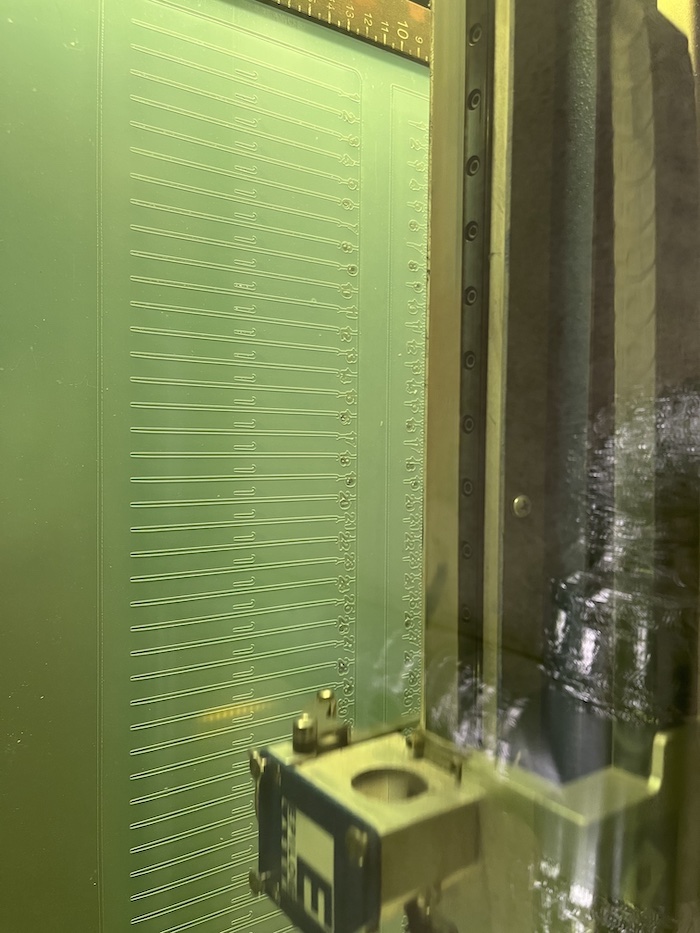
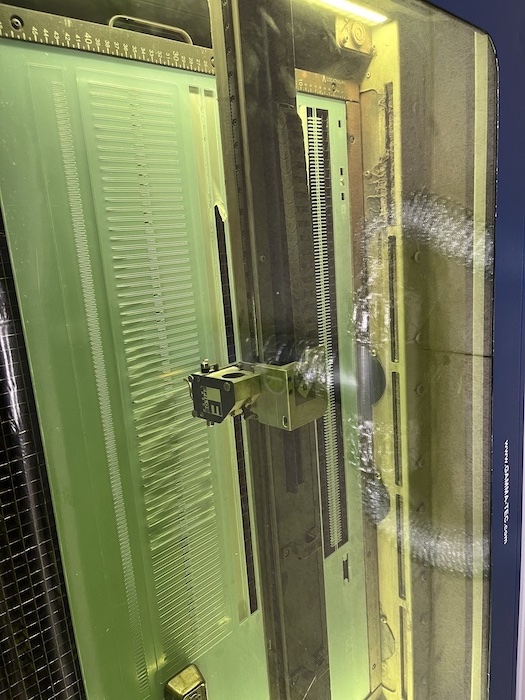
Setting up the laser cutter
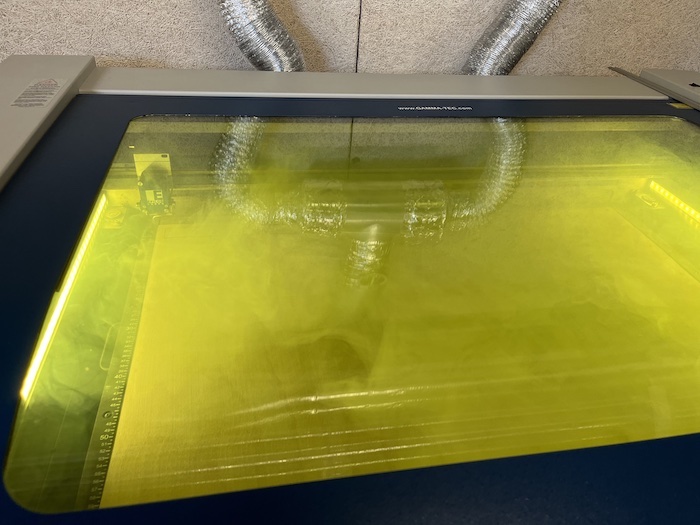
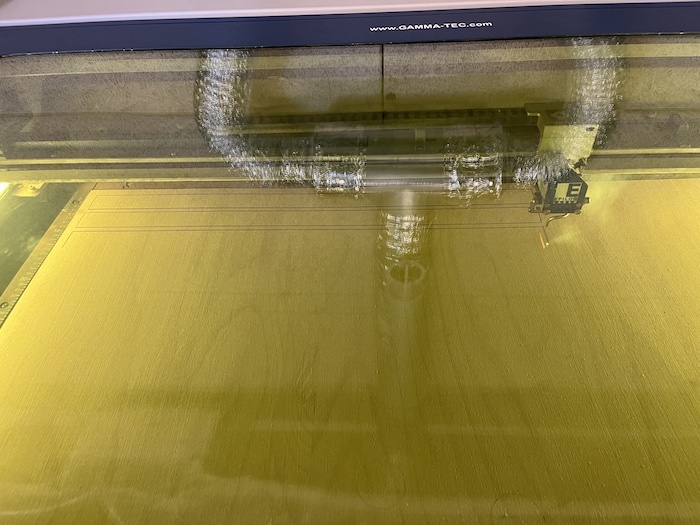
In order to cut the parts, I first set up the laser cutter. I use the Epilogue Fusion Laser M2 75 watt.
I switch it on, I start the air pump. I then set up the plateau into the Z axes, getting high enough to touch the tool. I then move the cursor of the laser cutter to set the home both in XY and in Z (using the tiny red led light). I then open my PDG on CorelDraw. I set up the cutting parameters as such : 1. CO2 as default setting 2. Vector as Job Type 3. Speed : 20% 4. Power : 100% 5. Frequency : 50%
I had to cut 10 times in order for the laser cutter to go through the wood.
| Making the wooden planes | More |
|---|---|
 |
 |
 |
 |
 |
 |
 |
 |
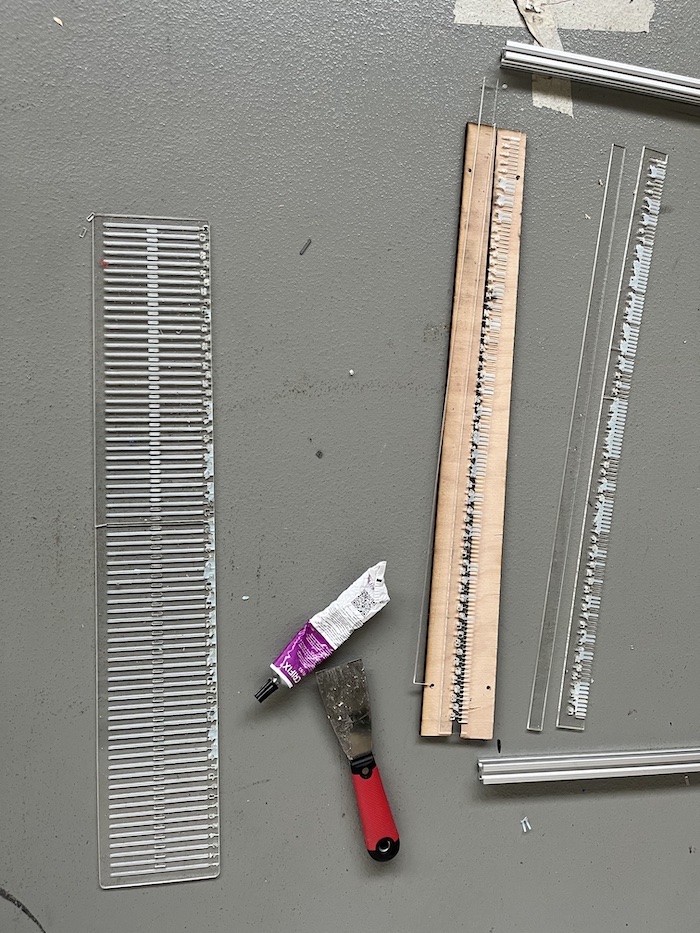
Step 2: laser cut acrylic - 5mm thickness
I only had 3mm thickness acrylic and so I had to adapt the machine to that.
I laser cut the big piece, central that alternated the fabric 670mm x 125mm I laser cut the two brushes that hold the fabric 670mm x 30mm Because of the thickness of my acrylic sheets I had to laser cut the central parts that hold the brushes in acrylic too, they are rectangles of 670mm x22.8mm. An amelioration of the design would be to make the brushes bigger 670mm x 55.8mm
Setting up the laser cutter
I did the same process for laser cutting the acrylic, with the following parameters : 1. CO2 as default setting 2. Vector as Job Type 3. Speed : 10% 4. Power : 100% 5. Frequency : 100%
I had to cut 2 times in order for the laser cutter to go through the acrylic.
| Laser cuting the acrylic | More |
|---|---|
 |
 |
 |
 |
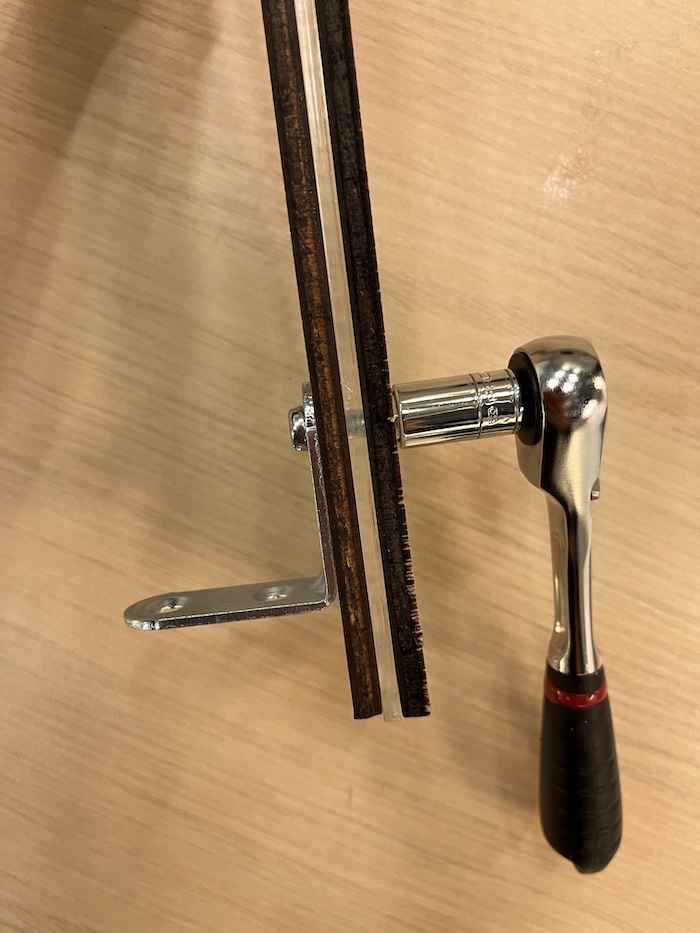
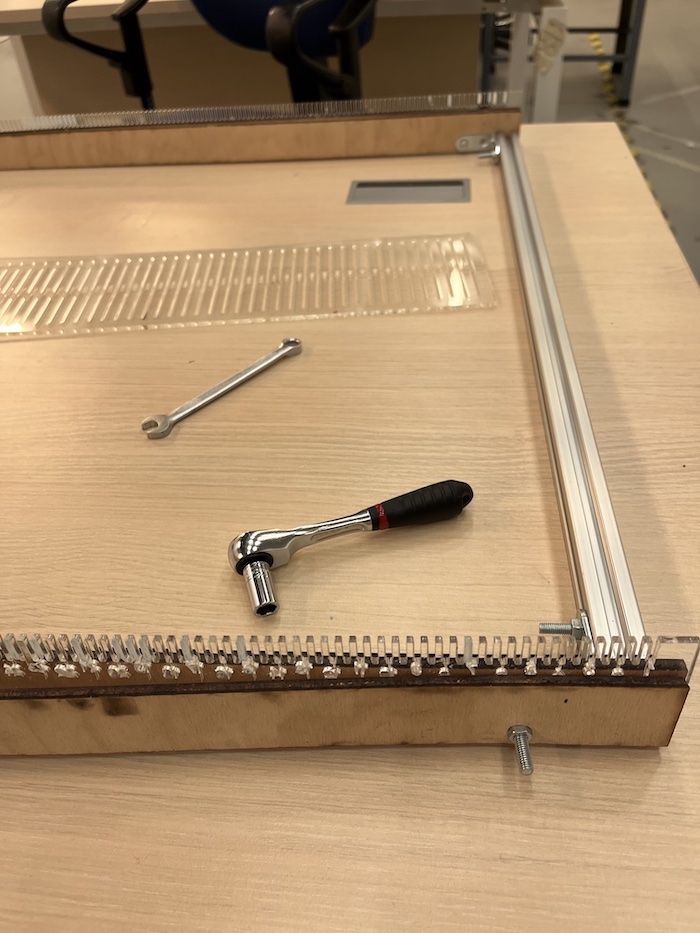
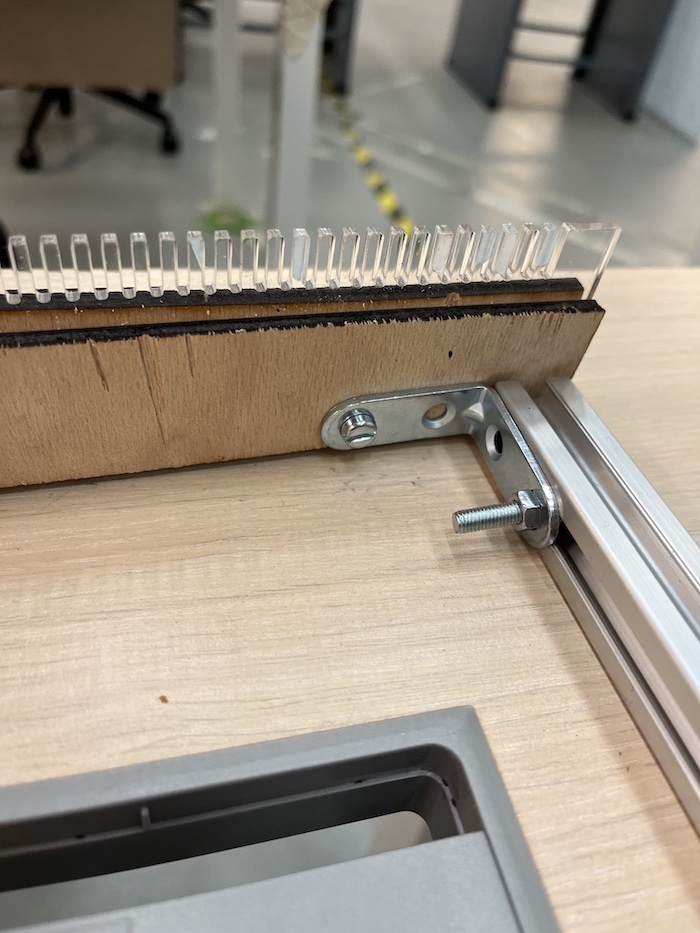
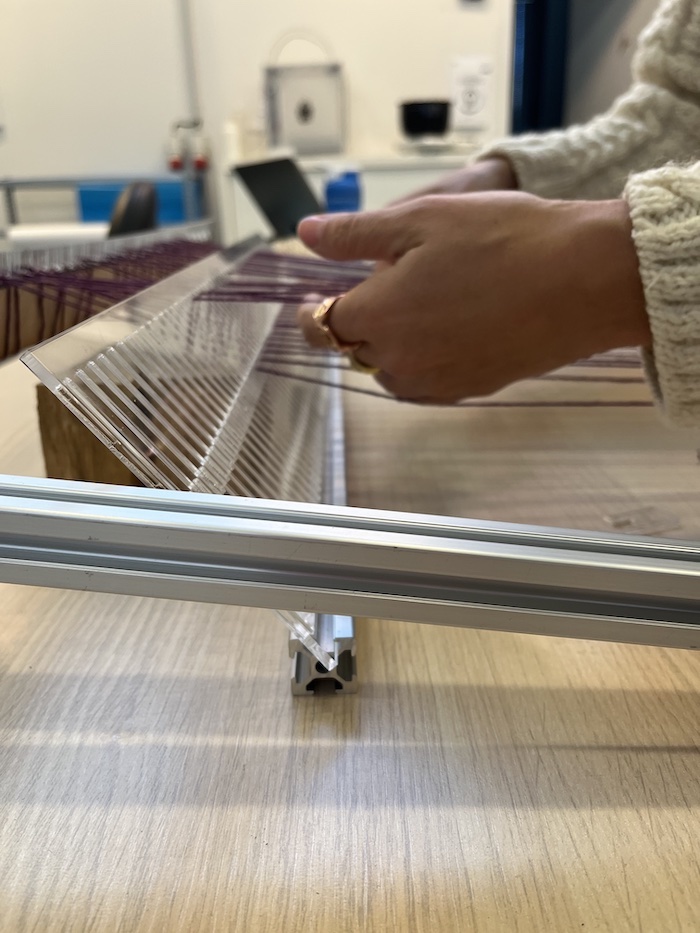
Step 3: Assembling the LOOM1
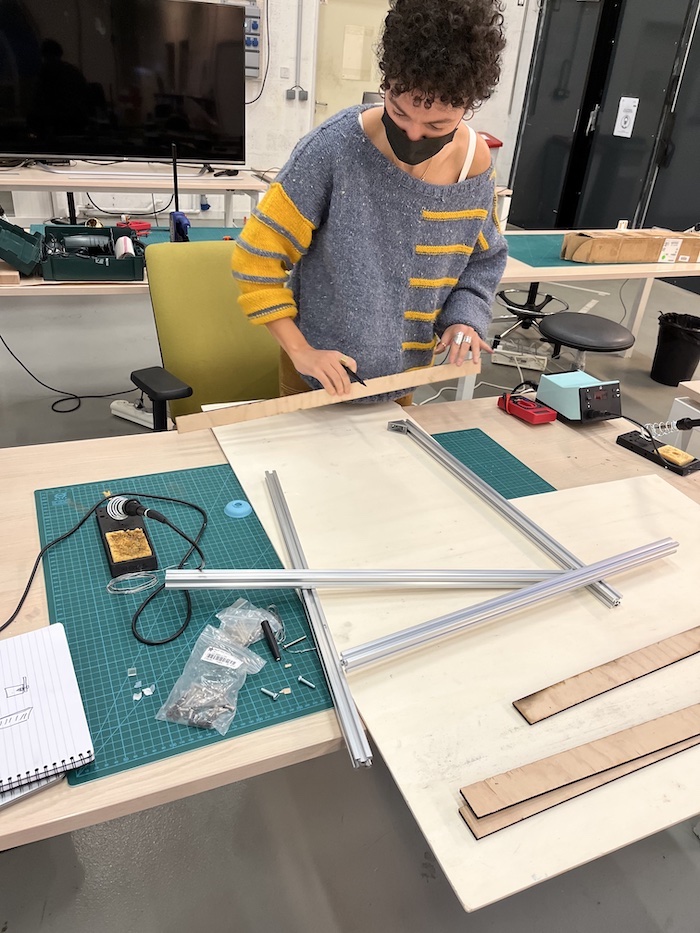
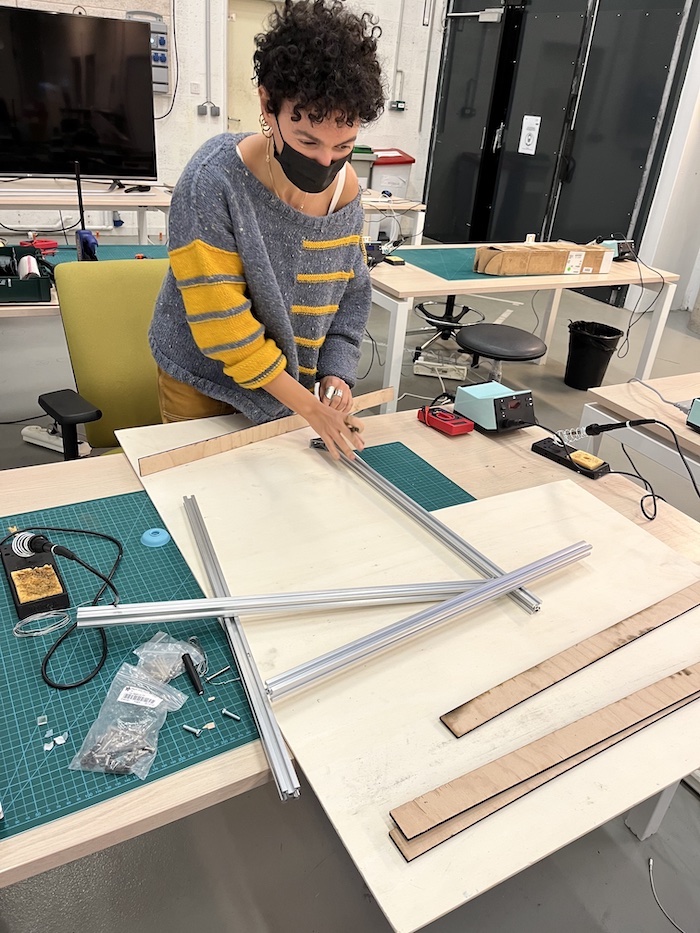
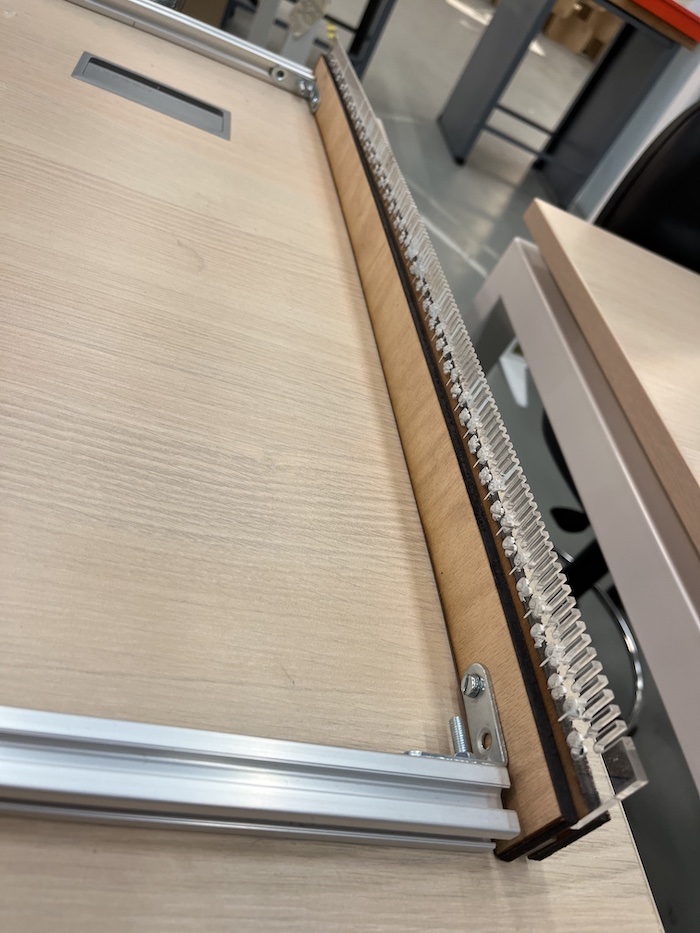
I stick plywood parts as well as the brushes and the small acrylic rectangles together in a sandwish style. Screed them together and with an angle fixed them with screws to the beams (that replace the wood in the original design). I had to drill holes in the wood and on the acrylic rectangles.
| Assembling the loom | More |
|---|---|
 |
 |
 |
 |
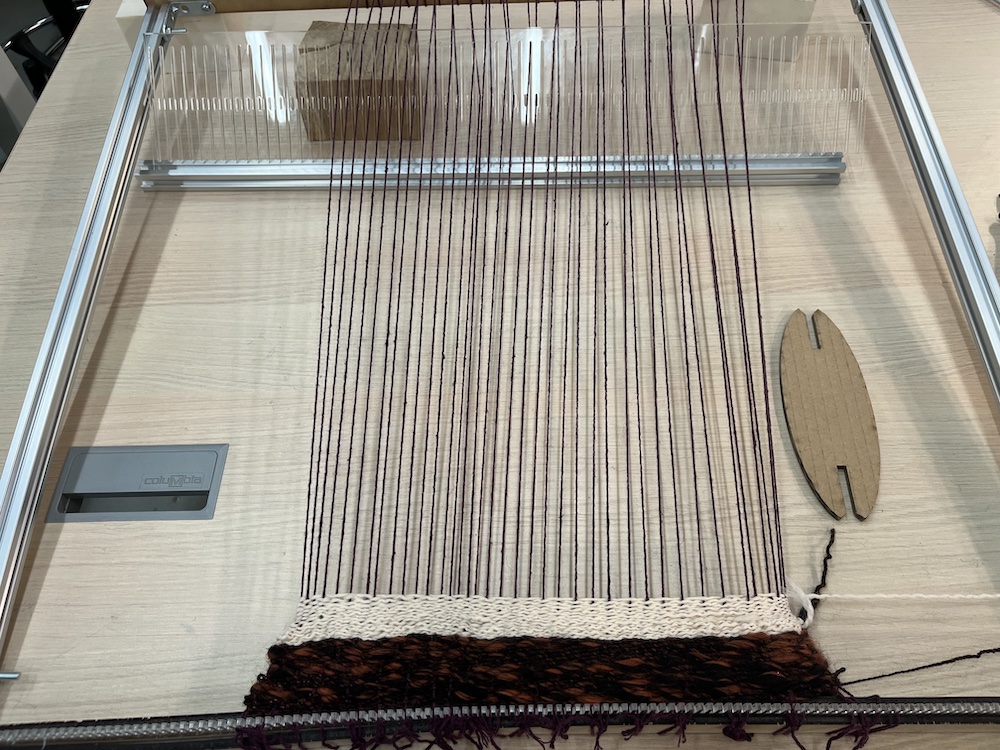
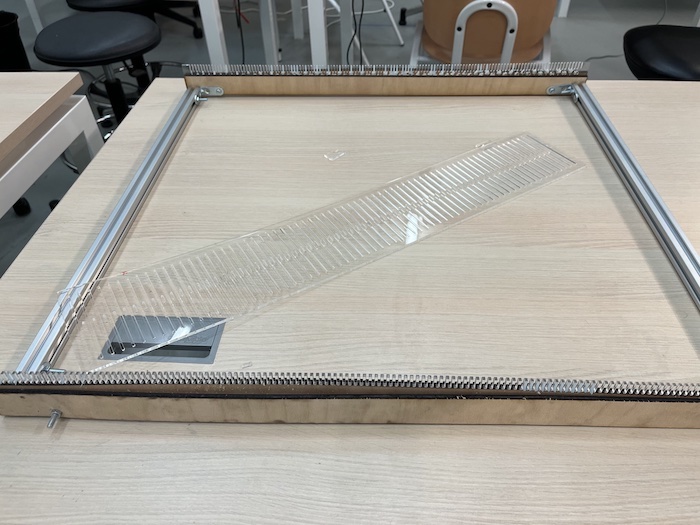
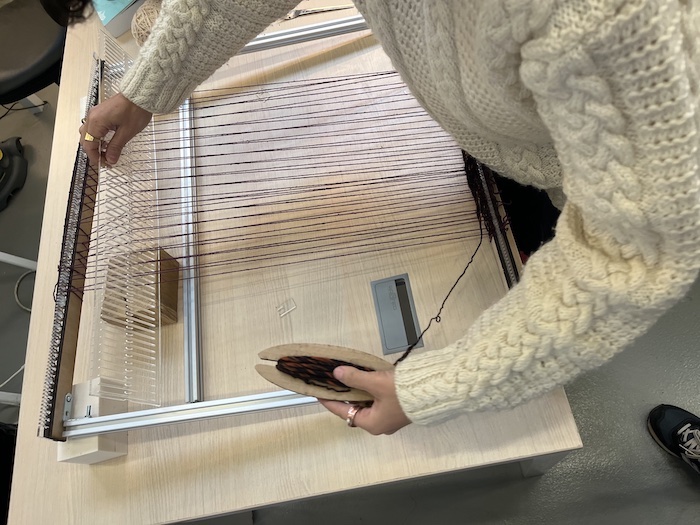
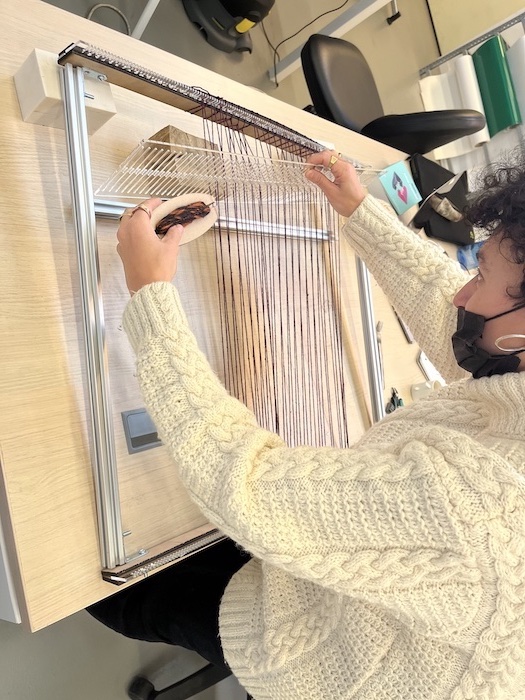
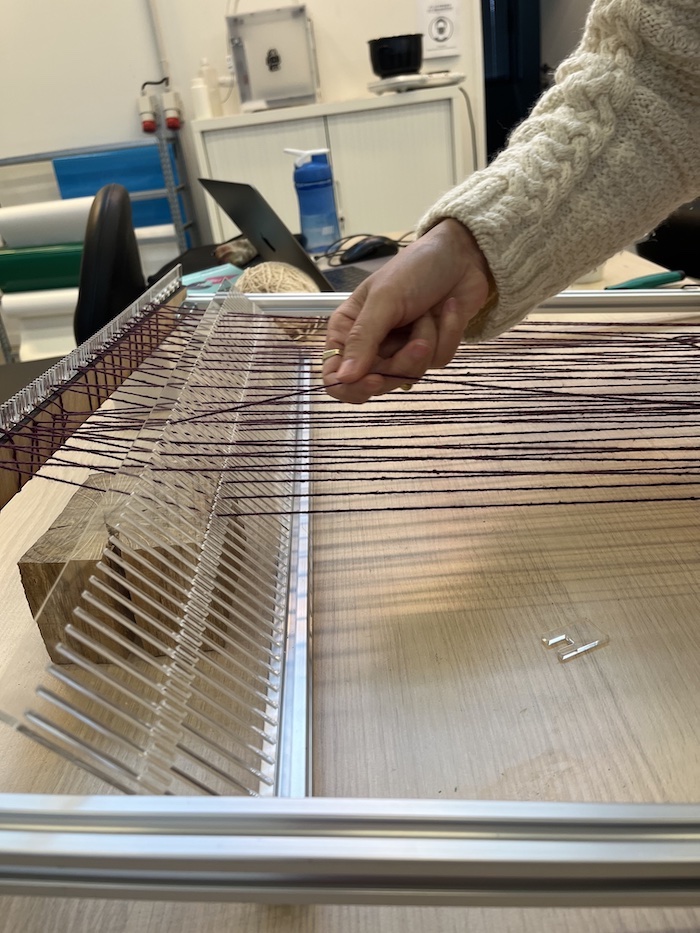
Step 4: Using the loom:
It was so much fun to use the loom !!!
| Using the Loom | More |
|---|---|
 |
 |
 |
 |
 |
 |
 |
The loom finale :