2. Digital bodies
This week I worked on creating a digital body in 3D using Make Human, turning in into a mesh using Rhino, and slicing it using Slicer Fusion 360 to turn it into a 2D file for laser cutting
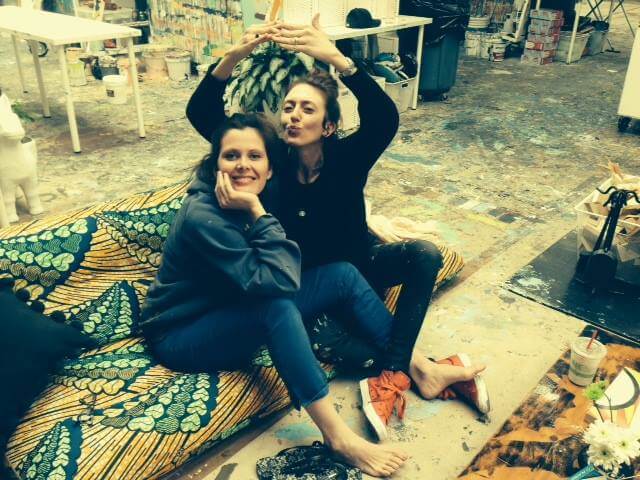
Artist Research: America Martin
The first artist to come to my mind, working with the human body is my beloved cousin America Martin. She has always been inspired by the human form drawn with loose and expressive lines. Visiting her studio is an amazing experience. Oversized canvases are hung for her to finish for the next show, and the next inspiration. Witnessing the evolution of her work and the different types of media she uses is pretty amazing: from oil and acrylic on canvas, to pink sandblasted marble or polystyrene.
Here is a quick collage of her work:

of us in her studio
To see more of her work you can go to her website:
- America Martin
Documentation of the use of 3D scanner and software to acquire a 3D model
I can't really say my assignment on digital bodies is a resounding success. At least it got me to get used to working at the Casemate, the Grenoble Fab Lab.
To begin with I couldn't install the trial version of Rhino on my computer as it is a Mac OS 10.13.06, and that version is no longer supported. So I used the Casemate's computers.
-
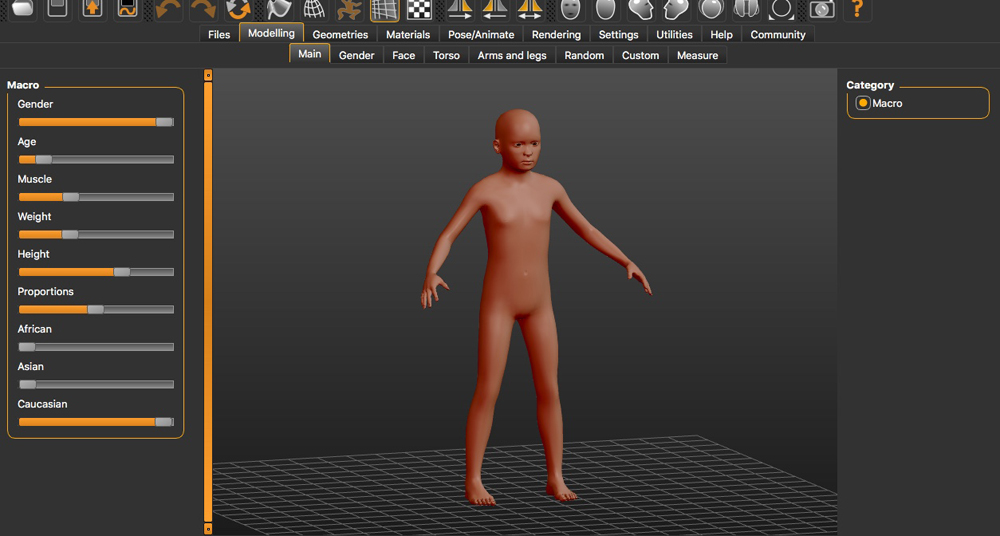
I made a human form on Make Human Size: 126cm, weight: 23kg, caucasian representing my son. I exported him as a mesh object (obj)
-
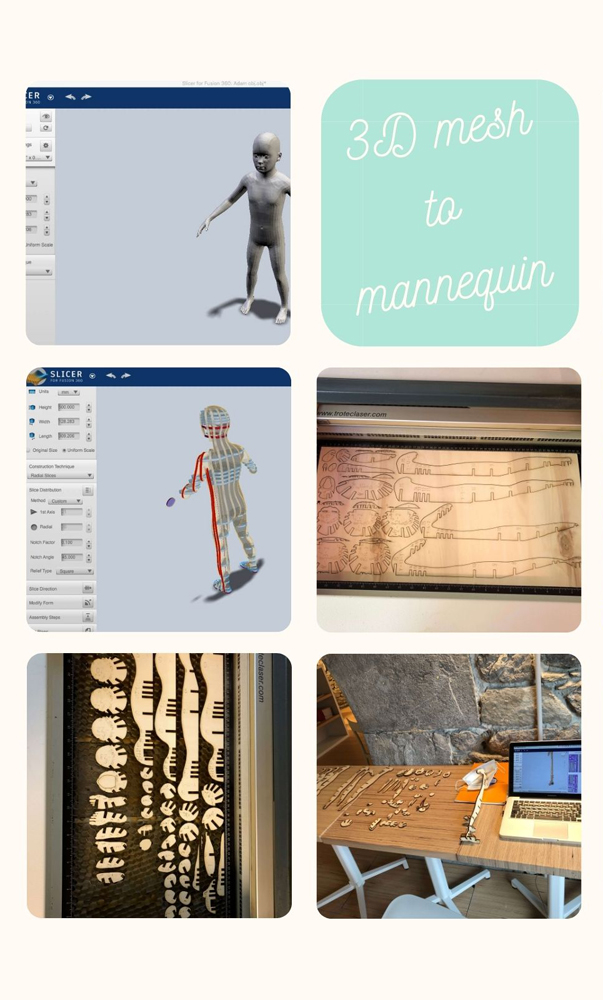
Next I imported the mesh into Rhino, using millimeters as units. But I scaled him to fit on the 600 X 300 lasercutter. I wanted to build him entirely, so I didn't cut him up.
-
Next, using Slicer Fusion 360, I checked the scale, the thickness of the material I was using:
- Wood, poplar, 5mm And used:
-
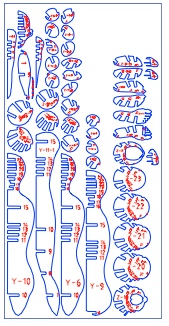
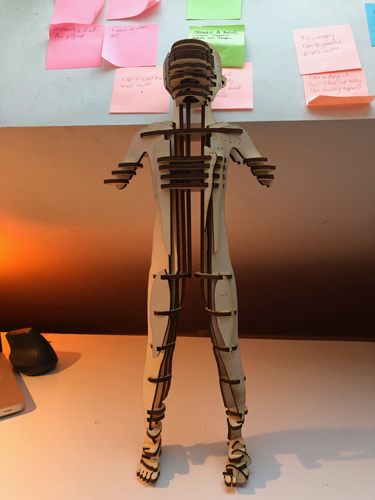
Radial slicing as construction technique. I noticed that some parts in the model where red, too thin. So I made the corresponding changes. Unfortunately, a prior version was saved on Slicer Fusion 360, which doesn't match the 2D pieces that I ended up printing. As a result I have tried twice yesterday to assemble my mannequin, to no avail, yet. Here is the link to the 3D slicer file:
-
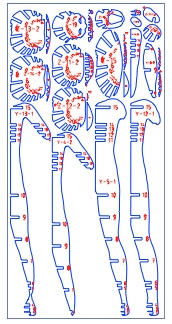
I imported the files on Illustrator turning all the cut lines red, thickness 0,01 and all the text to green, but also with a thickness of 0,01 in order to make the engraving faster. I used the laser TROTEC SPEEDY 100. Here is a photo montage of my process so far.
And here are the Illustrator files used for laser cutting.
Tools : Stop Motion Stand
What did work for me is to use Loes Bogers 2020 Stop Motion Stand
 - Loes Bogers 2020 Stop Motion Stand