2. Digital bodies
The week that we had the classes and tutorials for this assignment, I was in the Iaac Fablab Barcelona. This was very inspiring and helpfull, to have other students working on their projects and helping each other and also local instructors in person (thanks Ana and Petra!). Also because I was in Barcelona and couldn't use the machines and materials in the lab, I had to wait until I was back in Brasil to finishing this assignment.
For this assignment I decided to use only garbage and leftovers for compose the body. Also as an idea to show how some leftovers for ones can be inspiring, usefull or even precious for others.
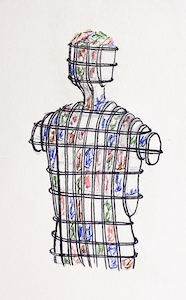
Hand draw sketches by Clara Acioli
References & Inspiration
Some inspirations for this week was:
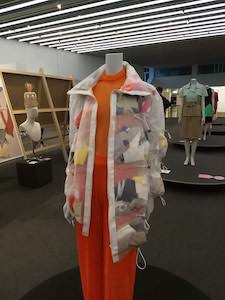
Work "mama jacket" by Mireia Panisello, Photo by Clara Acioli
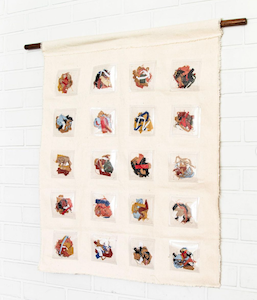
Photo and work by Elisa Maciel
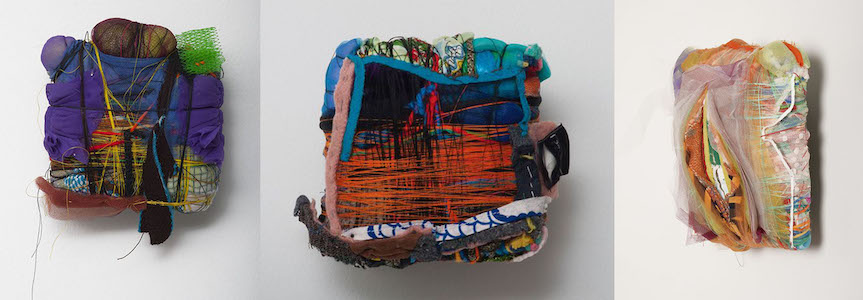
Works by Julia Couzens

Works by Sonia Gomes
Process and workflow
3d scan
During the week I learned possible ways to represent the human figure in 3d. For that we tested with 3d scanning and also used the Makehuman software. For 3d sacnning the body we used a huge robotic arm and a Kinect accessory from Xbox. The Kinect measured depth with infrared technology, generating a digital 3d figure with this data. The machine (Mechanic Arm) used was a KUKA ZH 150/180. The software was the Skanect.
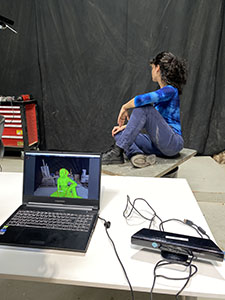
Testing with 3d scanner in Iaac Fablab Barcelona, Photo by Emma Picanyol

3D scanned digital model
Makehuman software
The Makehuman software is super easy, intuitive and fun. You can manipulate almost any measure of the body and make super crazy figures. It is easy like playing The Sims but more complete, with much more options. After playing and experimenting with tons of possibilities, this was the choosen one to laser cut and make the manequin. I was inspired by the Venus of Willendorf figurine.
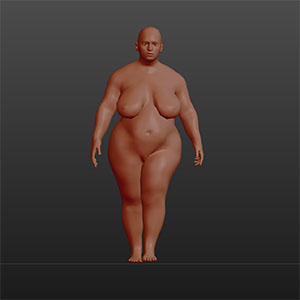
3D digital model made in Make Human software
Rhinoceros ajustments
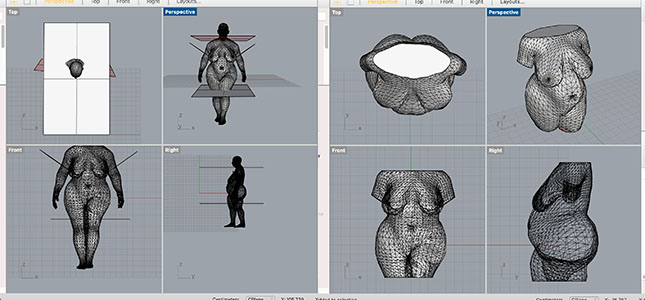
Ajusting the 3D model in "Rhinoceros" to transfer to the Slicer software
I used Rhinoceros to cut the parts I was interested in and simplify the figure, you can use any 3d software for that supports obj or stl files. I exported from Makehuman to Rhino with stl. And then from Rhino to Slicer using 3dm format.
Slicer for Fusion 360 - software
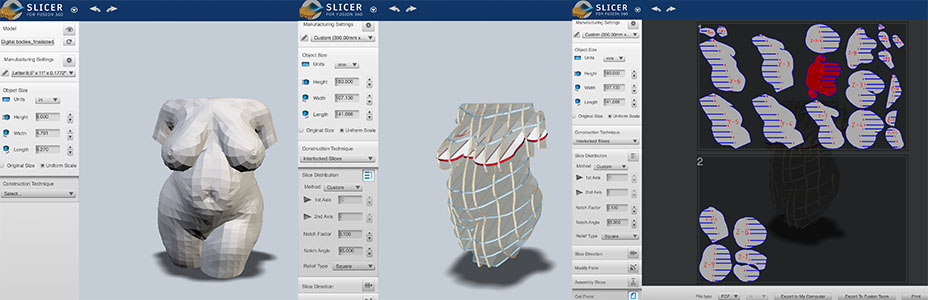
Slicer4fusion software configurations
The Slice for fusion 360 is a software that helps you transform 3d models into slices or planifications. For slicing, you have some options: stacked slices, interlocked slices, curve, radial slices, folded panel or 3d slices.
I used the Interlocking slices and ajusted the angle of the slices manipulating the axis in the "slice direction" button. If you have any doubts in the software, this is a very good tutorial for slice for fusion
Laser cutting
At this moment of the project it is important to know what material you're going to use for cutting in the laser cutter, so you can add the dimentions and the thickness in the software. I wanted to use leftover materials and I was very lucky on that because as soon as I got home, in Rio, I found some acrylic sheets in the street:
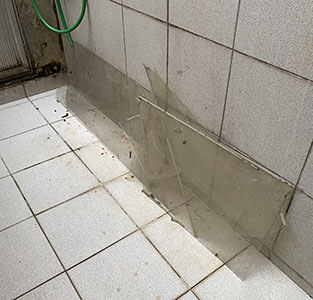
Acrylic sheets found in the street, Photo by Clara Acioli
It is also very important in this part of the process to pay attention in the gap for the fitting pieces. Prepare it with 0.2mm more then the thickness of your material, otherwise it will be very hard to assamble. I made it 0.4mm thicker and I found it too loose. In the Slicer4fusion this is a bit tricky to do. In the "Material size seccion, you should costumize it in the "thickness" and "slot offset". My material had 2mm of thickness, I configurated it for 2.5mm as thickness and 0.1 for slot offset, so the gap in my sliced model was 2.4mm
Before laser cutting your work, it is important to ajust it on Rhino or other similar software where you can arrange the pieces in the sheet so you use better the space and save material. After that you can export your file to dxf, that is the format that most laser cutter softwares read. I used RDworks.
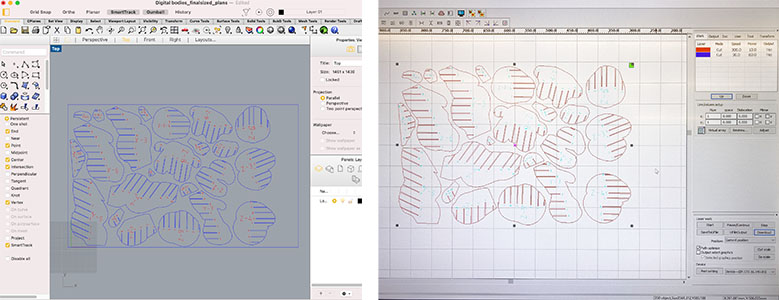
Rearranging the pieces on the sheet in Rhino and opening the file in RDworks
The laser cutter I used was a DUPLOTECH 1290 that has a cutting area of 1200x900 mm. I used it on Casa Firjan Fablab, a maker space near my house. The configurations for laser cutting the pieces was: 300 speed and 10 power for encraving 30 speed and 60 power for cutting
It burned a bit the edges of the acrylic so using a lower power for cutting could work better.
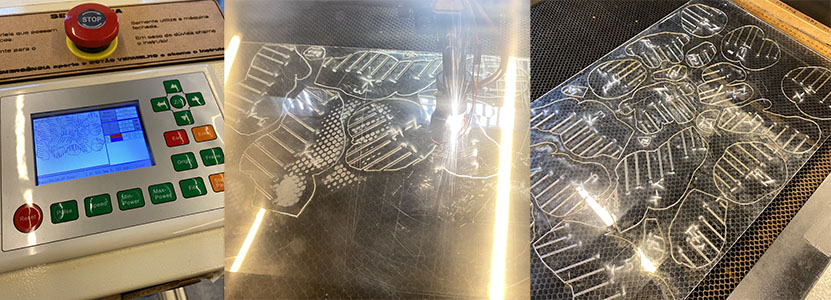
Laser cutting the files
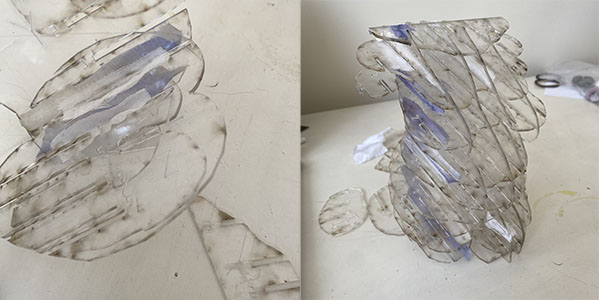
Assembling the pieces, Photo by Clara Acioli
In this assembling part I had some trouble. I had to use some fabric leftovers and glue to reinforce the joints and make the model stay assembled, otherwise the pieces would slip, because the gap was too loose.
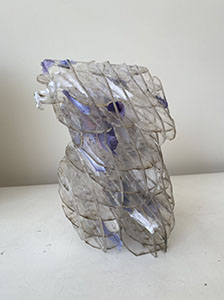
final model with some fabric leftovers. The idea is to continue to fill the holes, Photo by Clara Acioli