7. Computational Couture
Research & Ideation
3D printing is quietly but steadily making its mark in the fashion world. Designers are using this tech to create unique clothing and accessories, pushing the boundaries of design. It's also an eco-friendly choice, reducing material waste.
What's even cooler is the personalization it offers. I can have clothing and accessories tailored to my design aesthethic, thanks to places like Fabricademy and the field of computational couture. What's more, I can even incorporate my own artistic, abstract designs into 3D-printed fabric, adding a whole new dimension to my fashion choices.
This week, my assignment was to make two swatches of 3D prints with Rhino and Grasshopper, which really opened my eyes to the creative possibilities of this technology. As 3D printing technology becomes more accessible, I expect it to play a bigger role in fashion, from high-end pieces to everyday wear, making fashion more innovative, sustainable, and uniquely expressive.

References & Inspiration
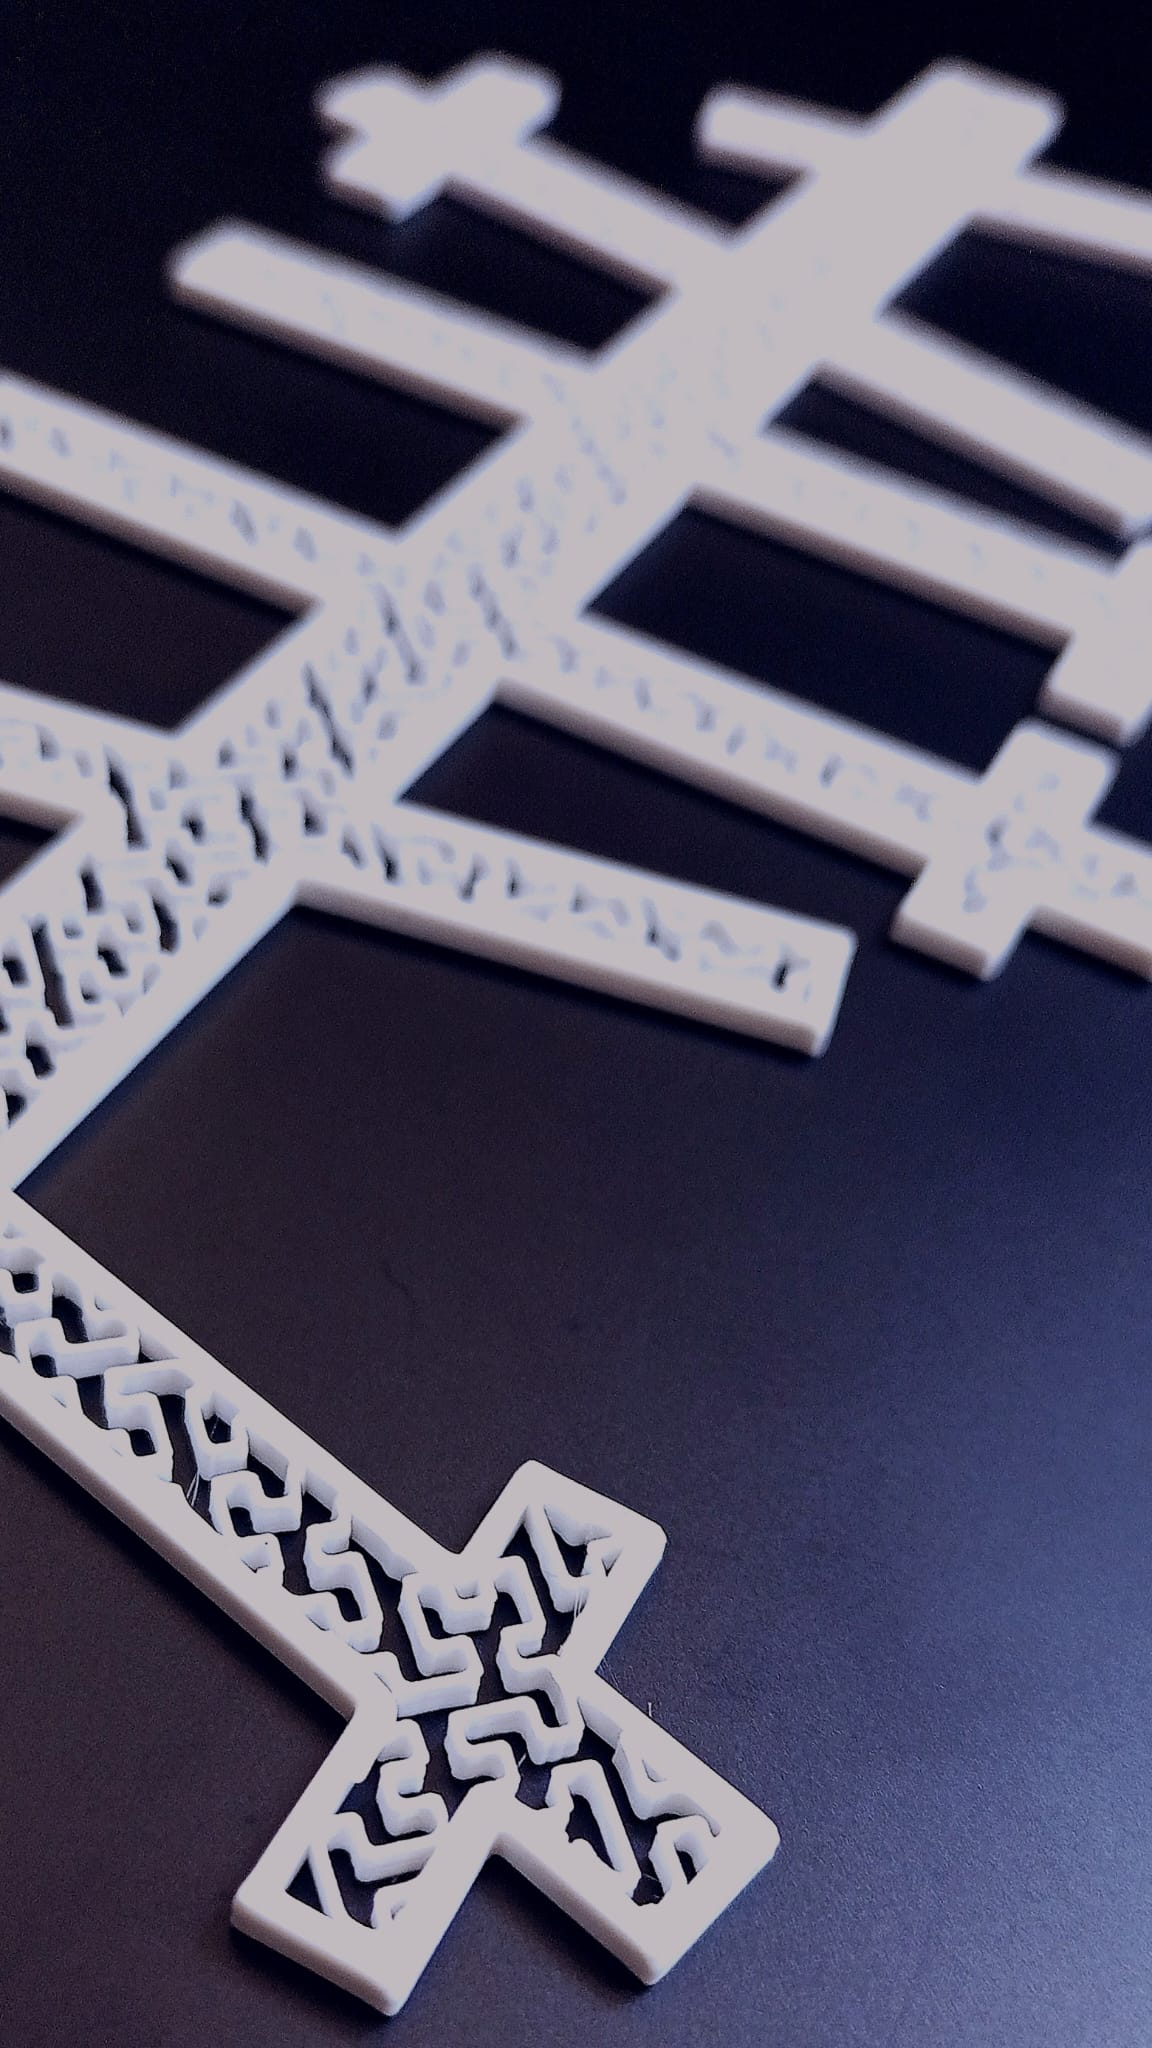
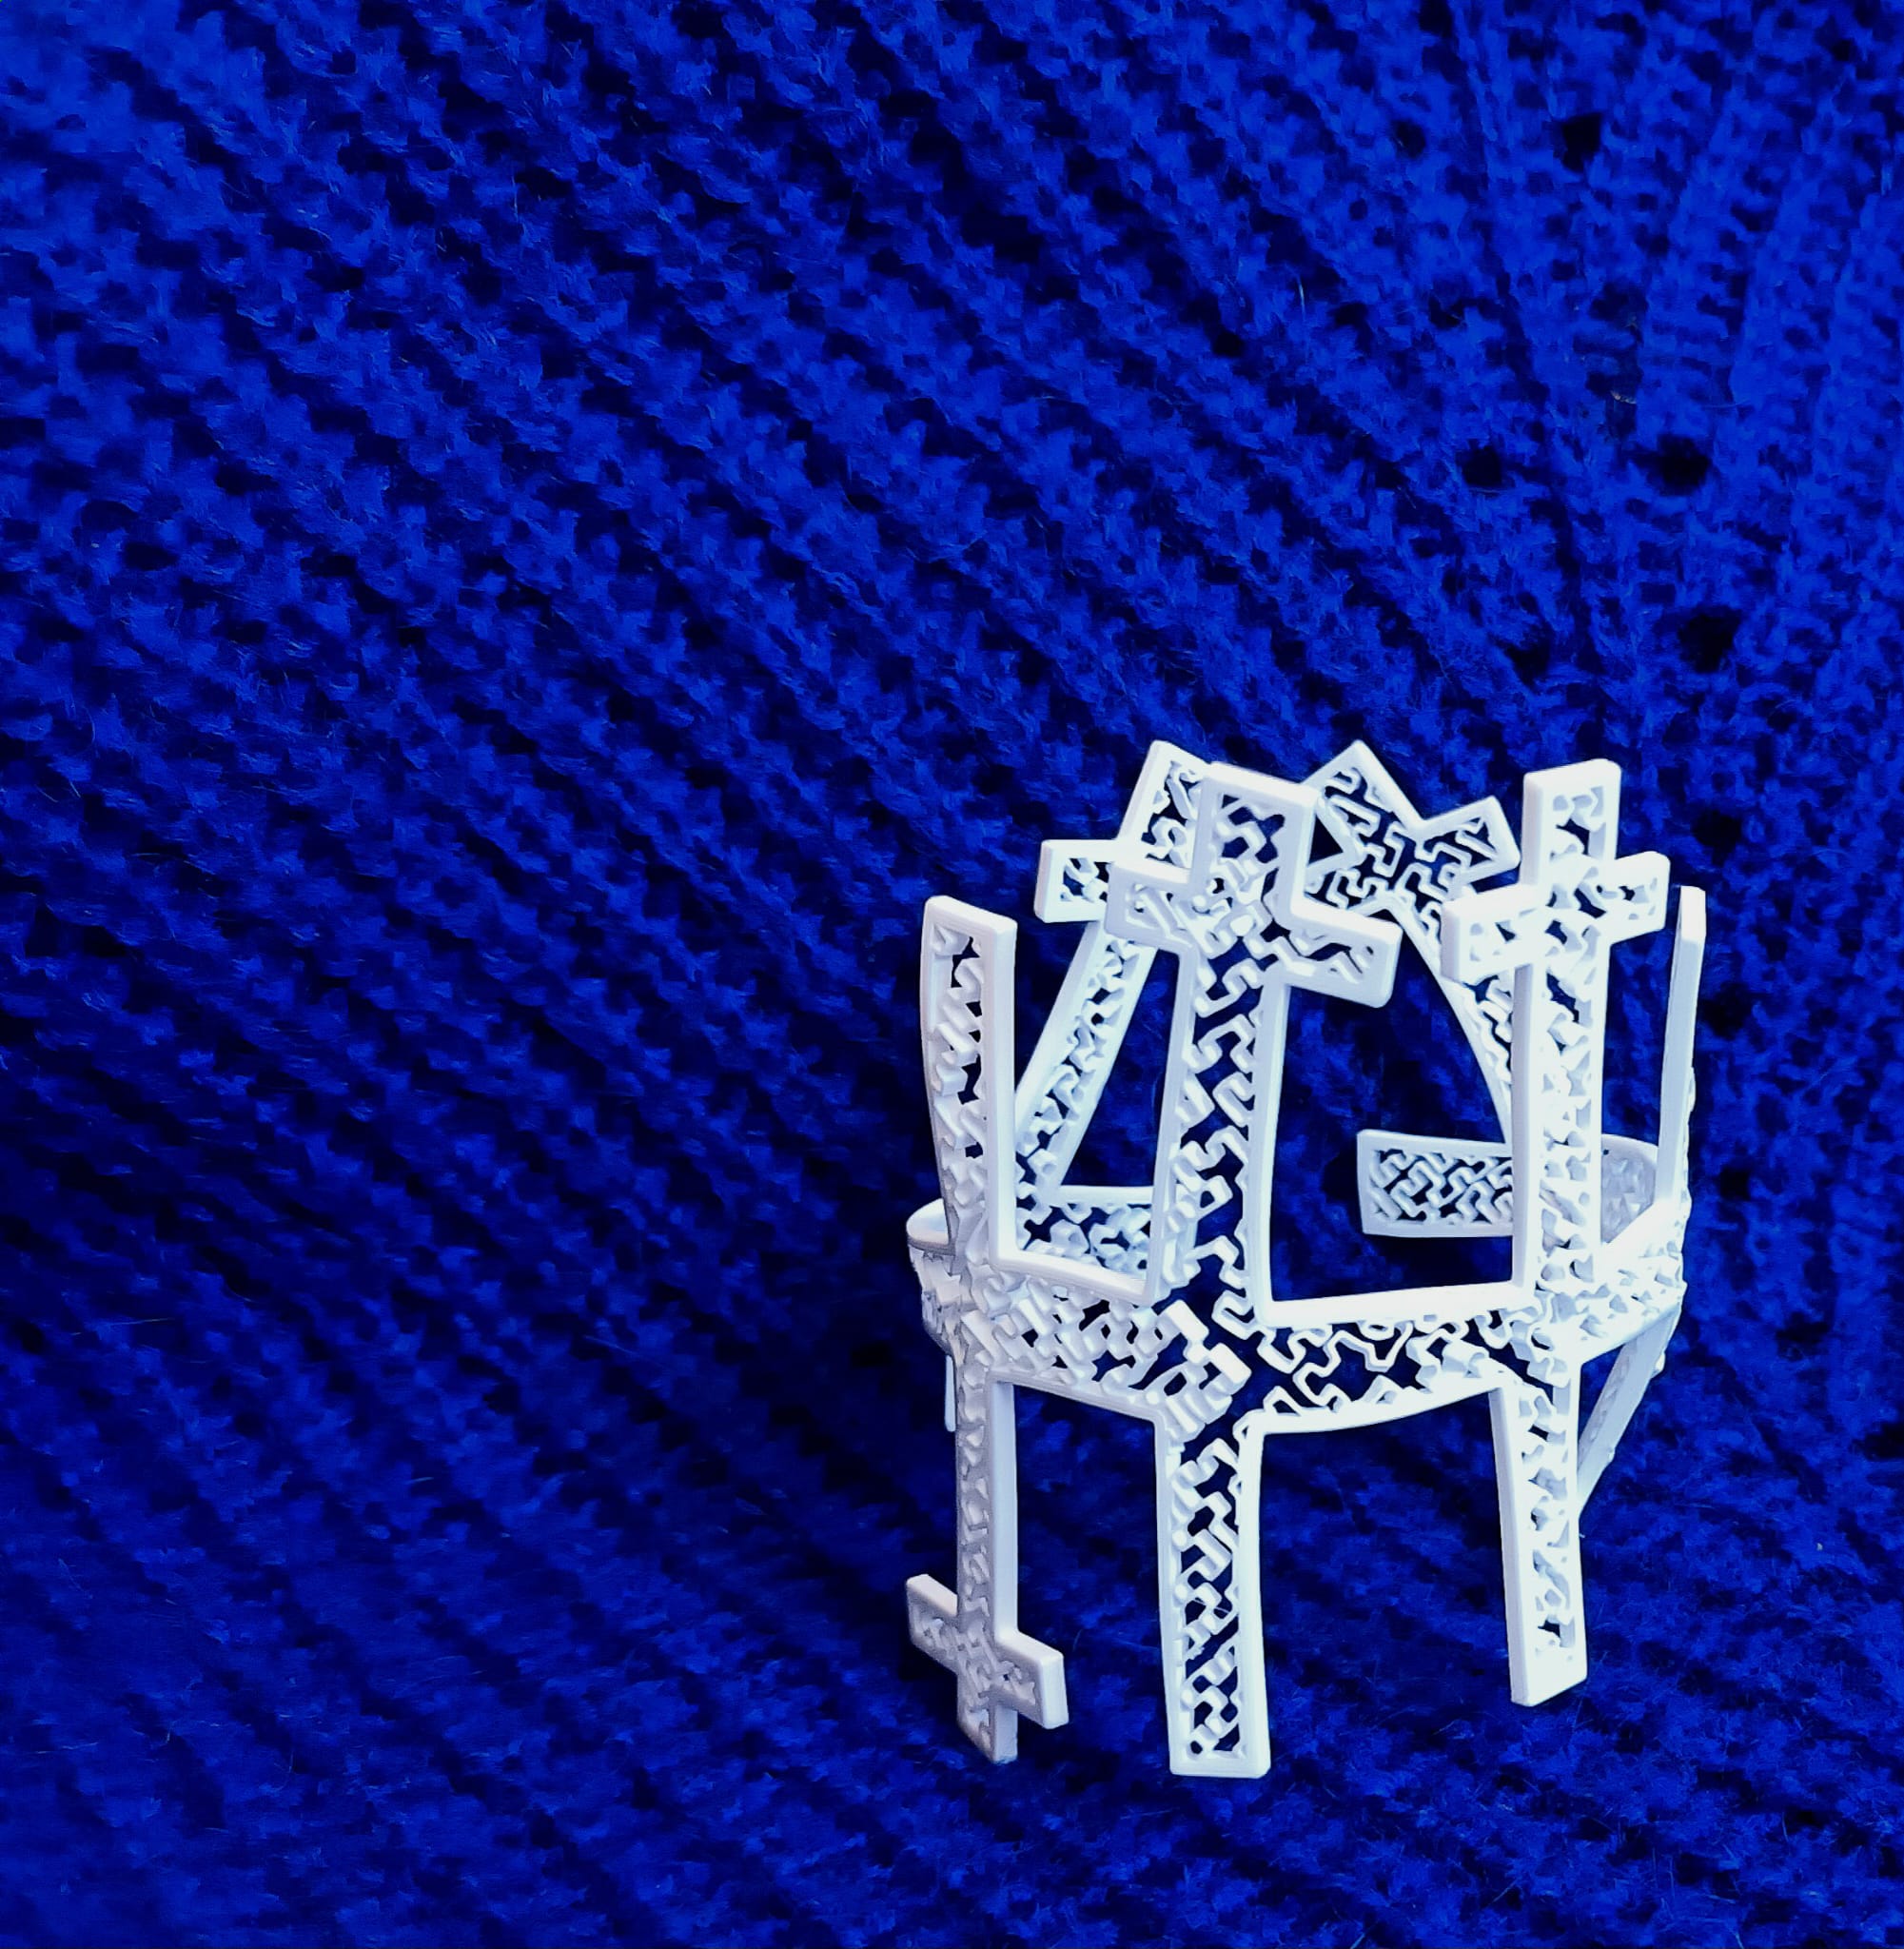
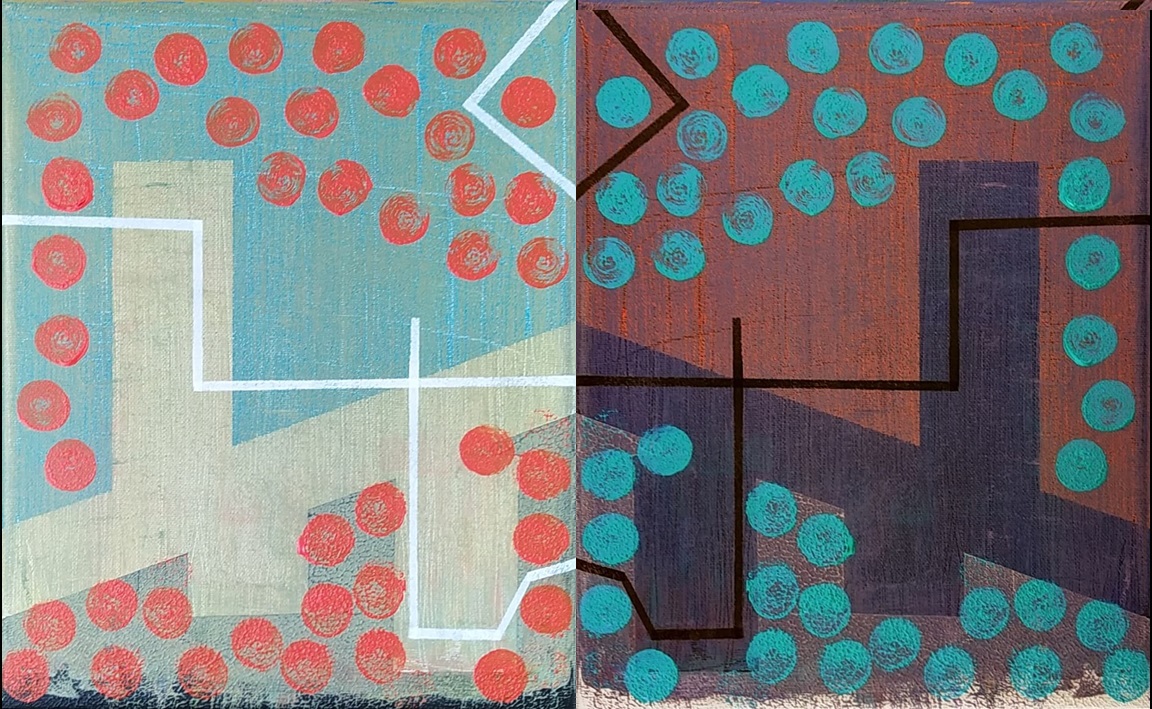
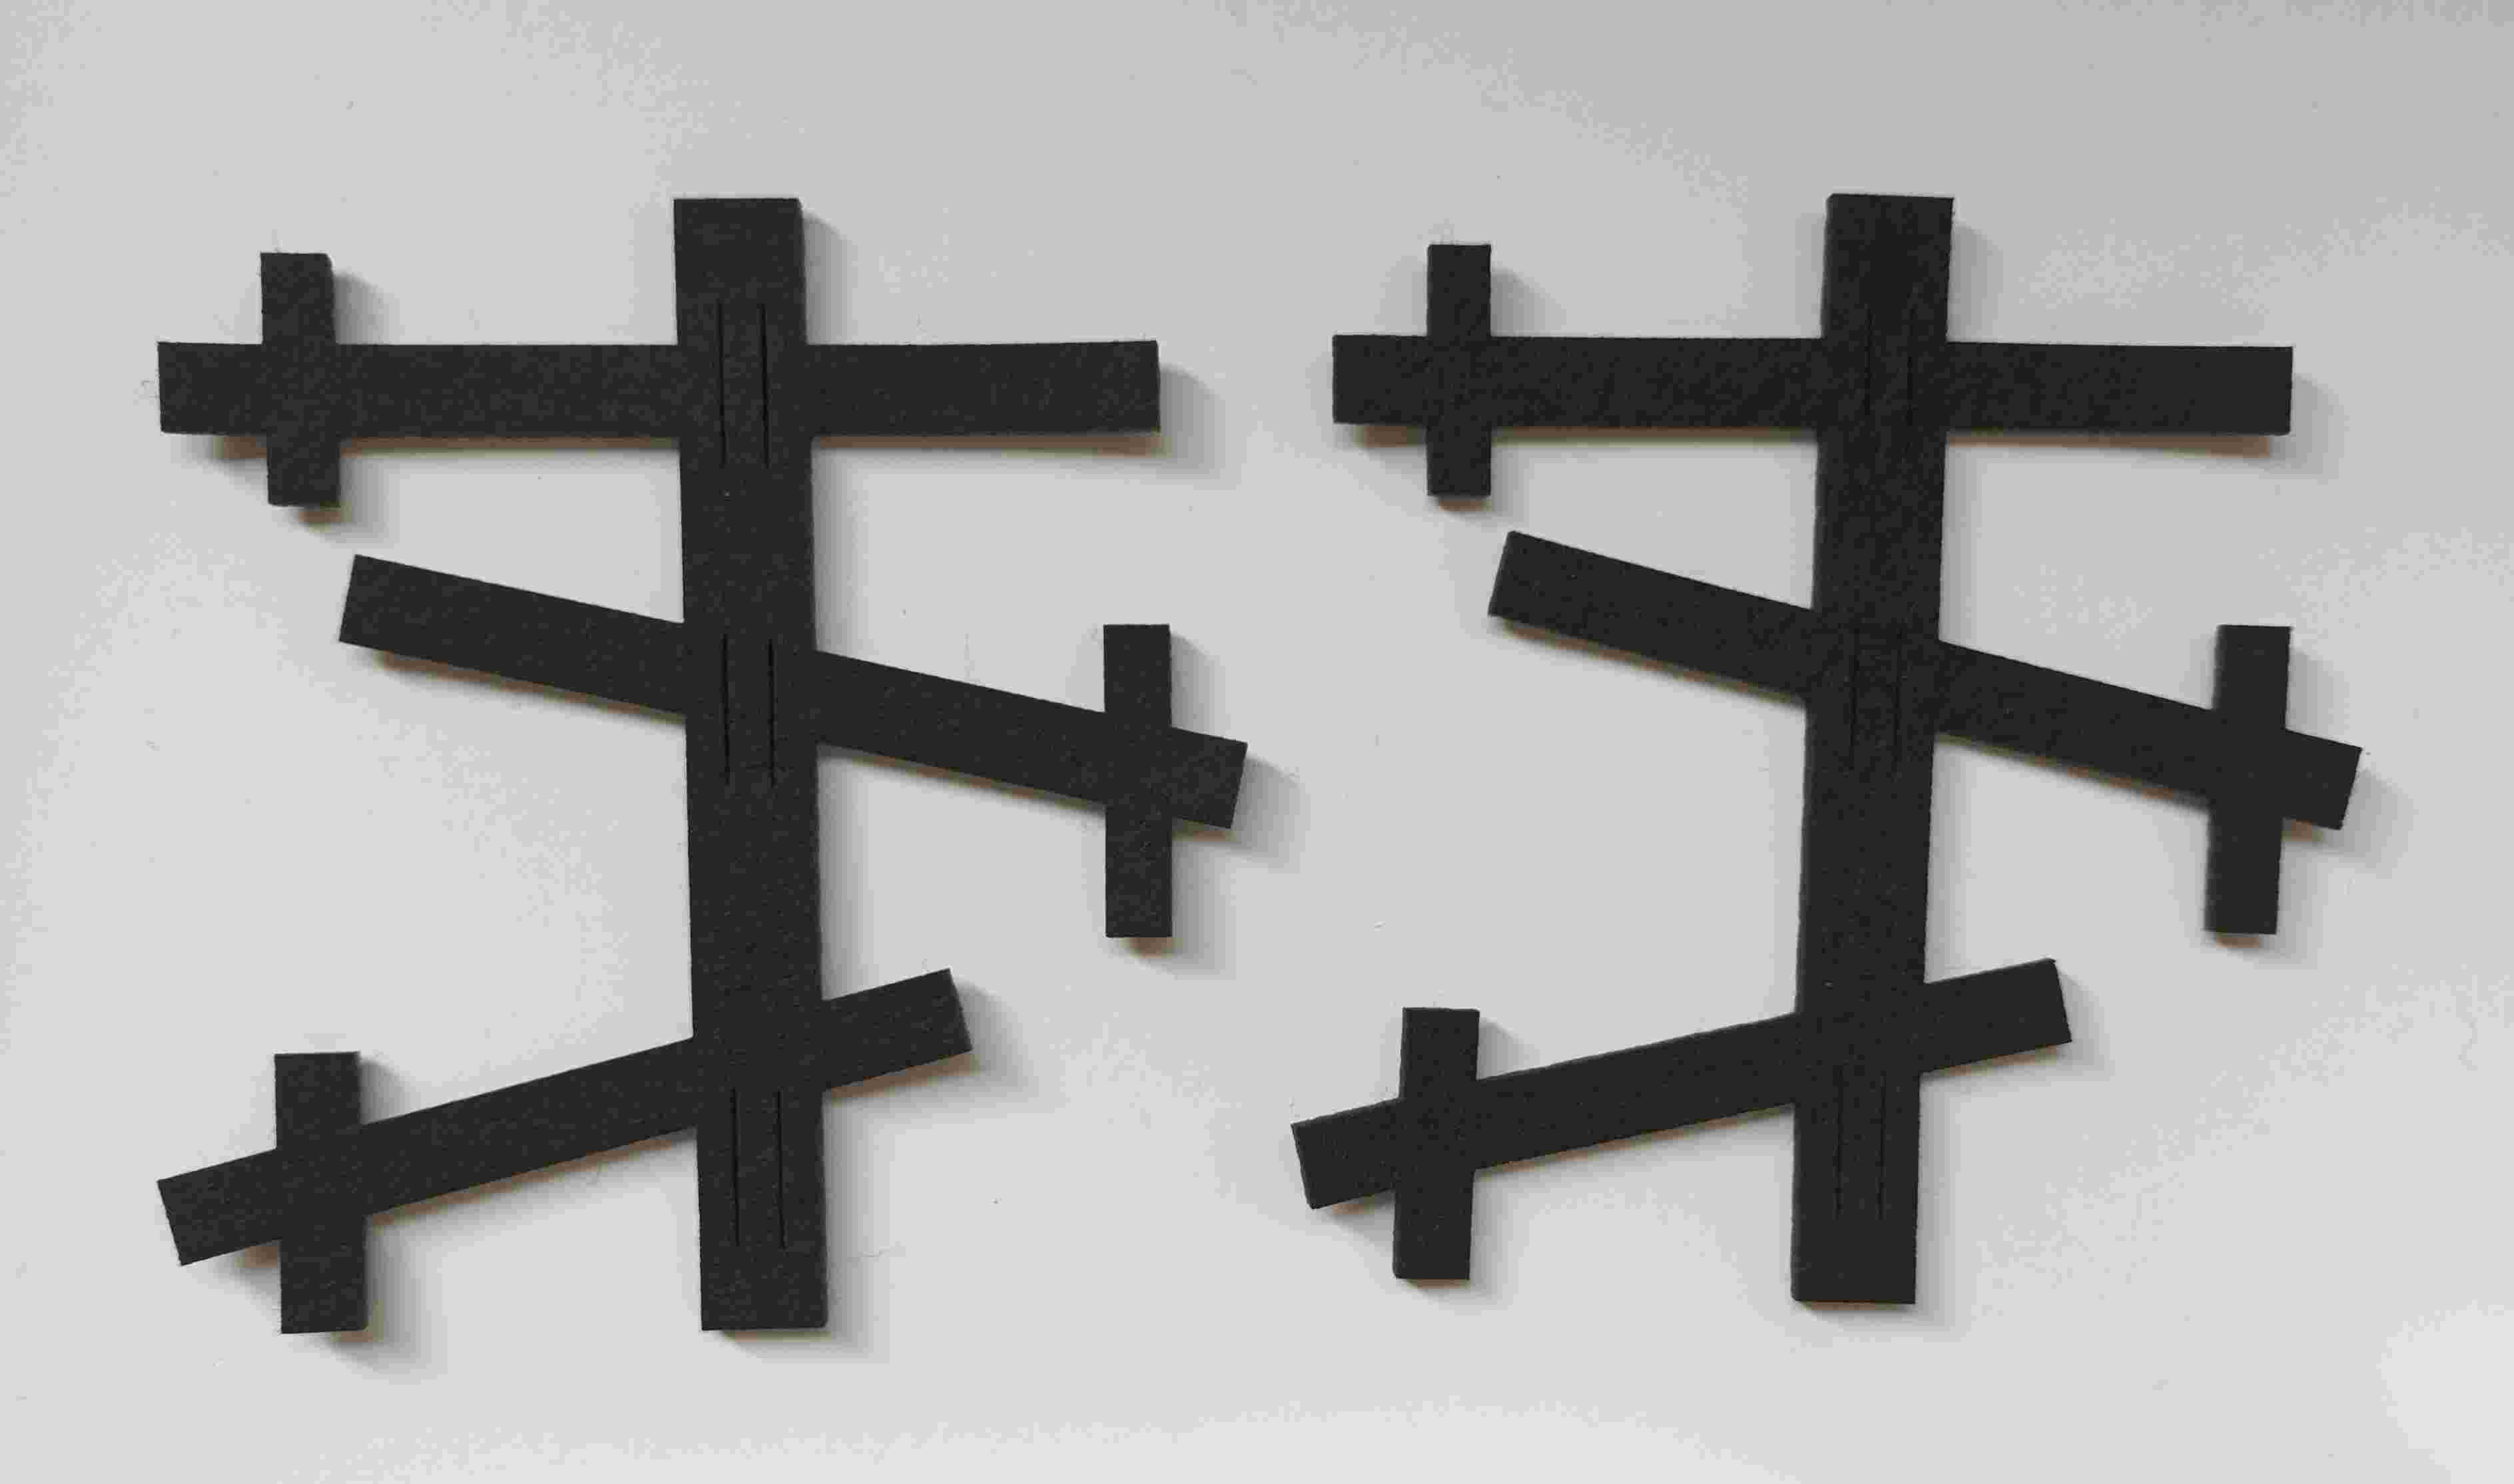
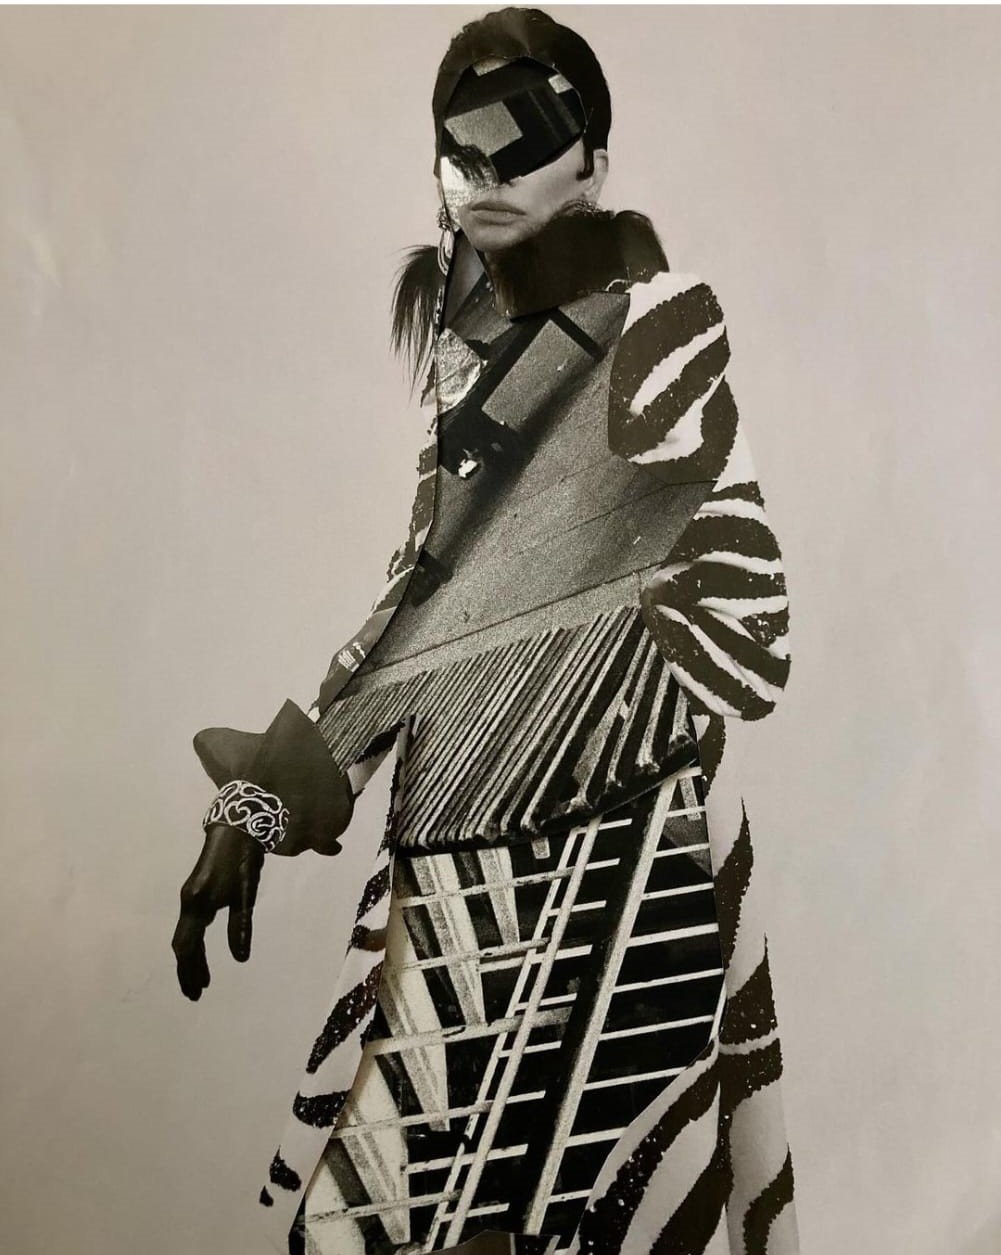
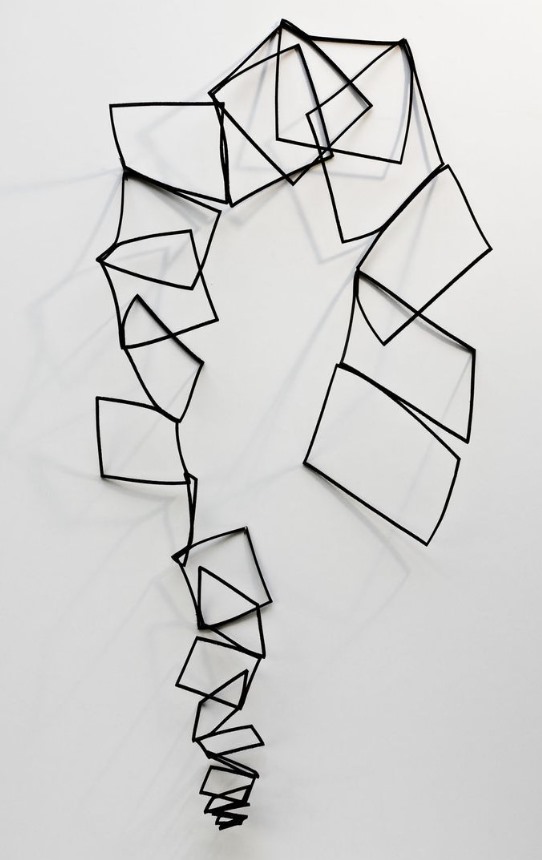
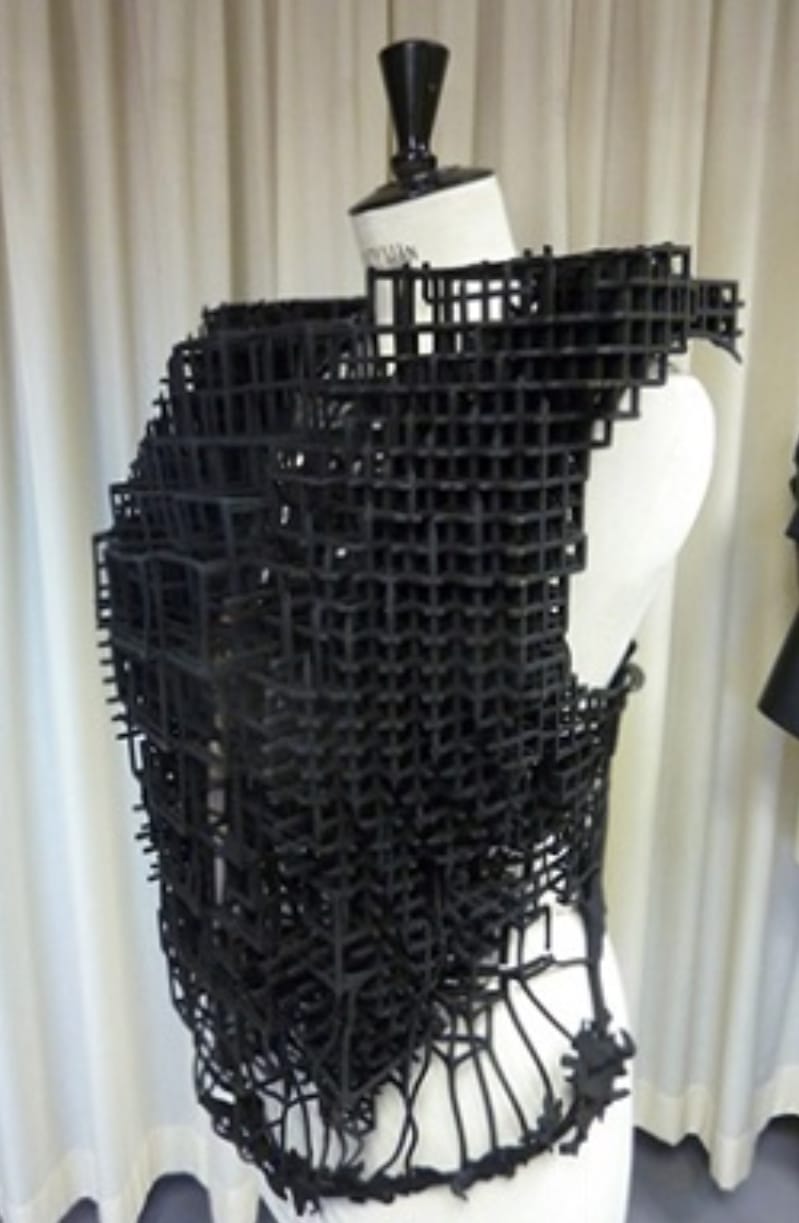
This week I found my inspiration in my paintings and my modules I used for my modular cocktail dress:
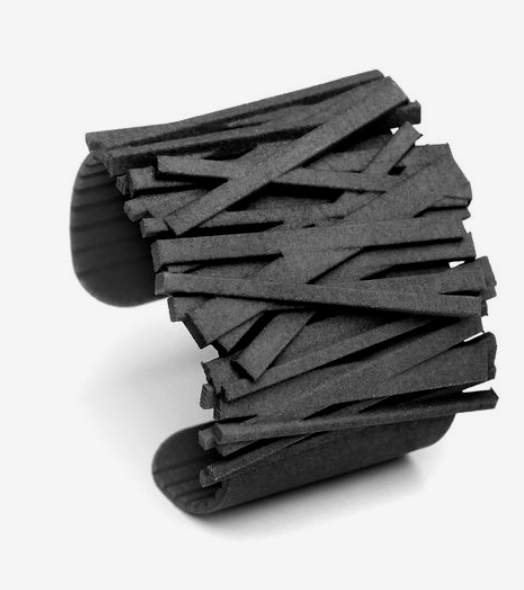
I wanted to make a 3D printed bracelet, like so:

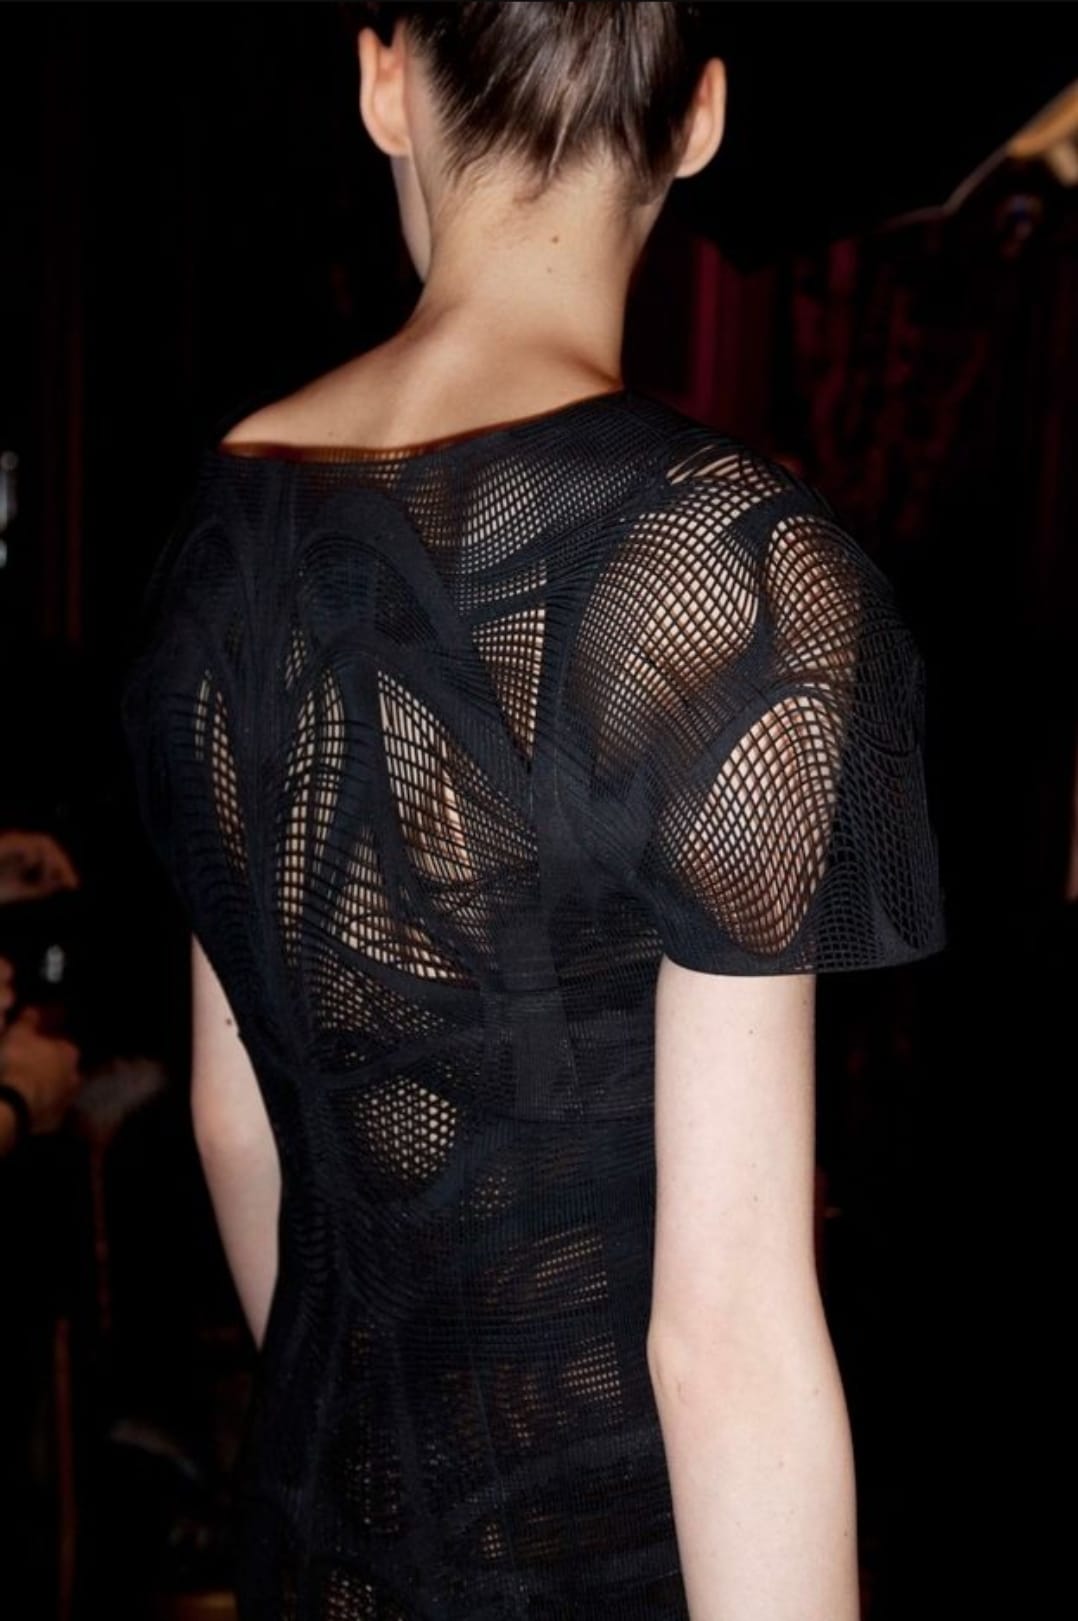
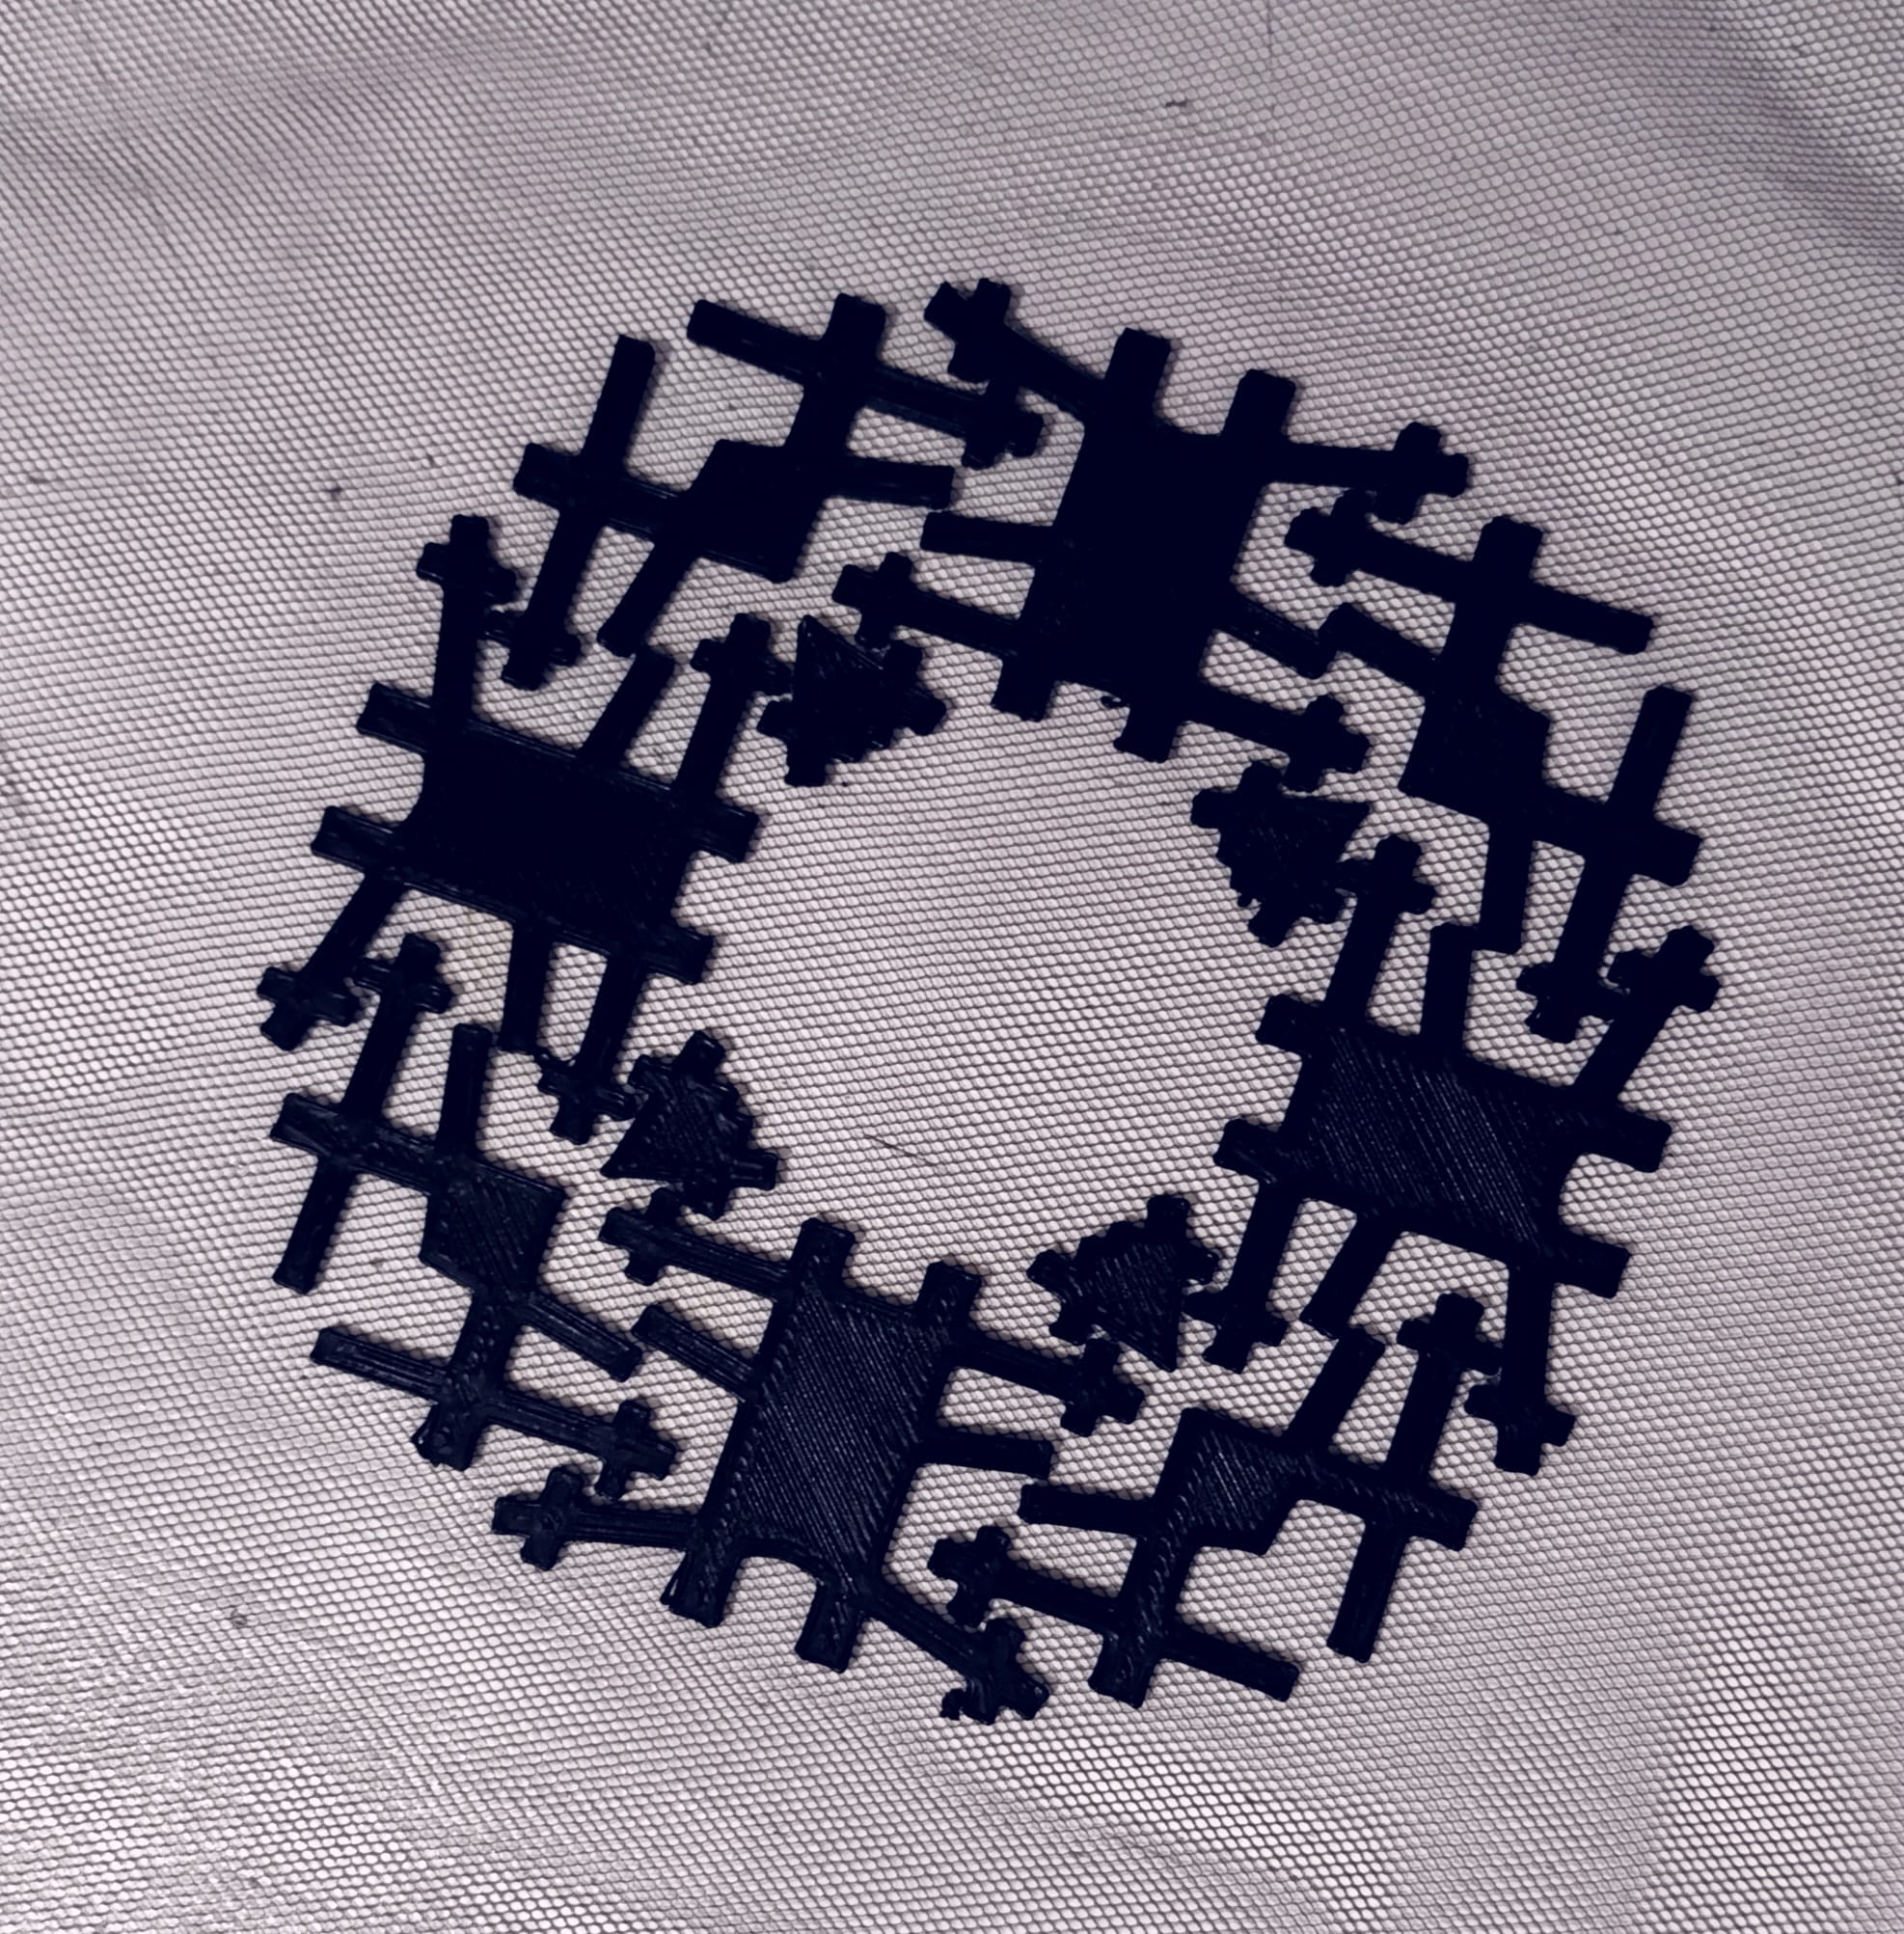
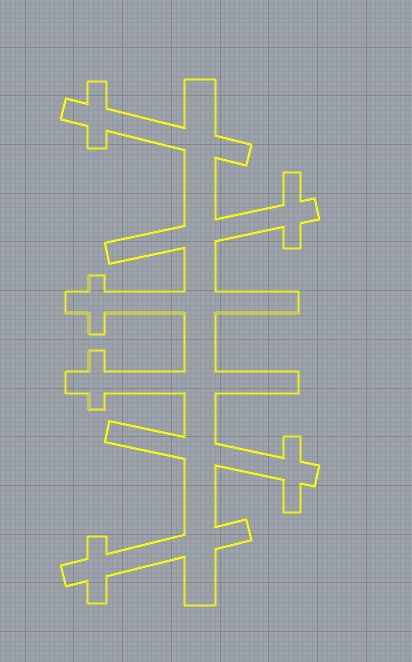
For my second swatch, a pattern 3D printed on mesh fabric, I found inspiration in the work of Iris van Herpen, among others.
Tools
Process and workflow
Rhino
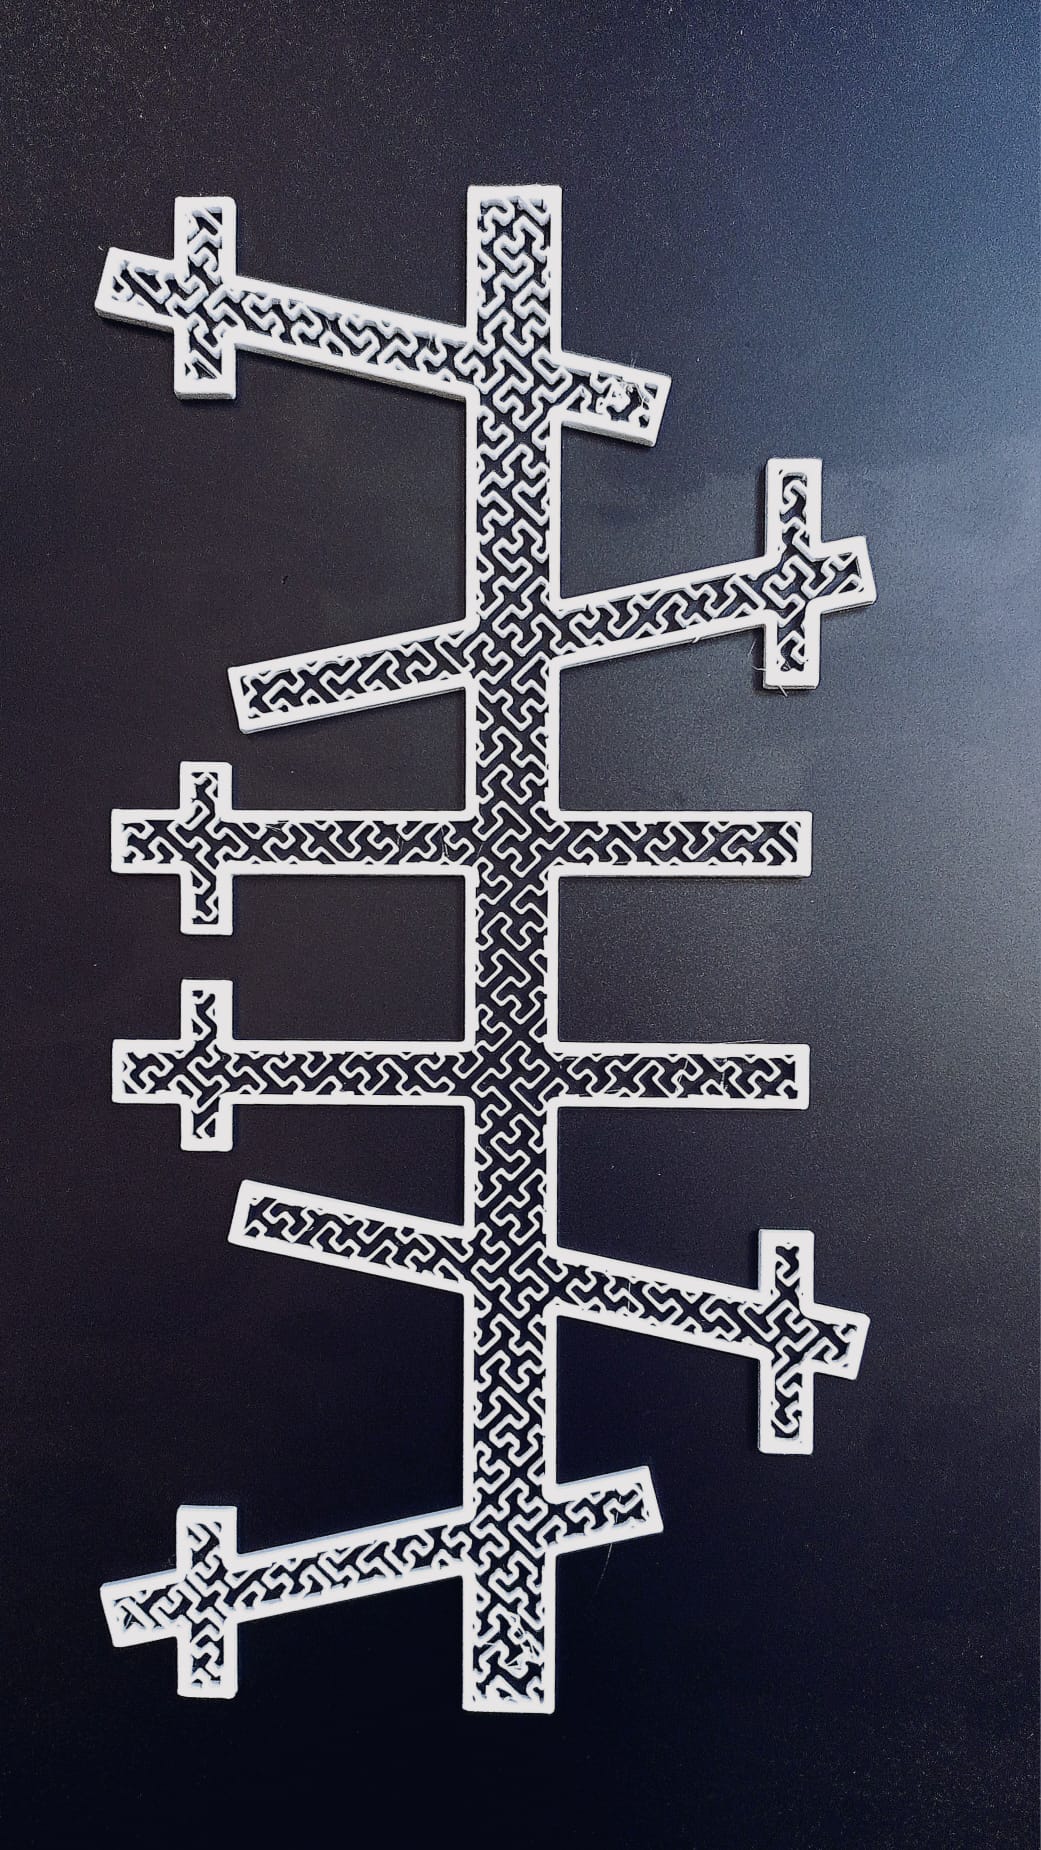
First I made my design by using pattern making software. I used Repper.
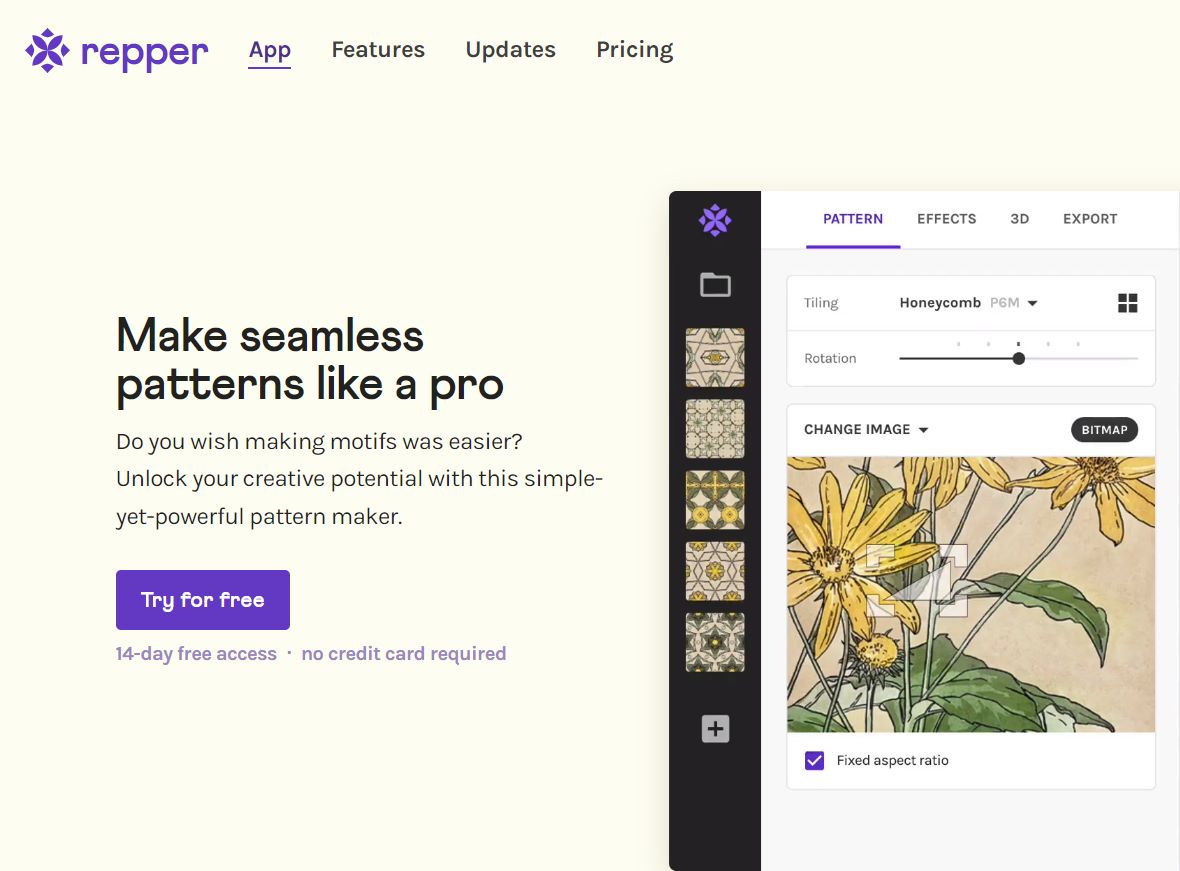
Export the Design: - Export your pattern design as a 2D image or SVG file from Repper. Repper is an app is available for creating repeat patterns, where you upload a source file—like your artwork, a photo, or a file with a few shapes and different colors. Afterward, you can play around and craft some really cool patterns.
Import into Rhino: - Open Rhino and import the 2D pattern design file you created in Repper.
Create Geometry: - Use Rhino's drawing and editing tools to convert your 2D pattern into a closed curve, as 3D printing requires a 3D model.
Extrude for Height: - Extrude the 2D pattern in Rhino to give it height. You can use the "Extrude" or "ExtrudeSrf" command to create a 3D pattern.
Check for Watertightness: - Ensure that your 3D pattern is a watertight, closed solid. Use commands like "Closed Polysurface" and "Check" to verify the integrity of the model.
Export as STL: - Export the final 3D pattern as an STL (Stereolithography) file, a common format for 3D printing. Ensure that you set the appropriate units (mm) and scale during export to match your 3D printer's requirements.
Review and Slice: - Open the STL file in your 3D printing software (e.g., Cura, PrusaSlicer) to review and slice the model into layers suitable for 3D printing. Adjust print settings like layer height, infill, and support structures as needed.
3D Print: - Load the sliced file into your 3D printer and initiate the printing process, following the printer's instructions for material loading, temperature, and bed leveling.
I used a heat gun to mold the bracelet. Careful, it melts really fast. So let's start with a simple Grasshopper exercise. Make a circle in Rhino and turn it into a 3D model that can be adjusted in Grasshopper.

3D Printers
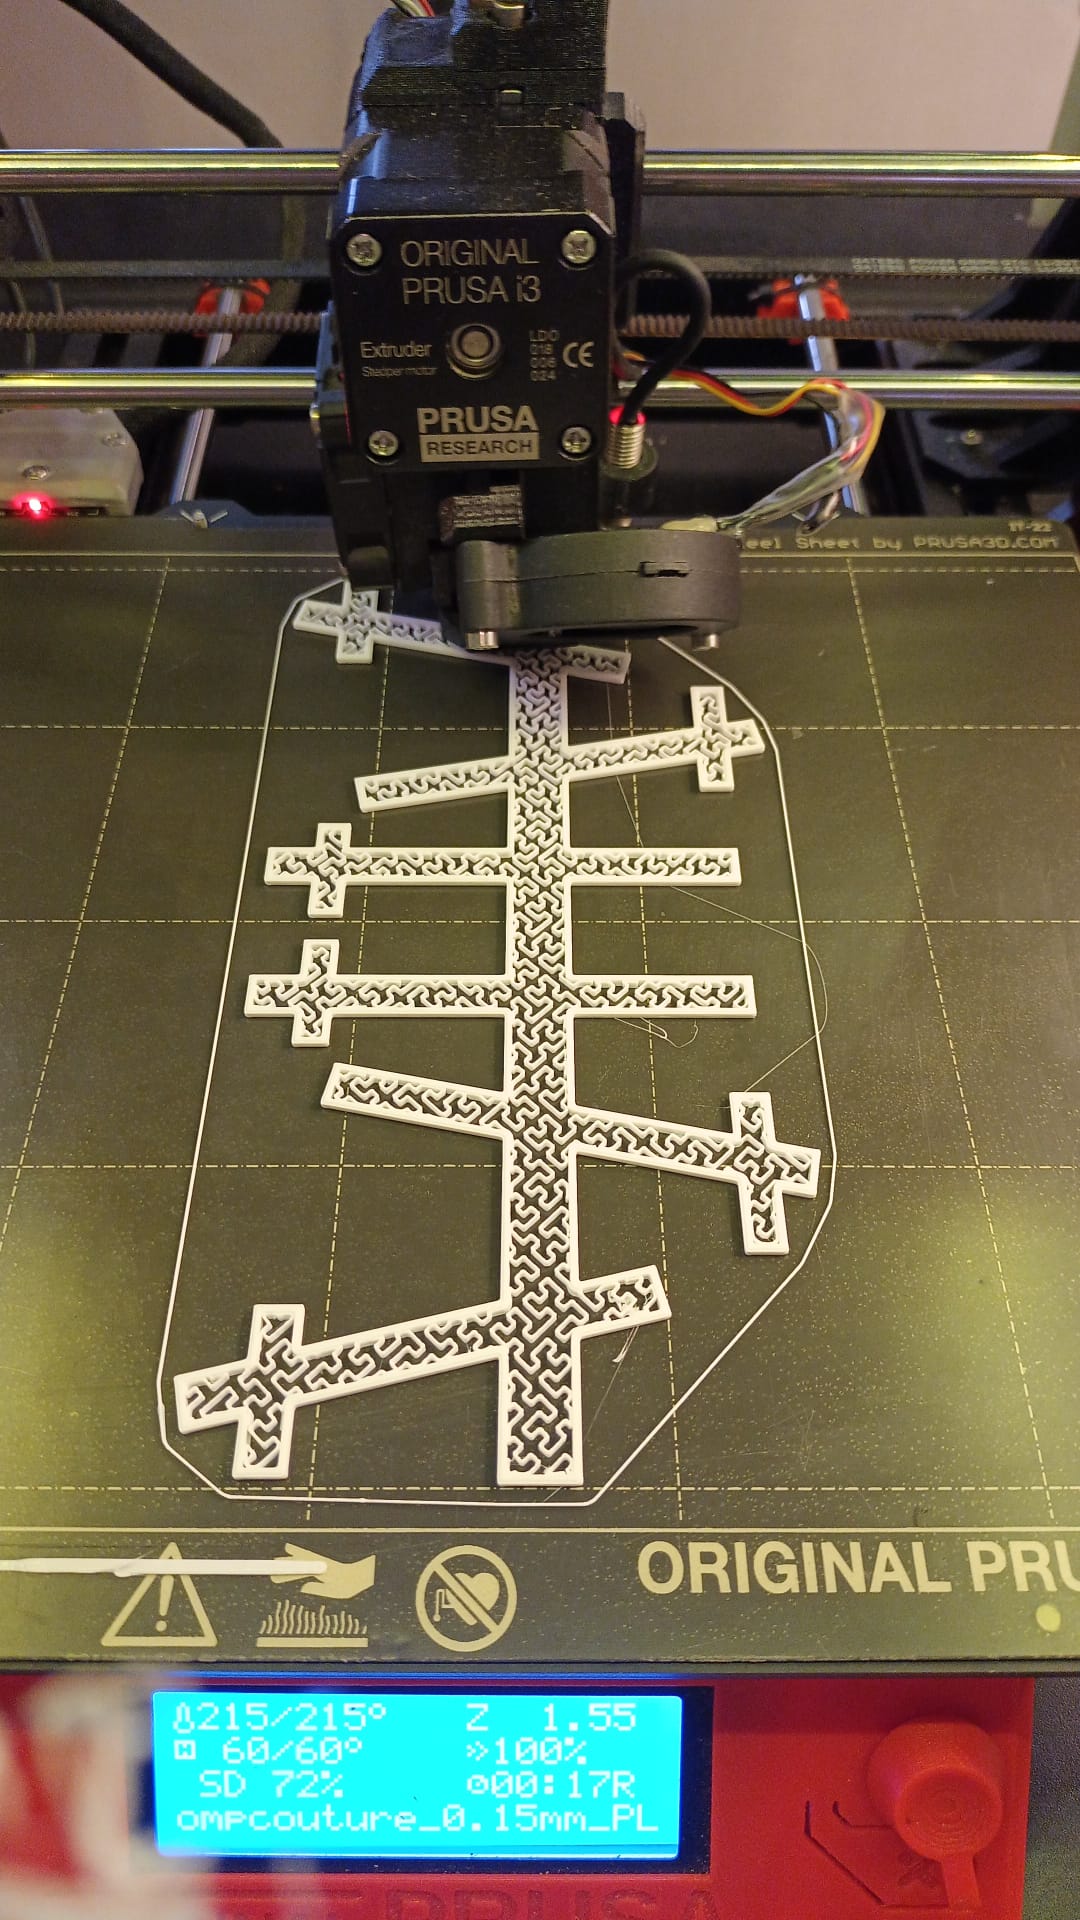
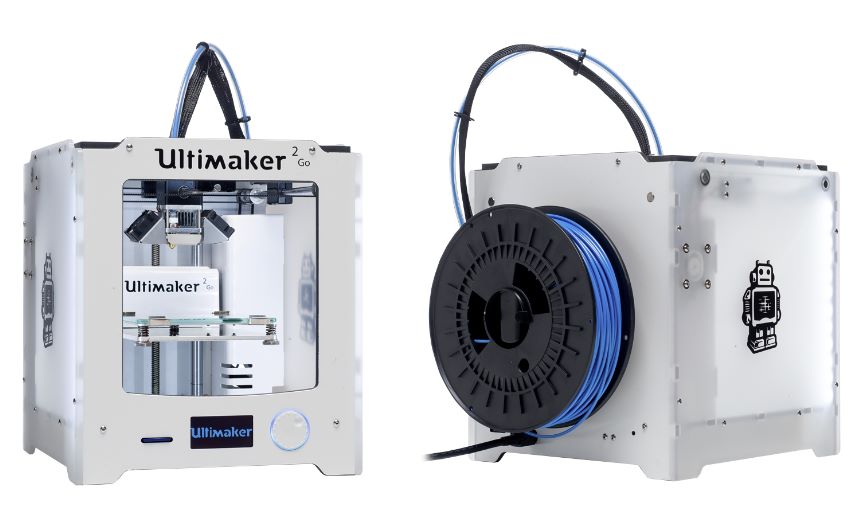
Below are the two printers I used, the Prusa for the bracelet and the Ultimaker for the black pattern on mesh fabric. Printers need filament (the 'ink') for printing. I wanted to use flexible material for the bracelet, but after a few failed attempts (it did not hold its shape on the printing bed), I used PLA instead. This is a more sturdy plastic material.

Prusa Slicer
Here are some key features and settings in PrusaSlicer:

Printer Selection: PrusaSlicer supports various 3D printer models. Select your specific printer model to ensure accurate print profiles.
Print Settings: Customize print parameters such as layer height, print speed, and infill density. You can adjust these settings to achieve a balance between print quality and speed.
Infill Patterns: Choose from various infill patterns, such as honeycomb or grid, to control the interior structure of your 3D print.
Filament Settings: Configure settings related to the type of filament you're using, including material type, temperature, and extrusion multiplier.
Layer Height and First Layer: Fine-tune layer height for optimal detail or faster prints. Adjust first layer settings to ensure good adhesion to the build platform.
Prusa 3D Printer (for the bracelet)
Also see: Fablab De Waag Ultimaker

Turn the Original Prusa MK3 printer on. You can find the power button on the back of the casing.
Unload filament.
Check if there’s a filament loaded. If so, select “Unload filament” in the printer menu. Check what type of filament is loaded and select the type. The printer nozzle will heat up and the printer will beep when it’s time to unload the filament. Press “OK” and pull the filament out immediately.
Put the SD card in the SD card slot.
The SD card fits in backwards.
Choose your filament. I used PLA Extrafill Traffic White RAL 9016 - 1.75mm.
More information about different types of filament on the filament page.
Cut the tip of the filament in a 45 degree angle.
Put the filament in the tube. Place the roll so that the filament comes from above.
Load the filament.
Select “Load filament” in the printer menu. Select the type of your filament. The printer will preheat to load. The old filament will come out of the extruder. The printer will ask if the filament is extruding with the right color. Press “No” until the right color of filament is coming out of the nozzle. Press “Yes” when the right filament color comes out of the nozzle.
Original Prusa i3 MK3
Prepare the print-bed.
Remove old filament from the print-bed. Clean the print bed with the spray on top of the printers.
Start printing
Select “Print from SD” and select your file. You are ready to print!

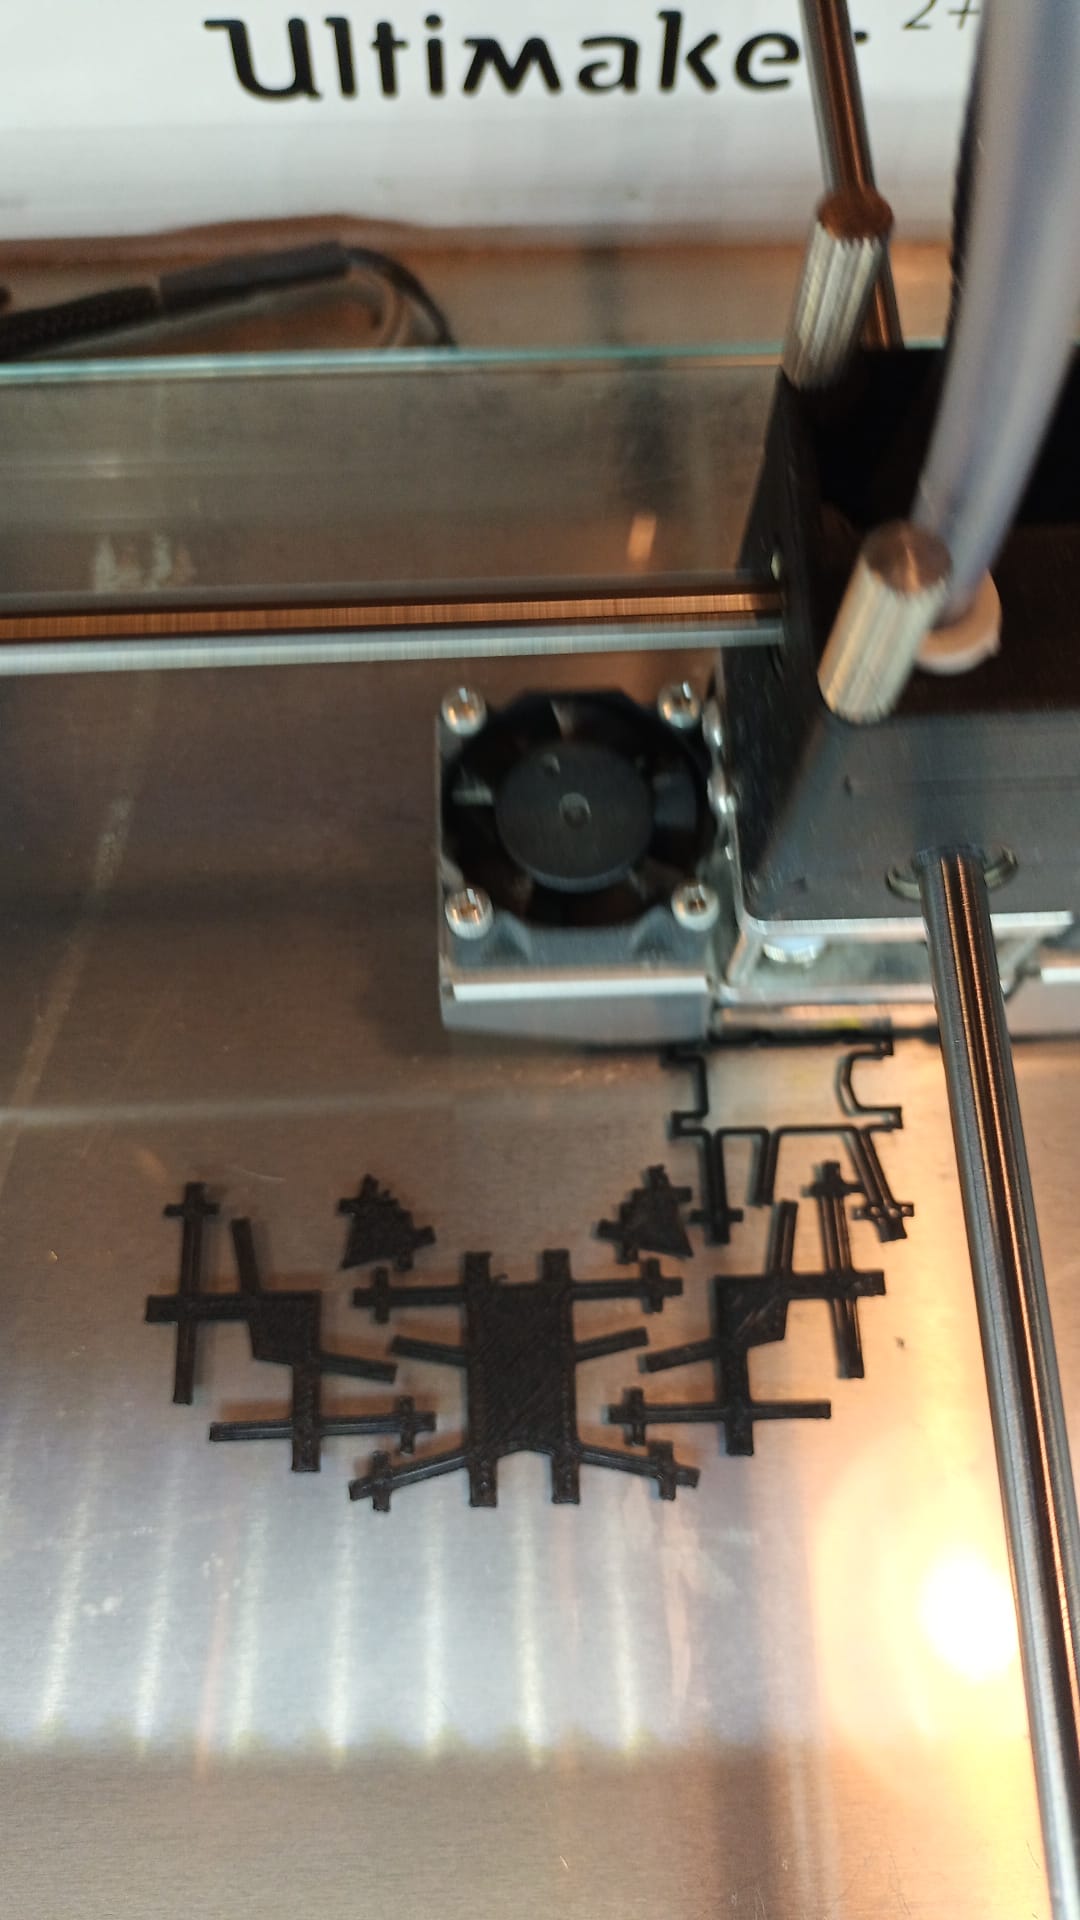
Ultimaker 3D printer (for the black print on mesh)
Also see: Fablab De Waag Ultimaker


Steps to prepare your file before sending it to the Ultimaker 2+
First thing to do is to export your 3D file as an OBJ or an STL file
Import the file to your preferred slicer software
Choose the right printer by going to printer settings and choosing Ultimaker 2+ from the list
Choose print & filament settings
Slice
Save gcode file to the SD card
How to set up the machine
Turn the printer on. You can find the power button on the back side. All menu operations are handled with the big white knob on the front of the machine.
To load and unload filament, click on material then click on change in the menu. It will then start heating print head for material removal, once it is ready, the remaining filament will be out.
Make sure to clean the glass bed before inserting the new filament with glass cleaning spray and a paper towel.
Choose your filament. I used PLA Semi-Matte Black 2.85mm.
Cut the tip of the filament in a 45 degree angle.
Insert the new filament from the back.
Using the white button, click forward material, then click ready once it is forwarded all the way through.
Select the type of material that you’re using (in this case PLA) by going to material > settings.
Insert the SD card with your sliced file into the slot in front of the machine, click Print then choose the file you want to print
Then click ready to get the print started
Bed leveling
Bed leveling has to be done once every now and then when the bed adhesion seems to deteriorate, or before and after printing directly on fabrics. Navigate to Maintenance > Build Plate and the machine will guide you through the steps. A card like the one used here works pretty well, or 2-3 sheets of regular paper. More detailed explanation can be found on the Ultimaker documentation page.
Notes
We usually take out the filament after use and then turn off the printer, since there is no load/unload function on the Ultimaker and we prefer to store the filament in the filament cupboard.
Don’t forget to press Ready when the filament is loaded correctly, otherwise you’ll get a pile of wasted filament.
Grasshopper
How to use Grasshopper to work with an extruded circle in Rhino:
- Open Grasshopper:
-
Launch Rhino and type "Grasshopper" into the command bar, then press Enter to open the Grasshopper visual scripting environment.
-
Create a New Grasshopper File:
-
In Grasshopper, go to "File" > "New."
-
Insert a Parametric Circle Component:
- In the Grasshopper canvas, right-click to open the components menu.
- Type "Circle" in the search bar and find the "Circle" component under the "Primitive" category.
- Click and drag the "Circle" component onto the canvas.
Listen, I have no idea how to do this. Will try and be back later to rewrite this section.
- Set Circle Parameters:
- Double-click on the "Circle" component to open its properties panel.
-
Adjust the circle's radius and plane by connecting the desired values or sliders to the respective inputs on the properties panel.
-
Insert an Extrude Component:
-
Search for the "Extrude" component in the components menu, and then drag and drop it onto the canvas.
-
Connect the Circle to Extrude:
-
Connect the output of the "Circle" component (the circle curve) to the "S" input of the "Extrude" component.
-
Set Extrusion Height:
- Double-click on the "Extrude" component to access its properties.
-
Adjust the extrusion height by connecting a slider or typing in a specific value into the "D" (distance) input.
-
Insert a Bake Component:
-
Search for the "Bake" component in the components menu, and then drag it onto the canvas.
-
Connect Extrusion to Bake:
-
Connect the output of the "Extrude" component (the extruded geometry) to the "G" input of the "Bake" component.
-
Bake the Geometry:
-
Right-click on the "Bake" component and choose "Bake."
-
Select the Baked Geometry in Rhino:
- You should now see the extruded shape in your Rhino workspace. Click on it to select it.
-
3D Print or Export:
- With the extruded shape selected, you can proceed to 3D print it directly from Rhino or export it as an STL file for 3D printing.
This series of steps guides you through creating a parametric circle, extruding it, and baking the extruded geometry in Grasshopper. The baked geometry can then be used for 3D printing or further design modifications in Rhino.
(Full disclosure: I do not understand Grasshopper - and did not use it for my project) Here is some general information:
In the world of 3D printing for fashion, using Grasshopper within Rhino is like having a creative assistant. Grasshopper simplifies the design process by visually connecting various design components, making it easier to craft intricate patterns or customized clothing. For instance, you can use Grasshopper to adjust elements like the shape and size of fabric textures.
Its parametric functions allow for precise control over every detail, which is essential for creating unique and personalized fashion pieces with ease.
Parametric functions refer to the ability to control and manipulate design elements by adjusting specific parameters or variables. In the context of 3D printing for fashion, it means that you can change various aspects of a design—such as the size, shape, or arrangement of fabric patterns—by simply tweaking these parameters. This approach allows for greater flexibility and creativity, as you can easily experiment with different design variations and customize fashion pieces to your liking without having to manually recreate the entire design.
For instance, if I take my bracelet and want to work with Grasshopper, it goes like this:
Create the Bracelet Shape in Rhino: Start by drawing the flat bracelet design in Rhino using curves or lines. Ensure that it's a 2D representation of the bracelet shape you desire.
Import the Design into Grasshopper: Open Grasshopper and import the 2D bracelet design from Rhino.
Parametric Adjustments: Use Grasshopper to add parametric control. You can adjust various parameters like the width, thickness, and pattern of the bracelet.
Pattern Generation: If you want to incorporate intricate patterns or textures on the bracelet, use Grasshopper's parametric functions to create and manipulate these patterns. You can control aspects like pattern size, orientation, and density.
Review and Refine: Examine the design variations created by adjusting parameters in Grasshopper. This allows you to experiment with different looks and quickly refine your design.
Export 3D Model: Once you are satisfied with the parametric adjustments and patterns, export the 3D model of the bracelet from Grasshopper back into Rhino.
3D Printing Preparation: In Rhino, you can prepare the 3D model for 3D printing. Ensure that it's a closed, watertight solid suitable for 3D printing.
Export STL File: Export the final 3D model as an STL file, a format commonly used for 3D printing. Make sure to set the appropriate units and scale.
Fabrication files
Note that this one meant to be printed on the mesh has no infill applied. Printing this, especially with flexible materials on stretch textile will lead you to reshape the fabric into a self forming structure (credit: Claudia Simonelli)