9. Textile Scaffold
Research
This week was about 'scaffolding': making 2d and 3d moulds using the laser cutting and the cnc milling machine to fill with material composites or to use to mould leather with. This time, we got to work in pairs, and I worked with the American designer Riley Cox. We decided we would make bags using textile scaffolding.

Riley and I worked on:
- A cnc milled foam mould filled with mesh and silicone to make a bag
- A laser cutted mould used to form a leather shape to make a bag
We also did some experiments, such as a laser cutted mould we filled with wool, glue, and bioplastic, which was fun but the wool did not find its way to be processed into a bag.
References & Inspiration
Objects of kofta studio would be found at the intersection of art and applied science. Accomplished by using the futuristic techniques such as 3D-modeling/-printing/-cutting mixed with the traditional leather craft methods like molding, drying and more. See Kofta Studio.


Results
CNC Shopbot Bag Mould (Bag No. 1)
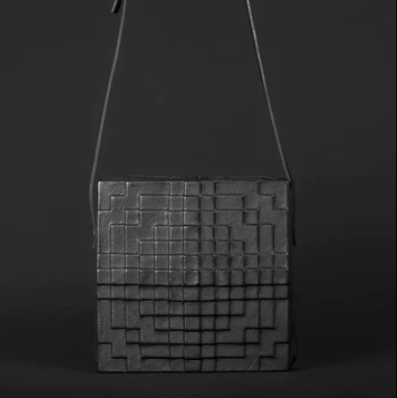
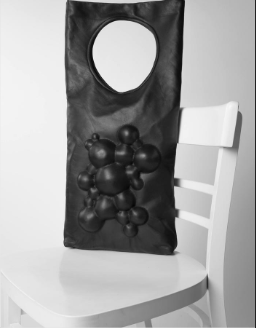
For our bag design we decided to go for geometric shapes. This turned out beautiful, albeit not very practical: al the different shapes and firms were not easily offset in Rhino, so we had no opposite side of the mould to press the material in between two sides of a mould. So we opted for silicon, because that is heavy enough to hold its shape in itself. We layered the silicon with black mesh, to give it a cool and not so rubbery texture.
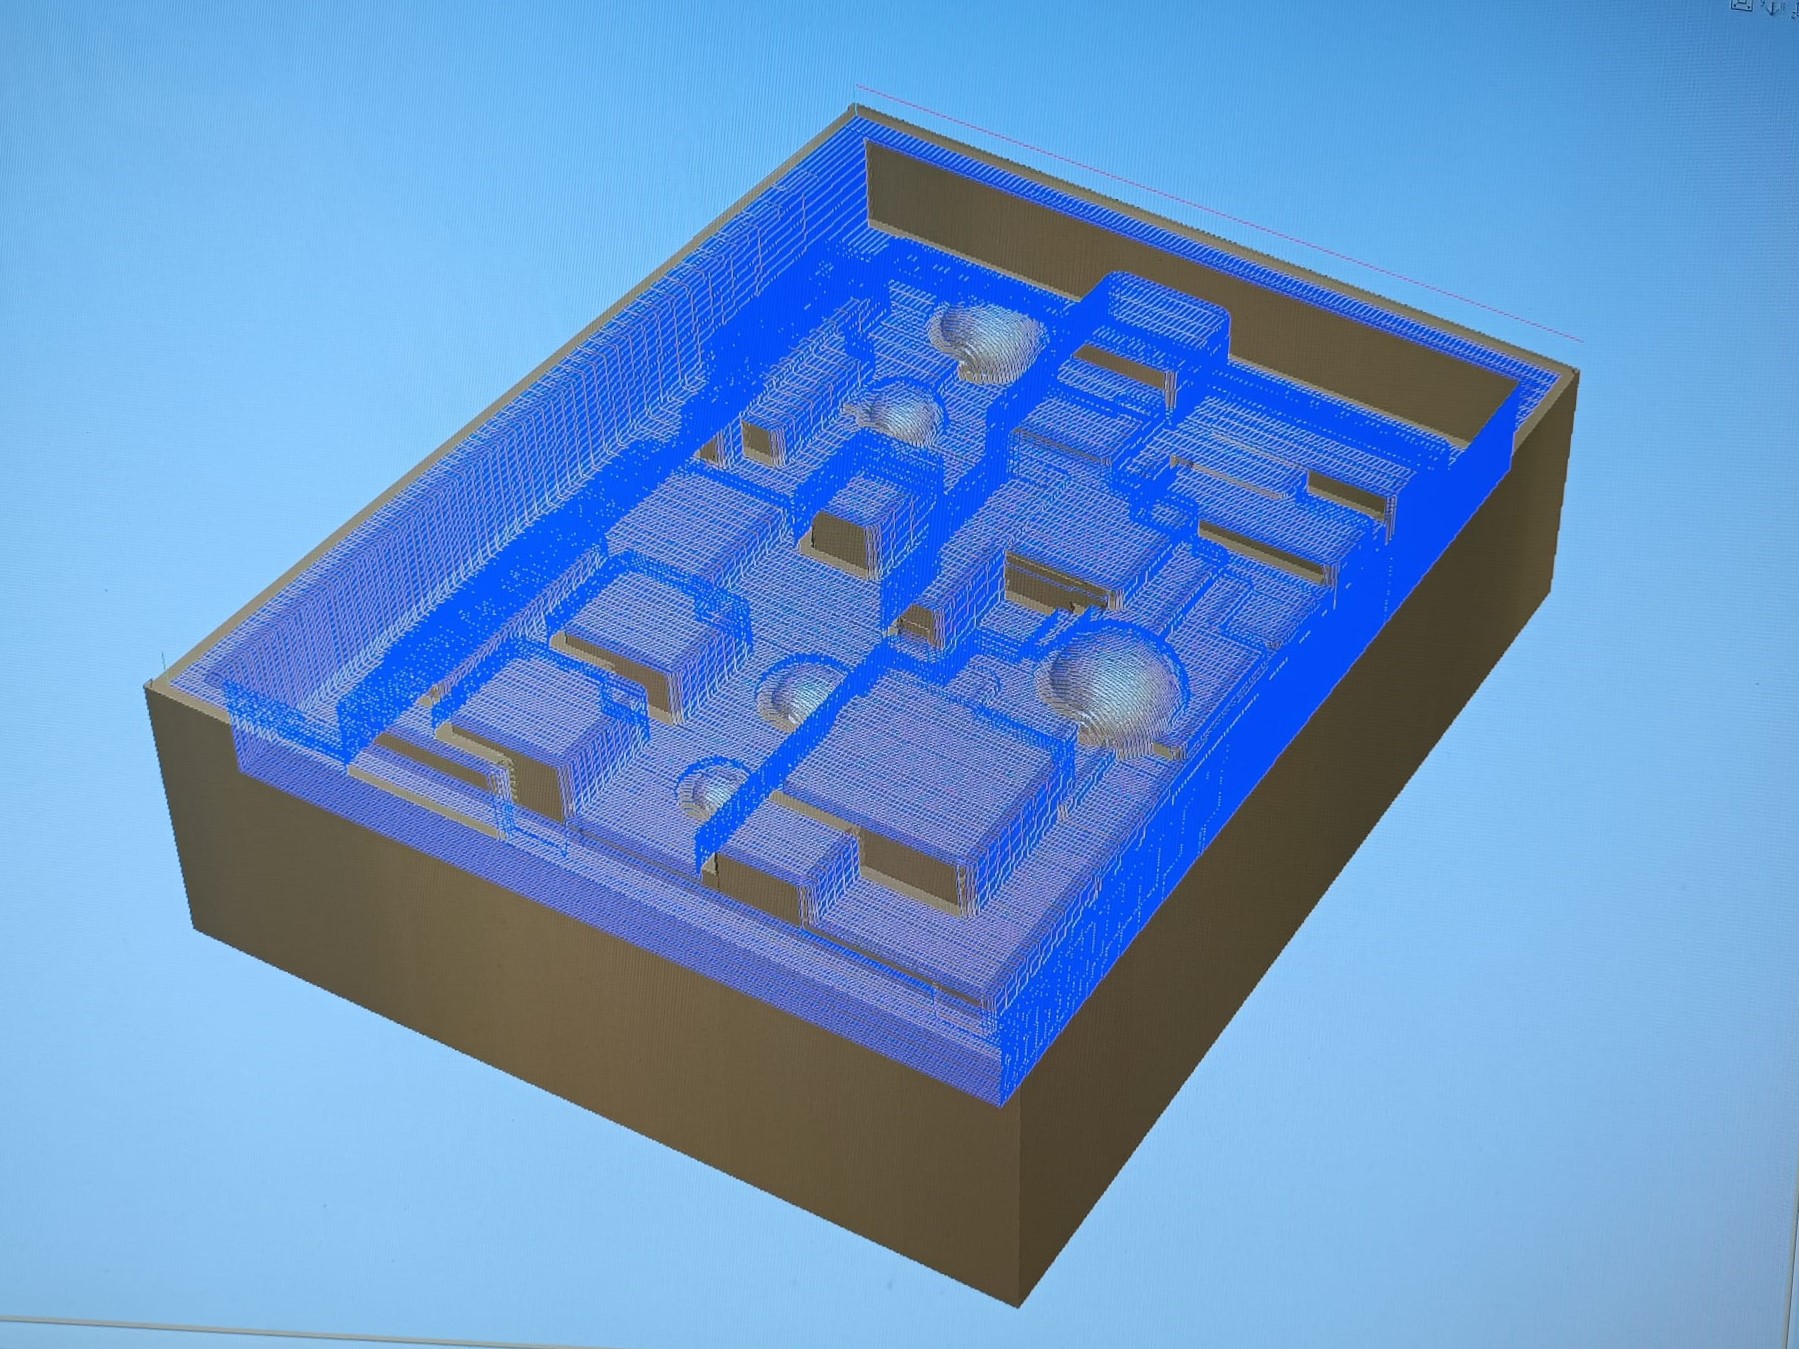
design of the mould
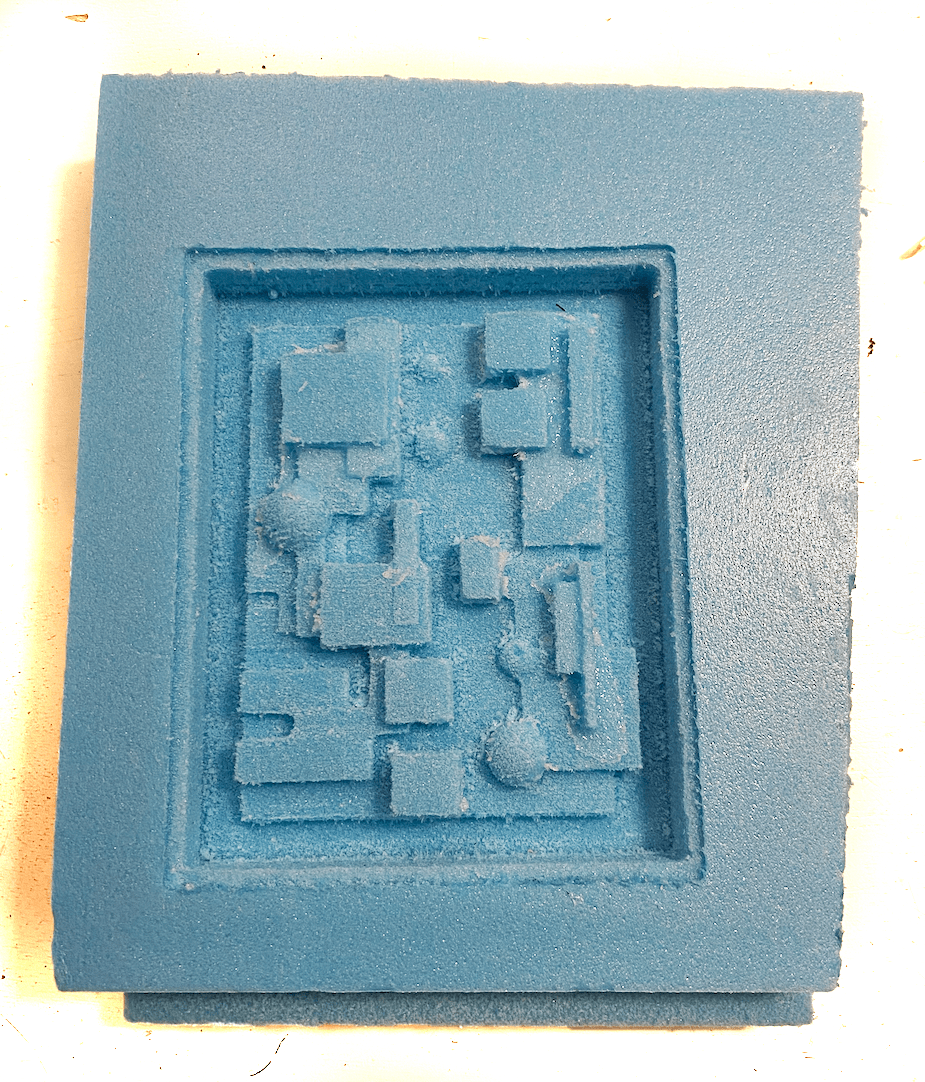
finished milled mould
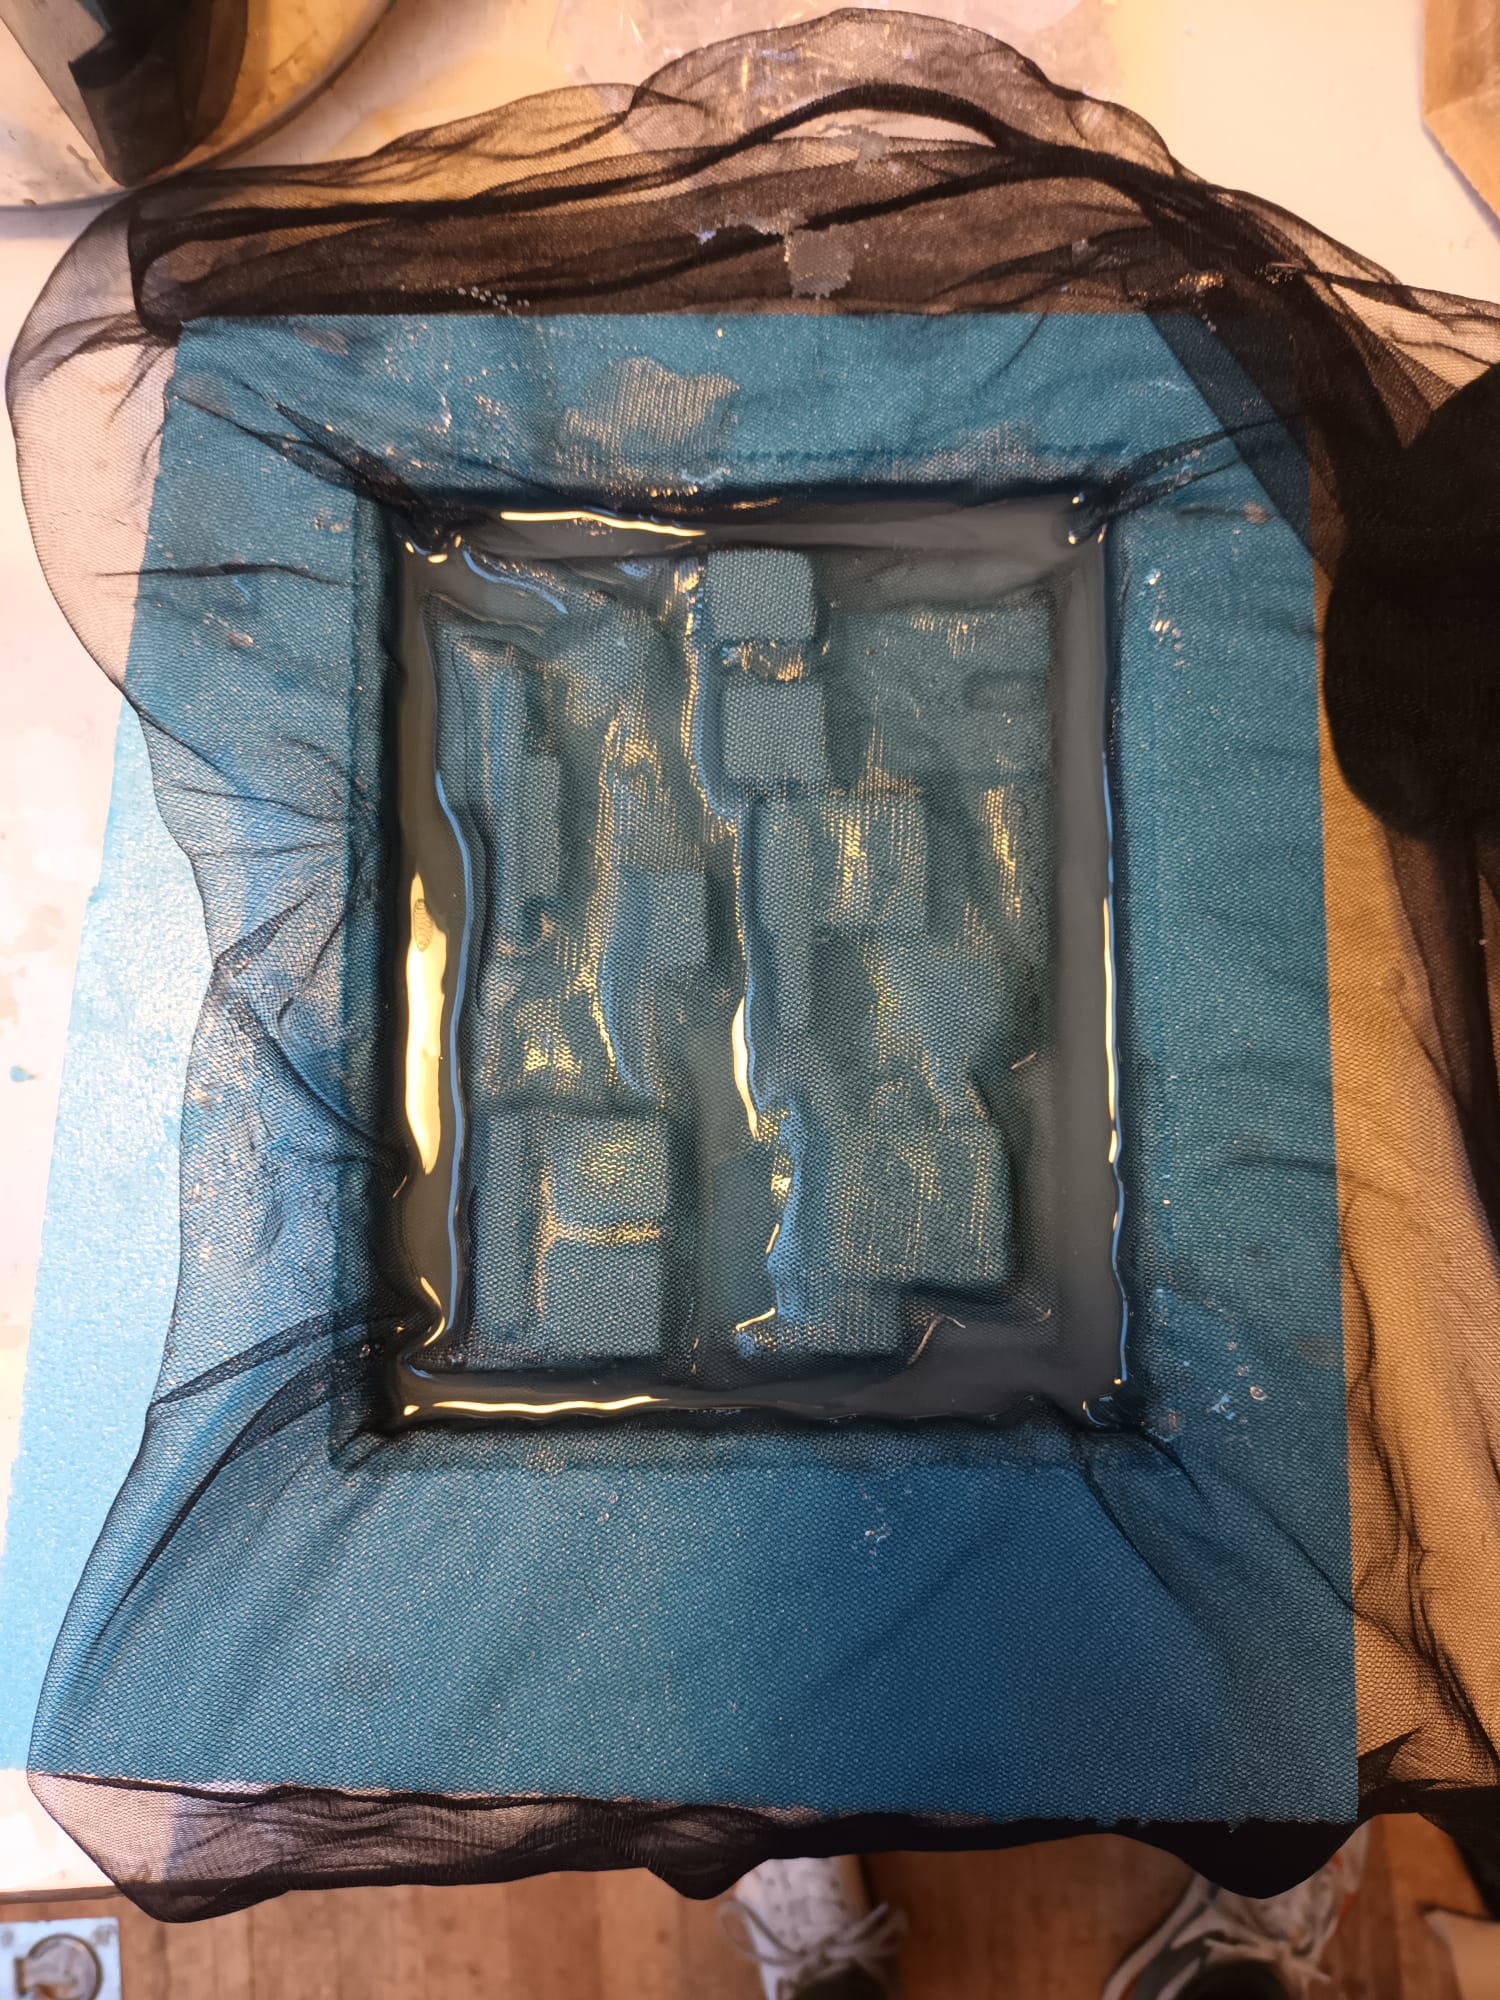
silicon poured into the mould
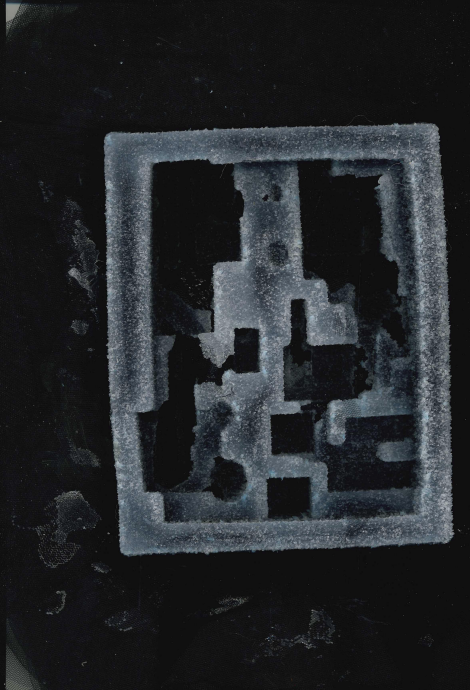 scan of the silicon/mesh outcome
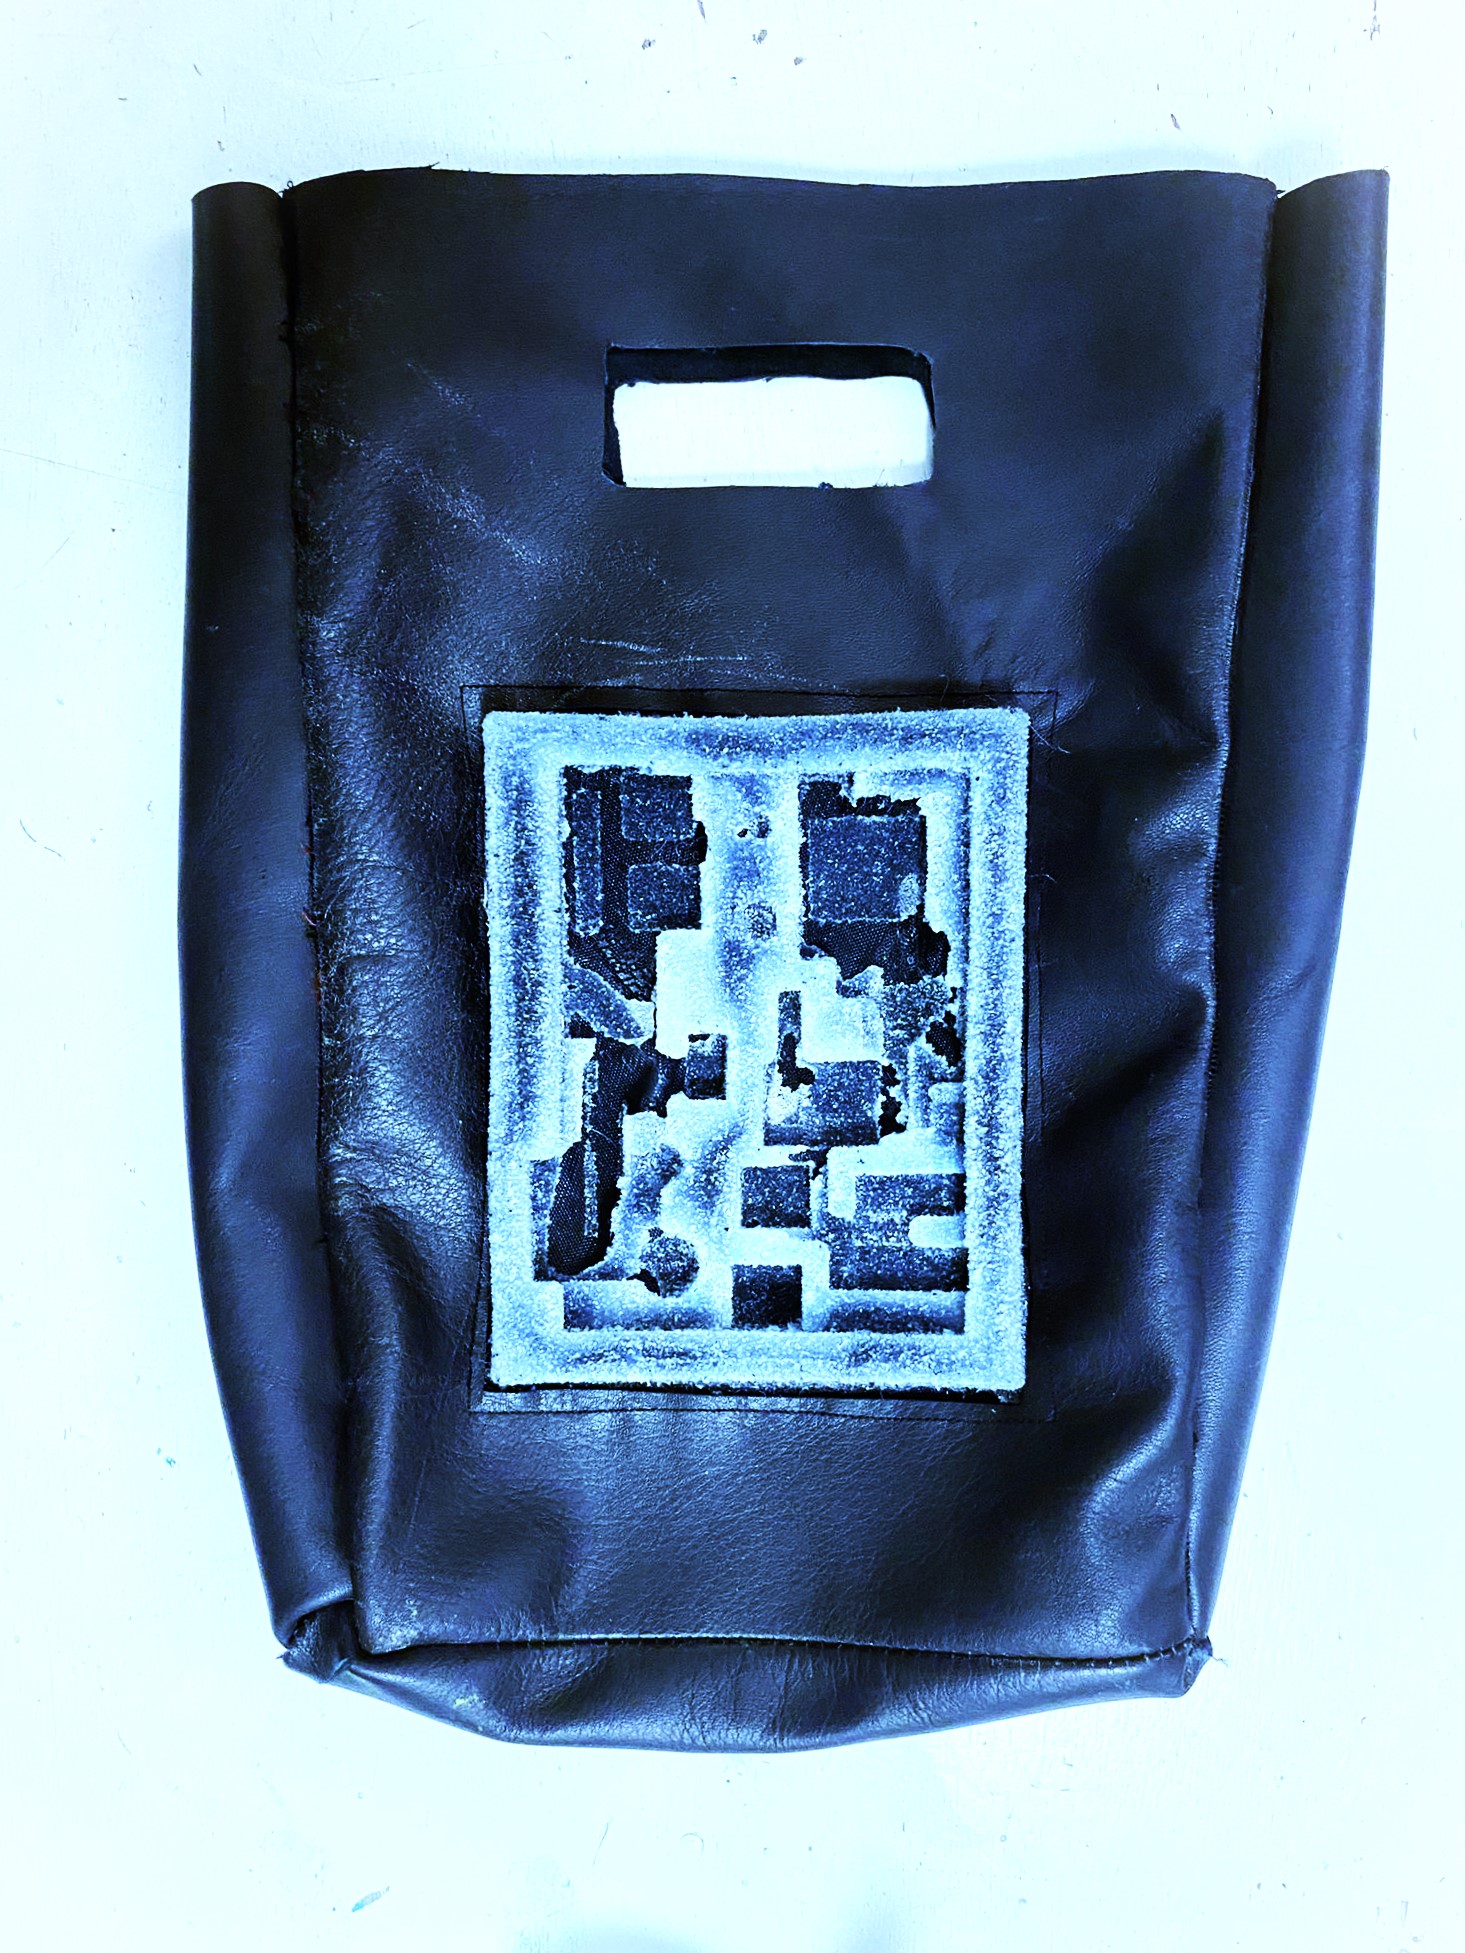
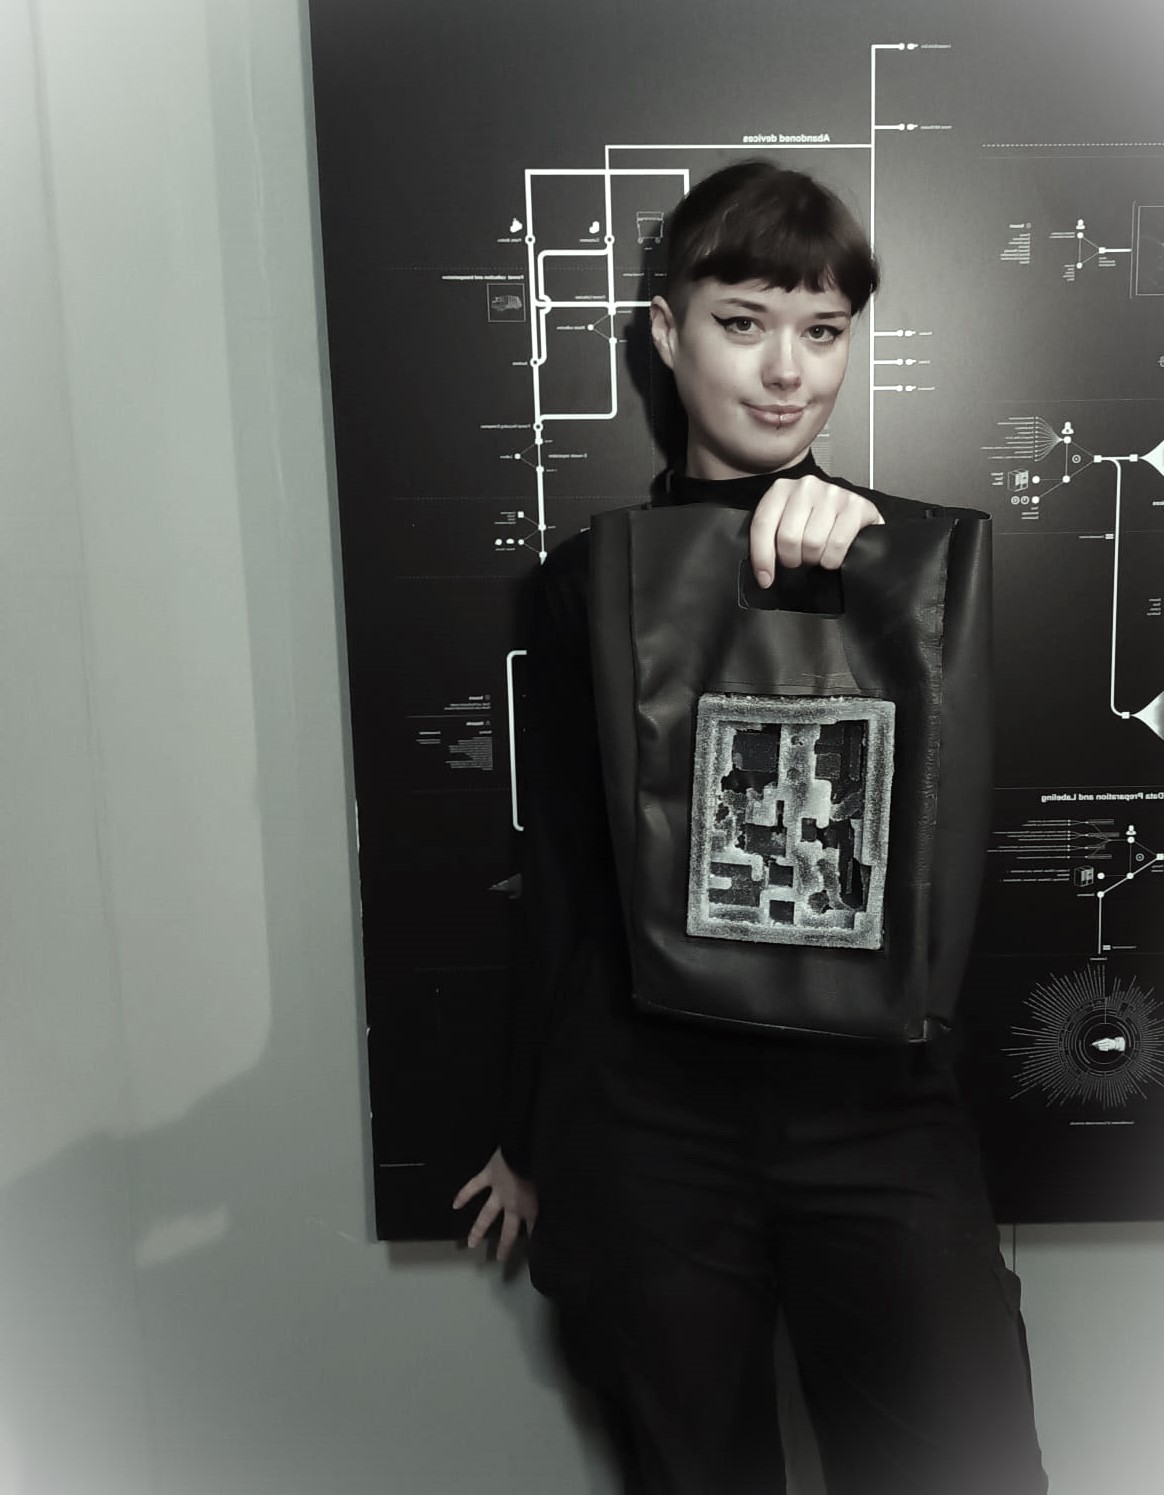
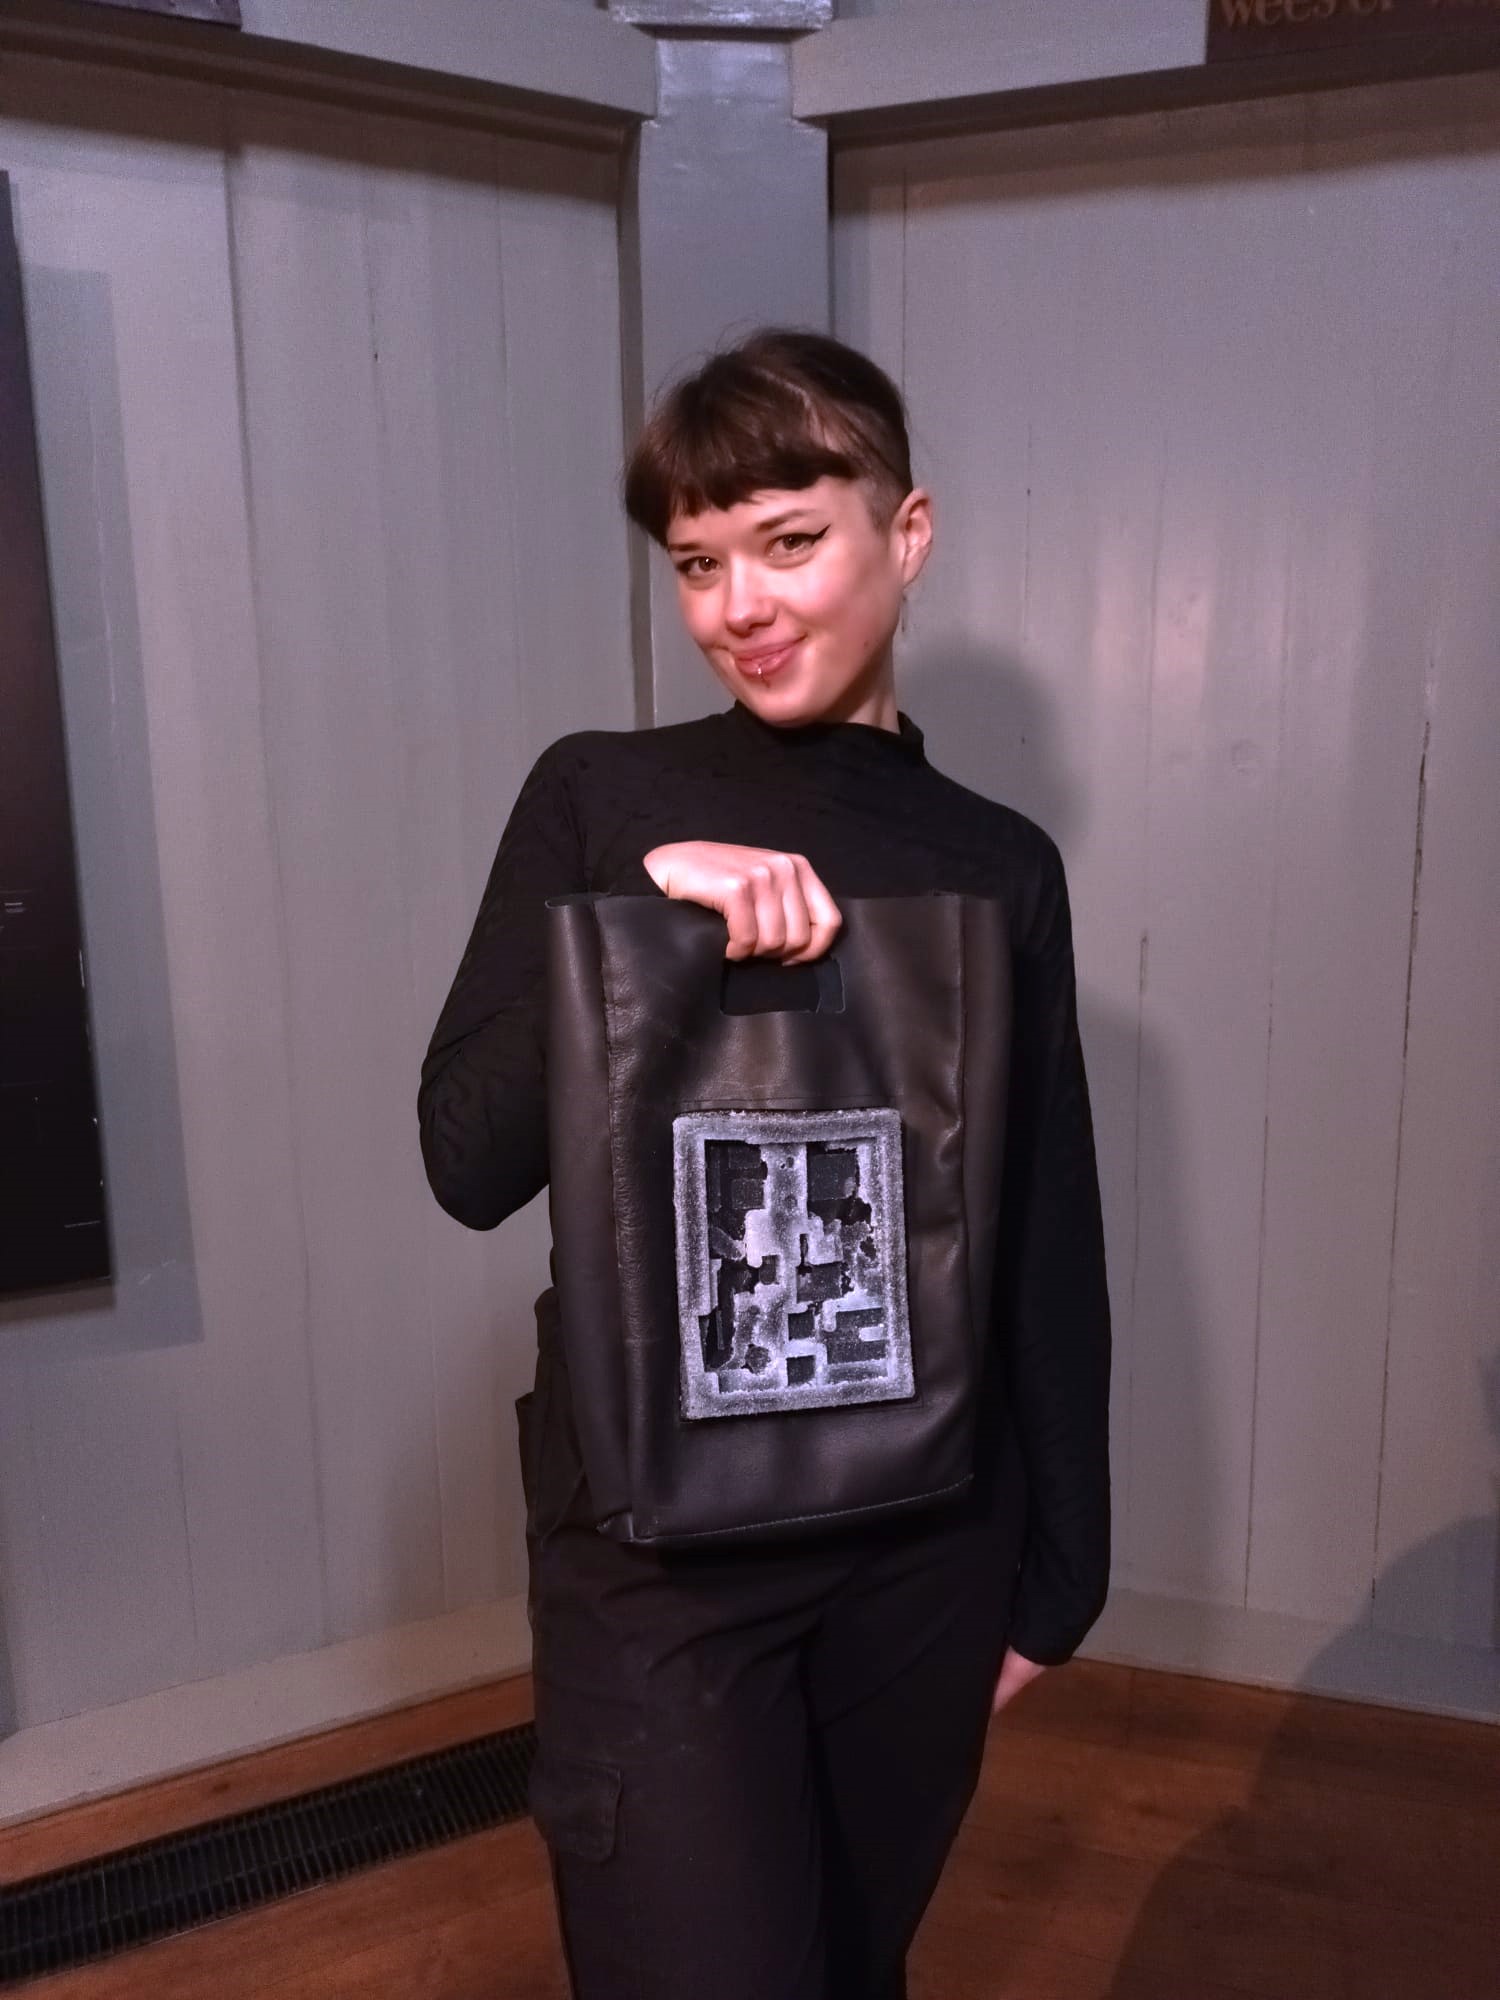
After leaving it to cure, we peeled it out of the mold. The milled foam gave it a fun, icy looking texture. Then Riley and I turned it into a bag. We measured the silicon design and cut a hole in the leather, and sewed the mesh edges into the leather. Then we added a silk lining and the back and sides, and finished the bag by cutting handles for holding the bag.
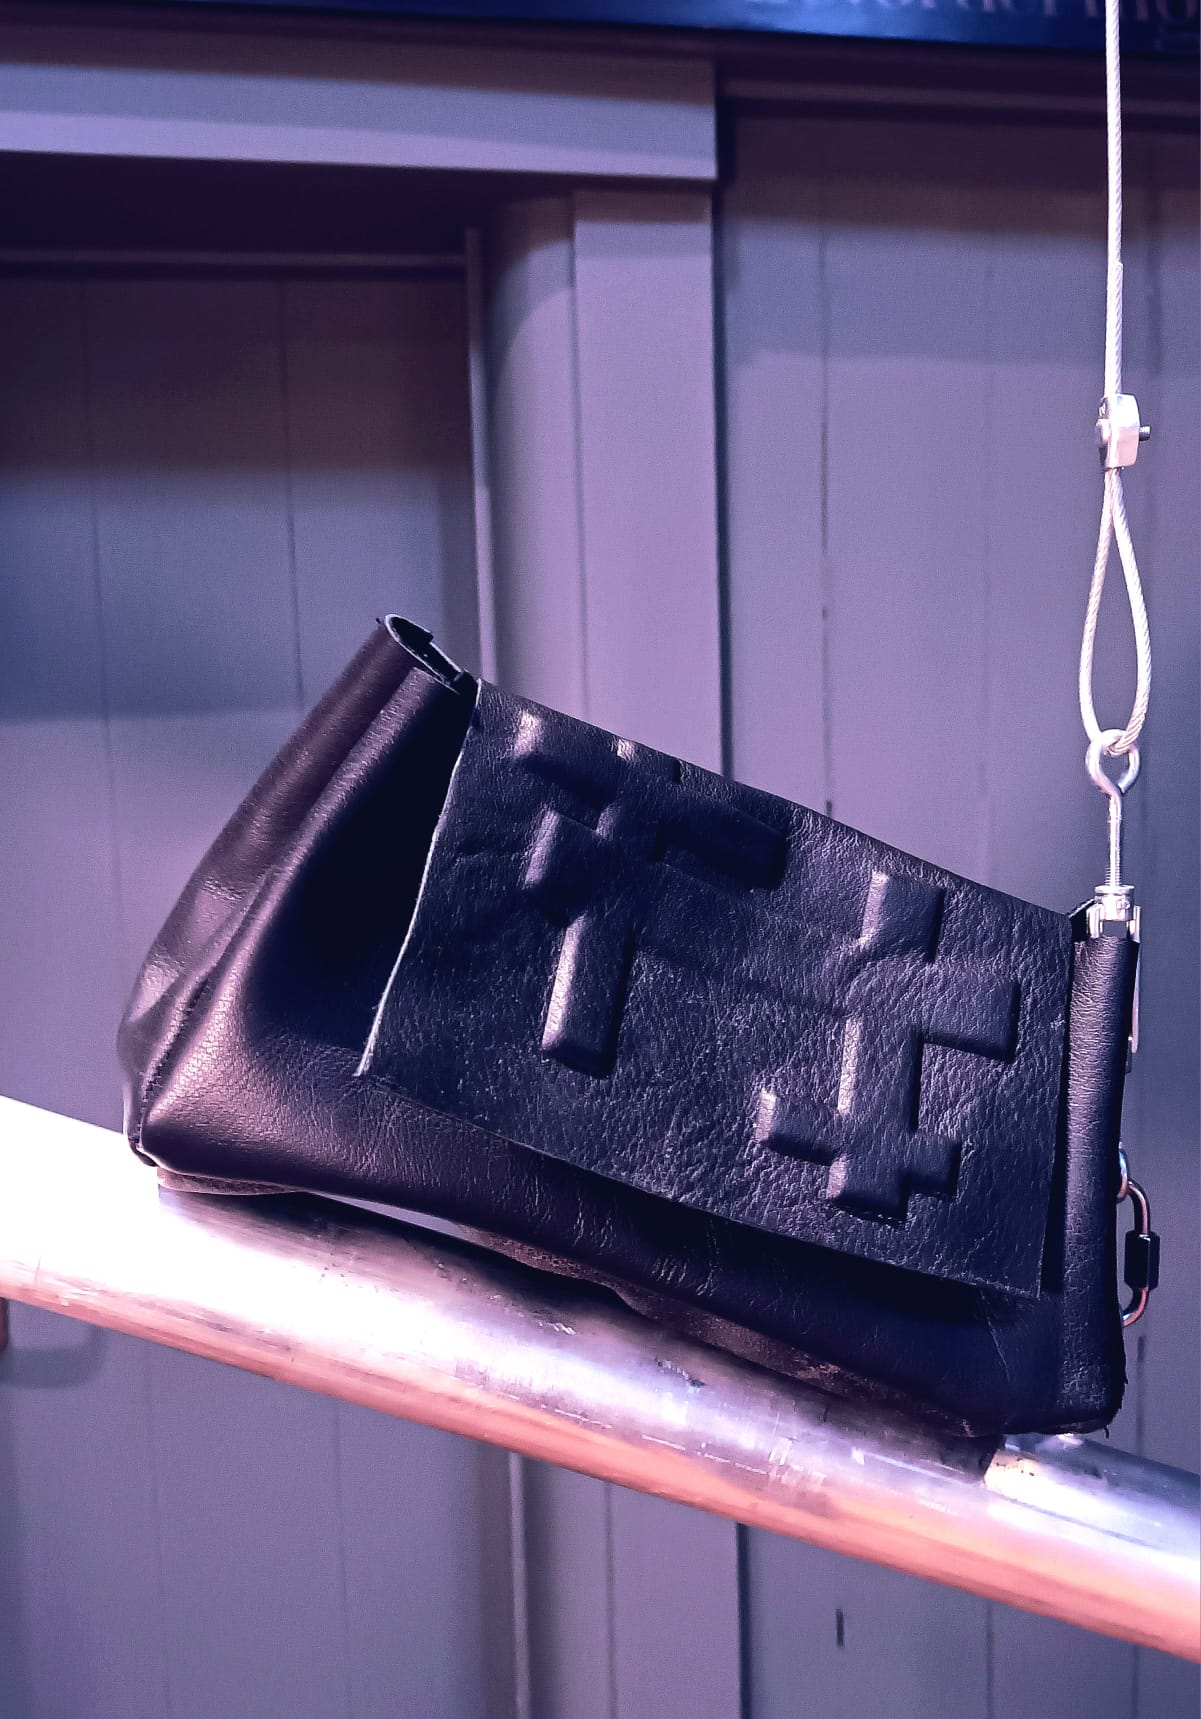
 silicon/mesh design sewn into bag
Laser Cut Leather Mould (Bag No. 2)
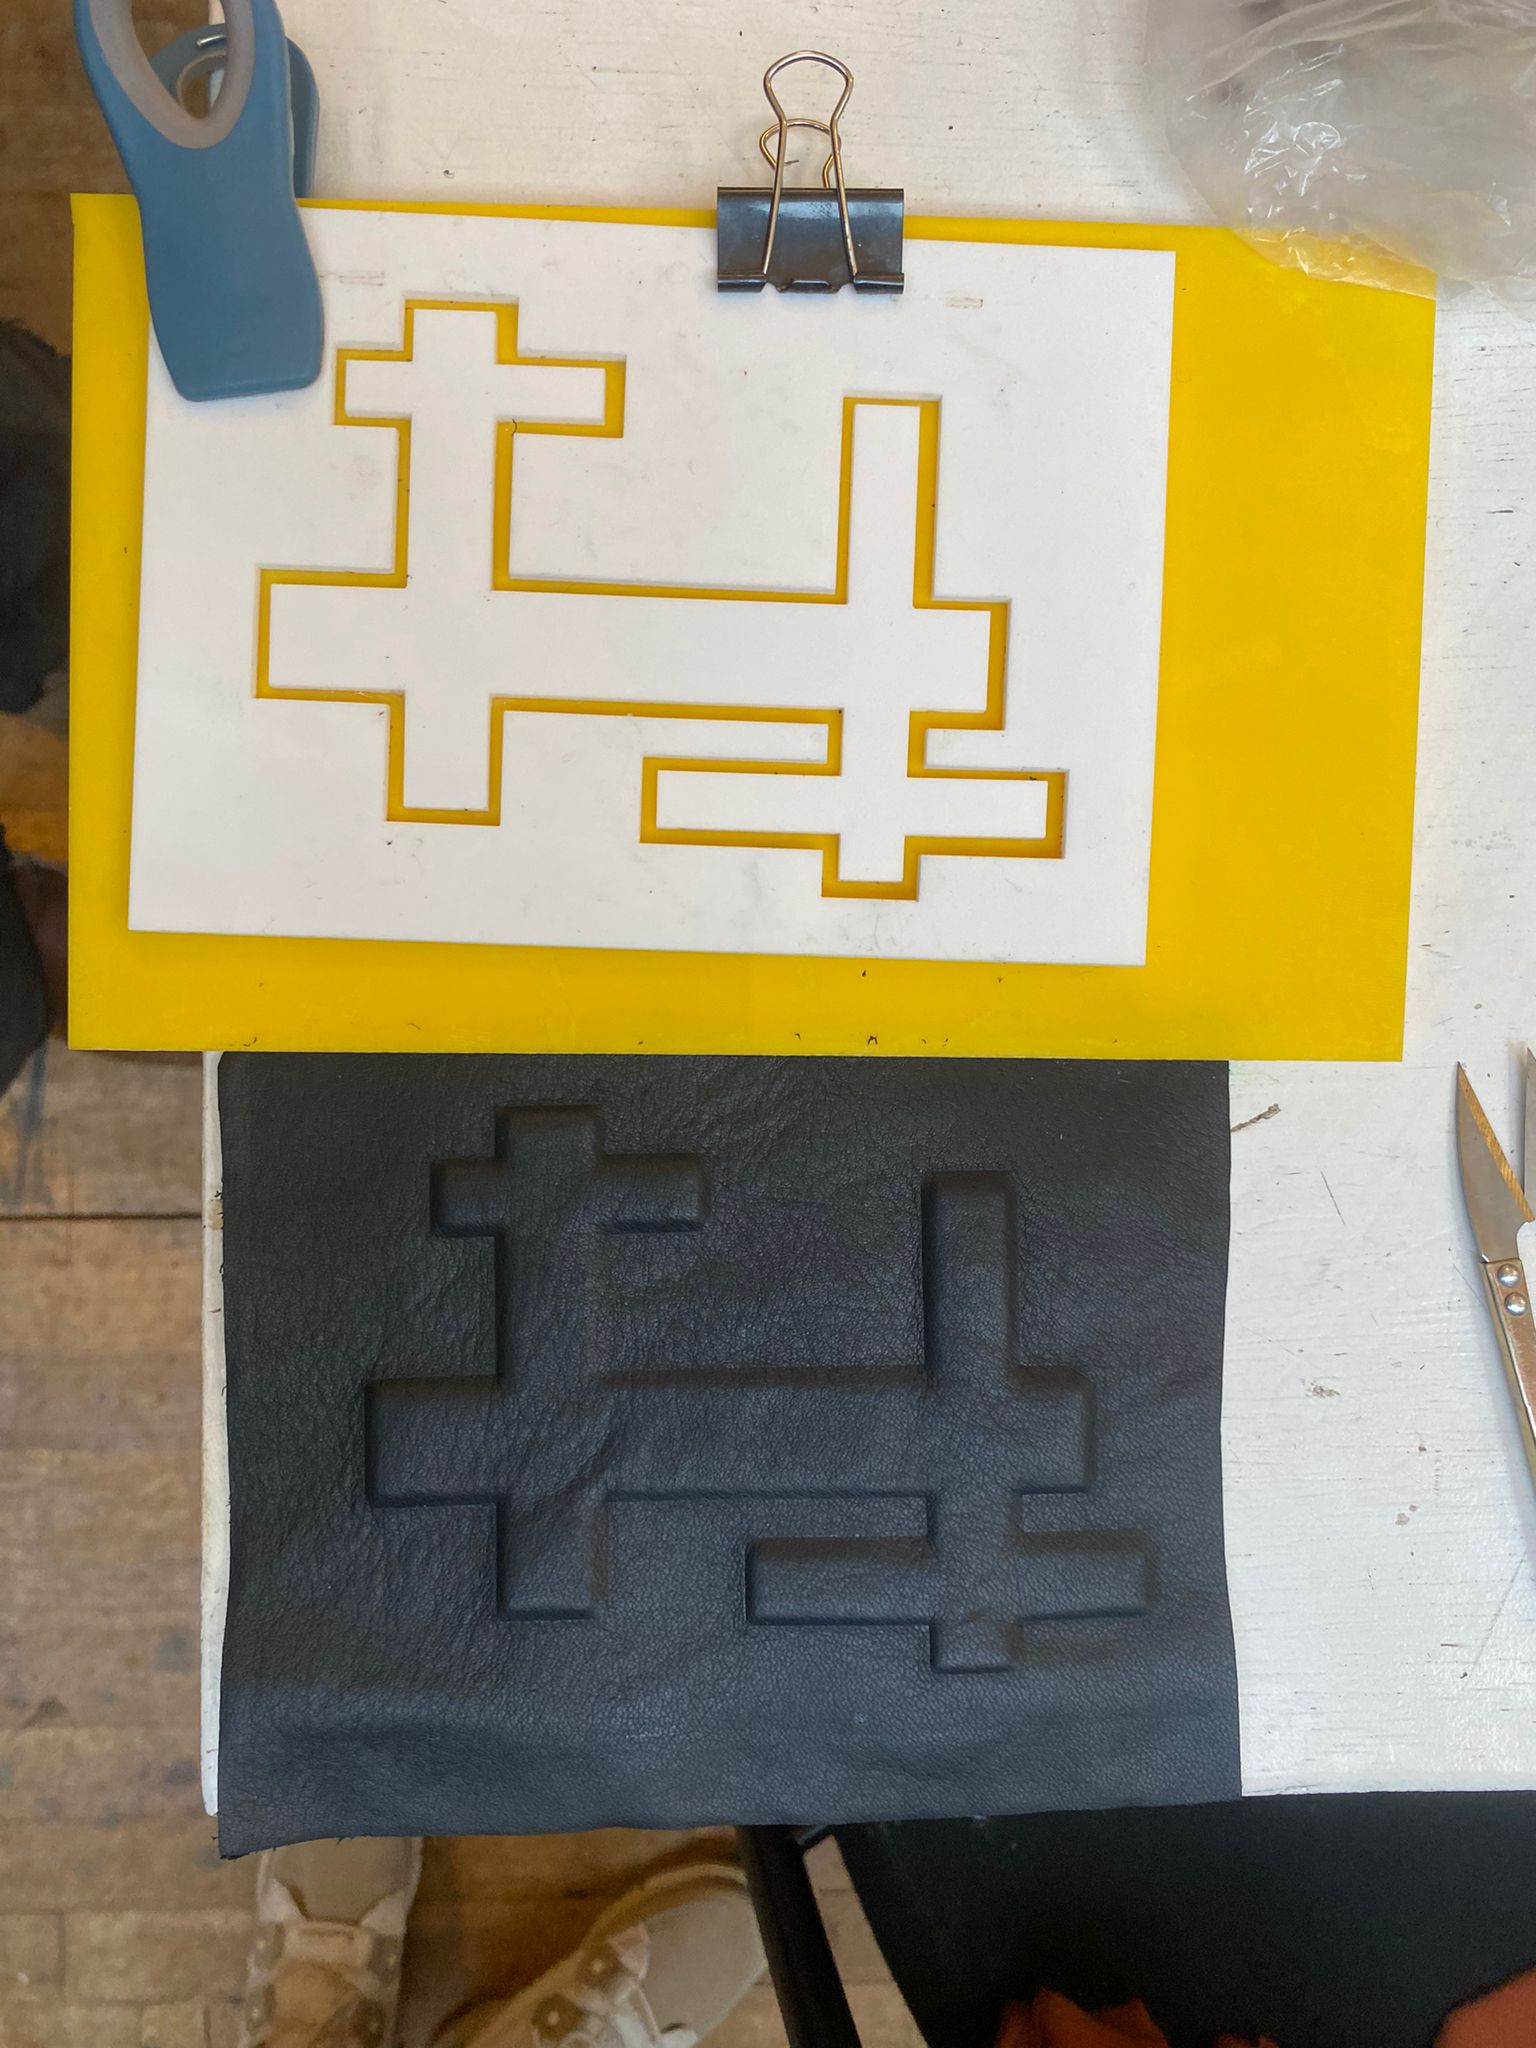
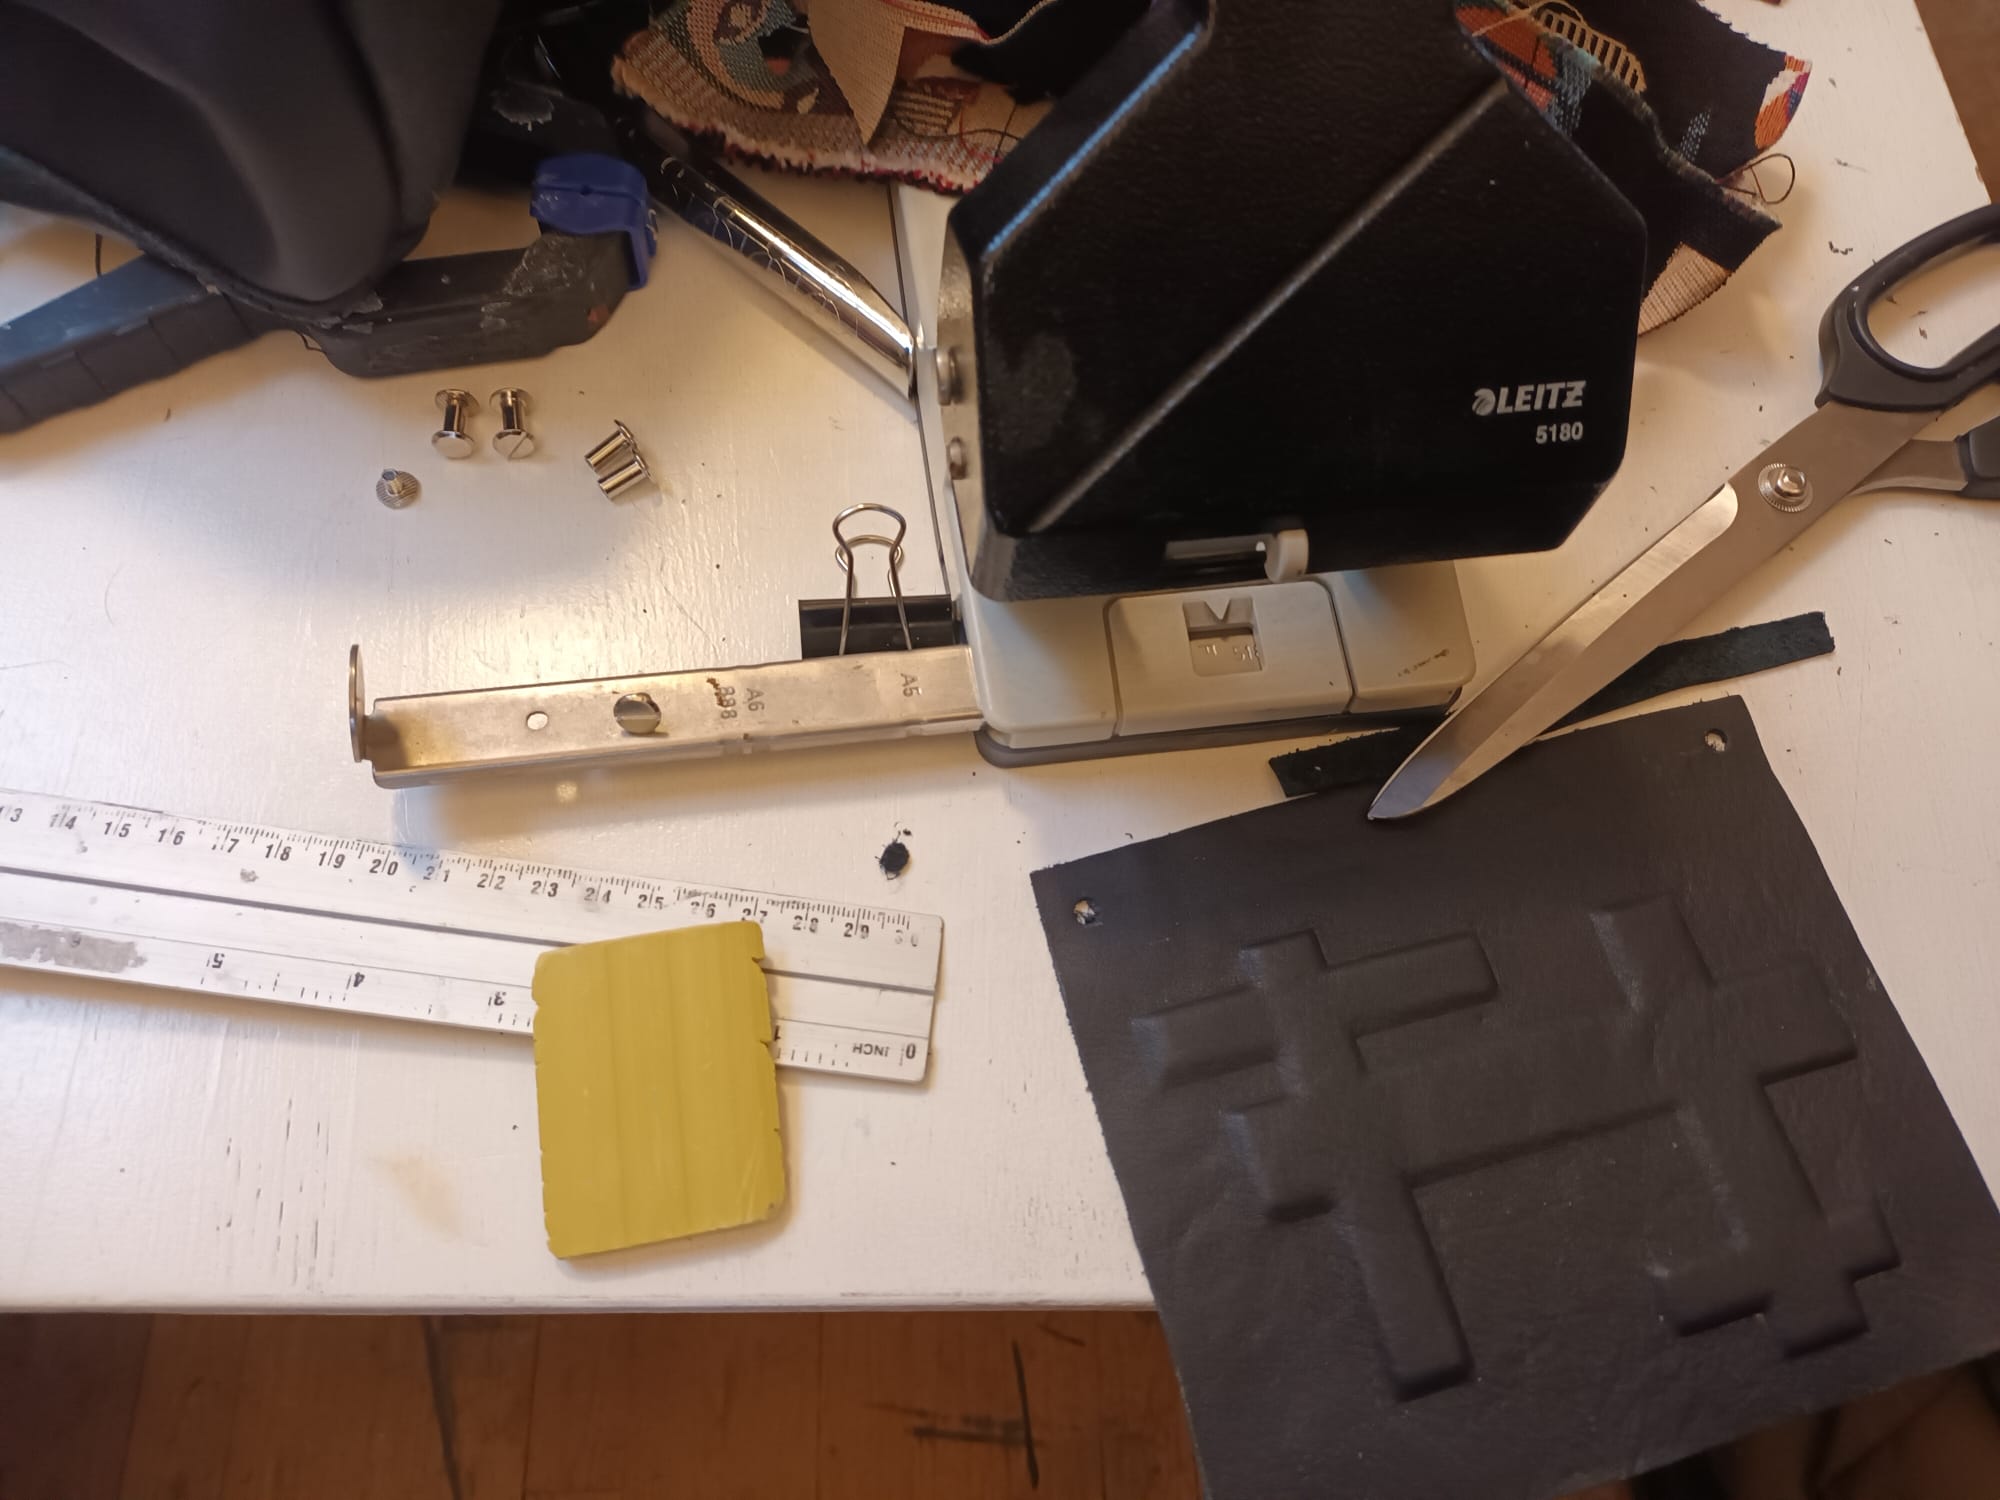
materials used for constructing Bag No.2


We used the left-over leather cutout from bag No.1 for our leather scaffolding.
Wool experiment
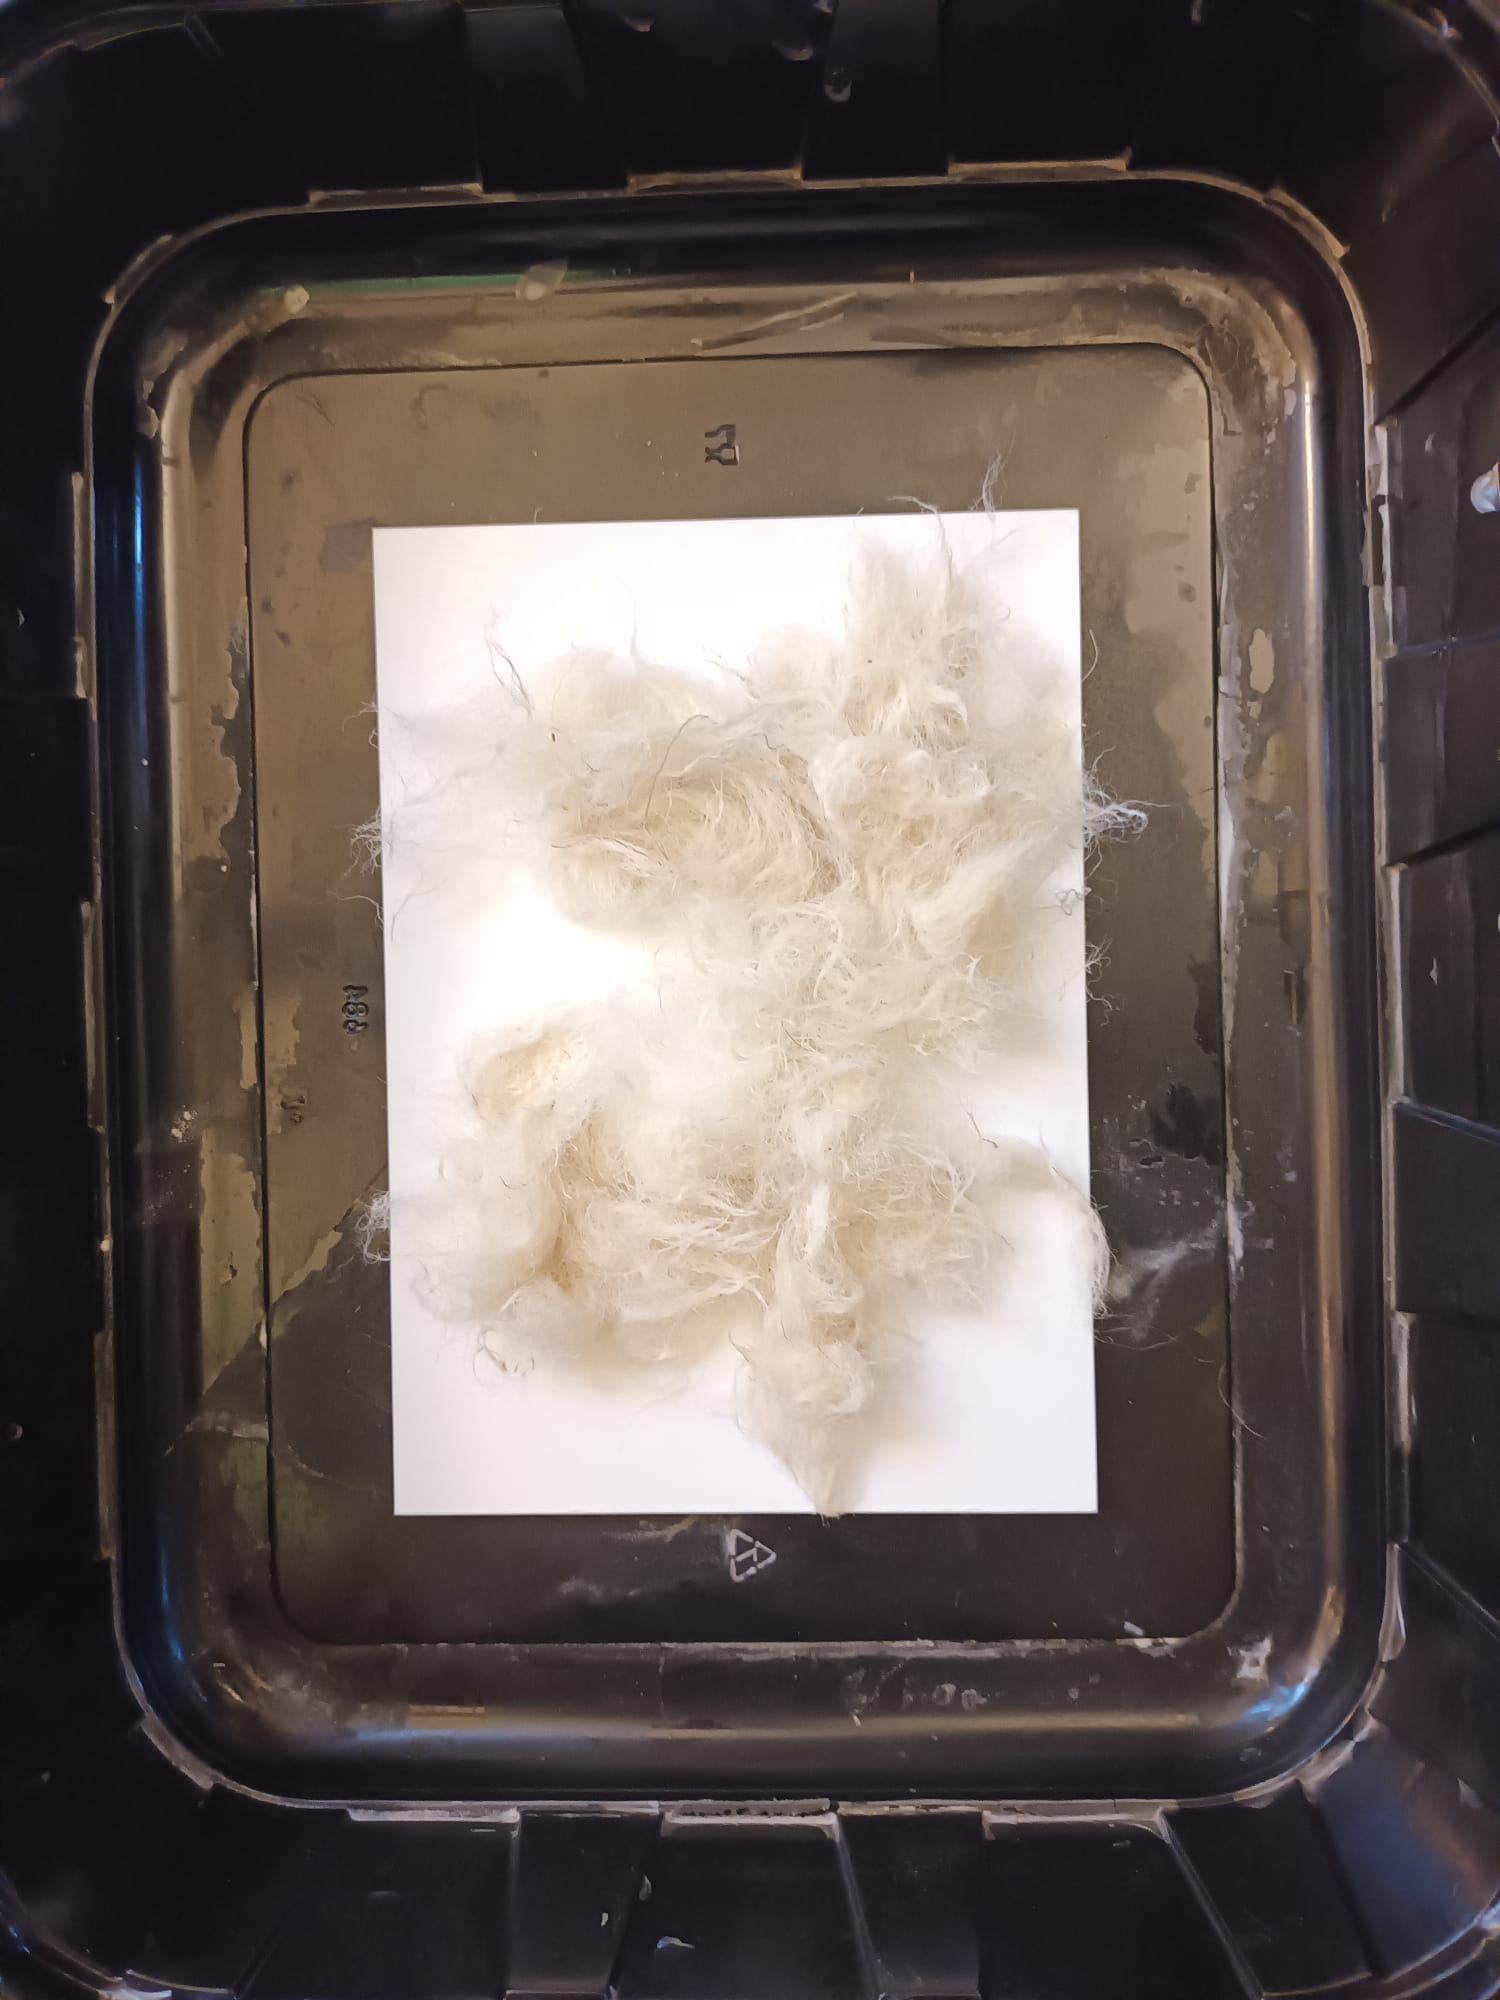
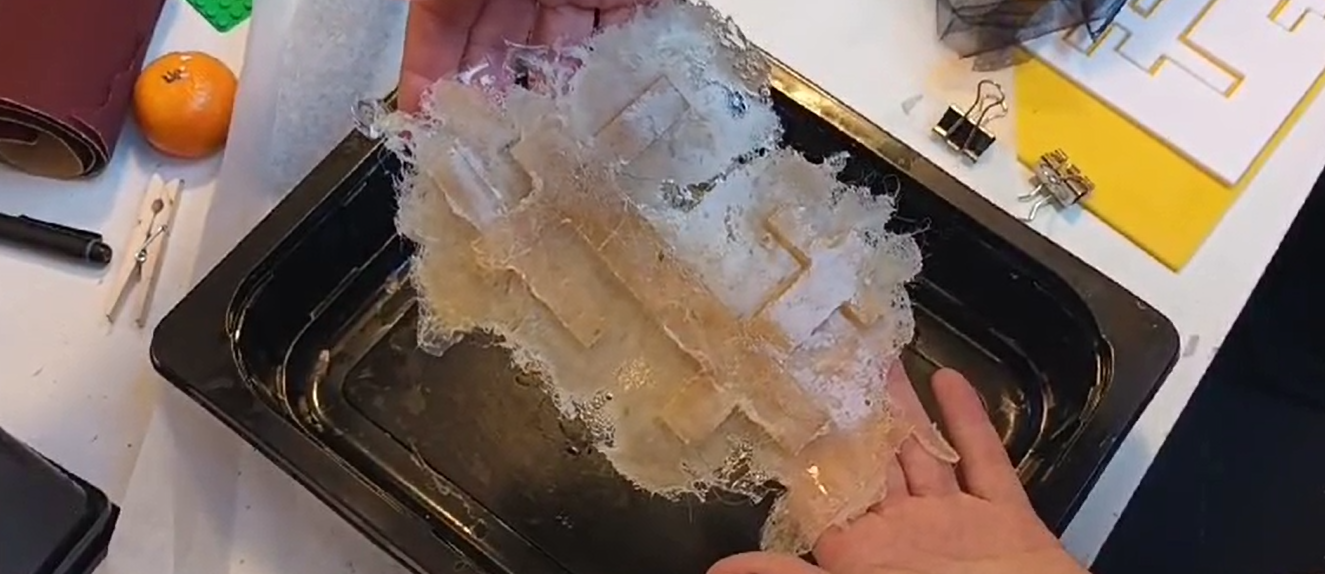
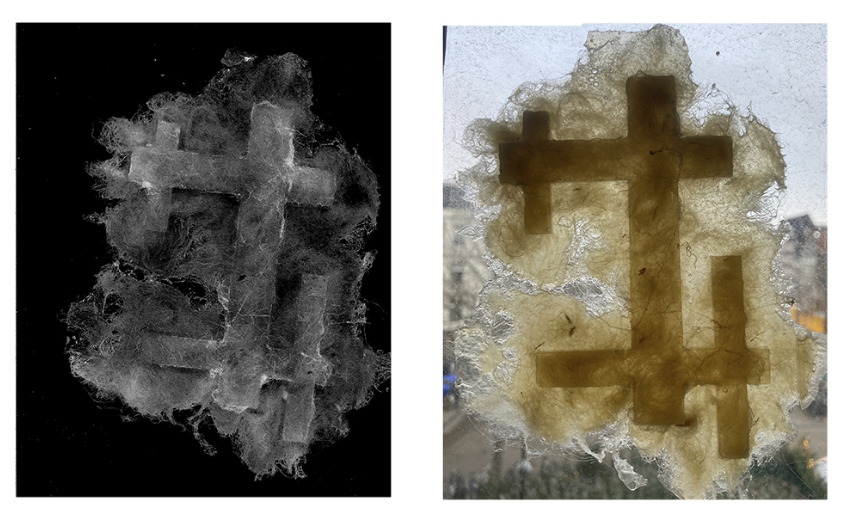
Scans of our wool scaffolding experiment
For this Riley and I cut untreated wool bits and pressed it into the model. Then we poured bioplastics over it. The result is nice, but not suitable for further development, because of its thick plastic feel.
Recipe: 96 g gelatin, 48 g glycerin, 480 ml water (This is a big batch, we only used some small leftovers for the mold).
Tools & Materials
For the silicon shopbot mould (Bag No. 1)
- Rhino software to design 3d model
- VCarvePro - software to create toolpaths and Shopbot code.
- Shopbot Console - software to communicate with the CNC machine and to send the shopbot code to the machine.
- Shopbot/CNC Milling Machine
- Foam board
- Ecoflex silicone
- Mesh to secure the texture within the silicone
For the leather mould (Bag No. 2)
- Rhino software to design 2d model
- Laser cutter
- Acrylic plate
- Glue
- Leather
- Dehydrator (makes it faster, but if you have plenty time, just dry it in the air for a very long time)
Process and workflow
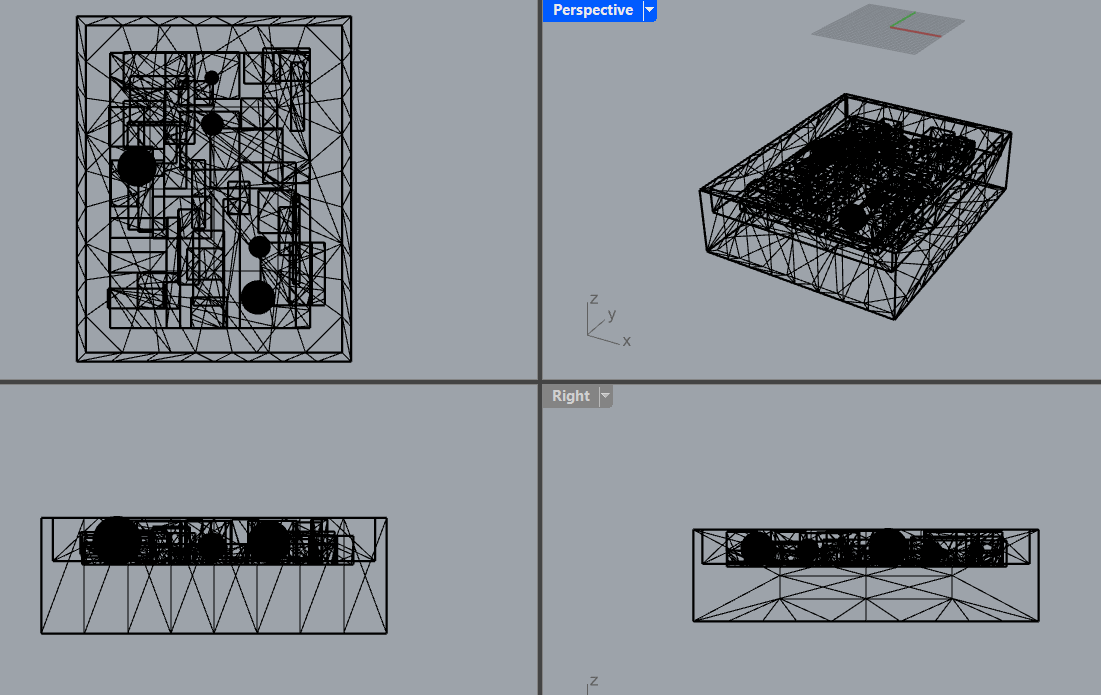
For the shopbot mould Bag No. 1
For our silicon mesh mould we designed a mould in Rhino. We choose cubes and bubbles, to make for a cool and playful geometric/abstract design.
We imported the stl file into VCravePro software to check and create the toolpaths.


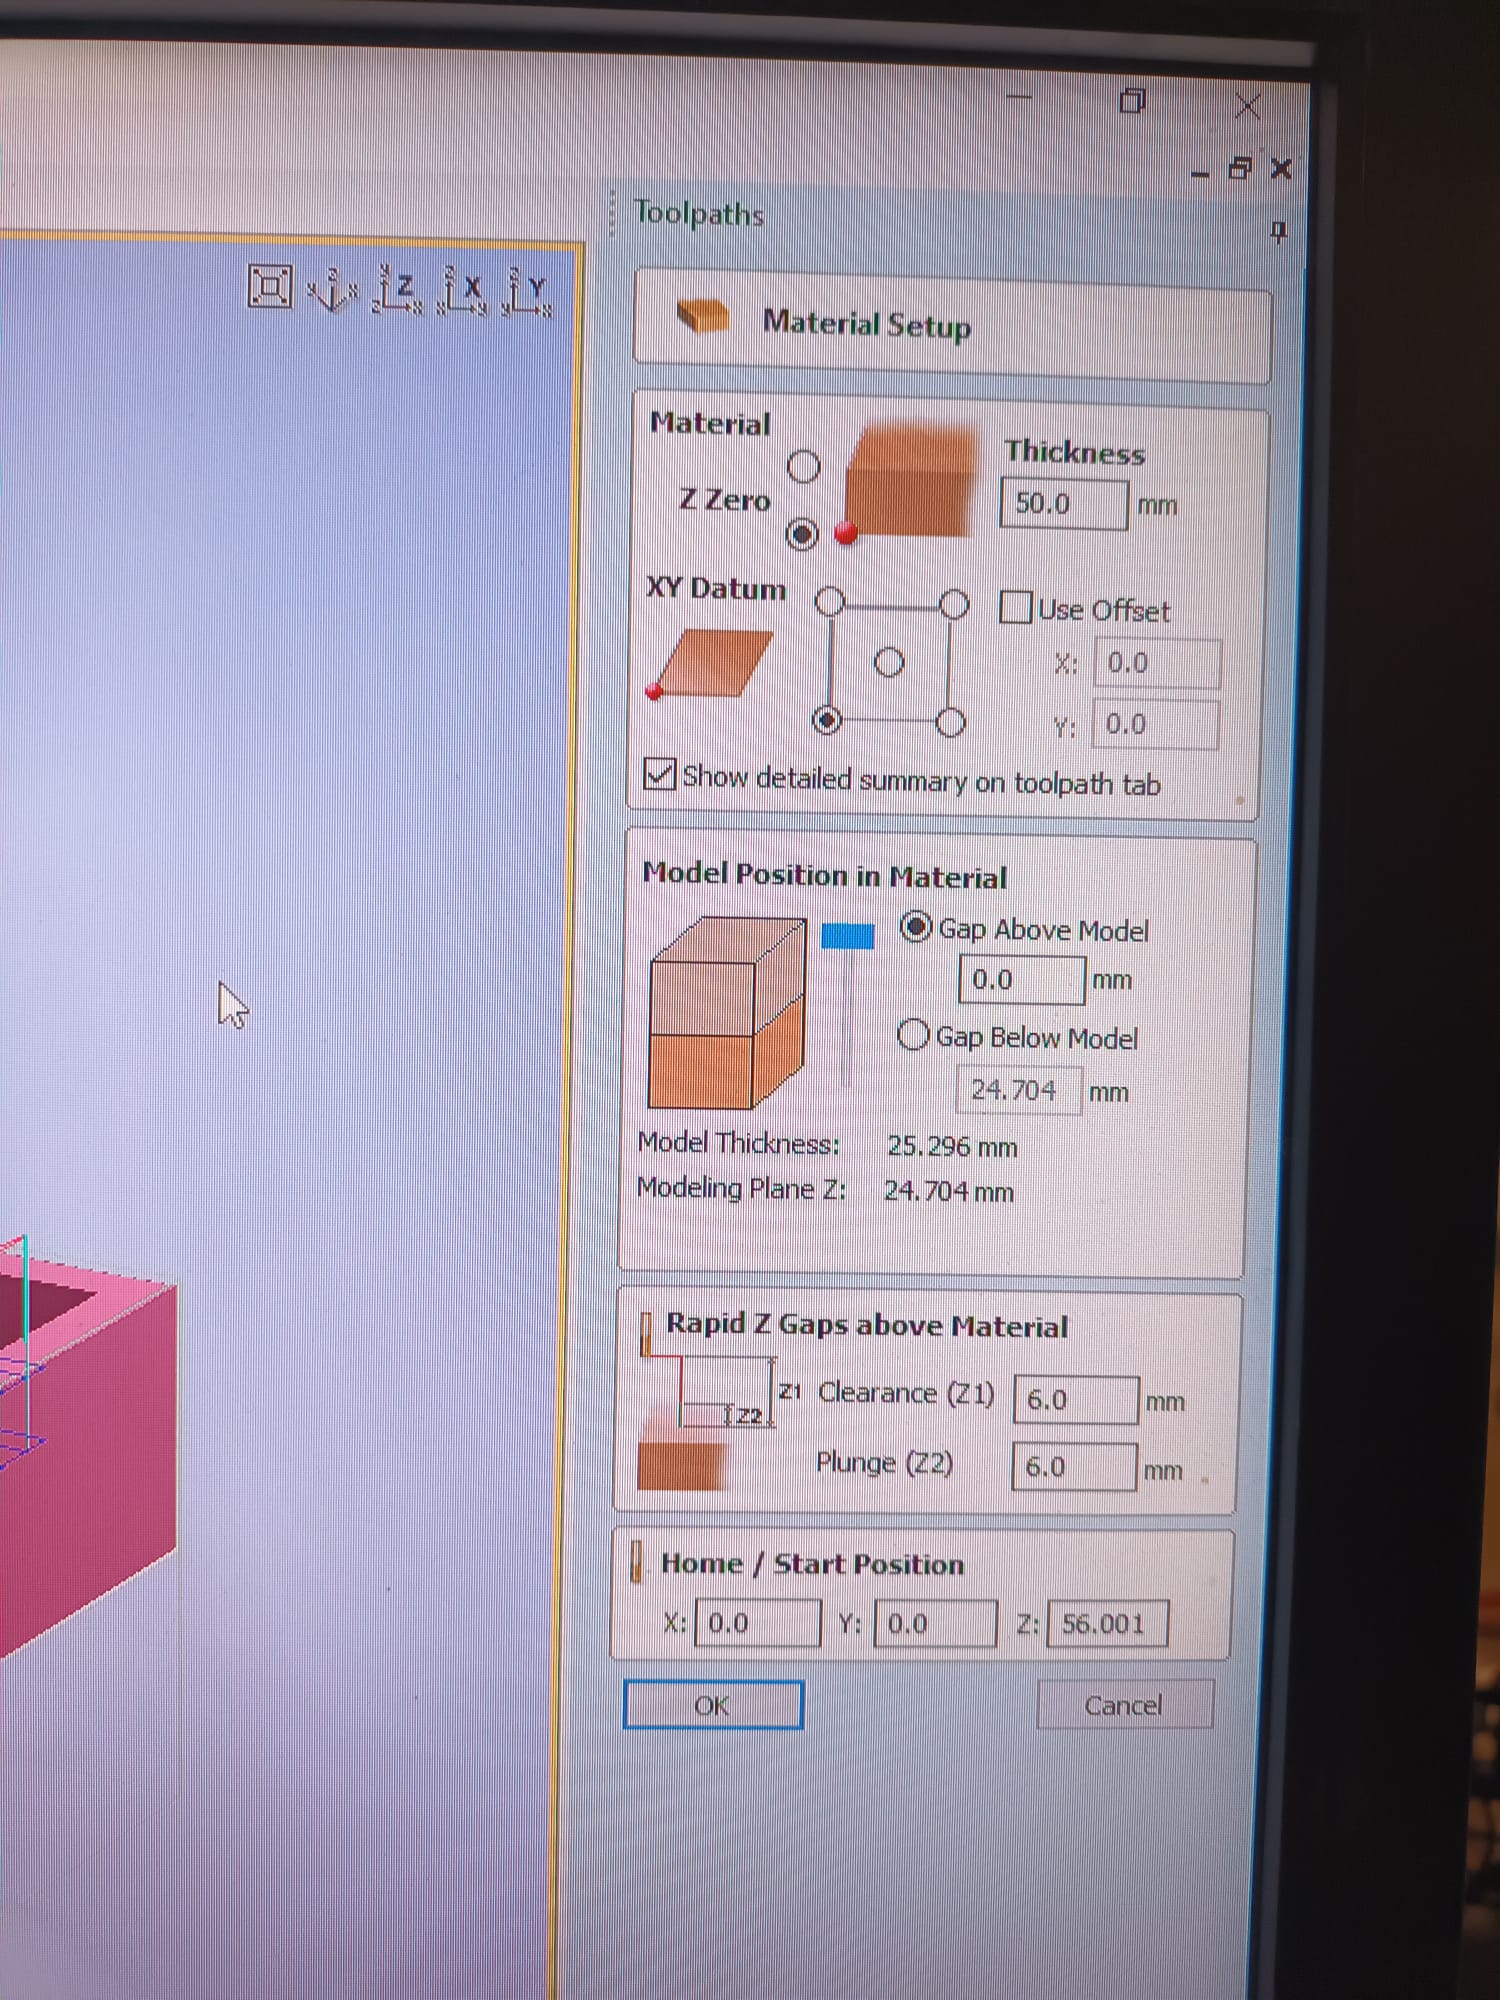
Toolpath for Shopbot
To create a toolpath (two toolpaths, one rough one and one finishing one) for a rhino model in Shopbot, you typically follow these steps:
-
Export Geometry: Export your Rhino model in a compatible format (STL) that Shopbot can import.
-
Import into Shopbot: Open Shopbot and import the exported geometry.
-
Define Machining Setup: Set up the machining parameters, including tool selection, cutting speeds, and toolpath strategy.
-
Toolpath Generation: Use Shopbot's toolpath generation features to create paths for the CNC machine to follow. This involves selecting the type of toolpath (e.g., contour, pocketing) and specifying cutting parameters.
-
Simulation: Simulate the toolpath to ensure it aligns with your design and doesn't result in collisions or errors.
-
Optimization (Optional): Depending on the software capabilities, you may have options to optimize the toolpath for efficiency or surface finish.
-
Output G-Code: Once satisfied with the toolpath, generate the G-code, which is the numerical control program that guides the CNC machine.
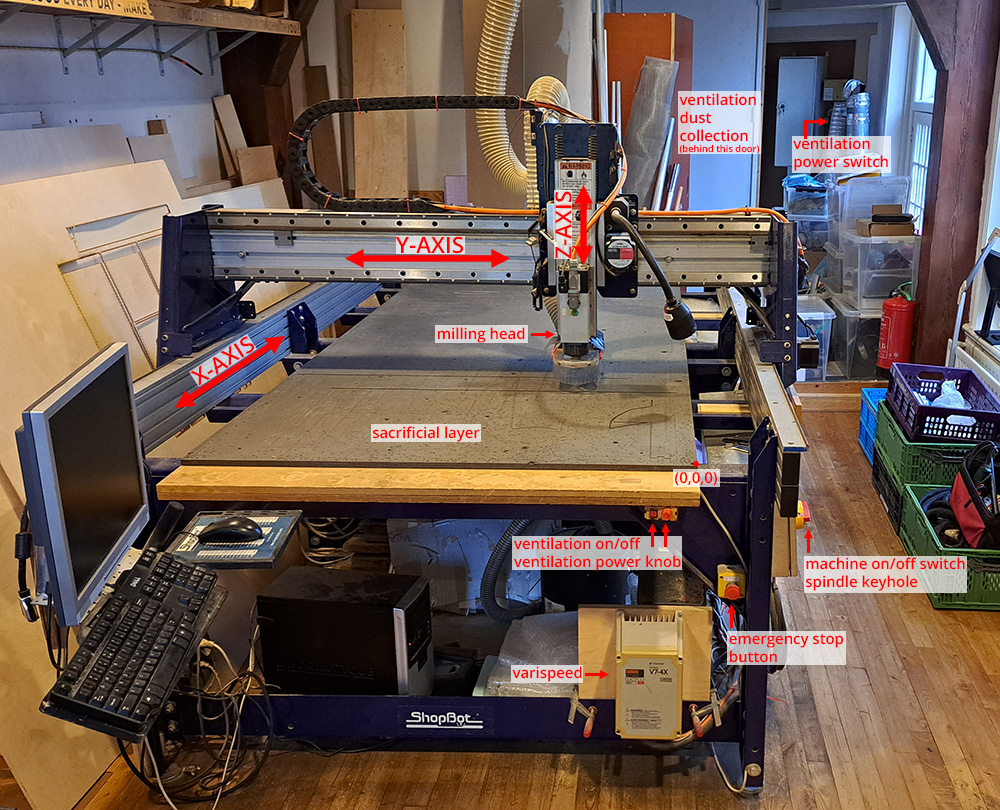
Shopbot Operating Guidelines
- Safety First:
- Complete safety instructions before operating the Shopbot.
- Be cautious of the spindle's high speed (up to 18,000 RPM).
- Sparks may occur when milling metal; be mindful of fire risks.
- Always add screwhole positions in your VCarve file for safety.
-
NEVER LEAVE THE MACHINE UNATTENDED while running.
-
Preparation Steps:
- Open Shopbot software before turning on the machine.
- Clean sacrificial layer, secure material, and check vacuum bag.
- For foam, use double-sided tape and secure with wooden beams.
-
Always run a separate toolpath for screwholes in large wooden plates.
-
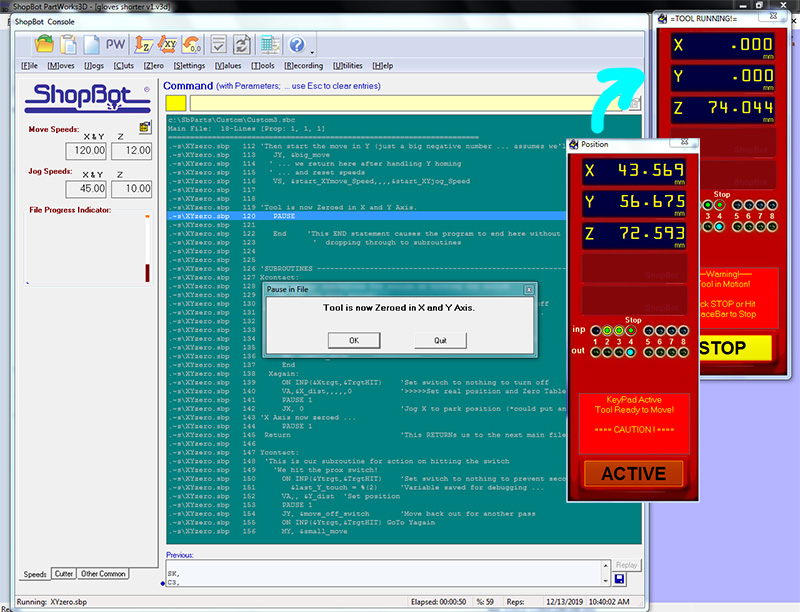
Zeroing Axes:
- Zero X and Y axes using the Zero X/Y button.
- Capture X and Y positions as a precaution.
- Test Z-axis connection, zero on material or sacrificial layer.
- Press Zero Z button.
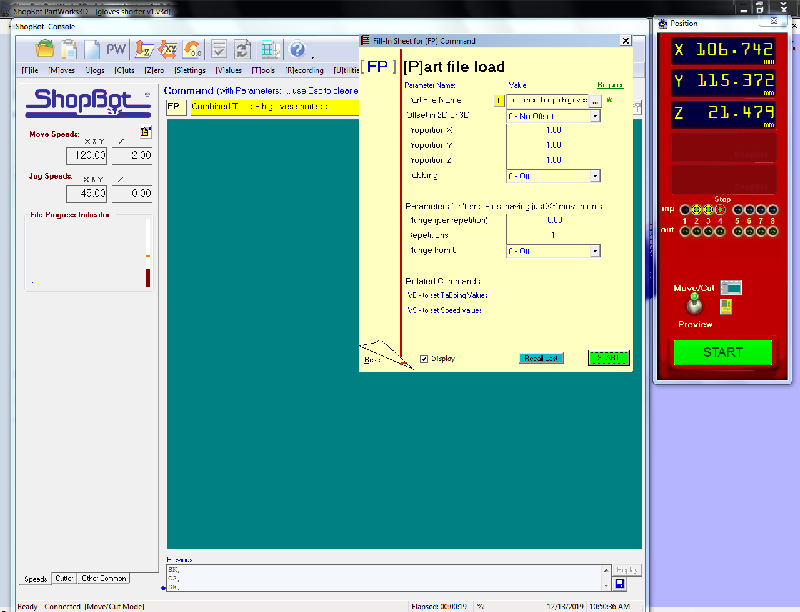
- Starting the Job:
- Load partfile without modifications.
- Turn on dust collector power, spindle, and adjust speed if needed.
- Check milling bit for stability.
- Press start, keeping an eye on the job initially.
- Pause during travel moves if needed; stop spindle separately.
General Notes: - Pause (space bar) during travel moves, if possible, to avoid issues. - Dust collection issues may arise; check for clogs in the tube. - Do not turn on dust collection when milling wax; switch bags for wood and foam milling.
For the leather mould
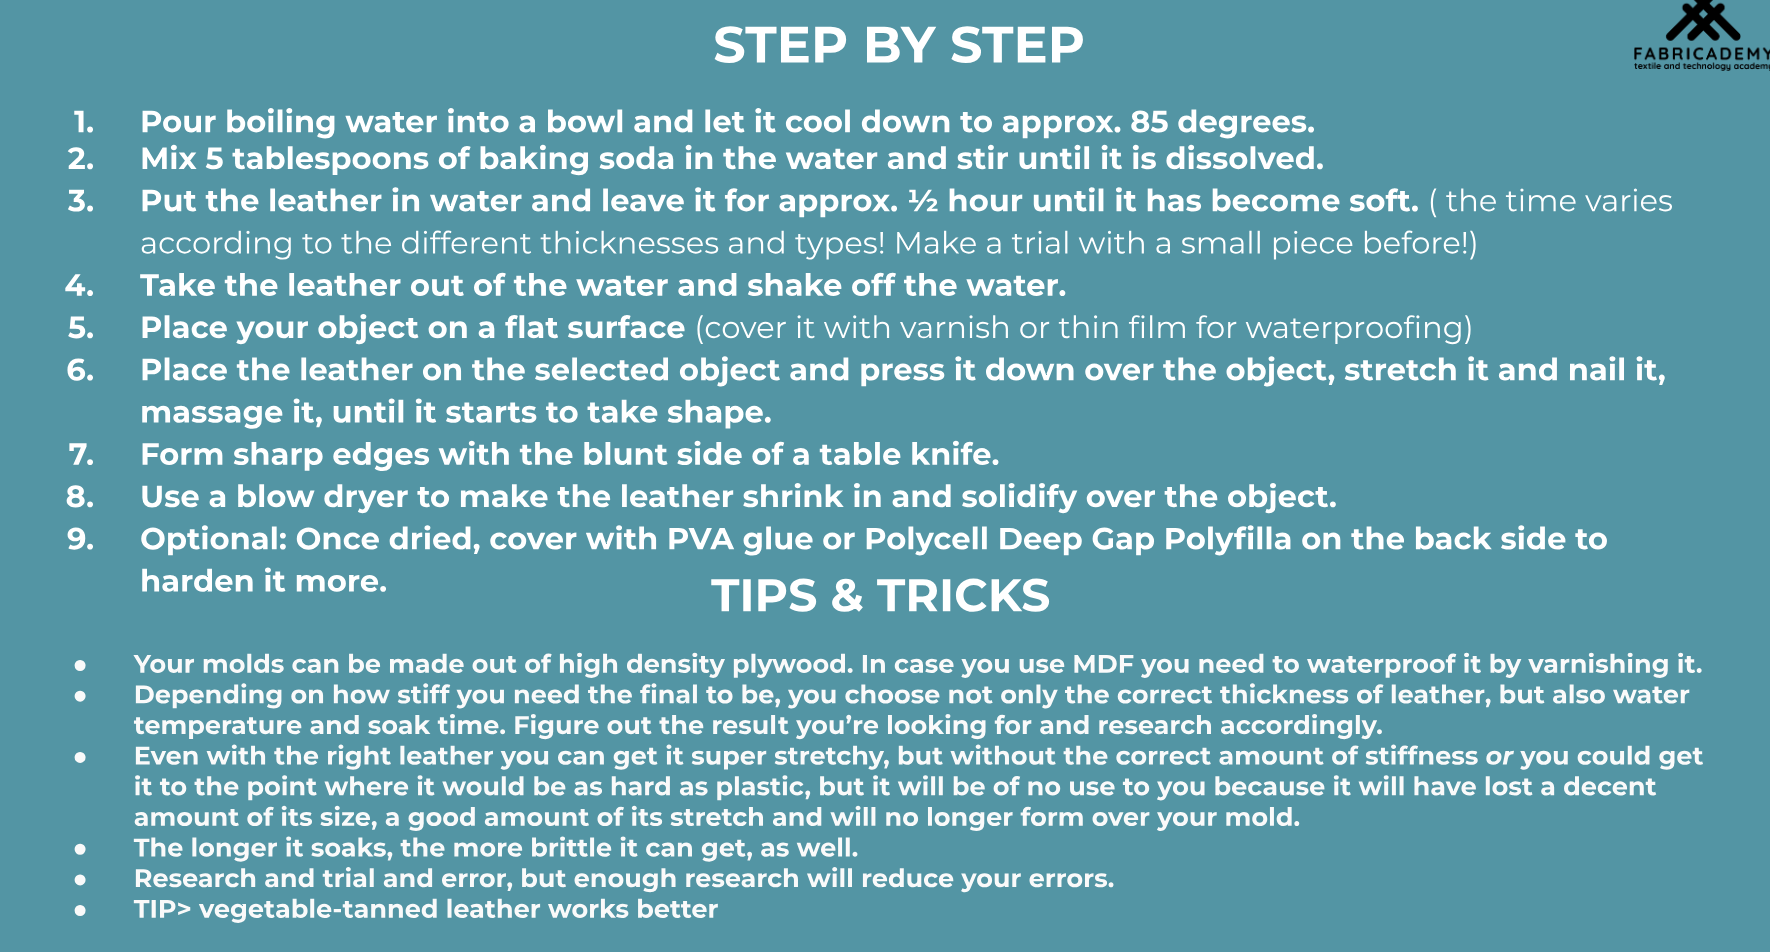
Moulding leather using a laser-cut acrylic plate in Rhino involves a combination of design, laser cutting, and forming techniques. Here's a step-by-step guide that worked for our project - we did not use baking soda and kept it simple:
Materials and Tools:
-
Leather Sheet: Choose a leather sheet suitable for your project. (Scraps are good!)
-
Laser-Cut Acrylic Plate: Design and create a custom acrylic plate using Rhino or similar software.
-
Clamps or Vise: To secure the leather and acrylic during the moulding process.
-
Dehydrator or Oven: To help dry, but airdrying probably works too (have not tried it)
Procedure:
1. Design the Acrylic Plate: - In Rhino or your chosen design software, create a 2D pattern for the acrylic plate that matches the shape you want to mold the leather into.
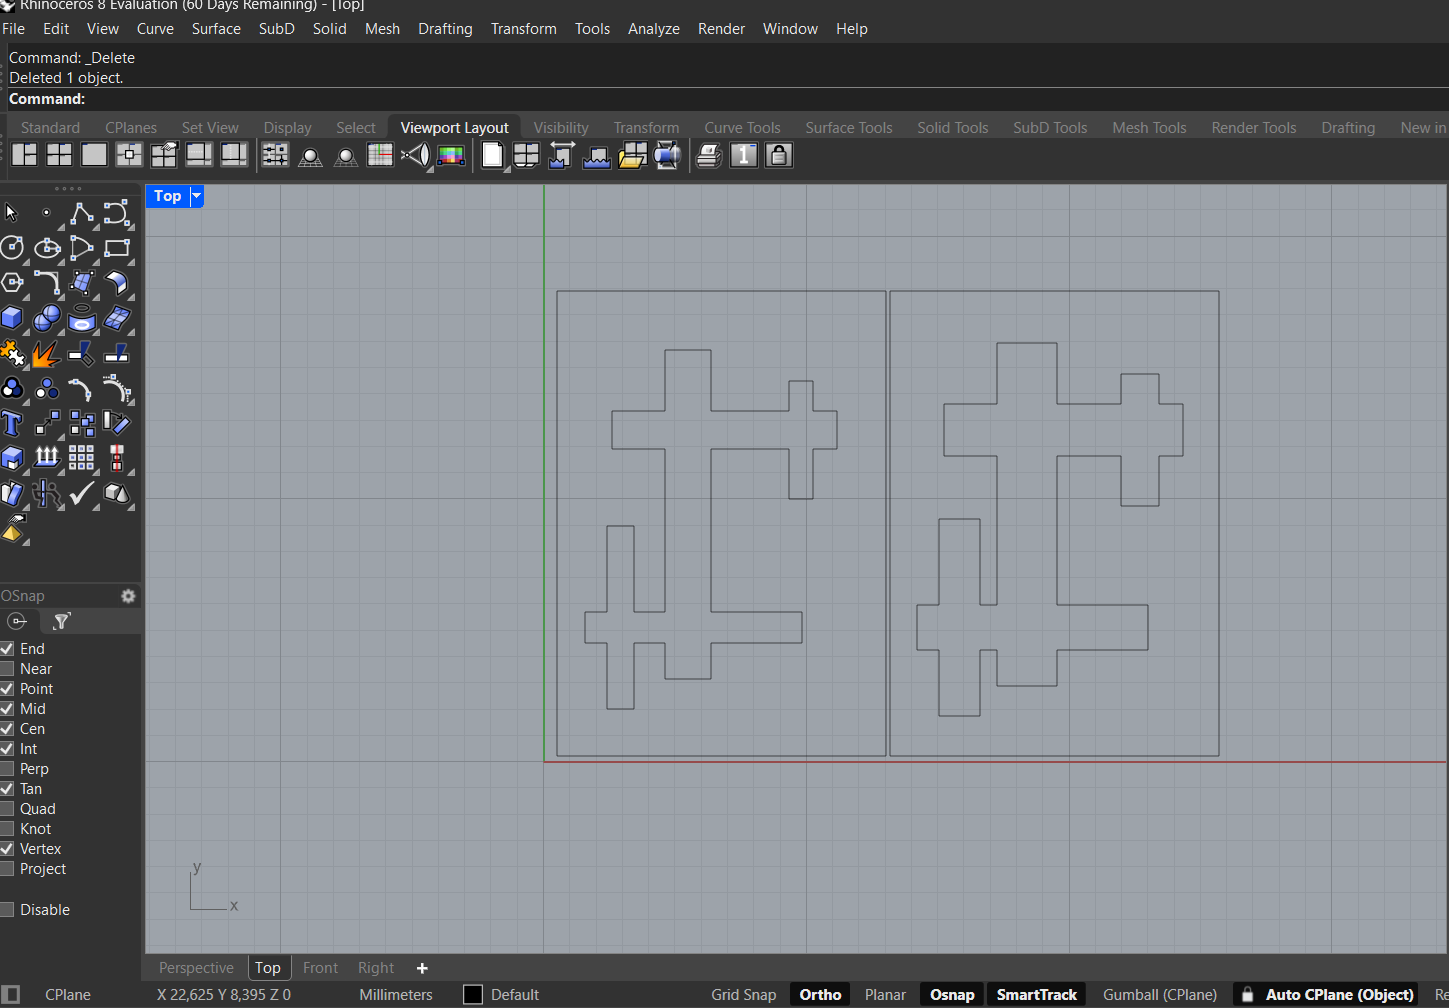
2. Laser-Cut the Acrylic Plate: - Use a laser cutter to cut the acrylic plate according to your design. - Double-check the dimensions and ensure that the perforations or cutouts are precise for the molding pattern.
3. Prepare the Leather: - Cut the leather sheet to the desired size, ensuring it's large enough to cover the acrylic plate. - Massage the leather in warm water (appr. 50 degrees celcius) for 30 minutes.
4. Align and Secure: - Place the leather sheet over the laser-cut acrylic plate, aligning it with the cutouts or perforations. - Secure the leather and acrylic together using clamps or a vise, ensuring a tight fit.
5. Forming the Leather: - Once the leather is pliable, carefully press it into the designed shape on the acrylic plate. - Use your hands or soft tools to mold the leather into the desired contours. - Allow the leather to dry and set in the moulded shape. We put it in the dehydrator for 4 hours at 40 degrees celcius and let it dry in the air for appr. 20 hours.