Process
Research & Development
During the first phase I will focus on expanding my knowledge of biomaterials, specifically exploring the possibilities of molding and 3D printing and researching historical zero-waste patterning methods that I can virtually prototype using CLO3D.
Patterning
The Commercial Pattern Archive is a great resource for understanding the pattern shapes used during different time periods and narrow down a specific date range that will be used as a reference.
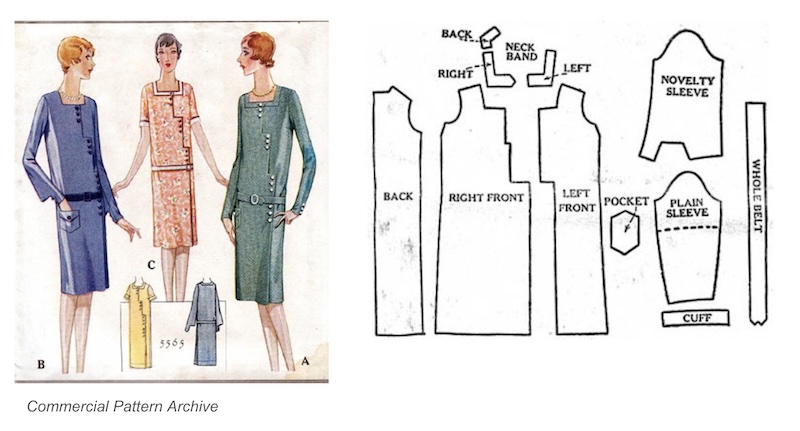
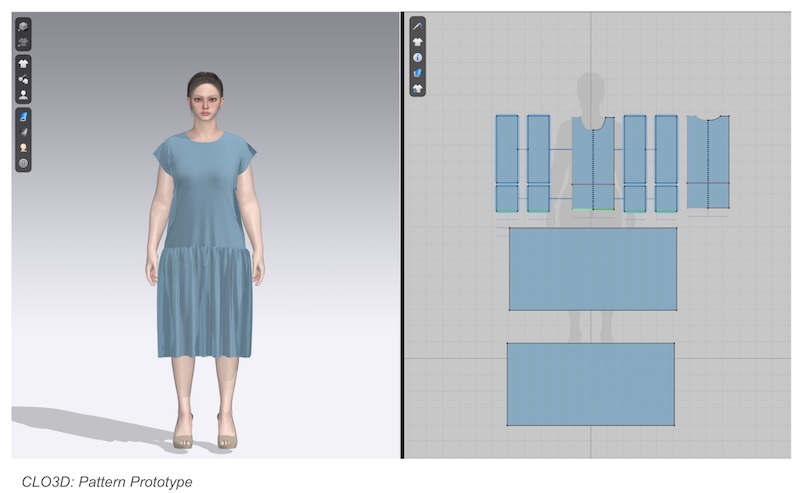
CLO3D allowed me to translate the period silhouttes to the bodies of my fit models and virutally prototype the patterns.
Once I determined the sizes required of the pattern shapes for the lasercutter, I created the svg files in affinity.
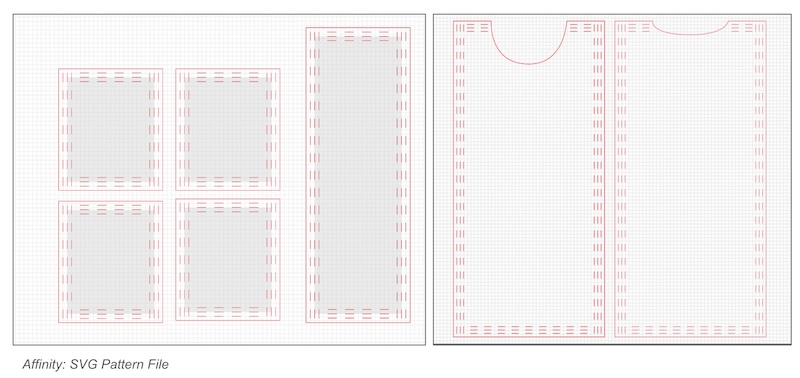
I established the dimensions of the pattern pieces with the grey rectangles and then use the dashed line feature to create the series of adjustable slits used to assemble and alter the sizing of the pattern. As I move forward with the patterning, I will be looking for ways to generate the lasercut files in CLO3D.
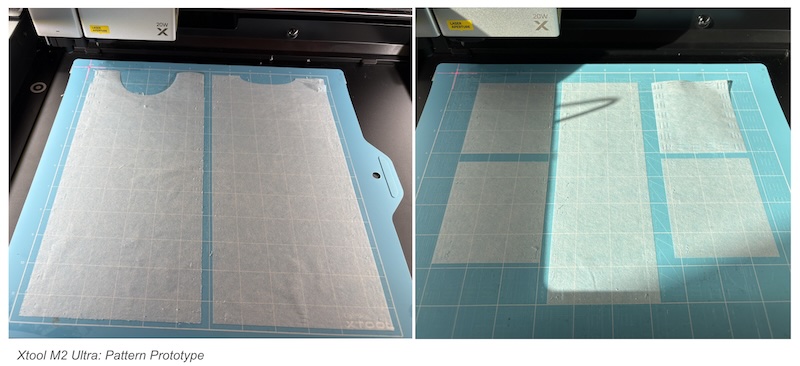
For the initial prototype, I used Swedish Tracing Paper that I had on hand. I created a half scale mockup to save material and work within the limitations of the Xtool lasercutter I have in my home studio. All of the files that I brought into Xtool needed to be resized. I also needed to go back into Affinity an apply "Expand Stroke" for Xtool read them as seperate lines. If I continue this approach with the pattern cutting, I want to look into what can be done in Affinity to ensure the sizing in correct.
Closures
I revisited the rivets that I created on an earlier assignment. I reset the rivets in Tinkercad so that they matched the 1/2" increments of of the slits on the pattern.
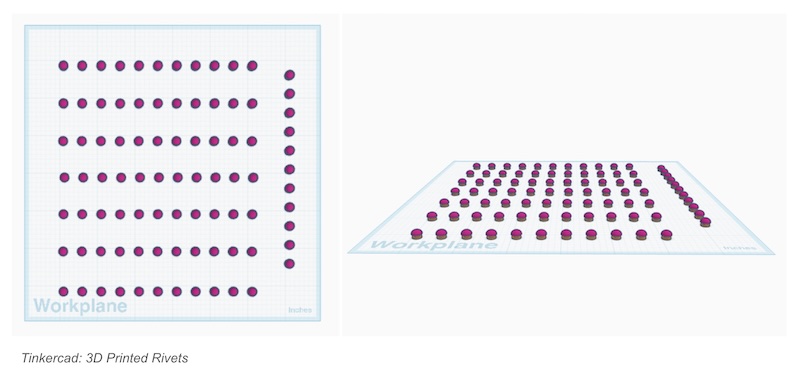
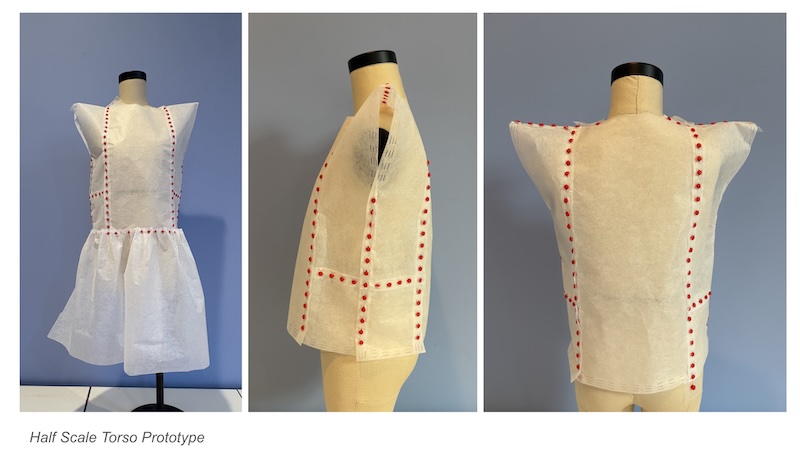
I 3D-printed the rivets using the red PLA onto a stiff tulle. The printer seemed to have trouble with the strips oriended vertically, which something I will take into consideration for the next prototype. Ultimately, I hope to mold these out of bioresin.
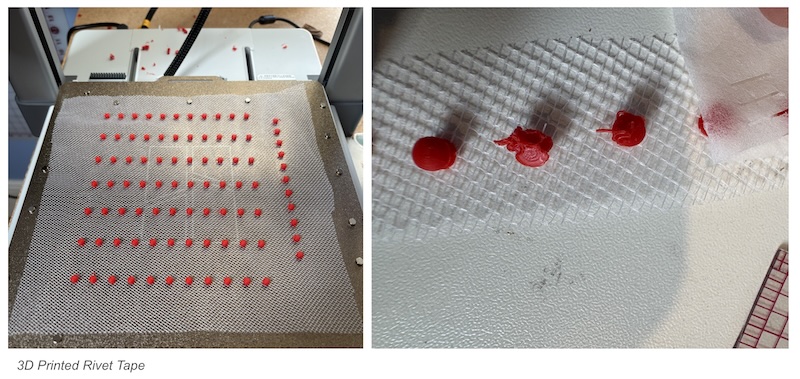
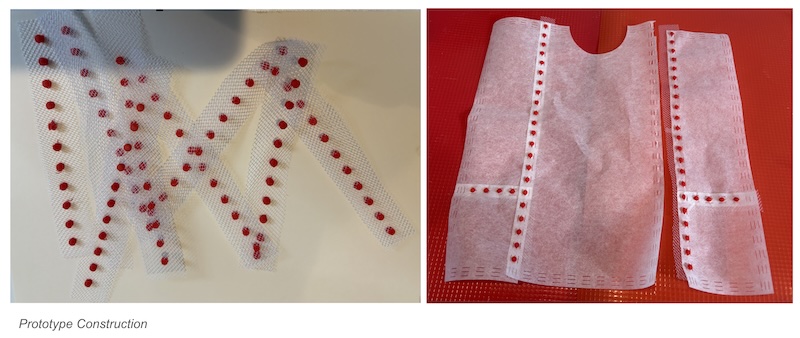
The rivet tape concept worked well for relatively quick assembly and is something that I will consider for future iterations. The tulle I used is too stiff and would be uncomfortable to wear. I plan to source some lighter weight cotton gauze or organza ribbon for future tests.
Applique
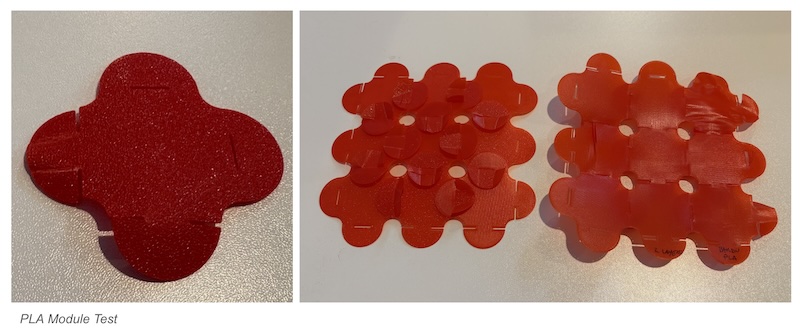
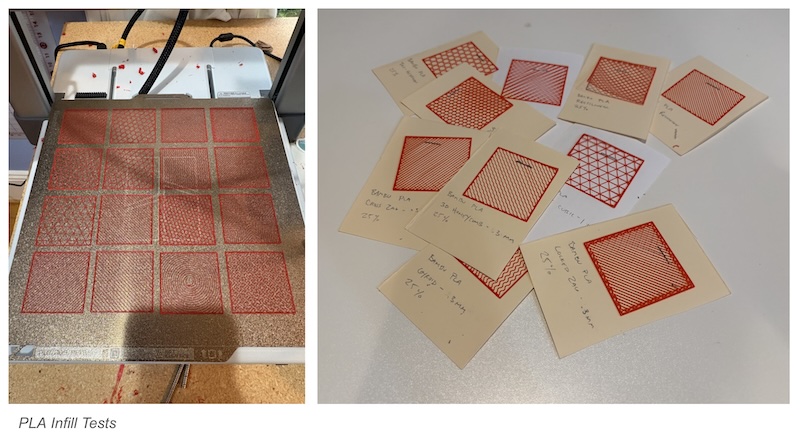
I played around with different 3D printing filaments for creating 3D printed modules. PLA was very stiff even with infill adjustments, but the process generated a lot of material swatches that I can use for teaching tools.
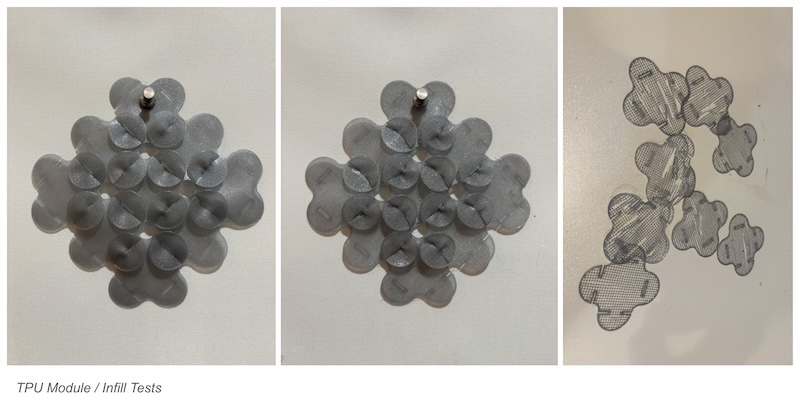
TPU swatchs were better, especially with lower infill percentages, but still felt like plastic.
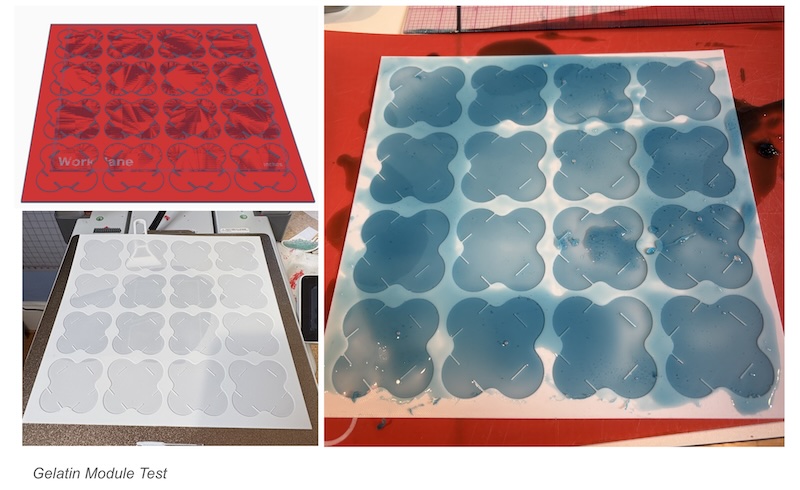
Attempted creating molded biosilicon. PLA molds were too thin to effectively handle, but thicker molds are worth exploring in the future.
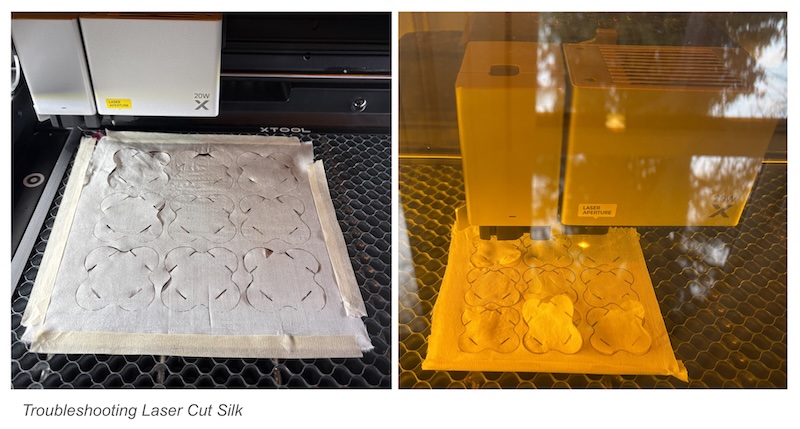
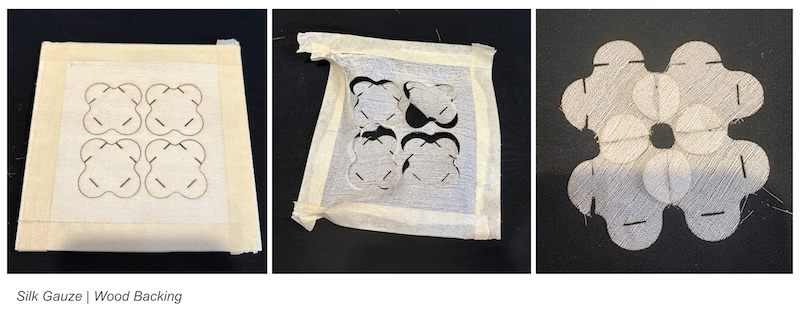
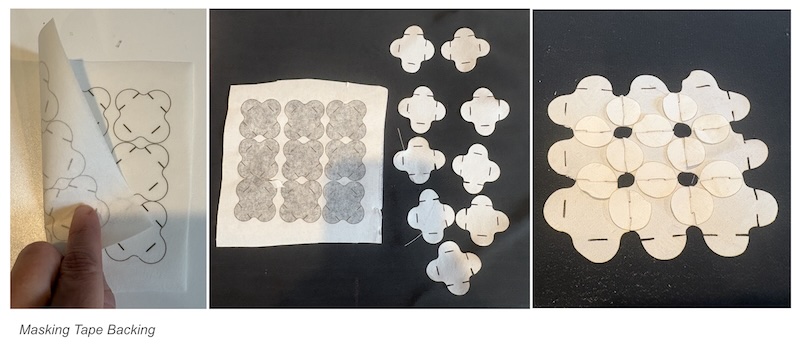
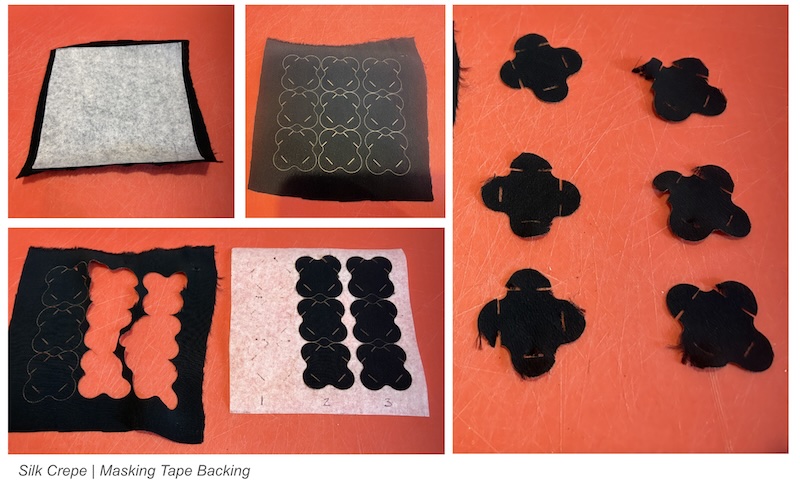
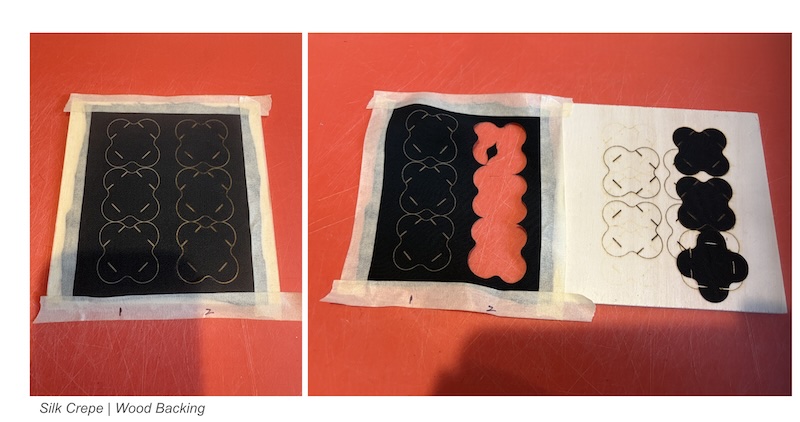
Pivoted to testing different lasercut fabric modules to try to find a natural material that would not fray. Tightly woven silk crepe worked well but is expensive. Cotton sateen bedsheet were a good repurposed option, but frayed a bit along the straight of grain. Securing the fabric to either cardboard or wood was needed to keep it from blowing around the lasercutter.
Patterns & Textures
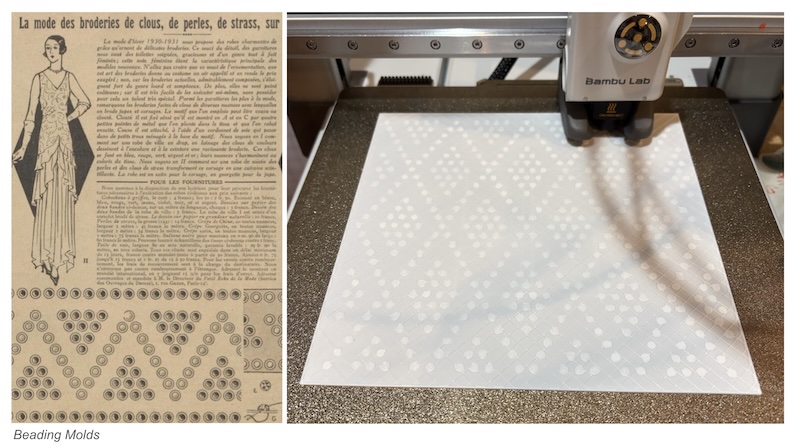
Finally I experimented with using both 3D printing and molded biomaterials to replicate beaded fabrics and textures. The 3D printed PLA beading turned out the best however with the printer that I have I would be limited small swatches. I think that the molded biomaterial would be successful with some adjustments to the recipe and molding process.
Midterm Presentation
Prototyping
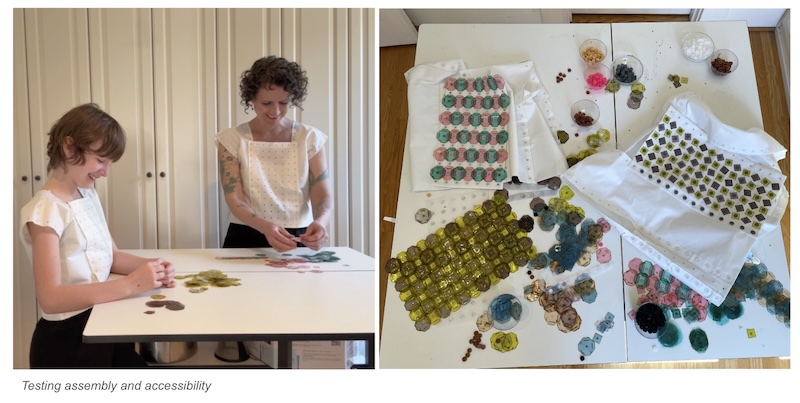
For the initial prootypes I used a halfscale models out the pattern shapes with the rivet system I developed the Fabricademy assignments. Below are images from the initial set using Swedish tracing paper to avoid fraying.
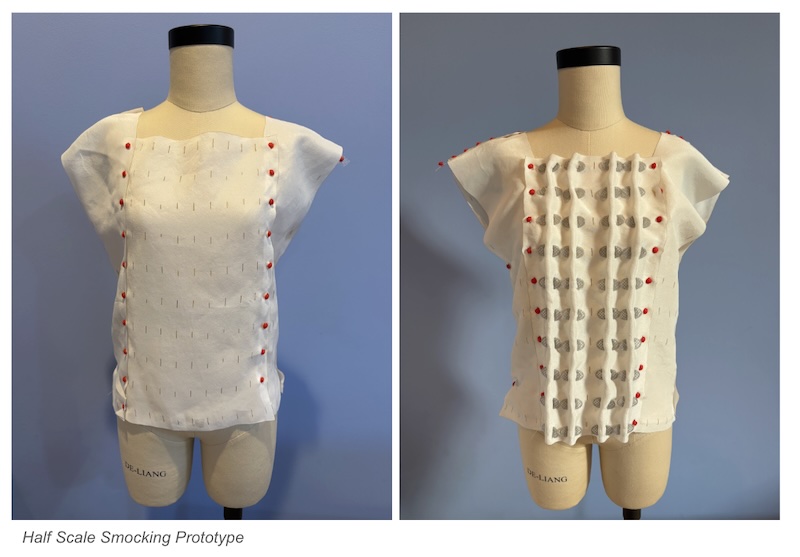
For the second halfscale prototype I switched to a 10m silk crepe which draped better in half scale. I also played around with smocking as a technique for adjusting fit. The texture and fit adjustments were created by threading 3D printed TPU modules through small slits set at every .25”. The technique was effective, but felt too time consuming for everyday wear.
For my full scale prototype, I used a deadstock polyblend with individual snaps I designed in Tinkercad. The snaps worked well, but the garment was very time consuming to assemble.
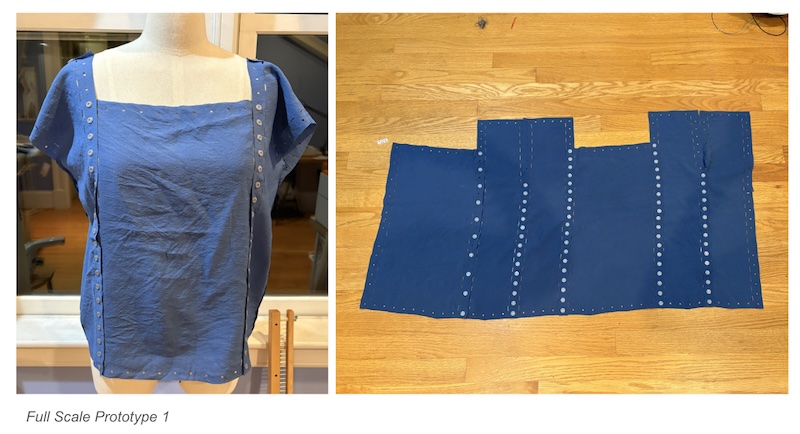
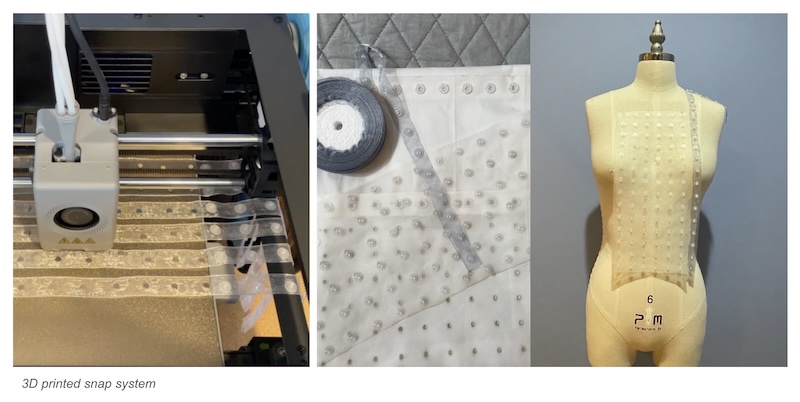
I revisited the rivet tape process from my closure research and experimented with embedding the snaps into tapes and directly into the fabric panels.
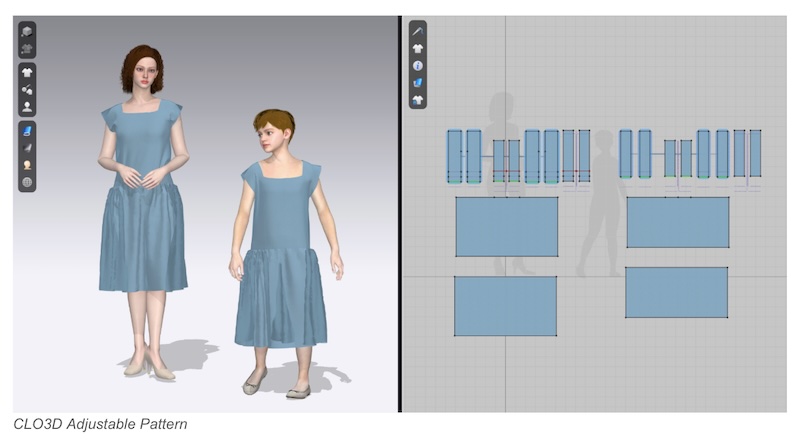
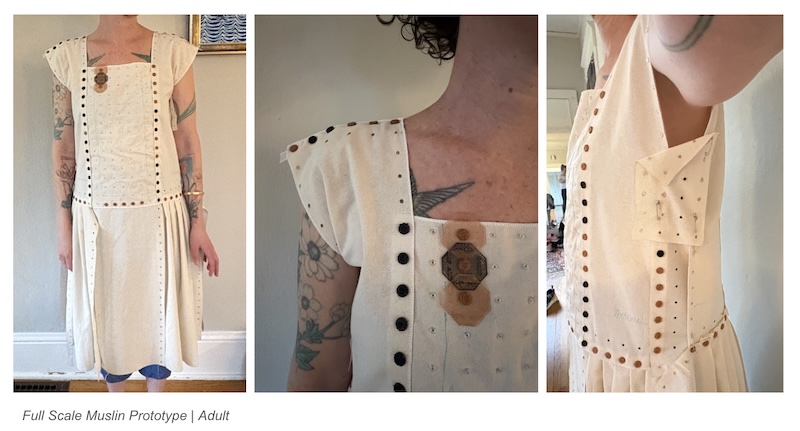
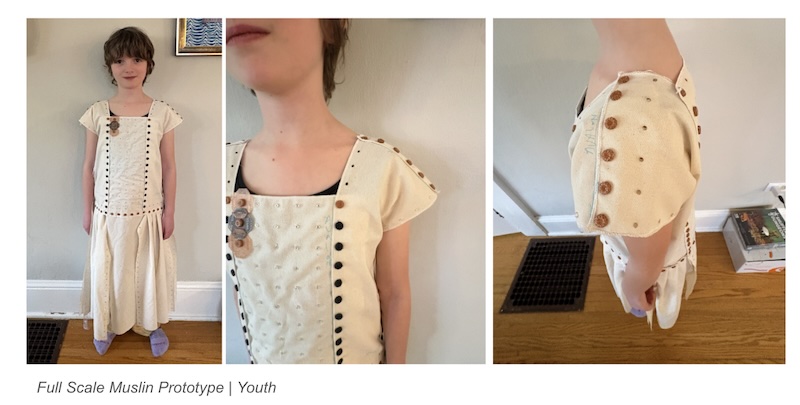
Once I had finalized the seaming system, I used CLO3D to develop a size adjustable pattern for my two fit models. My adult fit model was 5’9, ASTM Size 8. My 10-year old fit model was 4’10, ASTM 10Y.
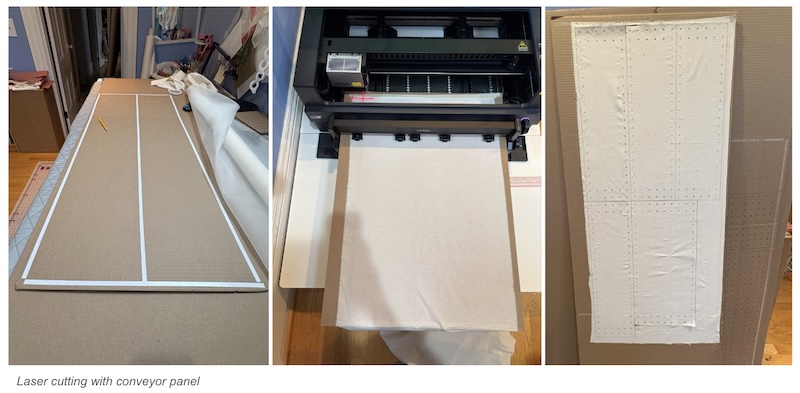
Lasercutting the full scale prototypes proved to be a significant challenge on my small lasercutter. I tried many systems to get the panel edges and holes to align and wasted lots of fabric in the process.
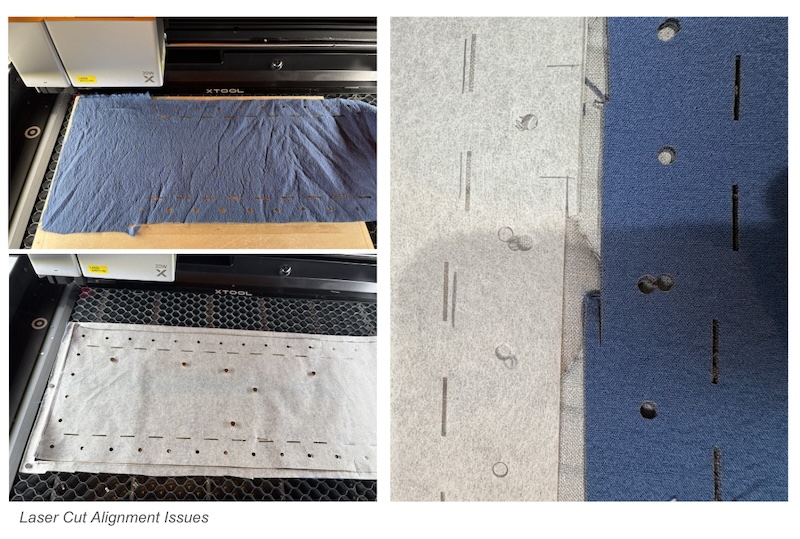
I ended up purchasing an XTool S1 with a conveyor belt feature for our textile lab which allowed for cutting long 20” panels. The system required securing the fabric onto a cardboard base using double sided tape so it did not blow around in the lasercutter. The system works but needs refinement.
Muslin fittings of the initial mockups were used to test the fit and whether or not the garments could be easily assembled by the weaerer. The skirt panels were cut from the final design due to the size limitations of the lasercutter.
Below is an assembly video for the final shirt:
The other major element of the final prototypes were the biofabricated modules. They were created using the gelatin silicon recipe from Week 6 in a variety of colors.
The recipe used was 36g Glycerin, 240g Water, 8 drops of food coloring, and 48g Gelatin. Once the mixture is set it is dehydrated for 12 hours at 40C/104F. The demolded materials are stored flat between sheets of wax paper.
Here is a video for mixing and demolding the geletin bioplastic.
After the sheets have dried they were cut on a lasercutter. The hexagon pattern was developed using Affinity and cut with the Xtool M1.
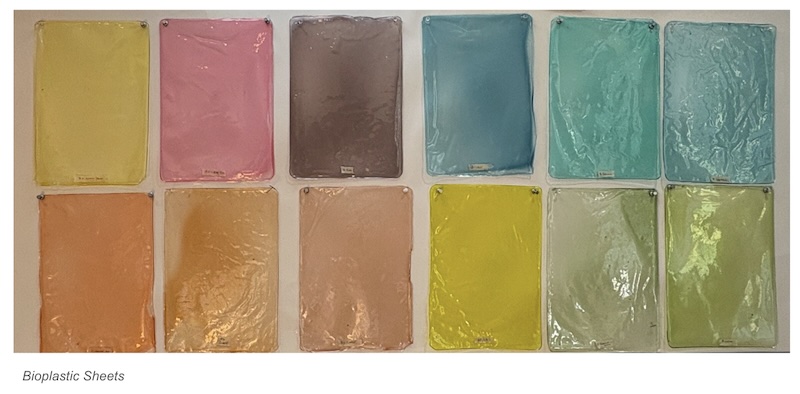
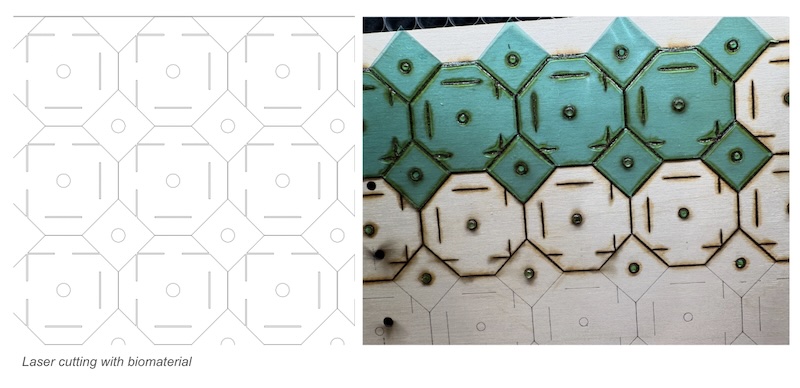
The modules can be mixed and matched to create different patterns and colorschemes. Each module has a small ⅛” hole in the center allowing them to be secured to the garment using the snap panels.