10. Textile Scaffold
Research
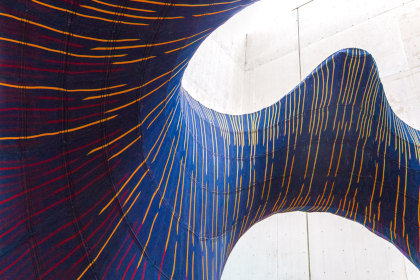
In my textile scaffold research, I focused on exploring a range of structural and experimental techniques to better understand how materials can be manipulated to create form, movement, and volume. My investigation included approaches such as the Zaha Hadid–inspired Candela structures, wooden-textile methods, and the Shibori bubble technique. Each of these processes offered a different perspective on how textiles can shift between rigidity and flexibility, and how geometry, pattern, and tension contribute to spatial outcomes.
The Zaha Hadid Candela technique allowed me to explore fluid architectural forms translated into lightweight textile frameworks. ** Working with its characteristic curves and tensile surfaces helped me analyze how shape can be generated through minimal structure. In contrast, studying wooden-textile techniques—particularly those informed by Elisa Strozyk’s work—revealed how rigid materials can be reconfigured into flexible, responsive surfaces. **This pushed me to think about the boundaries between hard and soft materials, and how hybrid textiles can behave.
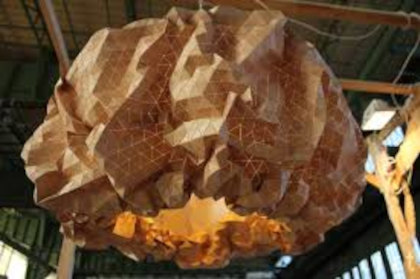
I also experimented with the Shibori bubble method, which introduced a sculptural, three-dimensional quality to the fabric. Through controlled compression and resist processes, I was able to create inflated, organic textures that contrasted with the more geometric techniques I explored.
To contextualize my work, I reviewed projects from previous years' students. Their experiments, methodologies, and applied techniques helped me understand the evolution of textile scaffold research and identify gaps or opportunities for further exploration. This overview provided valuable insight into how different approaches can be combined or reinterpreted.
References & Inspiration
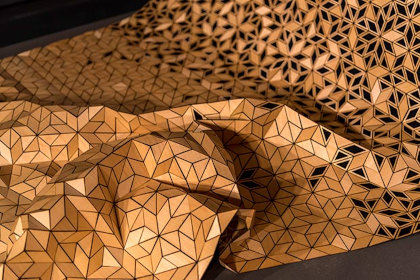
My interest in wooden textiles was inspired by the work of Elisa Strozyk. Her pieces completely shifted my understanding of what wood can be. Instead of treating it as a rigid, fixed material, she transforms it into something flexible, expressive, and almost textile-like. Seeing wood move and fold with such elegance challenged everything I thought I knew about material behavior. Elisa Strozyk’s work continues to guide and inspire me. Her ability to transform the familiar into something unexpected fuels my curiosity and motivates me to keep pushing the boundaries of what materials can express.
Links to reference files, PDF, booklets,
Cristalization recipe-Maria Jose Arreola
Wood-Textiles Composite-Elena Burduja
Process and workflow
Cristalization
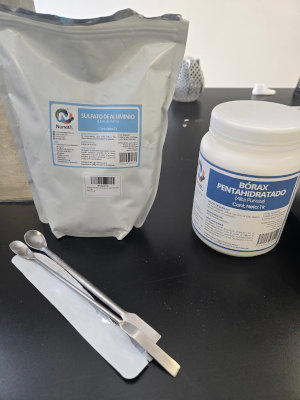
Tools & Materials
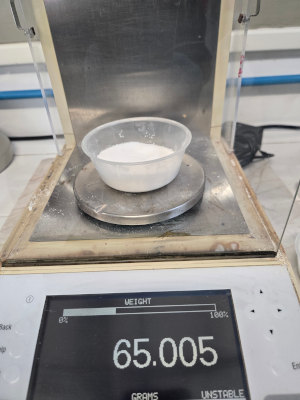
- Borax, Aluminium sulfate, water
- Beakers, digital scale, laboratory spoons
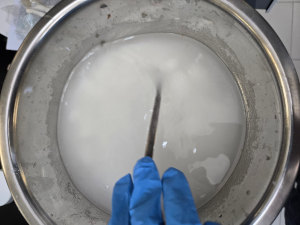
I began by gathering and measuring the ingredients in the lab. After that, I added water to the borax until it dissolved, then immersed the samples and let them dry. The same process was repeated for the aluminum sulfate. This is explained further in the recipe.
Tools & Materials
Ingredients & Recipes
Borax Cristalization:
* Water 100ml
* Borax 65gr
* Digital scale
* Laboratory spoons
* Beakers
* 3D printed samples
* Weight the ingredients.
* Add the water to the borax.
* Stir until the borax is disolved.
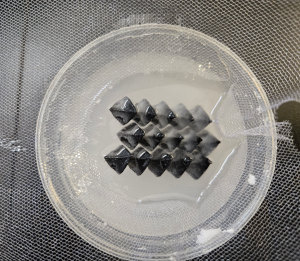
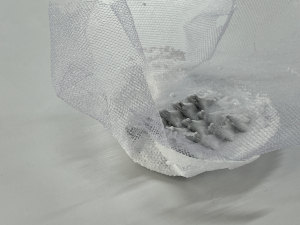
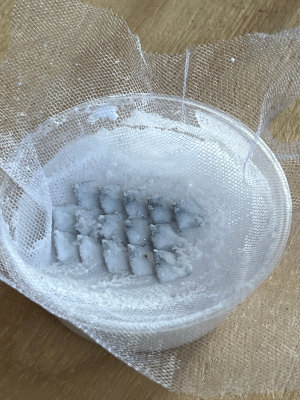
* Immerse the 3D printed sample inside the solution.
* For the crystals to grow the sample must hang without touching the beaker.
* Let it dry in a cool place for 2 or 3 days and observe how the crystals grow.
Aluminium Sulfate Cristalization:
* Water 100ml
* Aluminium Sulfate 35gr
* Digital scale
* Laboratory spoons
* Beakers
* Crochet samples
* Weight the ingredients.
* Add the water to the aluminium sulfate.
* Stir until the borax is disolved.
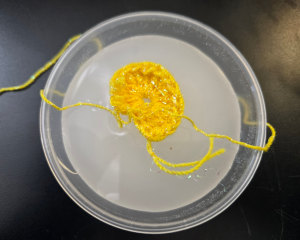
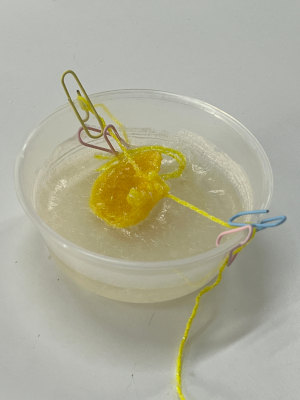
* Immerse the yellow crochet sample inside the solution.
* For the crystals to grow the sample must hang without touching the beaker.
* Let it dry in a cool place for 2 or 3 days and observe how the crystals grow.
Pictures of the process
Cristalization Results
| Result pic | Ingredient | Sample Material |
|---|---|---|
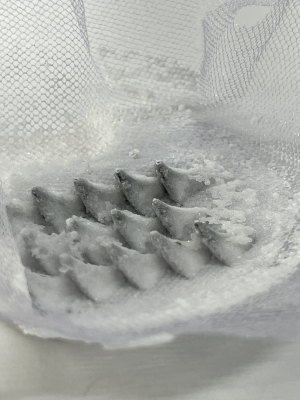 |
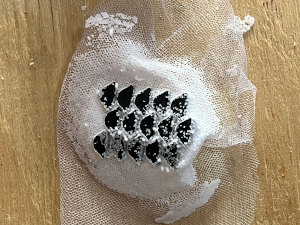
Borax | PETG-3D printed |
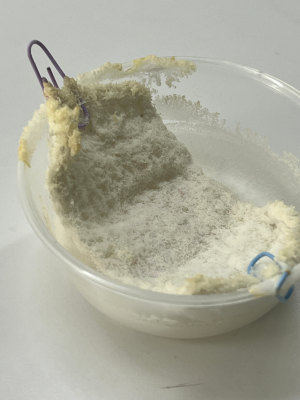 |
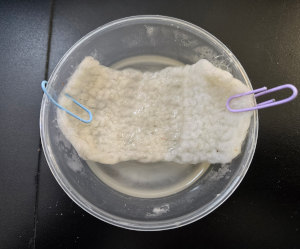
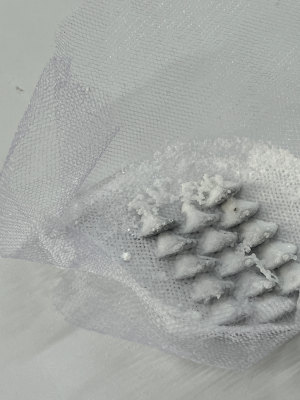
Borax | Crochet |
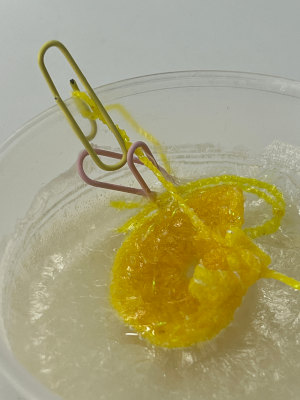 |
Aluminium Sulfate | Crochet |
Borax
Aluminium Sulfate
Wood-Textiles Composite
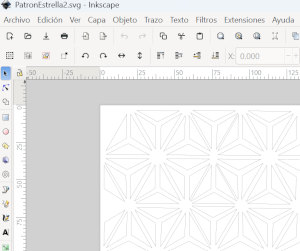
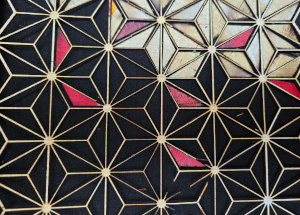
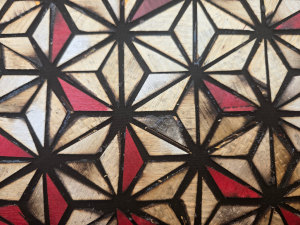
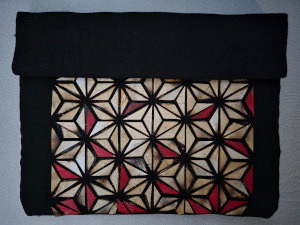
Inspired by 2023 alumna Elena Burduja, I used Inkscape to draw a star made of triangles and repeated the design multiple times to create a pattern. This pattern was then laser-cut and applied to the fabric to make a clutch.
Tools & Materials
- A piece of wood
- Laser cutting machine
- Fabric (bonded blanket)
- Velcro
- E600 glue
Process
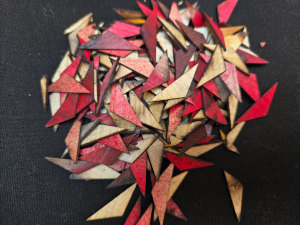
Step 1 I glued the fabric to the wood and drew the pattern in Inkscape. Then I cut the pieces using the laser cutter, but it did not work as expected, so I tried cutting the wood without the fabric. This resulted in a large number of triangles.
Step 2 Using the wooden frame, I glued the triangles onto the fabric one by one until the pattern was complete. After that, I sewed the fabric to create the clutch and used velcro to close it.
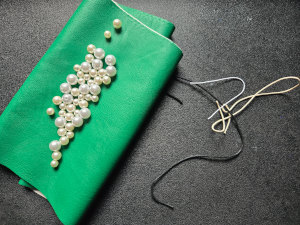
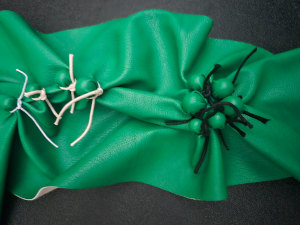
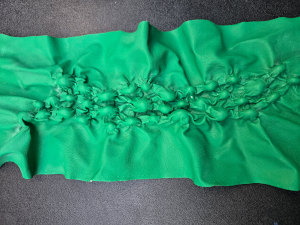
Shibori Bubbles
Inspired by the Japanese technique, I manipulated the fabric to provide it with a 3D bubble texture efect.
Tools & Materials
- Steamer
- Synthetic leather
- Beads
- Thread
Process
Step 1 I cut small pieces of thread to wrap beads inside the fabric.
Step 2 There are two methods to achieve the bubble effect. One option is to use a steamer: steam the fabric for 20 minutes, then let it dry before removing the beads. The other option is to boil the fabric for 20 minutes and let it dry for 24 hours before removing the beads.
Results
Learning Outcome & Challenges
During the crystallization process using borax, even though I followed the recipe, the borax settled at the bottom and hardened like stone. I had to stir and heat the solution to dissolve it. From this, I learned that the proportion of borax was not adequate for the amount of water.
Another lesson learned was that pieces fully suspended in the solution resulted in better crystallization. This can be seen in the images, where the 3D-printed pieces show stronger crystal formation compared to the crochet ones.
In the wooden-textile practice, the main challenge was gluing all the pieces one by one. What helped me speed up the process was using the wooden frame left over from laser cutting the pieces.