9. Textile Scaffold
Week 09 _ love
The ninth week I called it love. That's because it's a combination of the fields I love: IT and handmade. I love the software used in the fashion field. I love manual work. Of course, here I will get to know new techniques, but I believe for sure that I will manage to realize and document everything well. But we see...
My experience
In the lecture Textiles as a scaffold, Anastasia Pistofidou presented different techniques that use textiles to obtain various materials. Of course, the opportunity to participate in Fabricademy Bootcamp 2022 GENEVA left a big mark on my multilateral development. Here I managed to experiment with obtaining special leather shapes.
I'll show you the experiments I did this week. Our task this week was to try out two of these techniques and learn how to use mill a mold. I wanted to try them all but I didn't have time :)
Experiment 1 - Crystallization
Crystallization is an easy process to achieve, but difficult to control. It only requires the necessary concentration of the solution, elements for introduction into the solution and time. Crystallization is the process of forming solid crystals from a solution. In my case, the solution was a mixture of:
* water - 500 ml
* alum - 25 gr
* Warm water in a pot.
* Add the Glycerine.
* Add the Agar or Agar.
* Put water in the pot to boil
* When water is hot, put alum in the water and stir
* Add until the solution is saturated (= not dissolving anymore)
* Put it in a container, using a coffee filter
* Place the material, without it touching the bottom or sides of the container
* Do not move the container, and wait a few days!
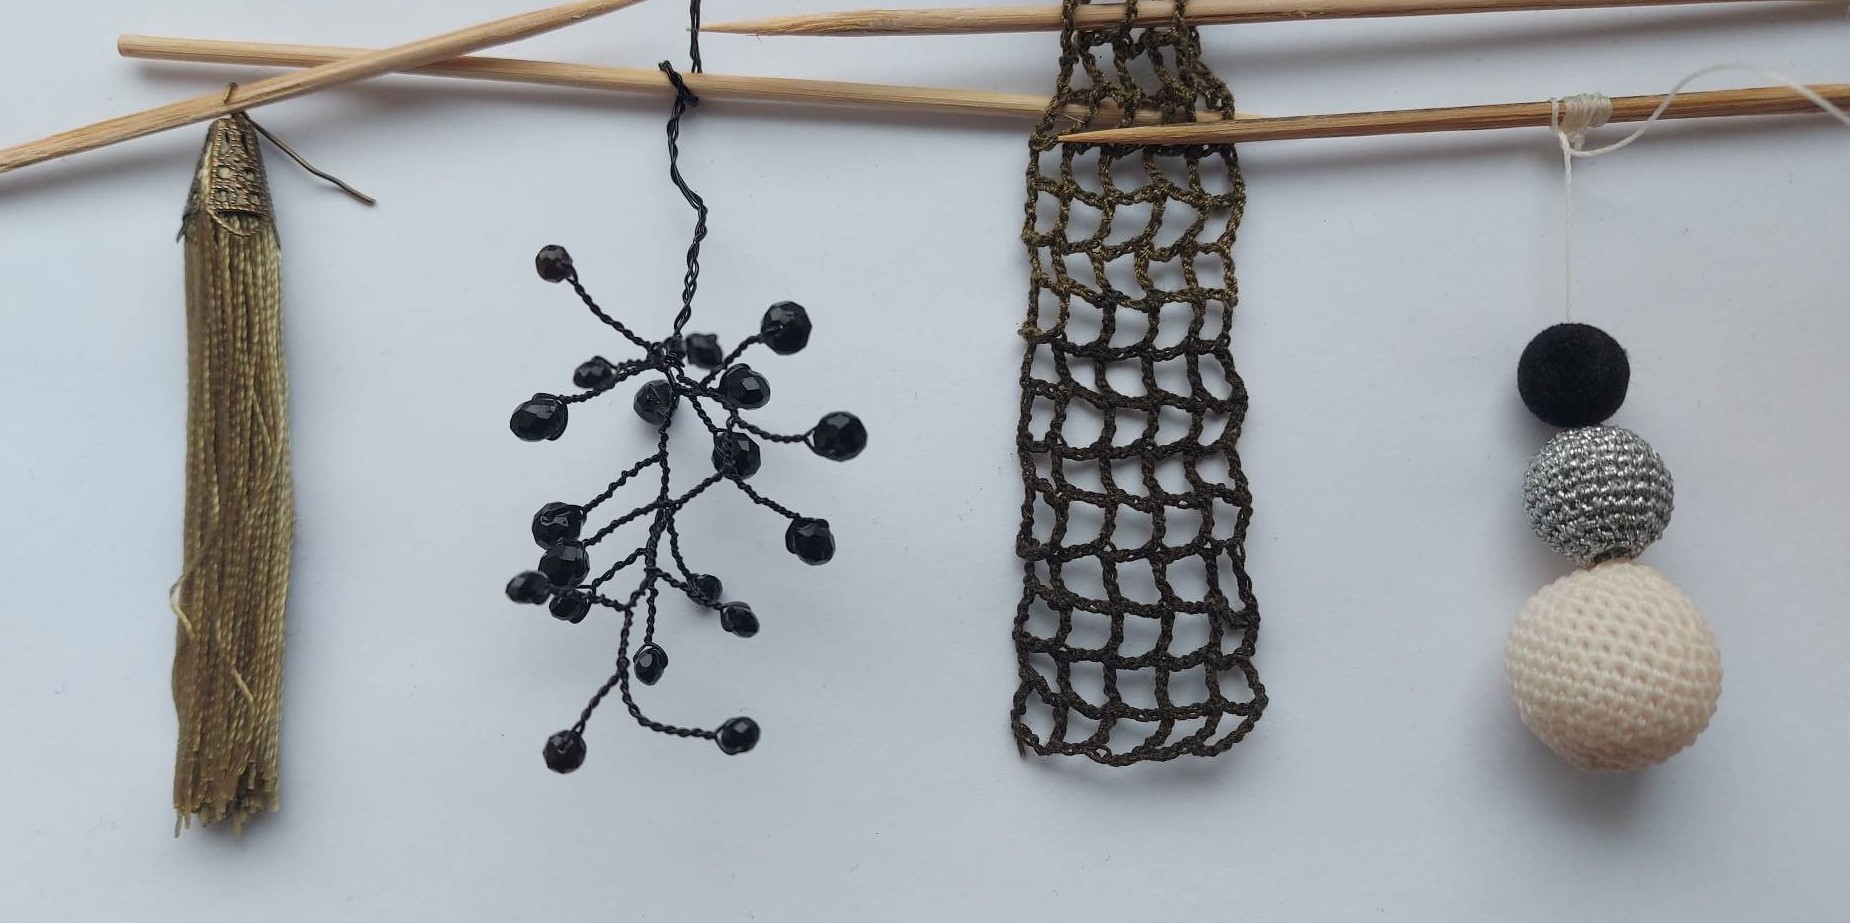
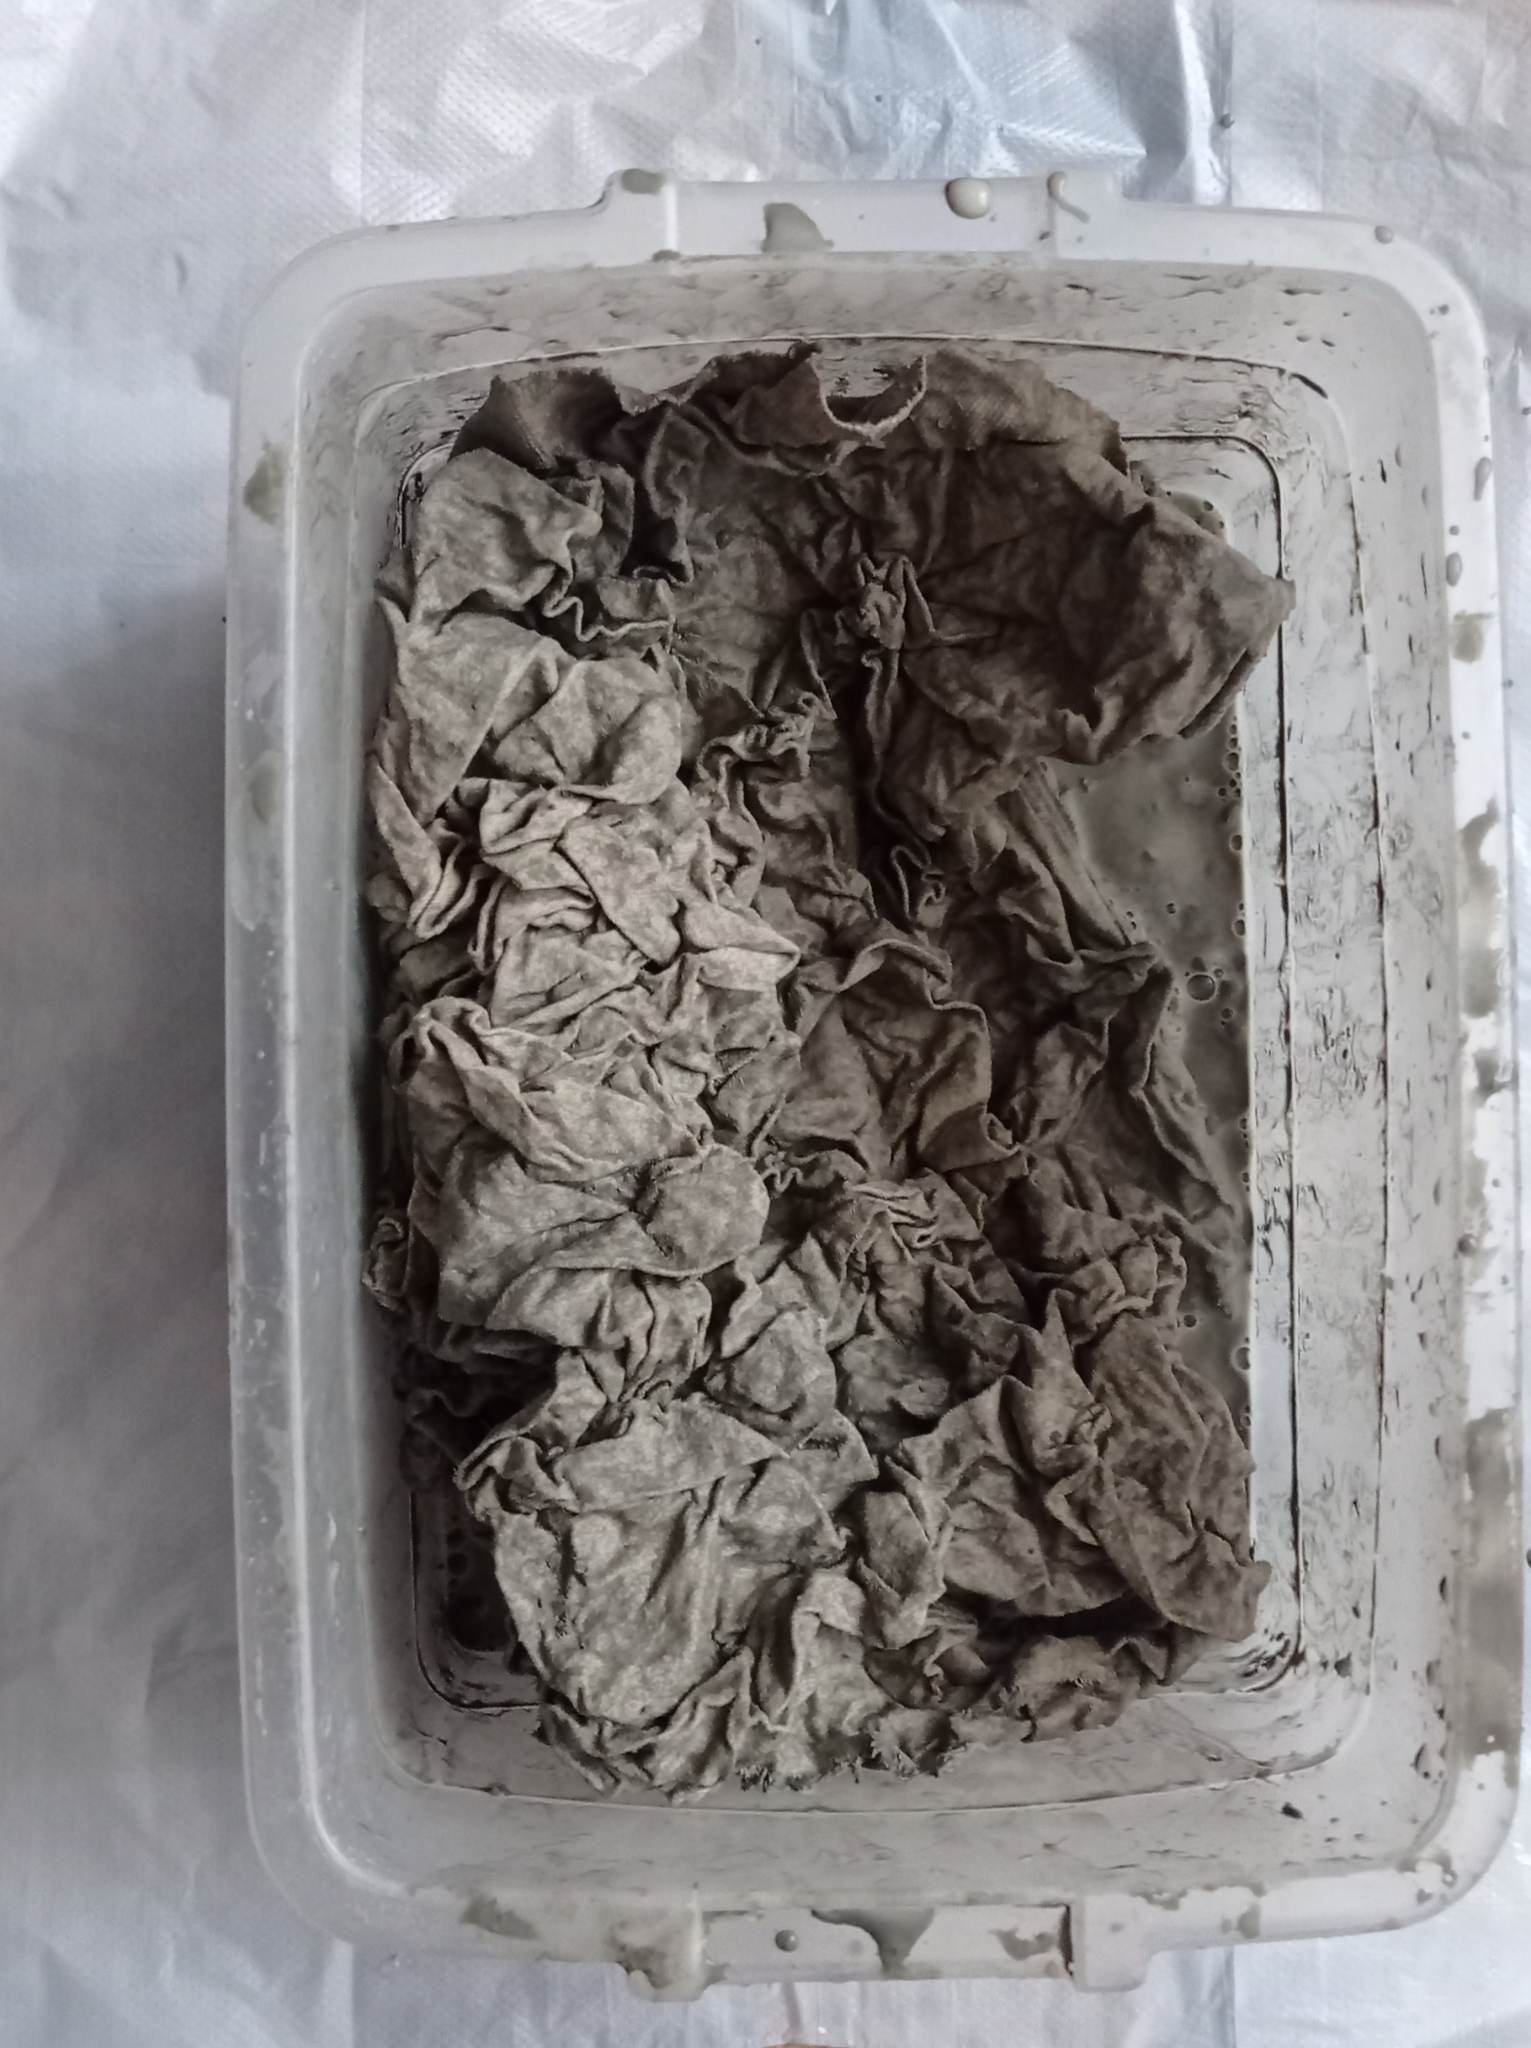
For this experiment I selected these handmade items made by me.
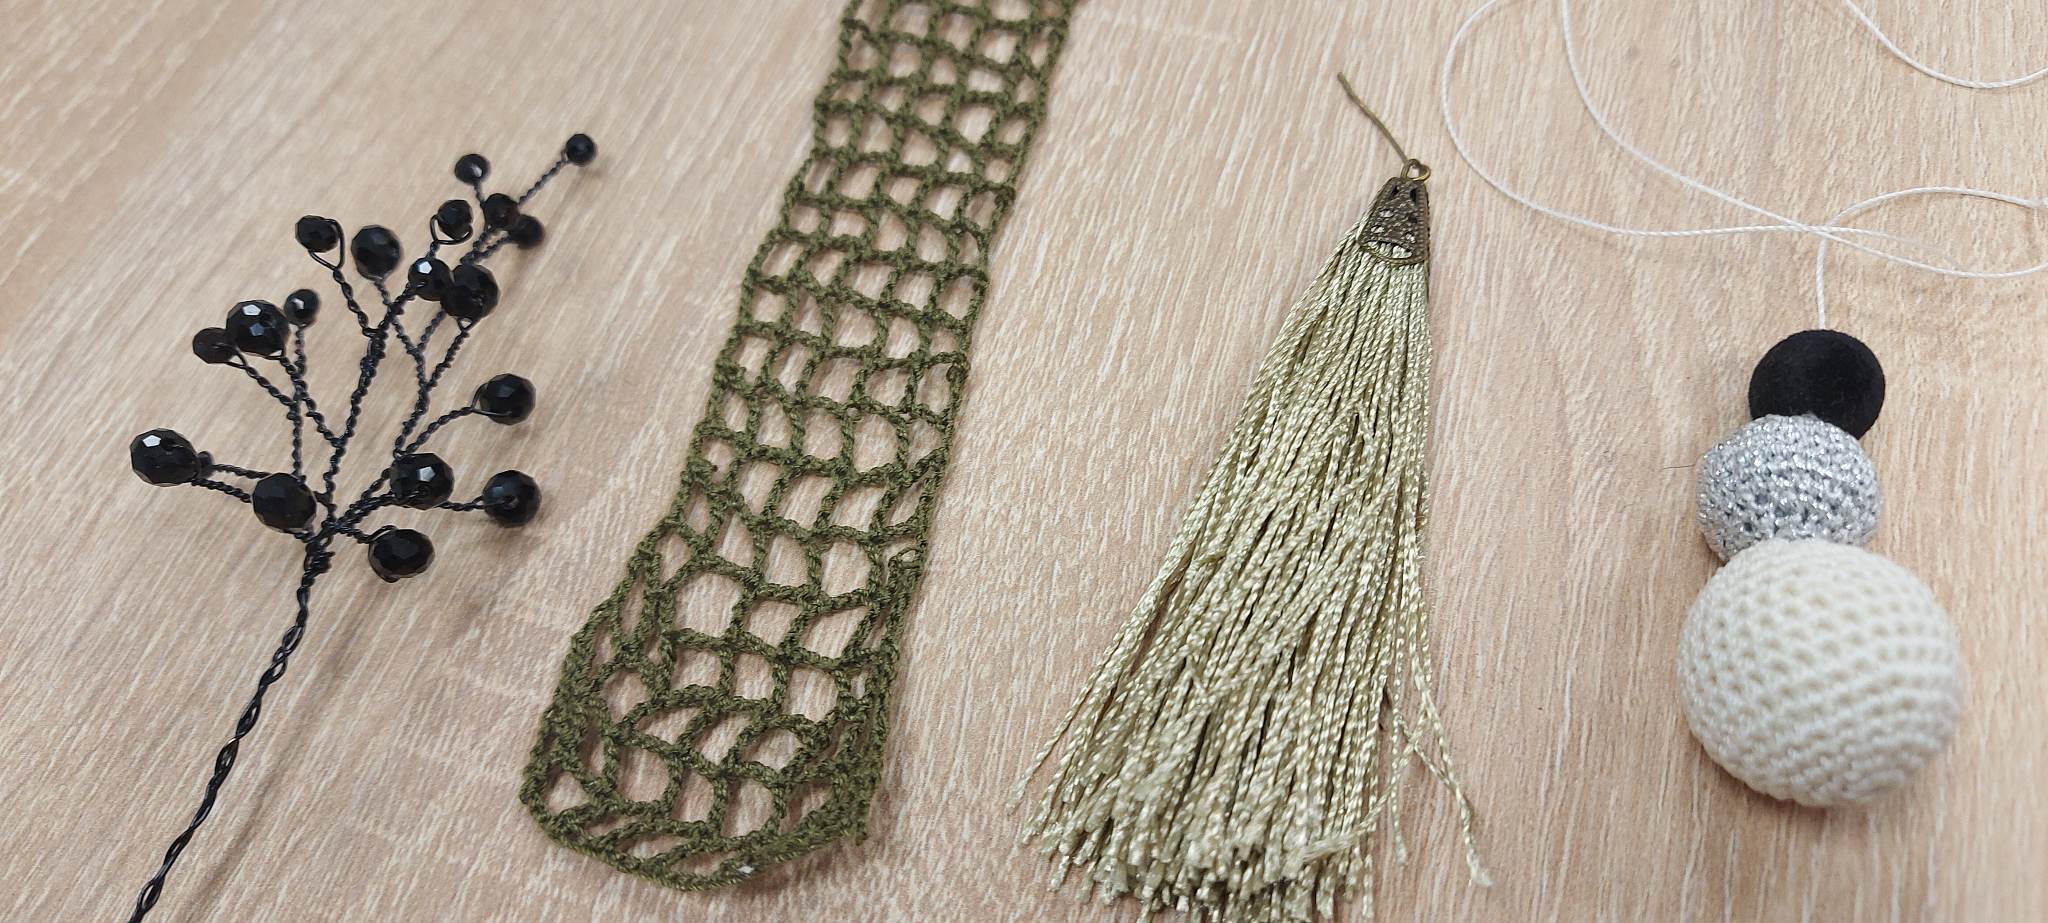
The selected elements were placed in the solution and put in a cooler place.
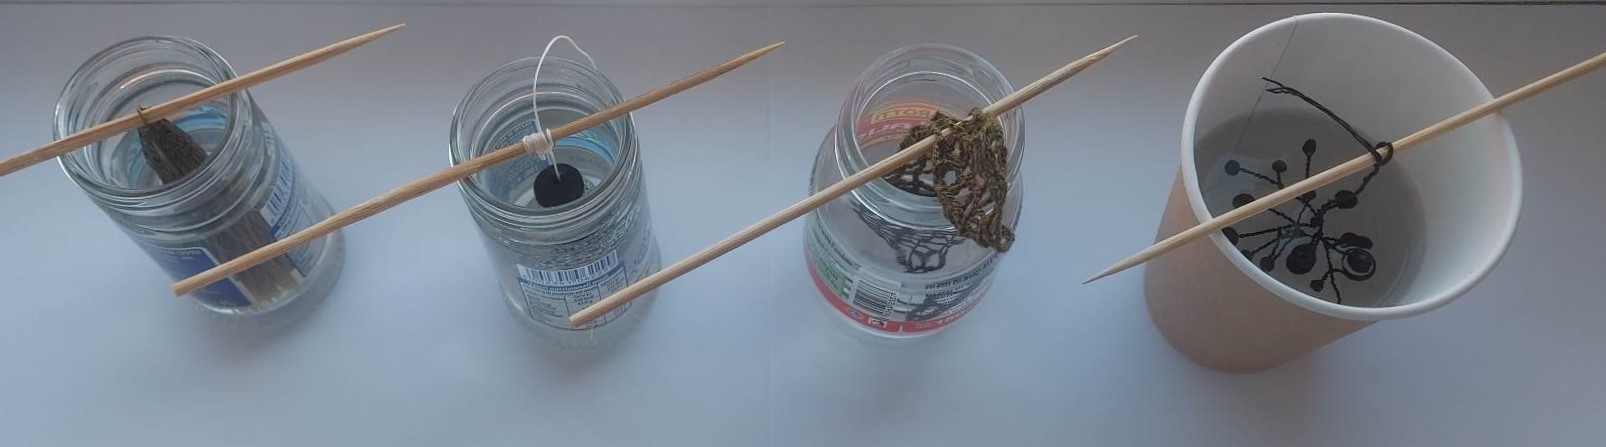
After 96 hours I received this result.
Conclusion: I think we didn't get crystals because the quantity of alum was too small for this volume of water. The ratio of water and alum must be 4:1.
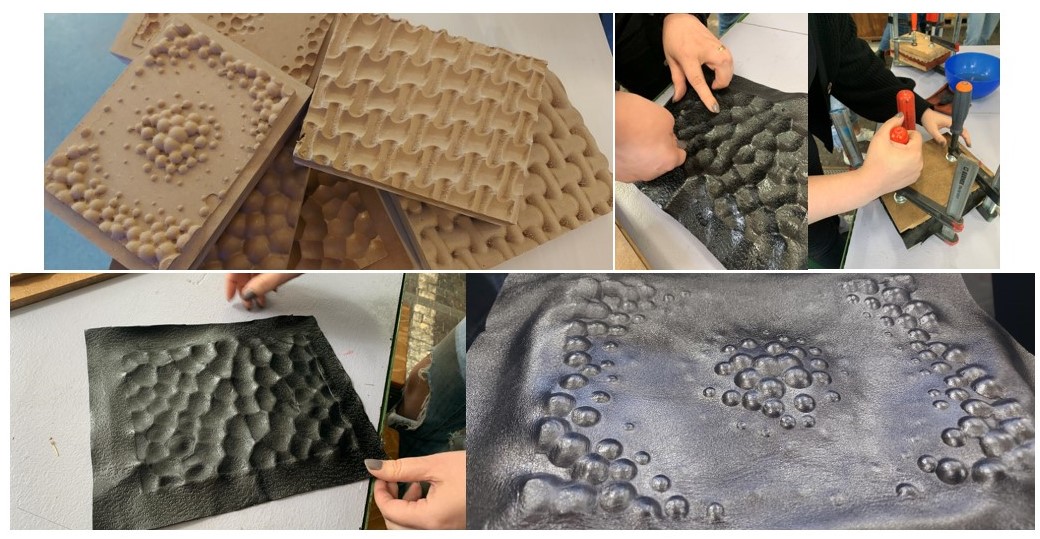
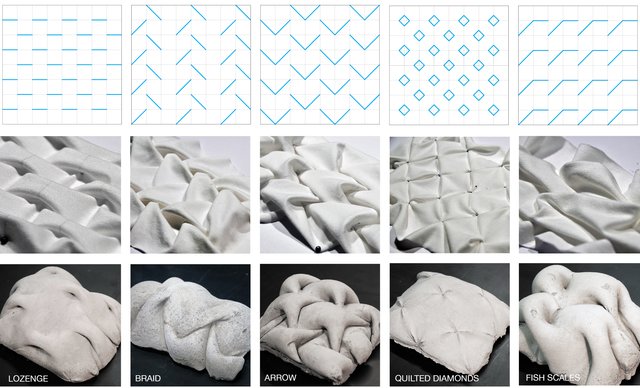
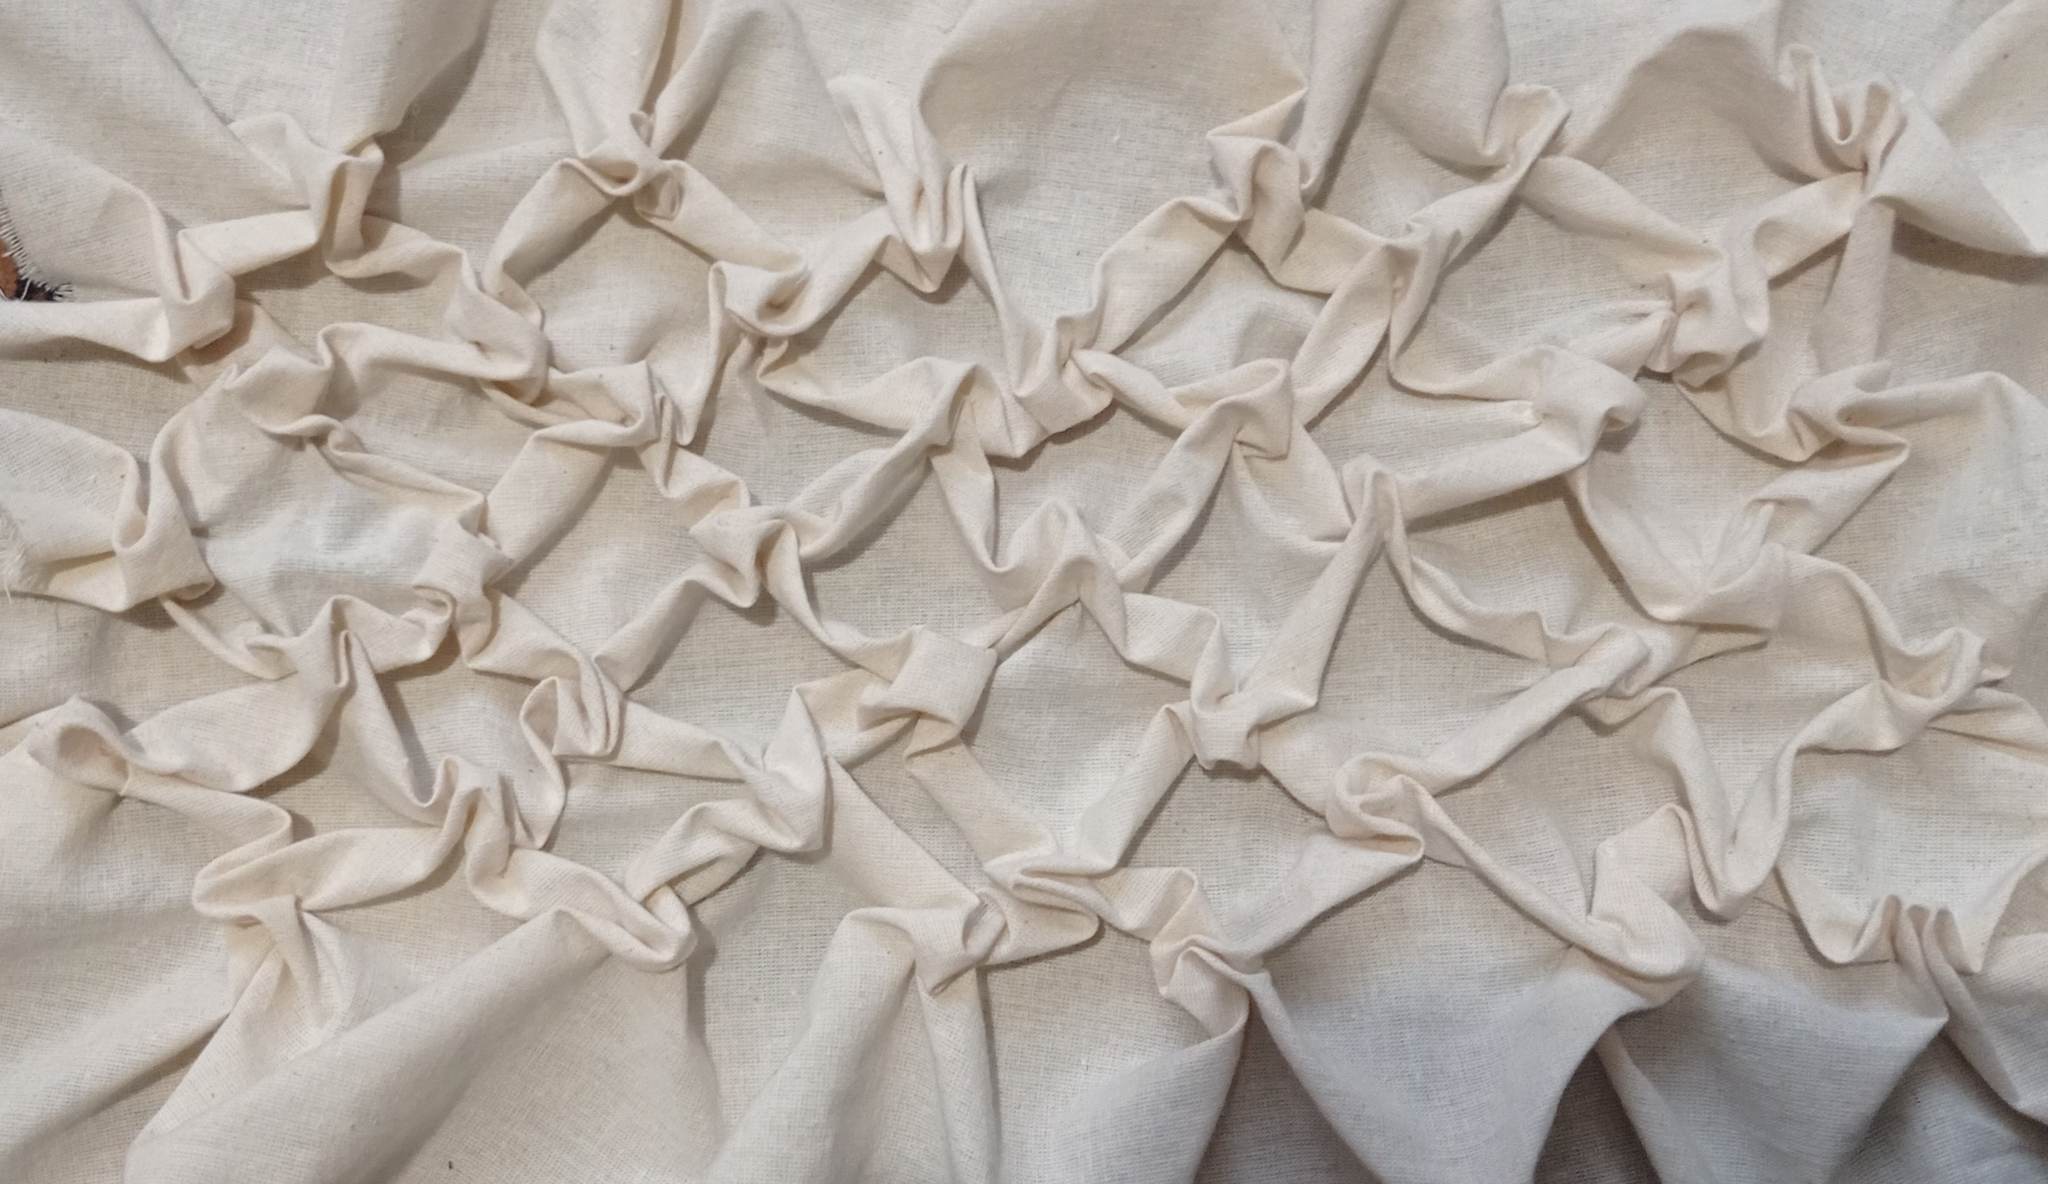
Experiment 2 - Smocking patterns
Smocking is a traditional embroidery technique where the stitches manipulate the fabric and create decorative areas. Aceasta technique acts as a method to manipulate patterns and can work as a sketching tool in pattern design. The use of some finishing processes allows the volumetric production of the textile.
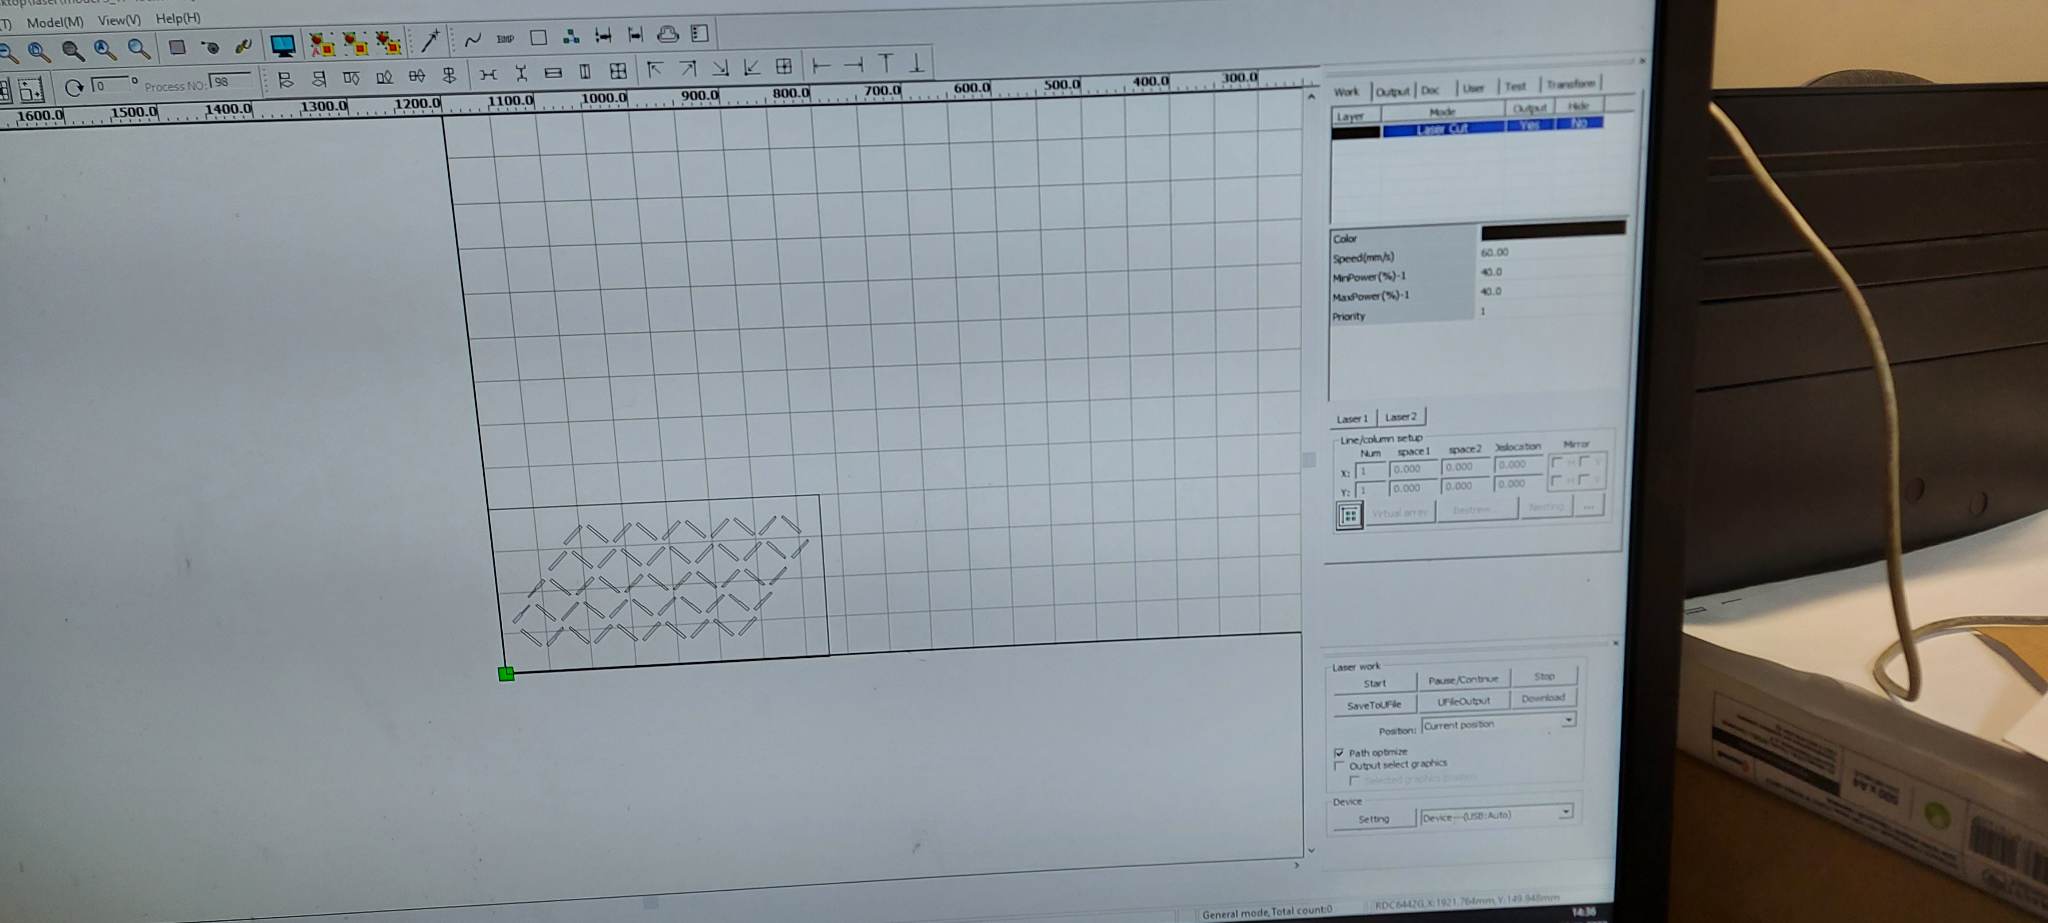
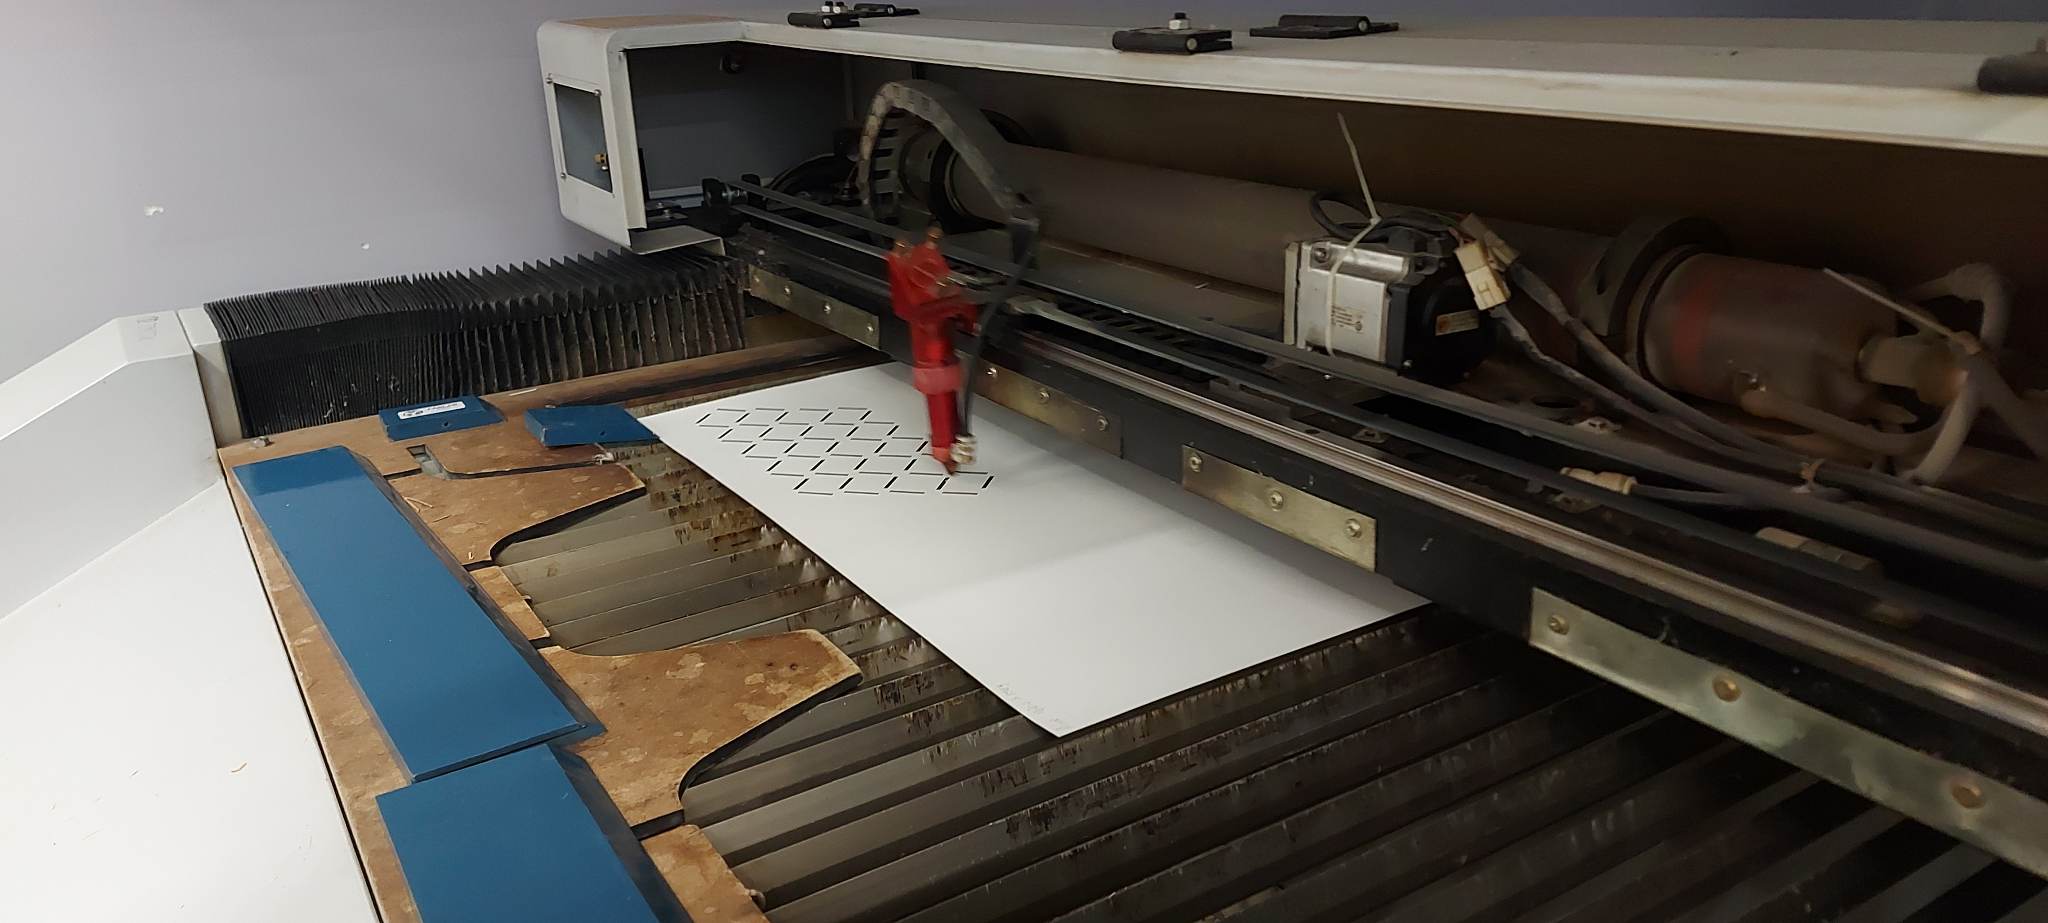
The process of creating a textile with smocking patterns is one of medium complexity. Initially, to draw a dotted or linear grid on the material more easily, a template was made. This template was drawn in Rhinoceros 3D and laser cut.
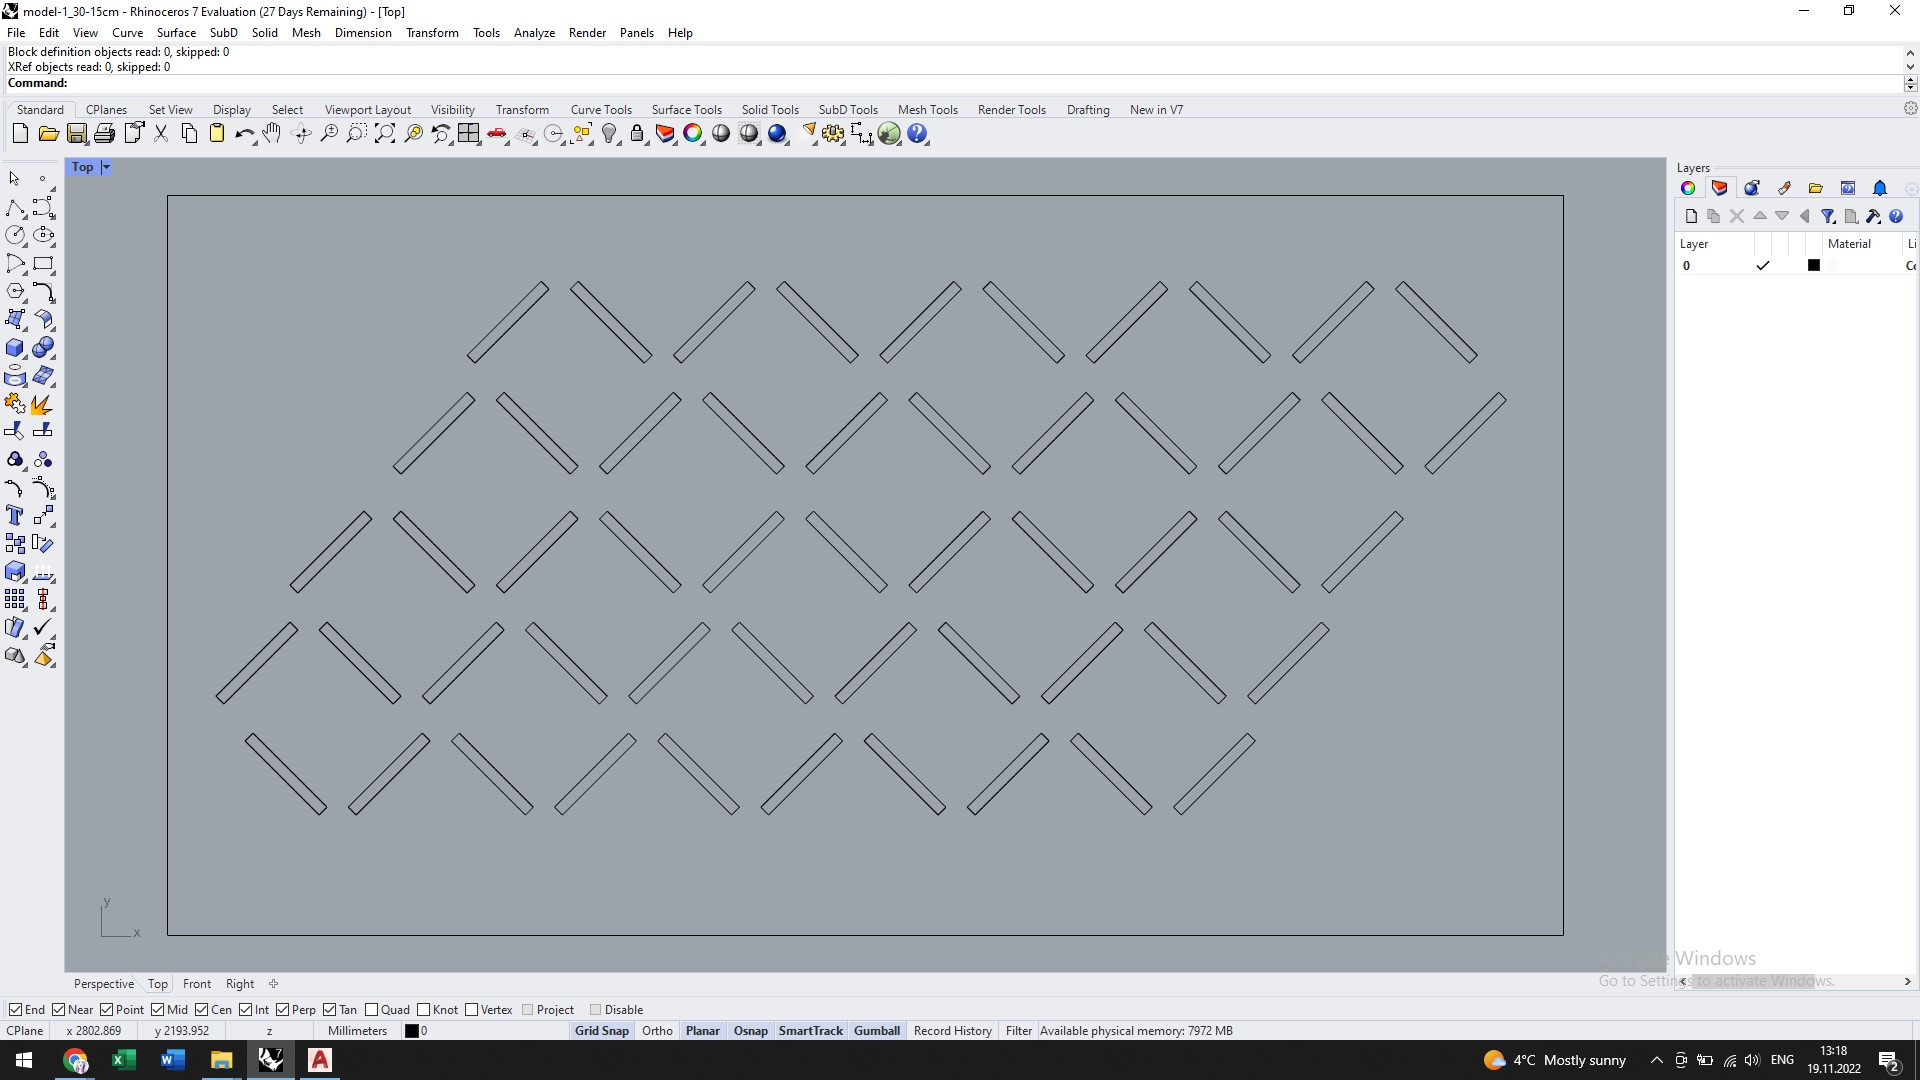
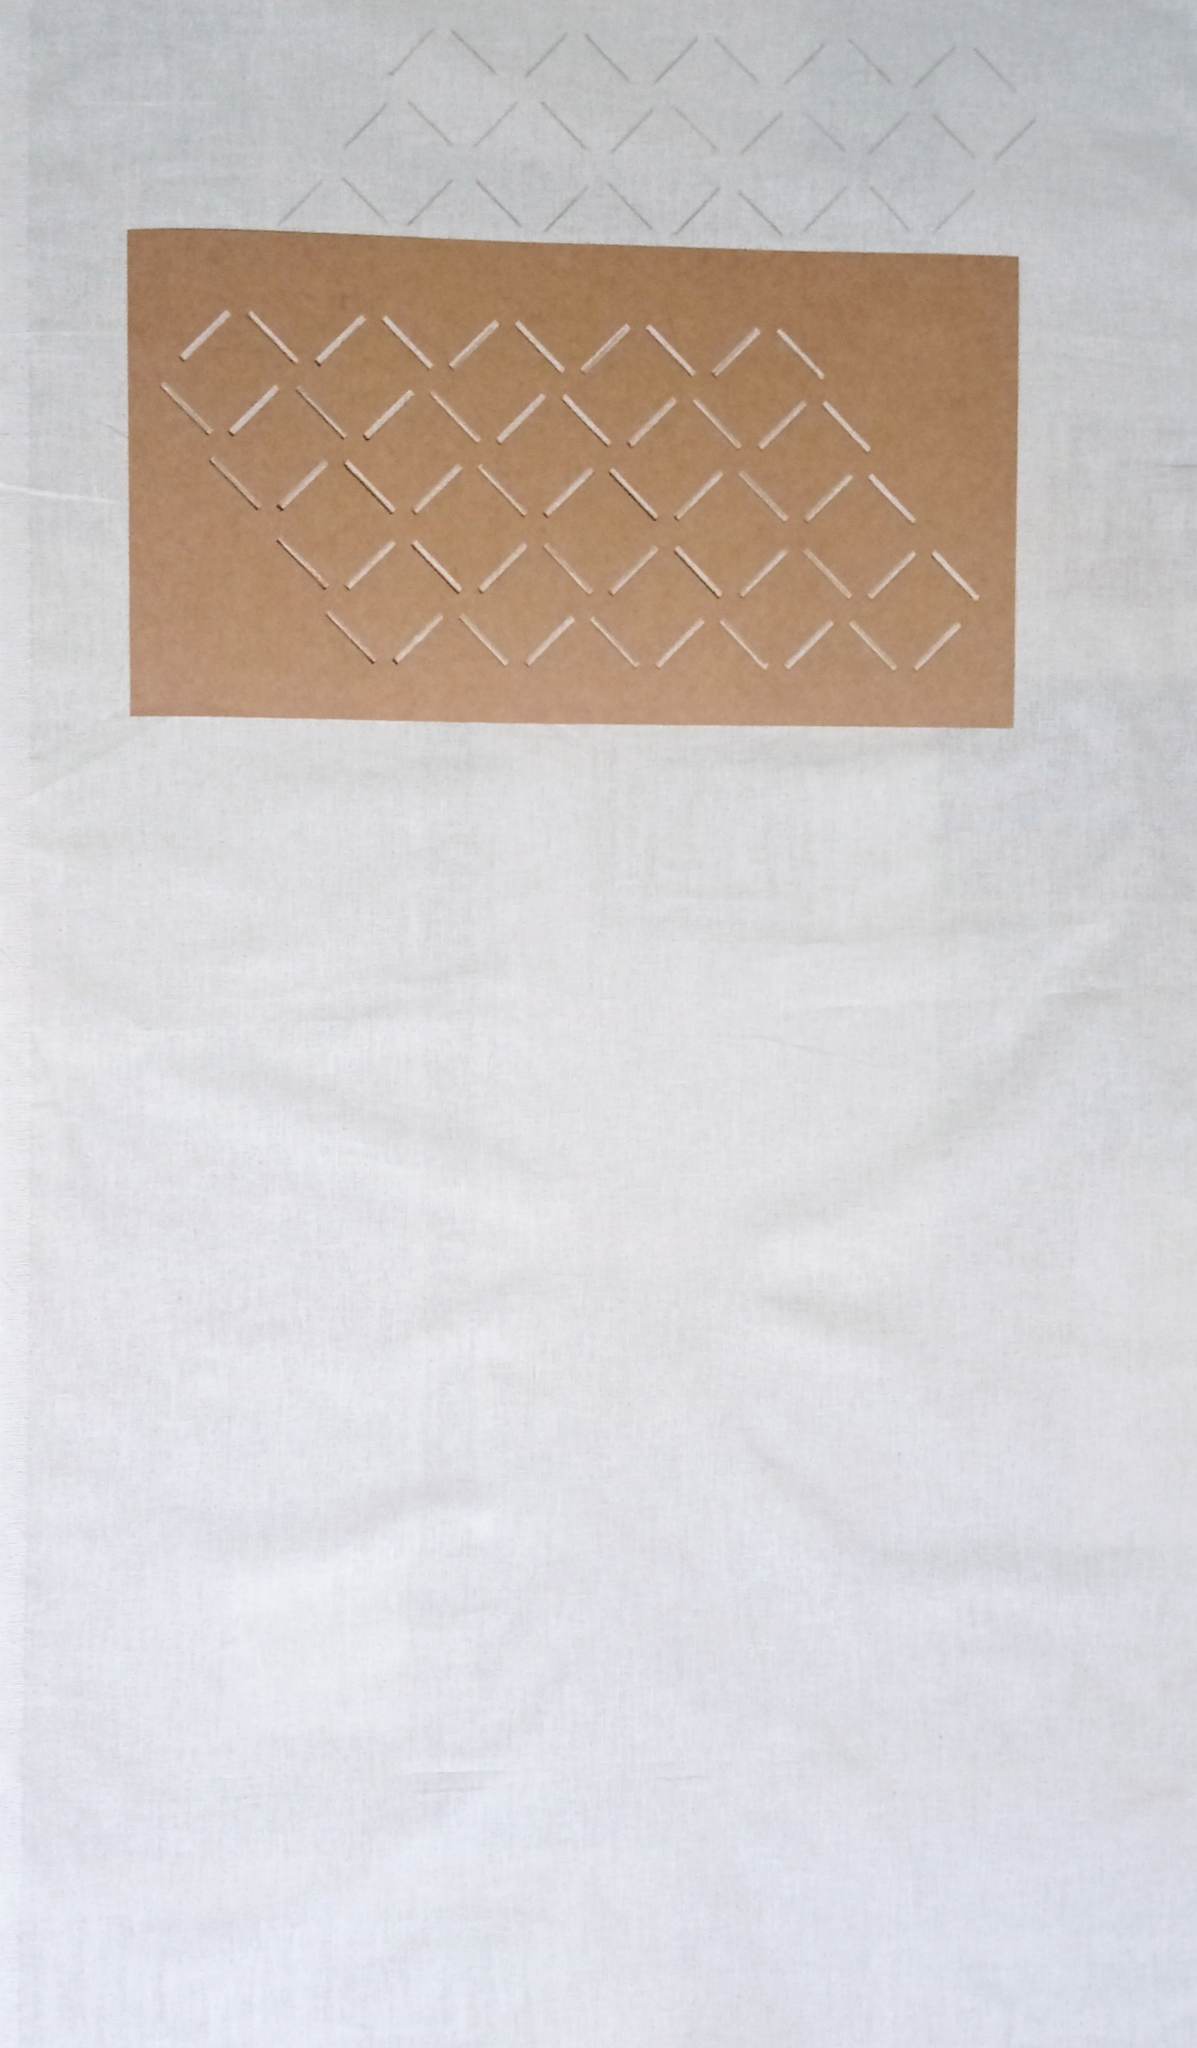
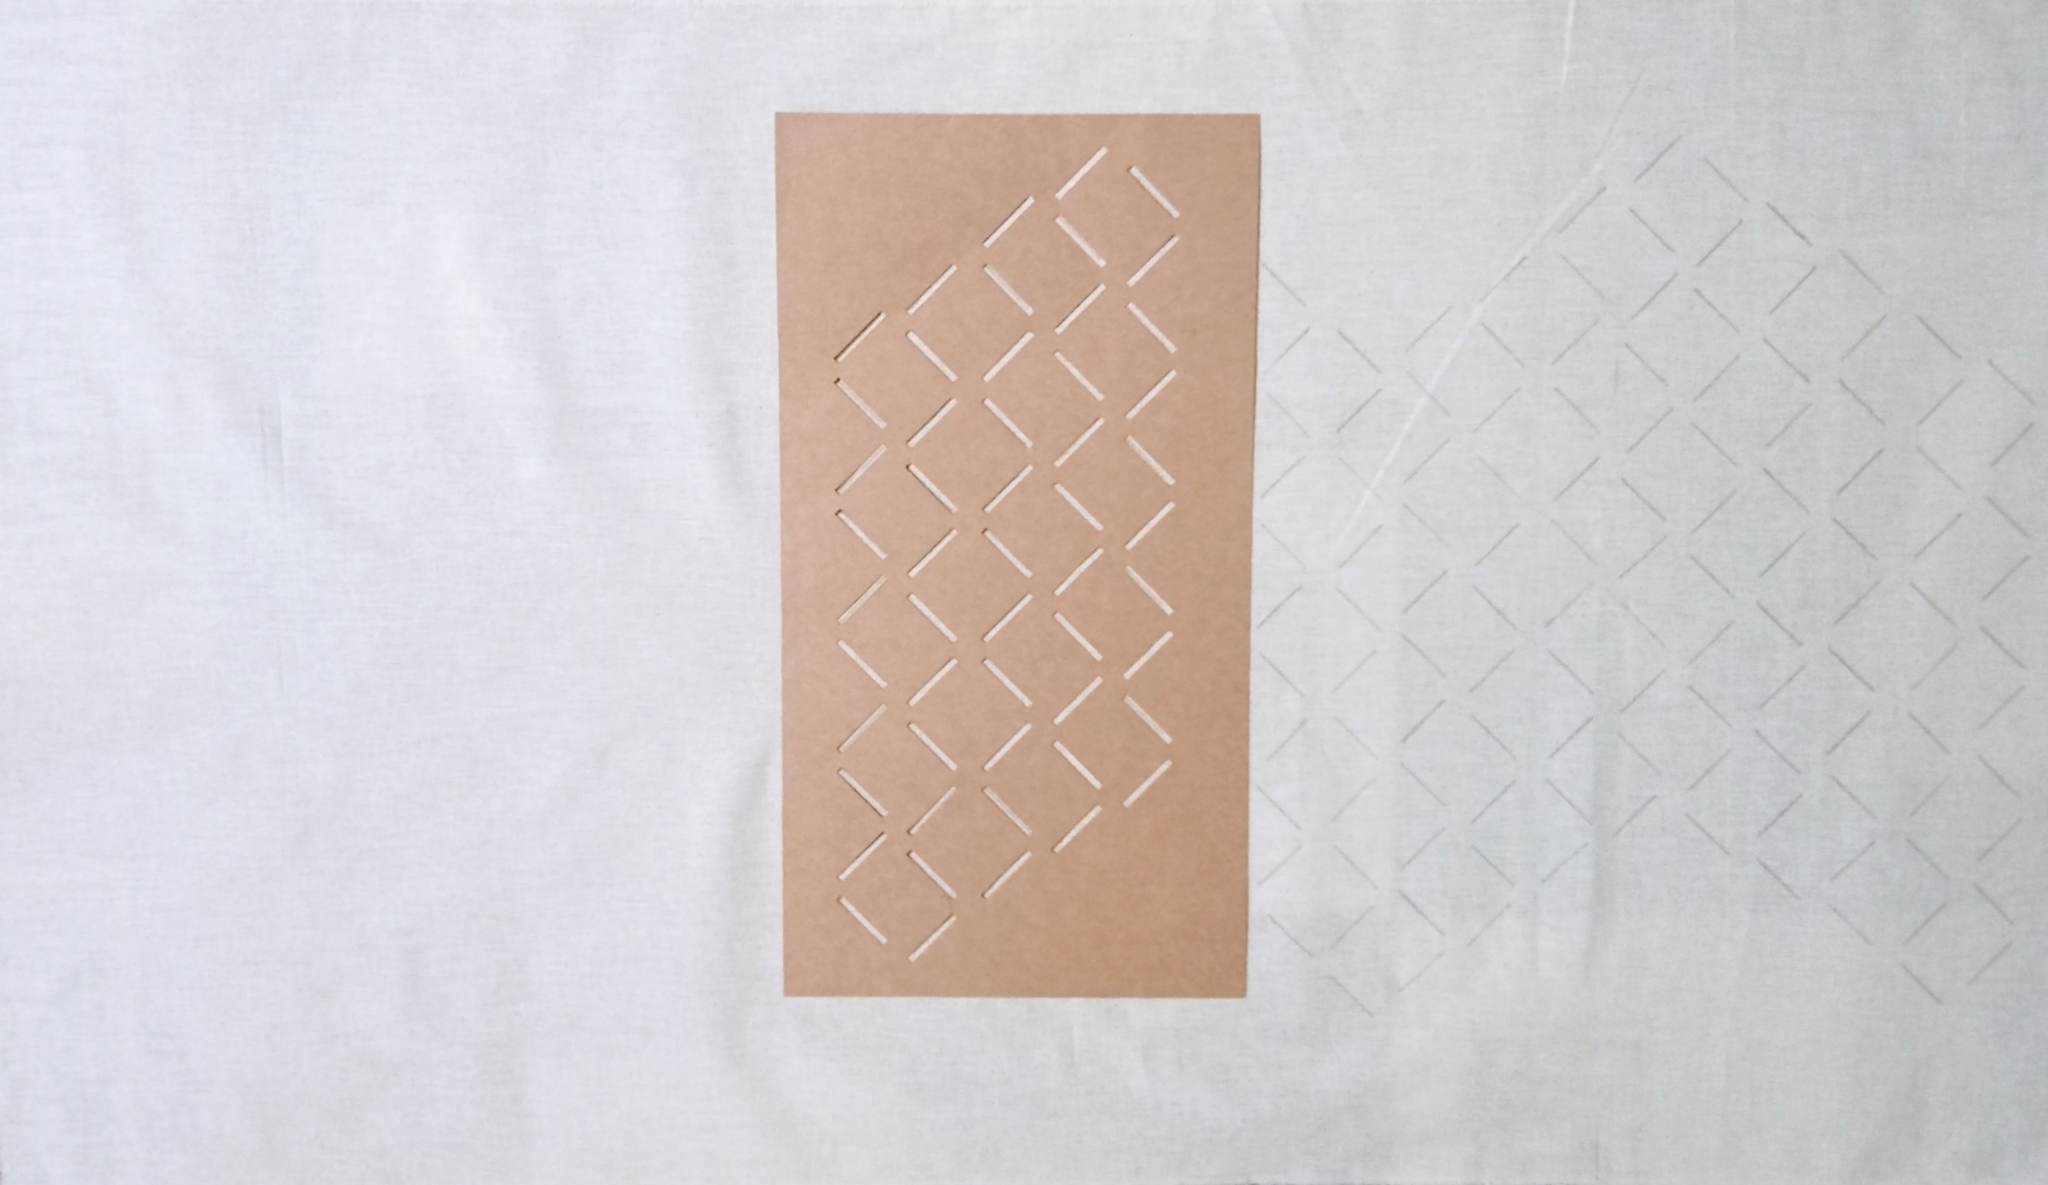
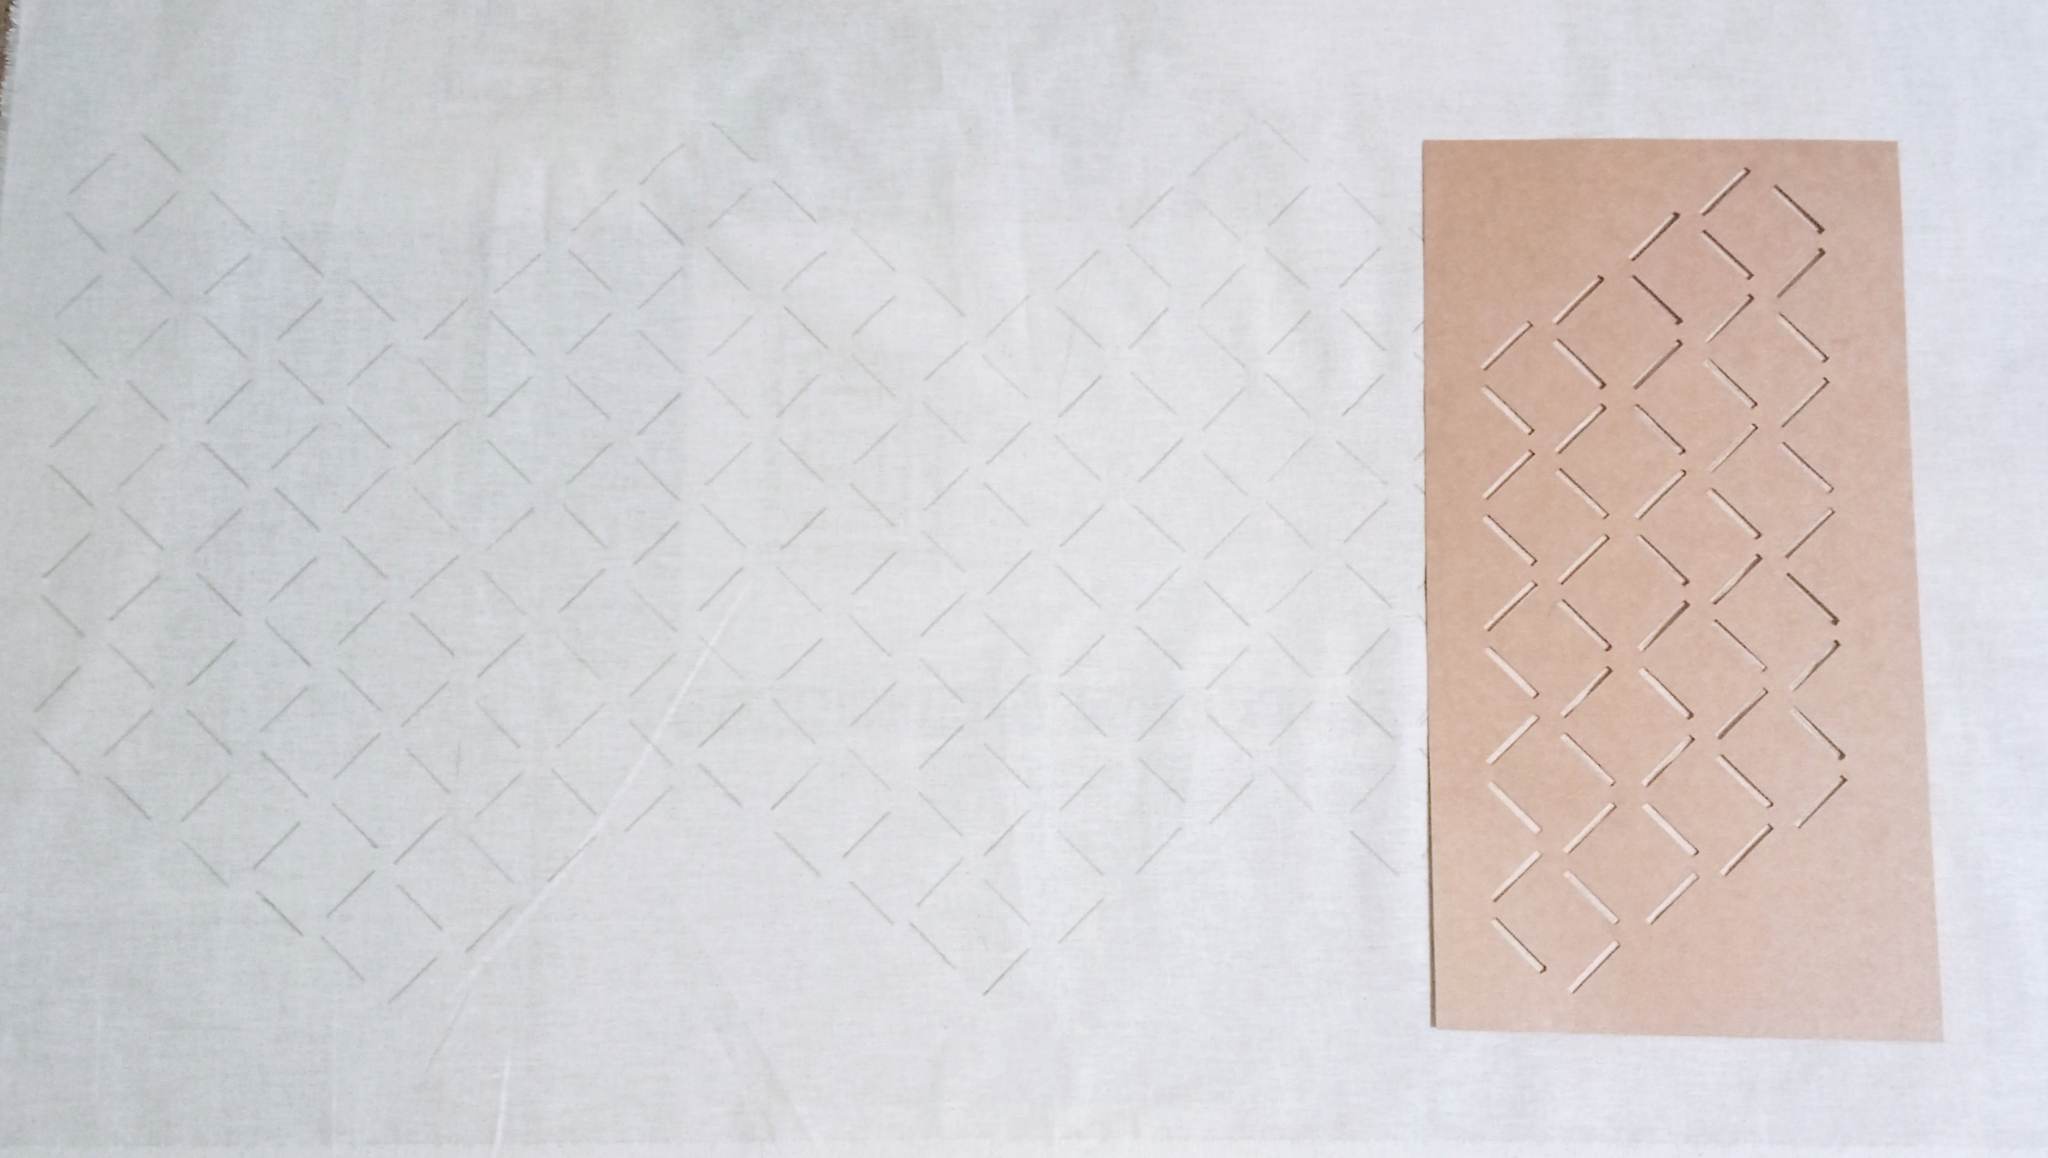
Drawing the lines went quickly with the help of the template.
The fabric was sewn according to the drawn lines.


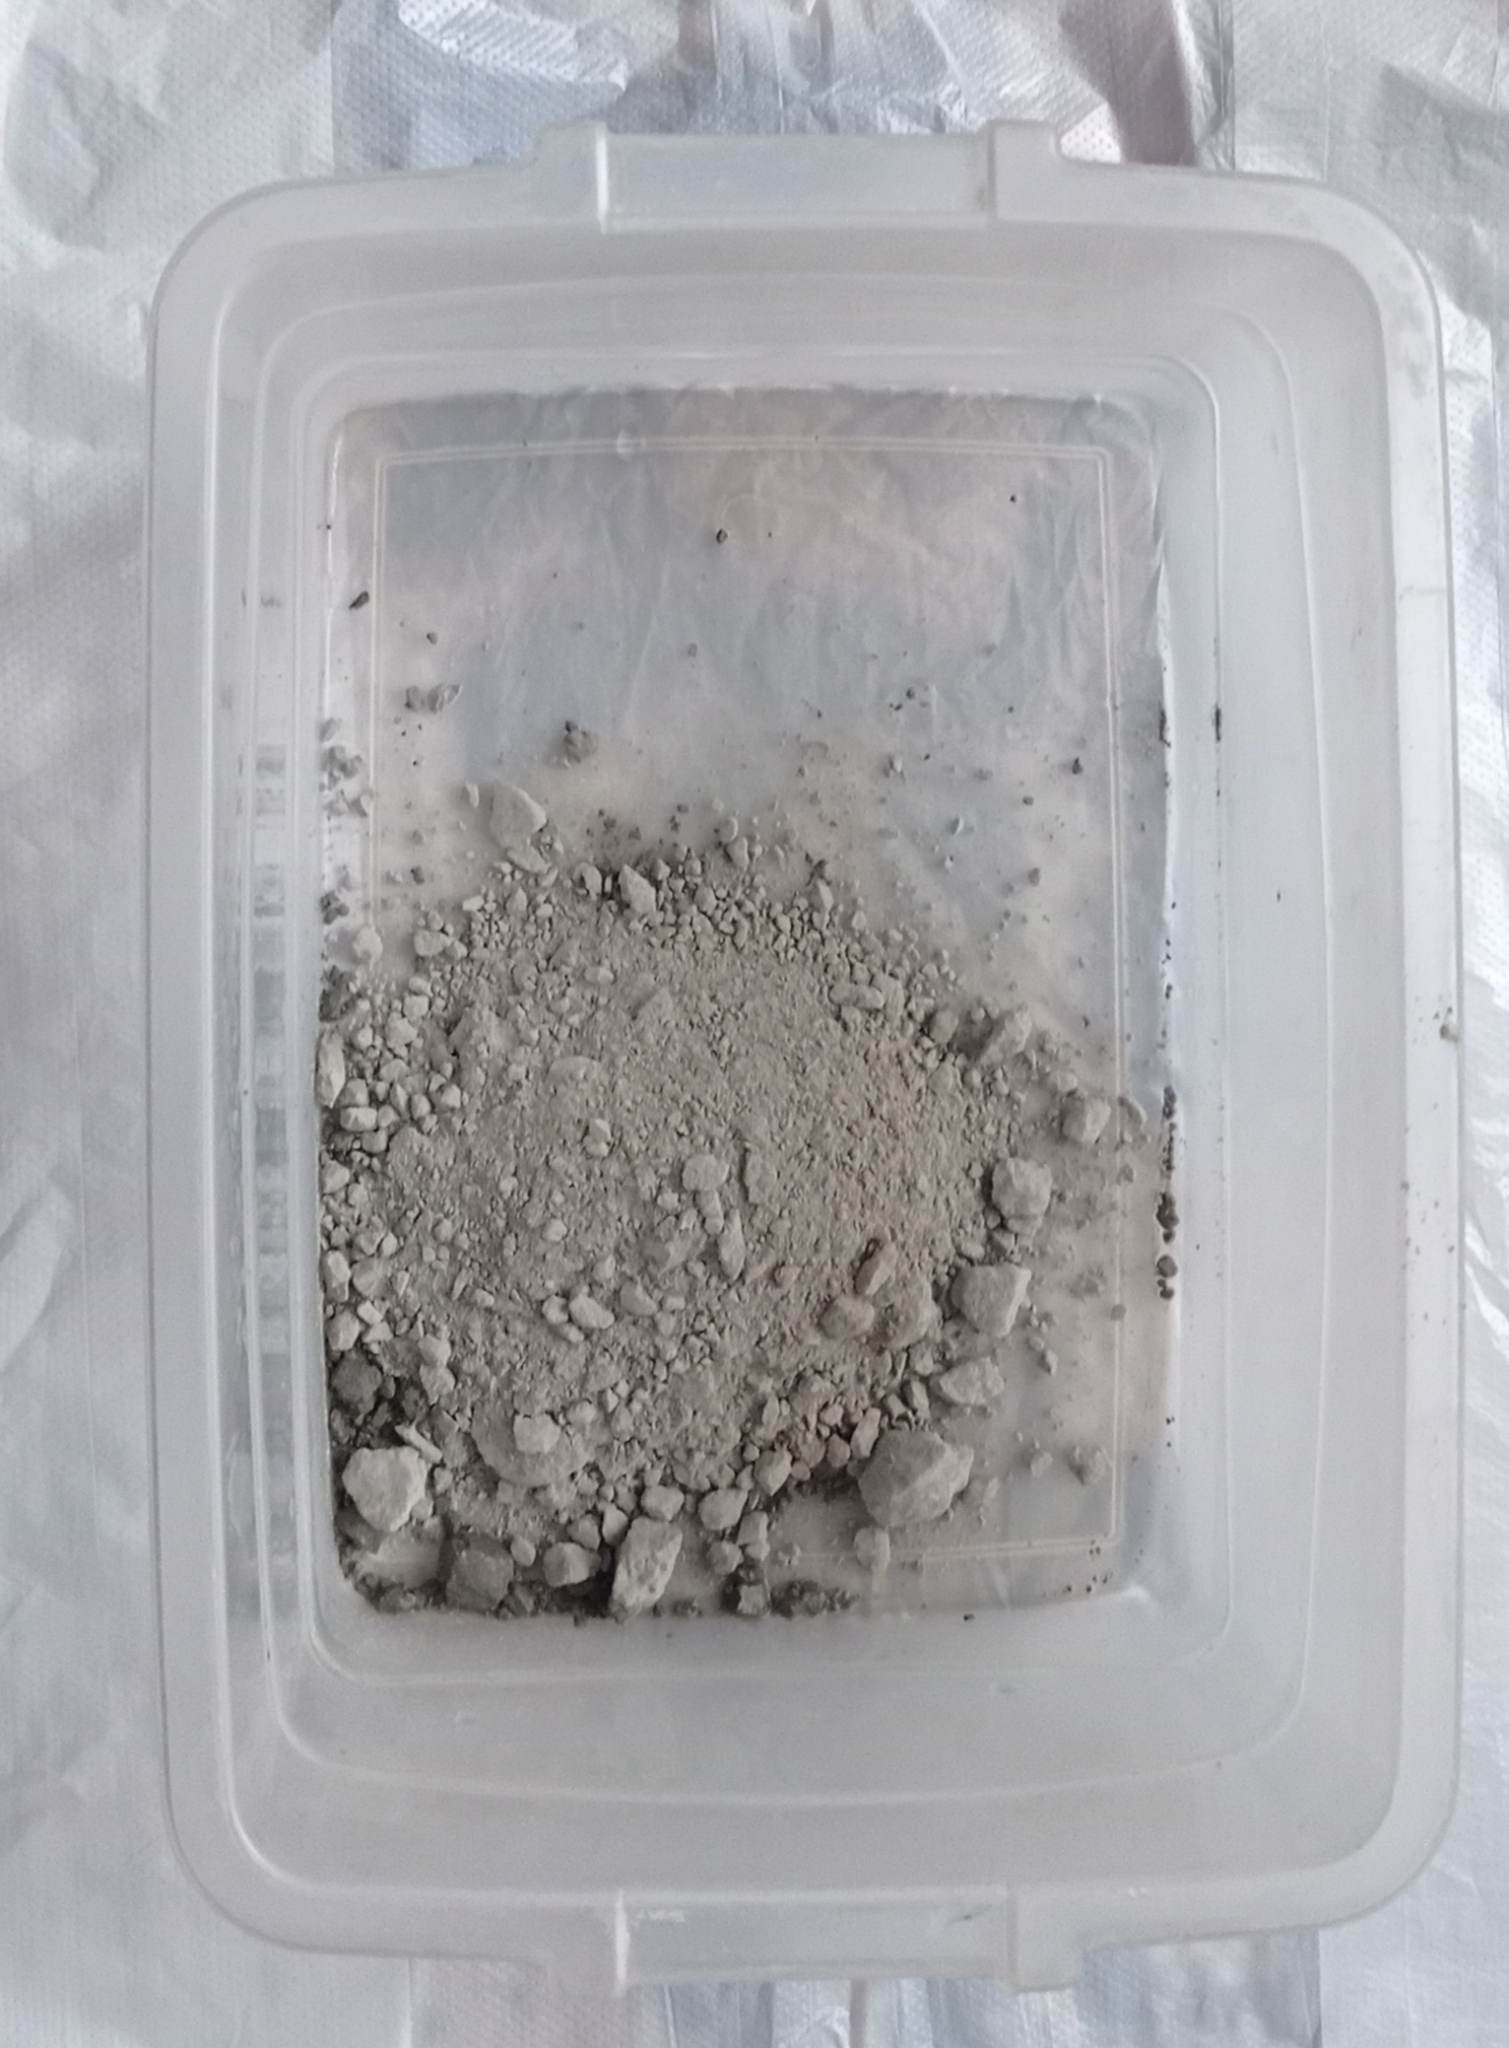
The next stage is intended for the finishing process of the material. This procedure allows obtaining the stiffness of the fabric with a special solution. This solution was composed of:
* cement - 100 gr
* glue - 10 ml
* water - 200 ml
* Choose fabric and thread.
* Draw a dotted or linear grid on the material. For a simpler process, use a cardboard matrix.
* Sew the fabric according to the drawn scheme.
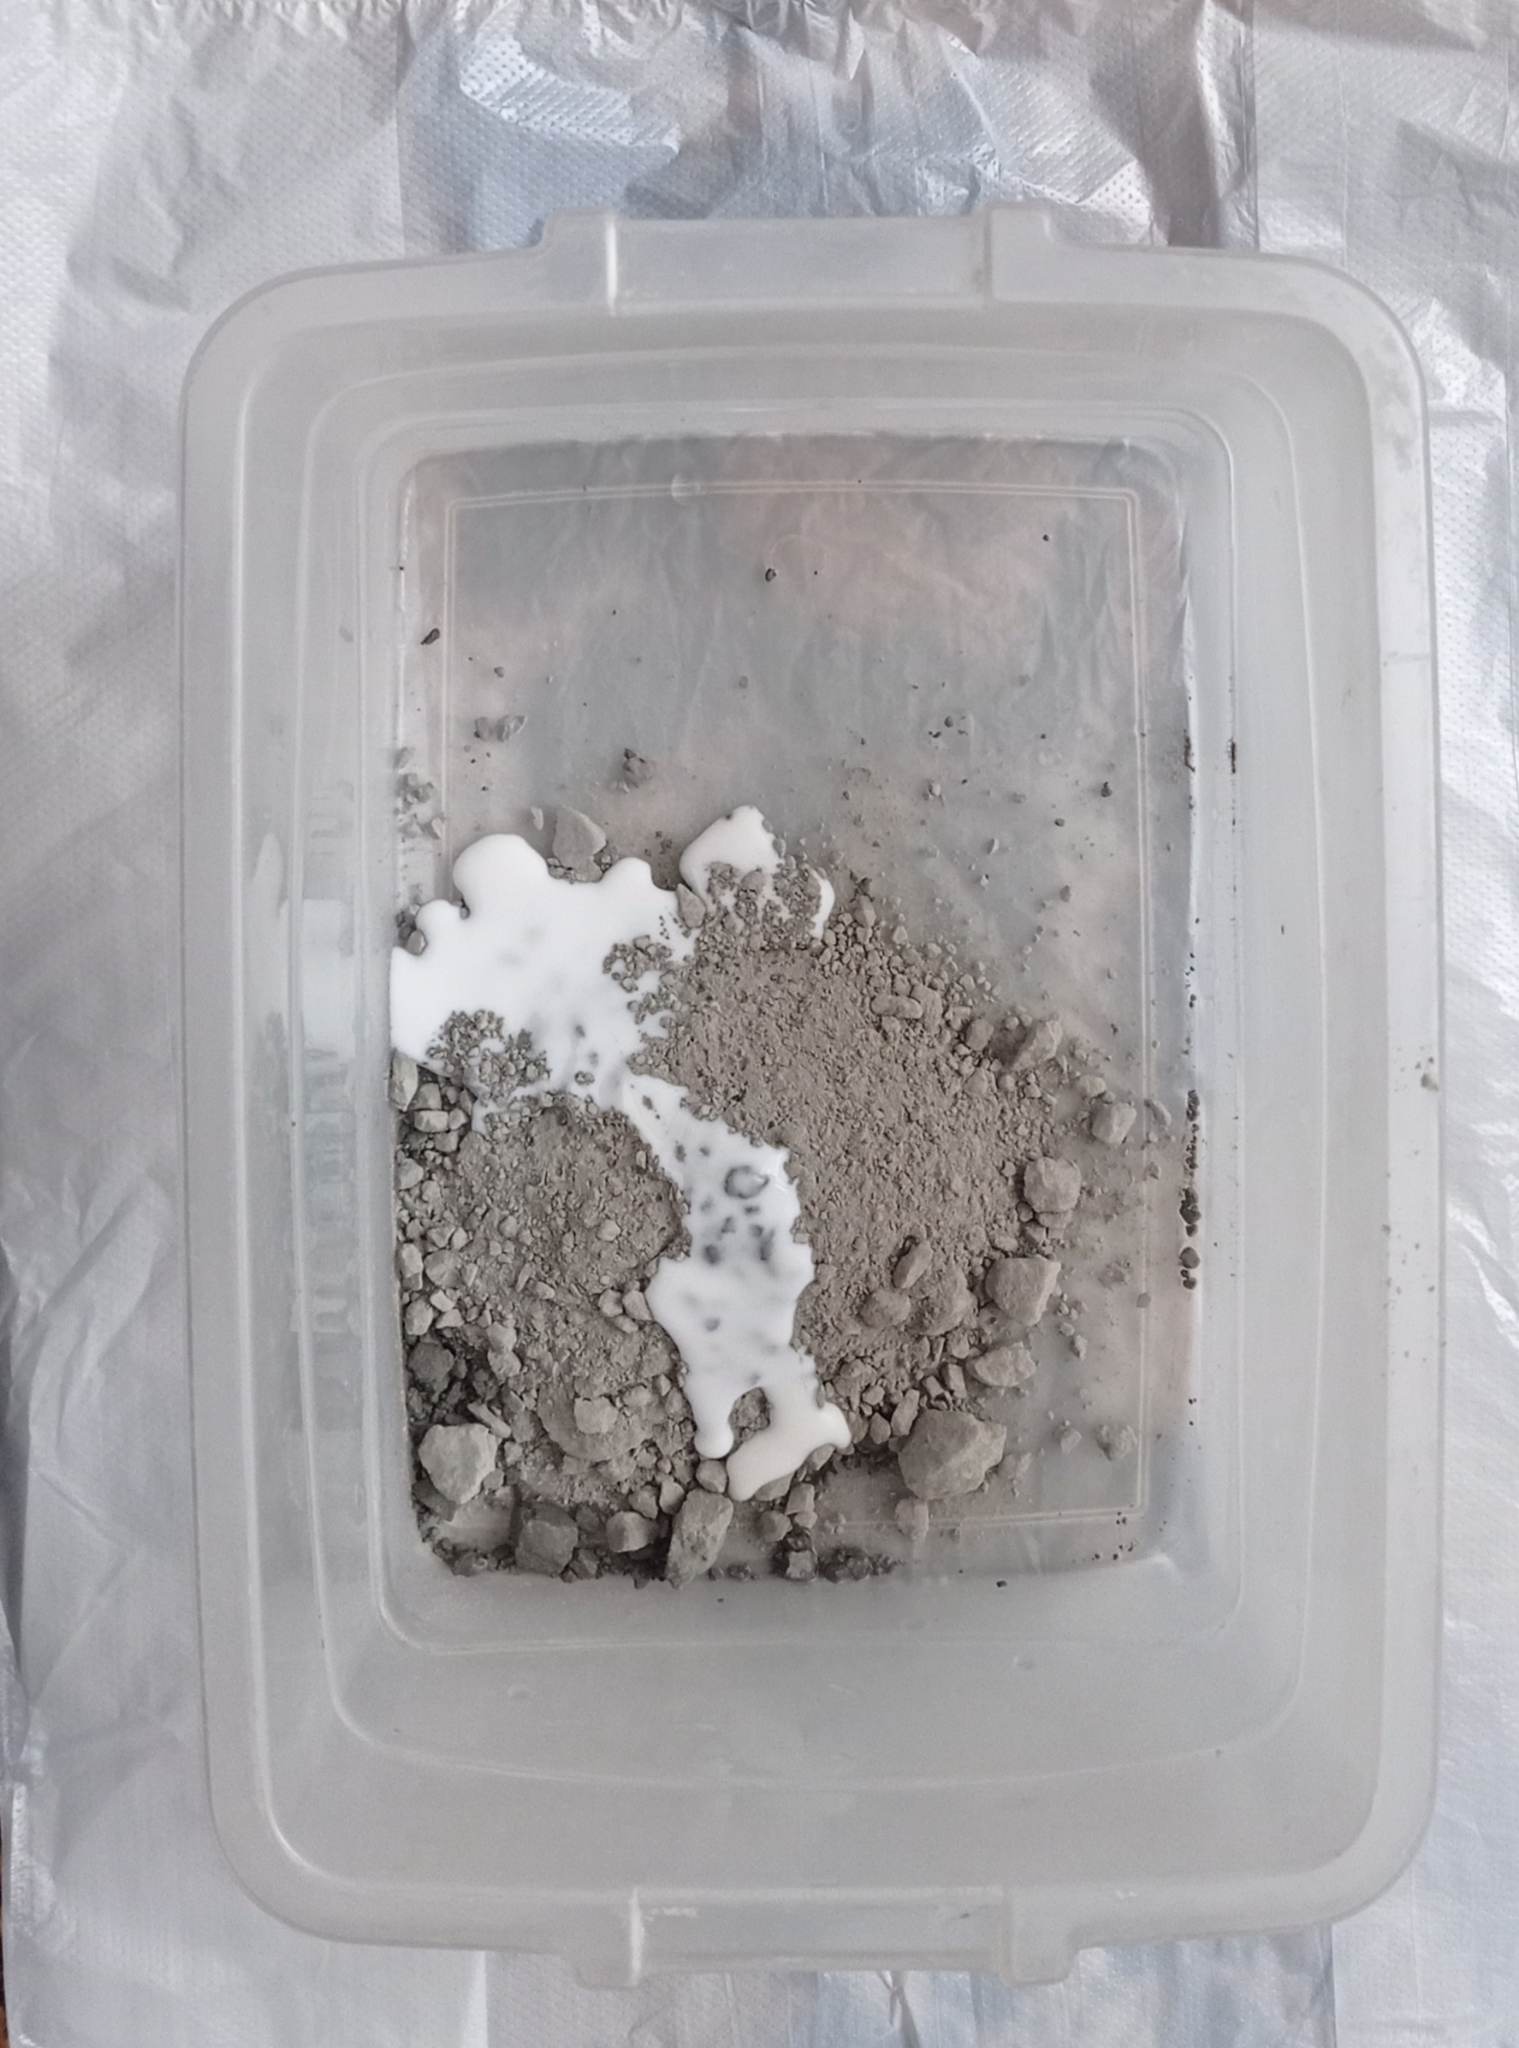
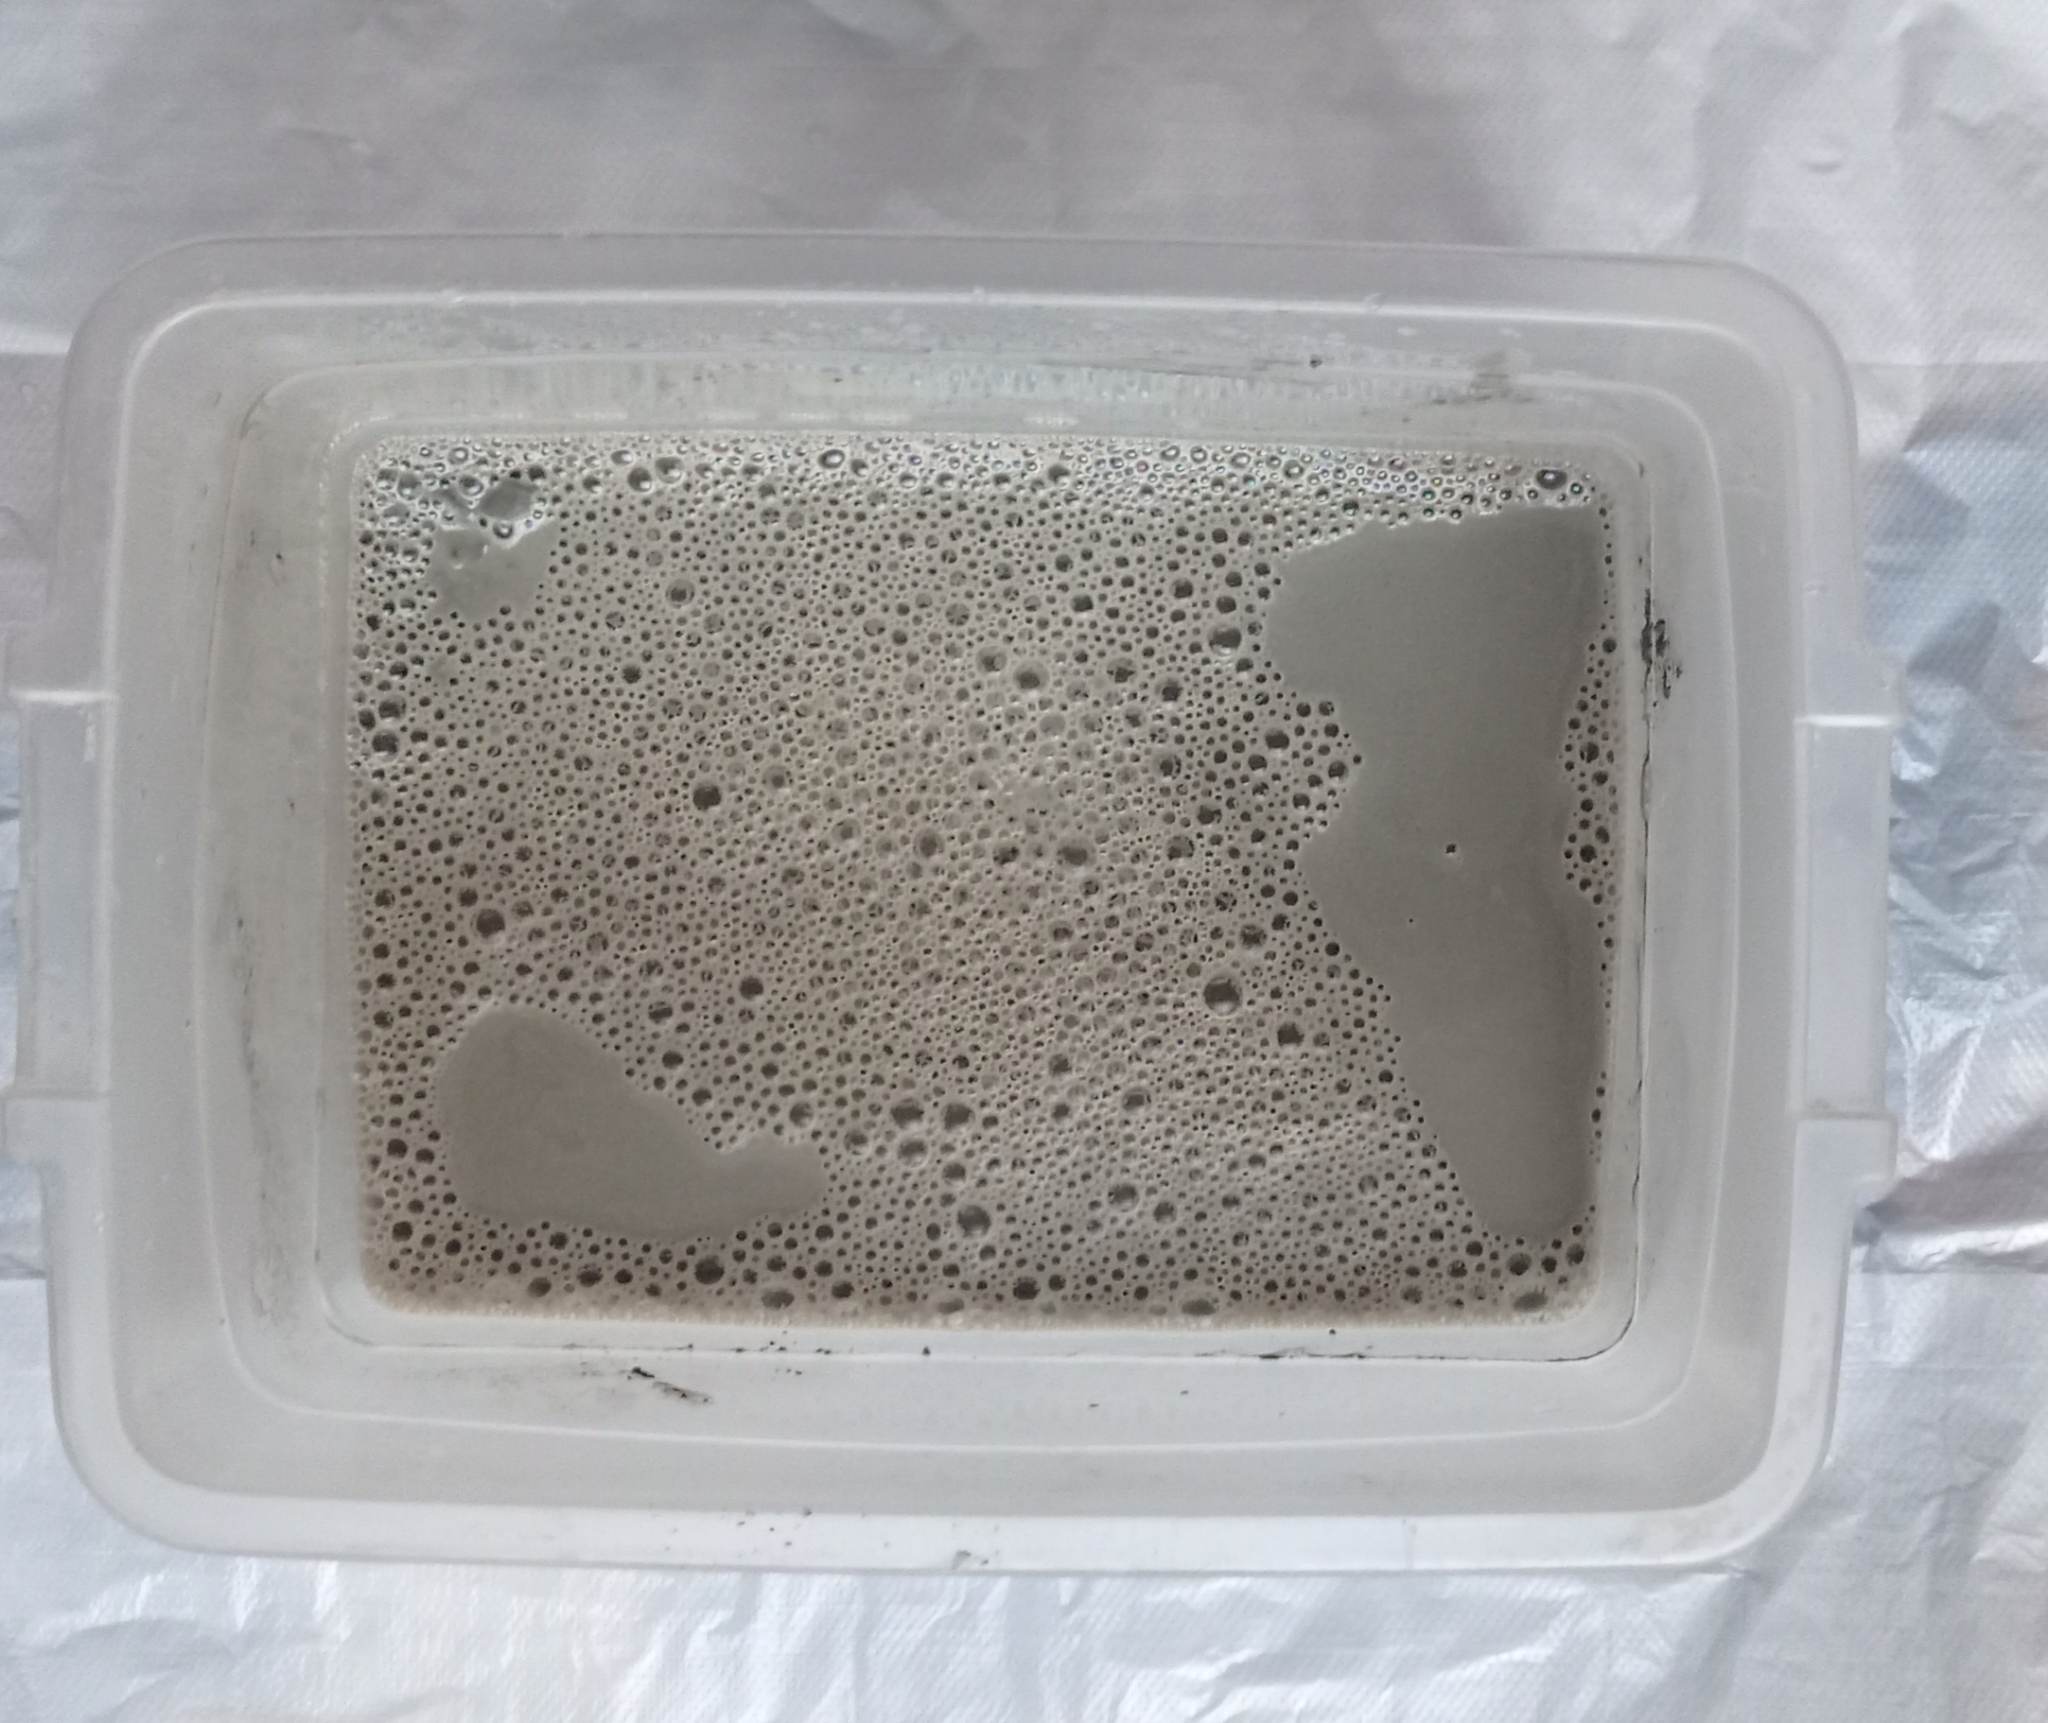
* Prepare the mixture of cement, glue and water.
* Place the fabric in the mixture and soak it well
* Arrange the fabric and let it dry for a few days!
The whole process can be admired below.
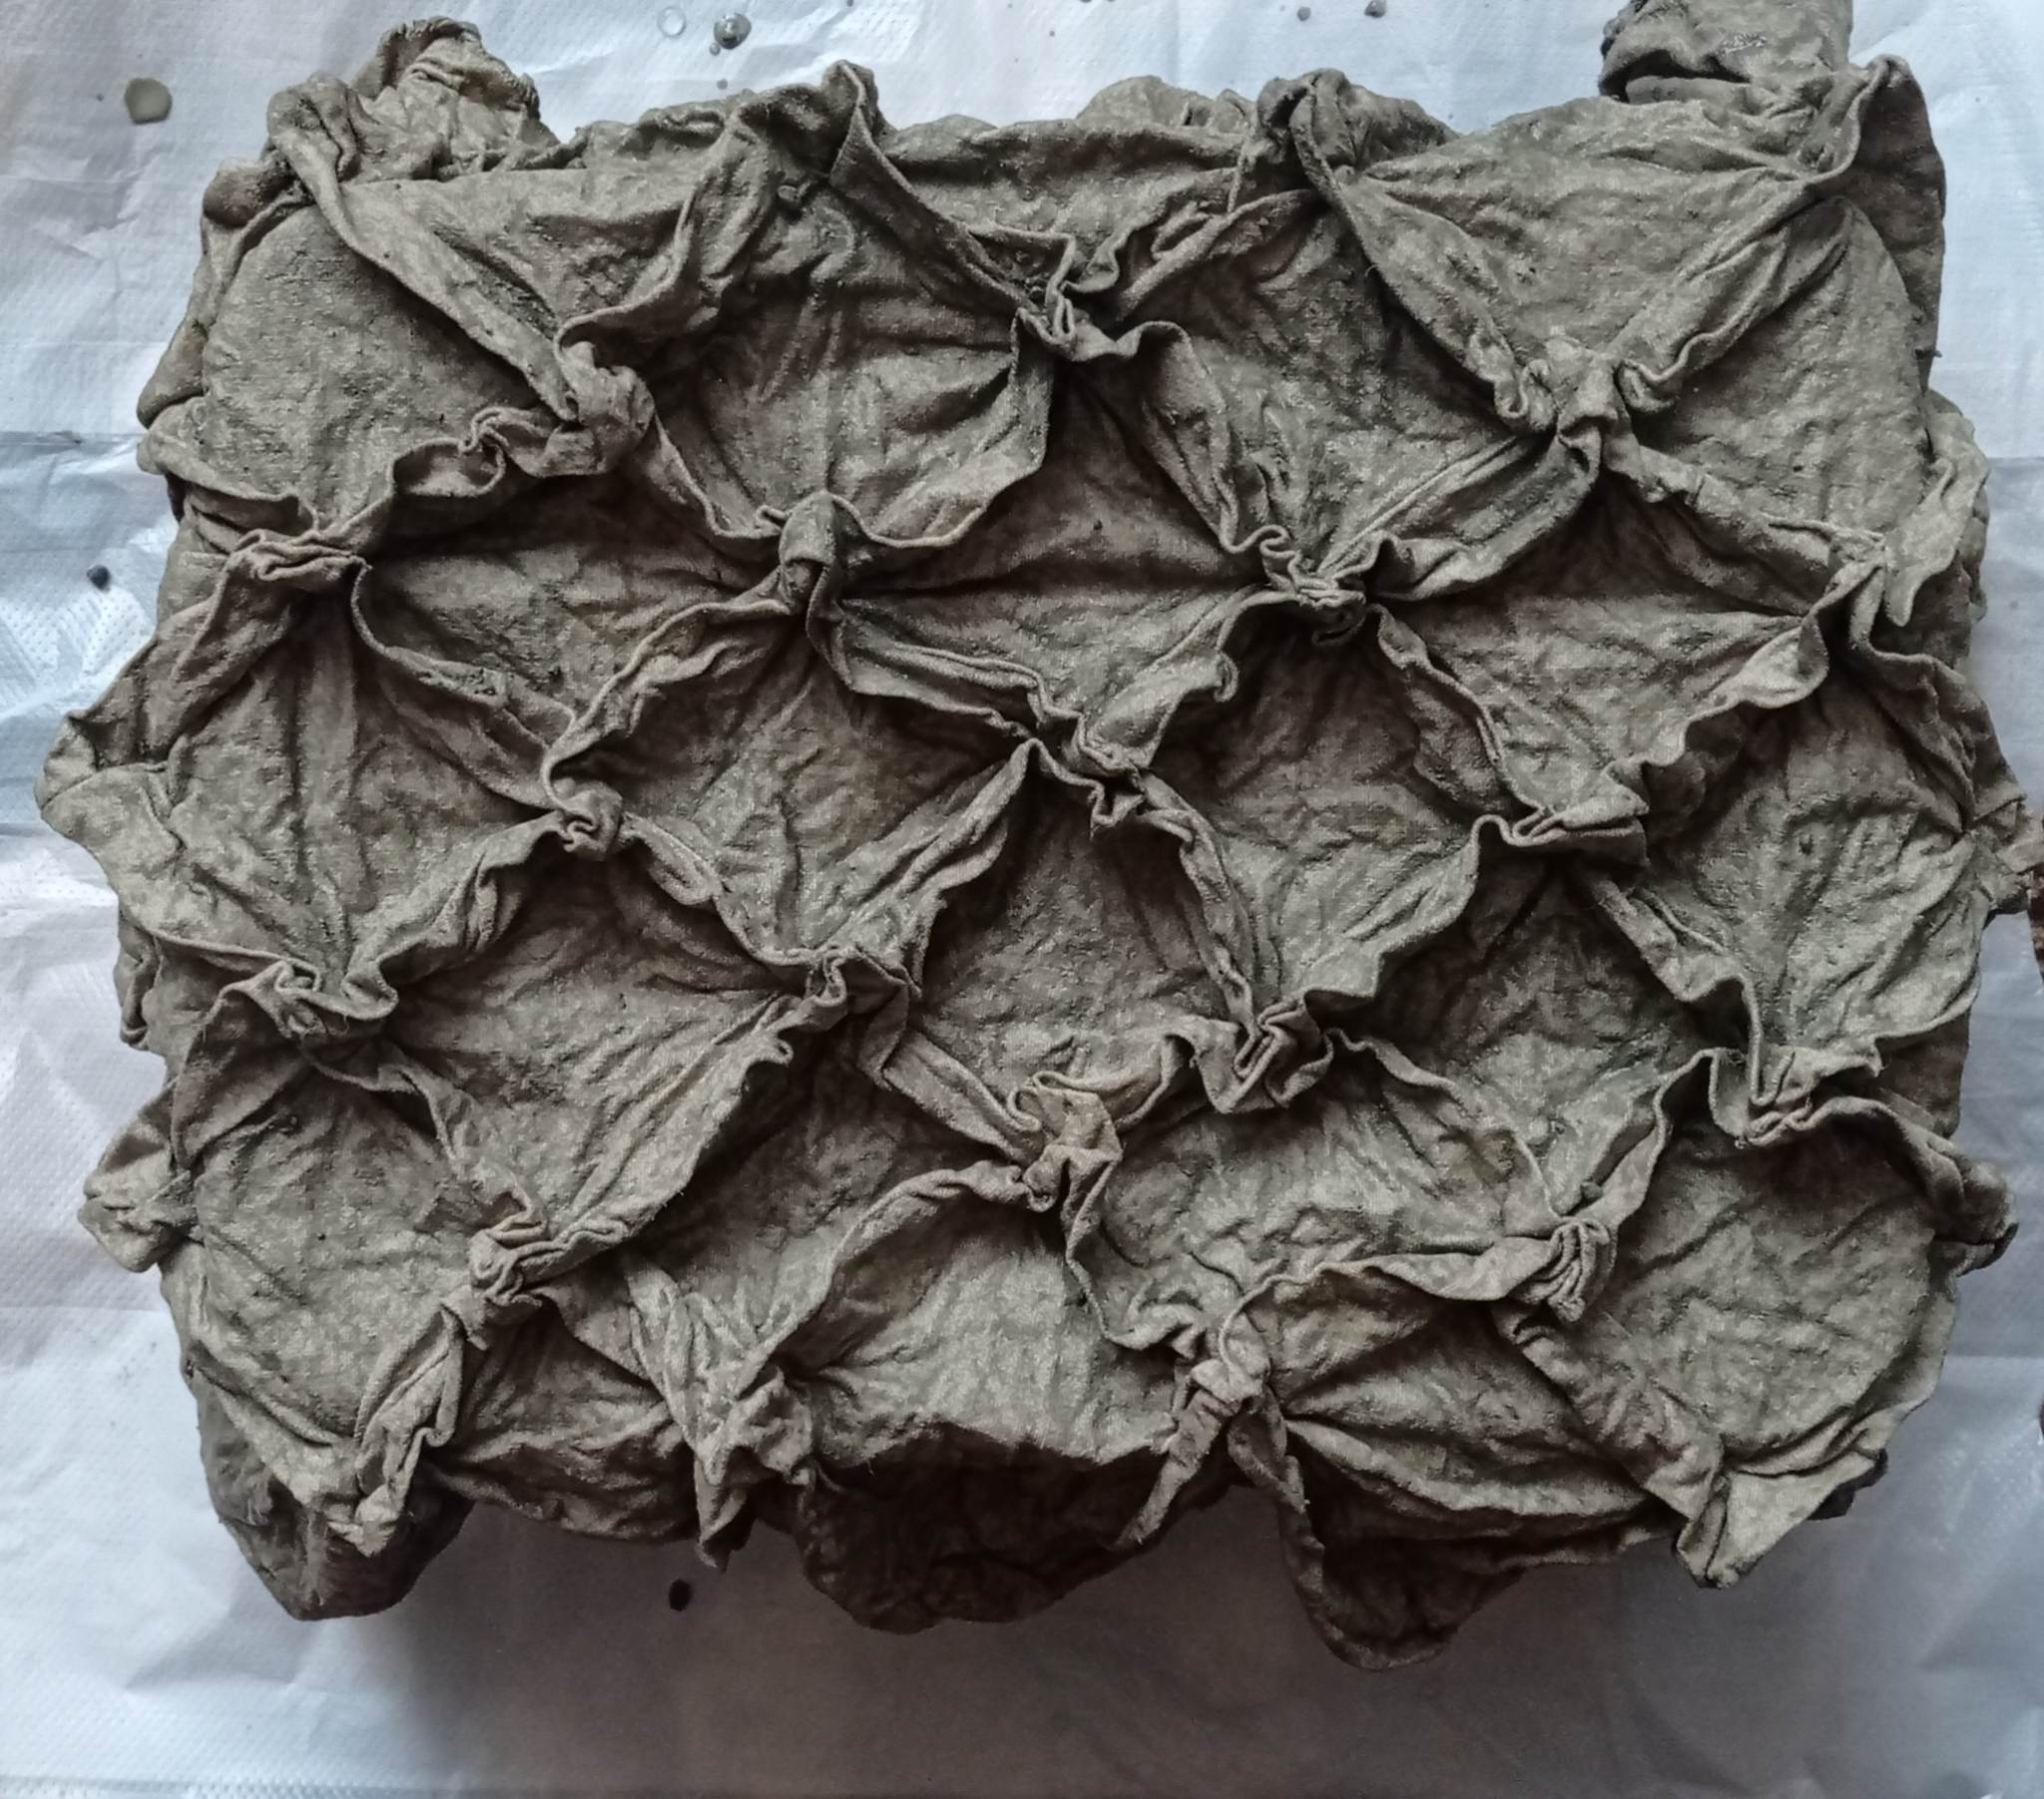
The final result after drying is this.
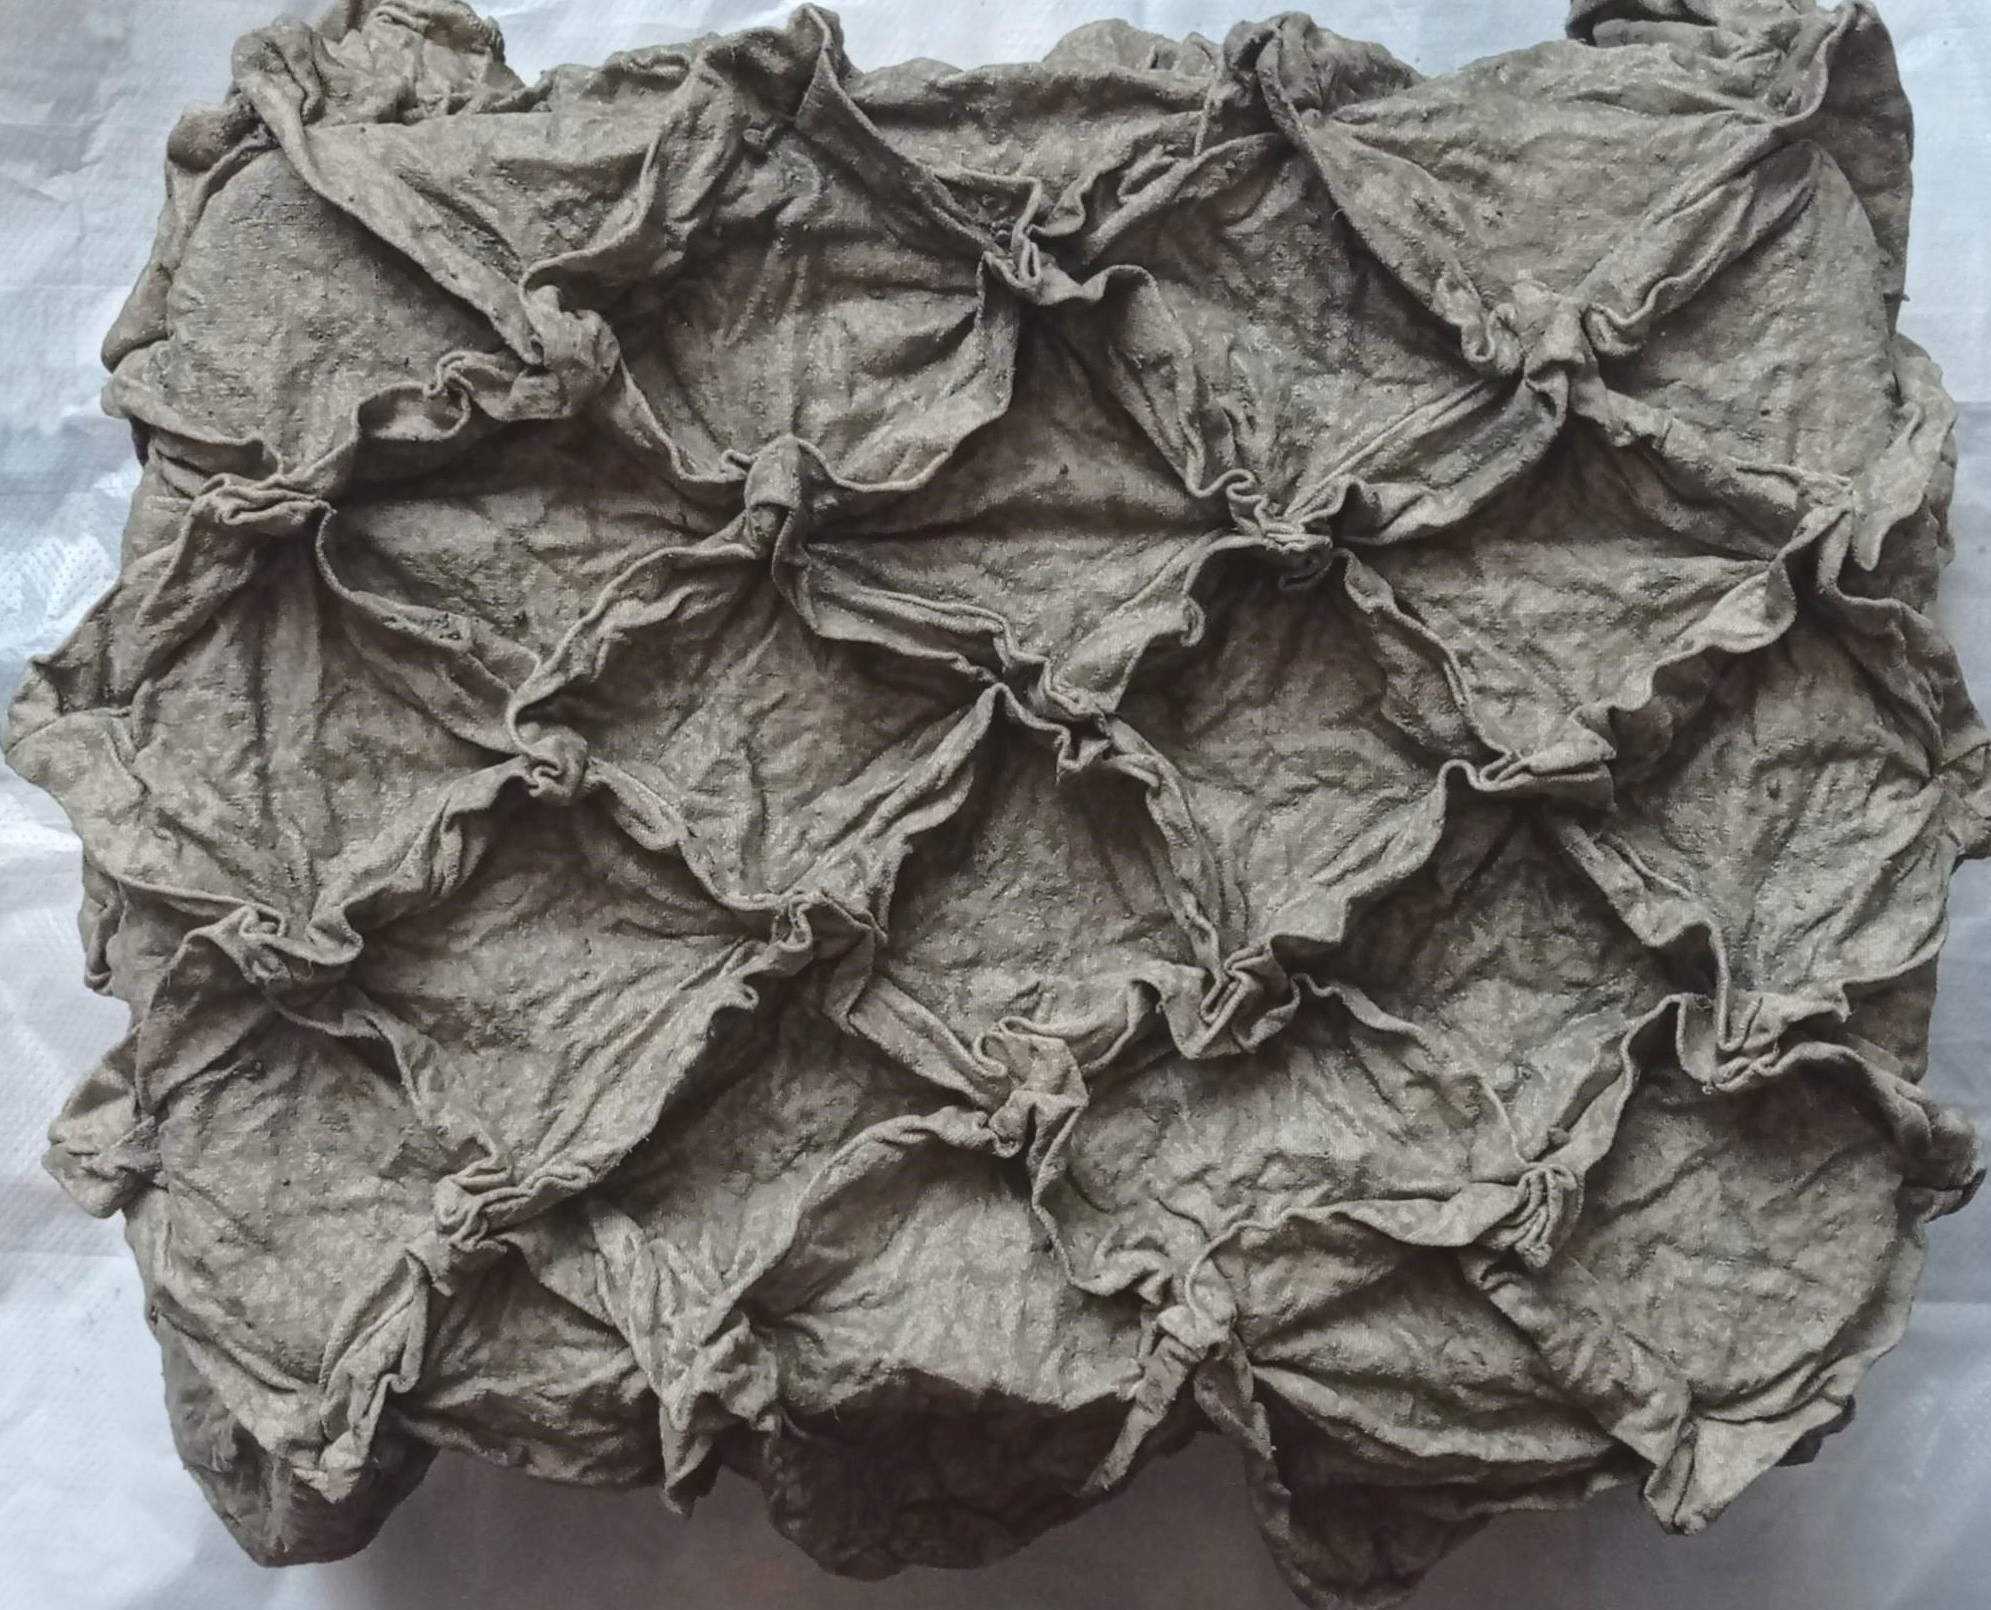
Conclusion: The process is very interesting, but the rigidity obtained in the end depends on the type of fabric. The idea of using thin fabric was not a very good one.
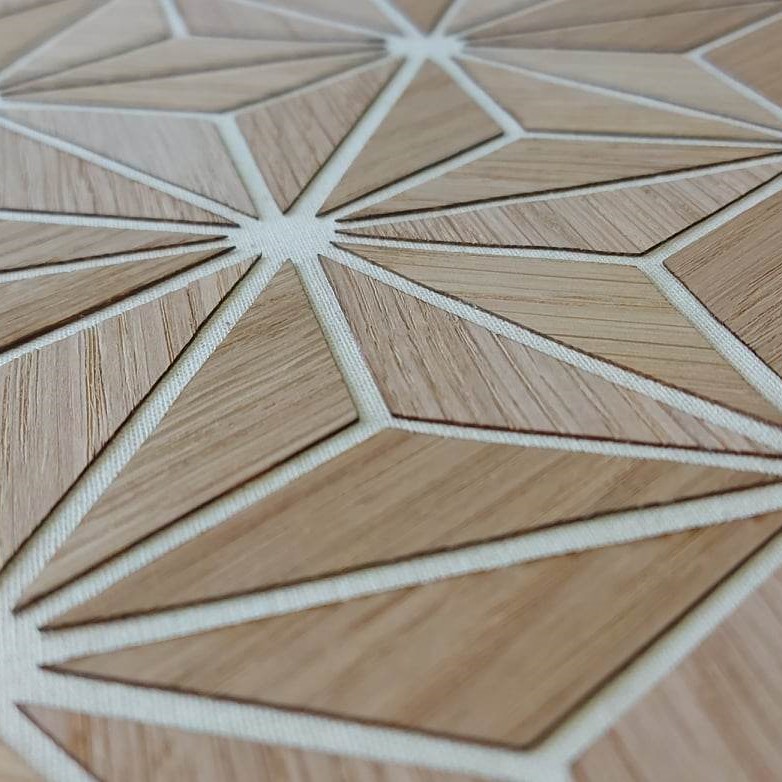
Experiment 3 - Wood+Textile Composite
This is an example made from wood, cut and glued to fabric. I admired him in Fabricademy Bootcamp 2022 GENEVA. It is created by Batoul Al-Rashdan and it was amazing.
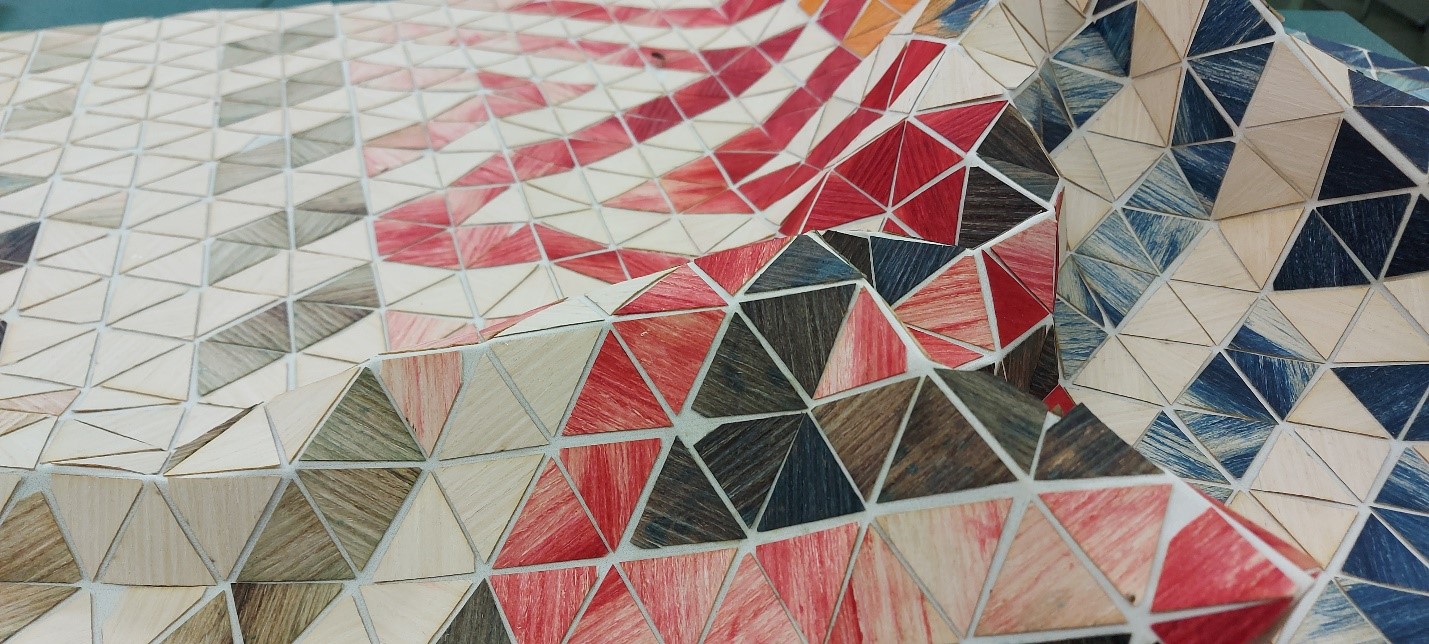
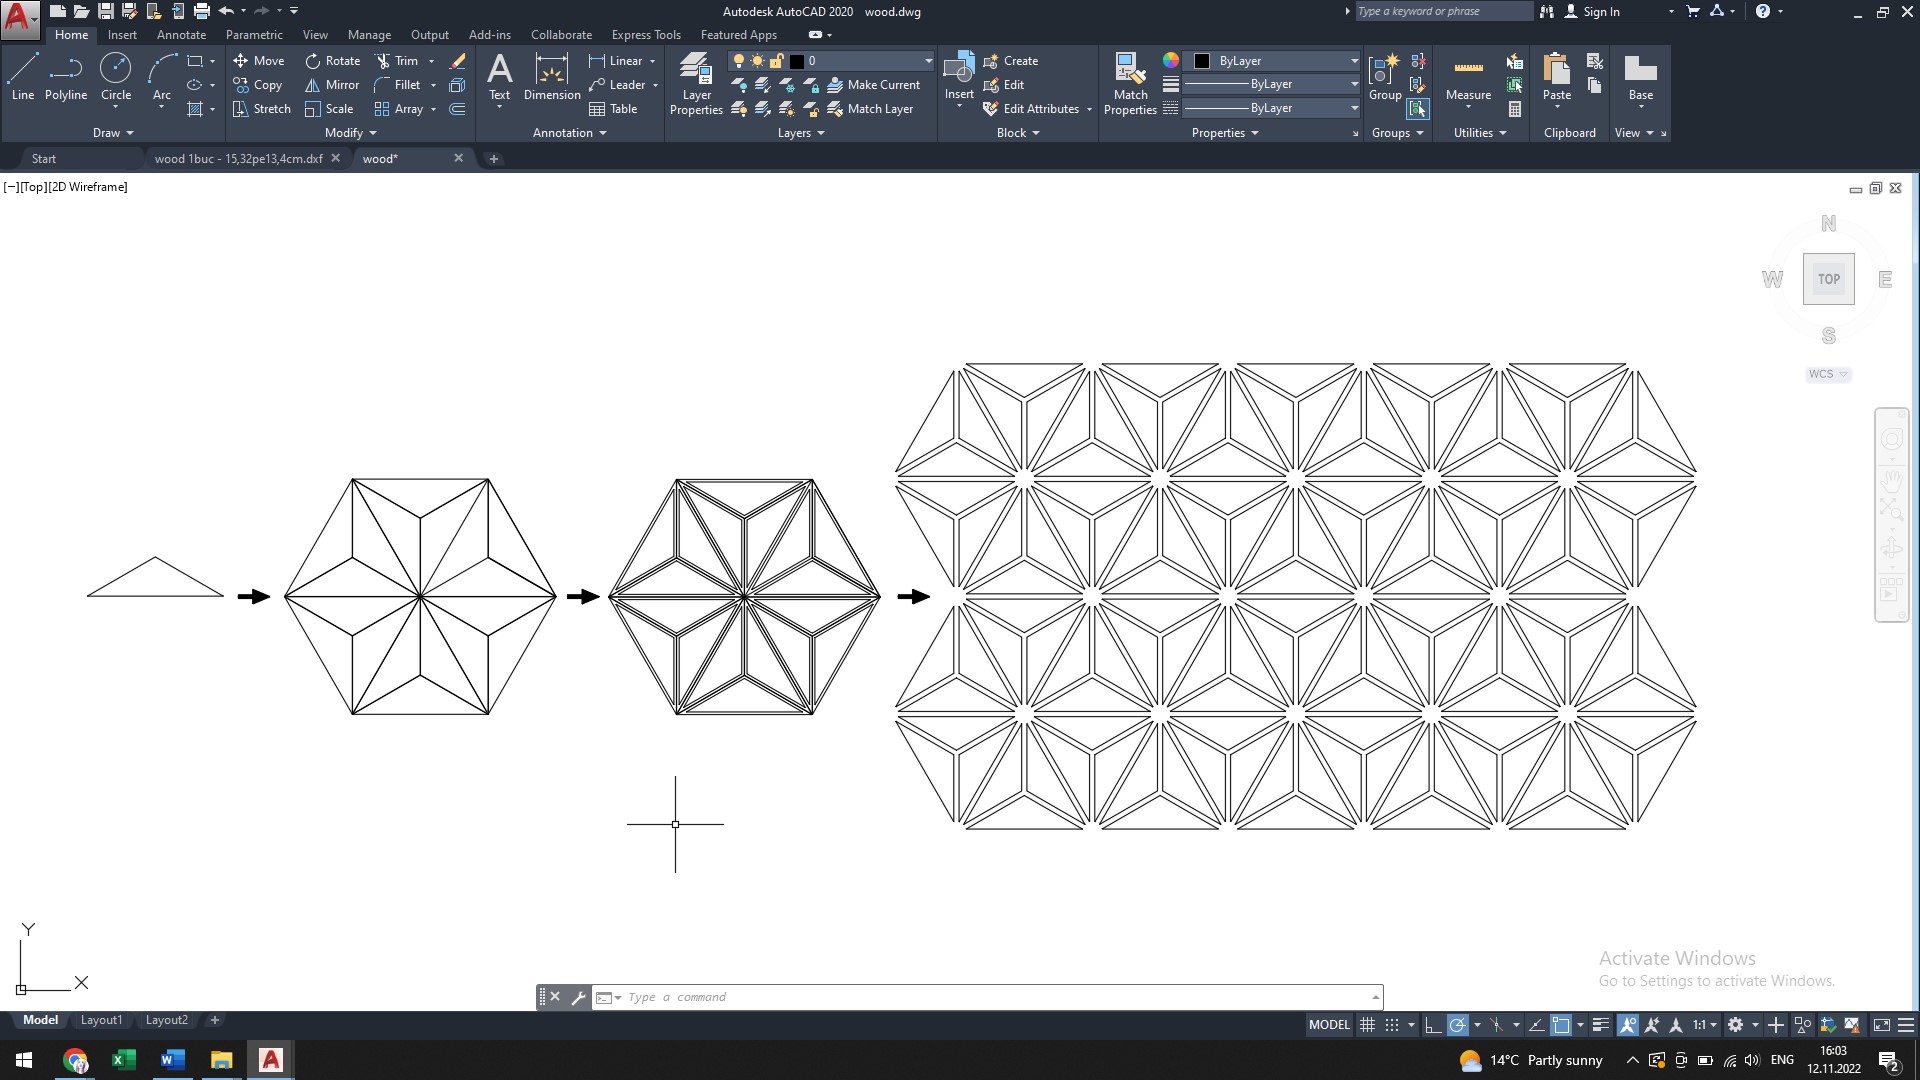
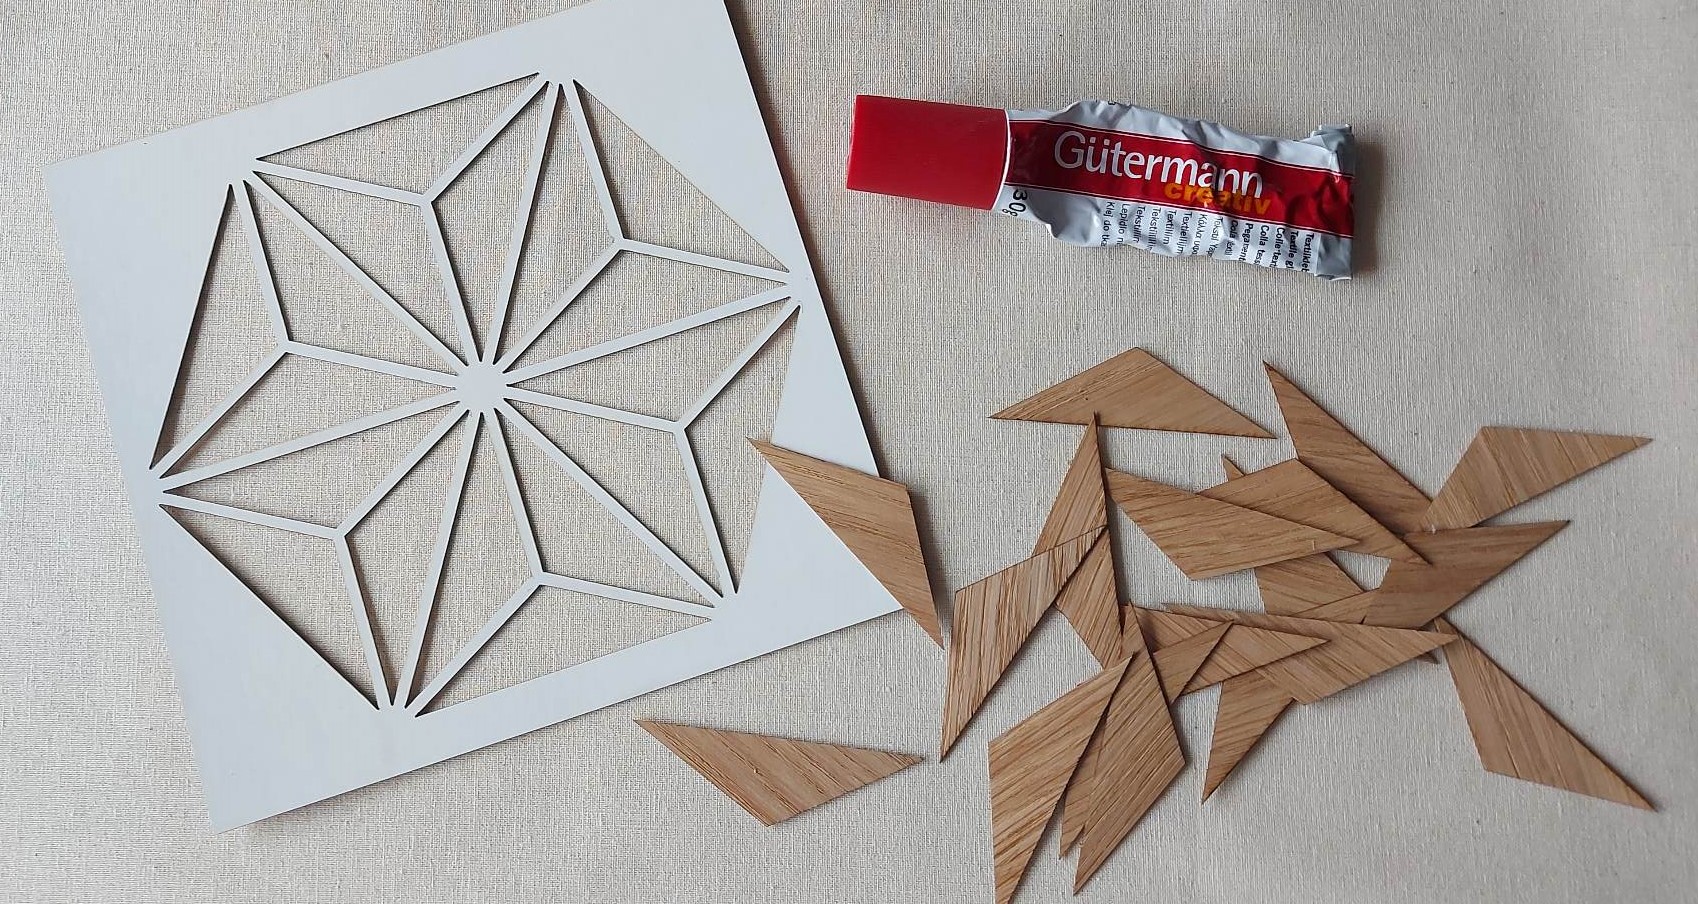
Having experience in using the software, it was not complicated to develop the scheme for realizing such a design. I used the AutoCAD software. Initially, I drew an isosceles triangle with the interior angles of 60/120/60 degrees. Then using the Mirror command I created the initial shape of the star. With the Offset command I created an inner duplicate of each triangle. Then with the Copy tool I multiplied the saddle. With the Erase command I erased the outer contour of each triangle and obtained the necessary design.
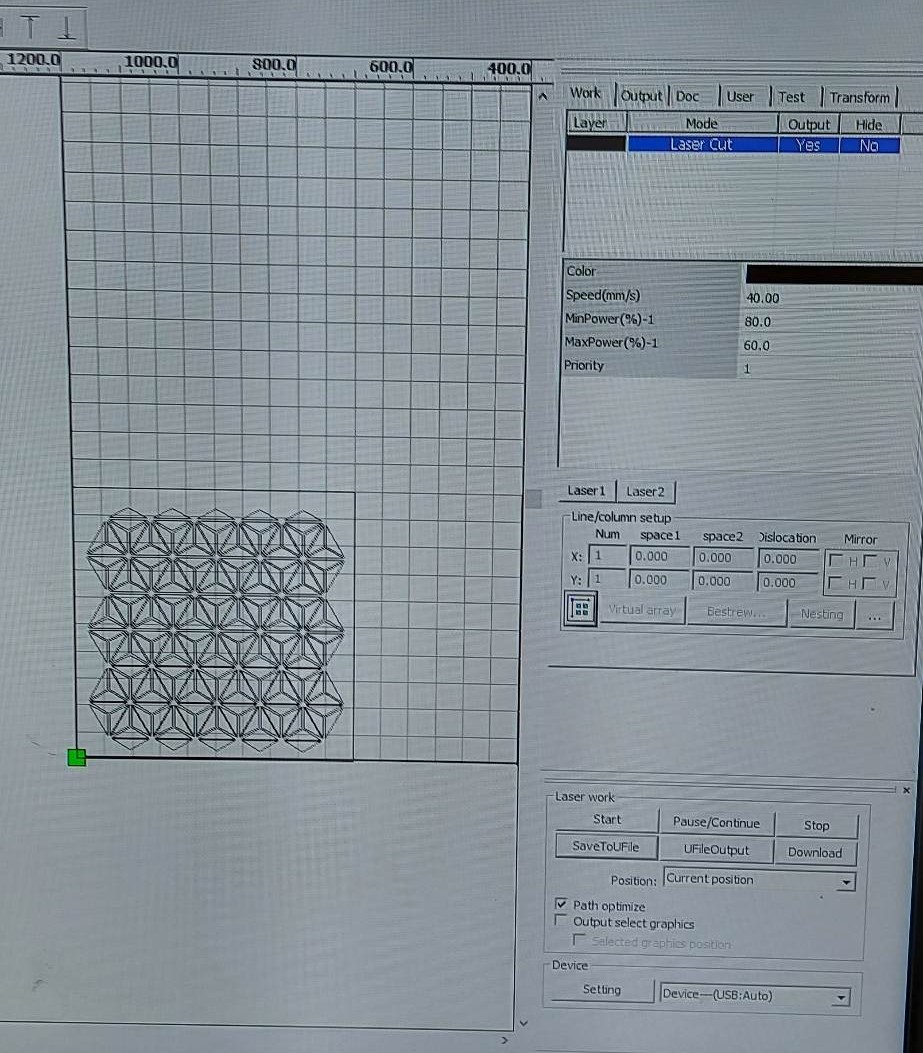
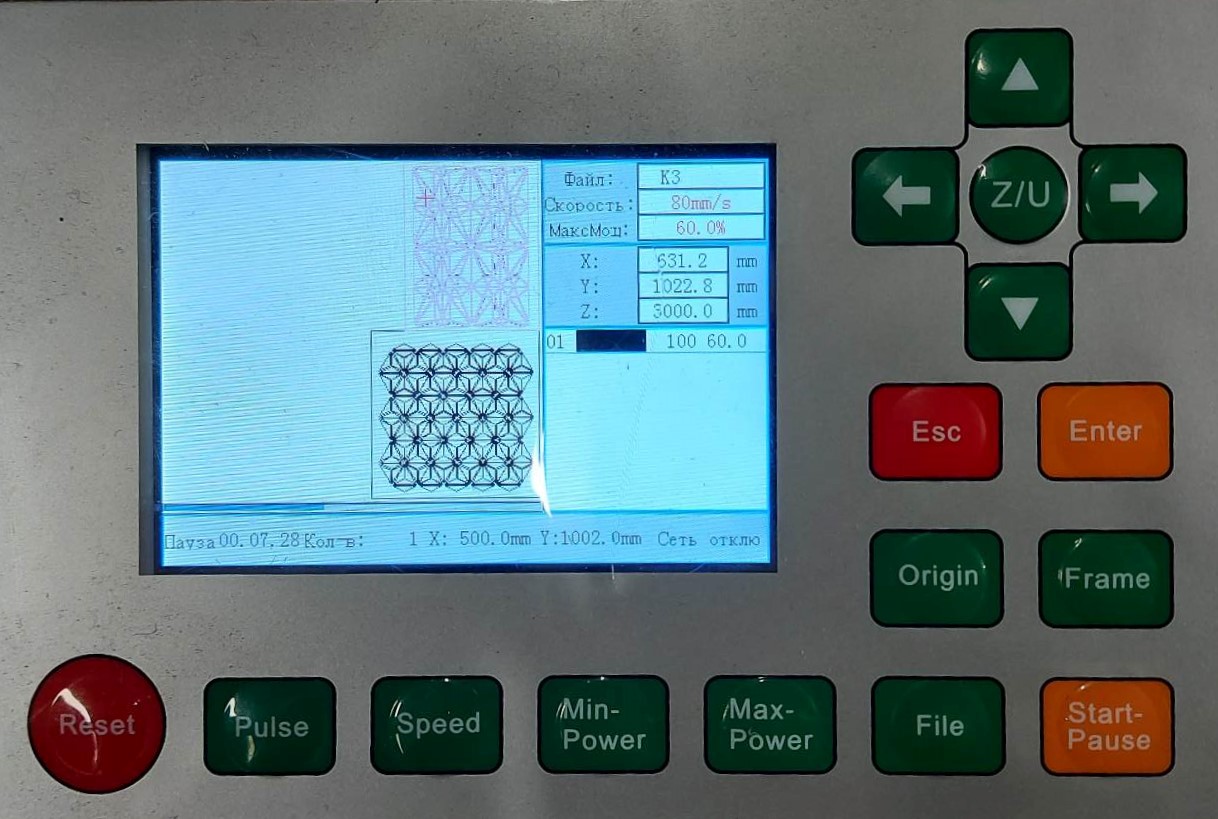
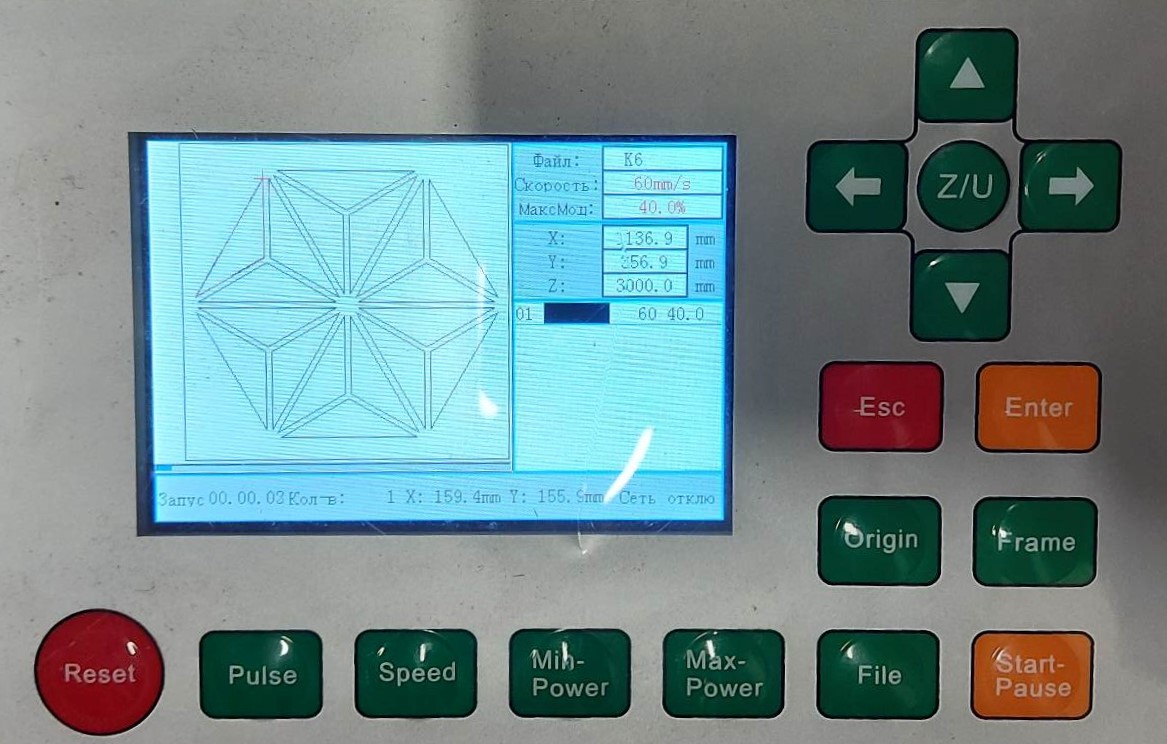
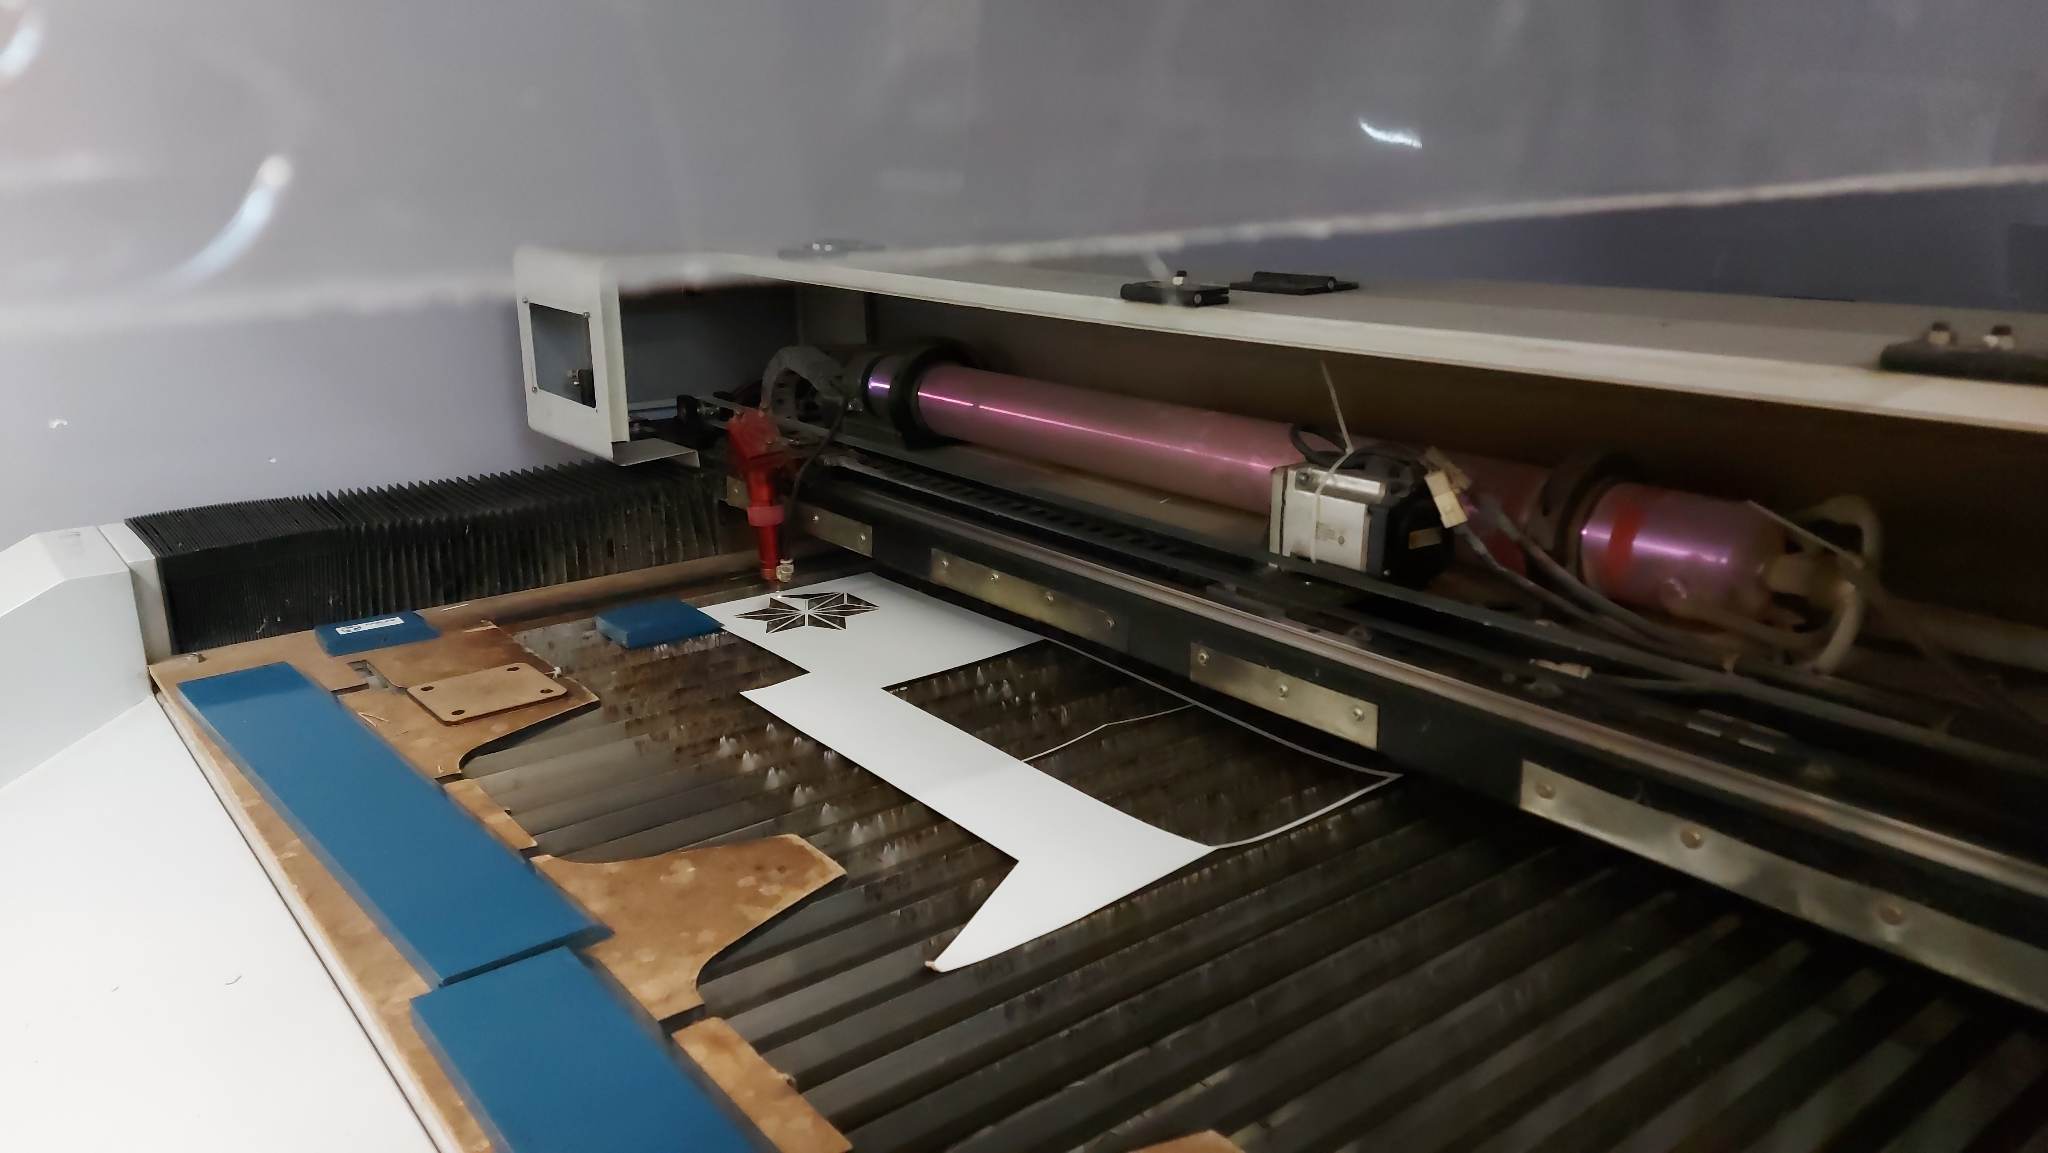
The cutting process was a problematic one. I used the same laser from Fablab. As cutting material I used veneer wood with the thickness of a 0.5 mm. Its dimensions are 100x3000 cm. Veneer wood is a flexible and fragile material.
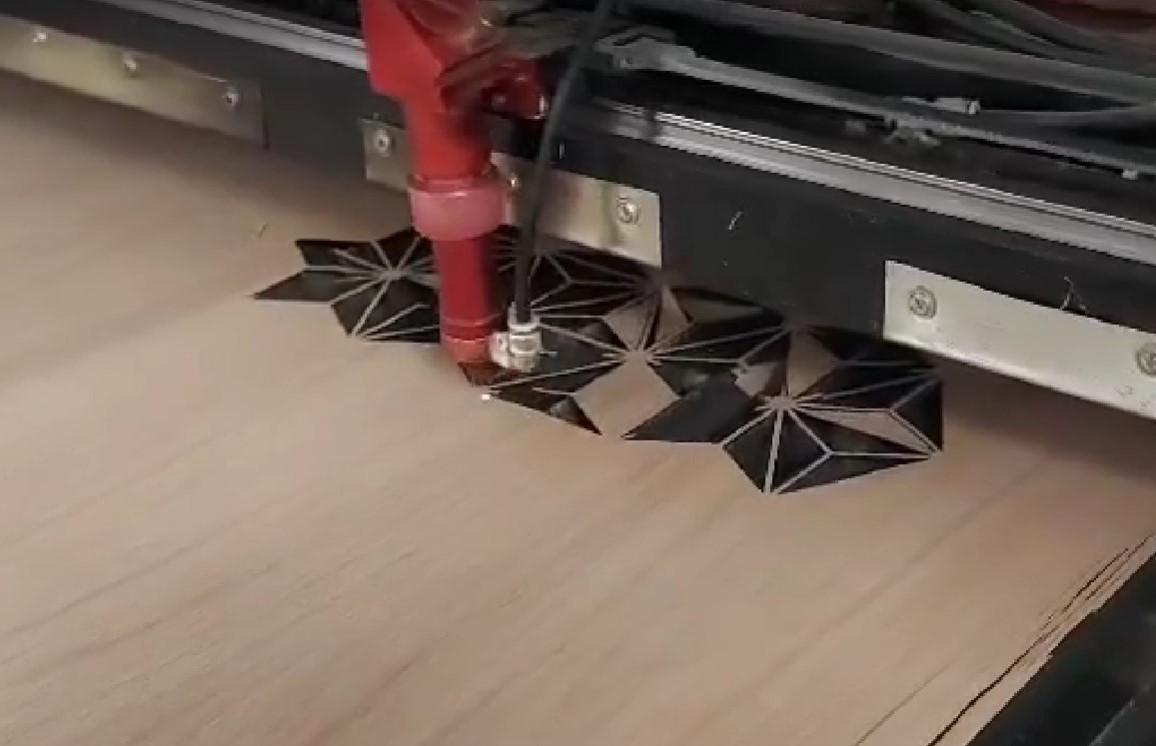
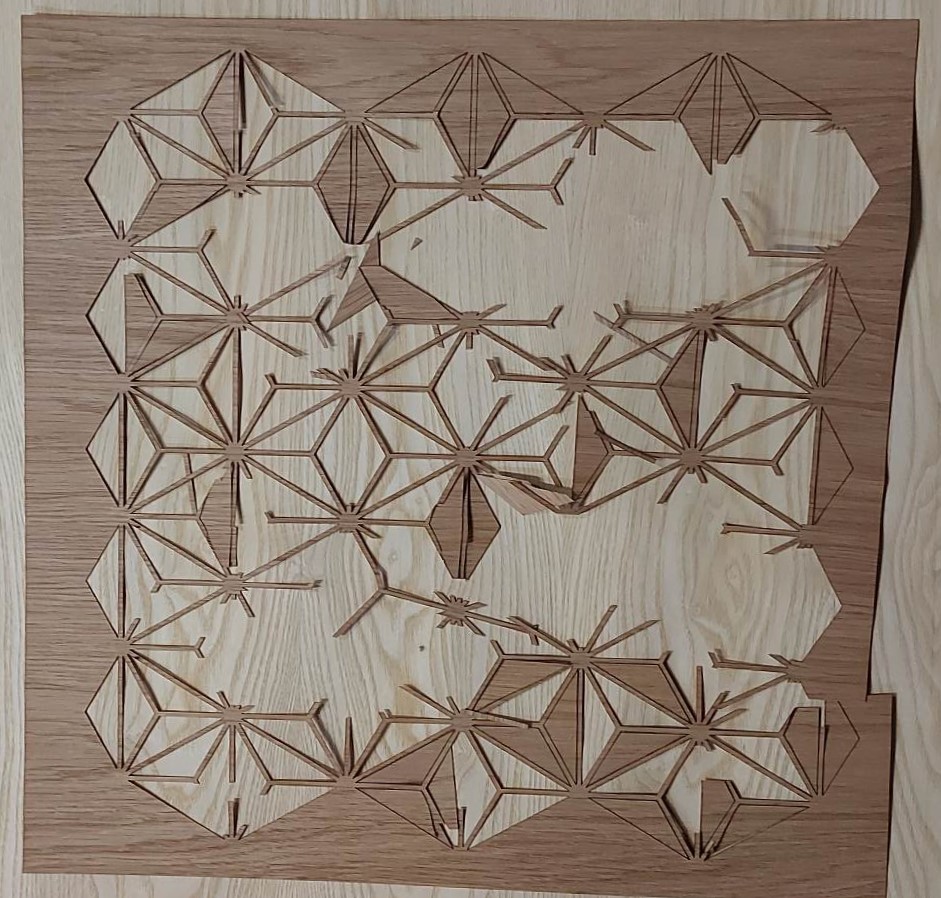
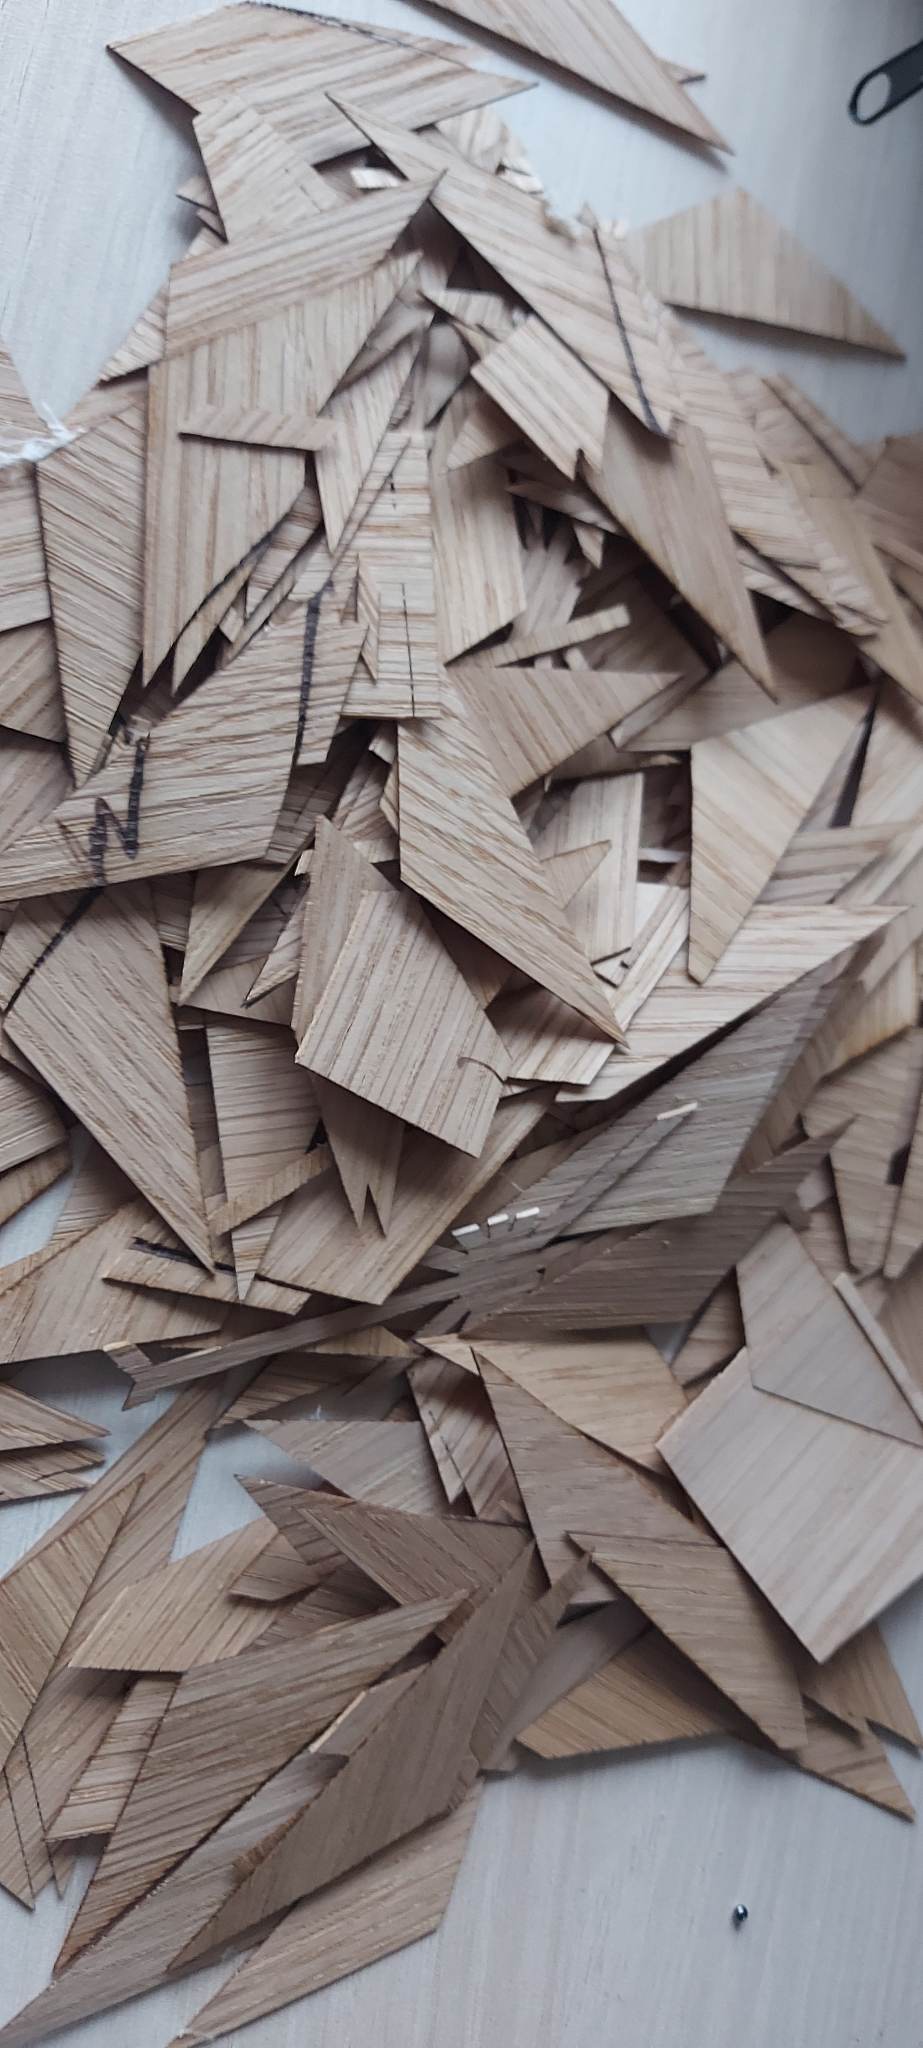
Due to the rigidity of the wood, during cutting, the triangles broke, bent, flew. I got many triangles with defects.
In order to facilitate the gluing process, a template was made for positioning the geometric shapes.
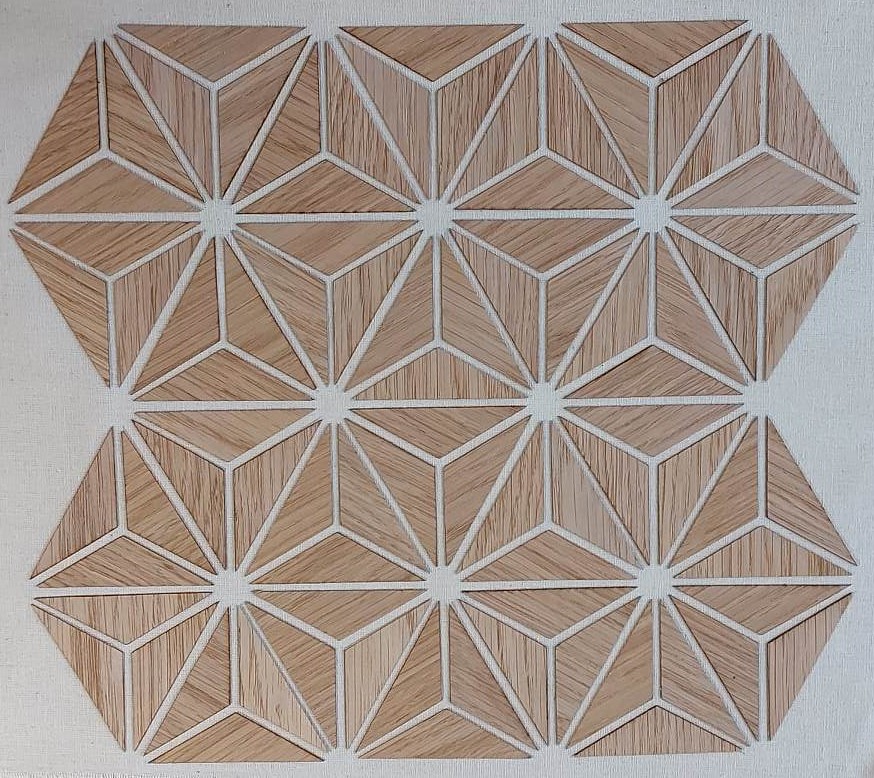
The final result after drying is shown below

Conclusion: This technique requires the use of a thin but stiff wood. This would allow the cutting of smaller elements and the reduction of waste.
Fabrication files
-
File: Wood+Textile Composite¶ ↩