8. Soft robotics
Research
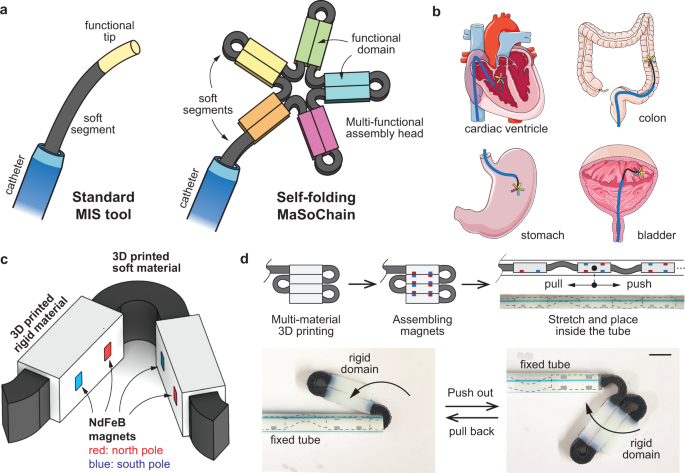
This assignment explores soft-robotic structures inspired by programmable self-folding systems. Soft robotic chains are made from flexible materials combined with actuators that allow the structure to bend, curl, fold, twist, and reconfigure depending on the task.
Instead of using rigid mechanical joints, these systems rely on:
pneumatic air chambers
heat-activated folds
elastic deformation
shape-memory or programmable material behavior
The advantage of soft robotic chains is that their movement is organic, adaptable, and safe for interaction with the human body. This makes them suitable for medical wearables, assistive devices, bio-inspired motion studies, and responsive textiles.
The core concept in this research is programmable self-folding — where geometry + material + actuation work together to create intentional deformation.
These mechanisms enable:
bending segments
curling motions
gripping actions
locomotion / crawling
environmental response
Soft robotic chains demonstrate how a single system can transform into multiple shapes and functions depending on programmed inputs.
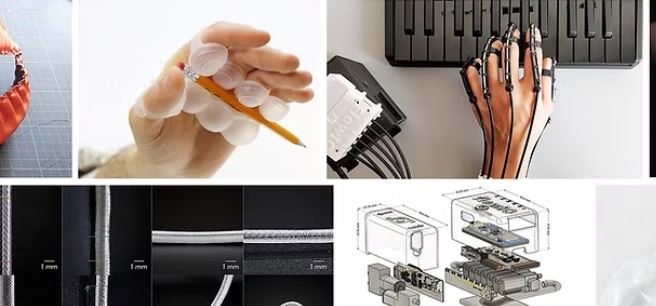
References & Inspiration
.Soft actuators and bending mechanisms
.Origami-inspired robotics
.Silicone-based pneumatics
.Modular robotic chains
These ideas help guide the design process and the prototypes developed in this assignment."

Tools
Arduino UNO
Arduino IDE
Silicone molds layered sheet
Air pump / syringe
Tubing and connectors
heat press
Cutting tools or laser cutting
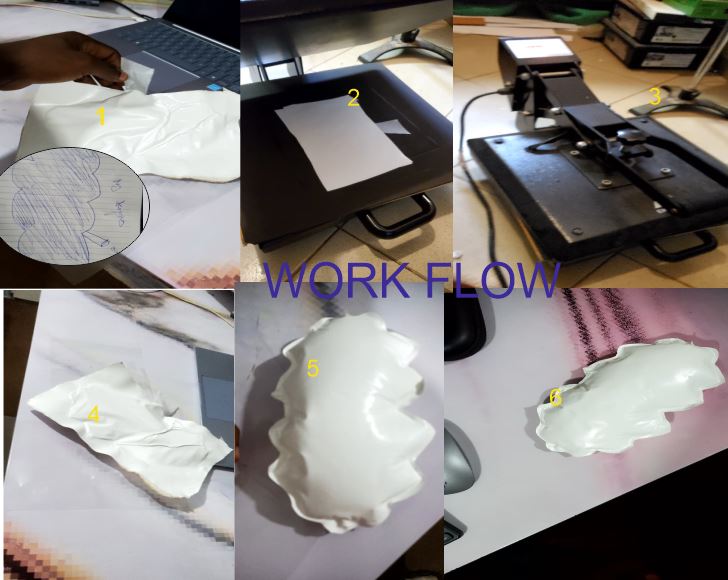
Process and workflow
For my first experiment, I wanted to see how air could create movement in a flat material. I used thermal vinyl sheets and baking paper to make an inflatable shape using the heat press. By sealing the edges and leaving a small air inlet, I created an air chamber that expands when inflated.
This experiment helped me understand:
how sealing patterns control movement
which parts inflate more or less
how flat sheets can transform into 3D forms
the relationship between air pressure and bending
The inflatable structure showed clear soft-robotic behavior: when air was introduced, the material bent and curved rather than expanding uniformly. This confirmed that flat materials can be programmed to move simply through geometry + heat-sealed seams + air pressure.
Step 1 — First Inflatable Model
This model was obtained by sealing two layers of thermal vinyl together using baking paper to protect the surfaces in the heat press. I intentionally designed void lines and sealed areas so that only specific parts inflated.
Process summary:
I cut the vinyl into the desired shape
Placed baking paper on both sides
Heat-pressed the edges to seal the material
Left an air inlet opening
Inflated the piece using air
Result
the material curved and lifted
movement changed depending on seam pattern
air pressure could be manually controlled
This experiment forms the base for developing pneumatic soft-robotic elements.
SECOND METHODES
Design
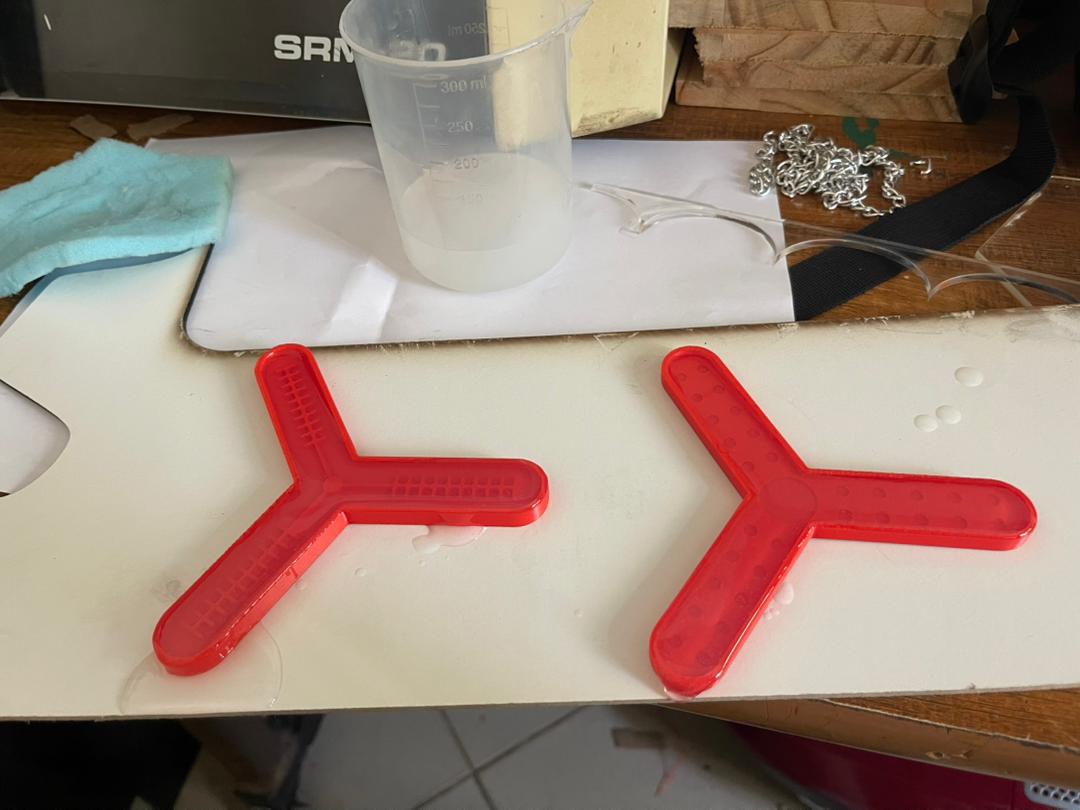
The first step was to create molds for casting the silicone. I designed two molds of the same outer size, but with different internal partition patterns. This was done to compare how the shape and movement change during inflation depending on the internal geometry To start this project,in blender and once the design was completed, I printed a mold in 3D with PLA
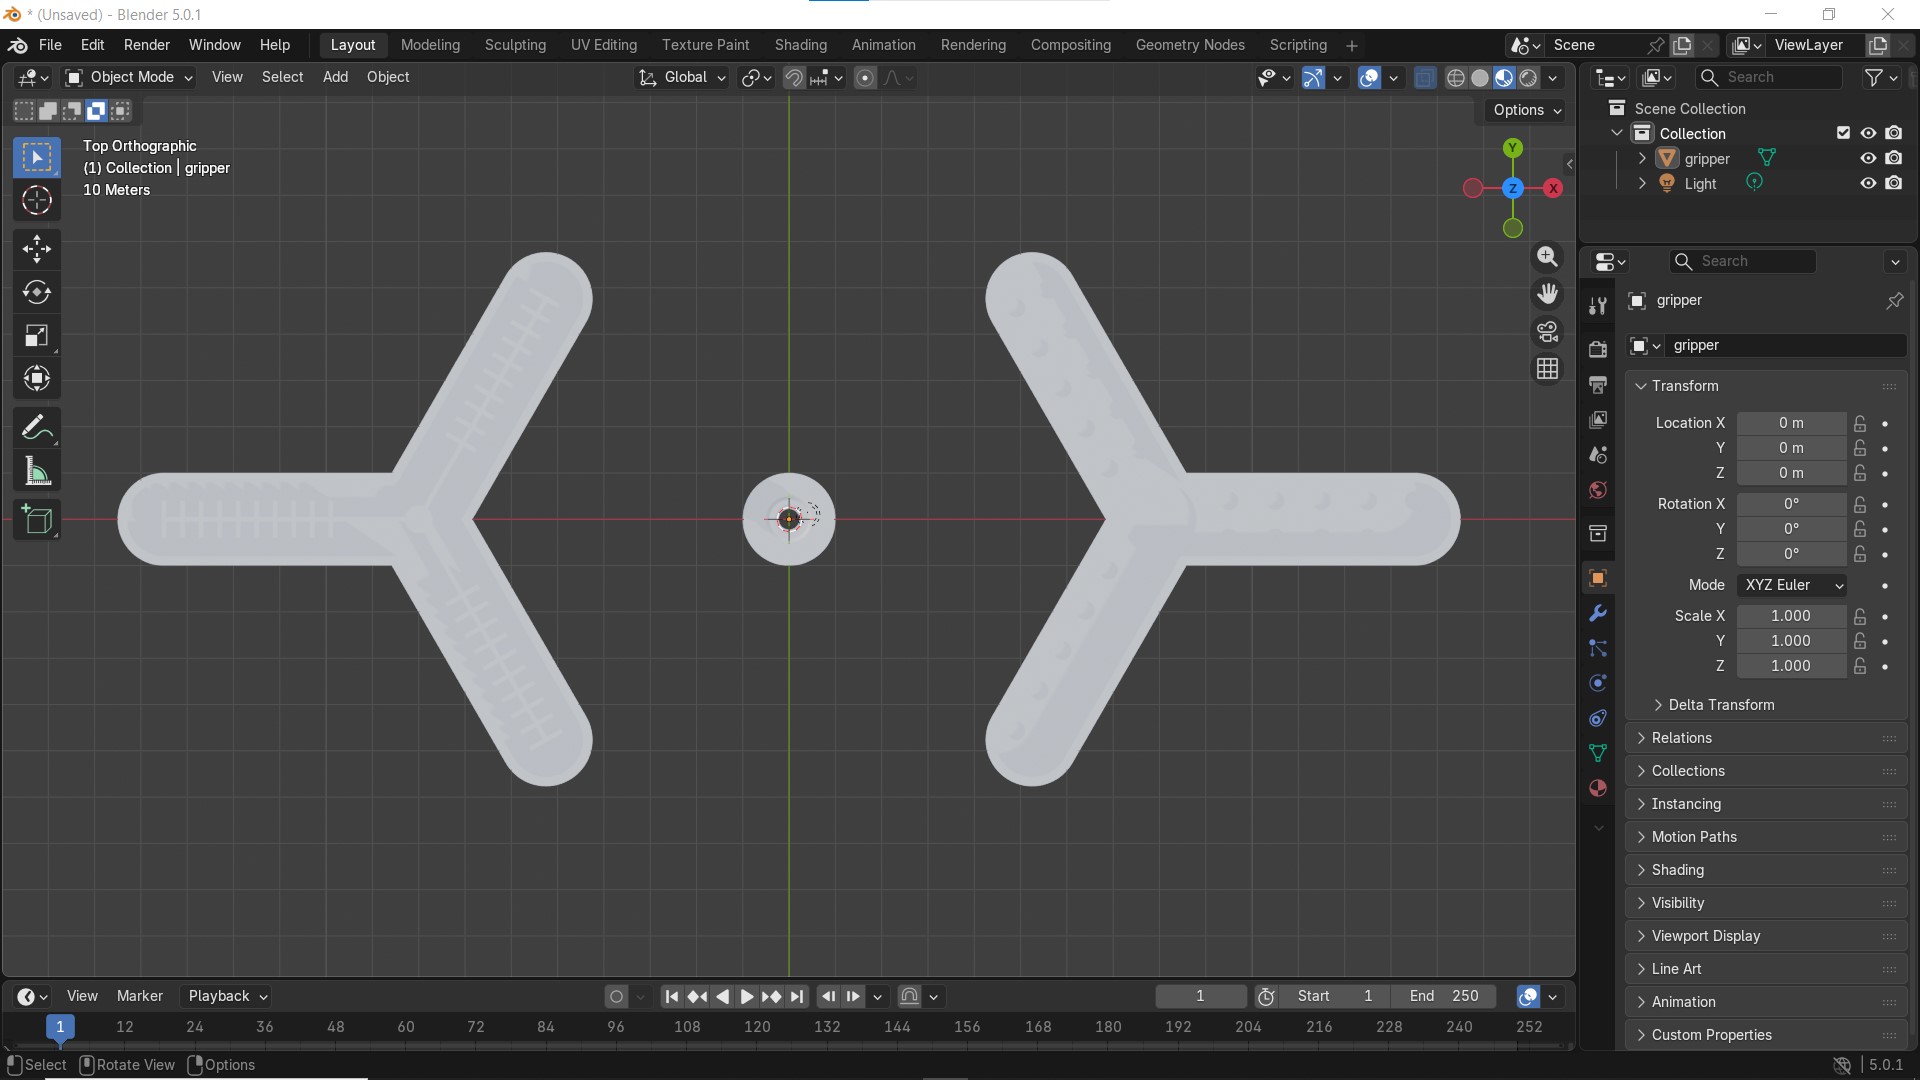
3D Printing Process
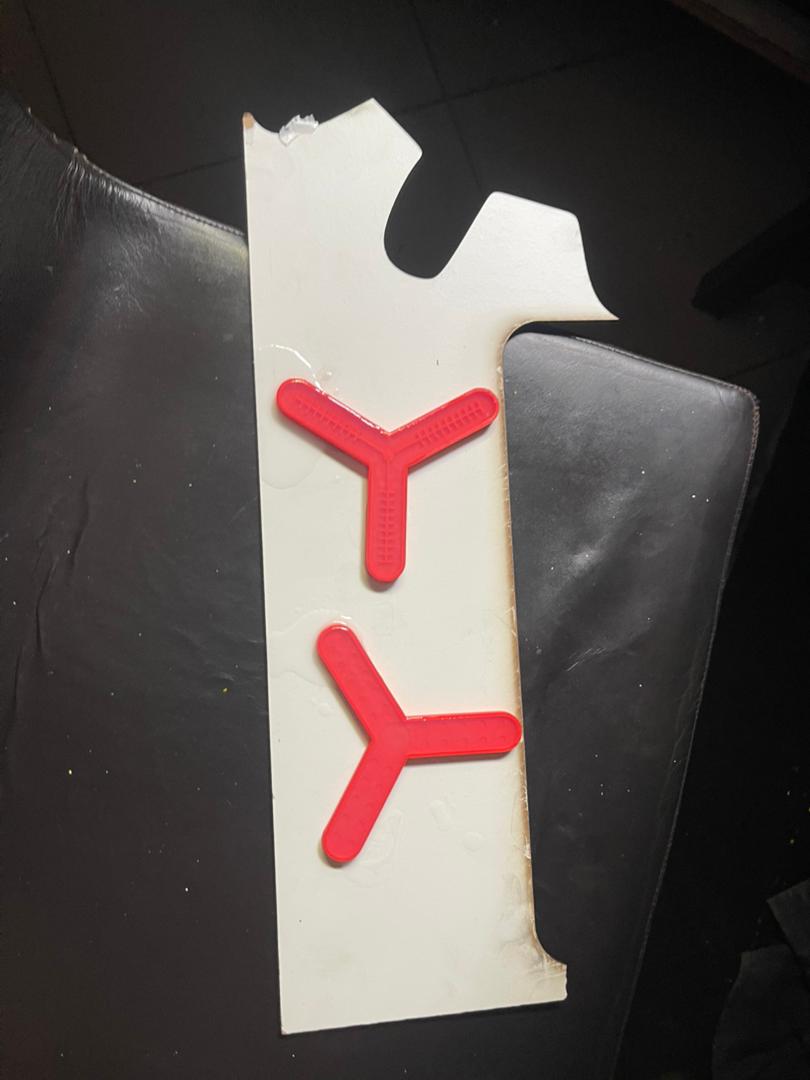
🔹 Step 1: Design
I designed a Y-shaped mold for a soft robotic actuator. I included internal channels that will allow air to pass and create movement.
🔹 Step 2: Slicing
I exported the design as an STL file and prepared it using Cura.
I set:
Layer height Infill pattern Printing speed
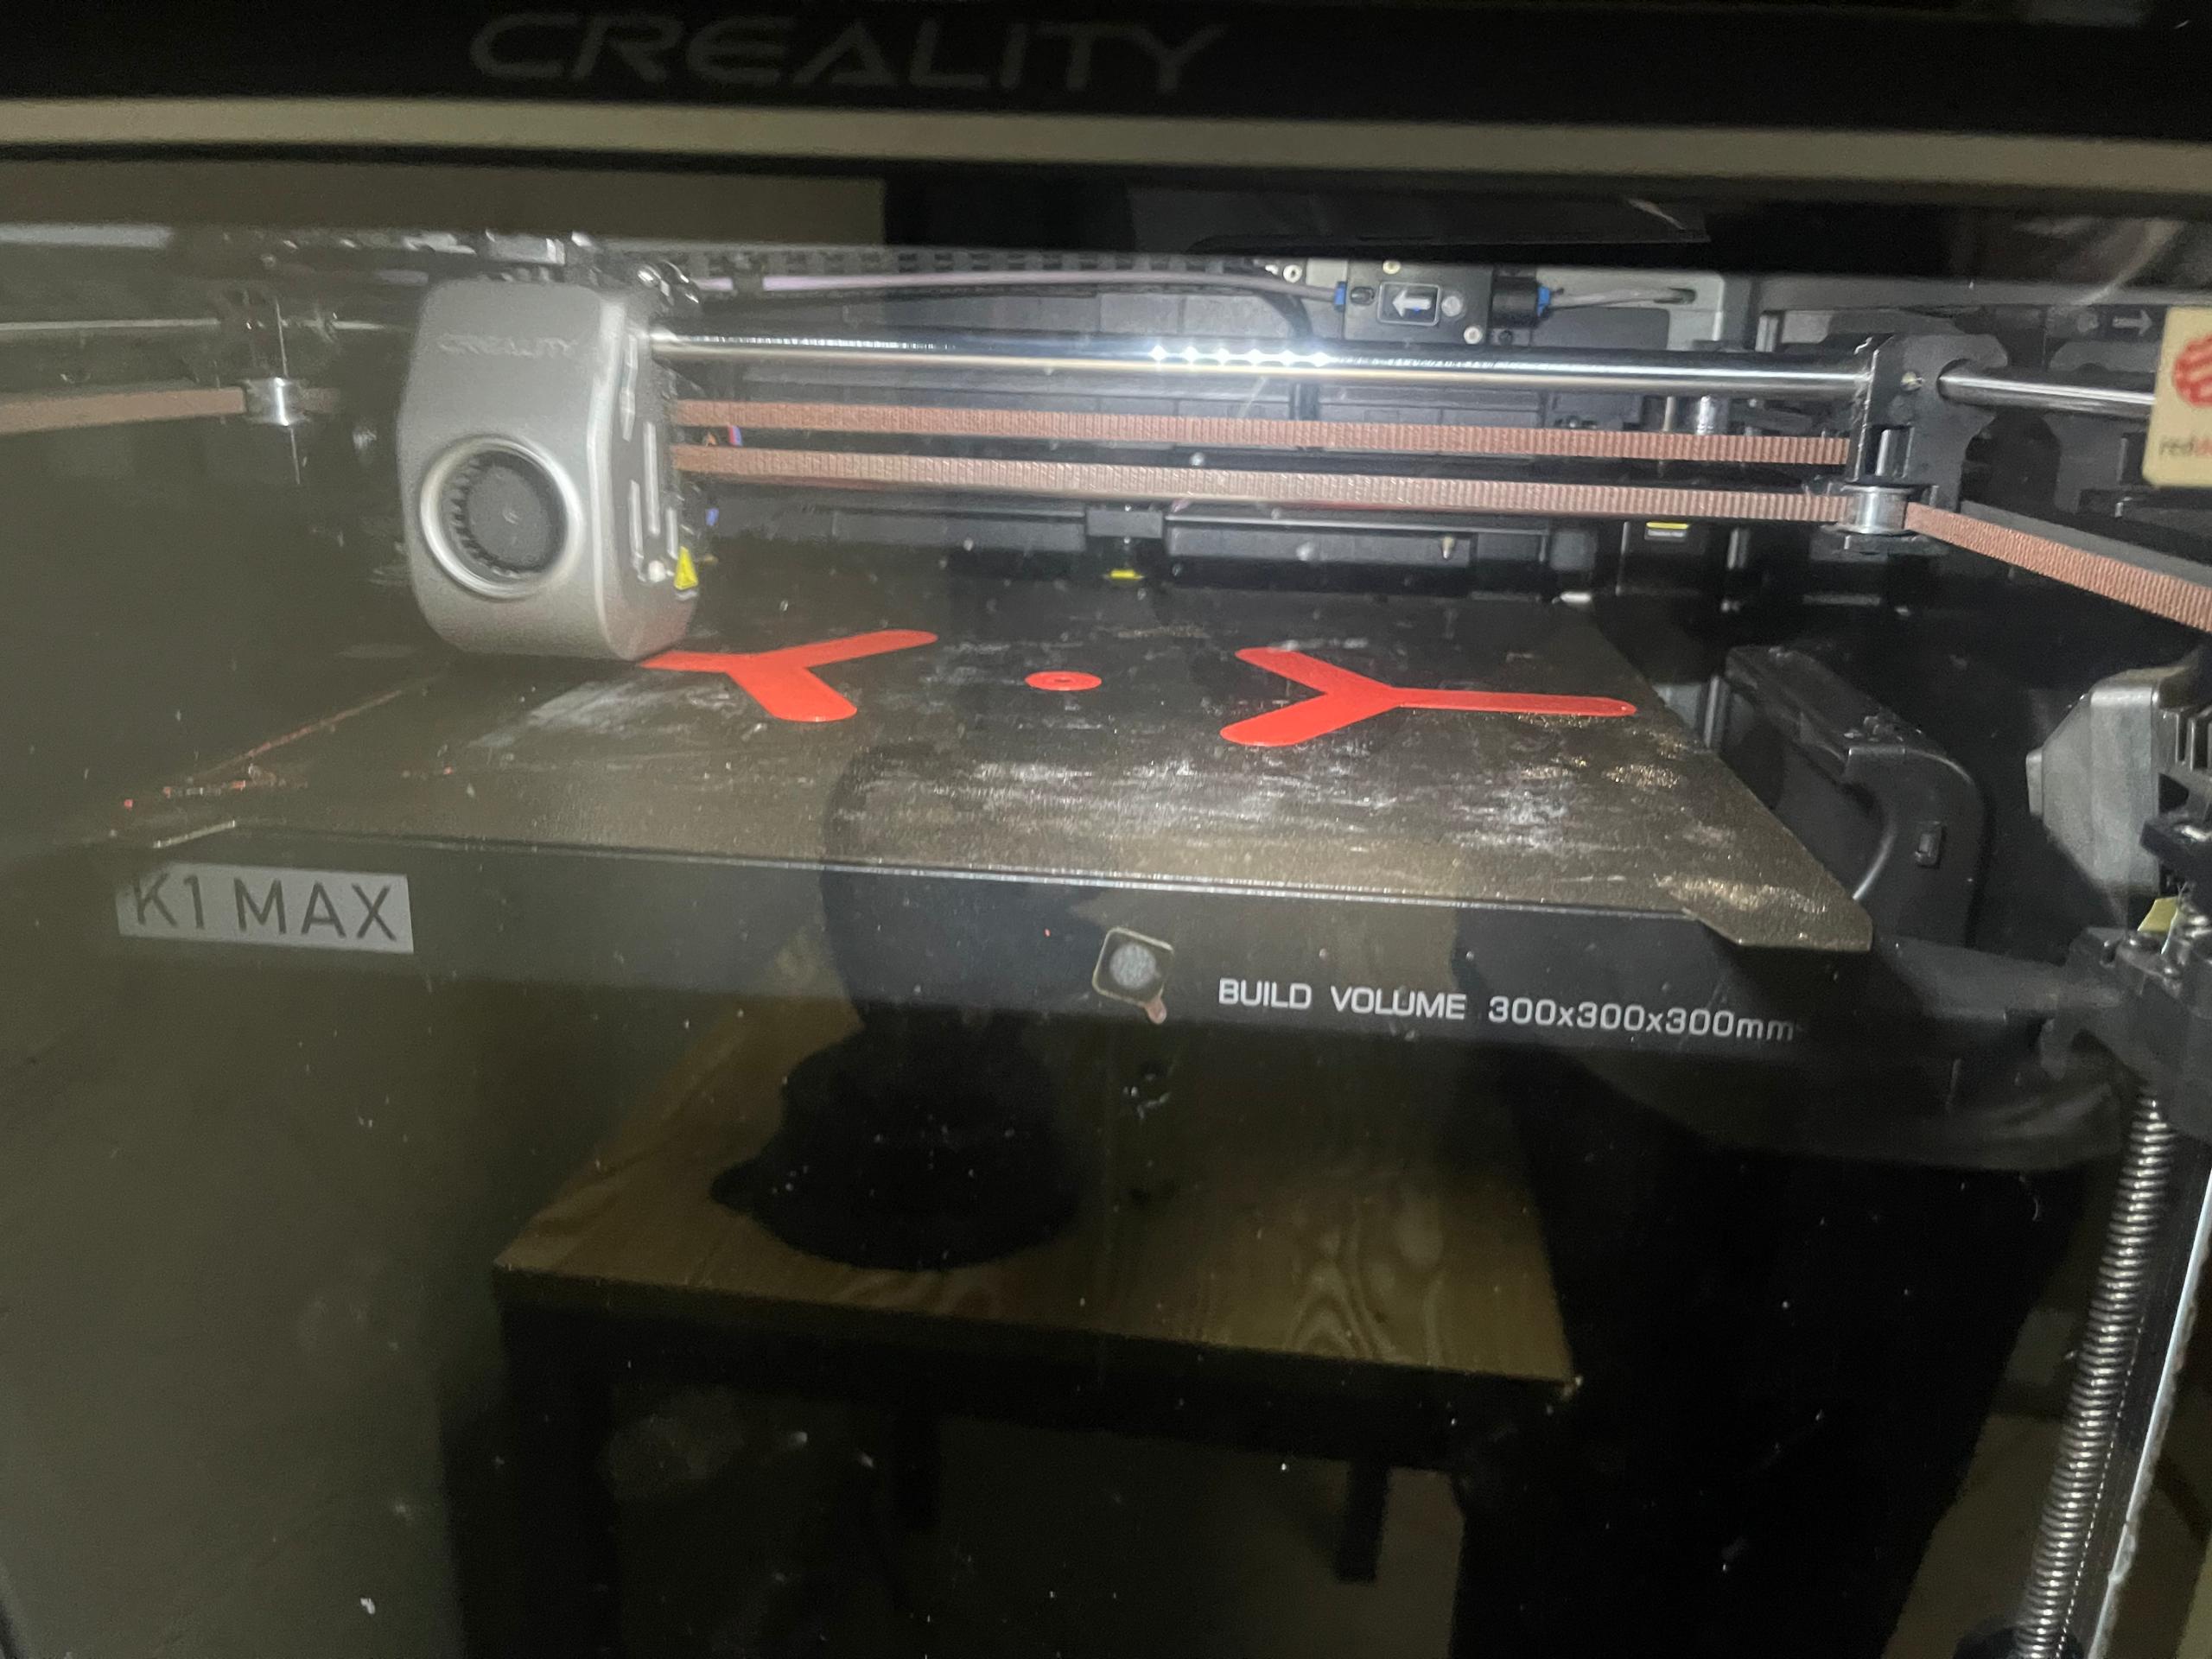
🔹 Step 3: 3D Printing
I printed the parts using an 3D printer with PLA material. red one
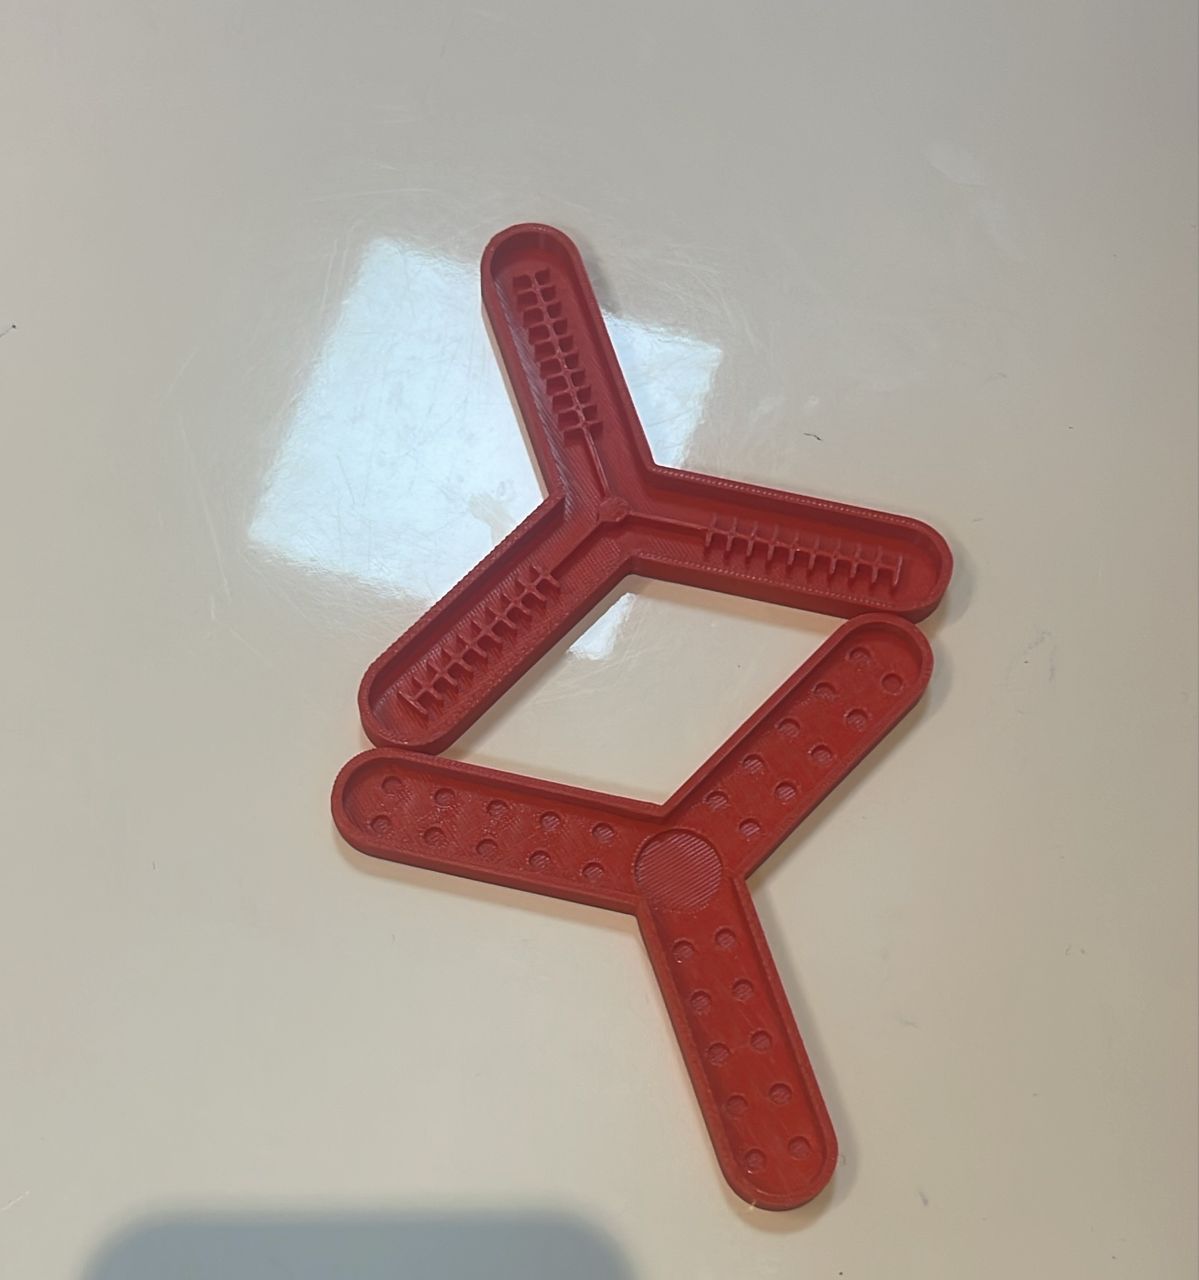
🔹 Step 4: Post-Processing
After printing, i Cleaned the parts Removed any extra material Checked that all channels are open
Silicone Material Understanding
Silicone is a flexible and rubber-like material that is widely used for molding and casting.
🔹 What I learned about silicone: Silicone is made of two parts: Part A (base) Part B (curing agent) When I mix these two parts, a chemical reaction happens and the liquid turns into a solid flexible material. This process is called curing.
🔹 Properties of Silicone
From my experiment, I observed that silicone:
Is flexible and elastic Can capture fine details from the mold Is durable and resistant Returns to its shape after bending
Materials I Used
Silicone Rubber (Part A and Part B) Digital weighing scale Mixing cup Stirring stick
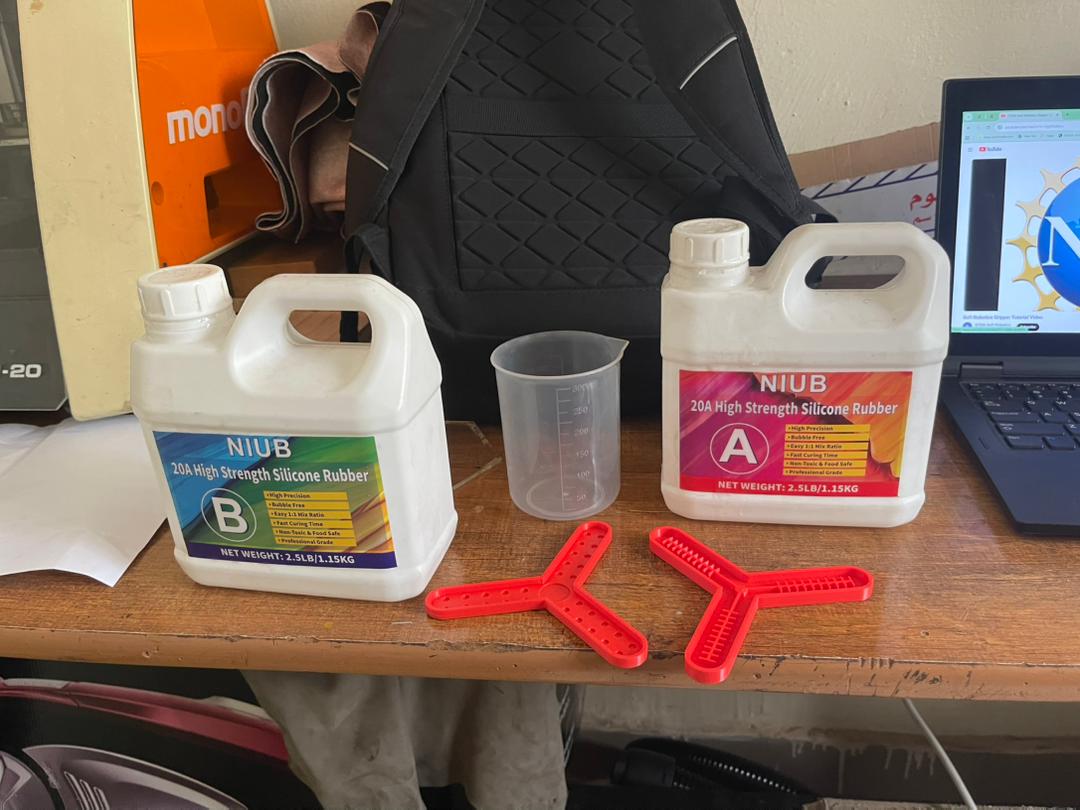
Mixing Ratio
I used a 1:1 ratio (by weight) for mixing silicone.
This means:
I measured equal amounts of Part A and Part B Example: 90g Part A 90g Part B
I understood that accuracy is very important because a wrong ratio can cause:
Silicone not curing properly Sticky or weak results 🛠️ Process I Followed
Step 1: Preparing the Mold
First, I cleaned my 3D printed mold to remove dust and dirt. Then,I placed the mold on a flat surface.
Step 2: Measuring Silicone
I used a digital scale to measure equal amounts of Part A and Part B carefully.
Step 3: Mixing
I combined Part A and Part B in one container and mixed them slowly for about 2–5 minutes.
While mixing:
I made sure the mixture became uniform I avoided mixing too fast to reduce air bubbles
Step 4: Removing Air Bubbles
Since I did not have a vacuum machine, I:
Gently tapped the container Let the mixture rest for a few minutes
This helped reduce trapped air.
Step 5: Pouring into the Mold
I poured the silicone slowly into the mold from one side.
Because my design has thin arms, I:
Poured in a thin stream
Allowed the silicone to flow naturally
Helped guide it into small areas
Step 6: Curing
I left the mold undisturbed at room temperature for about 12–24 hours.
Step 7: Demolding
After curing, I carefully removed the silicone part from the mold. The final result was flexible and matched the shape of my design.
🔍 What I Observed The silicone captured the mold details well The part was flexible and smooth Some small air bubbles appeared in narrow sections ⚠️ Challenges I Faced Filling thin parts of the mold was difficult Air bubbles were hard to completely avoid I had to be very careful with the mixing ratio 💡 What I Learned / Improvements I should use vacuum degassing for better results Adding air vents in the mold design can help Pouring slowly is very important Using a syringe can improve filling accuracy