2. Digital bodies
Research & Ideation
In this section, I explored the creation of digital human bodies as the foundation for textile and material experimentation. The research focused on how digital tools can generate accurate 3D human models for fabrication processes. Sources of inspiration include MakeHuman for initial 3D body creation, Skanect for 3D scanning, and MeshLab for model repair and optimization.
The goal was to understand how digital bodies can serve as a platform for design interventions, pattern making, and material exploration. This process allows for iterative experimentation without the constraints of physical mannequins.
References & Inspiration

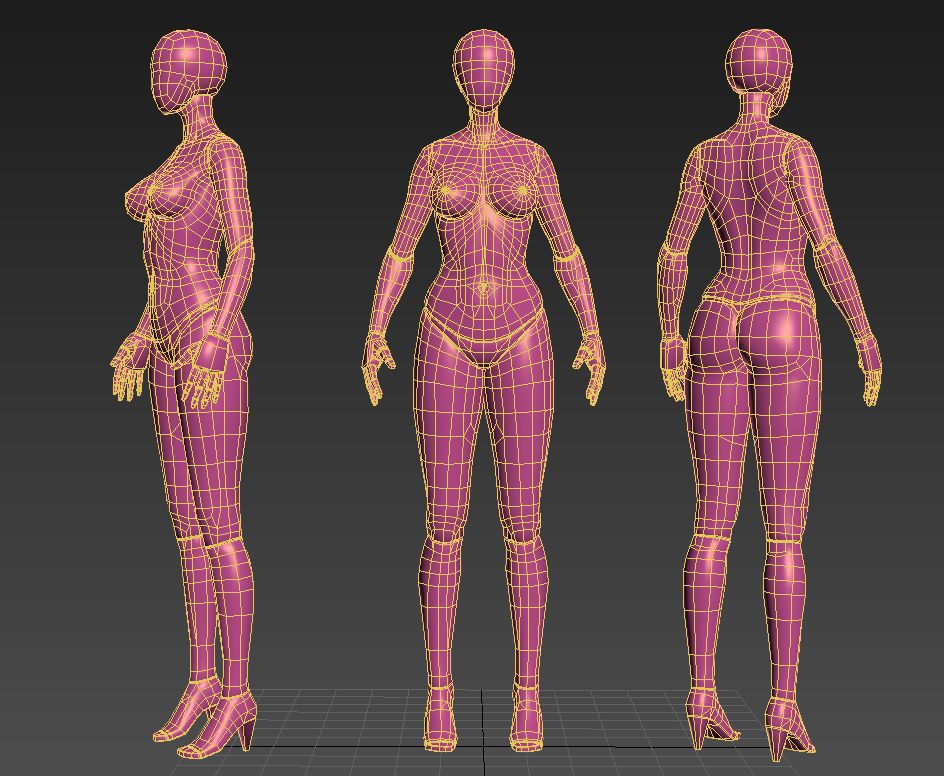
For my Digital Bodies assignment, I chose to create a digital body inspired by dress form. A dress form is an essential tool in fashion design because it represents the human body in a simplified and structured way. It helps designers visualize proportions, test garment fit, and experiment with shapes. Using this object as inspiration allowed me to combine the physical logic of garment construction with the creative possibilities of digital fabrication.
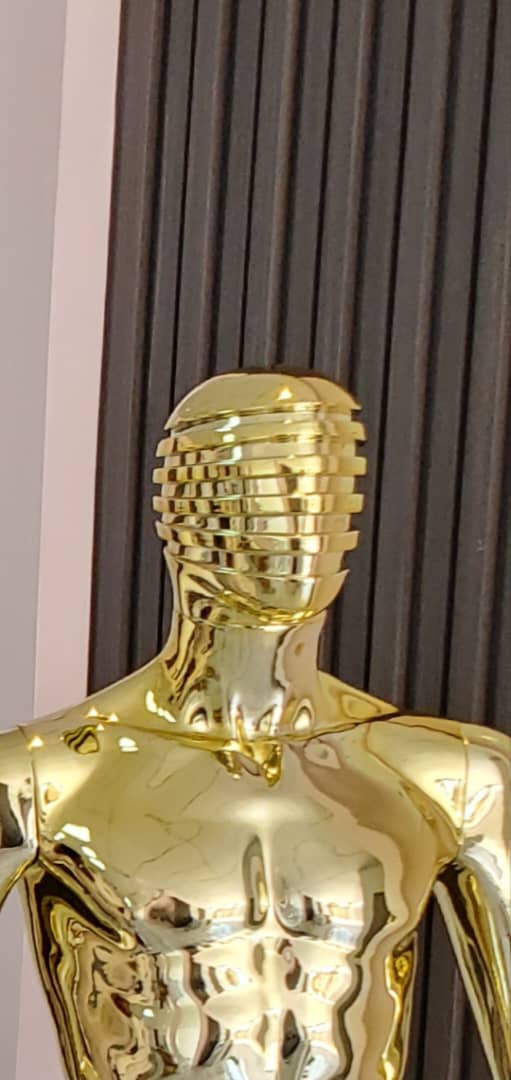
My goal was to transform the dress form from a static physical object into a dynamic digital model. Instead of treating the dress form as something only used for fitting clothes, I redesigned it as a living digital body that carries identity, movement, and expression. I used its curves, measurements, and structure as the foundation, but I diceded to make head becouse i realy wanted to design something that i will be able to hung on my cap in my office The work of past alumni provided valuable insights into documenting and experimenting with digital bodies:
Head Portion: Betiana Pavon - FabLab Bcn
Artistic Slicing: Stephanie Vilayphiou - GreenLab
Artistic Intervention: Kae Nagano - FabLab Kamakura
Tools Used
MakeHuman – used to generate the base digital human head model with adjustable proportions
Blender – used for mesh cleaning, scaling, refinement, and preparation of the model
Slicer – used to slice the 3D head into 2D sections for laser cutting
Laser Cutting Machine – used to fabricate the sliced head sections into physical form
Process & Workflow
The process started by creating a human head model in MakeHuman. The model was then imported into Blender, where unnecessary parts were removed and the head was refined. After cleaning the model, it was exported to Slicer, where it was divided into multiple flat sections. These sections were arranged and prepared as files ready to be sent to the laser cutting machine.
# Step-by-Step Process
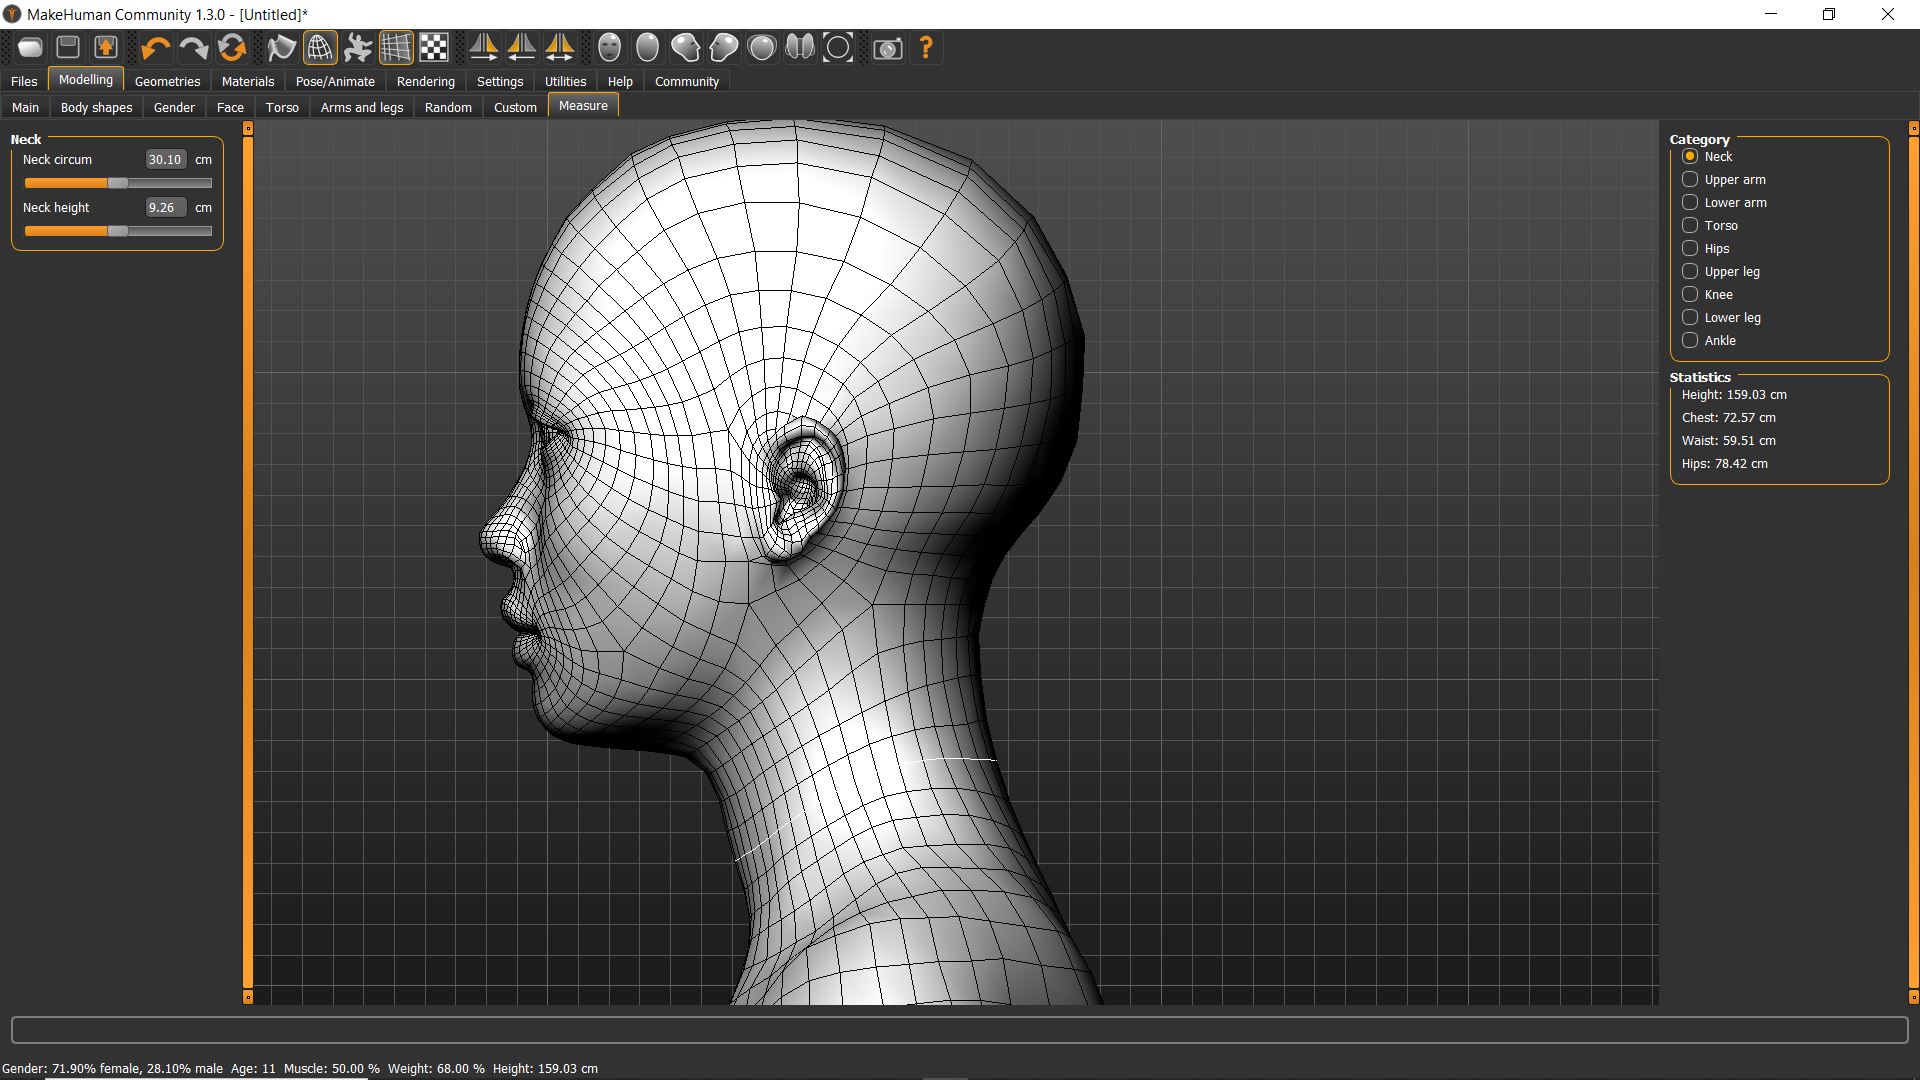
Step 1 – Creating the Head in MakeHuman
The project started by creating a human head model in MakeHuman. Parameters such as head size, facial proportions, and overall form were adjusted. Only the head was selected and exported to ensure the project remained focused on this specific body part.
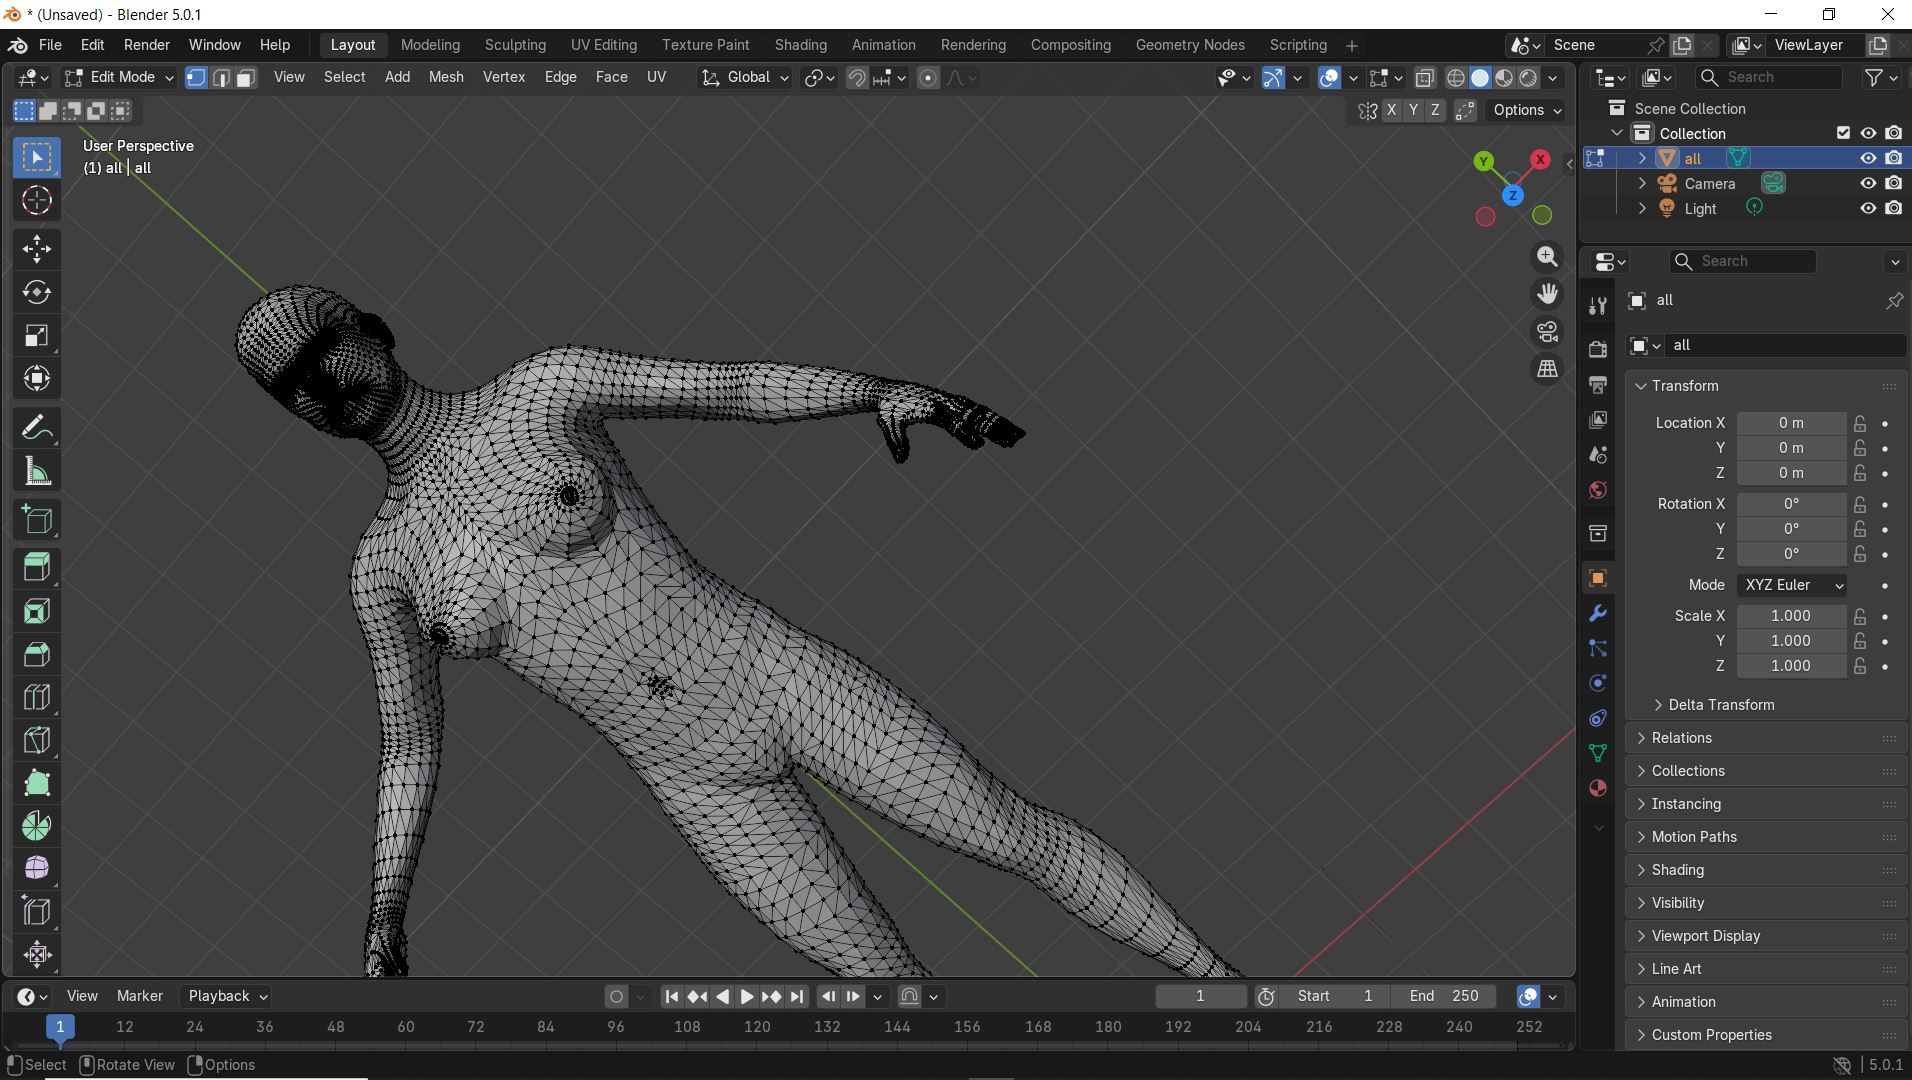
Step 2 – Editing and Cleaning in Blender
The head model was imported into Blender. In this stage, unnecessary geometry was removed, the mesh was cleaned, and the scale was adjusted to match real-world dimensions. This step was important to ensure accuracy and compatibility with slicing and laser cutting.
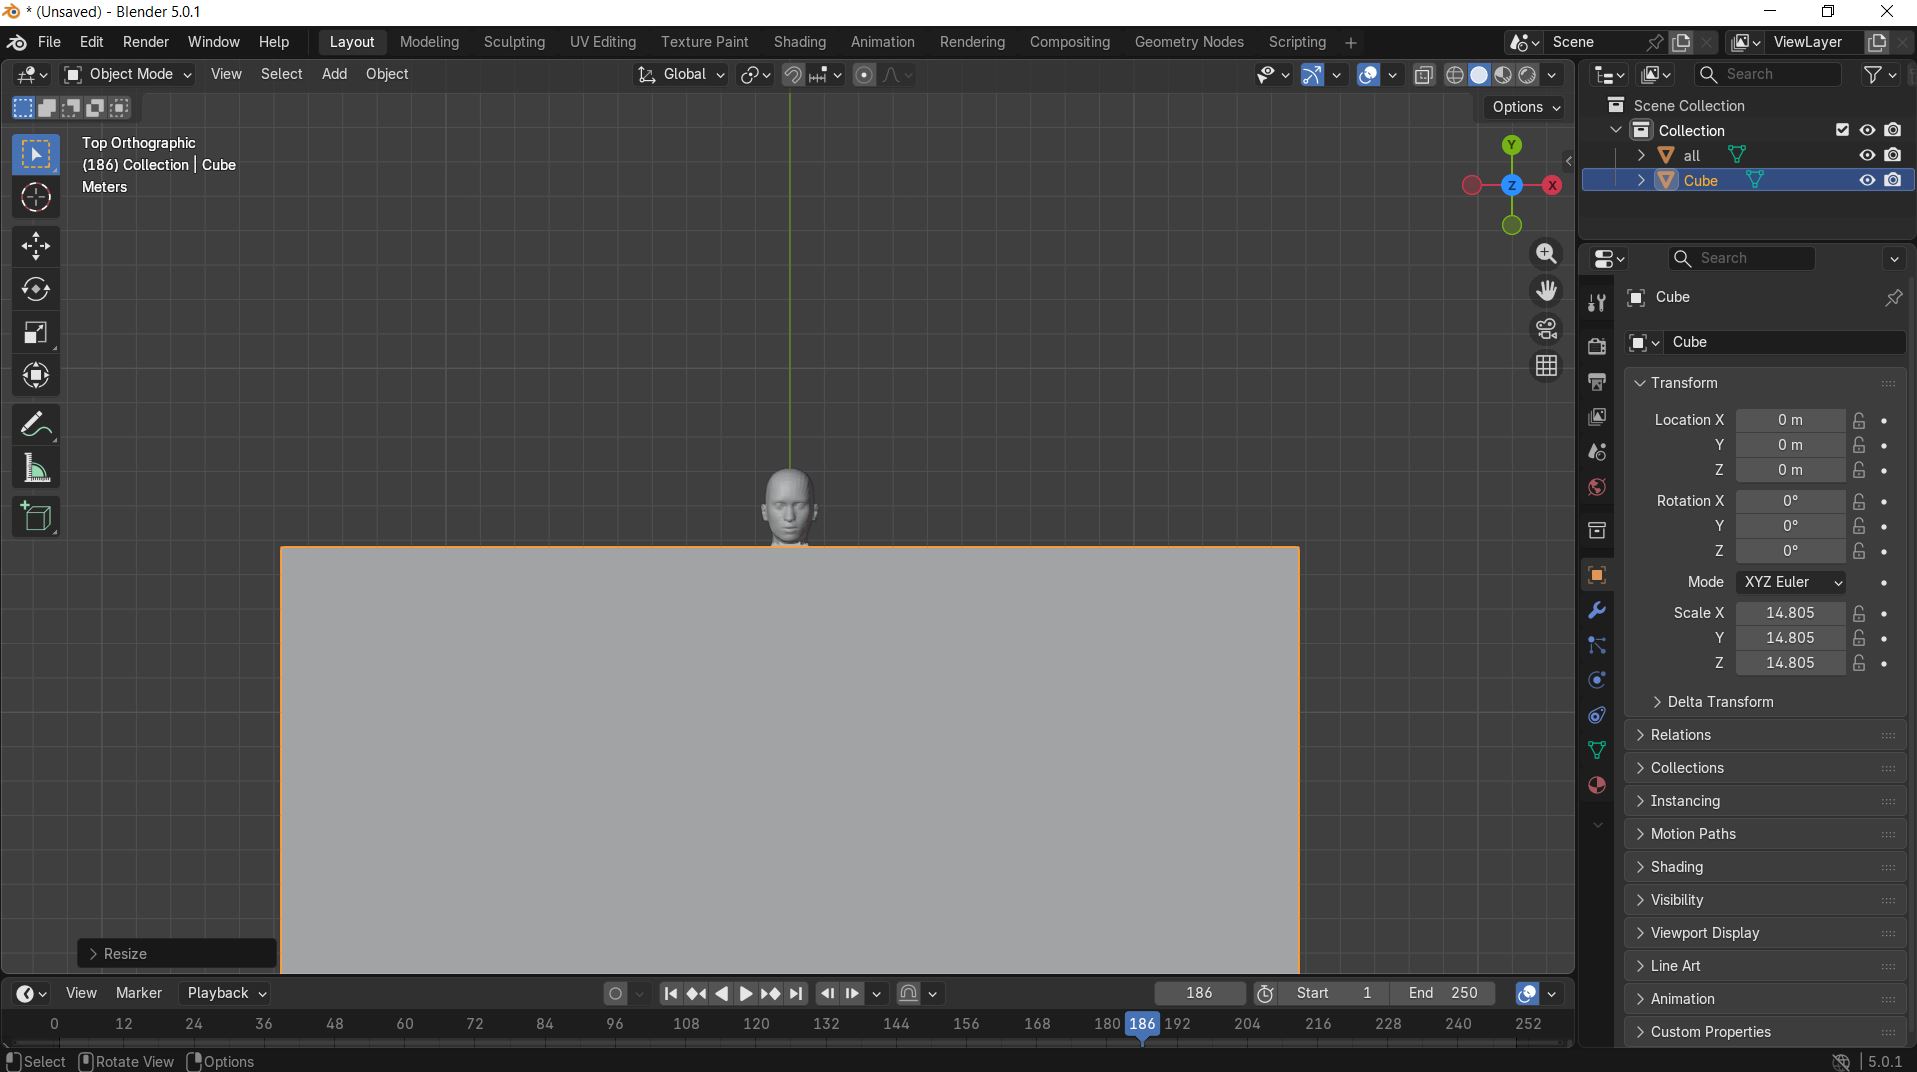
Step 3 – Preparing the Model for Slicing
In Blender, the model was checked for errors such as holes or non-manifold geometry. The head was positioned correctly and exported in a format suitable for slicing.
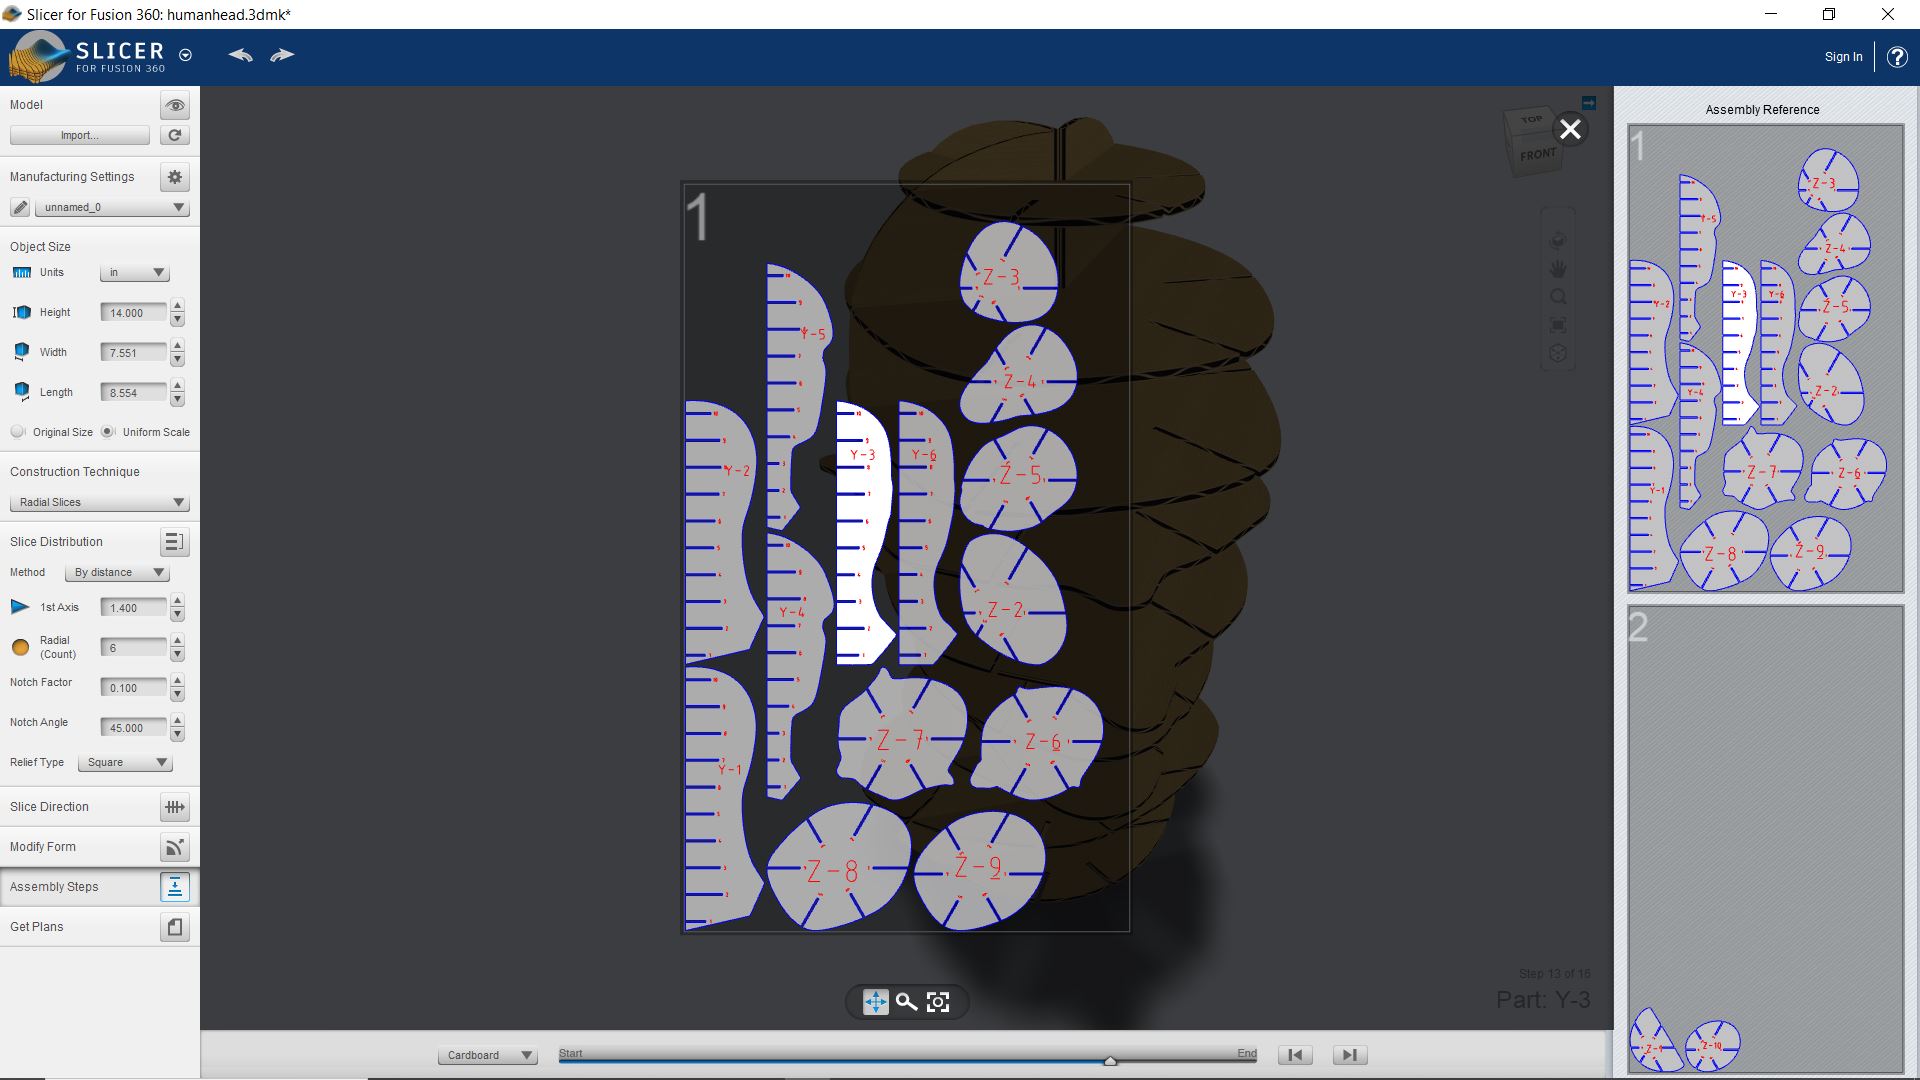
Step 4 – Slicing for Laser Cutting
The cleaned head model was imported into Slicer. The model was sliced into multiple 2D sections based on material thickness. These sections were arranged to optimize material usage and exported as laser-cut-ready files.
Step 5 – Laser Cutting Preparation
The sliced files were reviewed to ensure correct alignment and scale. The final files were then prepared to be sent to the laser cutting machine for fabrication.
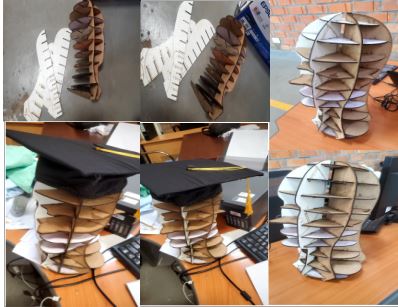
FINAL
3D Scanning
🧠 Learning Objectives
I learned how to scan my own face in 3D I understood the challenges of capturing human features I explored how my face scan can be used in fashion design
🔍 Concept
In this project, I used my own face as the subject for 3D scanning. The goal was to create a digital 3D model of my face that can be used for:
Custom-fit fashion items (like masks) Digital avatars Wearable design based on my facial structure
🧰 Tools & Materials
pc 3D scanning app sense Good lighting setup Chair (to keep myself stable while scanning)
⚙️ Process & Workflow
Step 1: Preparation (My Face Setup)
I sat in a well-lit area I kept my face relaxed and still I avoided shadows on my face
Step 2: Scanning My Face
The camera moved slowly around my face It captured: Front of my face Left and right sides Slightly above my head
⚠️ I stayed completely still to avoid distortion in my face scan
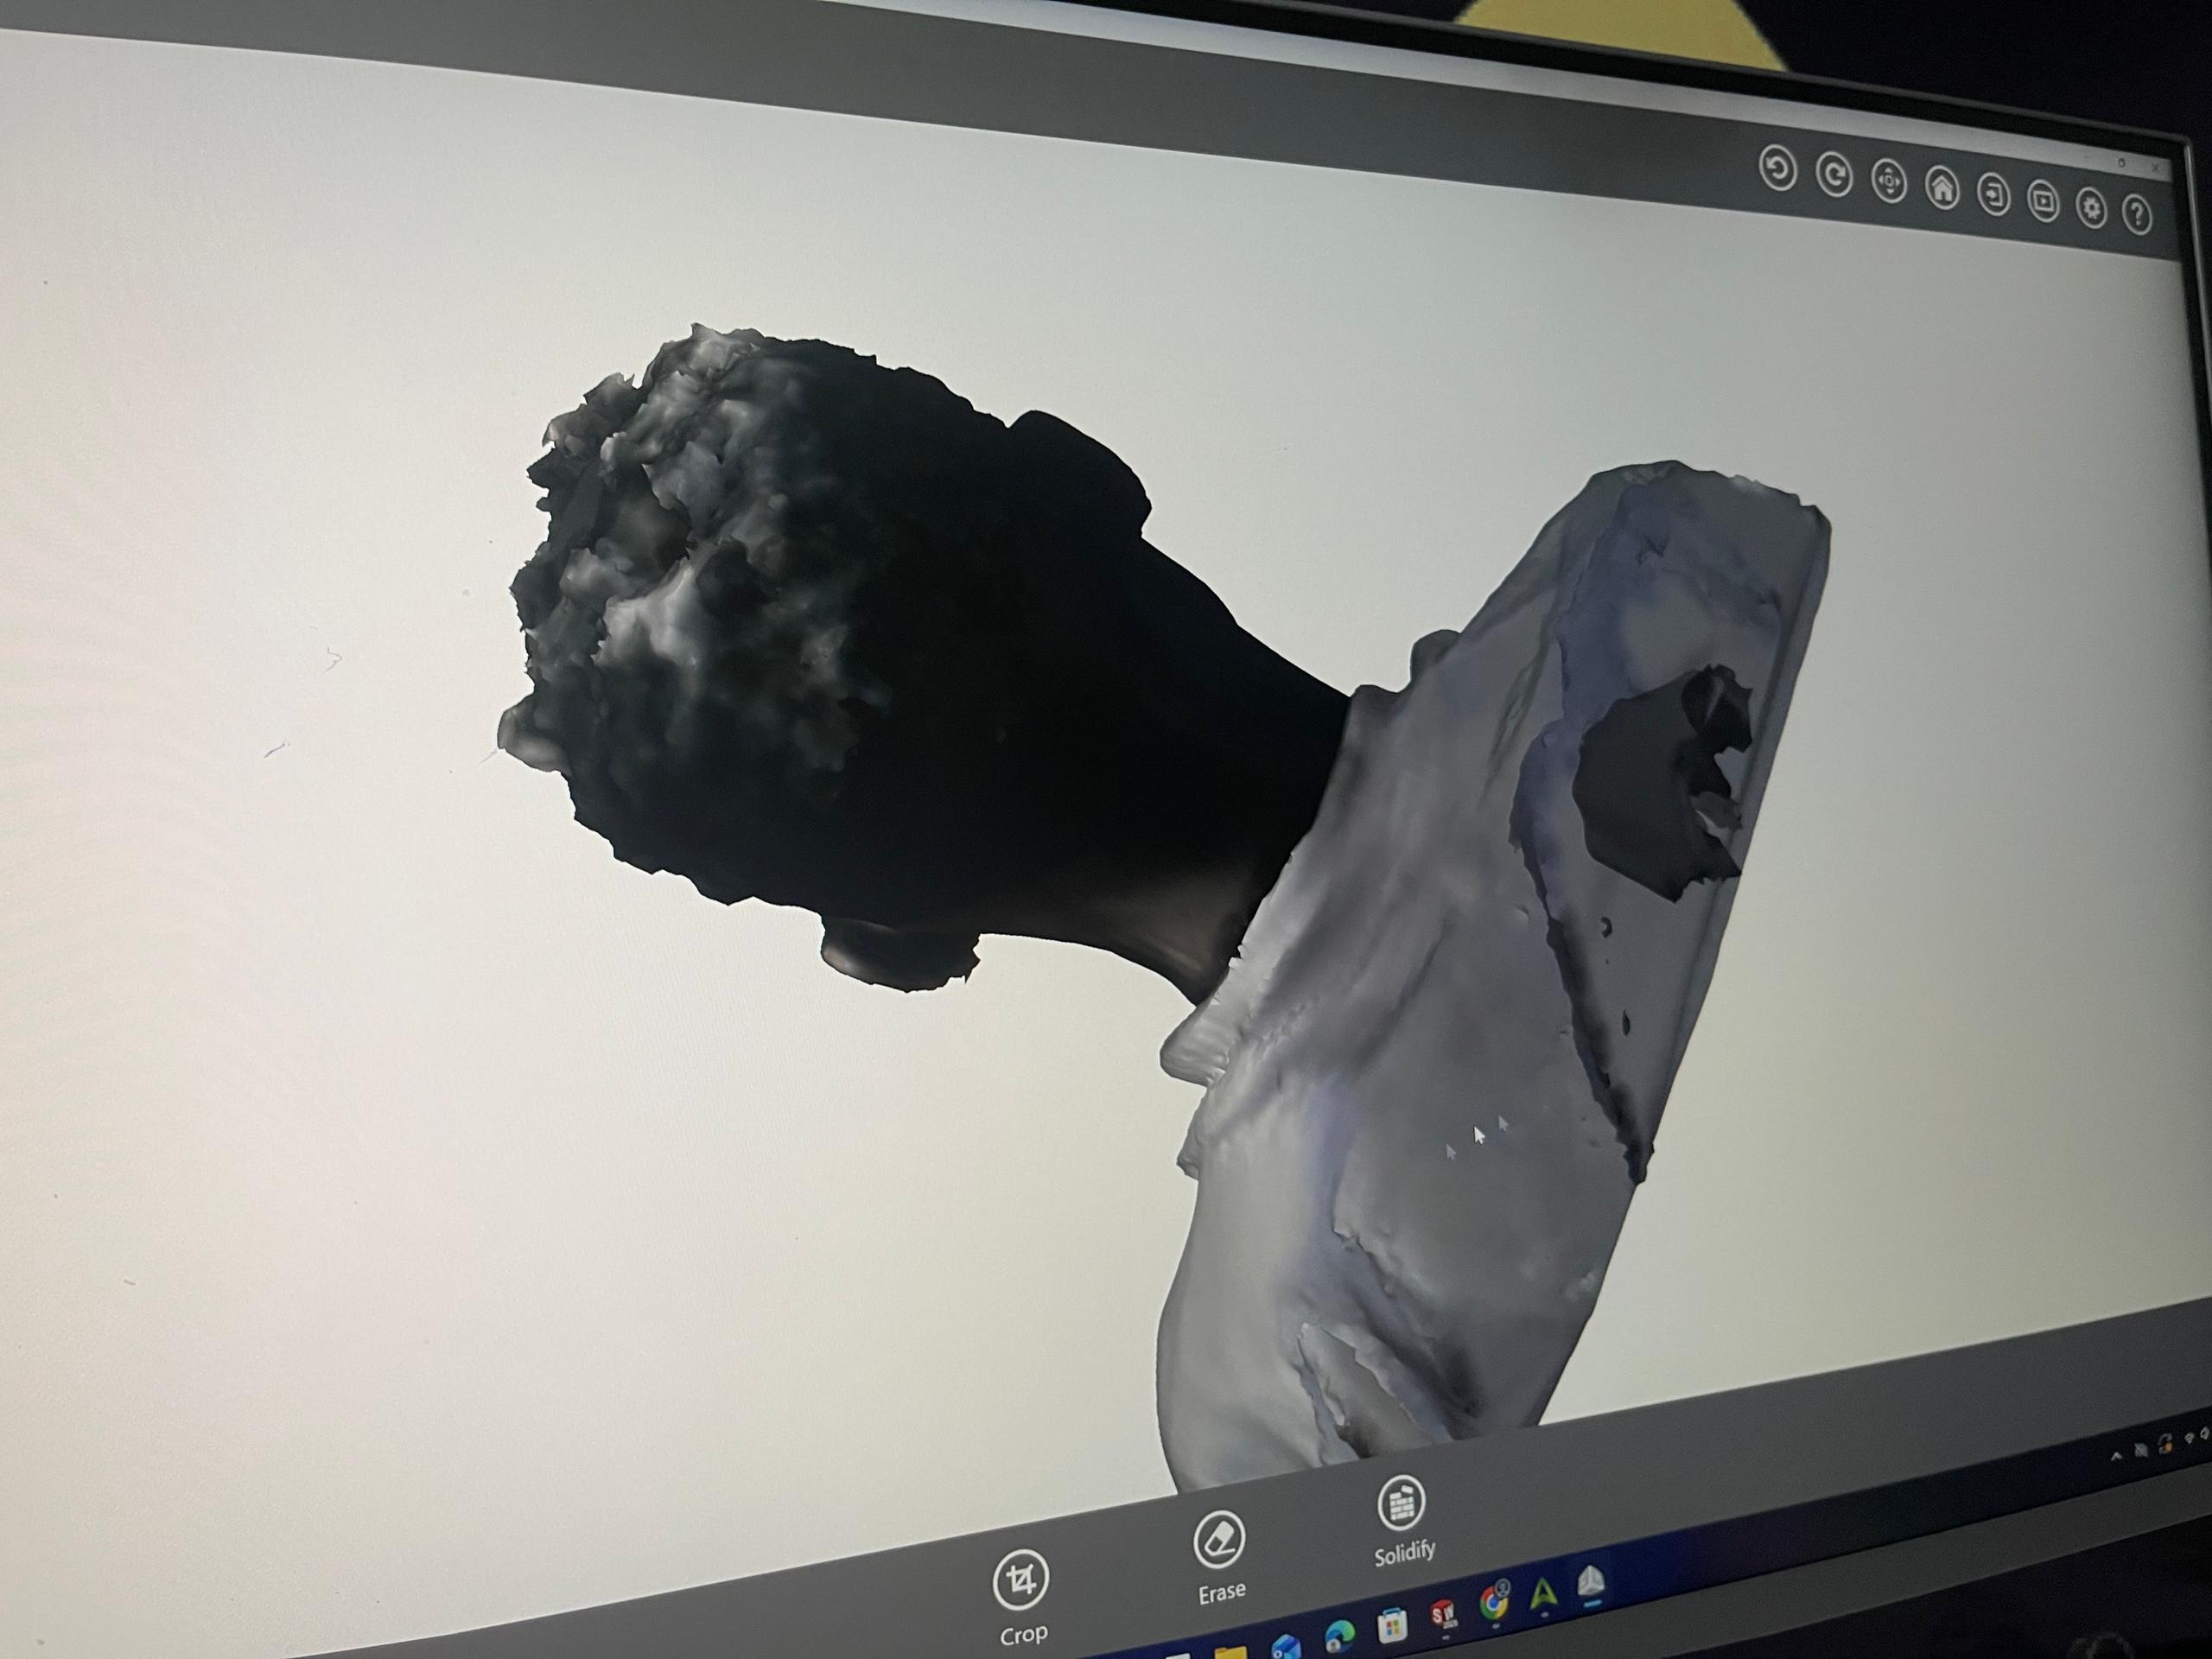
Step 3: Processing My Face Model
The app generated a 3D model of my face I observed: My facial features were clearly visible Some areas like hair and ears were less detailed

Step 4: Cleaning My Face Scan I removed unwanted background around my face I trimmed extra parts I focused only on my facial structure
Step 5: Exporting My Face Model I exported my face scan as: .OBJ .STL
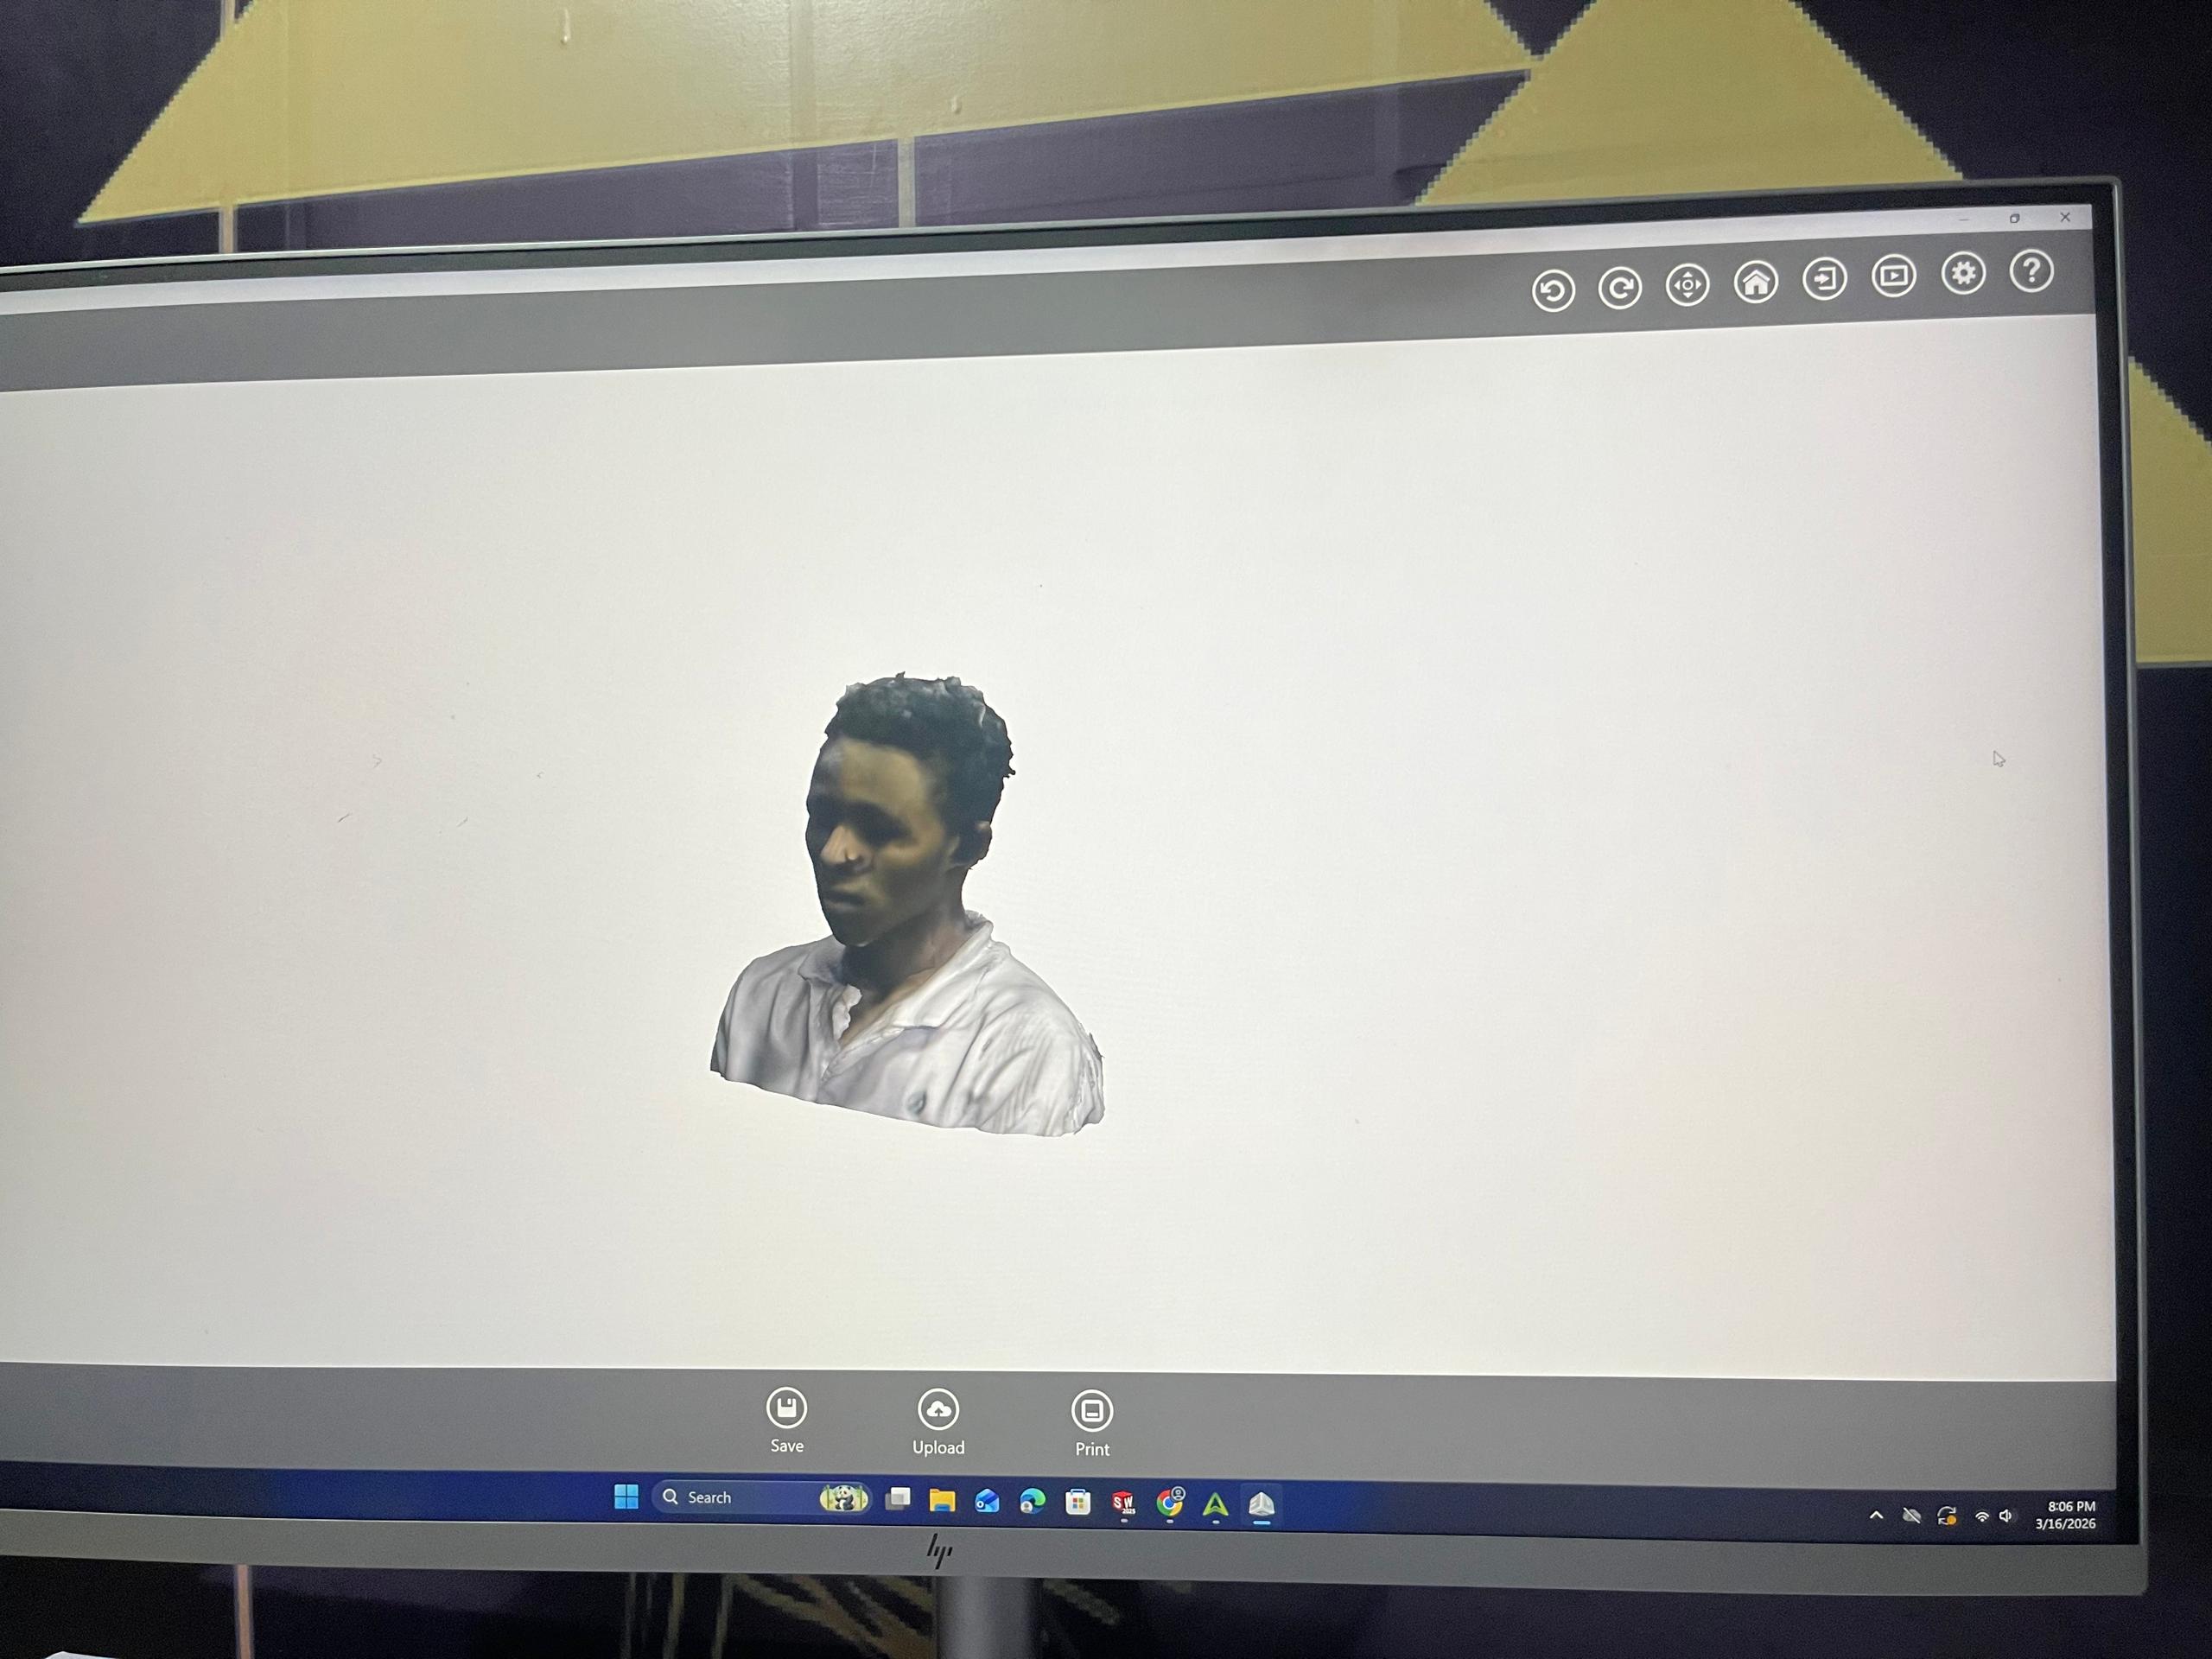
✅ Results
I successfully created a 3D model of my face The scan captured: My face shape Eyes, nose, and mouth clearly
file
-
File:
↩