10. Textile Scaffold
Research
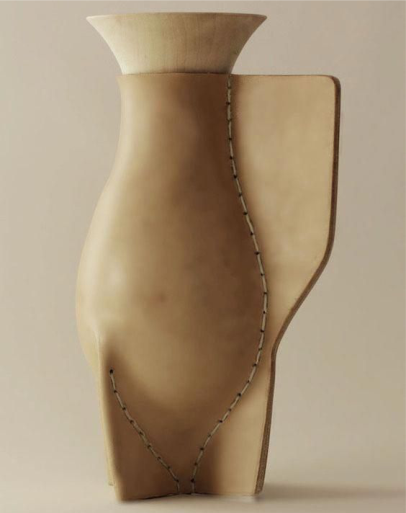
- Textile Scaffold explores how textiles can act as structural guides (scaffolds) to create new shapes, materials, and composites. By combining textiles with casting, resin, leather, wood, or crystallization, we can create new hybrid materials that are lightweight, flexible, durable, or sculptural.
The main idea is that the fabric controls the final form, and the added material gives it strength, stiffness, and new properties.
- Understanding Textile Scaffold
A textile scaffold is a textile structure used as a support, mold, or framework to shape another material. The textile can be woven, knitted, felted, or stretched, and it influences the final texture, structure, and shape of the piece.
Why This Matters in Fabricademy
• You learn how fabrics behave with gravity, tension, absorption, stretching, and curing. • You can create organic shapes, rigid composites, soft structures, or bio-inspired forms.
-
Techniques Covered:
-
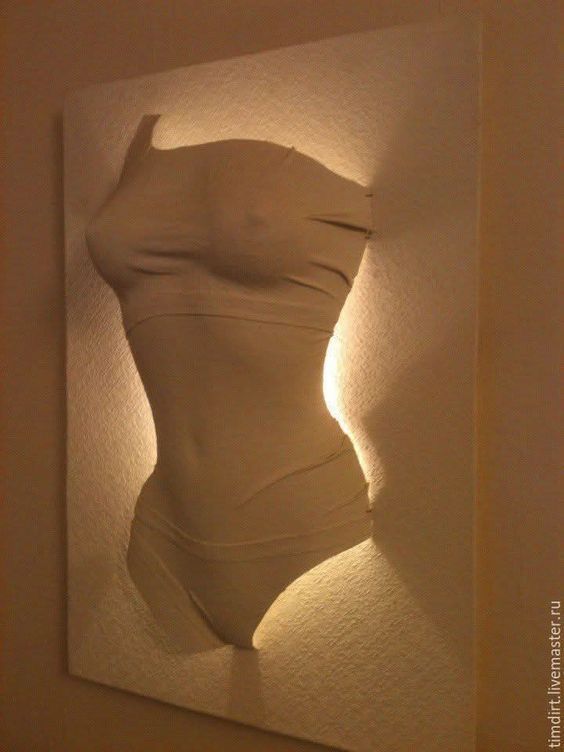
Fabric Formwork with Casting
Using fabric as a mold to cast concrete, plaster, silicone, resin, or biomaterials.
The fabric naturally forms curves, folds, and tension shapes, creating unique organic geometries.
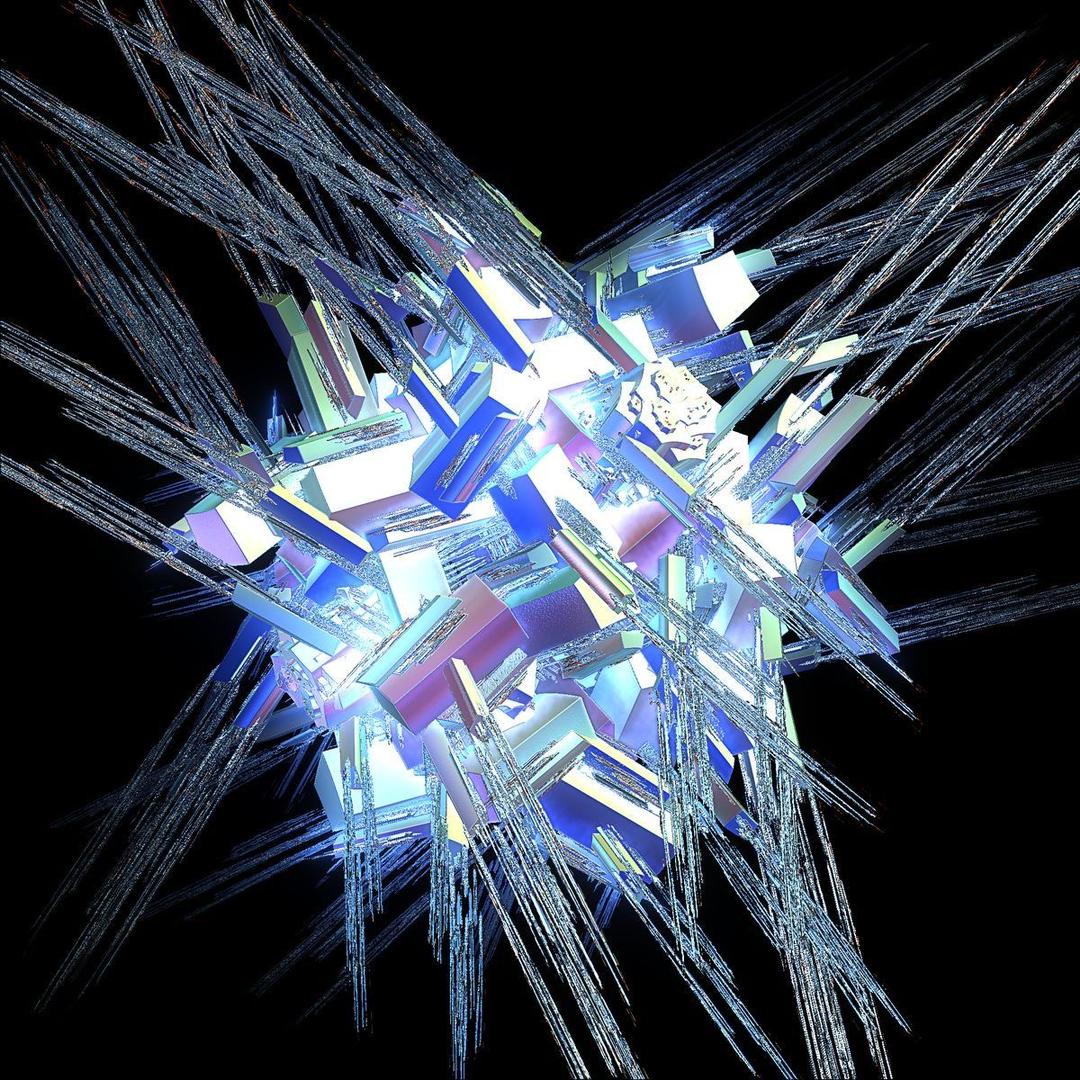
- Crystallization
Growing crystals on fabric using borax, alum, or salt solutions.
The fabric becomes a scaffold for the crystal structure, creating textural, shiny, rigid materials.
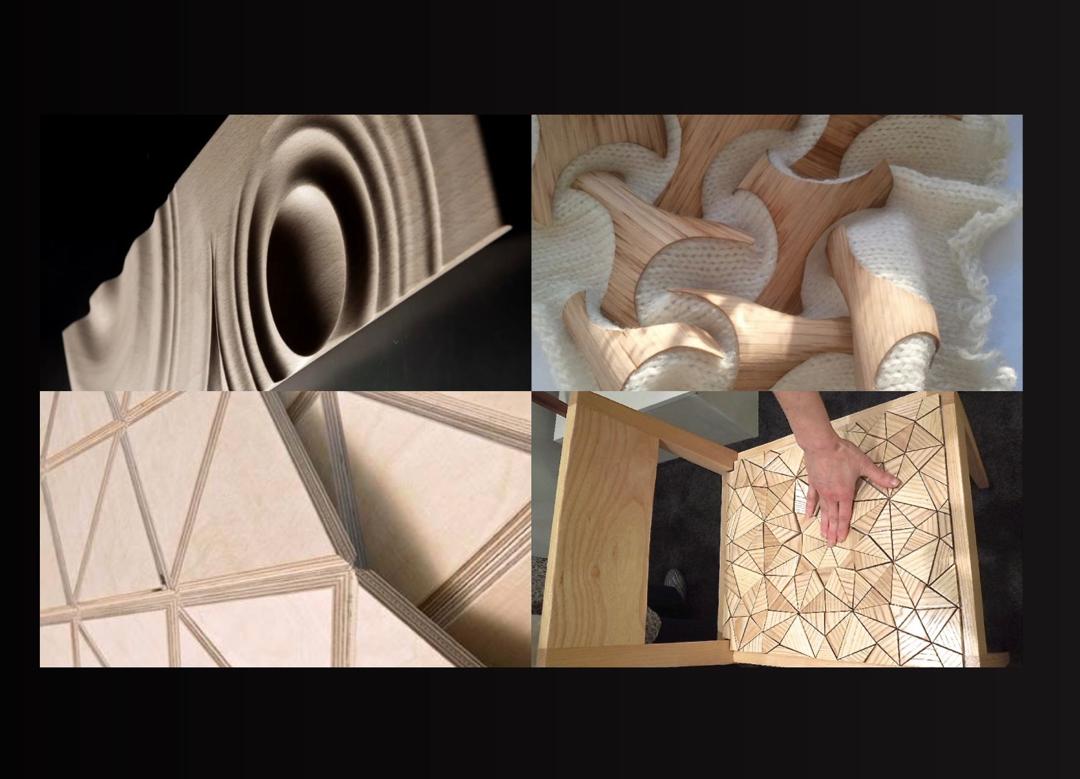
- Wood–Textile Composite
Combining textiles with thin wood veneers.
When the textile is glued or pressed onto the wood, it allows the wood to bend or fold, creating flexible wooden structures.
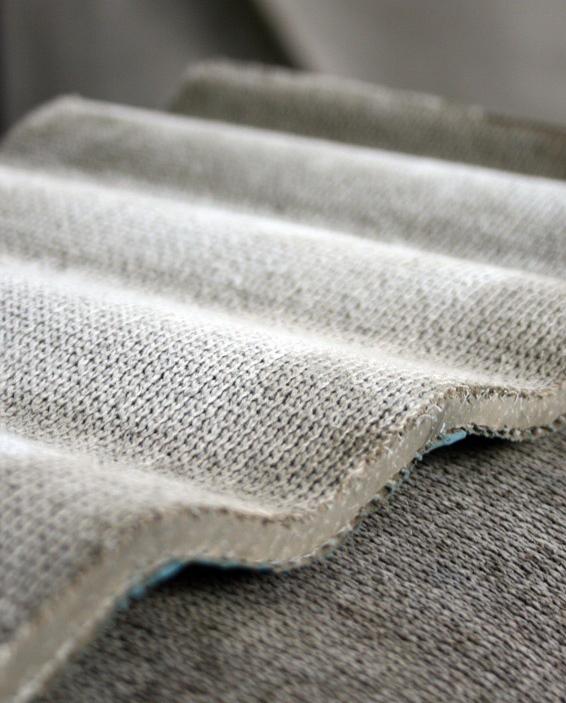
- Resin & Bio-Resin Composite
Soaking textiles with resin or bioresin to create a rigid composite.
The fabric gives structure, while the resin gives hardness.
- Leather Molding
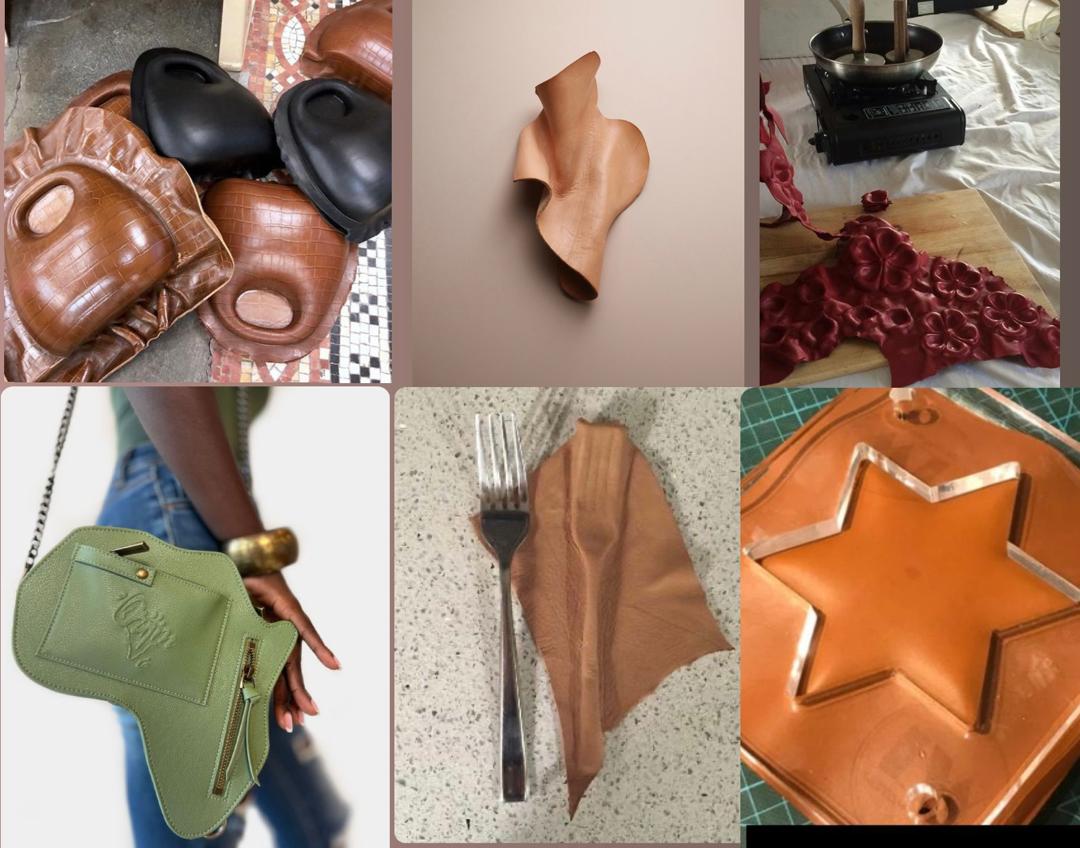
Wet leather can be stretched and molded over a form.
When it dries, it becomes hard and keeps the shape, like molded sculpture or accessories.
- Other
Open section for personal techniques such as biomaterials, silicone skins, inflatable textiles, etc.
References & Inspiration
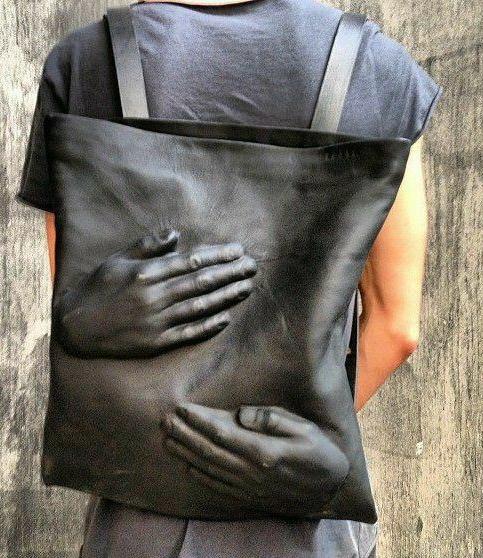
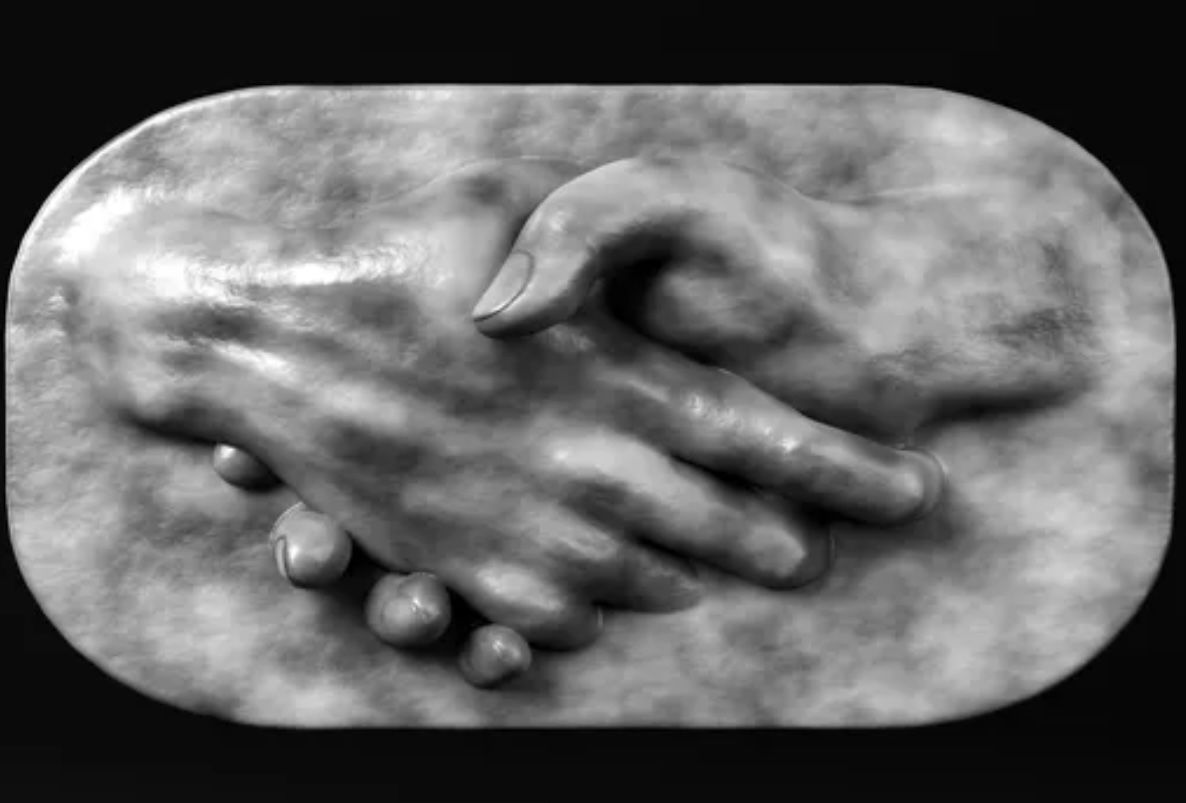
This image of two hands shaped into a smooth surface inspires me because it shows how soft forms can become solid. It looks emotional, gentle, and very human.t has hands coming out of the surface, almost like the textile is alive. The hands look like they are hugging the bag.
•   It turns a simple flat surface into a 3D shape
•   It shows how a mold or fabric can shape a material
•   It has a soft, emotional feeling
•   It reminds me that materials can tell stories
•   It looks emotional, like comfort or connection
•   It shows how fabric can stretch and form a shape
•   It mixes craft + design + storytelling
•   It feels like “textile as skin,” holding and wrapping around the shape
⸻
-
References I Looked At (Simple Version)
-
Material Formwork
I learned that fabrics, soft cloths, or membranes can be used as molds to shape other materials like plaster, resin, or biomaterials. The fabric decides the shape through gravity, tension, and stretching.
- Nature / Bio Inspiration
I looked at how nature grows shapes — like crystals, shells, leaves, and skin. Nature uses soft structures as scaffolds, and this inspired my experiments.
- Digital Fabrication
I also looked at CNC and laser-cut molds. They show how digital tools can help create clean, detailed shapes, which can then be combined with textiles.
⸻
- Why These Inspirations Matter for My Work
All these ideas helped me understand the main goal of this module:
. Textiles can shape other materials.
. Soft materials can guide hard materials.
. Emotions, gestures, and natural shapes can be captured in fabric.
My inspirations show: • Soft → Rigid transformations • Textile surfaces with stories • Organic, natural-looking shapes • Human touch and emotional expression through texture
This gives me a clear direction for the experiments I want to do.
- Image reference My goal was to create a simple 3D form using a CNC-cut mold. I chose a star shape as my design so I could test how leather behaves when pressed into a carved form.
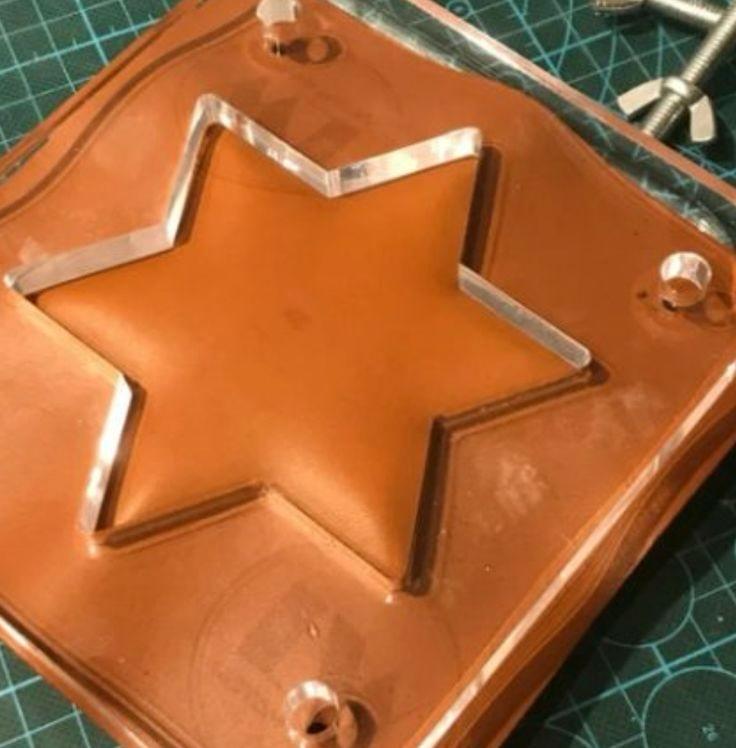
Overview material research outcomes
I wanted to test how leather forms when pressed into a CNC-cut mold. I chose a star shape to keep the experiment simple.
Steps:
1.  Opened VCarve and created a new job with the right material size.
2.  Drew a 5-point star using the shape tool.
3.  Set the star size and adjusted the depth for carving.
4.  Selected the pocket toolpath to create the mold cavity.
5.  Previewed the toolpath to make sure the mold shape was clean.
6.  Saved the toolpath for CNC cutting.
_
Tools
!!! Digital & Machines
•   VCarve
•   CNC router
•   Computer / Laptop
•   End mill bit
Materials
•   Wood block (for the mold)
•   Leather piece
•   Water / spray bottle
Supporting Tools
•   Clamps
•   Pressing board / top plate
Process and workflow
- Digital Design in VCarve
- Opened VCarve and created a new job.
- Drew a 5-point star.
- Set the carving depth.
- Created a pocket toolpath.
- Saved the toolpath for the CNC.
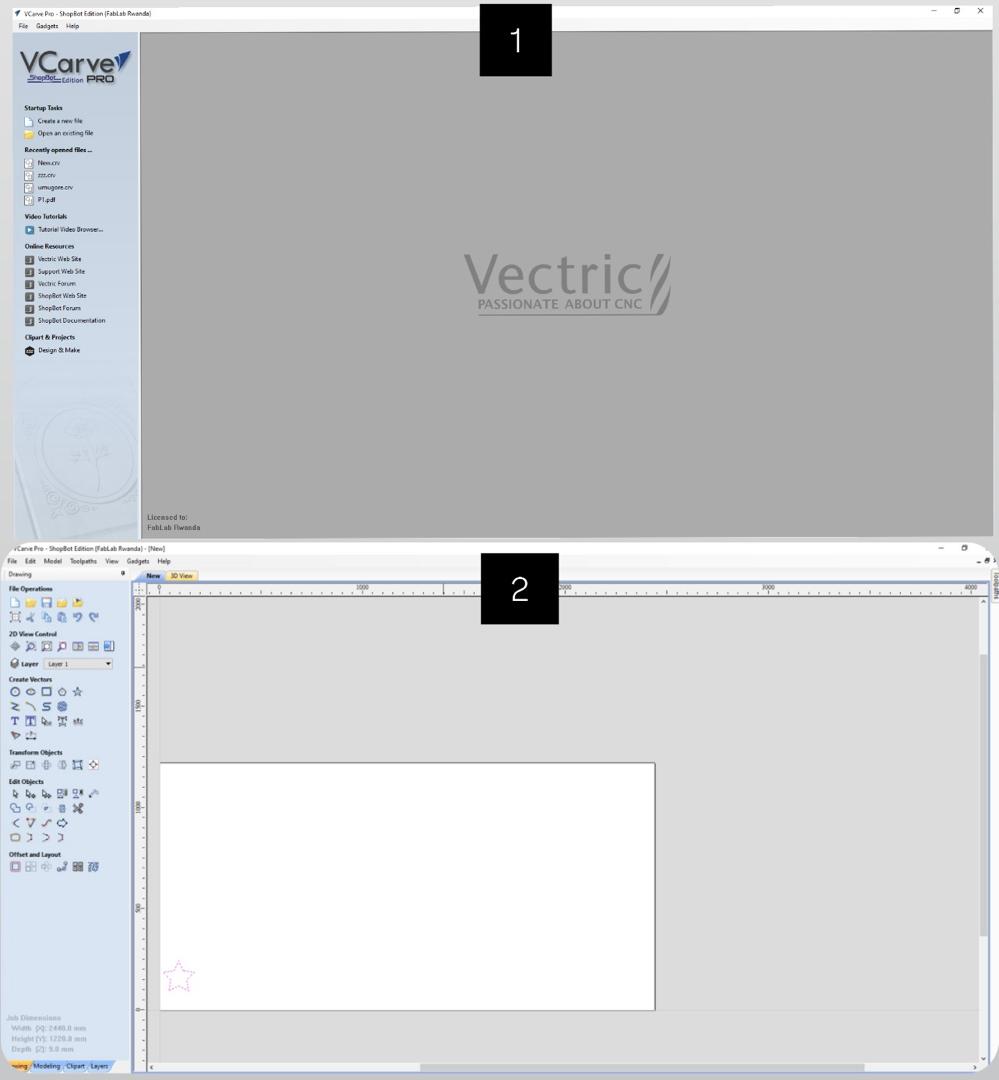
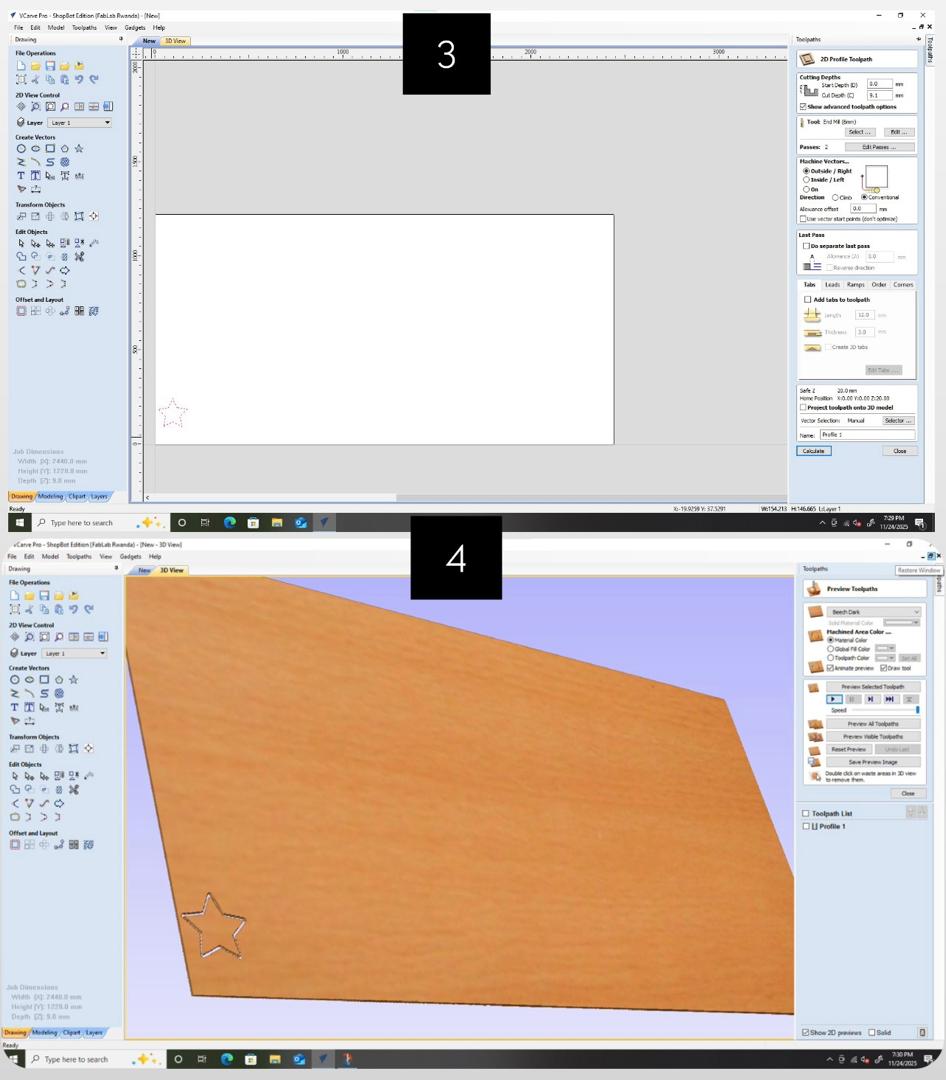
-
CNC Cutting the Mold
- Secured the wood block to the CNC bed.
- Set X, Y, Z zero points.
- Loaded the toolpath.
- CNC carved the star cavity.
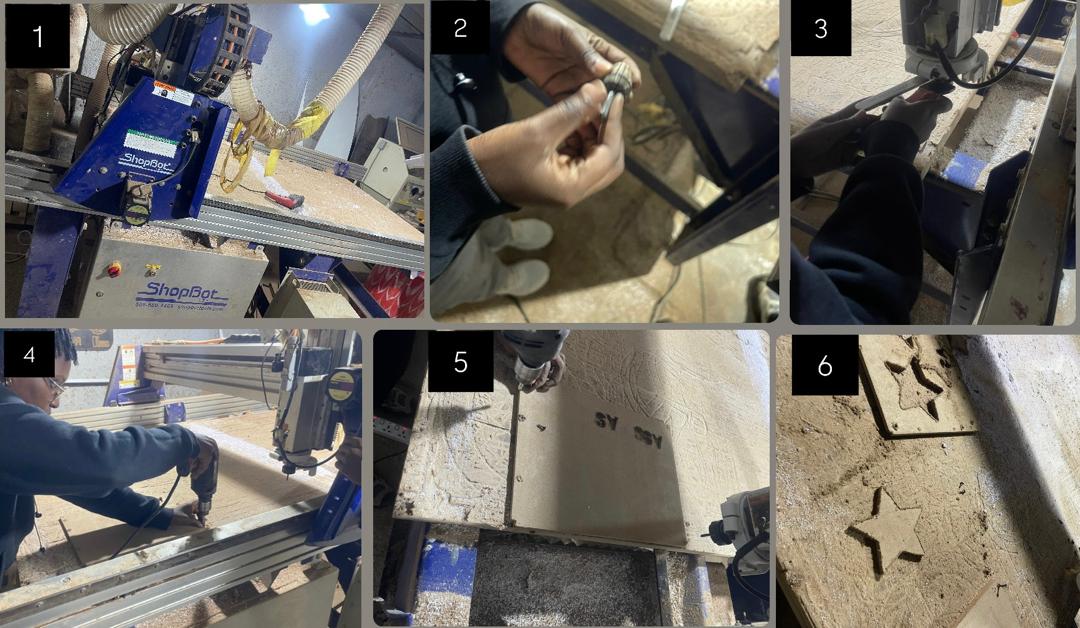
-
Preparing the Leather
- Cut a piece of leather bigger than the mold.
- Moistened it lightly with water.
- Placed it on top of the mold.
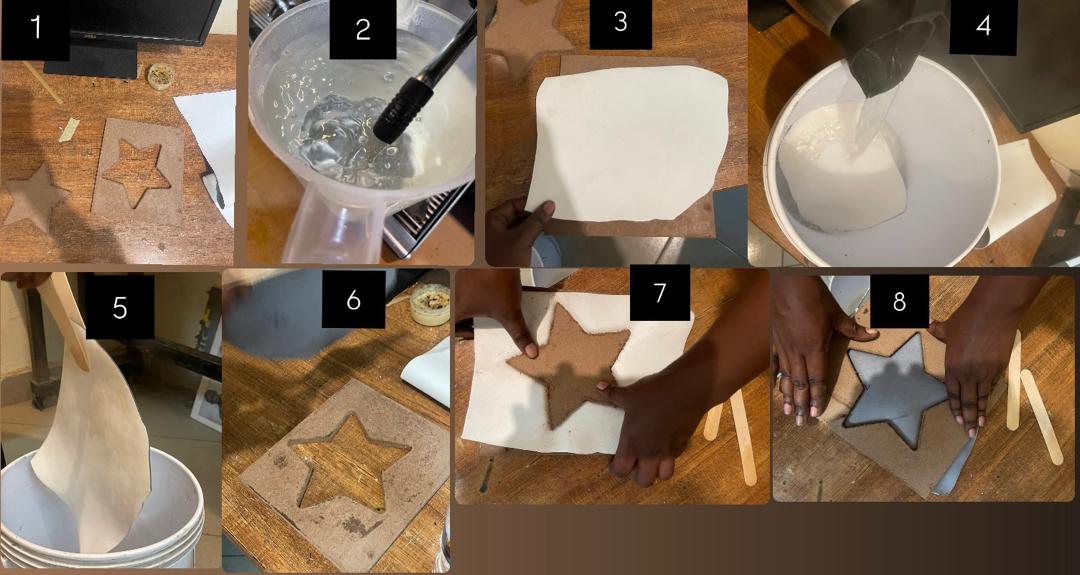
-
Forming Process
- Pressed the leather into the star cavity.
- Added a board and clamps/weights.
- Let it dry to keep the shape.
- Removed the formed leather.
RESULTS
The leather captured the star shape clearly, showing how CNC molds can be used for simple leather-shaping experiments.
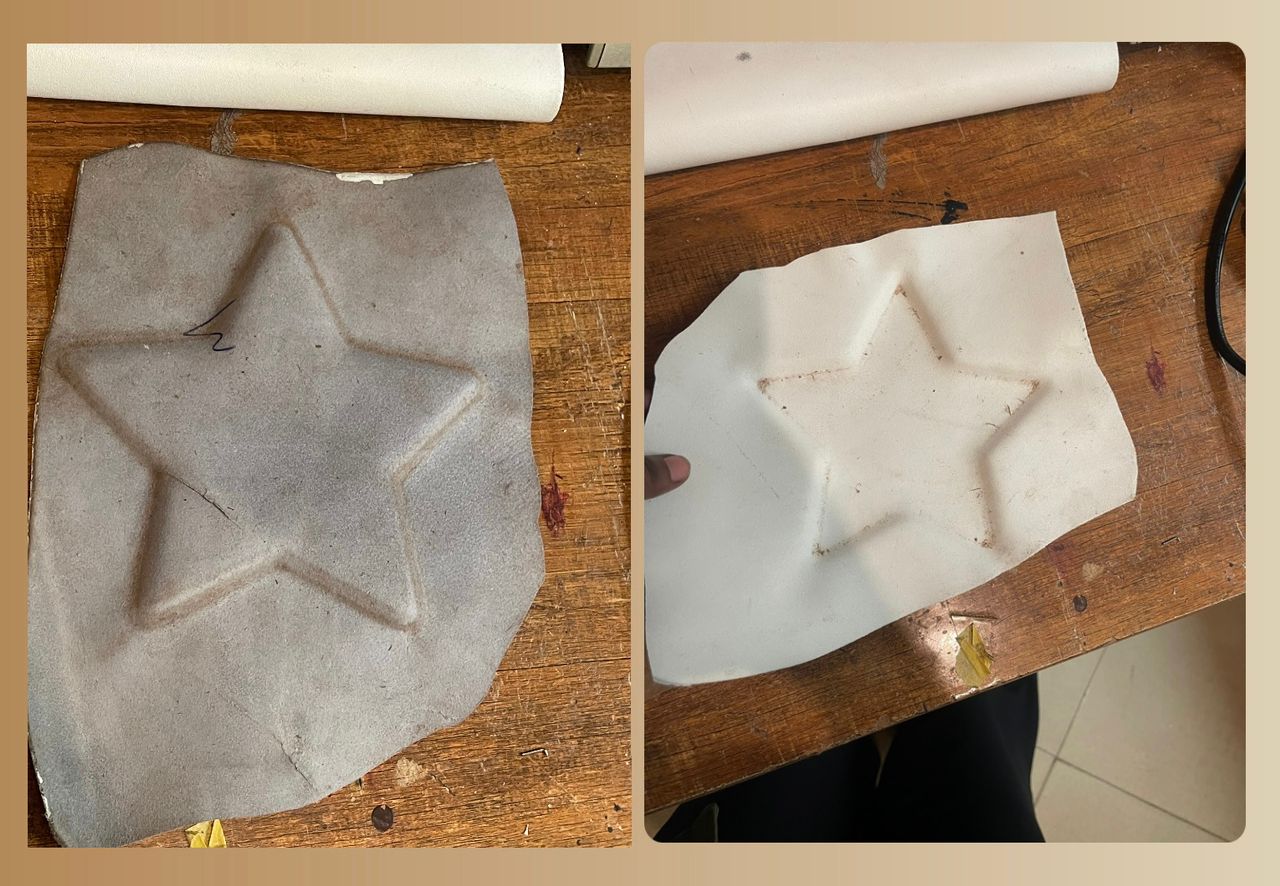
2nd Experiment
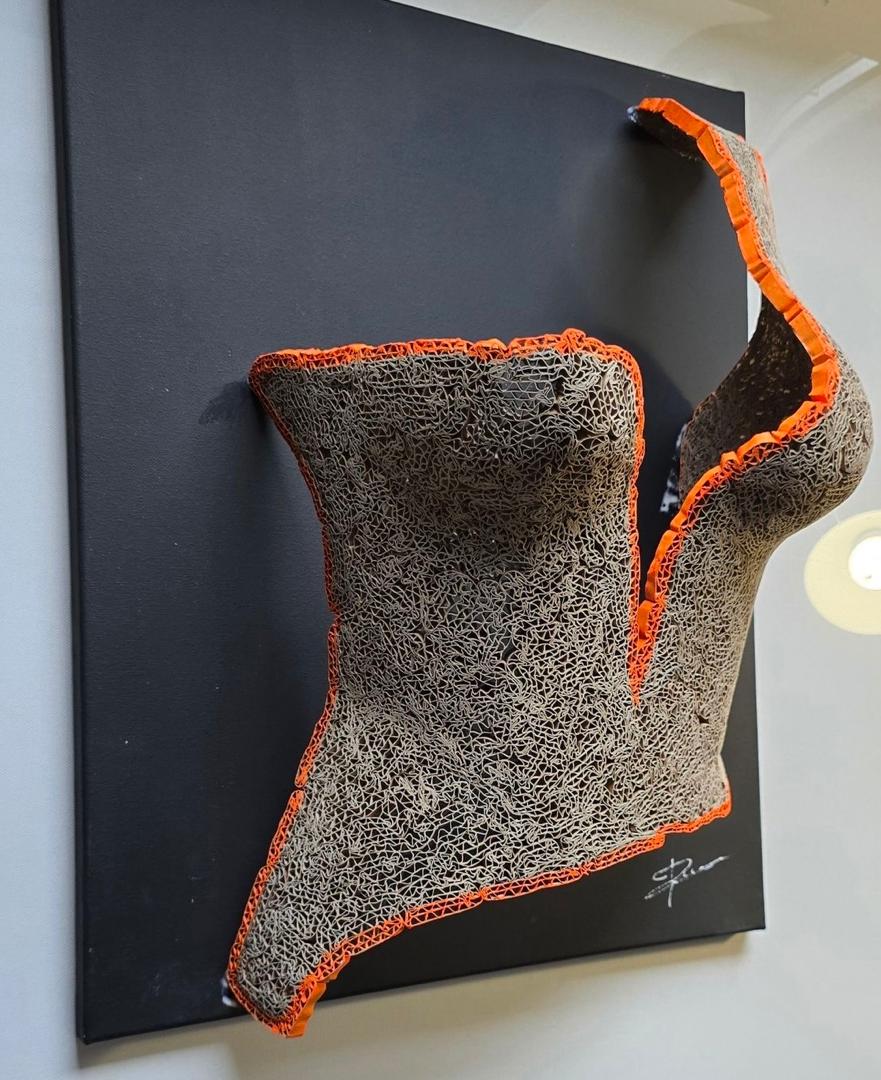
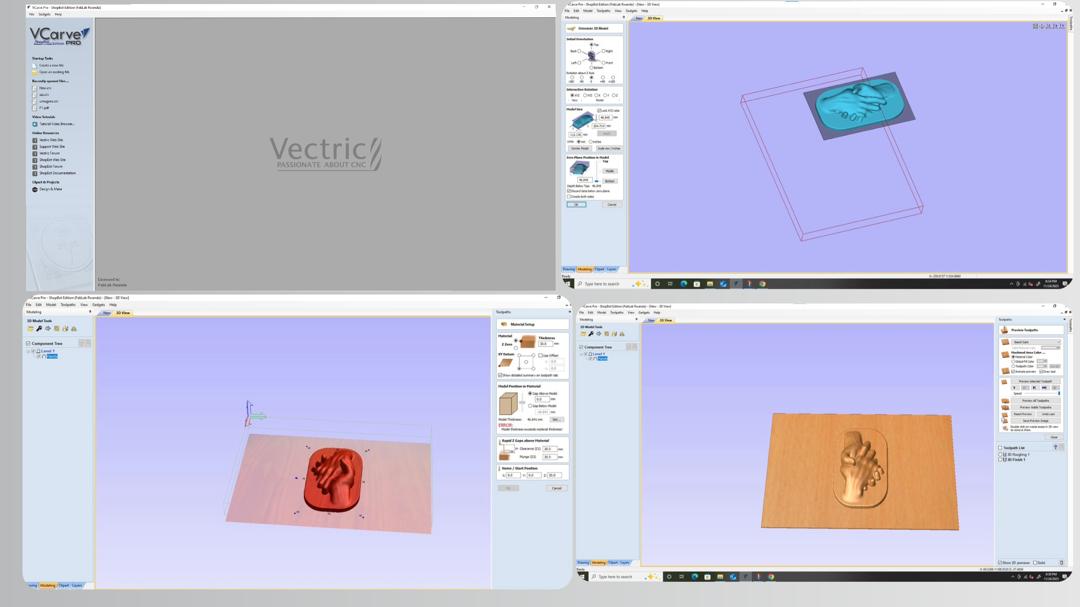
wanted to learn how VCarve creates a 3D relief toolpath. I didn’t cut it on CNC, but I tested the same model using a 3D printer to see the shape physically.
-
Tools Used
• VCarve
• CNC machine (simulation only)
• 3D Printer
• PLA filament
-
Workflow
-
Imported the hands-relief model into VCarve.
-
Adjusted size, depth, and viewed the toolpath simulation.
-
Exported the model as STL.
-
Sliced and 3D printed it to preview details.
-
-
What I Learned
• How VCarve generates 3D toolpaths
• How the relief will look before CNC cutting
• Using 3D printing as a quick test
-
Connection to Star Mold
Just like the star-shaped mold experiment, this helped me understand the full process from digital design → preview → physical test.
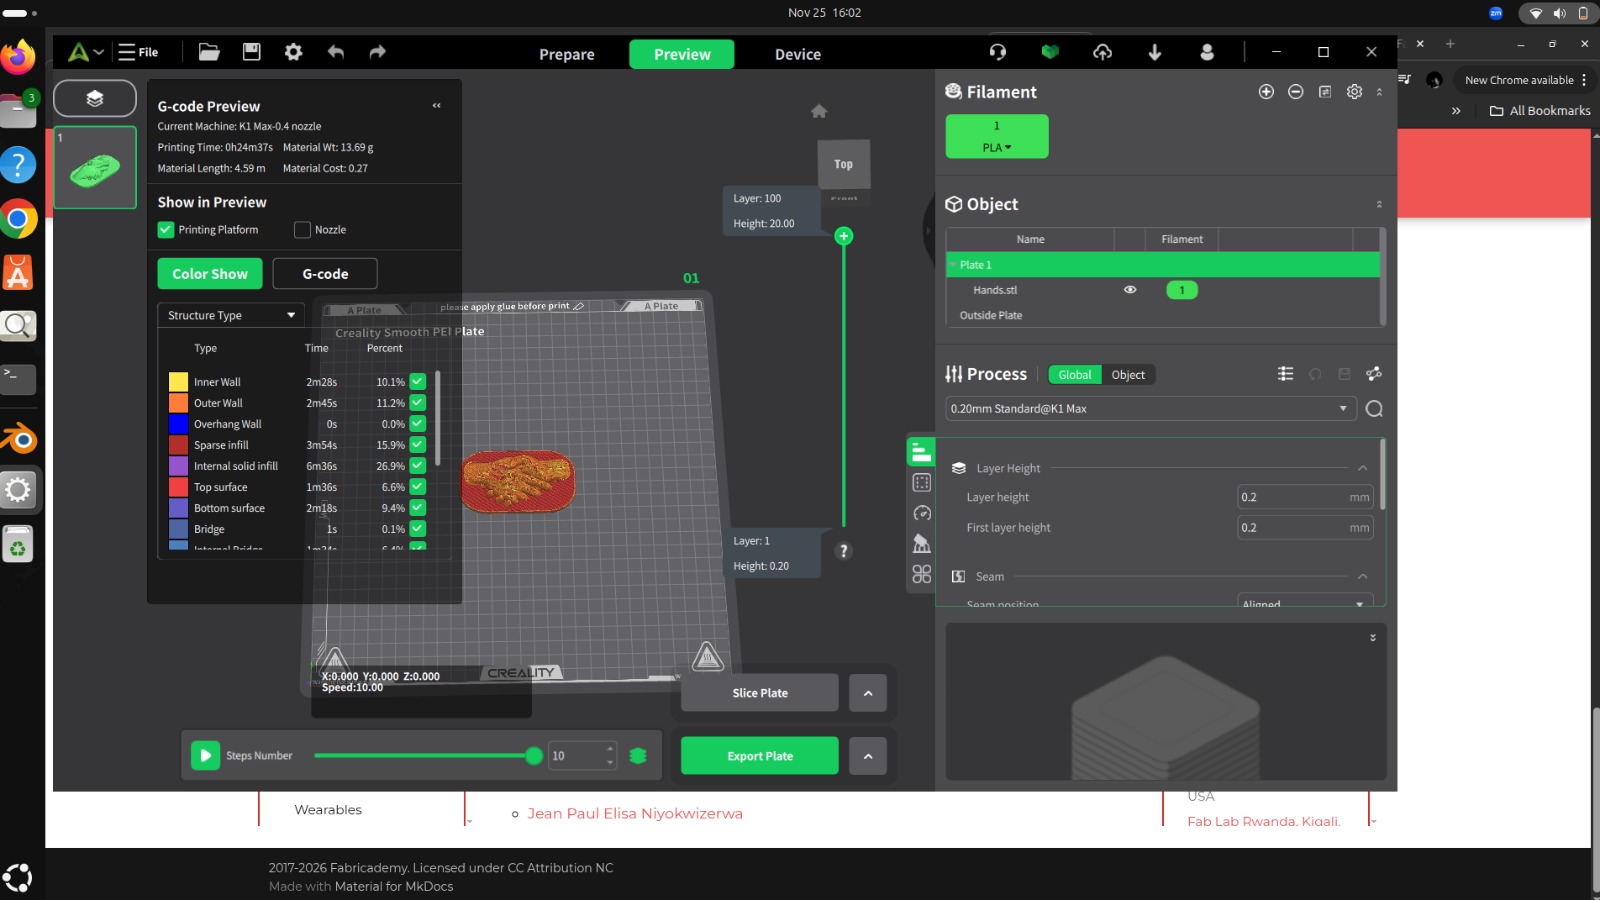
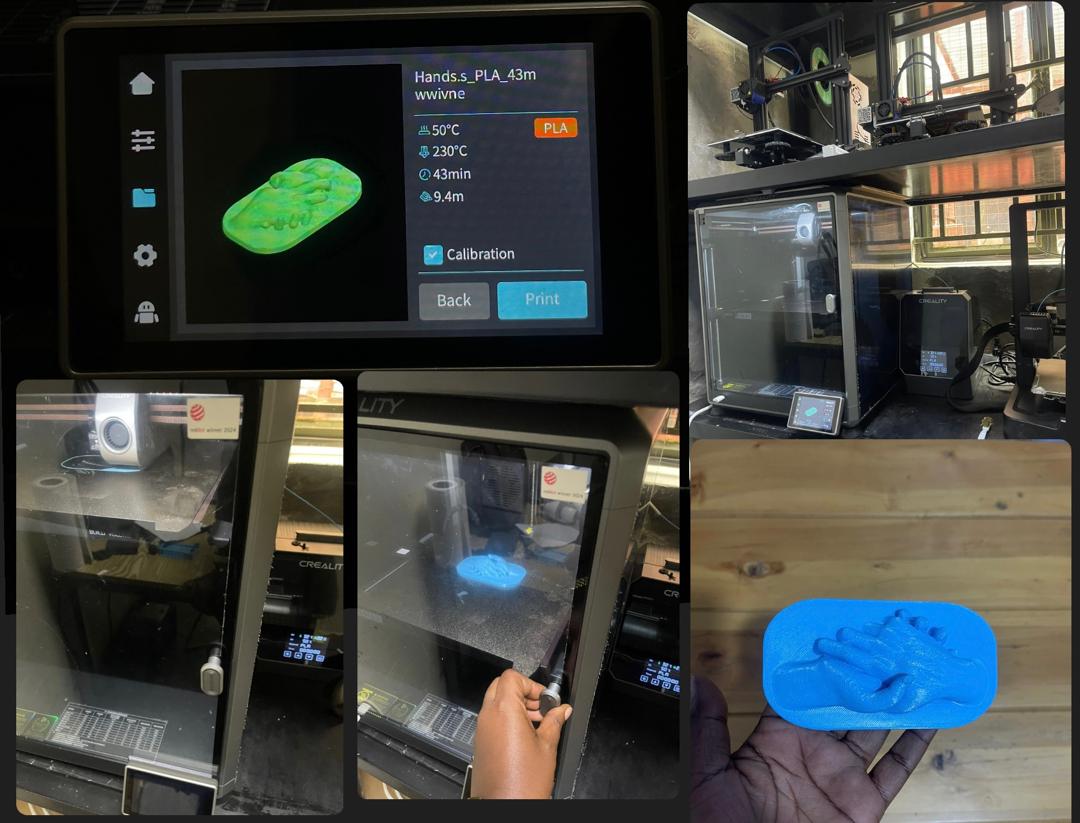
I couldn't mold this design but if it's has been cut on CNC I would have done that cause wood absorb water and it can be easy campared to 3D design
CRYSTALISATION
Crystallisation is a process where a solid forms from a liquid solution. It happens when a substance is dissolved in water and then starts to come back together as solid crystals when the solution cools or evaporates.
When making crystals:
- The powder dissolves in hot water
- The solution becomes saturated (holds as much as possible)
- As it cools, crystals start forming
- These crystals attach to surfaces like fabric or objects
This makes crystallisation interesting for textile experiments because the crystals can grow directly on materials and change their texture and appearance.
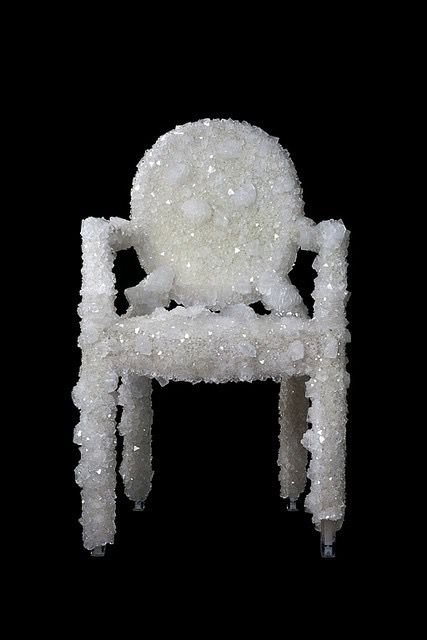
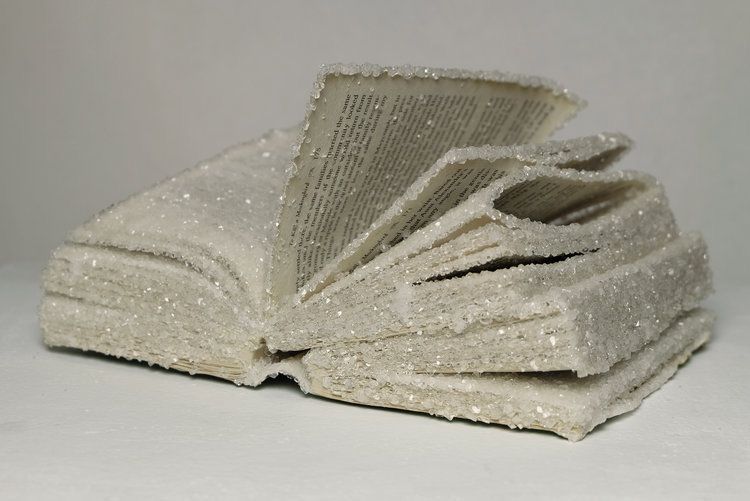
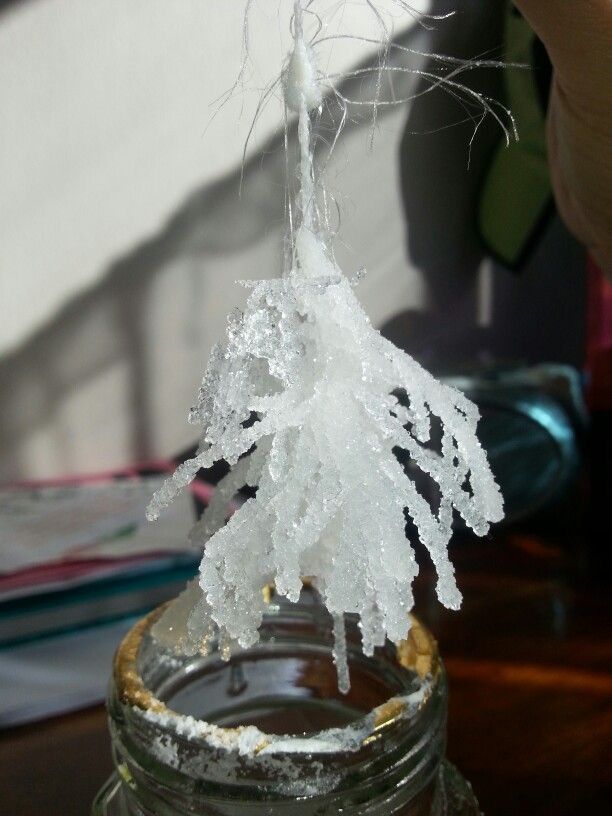
- It creates solid structures from liquid
- It can transform soft materials (like fabric) into rigid forms
- It introduces natural patterns and textures
REFERENCES & INSPIRATION
Inspiration
This experiment is inspired by material exploration where natural processes are used to create new textures and structures.
Related Ideas
- Crystal growing experiments
- Textile scaffolds
- Material transformation through chemistry
References
WORKFLOW & PROCESS
Crystallisation Process
[ Alum Powder ] + [ Hot Water ] ↓ (mixing) [ Saturated Solution ] ↓ [ Fabric Immersed ] ↓ (cooling / evaporation) [ Crystal Formation ] ↓ [ Crystals Attach to Fabric ] ↓ [ Rigid / Textured Material ]
Materials
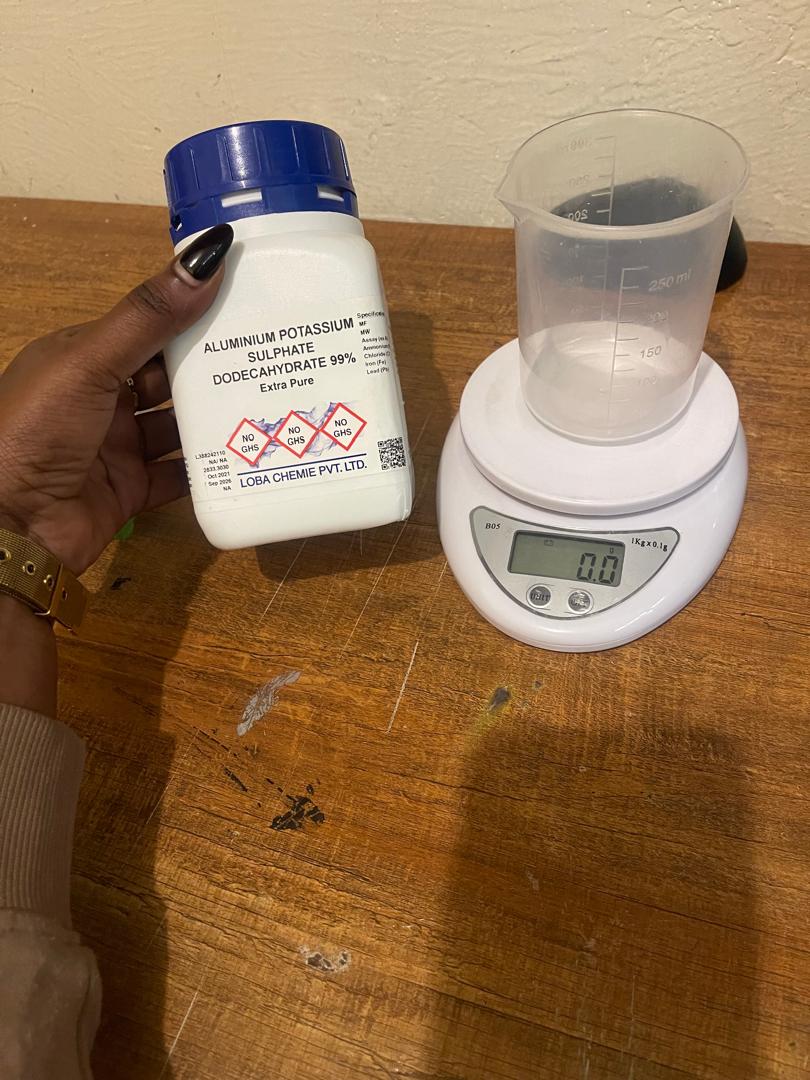
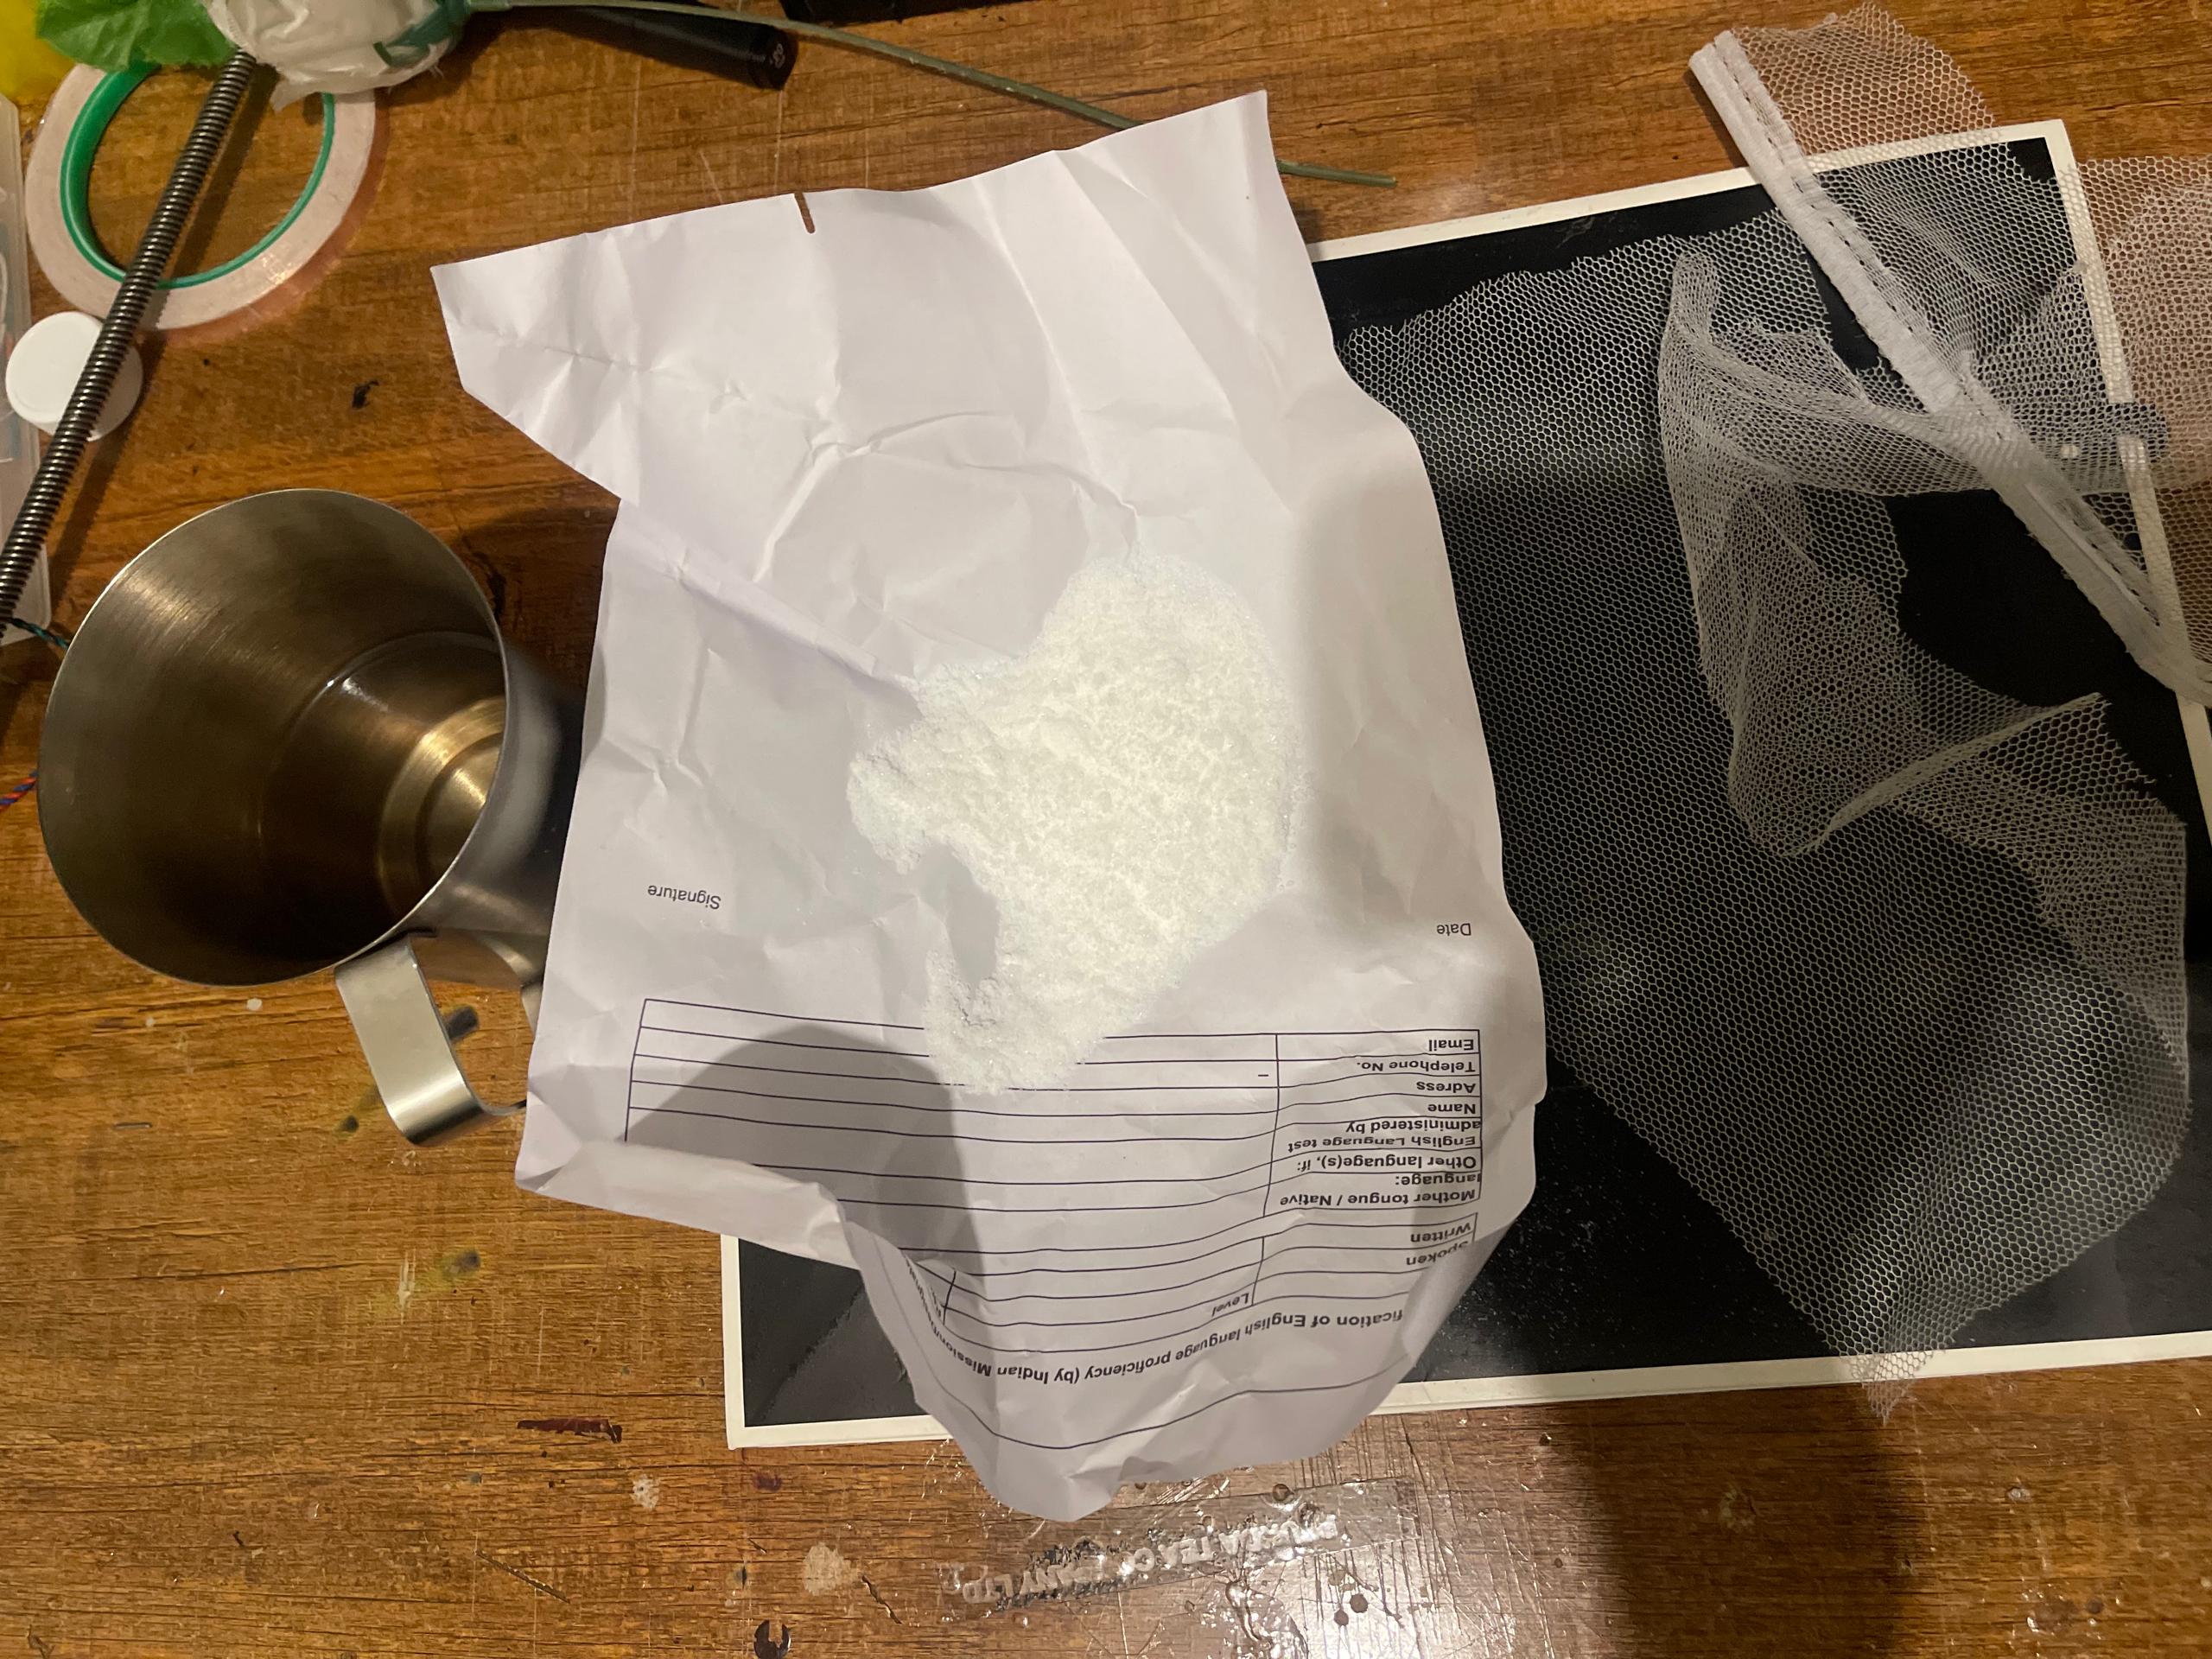
- Alum powder
- Hot water
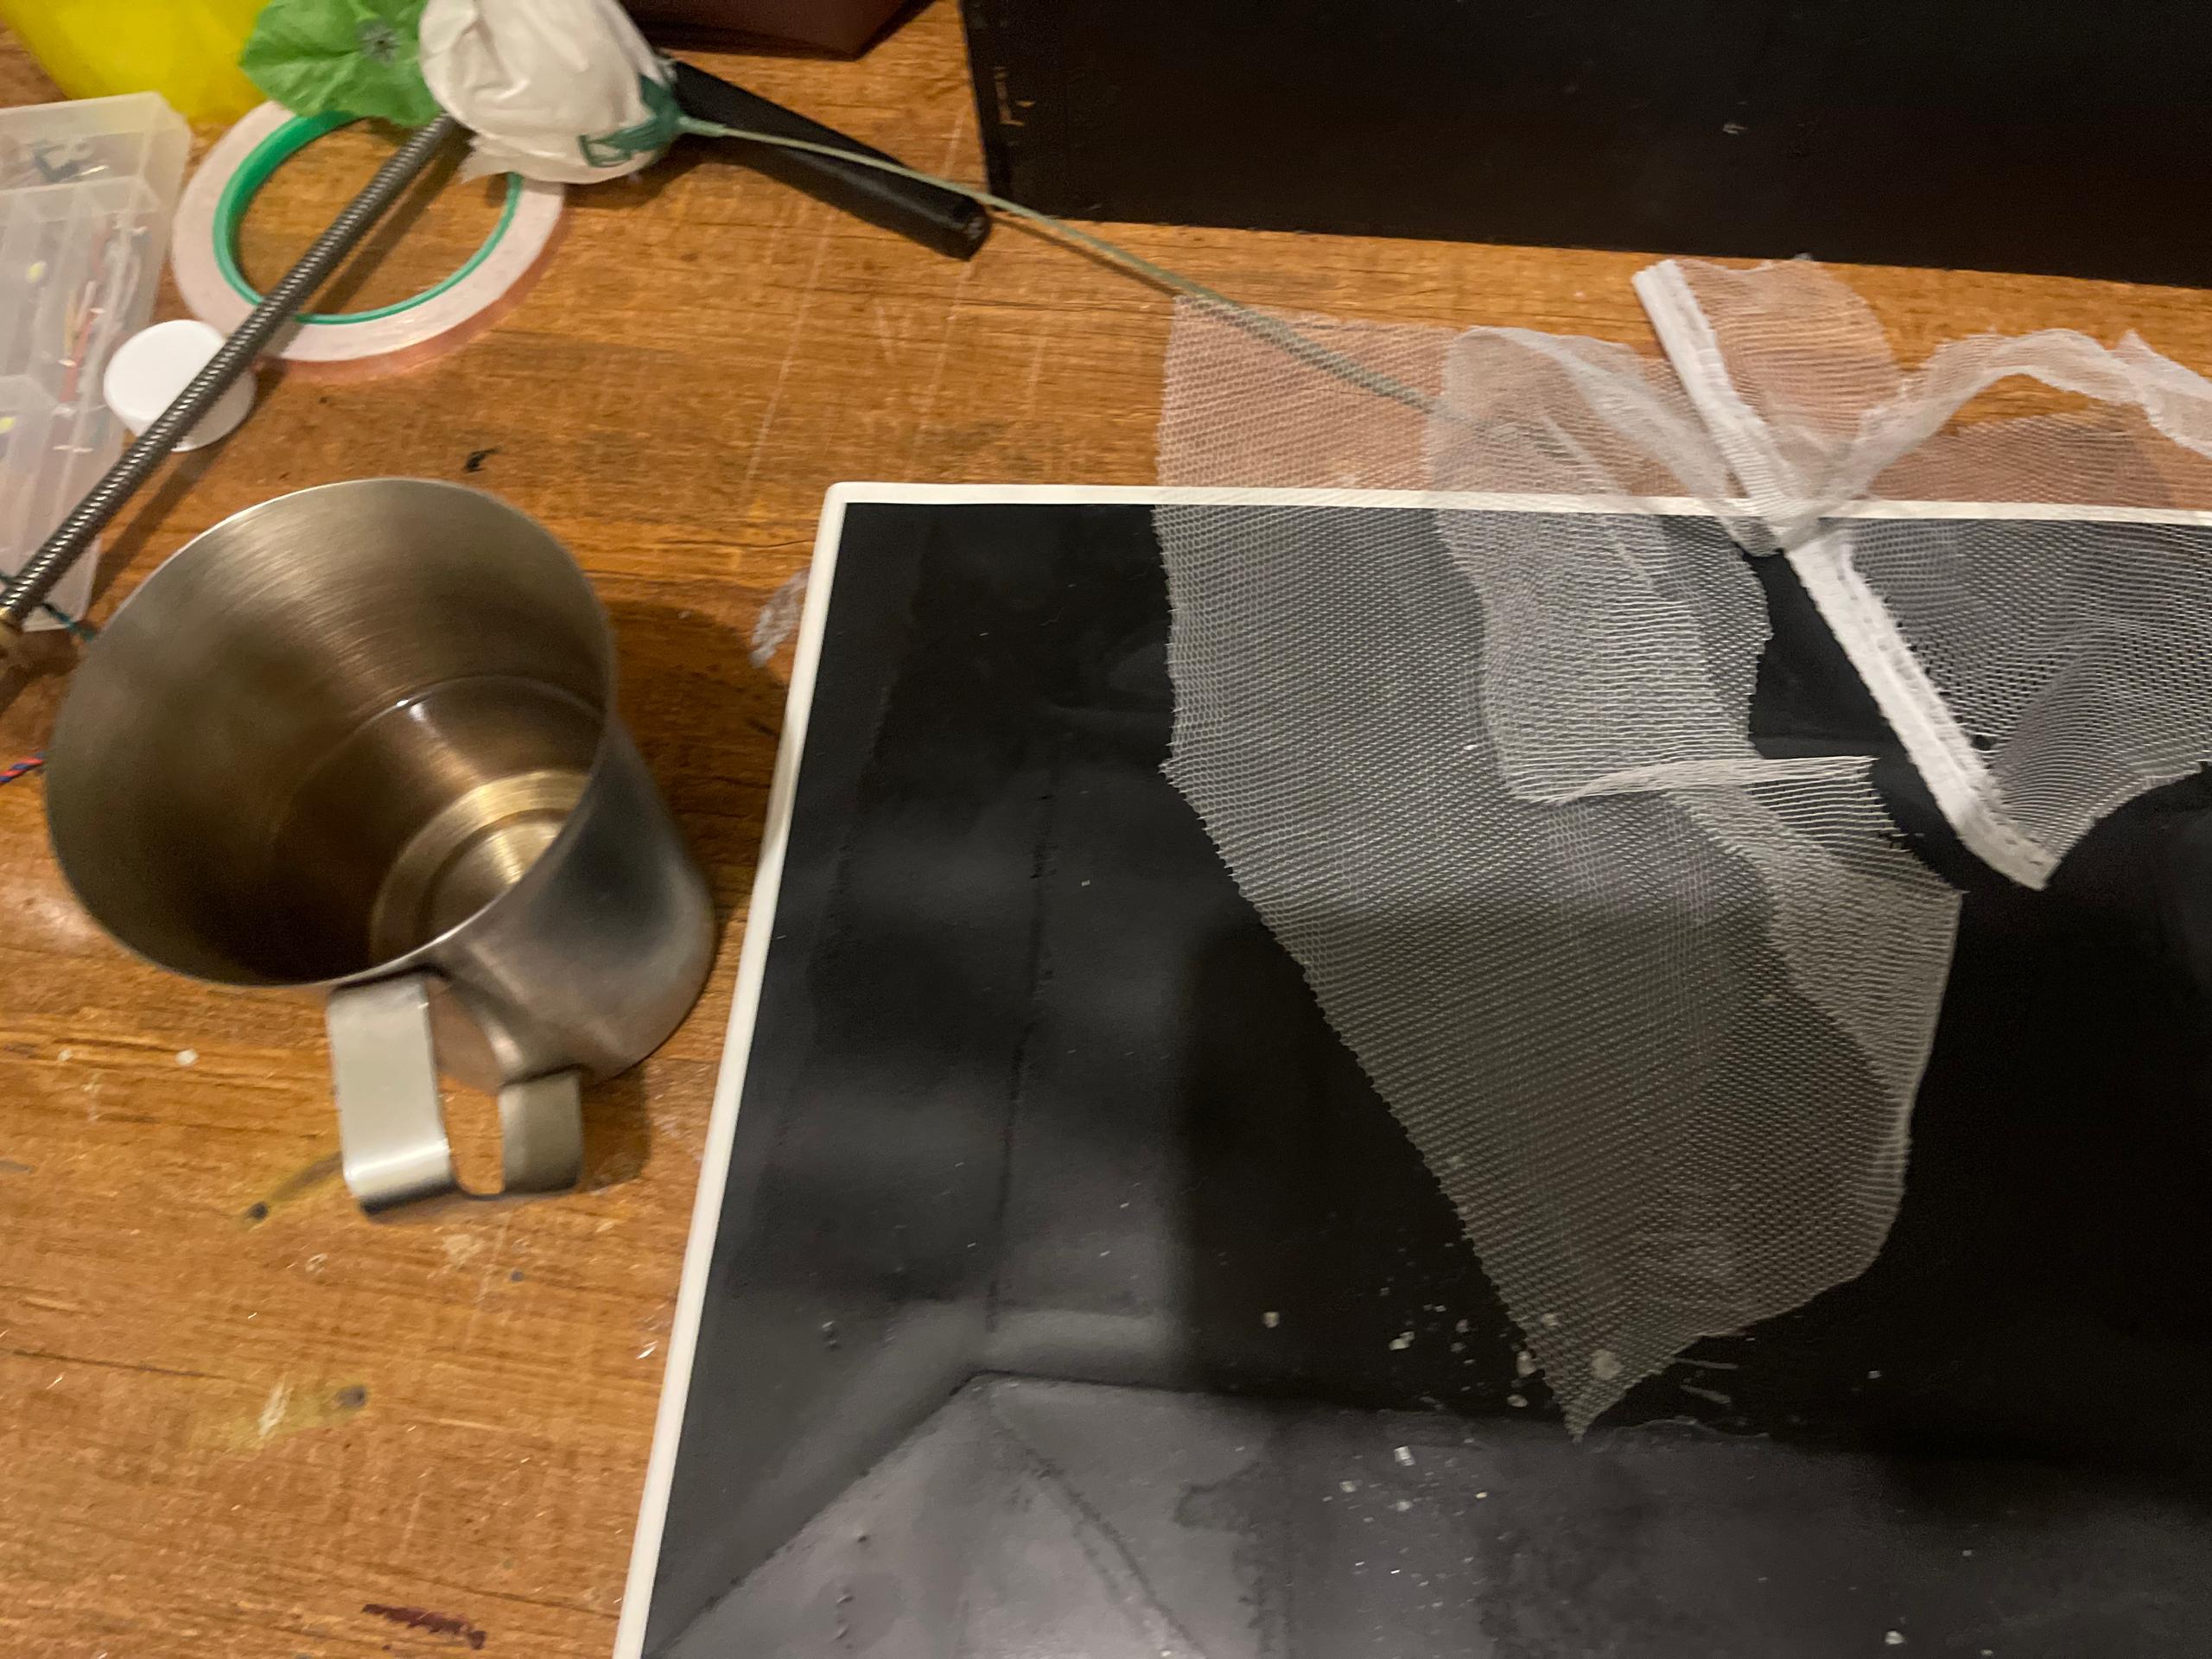
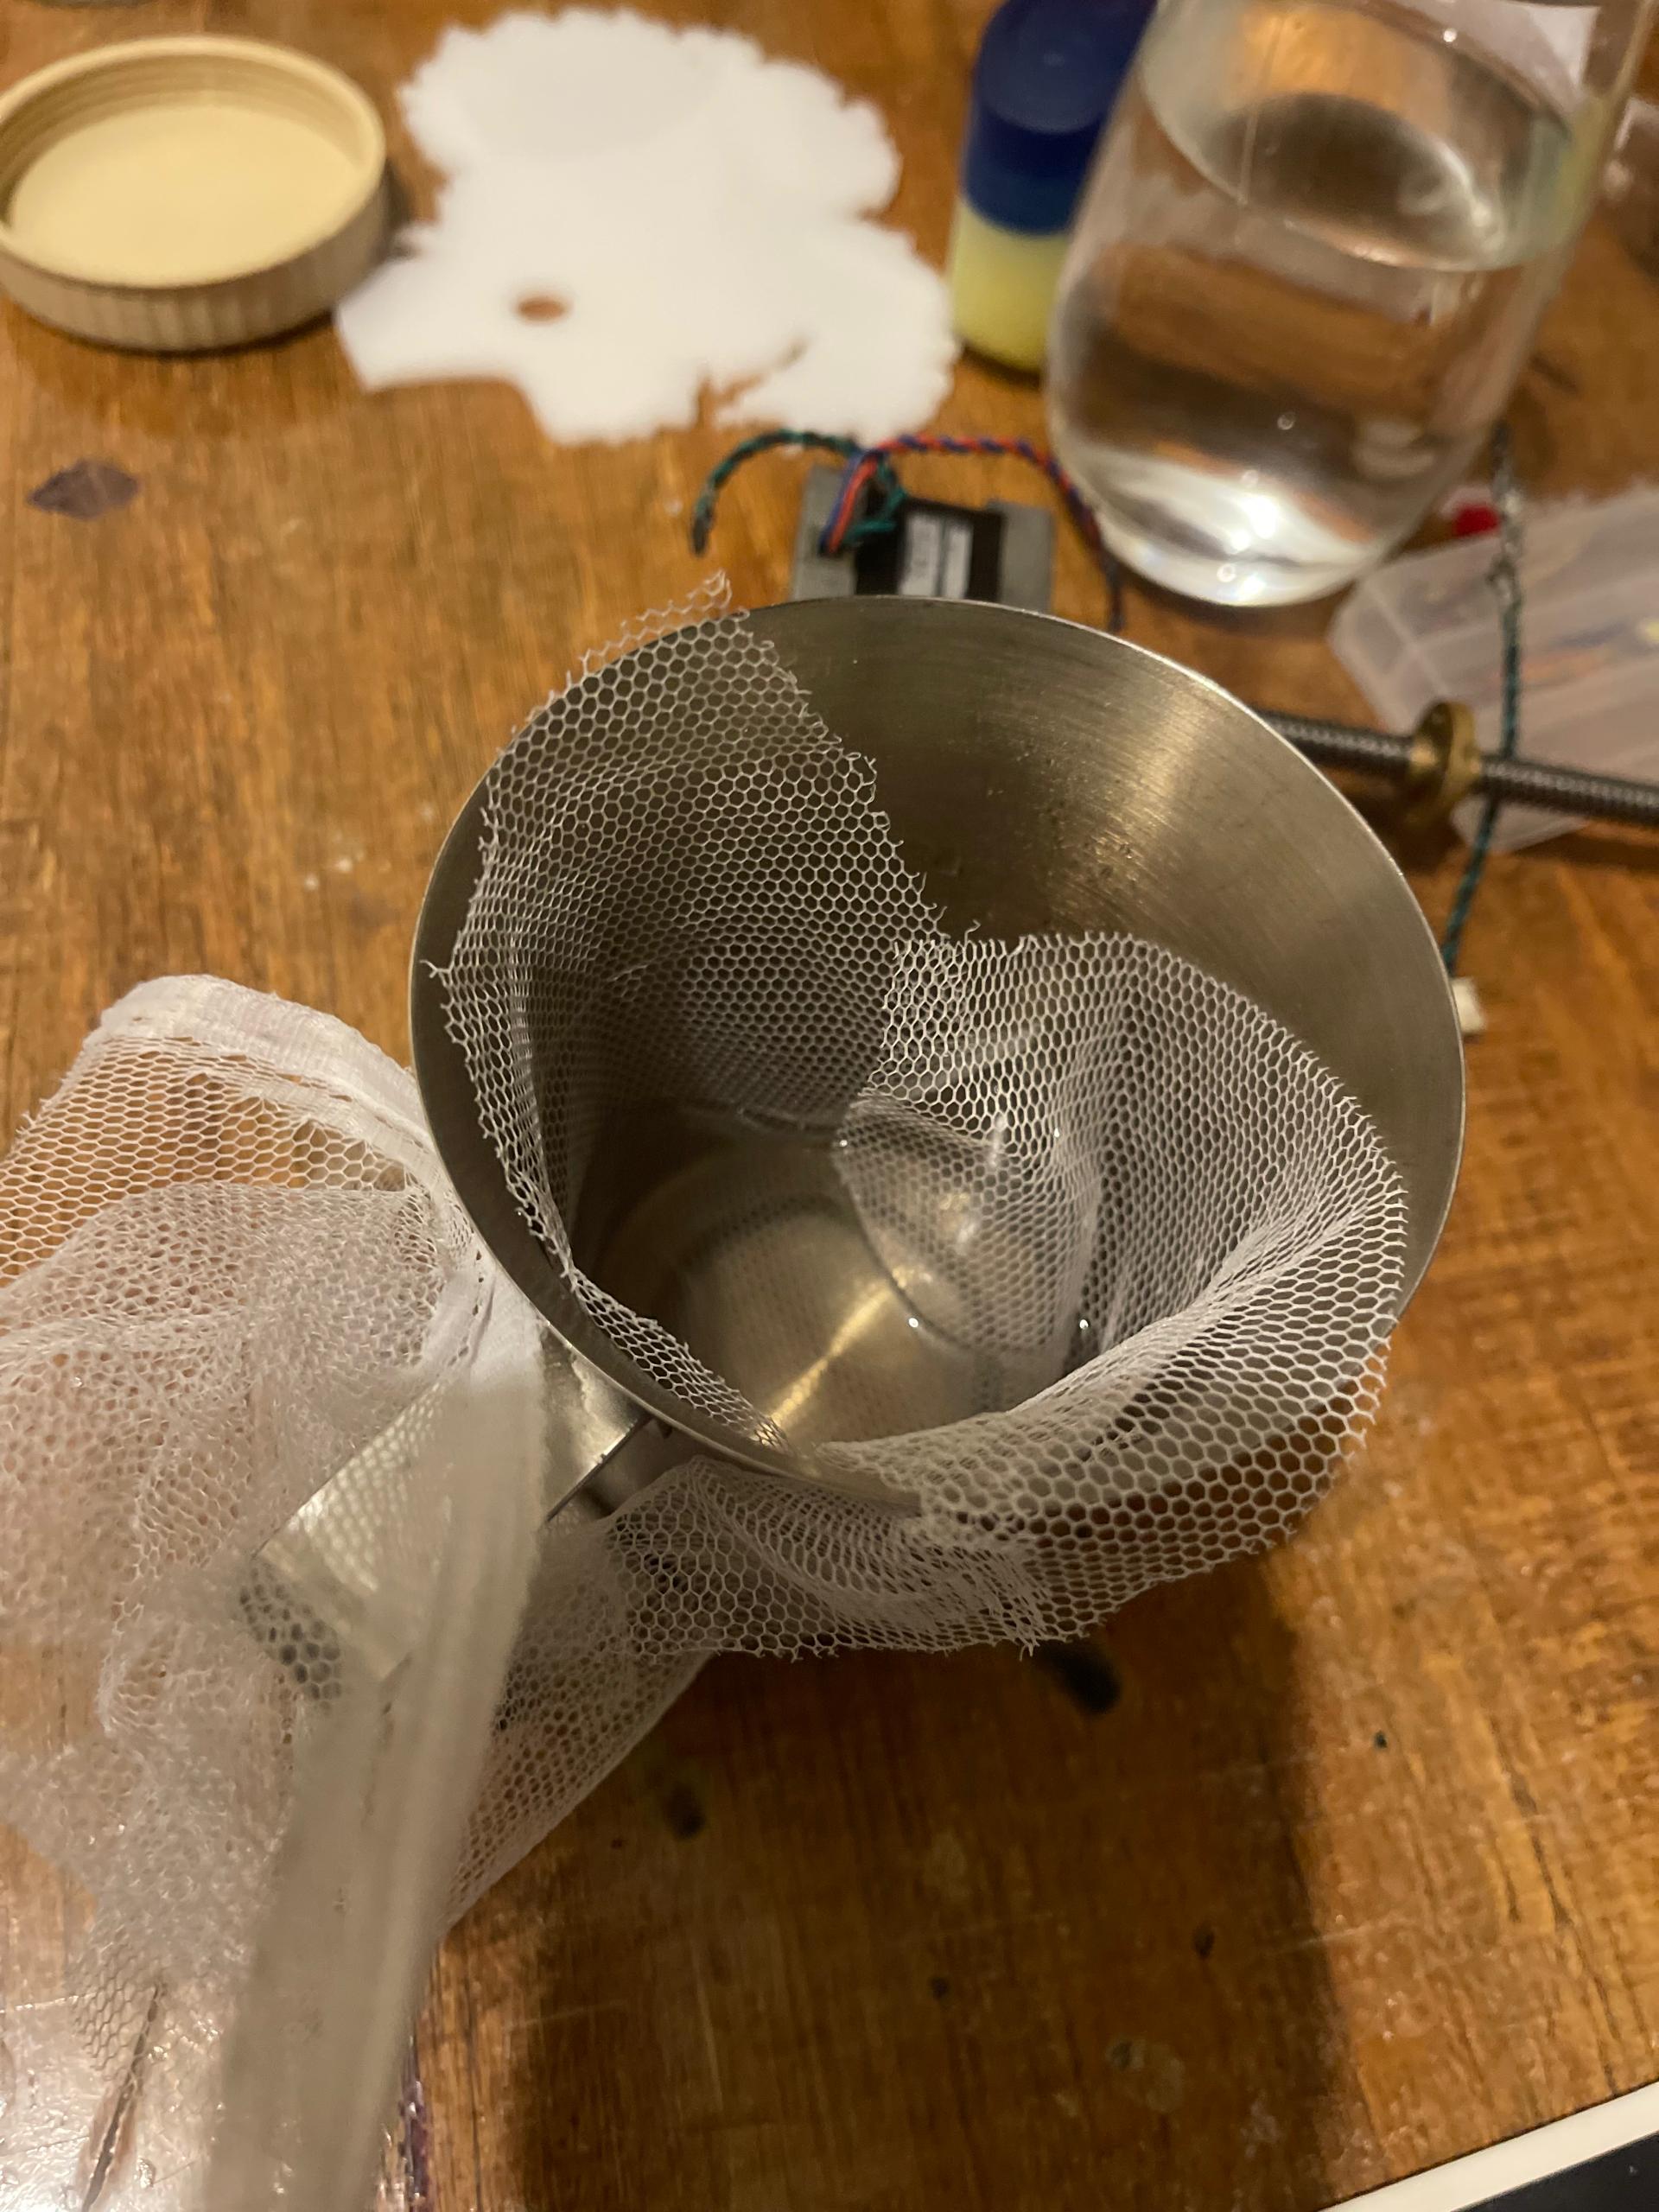
- container
- Spoon for mixing
- artificial flower
Step 1
- Preparing the solution
- I heated water until it was hot (not boiling)
- I added alum powder gradually
- I mixed until the alum fully dissolved
- The solution became clear
Step 2
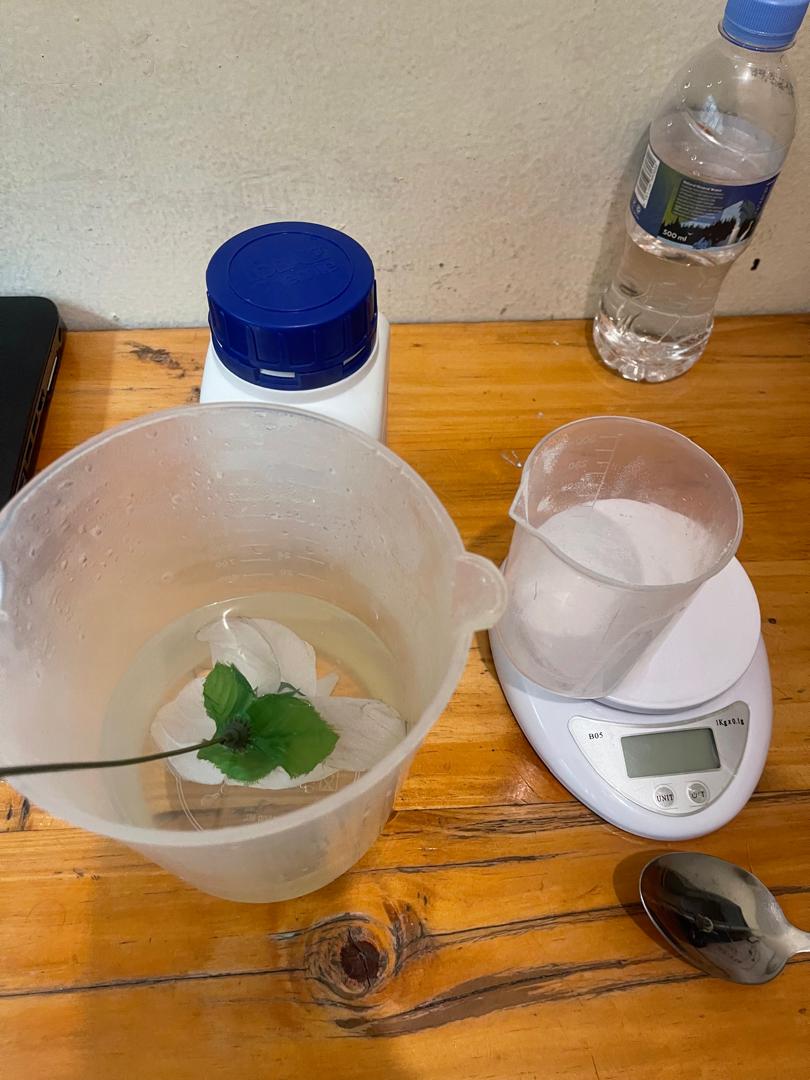
- Setting the flower
- I placed the flower inside the solution
- Made sure it was fully soaked
Step 3
- Crystal growth
- I left the container undisturbed
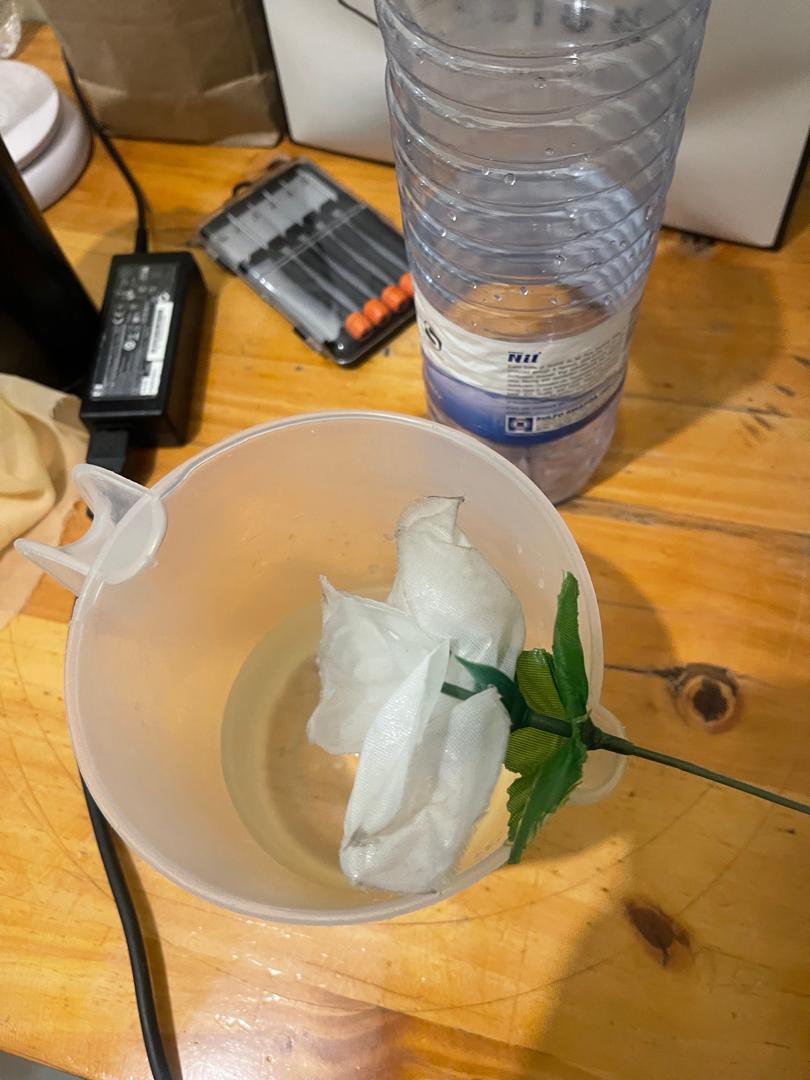
In my first crystallisation experiment, the result was not successful due to a lack of precise measurements.
- I did not control the ratio of alum to water
- The solution was not properly saturated
- Crystal growth was weak and uneven
- I moved the setup during crystal formation
- I removed the fabric too early and did not let it stay long enough
Second Attempt — Improvement
After observing the failure, I repeated the process with better control.
This time I focused on:
- Using a balanced measurement of alum and water
- Making sure the alum fully dissolved
- Keeping the setup completely undisturbed
- Allowing enough time for crystals to fully grow
I also tested with a smaller piece of fabric, which improved the result.
Result
- Crystals formed more clearly on the fabric
- Growth was more visible and structured
- The material became stiffer compared to the first attempt
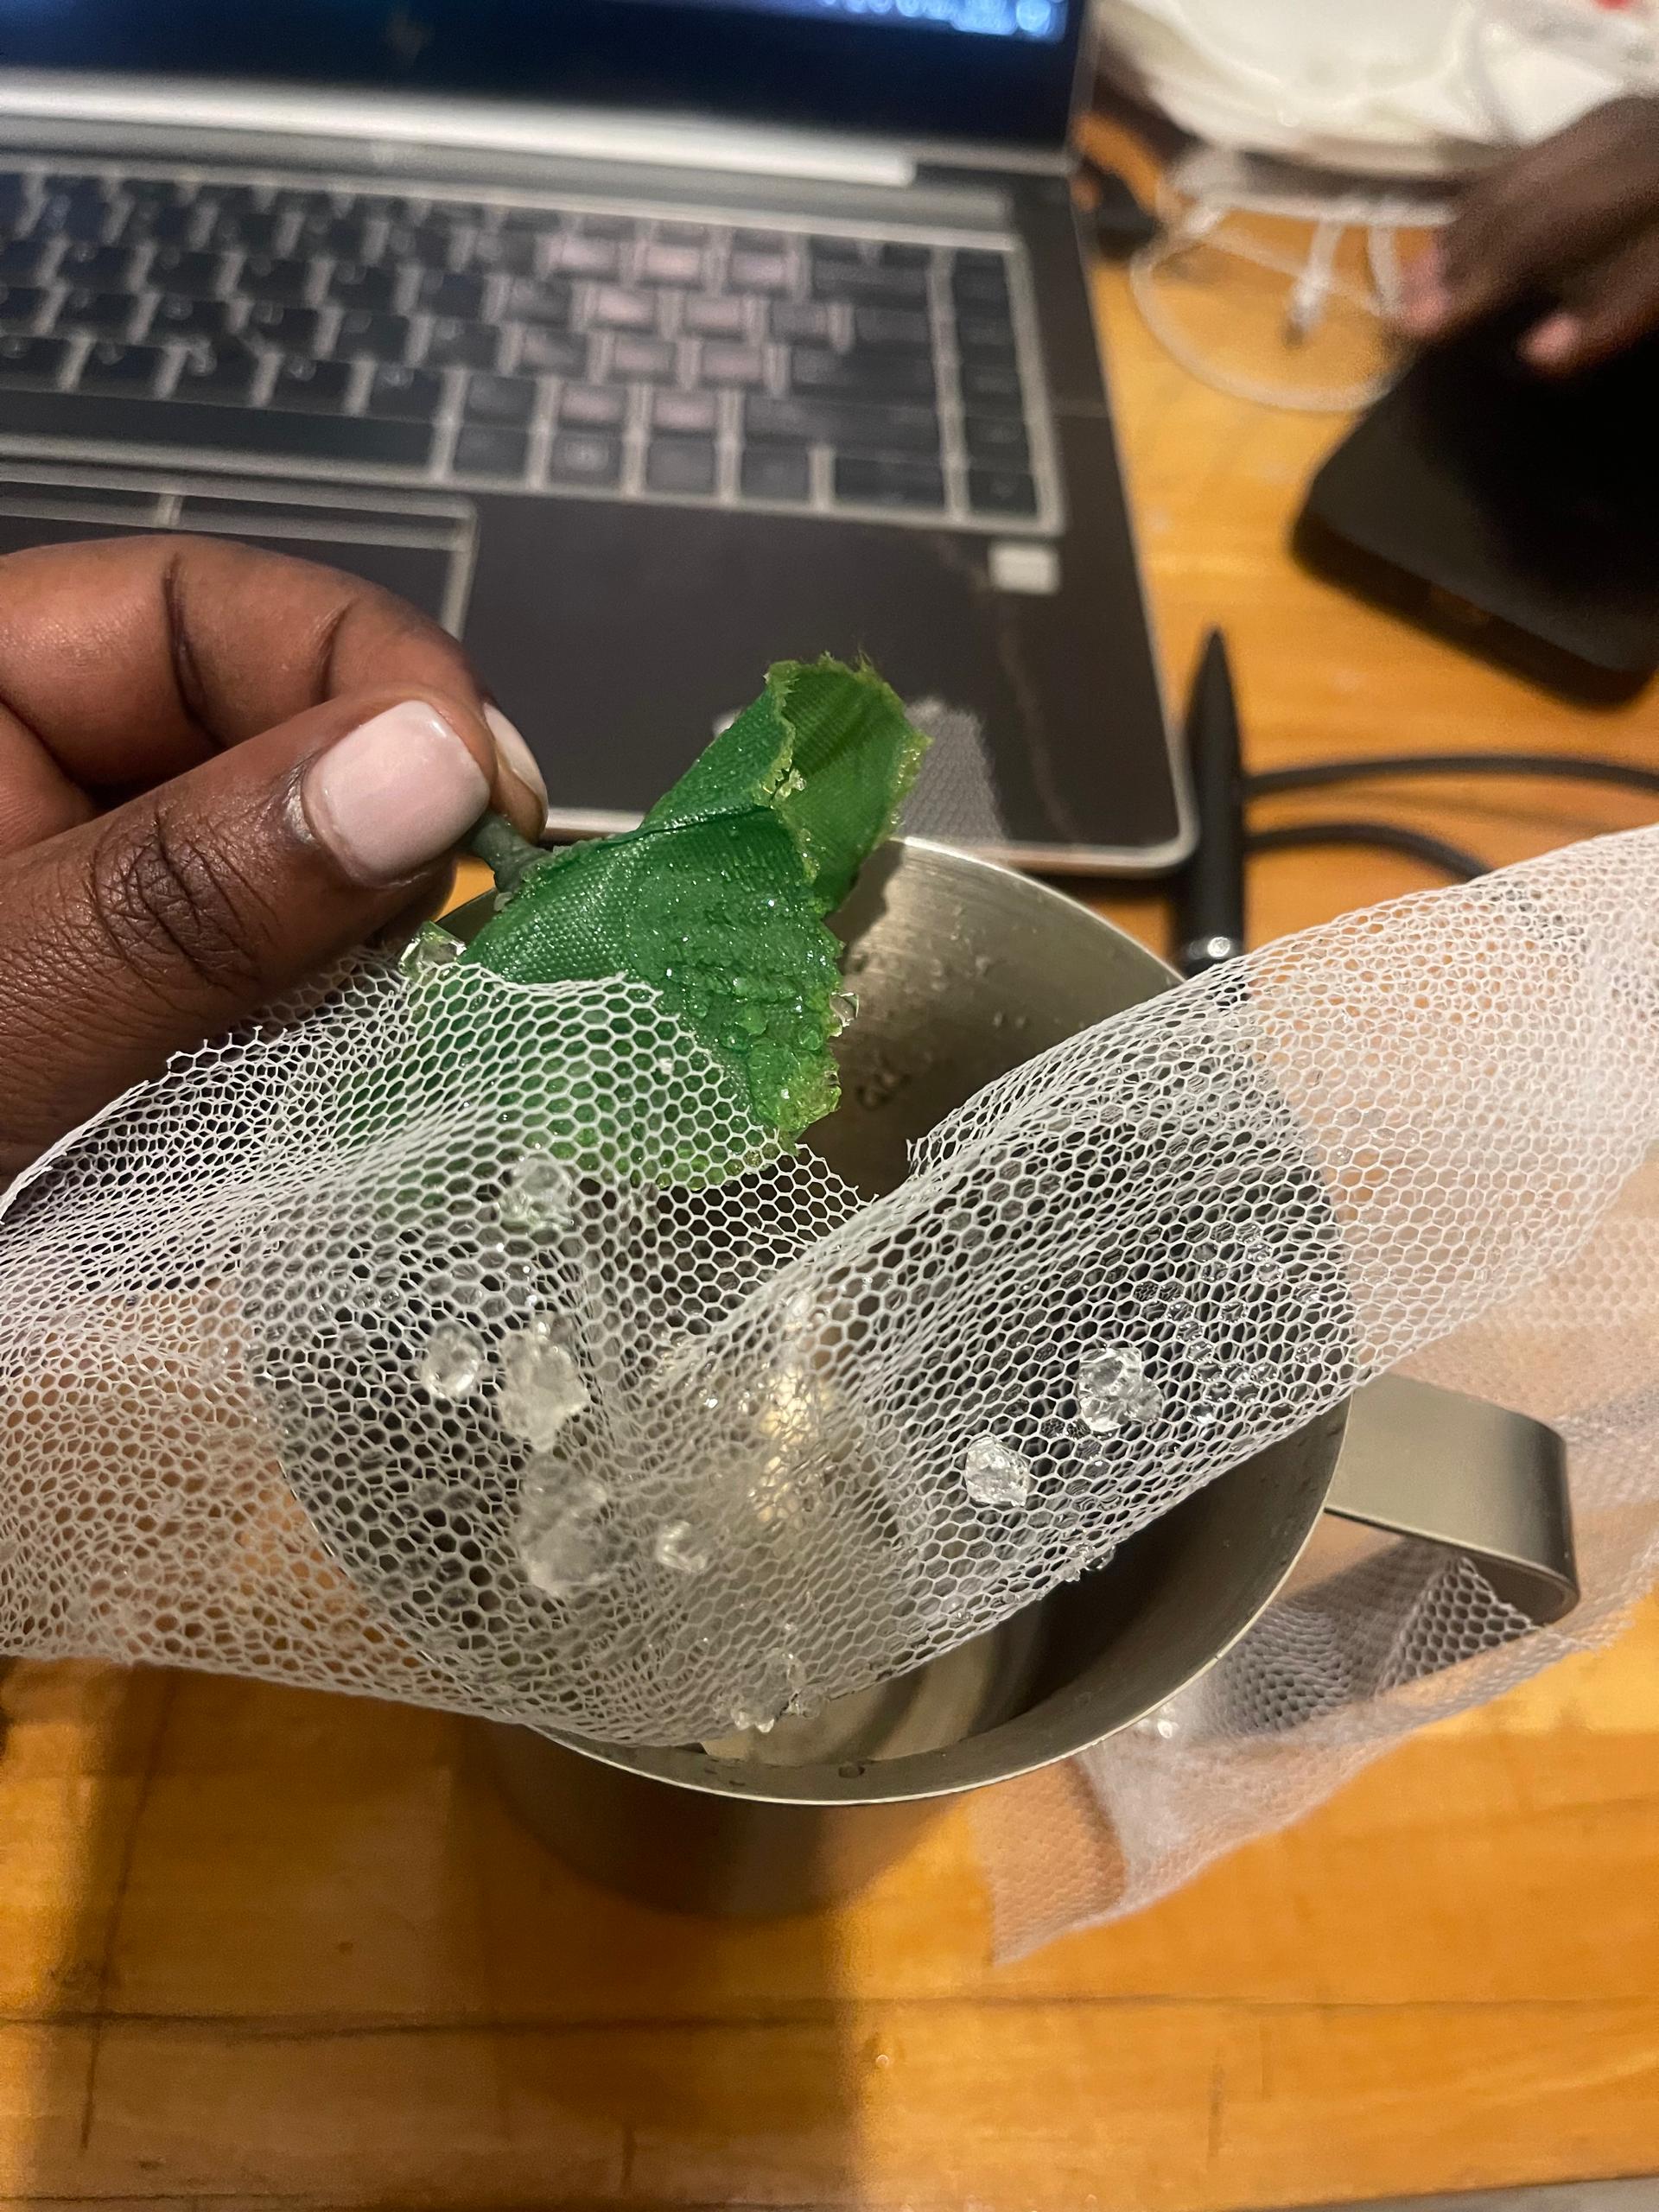
This experiment showed that crystallisation requires both precision and patience.
Disturbing the process or stopping it too early can prevent proper crystal formation.