Leather Molding and Vaccuum Machine
Design & Fabrication
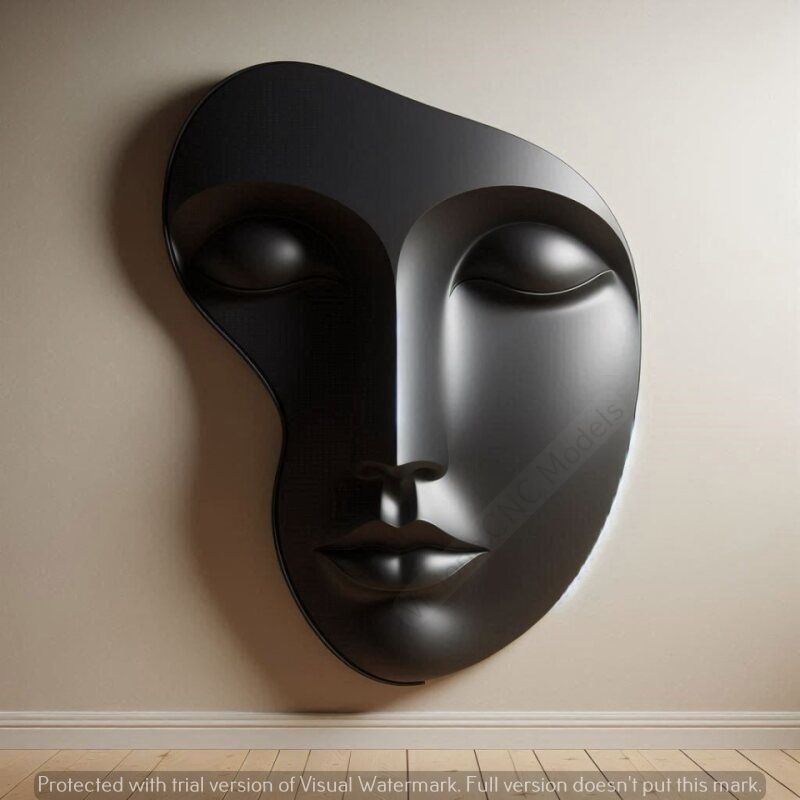


Ideation & sketches
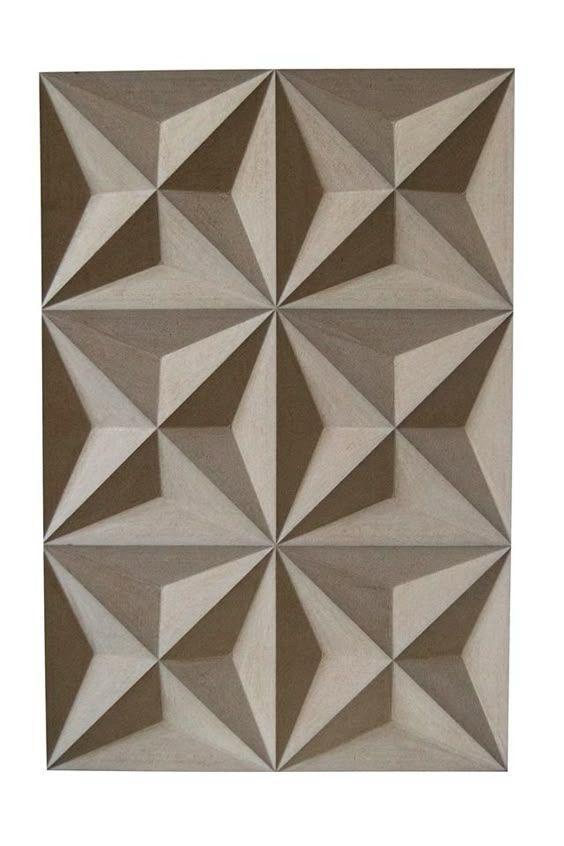
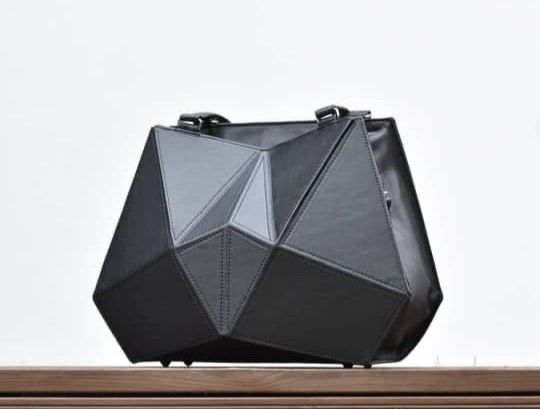
At this stage, I am documenting my thinking process and early exploration, not a final outcome. My focus is on making my development visible through sketches, rough prototypes, and quick tests.
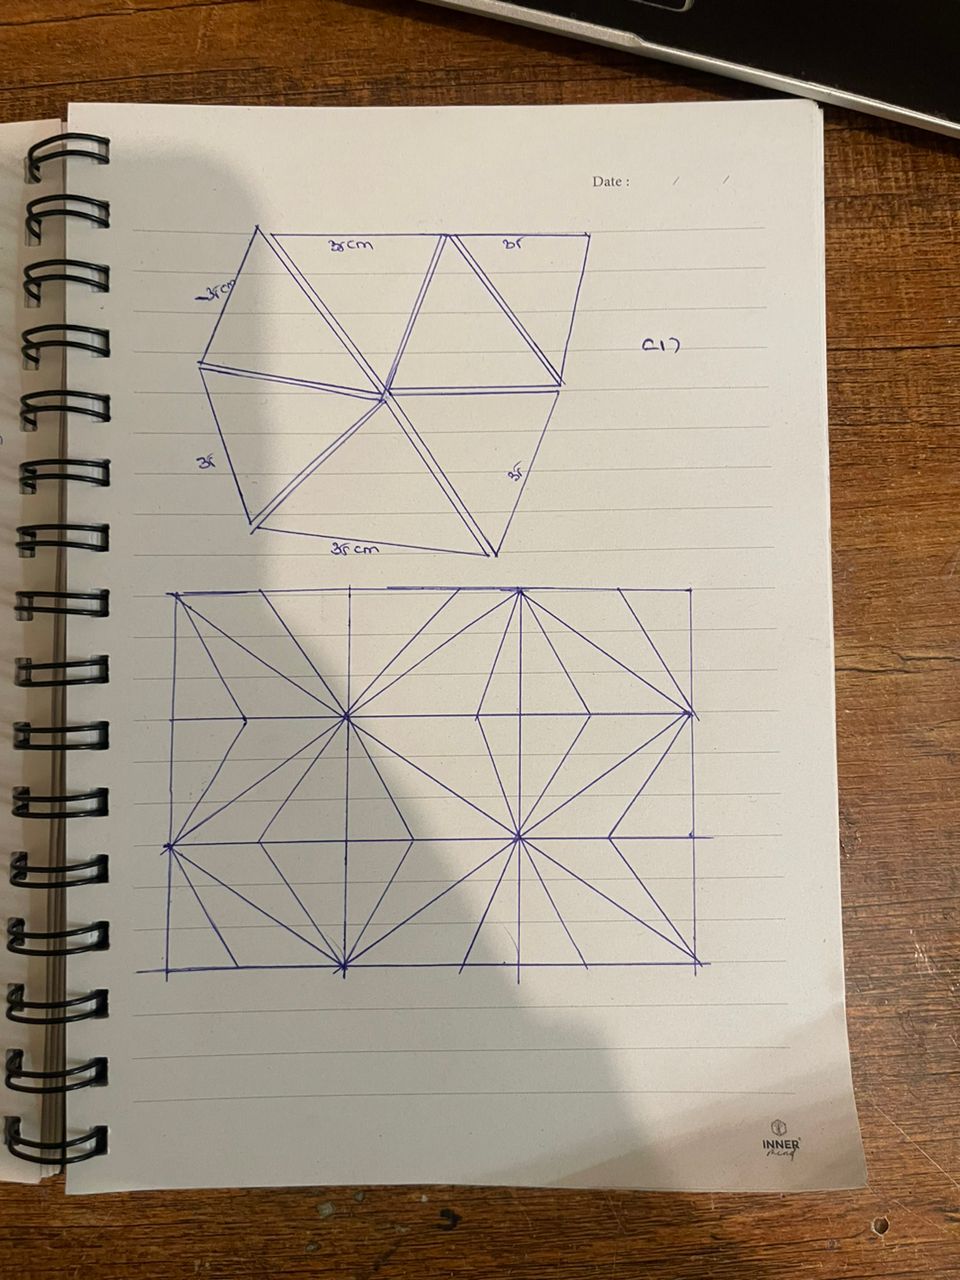
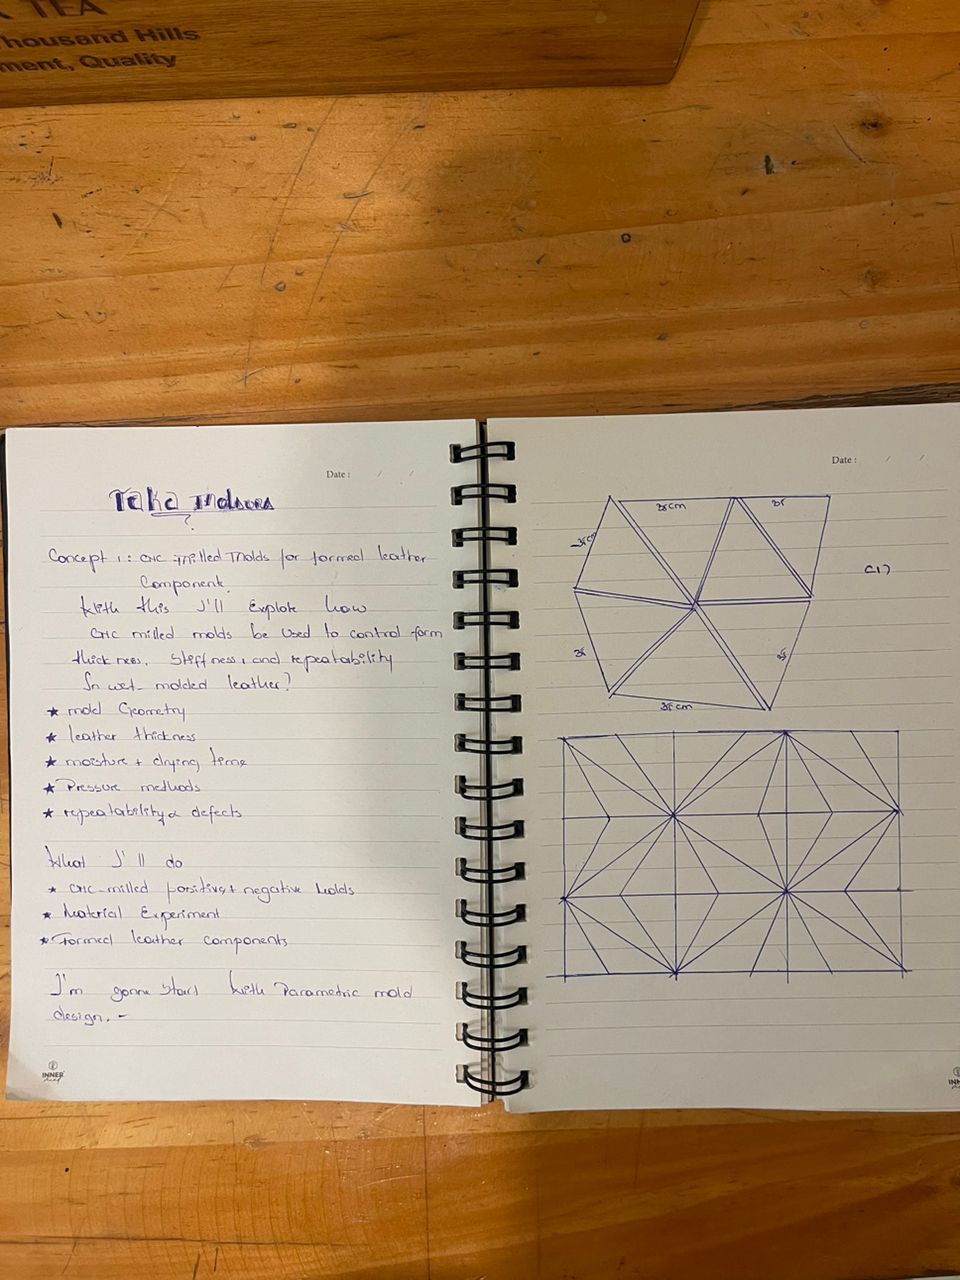
-
I started with hand drawings and geometric studies, exploring triangular and faceted forms as a modular system. These sketches helped me understand how flat geometry could translate into three-dimensional surfaces.
-
I then developed the geometry digitally using SolidWorks, testing proportions, angles, and depth before moving toward fabrication. This allowed me to quickly iterate and adjust the system while keeping it parametric.
MOLD DESIGN
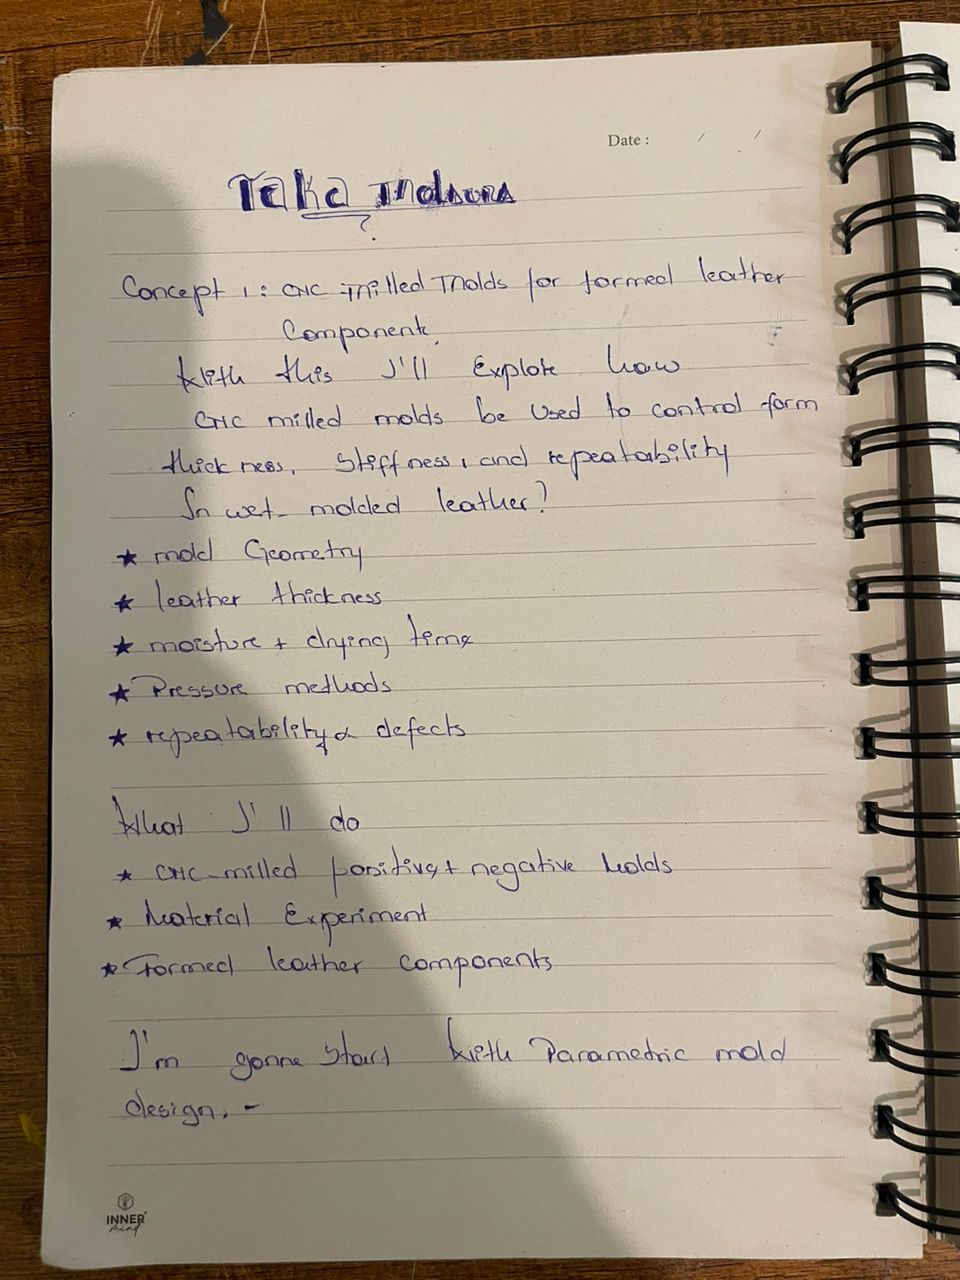
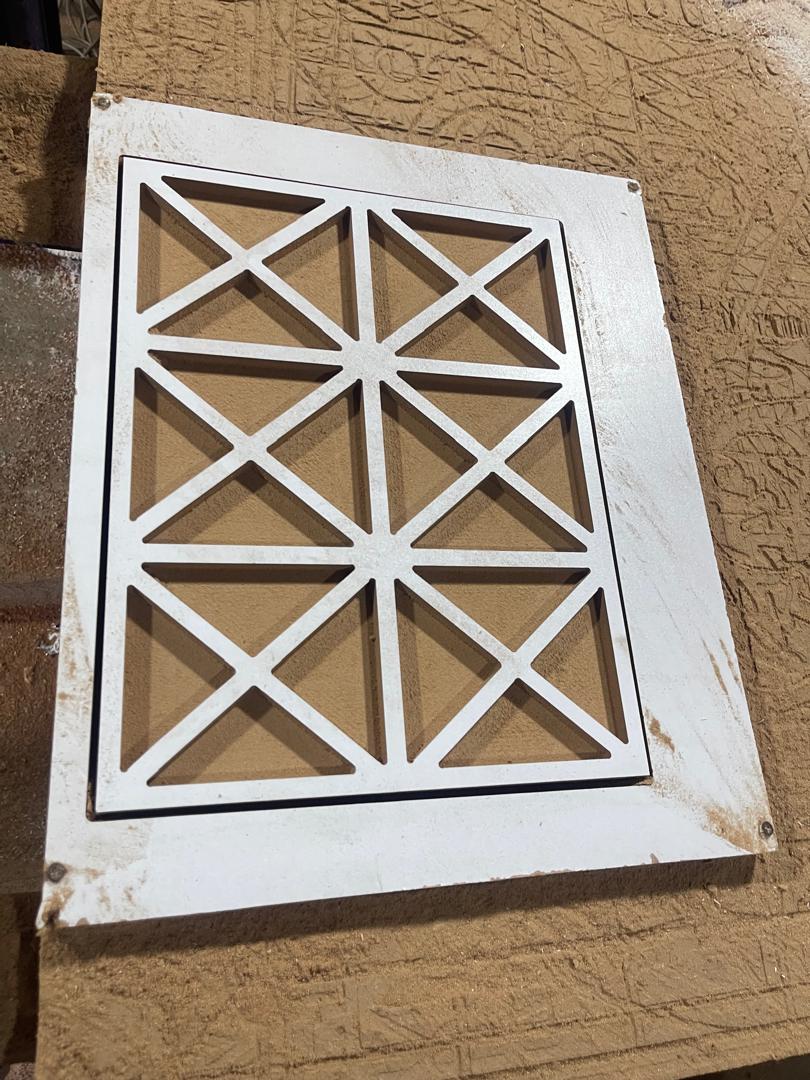
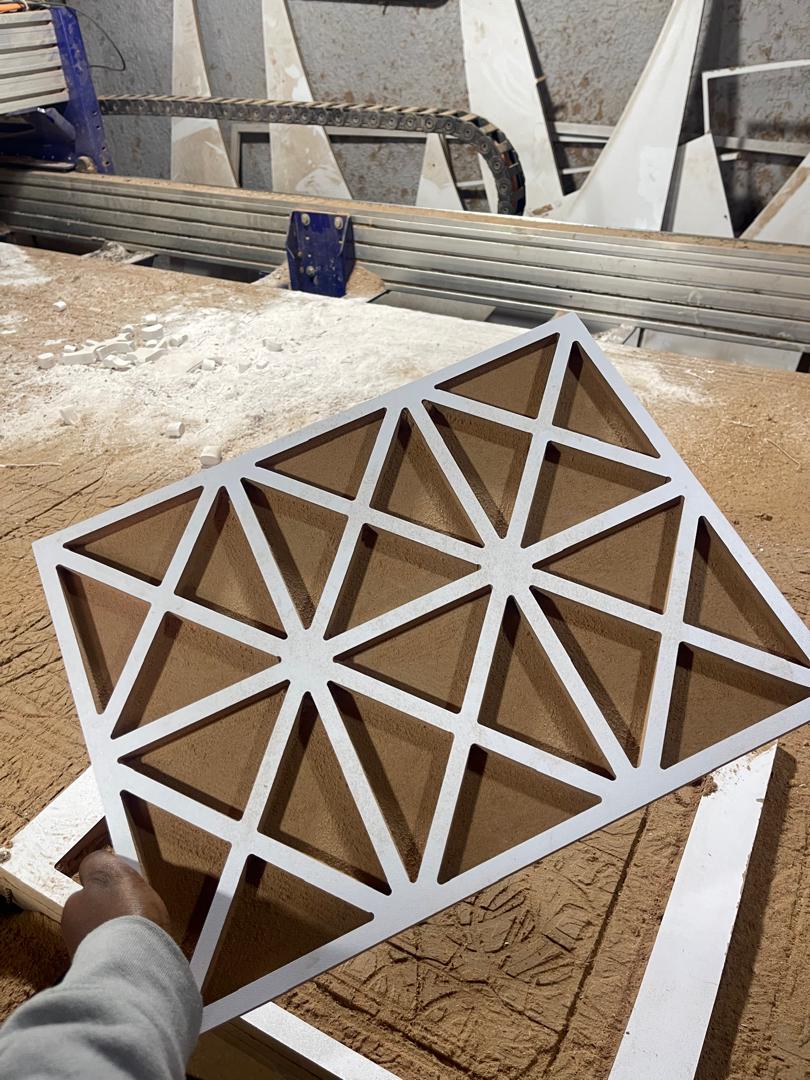
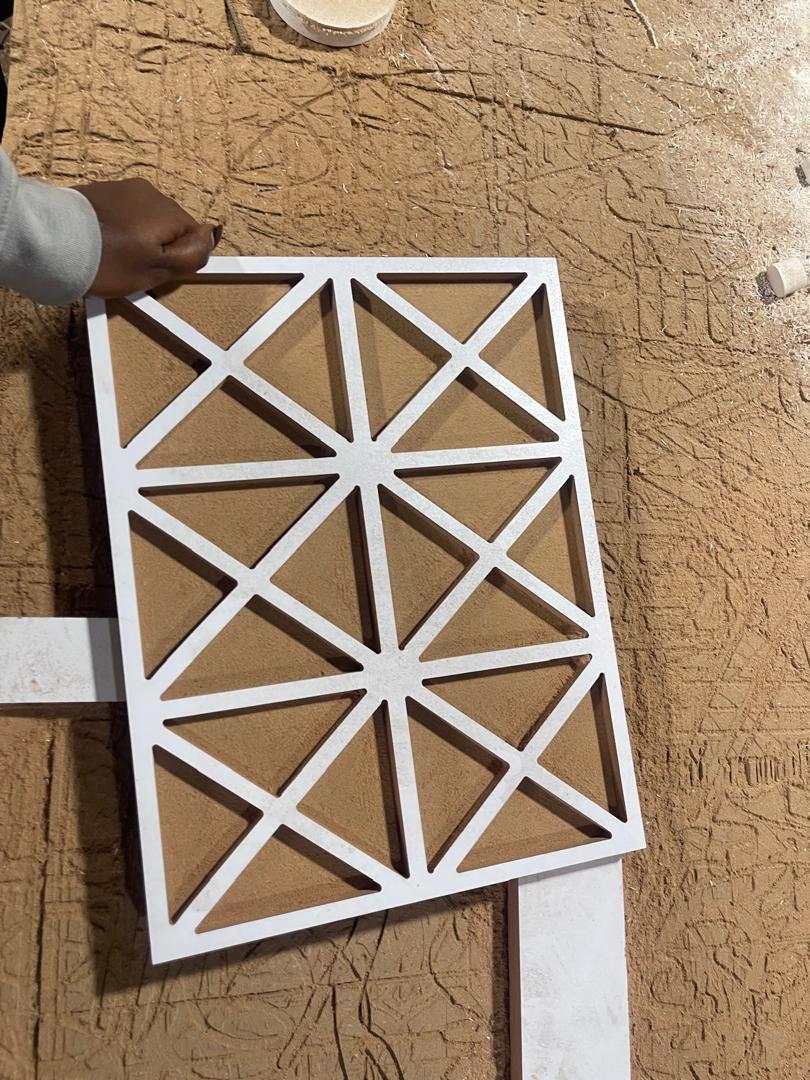
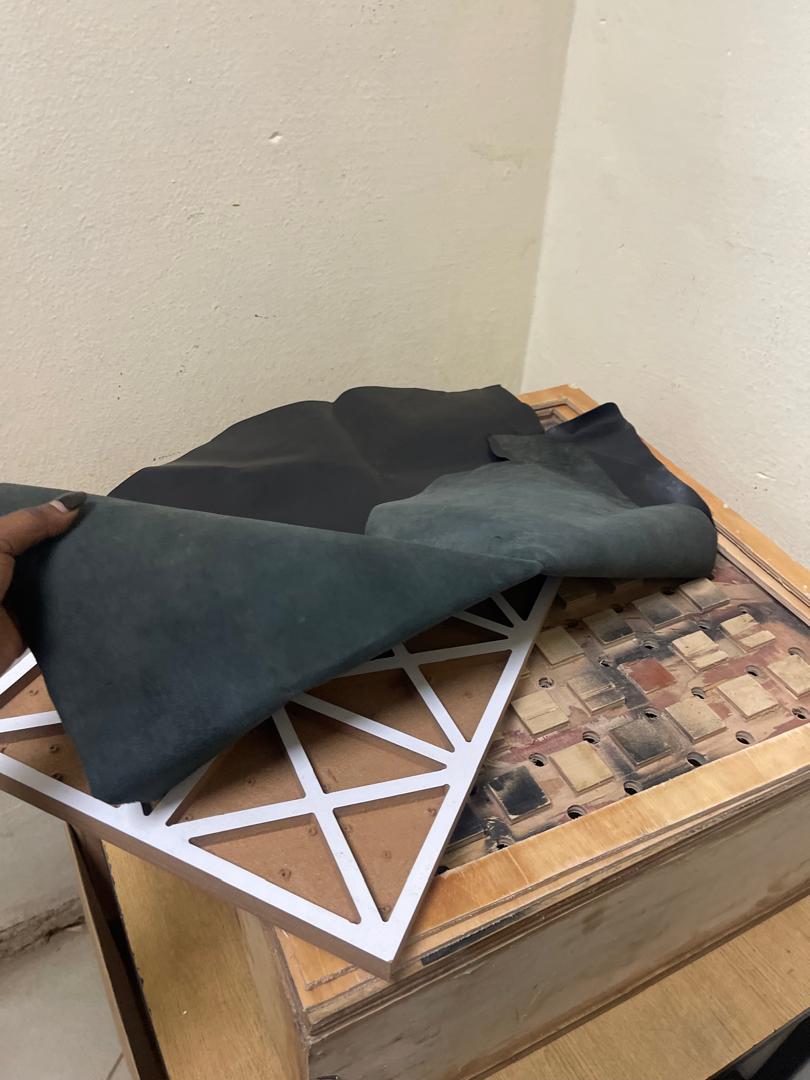
I designed and fabricated a 3D mold that serves as the form onto which the leather is shaped during the vacuum process.
I created a 3D mold that the leather would take shape from.
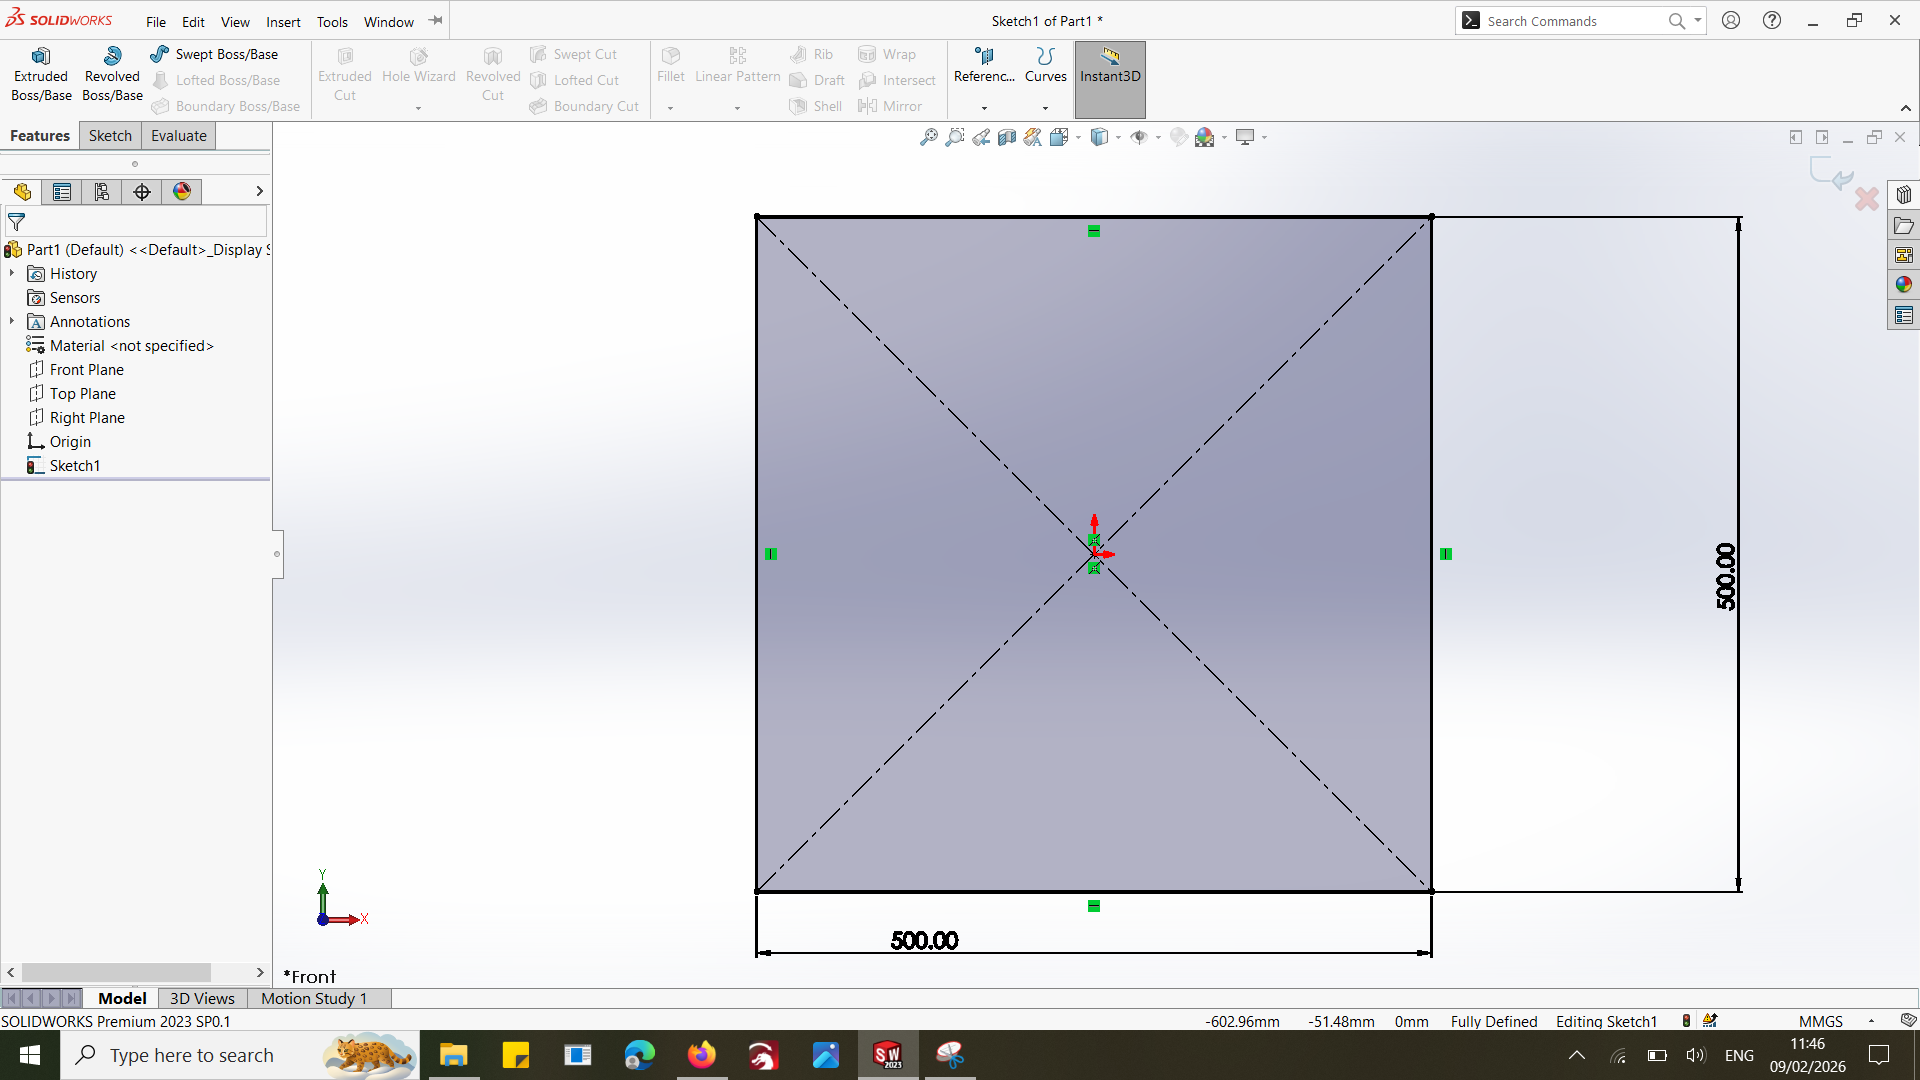
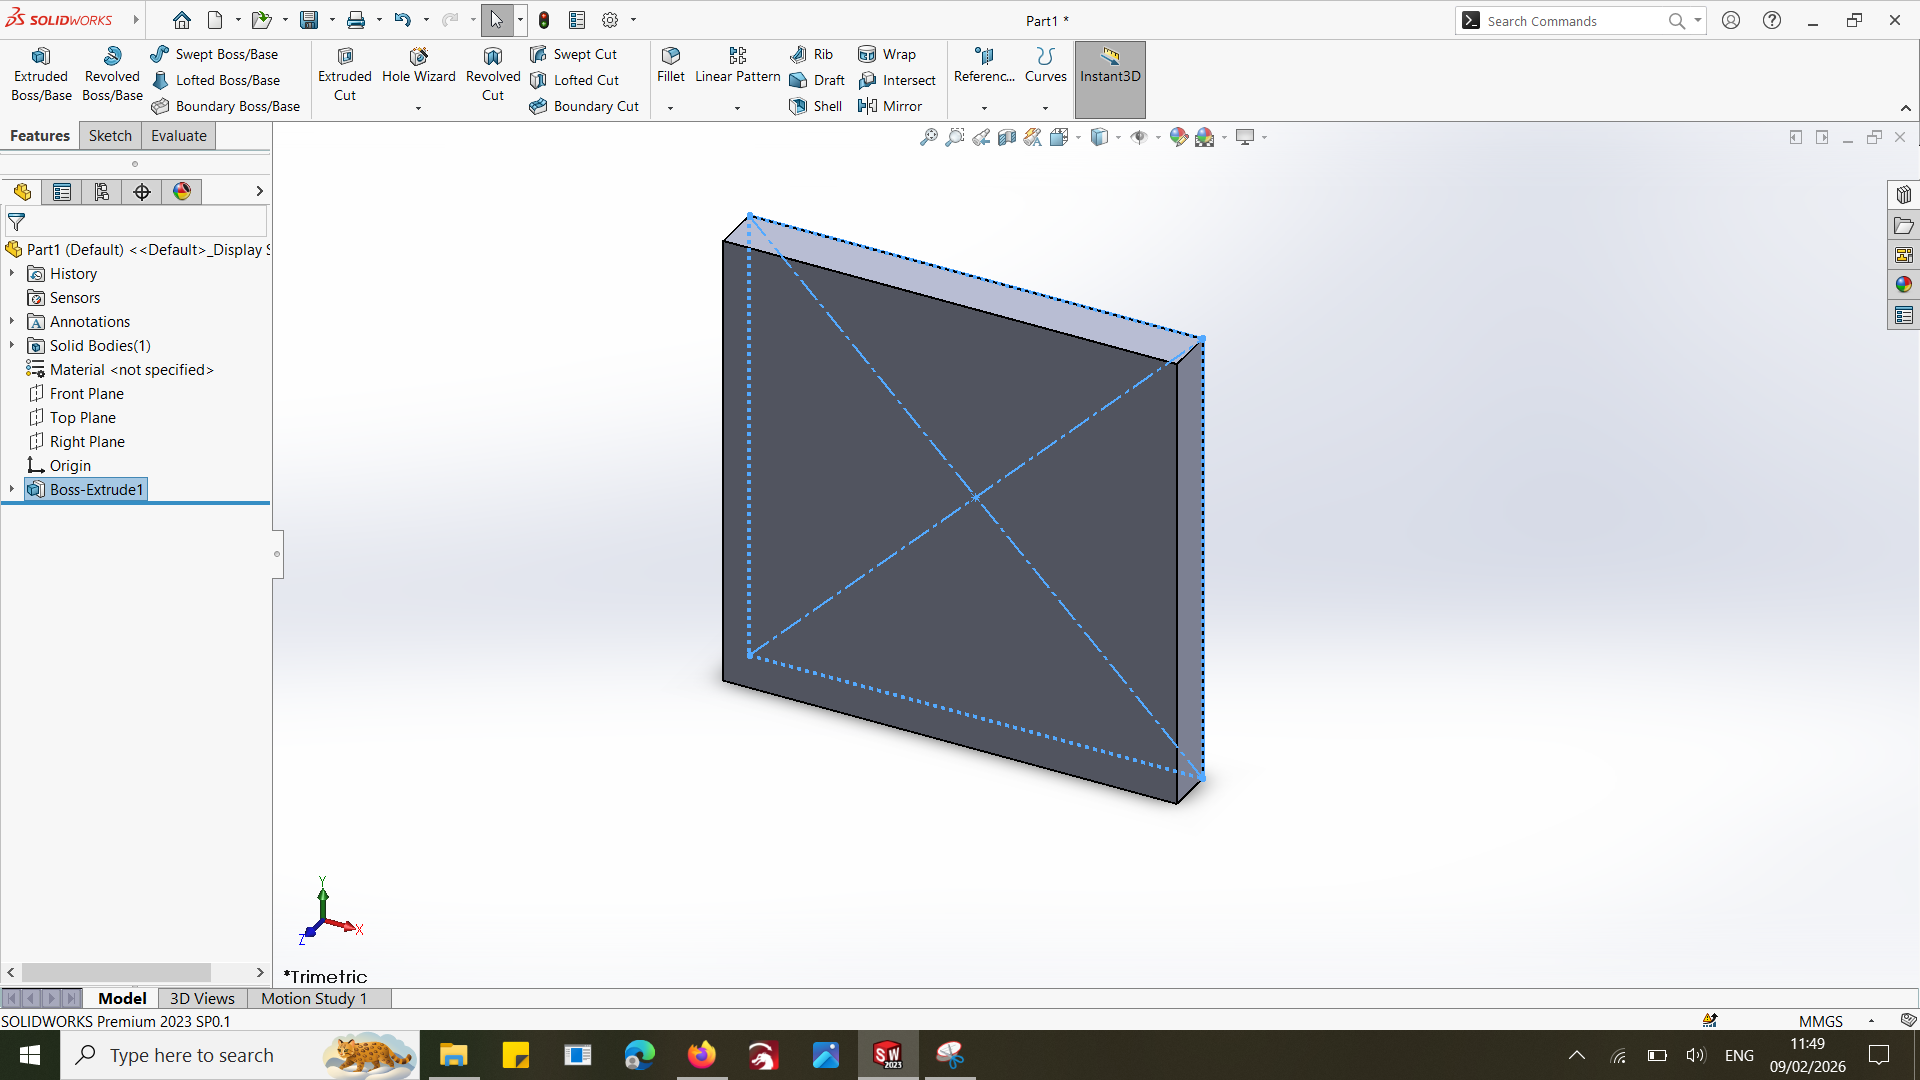
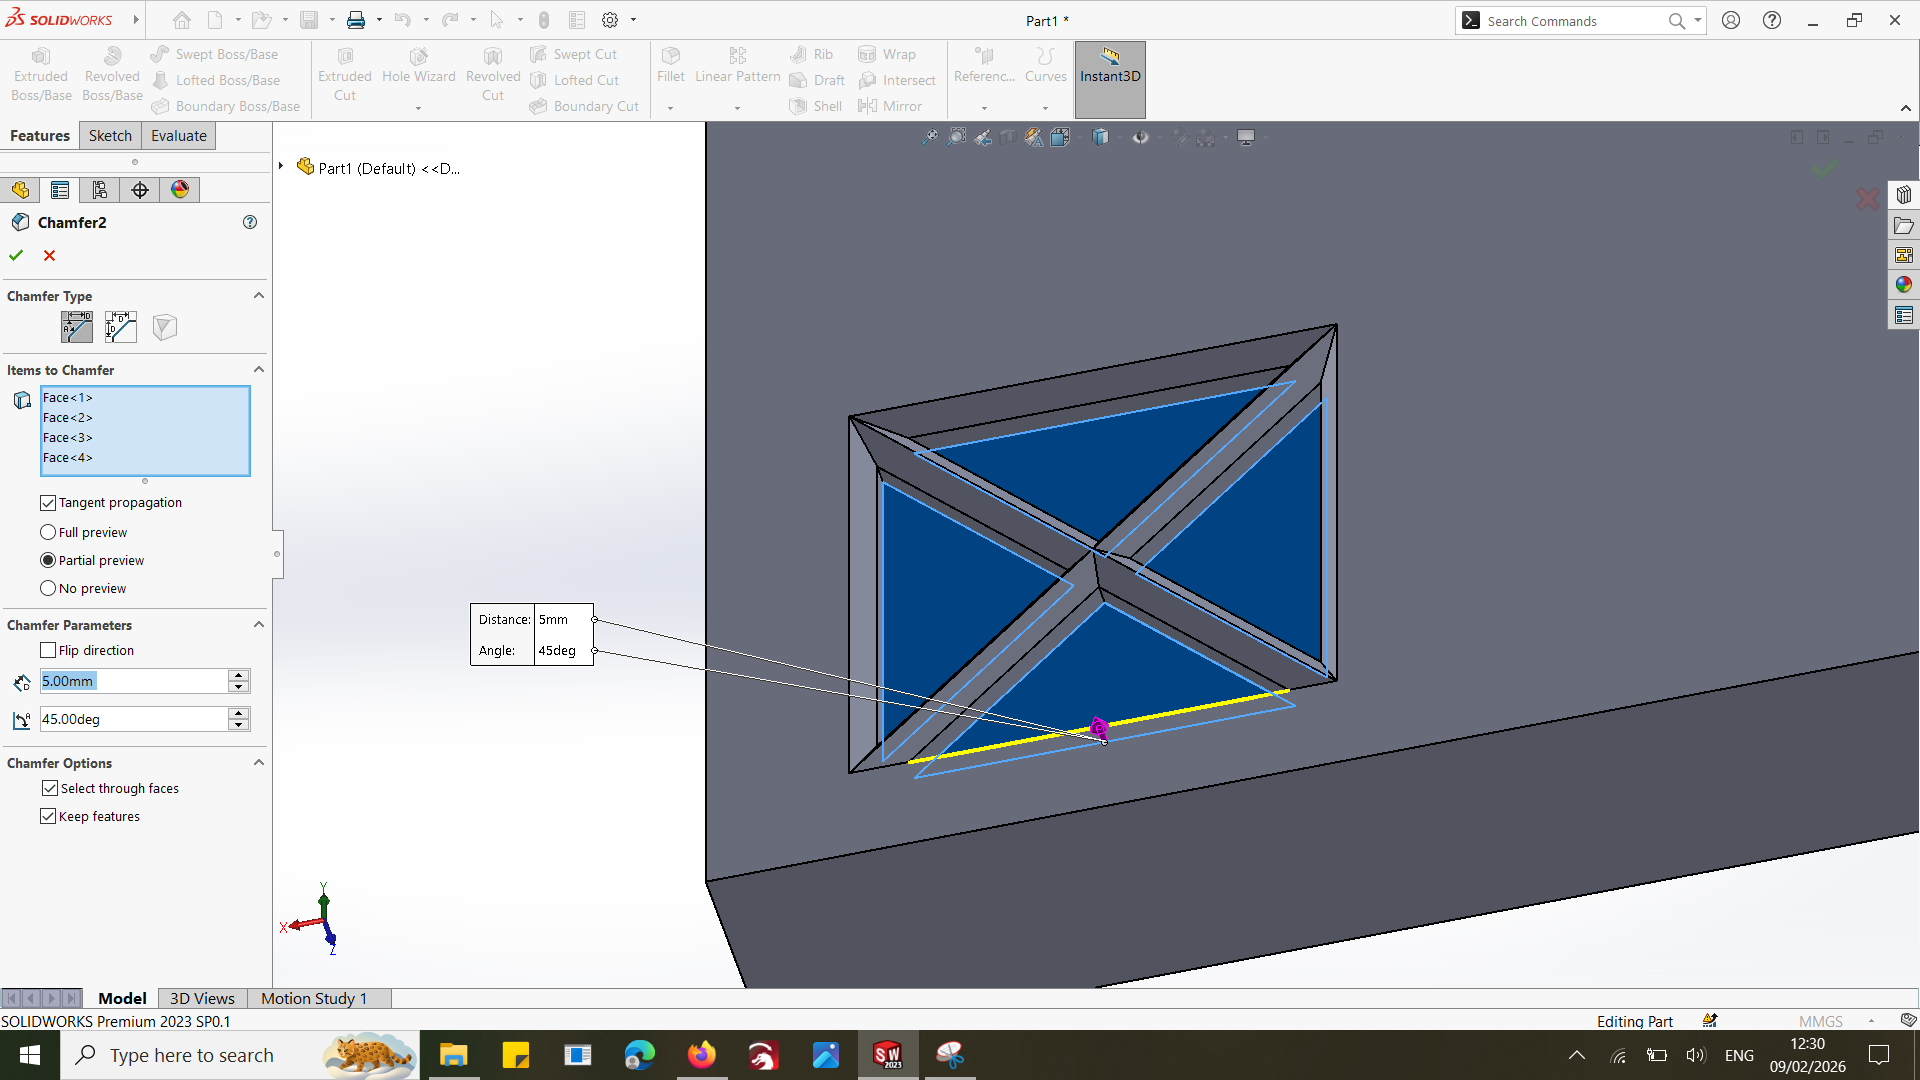
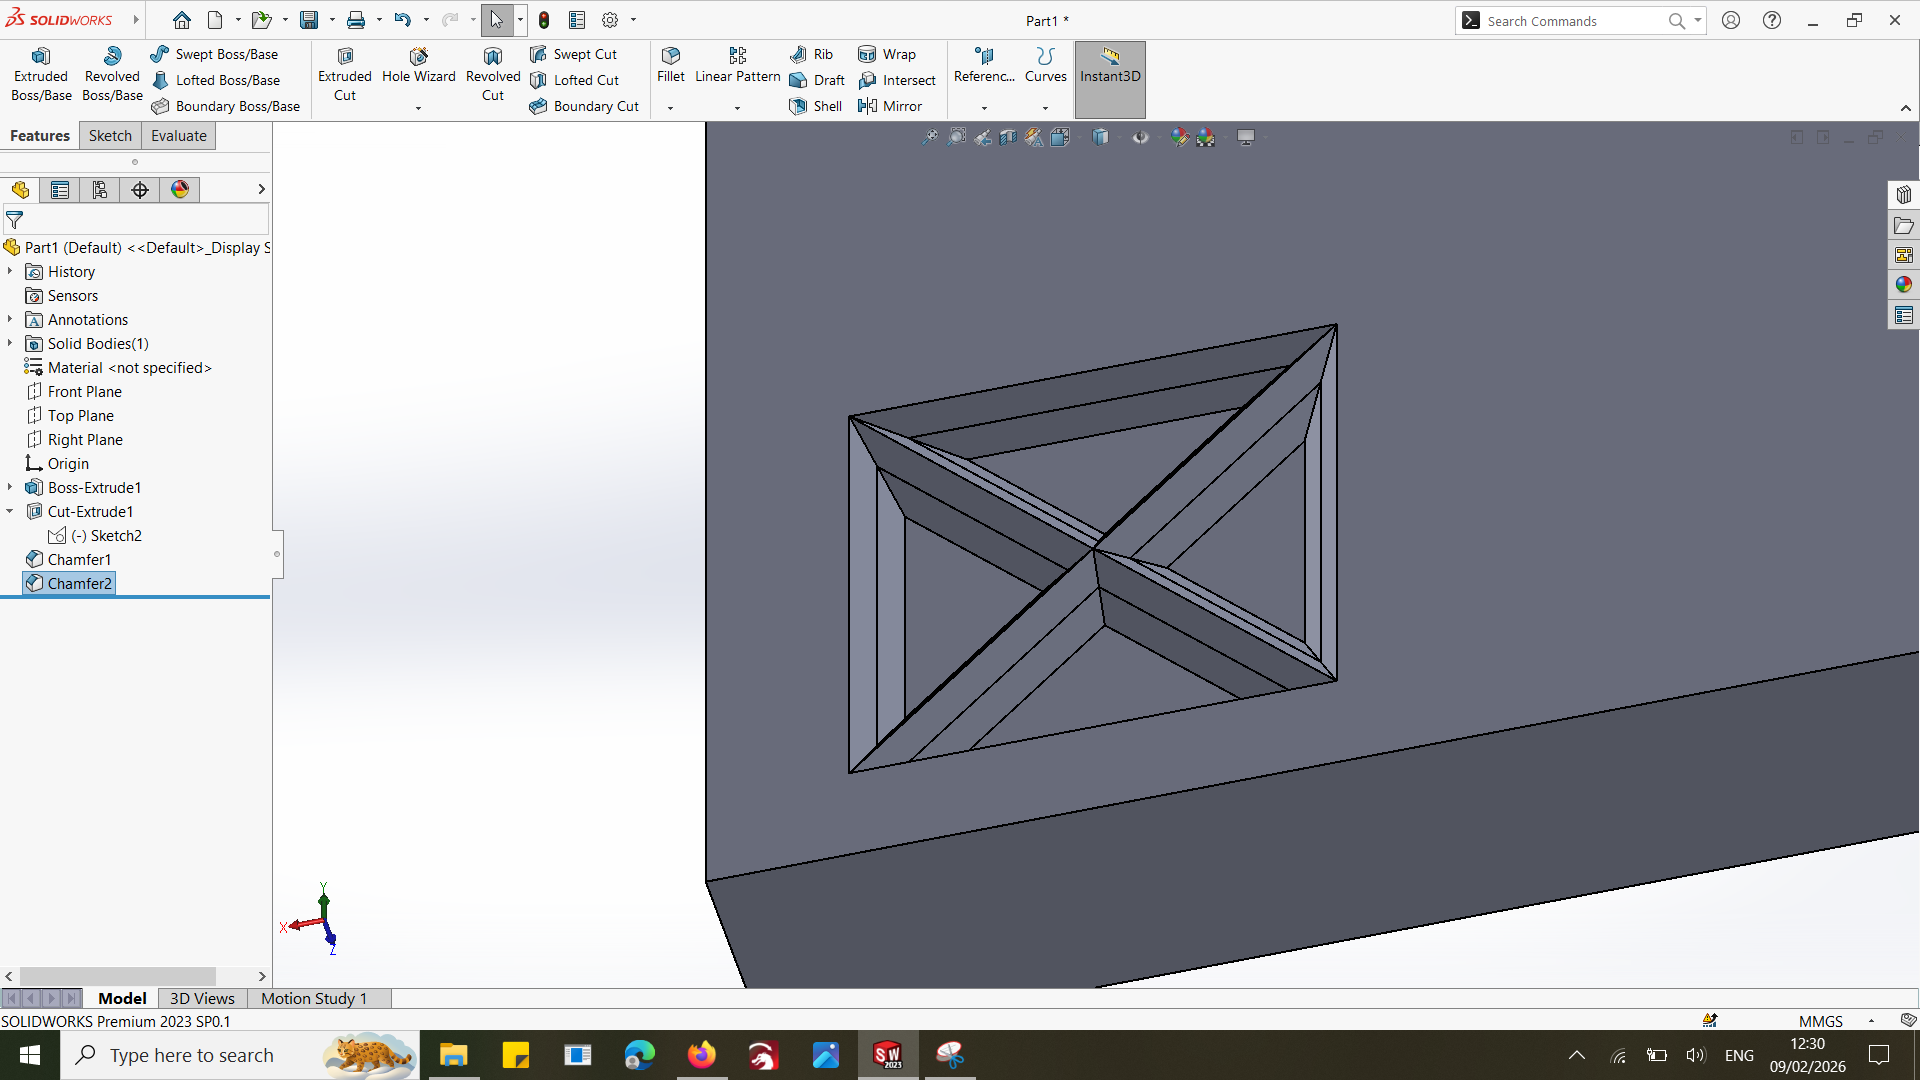
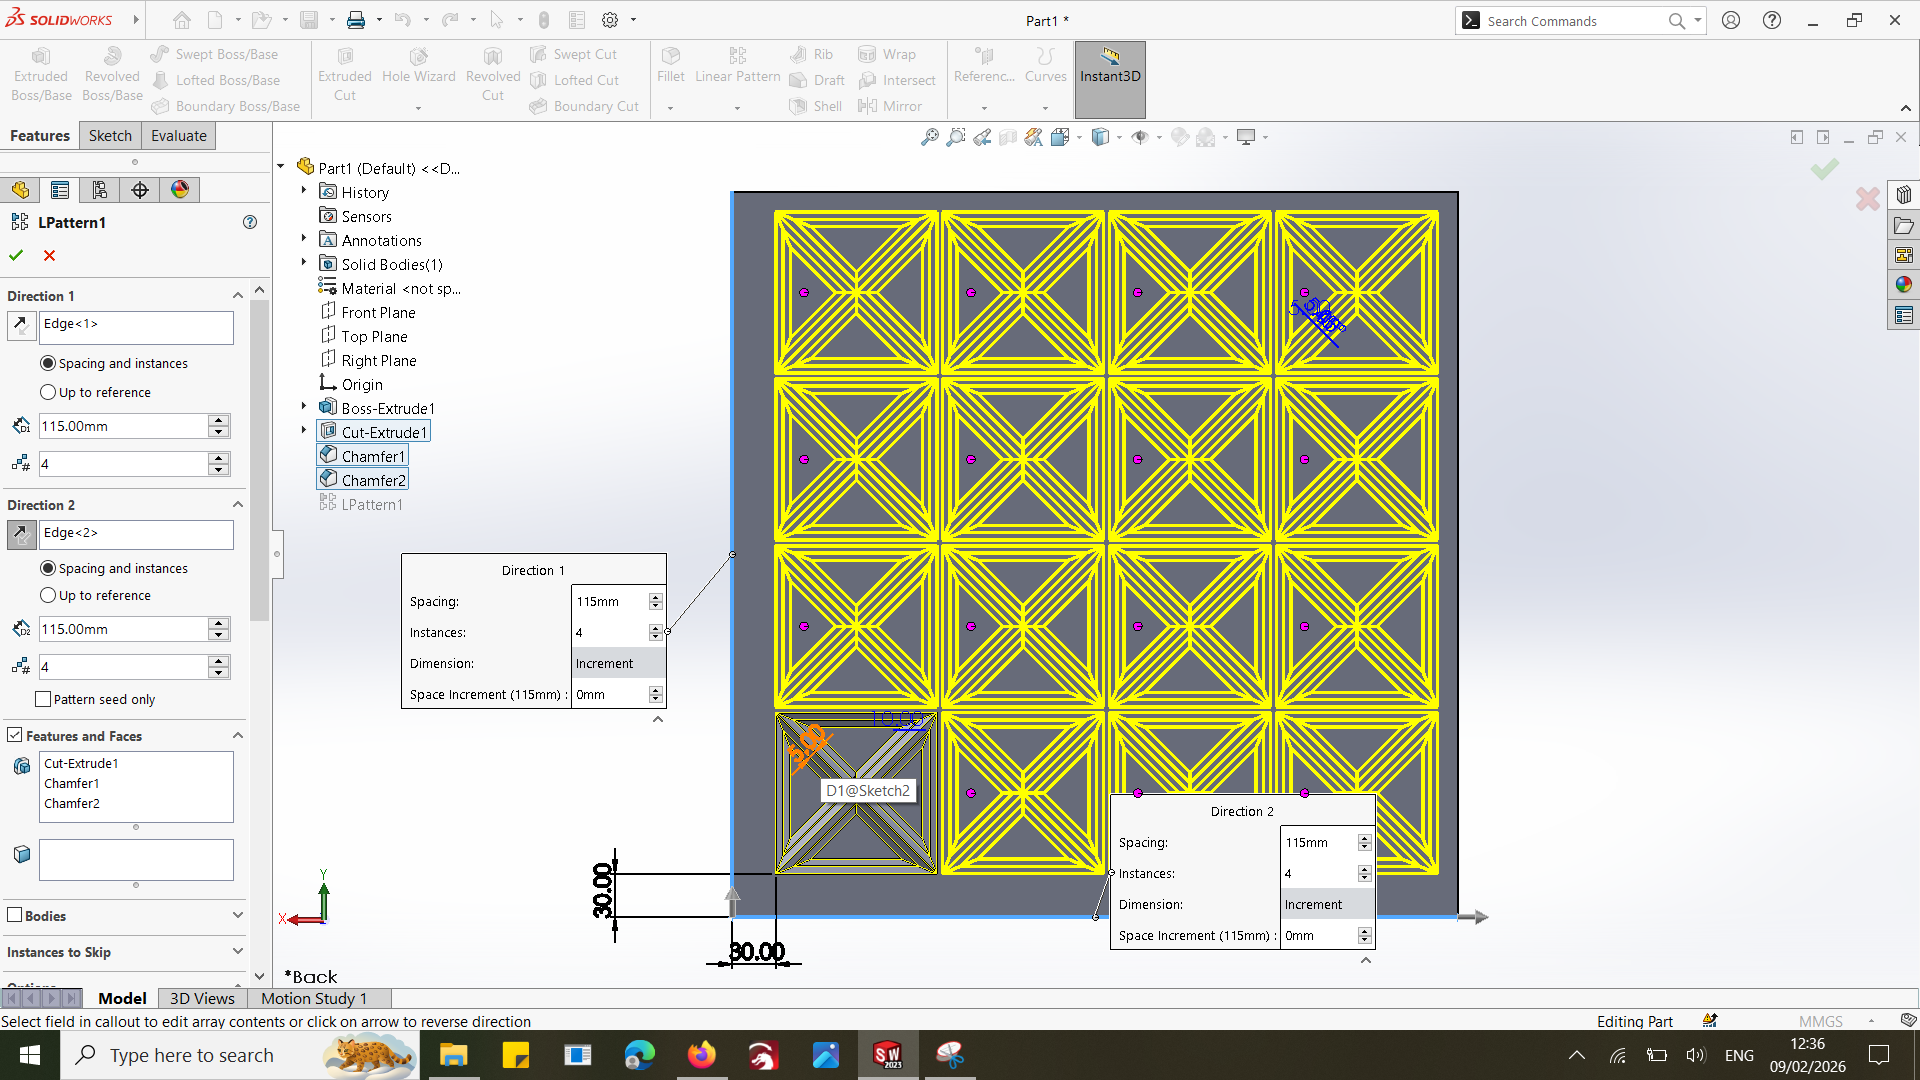
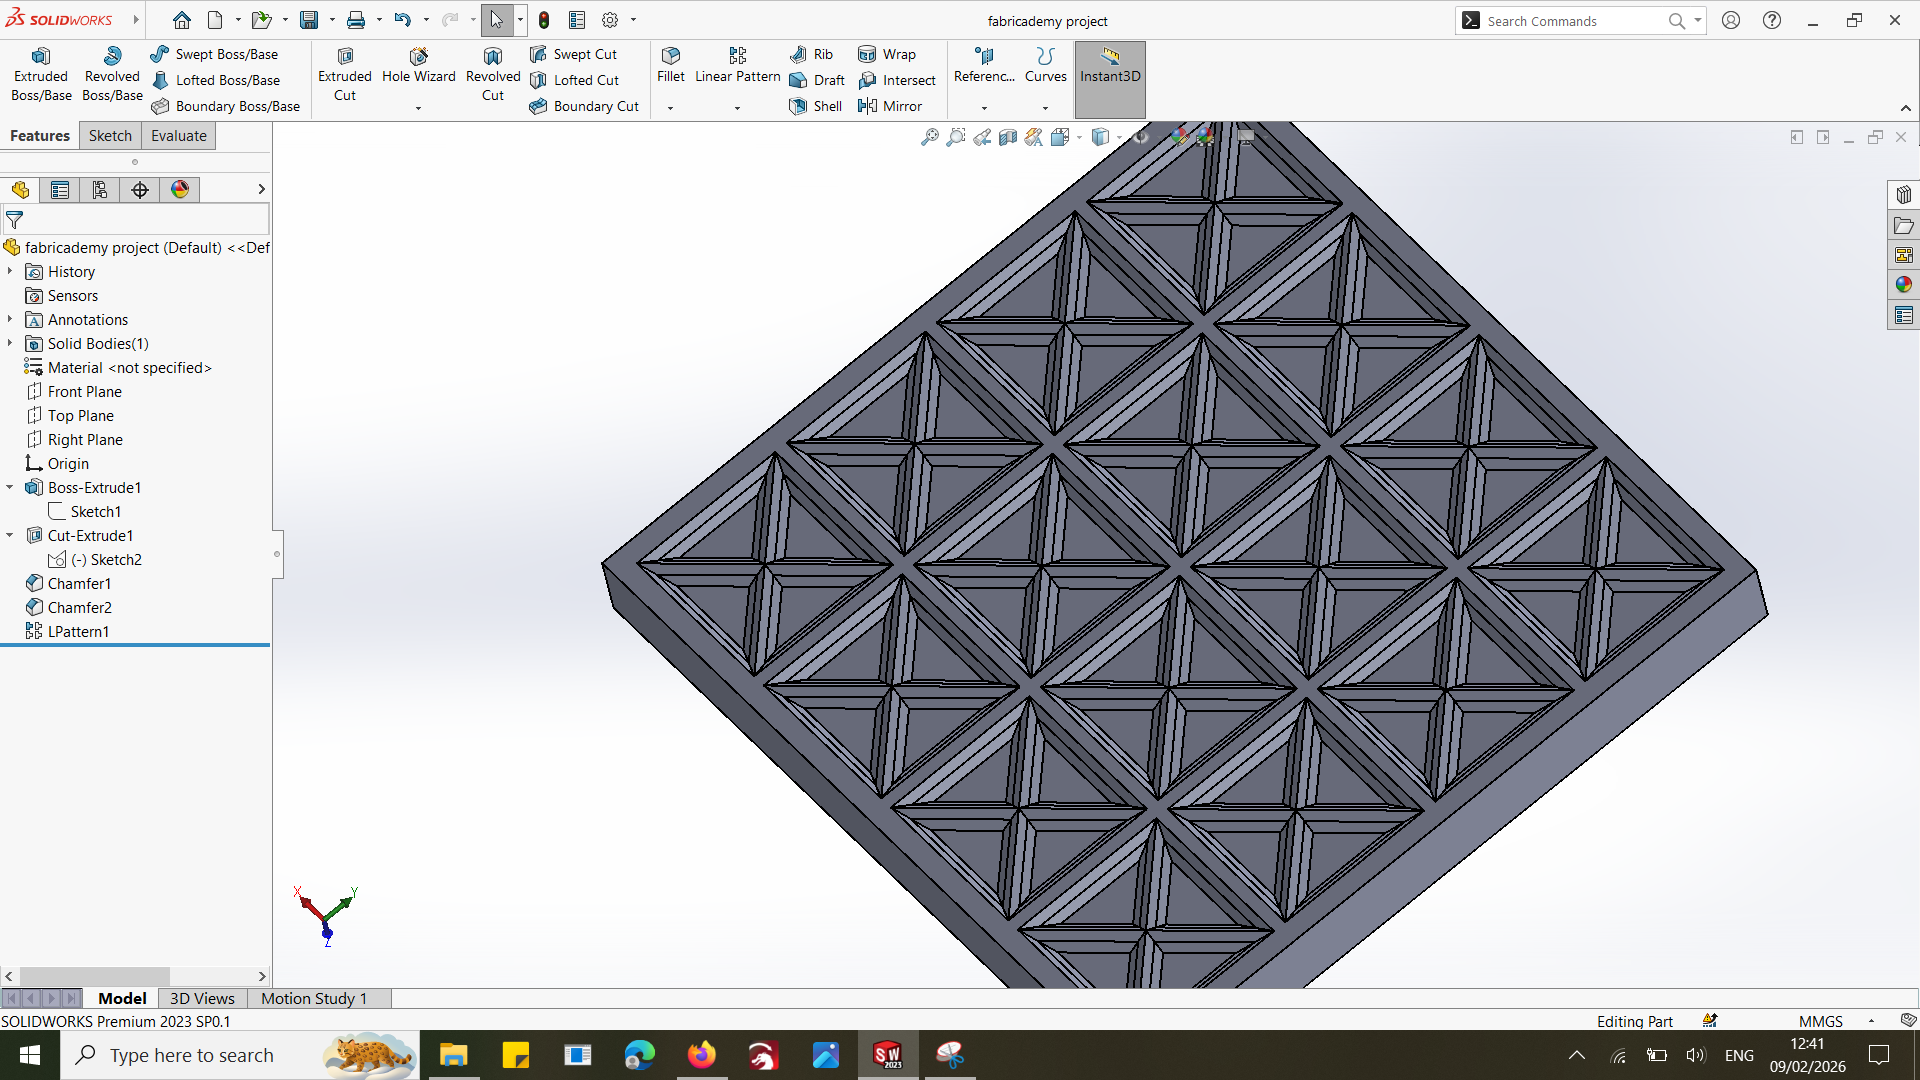
The design was created digitally and then produced using a CNC machine to ensure precision and smooth contours.
Material: Wood (CNC cut) Purpose: Give final shape to leather
This mold defines the final geometry and surface details of the molded leather.
VACCUUM MACHINE
Process
- STEP 1 : DESIGNING THE VACUUM BOX
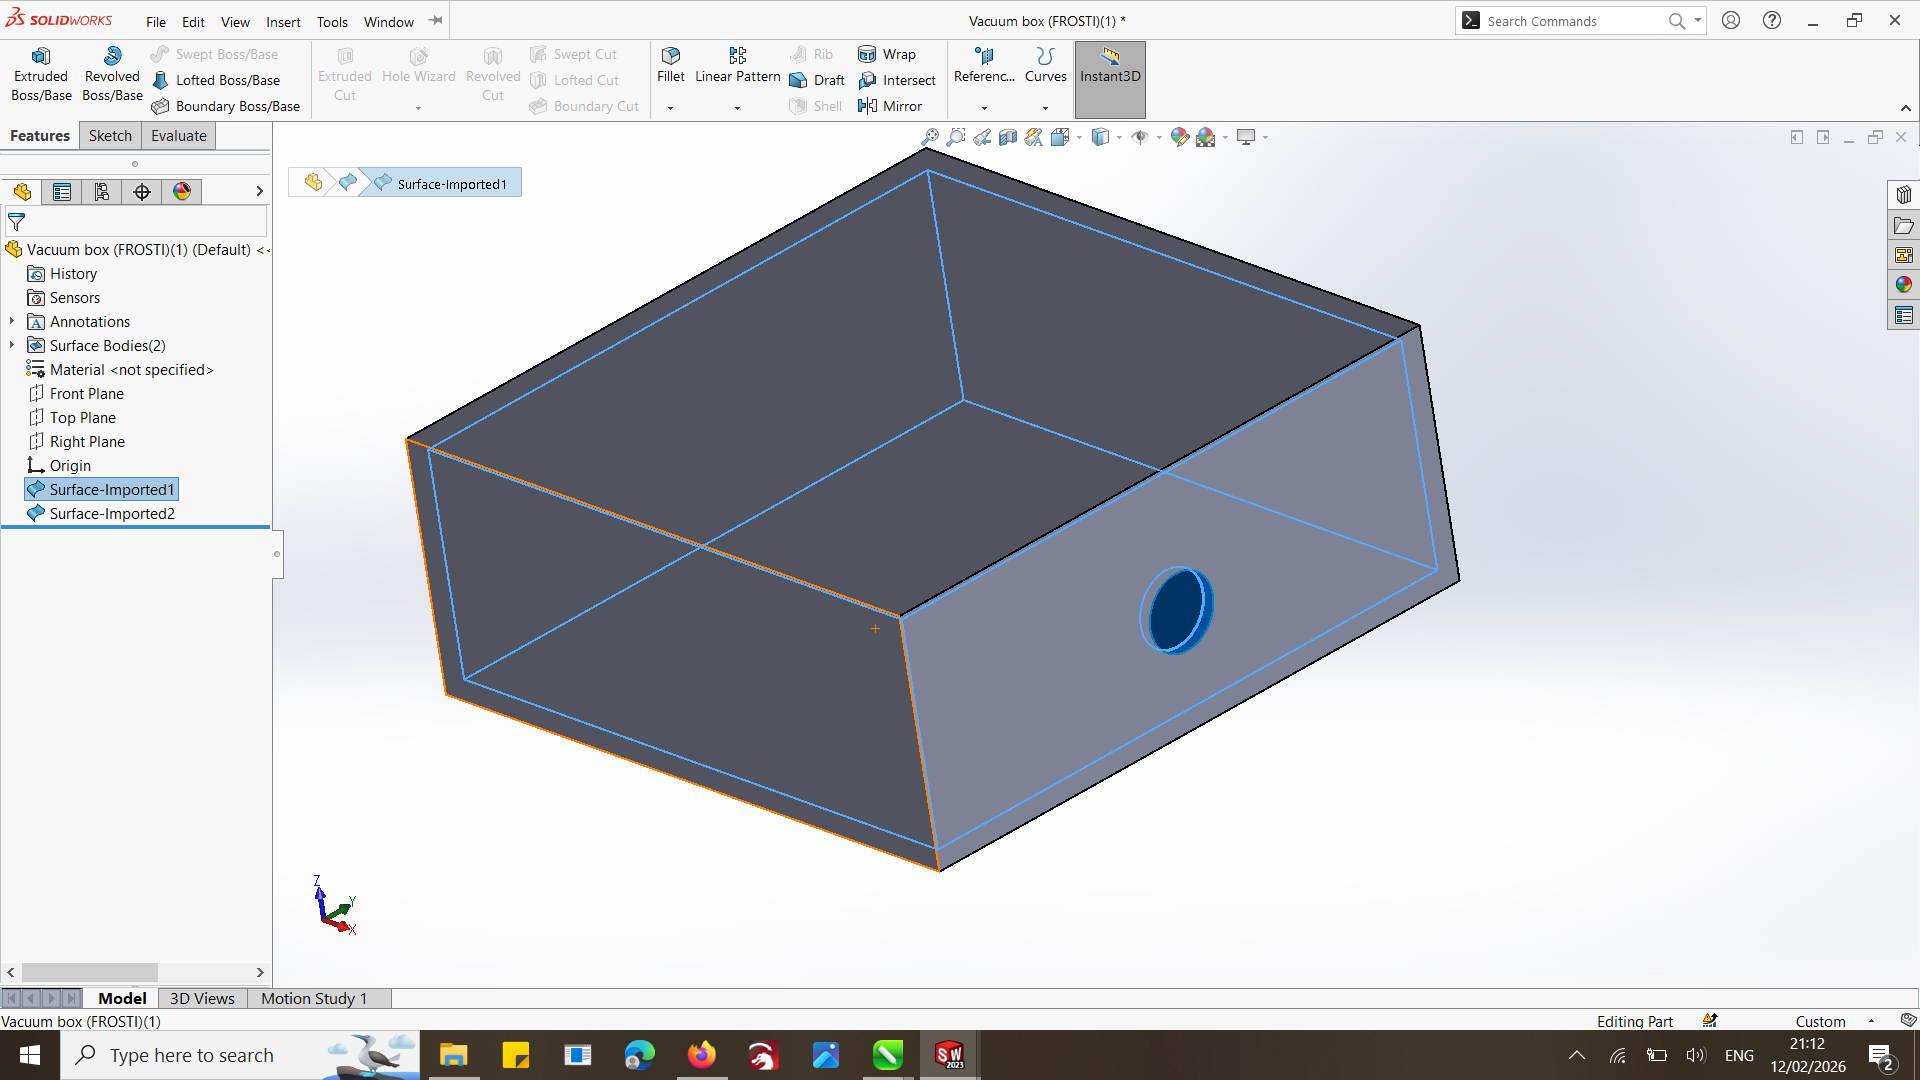
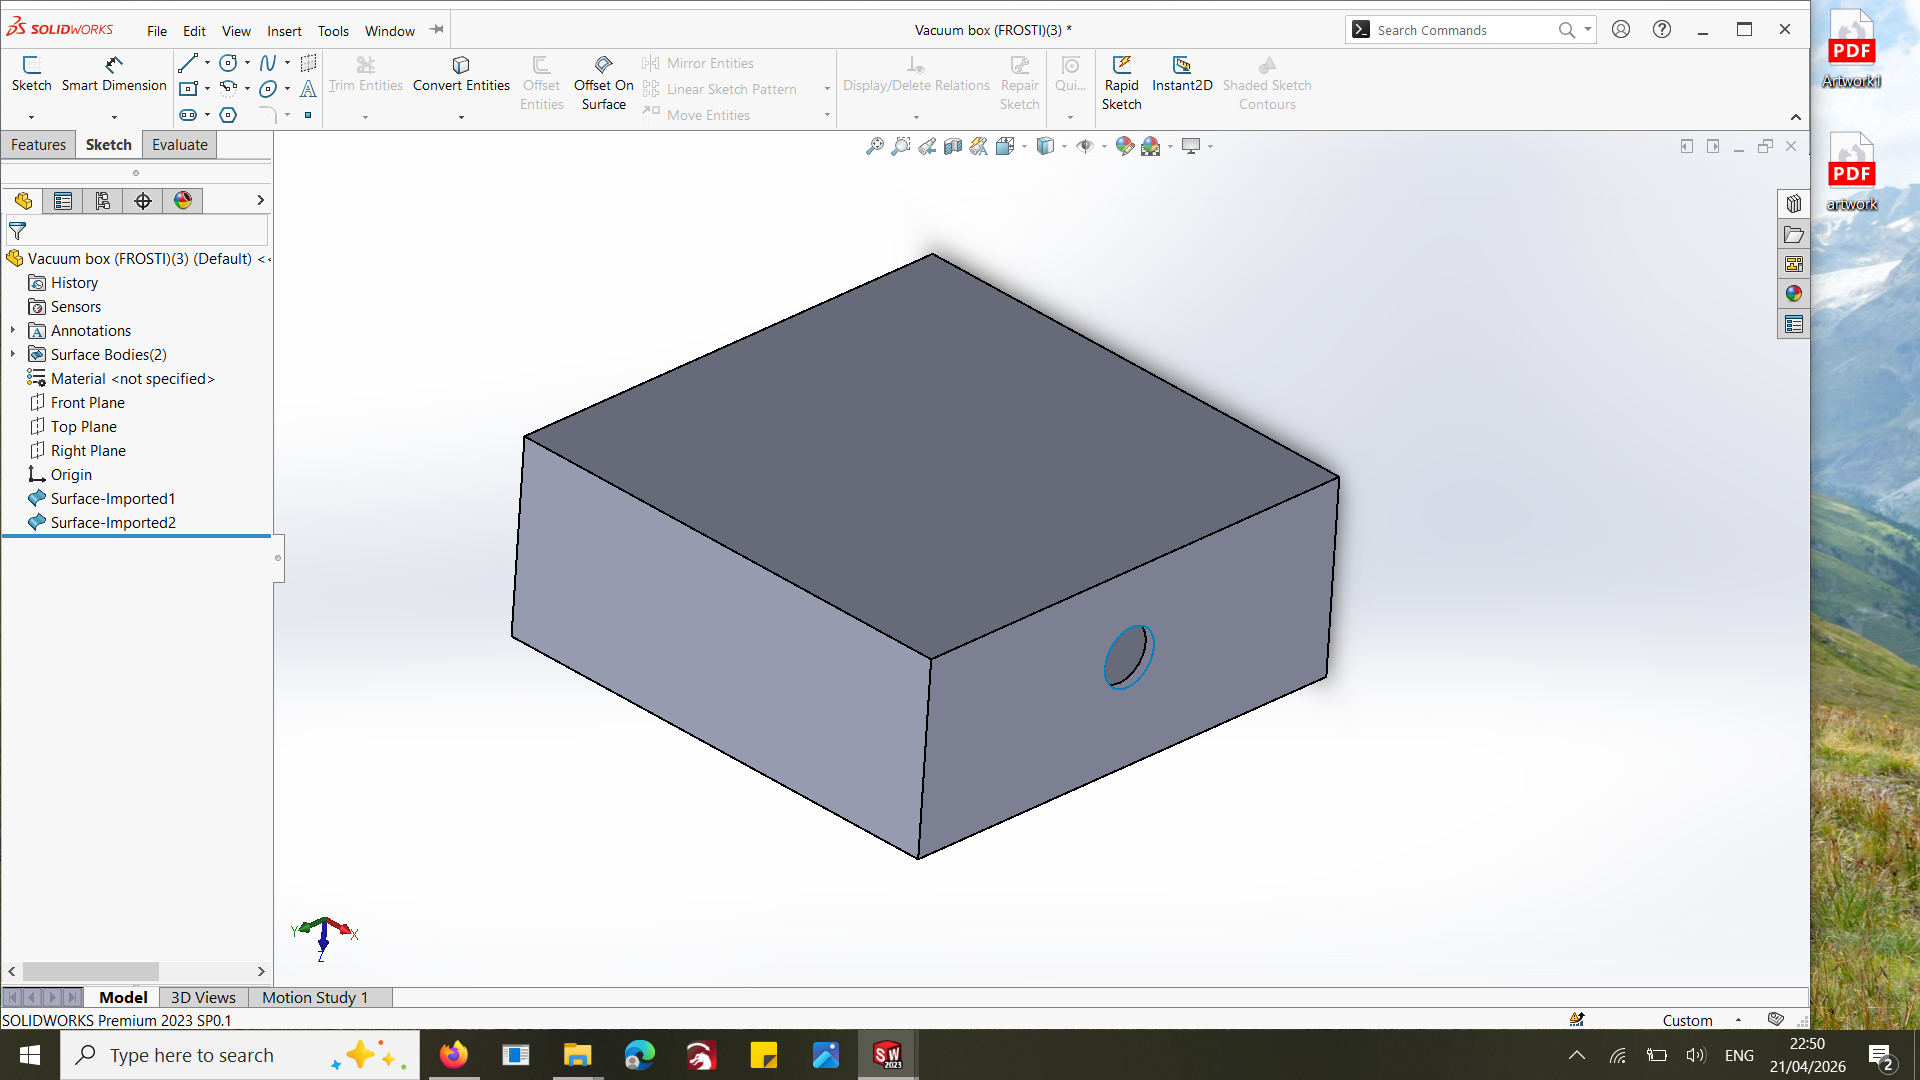
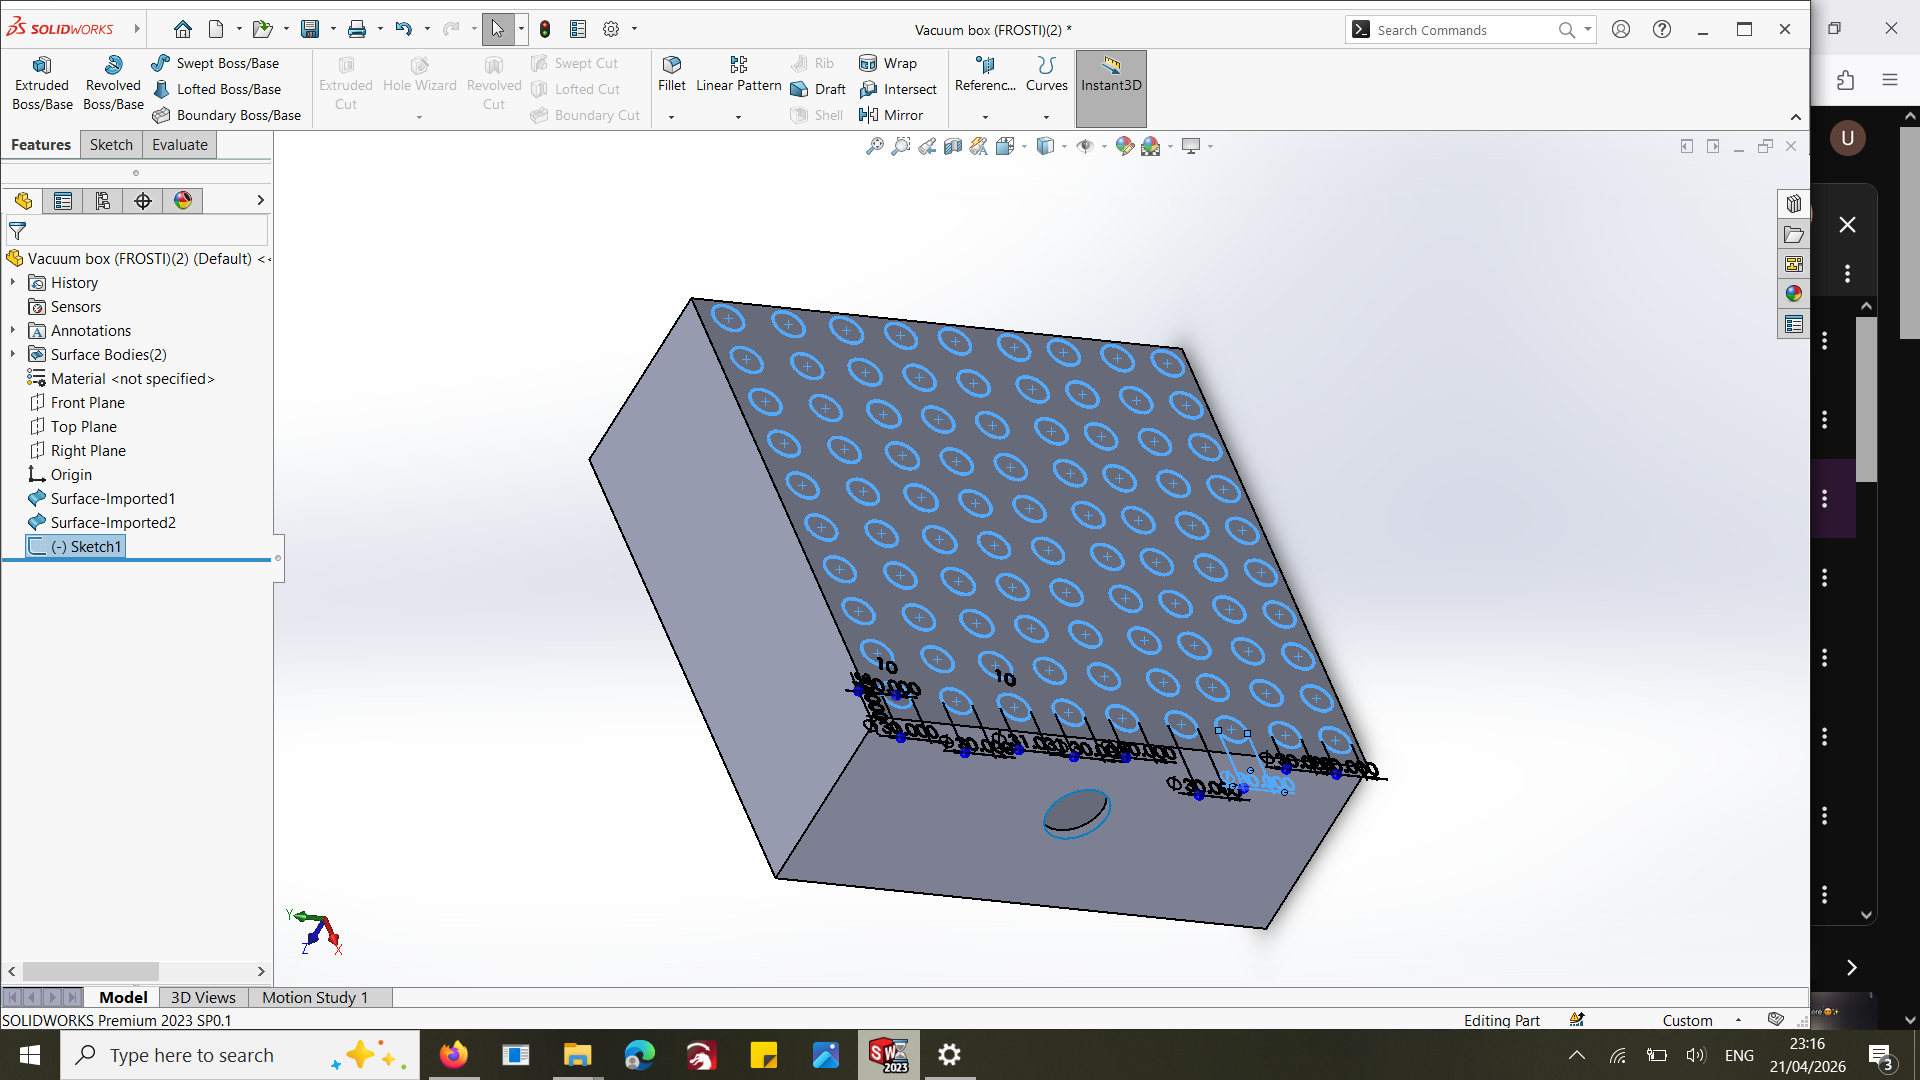
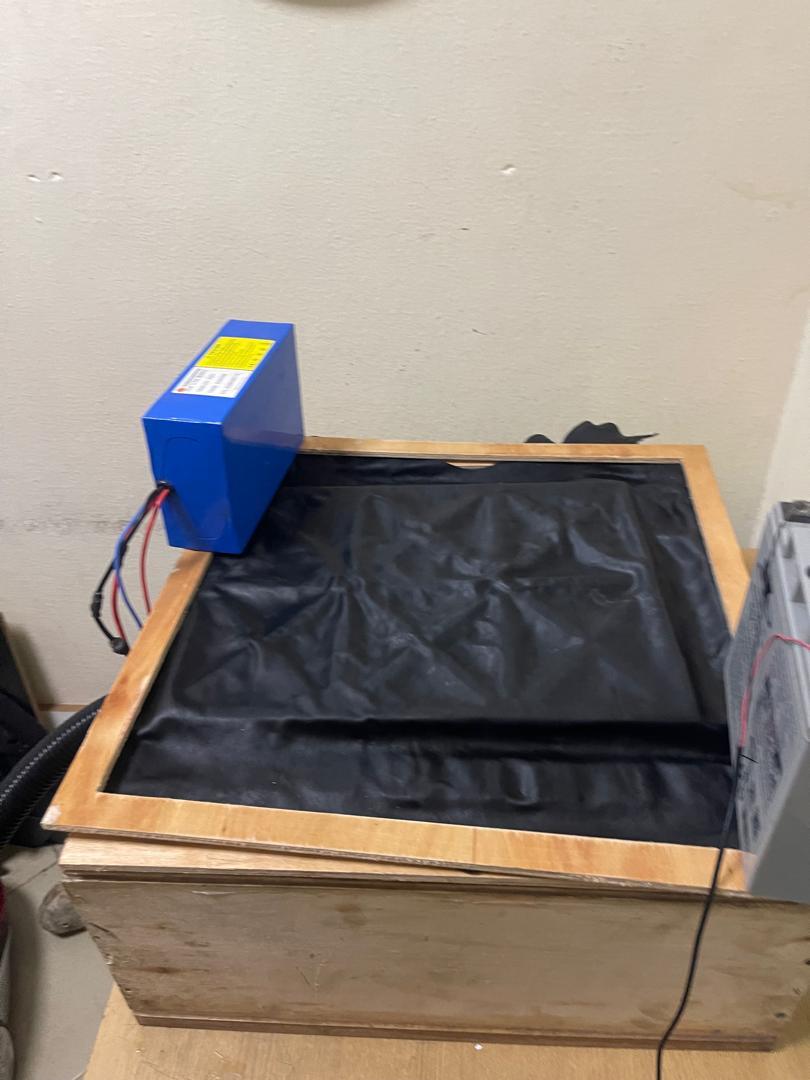
I designed a vacuum box that allows air to be sucked through small holes, creating pressure to pull the leather over the mold.
Designed in SOLIDWORK Air holes on top surface Connection port for vacuum machine Box structure for airflow:
- STEP 2 : CNC FABRICATION
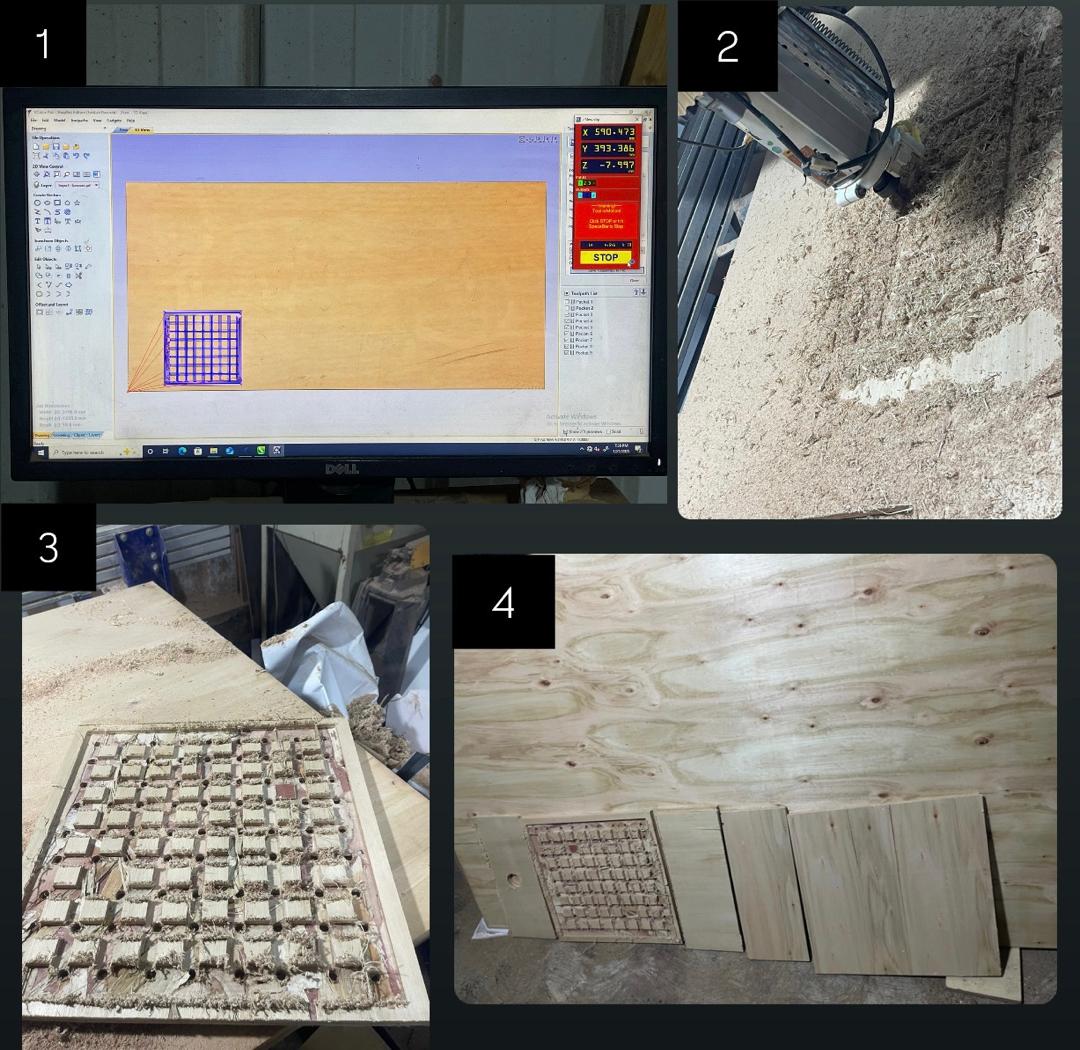
The box was fabricated using a CNC machine.
I used Wood as material to make the box
Exported design as toolpath
Cut panels using CNC, Sealed with silicon and screw it so that it doesn't leave a space for air to pass through
Assembled into a box
- STEP 3 : VACUUM SYSTEM SETUP
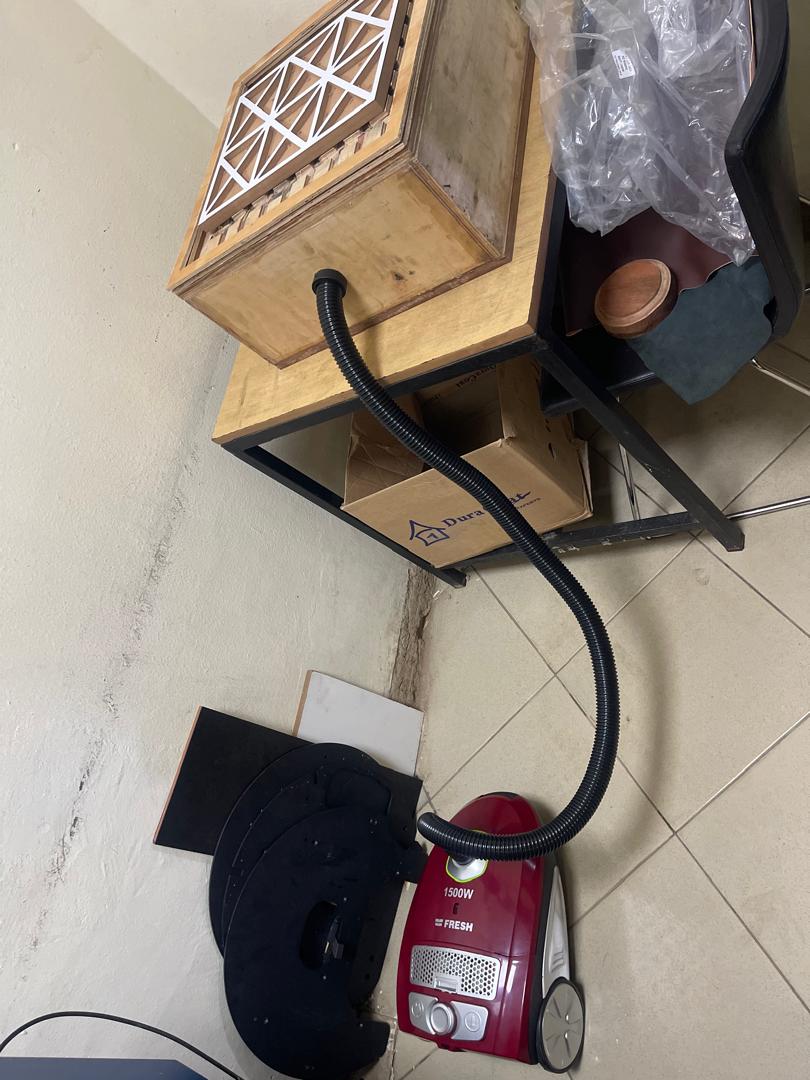
After building the box, I connected it to a vacuum source. i even tried to vaccum with plastic bag to test it and see if there is no space for air to pass
Vacuum source: [vacuum cleaner] Connection method:Pipe/tube attached to box inlet
leather molding
I tested different types of leather:
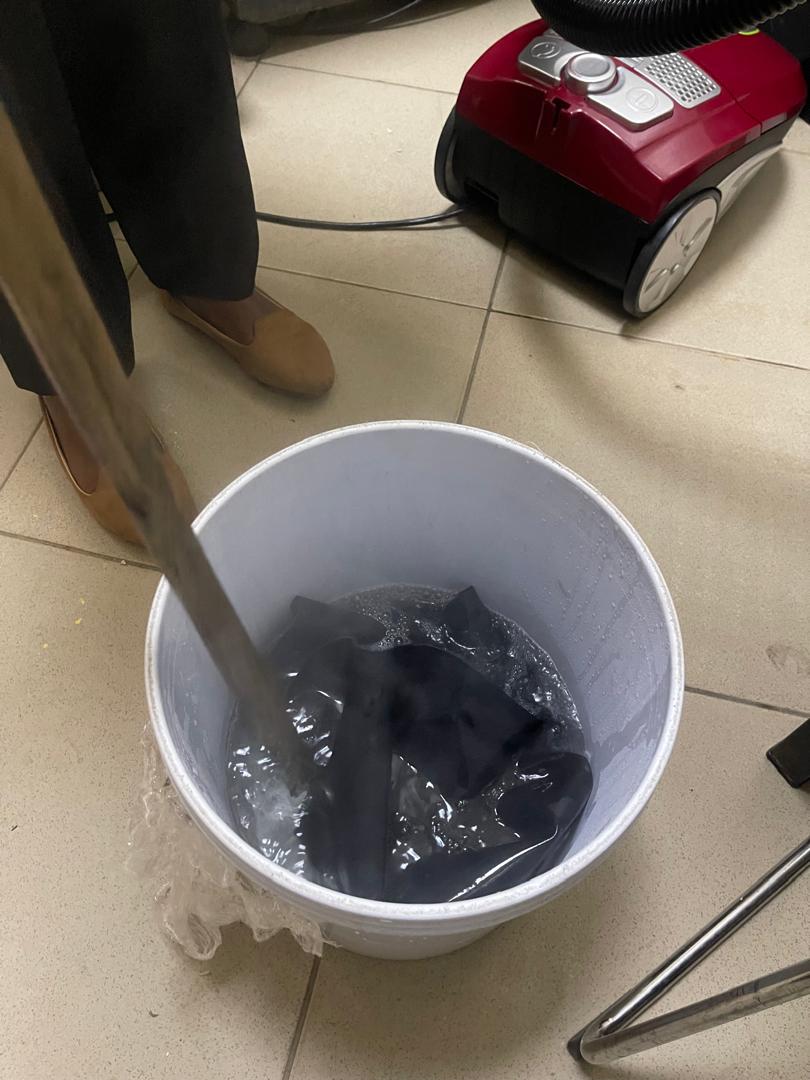
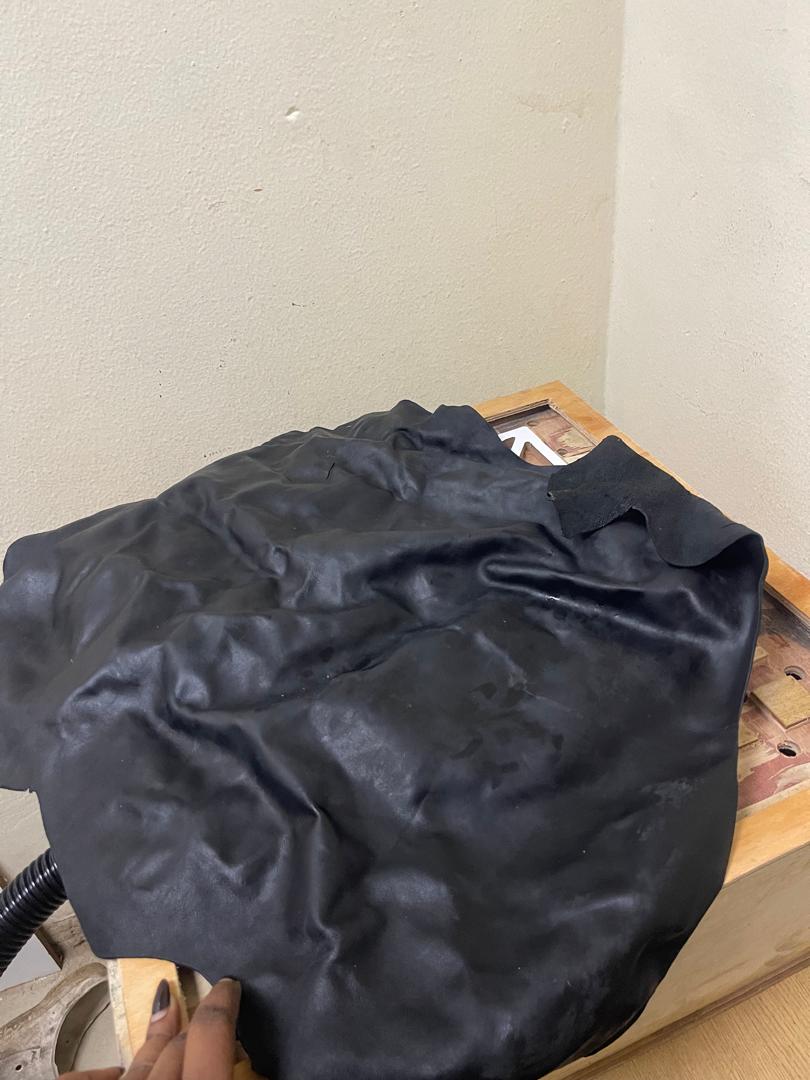
- Natural Leather Thickness tested: 3mm, 2mm, 1mm, put it in Hot water Before molding, I treated the leather: Soaked leather in hot water to Soften fibers,Increase flexibilityand Improve shaping
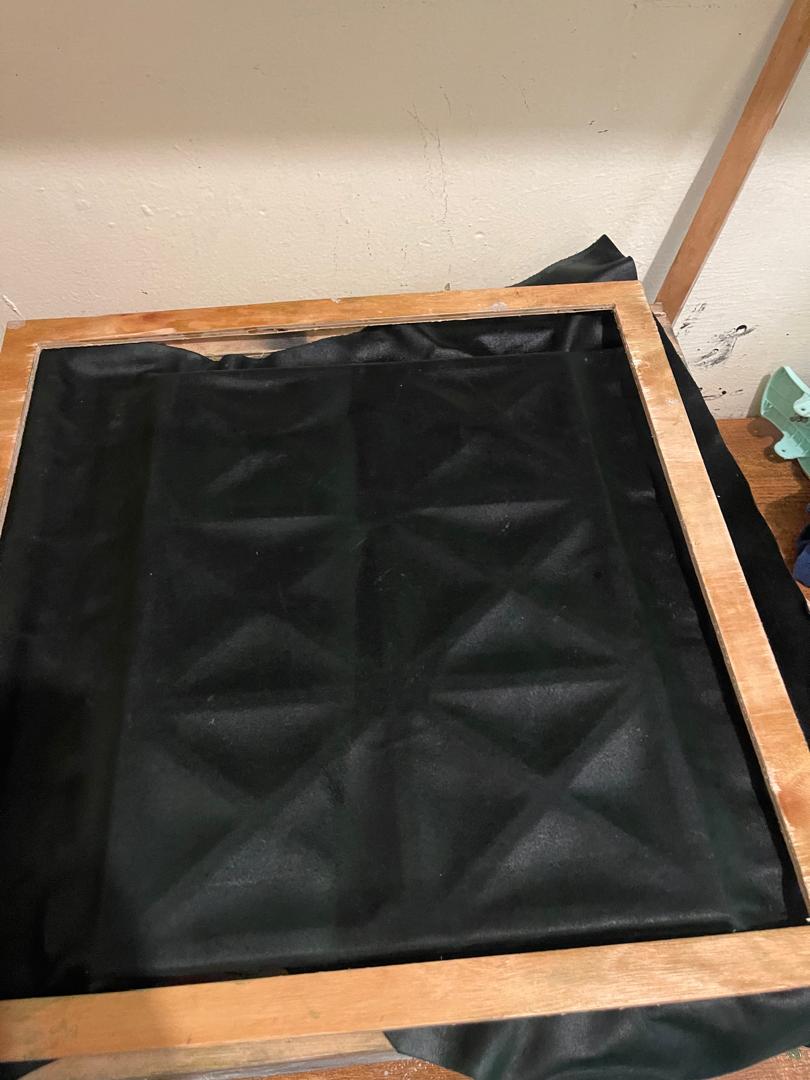
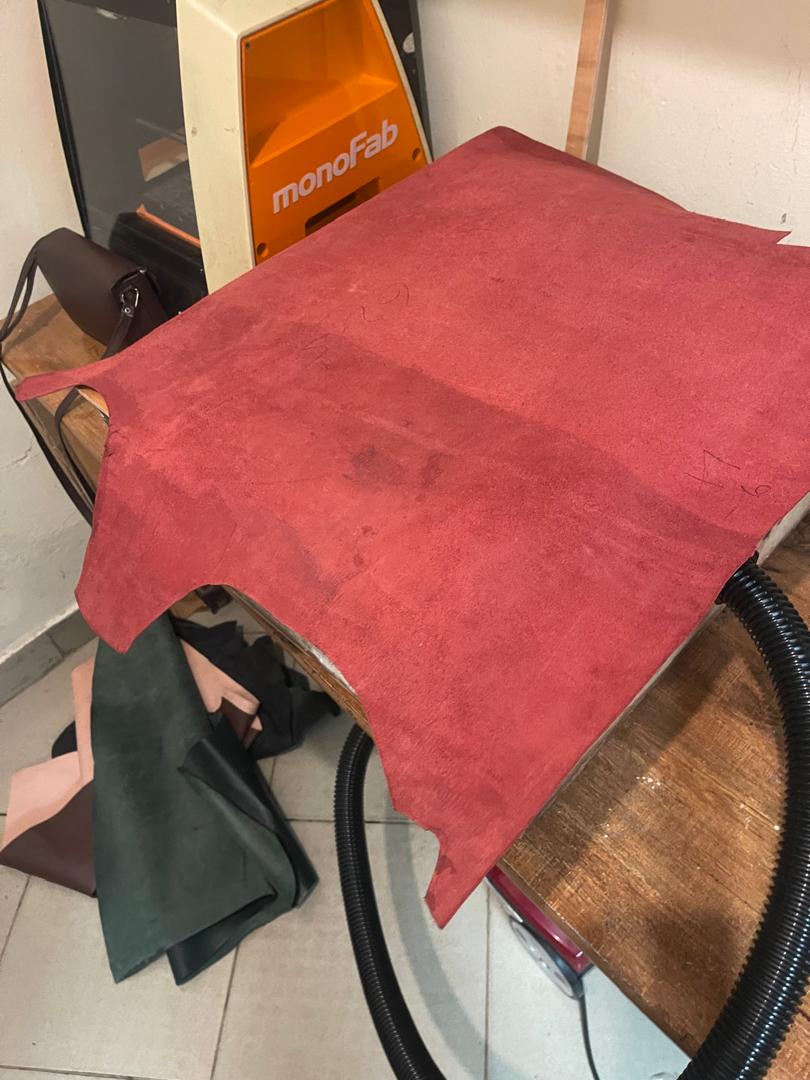
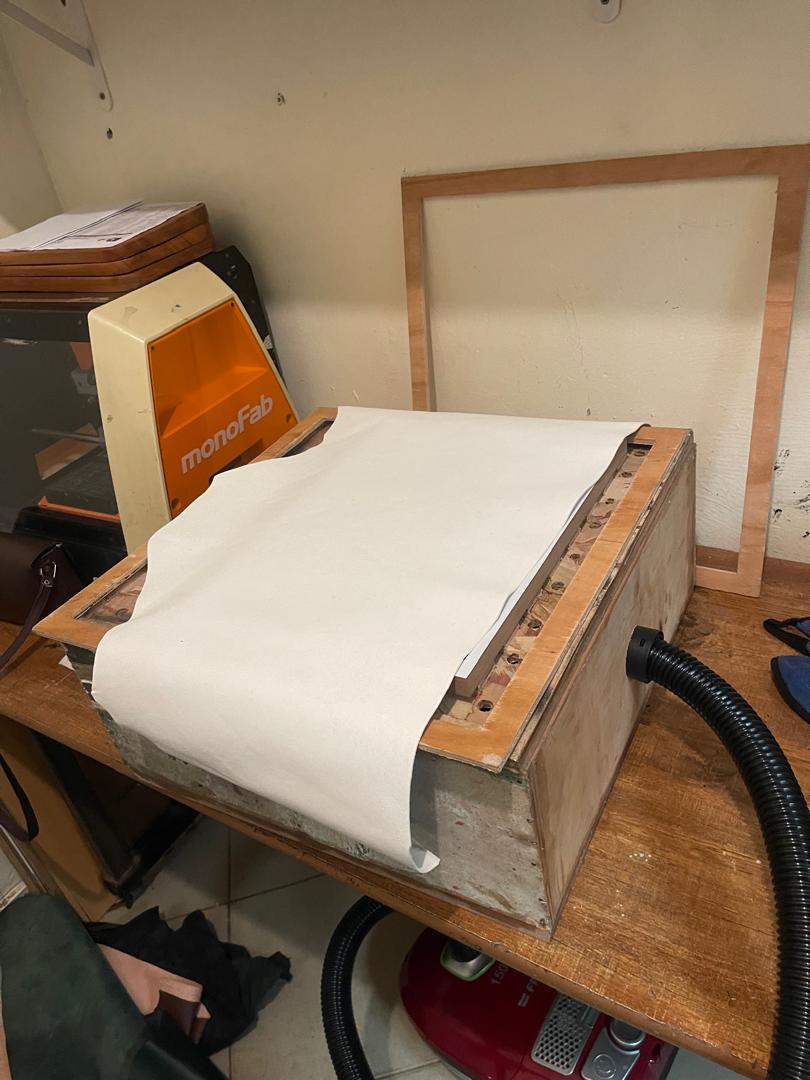
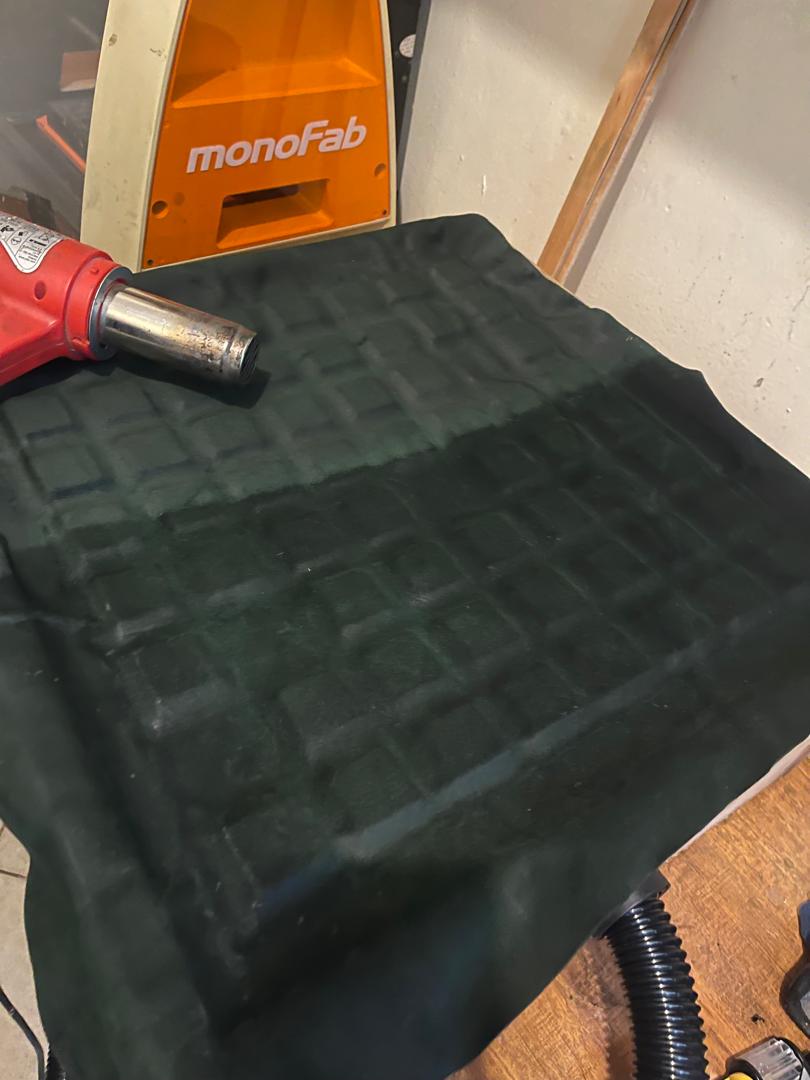
- Synthetic Leather
Did not respond well to molding, it takes shape but as soon as i stop vacuum it also loose the shape
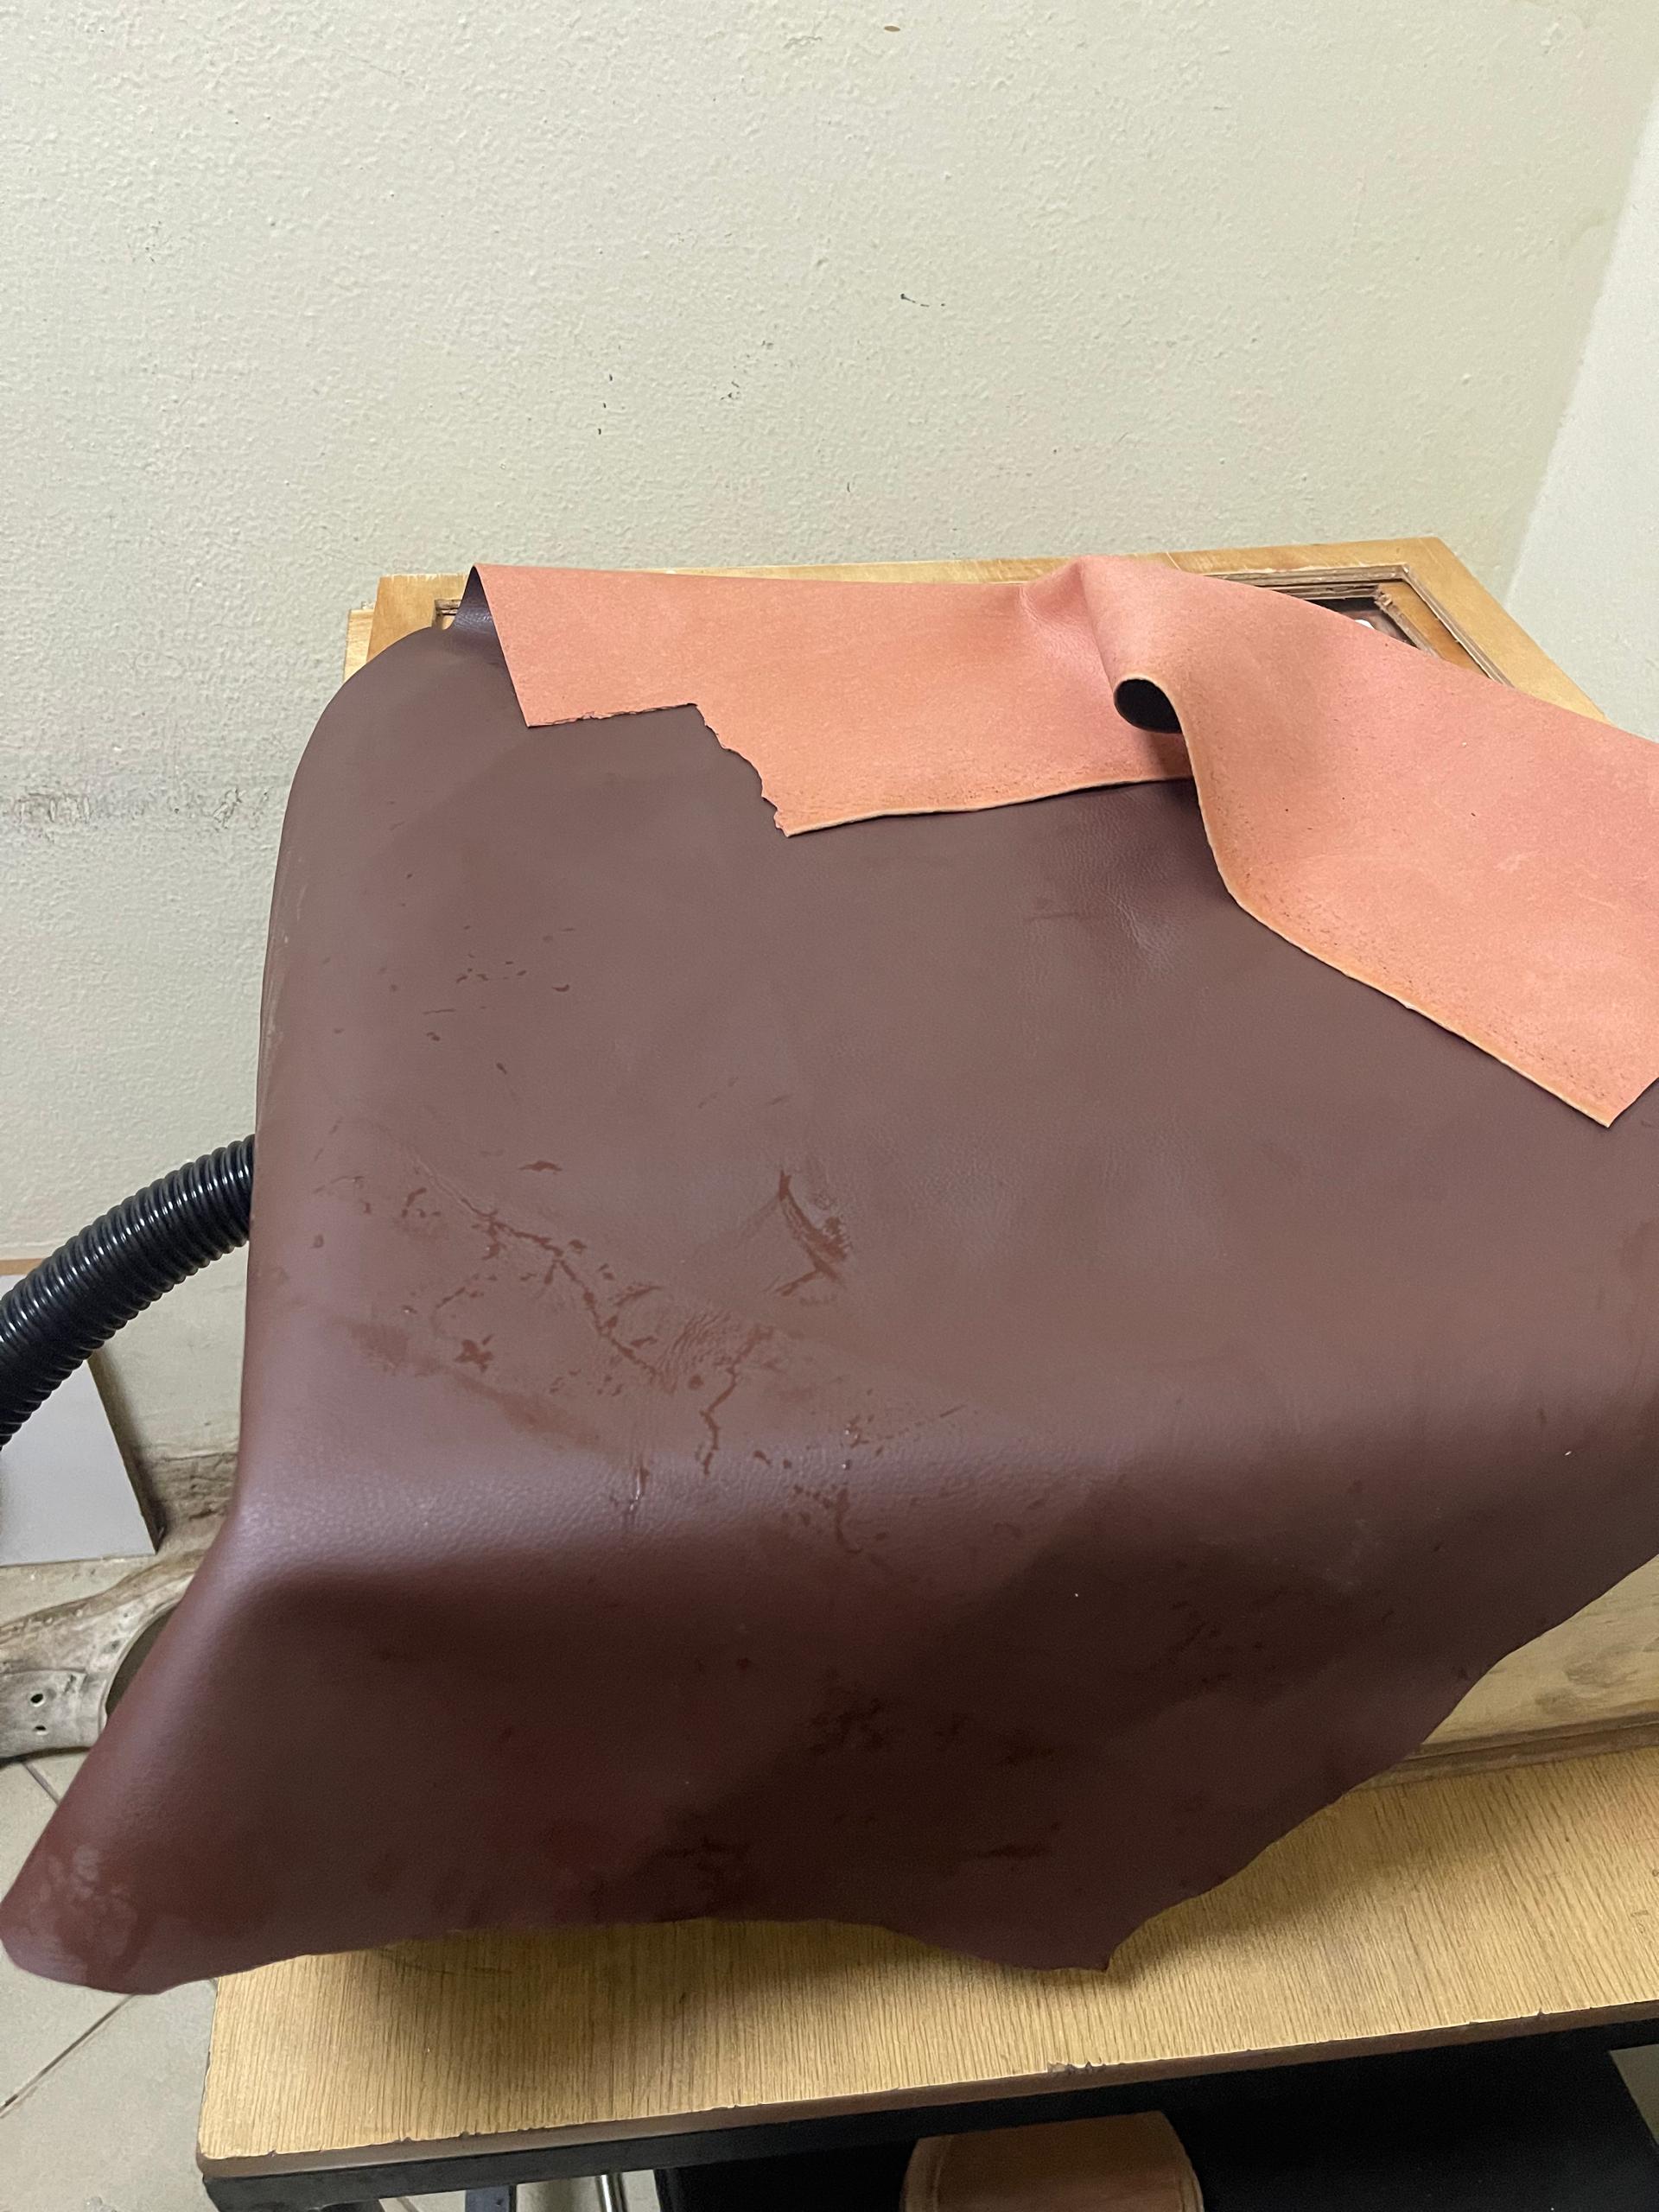
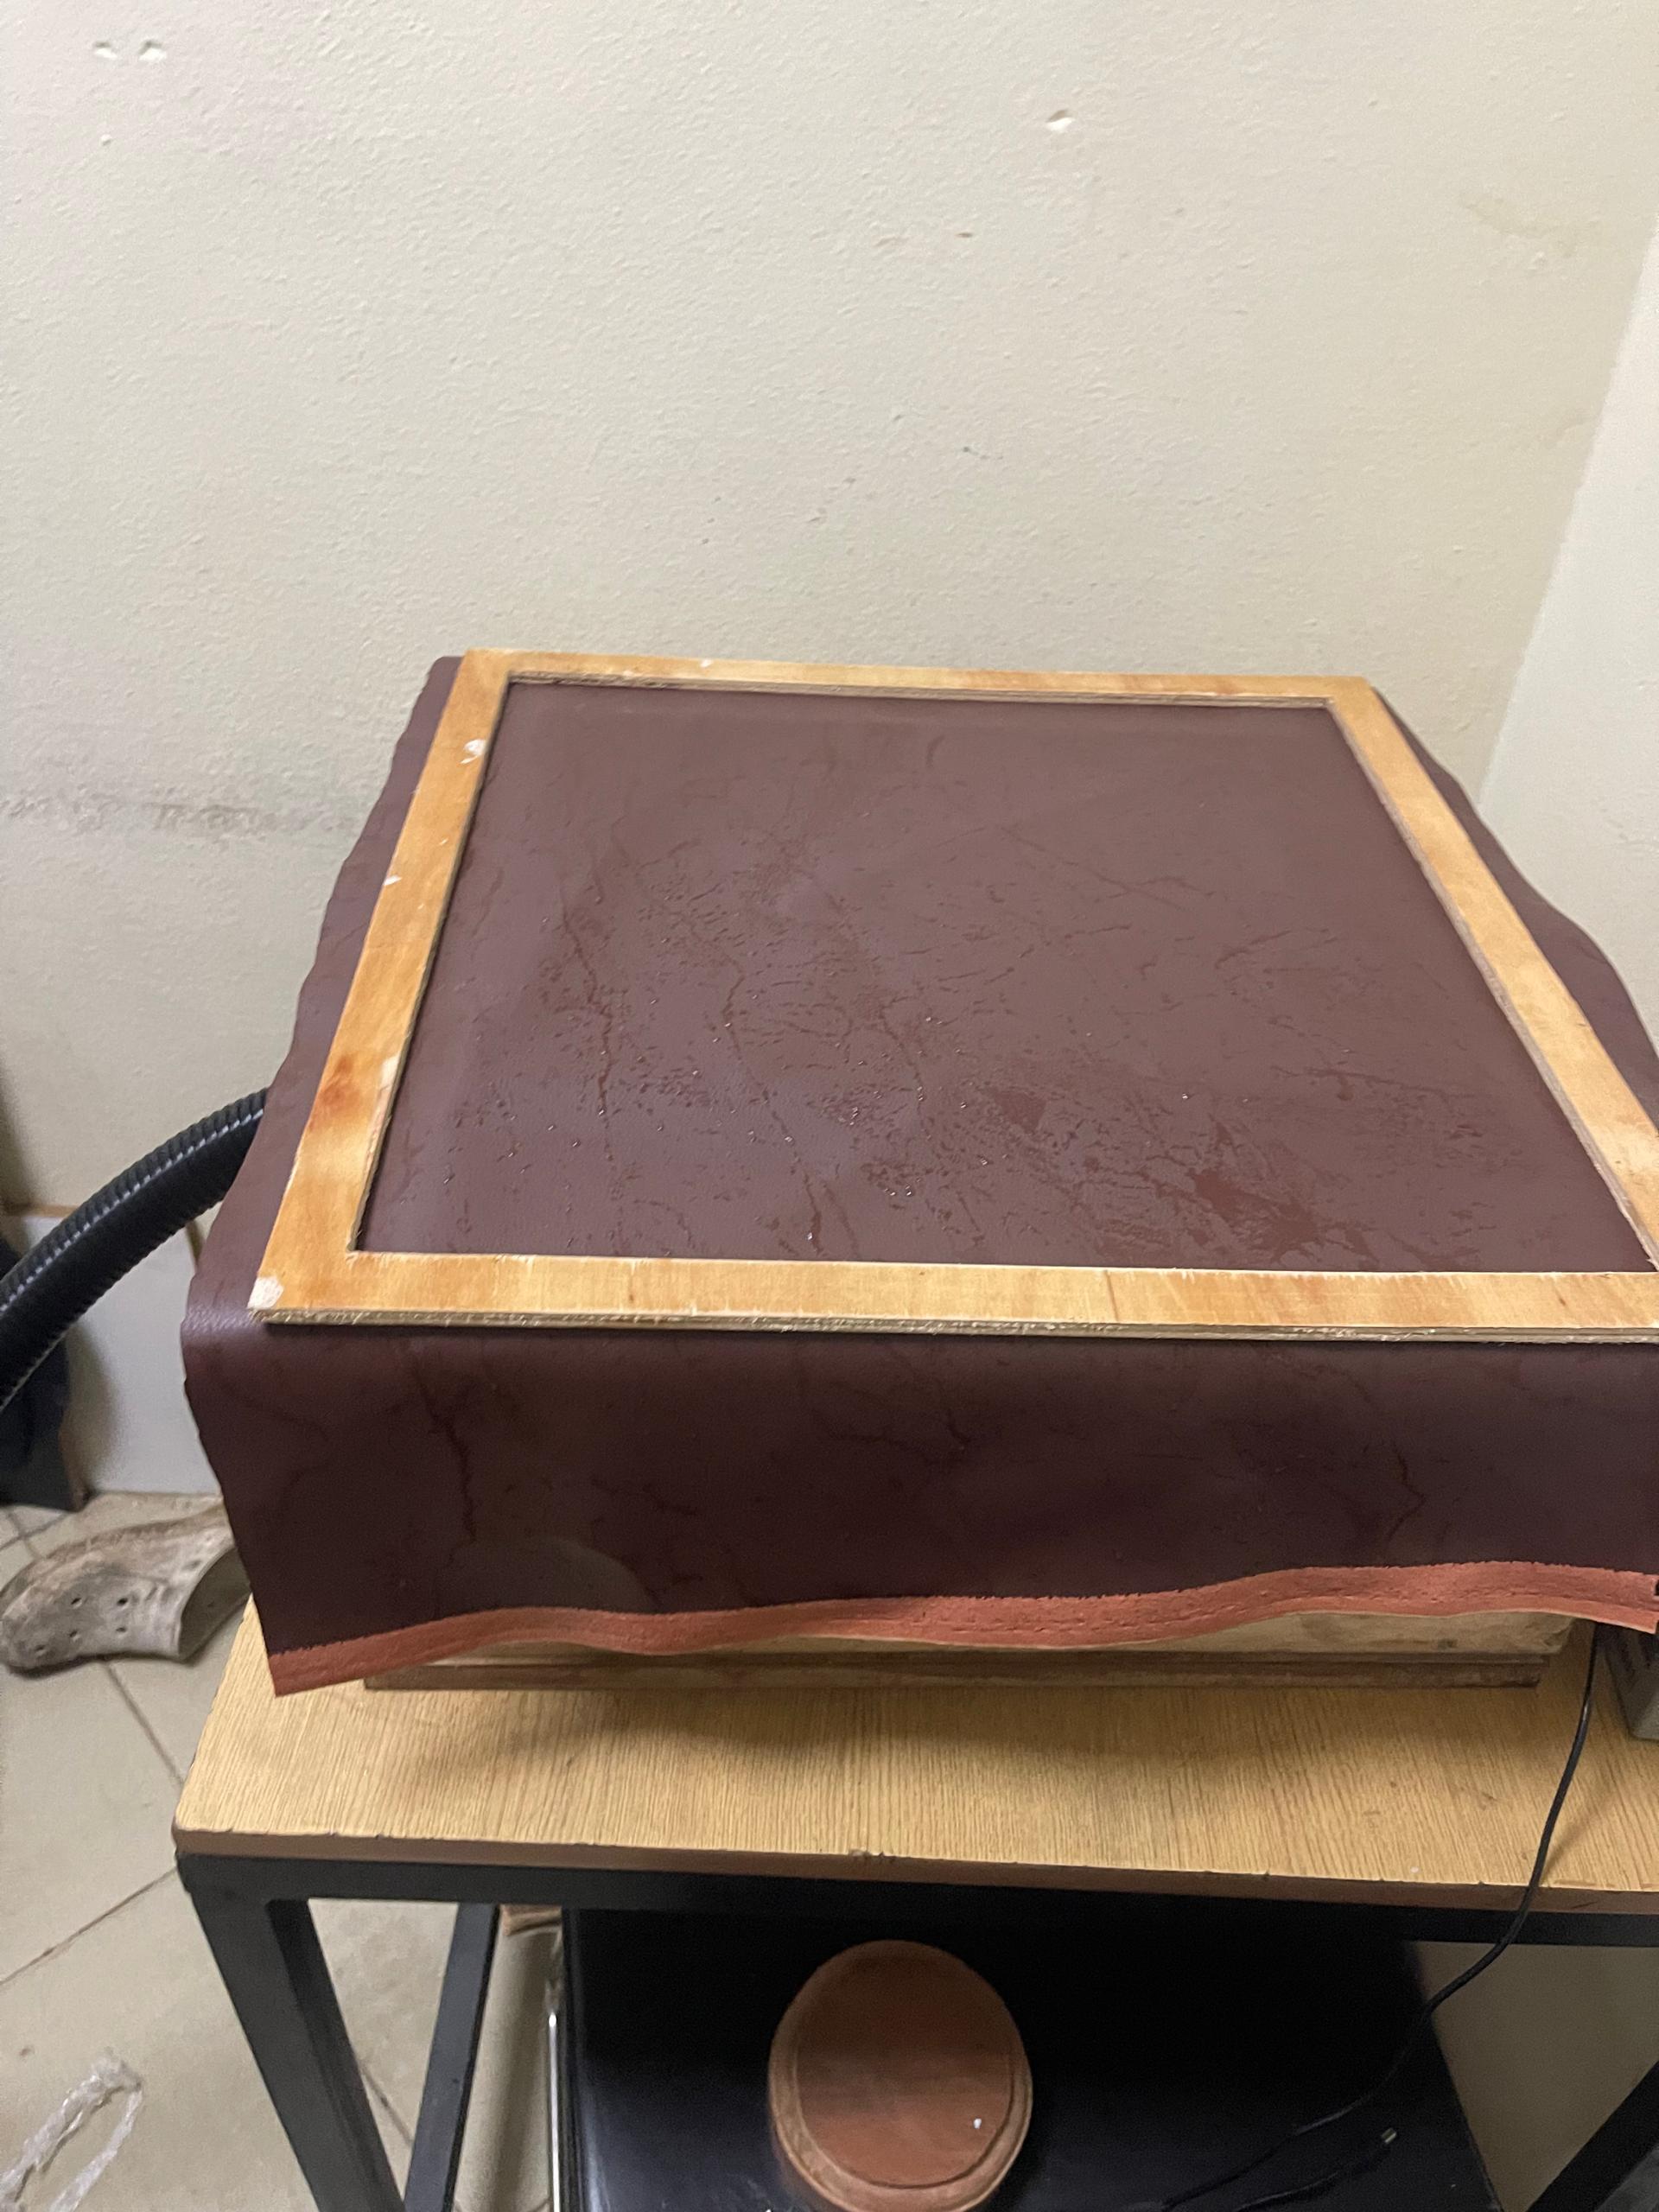
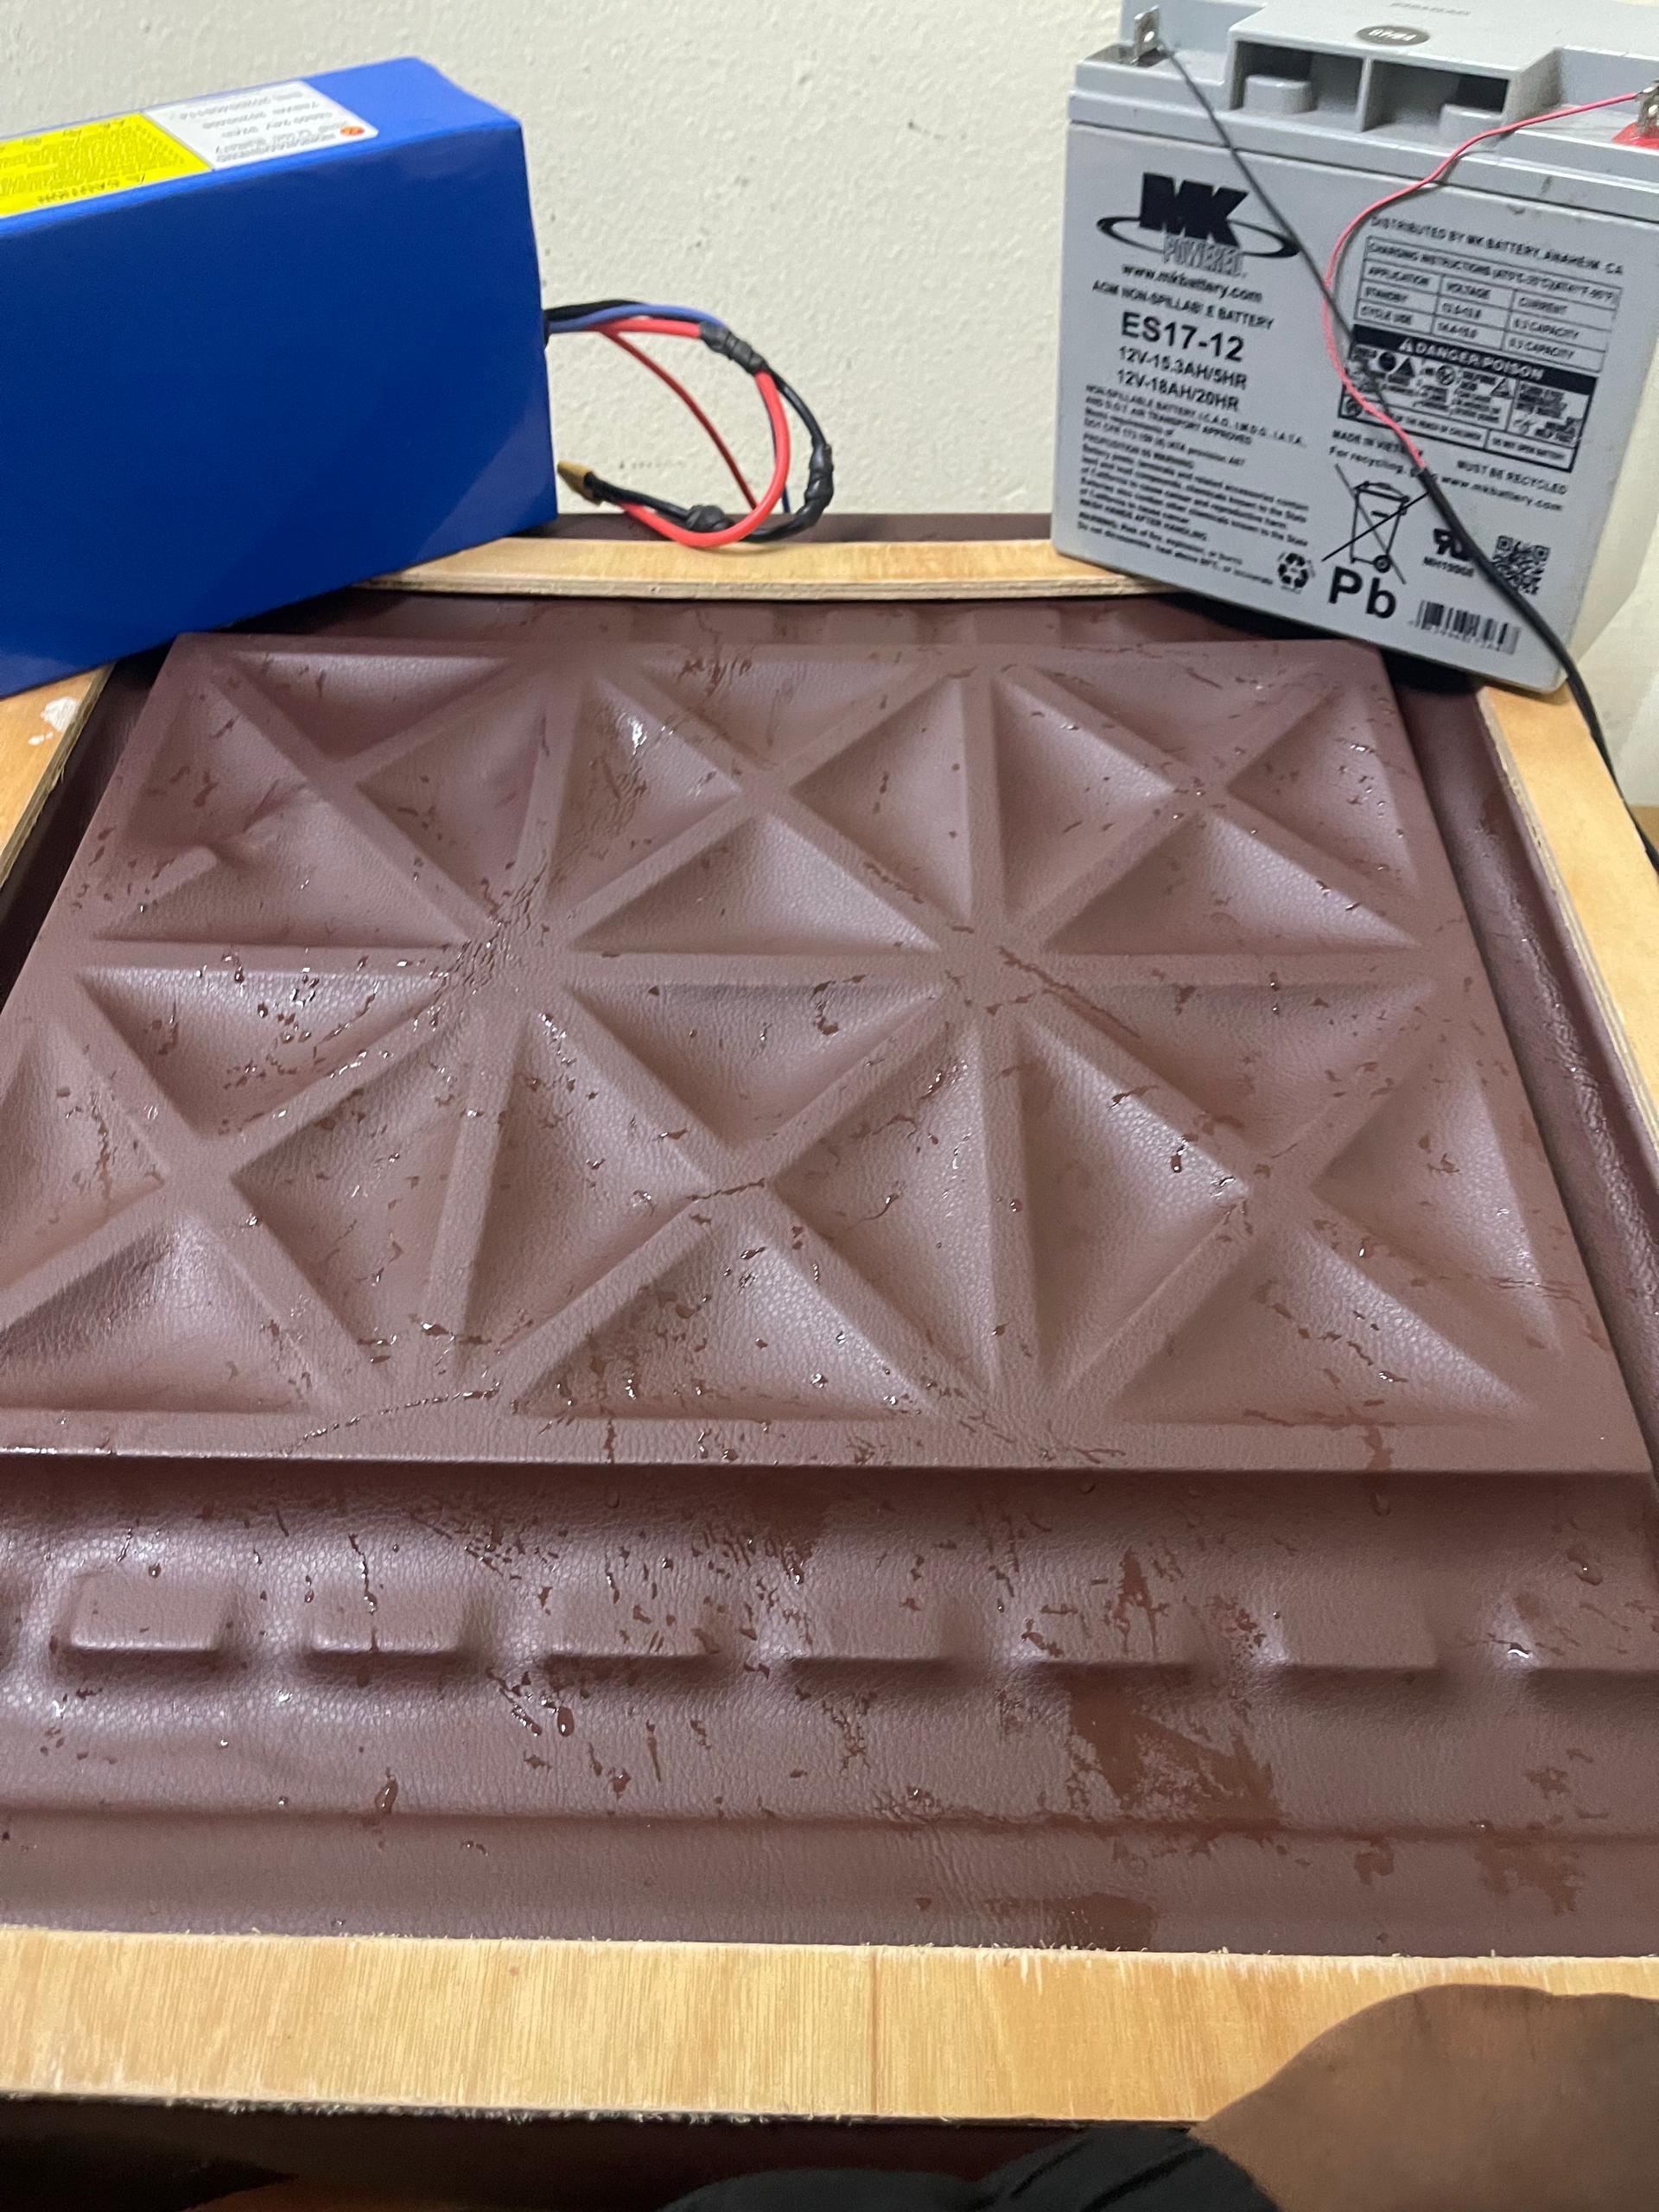
- STEP 4: FIRST ATTEMPT - FAILED,IMPROVED DESIGN
The first vacuum box did not work properly.Because Air leakage from the box Box was too large ,Leather and mold did not seal properly it leads to weak suction and poor shaping. Vacuum forming requires a tight seal and controlled airflow
After improving the vacuum system (reducing box size and improving sealing), I was able to successfully mold natural leather using the vacuum forming setup. Natural leather adapted well to vacuum forming The mold shape was clearly transferred onto the material The process worked best under controlled conditions
. Best Results Achieved With:
Thinner leather (1–2mm): More flexible and responsive to pressure
Proper soaking in hot water: Increased softness and formability
Tight vacuum seal: Essential for creating strong suction
unfortunately At the end of the experimentation, the vacuum box structure broke, which prevented further testing and refinement. Weak structural resistance of the wooden box under pressure Repeated stress from vacuum force, Assembly not fully reinforced or sealed
Key Insight
A successful vacuum forming system is not only about suction, but also about structural strength and durability of the setup.