11. Open Source Hardware - From Fibers to Fabric
Research & Ideation
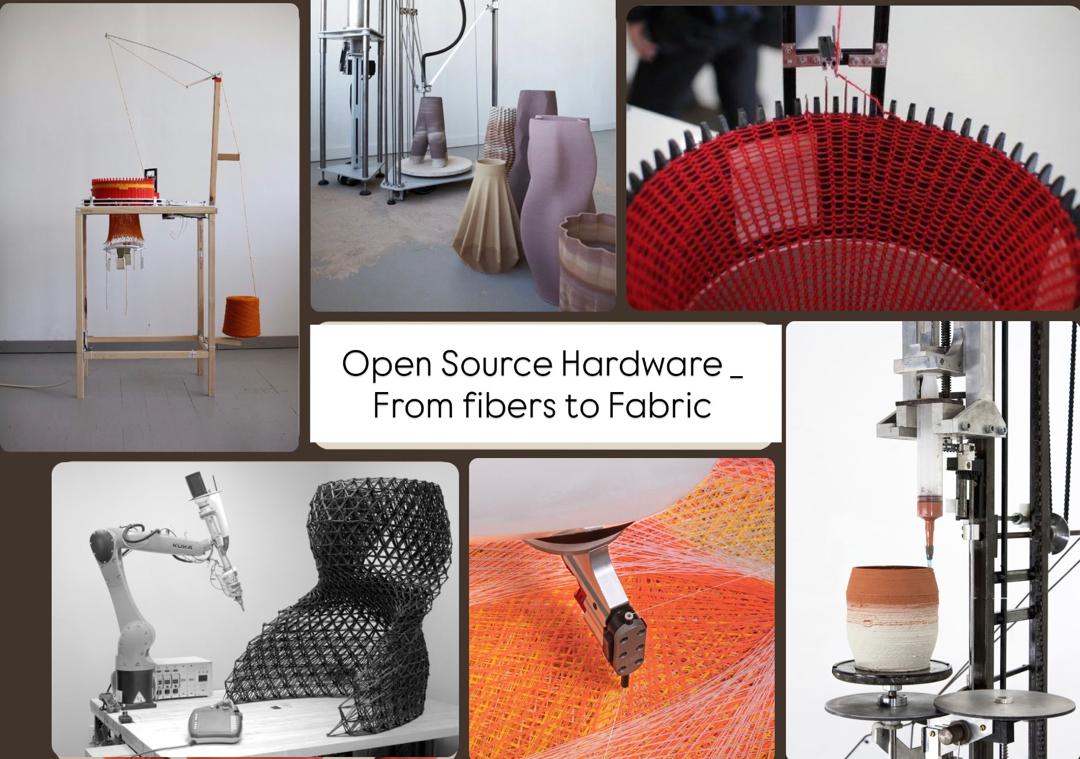
At first, I didn’t fully understand what “open source from fibers to fabric” meant, but as I researched, I realized how wide and exciting this topic is. It goes far beyond traditional textiles—just like Fabricademy, it connects material exploration, digital fabrication, and open knowledge. The goal is to understand textiles from their raw beginnings while also using modern tools to innovate.
This approach covers the entire journey:
•   Fibers & Materials: natural, recycled, bio-based, and experimental materials like algae, bio-leathers, or food-waste fibers.
•   Yarn Preparation: spinning, carding, dyeing, and simple open-source tools to turn fibers into usable threads.
•   Fabric Construction: weaving, knitting, crochet, open-source looms, and digital knitting machines.
•   Digital Fabrication: laser cutting, CNC milling, 3D printing, and vacuum forming to shape, cut, emboss, or mold textiles and biomaterials.
•   Open-Source Mindset: documenting every step so anyone can learn, recreate, remix, or improve the process.
⸻
Tools & Machines I Learned About (Short List)
•   Hand Spindle / Spinning Wheel: turns fibers into yarn.
•   Carding Tools: align fibers before spinning.
•   Looms (hand or digital): weave threads into fabric.
•   OpenKnit Machine: open-source automatic knitting.
•   Laser Cutter: cuts or engraves fabric with precision.
•   3D Printer: creates molds, patterns, or supports for material tests.
•   CNC Router: carves molds or shapes for textile experiments.
•   Vacuum Forming Machine: shapes heated sheets or biomaterials over molds using suction.
⸻
My Reflection
Through this research, I learned that textiles are no longer just traditional—they are becoming a mix of craft, technology, and innovation. The open-source approach makes everything accessible, allowing anyone to create, explore, and push the limits from fibers all the way to advanced fabric forms.
References & Inspiration
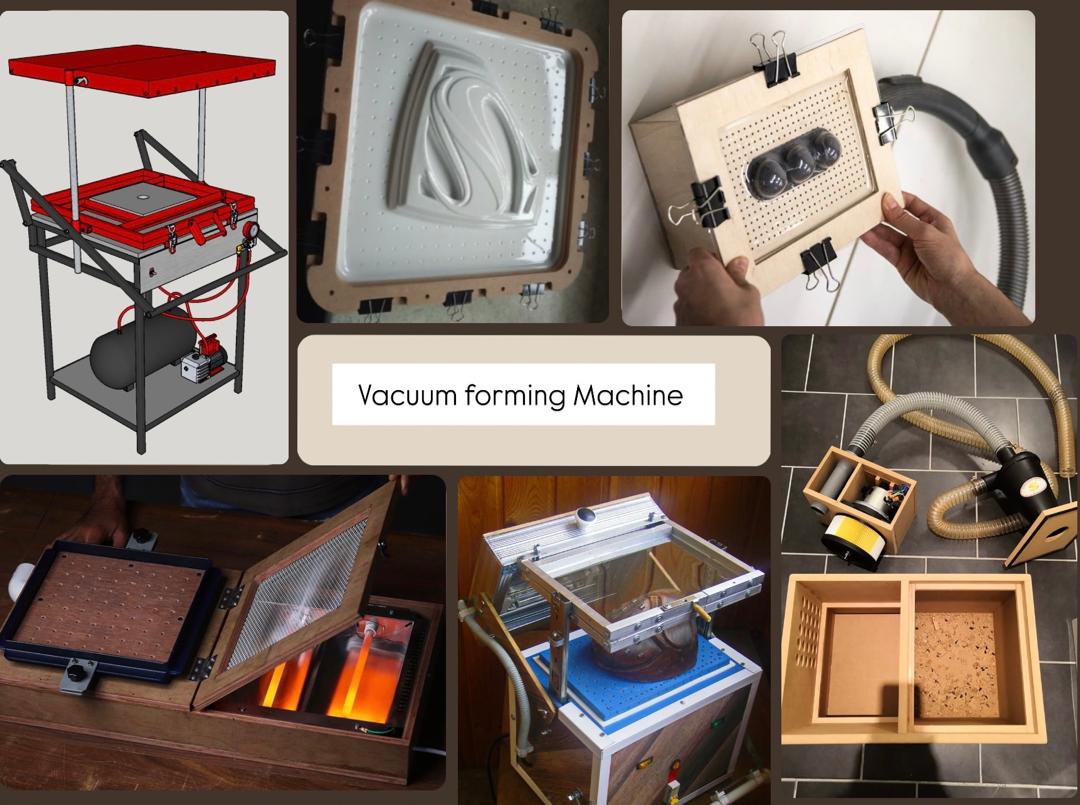
I was inspired by open-source DIY vacuum forming machines shared in Fab Labs and maker communities. I chose this technique because it allows precise and repeatable shaping of materials, which directly supports my leather molding experiments.
Tools
. ShopBot CNC machine
. CAD software (SolidWorks)
. Computer workstation
. Workshop Tools
. Drill machine
. Orbital sander
. Clamps
. Screwdriver
. Measuring tape
. Ruler
. Testing Equipment Vacuum cleaner (temporary vacuum source)
Materials
. Plywood sheets
. Wooden panels (CNC cut parts)
. Screws
. Wood glue
. Sandpaper
. Silicone sealant (for airtight sealing – to be added)
. Vacuum cleaner
. Natural leather:(3mm,2mm,1mm) thickness and Synthetic leather for comparison
Process and workflow
- STEP 1 : DESIGNING THE VACUUM BOX
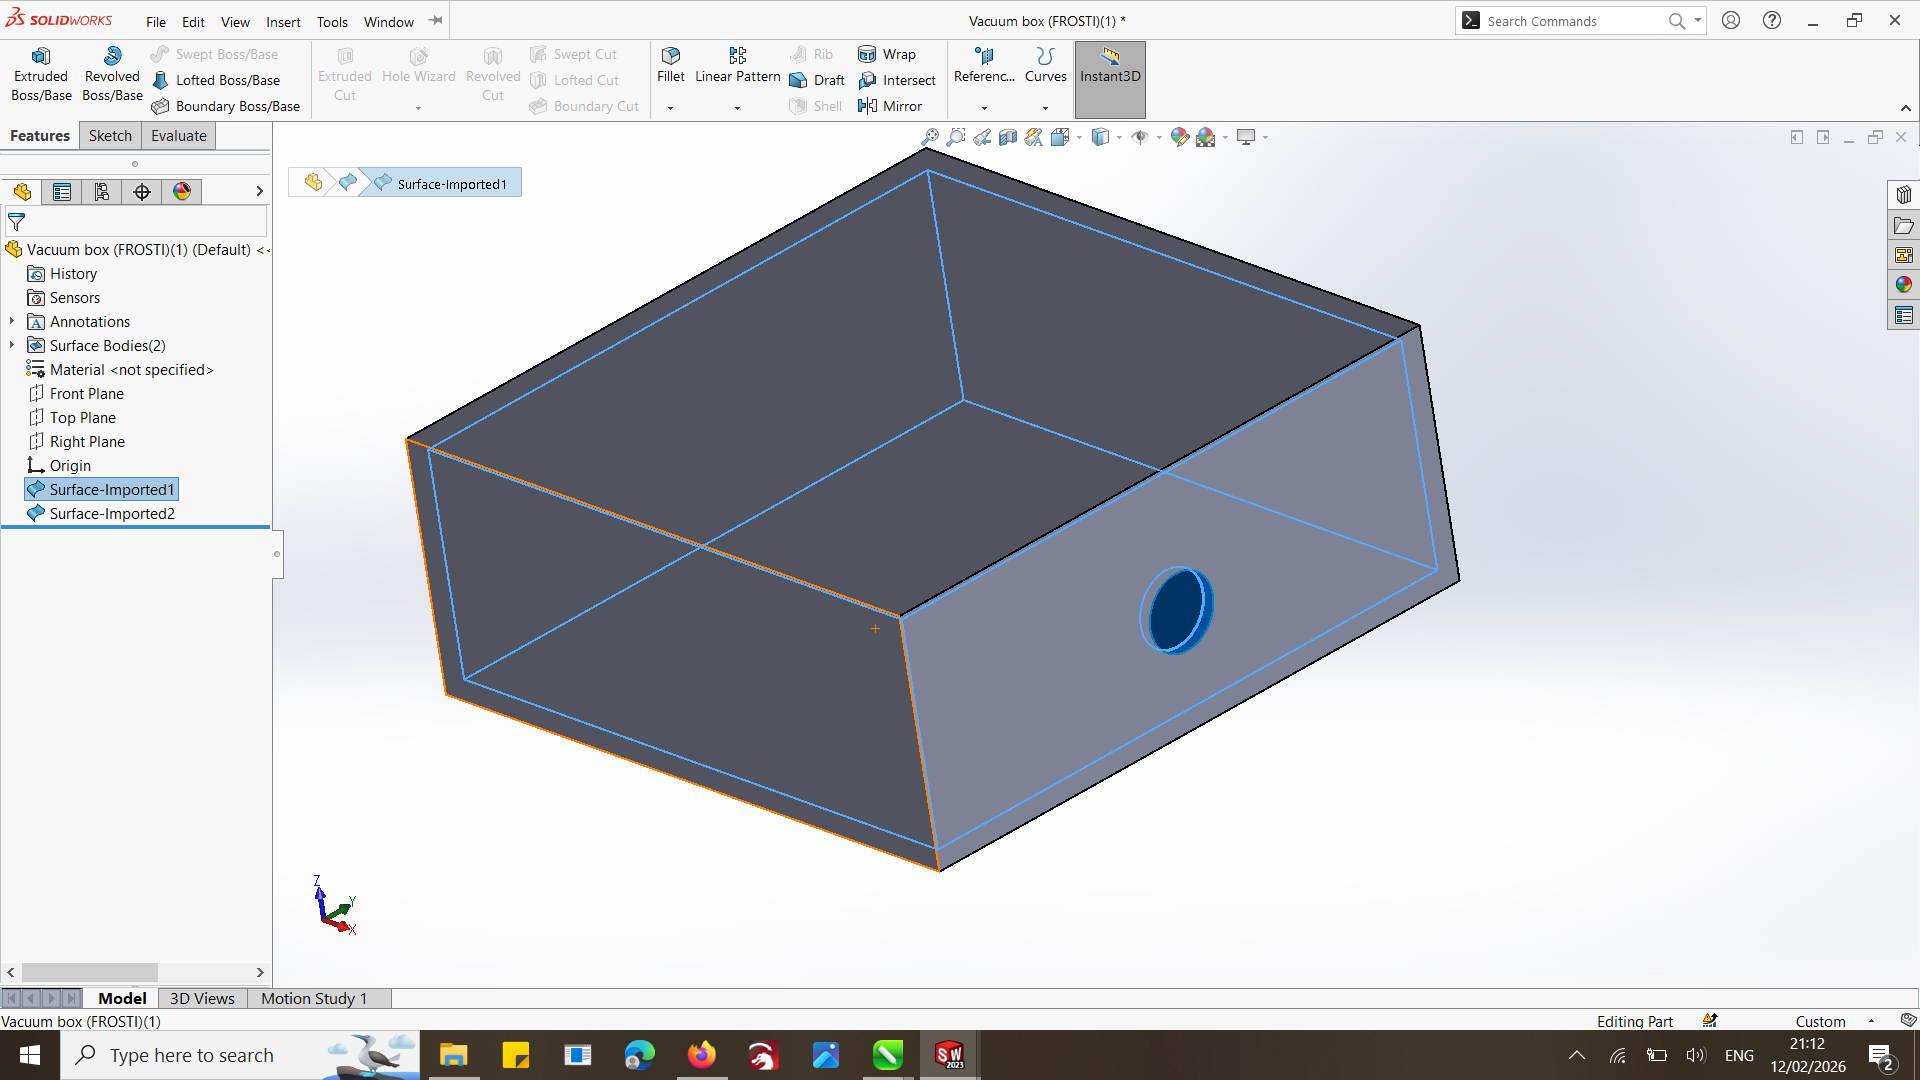
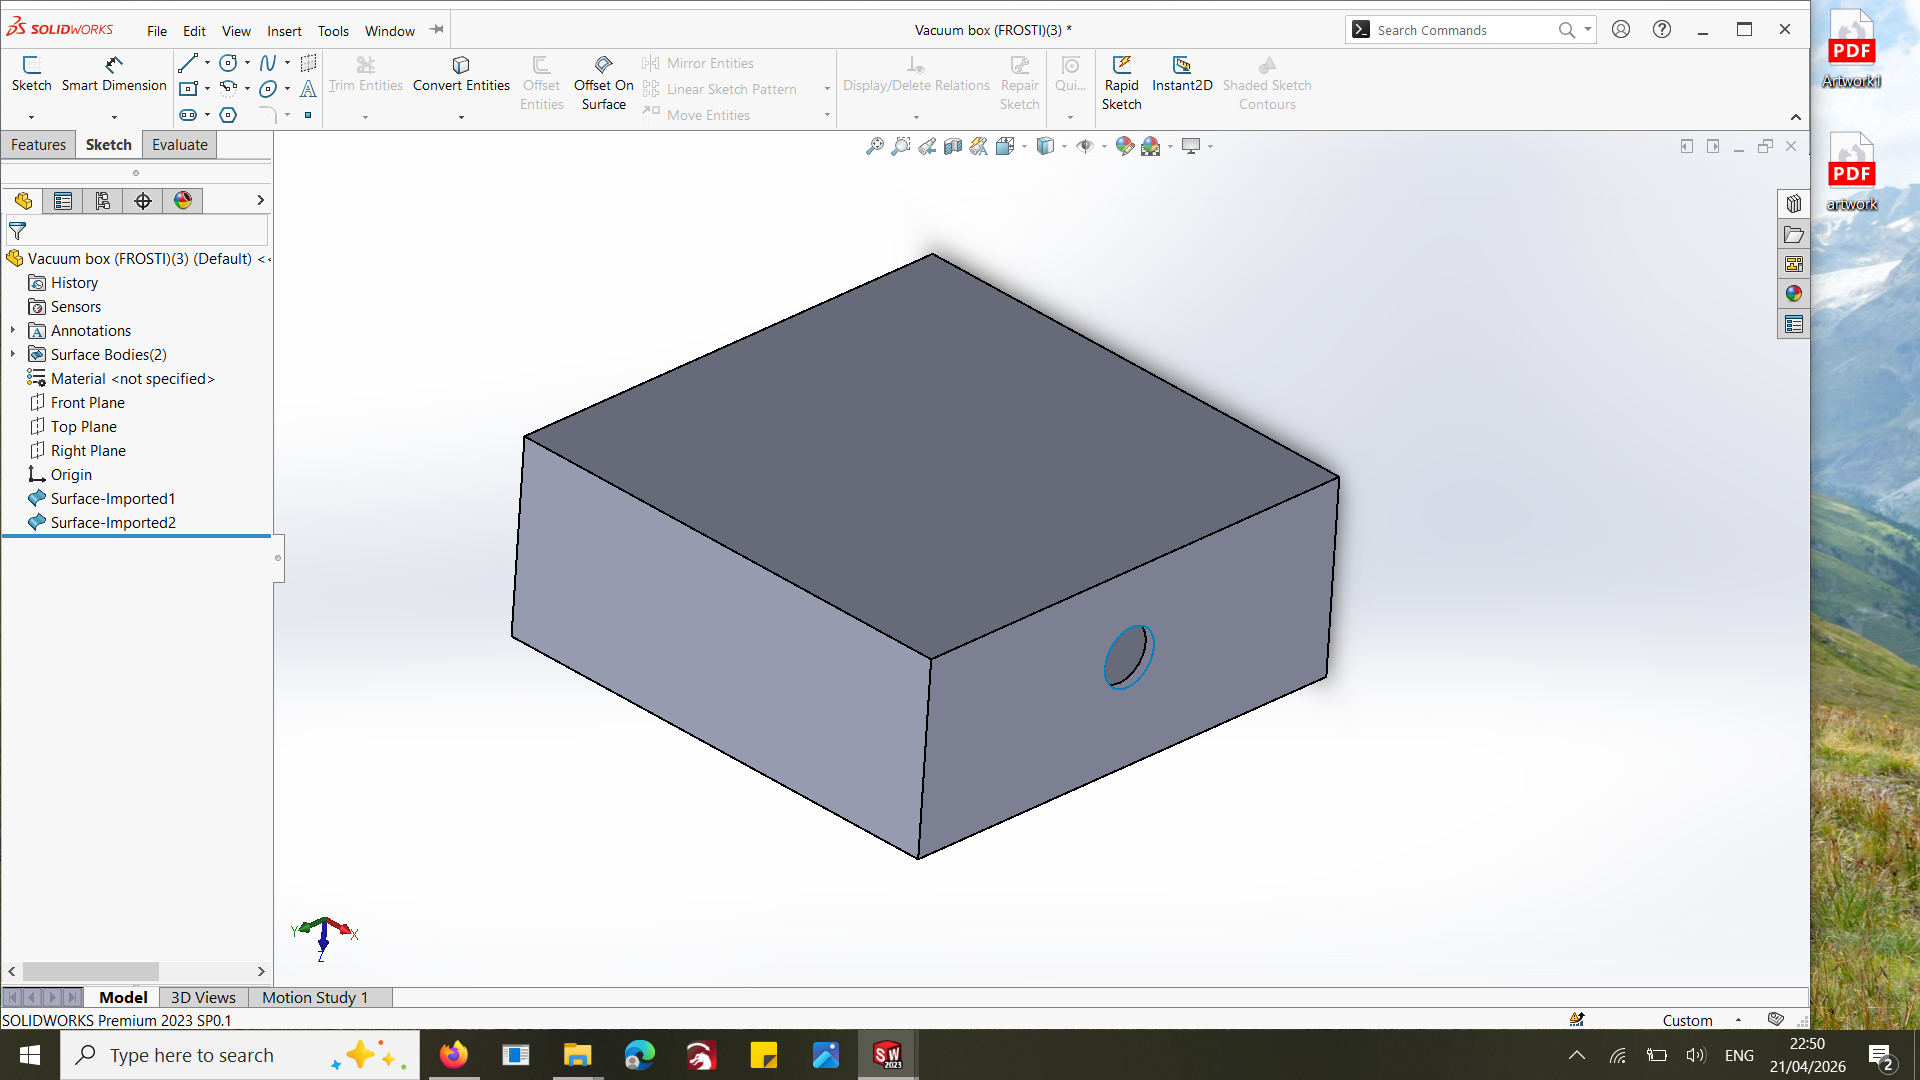
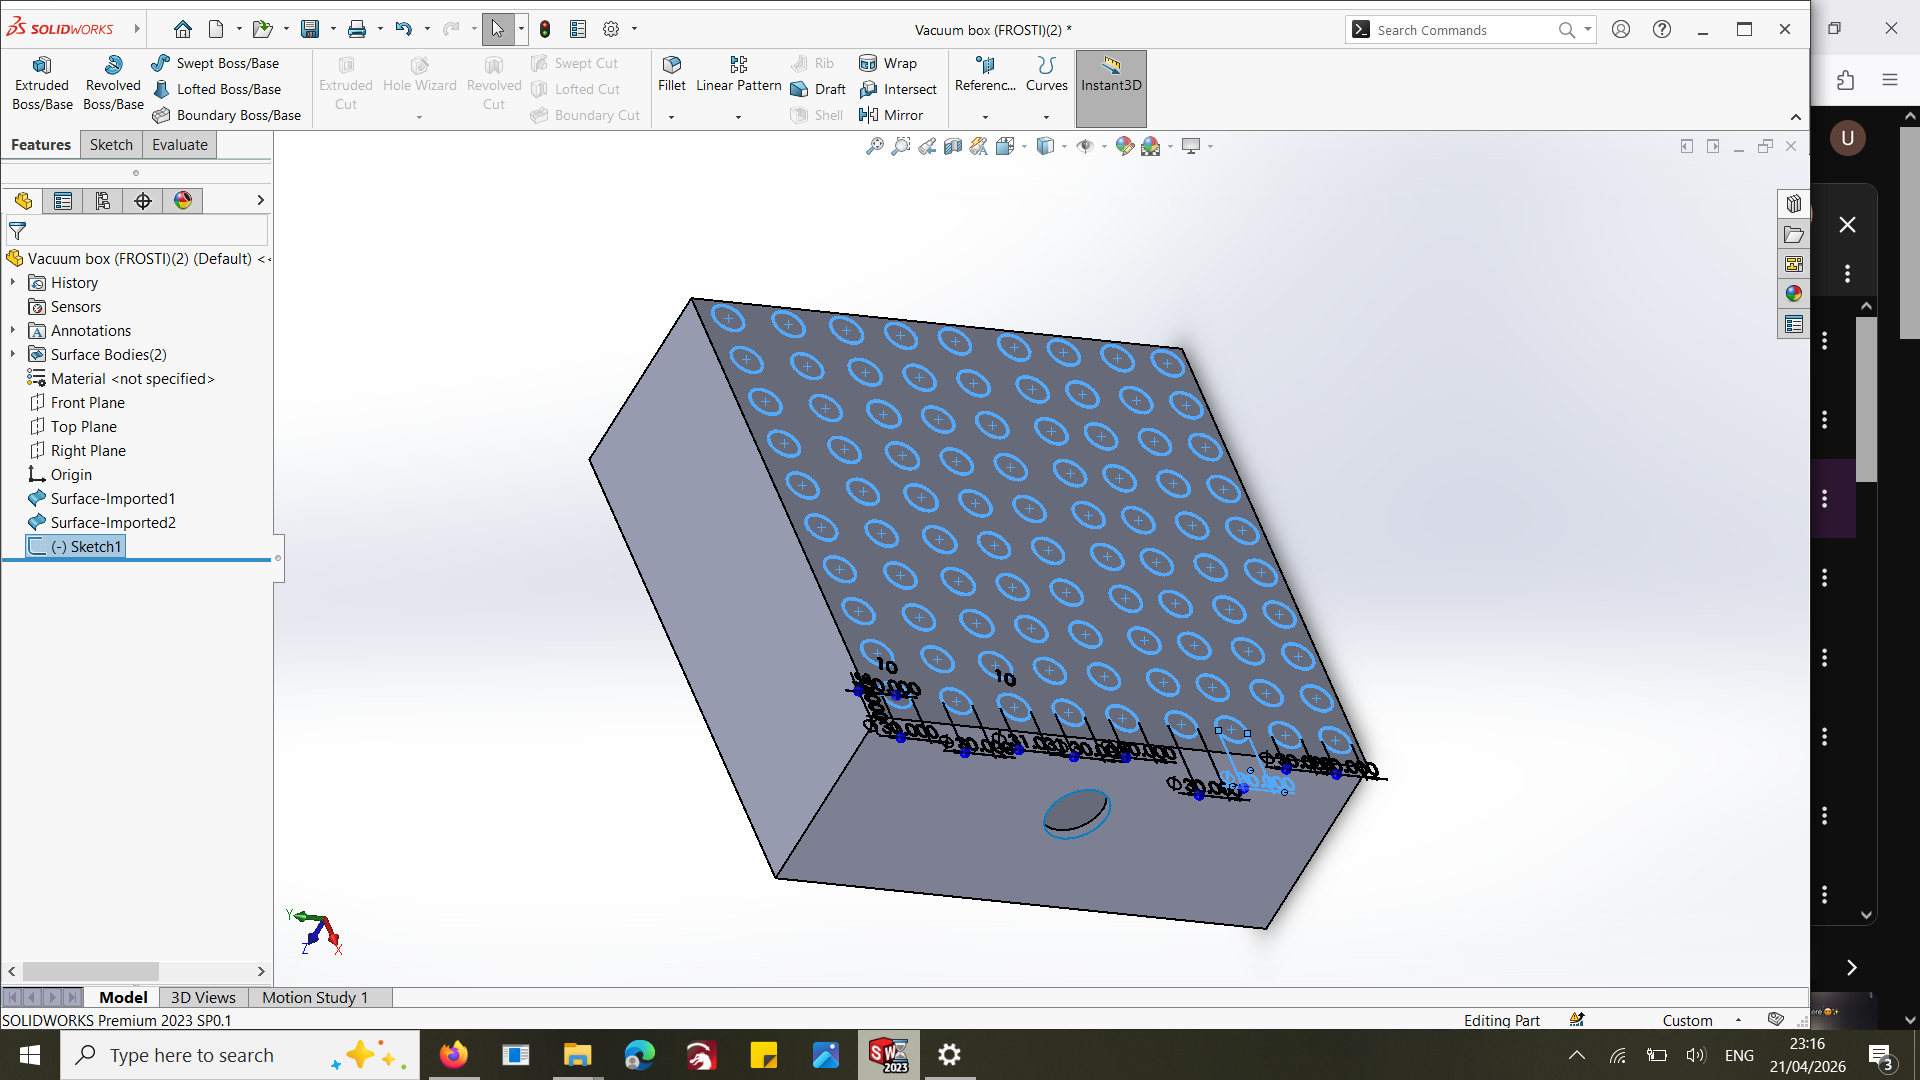
I designed a vacuum box that allows air to be sucked through small holes, creating pressure to pull the leather over the mold.
Designed in SOLIDWORK Air holes on top surface Connection port for vacuum machine Box structure for airflow:
- STEP 2 : CNC FABRICATION
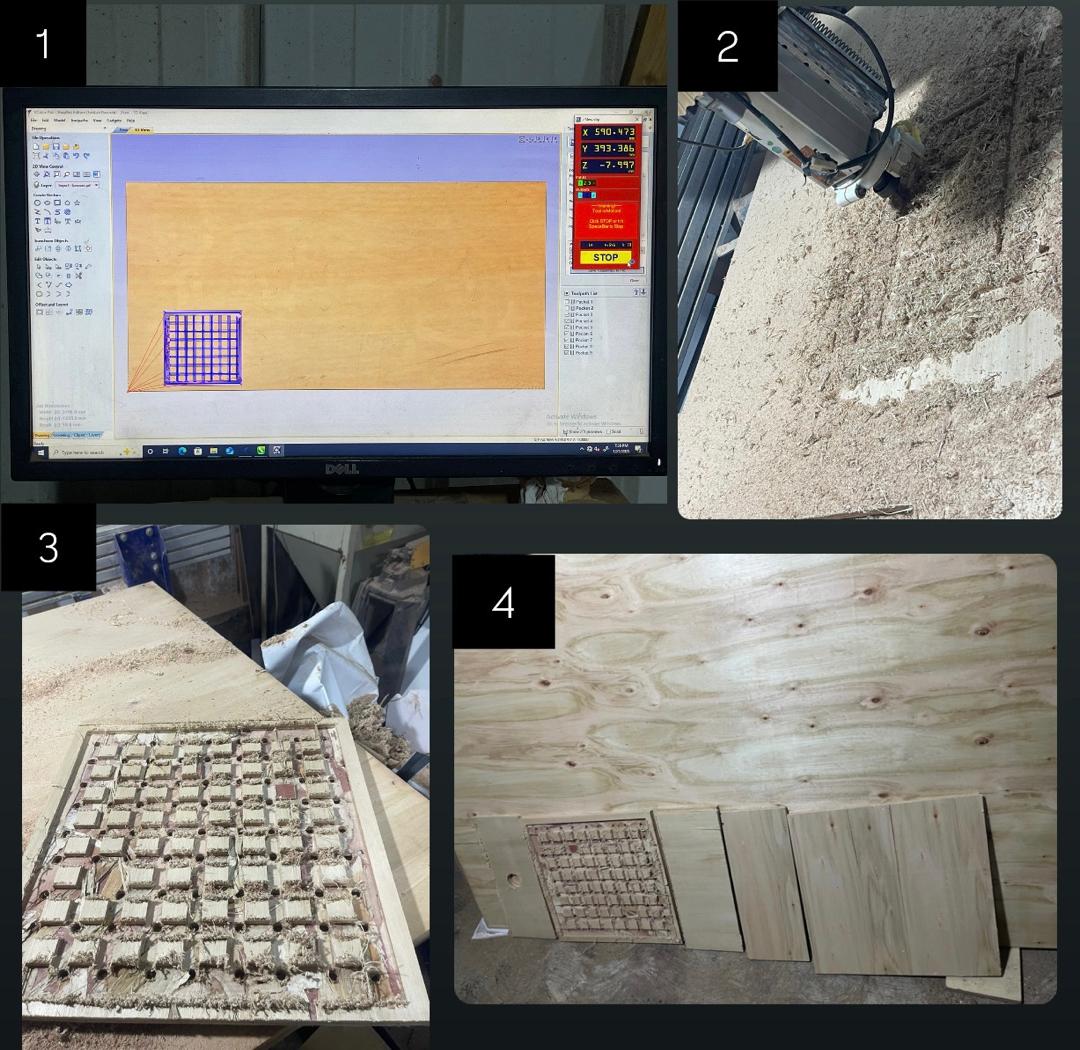
The box was fabricated using a CNC machine.
I used Wood as material to make the box
Exported design as toolpath
Cut panels using CNC, Sealed with silicon and screw it so that it doesn't leave a space for air to pass through
Assembled into a box
- STEP 3 : VACUUM SYSTEM SETUP
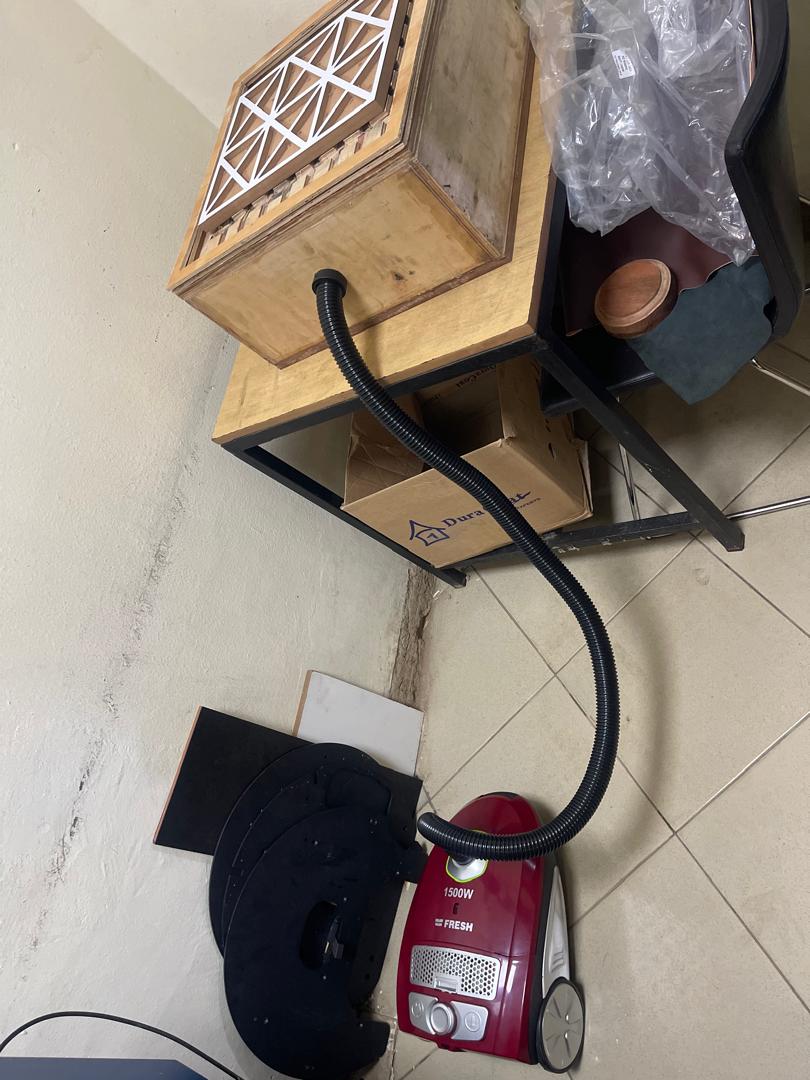
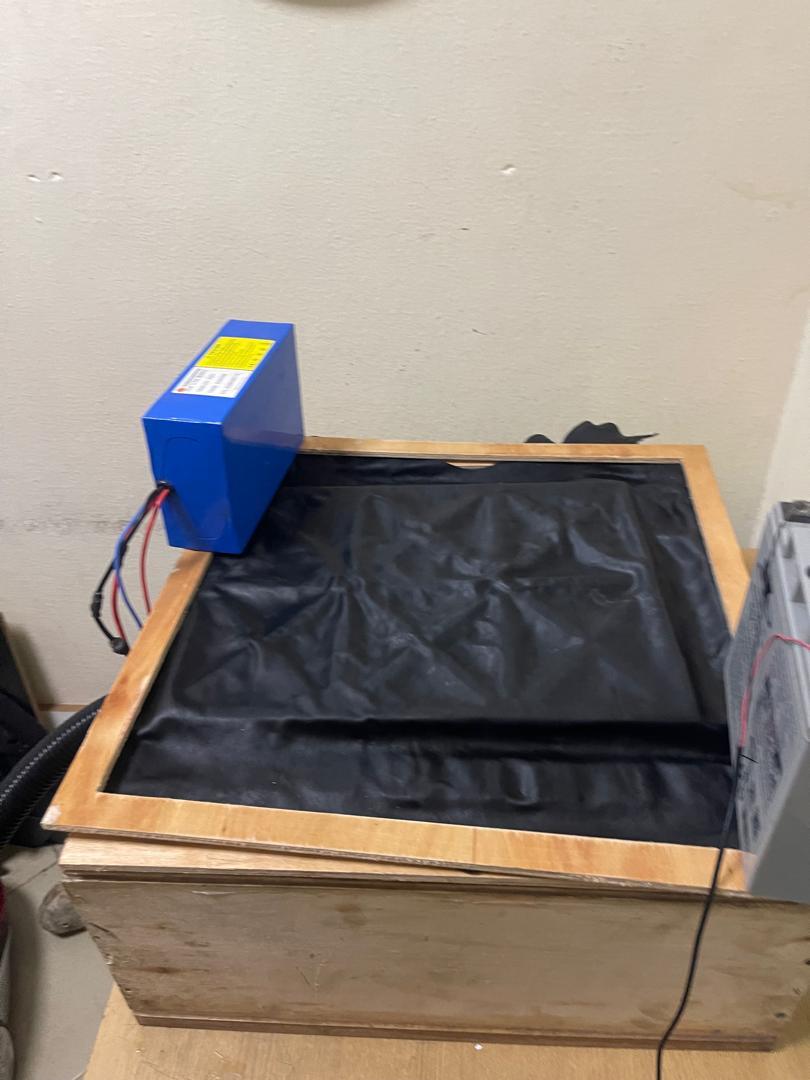
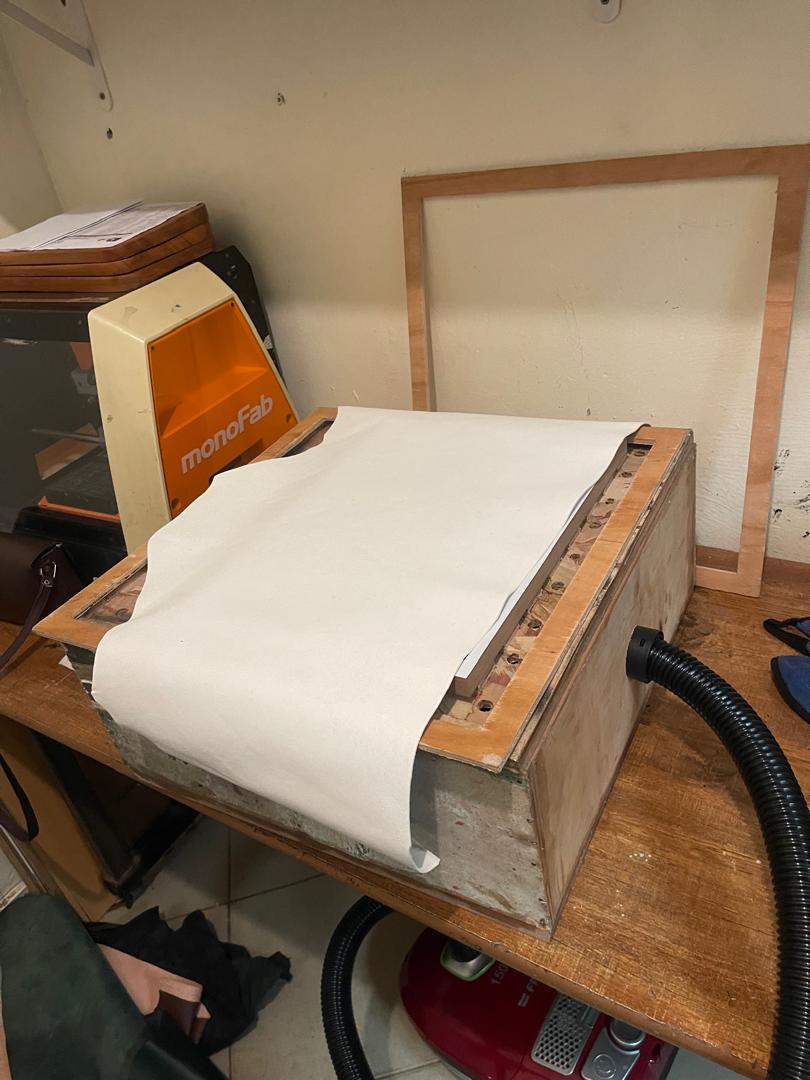
After building the box, I connected it to a vacuum source. i even tried to vaccum with plastic bag to test it and see if there is no space for air to pass
Vacuum source: [vacuum cleaner] Connection method:Pipe/tube attached to box inlet
- STEP 4: MOLD DESIGN
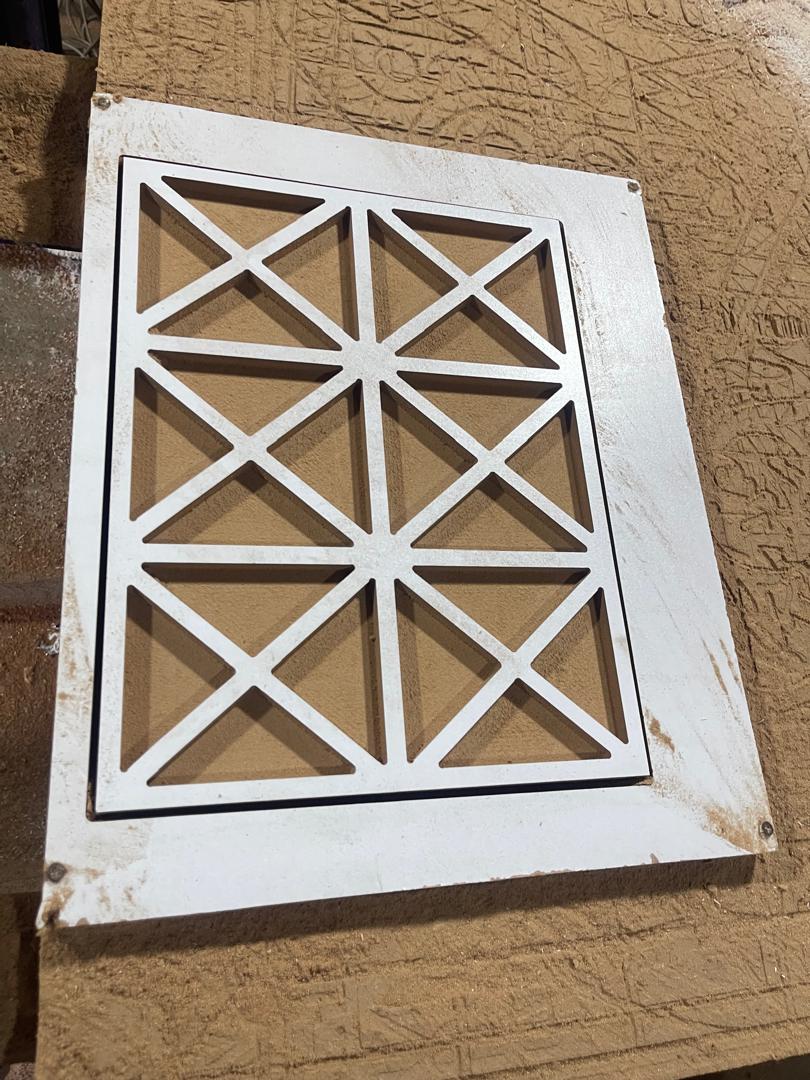
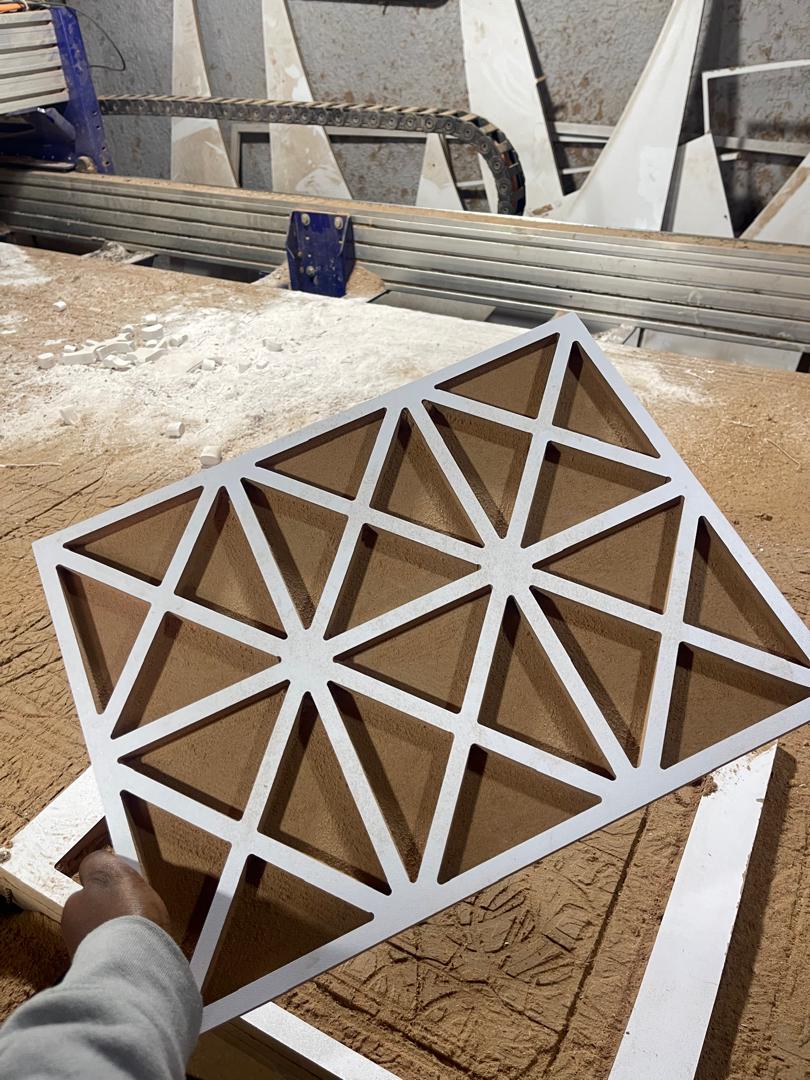
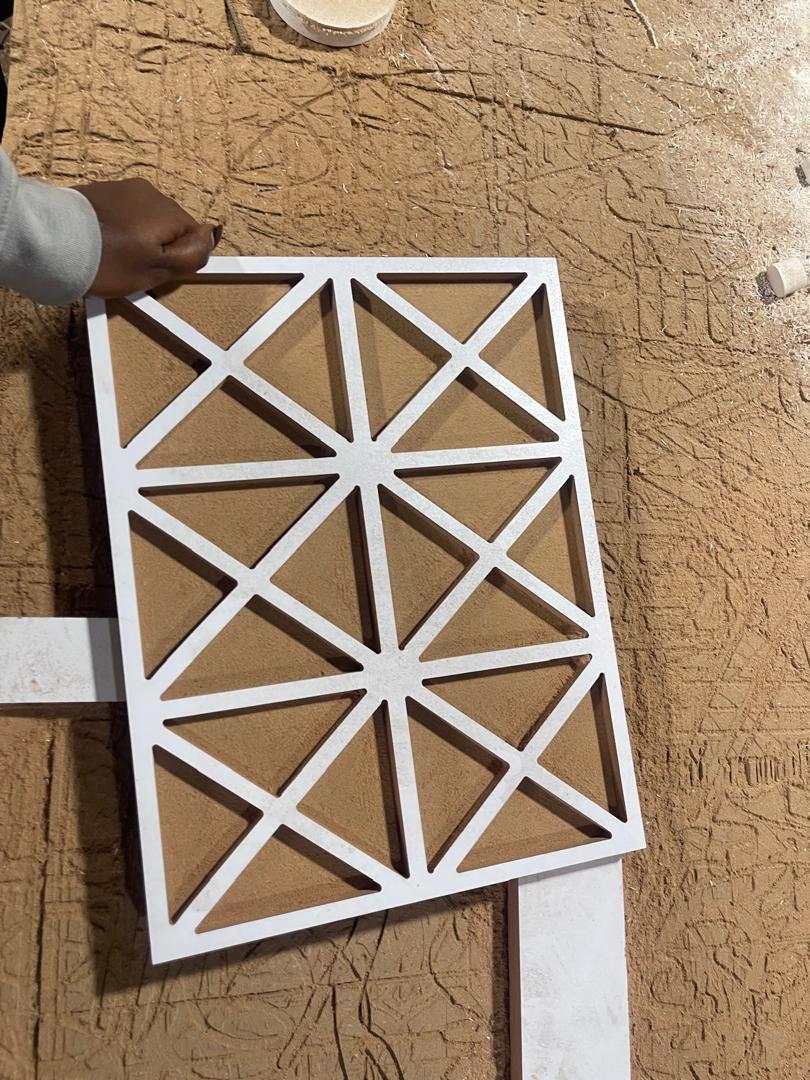
I designed and fabricated a 3D mold that serves as the form onto which the leather is shaped during the vacuum process.
I created a 3D mold that the leather would take shape from.
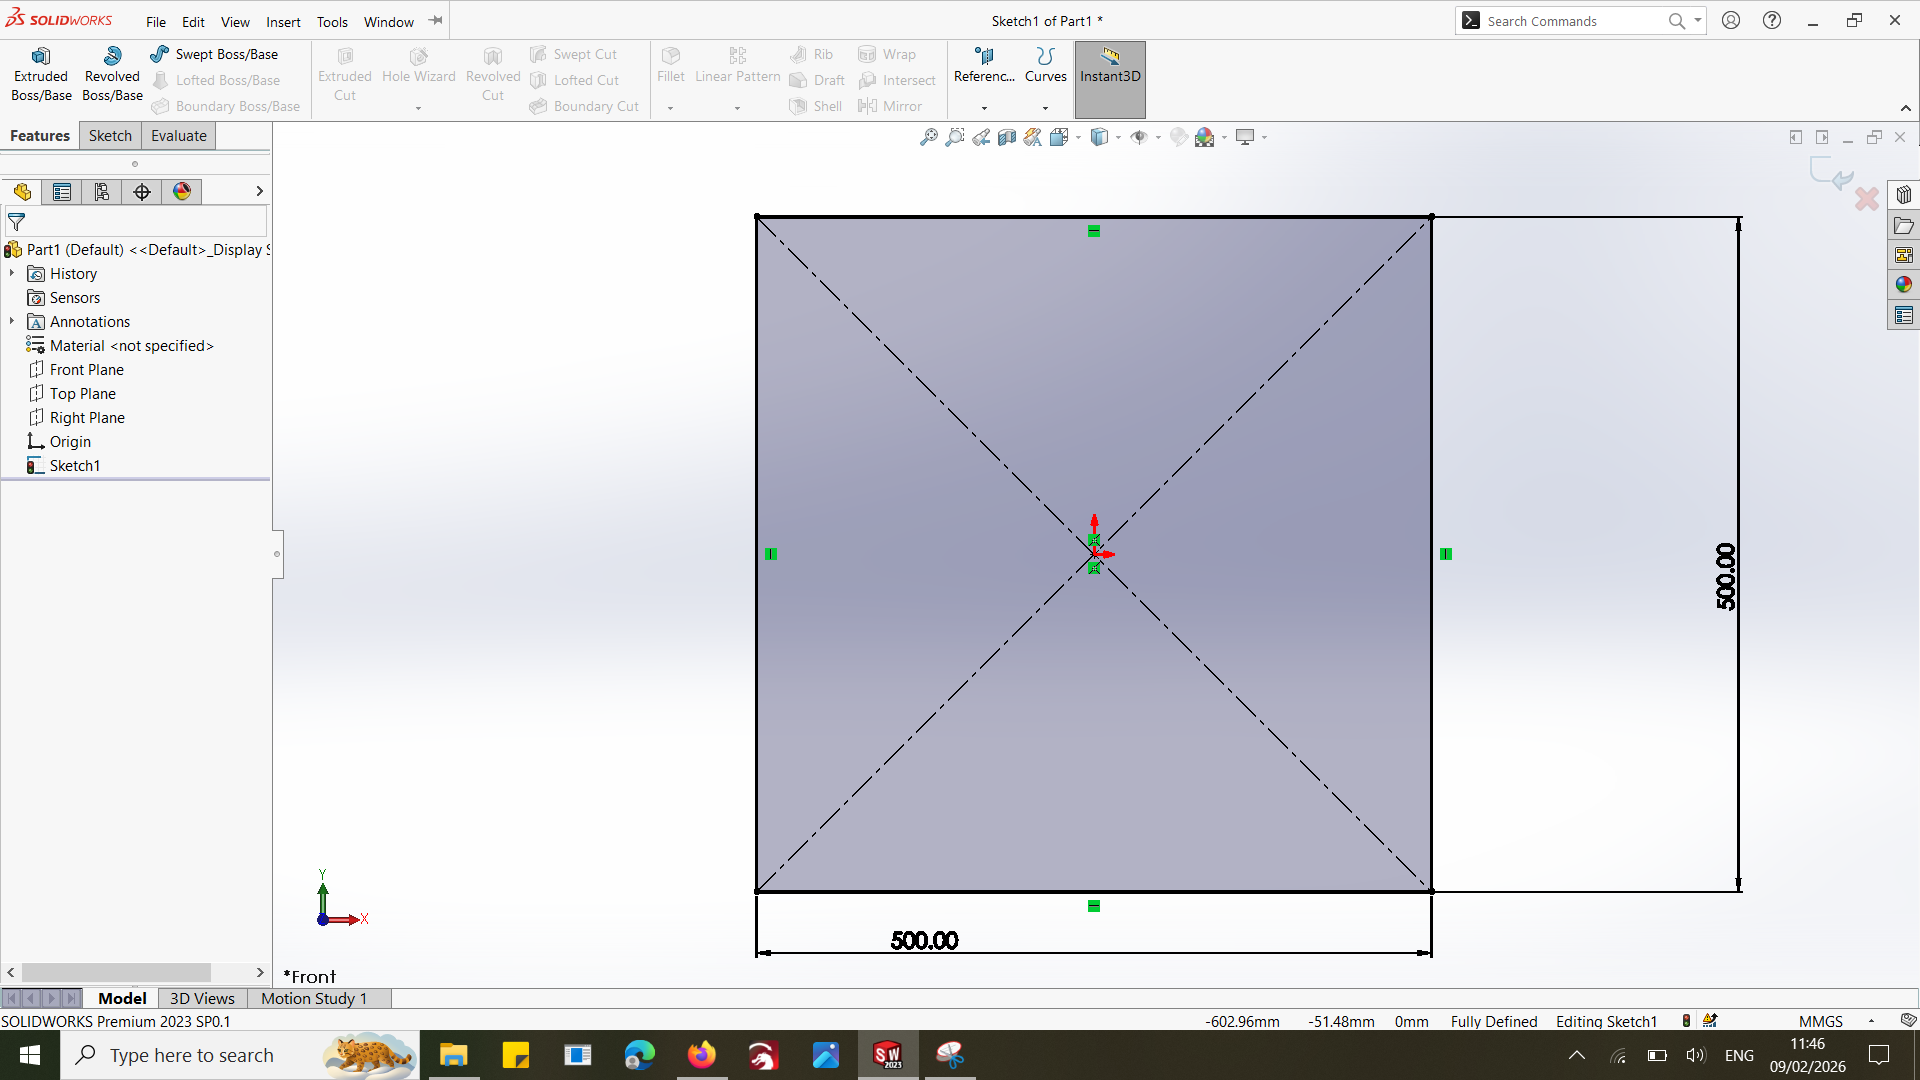
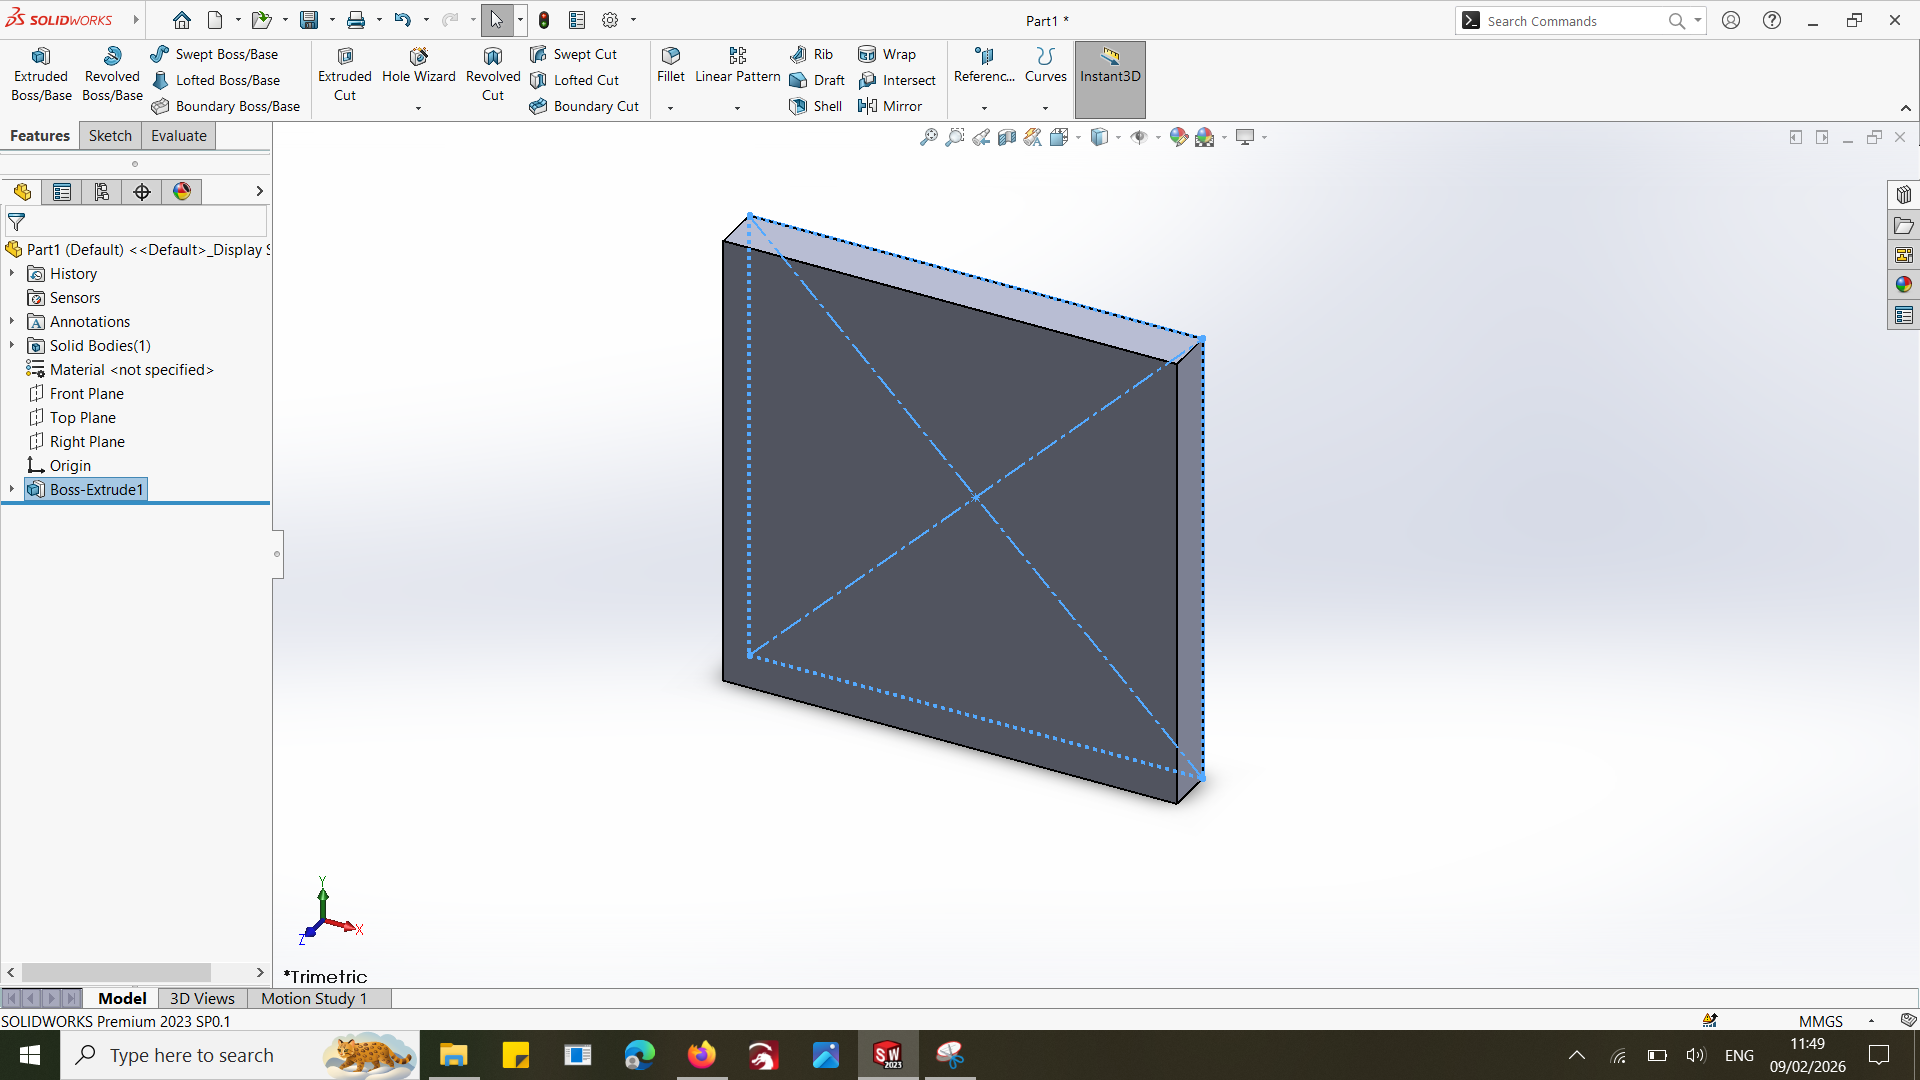
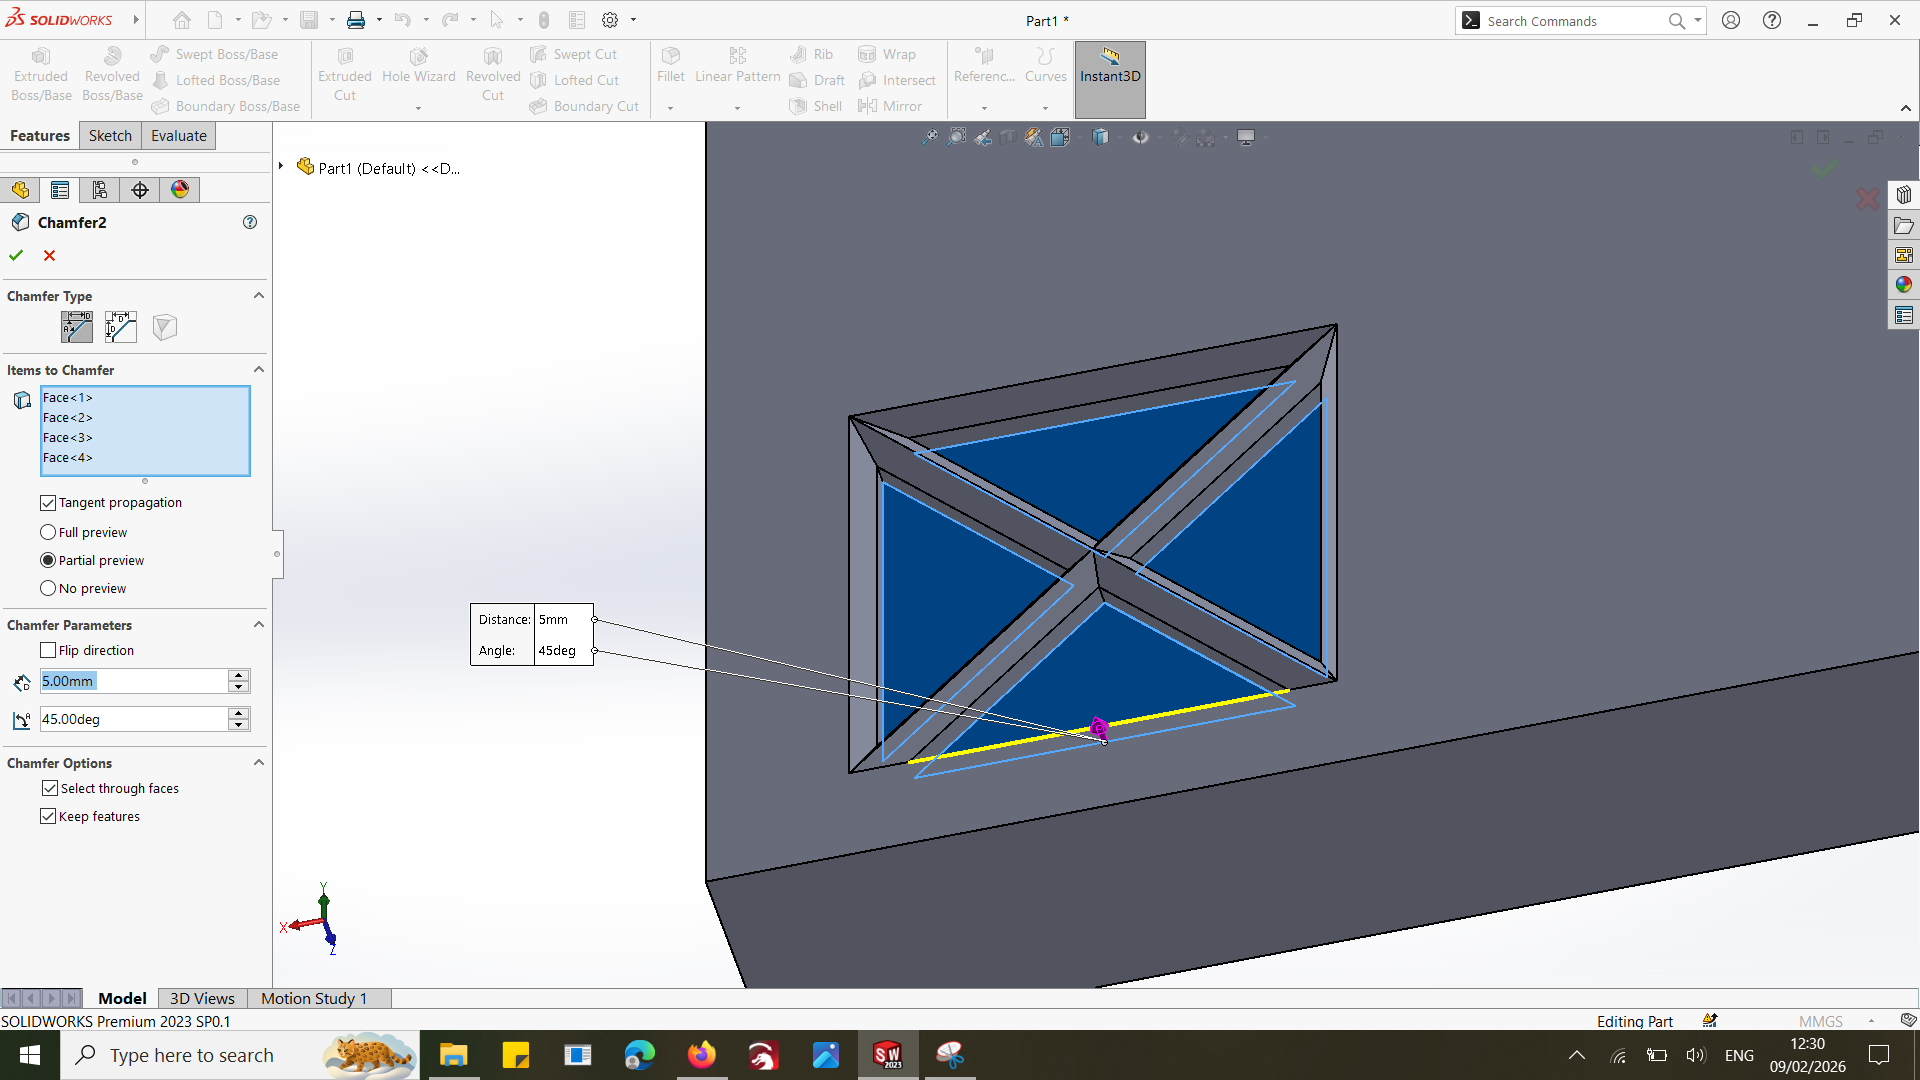
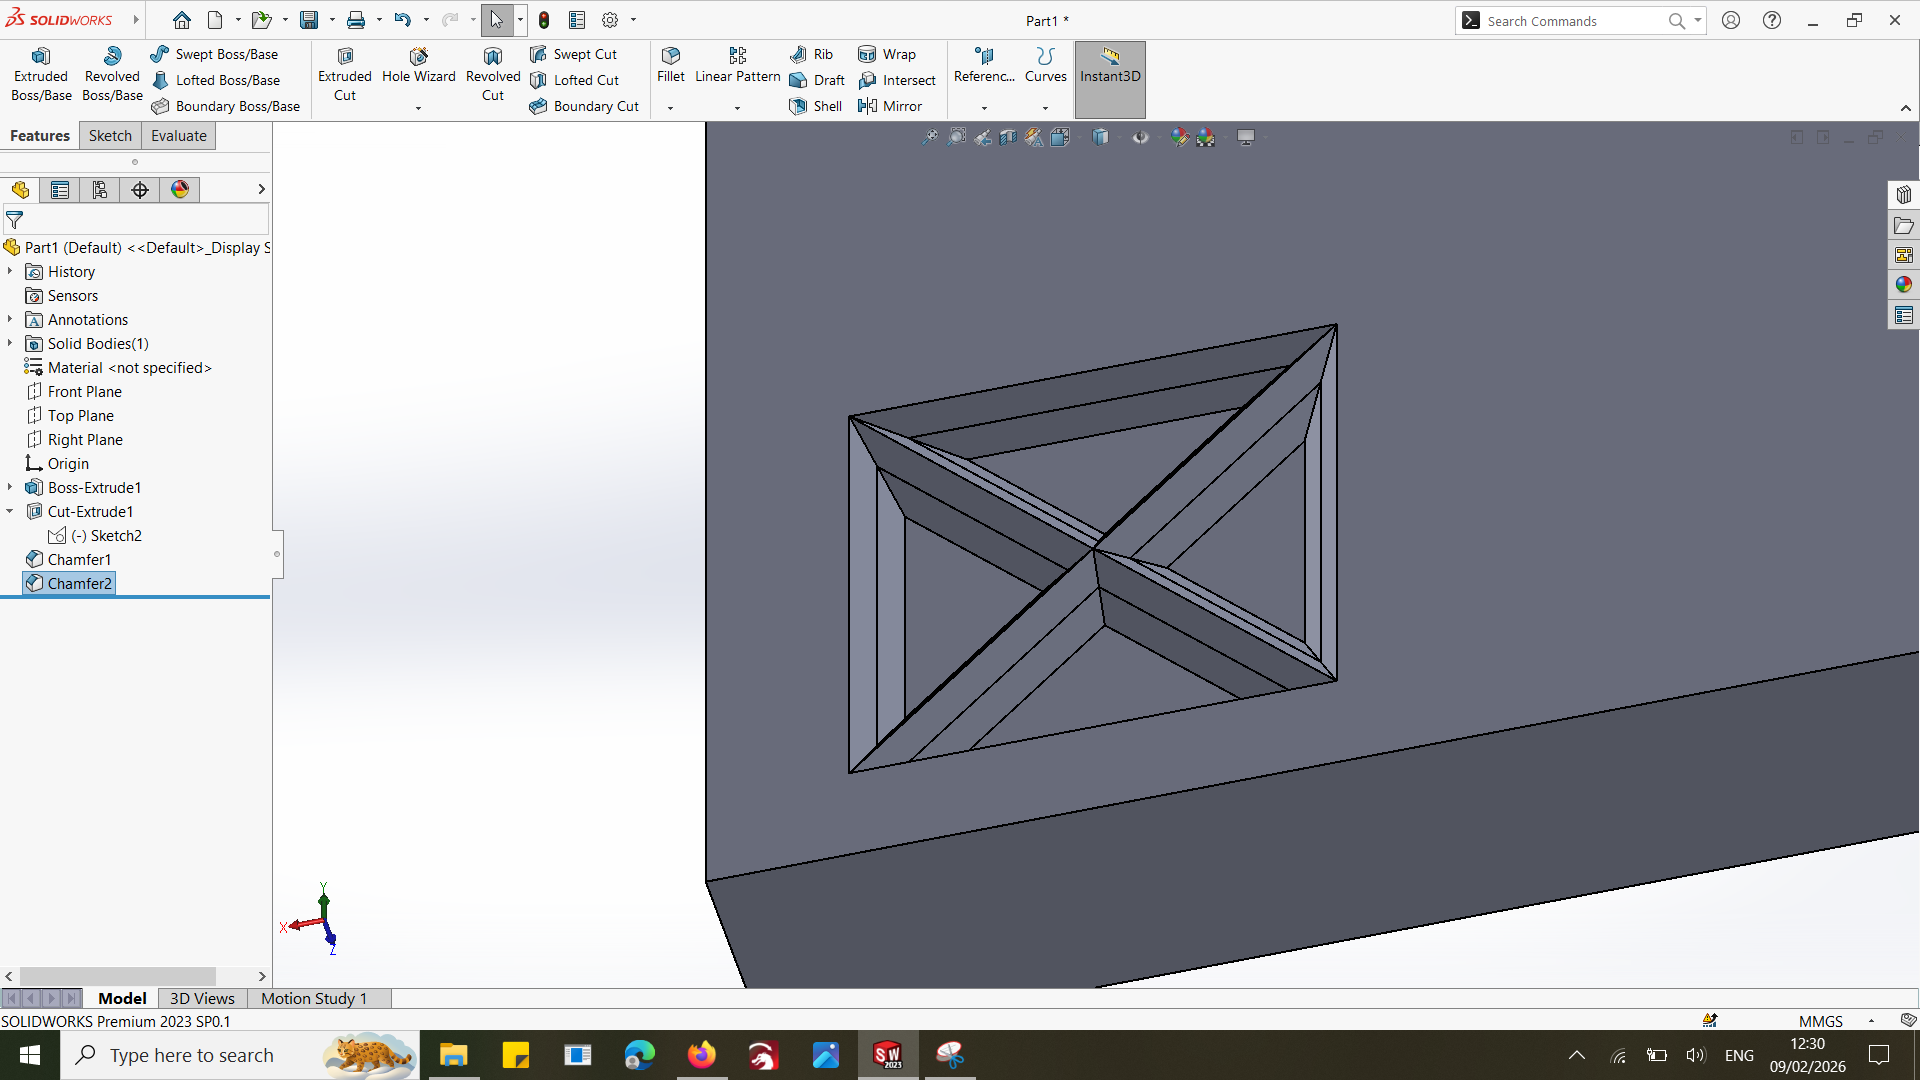
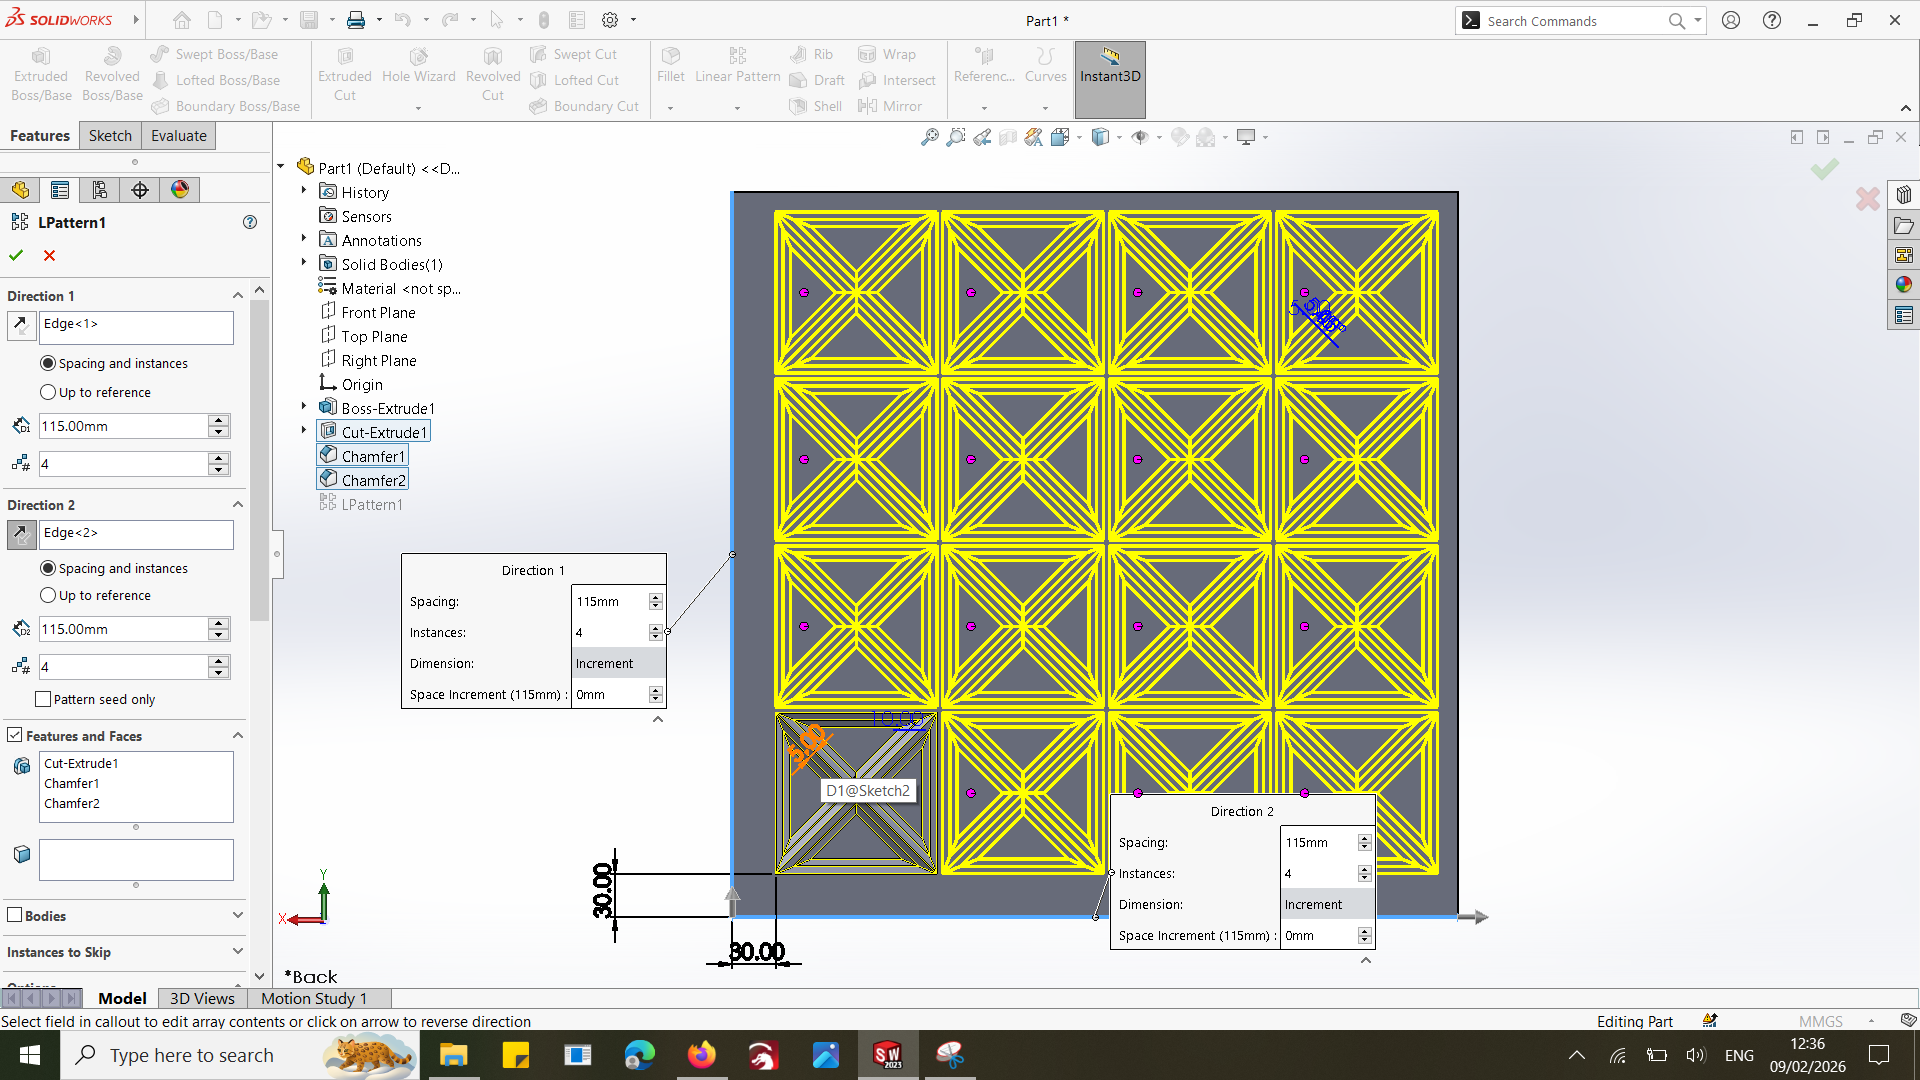
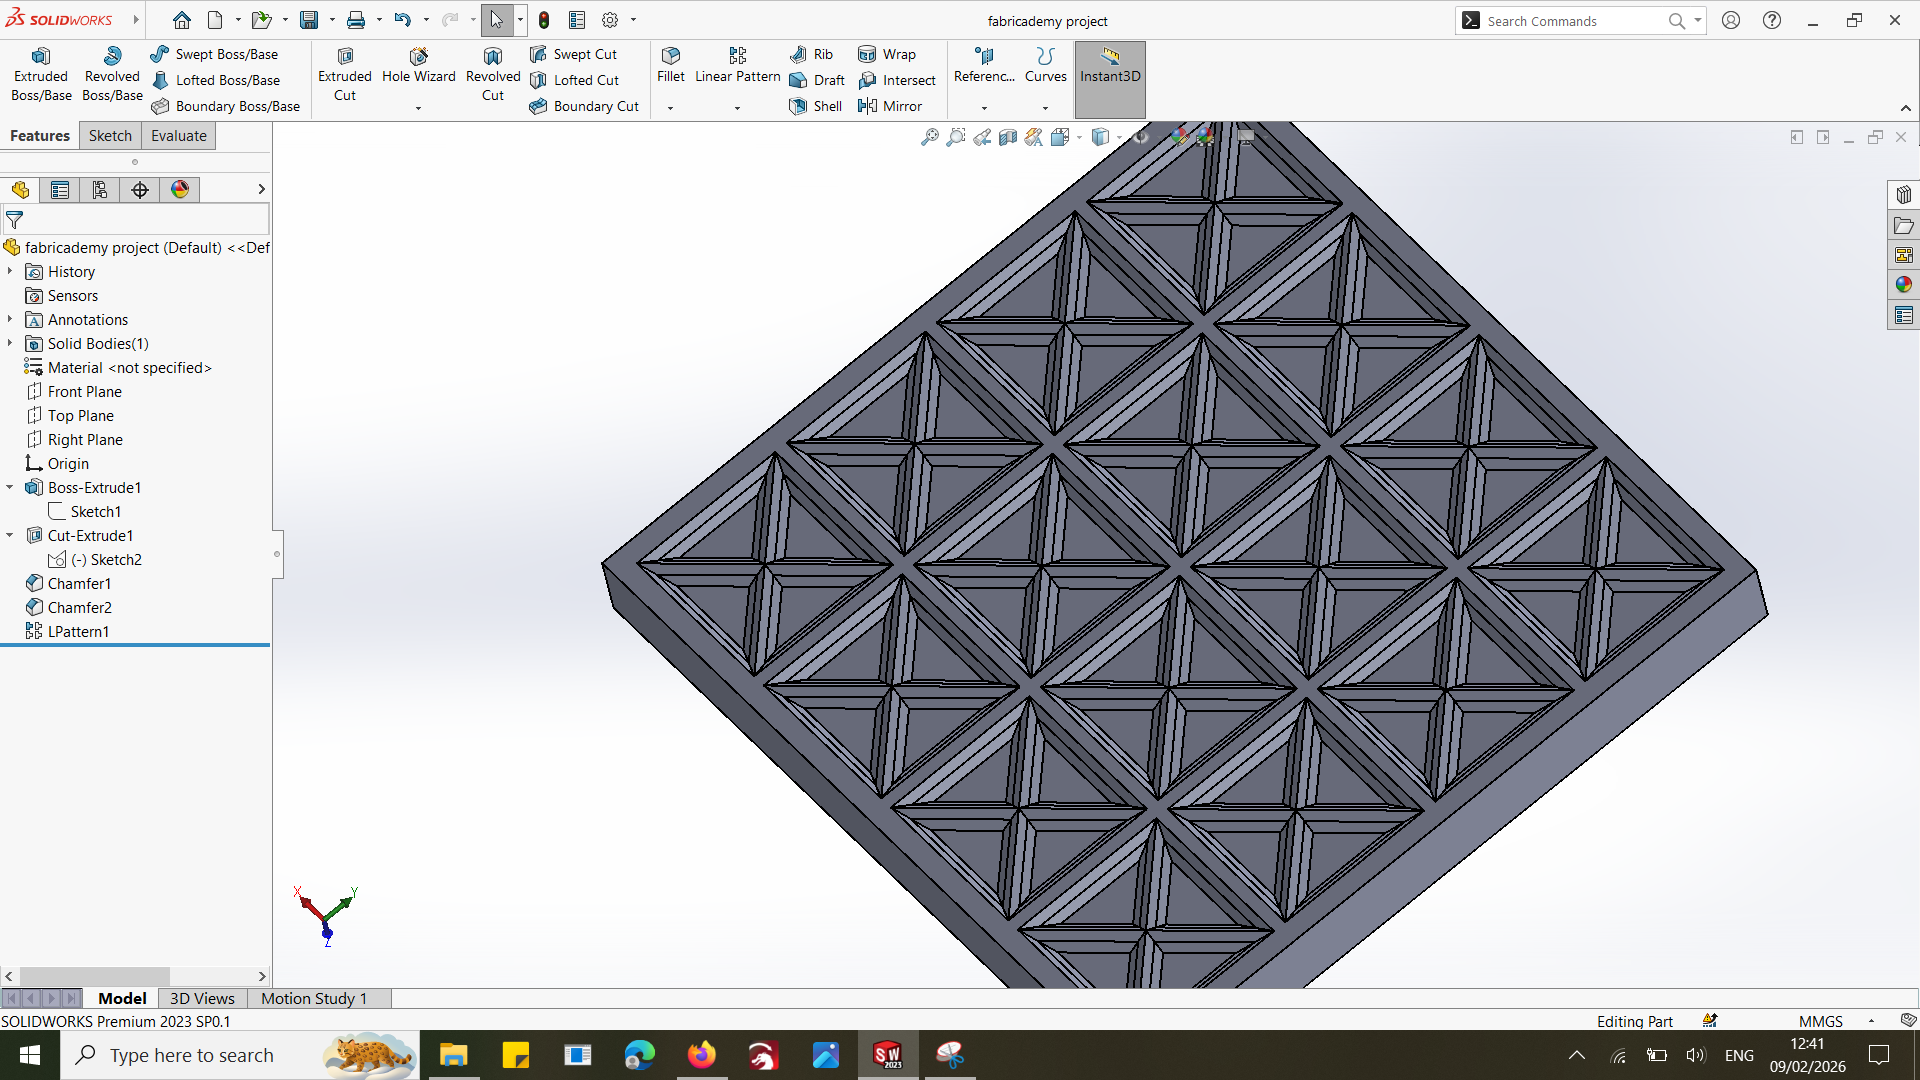
The design was created digitally and then produced using a CNC machine to ensure precision and smooth contours.
Material: Wood (CNC cut) Purpose: Give final shape to leather
This mold defines the final geometry and surface details of the molded leather.
- STEP 5: MATERIAL EXPERIMENTS
I tested different types of leather:
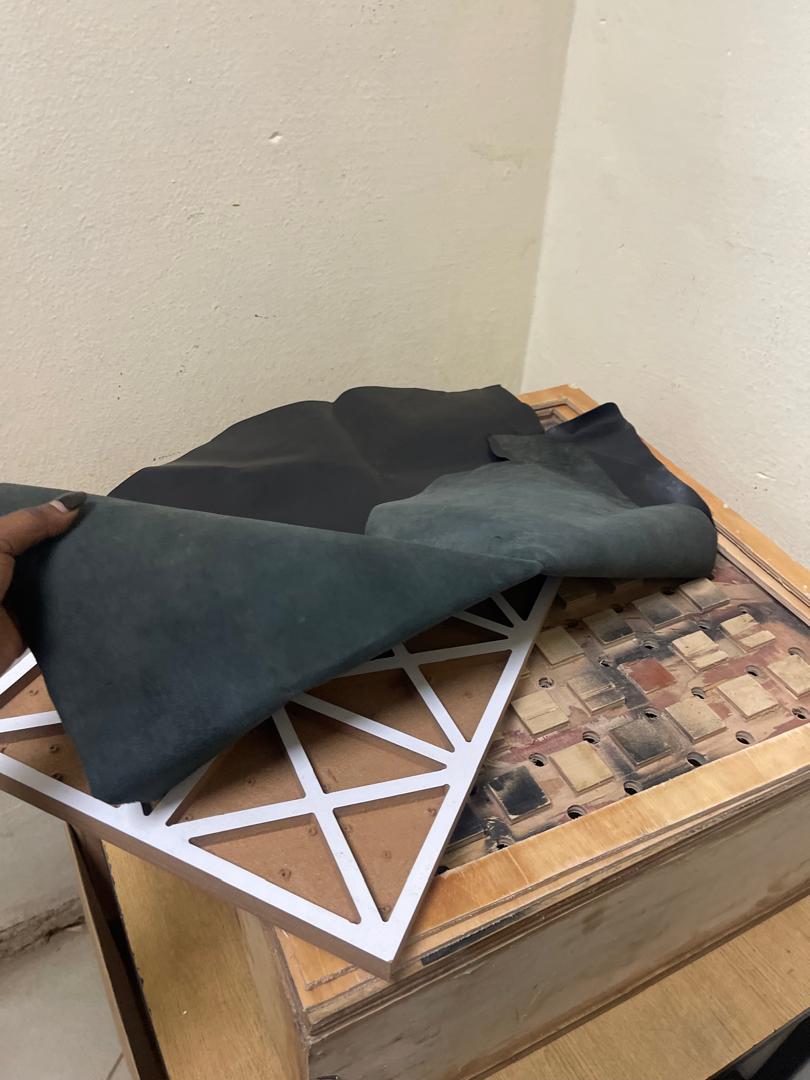
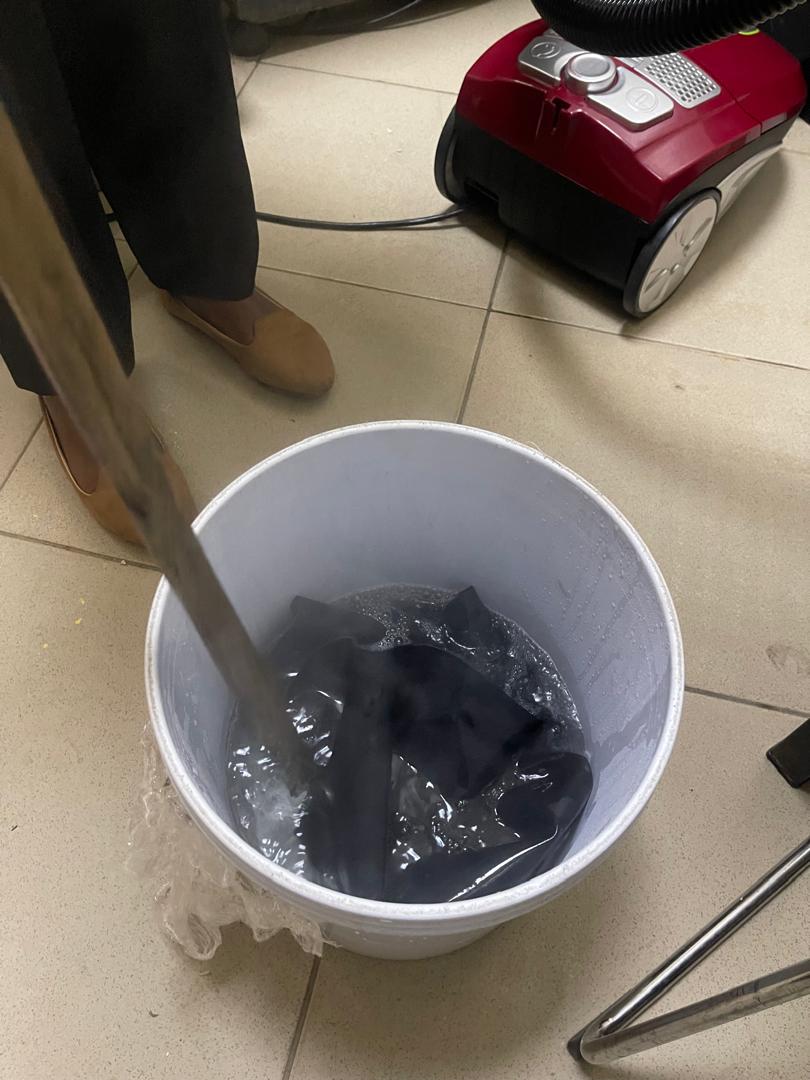
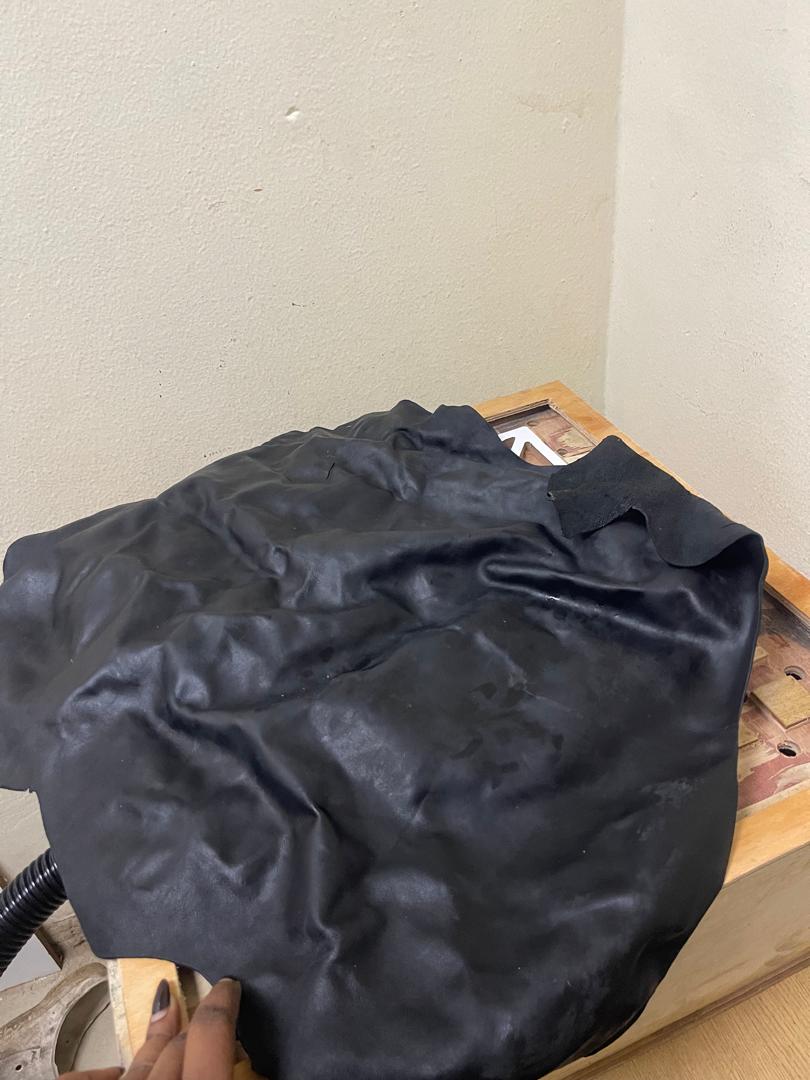
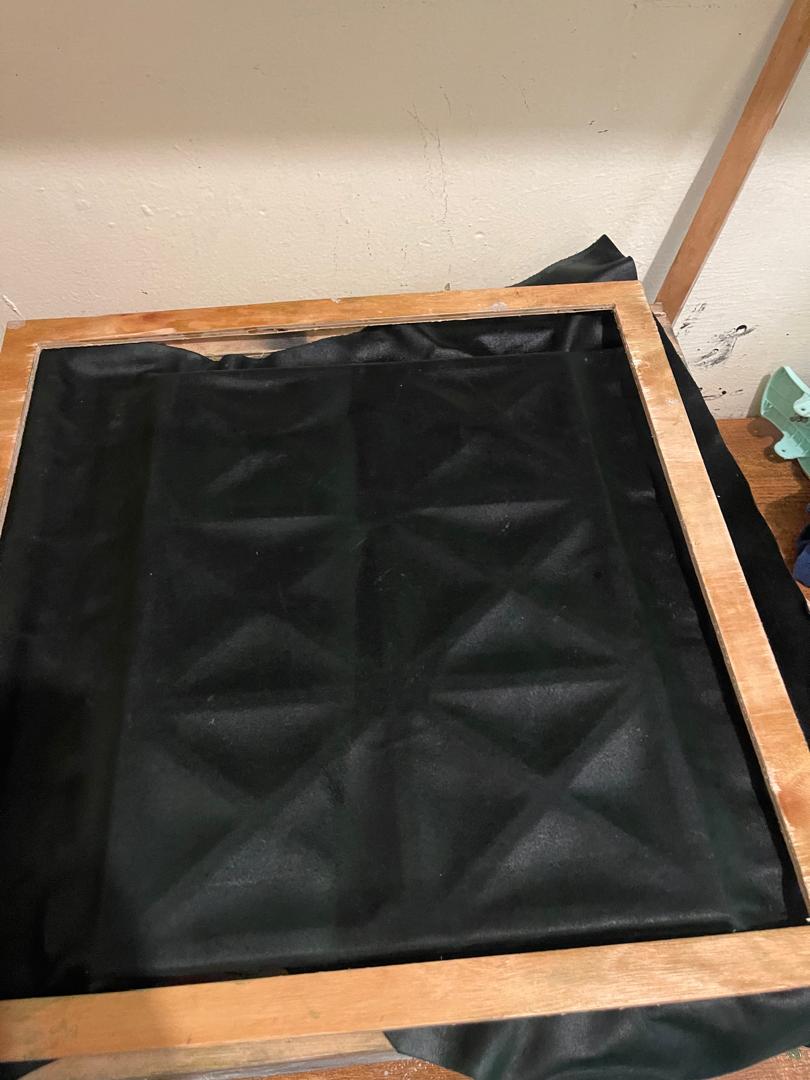
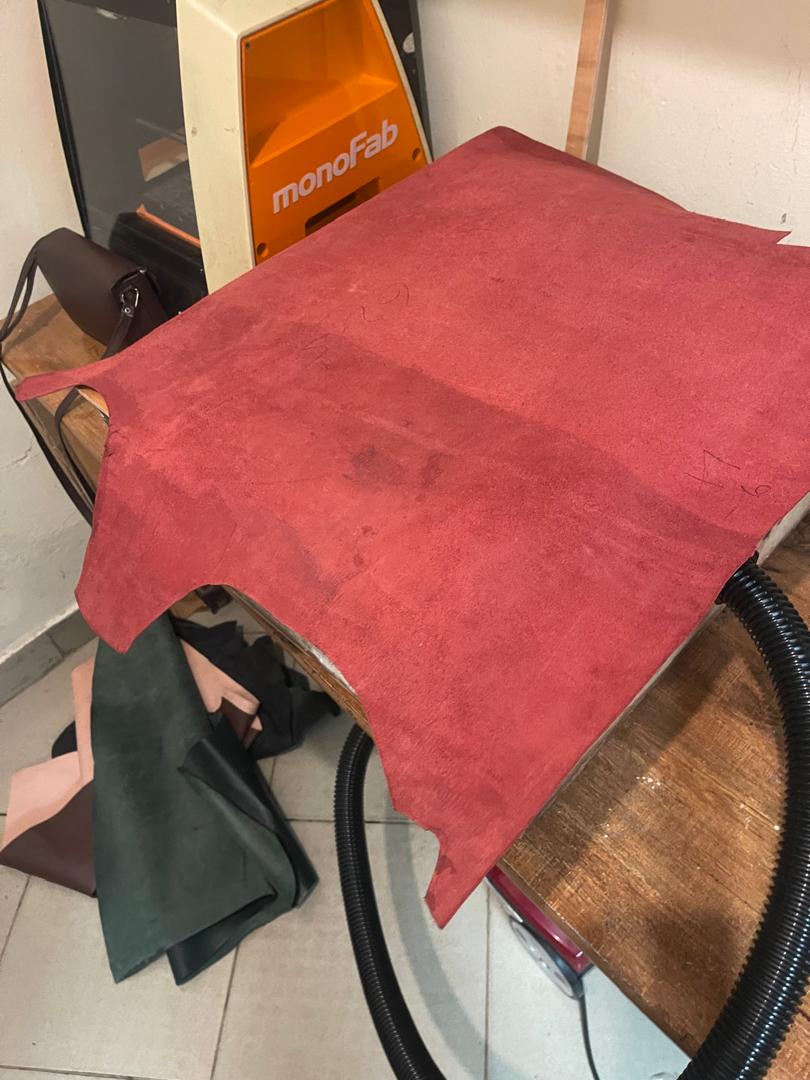
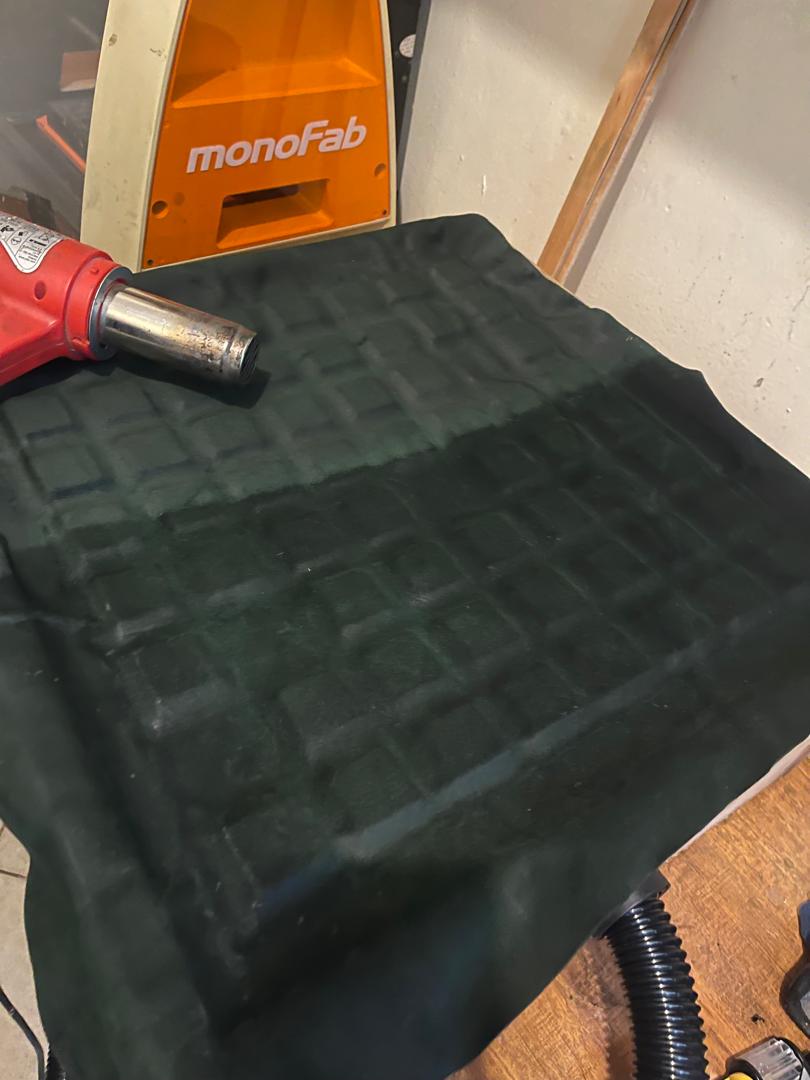
- Natural Leather Thickness tested: 3mm, 2mm, 1mm, put it in Hot water Before molding, I treated the leather: Soaked leather in hot water to Soften fibers,Increase flexibilityand Improve shaping
- Synthetic Leather
Did not respond well to molding, it takes shape but as soon as i stop vacuum it also loose the shape
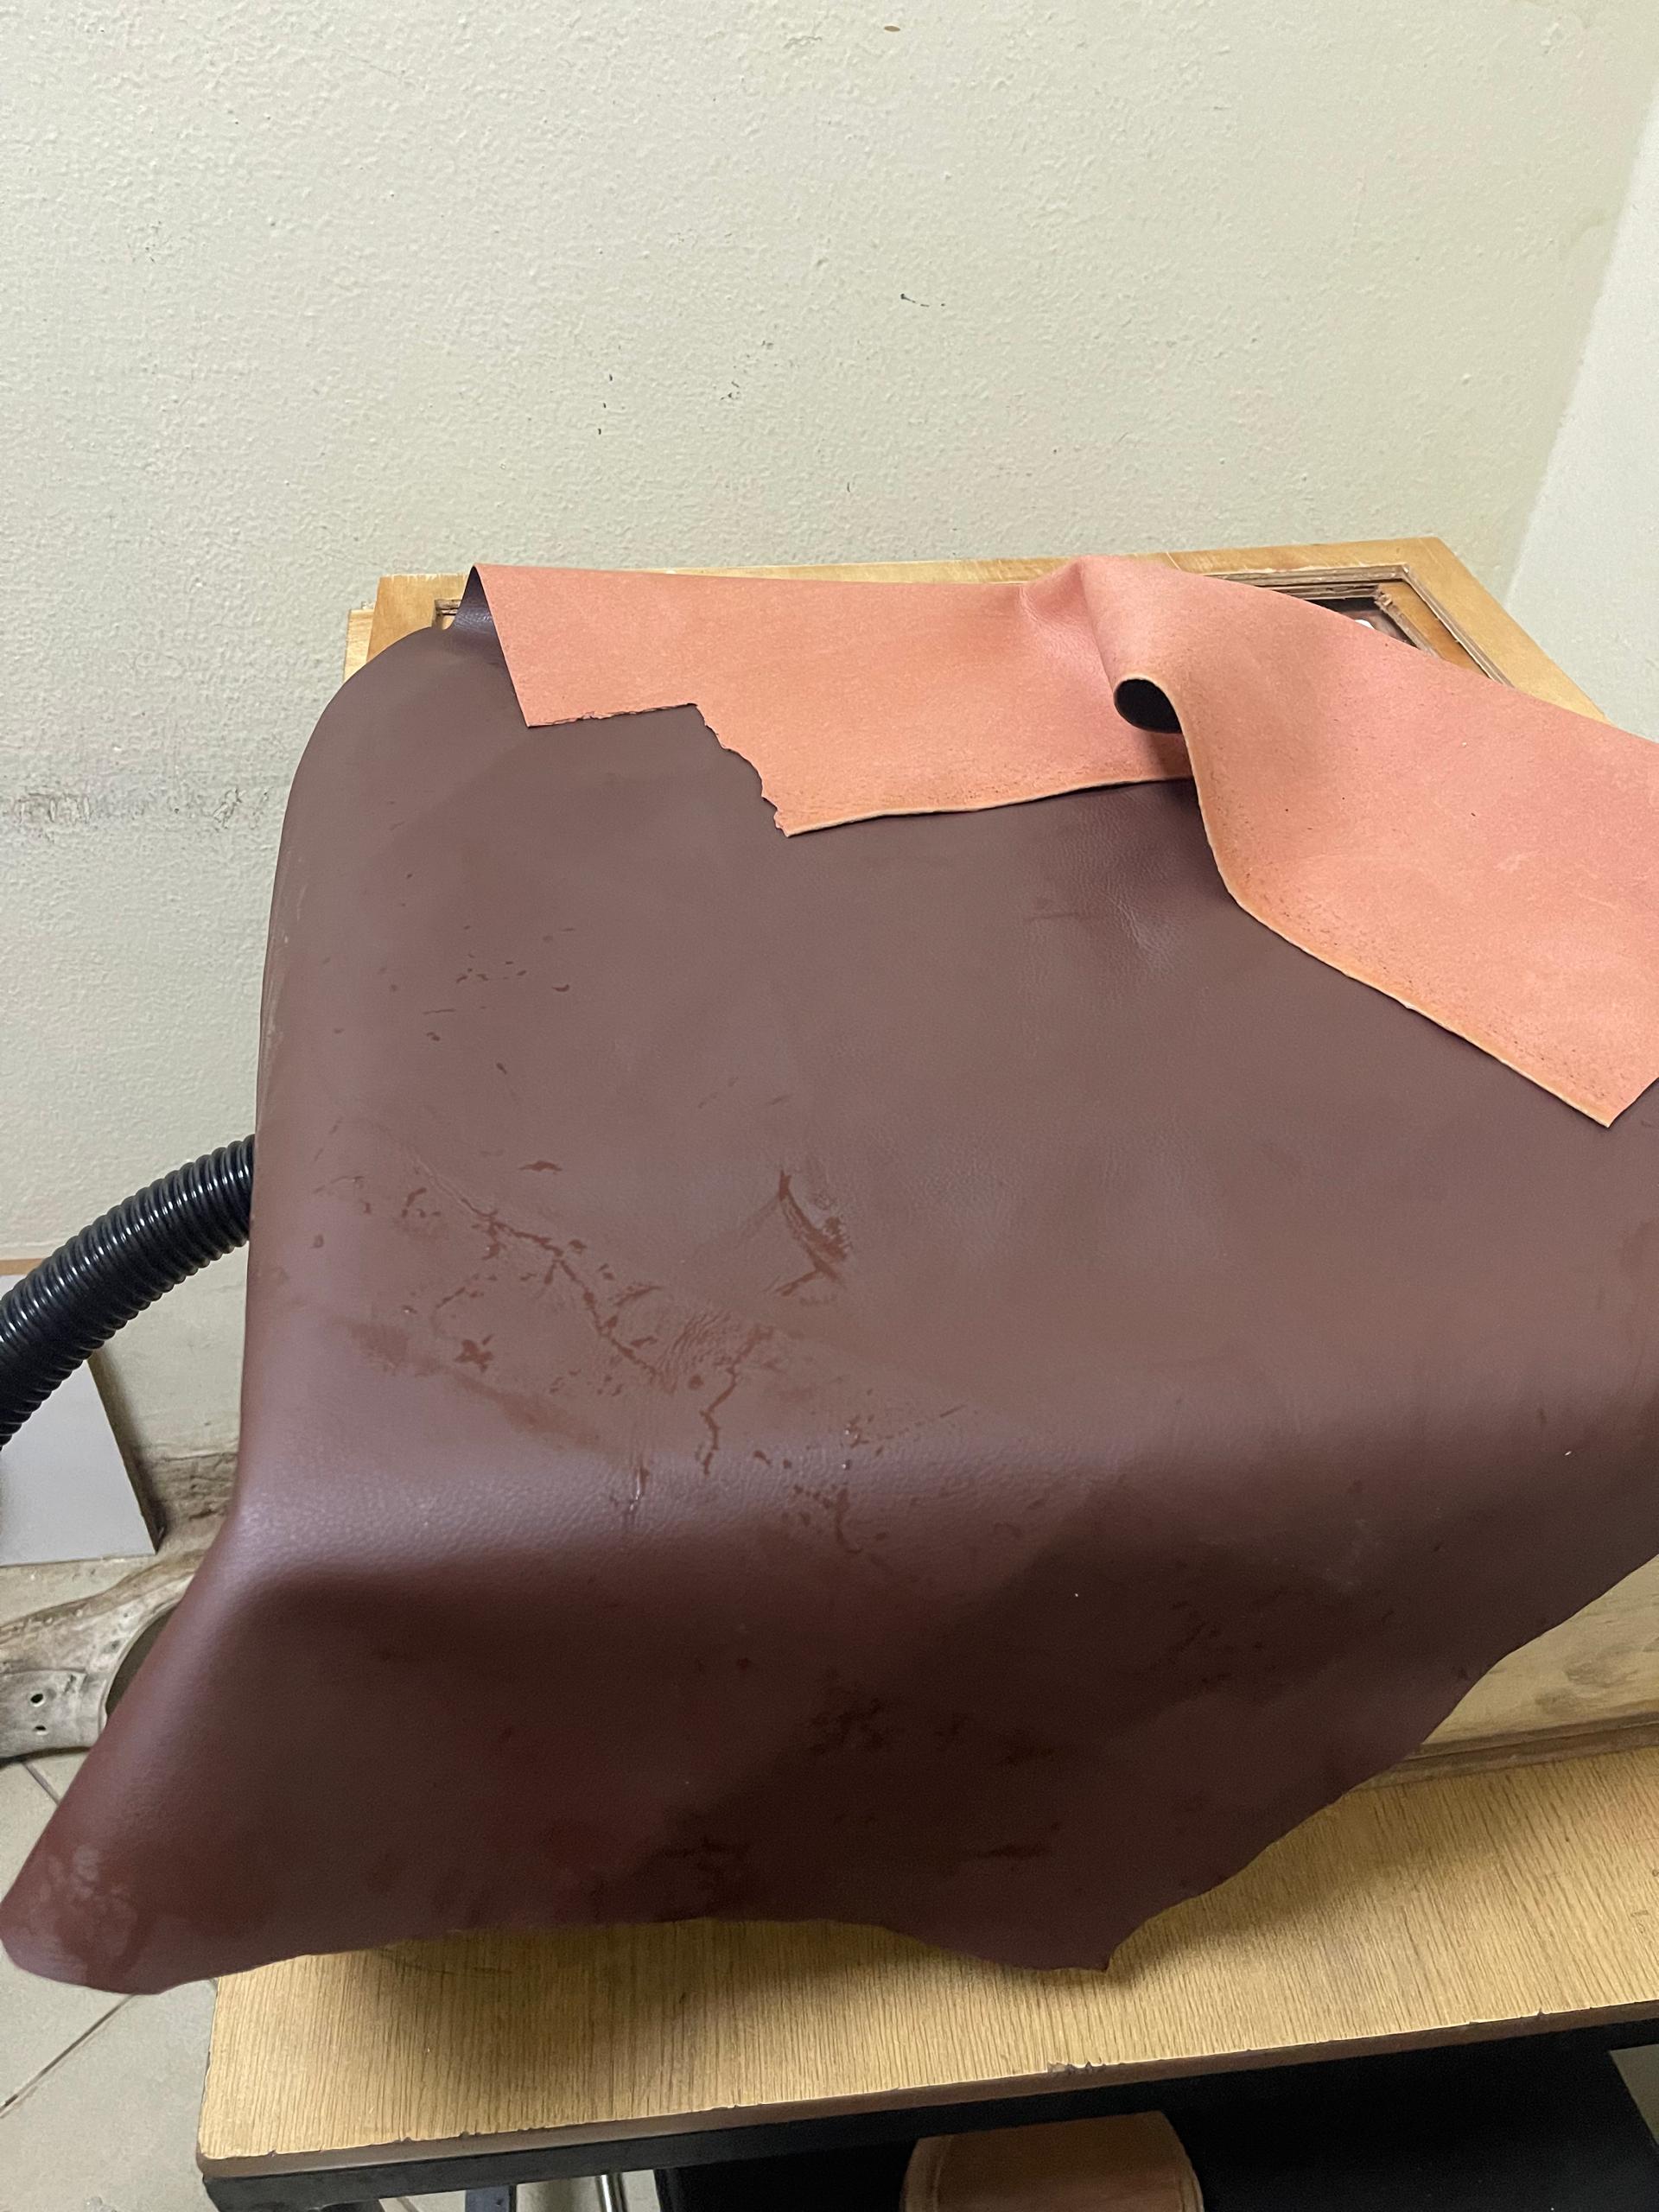
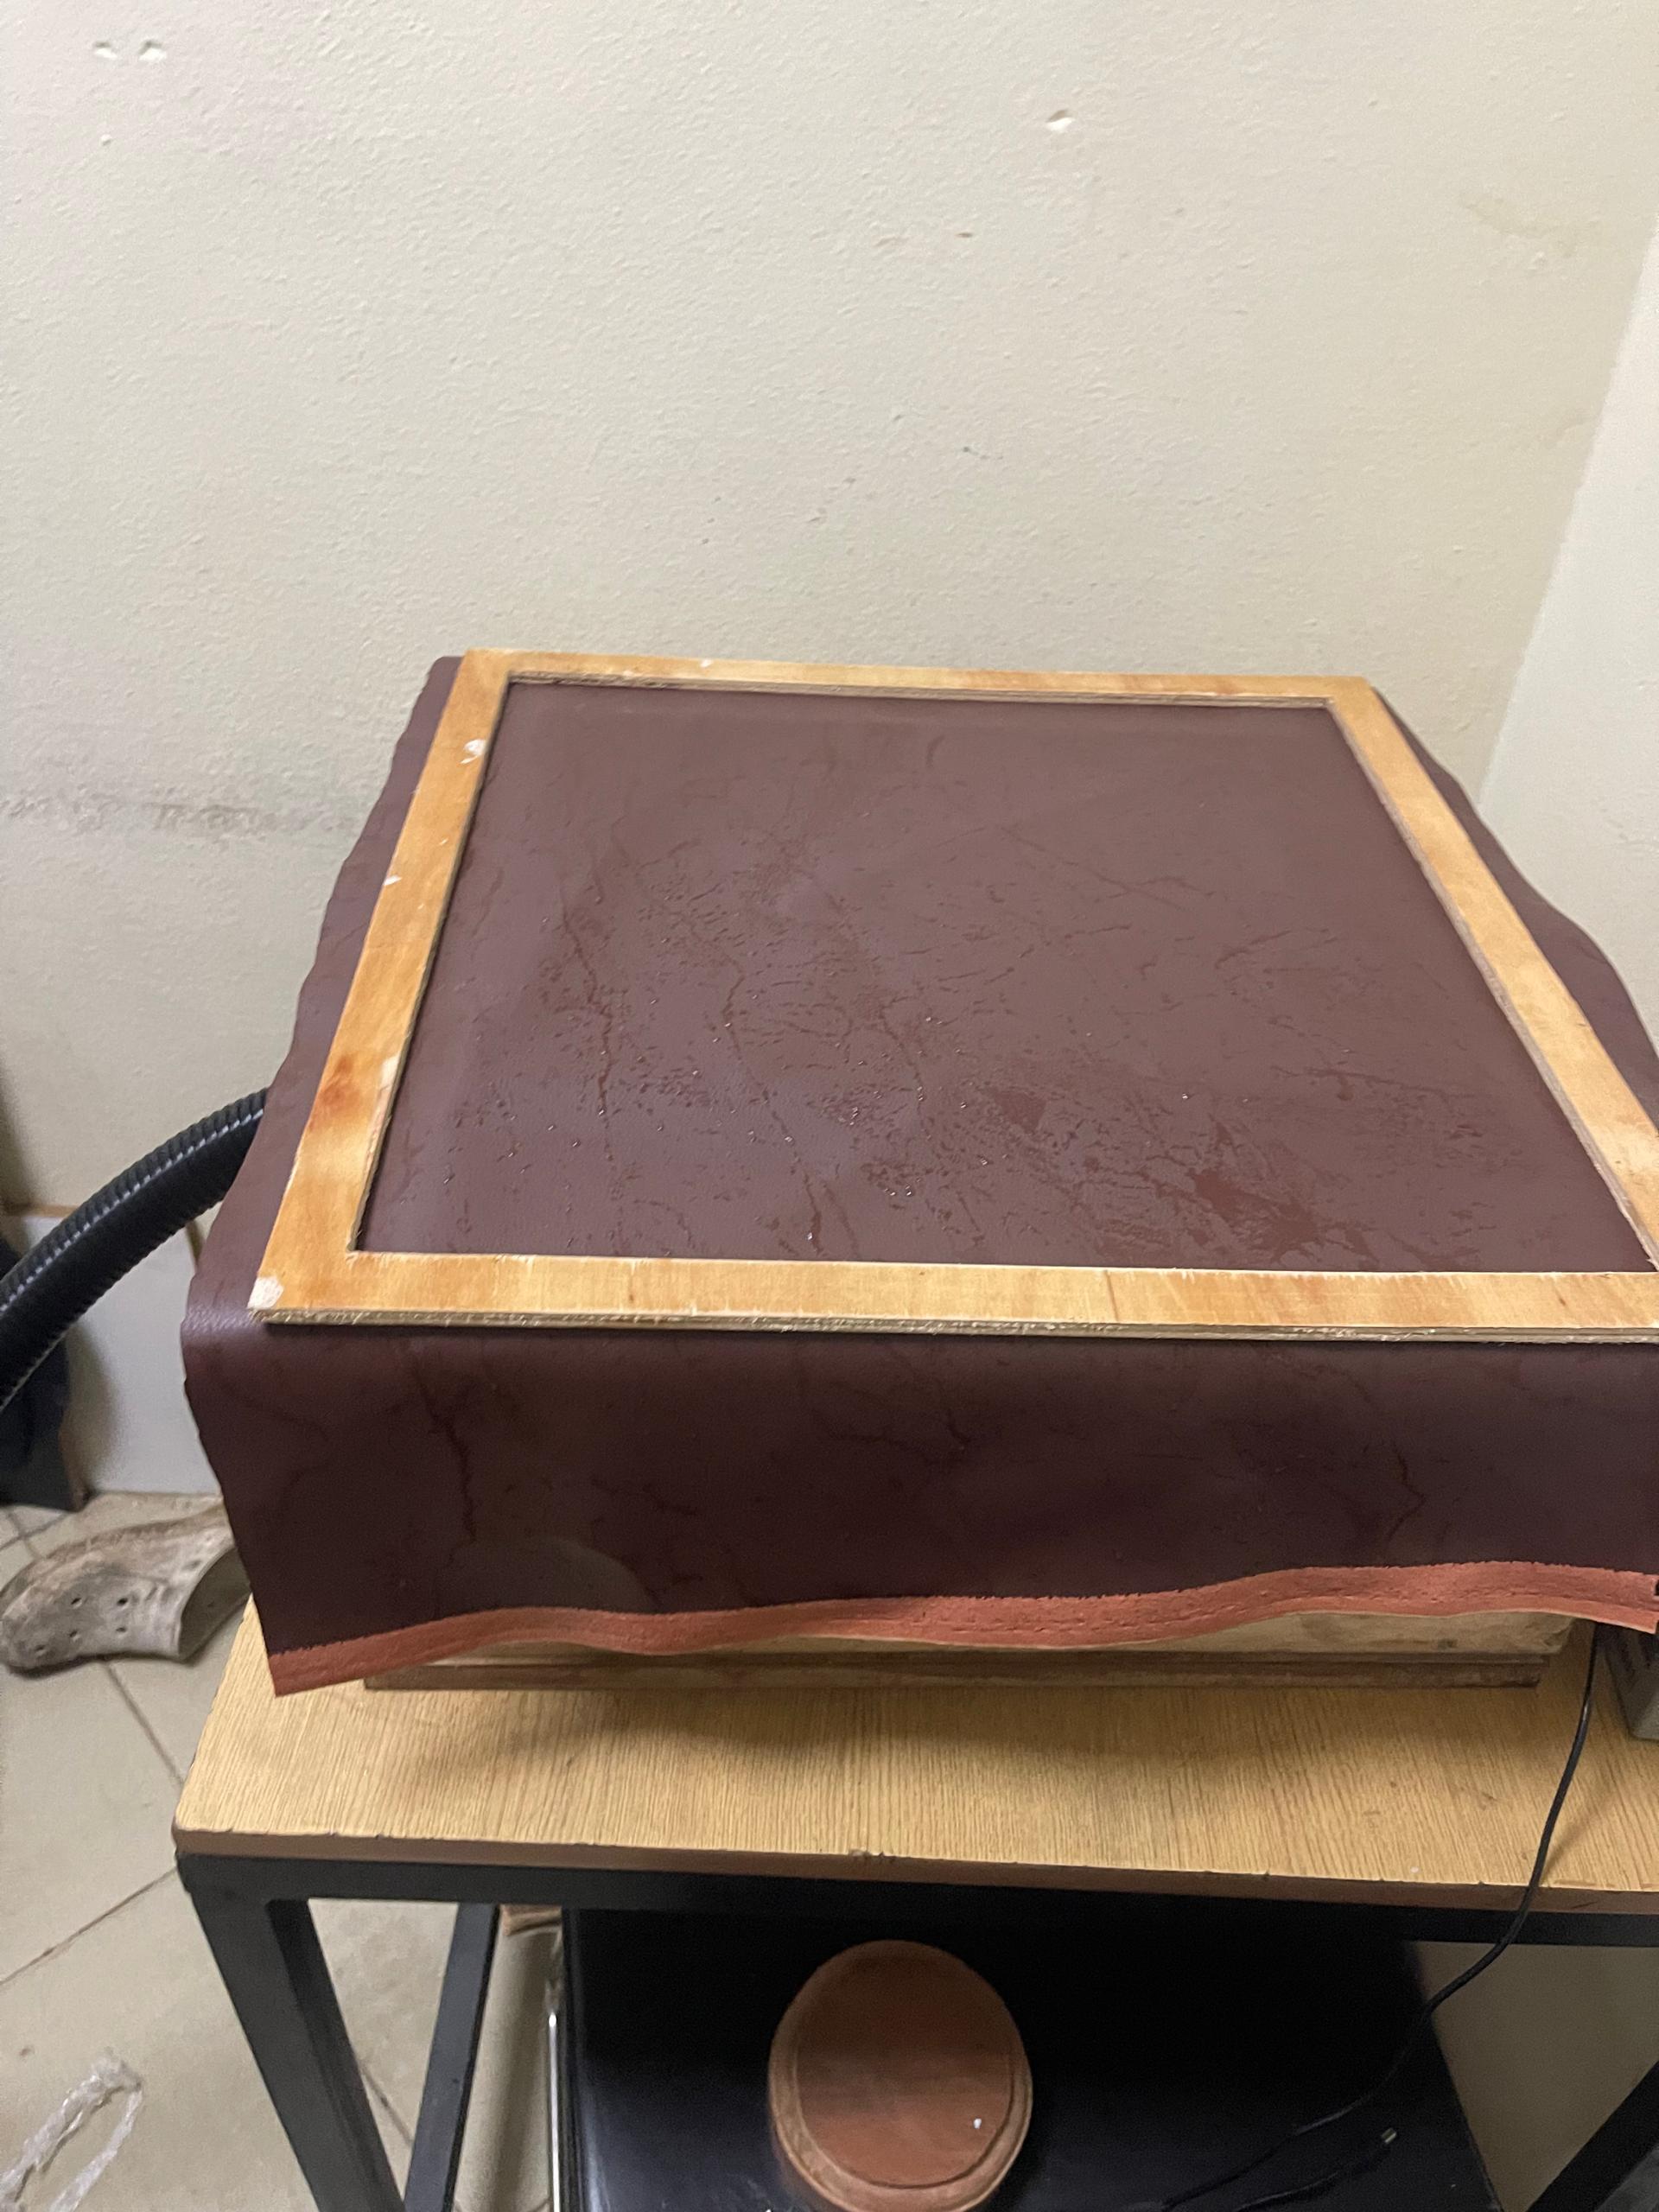
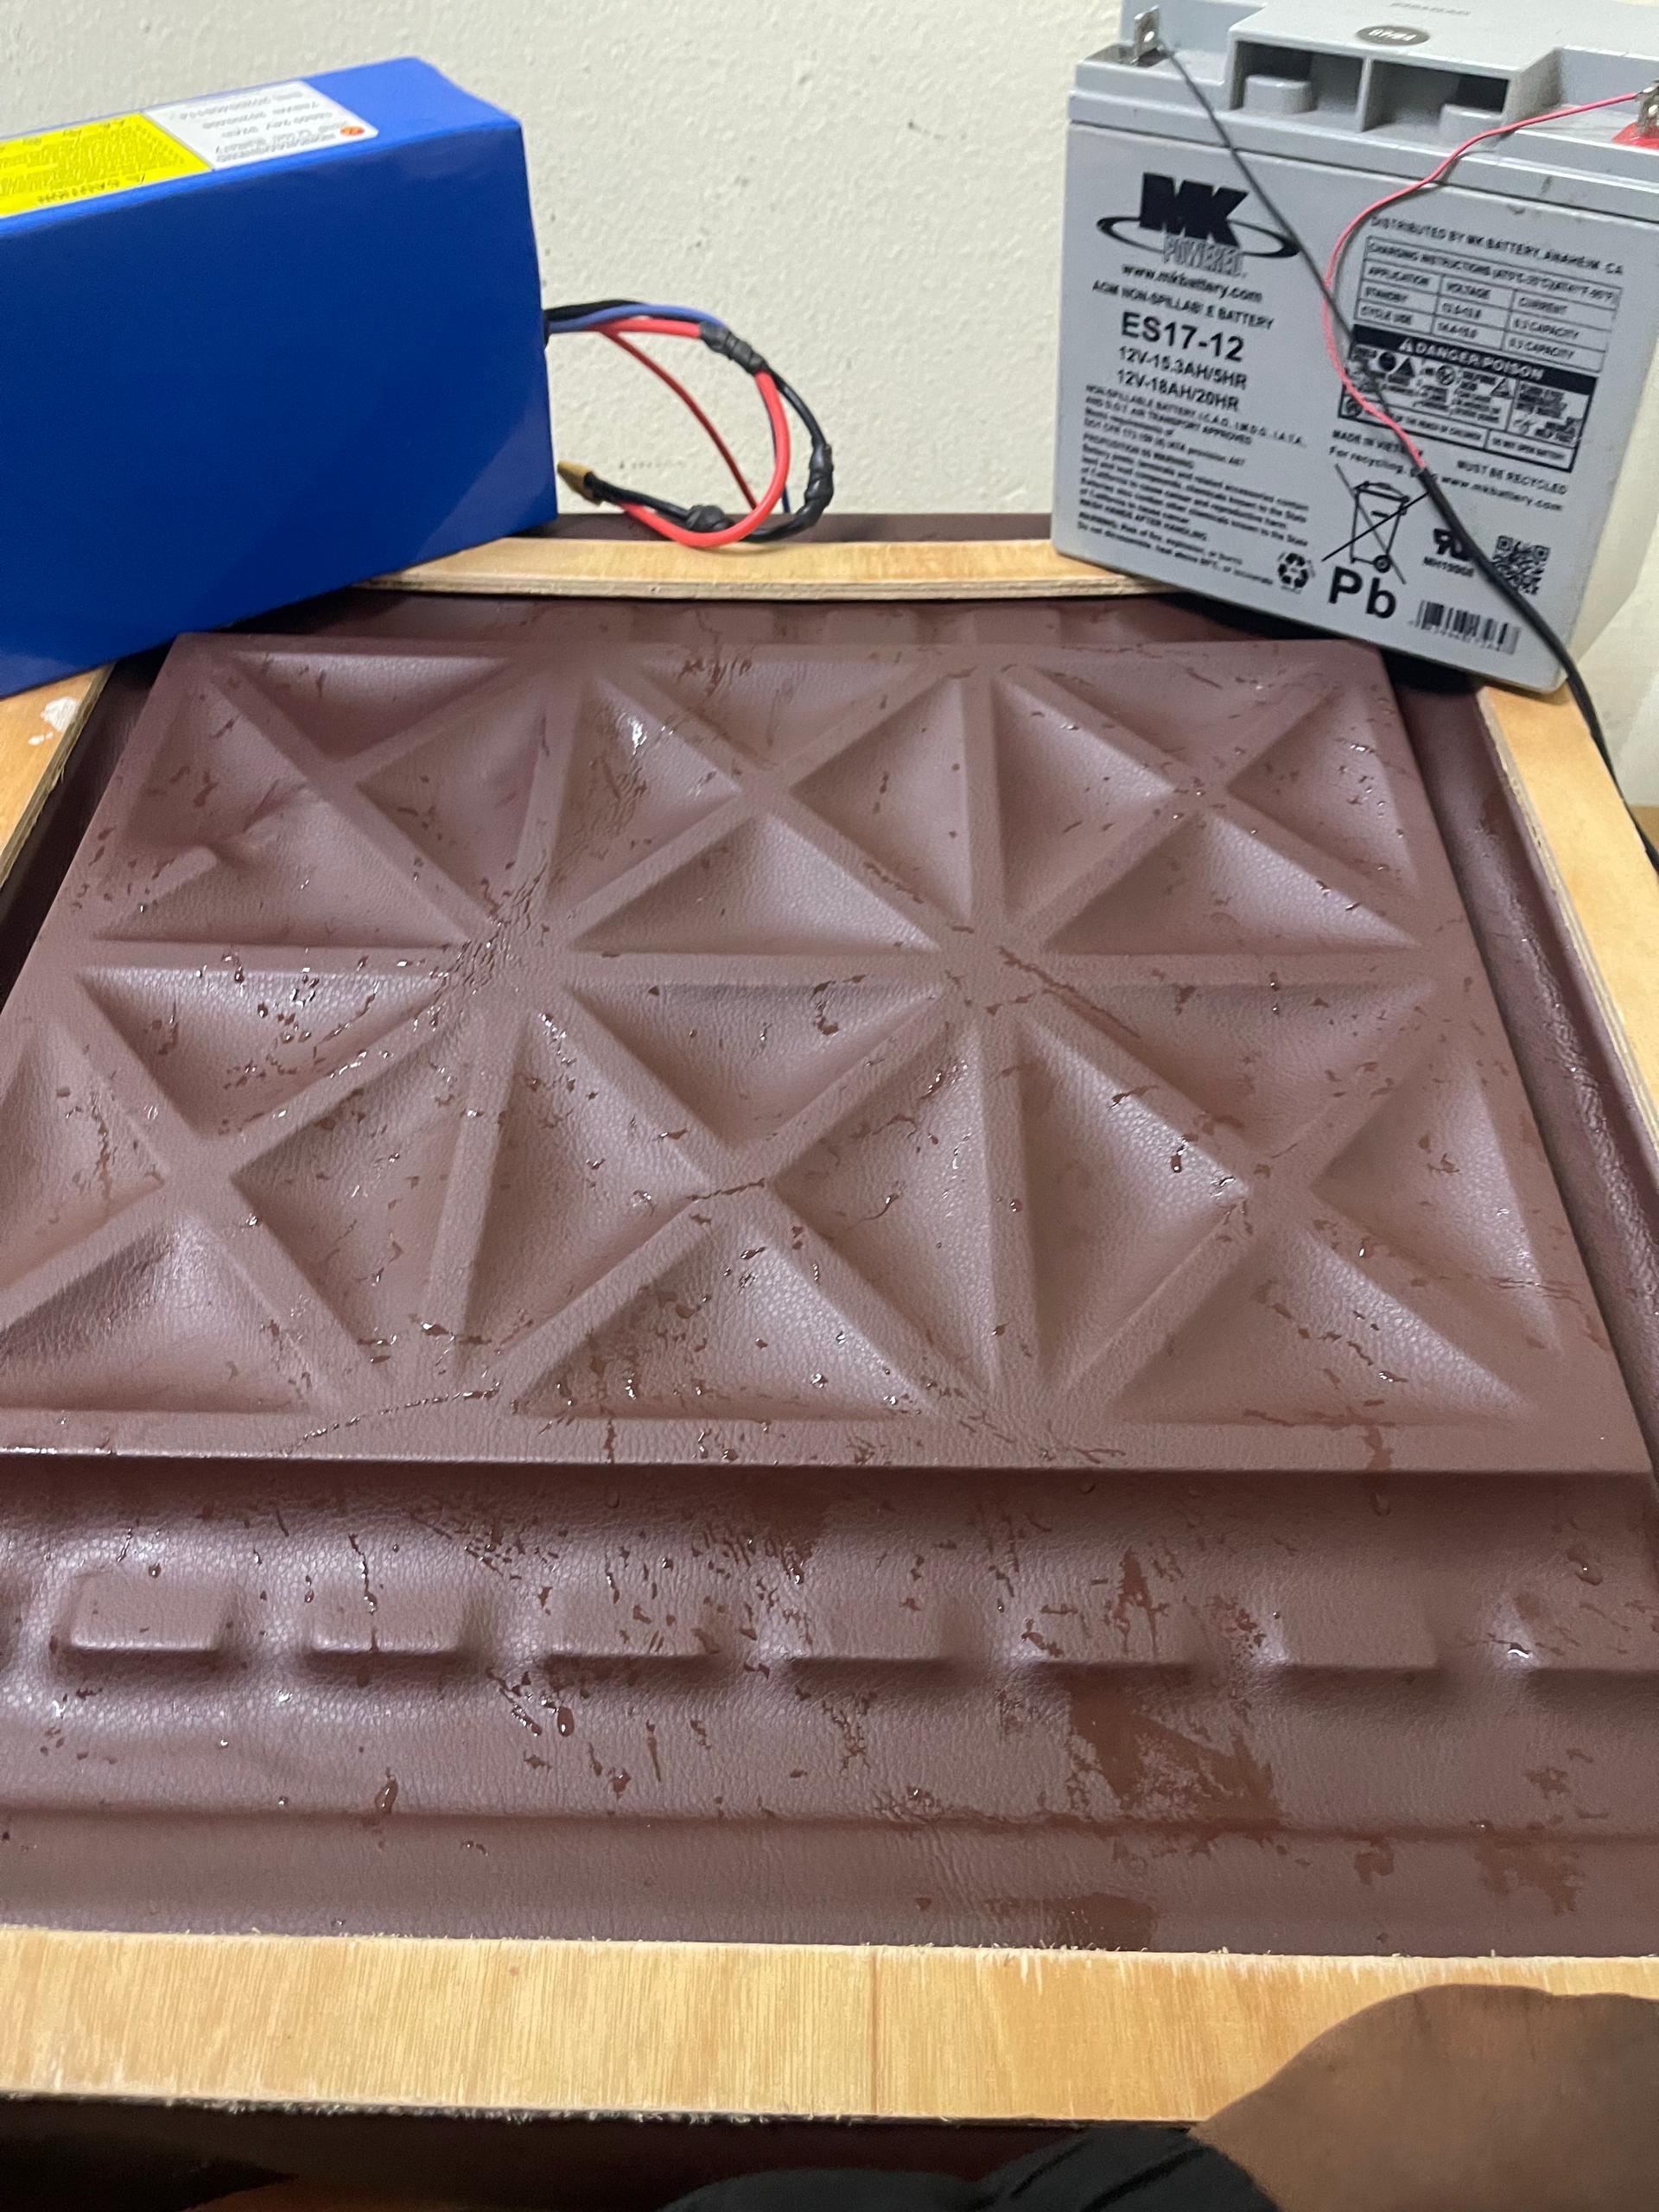
- STEP 6: FIRST ATTEMPT - FAILED,IMPROVED DESIGN
The first vacuum box did not work properly.Because Air leakage from the box Box was too large ,Leather and mold did not seal properly it leads to weak suction and poor shaping. Vacuum forming requires a tight seal and controlled airflow
After improving the vacuum system (reducing box size and improving sealing), I was able to successfully mold natural leather using the vacuum forming setup. Natural leather adapted well to vacuum forming The mold shape was clearly transferred onto the material The process worked best under controlled conditions
. Best Results Achieved With:
Thinner leather (1–2mm): More flexible and responsive to pressure
Proper soaking in hot water: Increased softness and formability
Tight vacuum seal: Essential for creating strong suction
unfortunately At the end of the experimentation, the vacuum box structure broke, which prevented further testing and refinement. Weak structural resistance of the wooden box under pressure Repeated stress from vacuum force, Assembly not fully reinforced or sealed
Key Insight
A successful vacuum forming system is not only about suction, but also about structural strength and durability of the setup.
| Material Type | Thickness | Result |
|---|---|---|
| Natural leather | 3mm | Hard to mold |
| Natural leather | 2mm | Good |
| Natural leather | 1mm | Best result |
| Synthetic leather | Any | Failed |
Thinner natural leather showed significantly better adaptability to vacuum forming compared to thicker and synthetic materials.