Soft robotics
Final work of this week
References, research & inspiration
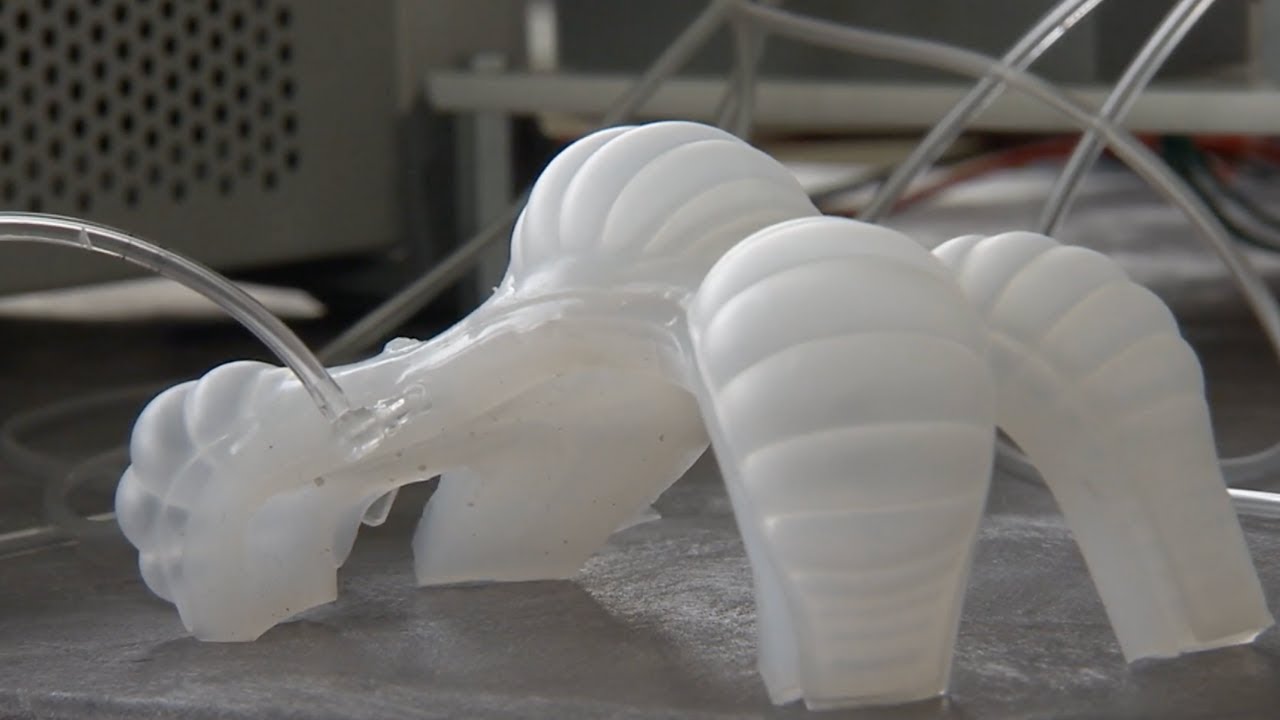
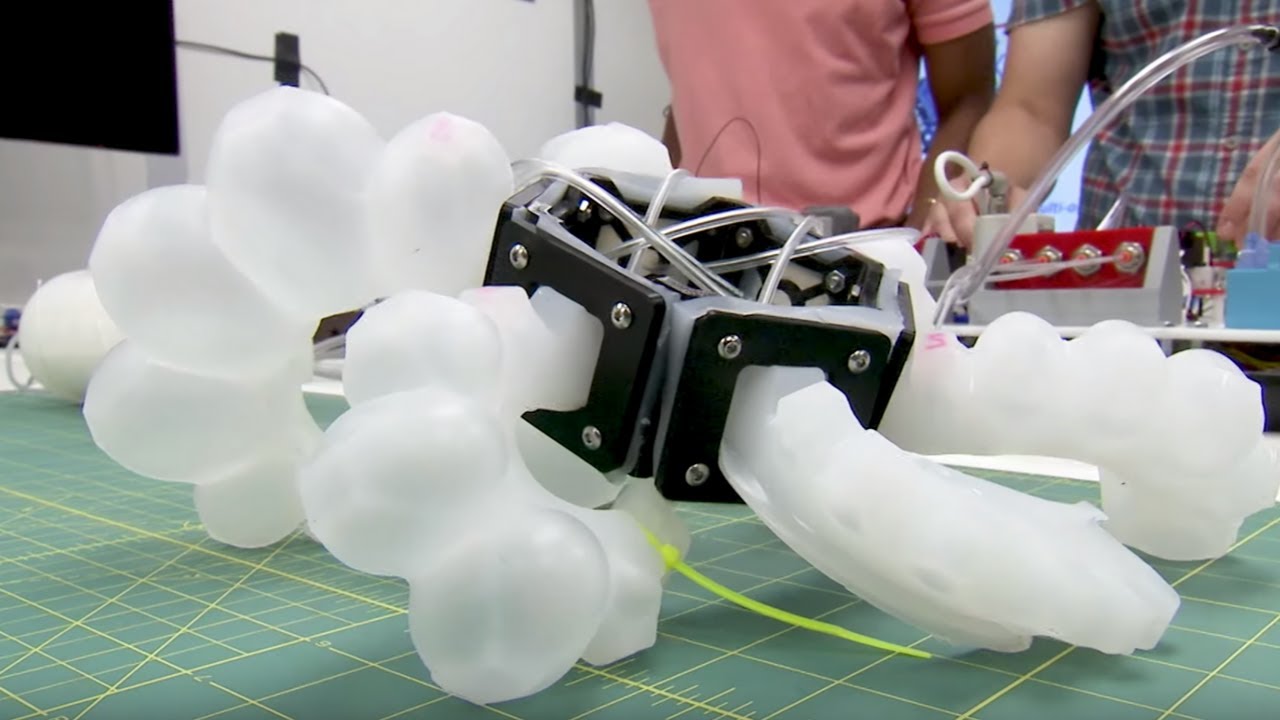
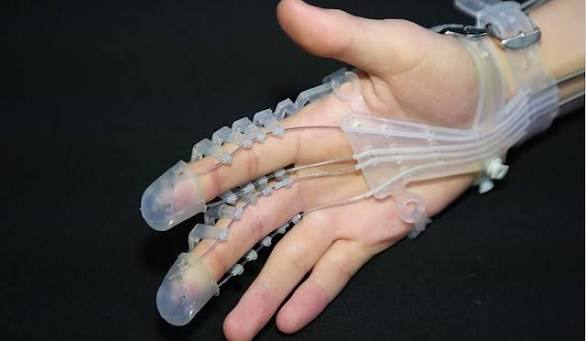
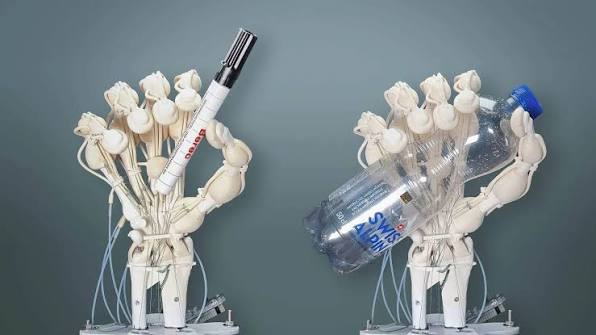
i never realise robotics can be so interesting until i saw soft robotic, till now i though robotic is only made of the rigid metal bodies but it is beyond that, using the platics and with the help of the pressure, we can achive more reults.Some of the inspirations i found in nasa projects
Process and workflow
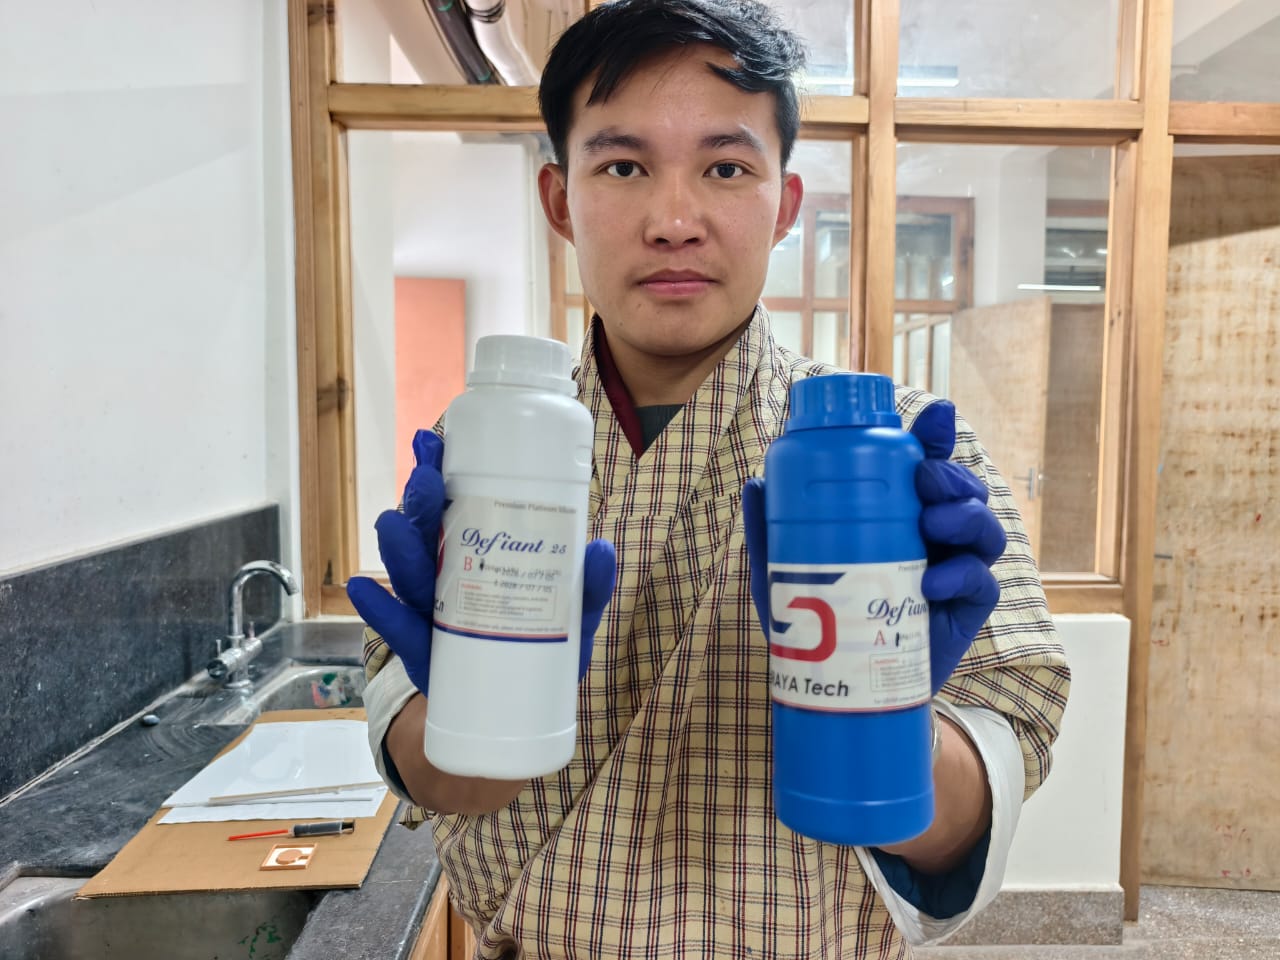
As always, collecting and preparing the raw materials is one of the first things I do before starting any assignment. I gathered the necessary materials for this week's project. Luckily, Rico brought platinum-cure silicone from Japan during his visit to Bhutan, which made it much easier for me to get started with the experiments.
Step 1 Understanding and testing platinum-cure silicone.
This was my first time working with platinum-cure silicone, and initially, I did not have much idea about how it worked.
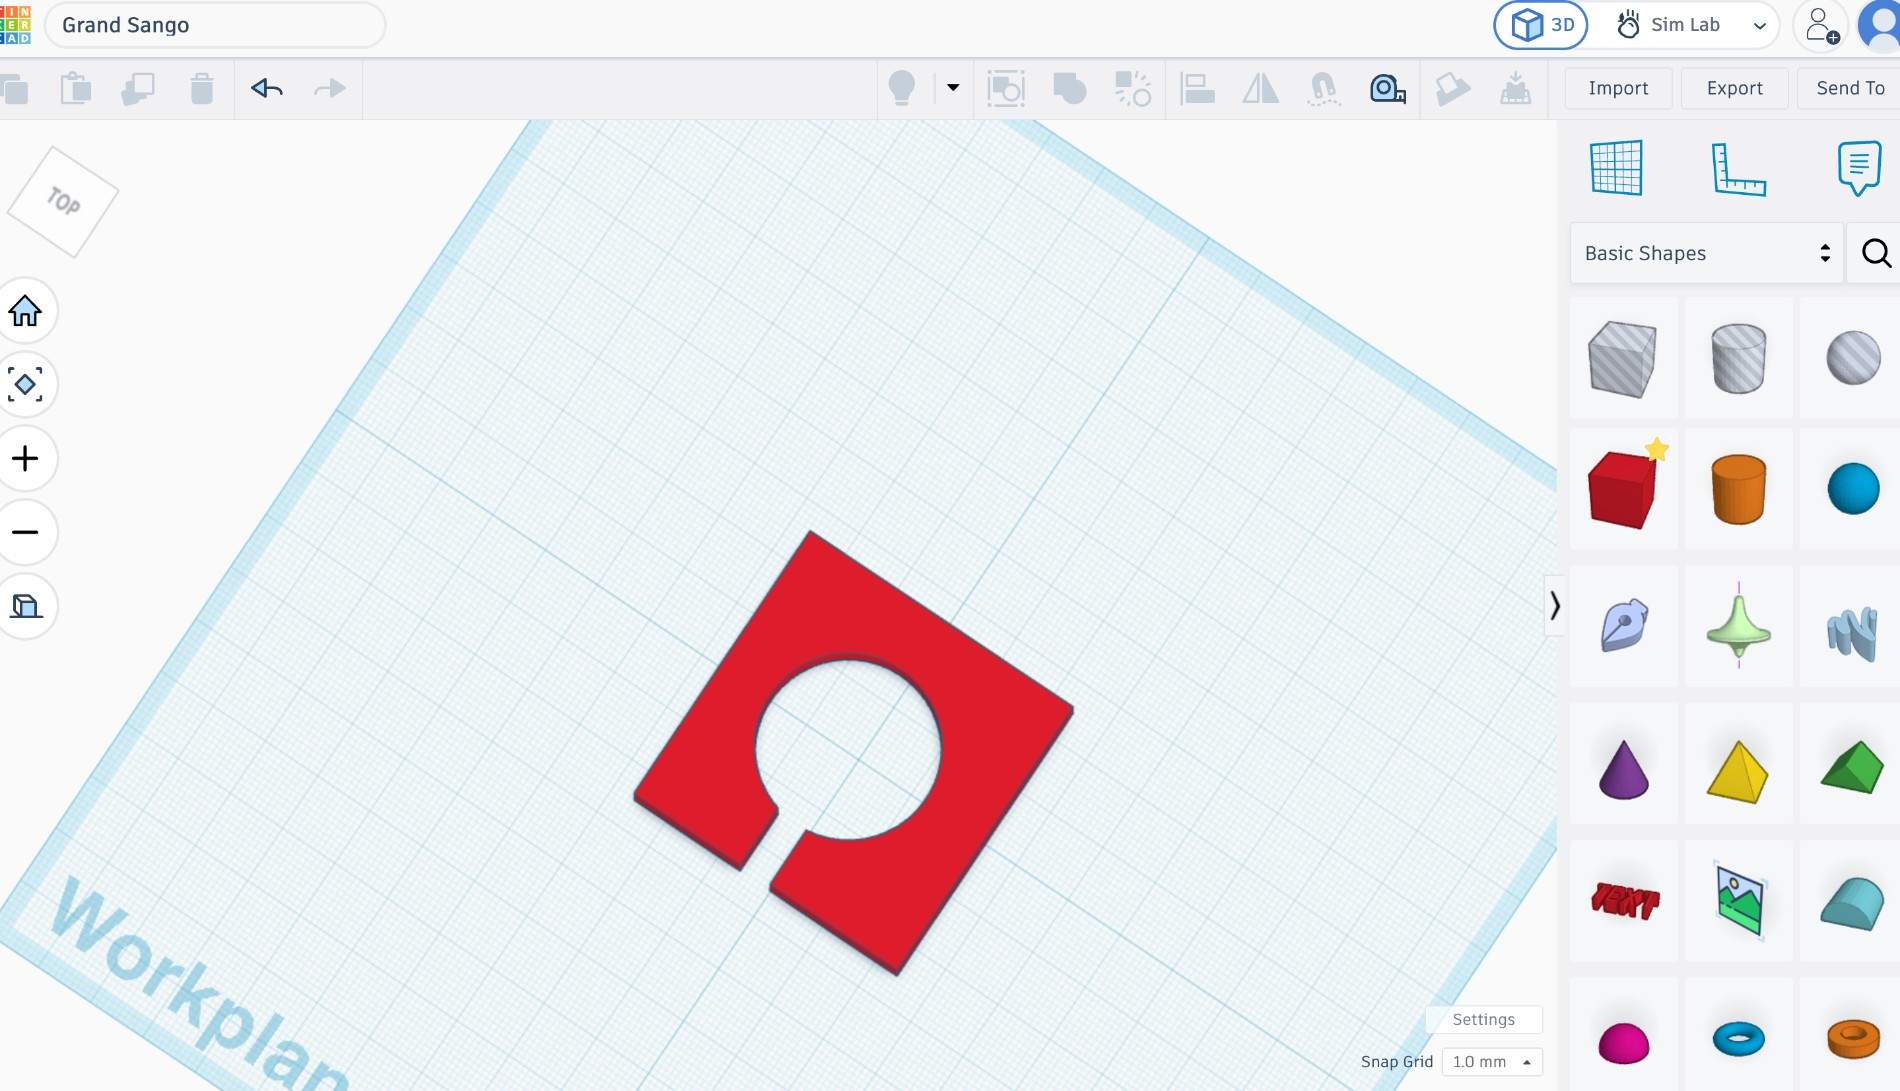
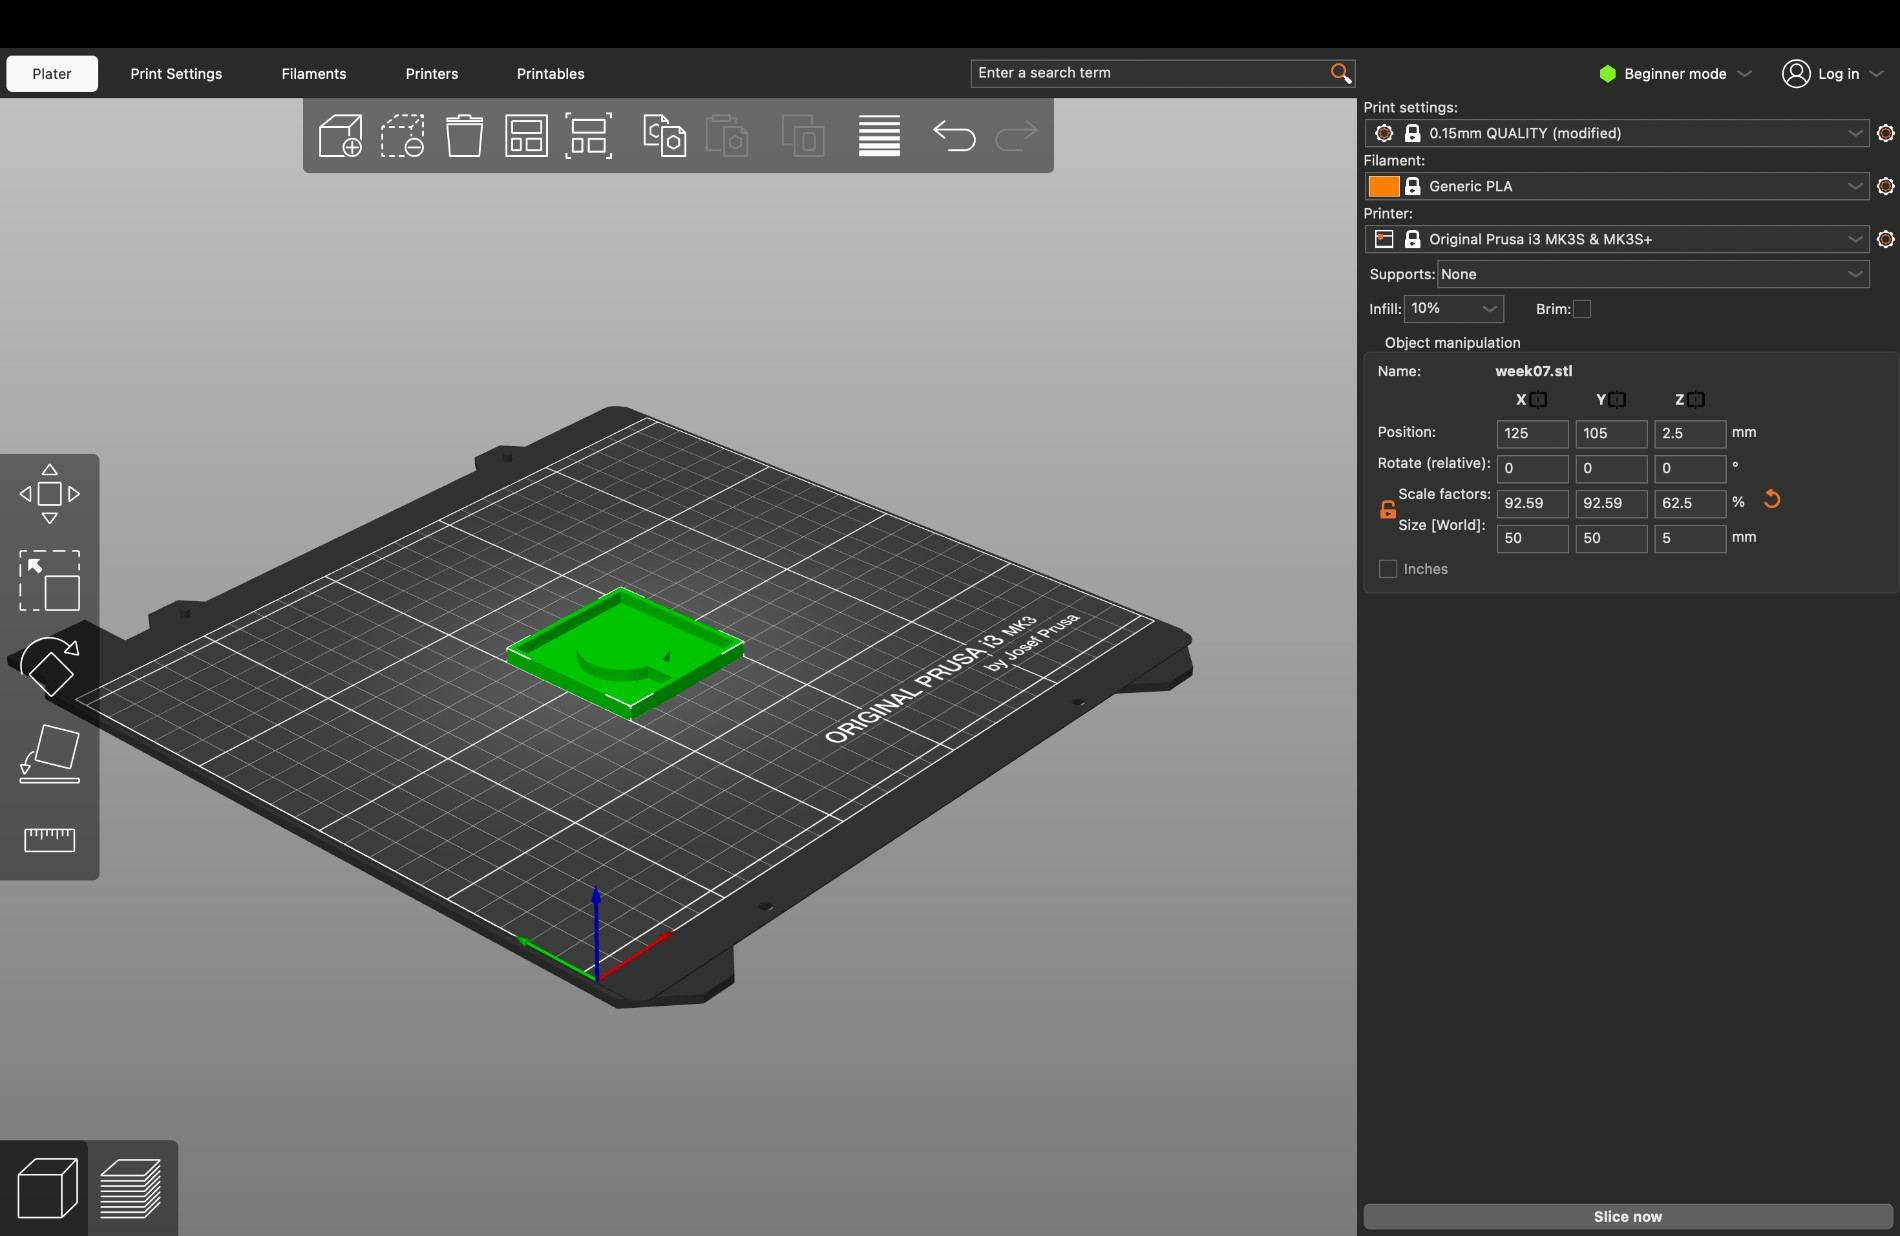
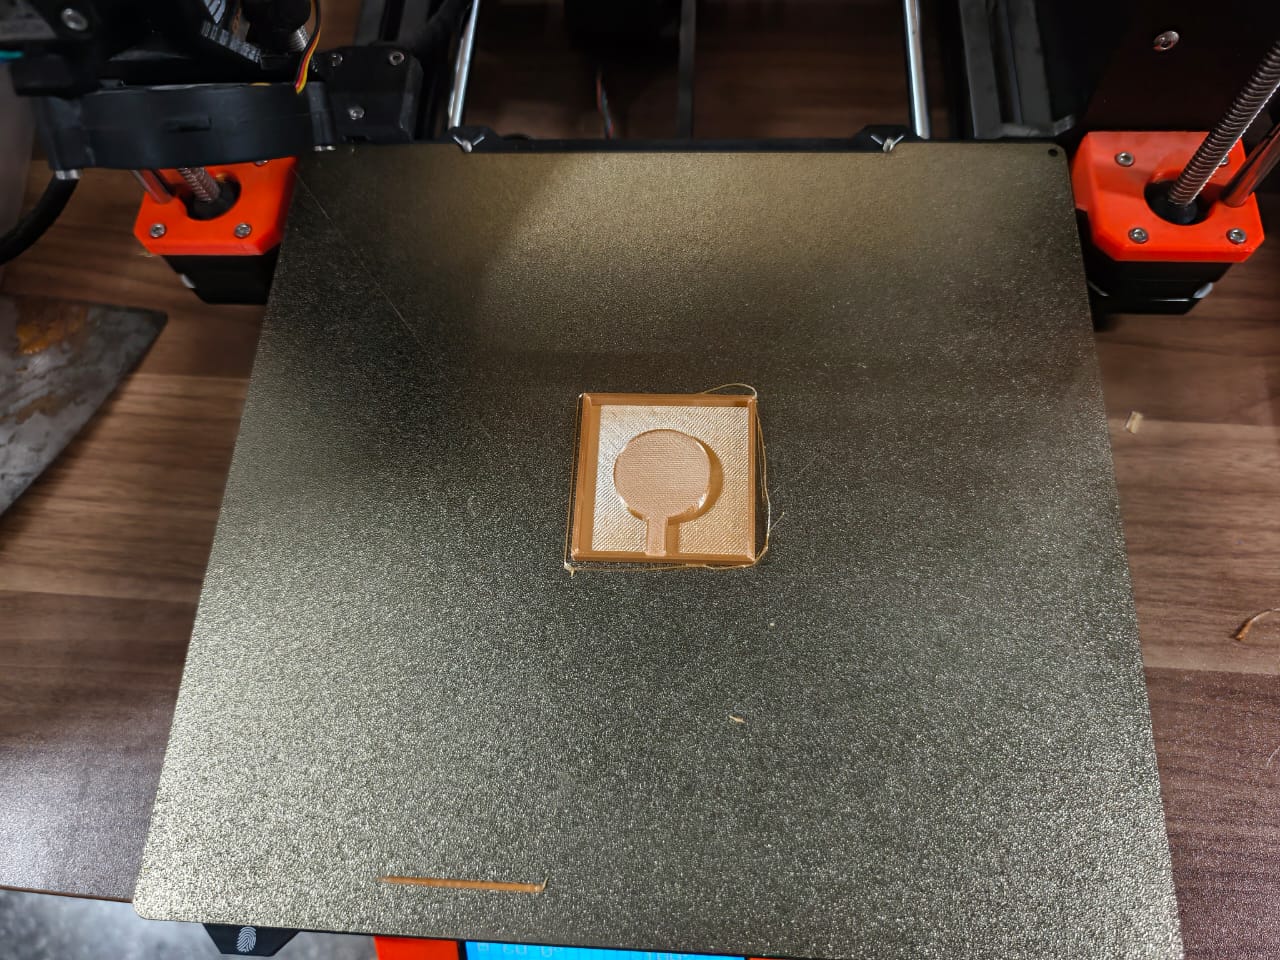
Before making the actual robotic structure, I wanted to understand the material and see how it behaved after curing. I decided to design a simple mould using a 3D printer.
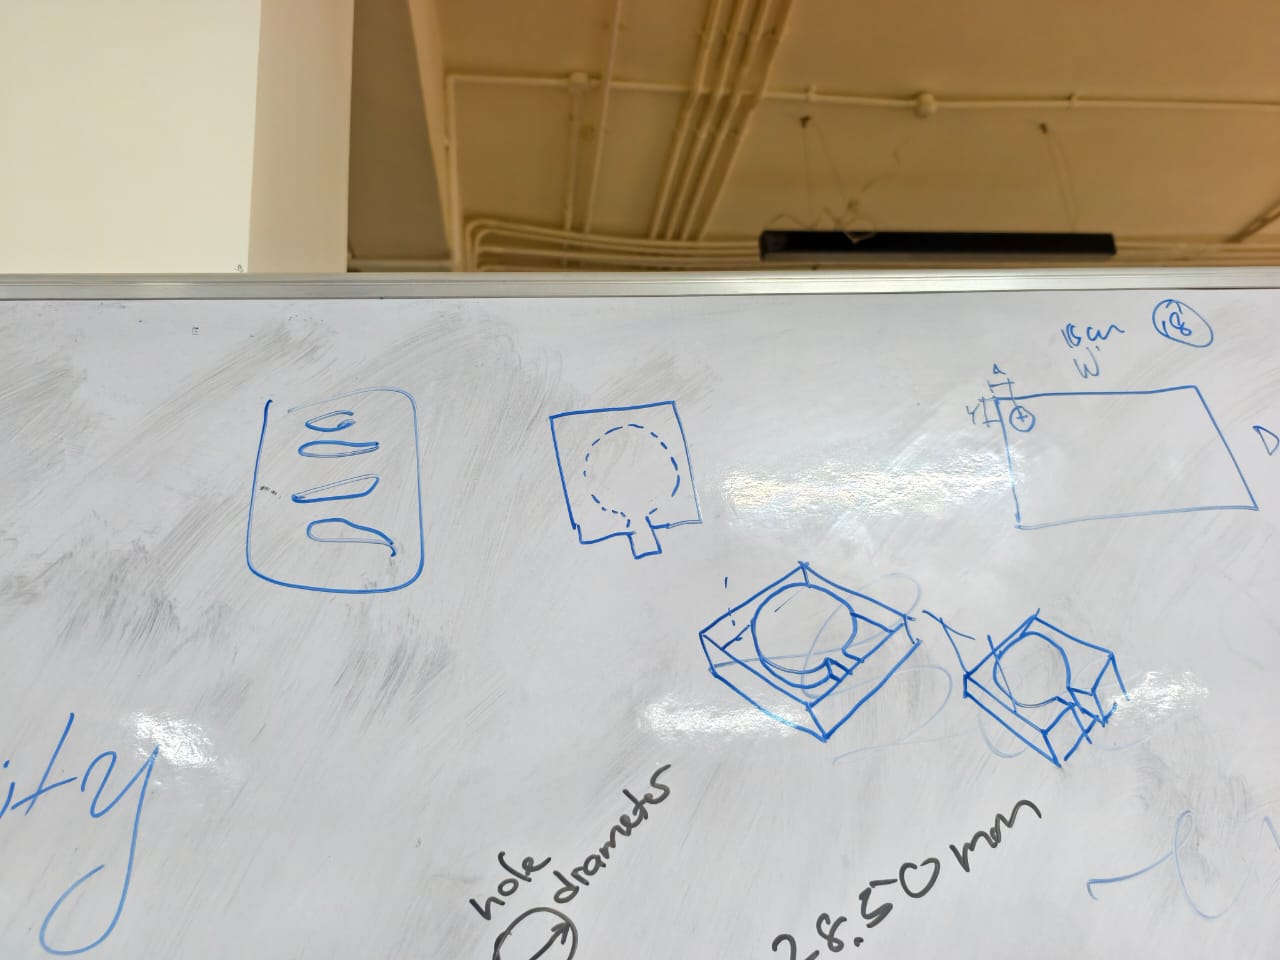
I used Tinkercad because it was much faster and more convenient for creating a simple mould. At first, I was a little confused about the mould design. I realised that I had to think differently from ordinary 3D modelling. Instead of designing the object itself, I had to create a negative space where the silicone could be poured and take the desired shape.
Rico helped me understand this concept by explaining and sketching the mould design on the whiteboard. That made it much easier for me to visualise how the mould should be constructed.
For the pump, I first tried visiting a nearby hospital to get a 50 ml syringe for testing my single pneumatic arm. However, I felt that a syringe might not provide enough air pressure for operating all four arms together. So, I started looking for a football pump as an alternative. For now, I have not been able to manage an electric pump, so I decided to explore a simpler manual solution.
Understanding platinum-cure silicone
Platinum-cure silicone is a two-part material that becomes a flexible rubber-like solid after mixing and curing.platinum-silicone safety sheet
It generally consists of two components:
Part A (Base): The main silicone material.
Part B (Curing agent): Contains the ingredients needed to start the curing reaction.
When both parts are mixed, a chemical reaction called hydrosilylation takes place, with platinum acting as a catalyst. During this reaction, the silicone molecules form connections with one another, creating a flexible three-dimensional network. This process is known as cross-linking.
Unlike materials that simply dry by losing water or solvent, silicone cures through a chemical reaction. Once cured, it becomes an elastic material that can stretch, bend and return towards its original shape.
This flexibility makes silicone a suitable material for soft robotics because it can deform when air pressure is applied.
Preparing and mixing the silicone
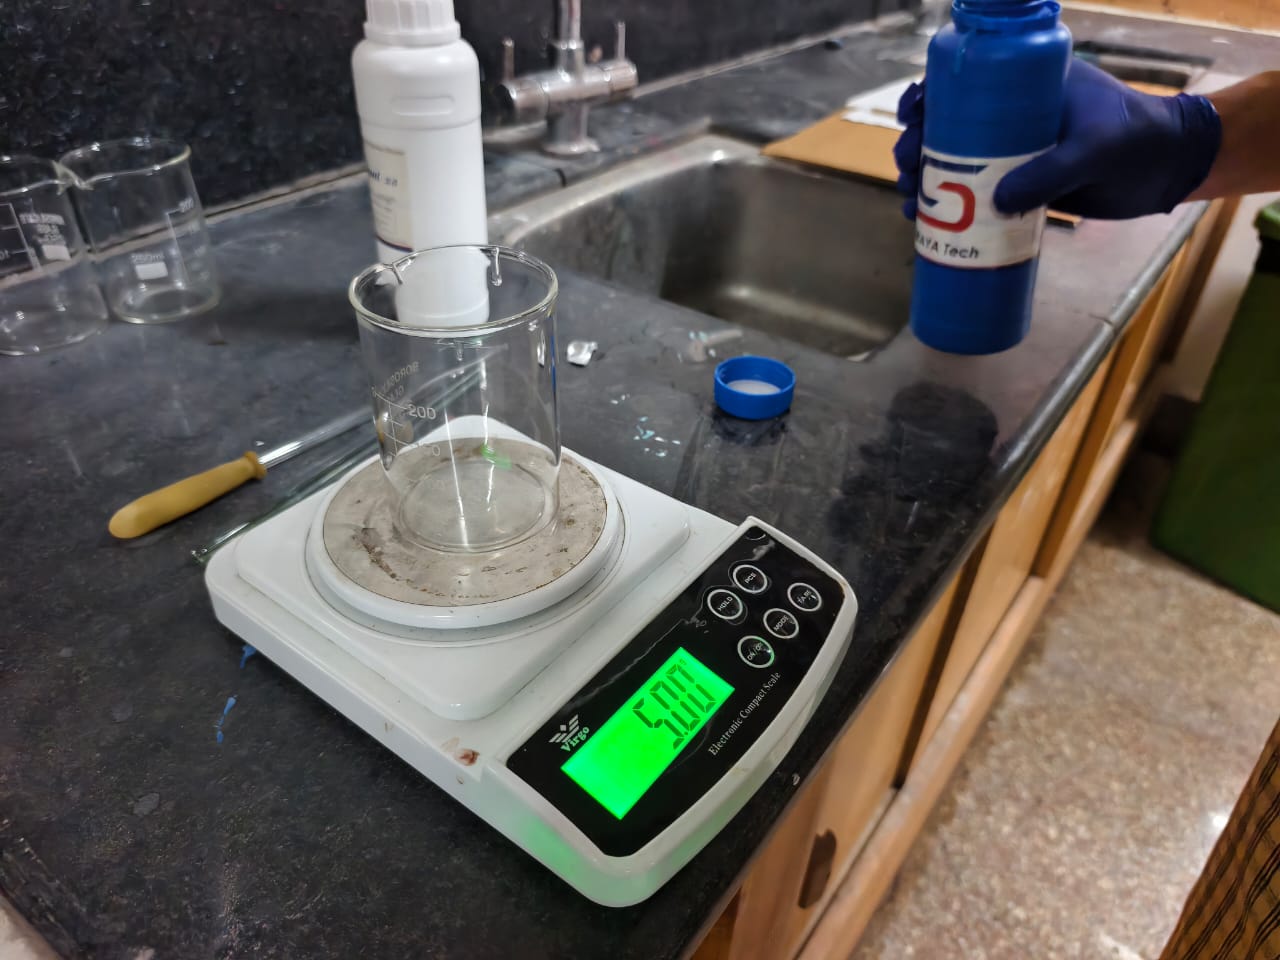
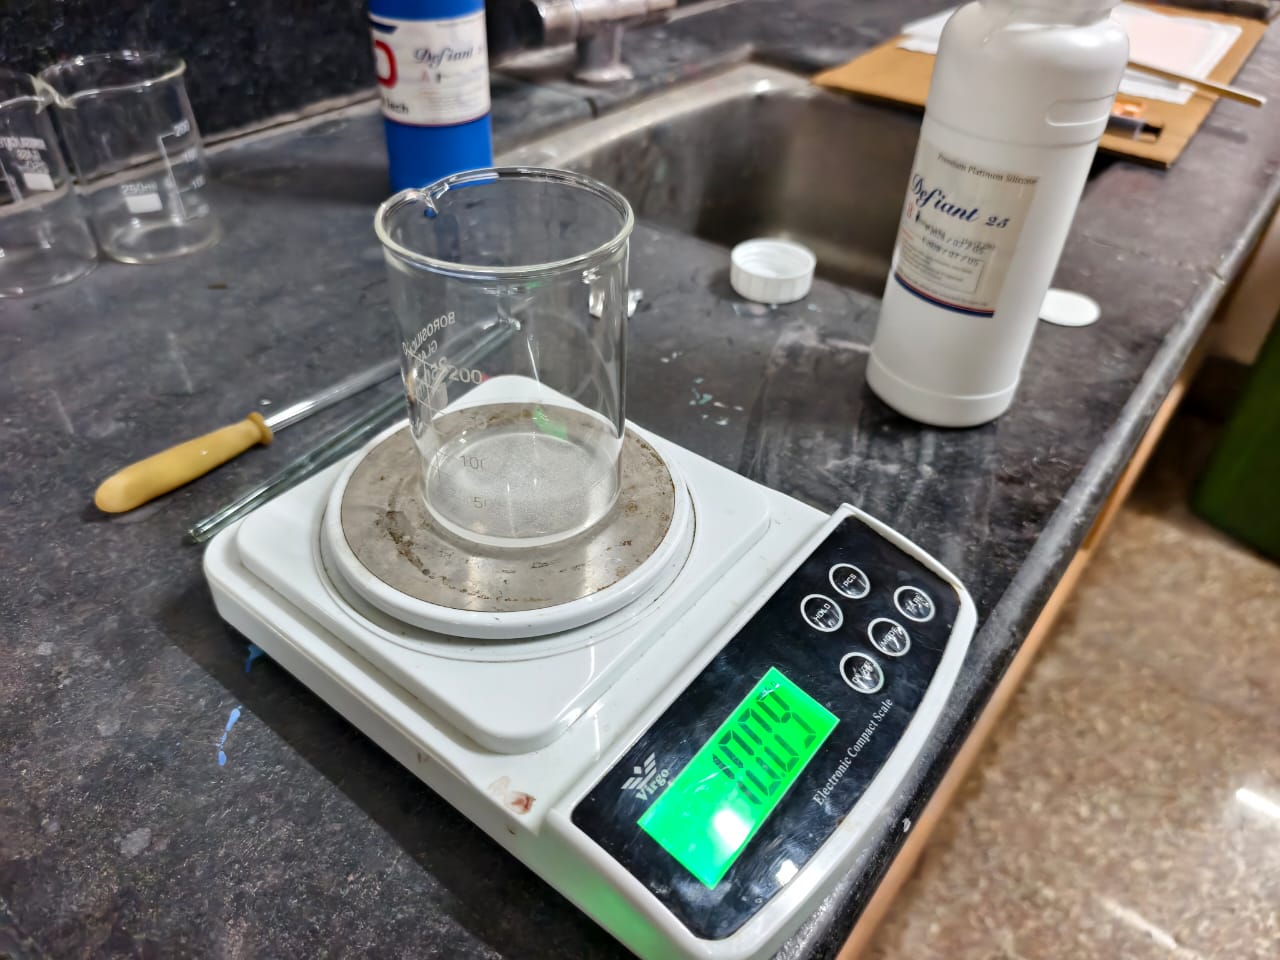
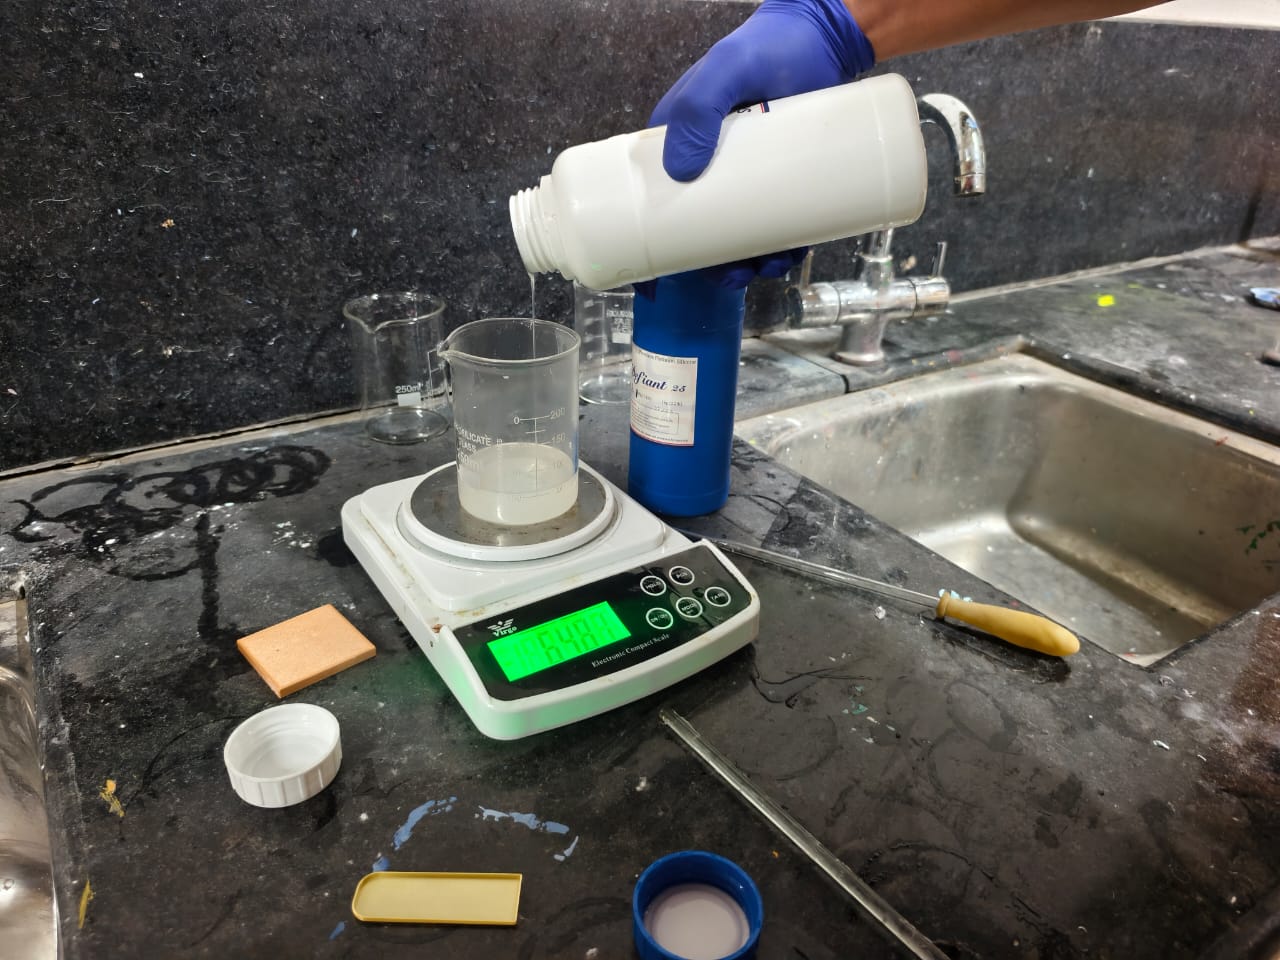
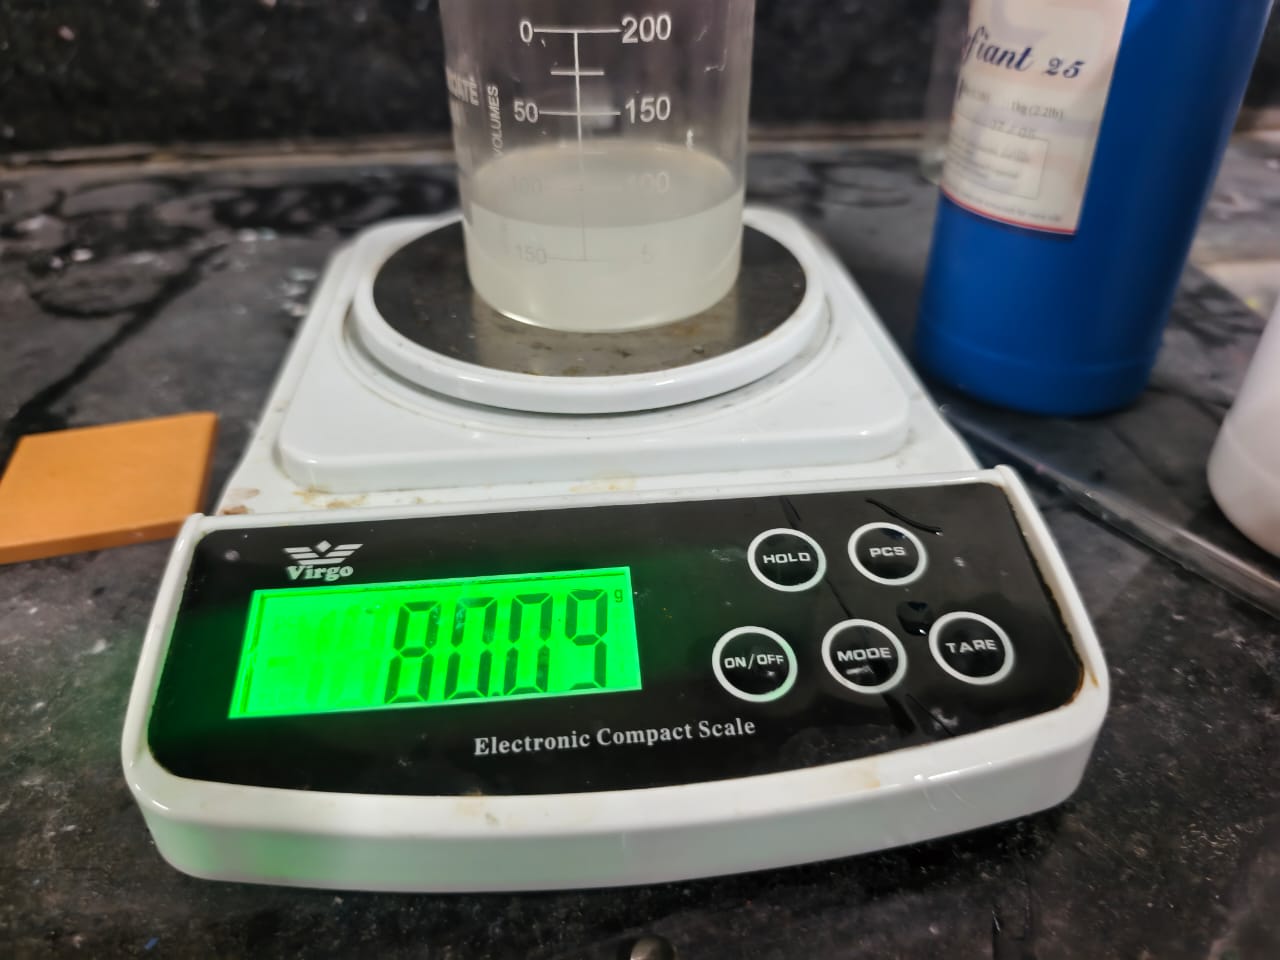
I used a weighing machine to measure both components. The mixing ratio for the silicone I was using was 1:1 by weight.
For my first experiment, I measured:
Part A: 5 g
Part B: 5 g
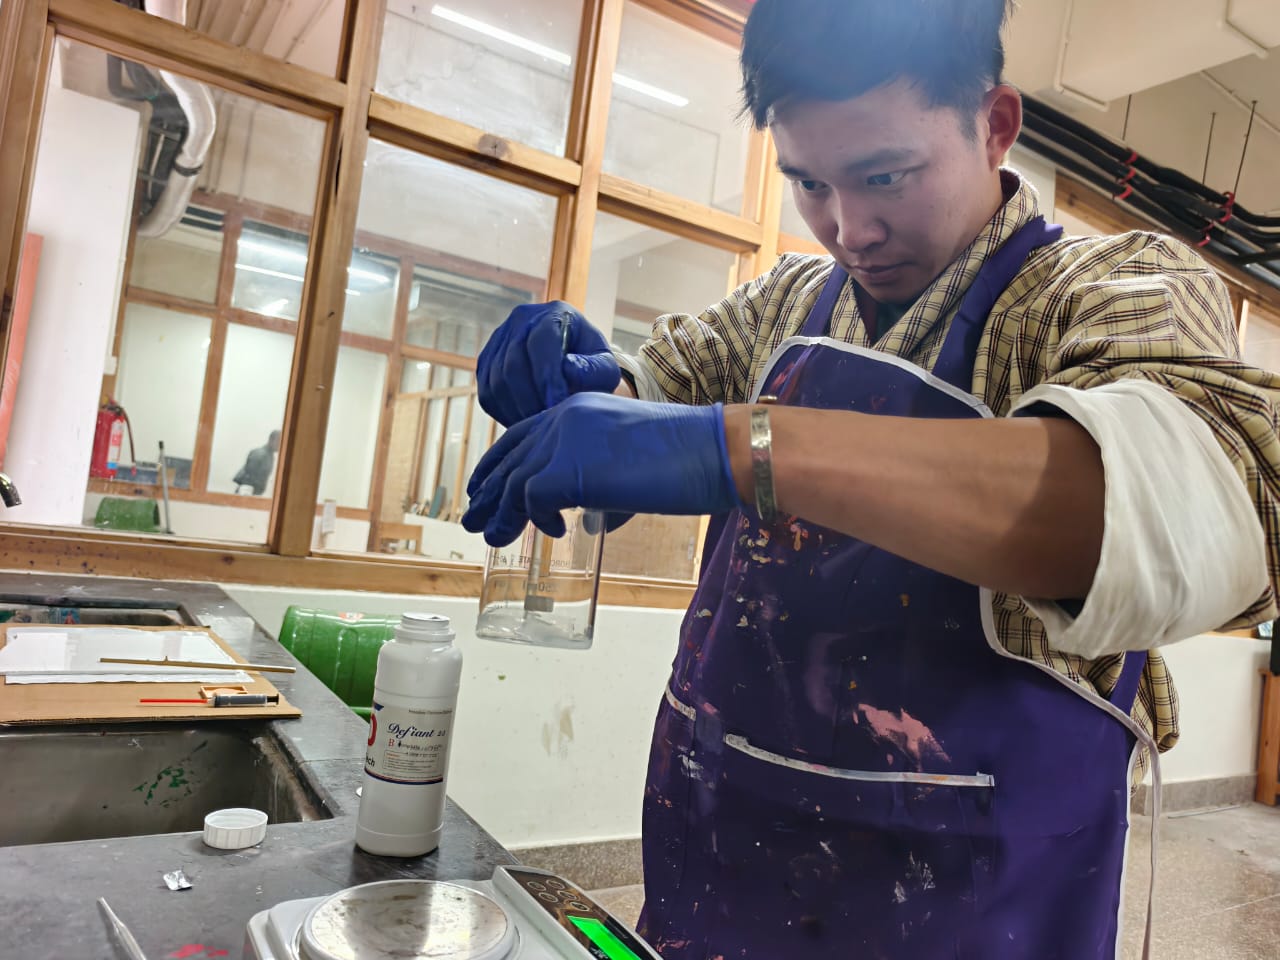
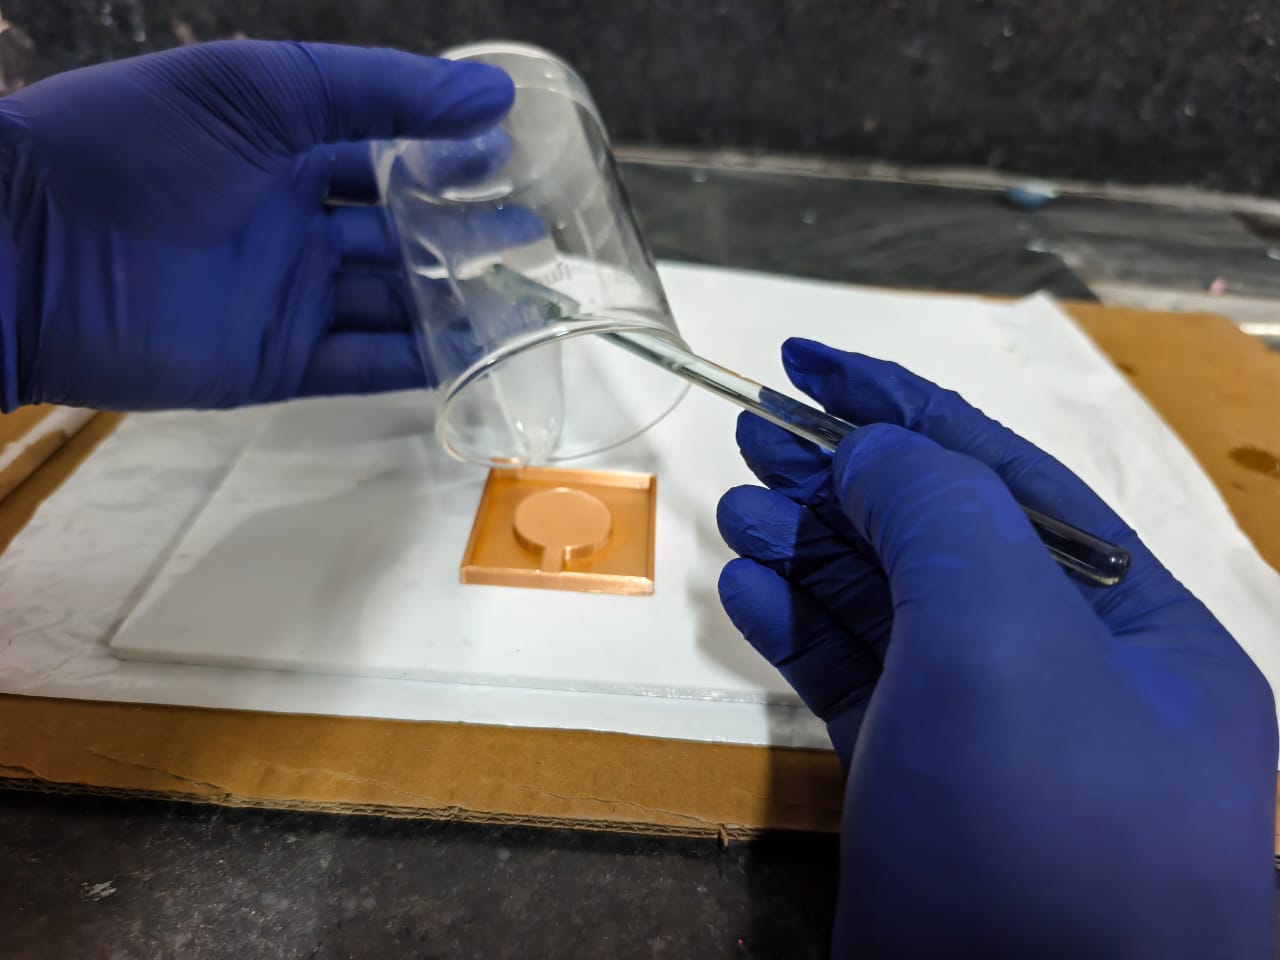
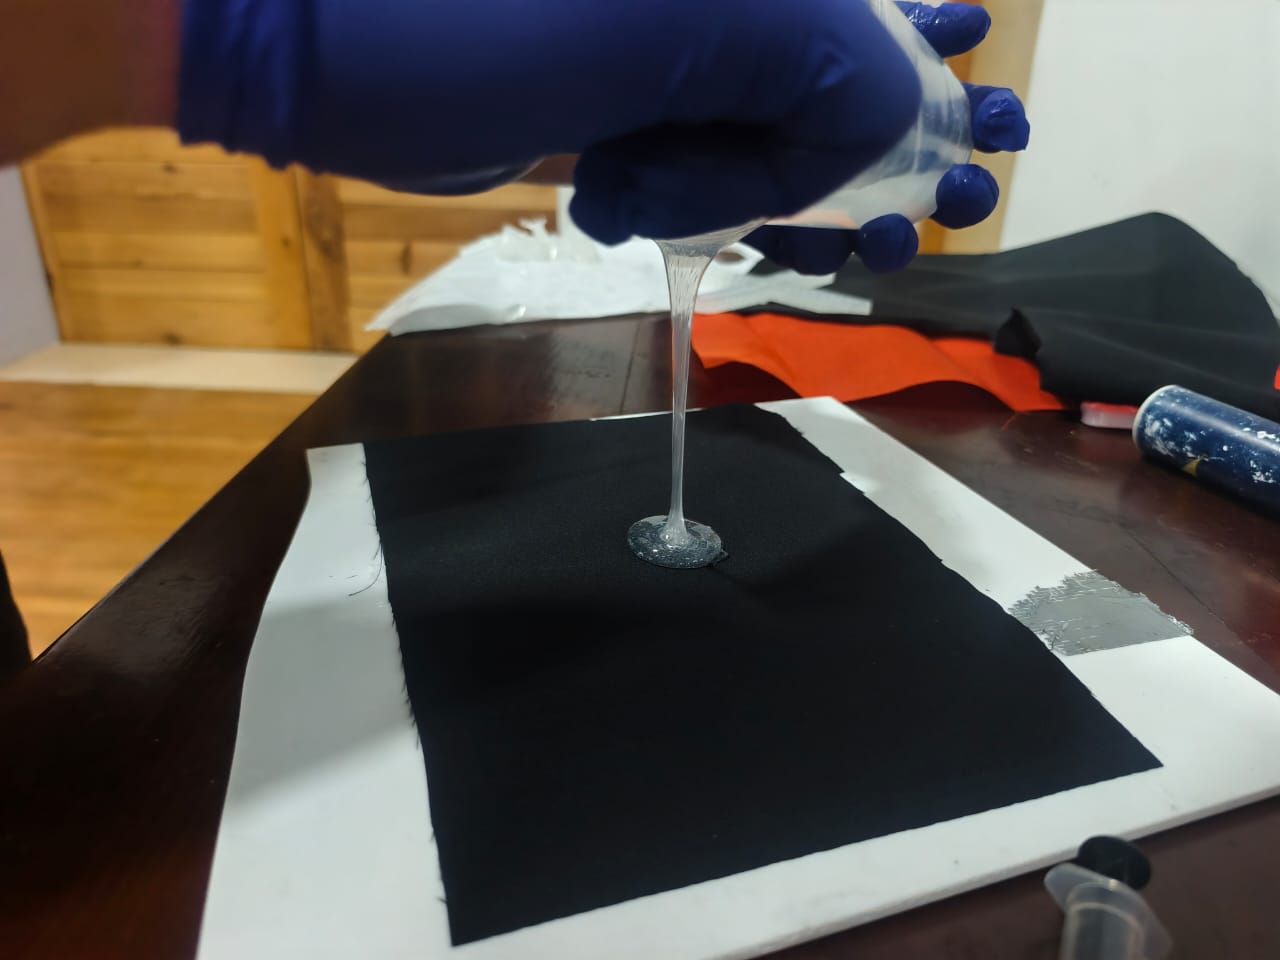
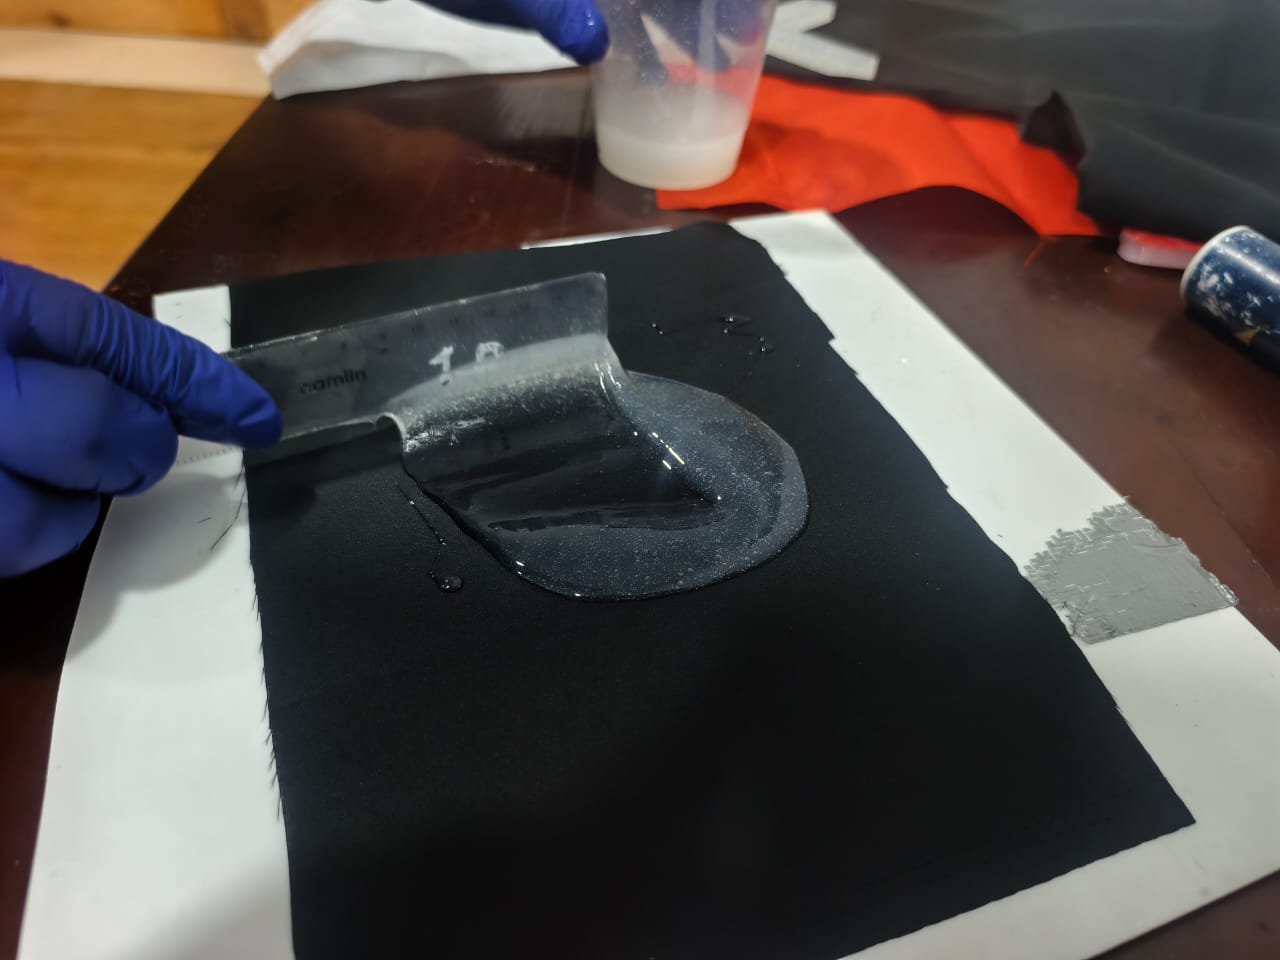
I mixed both components thoroughly until they were properly combined. After that, I slowly poured the mixture into the 3D-printed mould.
I left the mould for approximately two hours to allow the silicone to cure. After waiting, I checked the result and found that the material had become a strong, flexible rubber-like structure.
It was interesting to see how two liquid materials could transform into a solid and flexible object simply through a chemical reaction.
Note: The mixing ratio and curing time depend on the particular silicone product. The manufacturer's instructions should always be followed.
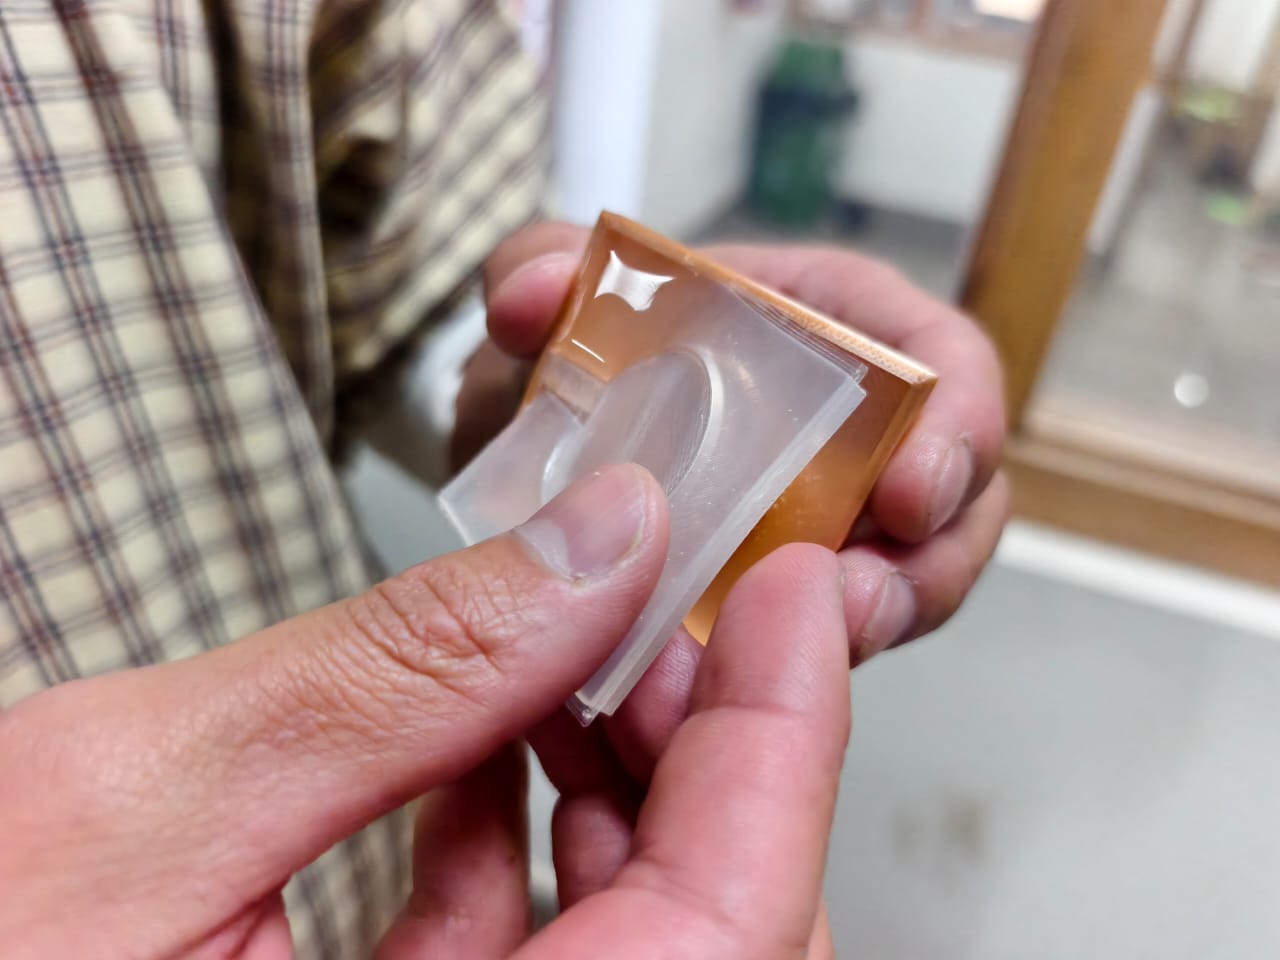
Step 2. Testing a single pneumatic arm using a syringe and air pressure.
After successfully testing the silicone, I moved on to designing the actual soft robotic structure.
Instead of making the entire four-arm structure immediately, I decided to start with a single arm. I wanted to understand how the silicone structure would behave when air pressure was introduced.
I designed and printed a mould for one robotic arm and used it to create the silicone structure.
The next challenge was figuring out how to introduce air into the structure. I used a syringe to push air into the silicone arm and observed how it responded.
This was the most interesting part of the experiment. As I pushed air into the structure, the silicone expanded and started to change its shape.
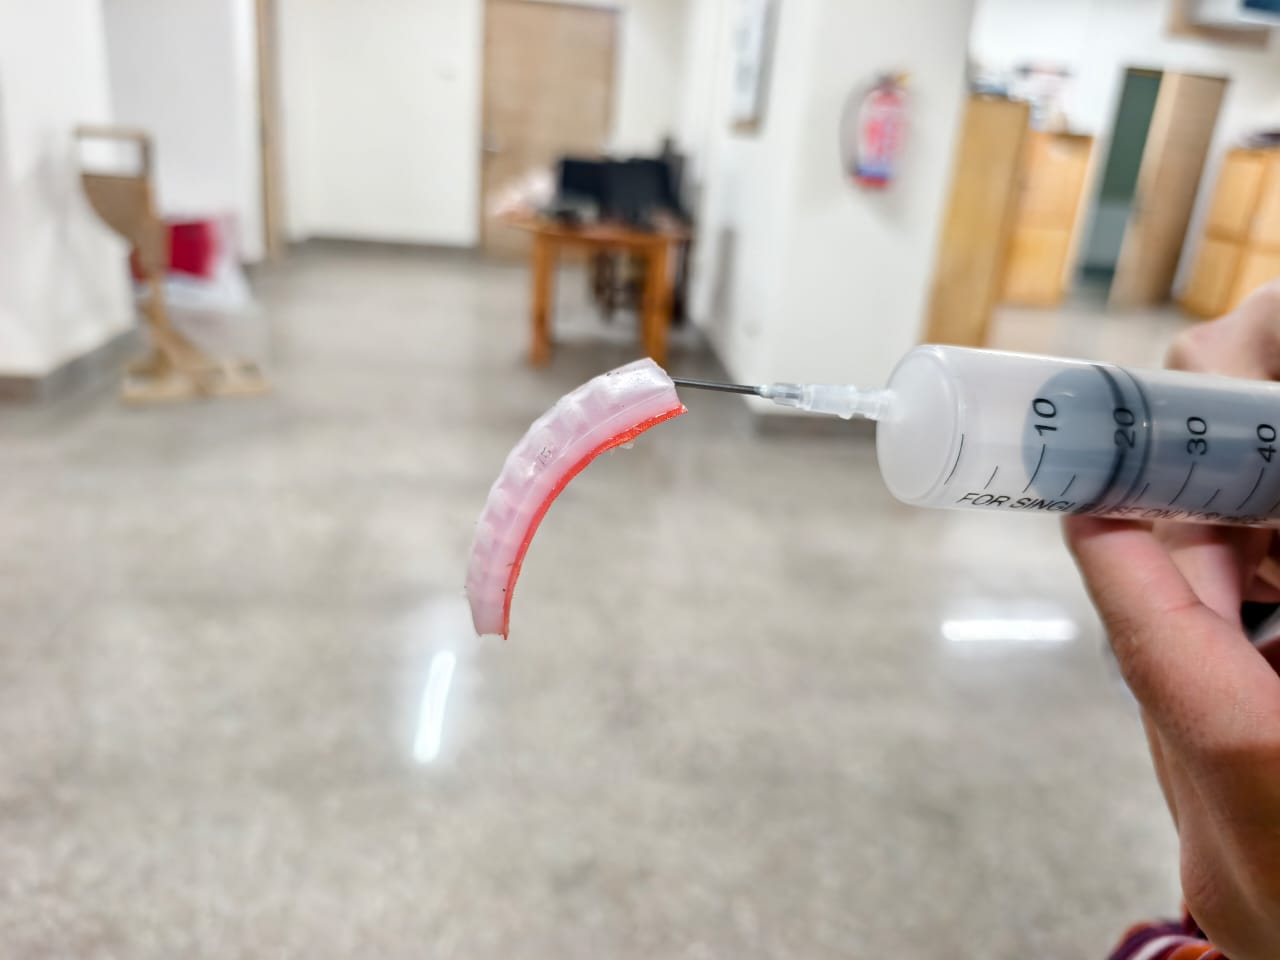

How does air pressure create movement?
The working principle behind this experiment is pneumatic actuation.
Pneumatic actuation means using compressed air to produce movement. When air enters the hollow chamber inside the silicone structure, it creates pressure on the internal walls.
As the pressure increases, the silicone expands. However, simply expanding does not always produce the bending movement needed for a robotic gripper.
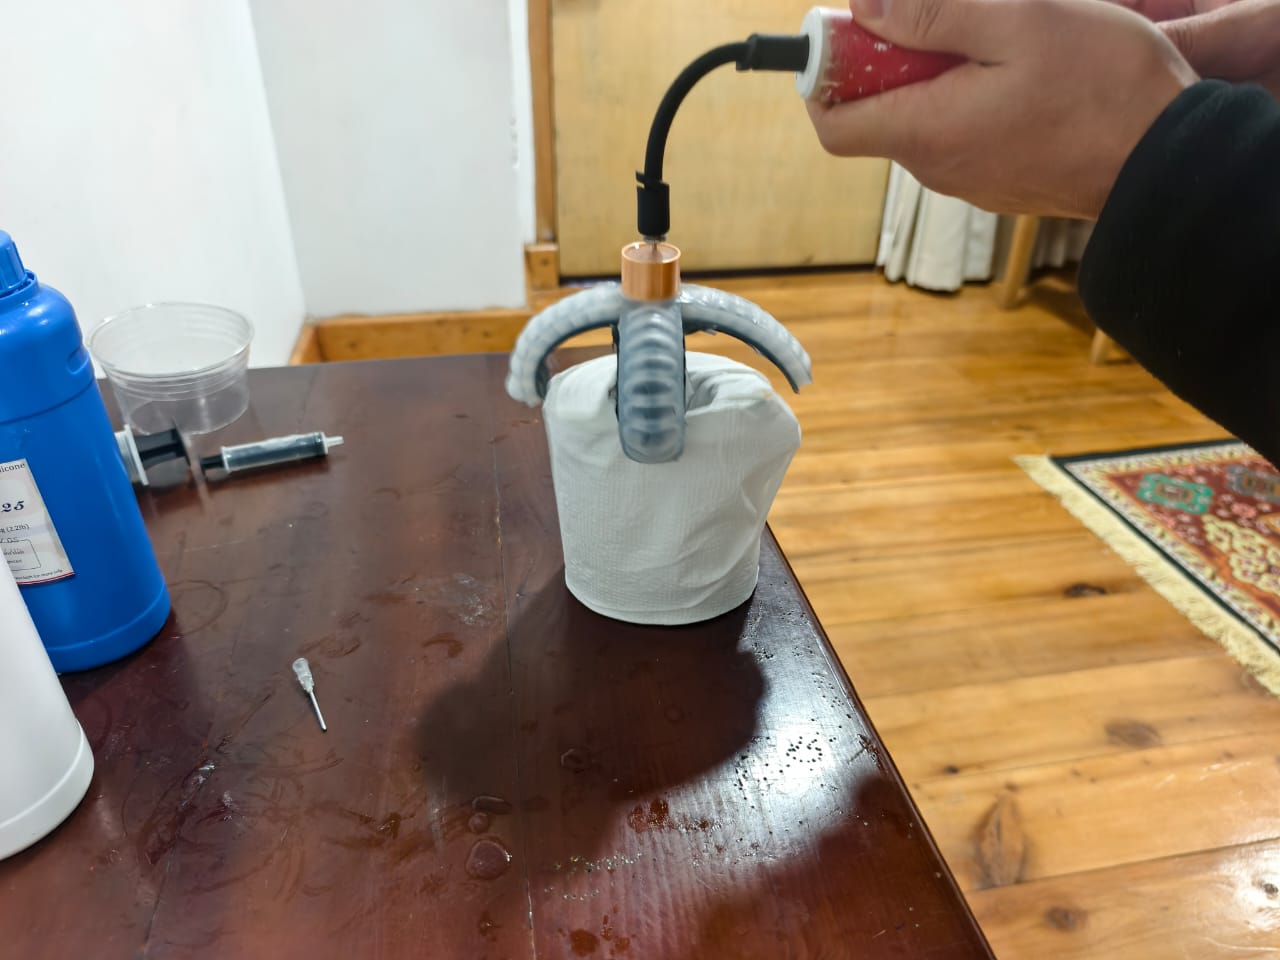
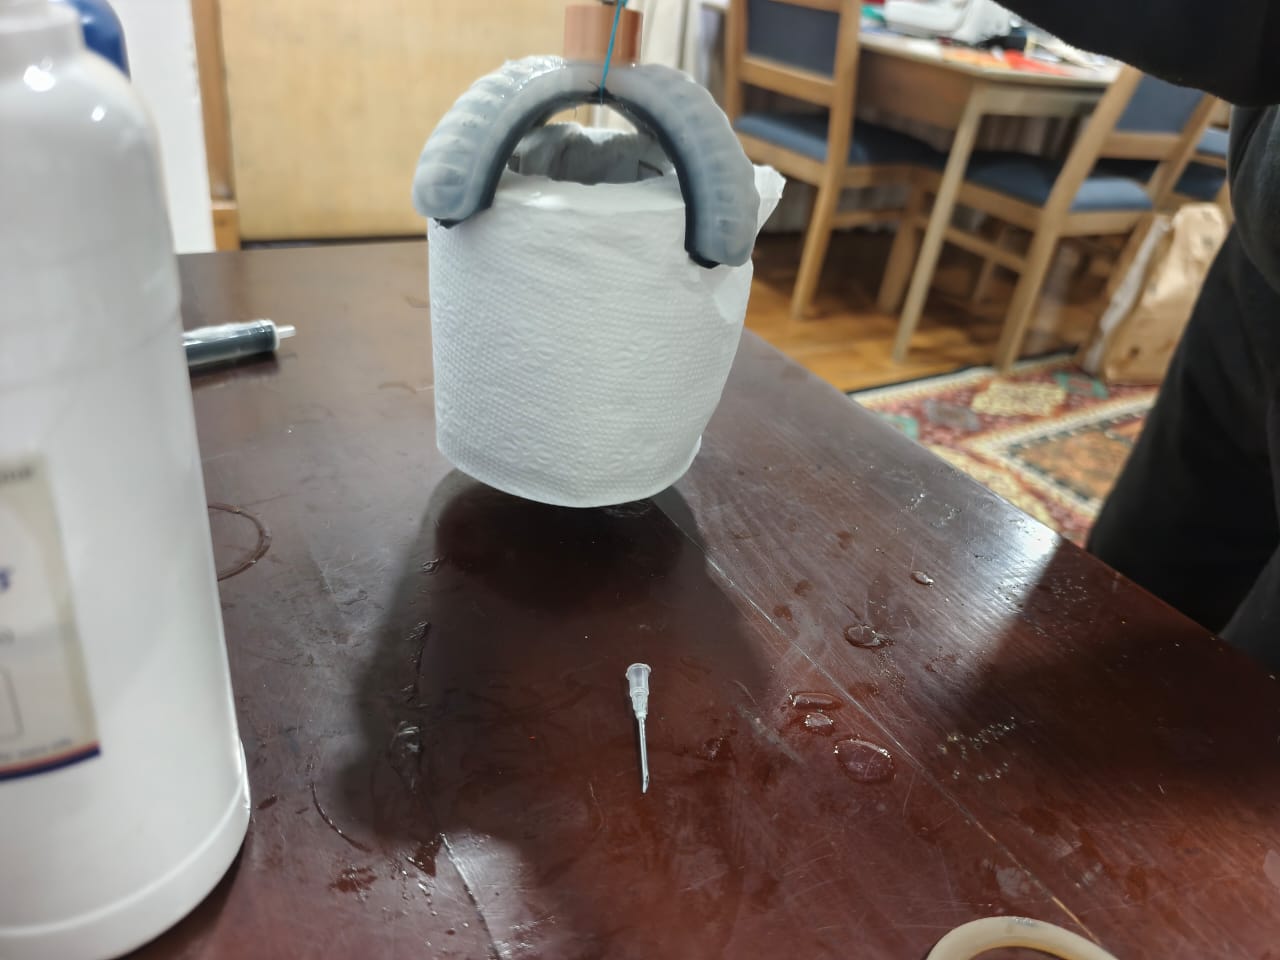
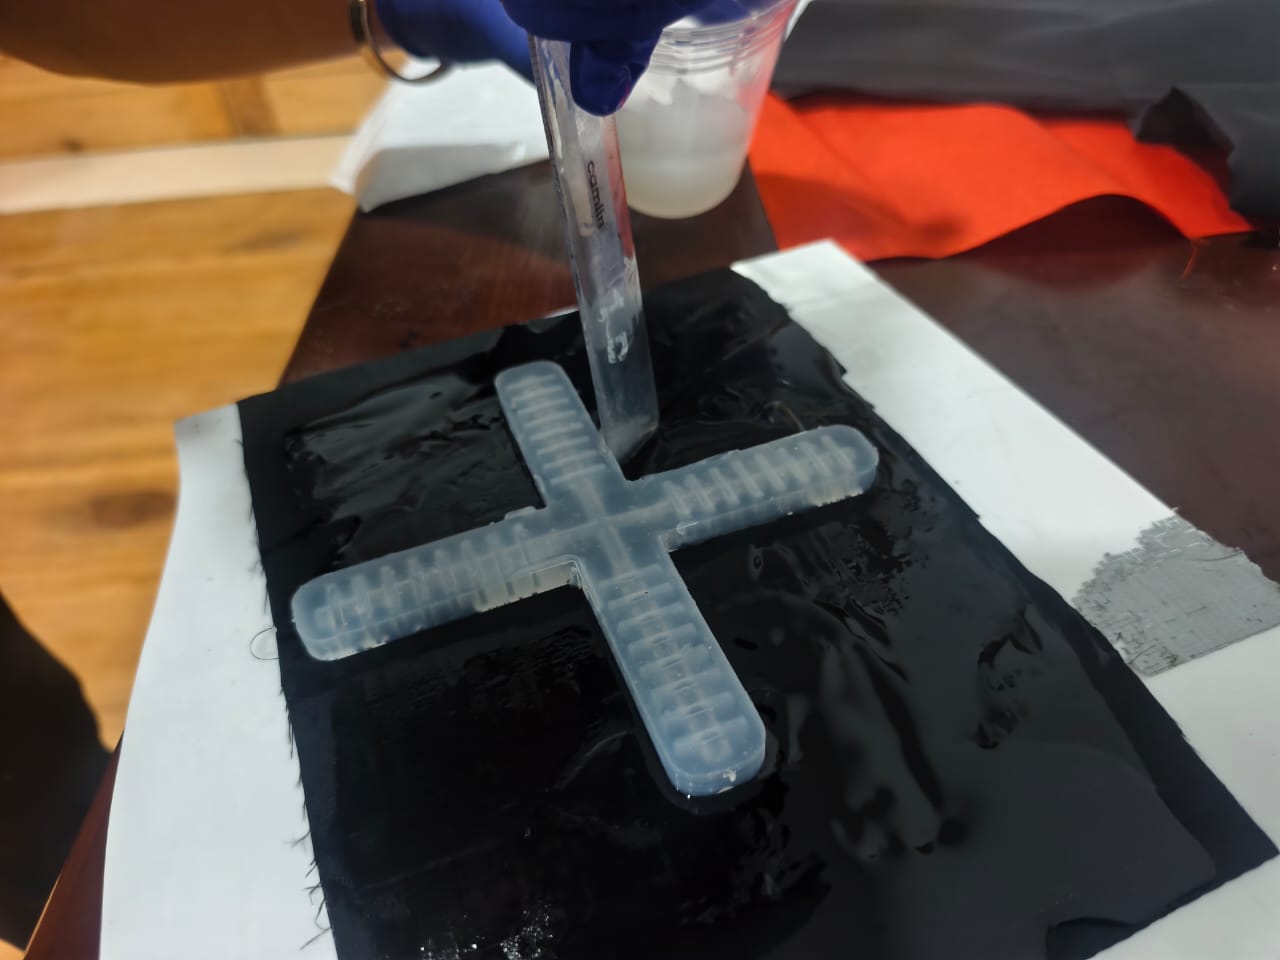
To create controlled bending, the structure needs some form of constraint. In my experiment, I used fabric to cover and restrict one side of the silicone structure.
The fabric helps prevent that side from expanding freely. As a result, the other side expands more, causing the arm to bend.
This is how a soft robotic arm can move without using traditional mechanical joints or rigid structures.
Step 3 Making the final four-arm design
After successfully testing the single arm, I decided to develop the design further by making four arms that could work together like a robotic gripper.
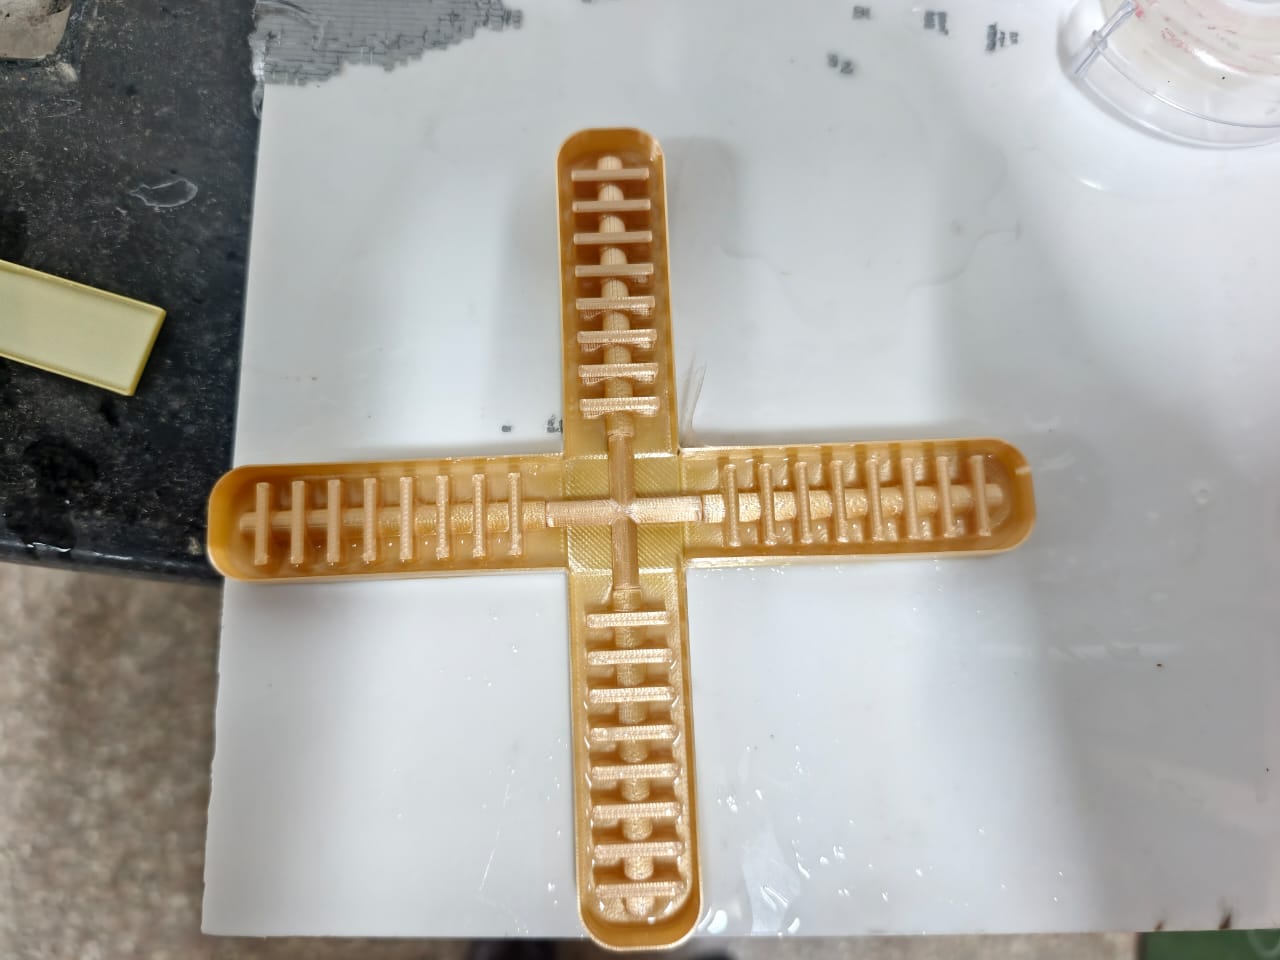
My idea was to create a structure that could grab and hold objects. I reused the knowledge from my first experiment and started designing a mould for the four-arm structure.
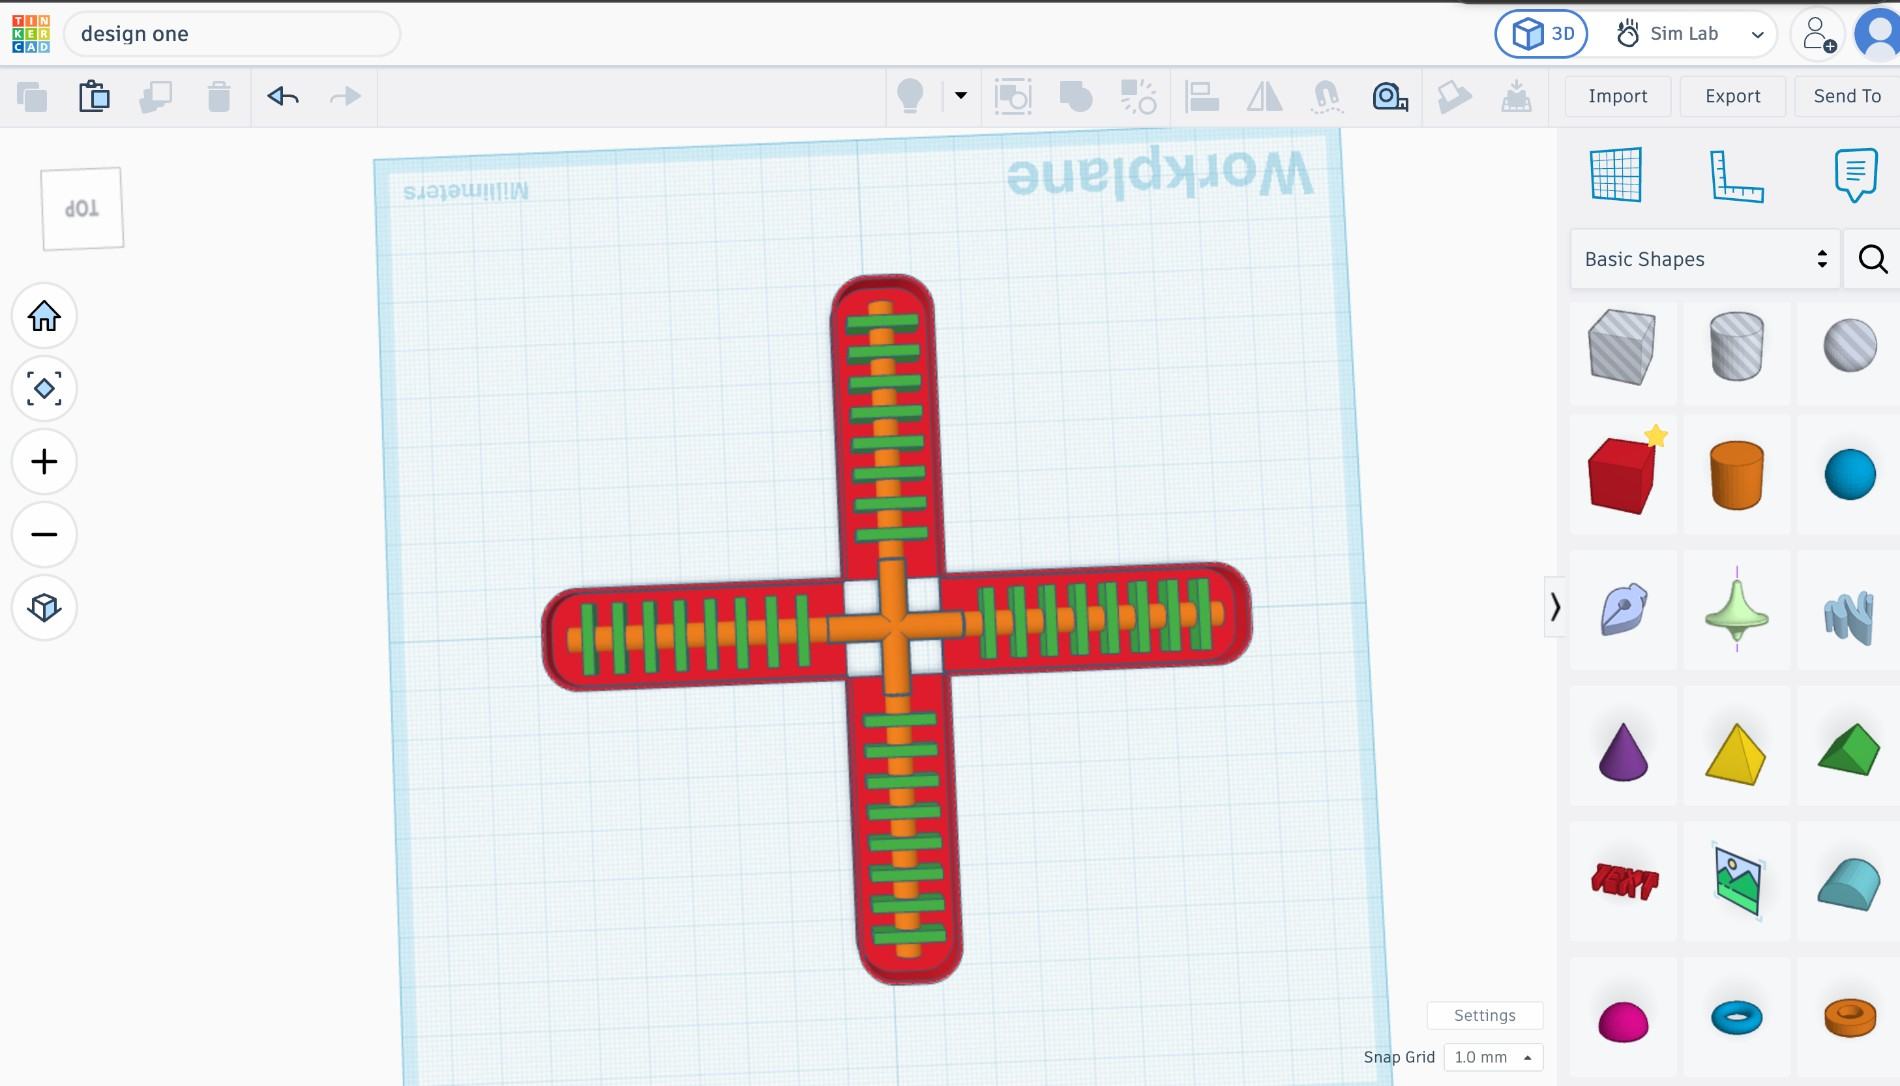
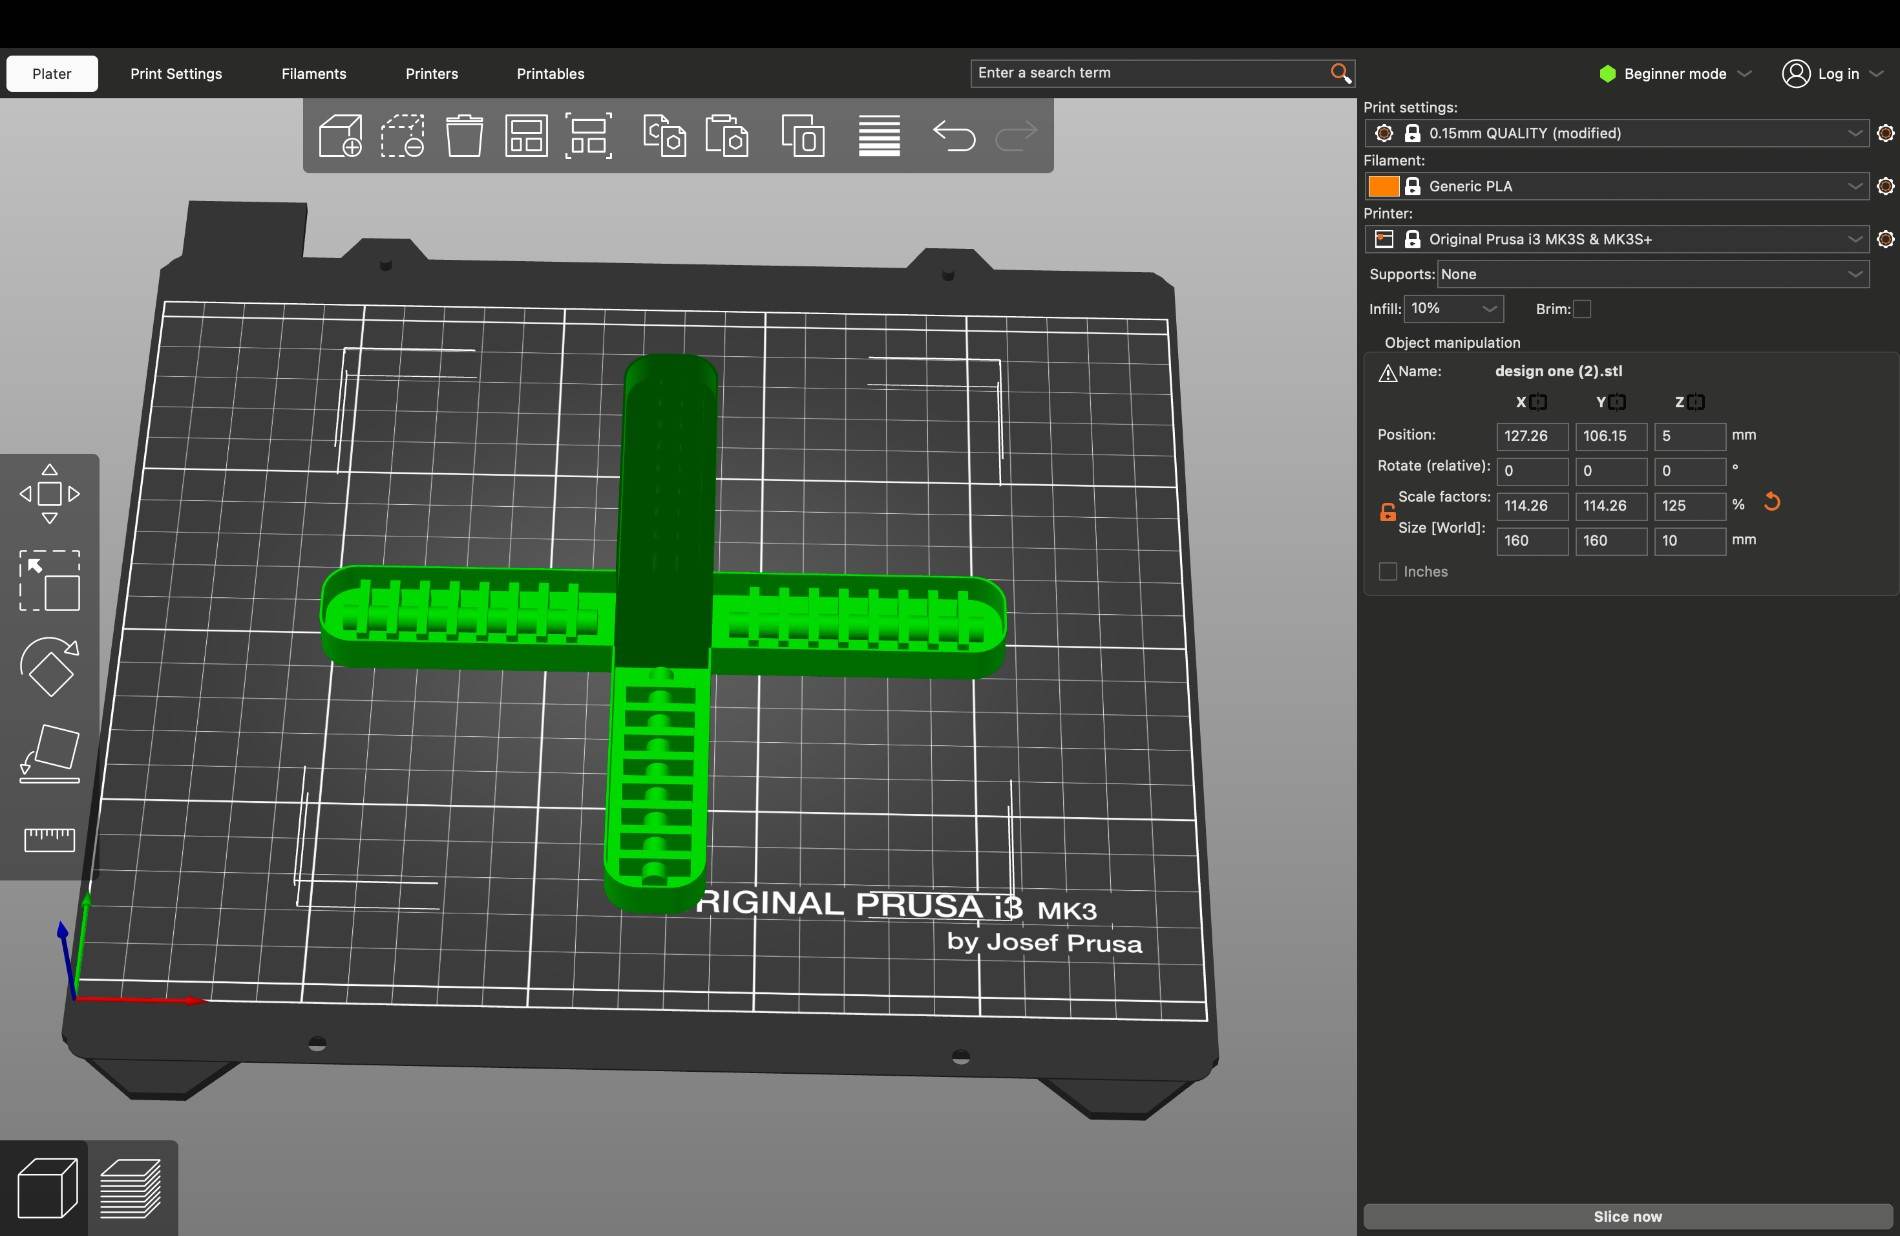
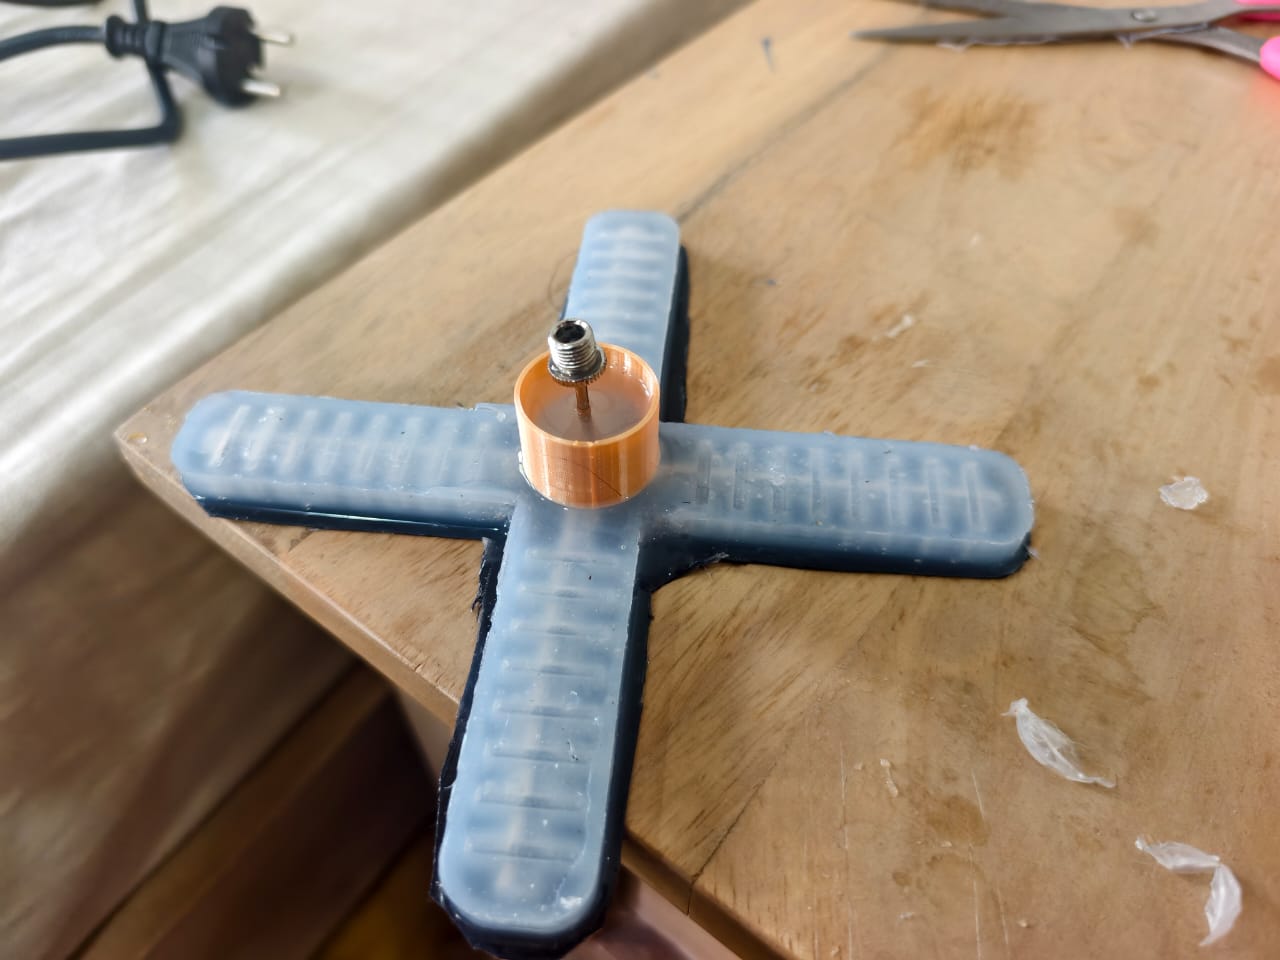
I joined the individual arm designs to create a complete structure. The idea was that when air pressure was introduced, all four arms would move and bend towards the object, allowing the gripper to hold it.
However, the process was not as smooth as I expected.
Challenges during 3D printing
One of the biggest challenges I faced was 3D printing the mould. I wasted quite a lot of time because one of the arms did not attach properly to the print bed.
Initially, I was unsure what had gone wrong. After checking the printer again, I realised that the problem was related to bed levelling.
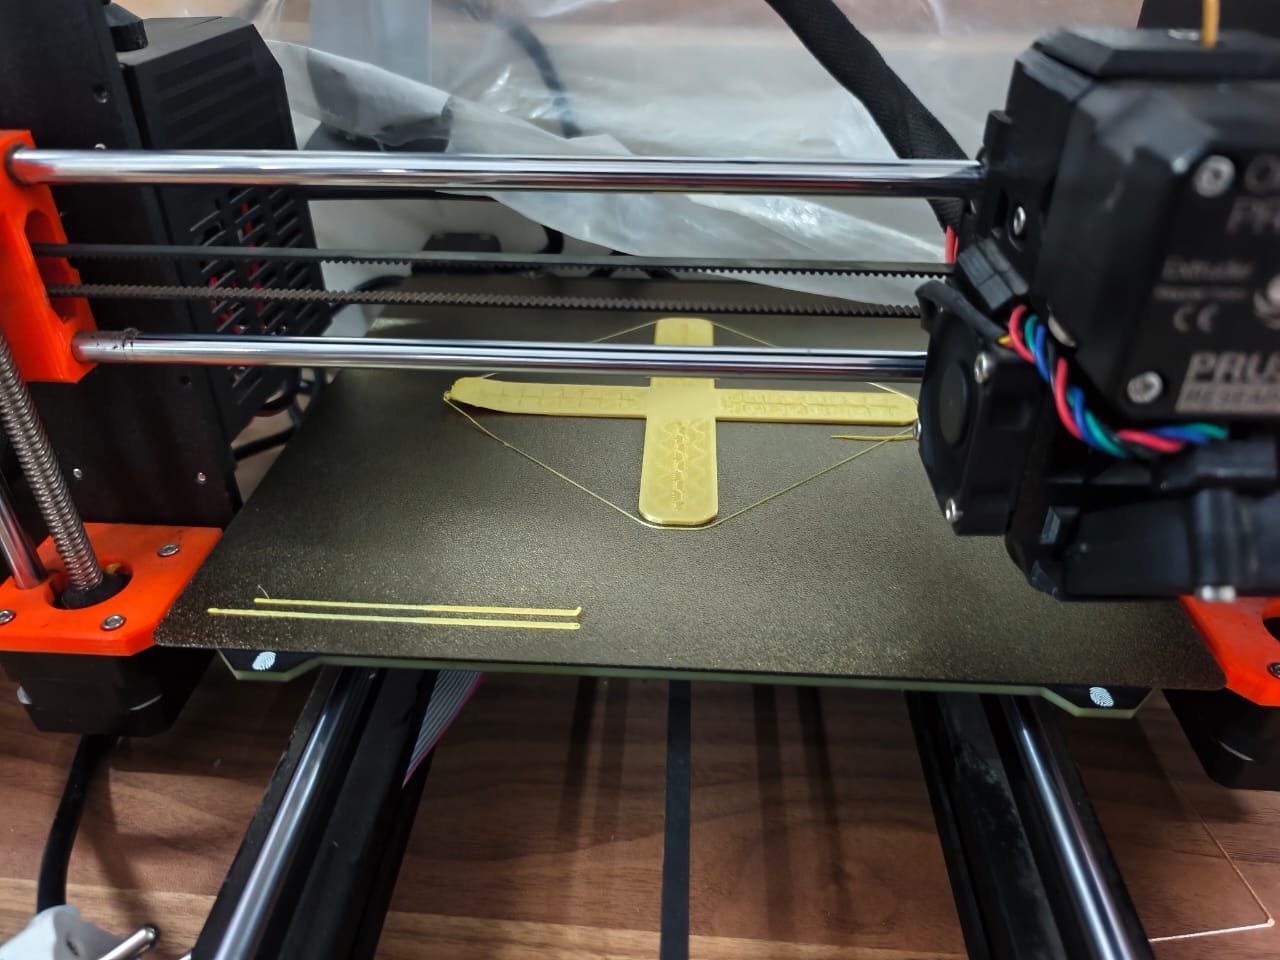
The first layer is very important in 3D printing because it creates the foundation for the remaining layers. If the nozzle is too far from the print bed, the filament may not stick properly. If it is too close, the filament may not flow correctly.
After identifying the issue, I worked on correcting the bed levelling and tried again.
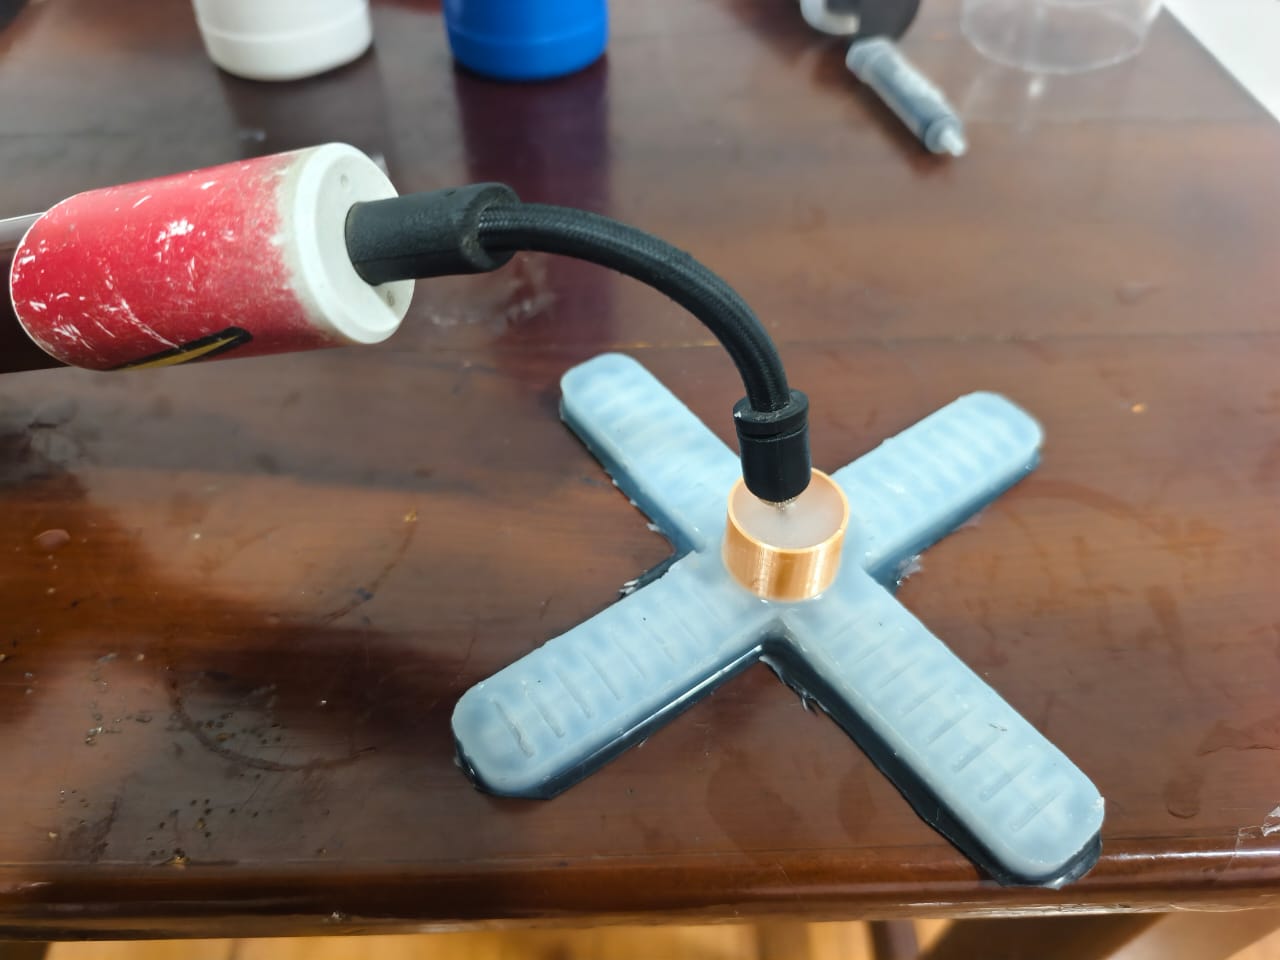
This reminded me that even when the design is correct, small mistakes in the fabrication process can affect the final result. After preparing the mould, I followed the same procedure as in my previous experiment. I mixed the silicone components in the correct ratio, poured the mixture into the mould, and allowed it to cure. Once it was ready, I removed it from the mould and obtained the desired shape. The entire process is shown in the images below.For the air pressure, i used football pump
Tools
Weekly Reflection & Critical Thinking
-
This week introduced me to a completely different side of robotics. I never imagined that flexible materials like silicone could be used to create robots. It was interesting to see how something soft could produce movement using simple air pressure.
-
Working with platinum-cure silicone was a new experience for me. I initially struggled with designing the mould, especially understanding that I needed to create negative space rather than the actual object. With Rico's guidance and some experimentation, I gradually figured out the process.
-
During the four-arm mould printing, one of the arms did not stick properly to the print bed due to bed levelling. I spent quite some time figuring out the issue before realising that it was not the design but the printer setup. It reminded me how important small details are in digital fabrication.
-
While experimenting with the pneumatic arm, I started thinking about its possible applications beyond just making a robotic gripper. I found the potential of soft robotics in assistive technology particularly interesting, especially how it could help people with disabilities in their everyday activities.