Circular Open Source Fashion
References, research & inspiration
Before coming up with my final product for this week, I first tried to explore some ideas around modular fashion,*. I read an article on modular fashion that was shared by Rico in relation to this assignment. I found the idea of modular fashion interesting, especially how garments can be designed with interchangeable or detachable parts so that one garment can be changed and used in different ways.
While exploring the topic, I came across the term tessellation., which caught my attention. Tessellation is basically the repetition of shapes or patterns so that they fit together without gaps or overlaps. After going through the articles and the materials provided for the assignment, I started thinking about how I could bring these ideas into a Bhutanese context. I wanted to explore how concepts such as modular fashion, open fashion, and zero-waste design could connect with our own textile culture rather than simply copying an existing design.
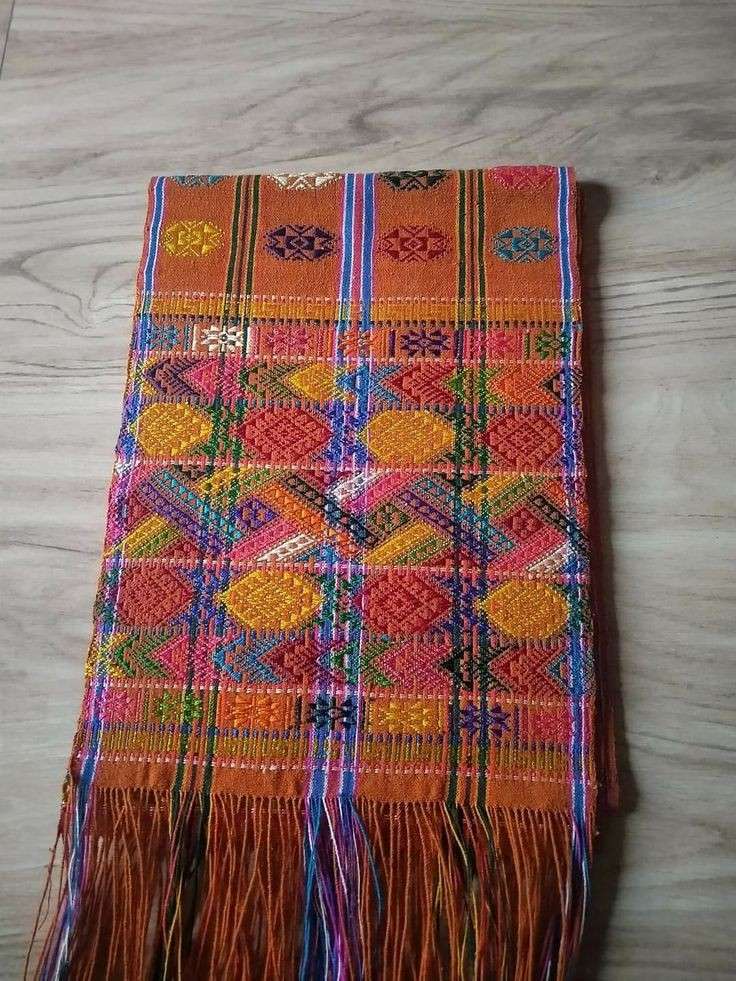
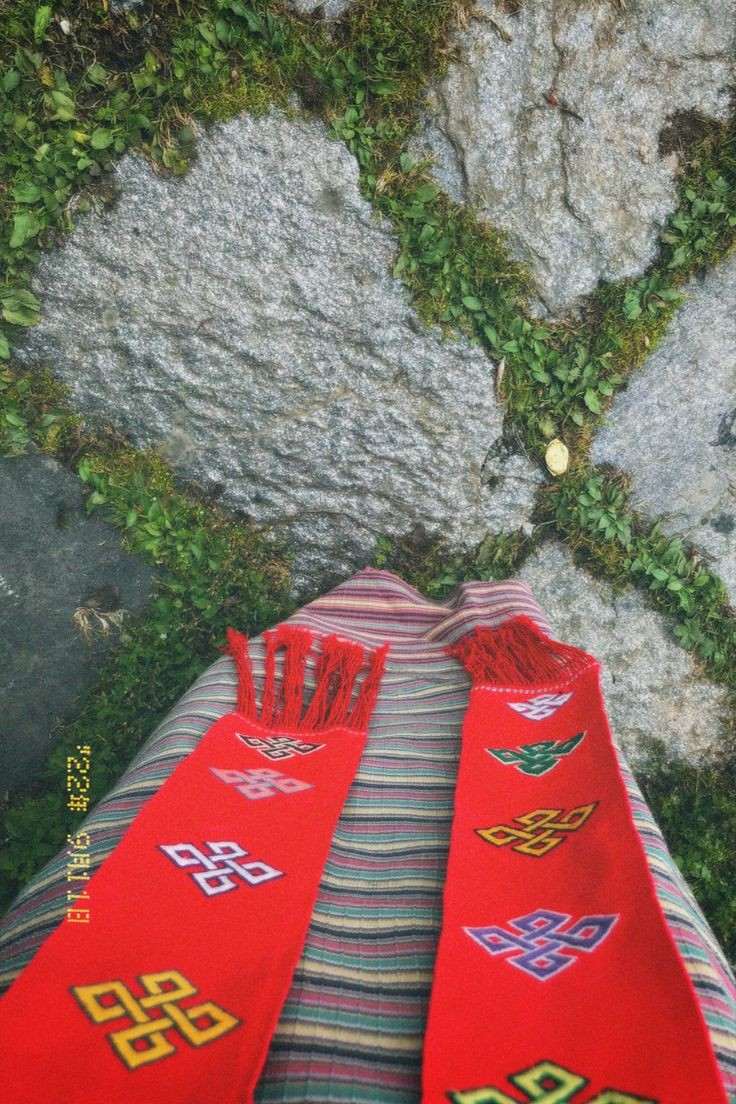
This led me to look at some traditional Bhutanese-textile-motifs. as well as the Eight Auspicious Signs in Buddhism.Bhutanese textiles contain many motifs inspired by nature, cultural practices, religious symbols, and the environment around the weavers. Techniques such as Trima and Hor also show how patterns can be carefully constructed and repeated through weaving. From this, I started brainstorming how I could take one of these Bhutanese motifs, translate it into a digital or geometric pattern, and experiment with tessellation and modular design, zero waste to create something new while still keeping a connection to Bhutanese textile traditions.
I gooogle some the Rachu images in the pinteres to see the design.
Process and workflow
Step 1. Modular pattern with paper.
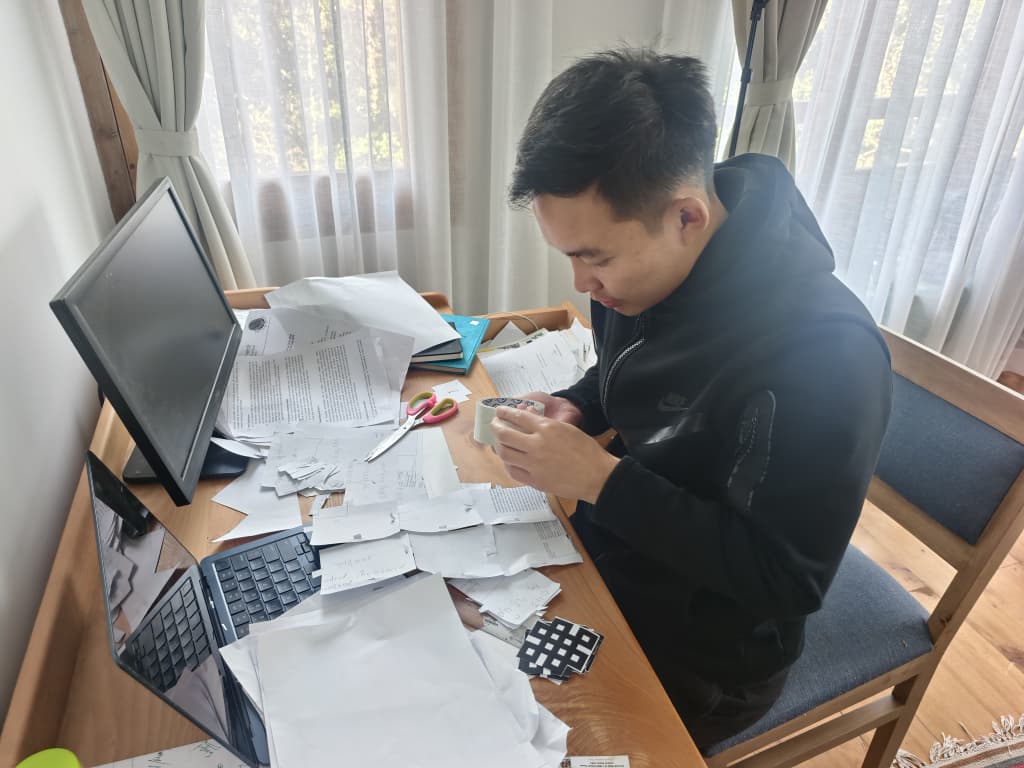
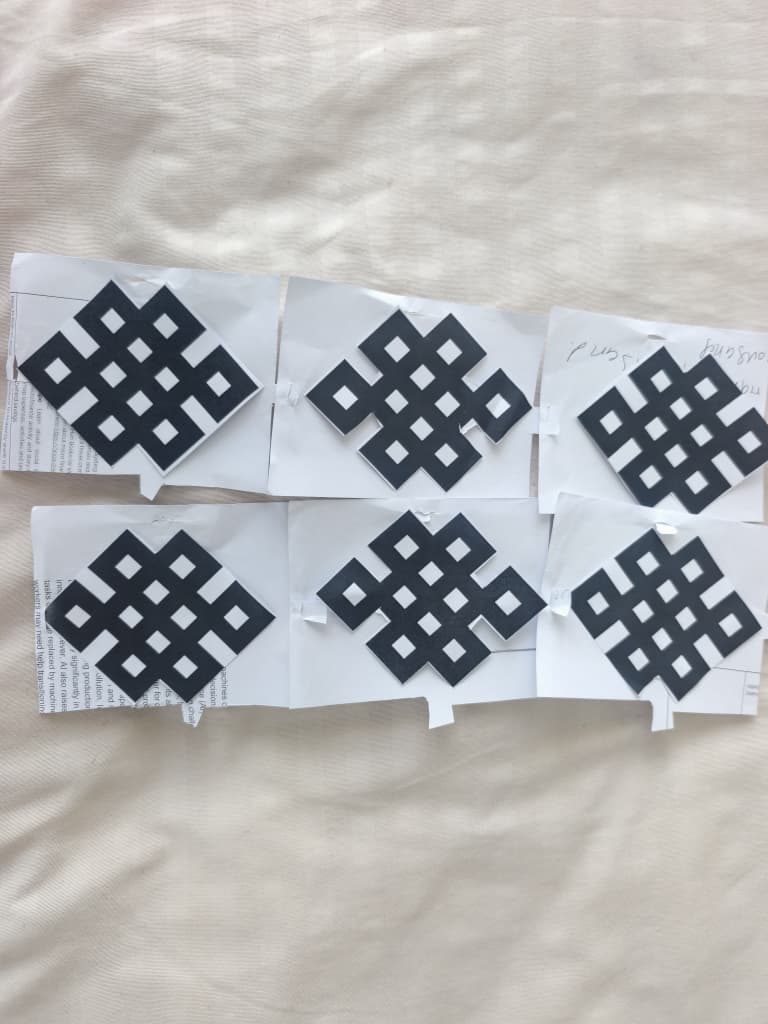
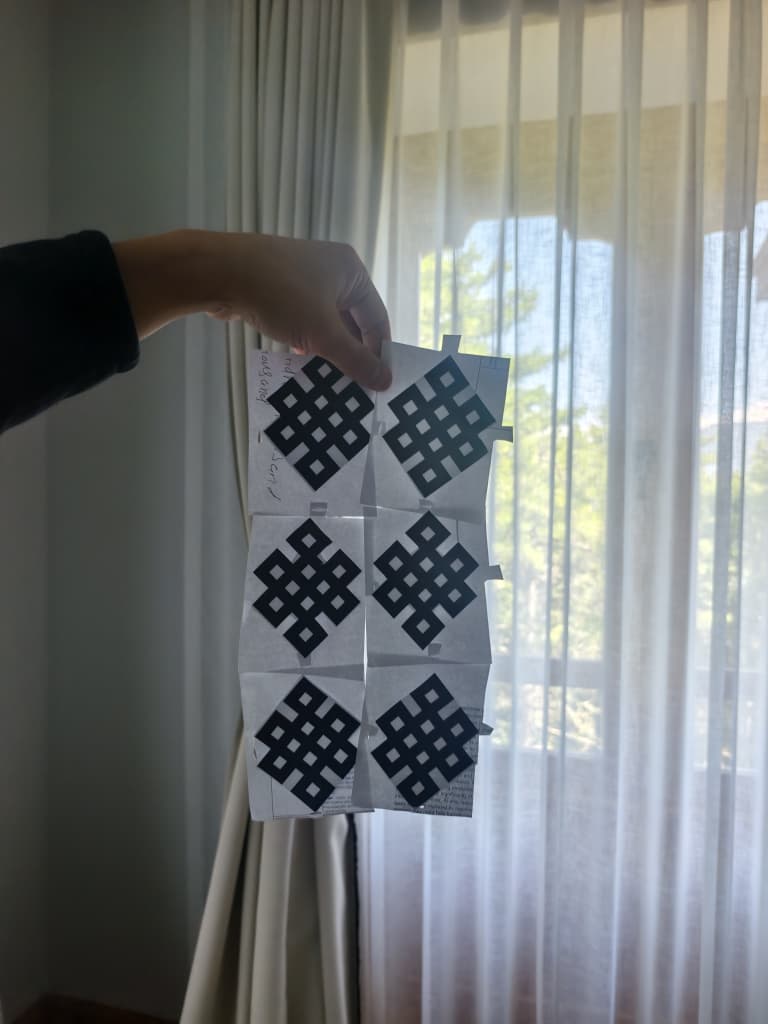
Before using any software, I first tried to visualize my design using paper. I cut scrap paper that I found in my room and experimented with different shapes, with the objective of creating a modular design. At first, I made a mistake because I forgot to include darts and slots between the different shapes.
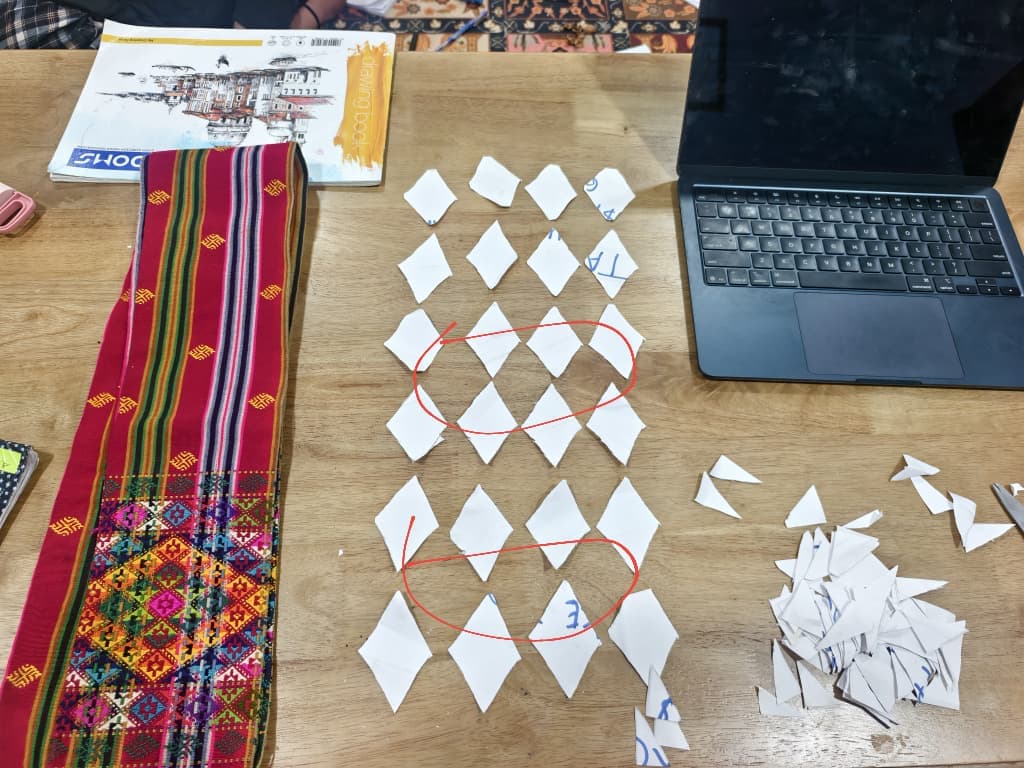
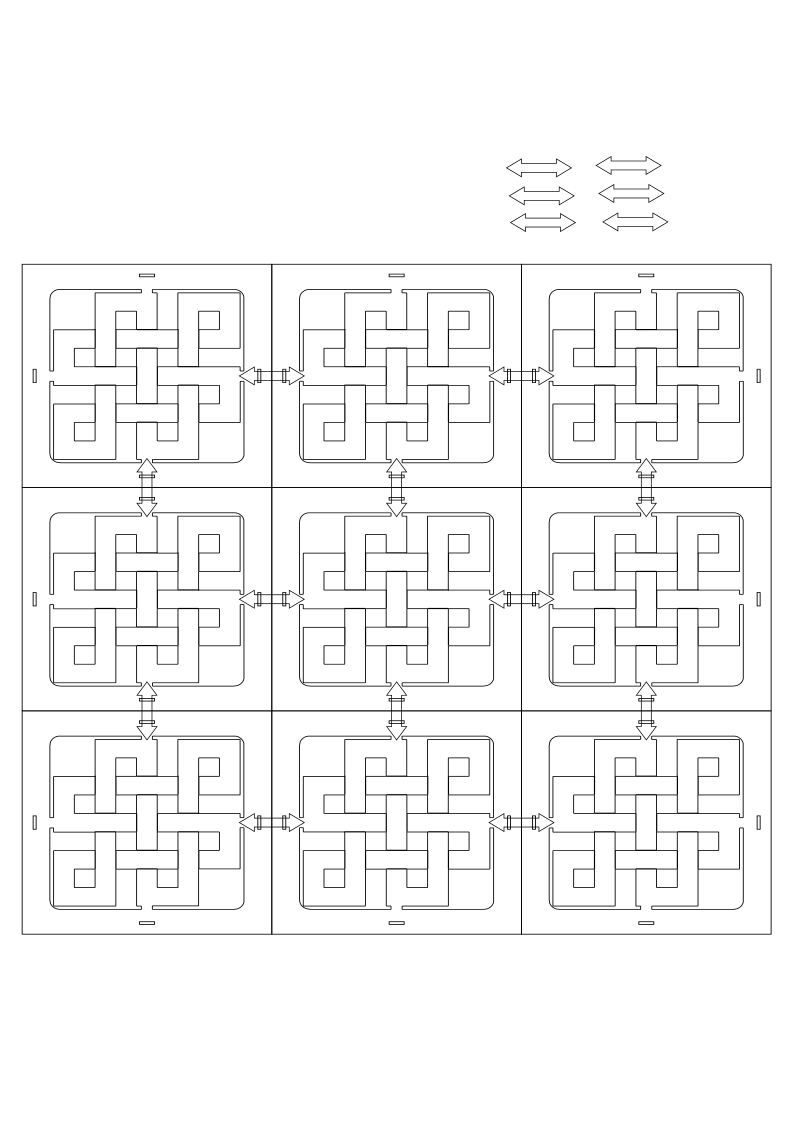
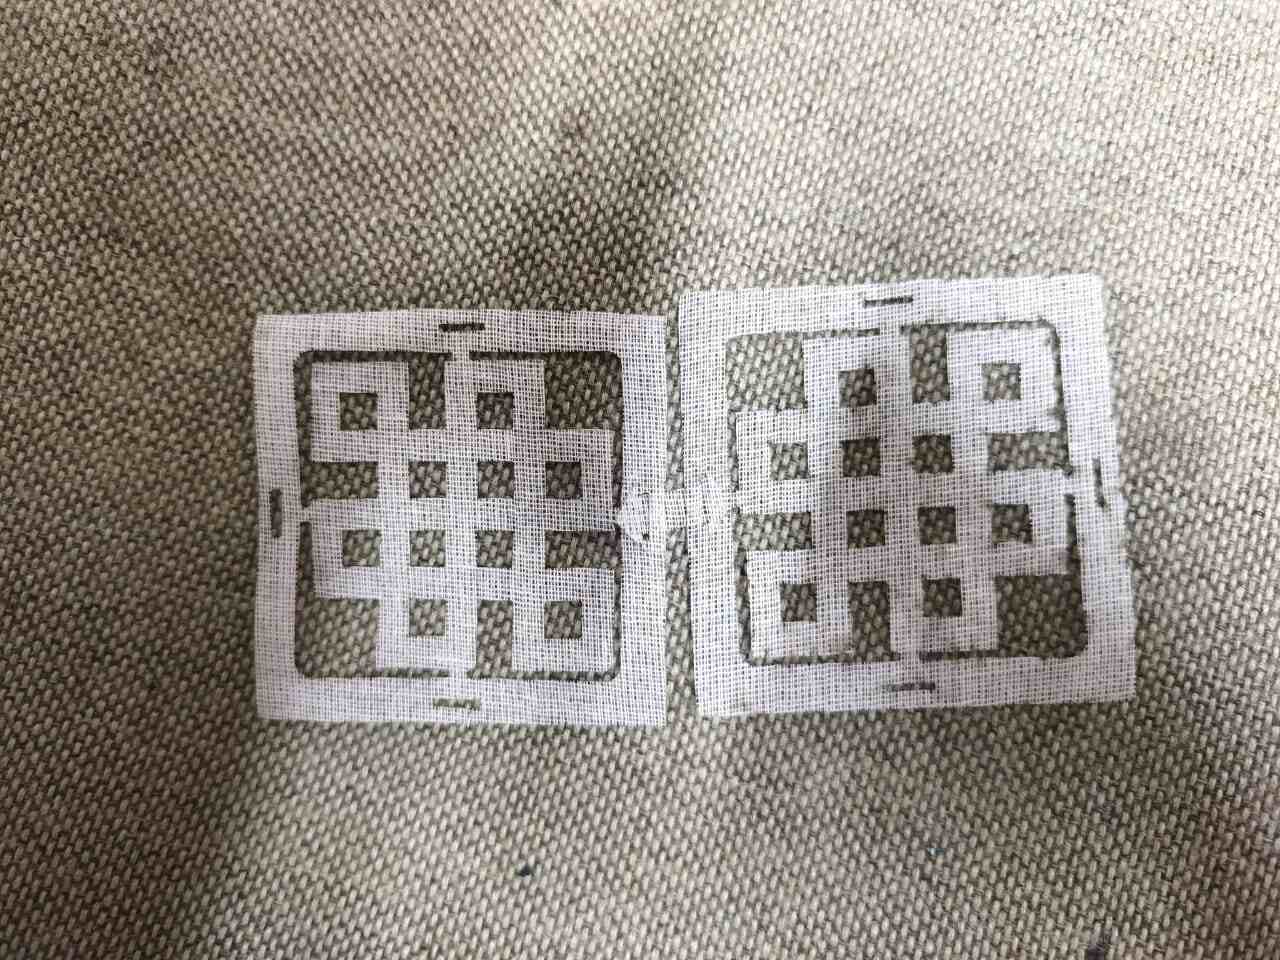
I searched for different shapes and patterns that could help me fit the design together. My endless knot pattern was especially tricky to connect because it created a lot of empty space between each design. I revisited the design and decided to simplify it into squares. I then tried to fit the endless knot inside each square and created joints so that each square could connect with its neighboring square. After carefully experimenting with the shapes and connections, I was finally able to create a simple modular design where the squares can be attached and detached.
Step 2 Creating the 2D Design
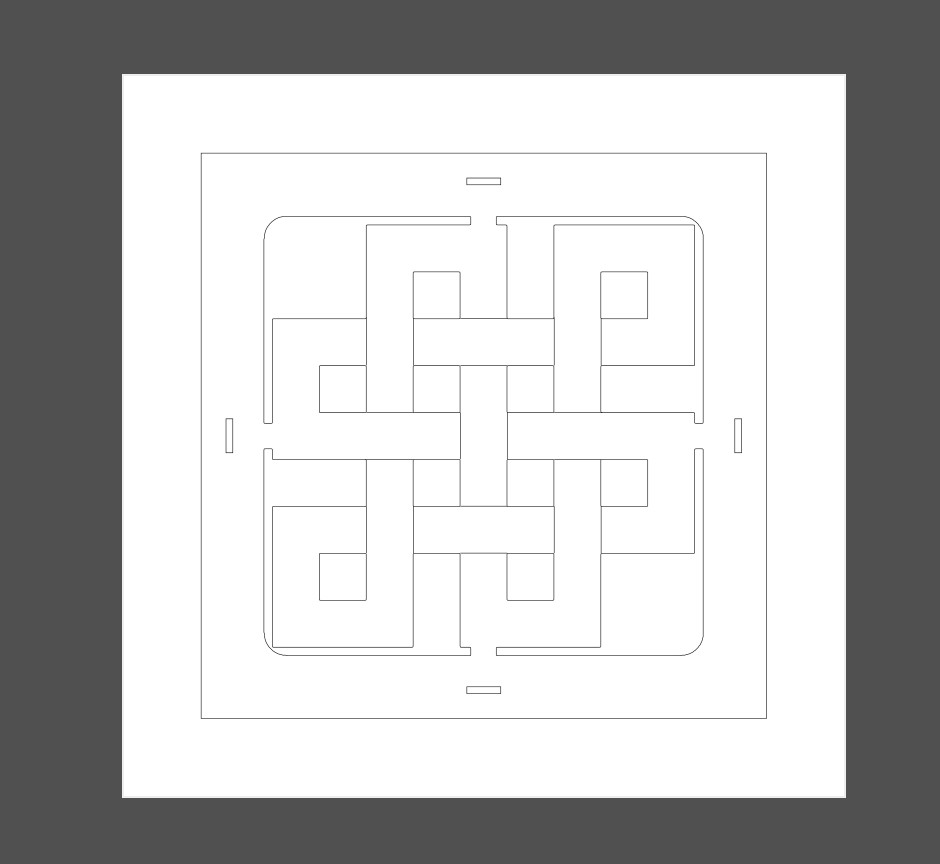
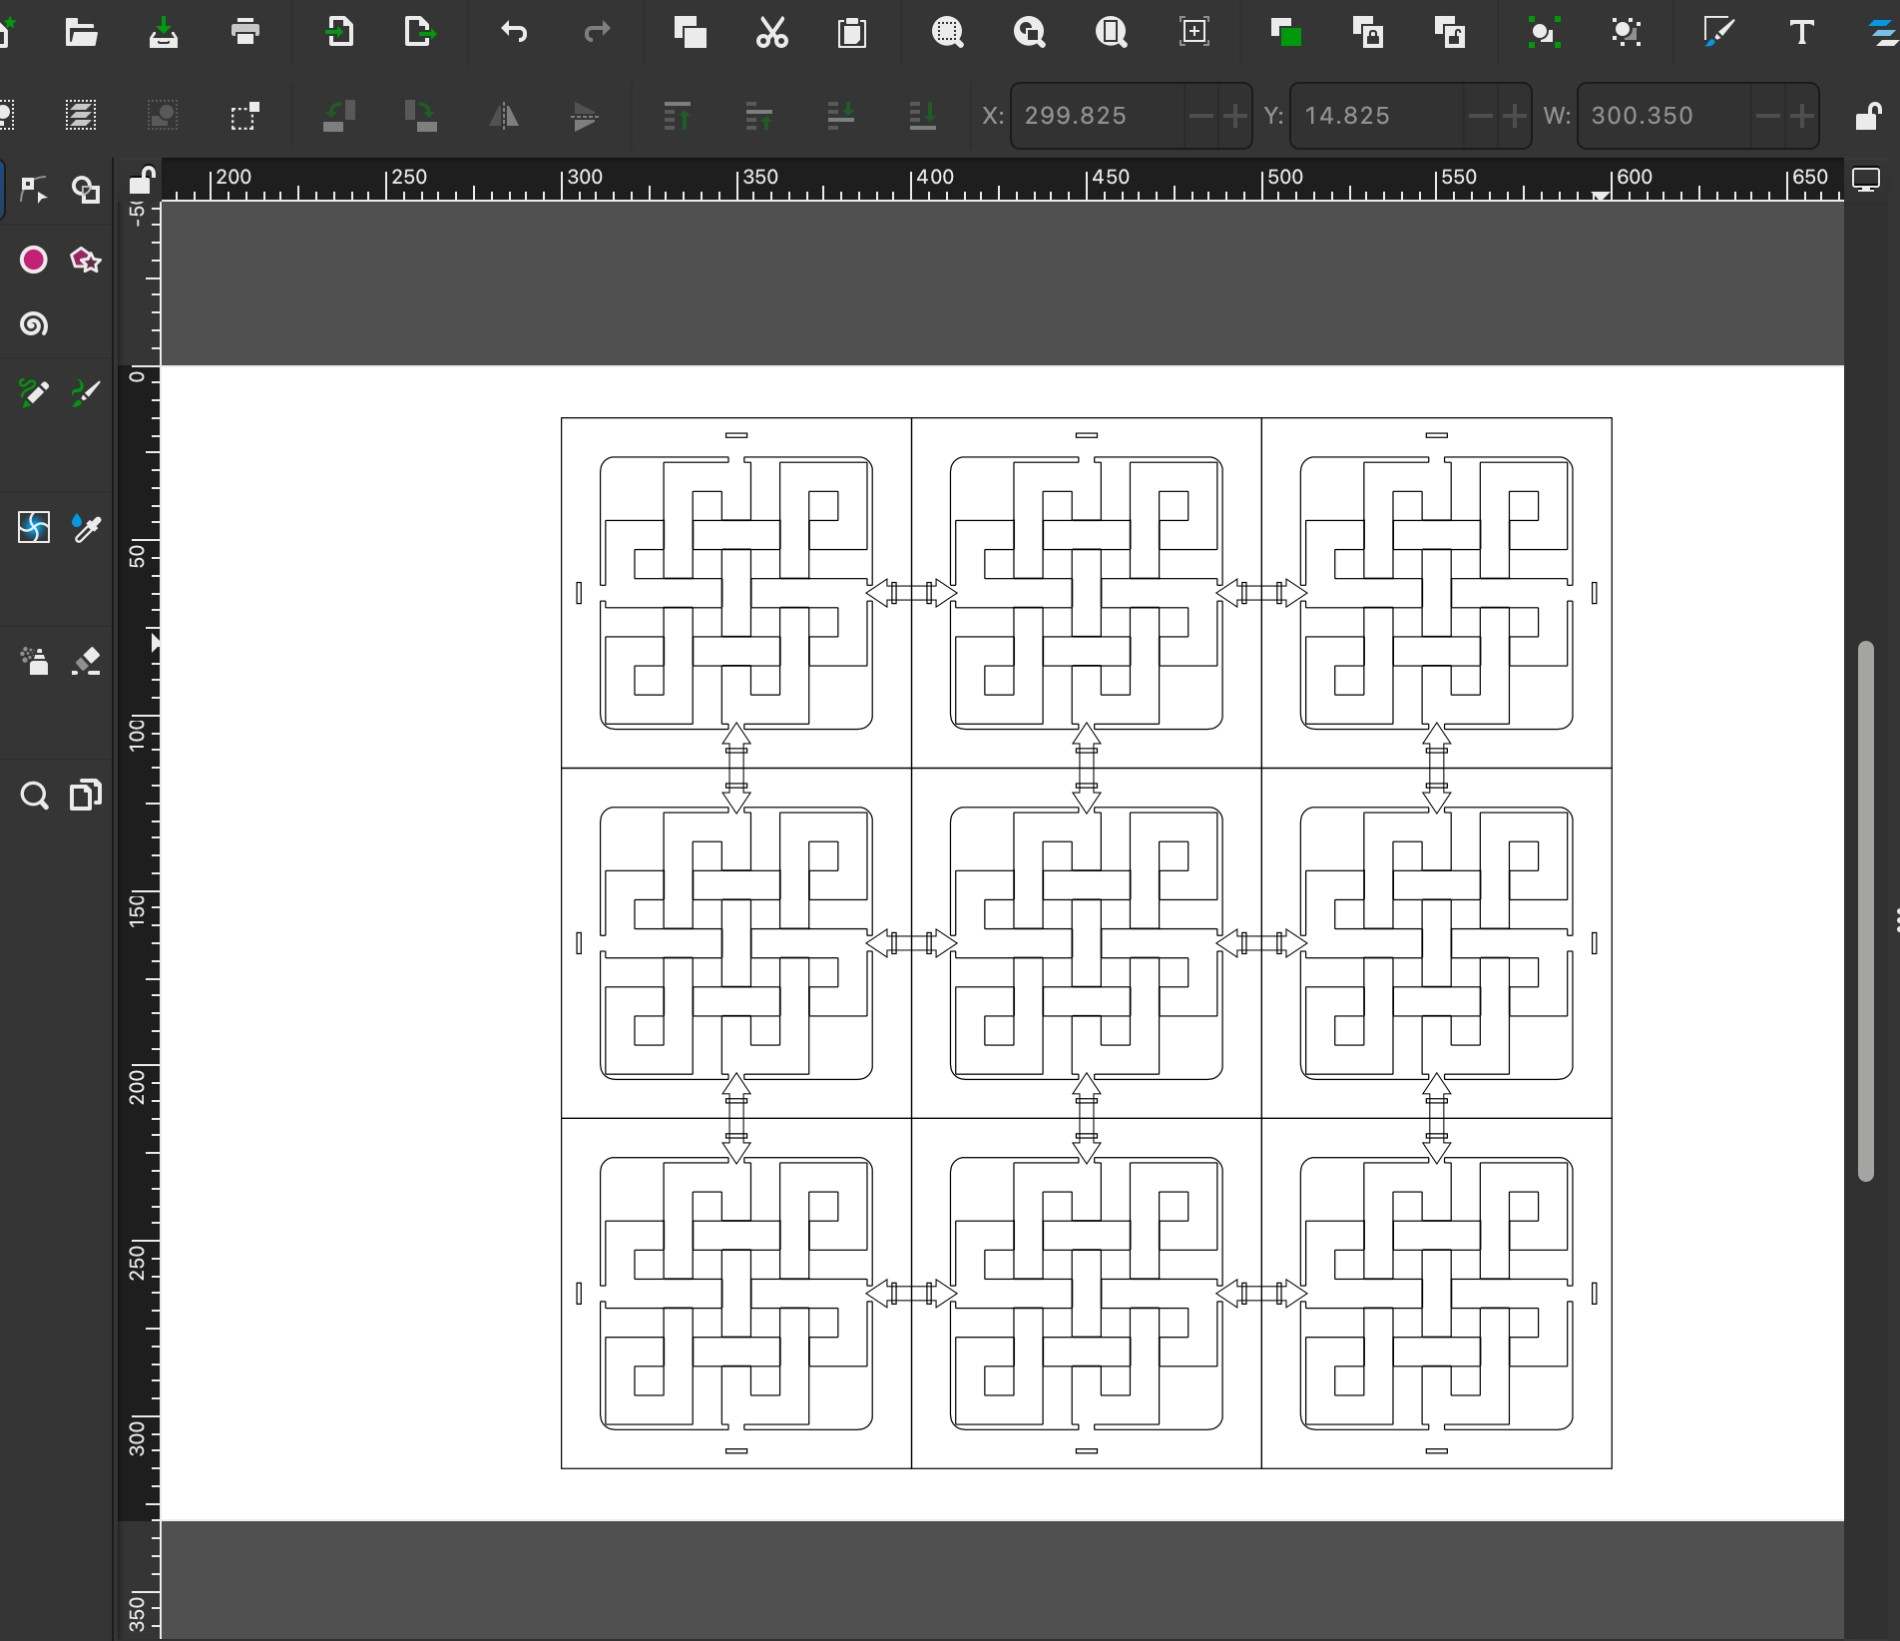
After making the initial paper design, I tried to replicate the design digitally using Inkscape, as it is easier to prepare and send the design to our laser cutter. I recreated the knots and patterns in Inkscape and worked with proper dimensions to make sure the pieces would fit together correctly.
step 3. Laser cutter
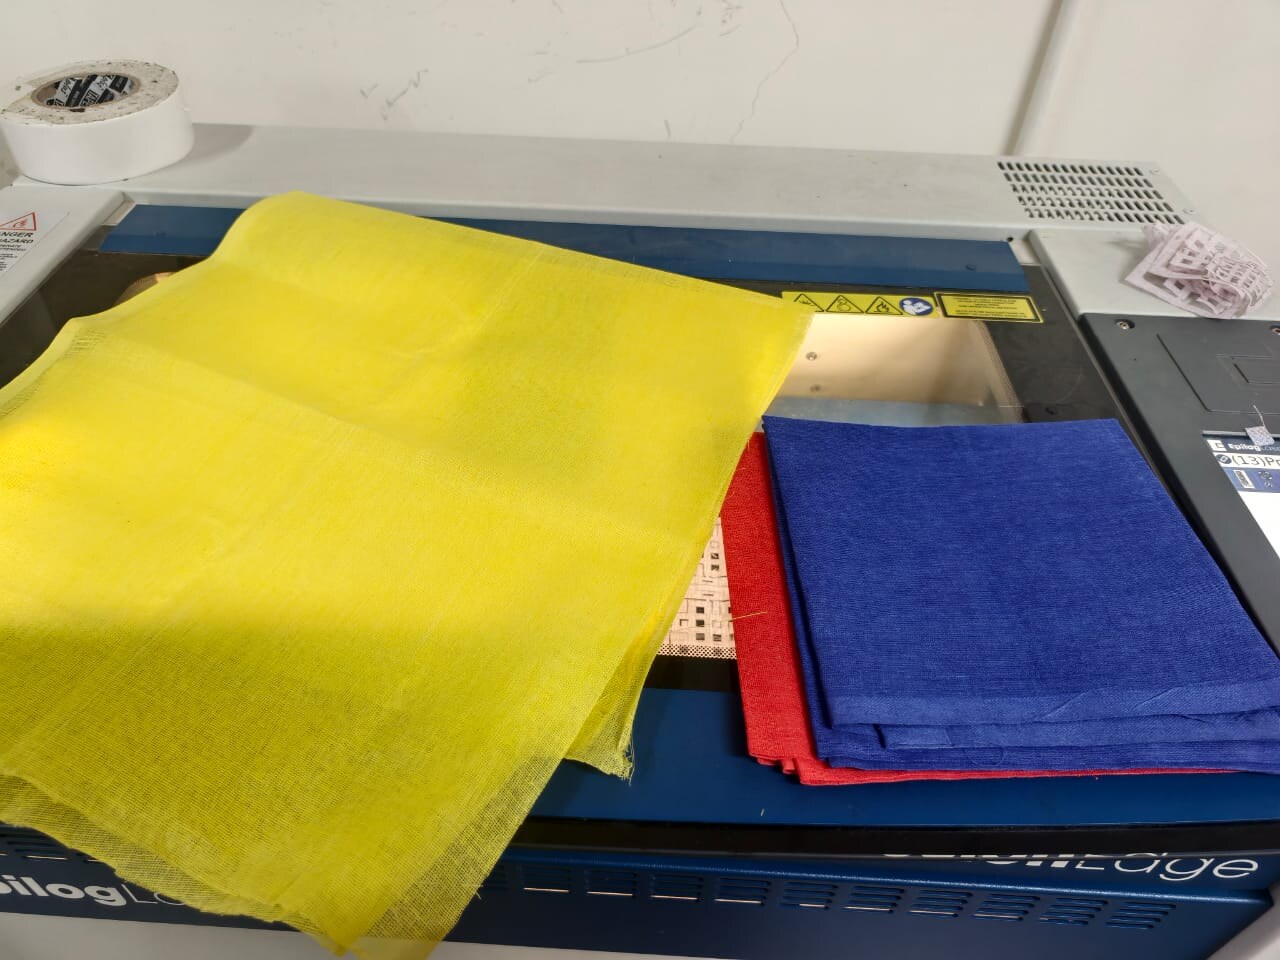
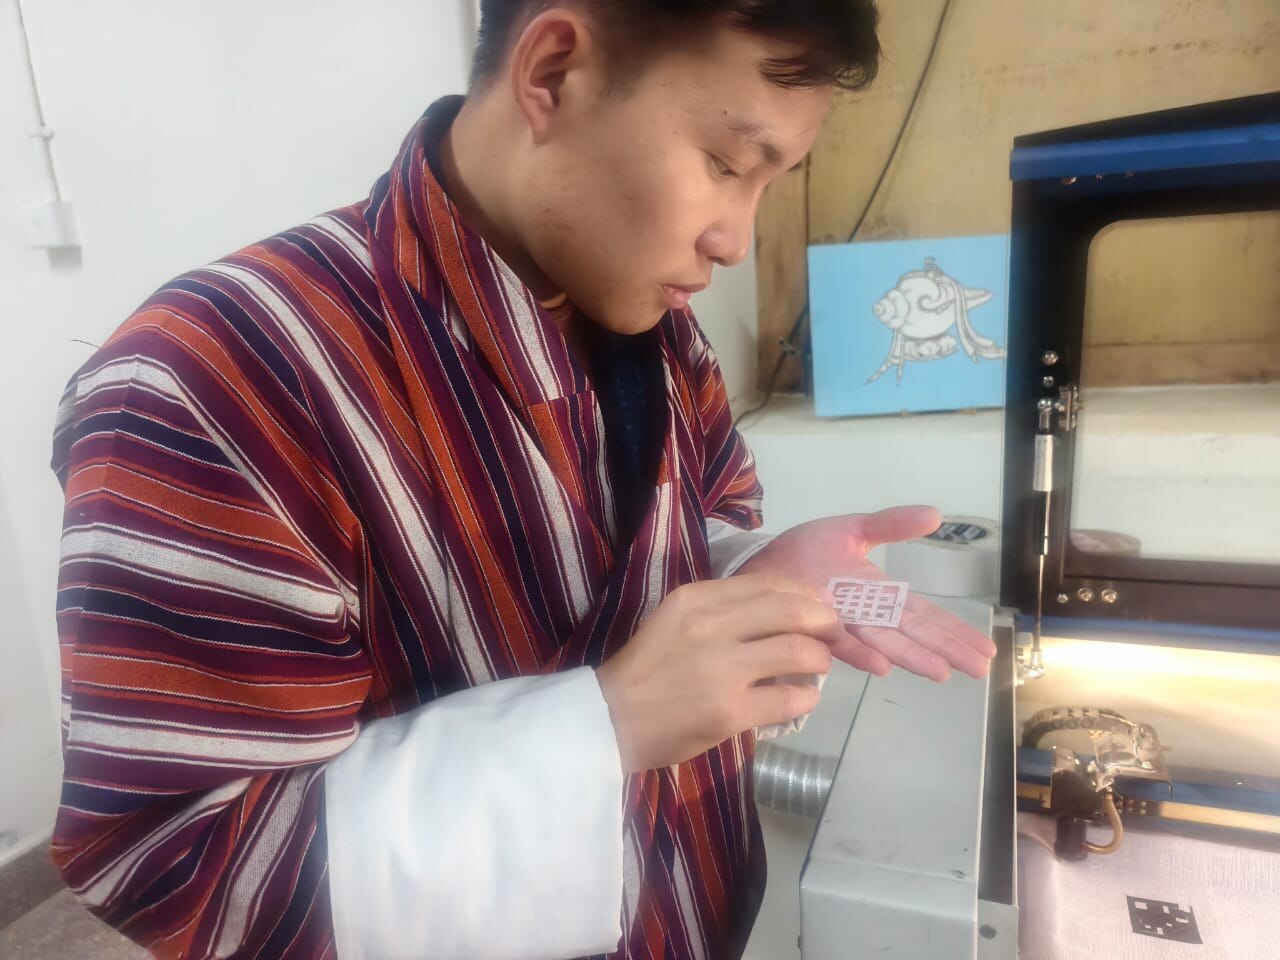
At first, I made each pattern 5 cm × 5 cm, but I found that this was too small and made it difficult to connect the pieces using the darts. I then experimented with different dimensions to find a size that worked better. After testing, I found that 7 cm × 7 cm gave me the best shape and enough space to properly connect the pieces.
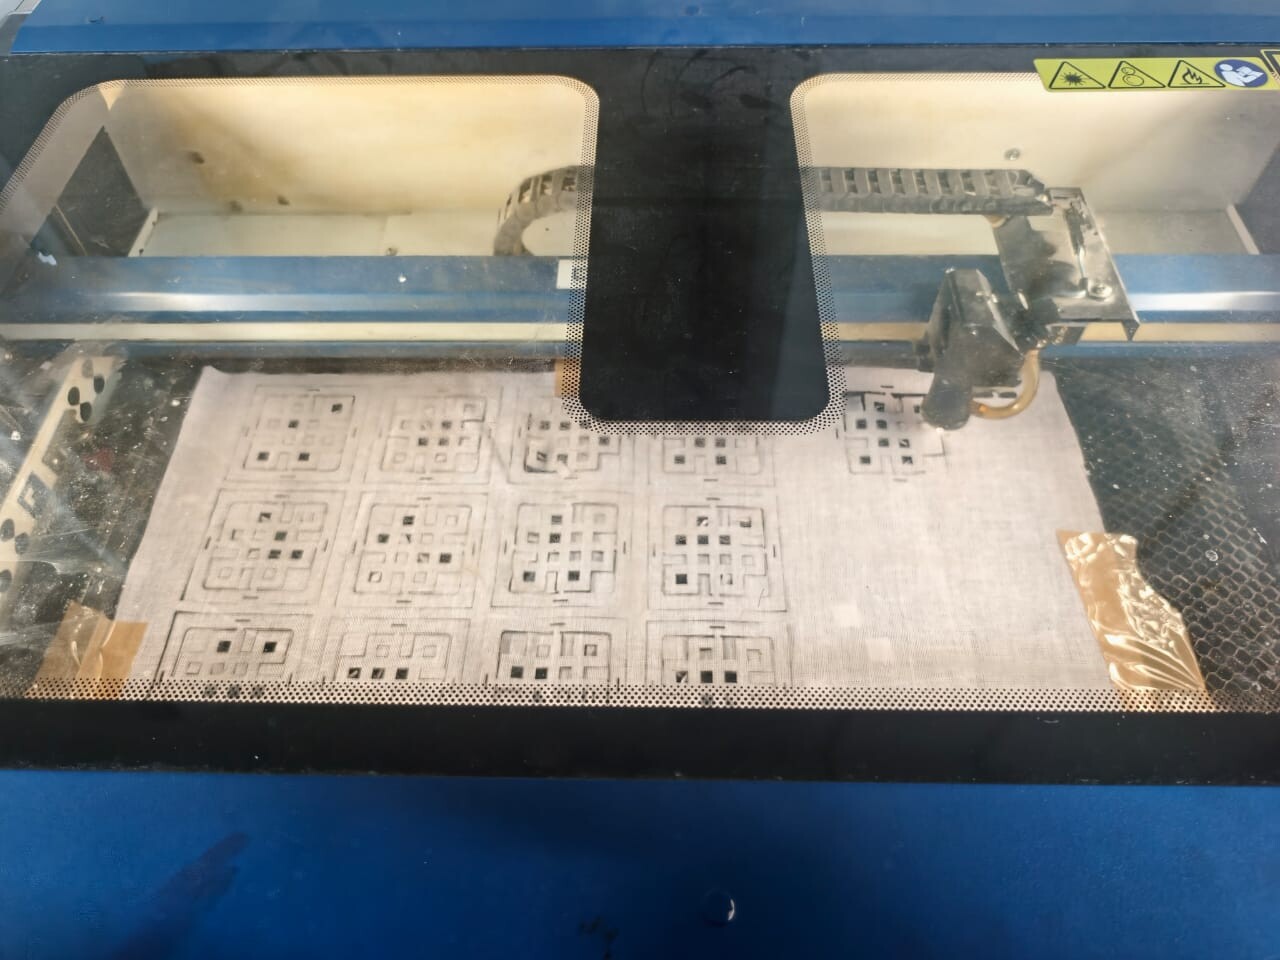
step 4. Designing with My Sisters
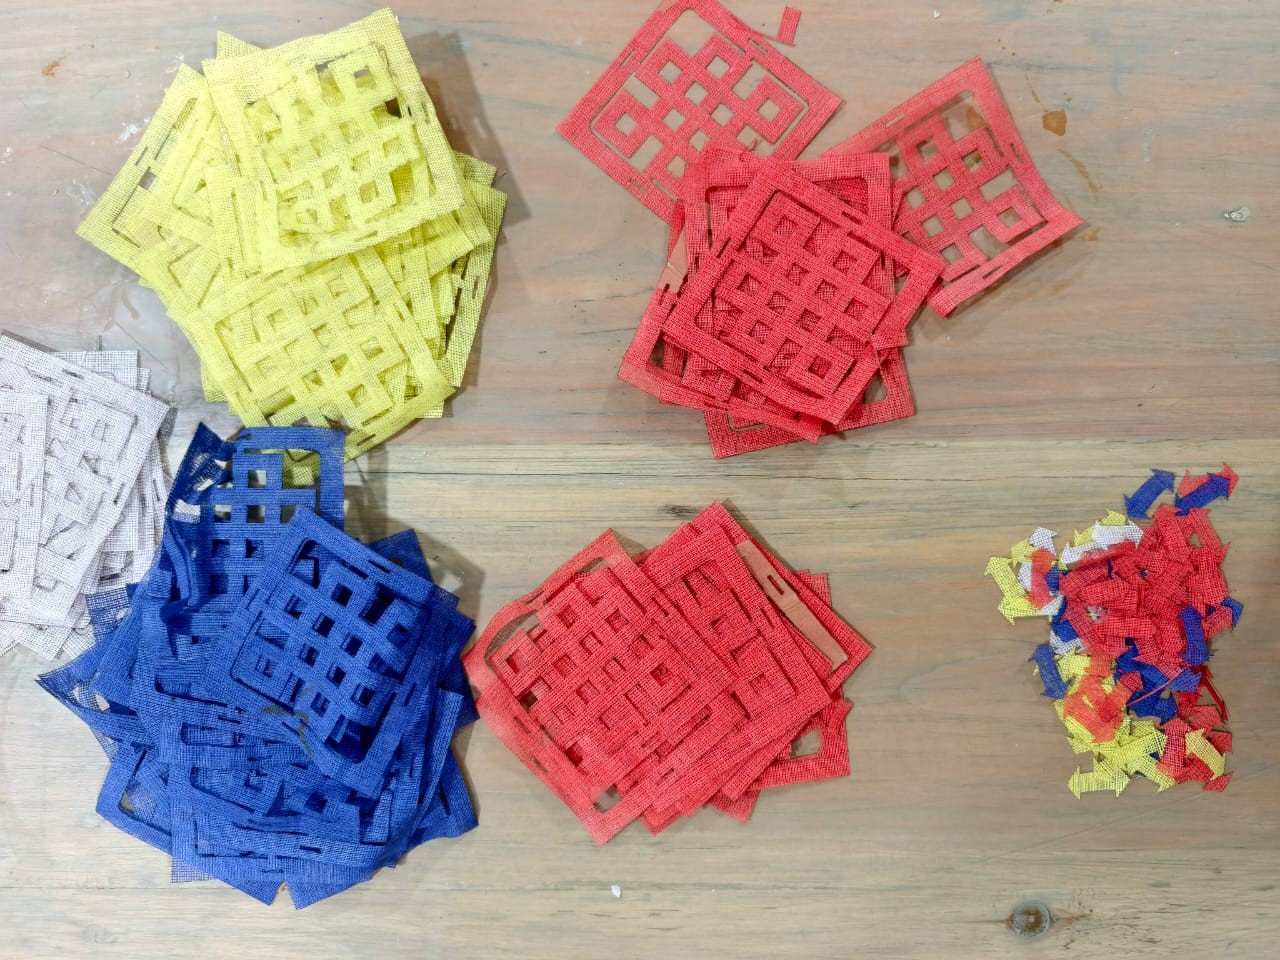
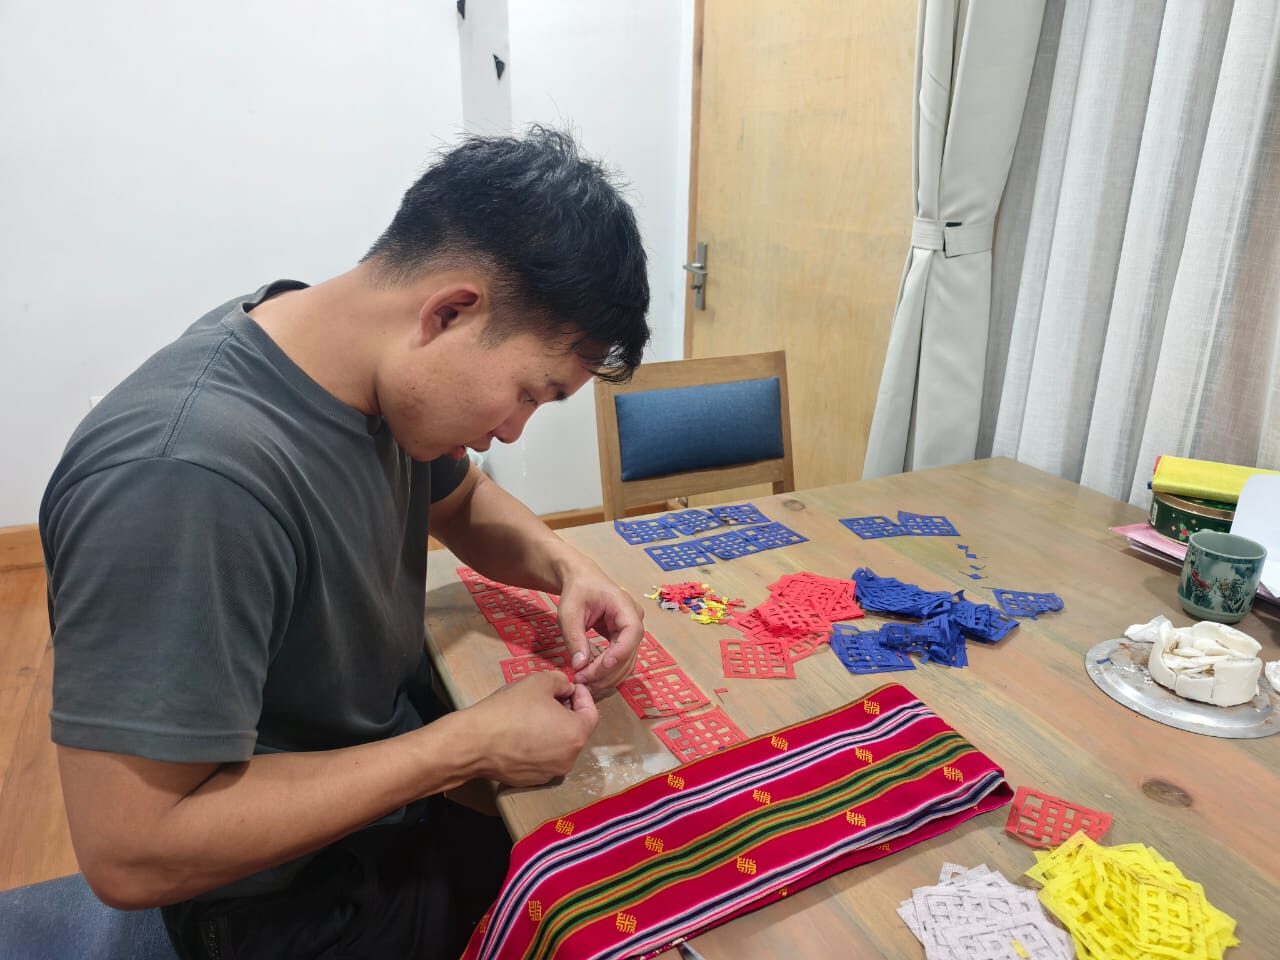
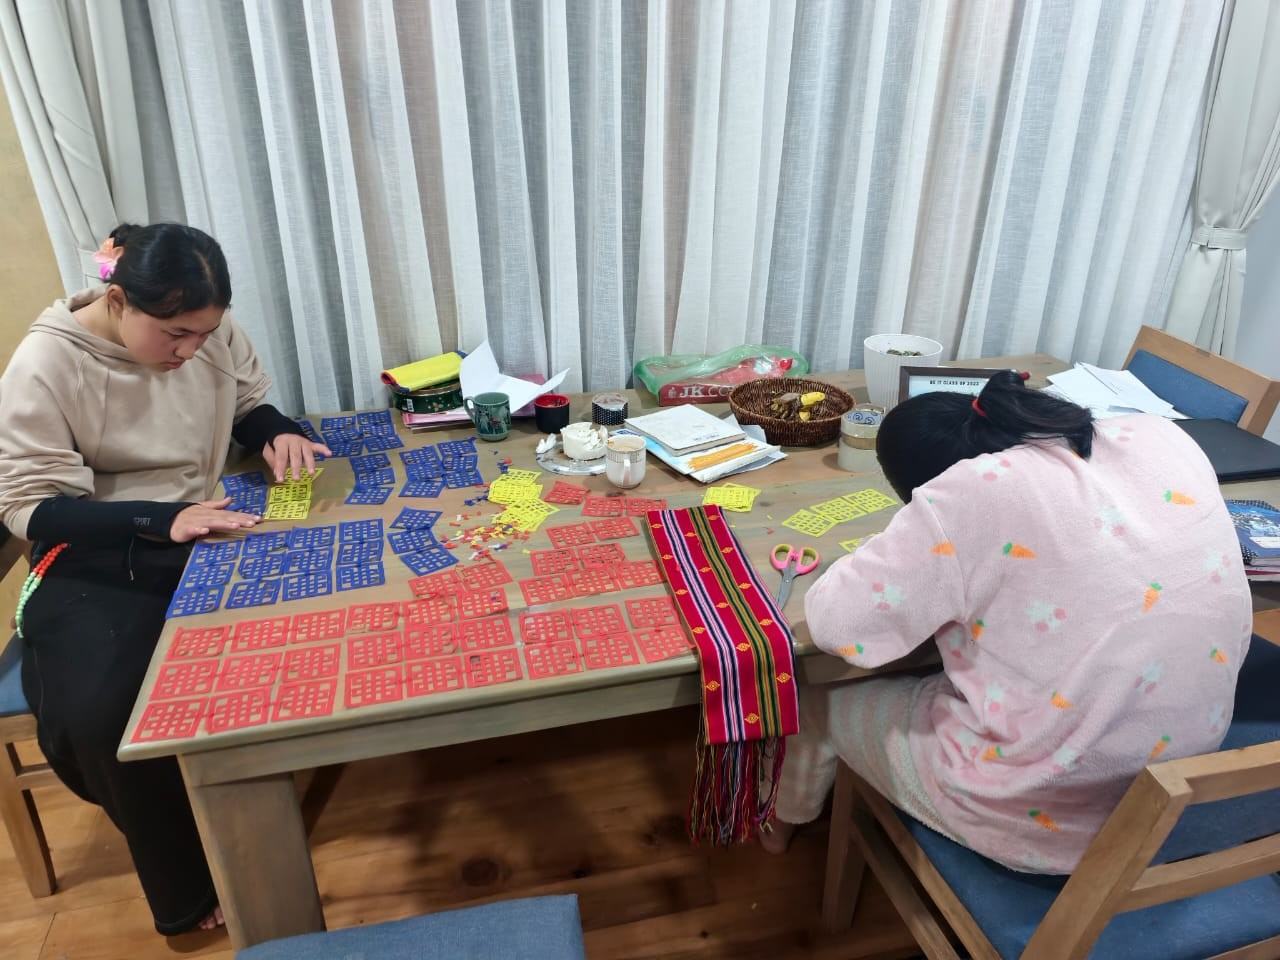
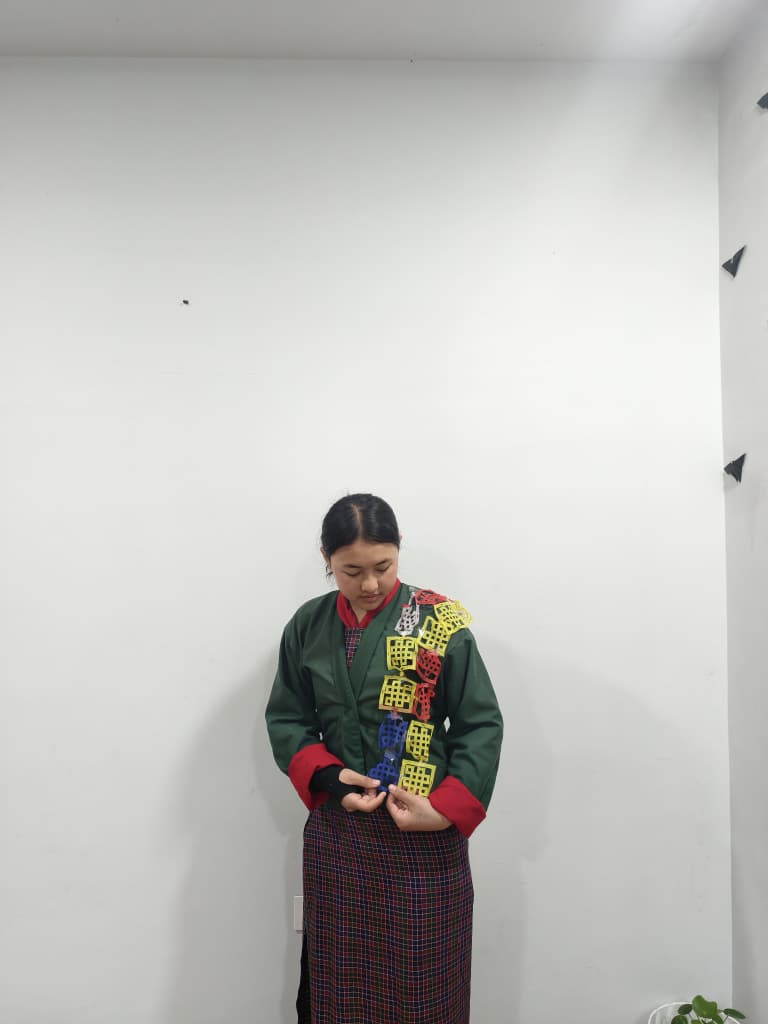
After getting the patterns laser-cut, I brought the pieces home and tried making the design with my two sisters. I asked them to help me choose the shapes and colours, and gave them the freedom to decide what kind of rachu they would like to create for themselves.
They started arranging the different shapes and colours in their own ways, creating their own modular rachu designs. It was really fun to see them experiment with the pieces and use their own creativity to come up with different designs. It also showed me how a modular design can give people the freedom to create something that is personal to them.
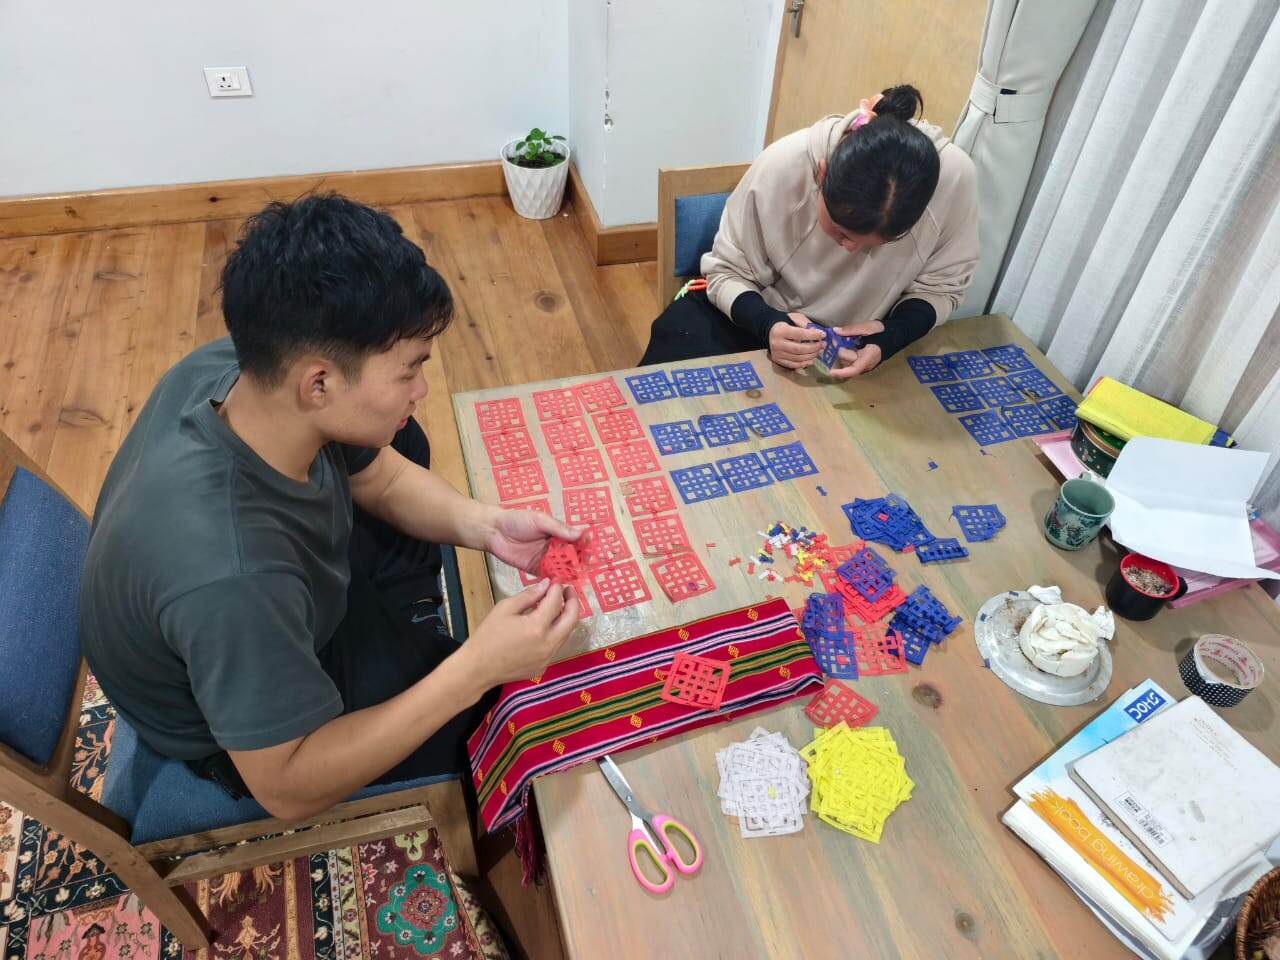
Tools
Results
Trying the Modular Rachu
After joining all the shapes together, I asked my sisters to try on the rachu. One of my sisters wore a traditional rachu, while the other wore the modular rachu that I made.
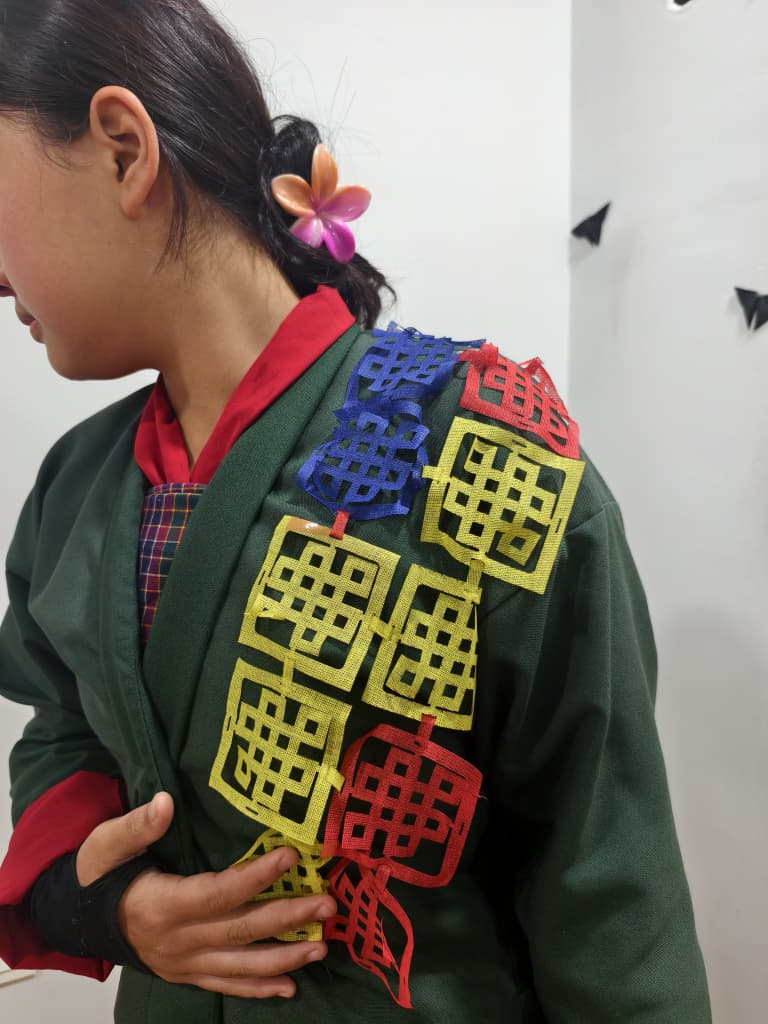
The modular rachu had a more modern look compared to the traditional one. However, I noticed that the fabric I used was too thin, so it did not look as good or have the same feel and appearance as the woven traditional rachu.
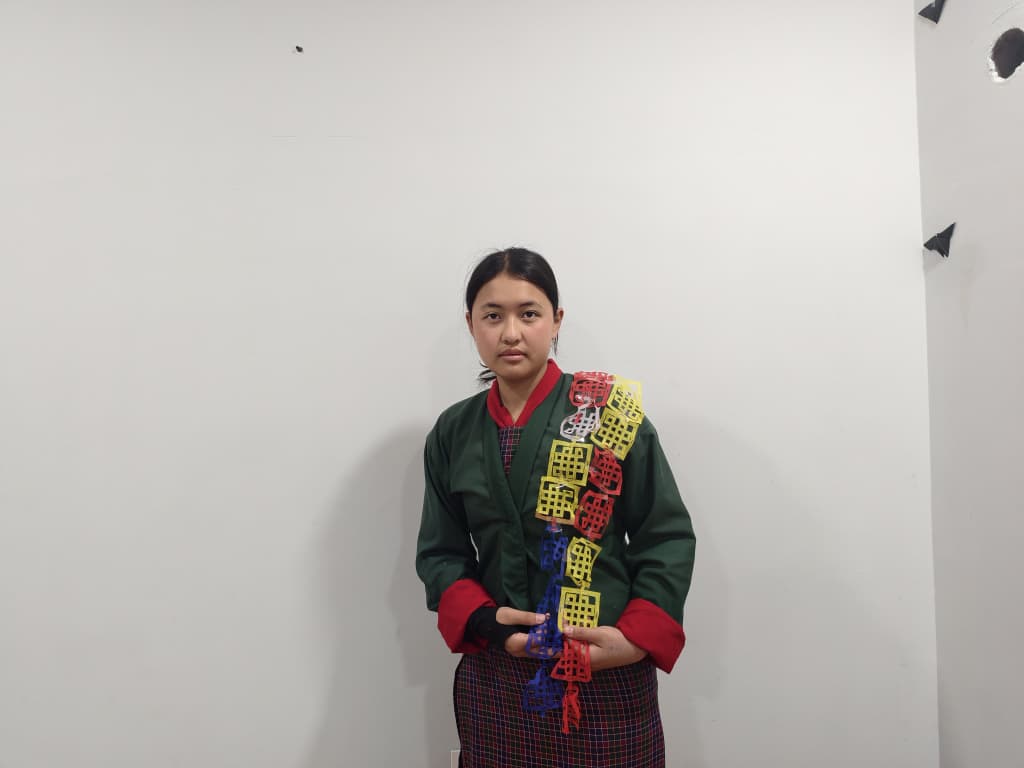
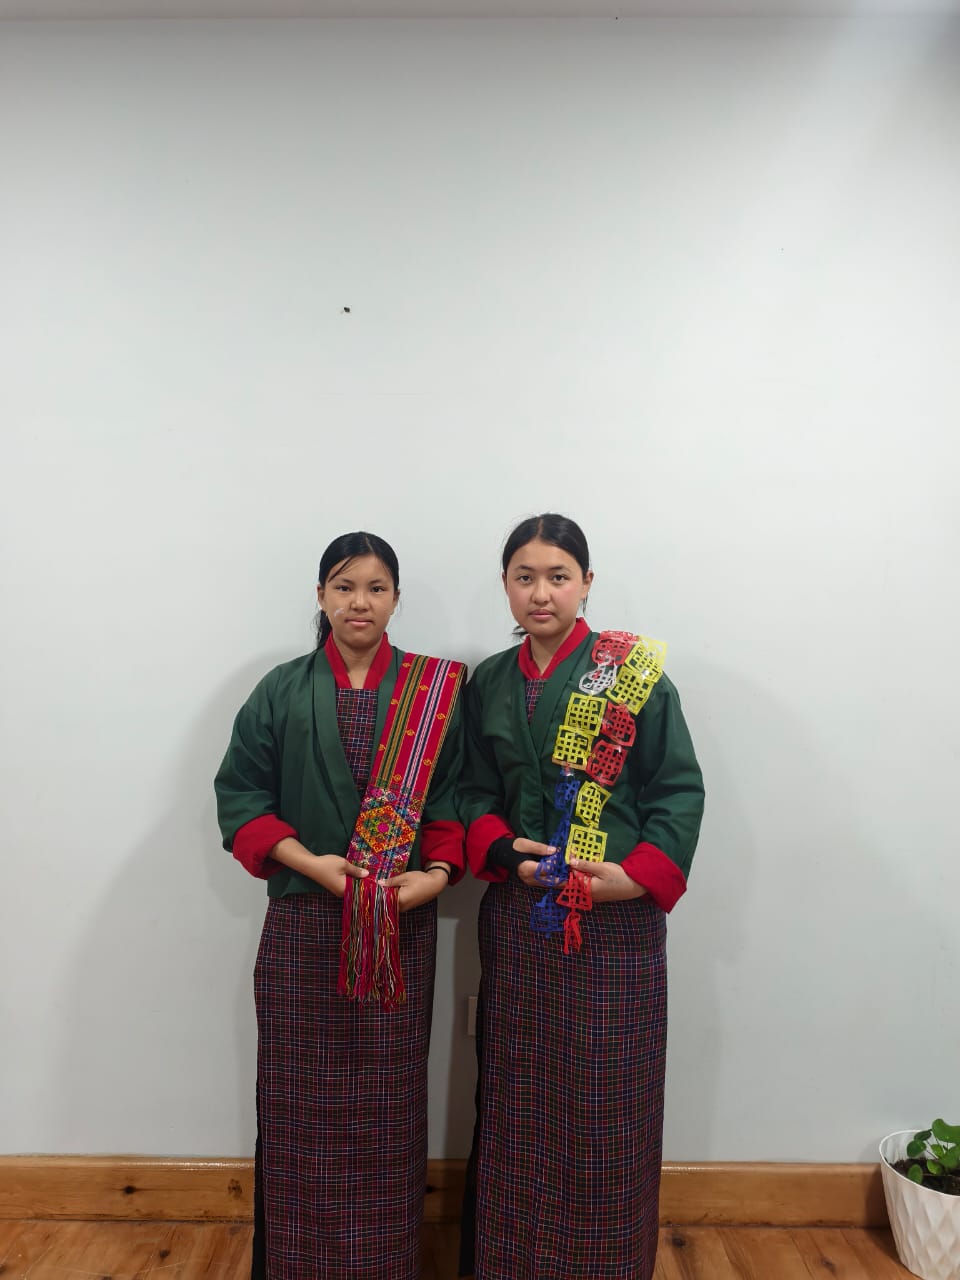
Even though the result was not perfect, I felt that the idea has potential. With a better and more suitable fabric, I think the modular rachu could look much better and could be developed further.
Weekly reflection & critical thinking
-
I found this assignment very interesting and feel that the concept has great potential for future development.
-
One of the mistakes I made was not choosing the right fabric. The fabric I used was too thin and did not hold its shape well when the pieces were connected.
-
I also learned that I need to do more careful planning and testing before using the laser cutter, especially when deciding the size, shape, joints, and number of pieces.
-
The process helped me understand that small changes in the design and material can make a big difference in the final product.
-
I feel that I can take this concept further by applying it to Bhutanese textiles and clothing, while exploring ways to create zero-waste and modular designs.
-
I would like to experiment with better fabrics, traditional Bhutanese patterns, and different modular connections to develop a more practical and attractive rachu.
Fabrication files & References
Widewalls Editorial
-
File: Laser cut sheets ↩
-
Reference: Sara; Digital Bodies; fabricademy.io; 2021 ↩
-
Reference: Mina's; Digital Bodies; fabricademy.io; 2024 ↩
-
Reference: Widewalls.E; Tessellation Patterns - From Mathematics to Art; 31/03/2025 ↩