7. Computational Couture
This week began with a lecture by Aldo Solazzo who is a founder and director of Noumena. For this week, we need to learn how to create a sample with Grasshopper, and had some tutorials from Eugenio Bettucchi. I was a bit afraid since this program is not that easy and I didn't really know how it worked.
So, this has really been a hard week for me, I (and I suppose same as my peers) spent many hours watching tutorials to learn and understand how the basics of the program were, and I finally feel that I started understanding it and wanted to go in deph with it (I could never imagine that I was going to feel this way talking about Grasshopper).
First Touch With 3D Printing
My first touch with 3D printing was 3 years ago when I took part in a one-day course with JetClay in Espacio Open.
"JetCLay is an open source Platform that explores the world of 3d printing and ceramics, relating the digital and the analog, tradition and technology, makers and ceramists."
They develop their own tools to make unique pieces of ceramics at the crossroads among industrial design, architecture, interior design and sculpture.
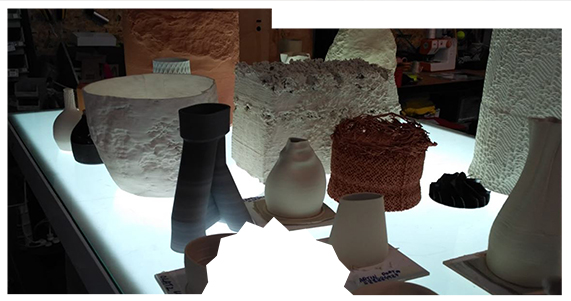
So, that day I saw for a first time a ceramic 3D printer, I was on my Ceramics Master's Degree and I couldn't believe it when I saw a machine that printed ceramics. They also helped me on creating my first piece printed on porcelain.
These were our results of that day:
Ceramics 3D Printing BOOTCAMP 2021: Learn To Make Your Own Low-Cost Big 3D Printer With JetClay
A month ago I took part in an amazing BootCamp which lasted two weeks, trained by JetClay again.
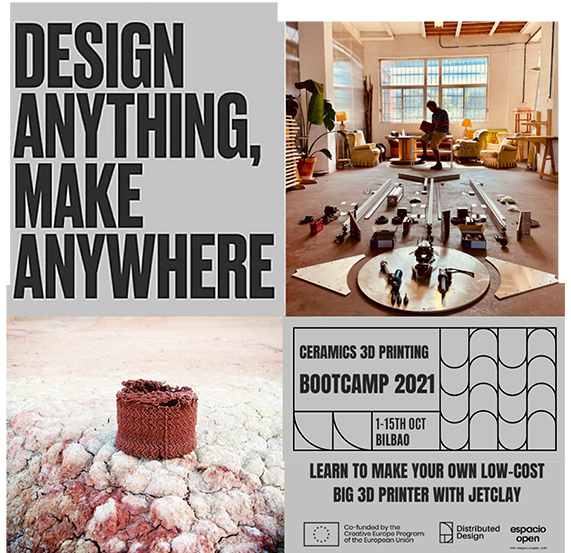
So, the workshop took place again in Espacio Open which "is a cultural center located since 2009 in Ribera de Desuto/Zorrotzaurre Island, in the Old Bilbao Cookie Factory (Artiach Factory). It works at the intersection of contemporary culture, technology and social issues."
About the Workshop, it was a Bootcamp to train an assist the assistants with all the necessary steps for us to build our own large scale low-cost Delta 3D printer for less than 3.000E. It was a free course, thanks to the support of the Creative Europe Programme of the European Commission and the participants would have access to the machine in Bilbao for their own projects.
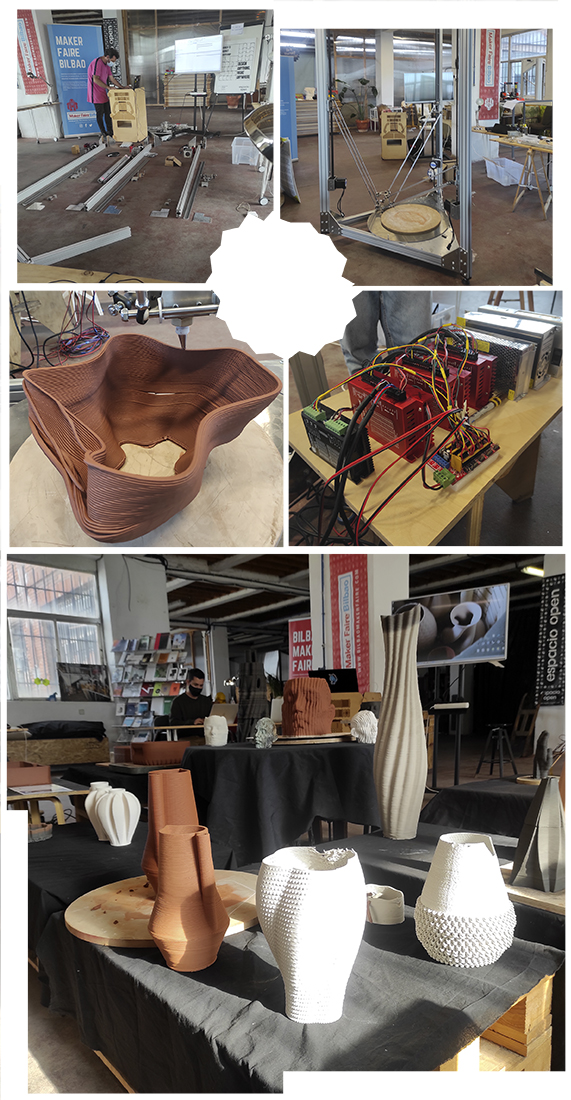
At the Bootcamp we fabricated a Delta machine with a printing volume of 100cm height x 70cm wide and specifically designed for ceramic paste extrusion with LDM.
So, this is a collage which explains all the process of building the machine:
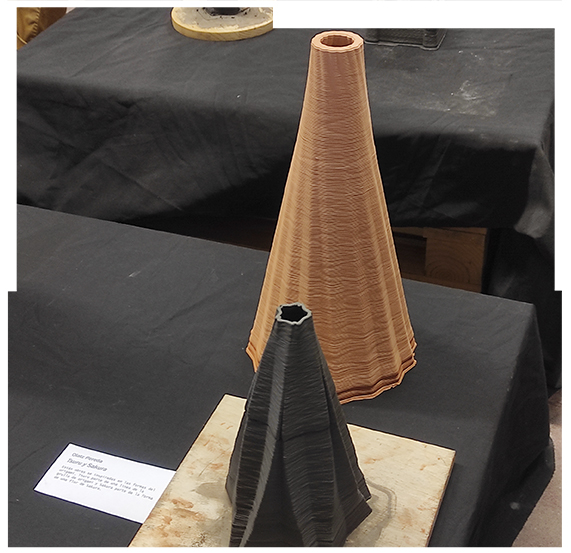
Tsuru & Sakura 
This Week's Assignment: Modeling With Grasshopper
Inspiration: JetClay, GodotStudio, Olivier van Herpt & Jonathan Keep
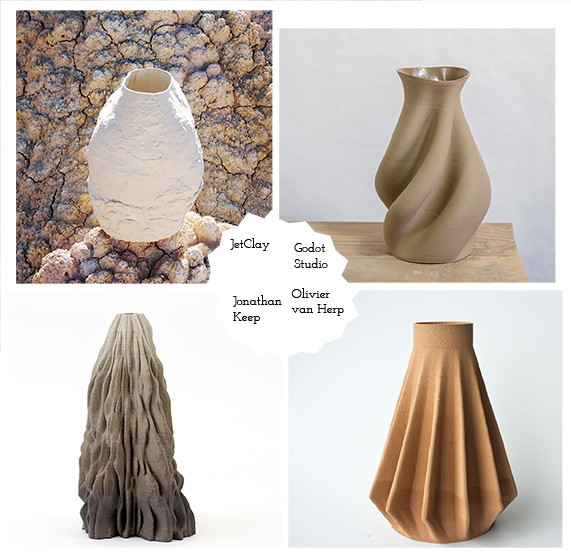
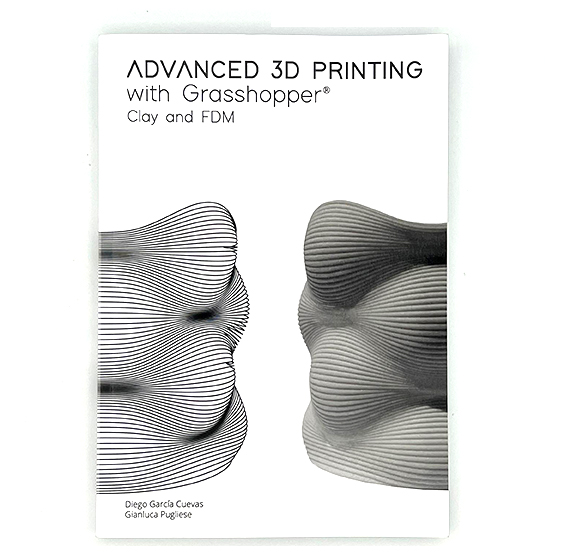
Book: Advanced 3D Printing With Grasshopper Clay and FDM
This book has been my best friend of the week. It has lots of codes specially prepared for the 3d printing in ceramics.
The "Loft" Command
When I was learning how to design for printing with ceramics at the BootCamp, I found out the "Loft" command, which allowed me to create kind of conic shapes (which I wanted for creating lamps). I worked with this command in Rhino, so for this assignment I wanted to create a code in Grasshopper which did the same or kind of the same thing that the loft command allows, but with the possibility of changing the shape easier.
Lots Of Tutorials
Finally I decided to look for tutorials where people did things that the one I wanted. So I watched lots of tutorials of people creating vases and realized that they usually used the "Graph Mapper" component to changing shapes in an easier way and then a "Loft" to create surfaces between the lines.
And Finally... A Code That Works
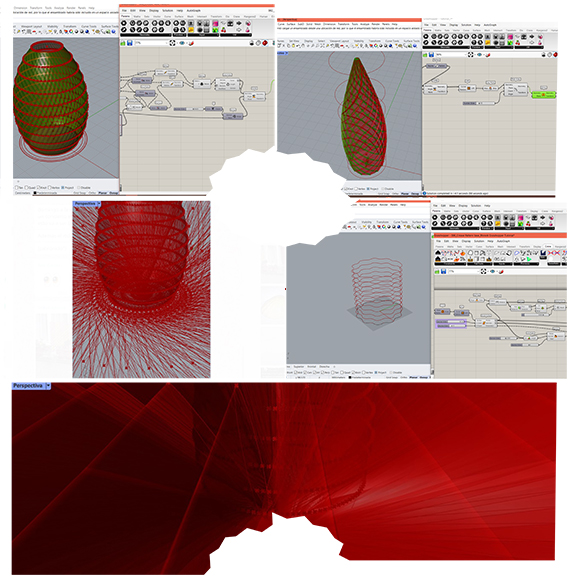
So, finally I understood (more or less) how the commands worked and make kind of a mix from some of the tutorials I saw.
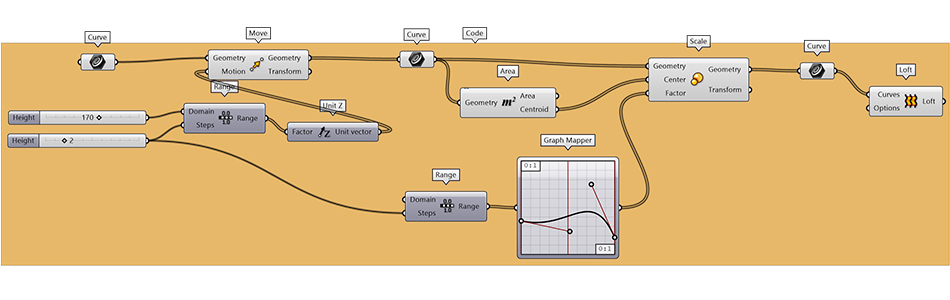
My code works this way:
- 1. I create one curve in Rhino, which I link in Grasshopper as a "Curve" (my line shape comes from my Crane template, which I try to use for inspiring me for all the assignments).
- 2. Once it is linked, you can choose the height and the number of lines you want for your design.
- 3. You can choose what type of graphic you want for the "Graph Mapper".
- 4. Just PLAY until you find a shape you like!
- 5. "Bake" it, ant then "Cap" it.
- 6. Export it as an .STL file to prepare a G-CODE in an slicer.
This video shows how my Grasshopper code works:
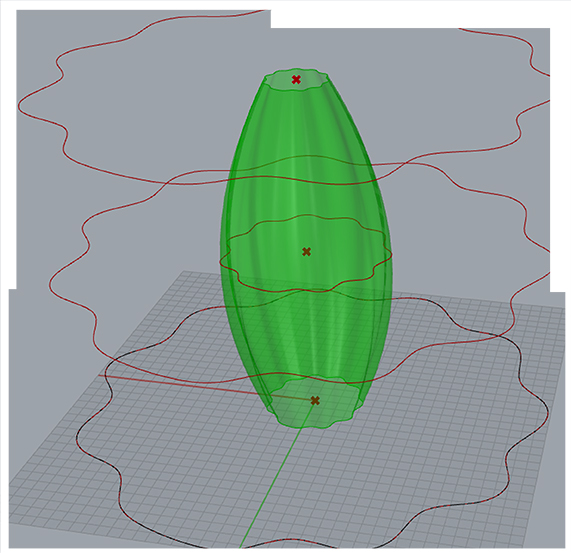
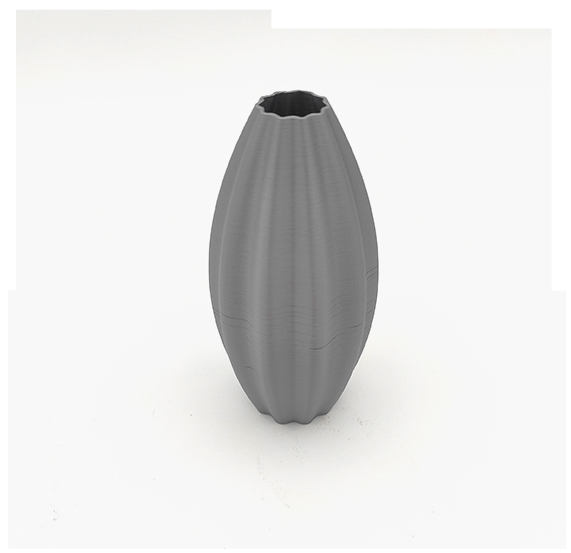
This is the shape I finally chose for printing it with ceramics, due to the fact that because of the material chosen, you need to take care of the limitations it has, such as the printing-angle-limitation. So, among many other options like the following ones, I finally chose this kind of melon-shape figure.
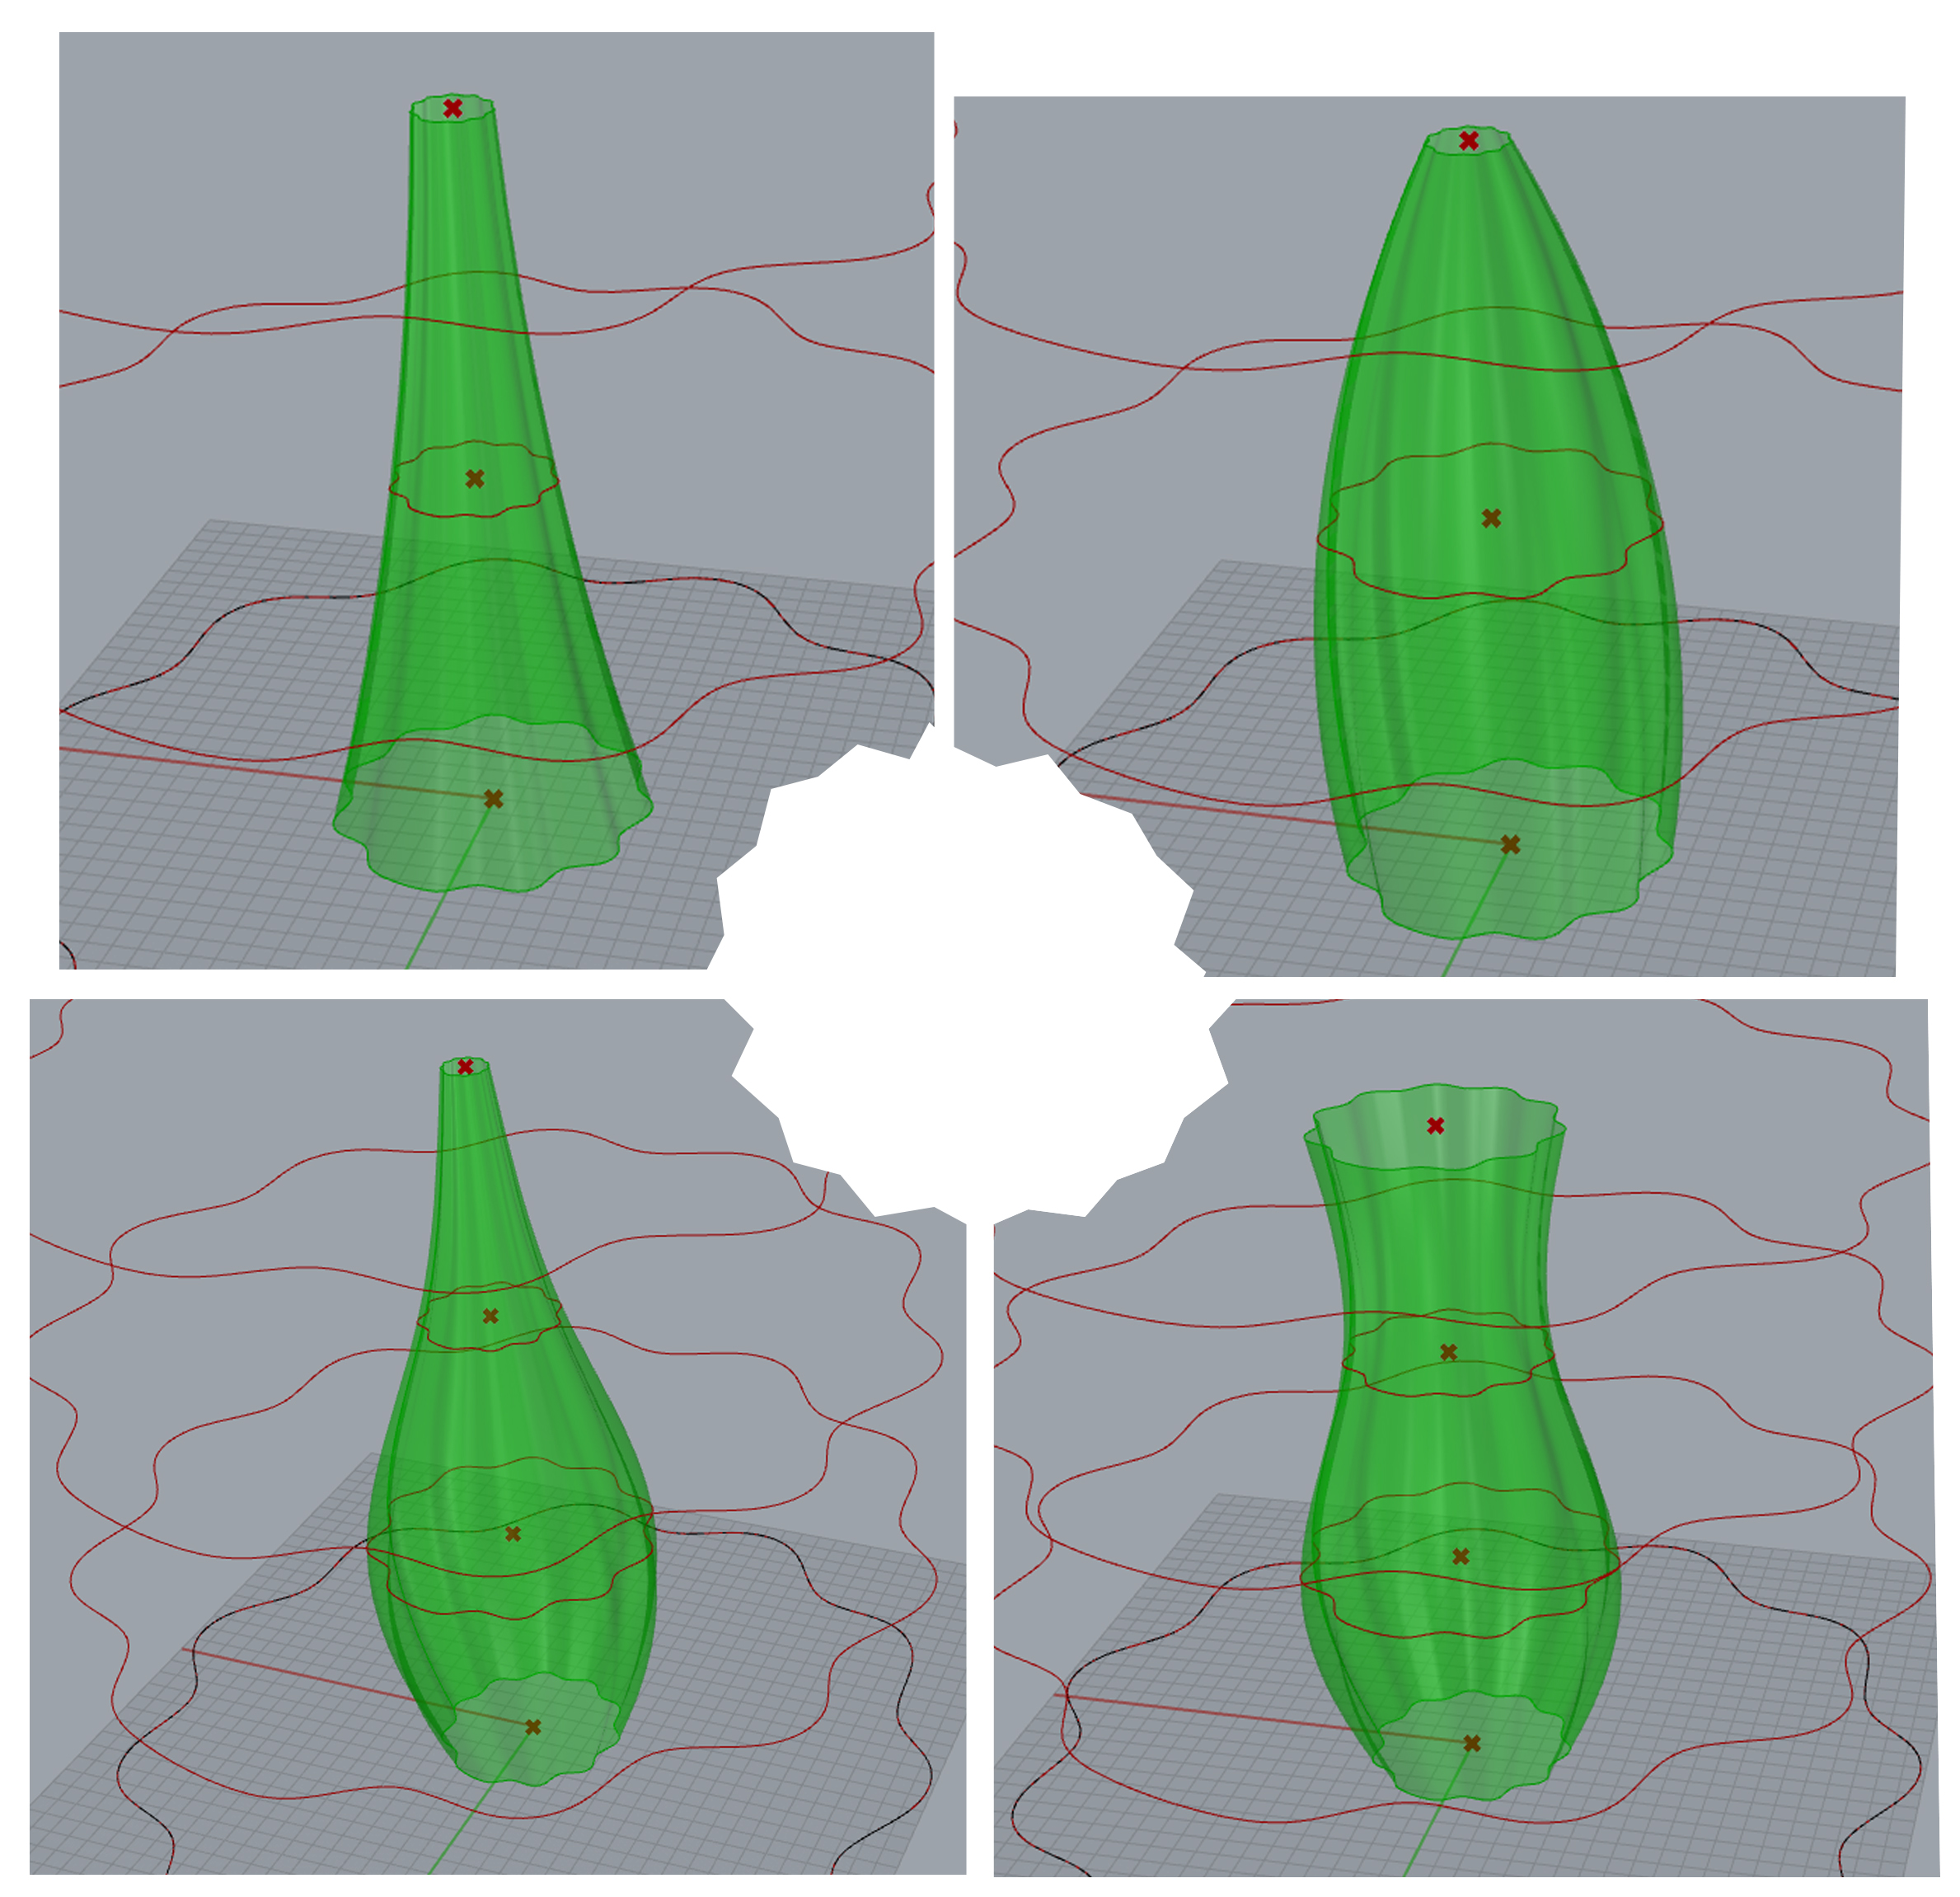
And these are some of the options that this code can create:
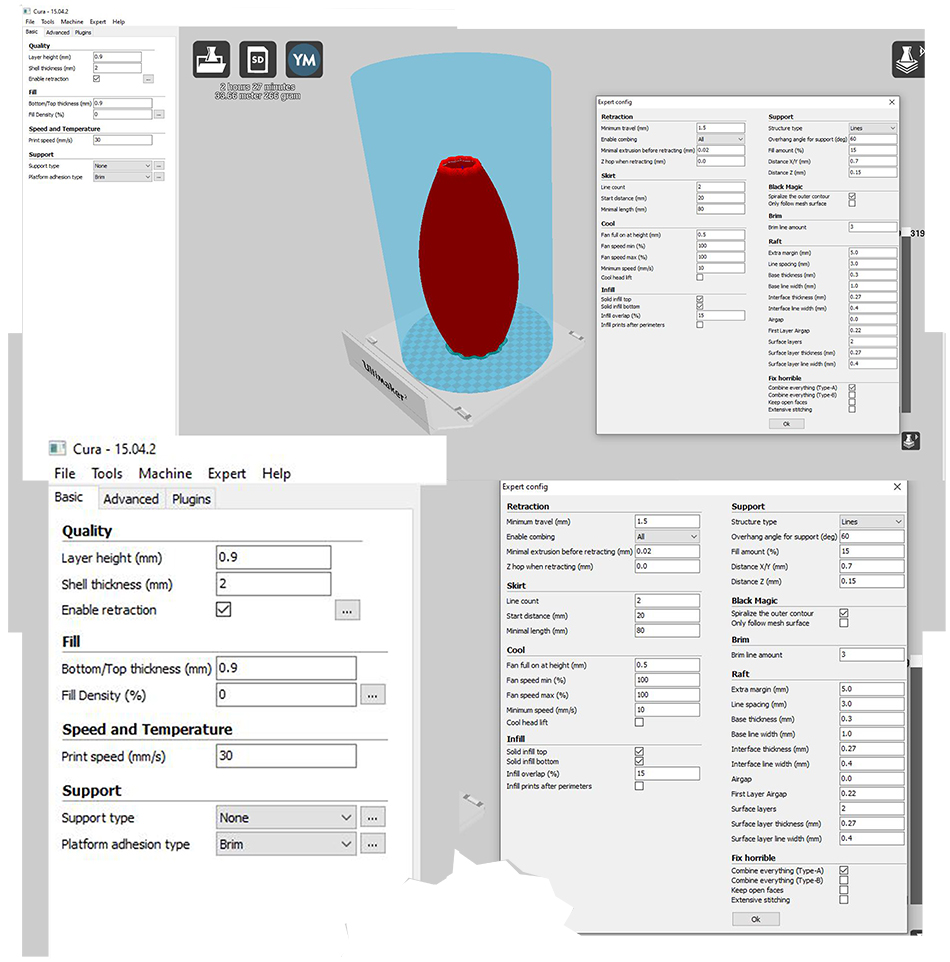
Preparing a G-CODE
For preparing the G-CODE to print, we need to slice the file in an slicer. In my case, it was the Cura. These are the parameters of mine (mi design is prepare for the ceramic printer):
Printing With Ceramics
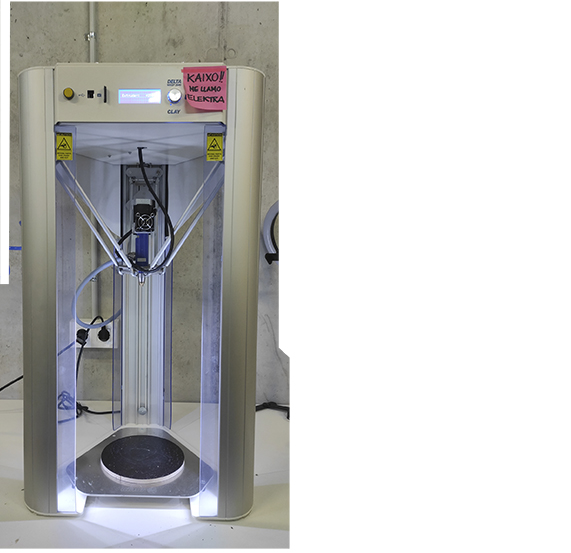
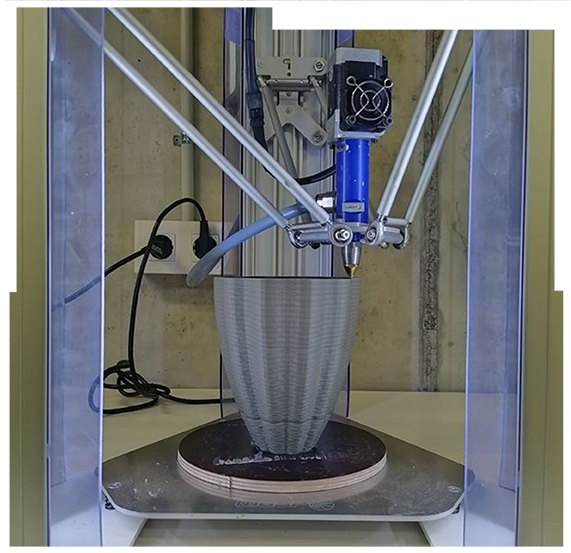
Our Ceramic 3D Printer: Elektra
Our Ceramic 3D Printer's name is Elektra. She is a Delta WASP 2040 and prints up to 40cm high.
Preparing The Machine
When you want to print with ceramics, one of the most important steps is how to prepare the clay to fill the tank. Here you have the steps you need to follow to prepare it in a proper way.
The Clay we have here at the BDC it is the "Terraglia Rossa" which is a low temperature clay (950º-1.000º). Depending on the clay we use, the plasticity of the material changes, but normally the low temperature clays are the most friendly ones to work with.
These are the steps to fill the tank:
- 1. Make a hole in the clay.
- 2. Add between 5% to 10% of water corresponding to the weight of the material.
- 3. Mix water and clay.
- 4. When the mixture allows it, start kneading it, with the "Ox-head" technique (the name comes from the shape the clays has due to the gesture of the hands when kneading it).
- 5. Once kneaded, the material should be ready to the next step.
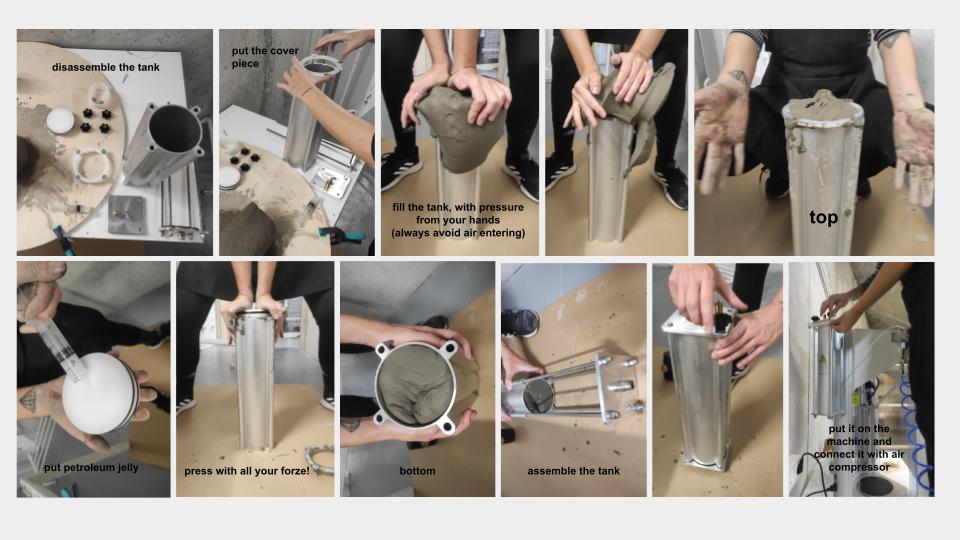
- 6. Then, the tank needs to be dissambled (and there is one piece wich allows you to full it in an easier way, without the problem os the clay entering into the holes).
- 7. You need to fill the tank with pressure from your hands (avoiding the air entering).
- 8. When the tank is full, you need to put some petroleum jelly into the plastic piece (which goes on the top of the clay).
- 9. Then you need too assemble the tank, with the piece which goes below.
- 10. Then close it in the top, and put it on the machine and connect it with the air compressor.
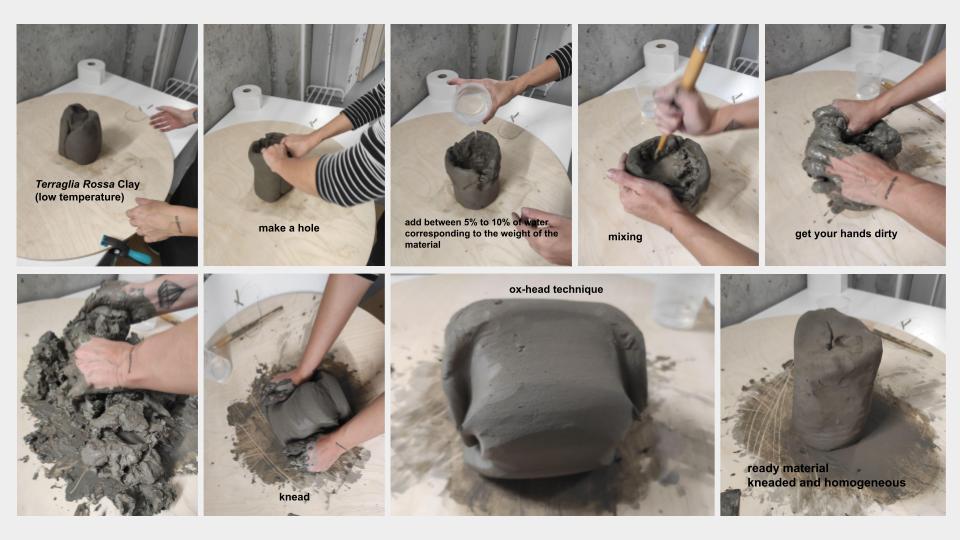
This is the "Ox-head" technique to knead the clay:
And finally... printing!
Finally, it has been a problem with the compressor and unfortunately the piece didn't finish, but here you have the result:
Another Try in PLA
As I wanted to see my shape printed but it didn't worked that well with Elektra, I also tried it in the Prusa.
Our 3D Printer: Neska
Our 3D Printer Neska, is an ORIGINAL PRUSA i3 MK3.
These are the Ultimaker Cura slicer parameters for printing my design in PLA:

And this is the super cute result:
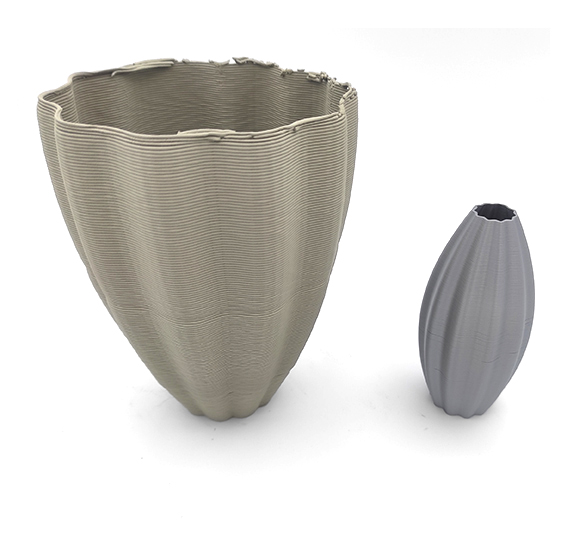
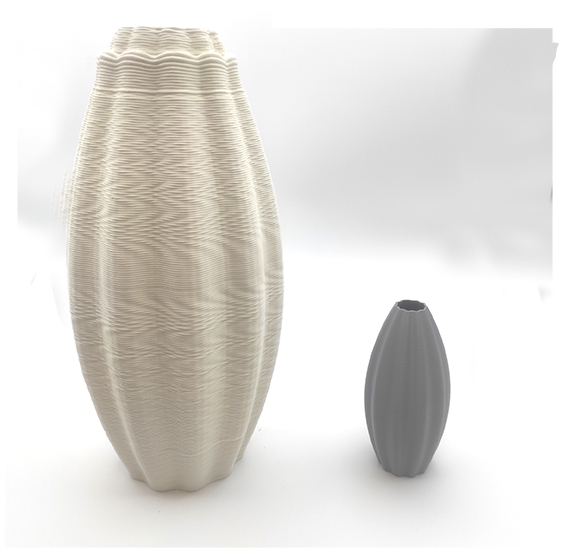
Final Results
So I took a photo of both results together to make a comparisson, so here you have my two babies of the week:
Useful links
- Noumena
- JetClay
- GodotStudio
- Olivier Van Herpt
- Jonathan Keep
- Introduction 3D Printing with Clay (Basque Biodesign Center)
- Terraperforma
3D Models and GH file
Following this link you can find the Rhino and GH files of this assigment.
MelonShape by Olipuf on Sketchfab