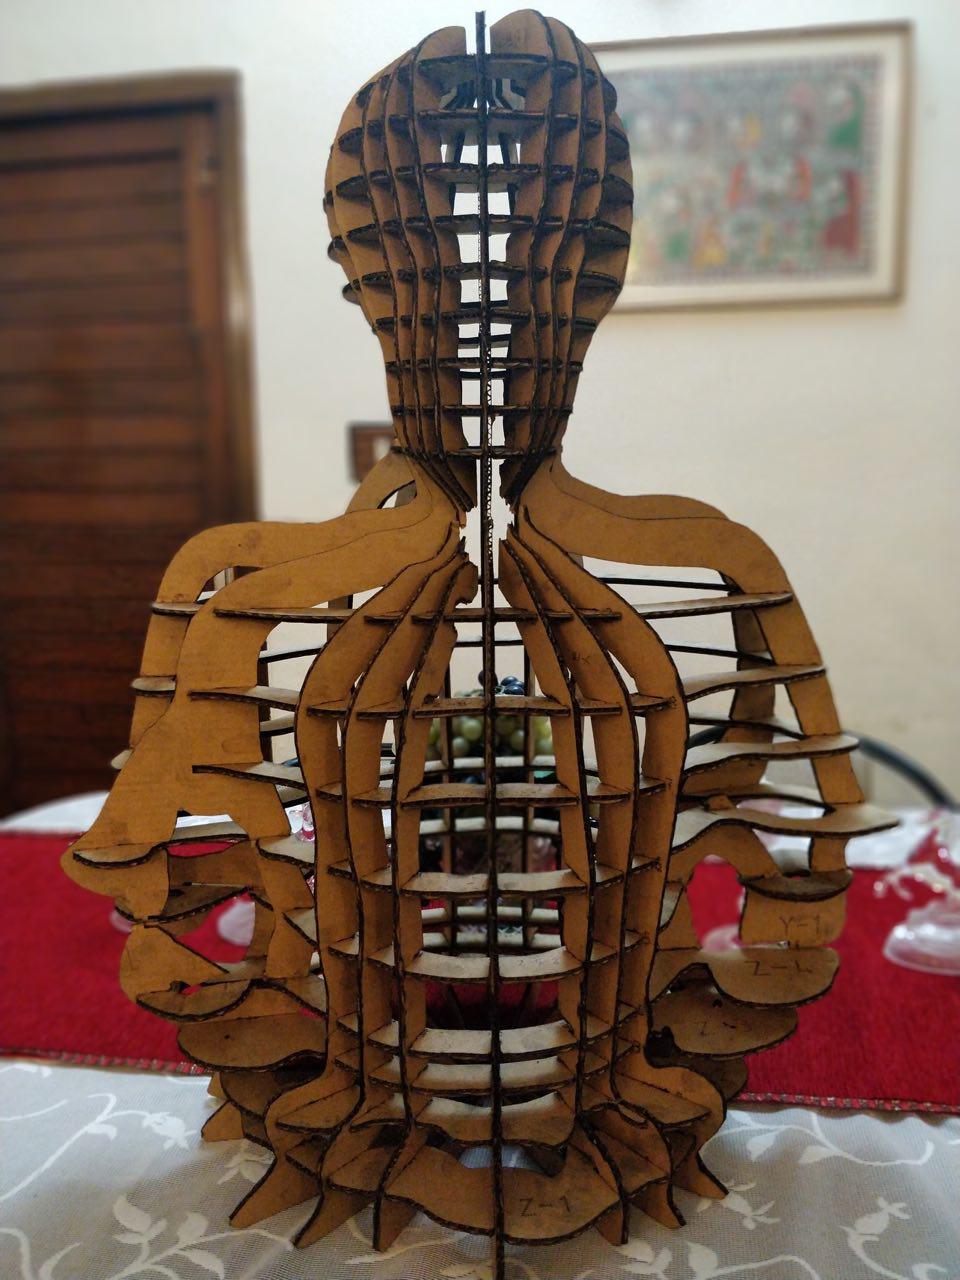
This week was about understanding human body and customisation. On the way of enabling mass customization, the fashion industry is claiming for new tools that can scan and fabricate unique digitally tailored garments. How can one have access to a digital tailor that responds to his specific needs? This class introduces new digital tools that complement hand tools in order to design, represent, make and modify the human figure that can then be used as a canvas for creation. We challenge the fashion designer to step away from the simple copy of the human figure as support of his work and start his creative process from its very beginning : the design of the canvas itself.
"This week helps understand human body and processes to cater the differences in our human body shapes. Welcome to the world of Personalisation"
Nishtha Kaushik


Steps
Step 1: 3D scanning
This week started by deciding if I want to 3D scan a human or an animal, based on my final project I decided to start with human and well other you can see in the end. Explored Brekel software to see how kinect tracks movement.
Finally 3D scanned Mr. mahavir, my colleague at Fablab Chandigarh, a crazy guy to get him to scan him still. But finally I did, Started by setting up the kinect with the PC , tried scanning by moving kinect around by putting it on Dolly (movable tripod) But that didnt work so I had it fixed on one side and moved mahavir on a turning chair and thats how it looked.
There are mutiple software which we can use with Kinect, its one of the most exciting equipment in our lab with Brekel, Kinect studio to capture cloud point data. The Kinect was applauded as a genuinely innovative piece of hardware,Not much about that has changed in the half decade since the Kinect was released — it remains some of the most innovative technology of the 21st century.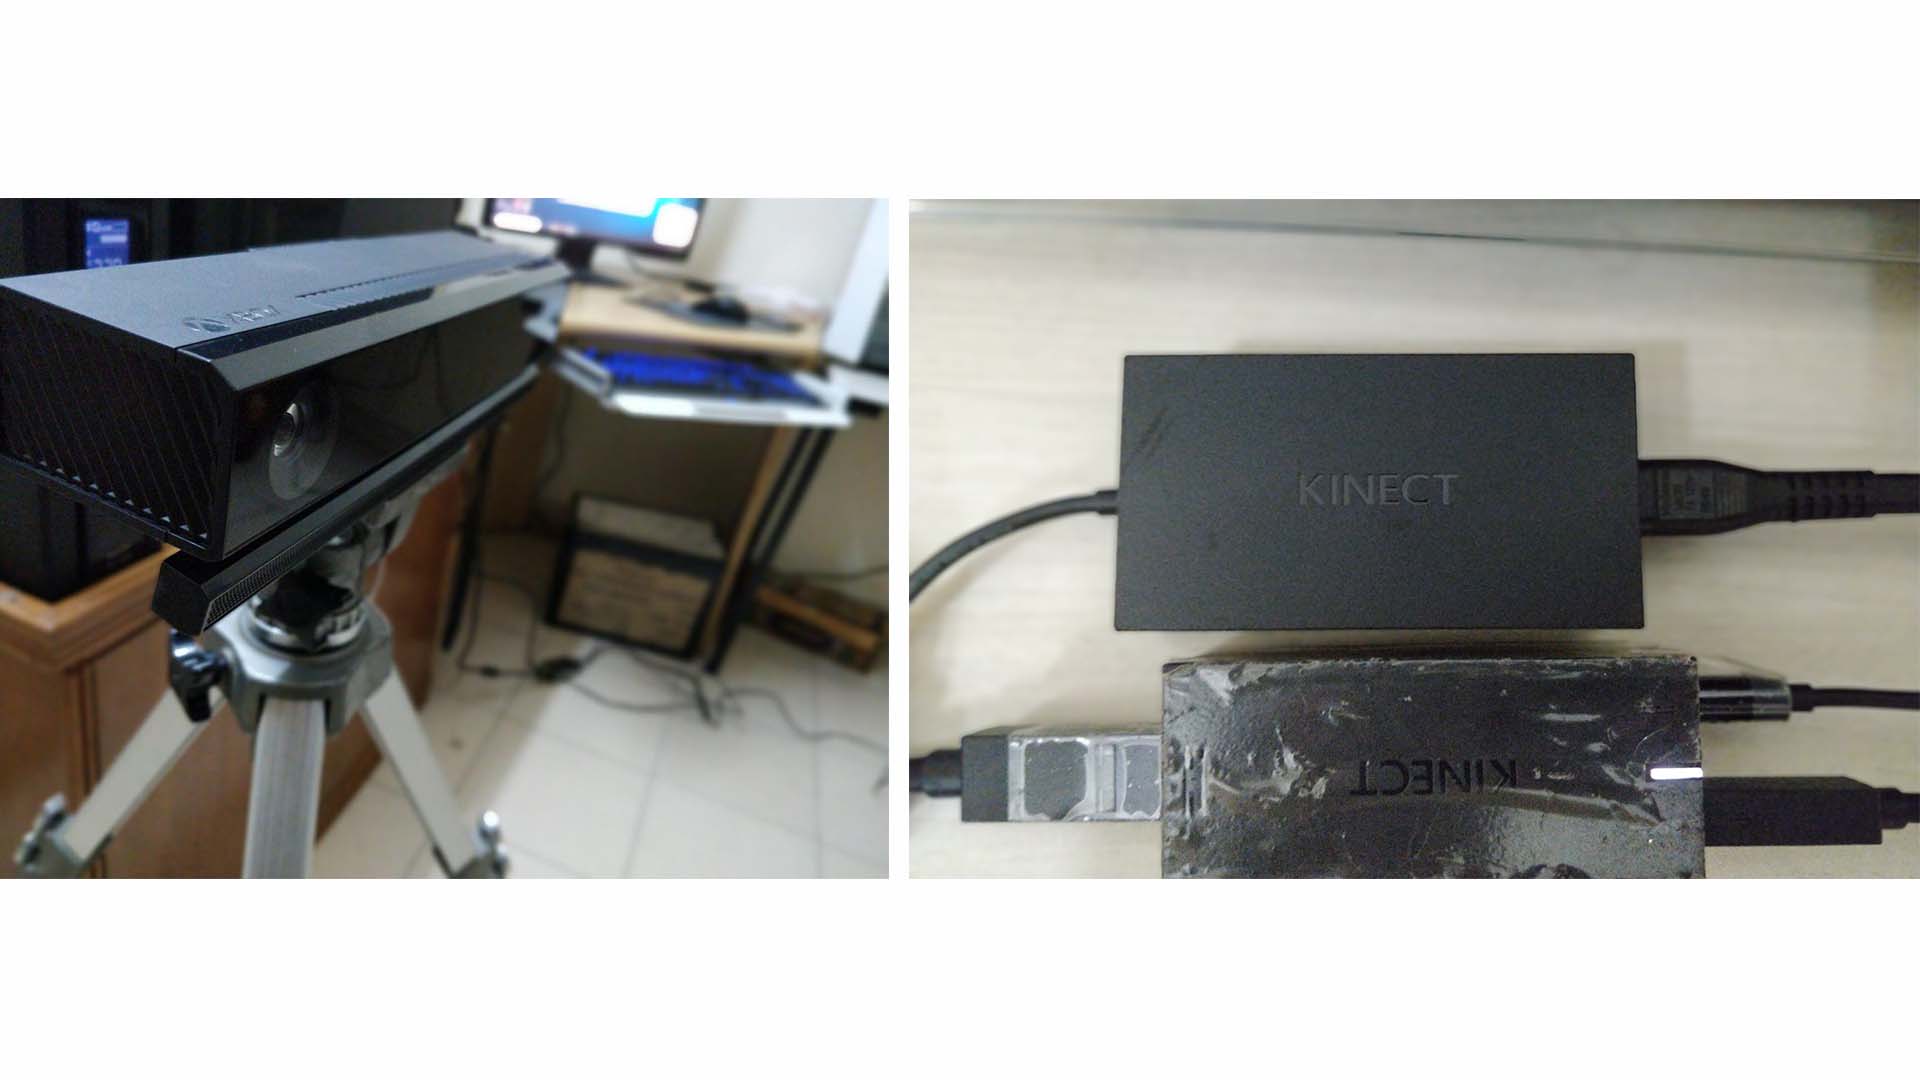
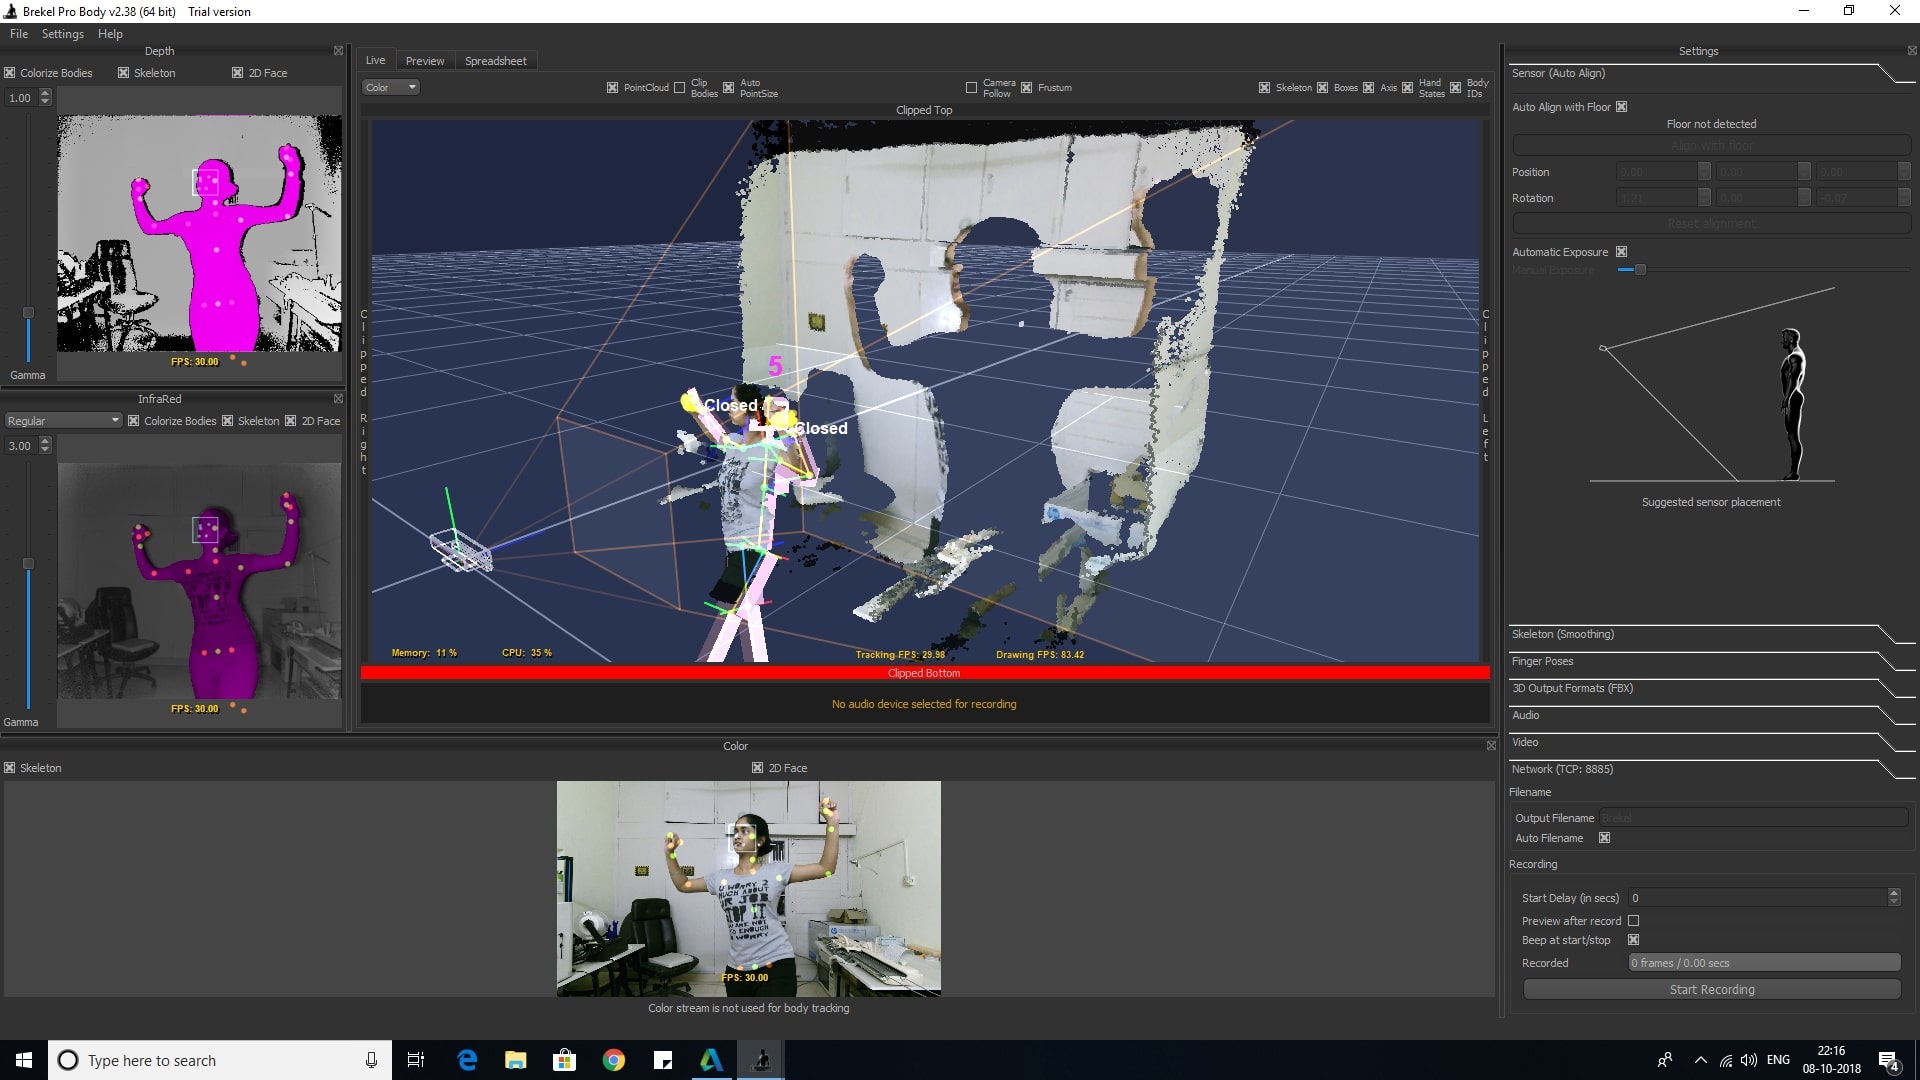
3D scanning Mahavir using Scan 3D, I chose to have him sit on the rotating chair with legs folded and then rotated the chair with Kinect fixed at one place where i couldget maximum light and mnimal shadows.Using Kinect with Brekel, Brekel is a Windows application that does markerless body Motion Capture of up to 4 people from your living room or office using a Kinect sensor. In the image below, Im using open and close fist captured by kinect through Brekel software.
In the image below, You will see Kinect building point cloud data after scanning.
Image below shows how its reconstructing mesh means the 3D models in mesh mode illustrate clearer appearance and can be used to obtain more information.
Finally its done and I am ready to open the file in 3D builder at its actual scale.
Step 2: 3D builder and Meshmixer
After 3D scanning, I imported this file to Meshmixer where istarted to use tools like transform- change its orientation- make it solid by fixing the gaps- using auto repair inspector - make it more stable and tried sculpting which was'nt actually required so removed.This software will go long way with me,I really enjoyed this software and was very convenient for this specific task.
It asked if it can repair or fix some missing gaps.
Without color effect in3D builder.
Continued further in Mesh mixer, after importing the STL file to Meshmixer, i started exploring features like:
Strength Analysis: The Strength tool predicts and identifies regions of low structural strength that might be prone to breaking. Weak areas are rendered in red, stronger areas in green.
Next feature im using,The Hollow tool is used to create internal cavities inside closed solids, with a consistent wall thickness. Although you could use tools like Edit > Offset to create internal shells, these mesh-based operations can have self-intersections. The Hollow tool is built on top of the same infrastructure used in the Make Solid Tool, and as such does not have these problems.
Next is Plane cut, The Plane Cut tool allows you to slice a Mesh with a plane. This tool actually does several completely different things to your mesh, depending on how it is configured.
Make Solid: There are quite a few settings here, and some significantly change the behavior of the tool,
Face Transform is used to Move/Rotate/Scale the selected faces.
There are two classes of sculpting tools in Meshmixer: Volume and Surface brushes. Each has a very different technical implementation, with significantly different capabilities. As a result, some operations can only be performed with one or the other.
This tool attempts to predict if a given model will be able to stand by itself when it is fabricated
final computing my changes. Ready to slice.
Step 3: Preparing the file in SLicer
Putting in the detils about the procedure in the software like size of the machine so that it could calculate sheets as per that, machine's specifications. Then choosing different styles of making a mannenquinn. And finally having it ready in a dwg file ready to cut.
Started by trying different processes, one below is what I liked the most, that is RADIAL SPACESAnother version i tried on Slicer but was not good to look at, that is FOLDED PANELS.
I decided to finally cut this one !
Mannequinn Sliced by nishtha on Sketchfab
Step 4: Laser cutting settings
After having dwg files(2D files) of mannequinn, I started nesting which slicer tries to do but i think doing manually a bit cn help save lot of material , I did this because i have big pieces and less sheets. Then imported it to RD works, software used with laser cutter, selected two processes : Engraving the piece numbers and cutting the pieces with speed and power very low being cardboard it tends to catch fire if high speed or power. Using bigger laser cutter of the fablab 1.3m *2.5 150W Laser Cutter to cut 5*4 feet 5 layer cross pasted cardboard sheets.
Inthe image below, I am using RD works to prepare my profiles for etching and cutting my 2D file. We are using 4x8 feet, 150 W laser cutter ofour lab for this week due to bigger pieces.
Step 5: Laser cutting and engraving
Beloware the images of laser cutter engraving the piece numbers and cutting the pieces. finally happening. Assembly yet to go..
The images below shows a close up of the engraved piece numbers and cut pieces.
This is how i could nest it to use only 2 (4x5 feet) sheets
Starting picking the right pieces, stacking them in series so that while assembling its easy to use.
Step 6: FINAL Assembly
Well thats how it looked while assembling and the final thing goes below..
You can also checkout another beautful assembly by Jessica Stanley and the another good one is by Mahavir Singh, not because he scanned me :P
Painted it Half white!!
ANOTHER METHOD
So when i said I will be doing human for this week and another one, I meant this cute huge guy, I did this for fun because Iwasnt sure if this would happen to have "dog stay still for 1 minute" but after an hour of building trust with Kinect, he finally did it, well not really.
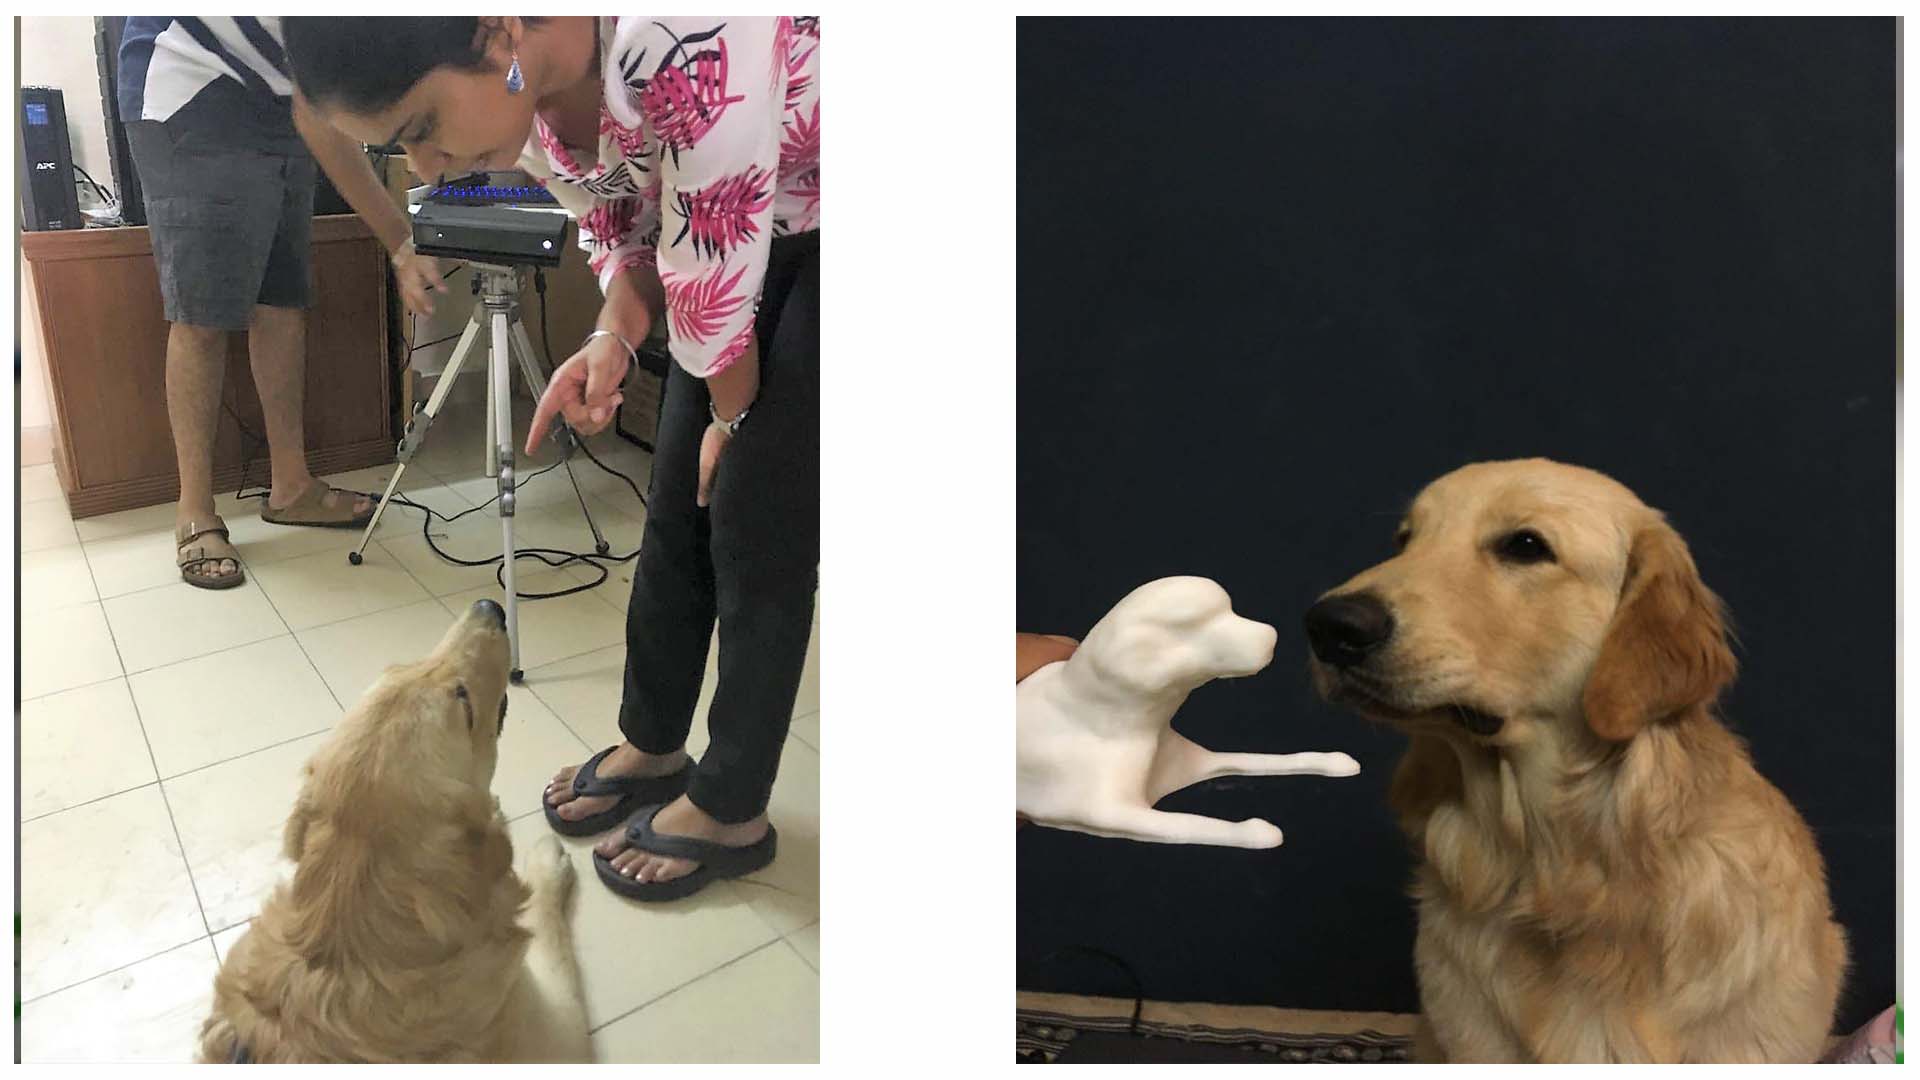
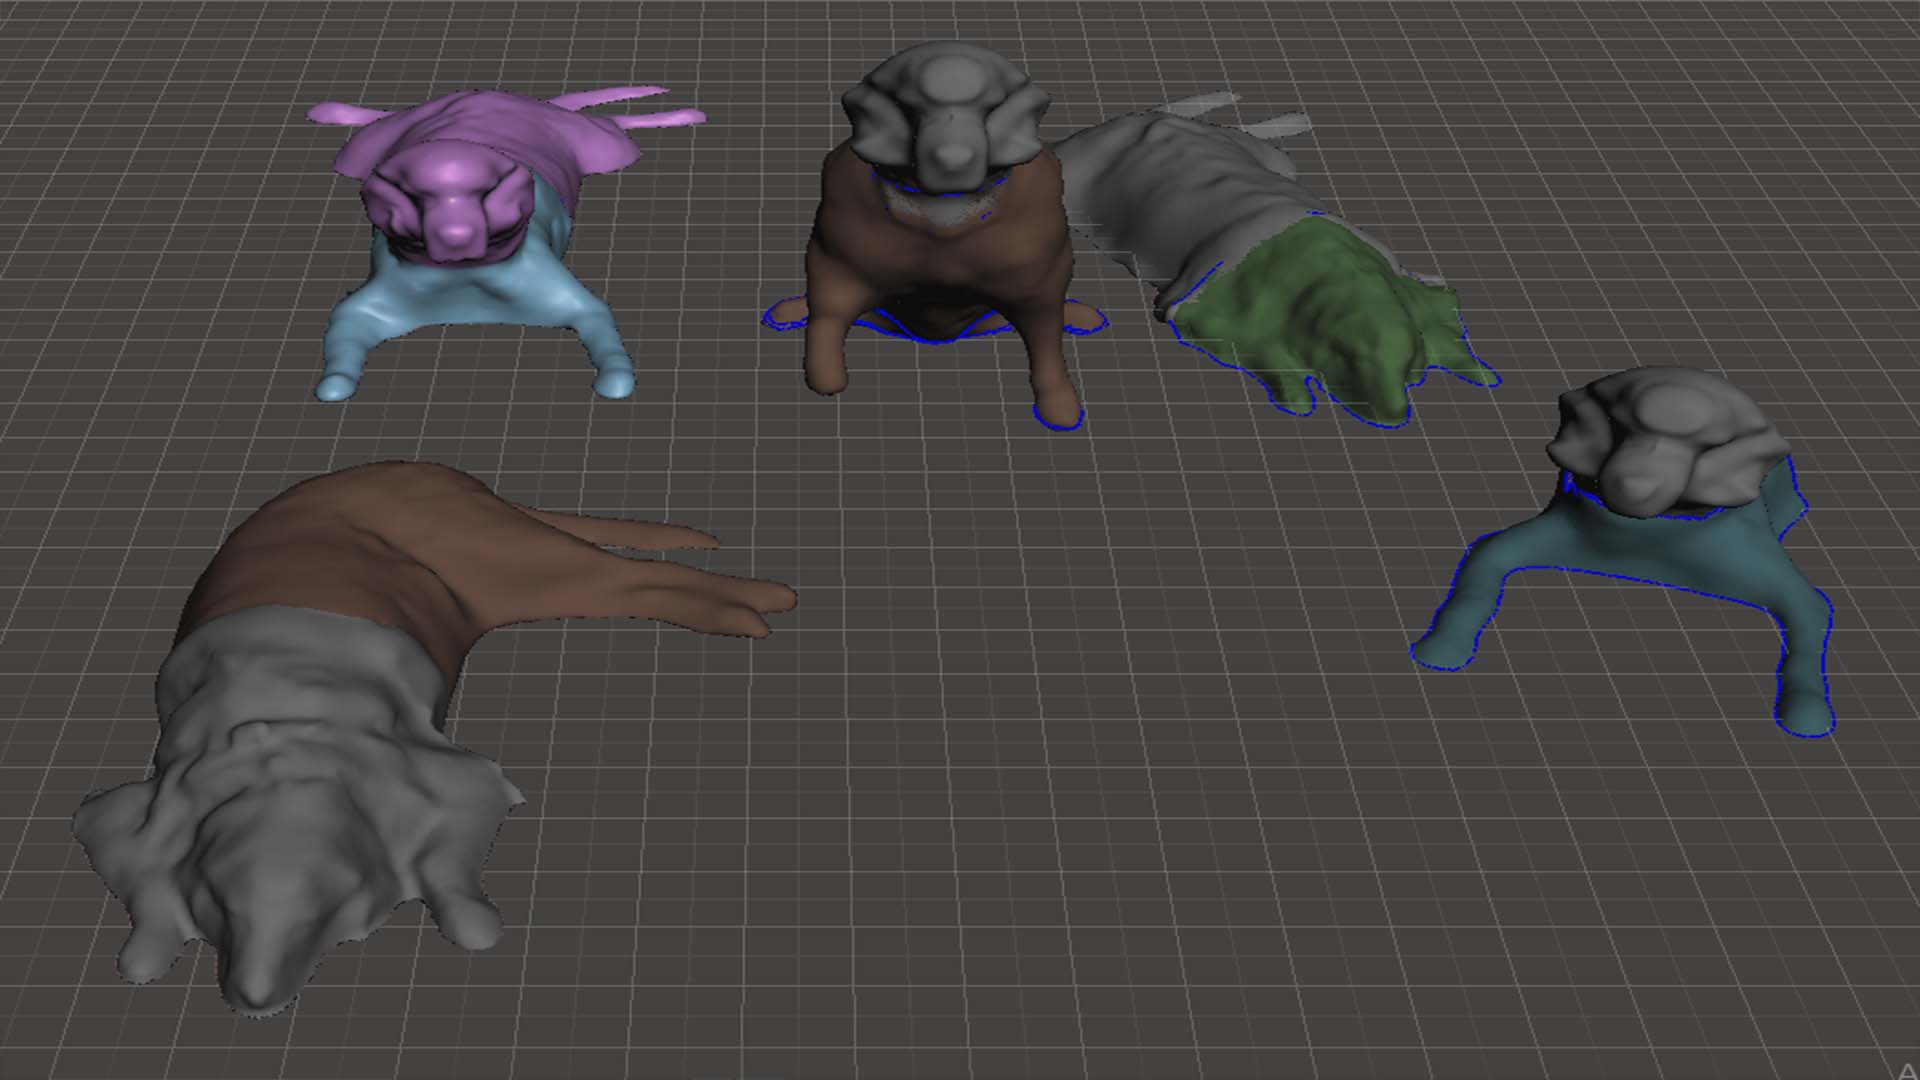
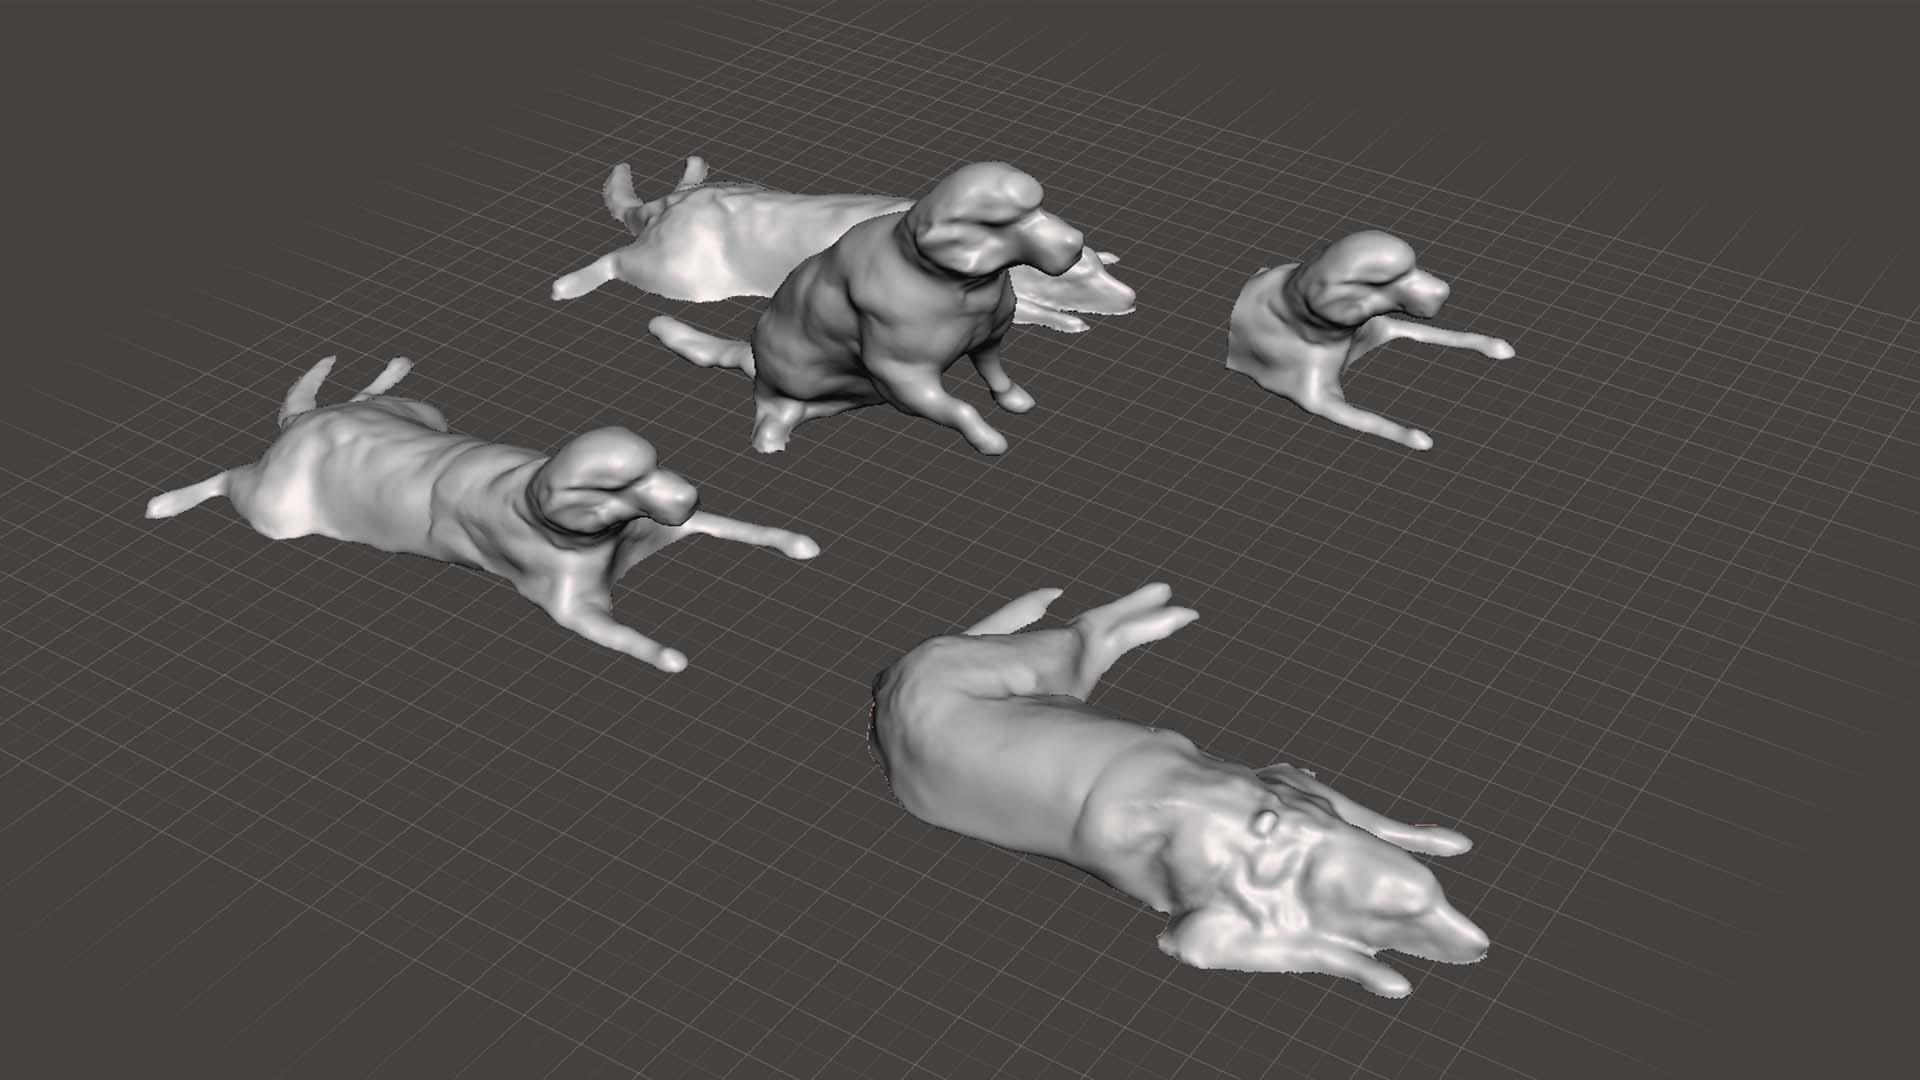
I had to take body from one scan , head from another and joint them together in Meshmixer and make it one.
Frontal view.
ISO view
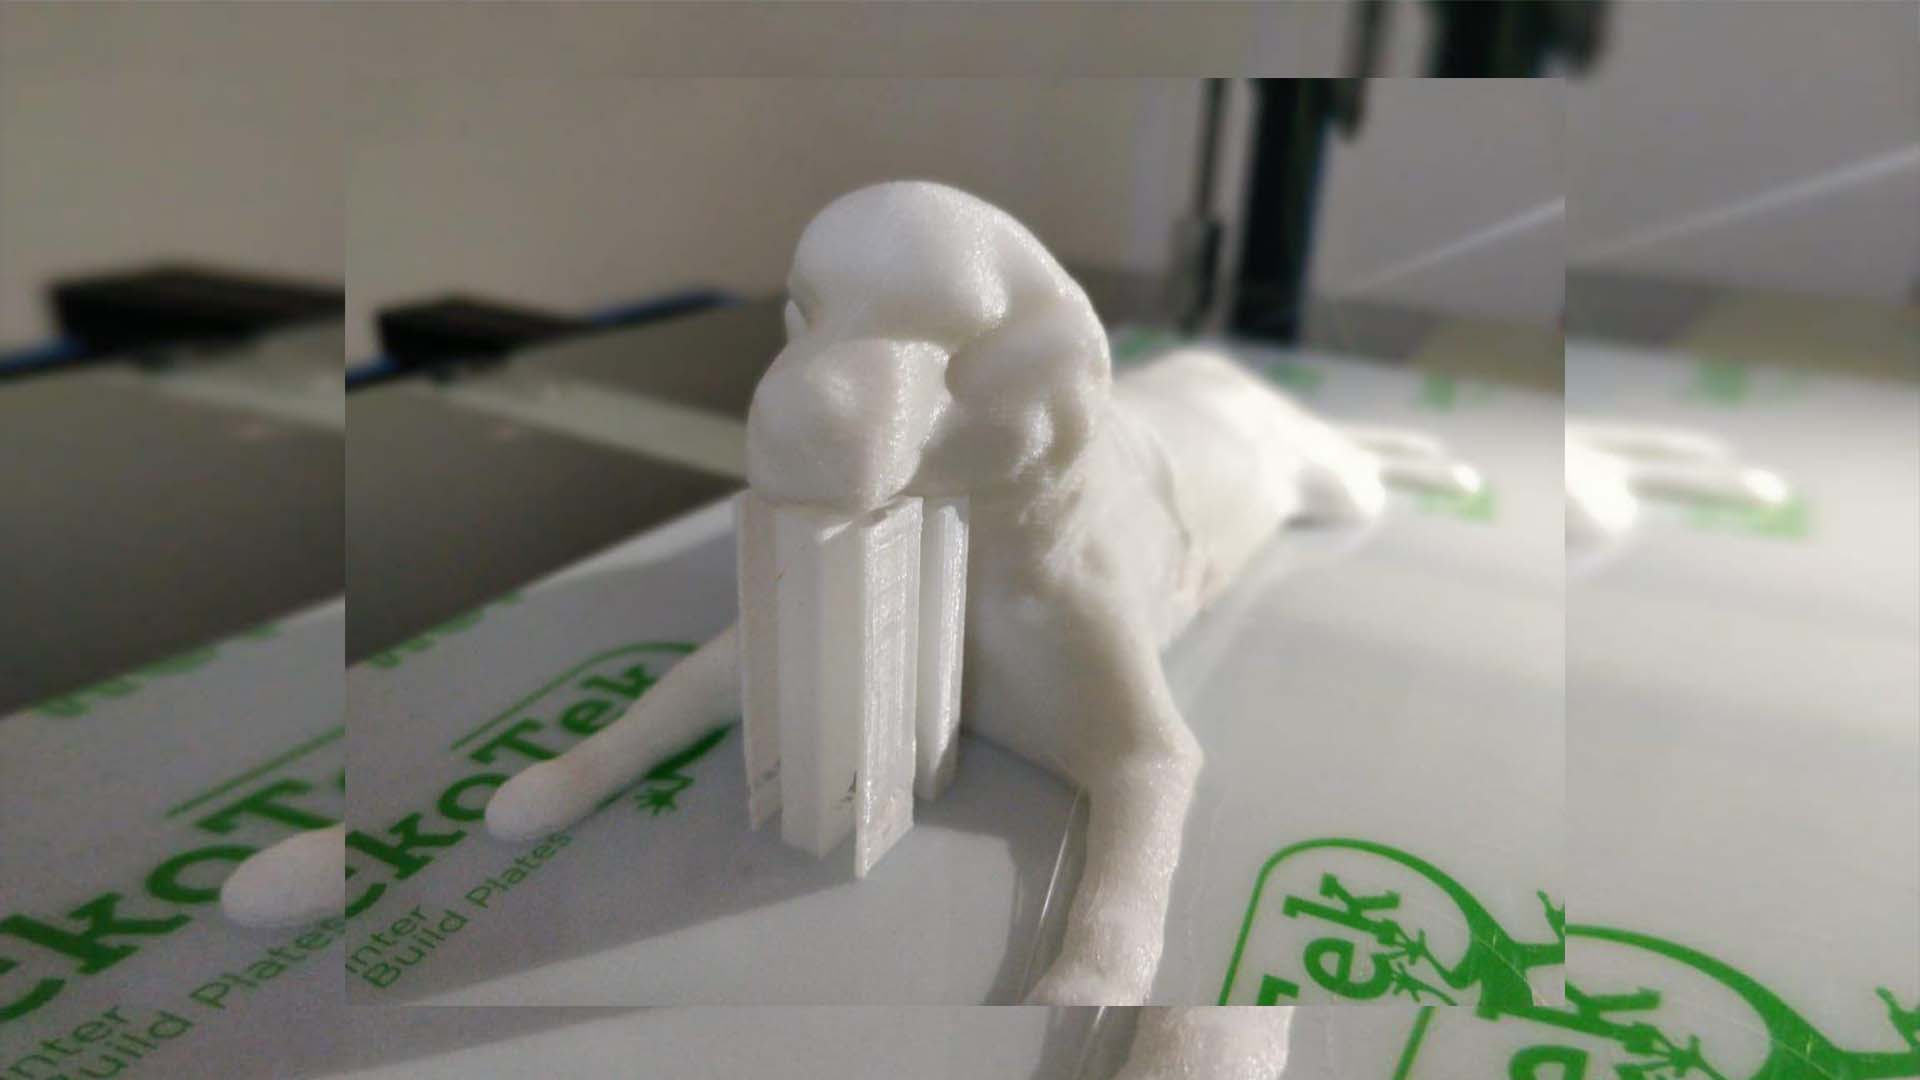
Finallly 3D printed him.
What software to use
Warning Notes
Danger Panel