2. Digital bodies
To do
This week I worked on my personalized digital body. So I did two differents process to have the 3d mannequin design:
- Scan myself with Xbox Kinect
- MakeHuaman Program
Useful links
Process of a Mannequin
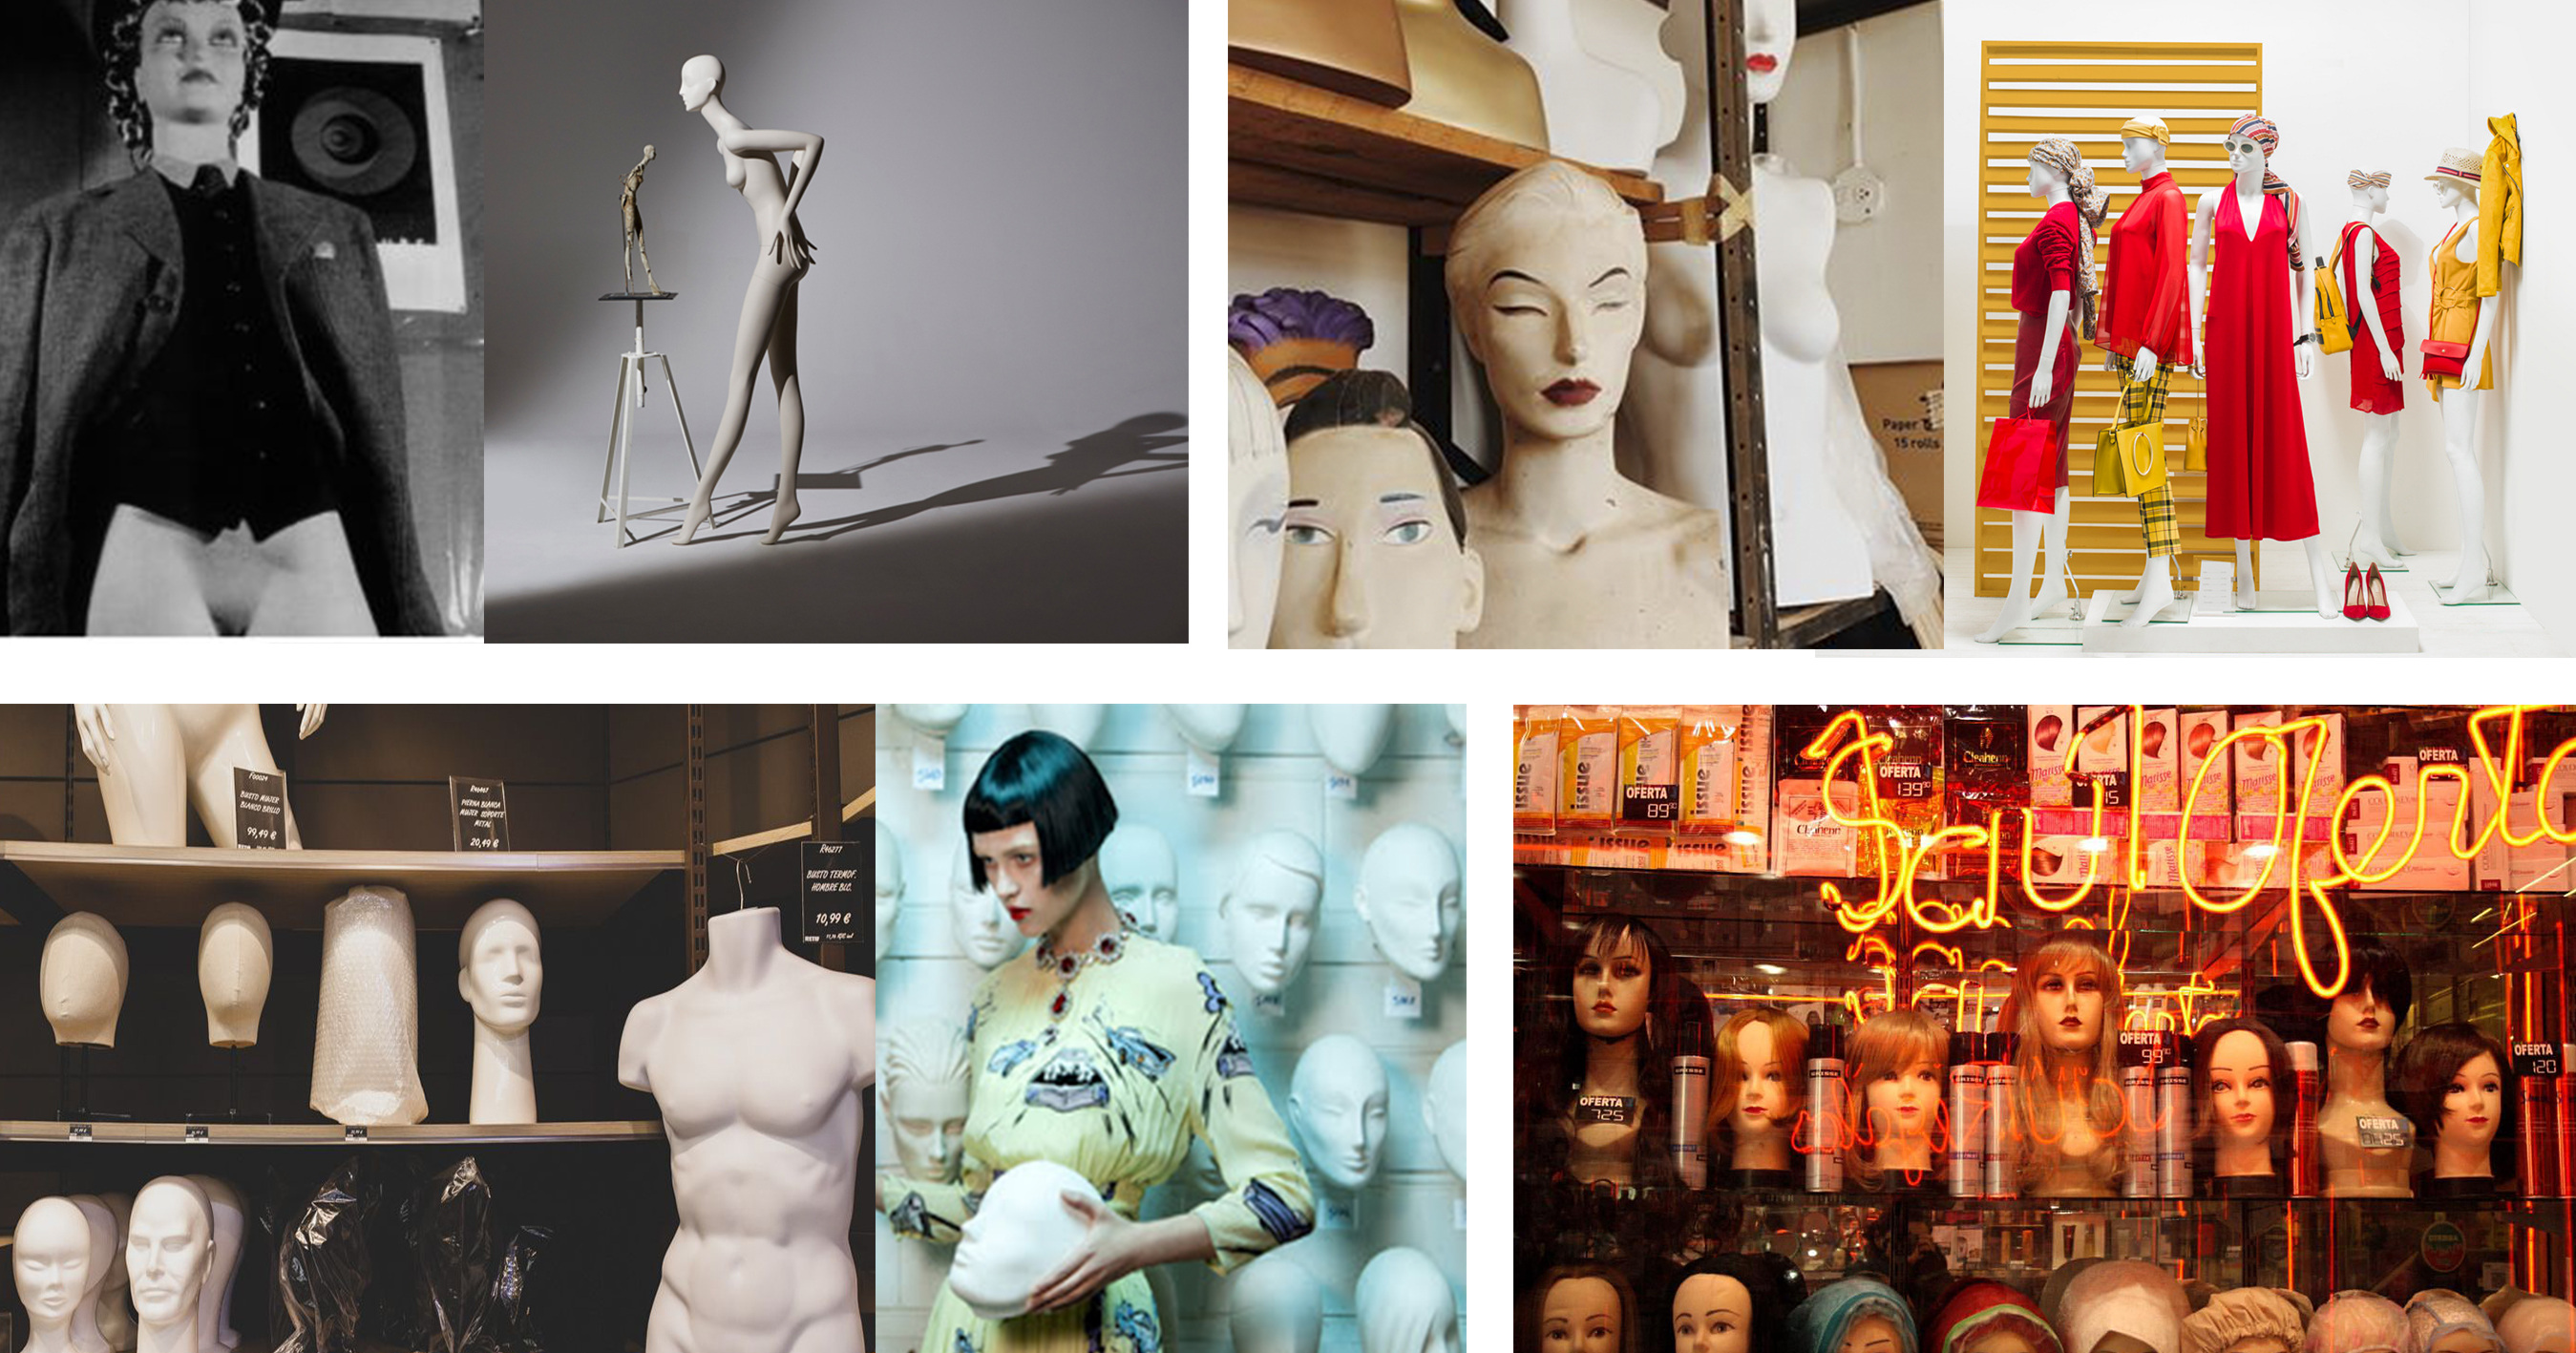
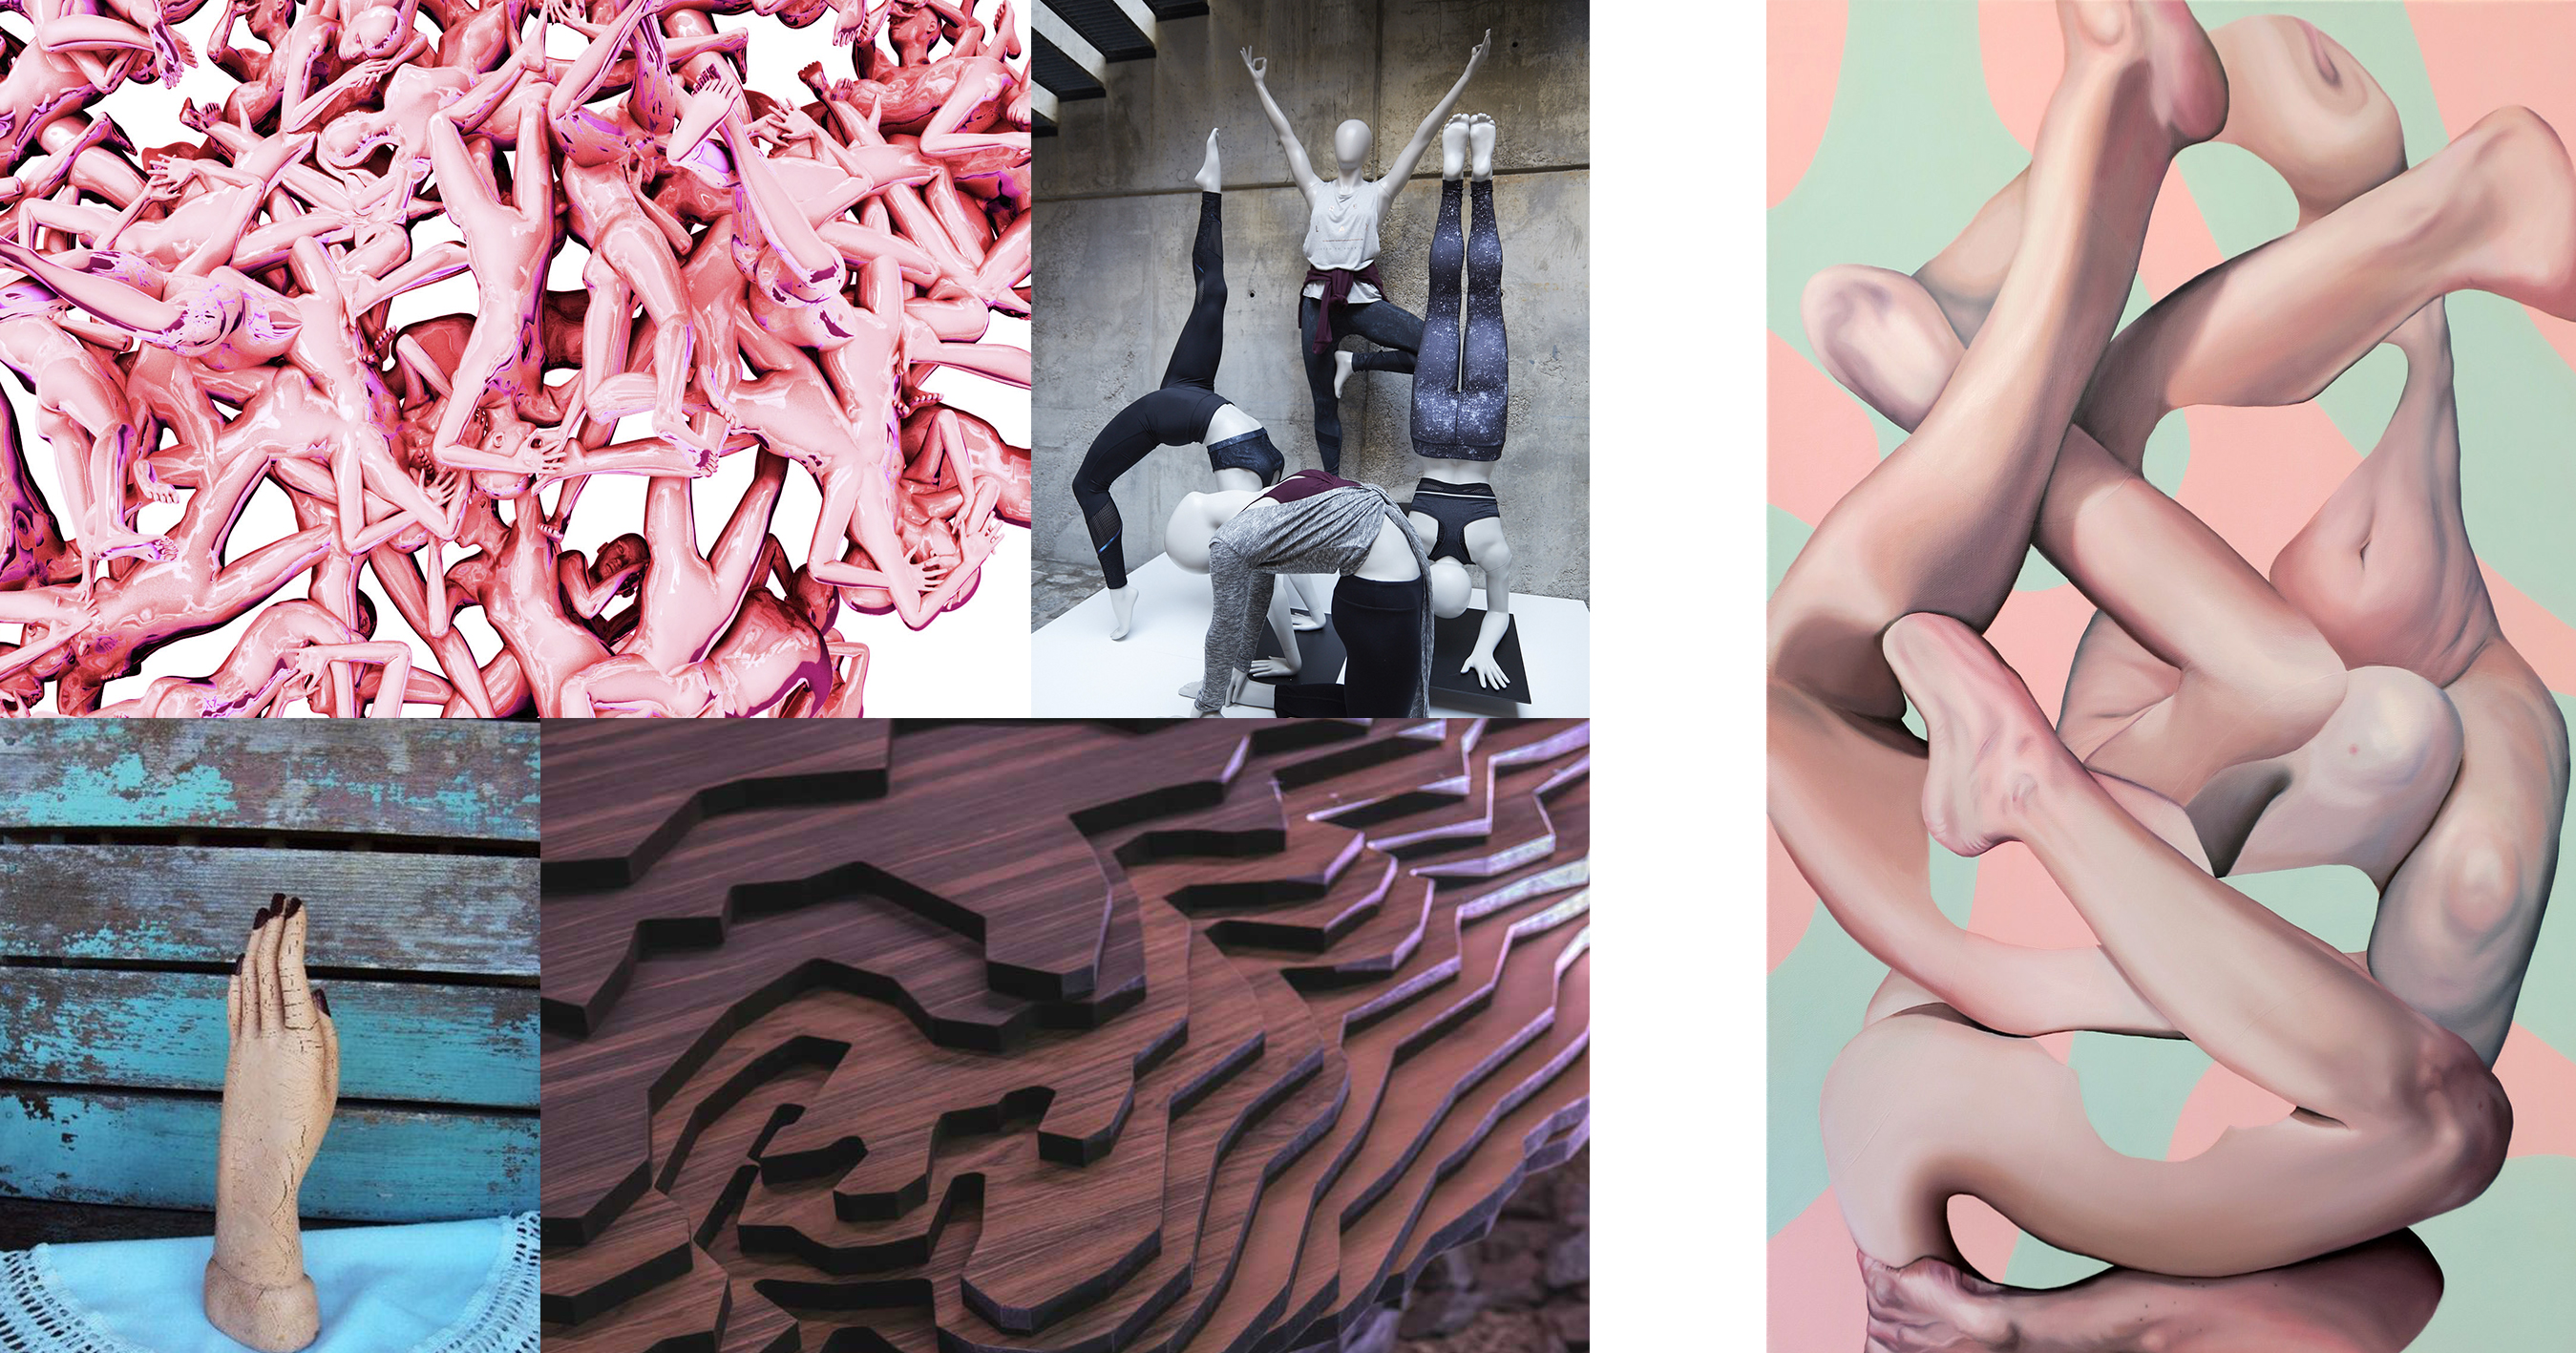
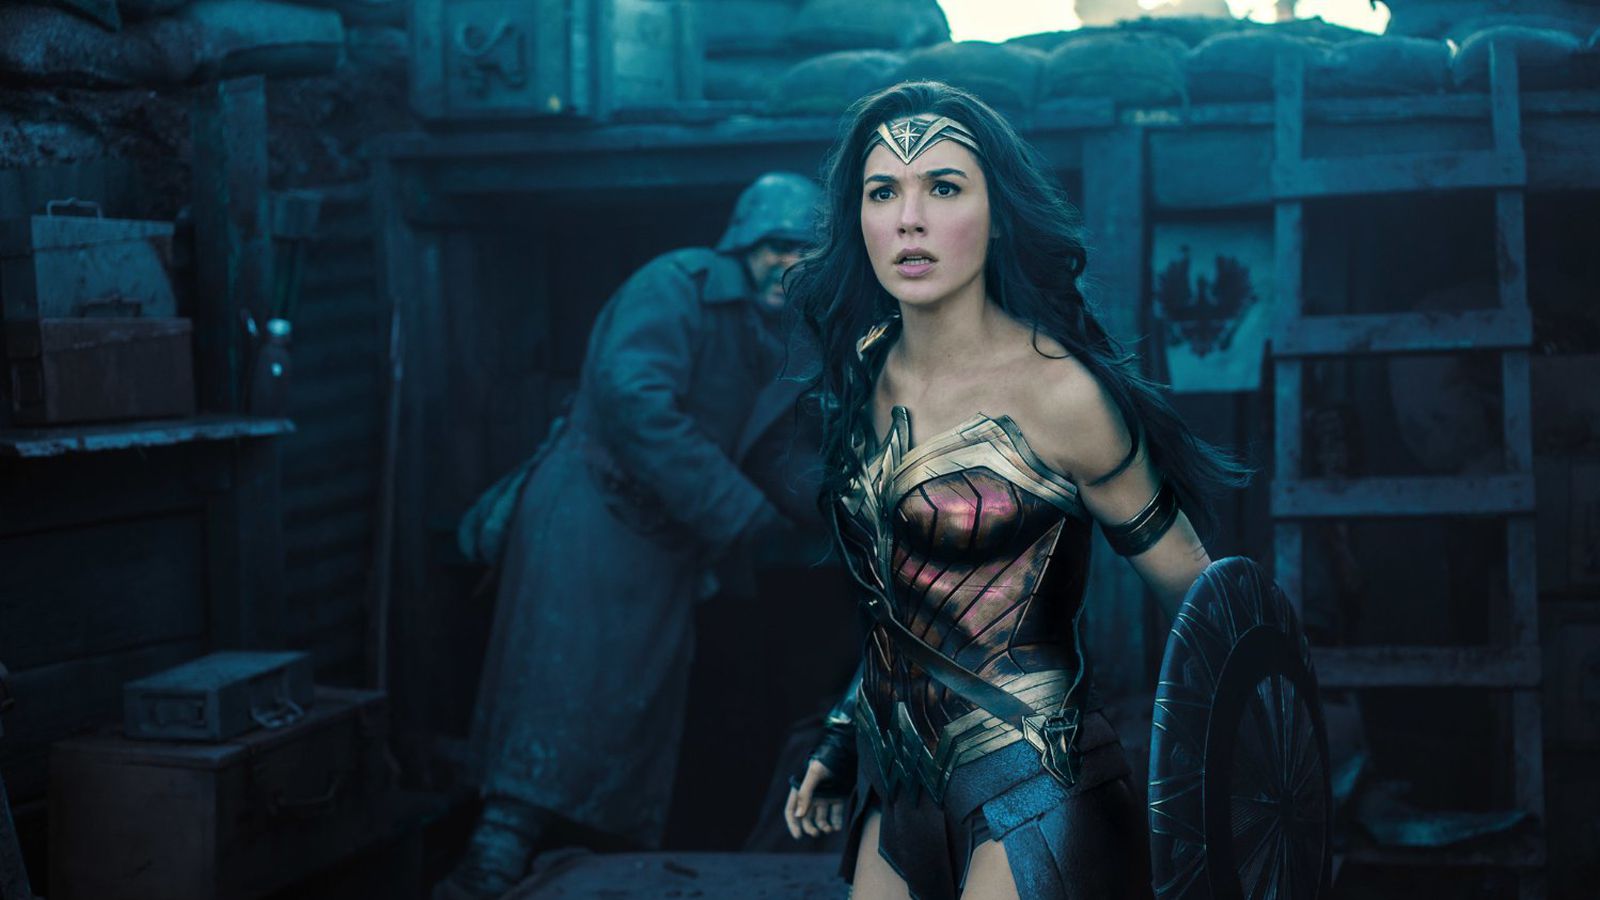
Inspiration
When I was looking for information and process of the mannequins a found many interesting ideas, this is one of them. How to create a personalized design not only in sizes also being creative in the way that them look. A mannequin can be an artistic expression of what we want to see wearing clothes.
My mannequin
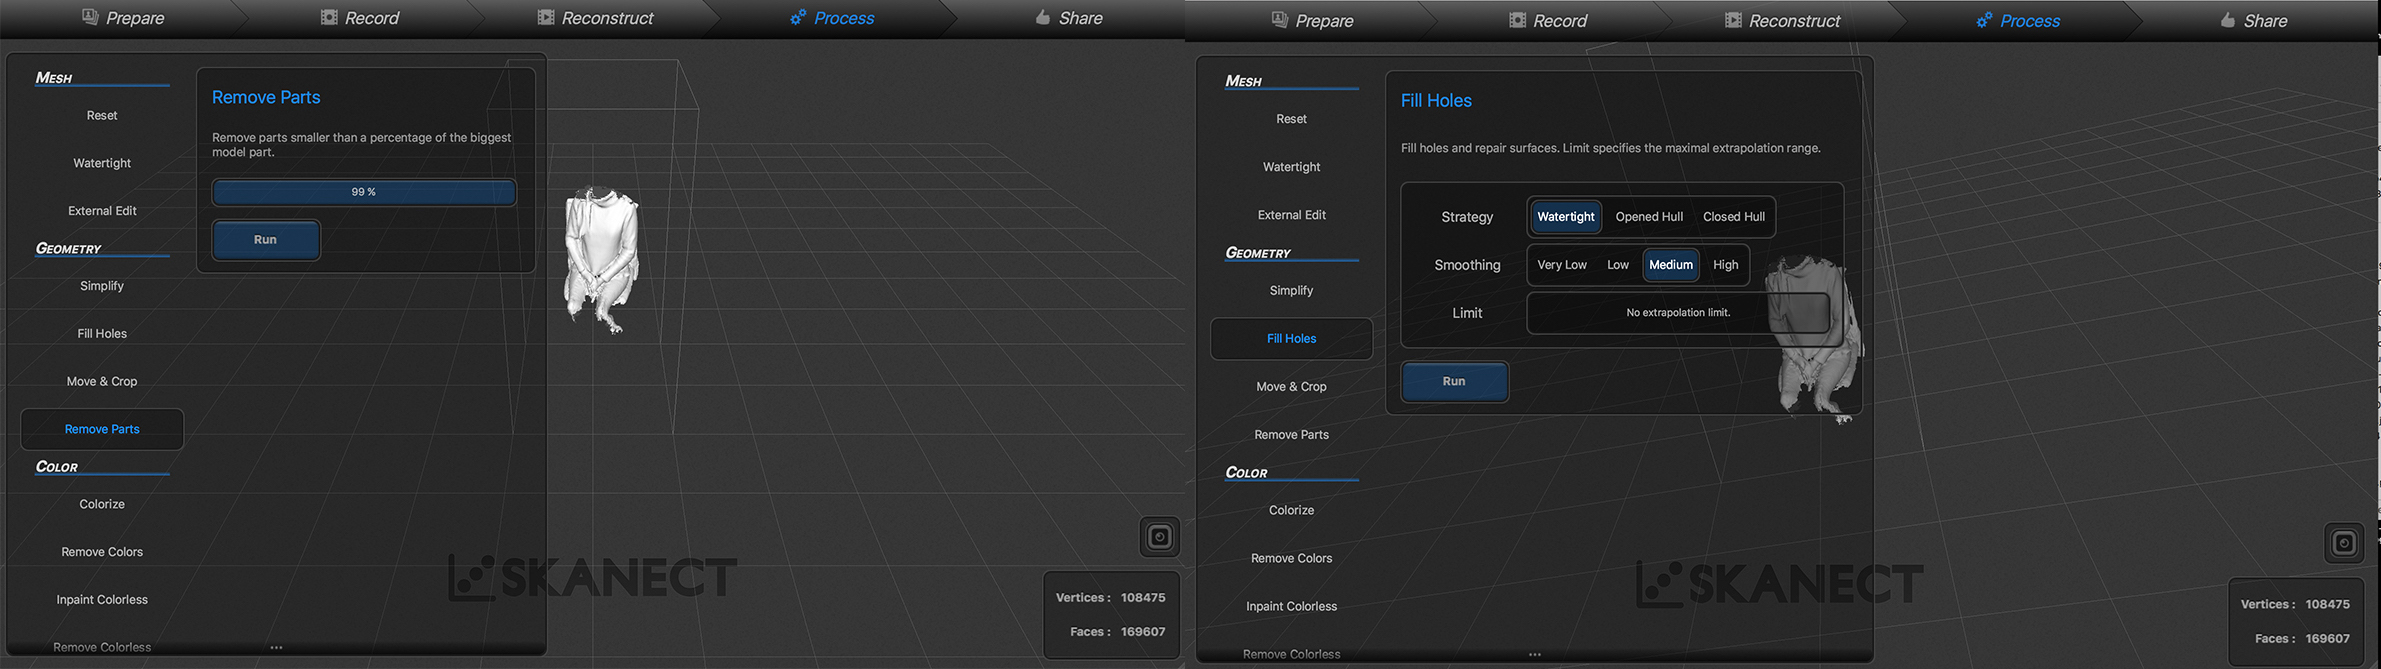
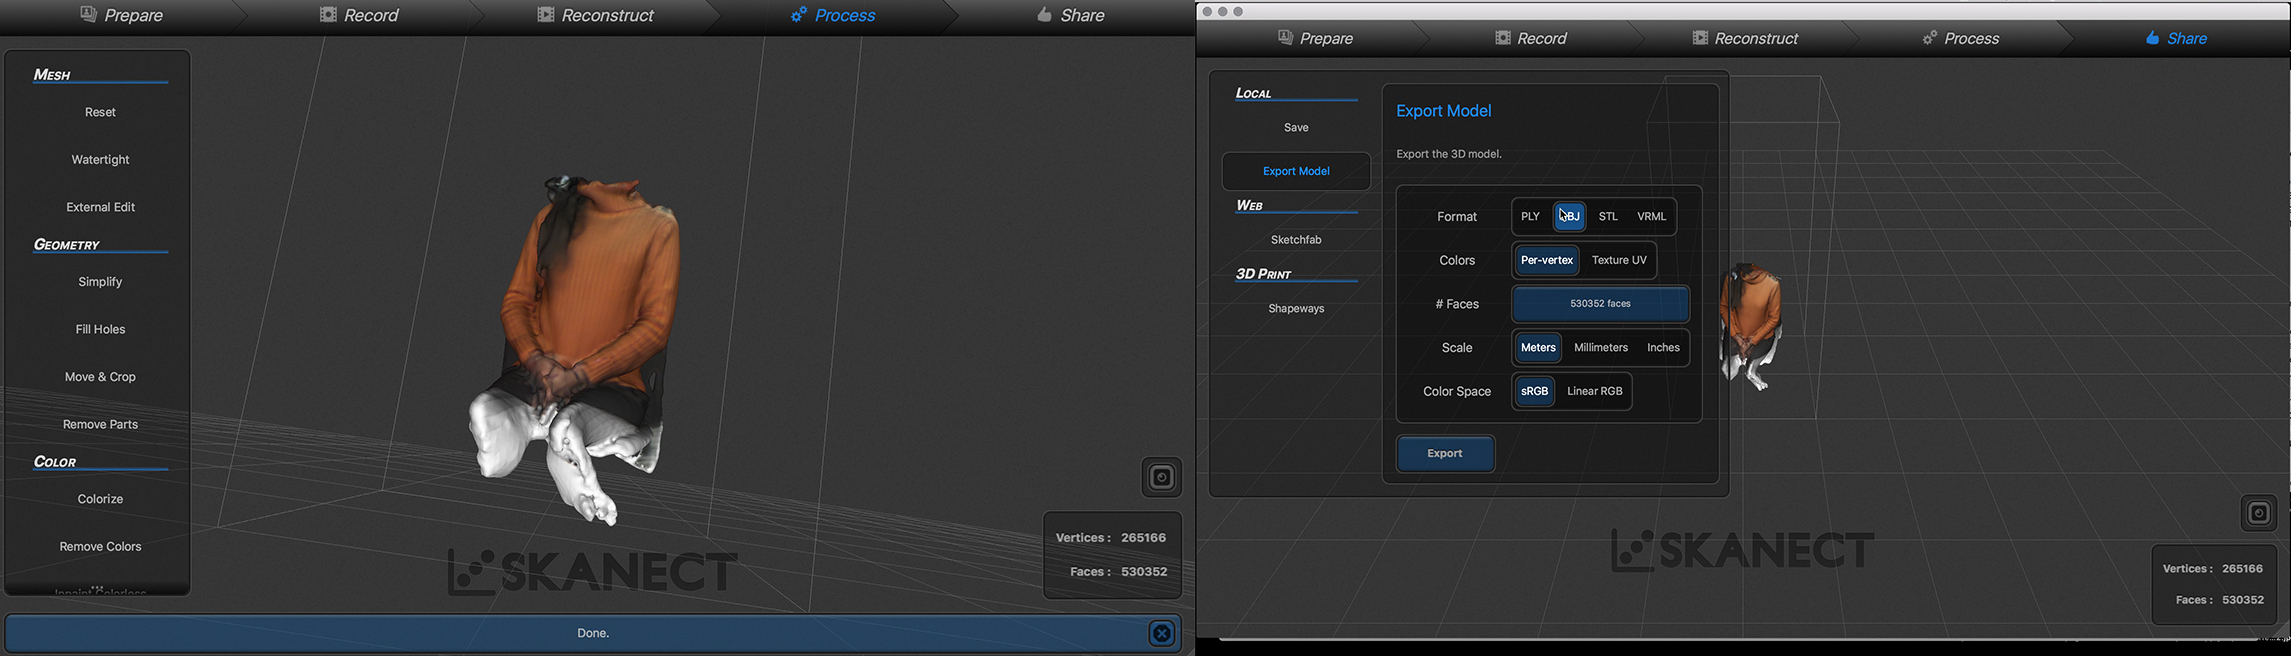
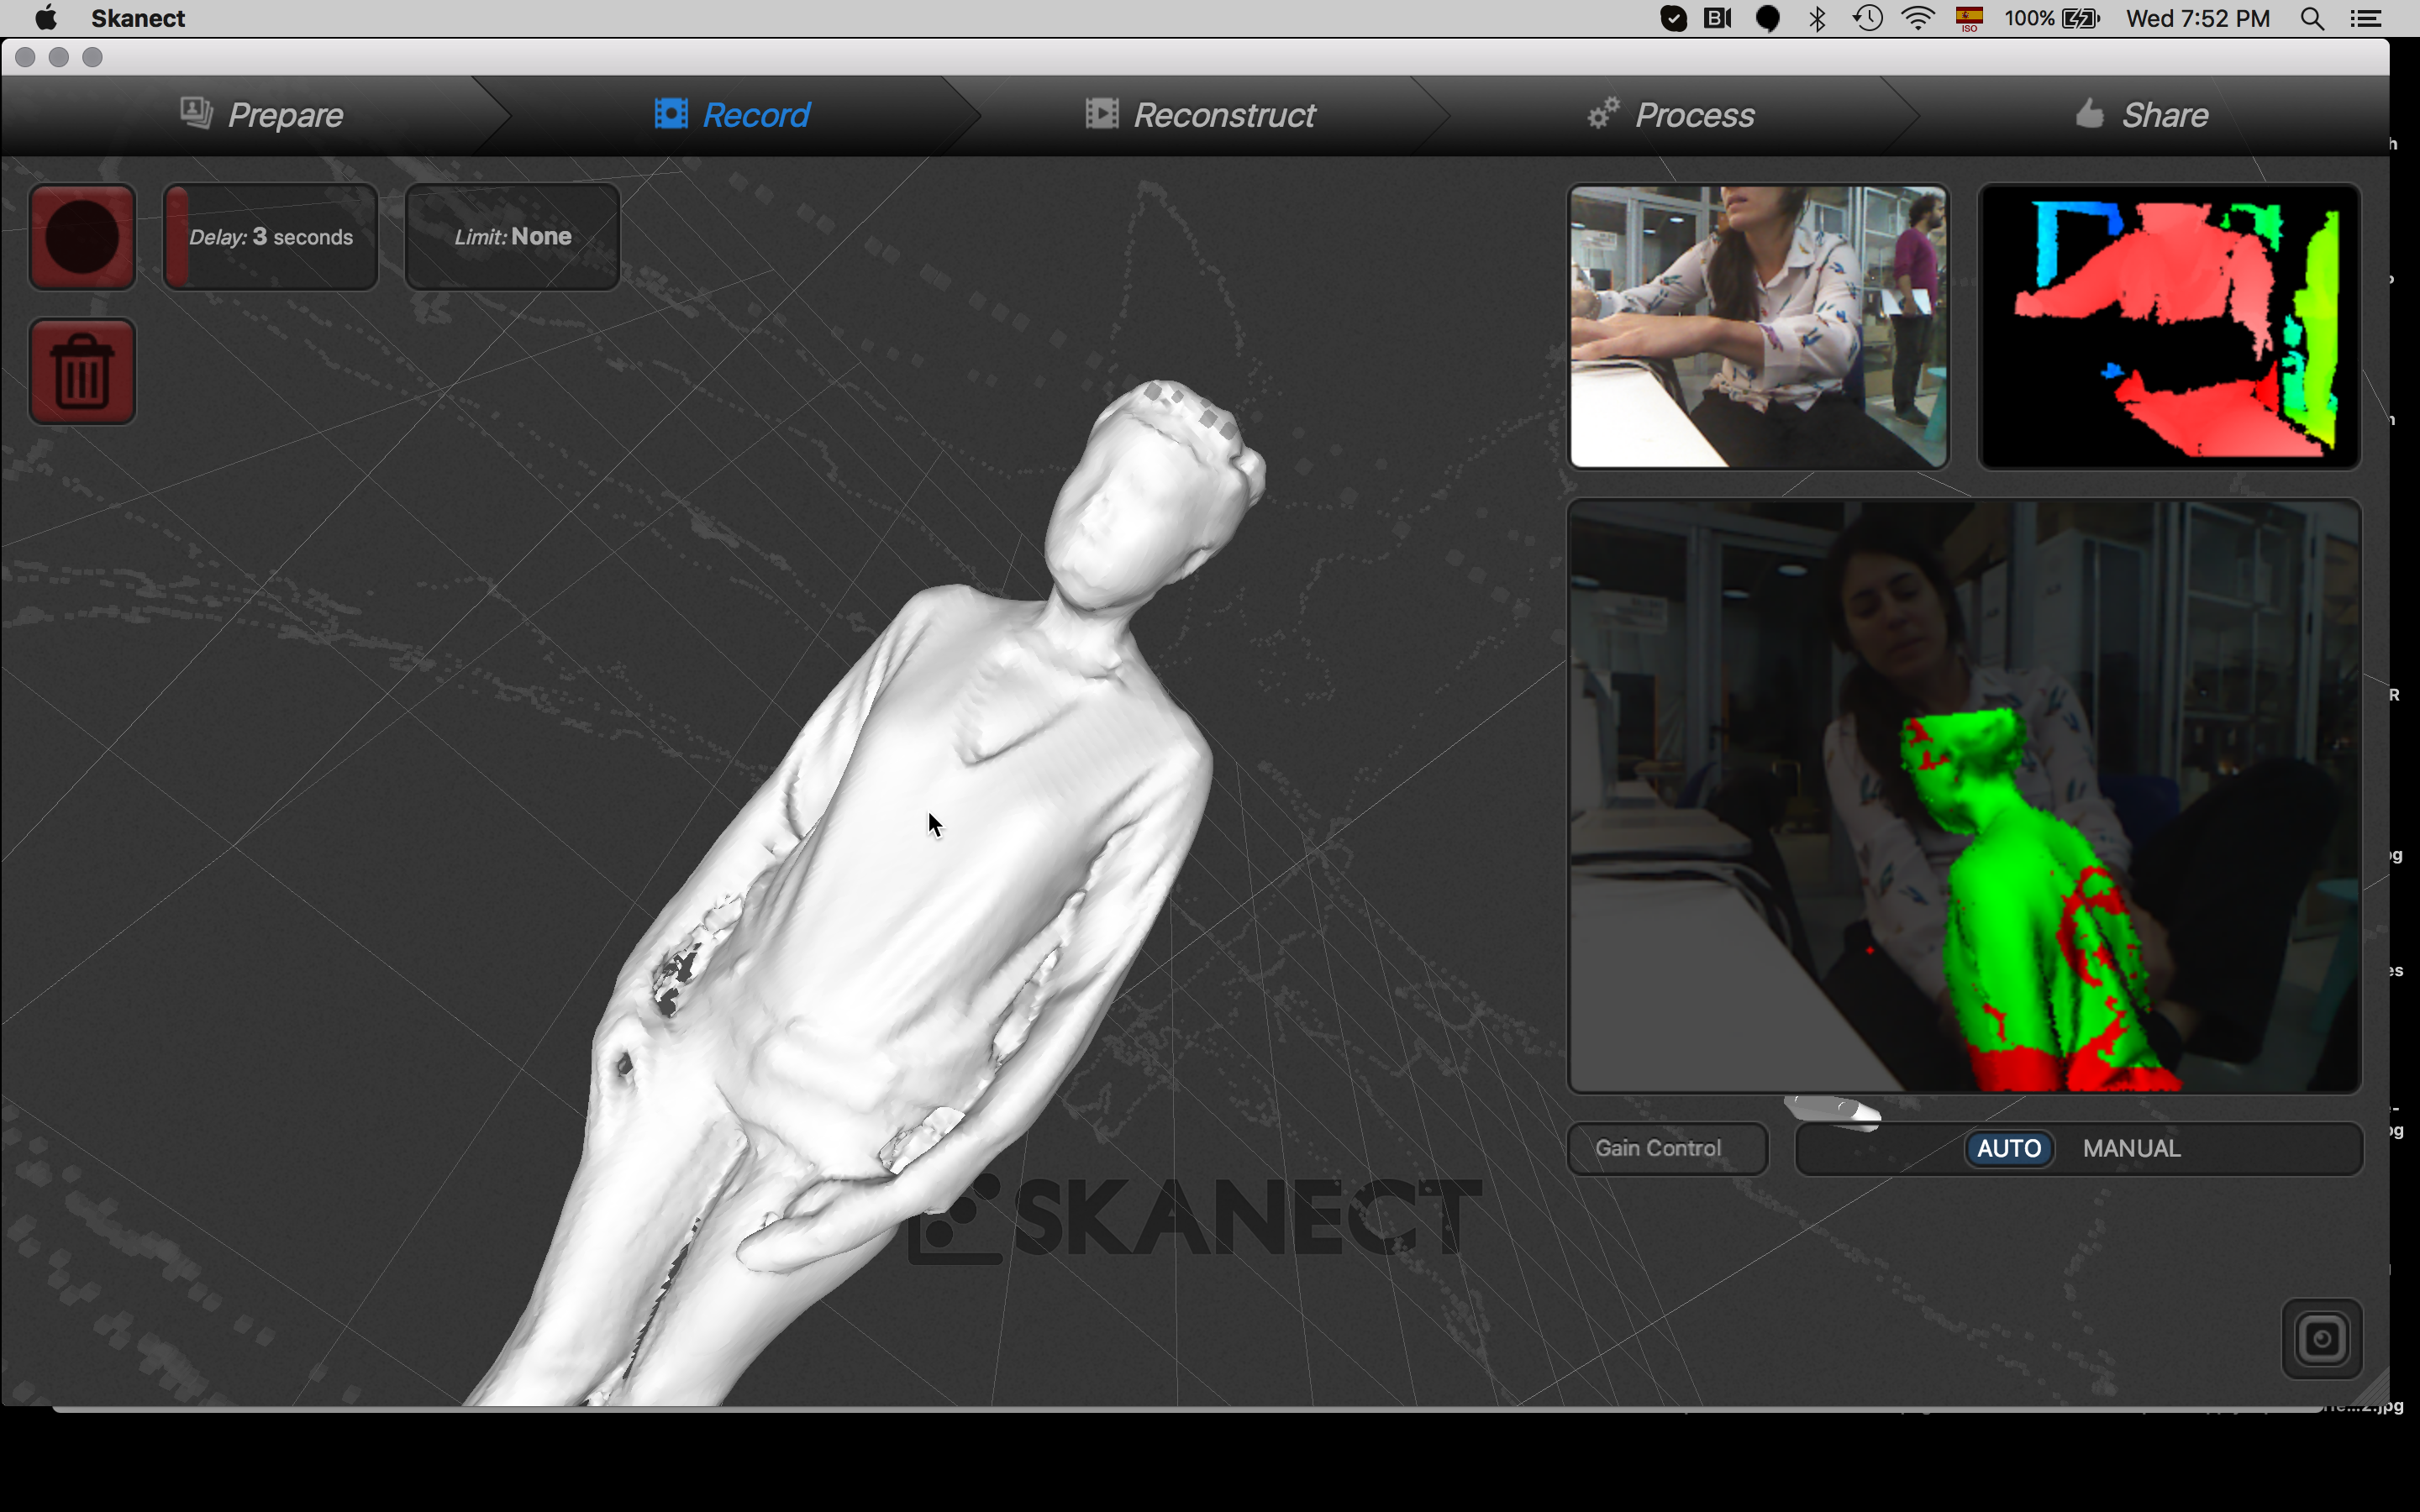
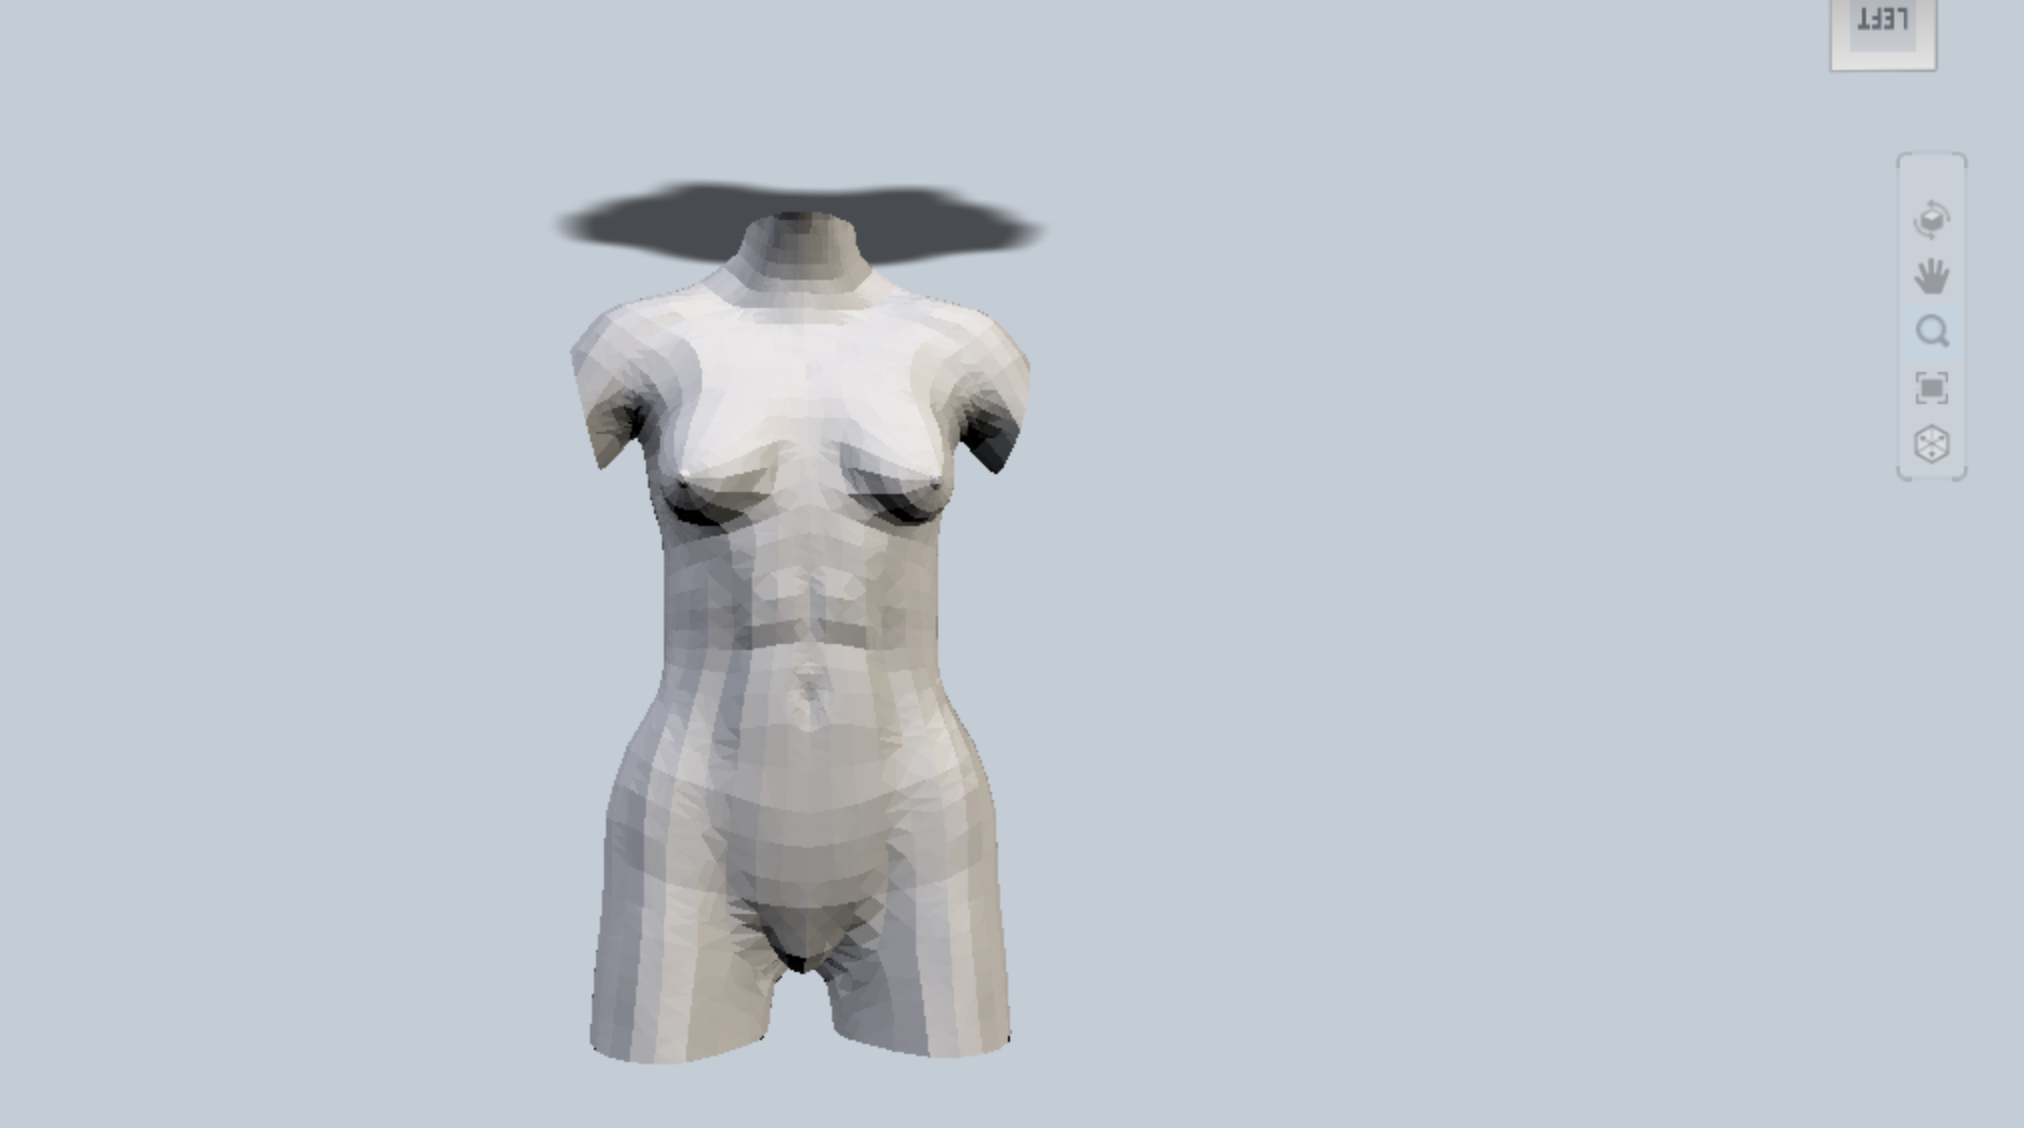
The first step, doing a scanning of my own body with the Xbox Kinect. At the beggining i decided to sit in a swivel chair that let me rotate in 360 degrees to do easier the process of scanning with the camara but didn't work to well so I did it again. This time i was standing and the camera went around in 360 to have all the frames in photos and then put together to make the whole scan of myself. What surprised me more is the details from the clothes like textures.
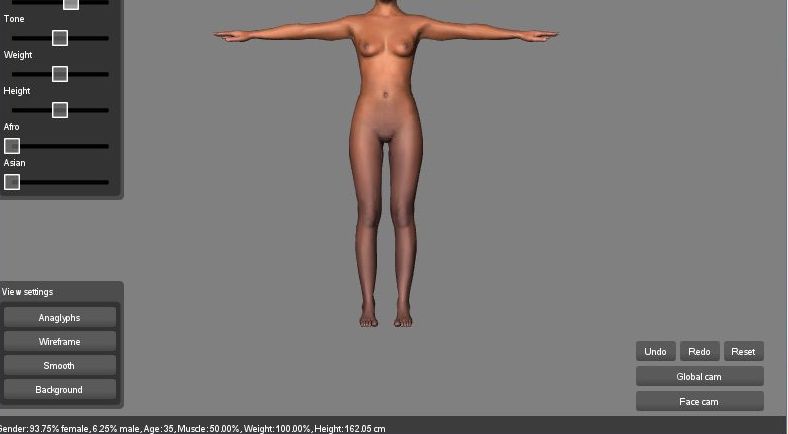
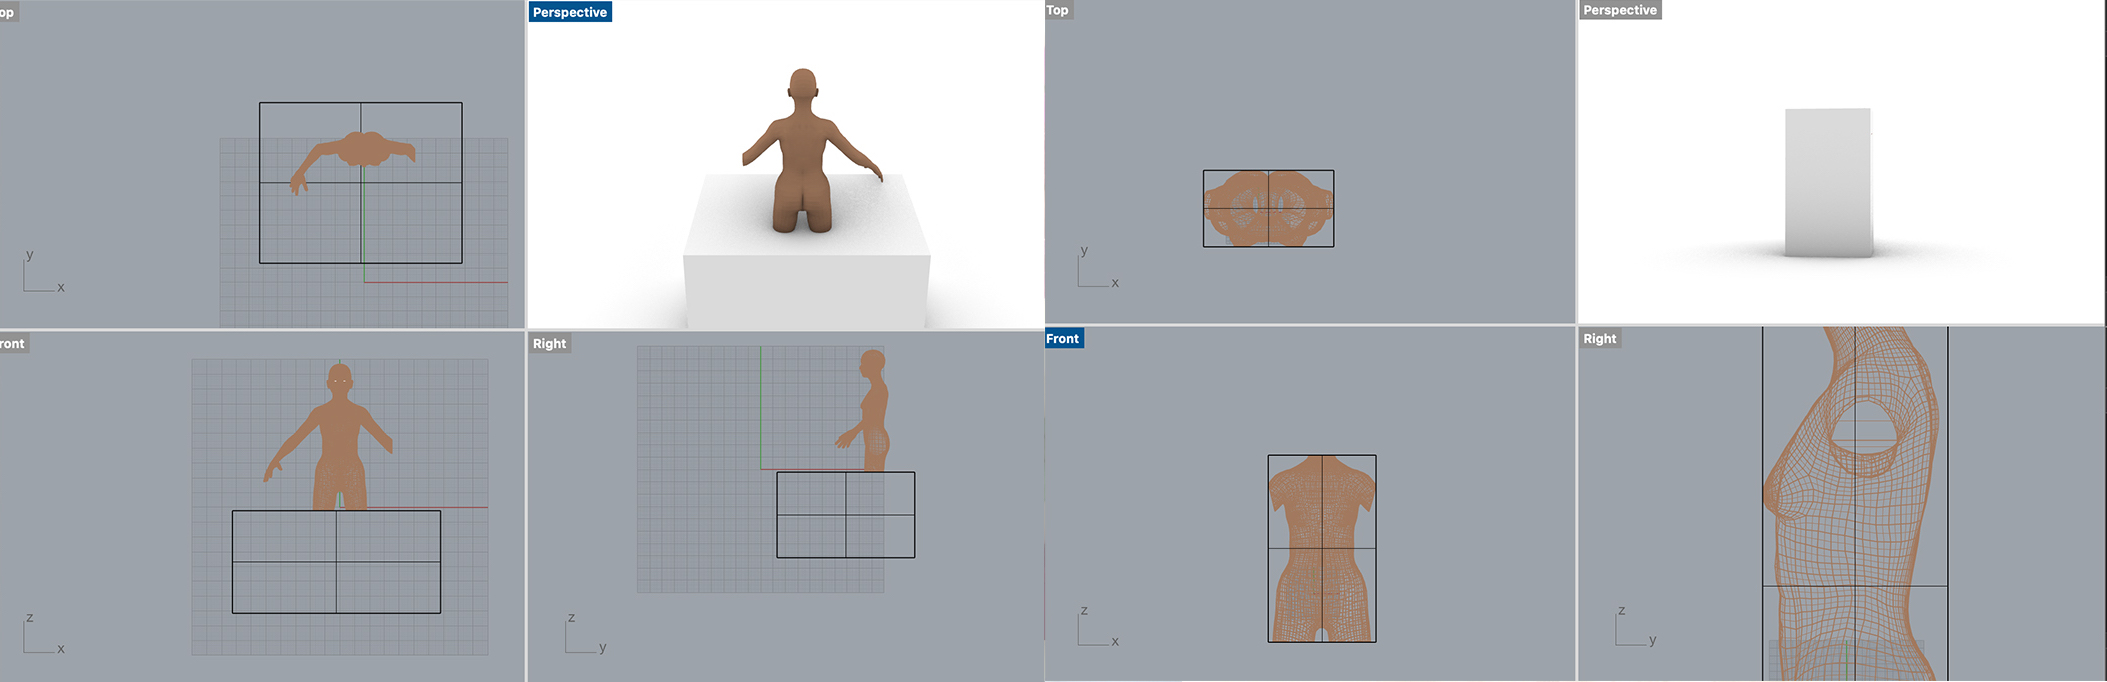
Then I used MakeHuman for modeling a 3D design of a body. This program let you choose different parameters like sizes, physical features, height and others.
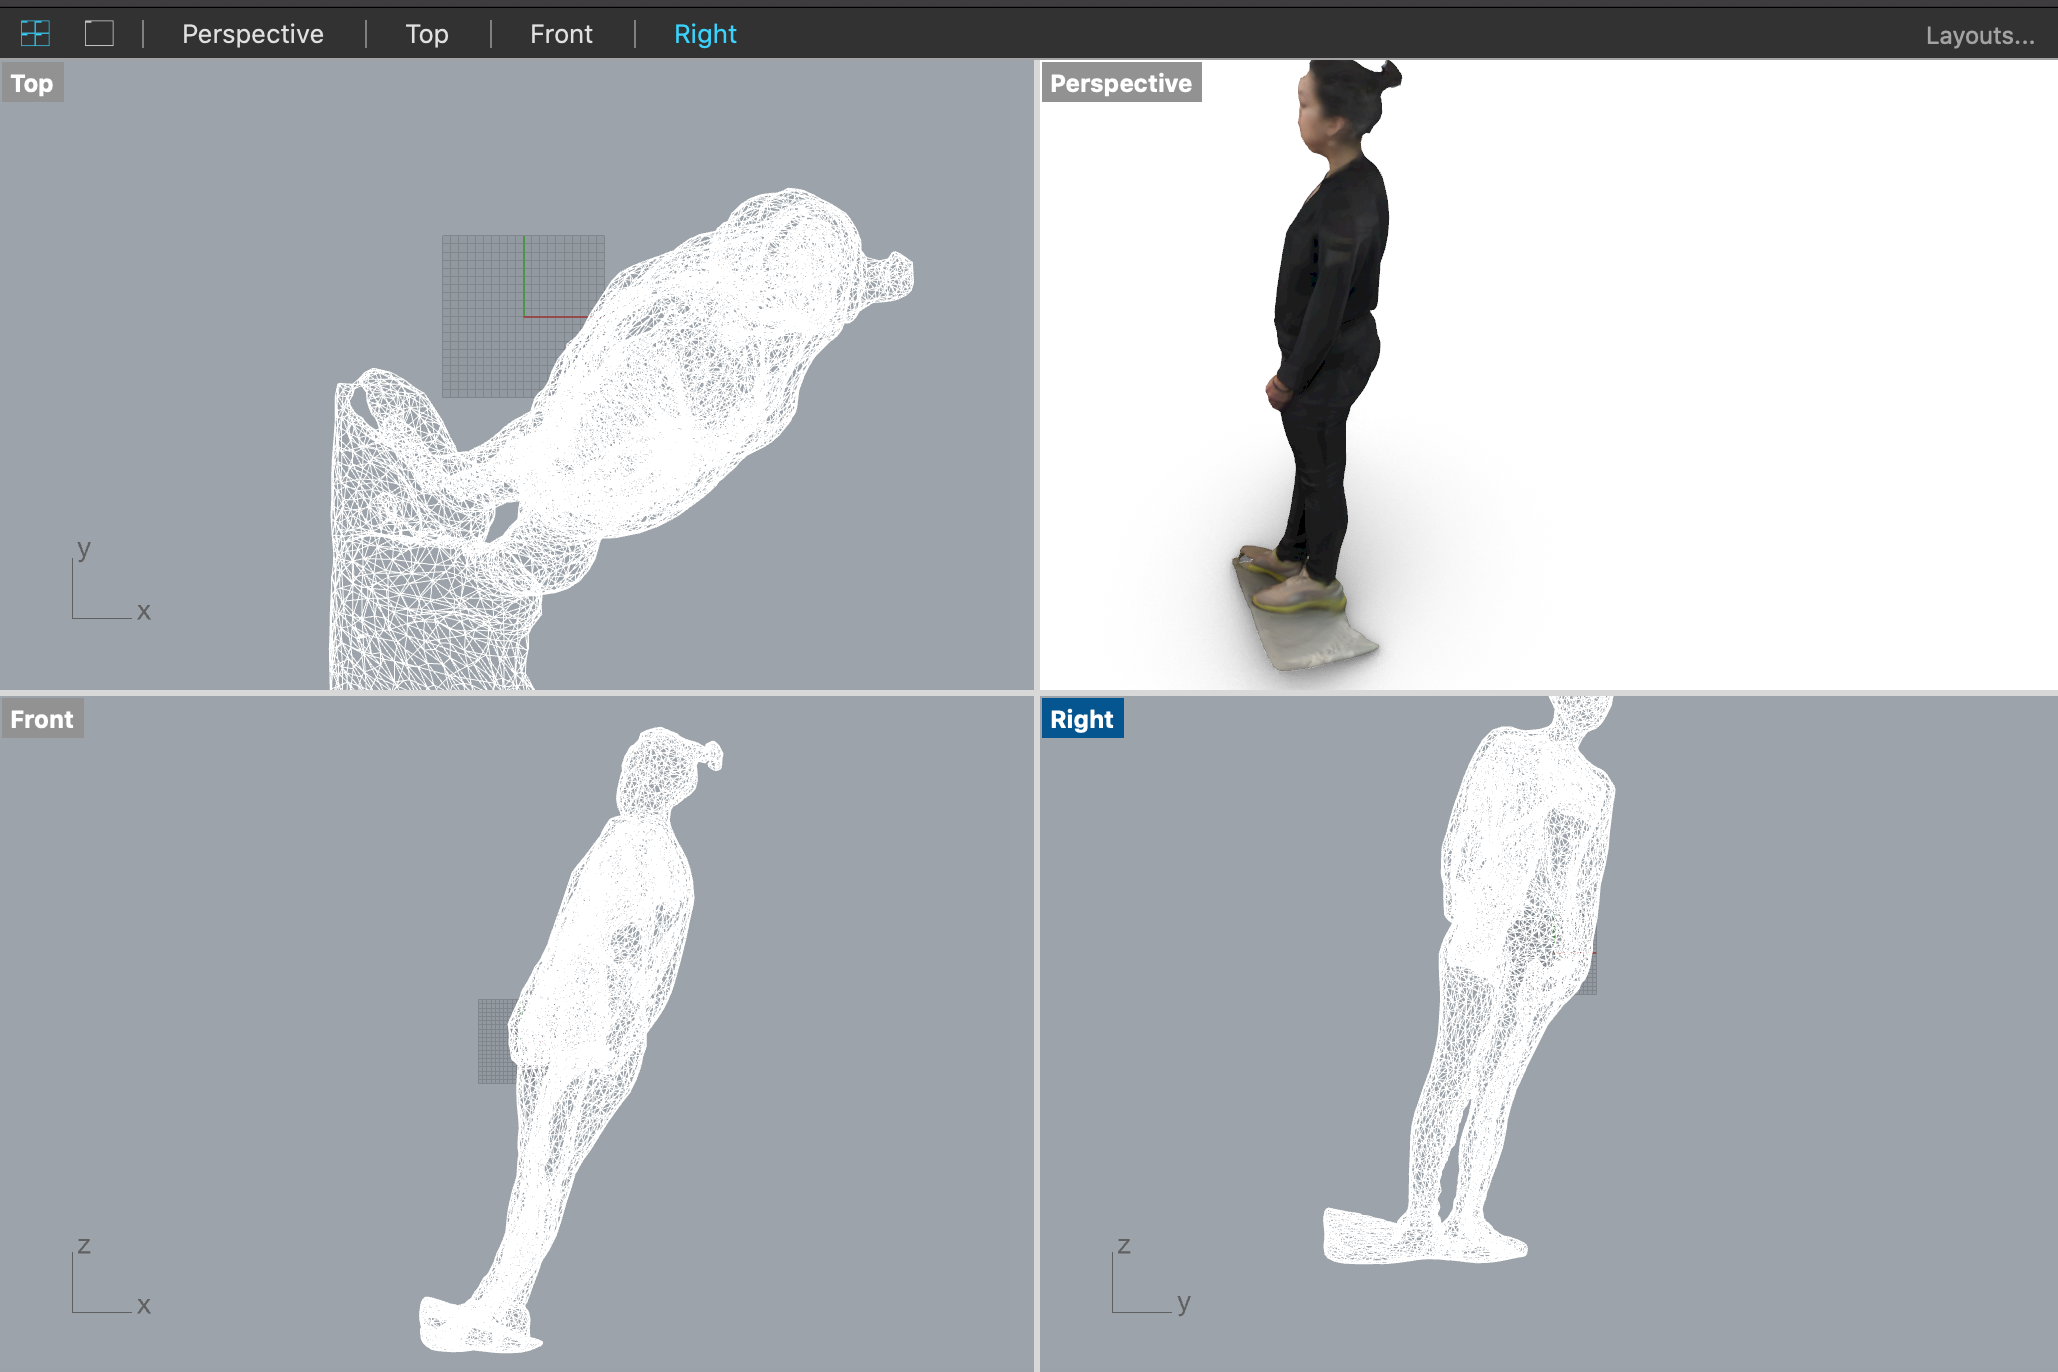
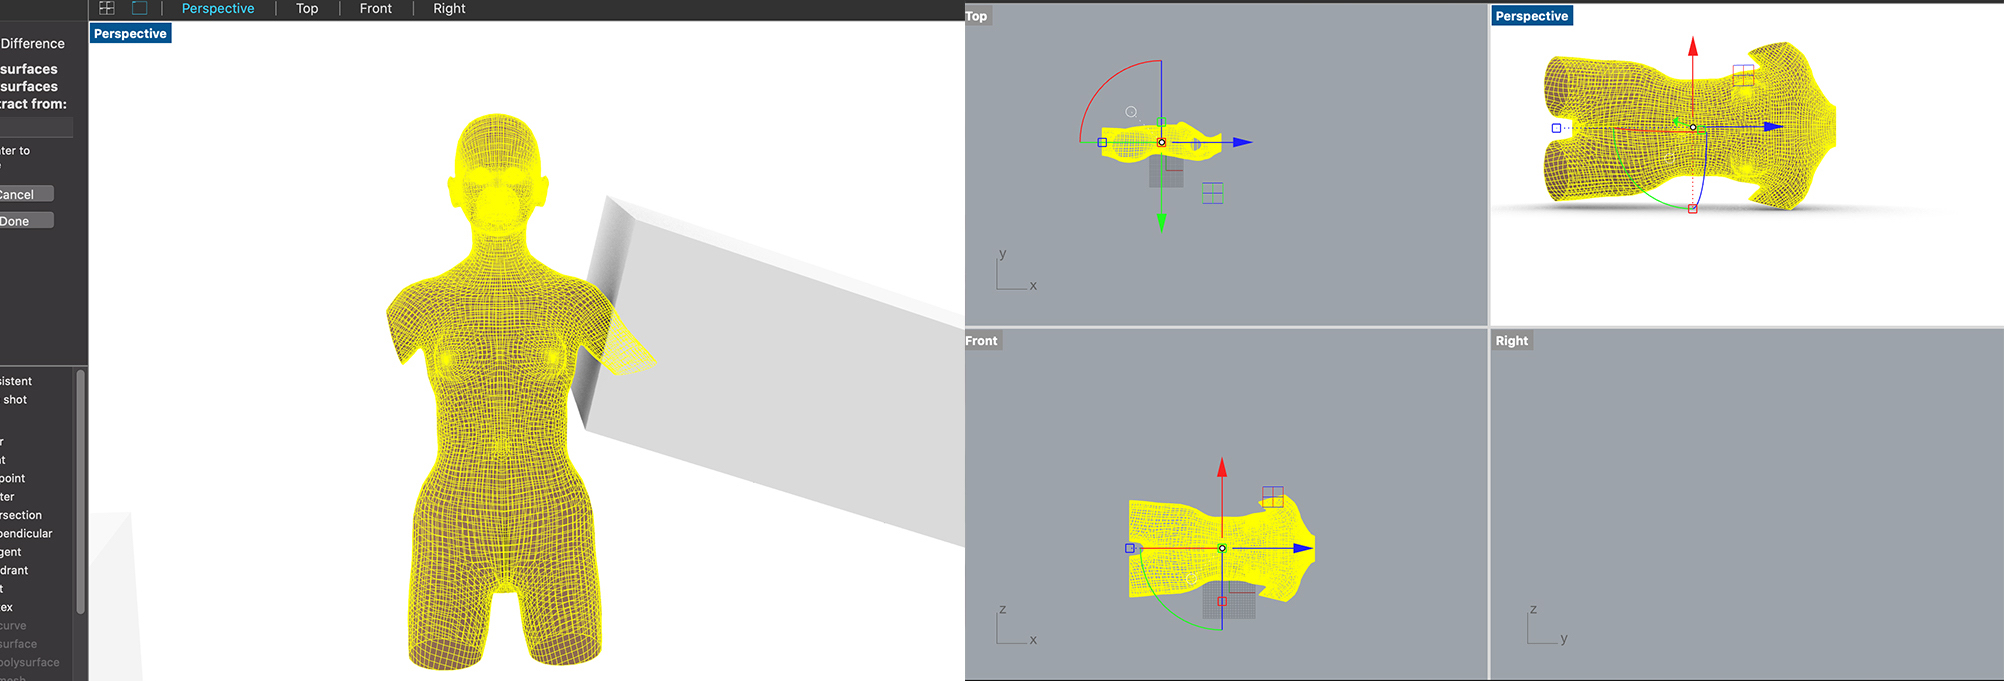
The next step, was to cut in rhino the the design and form of the mannequin. I used MeshToNURB and Boolean differents, is better of use this process to don't leave open meshes in our design.
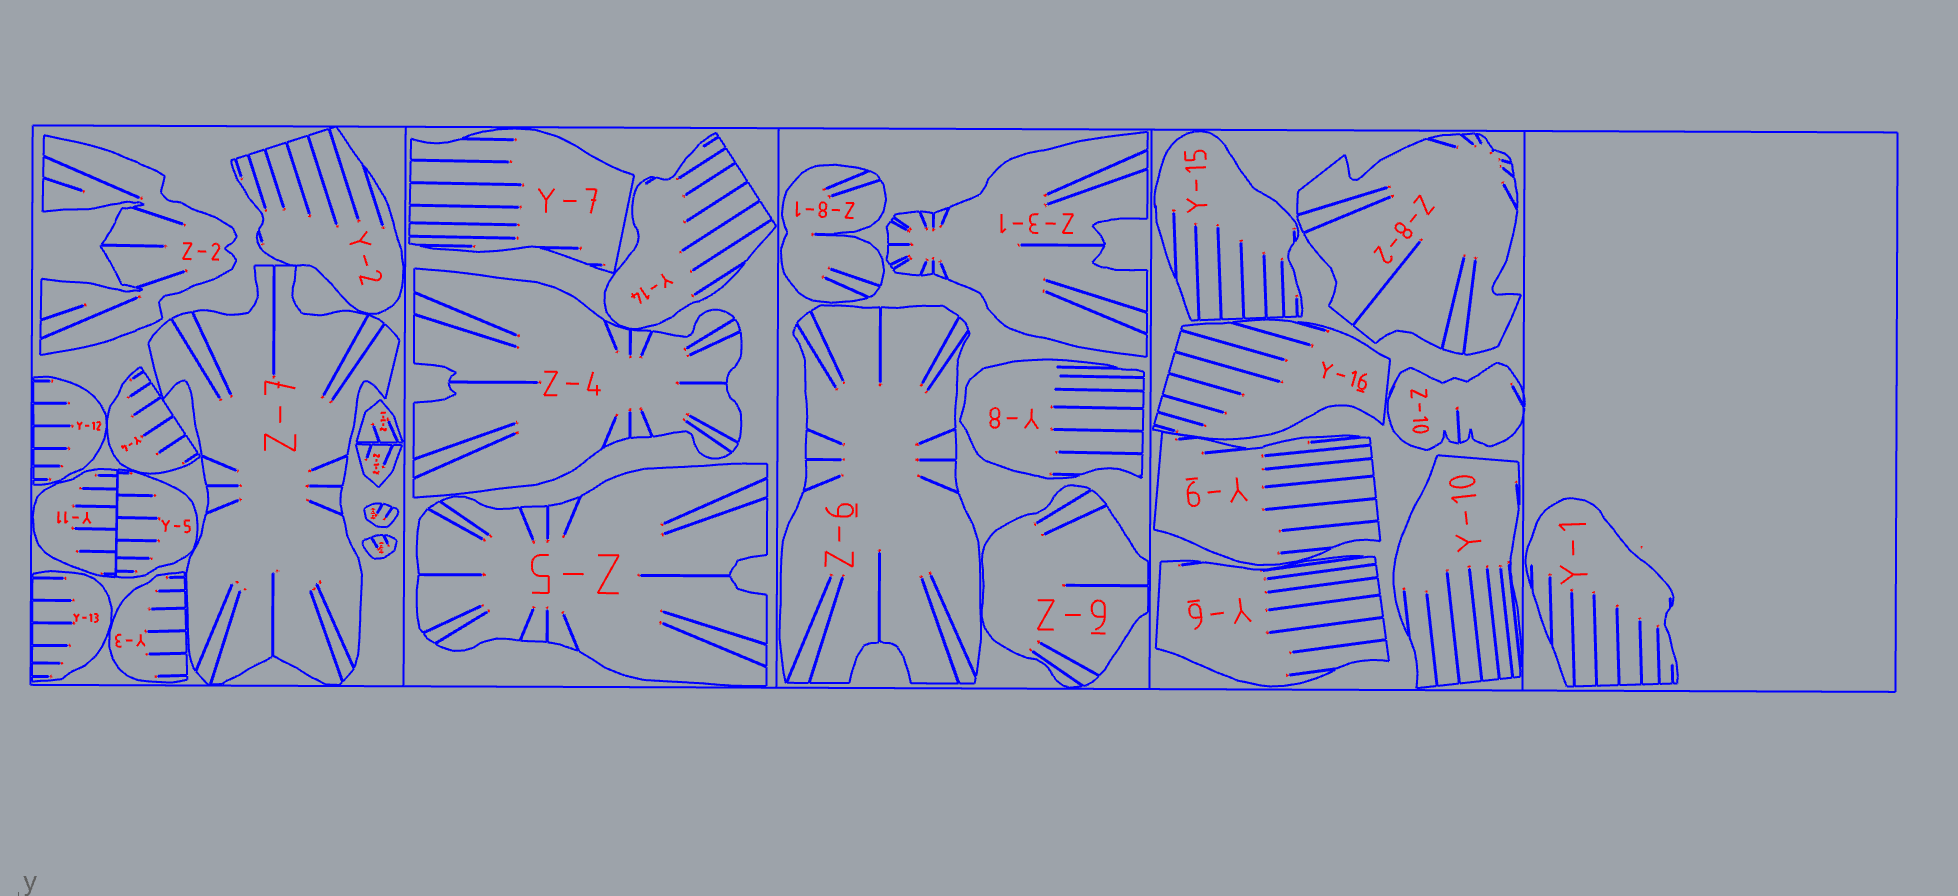
To finish the design process, I used the program Slicer for Fusion 360 that is a tool that converts 3D models into 2D patterns that you can cut out of any flat material. In my case, I used cardboard with a size of 23x30 cm and thickness of 1,1. The parameters that I used:
- Construction Technique: Radial Slices.
- 1st Axis: 9
- Radial: 15
- Notch factor: 0.100
- Notch Angle: 45.000
Object Size:
- Units: mm
- Height: 239.978
- Width: 709.305
- Lenght: 408.697
Using the laser cut
With all the parameters set up, it's time to use the laser cut to have ready all the pieces. I'm missing some photos from the process but some points that I had to take in count:
- Make sure that the material, in my case cardboard, have the correct size of the laser cut machine. If is not, cut it in the dimension (in my case 20x30).
- Make a small test of cutting. You can draw a small circle and make sure that the parameters you are using are the correct ones.
- When everything is ready, start to cut all the pieces.
- Don't forget to also do the engraving of the number and letters of the pieces. If your forgot about this it will be a complete mess when you have to put the pieces together.
Cut
- Power: 60
- Speed: 4.5
- Frequency: 5000
Engraving
- Power: 30
- Speed: 20
- Frequency: 1000
Tips: What i learn -> Put a Sloft Offset of 0.25mm plus (Of the size that Slicer 360 give)
Making the mannequin
Making mannequin by Nia Cavalie from Estefania Cavalie on Vimeo.
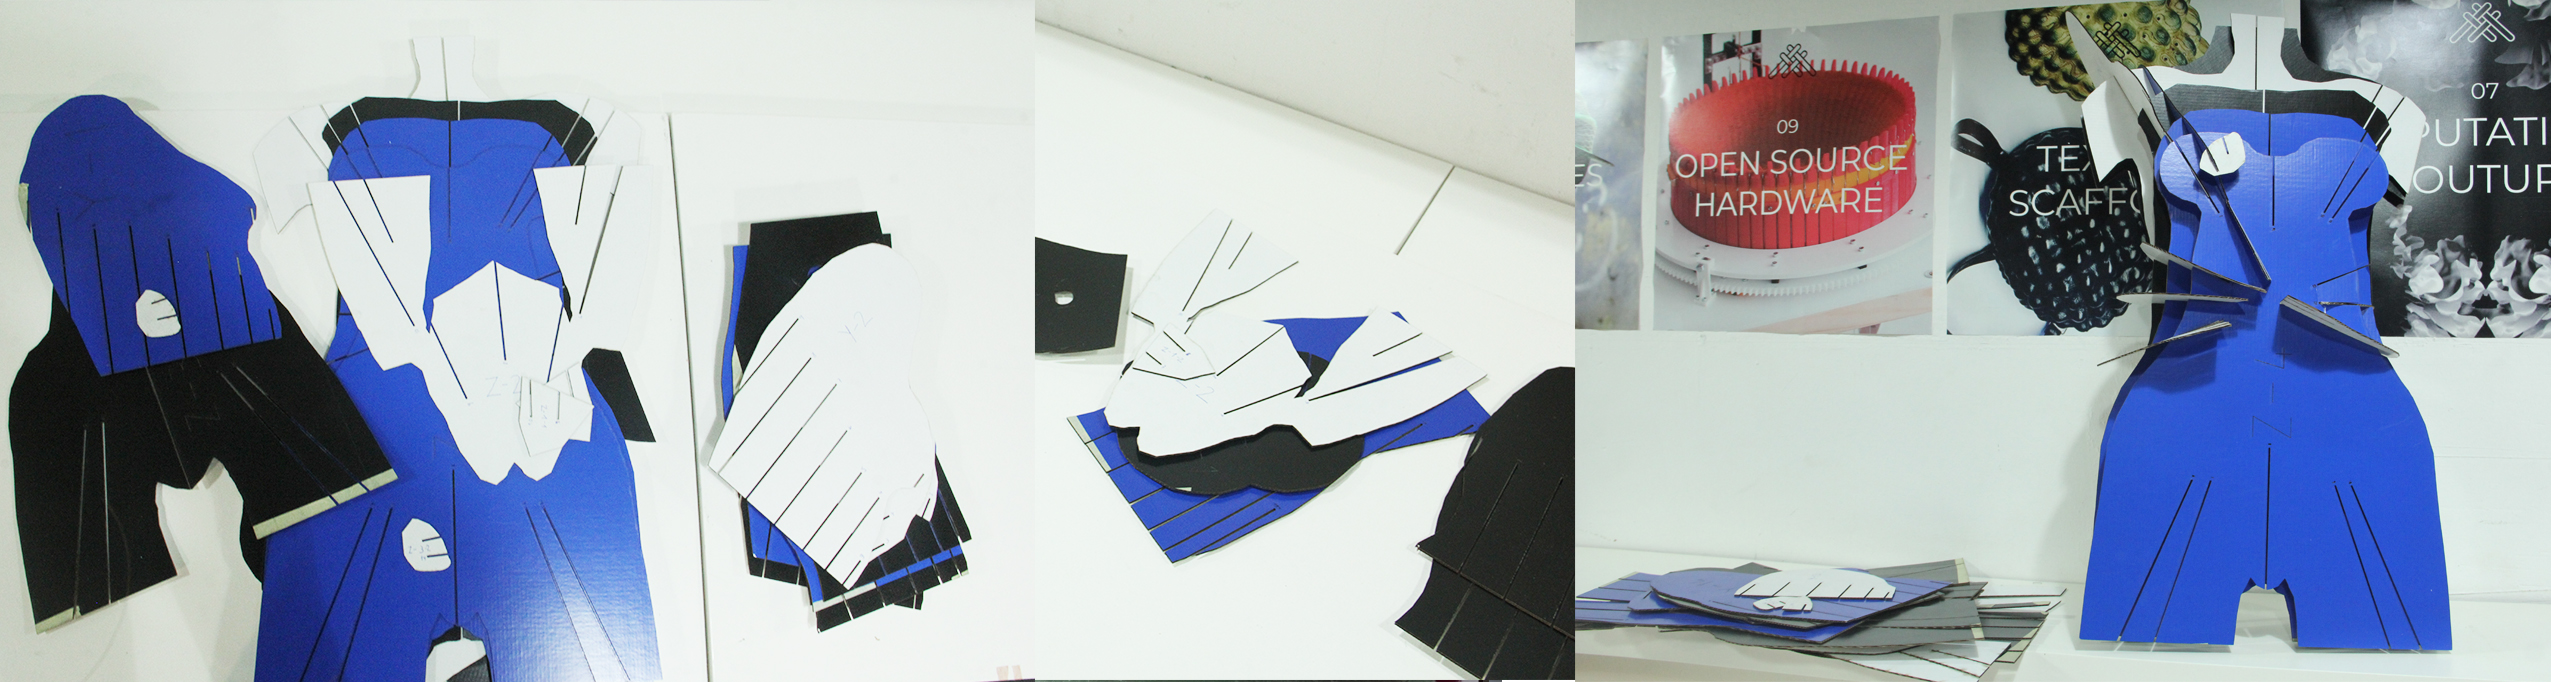
Superheroine Mannequin Done
This is how the superheroine mannequin appears, using different types of cardboard. So lets start using our superpowers to create more sustainable clothing and textiles.

Download the digital design: - Here